Hi, I just recently bought a new shapeoko 3 xxl and I’m already at day 3 of the build and have many issues putting together this thing. I had some issues with the threads in the X rail, and that was promptly solved by customer service, which i have to say was extremely good. Now the new problem that i have is that when i am trying to attach the y1 carriage to the x rail extrusion the holes of the y1 carriage do not line up with the holes on the x rail. As soon as i put two upper screws the other holes do not line up, or if i put first the two lower screws then the ones on top do not line up with the holes in the x axis extrusion. Has someone had to deal with this issue before? I already contacted customer service about this issue, but being friday afternoon i do not think that i will get an answer until monday.
Only other time I have heard of this is when someone tries to put it in the wrong hole (where have I heard that before)…the Stepper motor holes are close to the rail holes. I have heard of a few people complain that the paint has made the holes a little small, and that opening them up with a 1/4" drill bit has helped.
Can you get a picture?
Leave them loose until you get all four in.
Hi, thanks for the advice, have already tried that, and it does not work.
good joke, appreciate it. I will try with the 1/4" drill bit, i did notice some of the paint might be the issue, i did try to sand away some of the paint, but it did not help. I will try the drill bit, thank for the advice
PS I drilled my rail holes to 17/64" a few years ago (so that I could square the spindle) so no worries, ok?
Winston has a great video on how to square up the machine…I taught him everything he knows…right @wmoy?
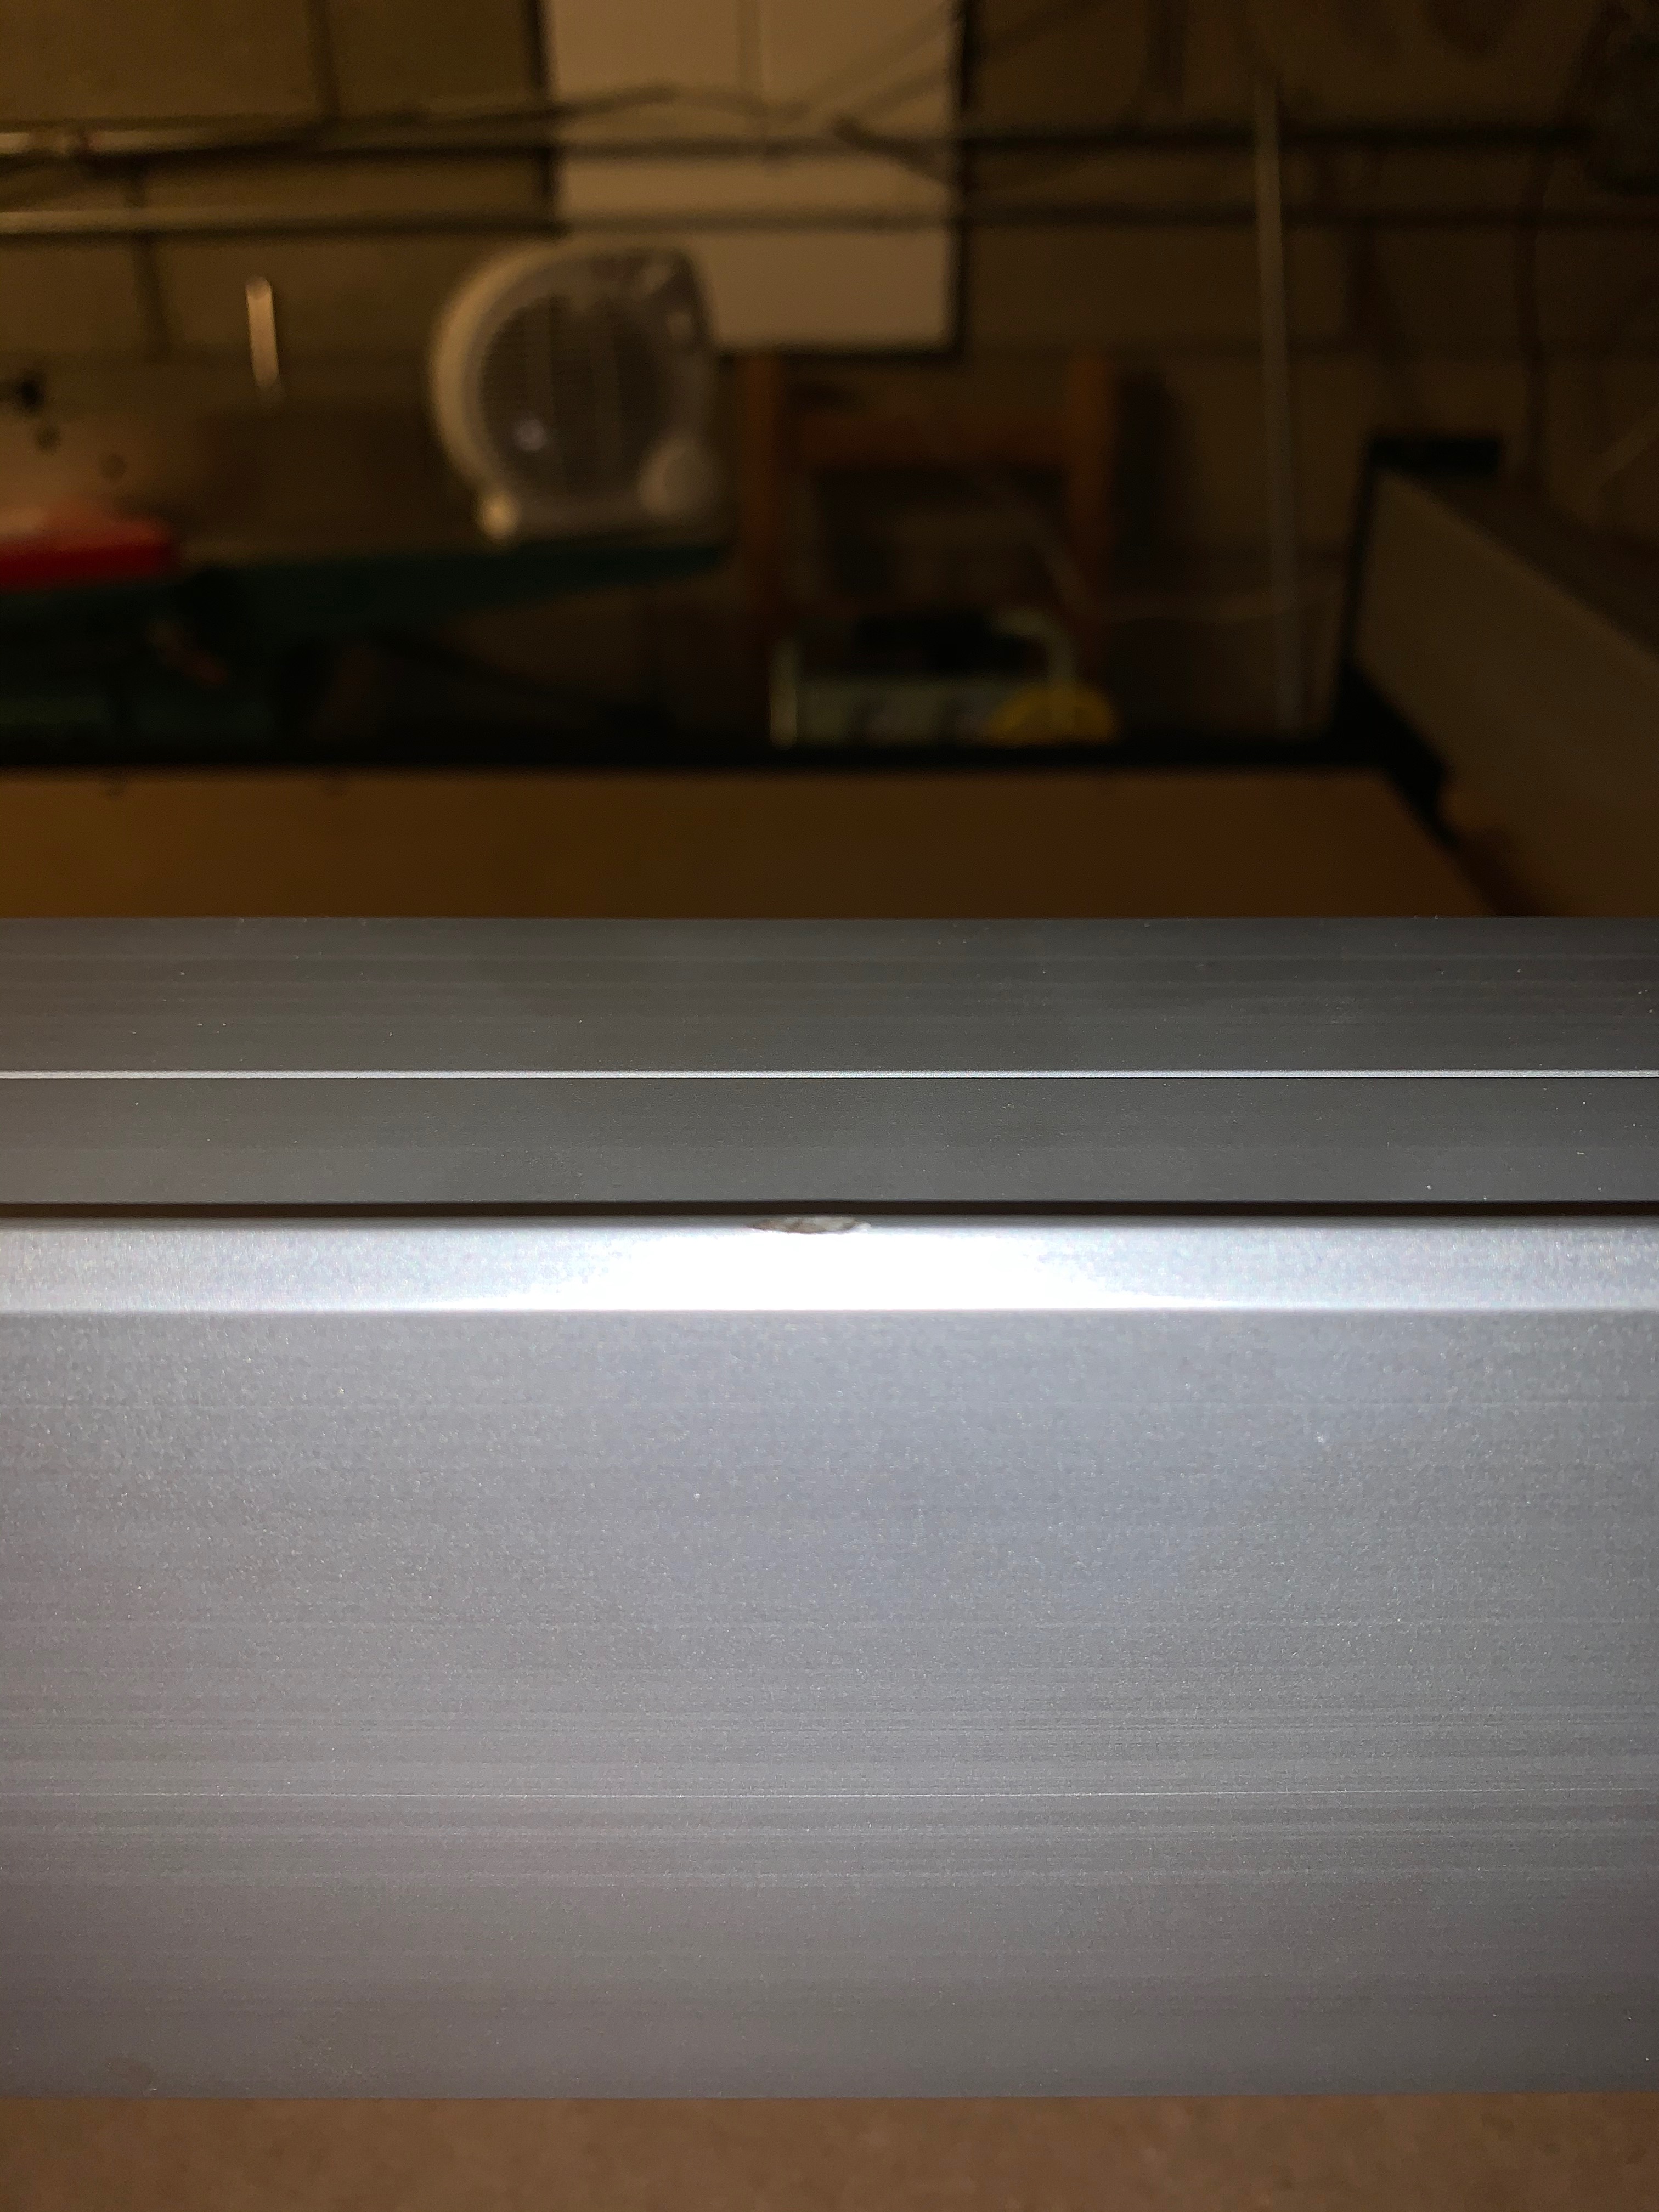
I managed to attach the y assemblies to the x rail, i did use the 1/4" drill bit and helped a lot, however once everything was put together including the Y rails mounted, i see that my X rail actually has an indentation exactly where the V wheels of the Z assembly run, i moved the Z assembly manually and of course i could feel that small bump. Should i ask for a new X rail, i have to say that i had an issue with the first one and they sent me a replacement but this replacement has this new issue ( the indentation ) and i am sure if i leave it like it is it will have some impact on any piece that i may be cutting. Has anyone had an issue like this? Do you think it will have a big impact when the machine is cutting? And i do have experience with tools, however this is the first time i am using a CNC, any help would be really appreciated.
As I replied on support we will replace this.
If you wish you can fill in the ding with a metal impregnated epoxy such as J.B. Weld, then use a fine file to level things off even — that should allow you to do at least “Hello World” and a couple of test cuts — once the replacement extrusion you can just swap it in.
Until you get the new one, you could flip the extrusion. The dent will have much less impact on the bottom of the rail.
@WillAdams - I had the same thing on my rail and just used it thinking it would make little difference. I’ll send you a picture, but I’ve had my machine almost two years now, so…
Here’s the rail. It’s really such a small ding that It looks as though it runs within the limits of the v-wheel just fine. Even if it doesn’t, how far could it be off over the span of an XXL?
It’s really a non-issue for me, but thanks for listening!
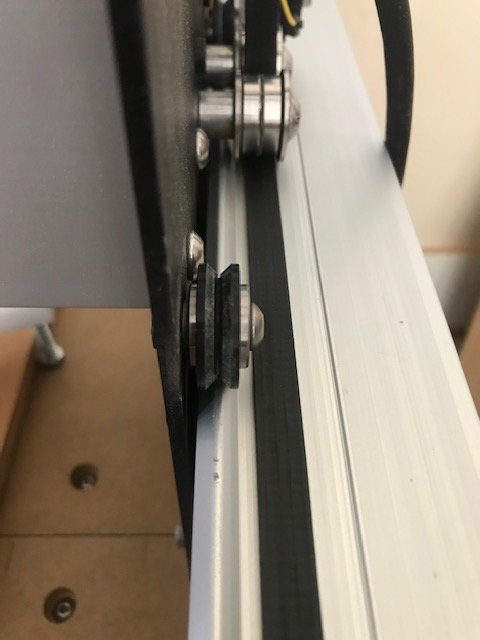
i am just trying to put together mine, but the indentation i have on my X rail definitely makes a difference, and when the Z plus carriage moves on top of it, it does feel the bump. Now as always moving away for a bit from this issue, i will have to wait until i get the replacement before i decide to move any further, i just dont want to put everything together just so i have to take it apart again to install the x axis rail again. however i did notice something with the V wheels and the y1 and y2 carriages. The instructions say that the v wheels have to just engage the rails, i did it exactly as the instructions say, i did not over tighten the eccentric nuts , the V wheels are barely touching the underneath part of the rails, and as soon as i do this and when i move X rail assembly( x rail, y1 and y2 carriages and z plus) it just feels really bumpy and it is easily seen with the naked eye, but as soon as i loosen the nuts and the X assembly is basically running just on the 2 top v wheels the movement is really smooth. Any help with this will be really appreciated guys.
so the sweet spot is where they “just” no longer move freely, but give you friction.
(but not lock up entirely)
also if you move by hand it’s not as smooth as the machine would, since it’s unlikely you get both sides fo the rail perfectly synchronized… while the steppers will
Yes i did that, one hand turning the nut and the other checking just until the V wheel would no longer move freely, but still as soon as the V wheels stop moving and i pull or push the X rail assembly i can feel it moving very bumpy. However i am still putting together the machine and you might be right about the steppers moving the assembly more synchronized. will have to wait until i have it all put together and test it then. But still if anybody else has had this issue let me know, thanks Fenrus and to everybody who has chipped in with your comments, the help of the community is deeply appreciated, and just looking forward to getting the machine up and running.
By any chance do you have the belts installed and stepper motors plugged in the controller yet ?
i just did that, well i was able to put the machine together, but had some trouble the x motto would move to the left not to the right, by the moment i realized the z plus went all the way to the left and tried to keep going, i obviously panicked(ha ha ha) and could not find the with to shut down the machine, i was able to shut down the machine about ten seconds after the z plus hit the y 1 rail and tried to keep going. I went over to the wiring section to see i i had installed something incorrectly but everything seemed fine. then after a few minutes i took the cover off the control panel and realized that the problem was the wiring with x cable, all the other cables had this configuration RED, WHITE, GREEN AND BLACK, however the wiring for my x axis motor was RED, GREEN, WHITE AND BLACK, the white and green cables were not connected correctly, after a half an hour of wrestling those tow cables i was able to swap them and the the x motor started running in the right direction
now i am trying to run the hello world program, but when i download it and try to unzip it, it will not work, all the programs that i am using to unzip the file say that the cannot unzip it. I have dowloaded 3 programs to unzip this thing and they will not work. I am using a MacBook. Any help with this?
for now it seems that there was no damage to the stepper motor or the belt, will have to wait until i get some projects going to find out
yay! great progress…
