So I have read and watched every video I can find and have never been able to fix my xxl being out of square. Here is a list of what I have tried:
Loosen all bolts and tension v wheels and then clamp/strap machine into square and tighten.
Shim opposite ends of Y rails with washers (thats how bad my gap is…)
Took entire machine apart and reinstalled everything .
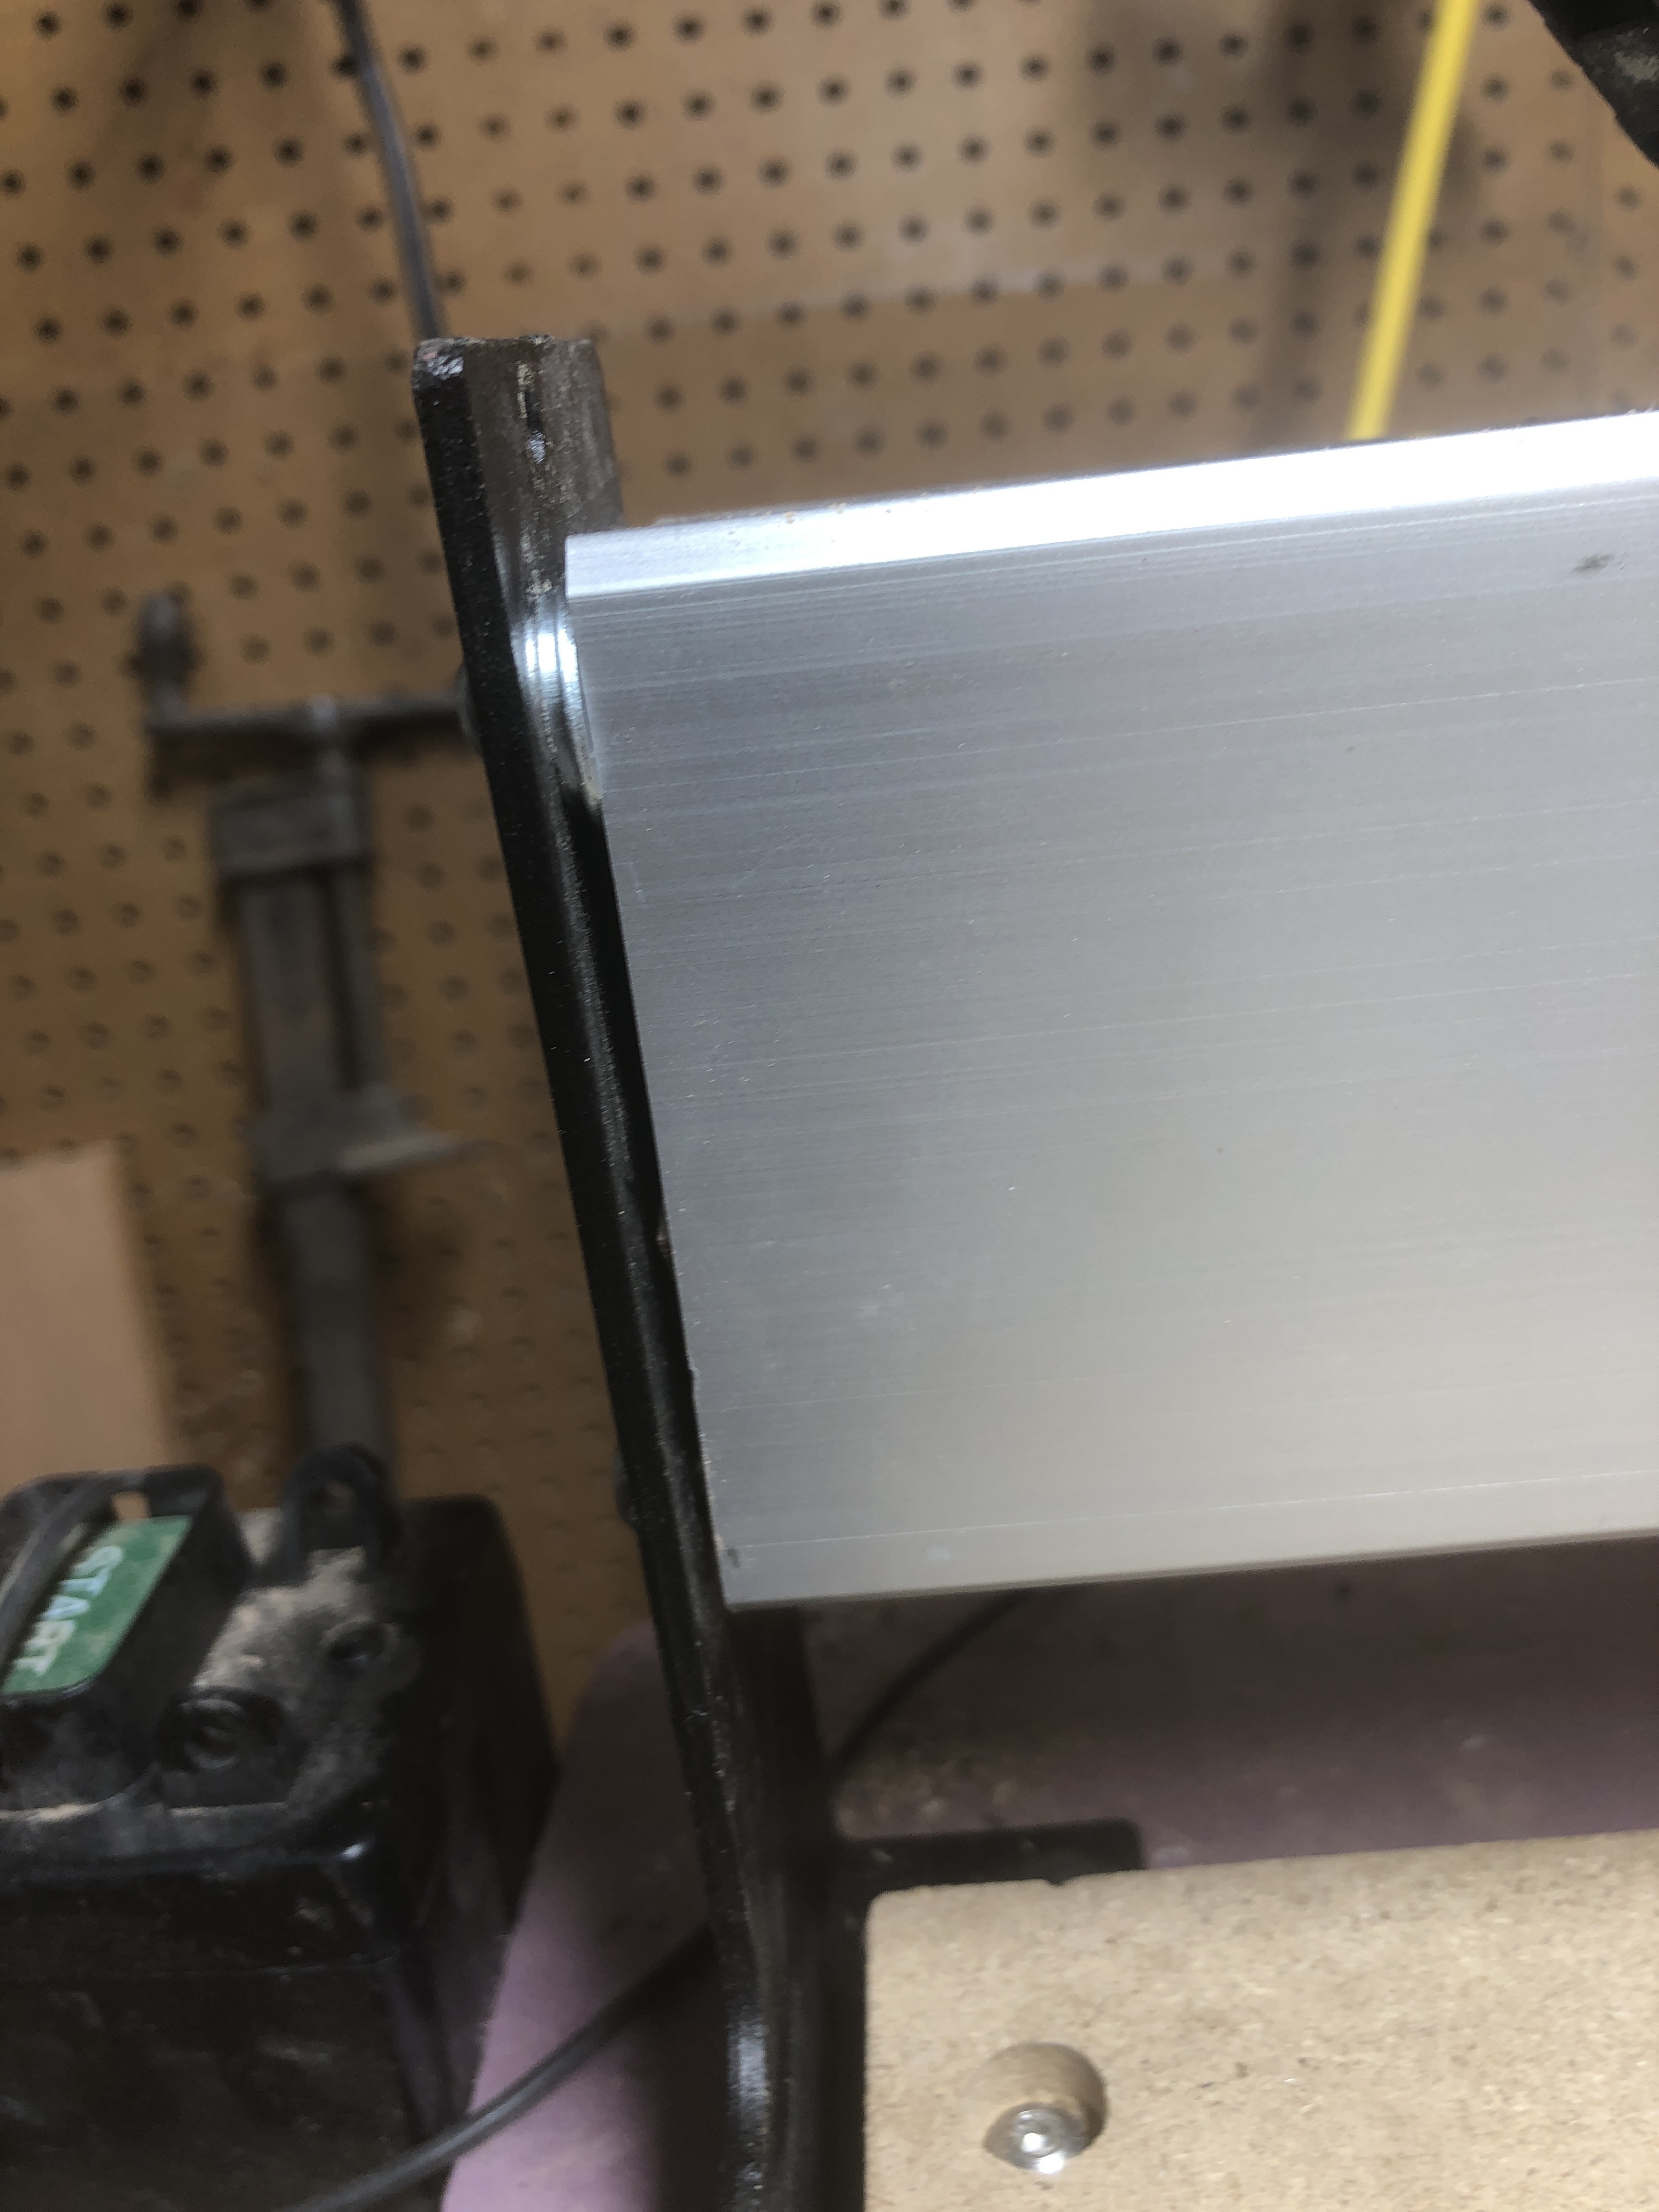
After each step the gap remains on the tight front corner of my rails and back left corner. If you measure corner to corner the rail supports are dead square. The gap has never been less than 1/4” and at its worse it has been upwards of 1/2”. The surface is dead flat, I have the machine sitting on 2 stacked 1/2” foam sheets.
I have an XXL machine, there are zero modifications to this machine. It has been this way since I built it a year ago. I have gone as far as adding to washers to the opposite rail support from the gap and the problem never goes away.
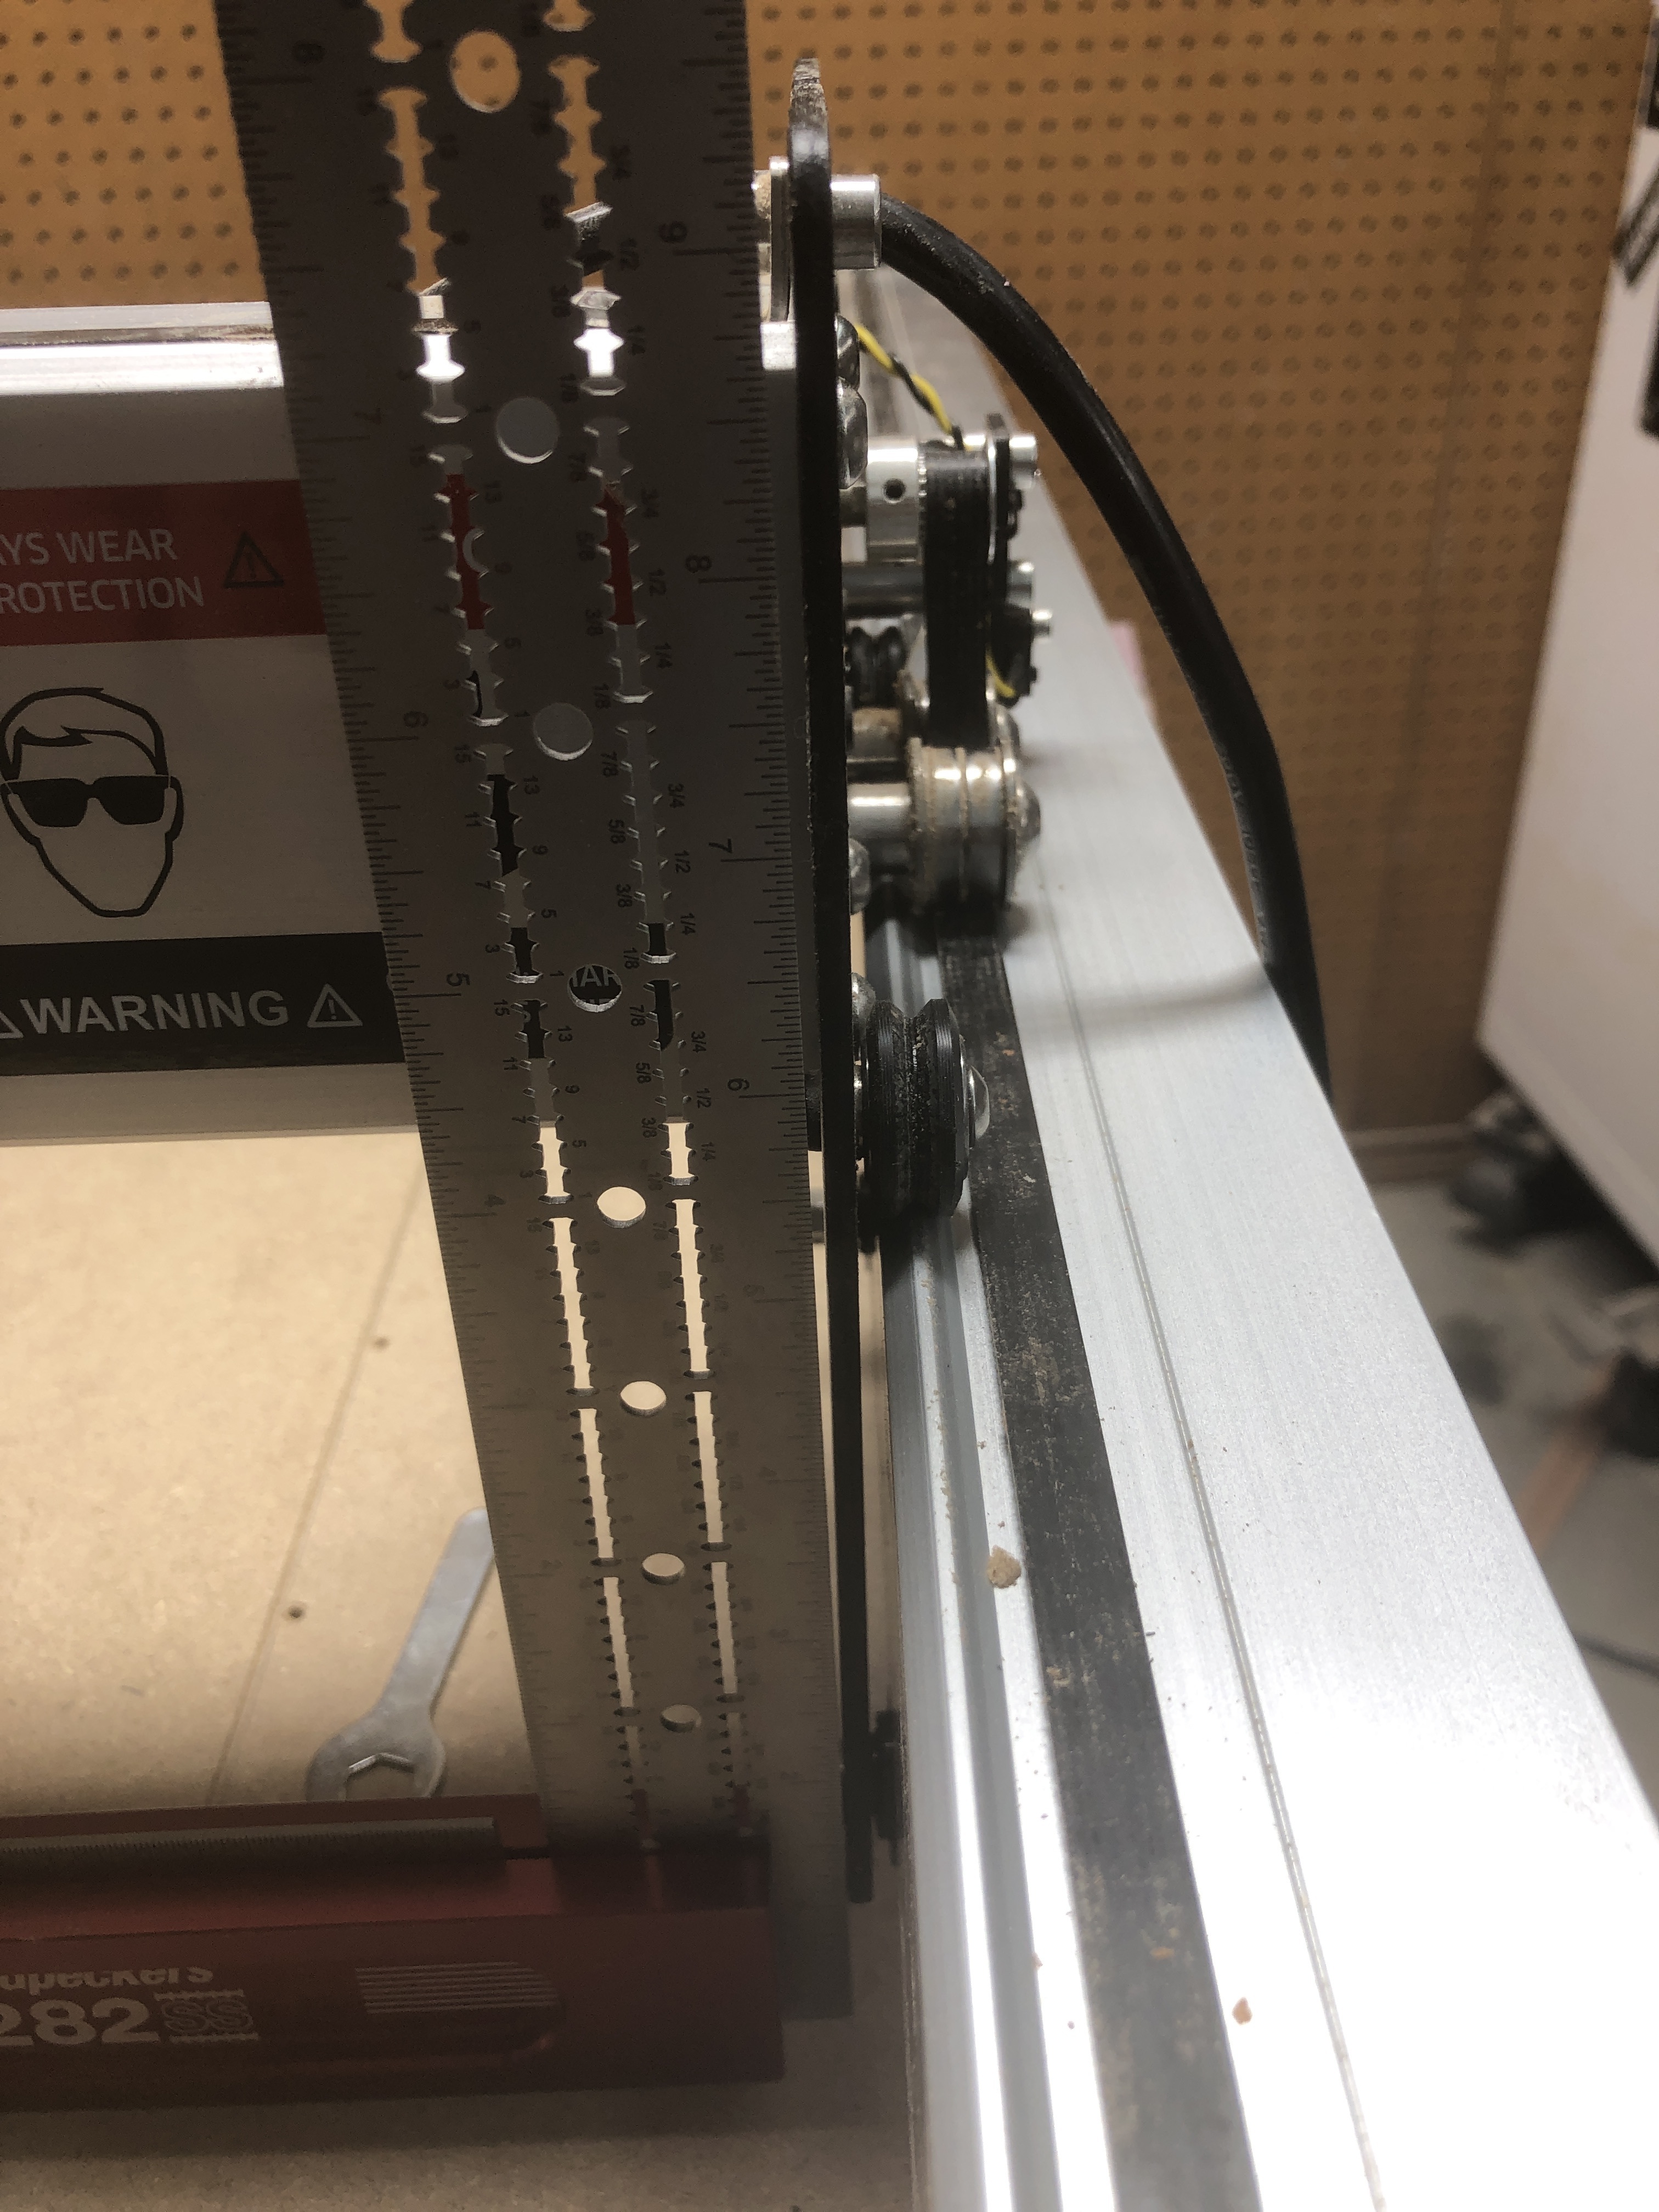
I will attempt to include pics to what I am seeing.
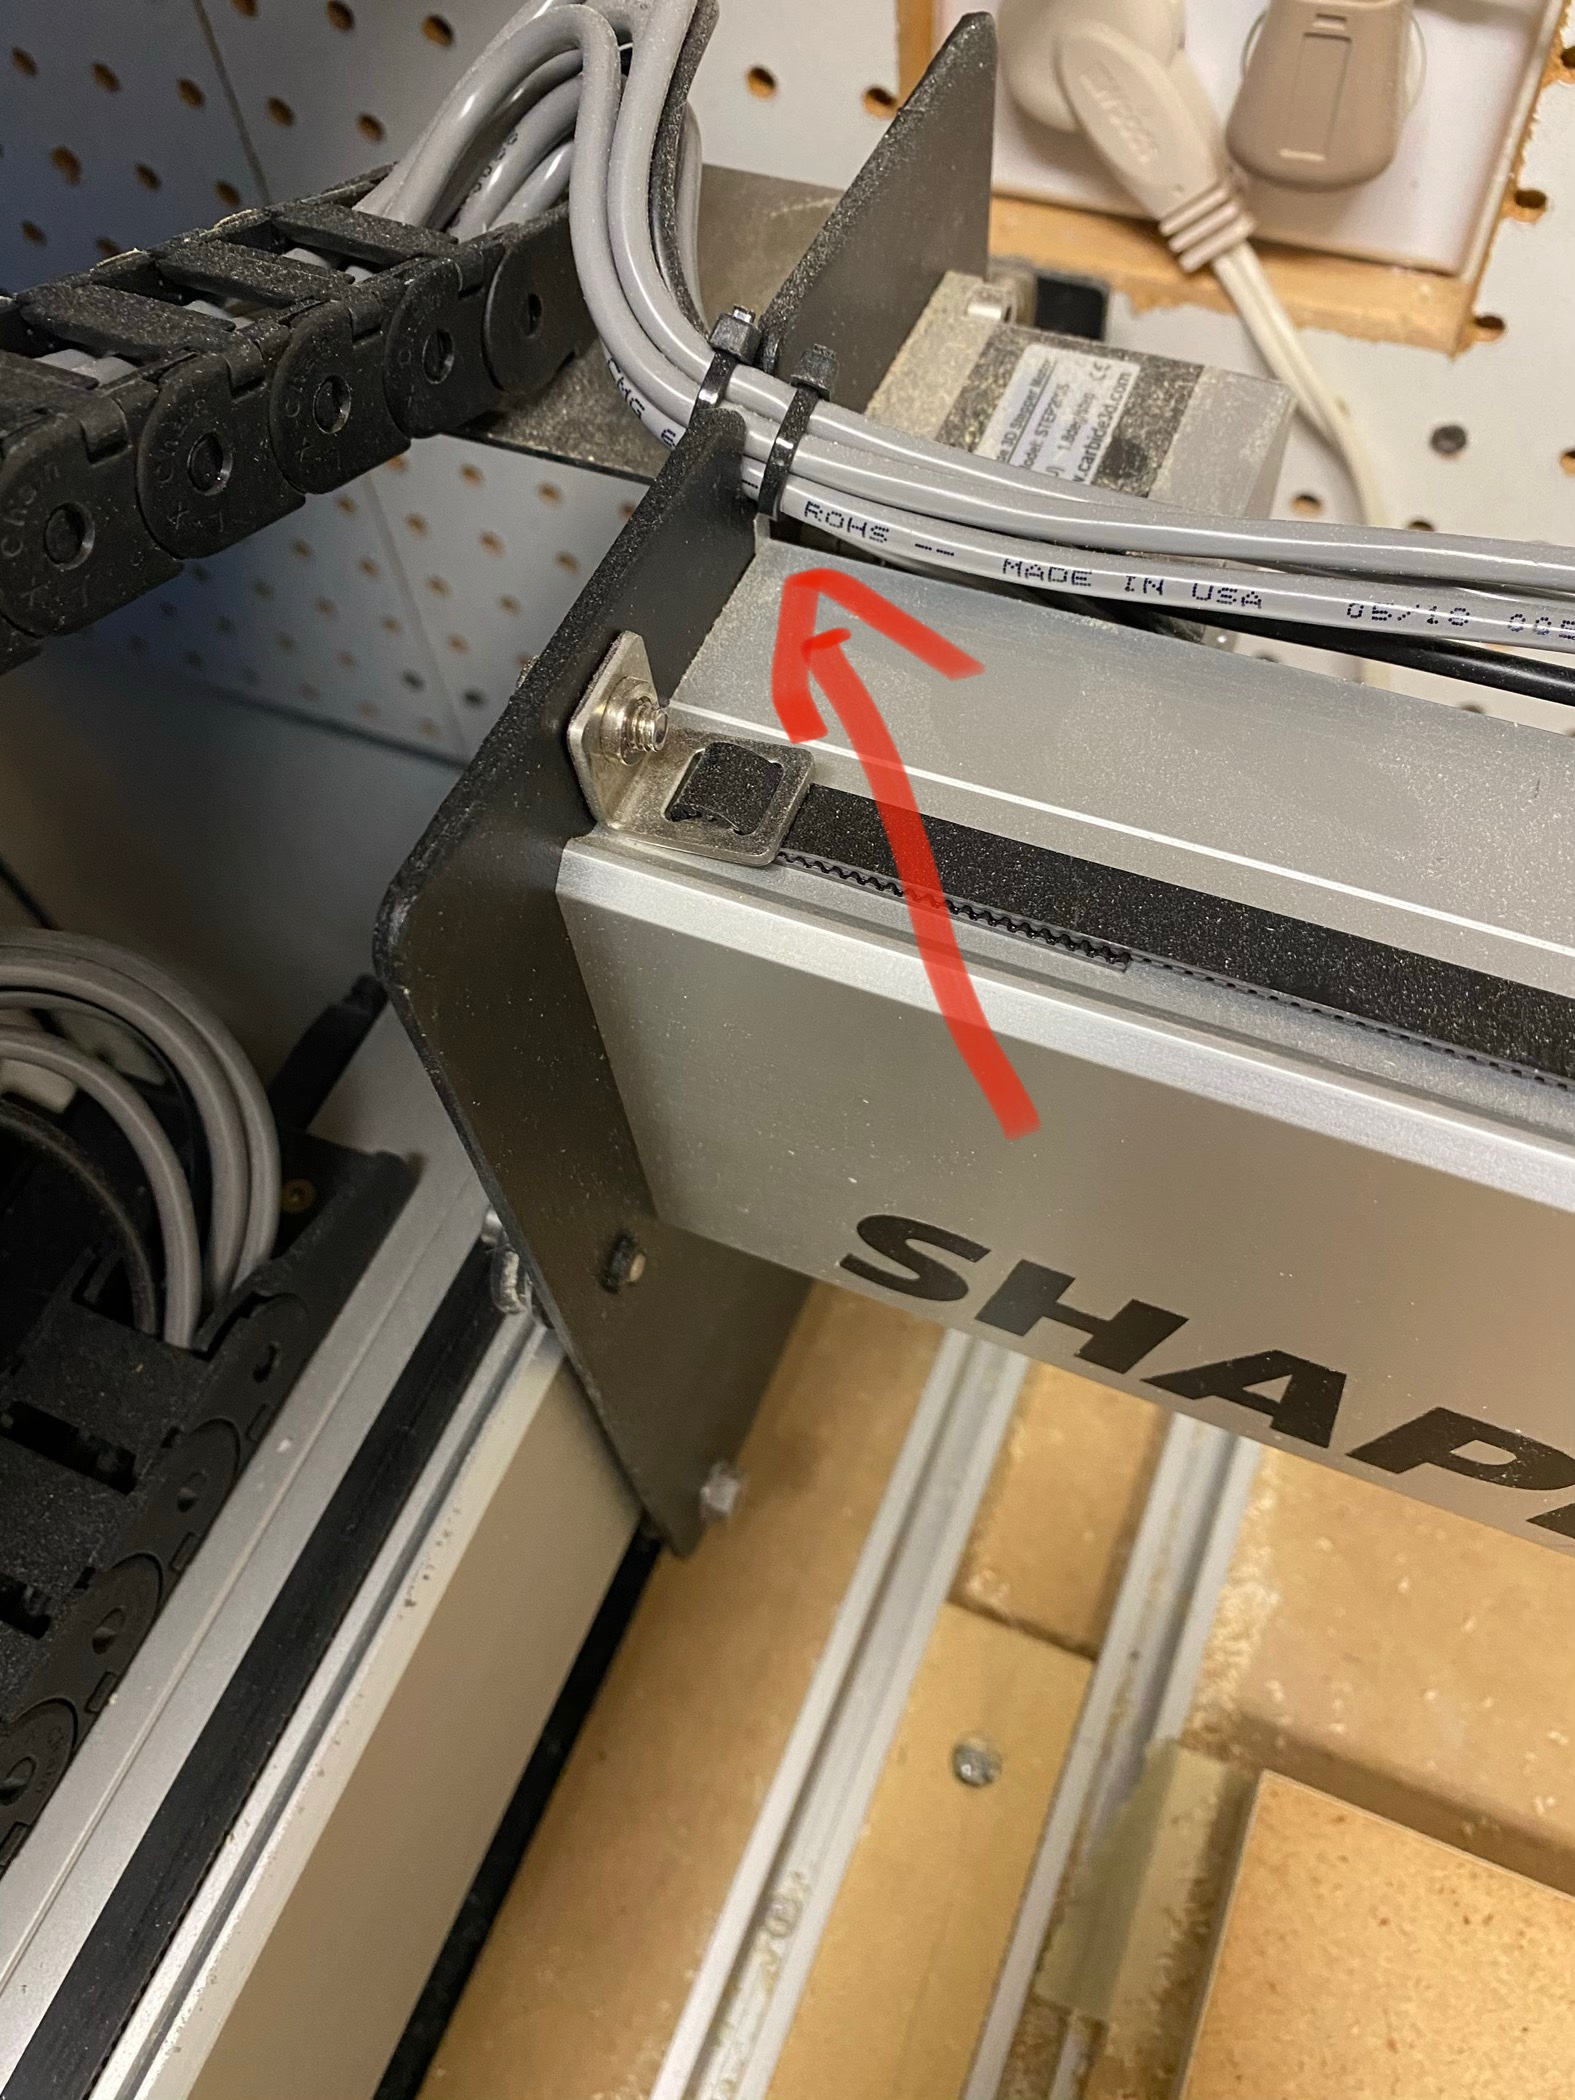
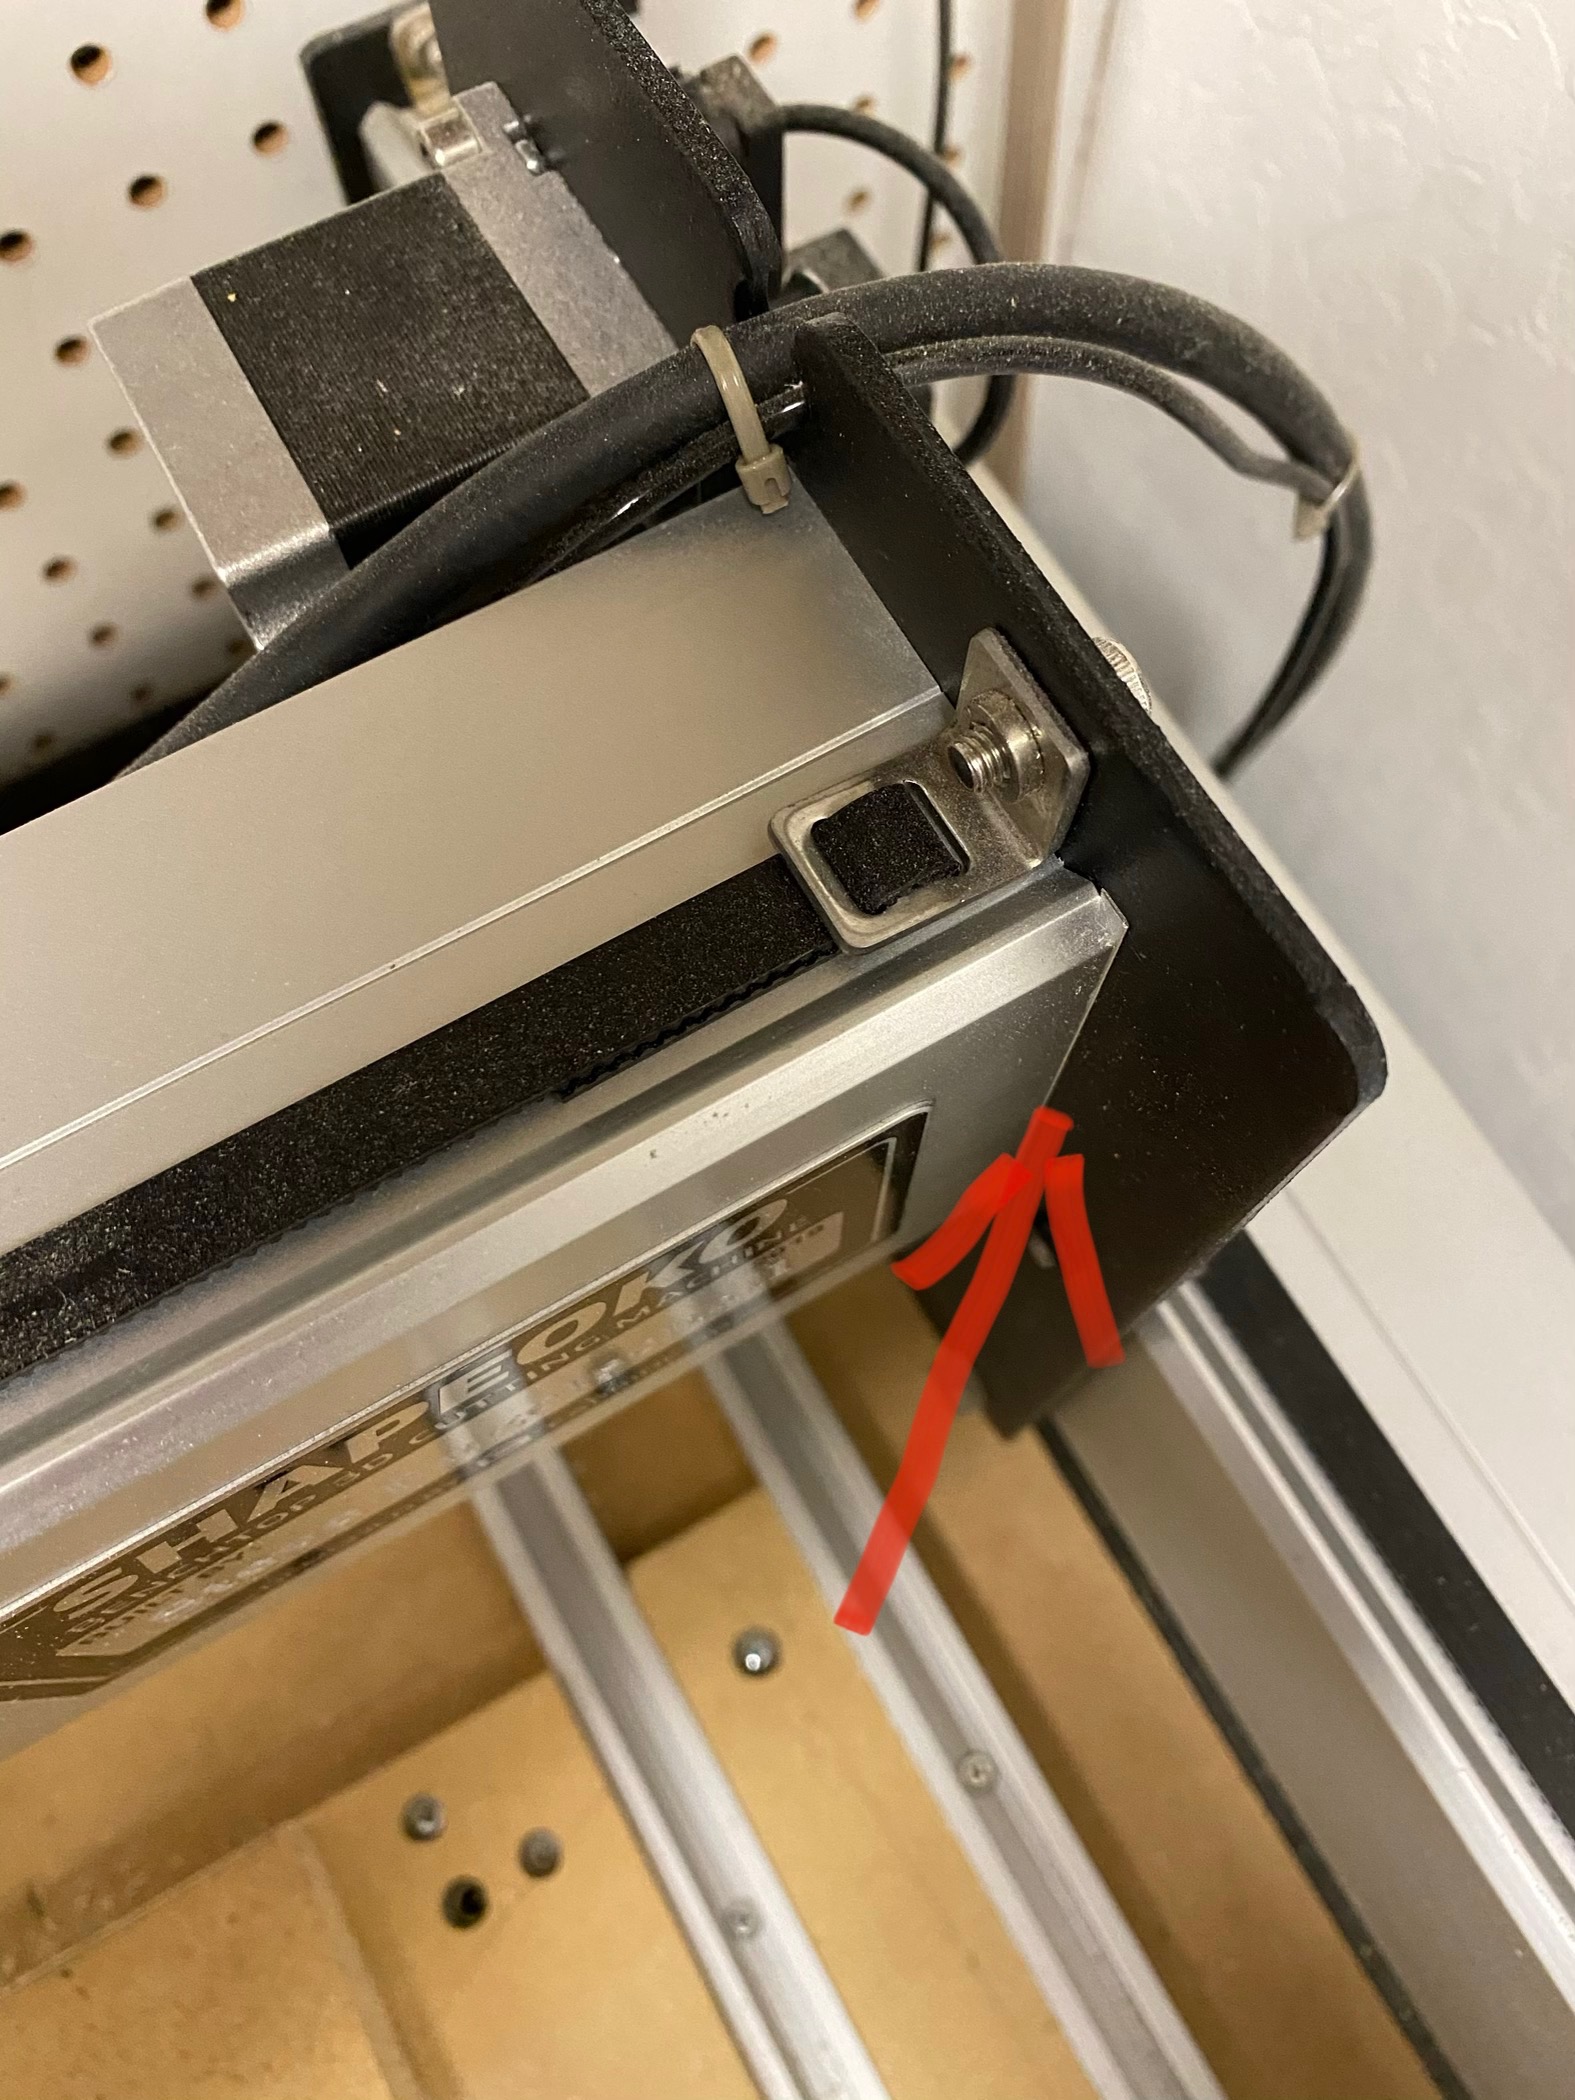
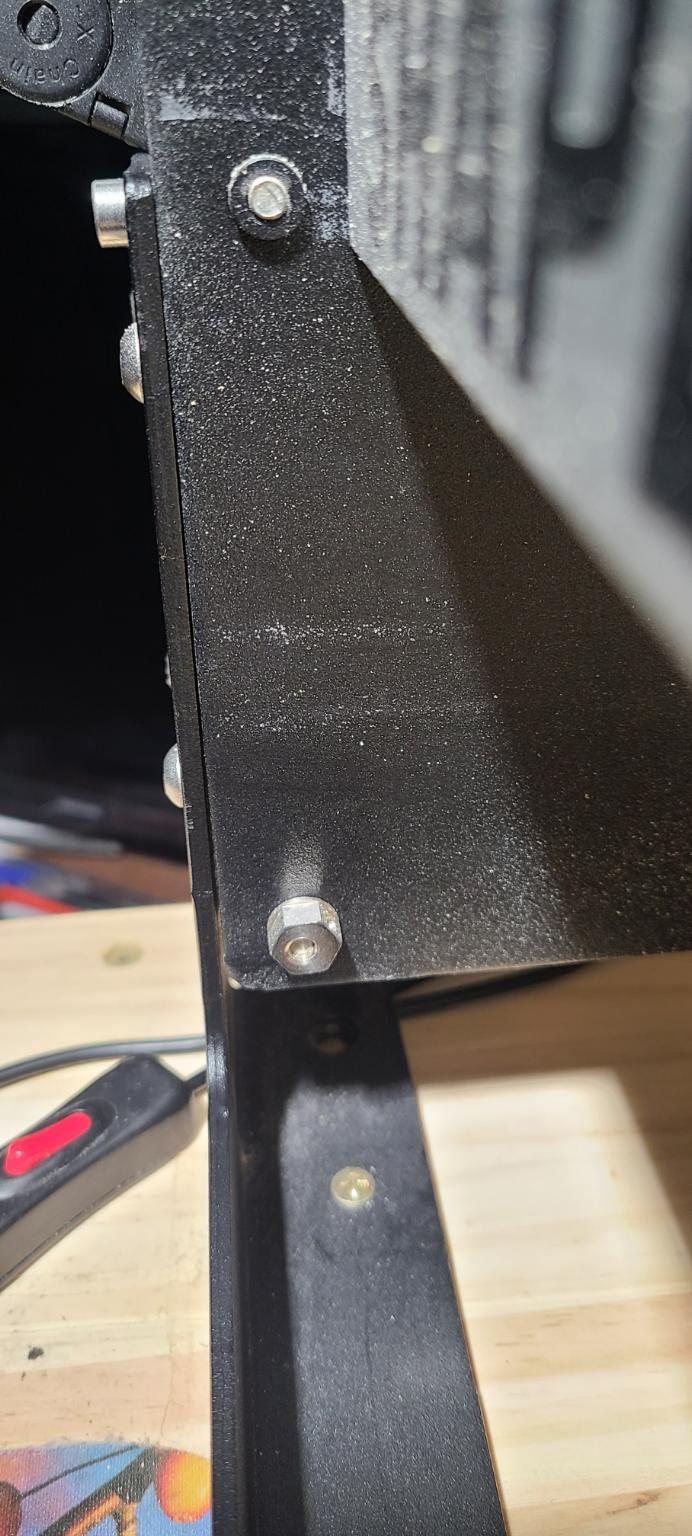
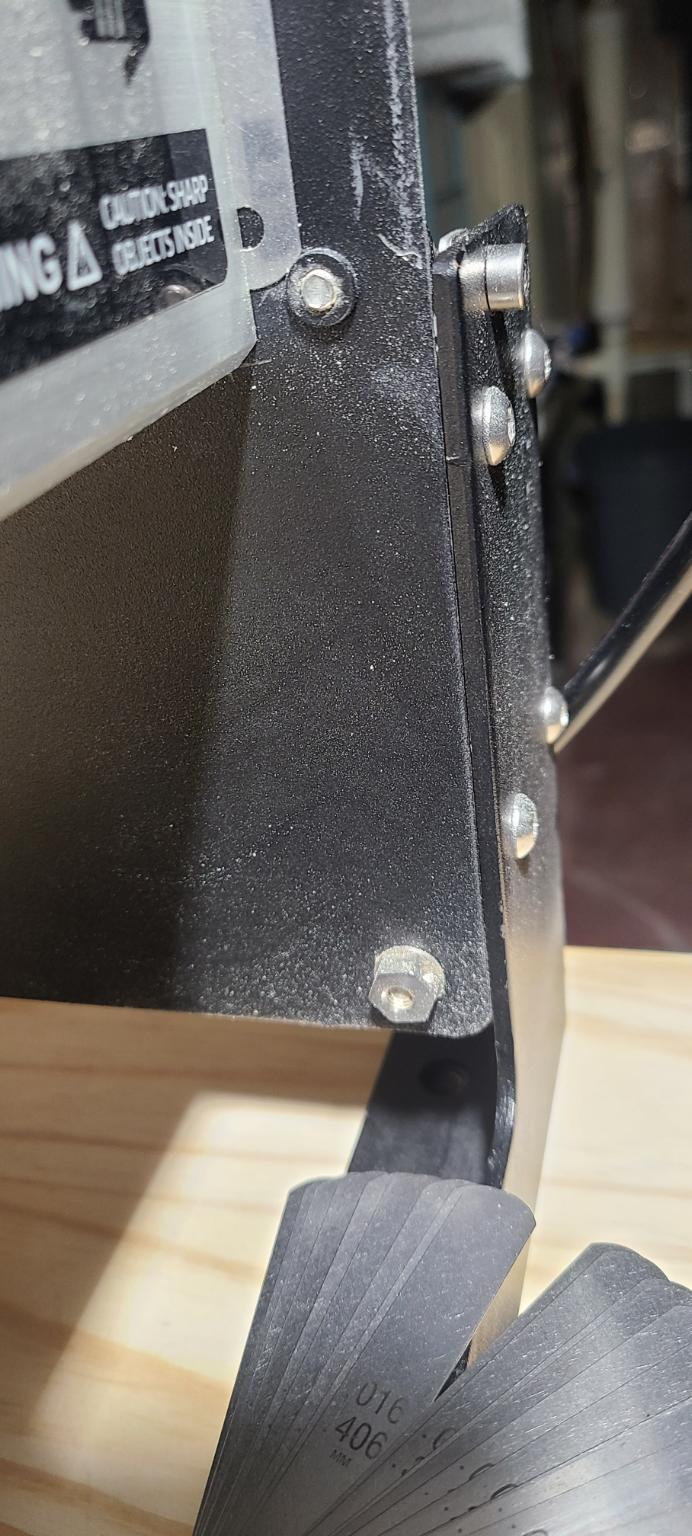
I had the exact same issue on my XL, though only a 1/4" gap in the same places (back left/front right). I don’t think you’re shimming in the correct spots. You need to shim the X rail in the places indicated (back of the left end; front of the right end). I used a stack of 3 slivers of aluminum from a Coke can in each spot and it closed the gap exactly. If you look closely, you can see the shim in the second picture. Coke can wall thickness is ~ .004" thick, so with 3 layers my total shim was .012". In your case, you might need 4 or 5 layers. Give it a try (and get rid of those washer shims on your Y’s)
First, that’s an adjustable square, be absolutely sure it’s adjusted square. I realize that might seem obvious, but I’ve run into many people that assume off the shelf squares (yes, even woodpecker) are square and they often aren’t - check it. Here’s a how-to that I find useful (if you have a surface plate and a granite reference square, it’s easier, but this method works, and is cheaper): https://rick.sparber.org/aasr.pdf
Second…
If you are finding that you need shims of the size you show, take the rail off and check the squareness of the cut on the ends of the rail in all directions and fix it carefully, and slowly, with a file (apply chalk to the file to keep it from loading up). You’ll need to then “tune up” the matching rail from the other side for the fore-aft rails to get the lengths as close to identical in length as you can. That’s easiest if you have both rails available to compare side by side. I strongly recommend you don’t try and “measure and match.” If you need shims that big you’re chasing things way bigger than should be needed. More than a shim of a few thou shouldn’t be needed for final squaring.
Clear out the holes in the steel plates, this will give you a little more adjustment.
The vertical squareness of the fwd/aft rails isn’t super critical - if all the moving parts are moving ok, they’re good enough. The side plates on the X rail are your friend.
What’s most important is the squareness of the spindle to the work surface, and the overall squareness of the machine (looking down on it, that would be diagonally from corner to corner, equal length).
After that, surface the work area to take out the very last “unsquare.”
If you’re already through all that, happy to help come up with more ways to work the issue.
Holy crap man! It worked, 4 shims of a corona seltzer can (wifes nasty beer) and we are dead on!!! I can’t believe that it was just the fact that I was shimming in the wrong direction!! Thx so much!!!
My XXL has been off by about 3/16" since I put it together about a year ago. I’m going to be doing a bunch of stuff to it soon - 1.5kw spindle, proximity homing switches, foam under machine, new spoil board so I’ll add shimming to my to do list. This is a good reference for the shimming. Thanks!
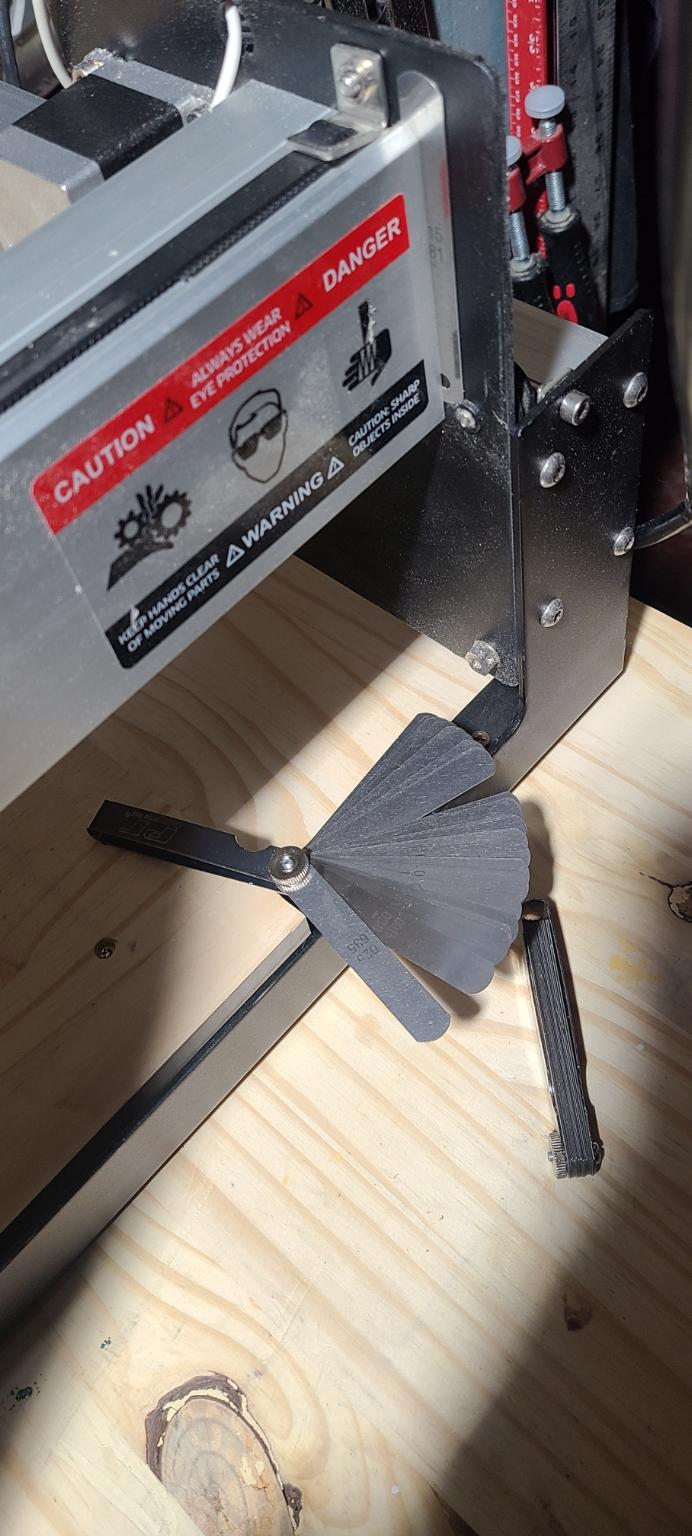
2 set’s of blade type feeler gauges cost about $5.00
Pic’s show where to place them. I think I used a 0.016 on one side and a 0.015 + 0.0005 on the other to rid the 3/16th gap