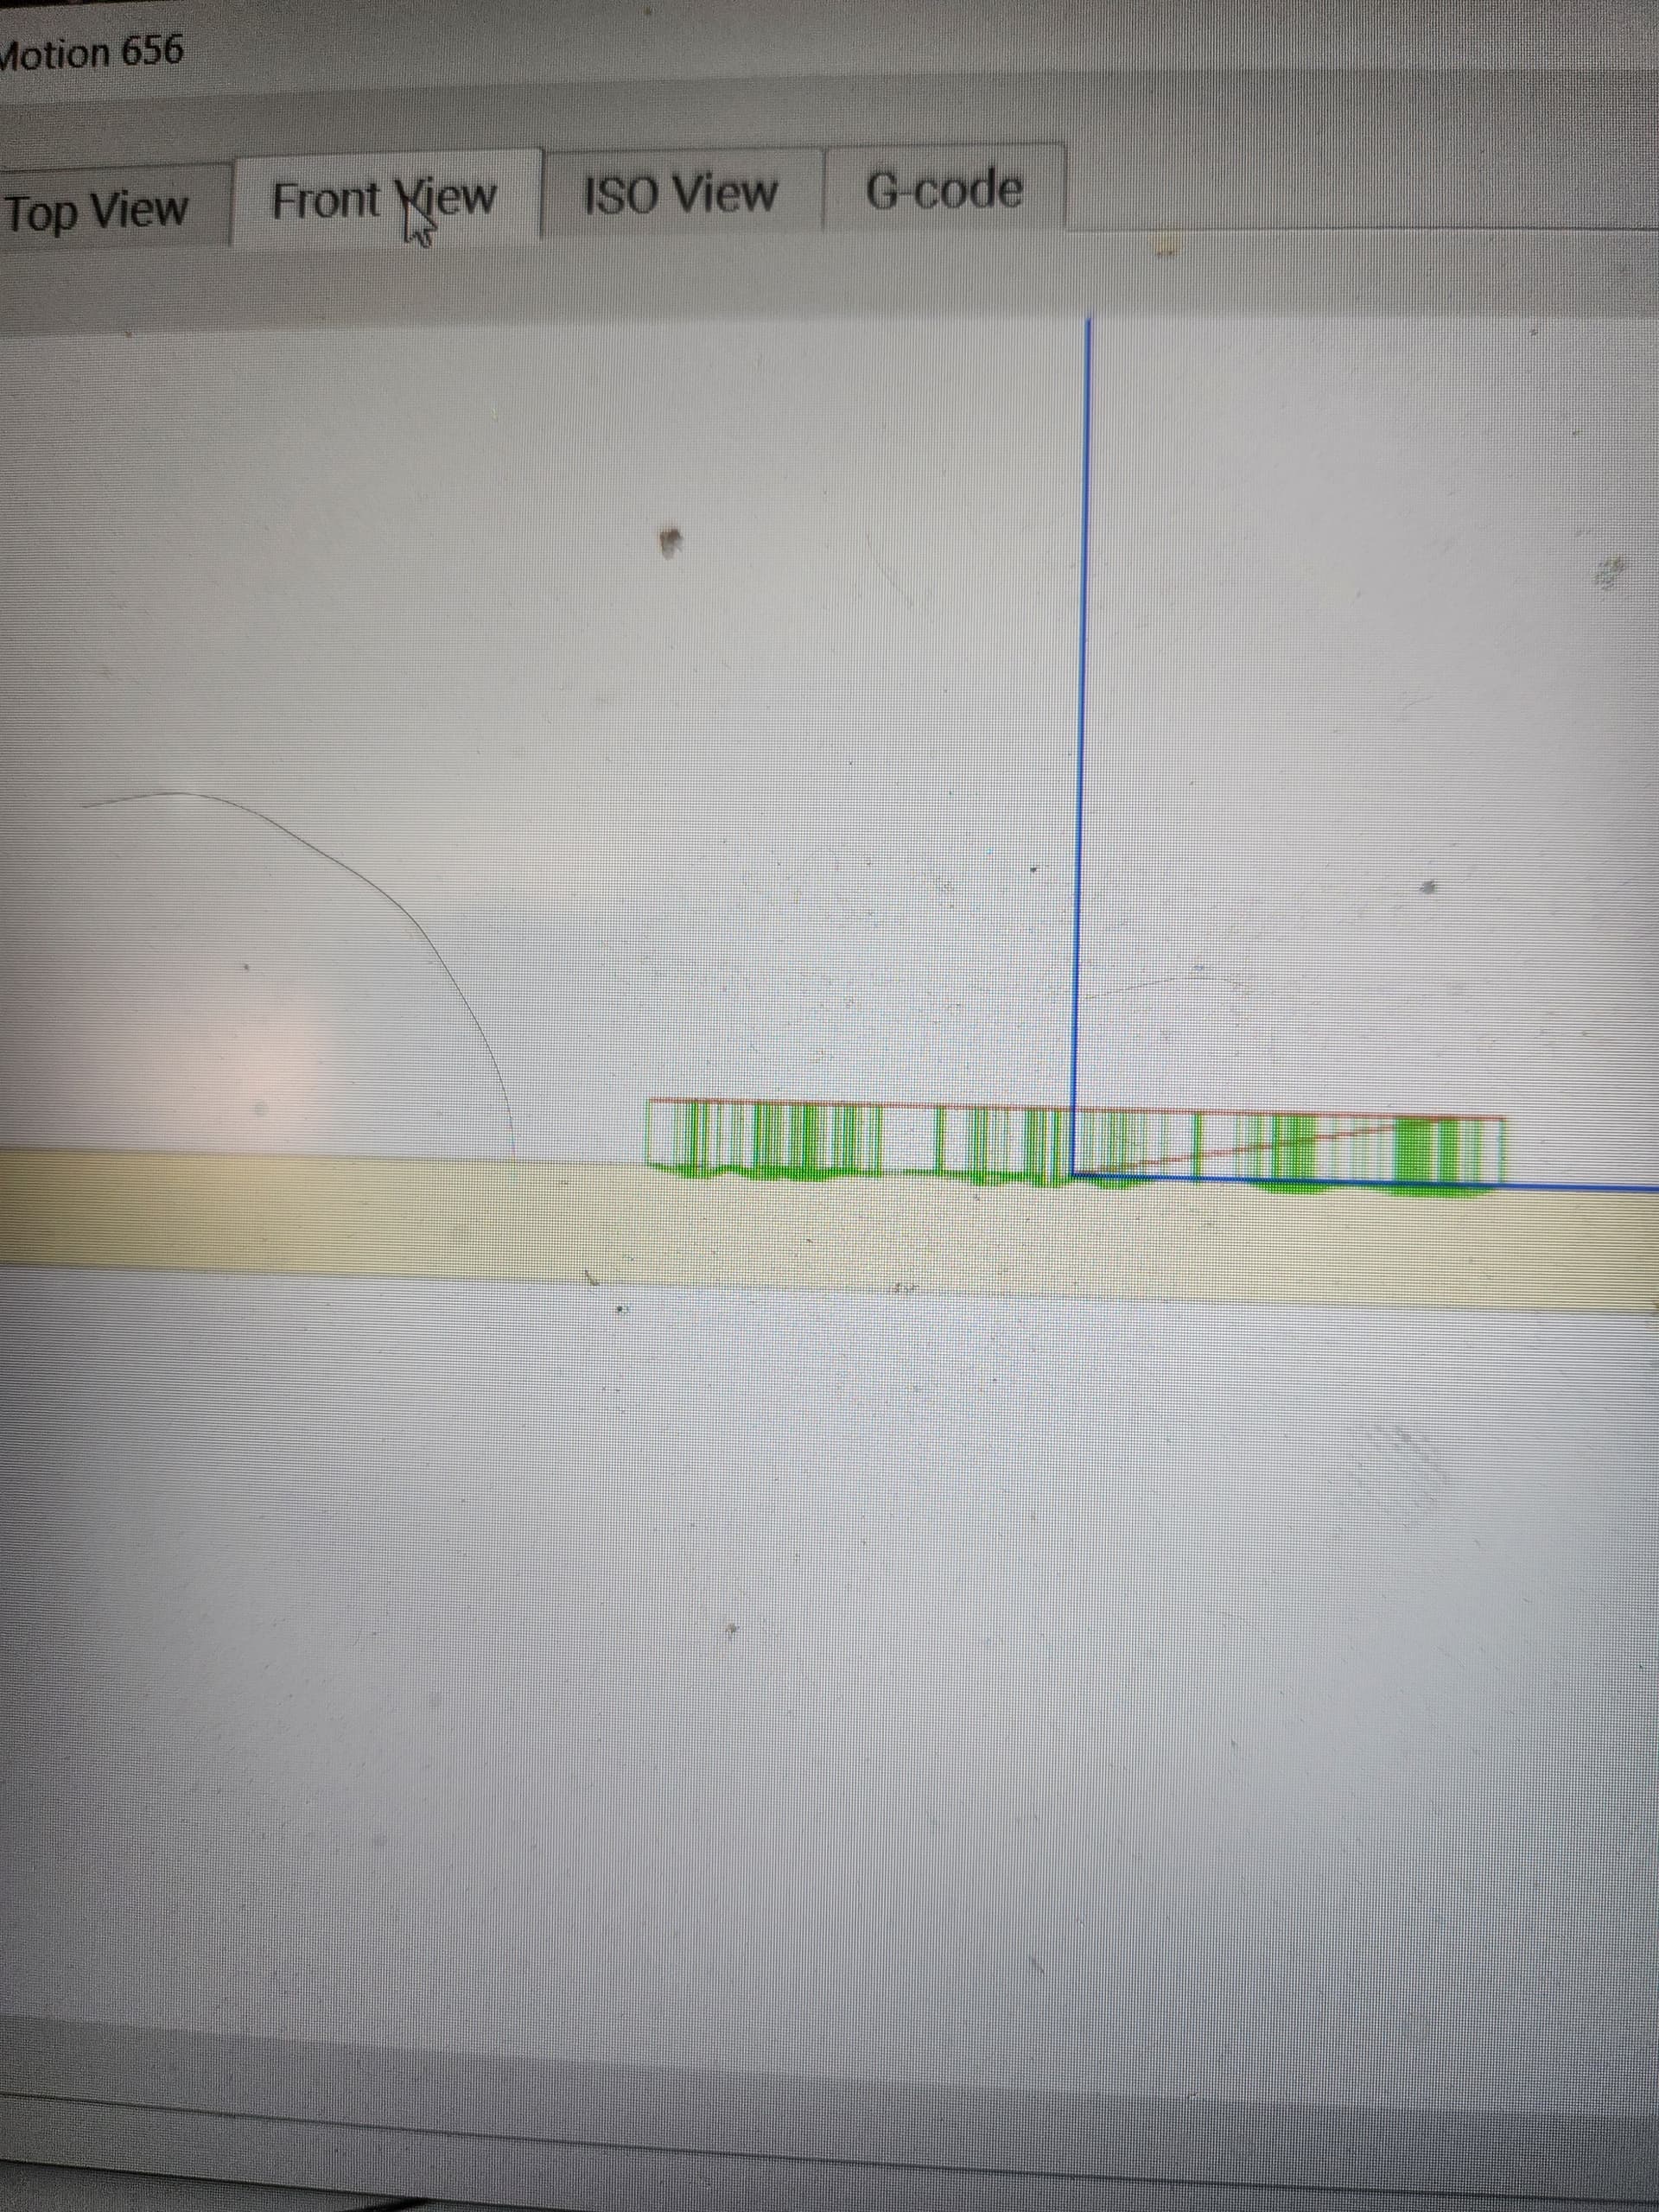
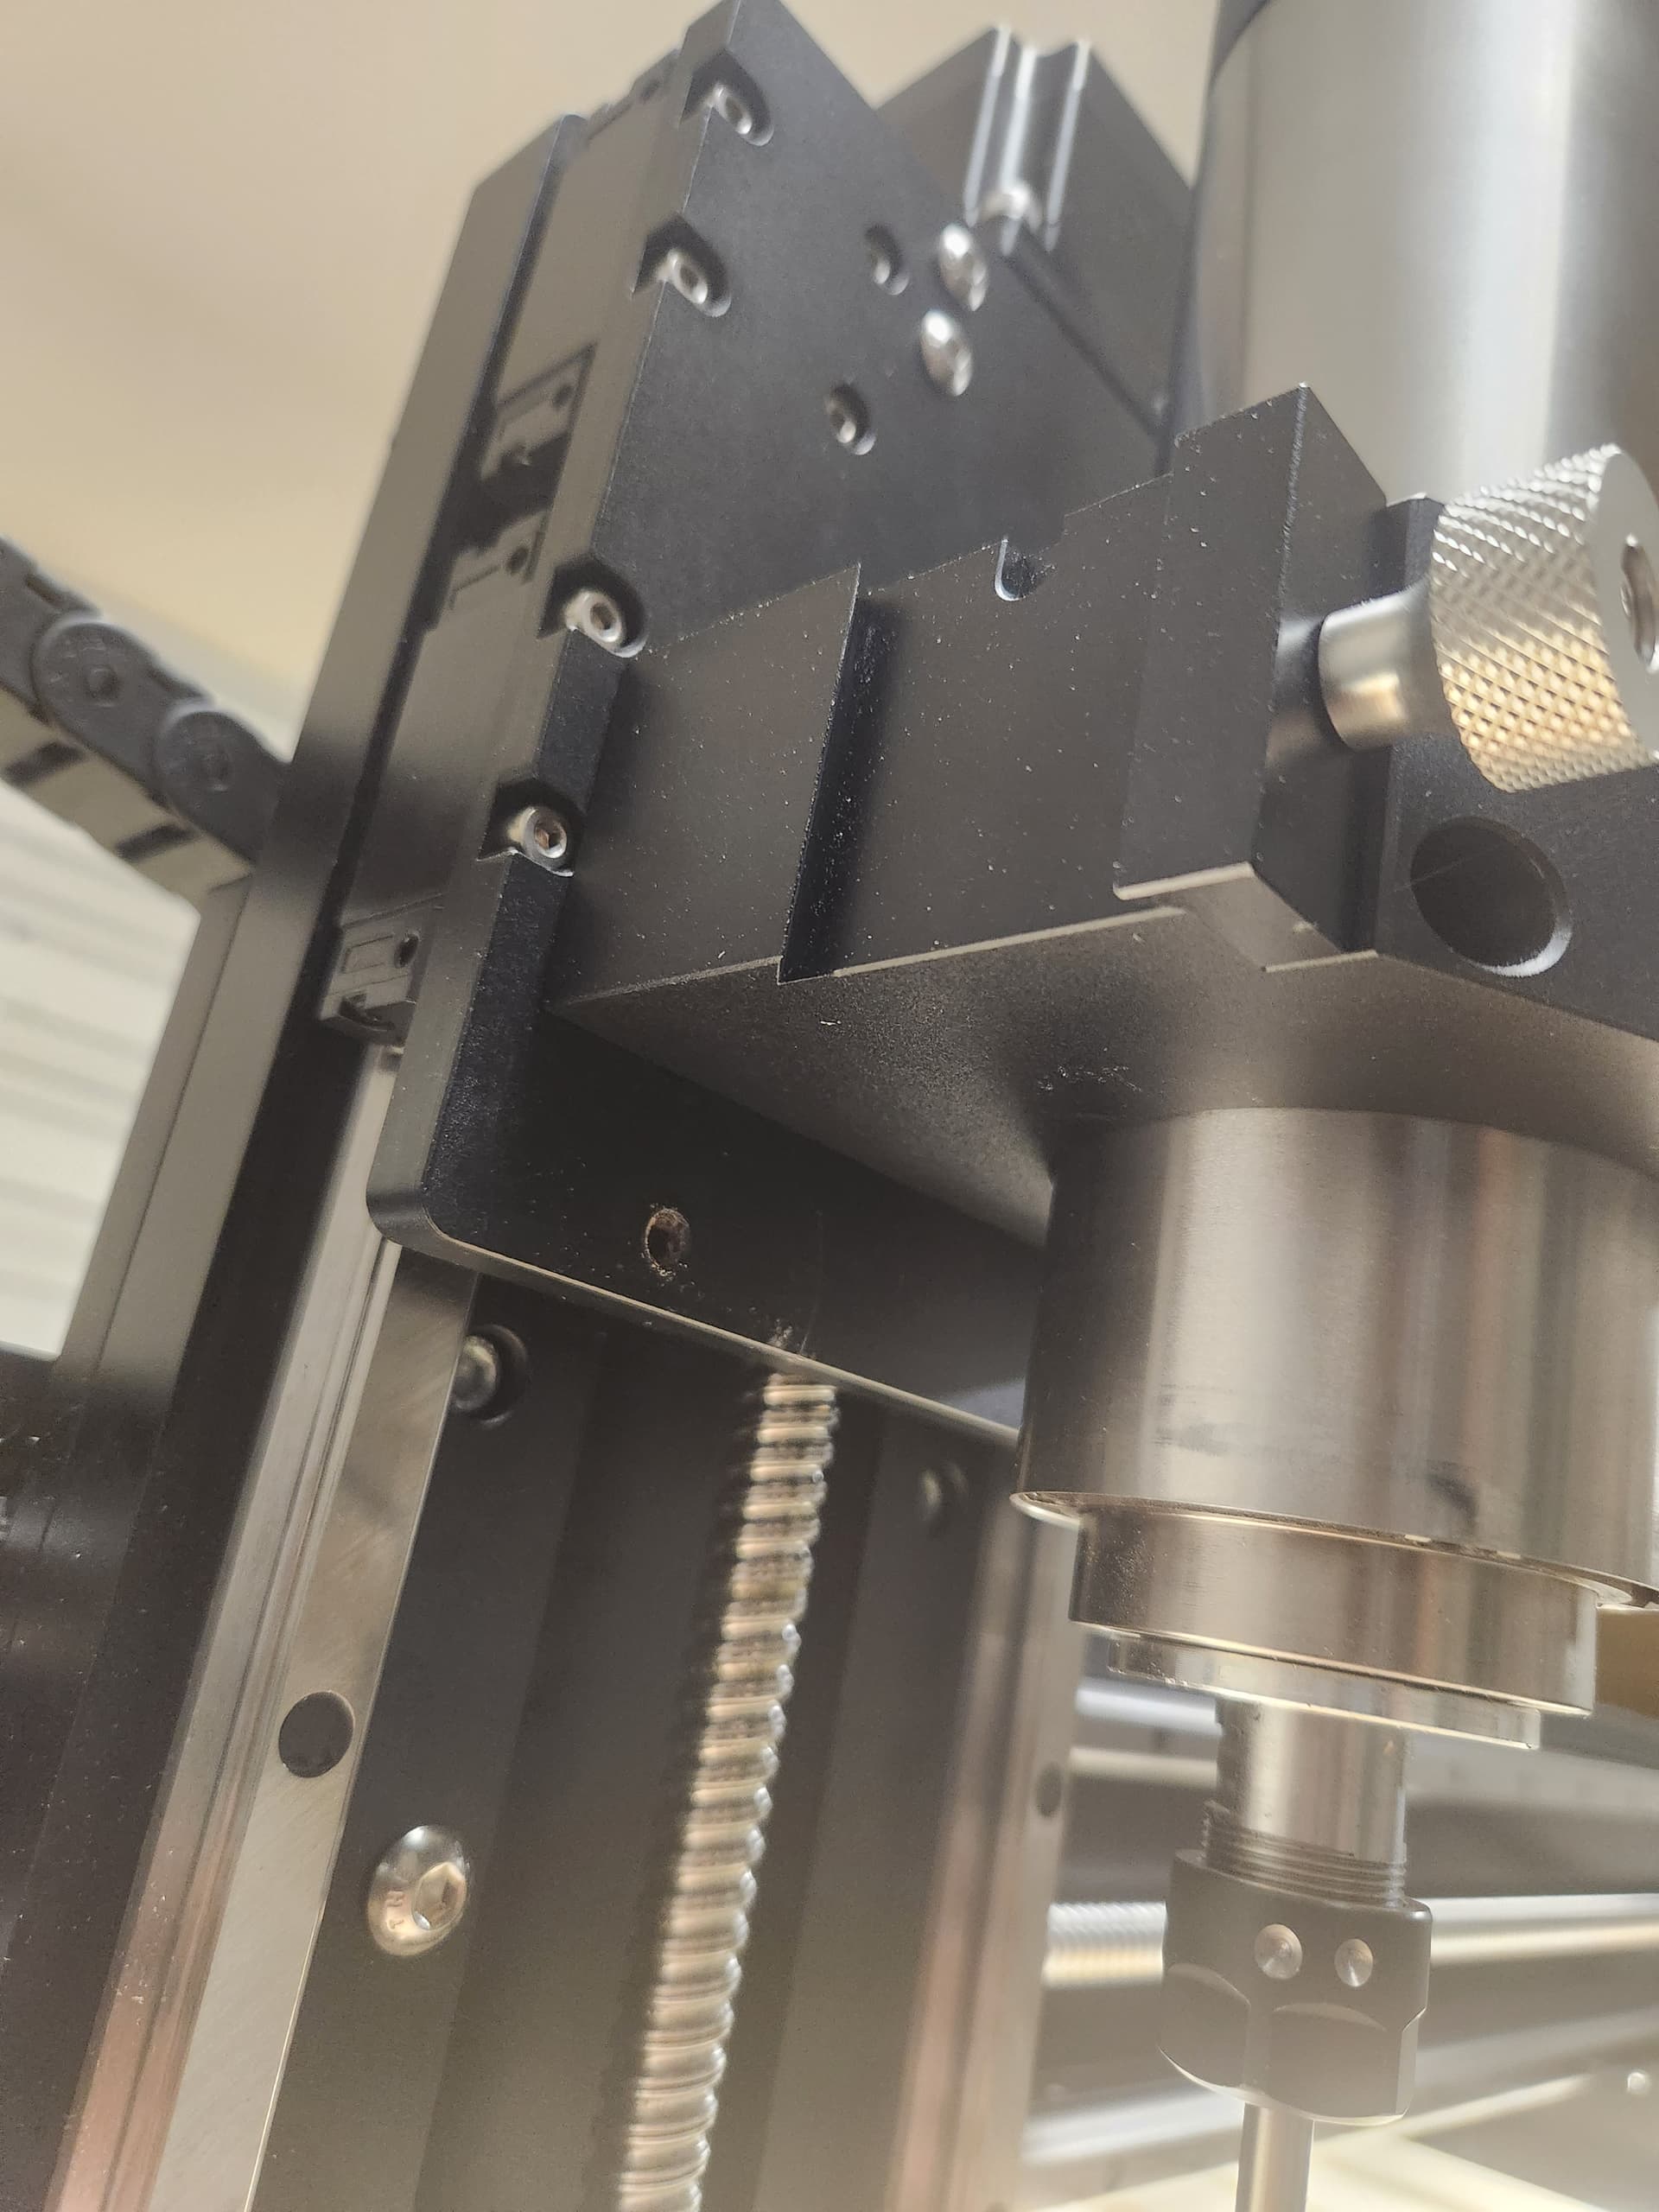
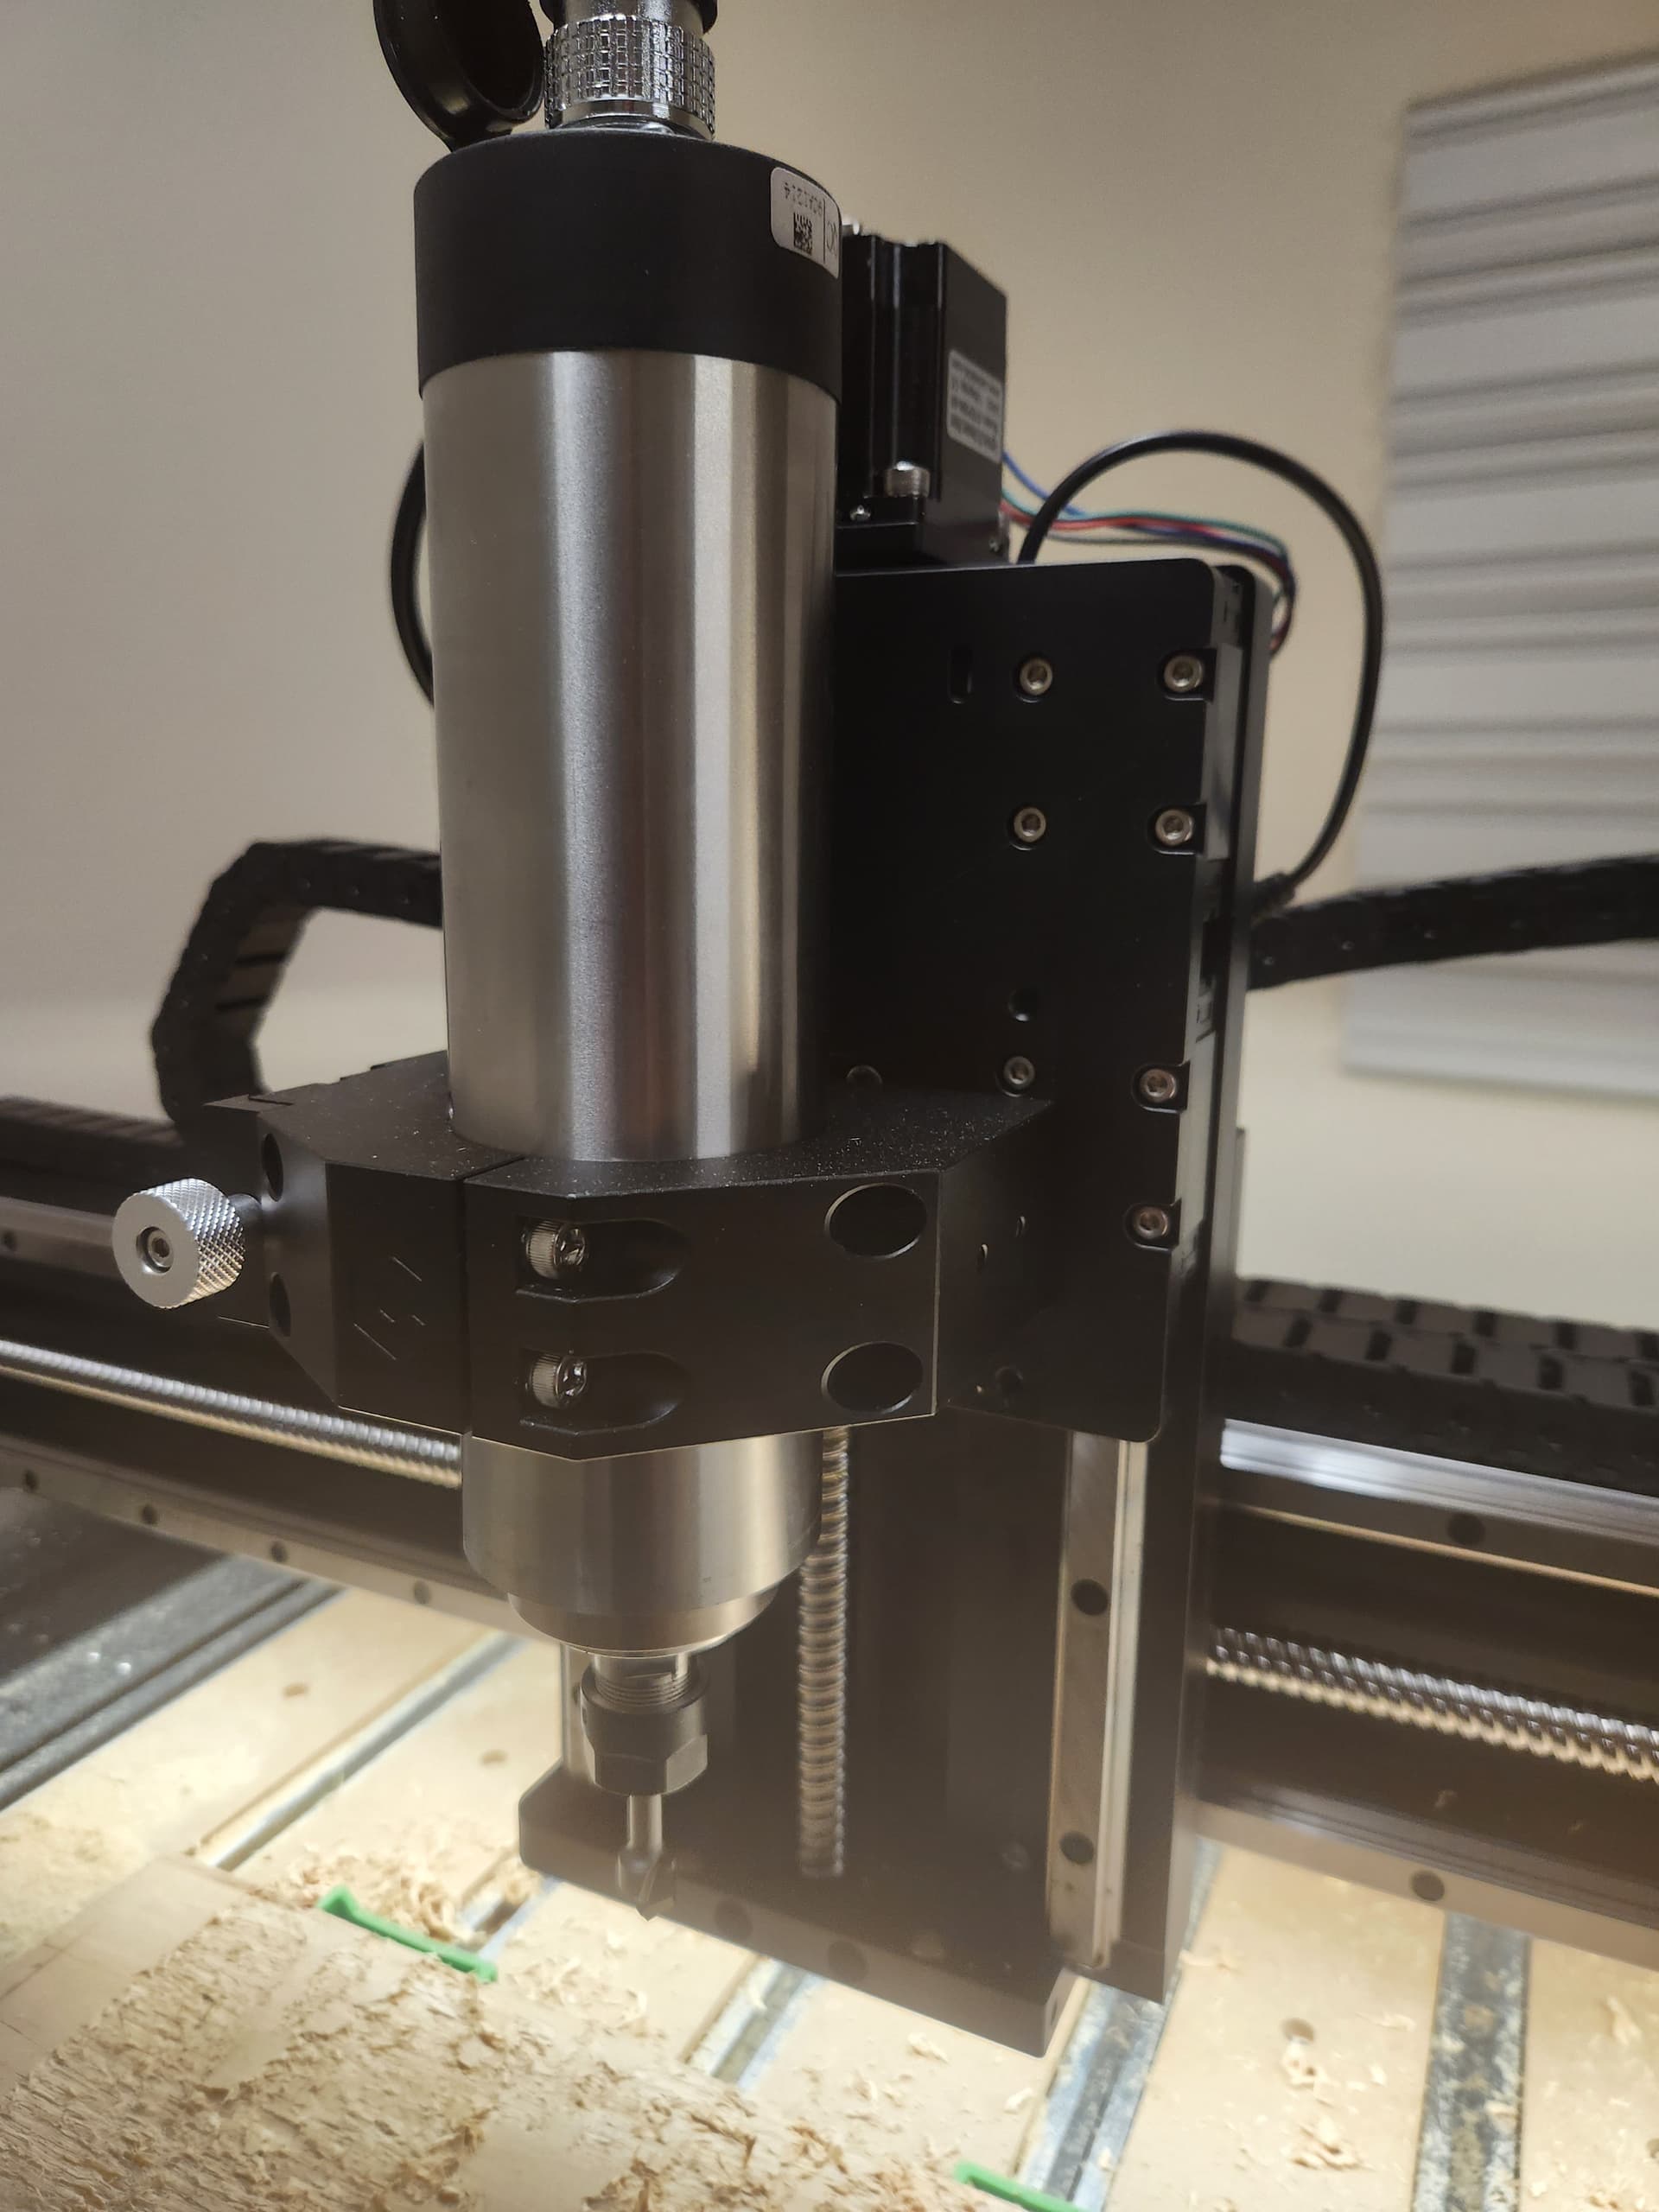
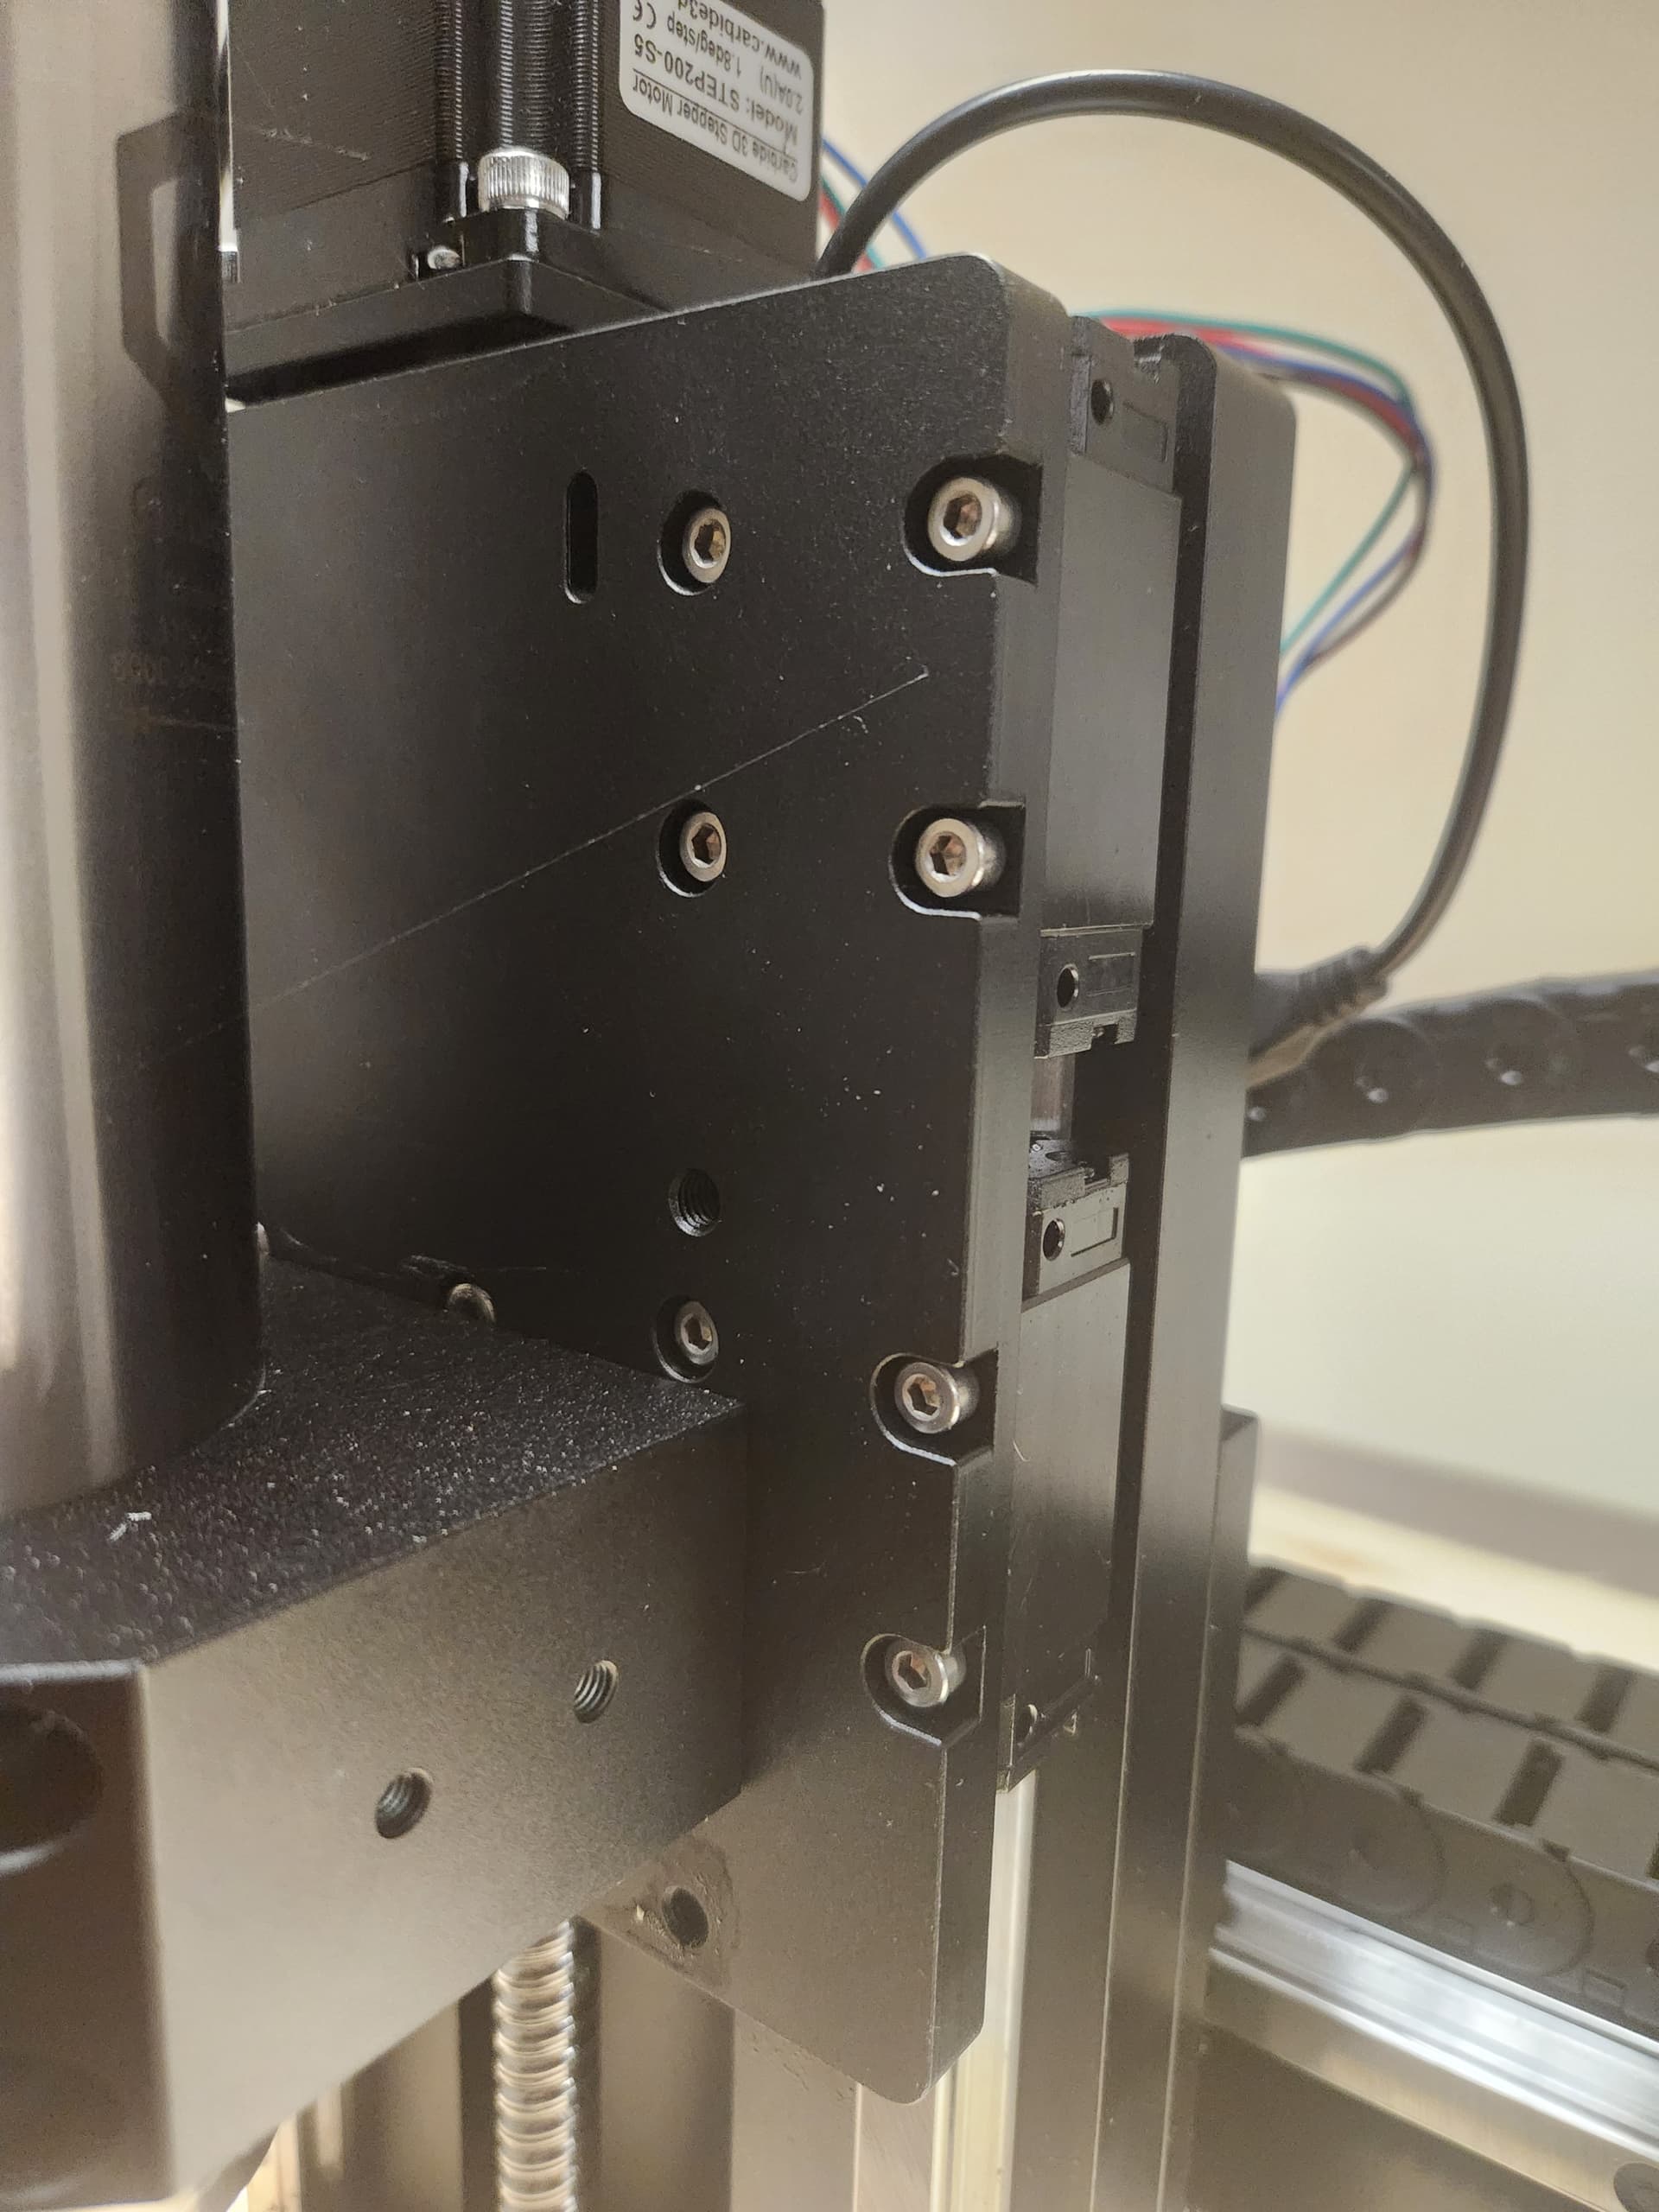
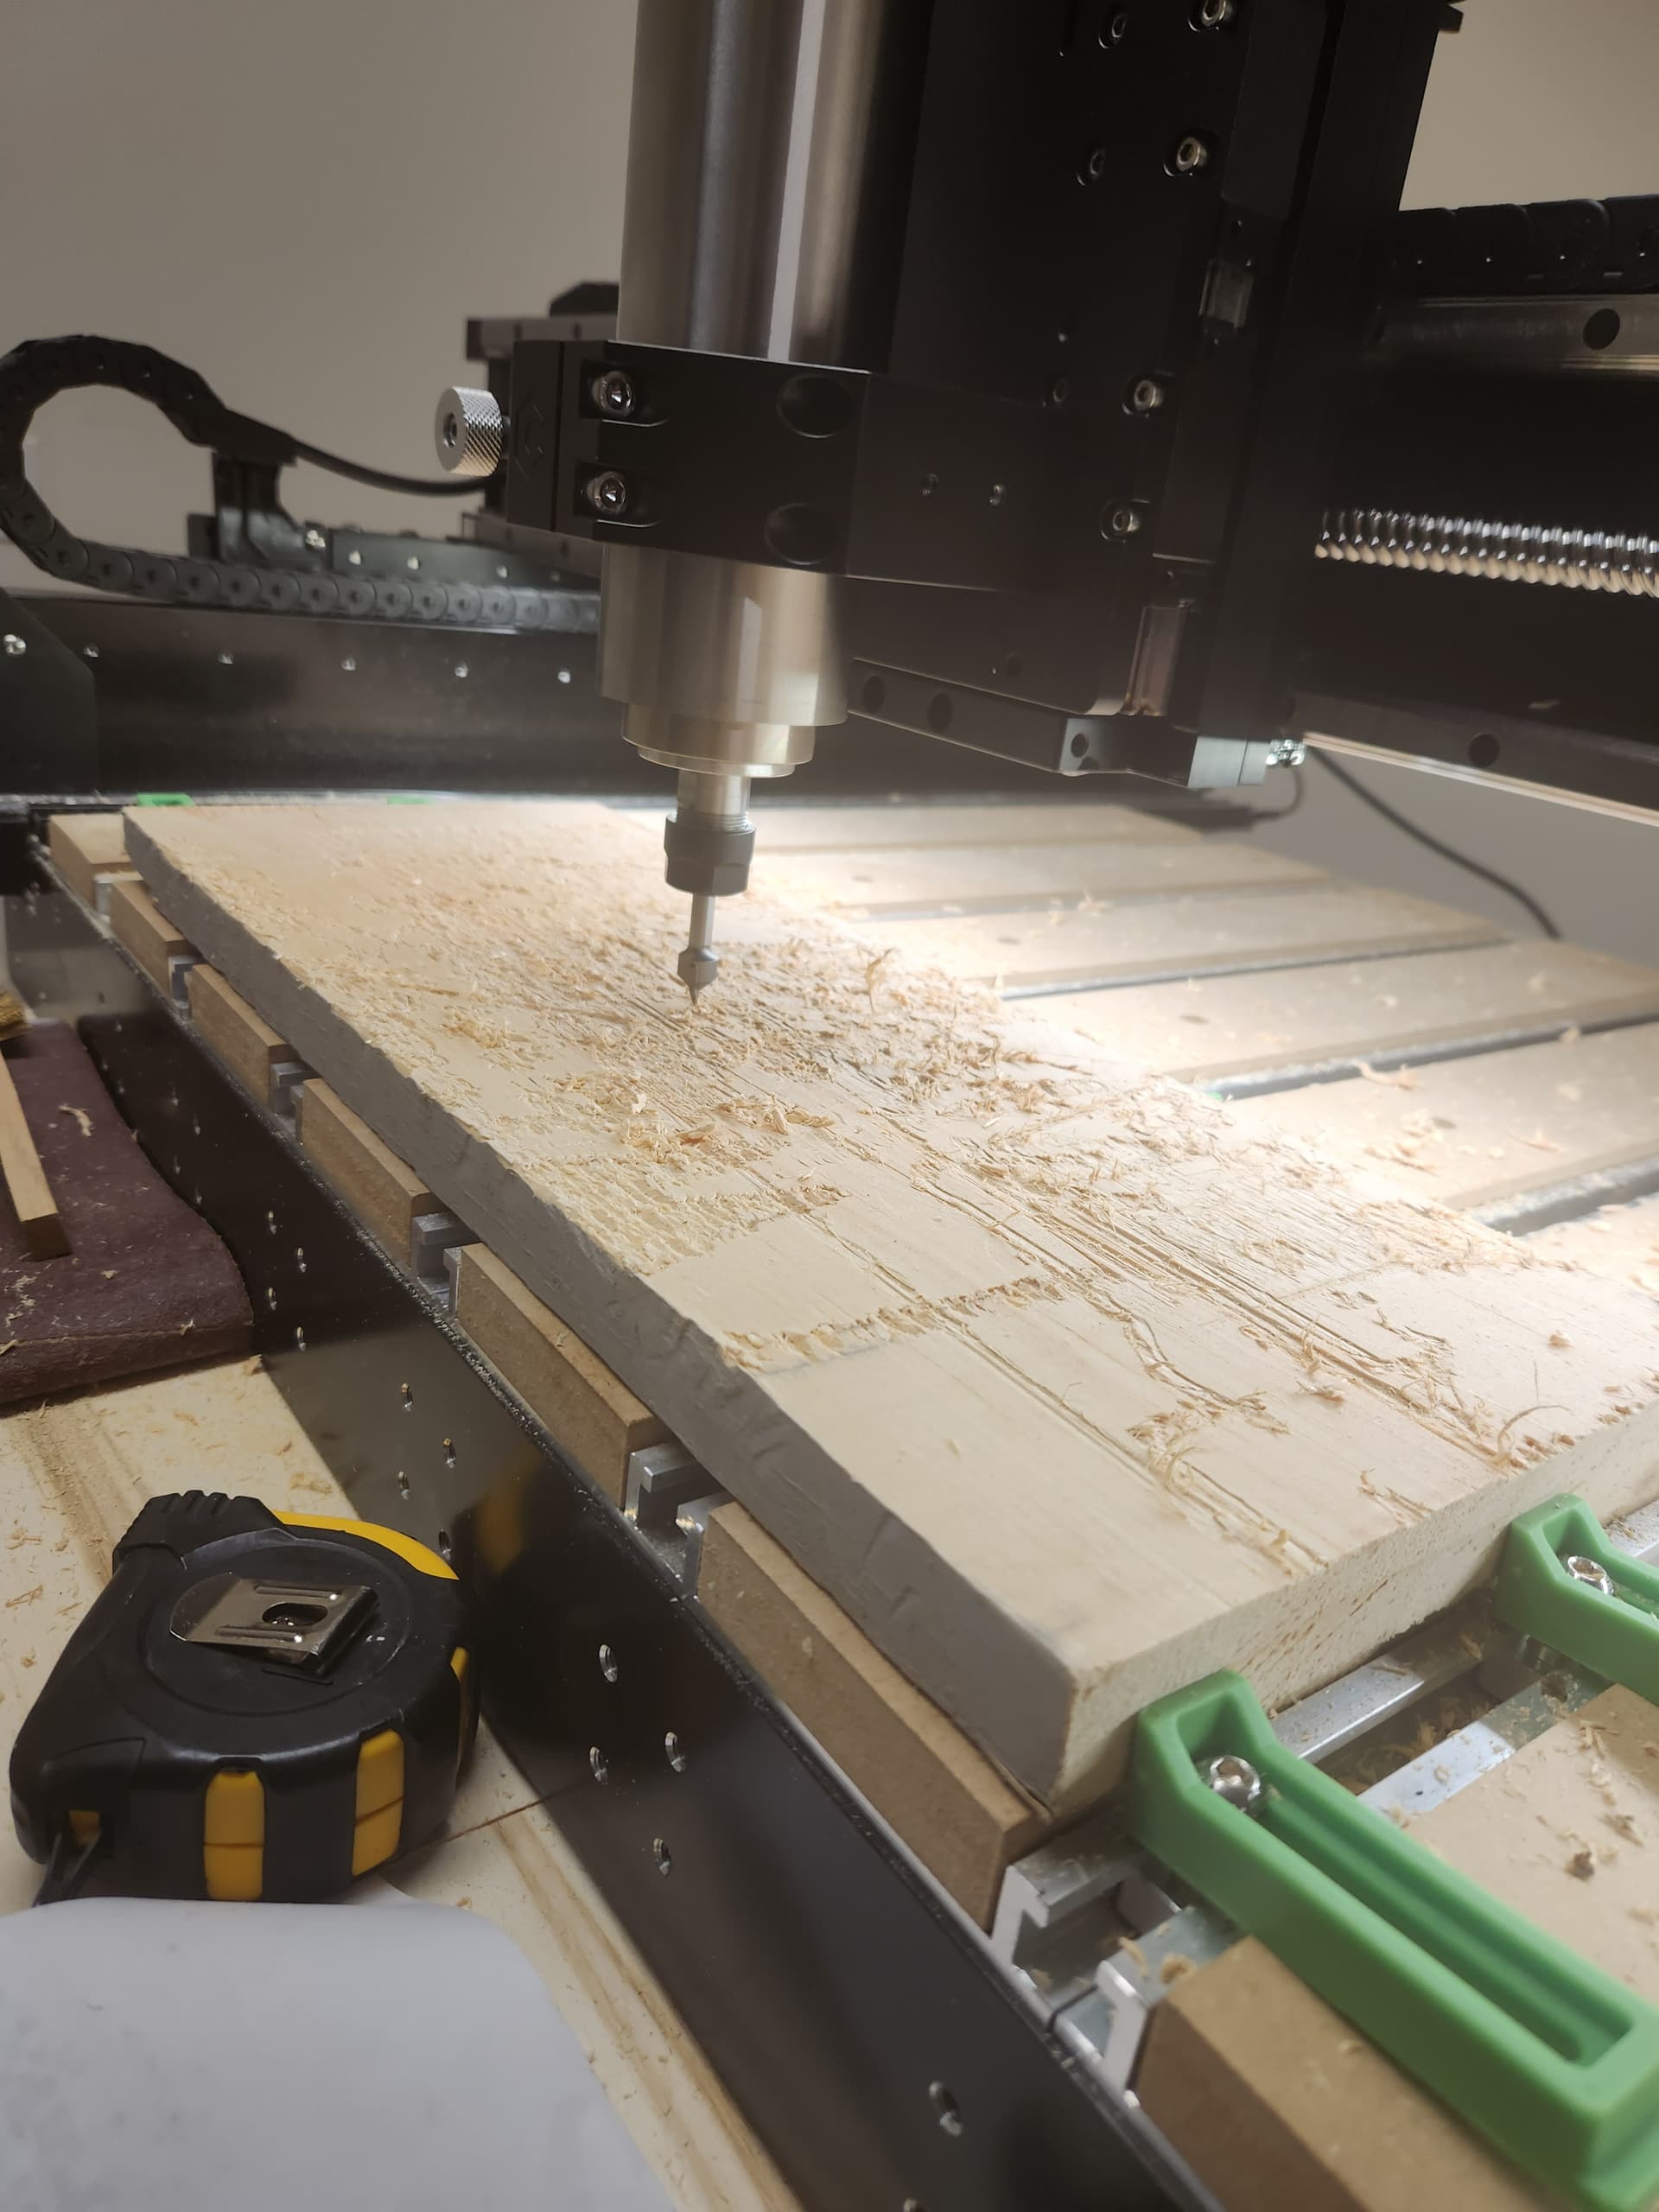
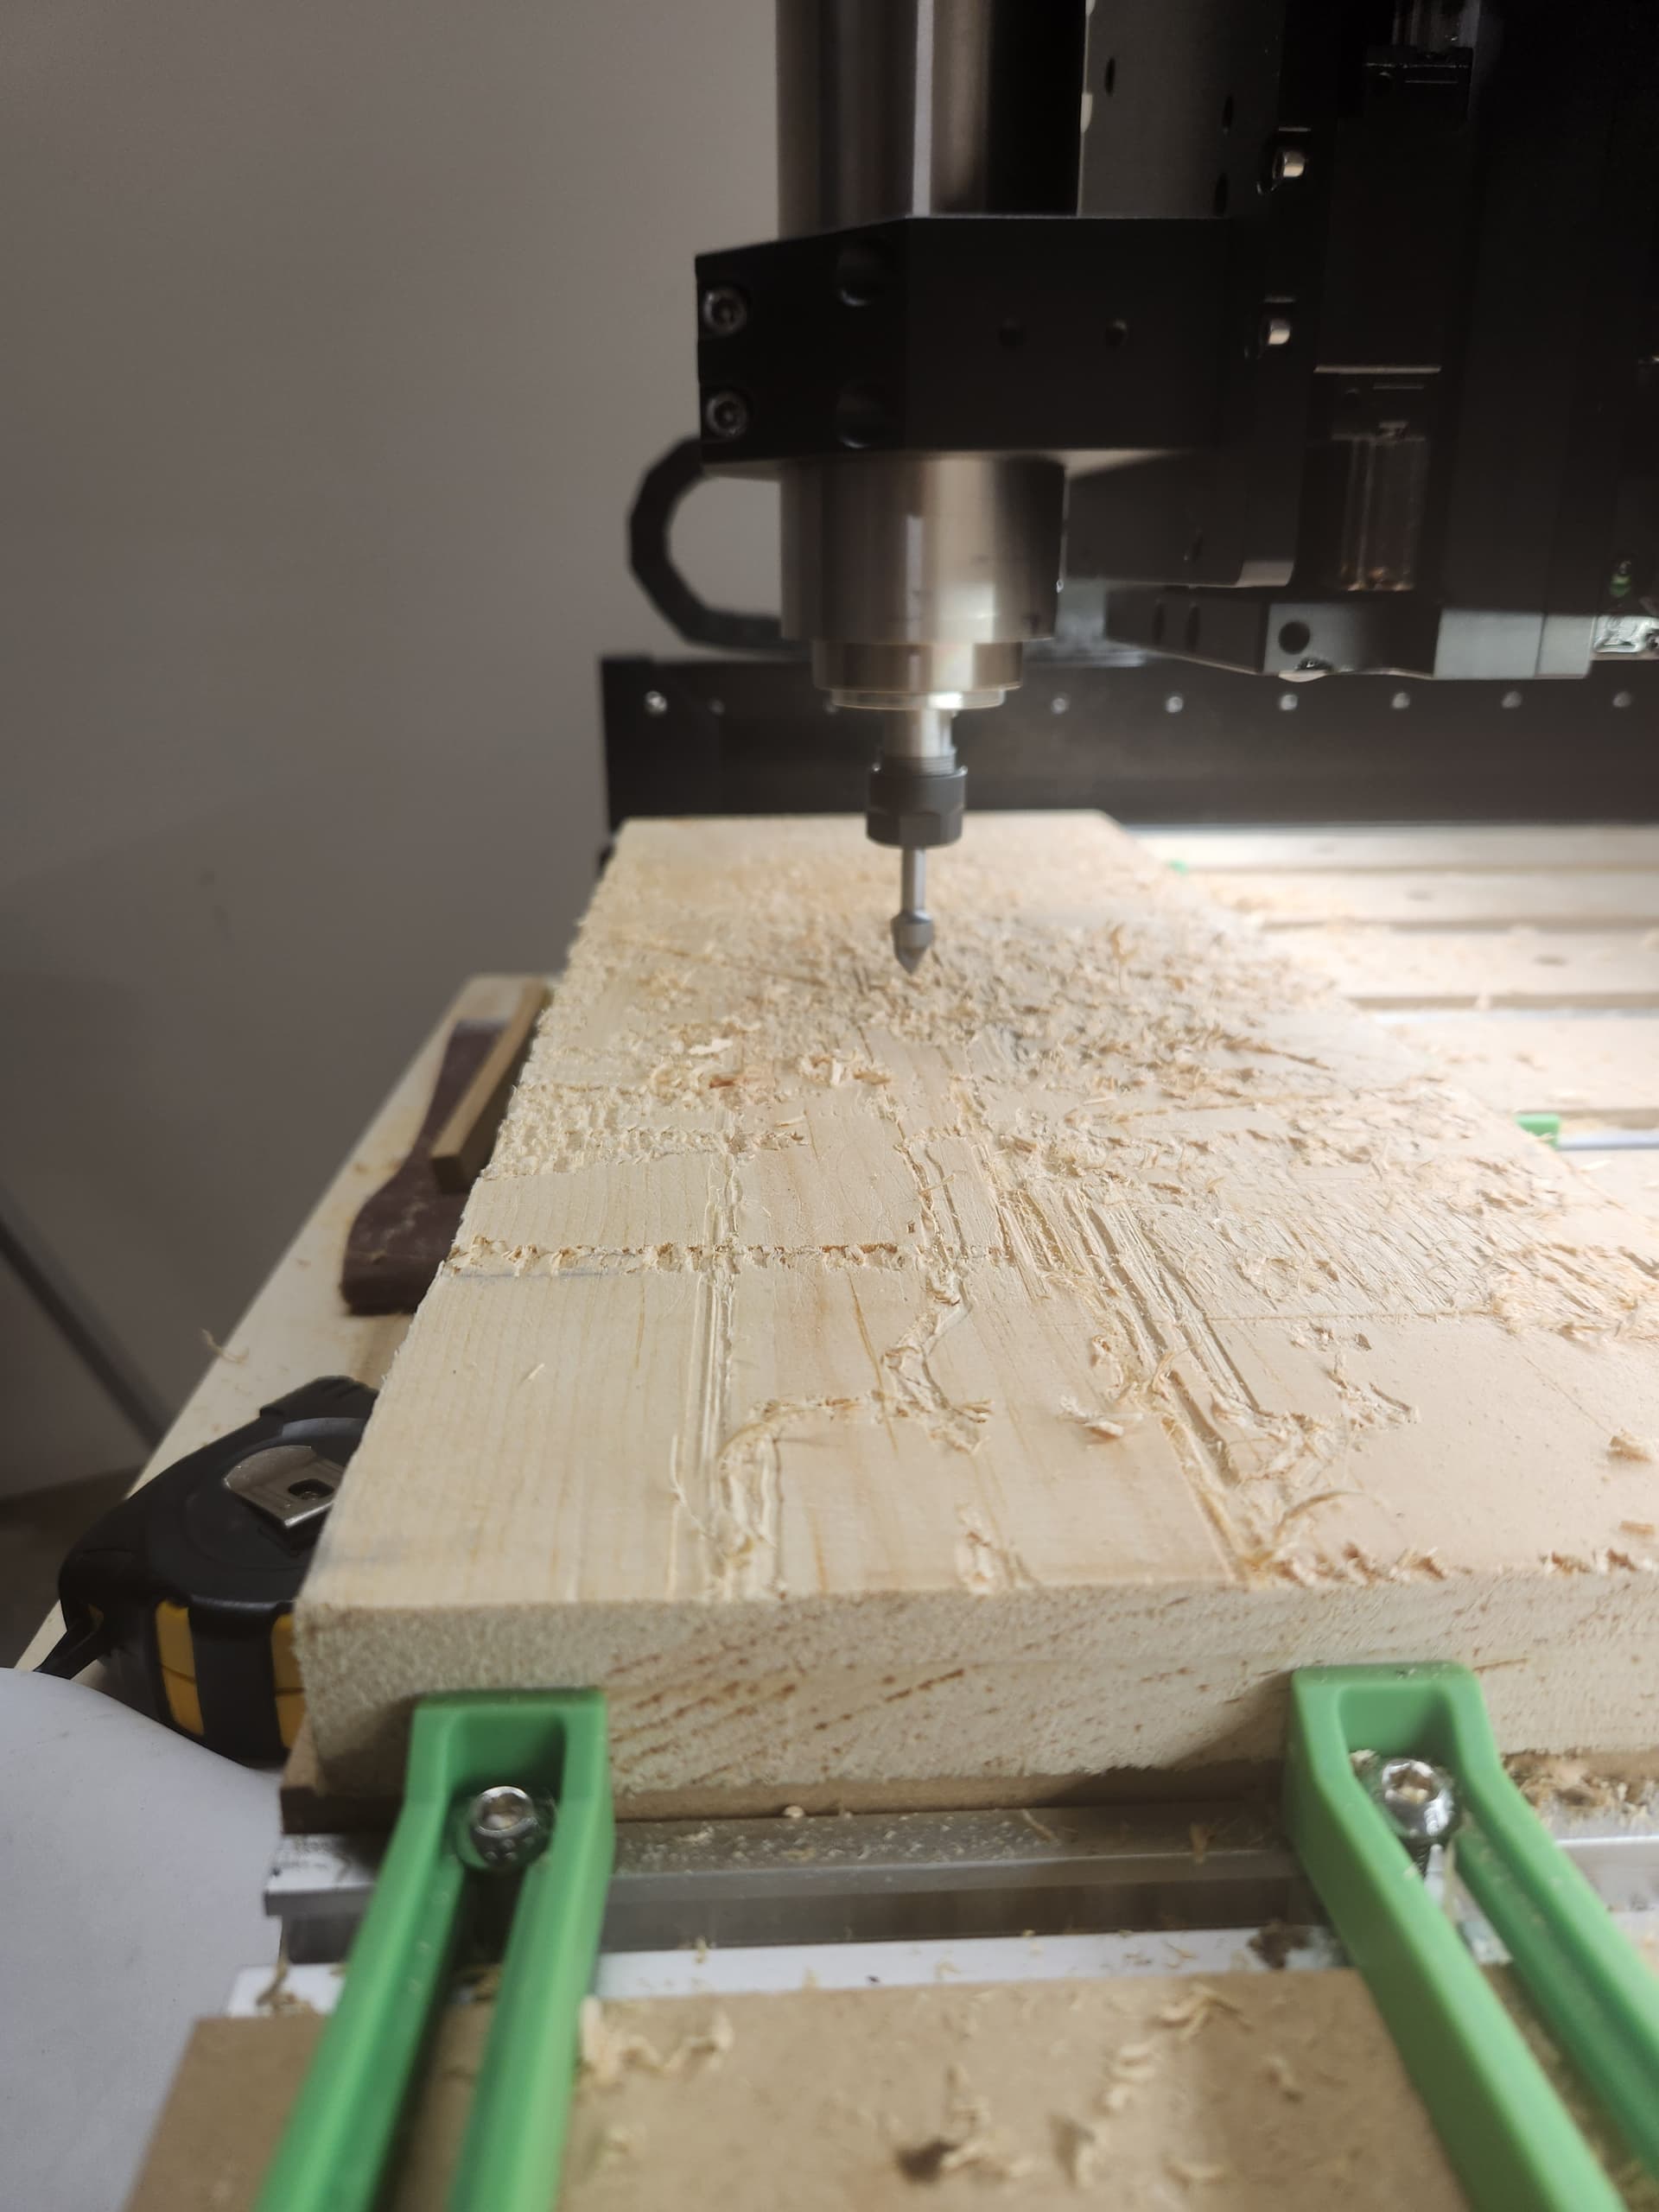
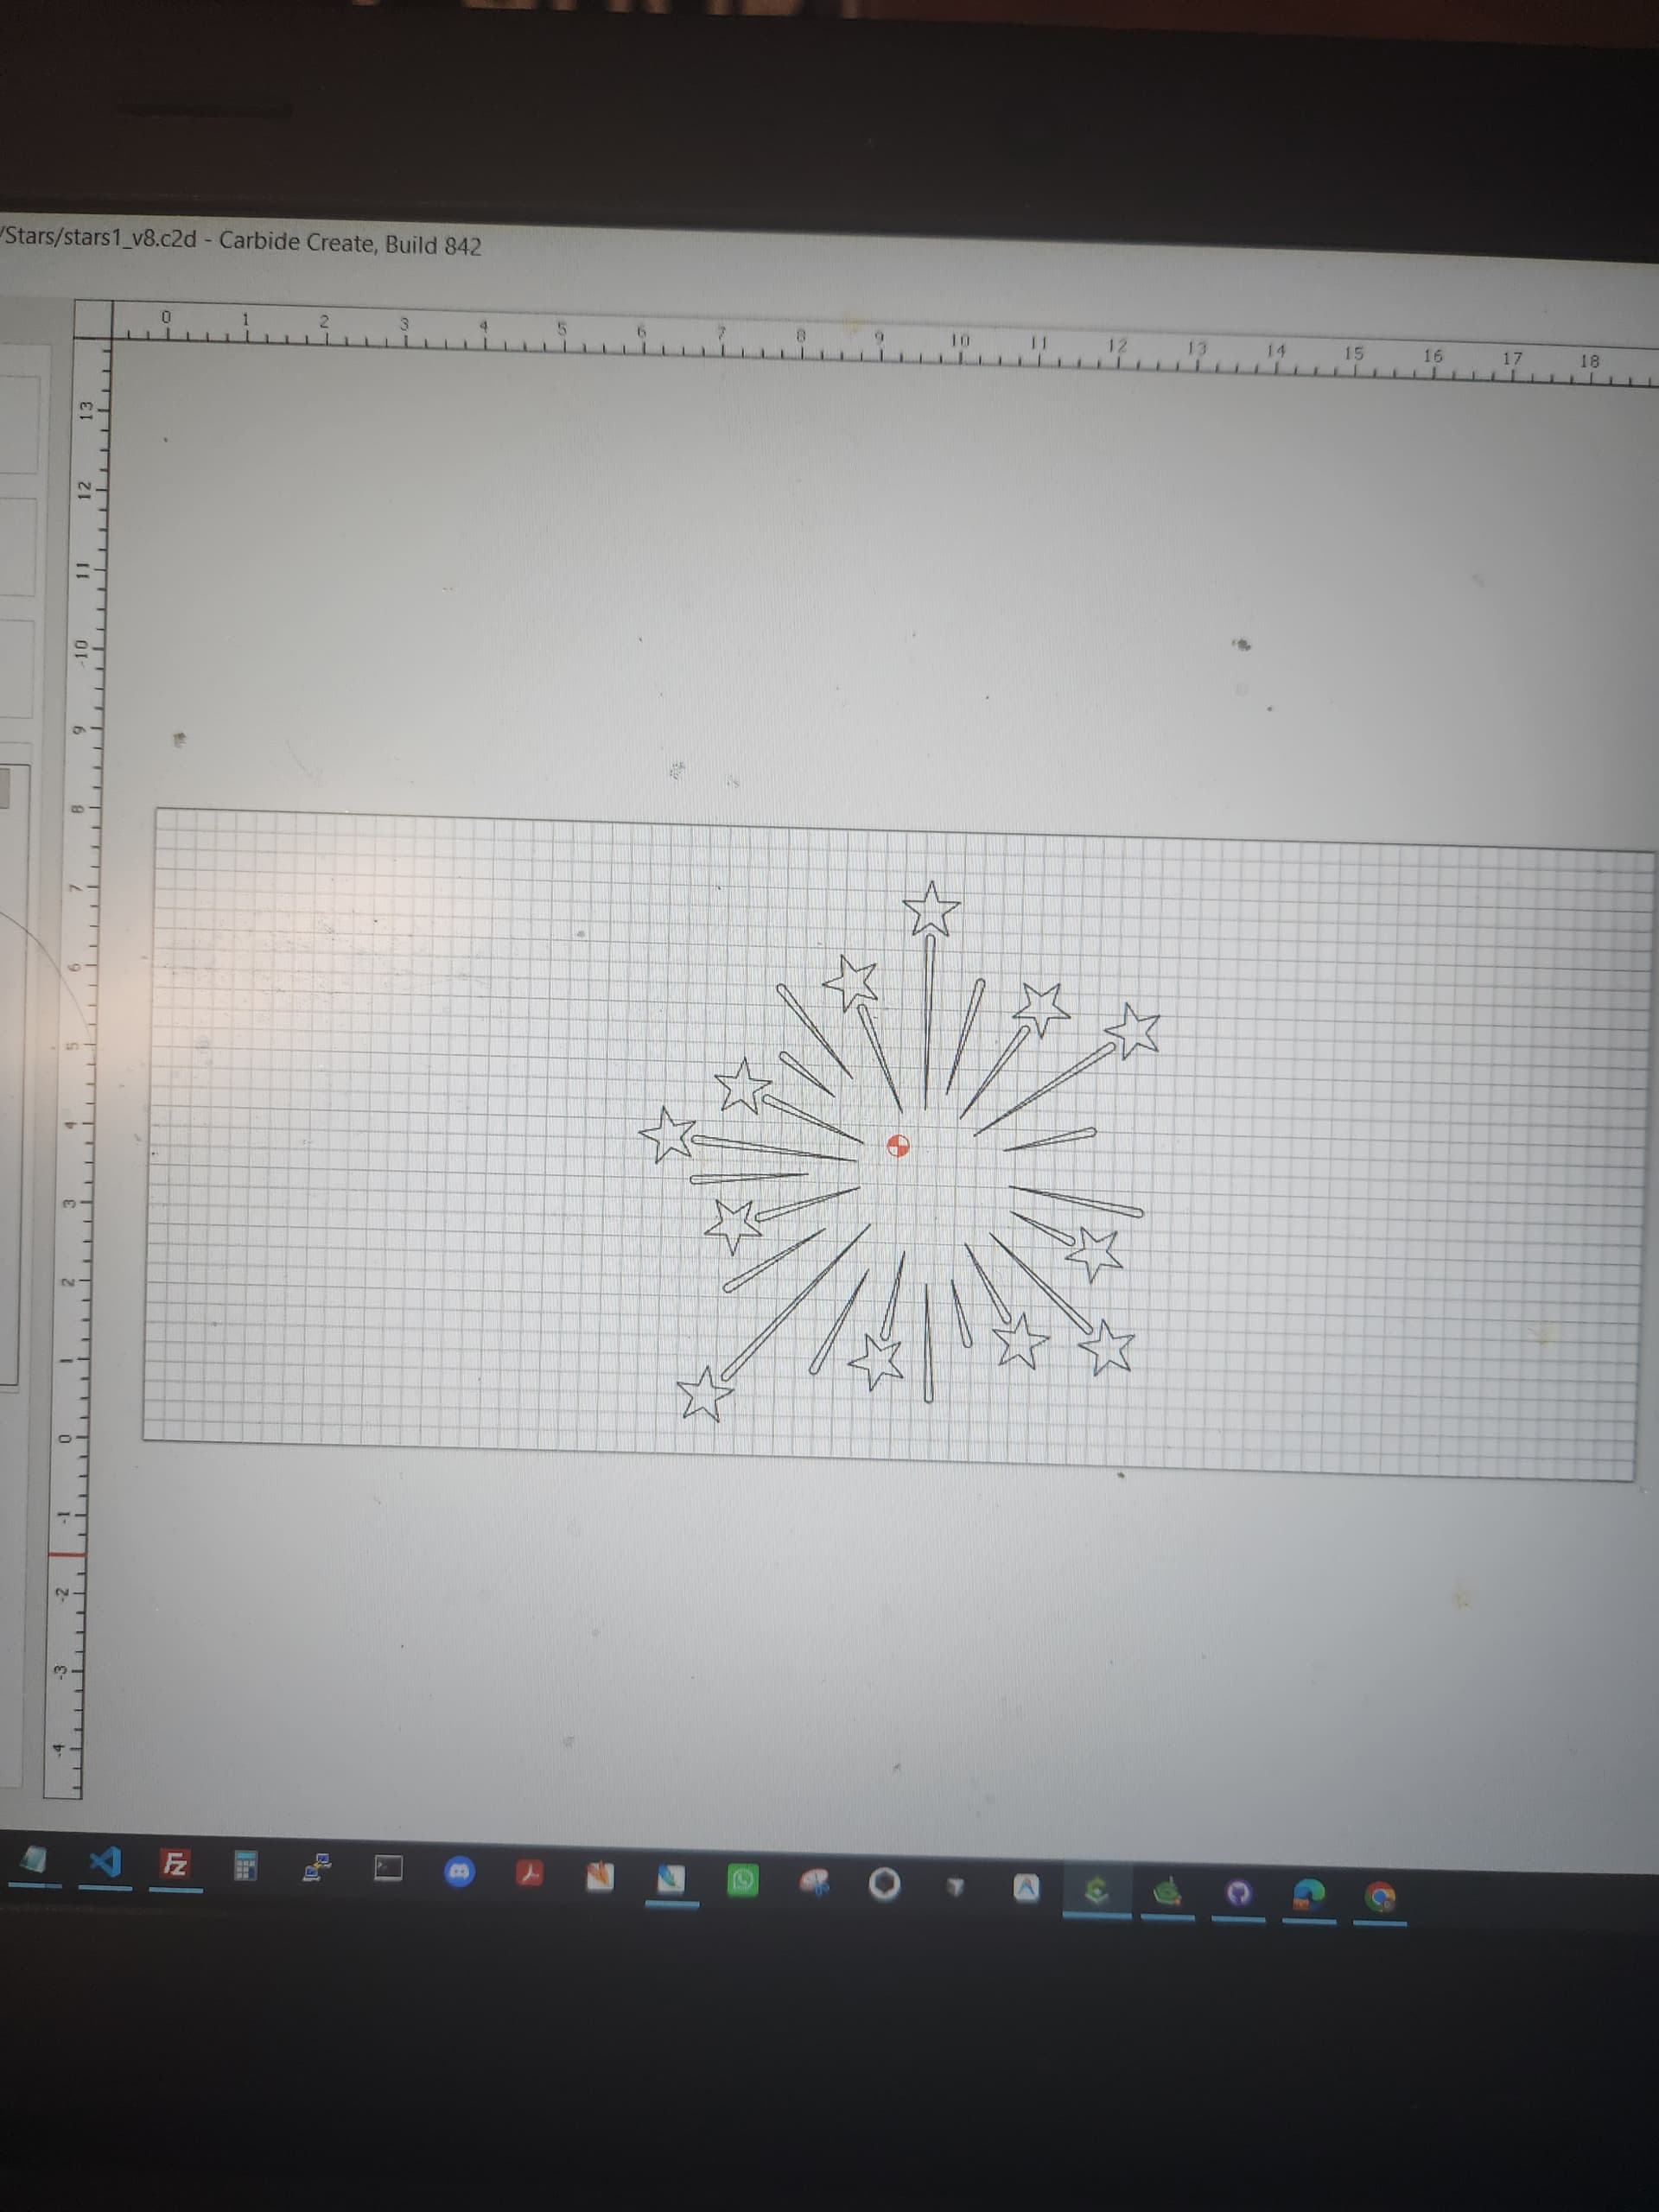
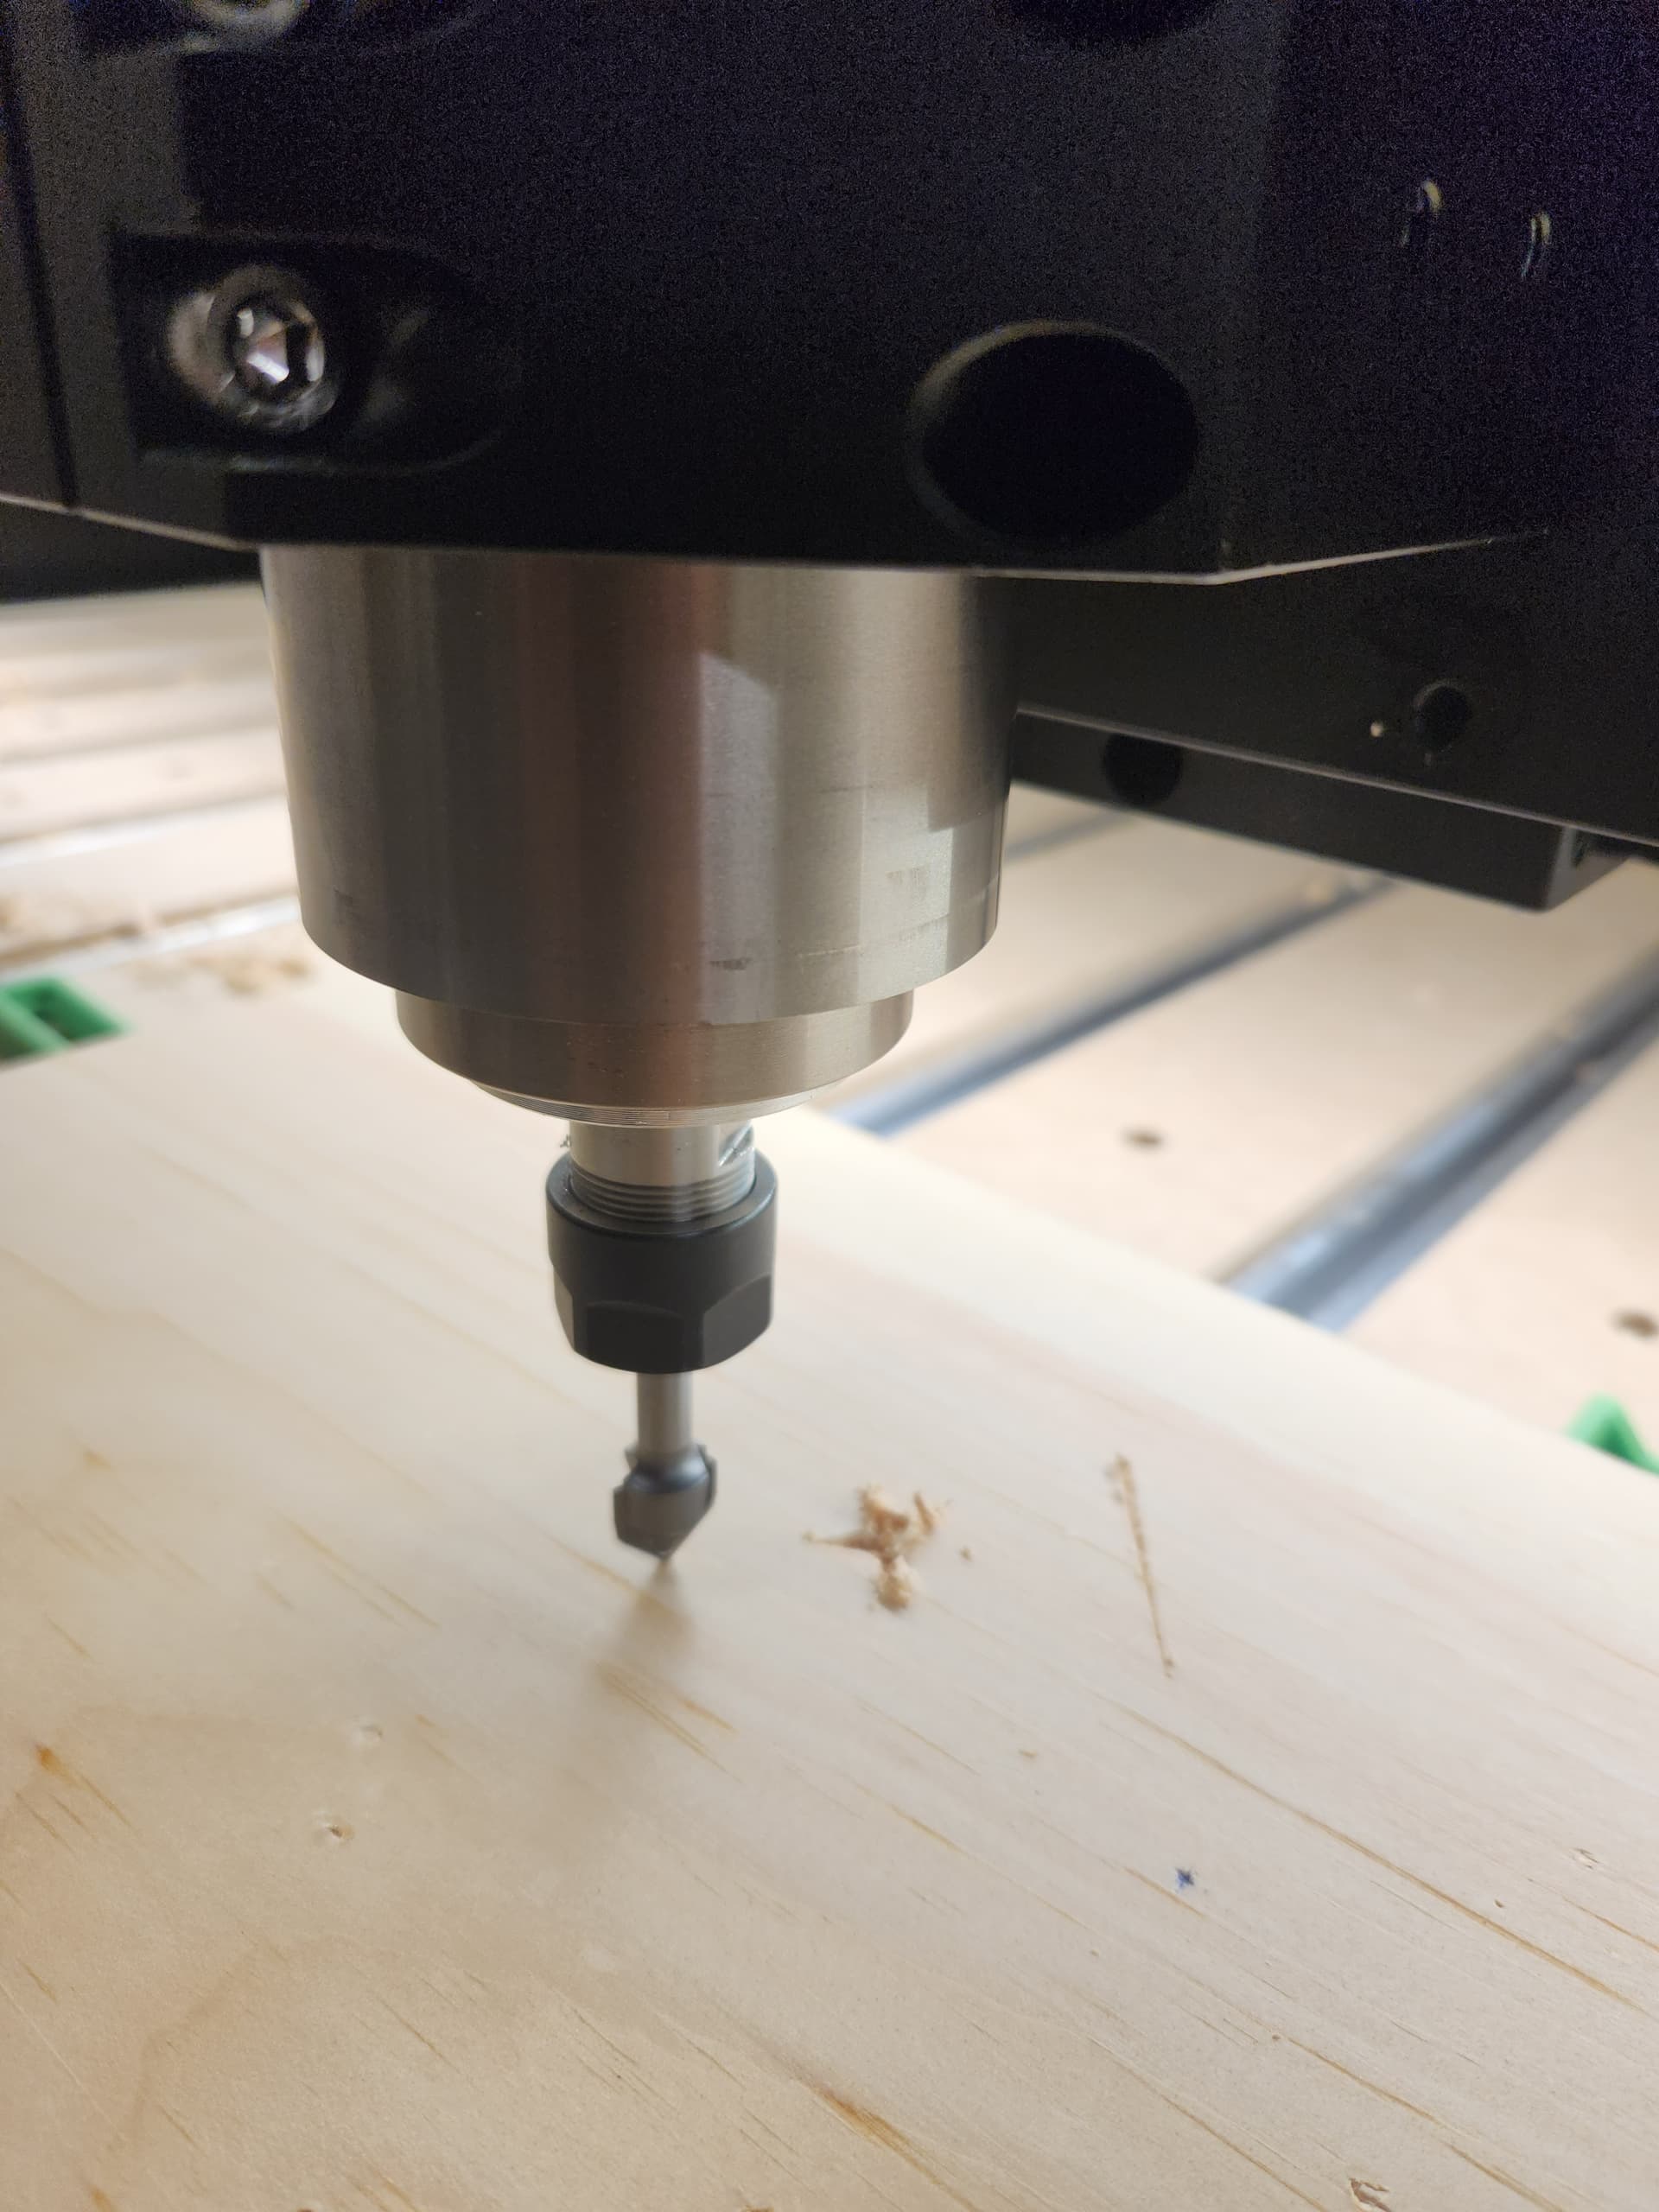
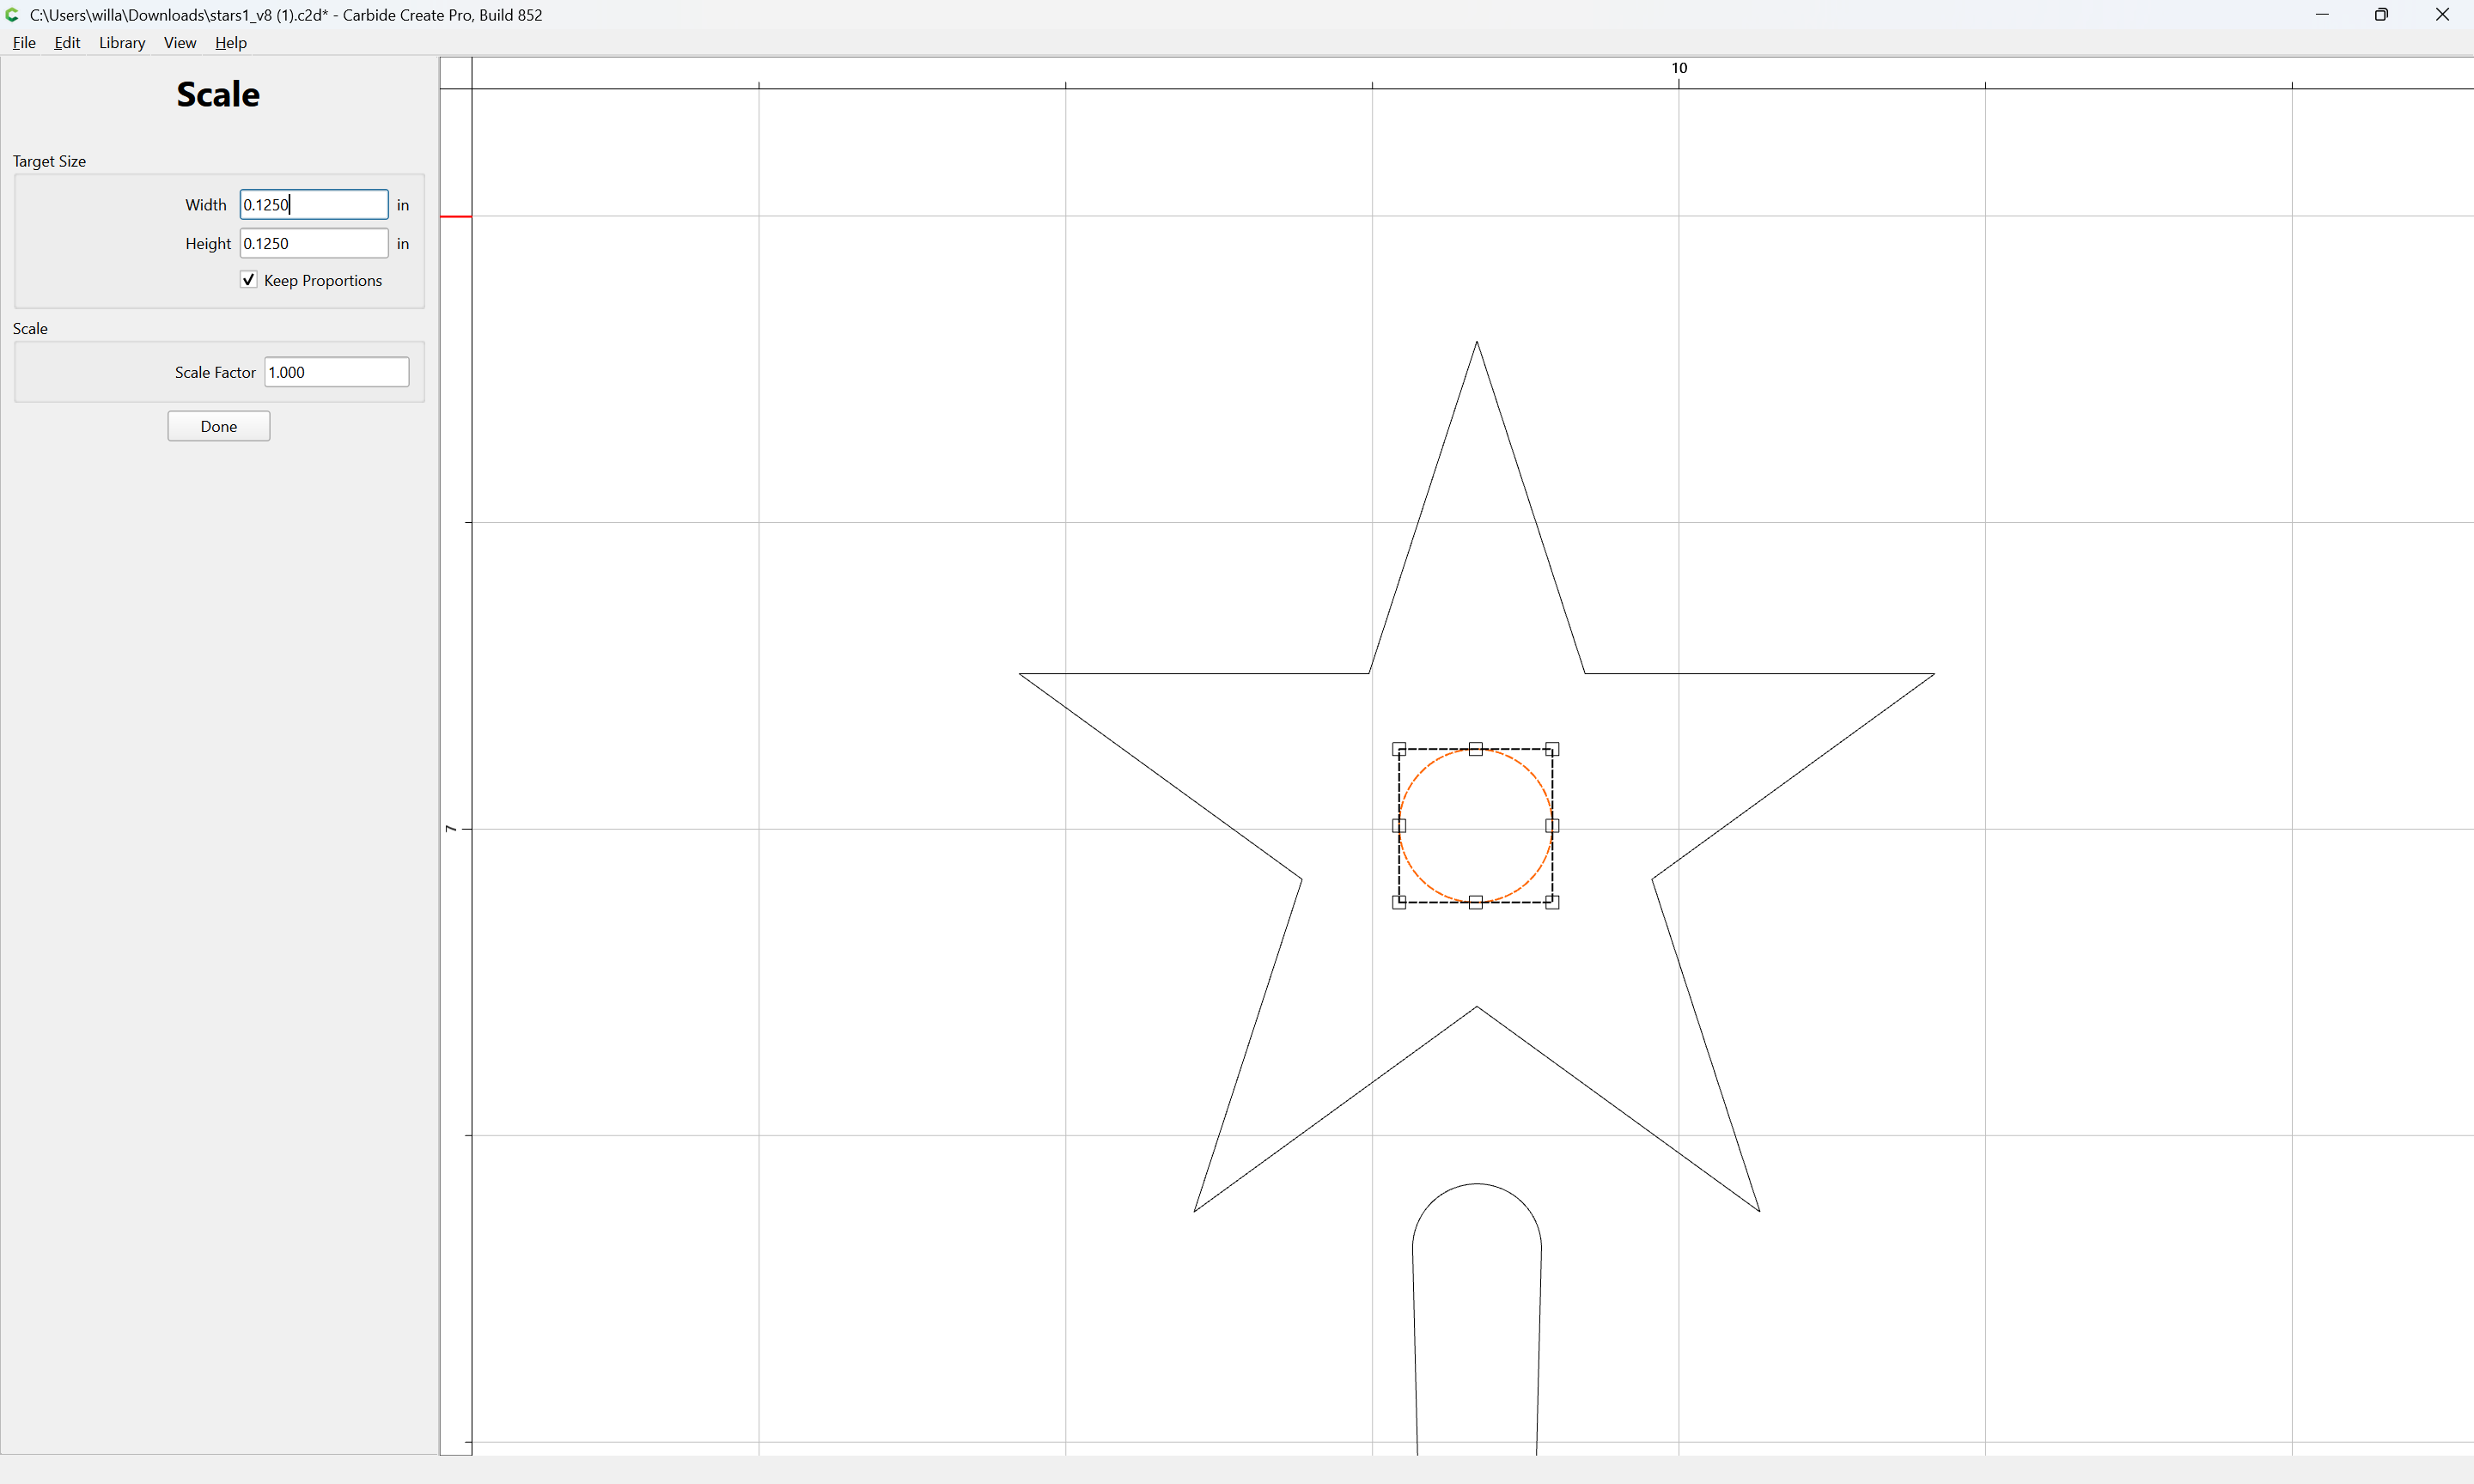
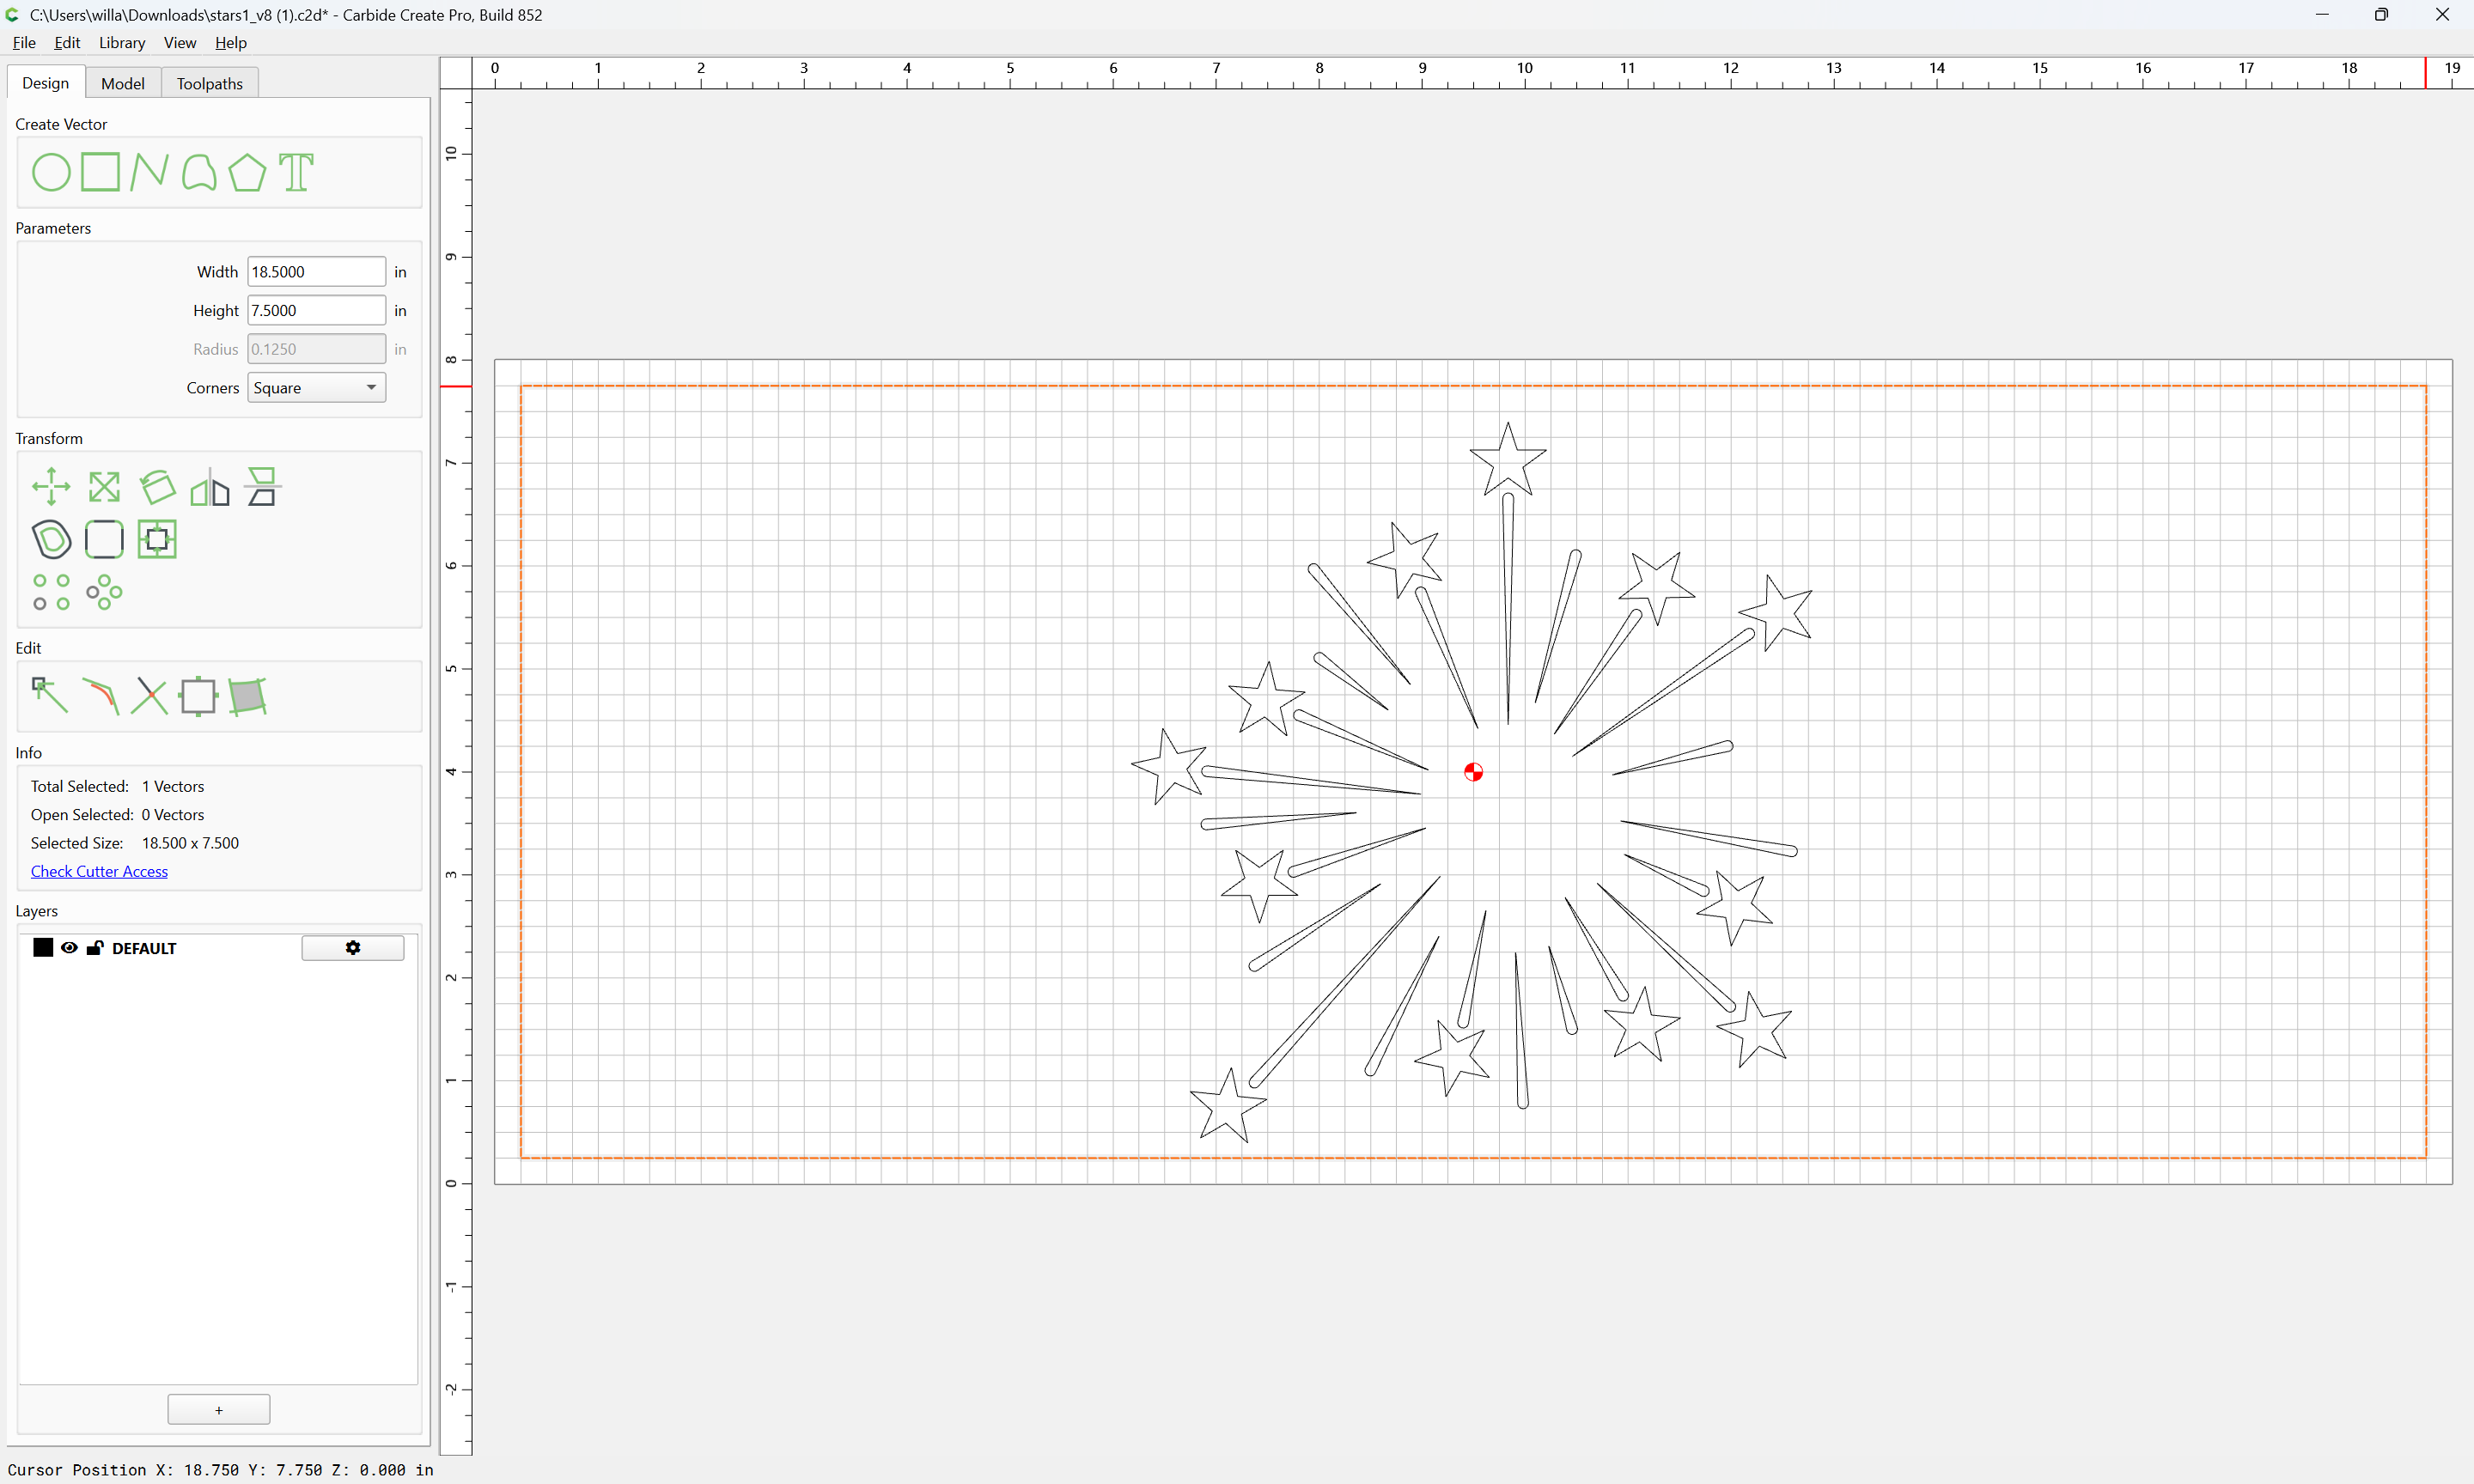
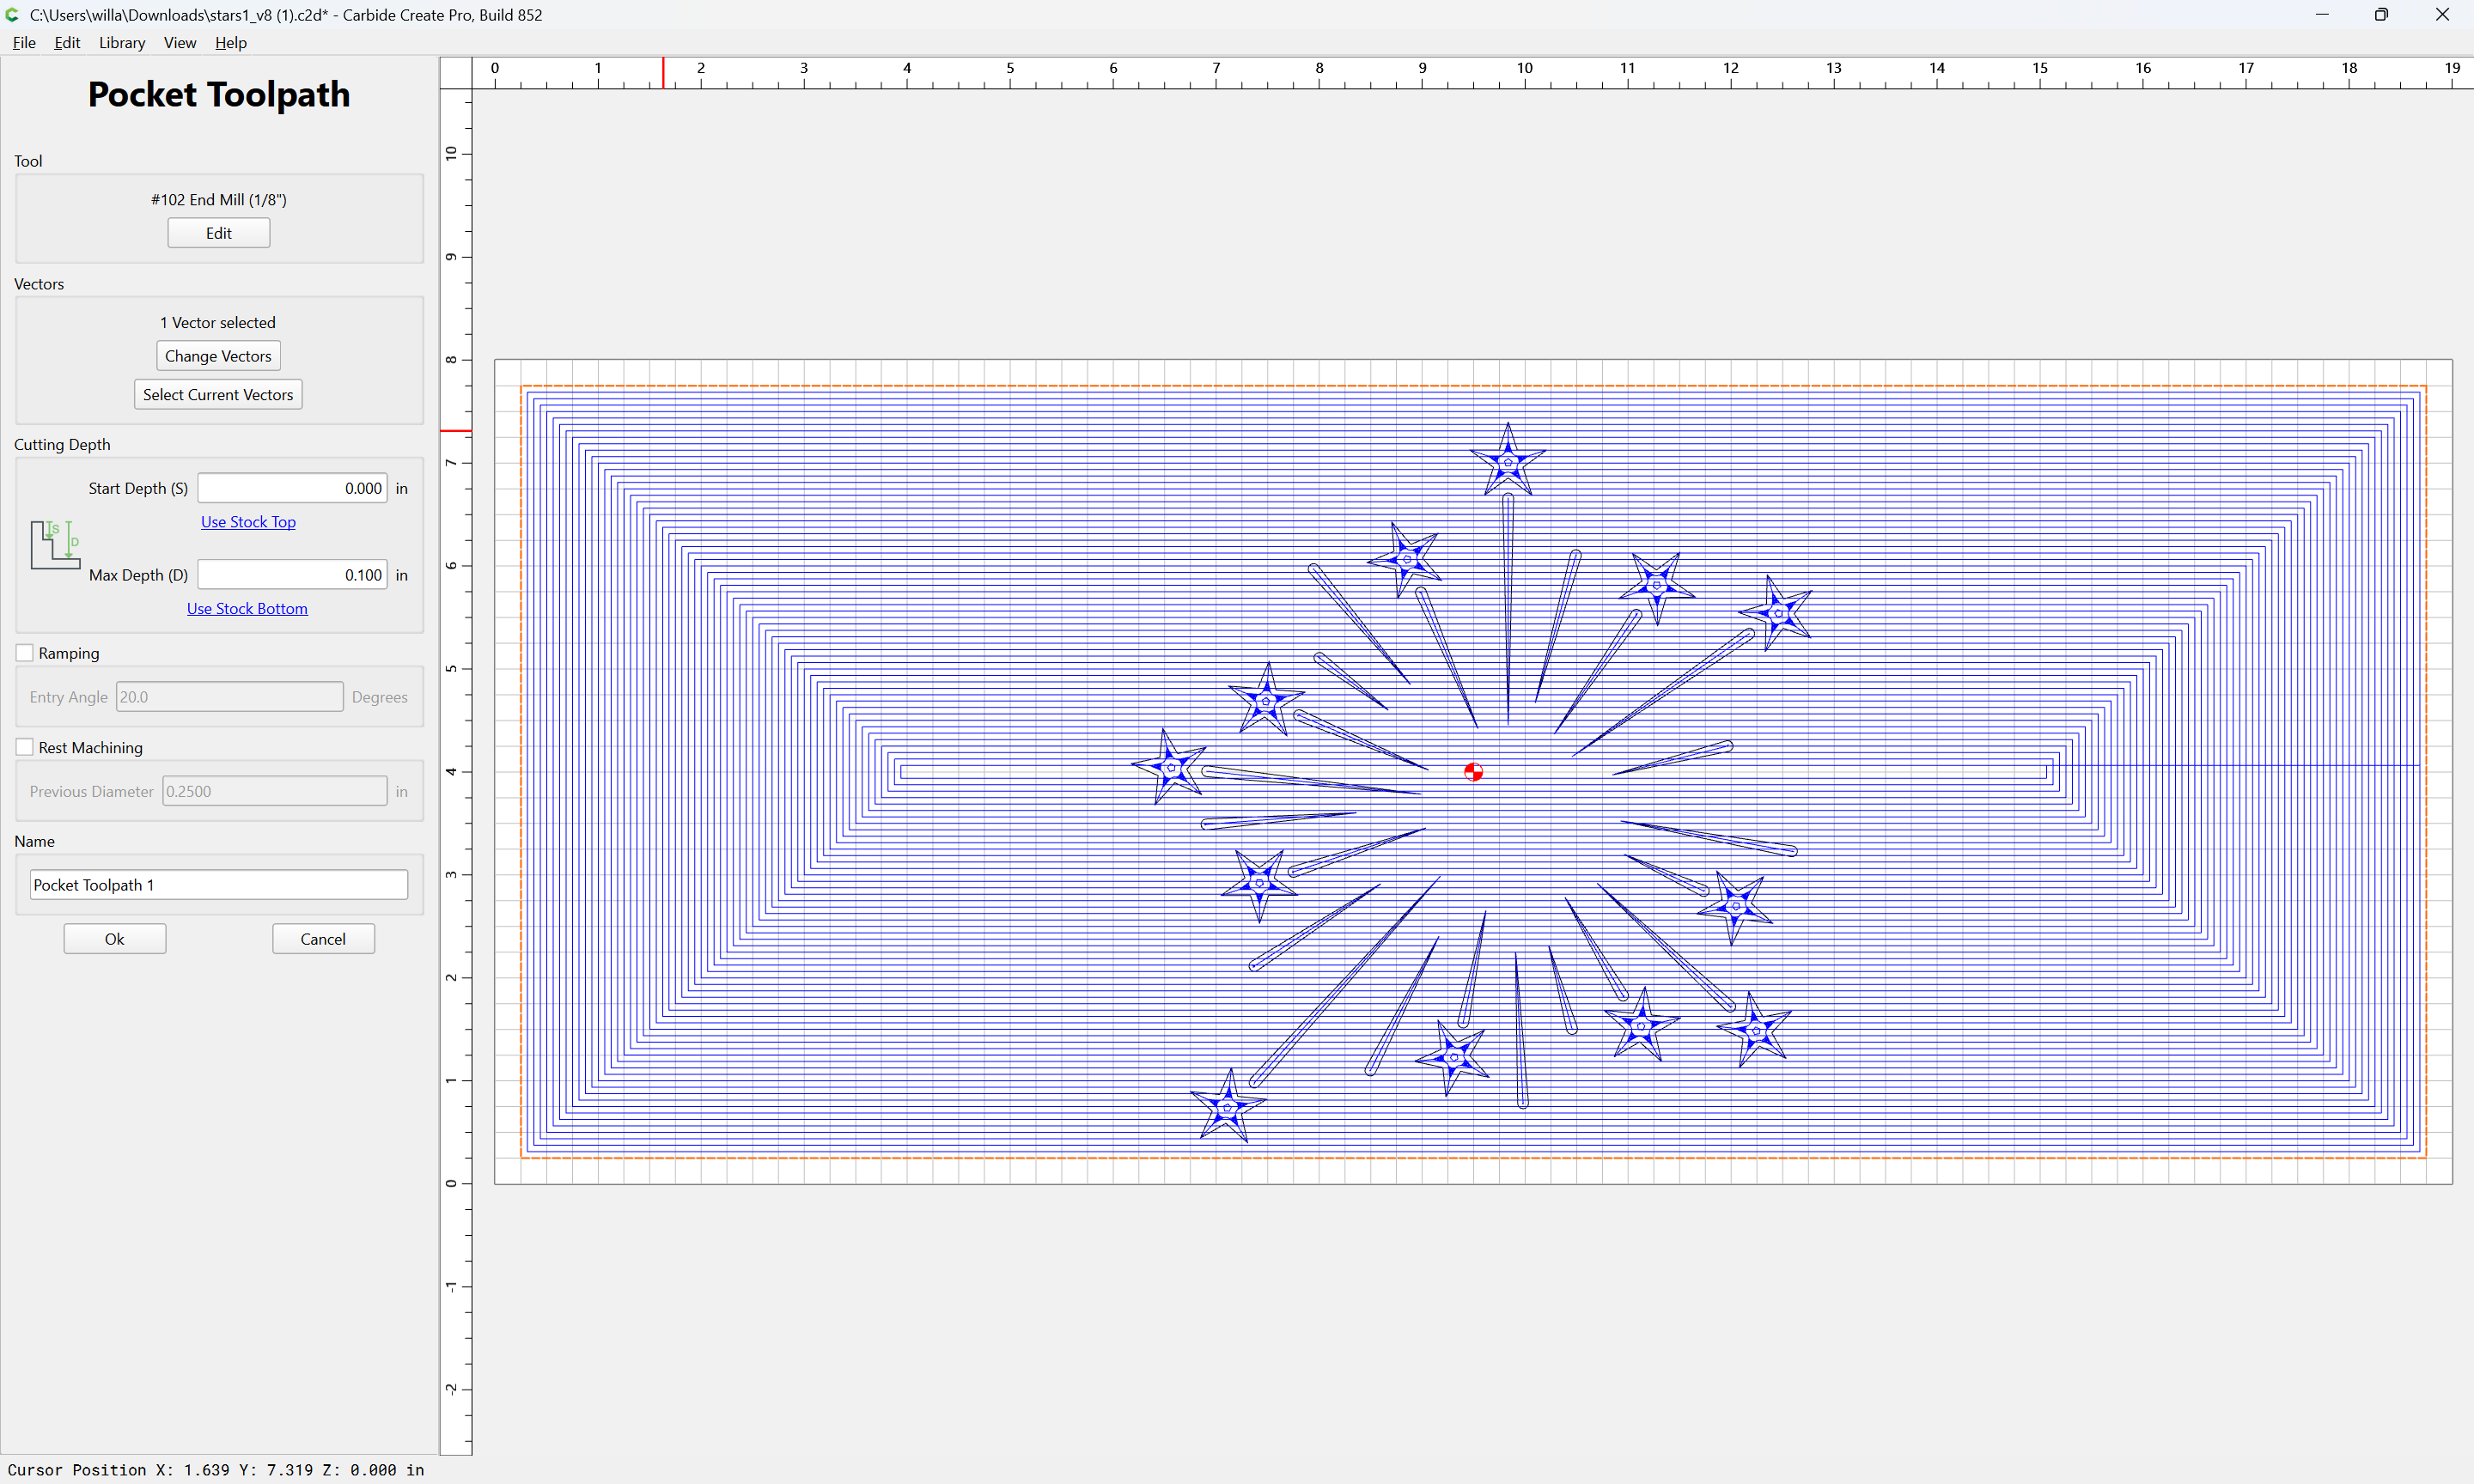
Assuming the machine is in good mechanical condition and correctly configured with nothing going wrong during the cut, this is likely an interaction between job setup:
and how origin is set relative to the stock:
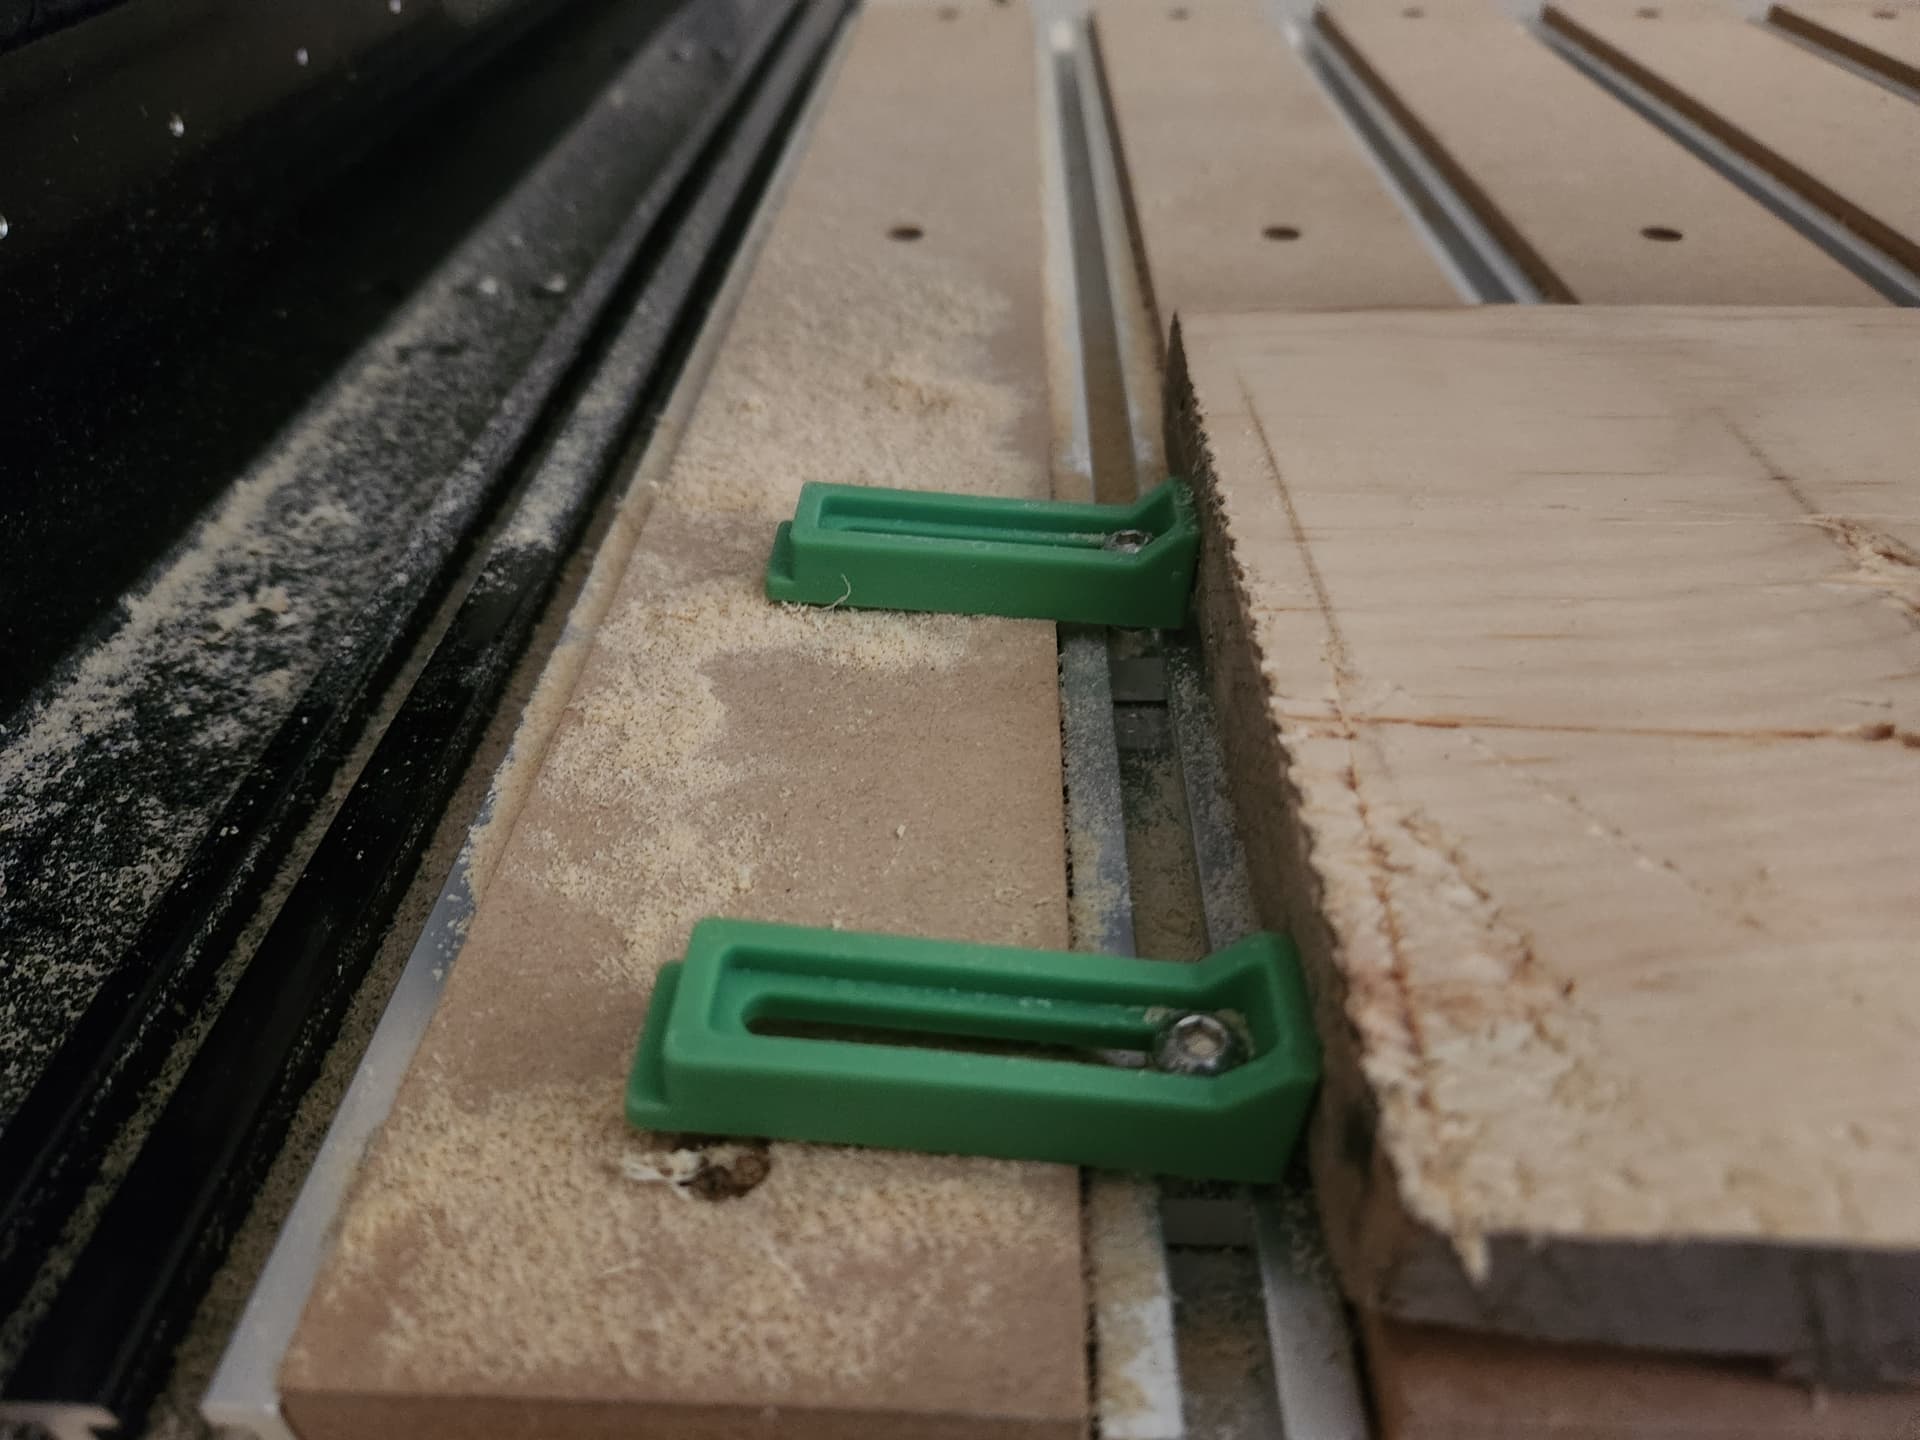
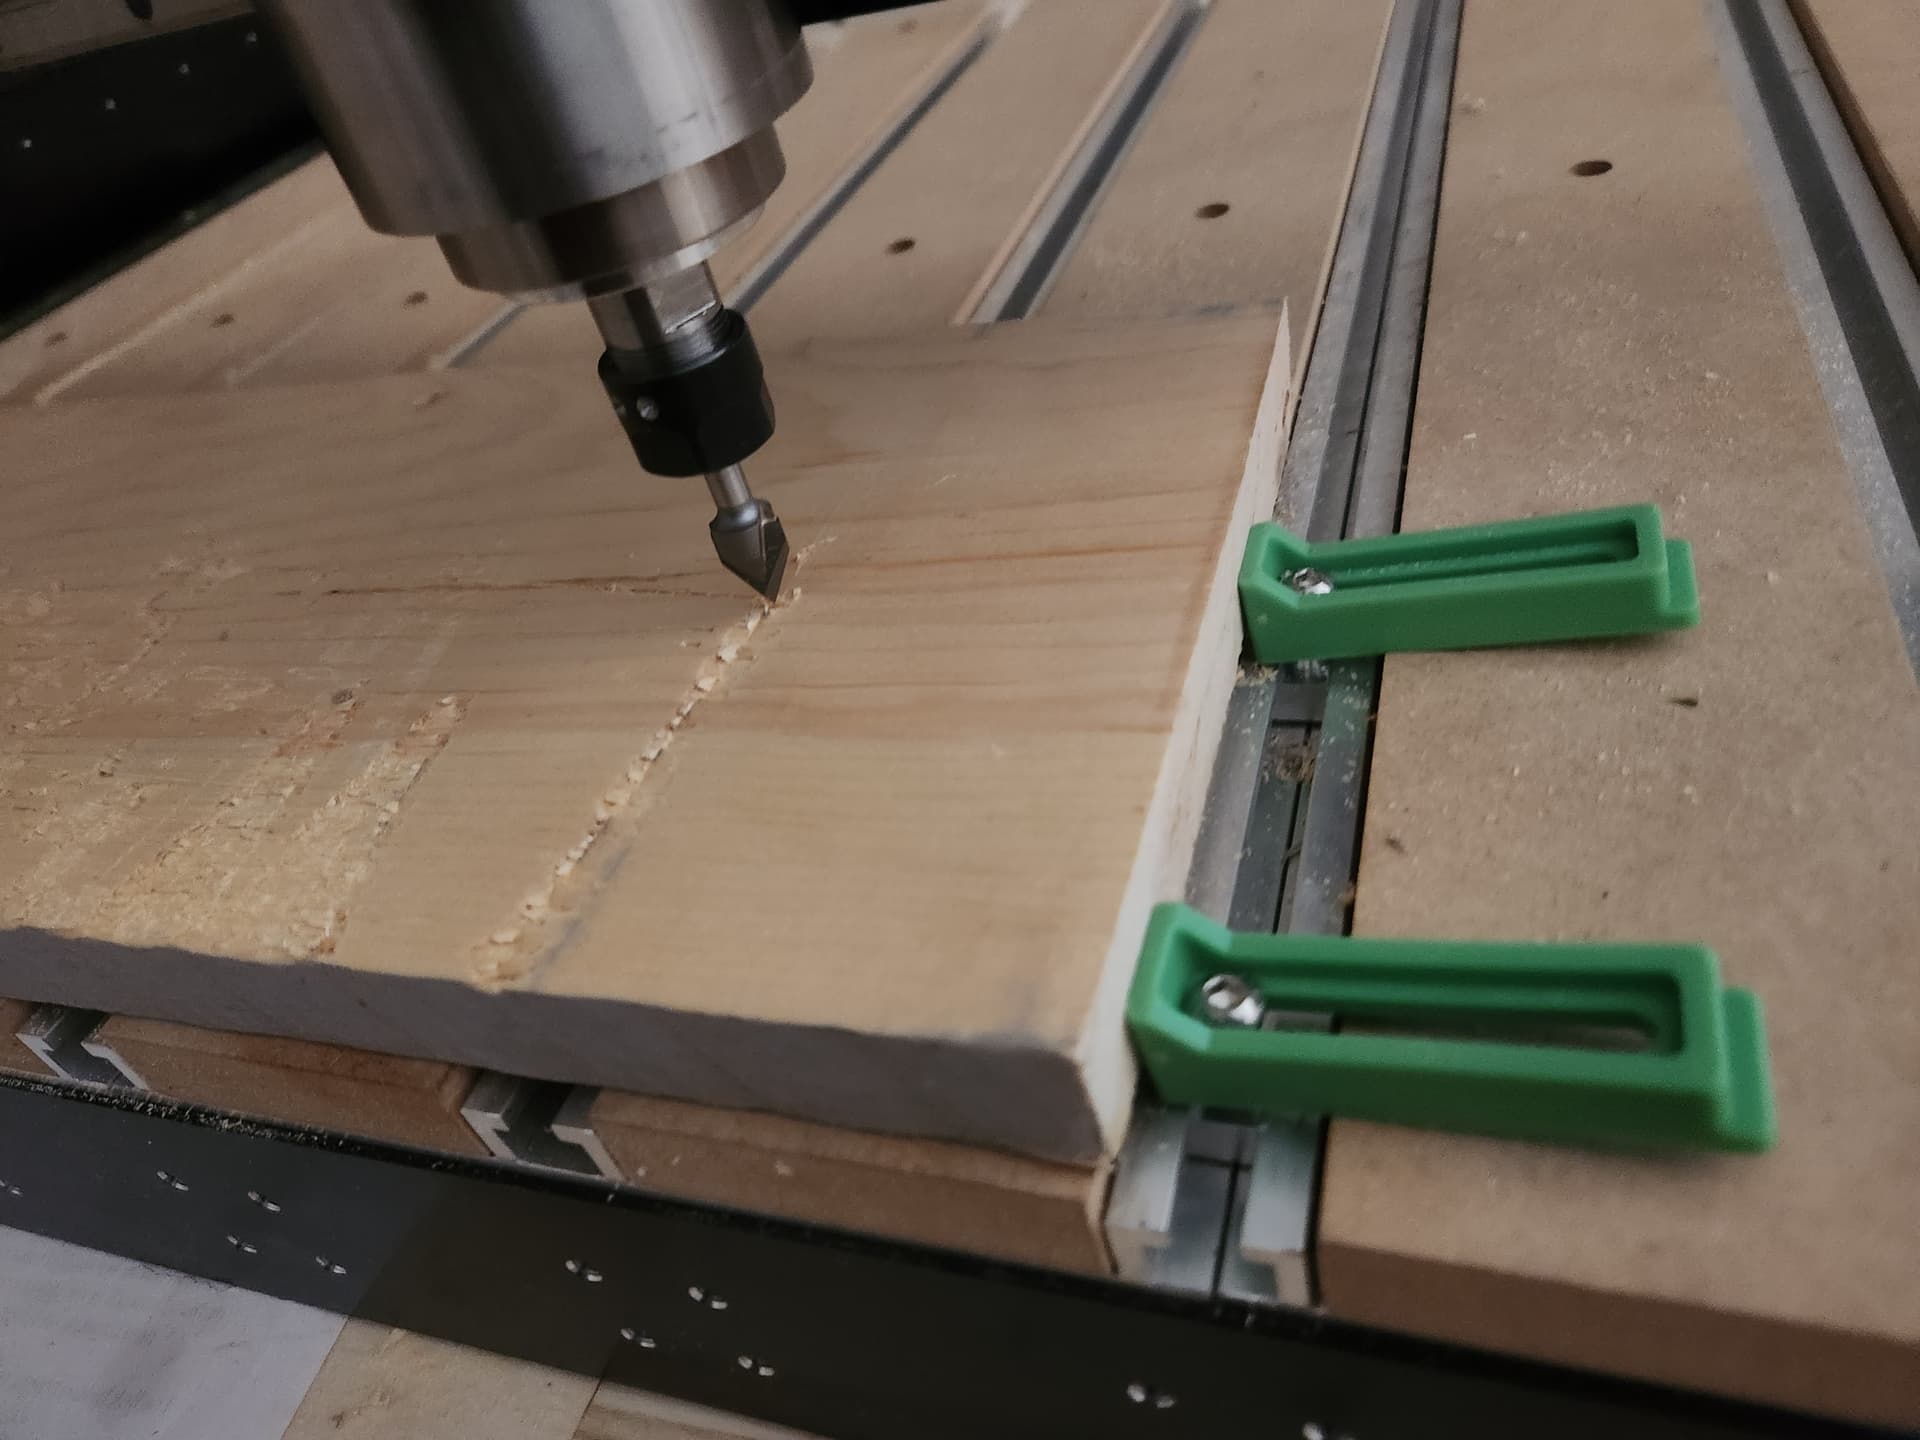
If you still have trouble, please upload the .c2d file and let us know step-by-step how you are securing your stock and setting zero relative to it and managing all tool changes, and send a photo showing the stock in place and the machine at the zero position relative to it (or a specified offset from that position) and screengrabs showing what Carbide Motion shows for Position and Machine Position (click on either to toggle to the other).
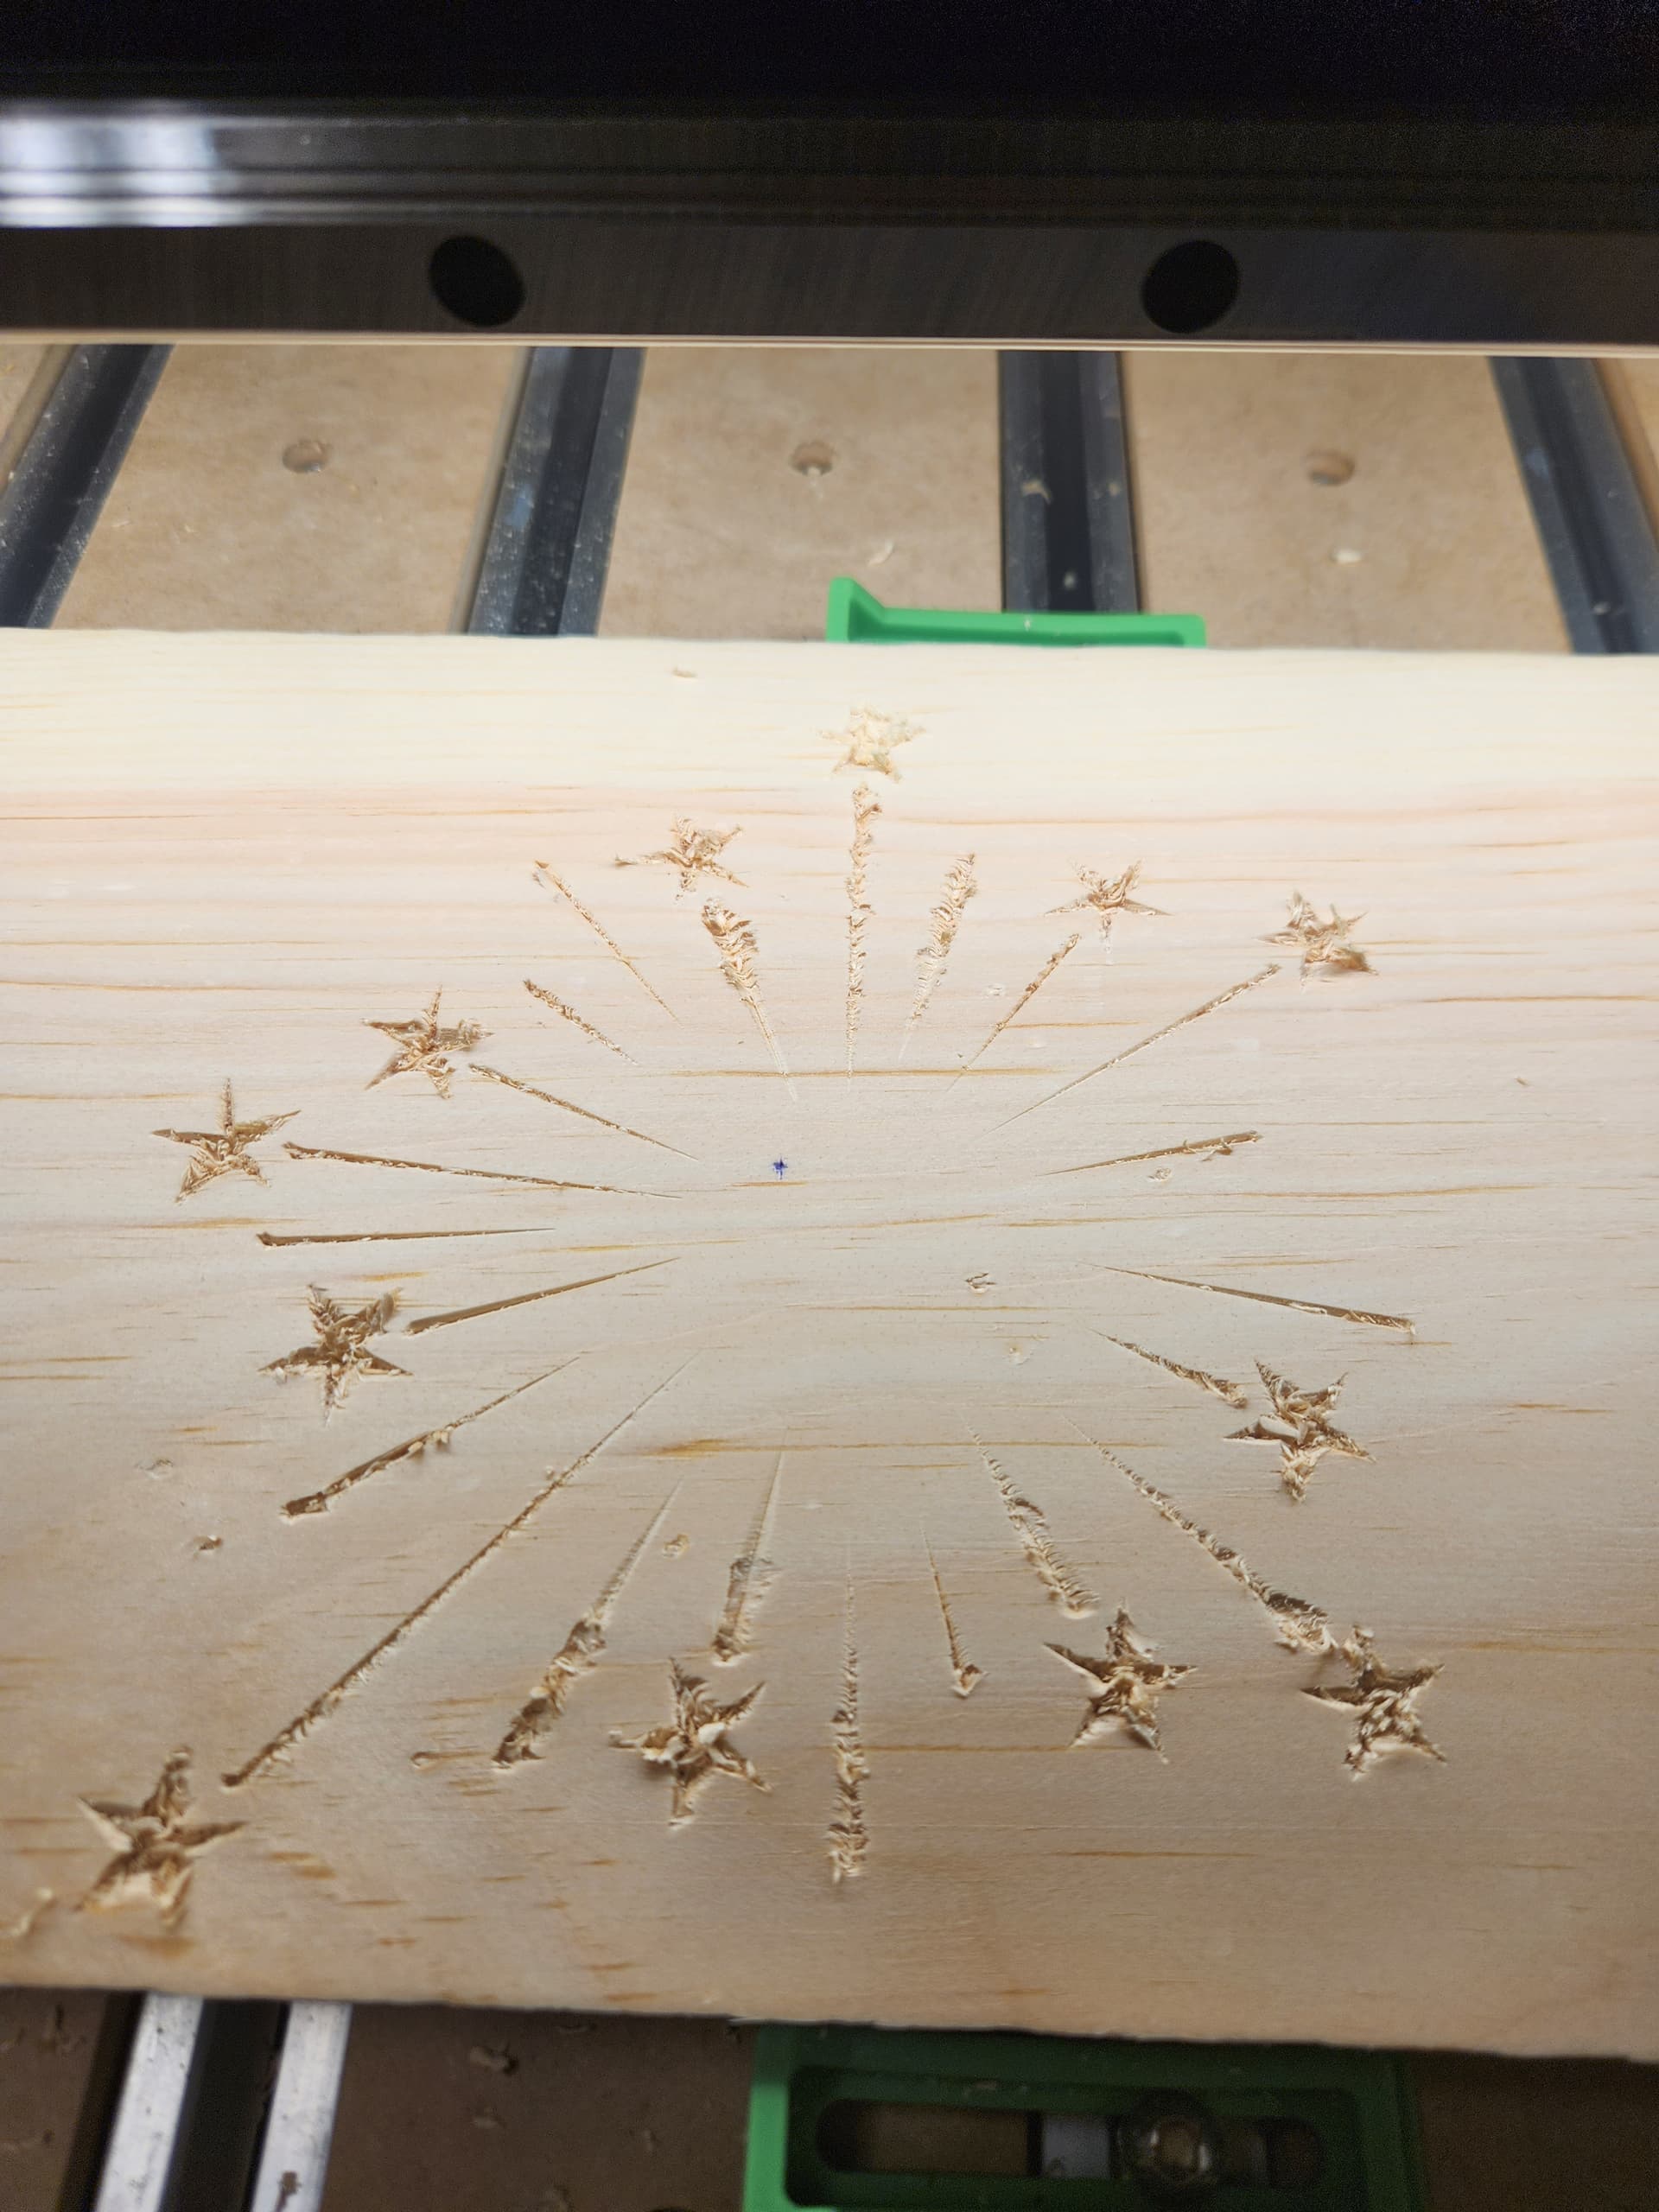
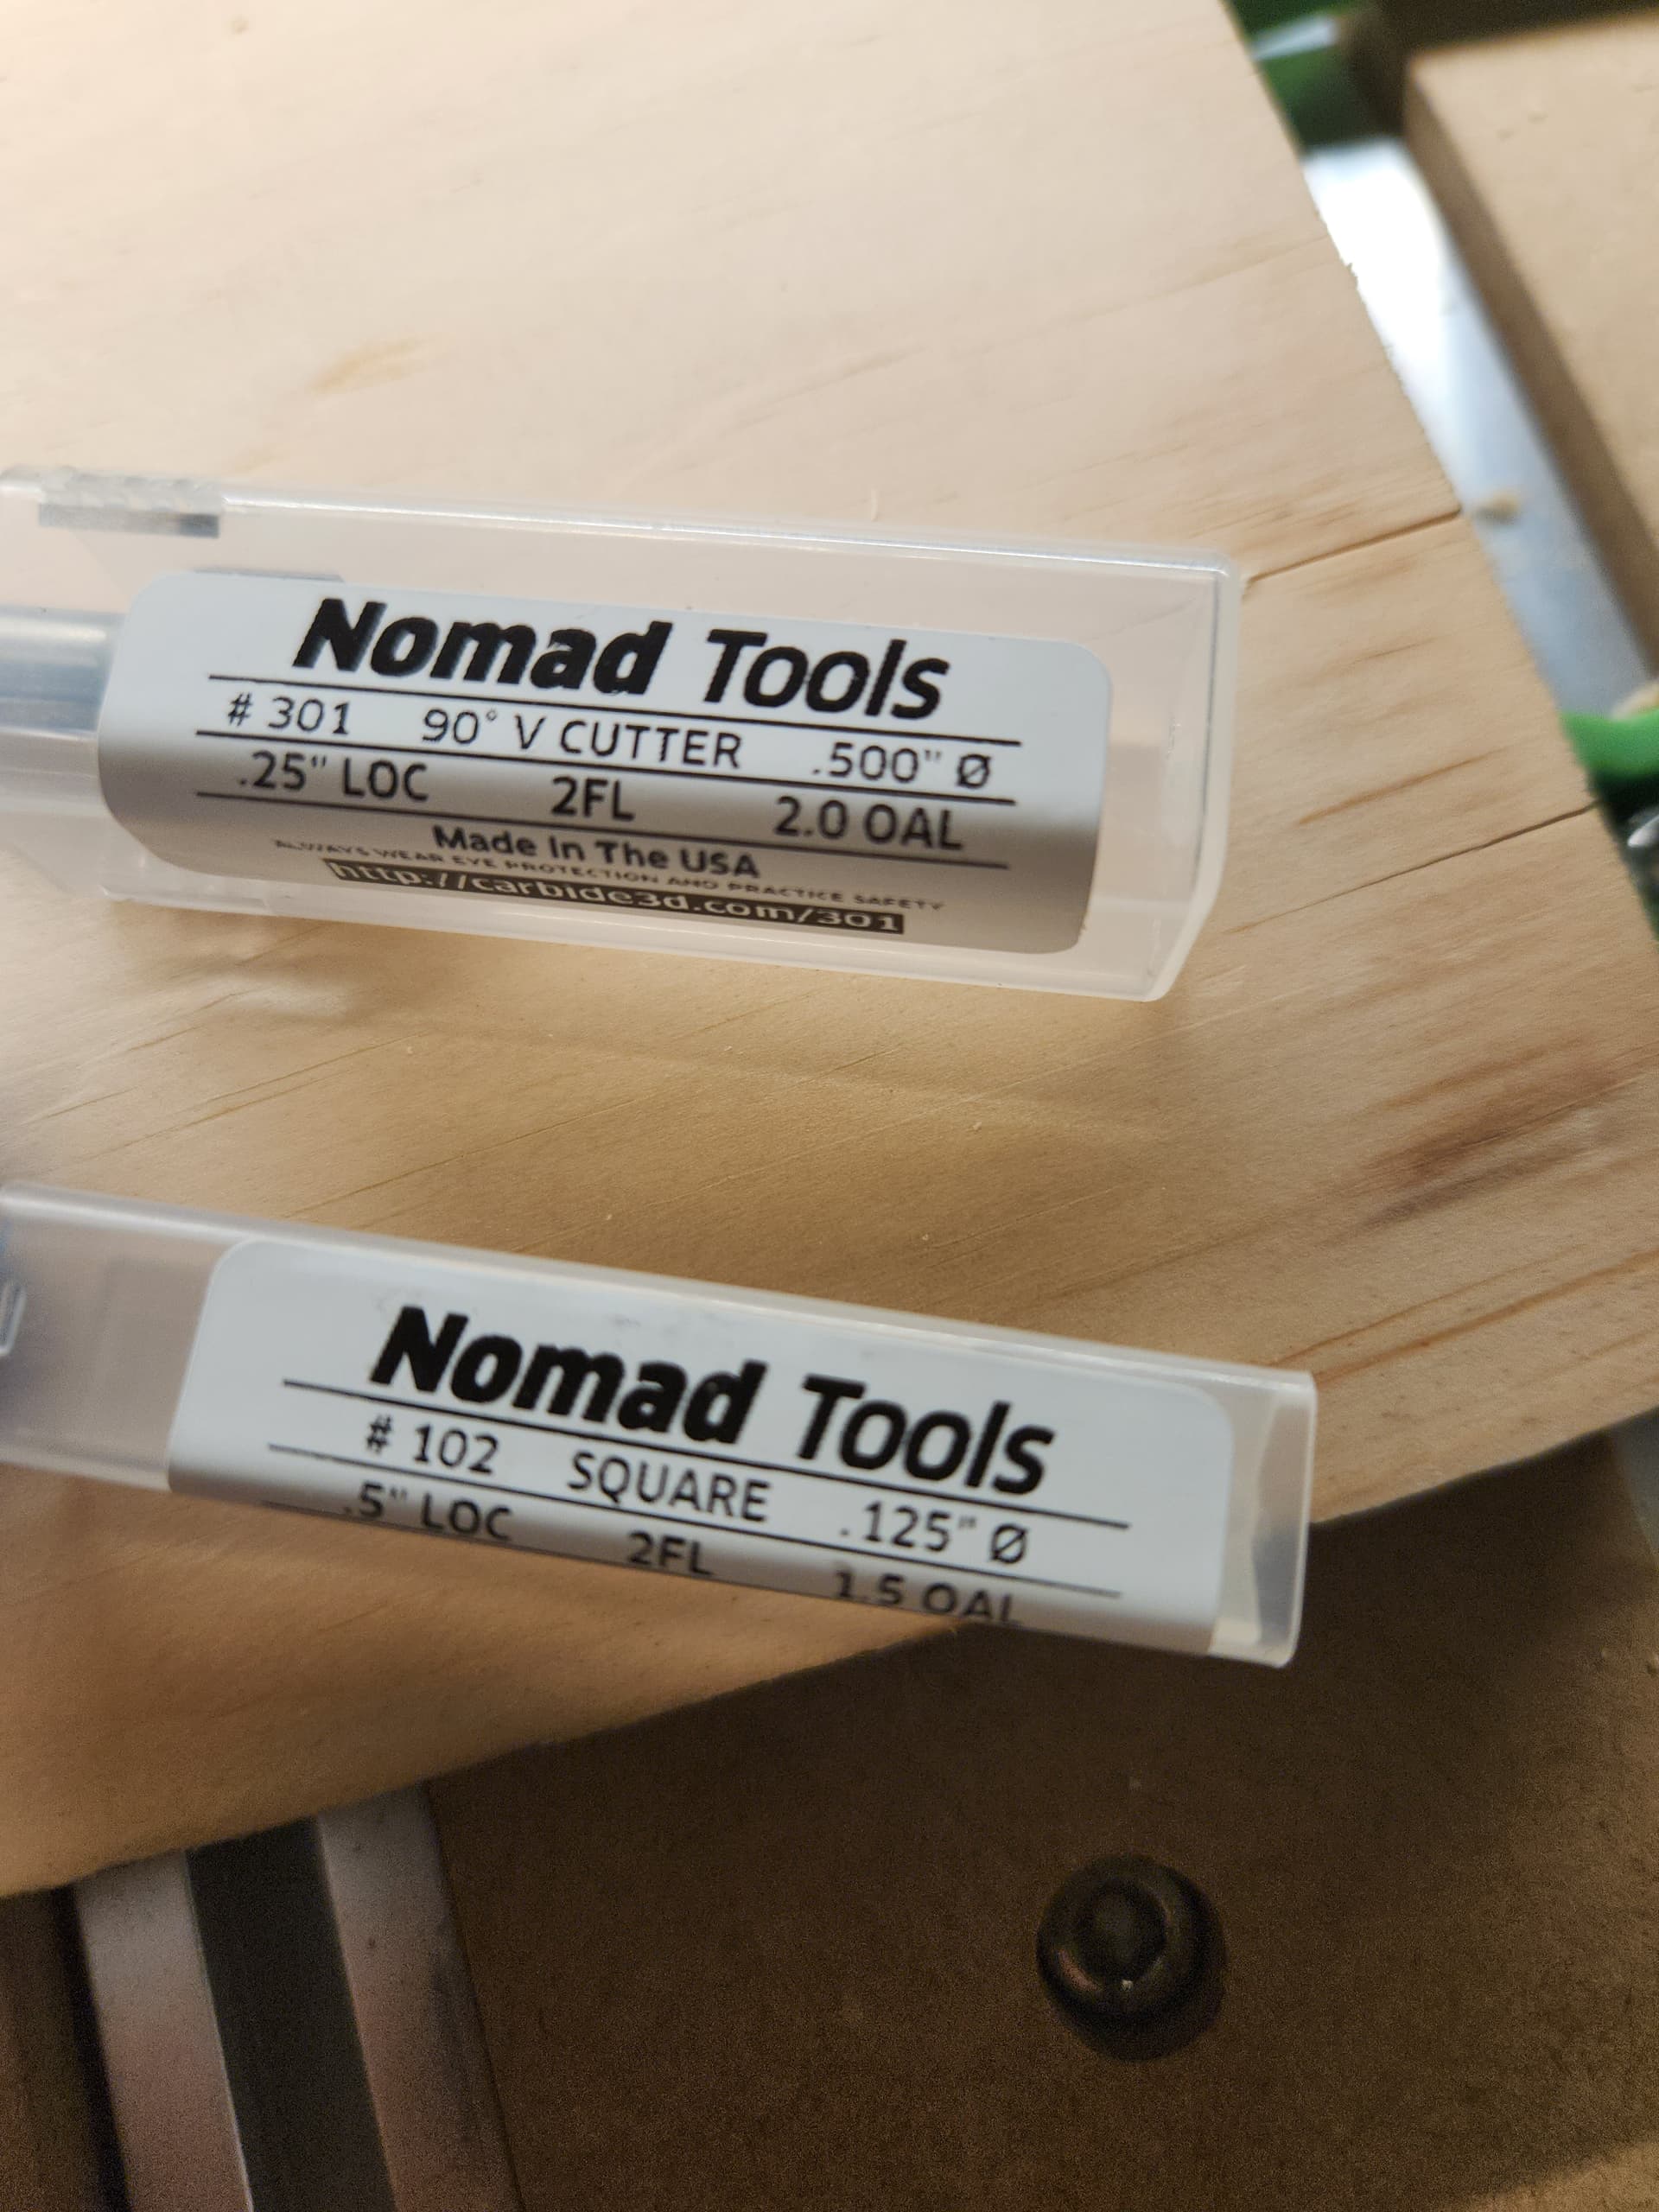
Forgot to tell most important piece of info: this is a brand new shapeoko 5 4x2 w 110V spindle . This is the third pattern i have tried cutting and each time the bit doesnt plunge into the wood deep enough. I have also tried 3 different bits .
I have a 0.95 inch thick piece of wood (18 inch x 9 inch)
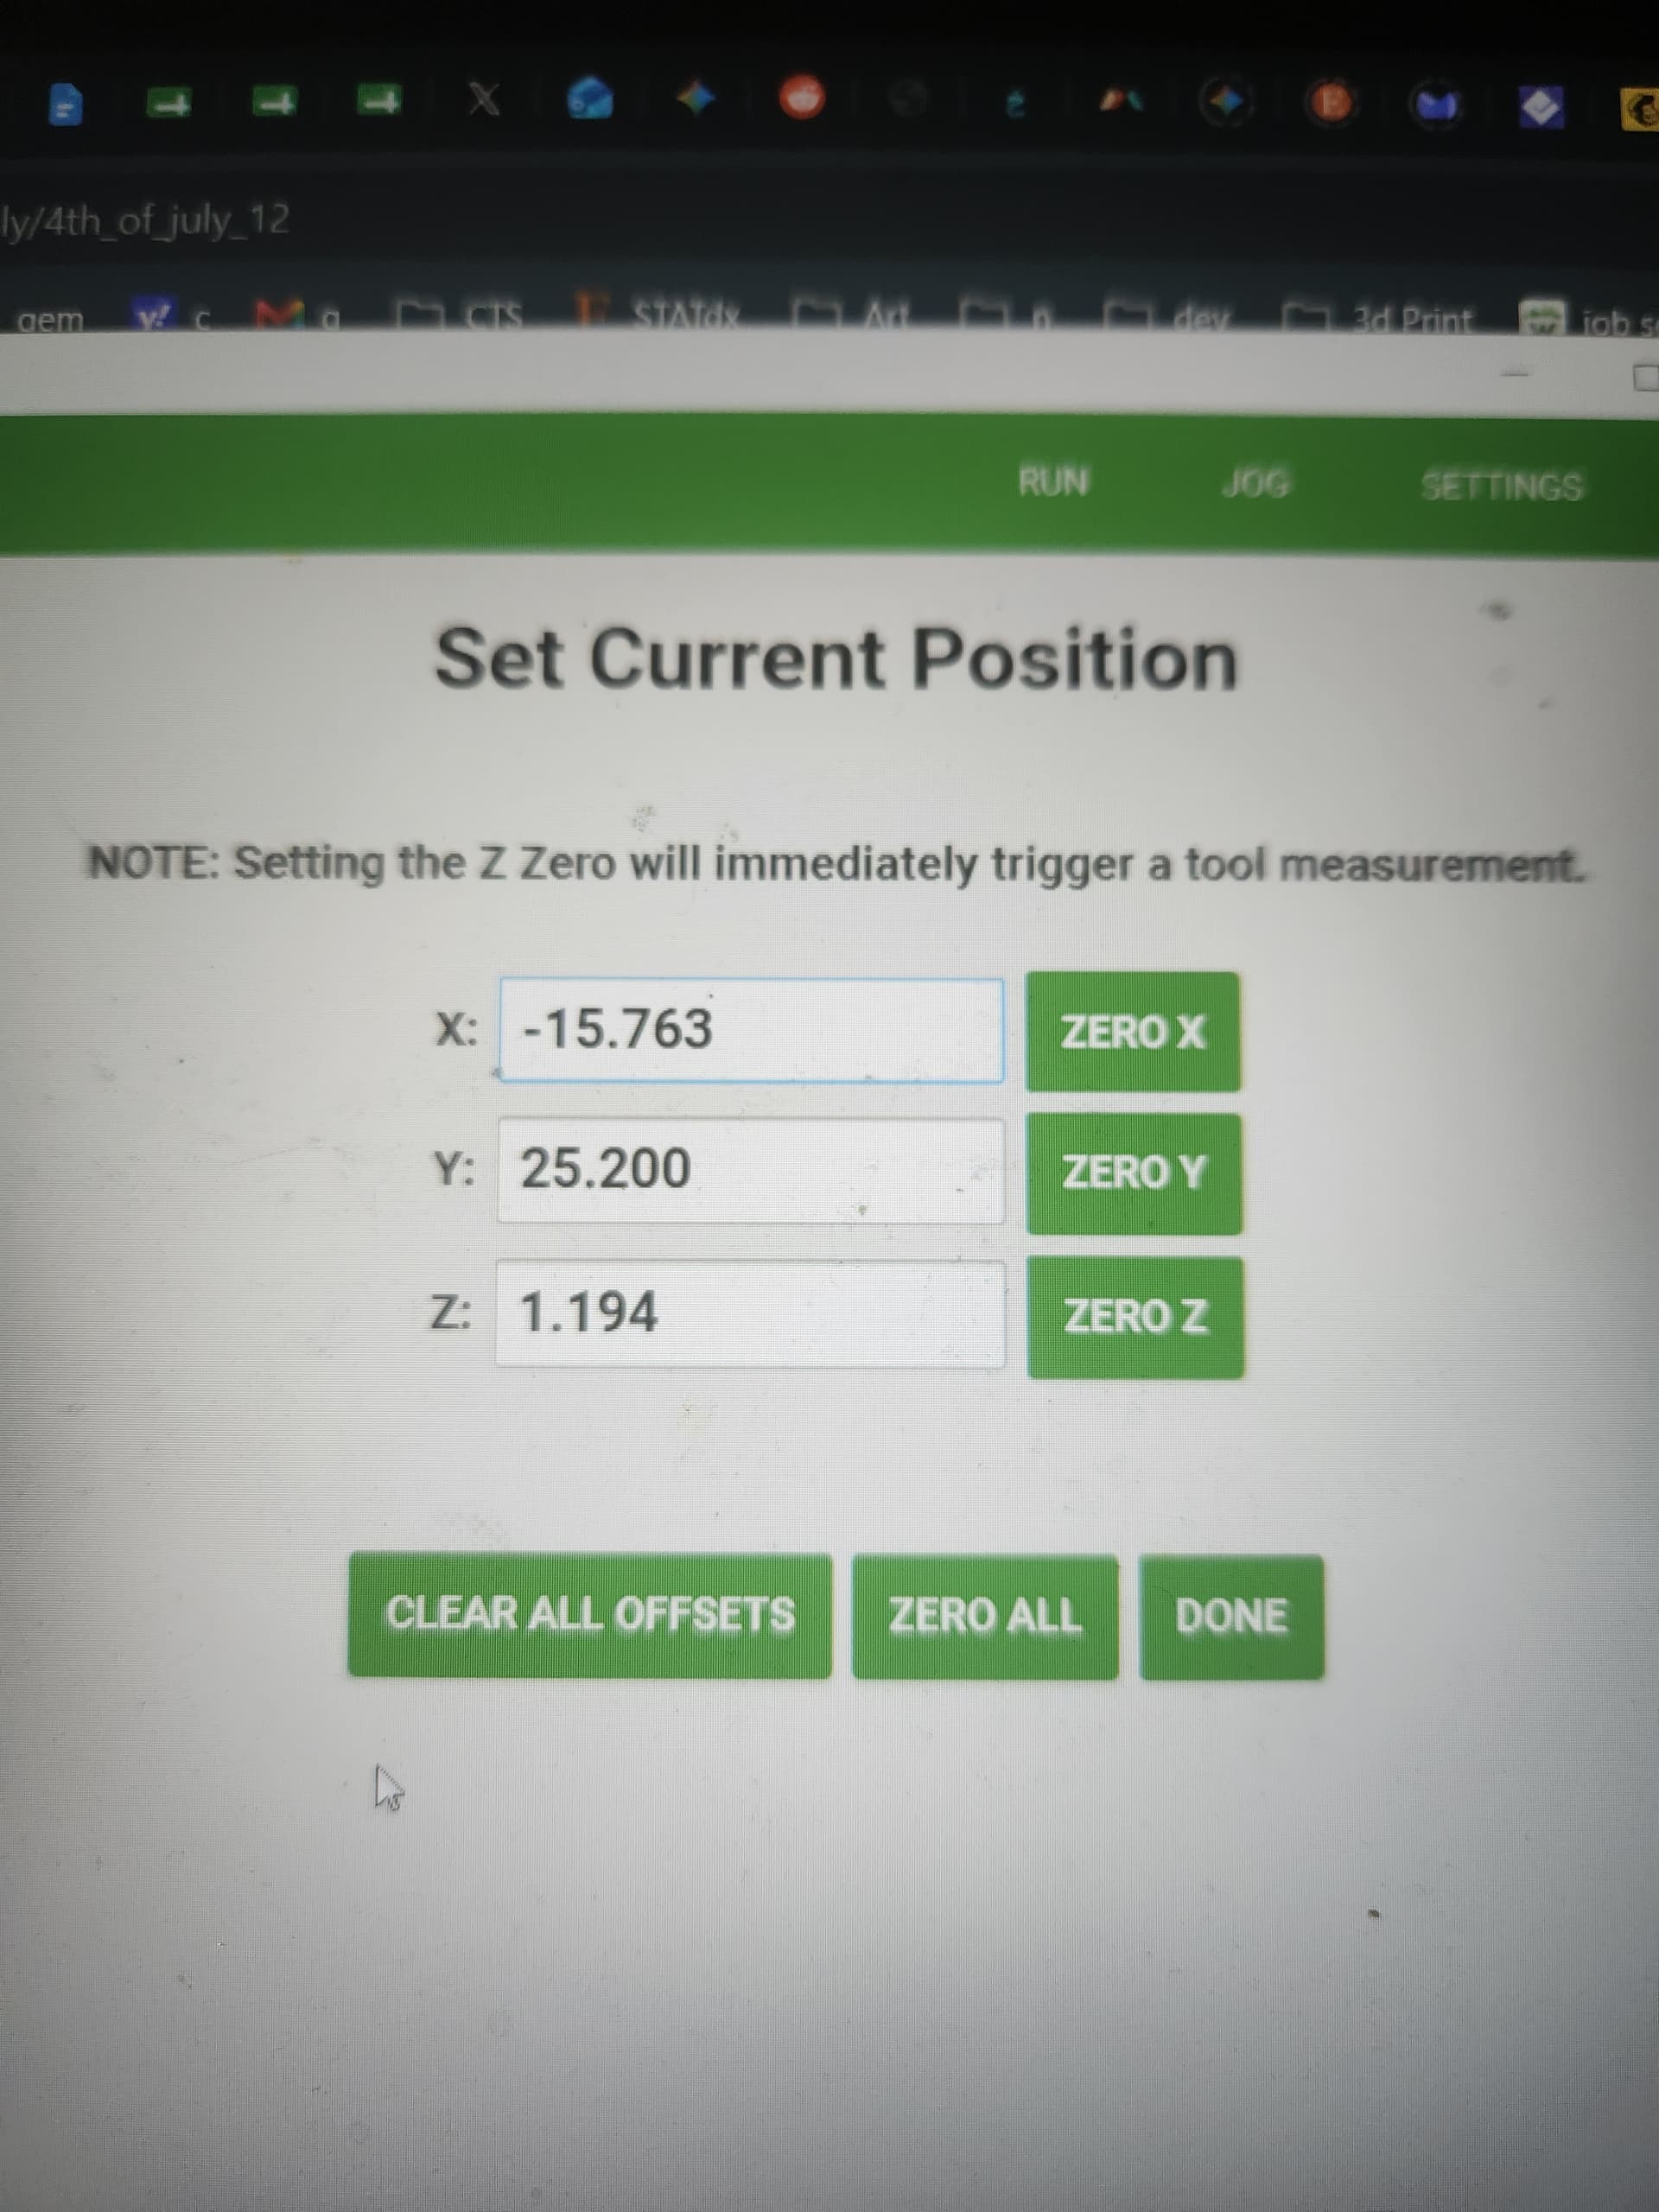
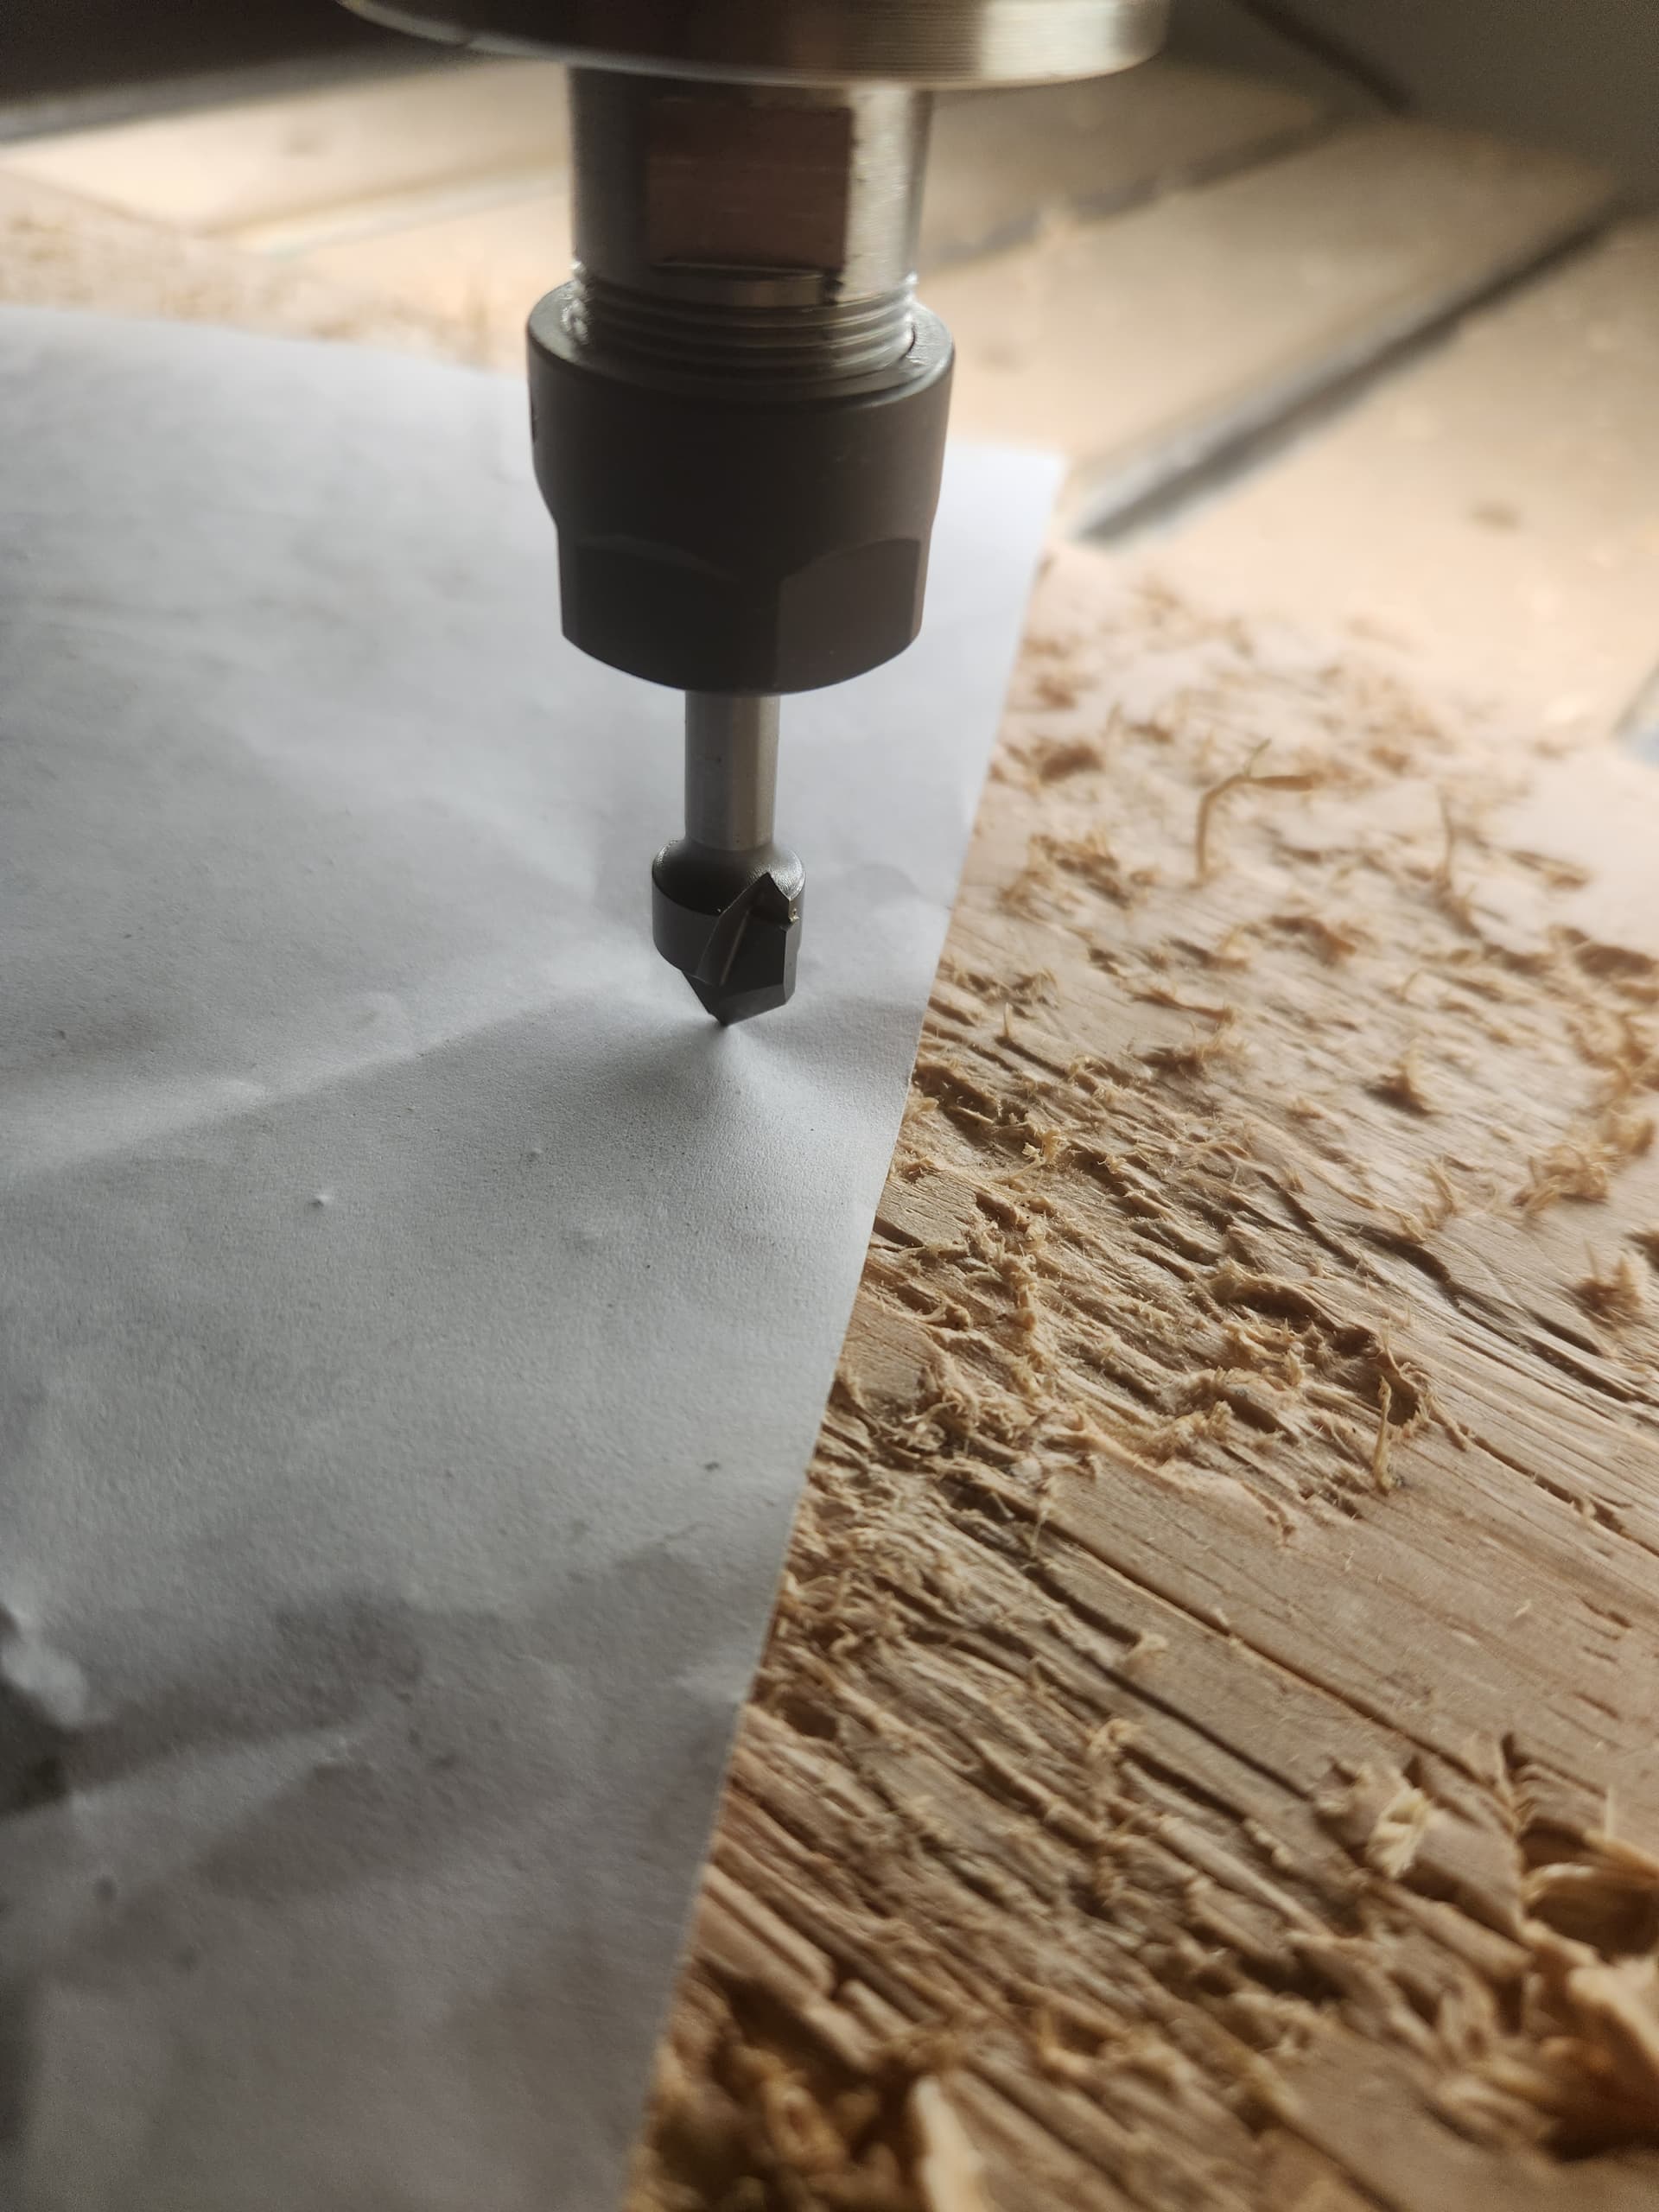
I zero thru carbide motion by jogging the spindle to the center of the piece of wood and bring the bit down onto a piece of paper. Then the spindle heads to the bit setter and touches it twice.
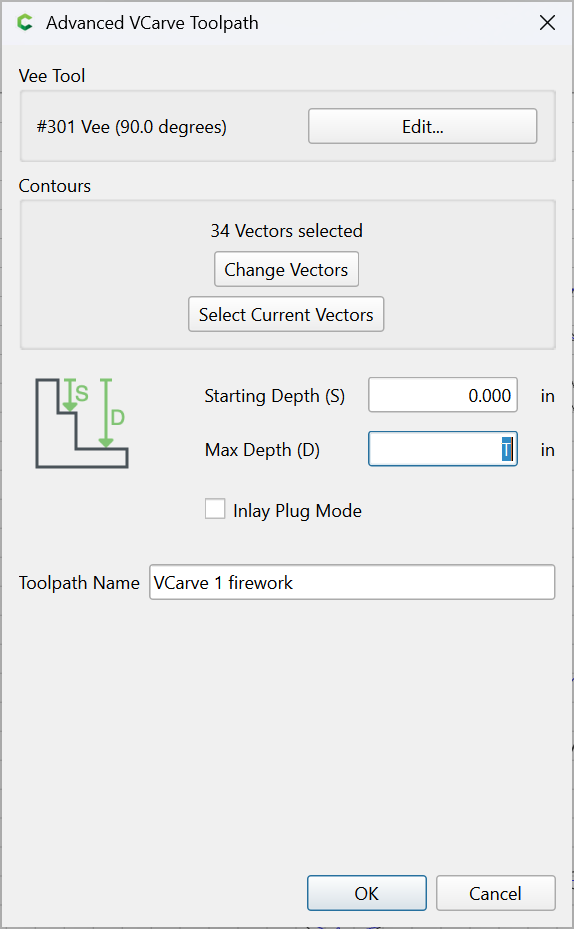
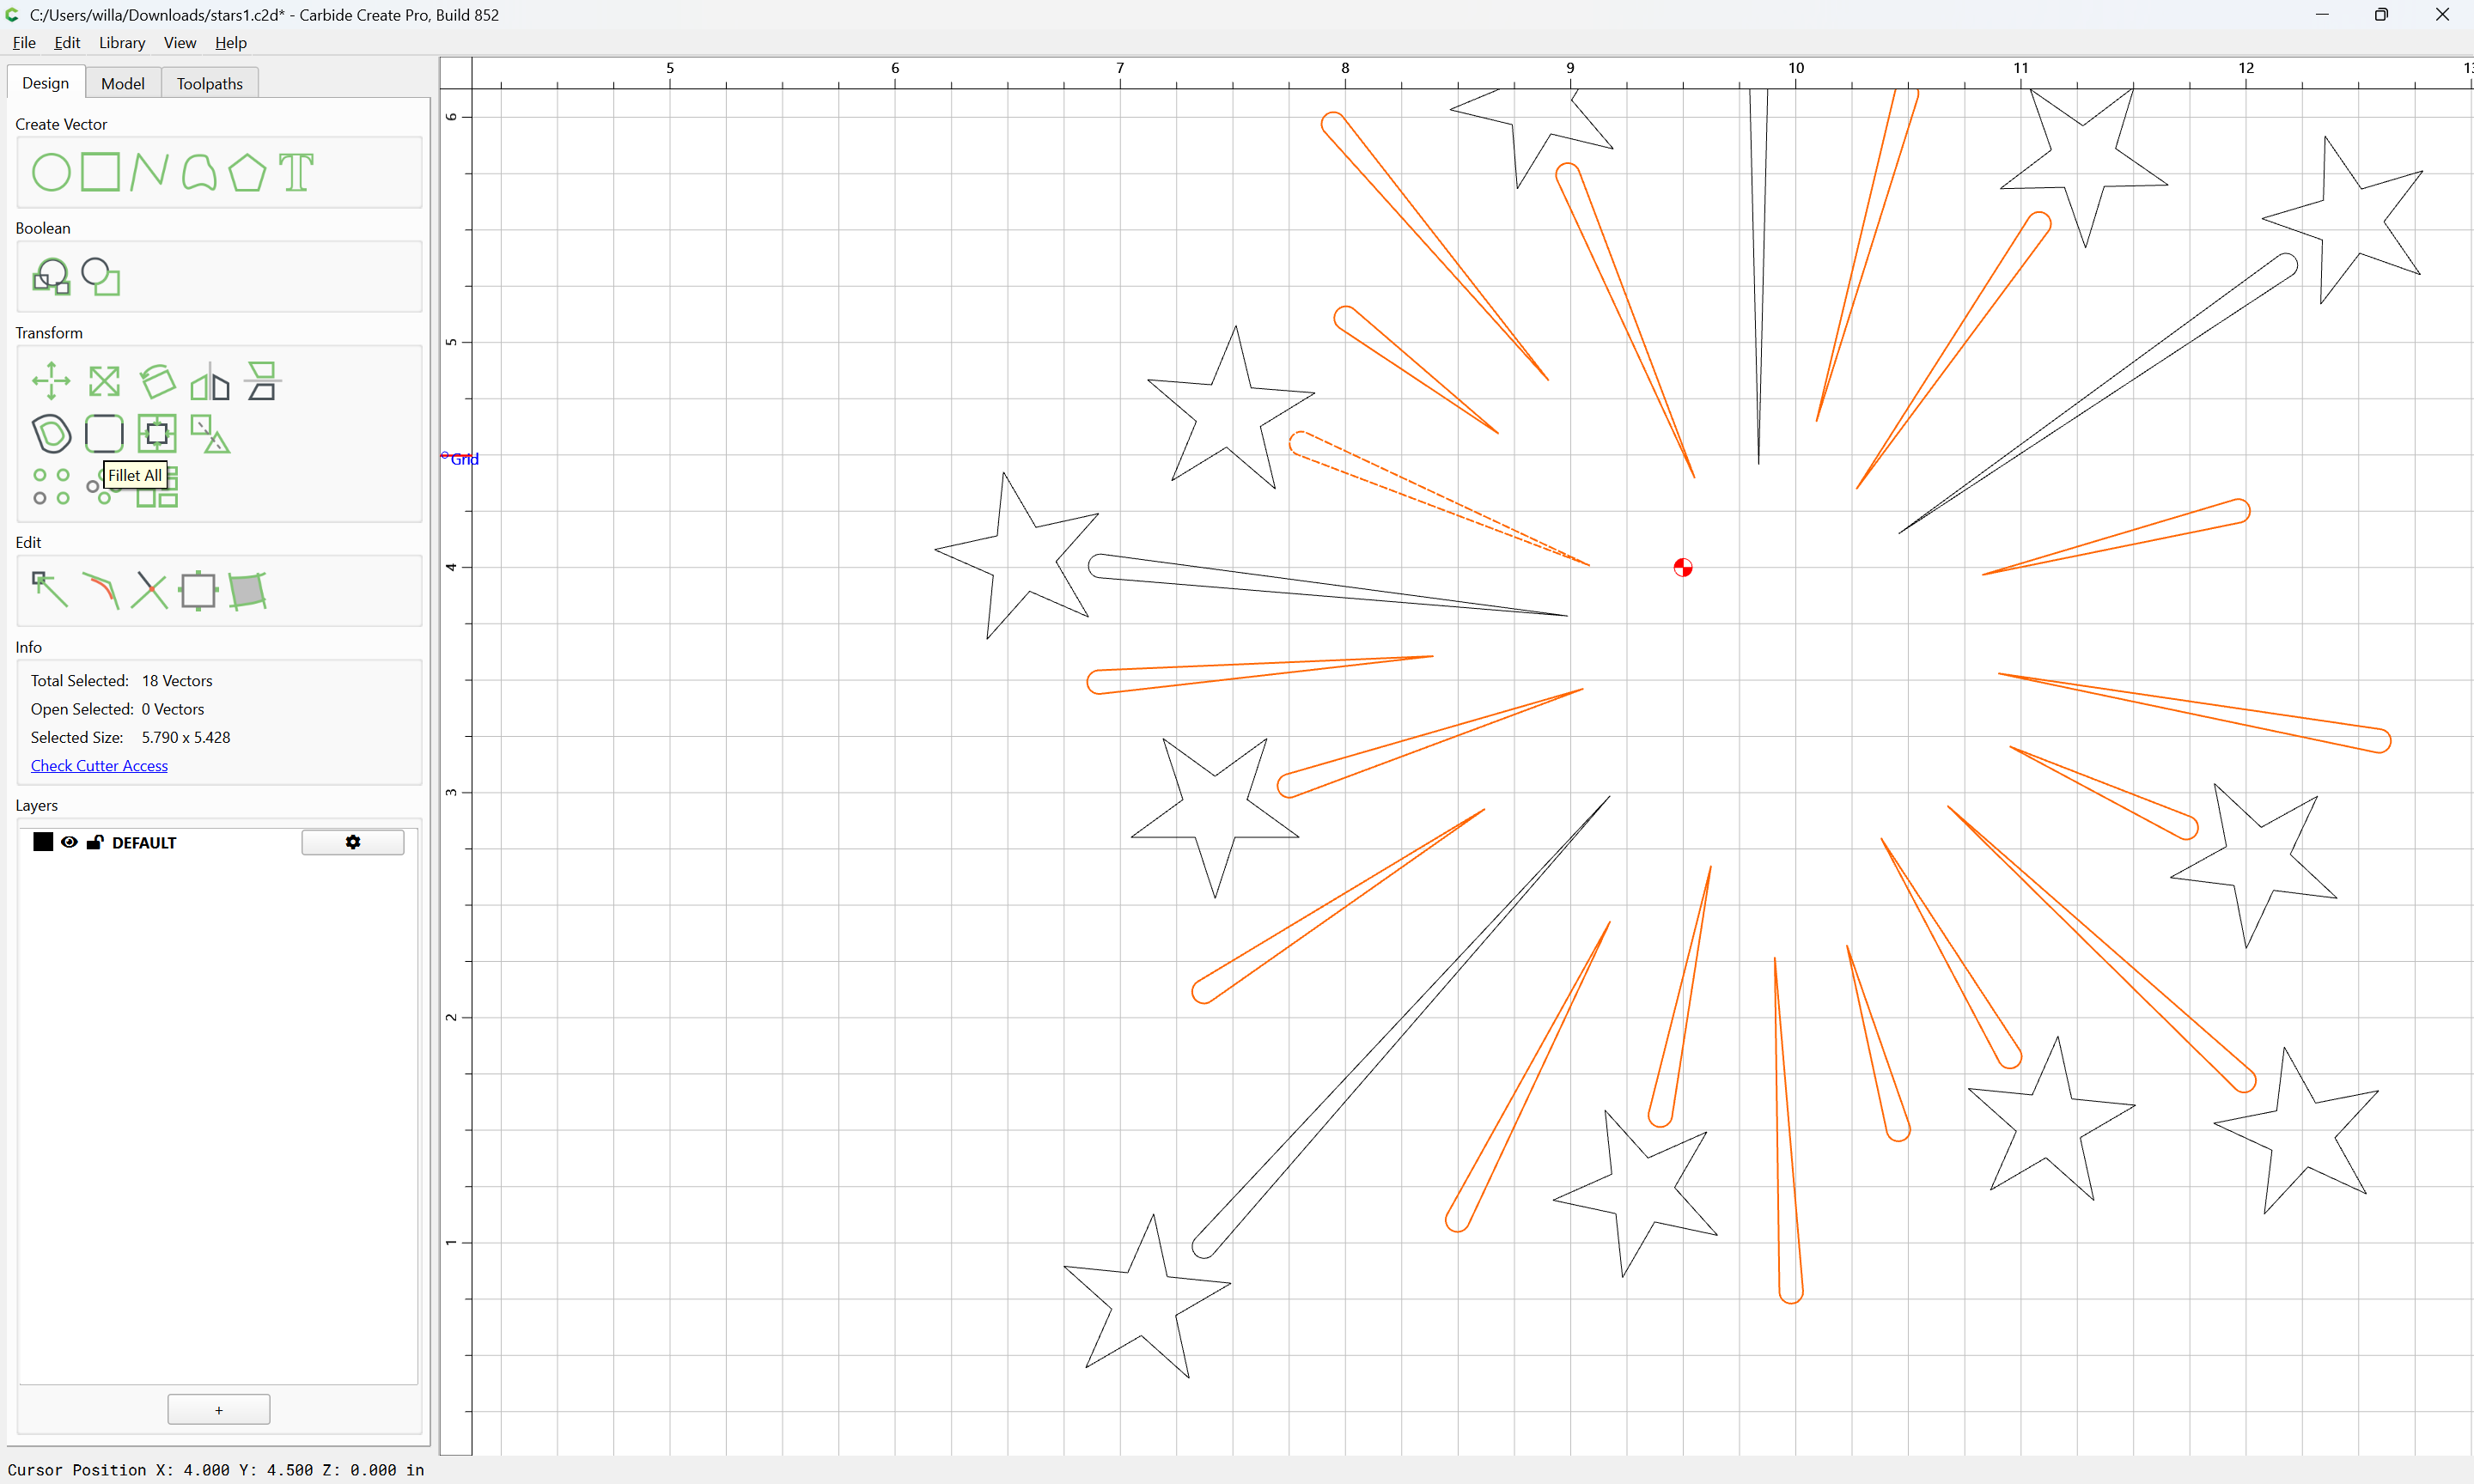
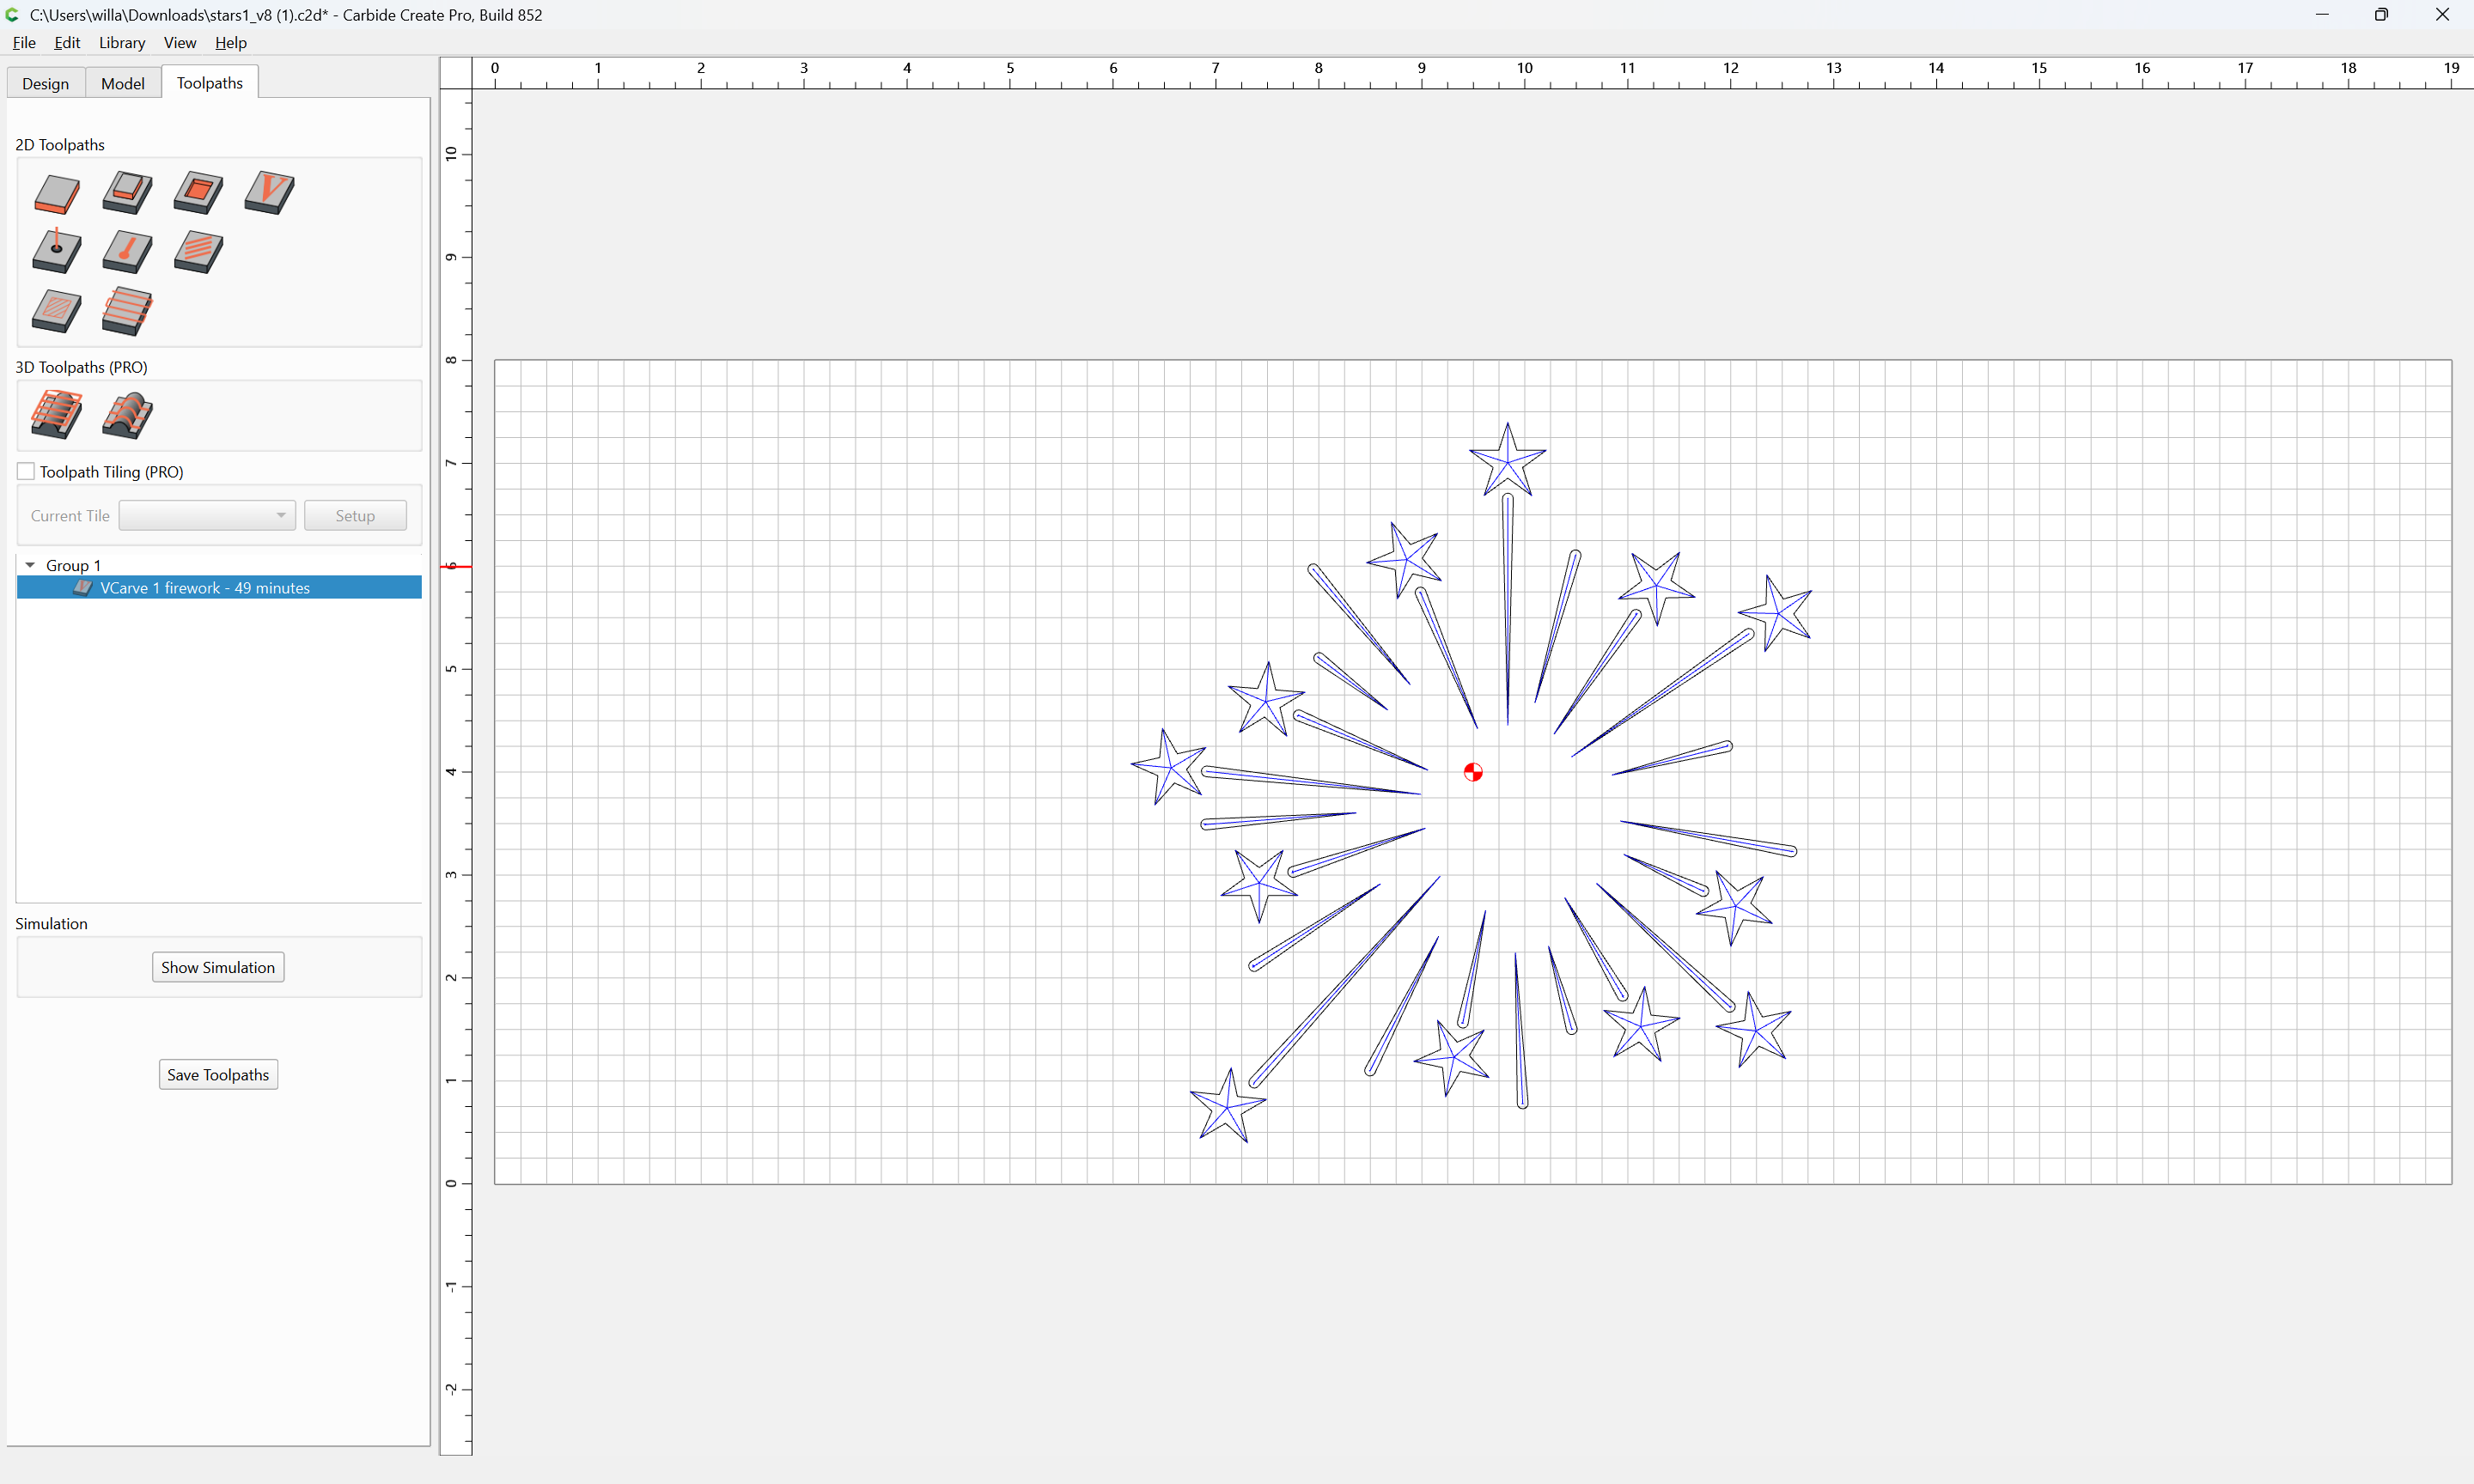
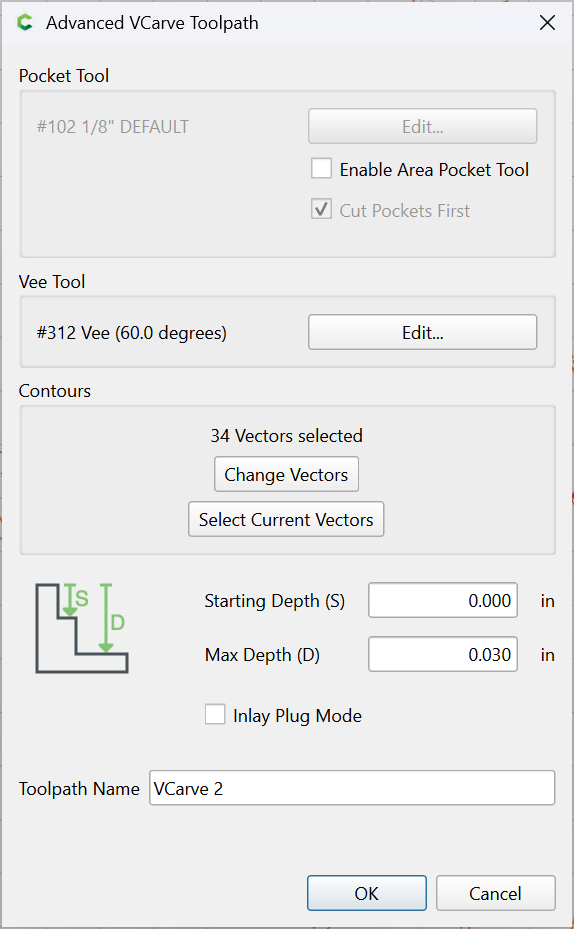
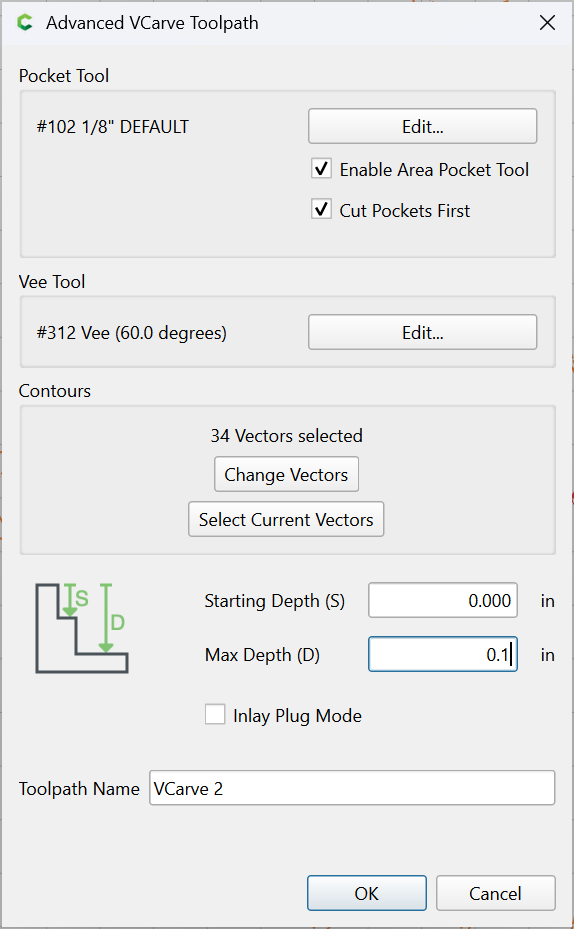
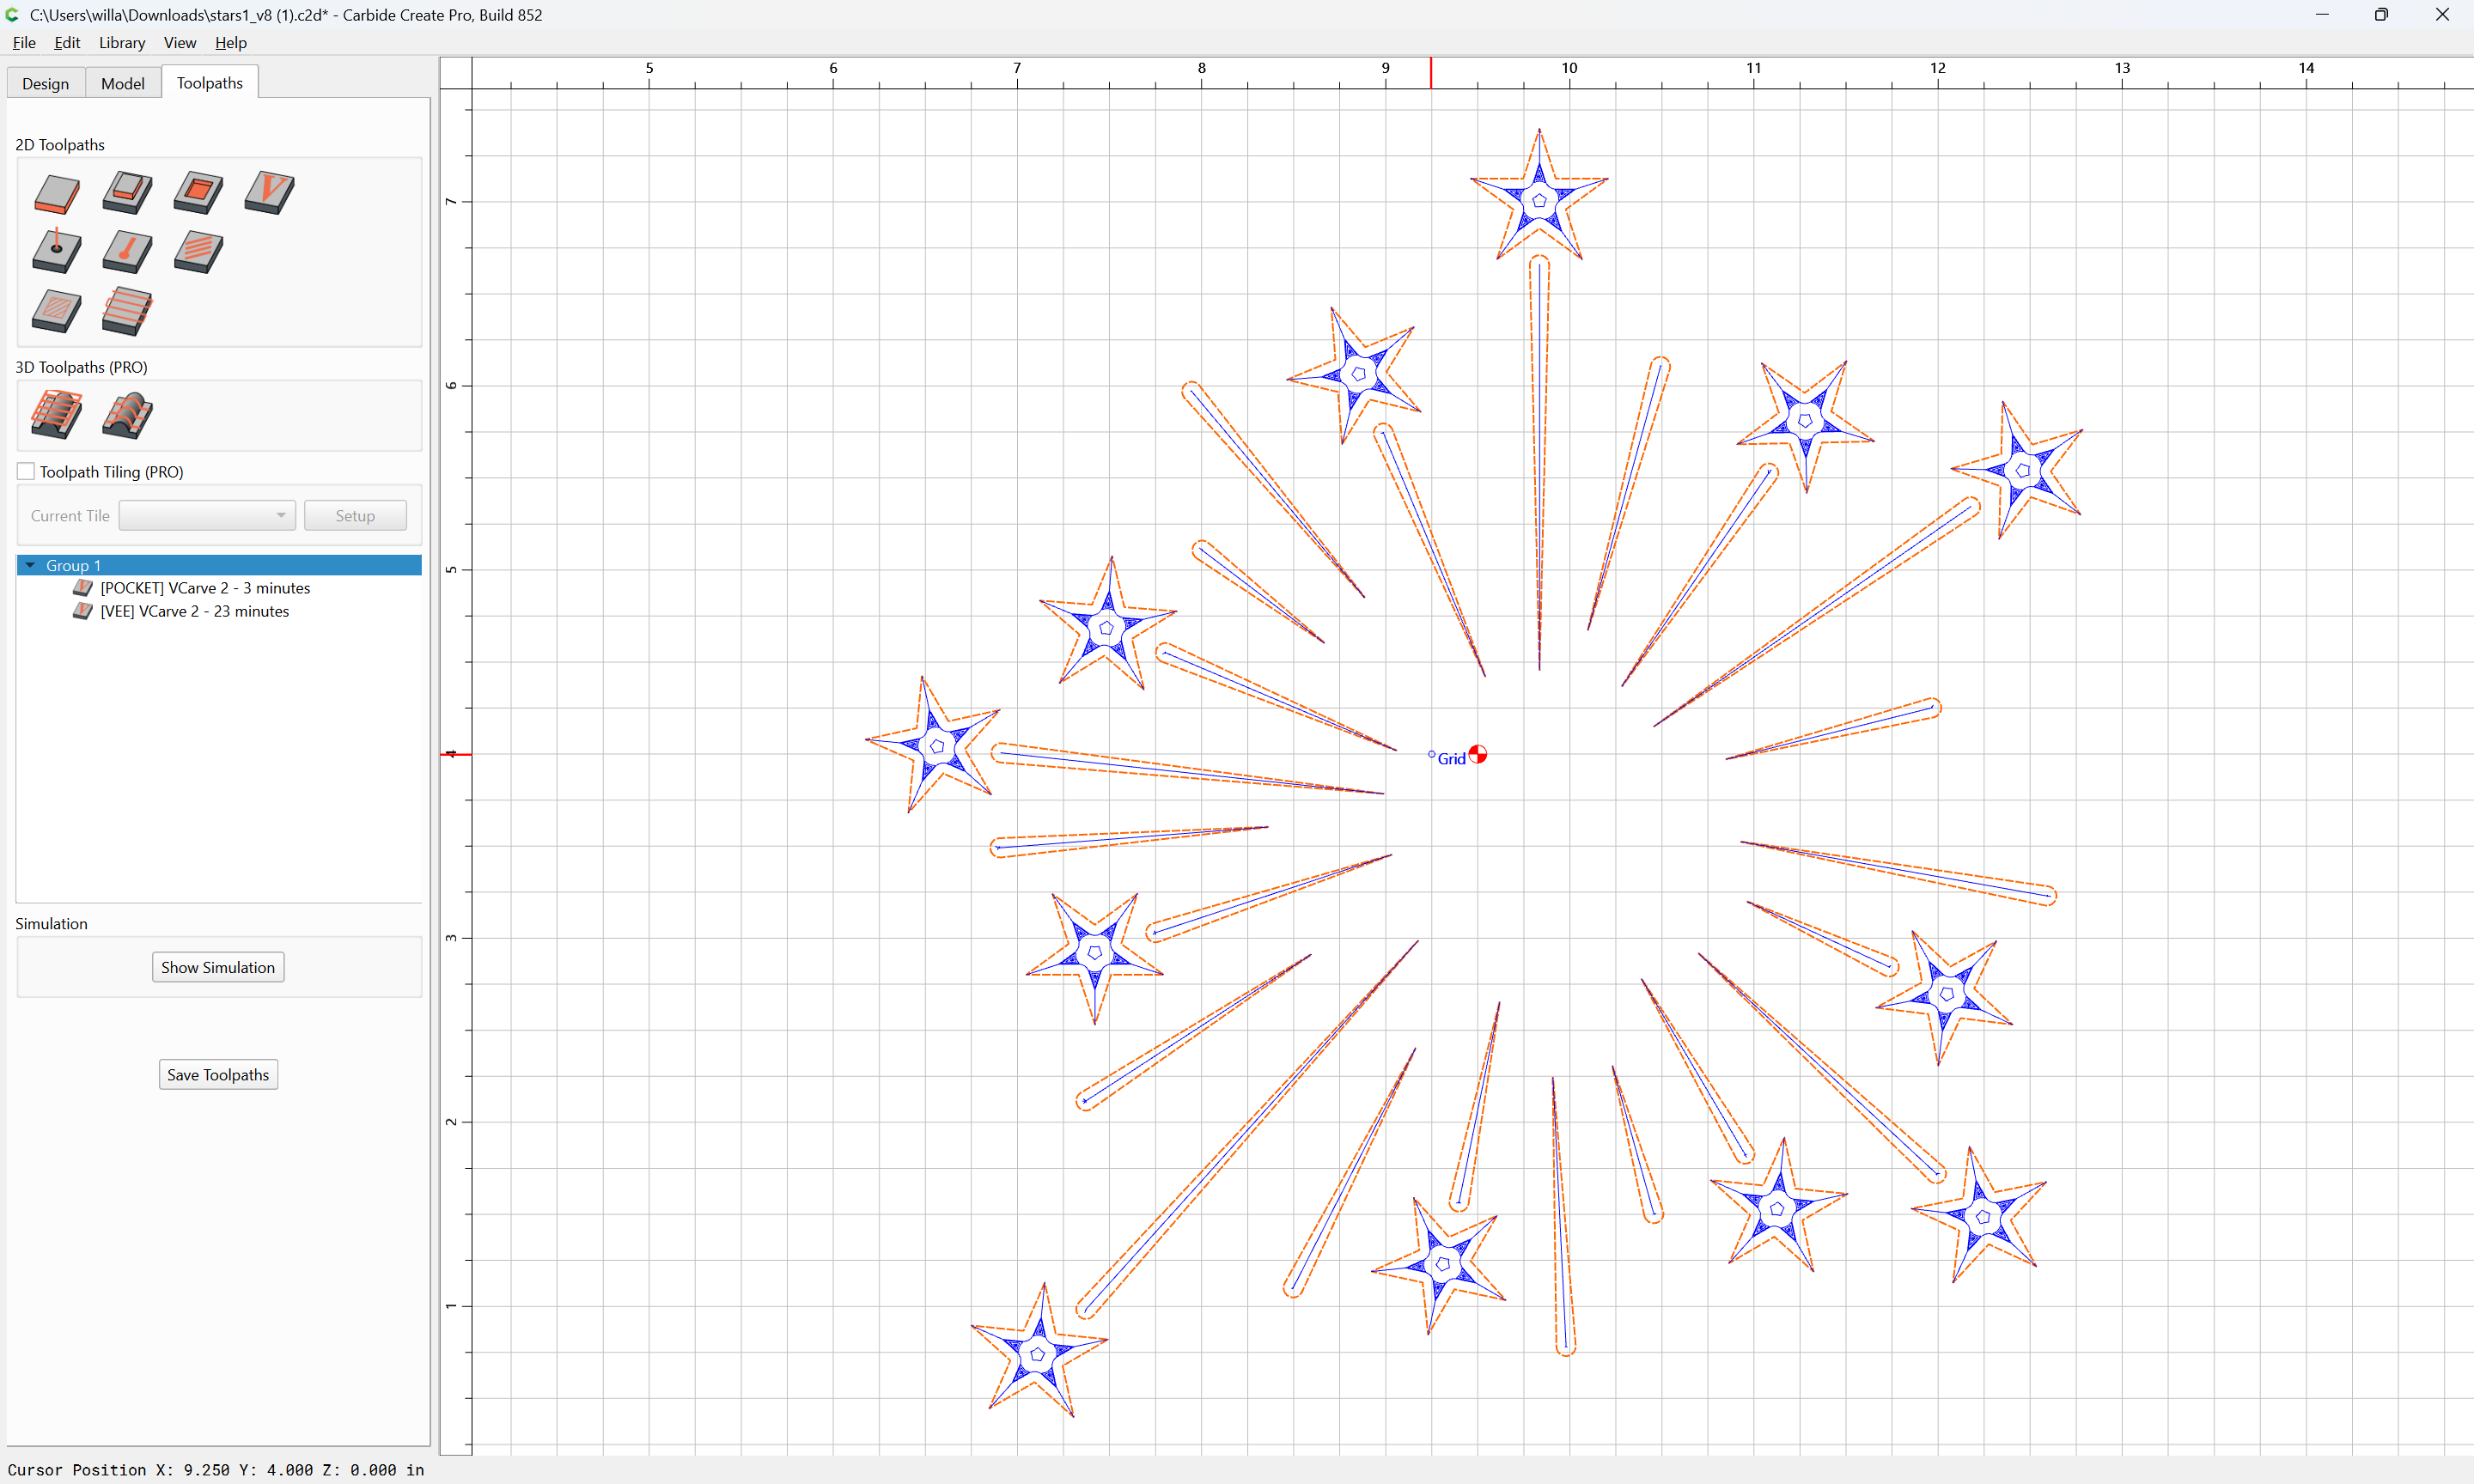
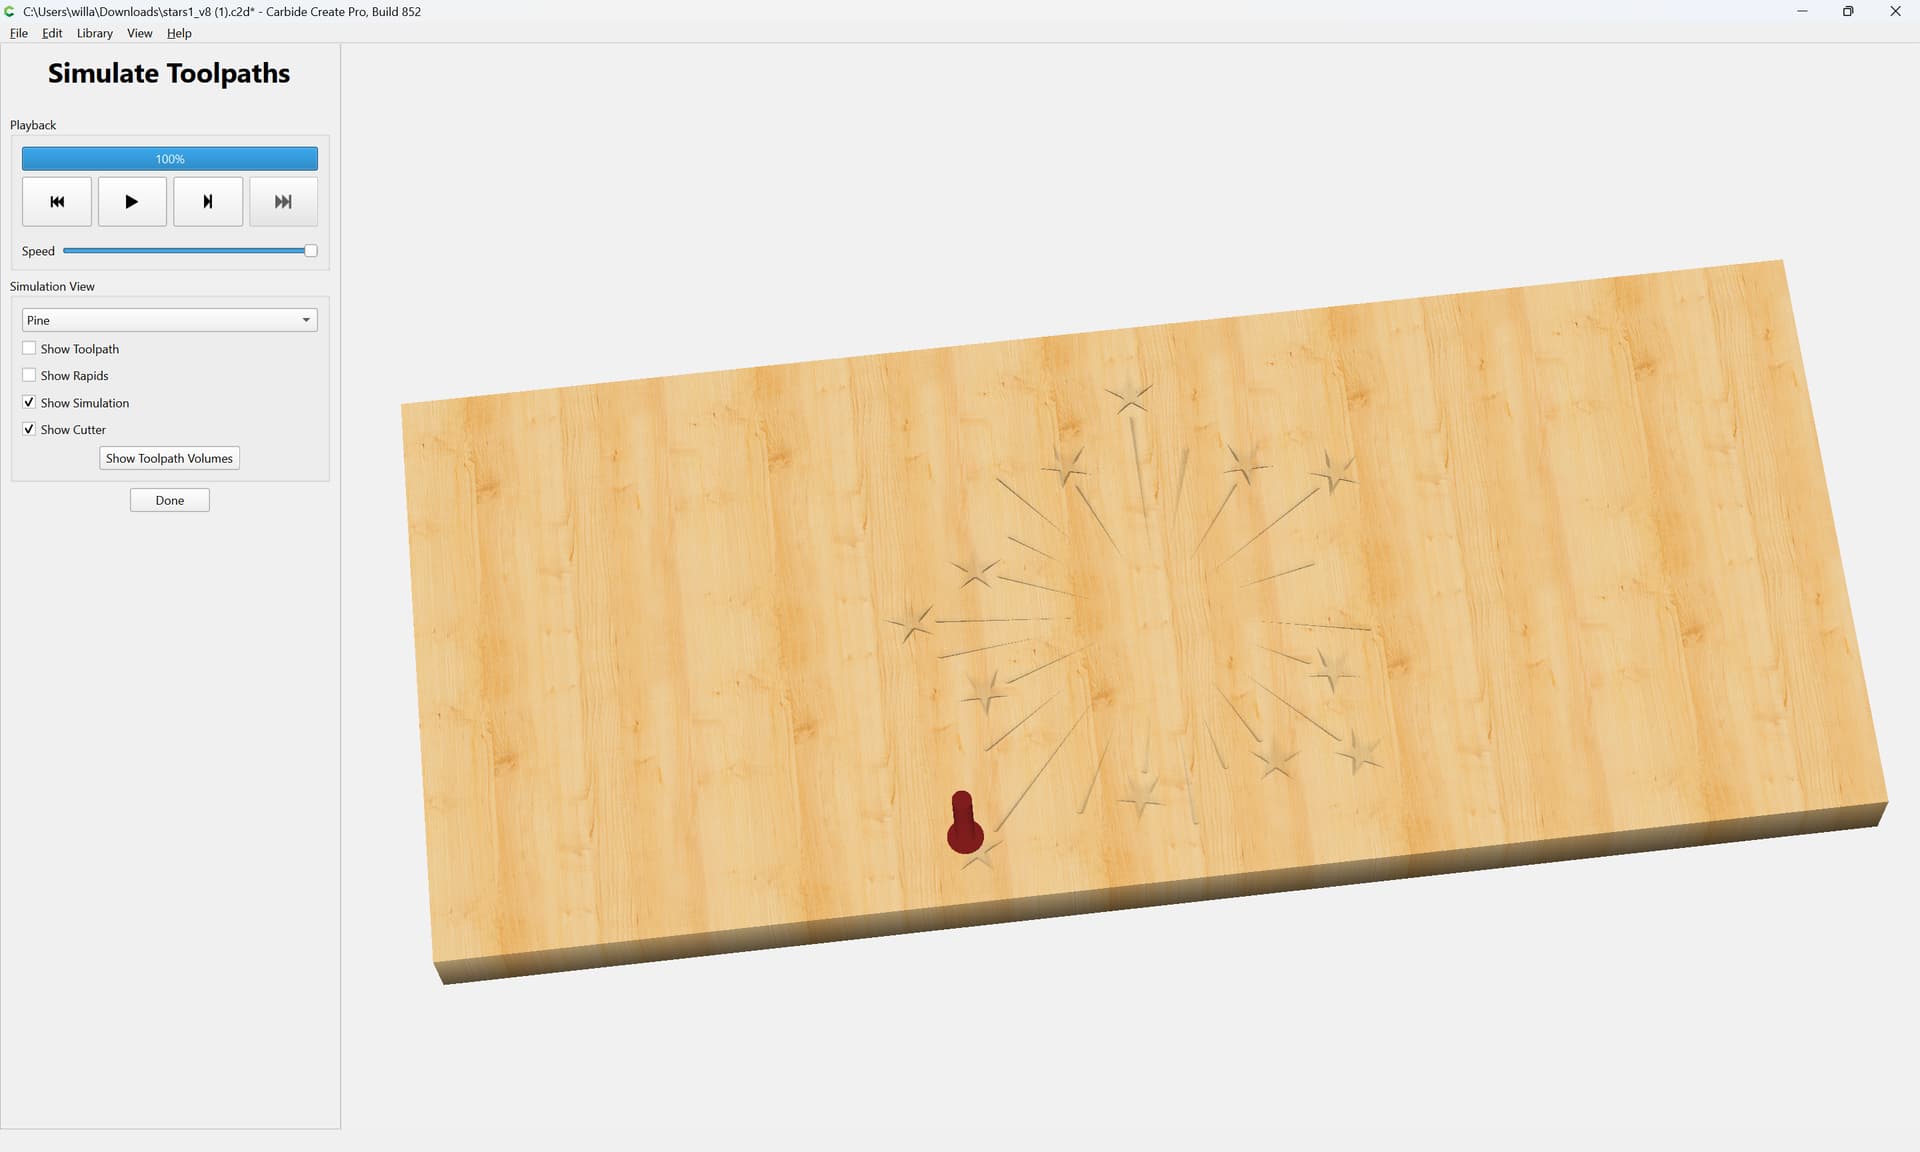
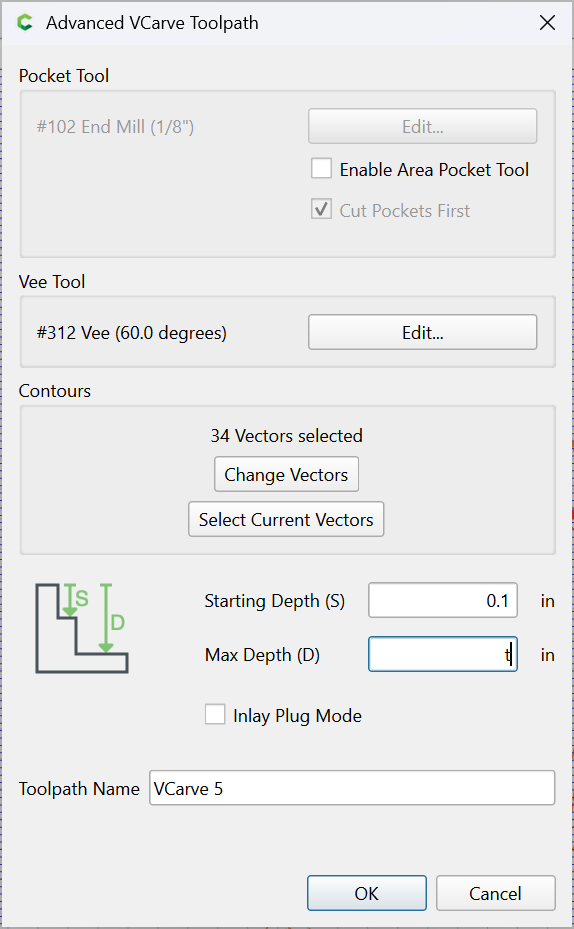
You have a depth set - is 0.100 inches how deep you want? If you want deeper, use the value ‘t’, which will allow the carve to go as deep as it can and still stay inside the lines.
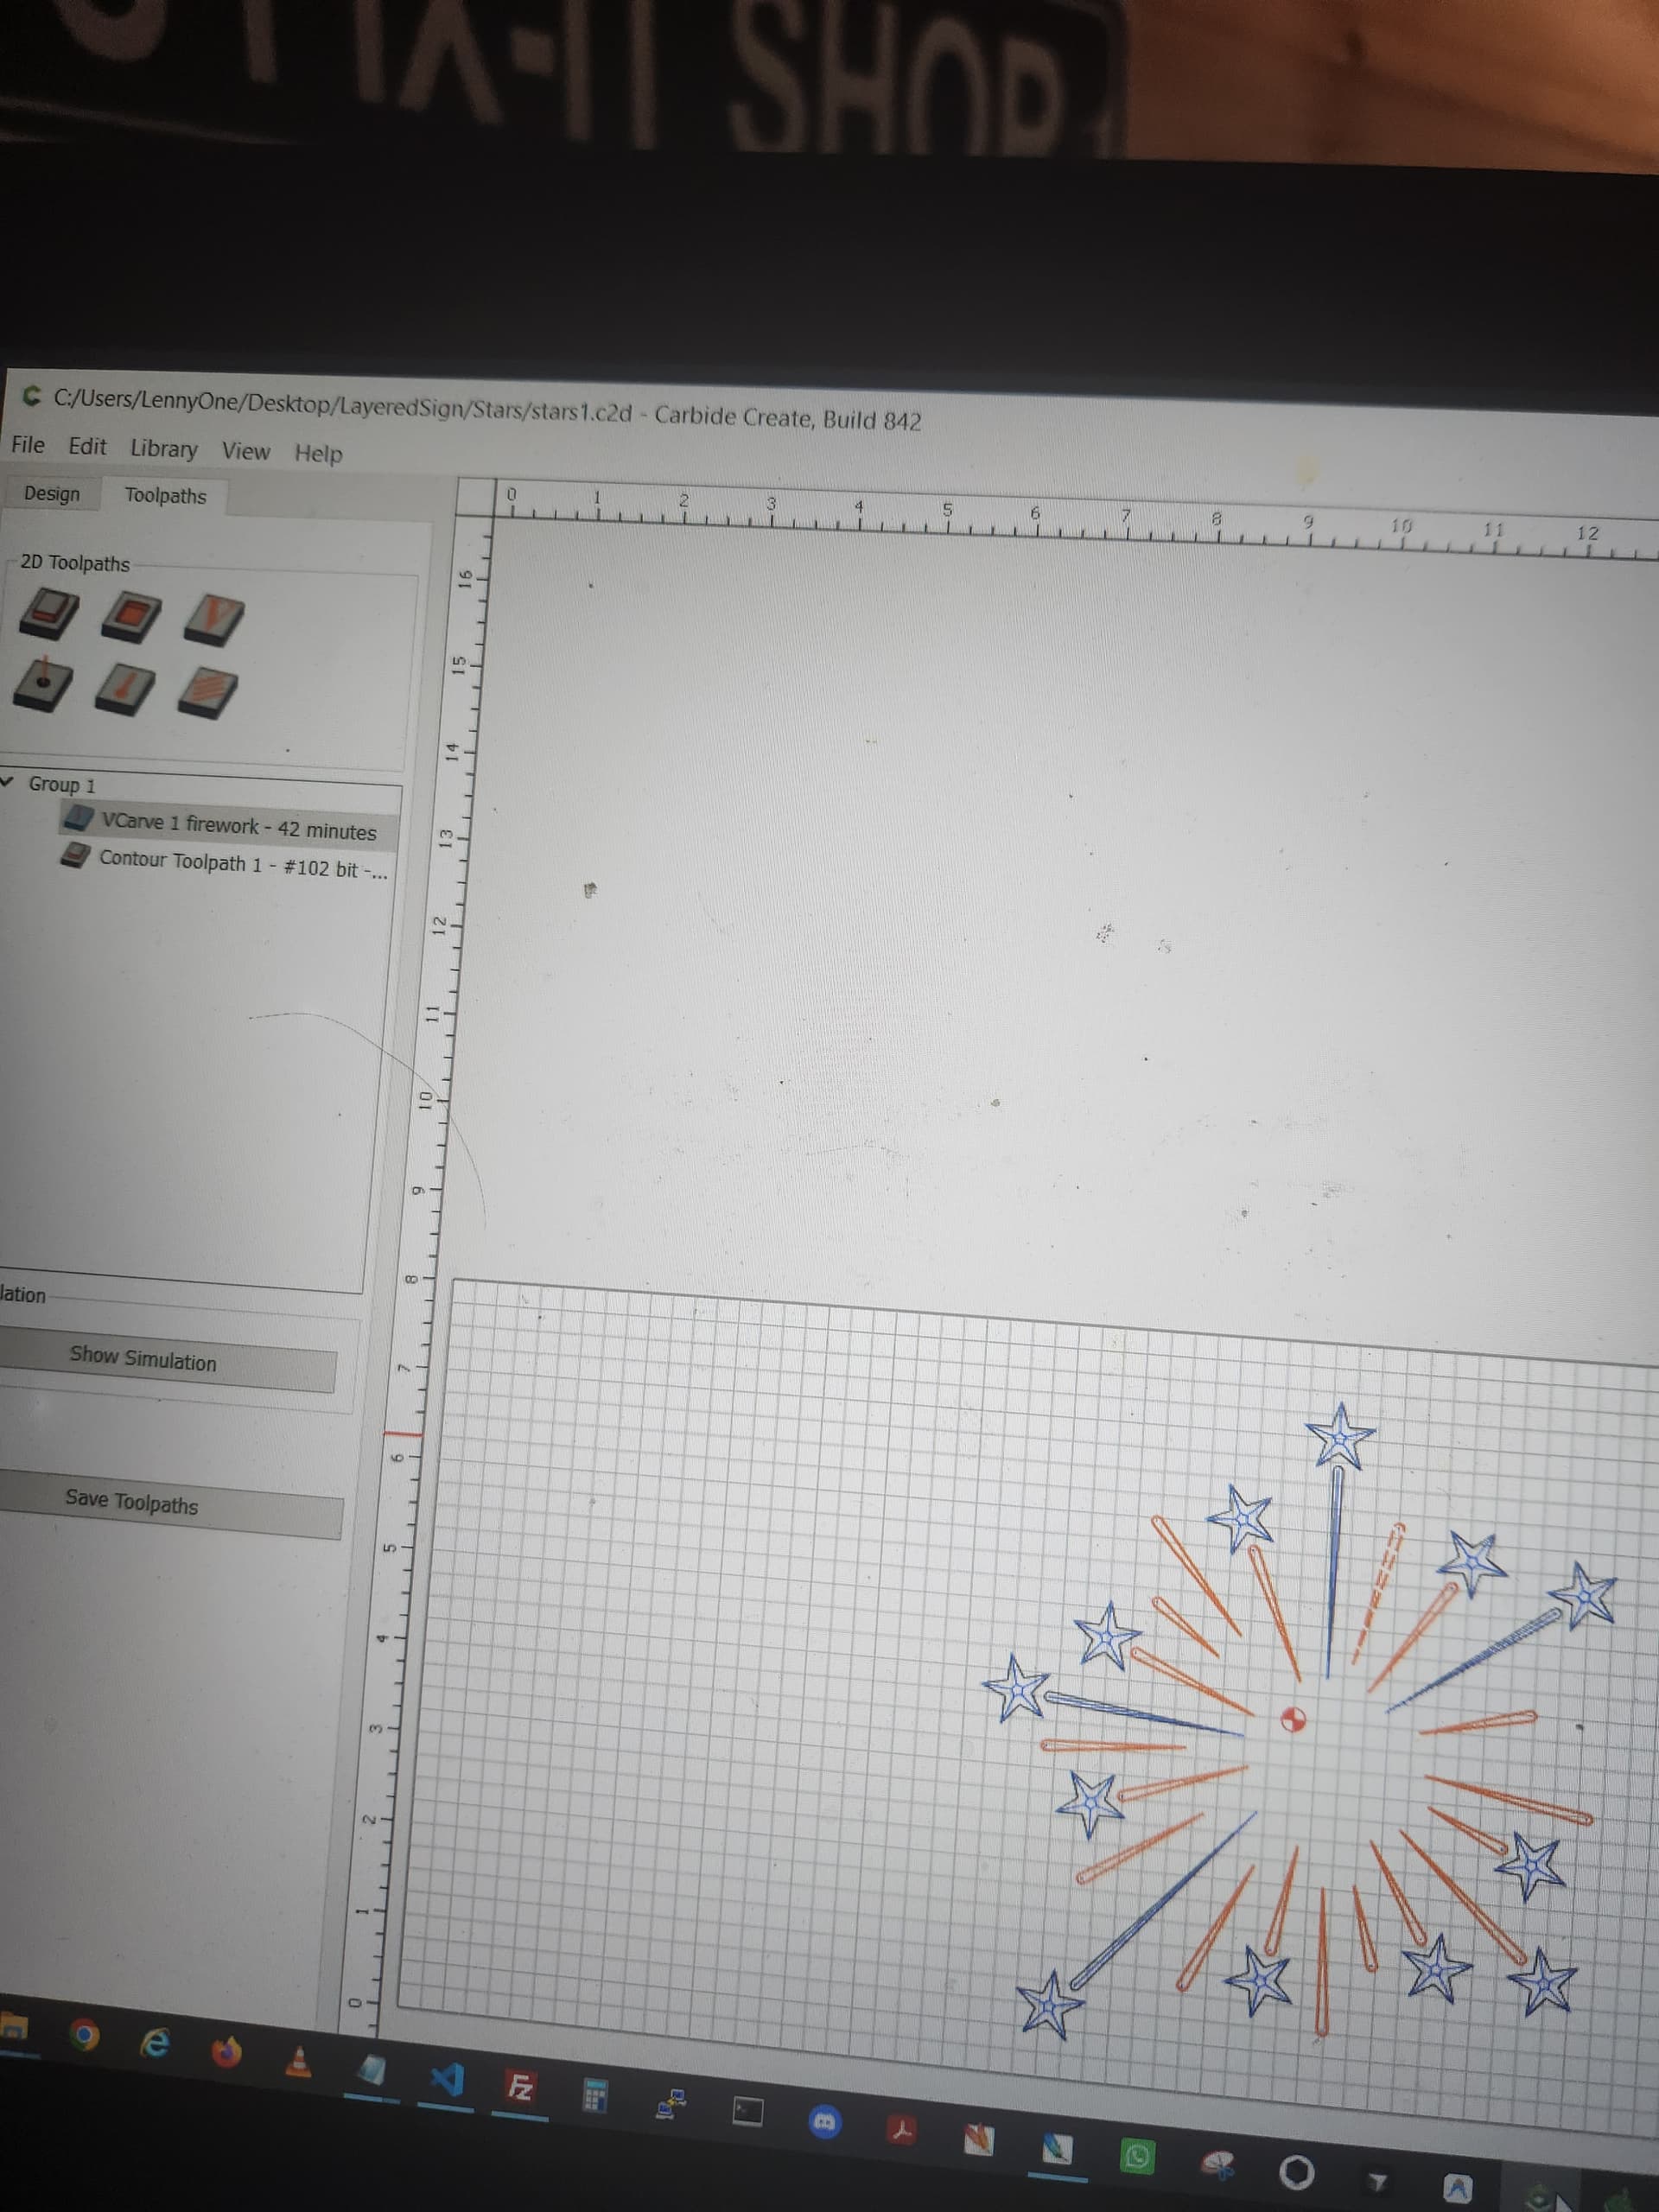
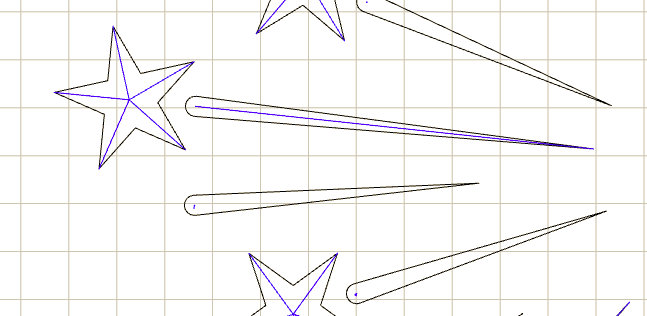
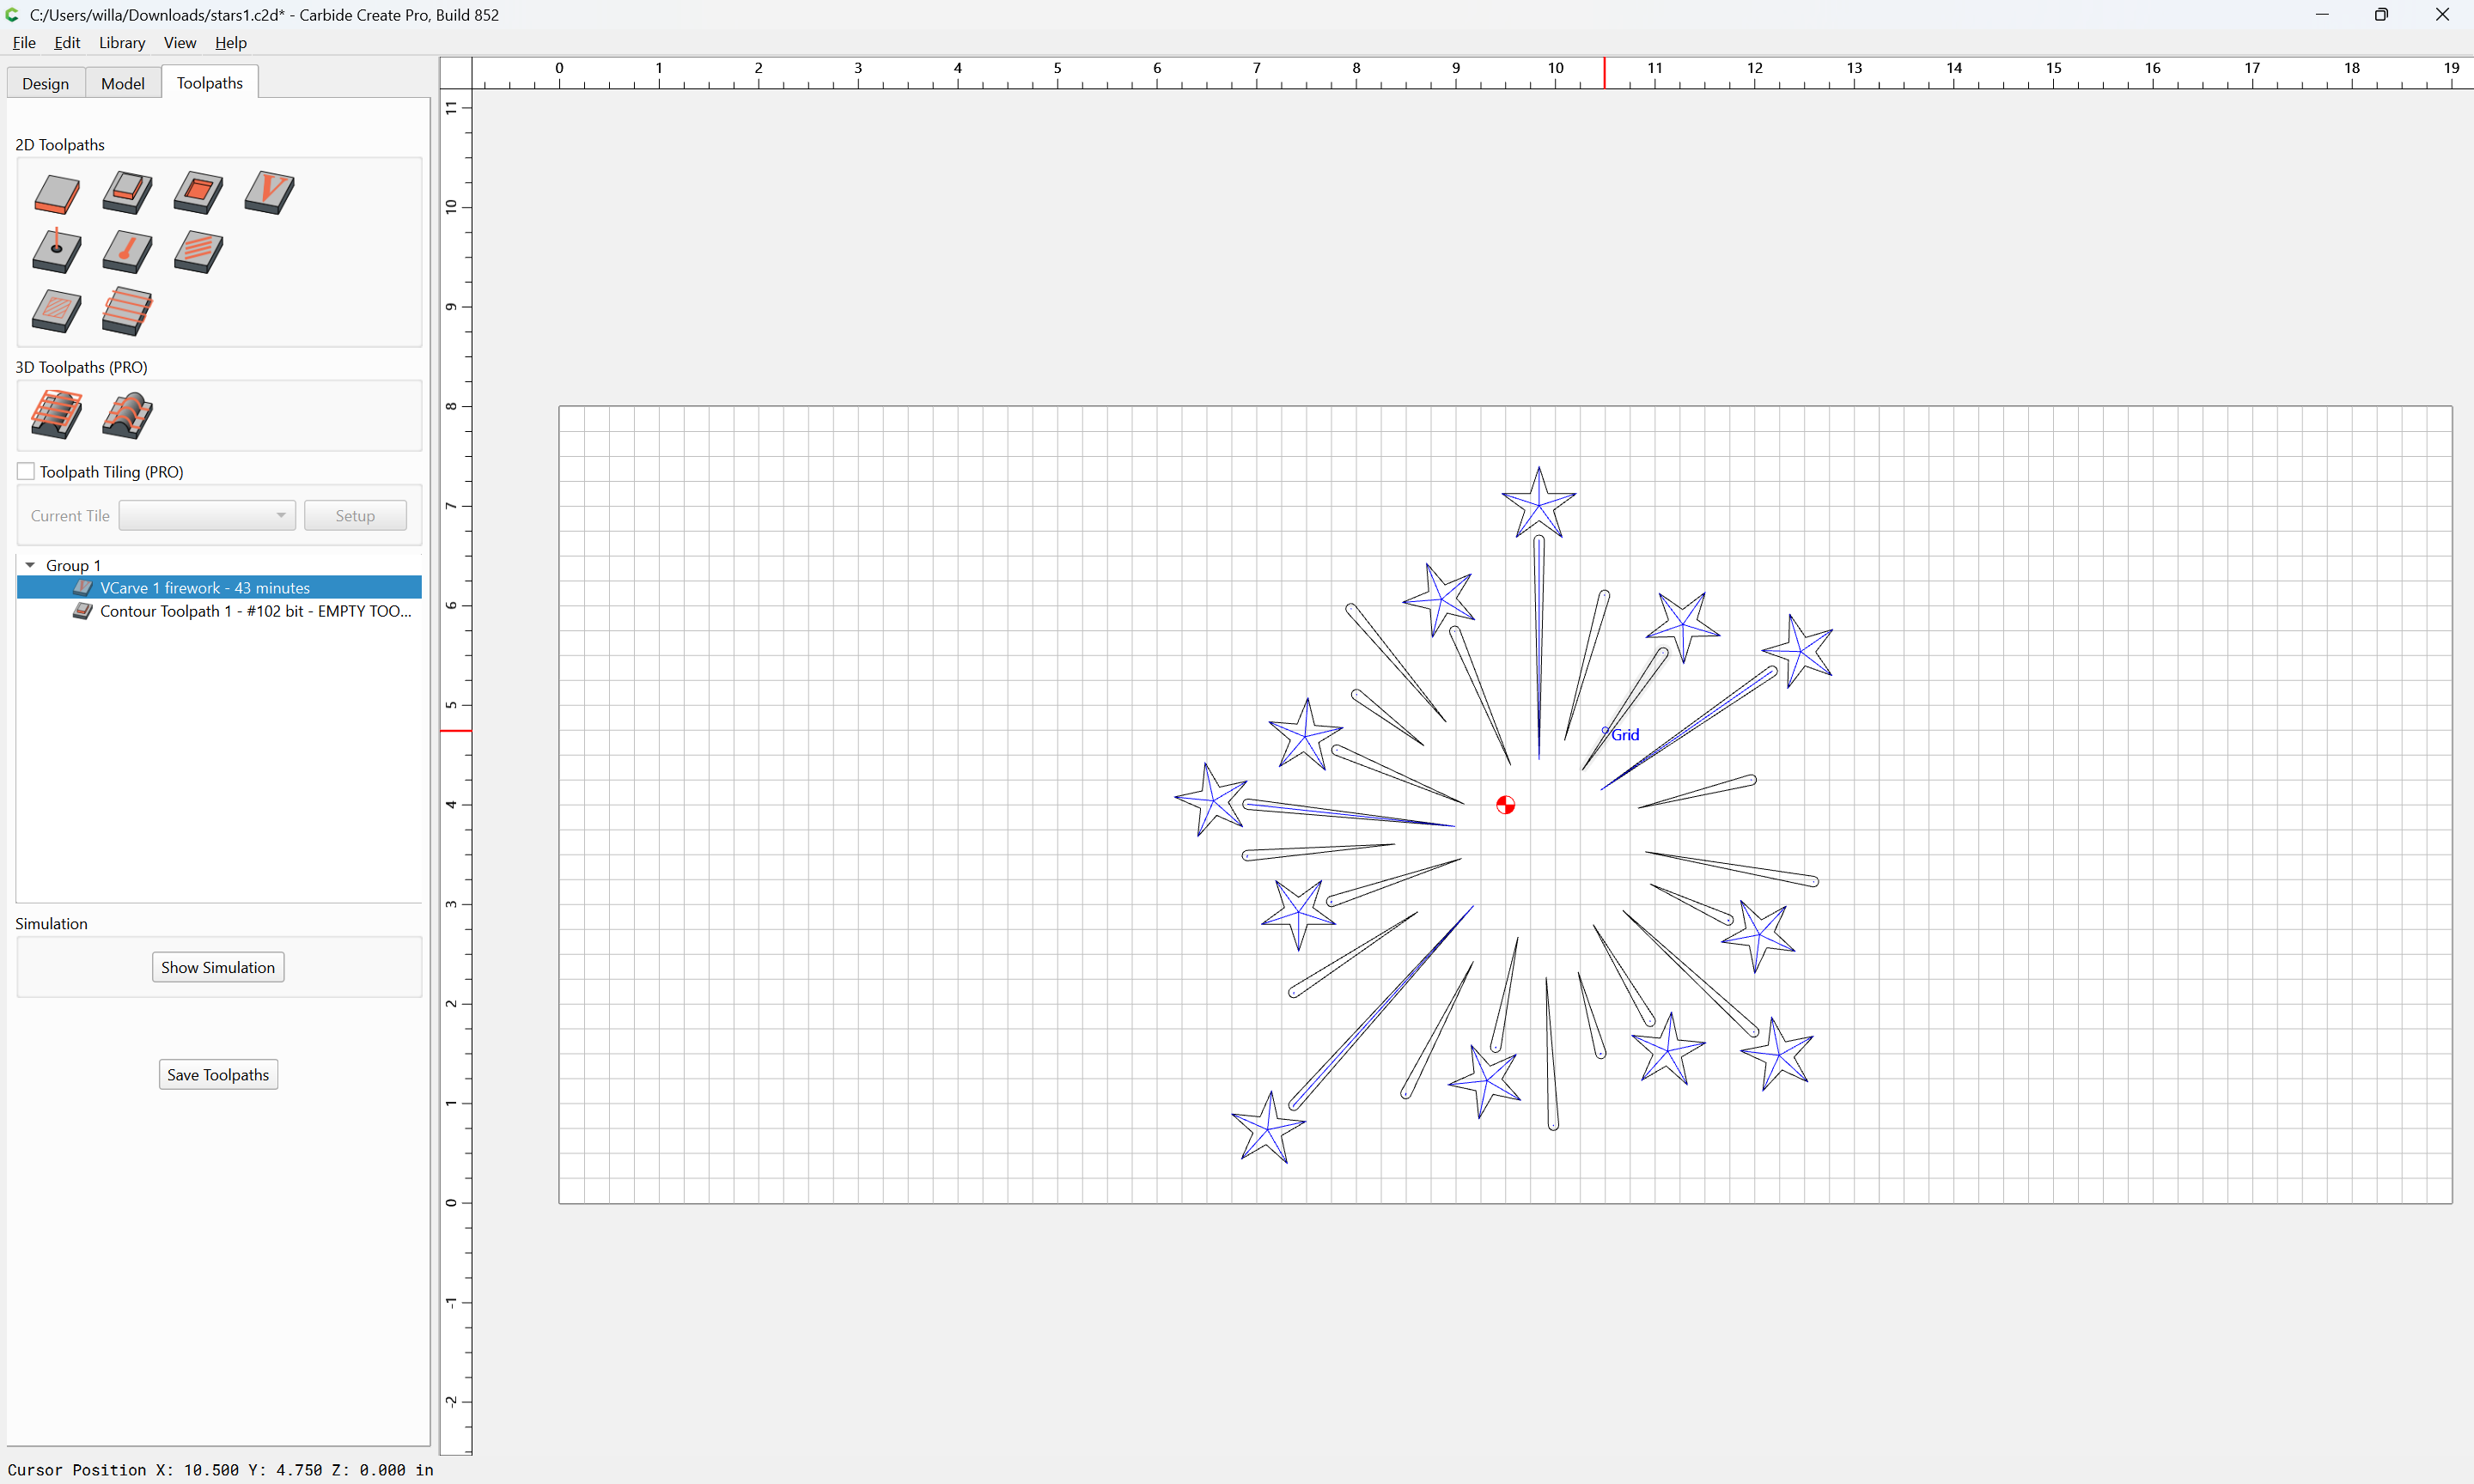
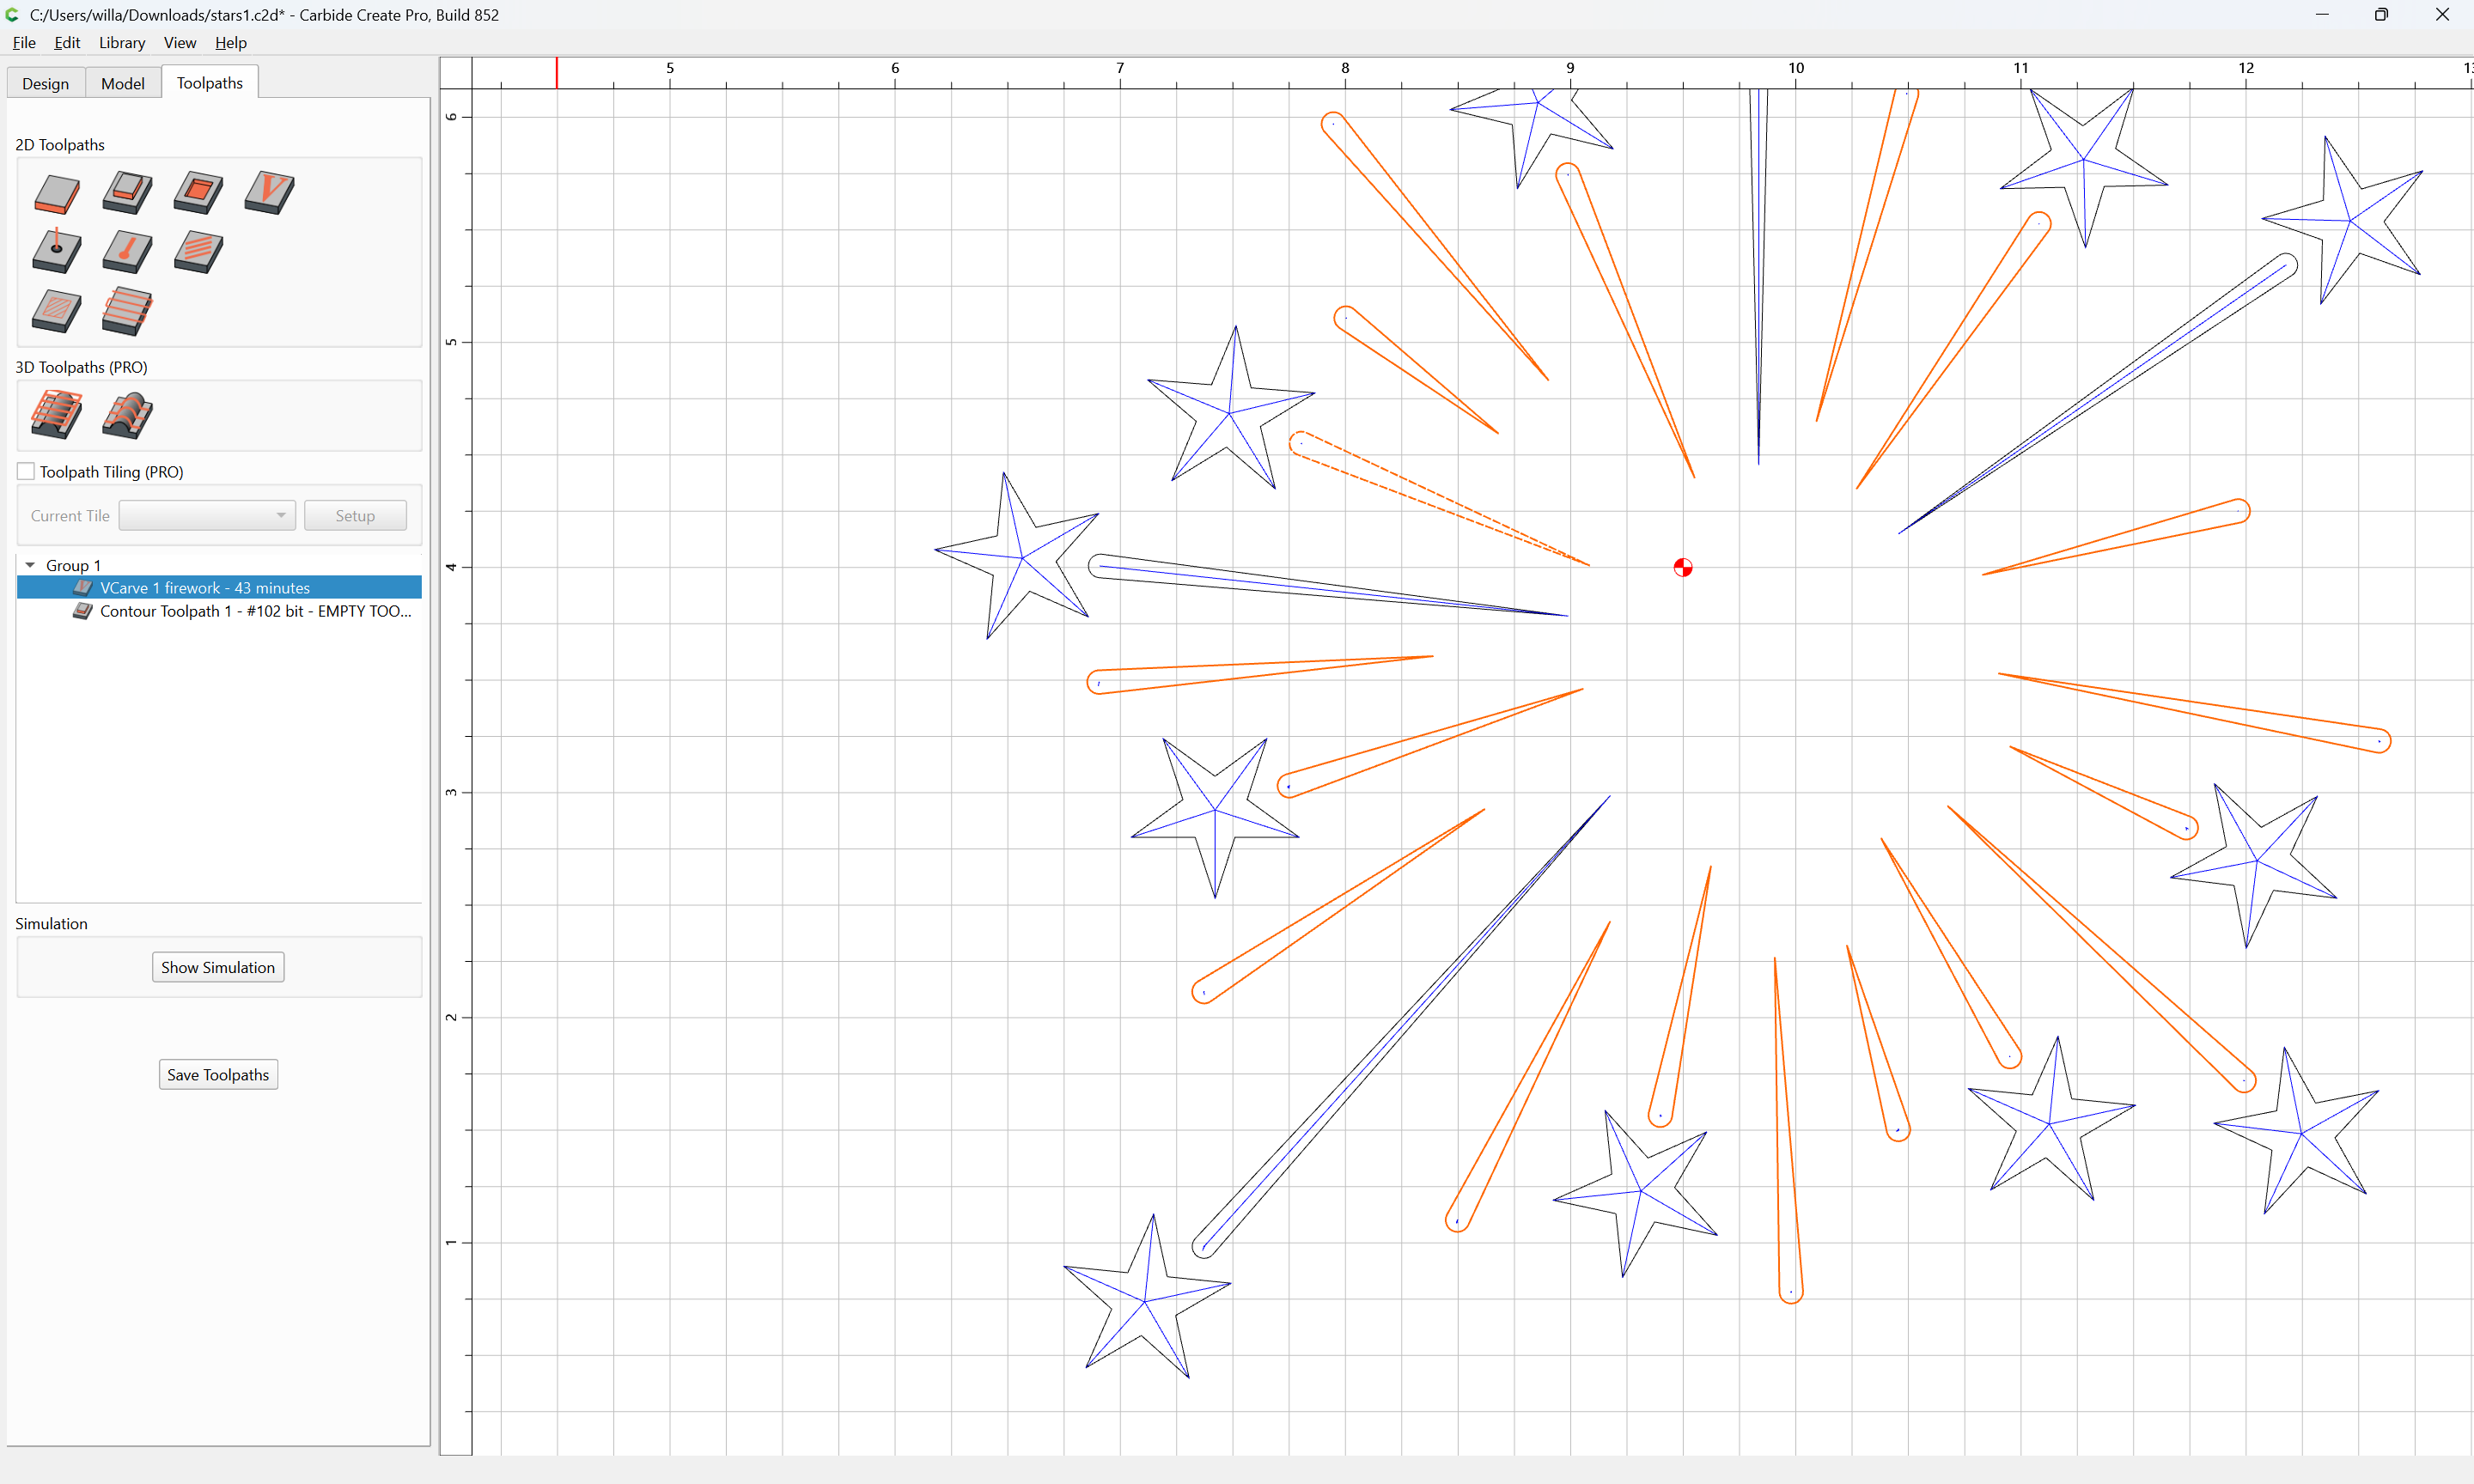
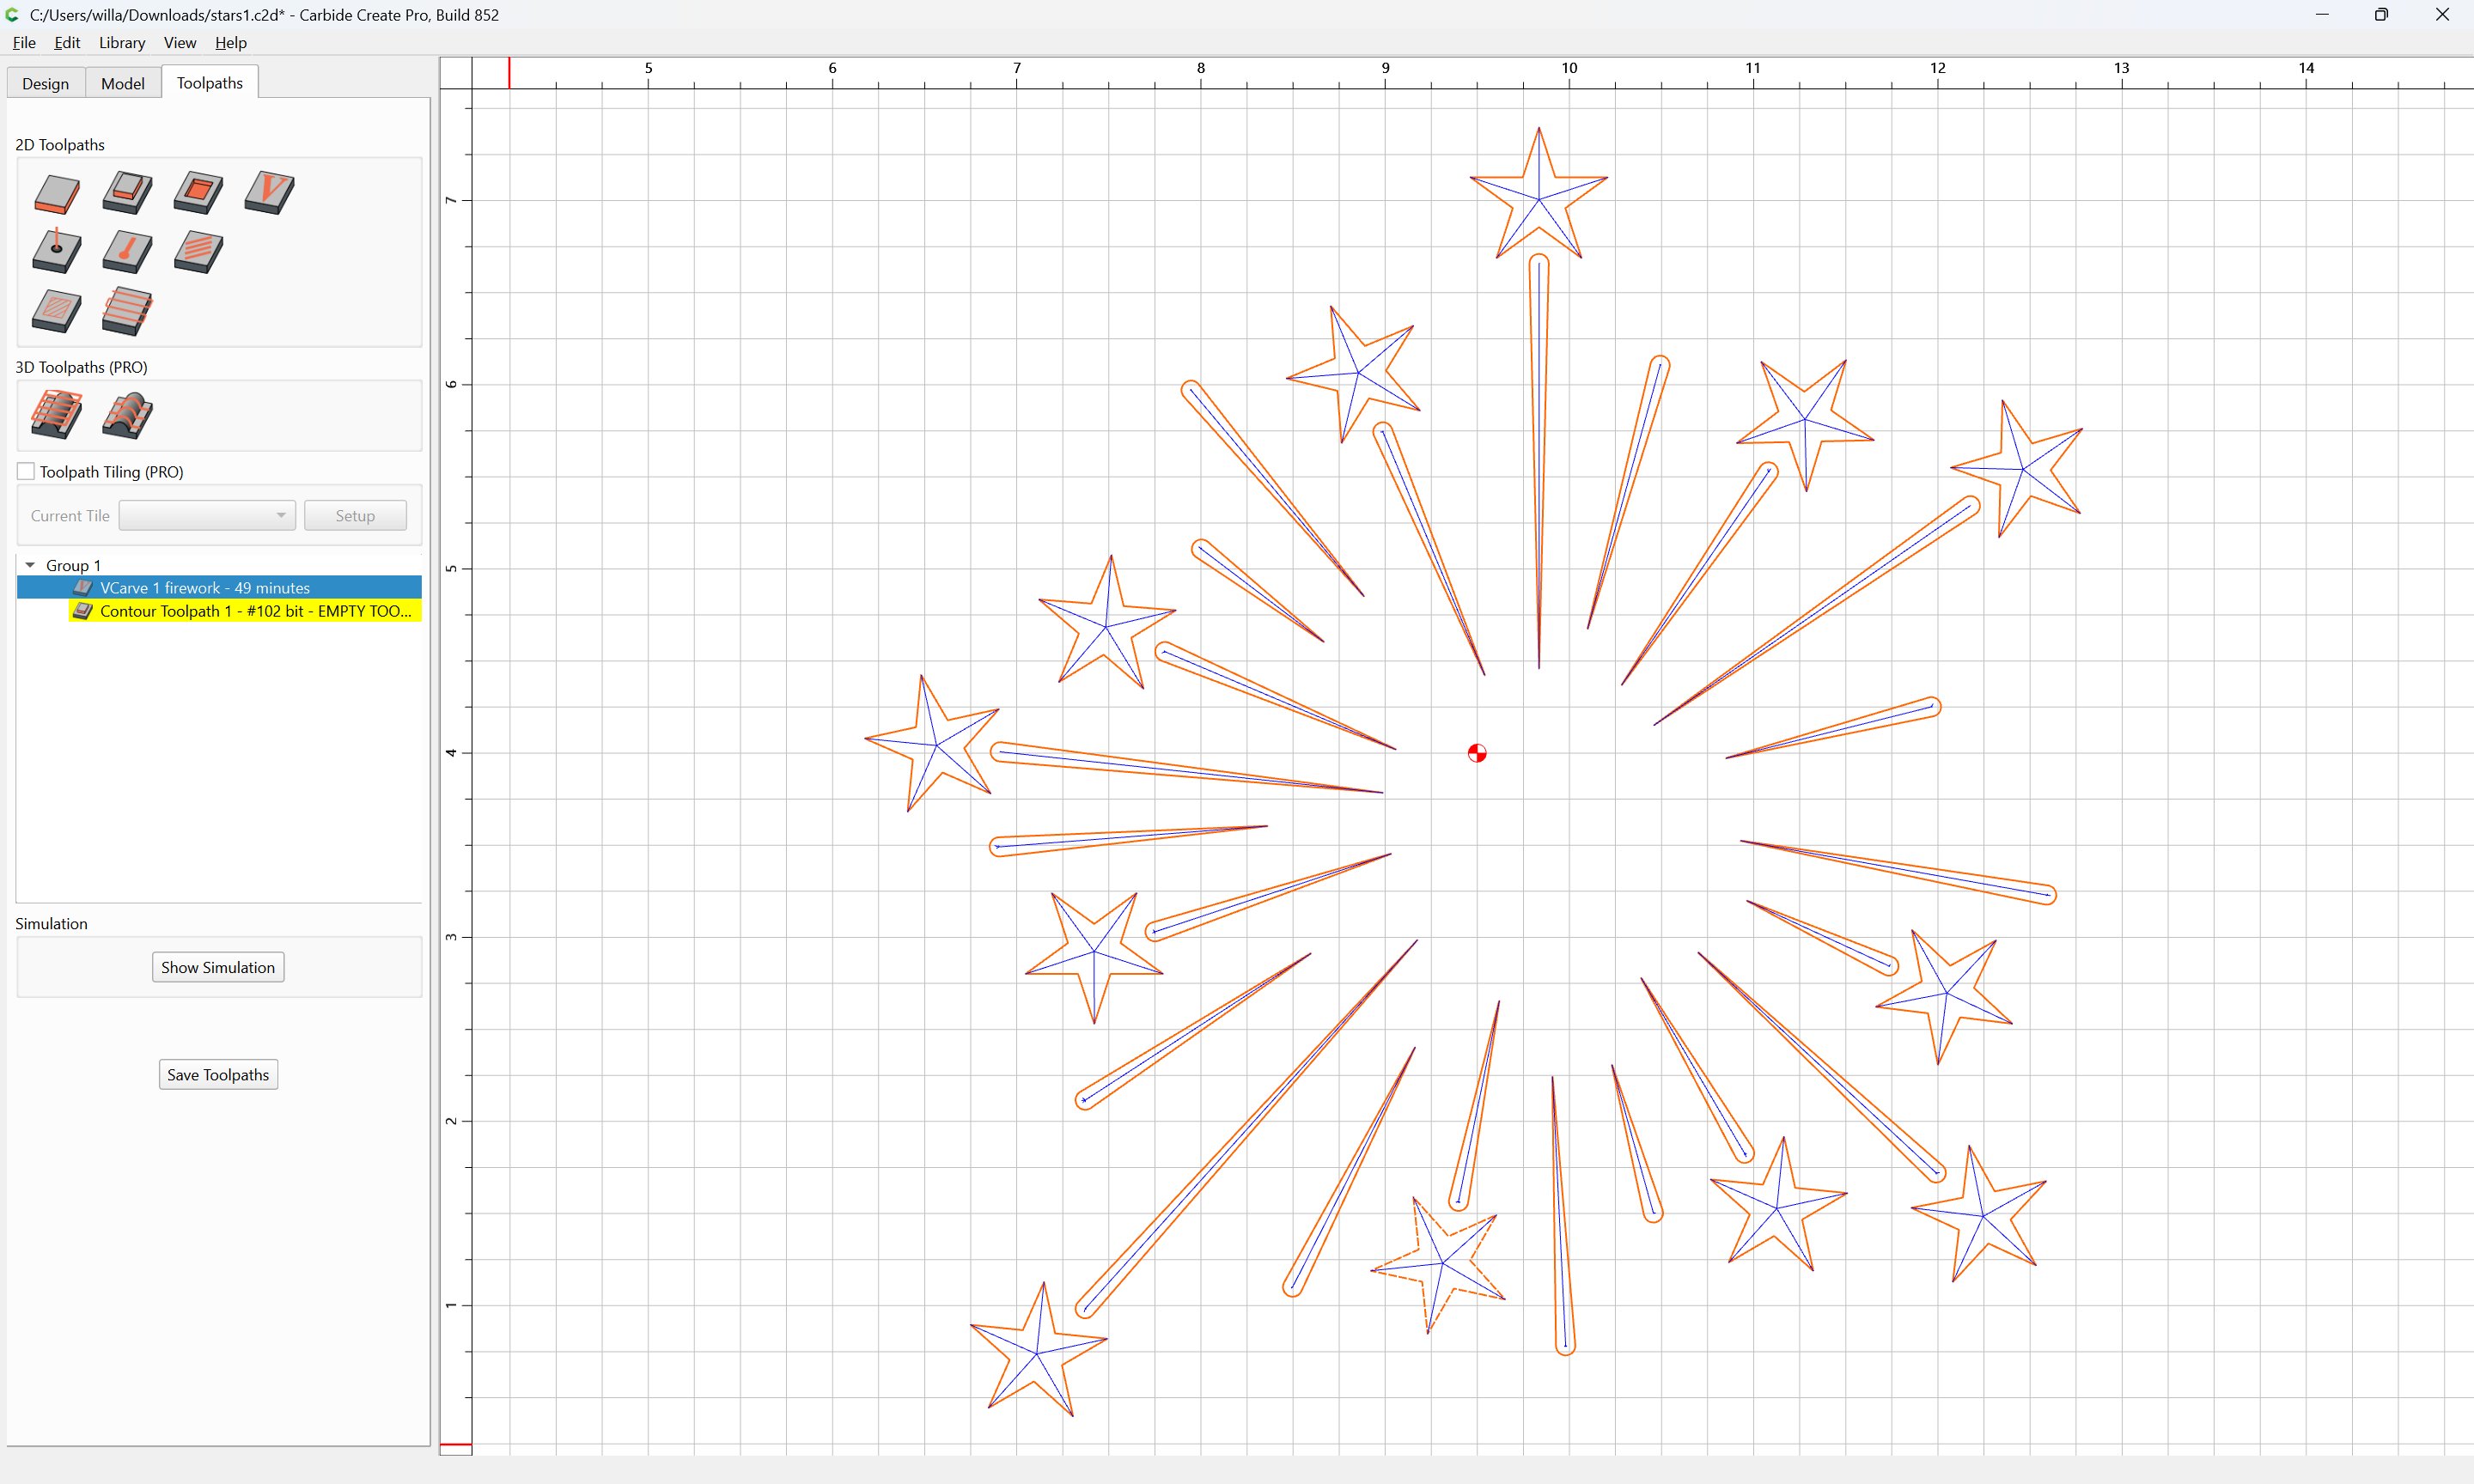
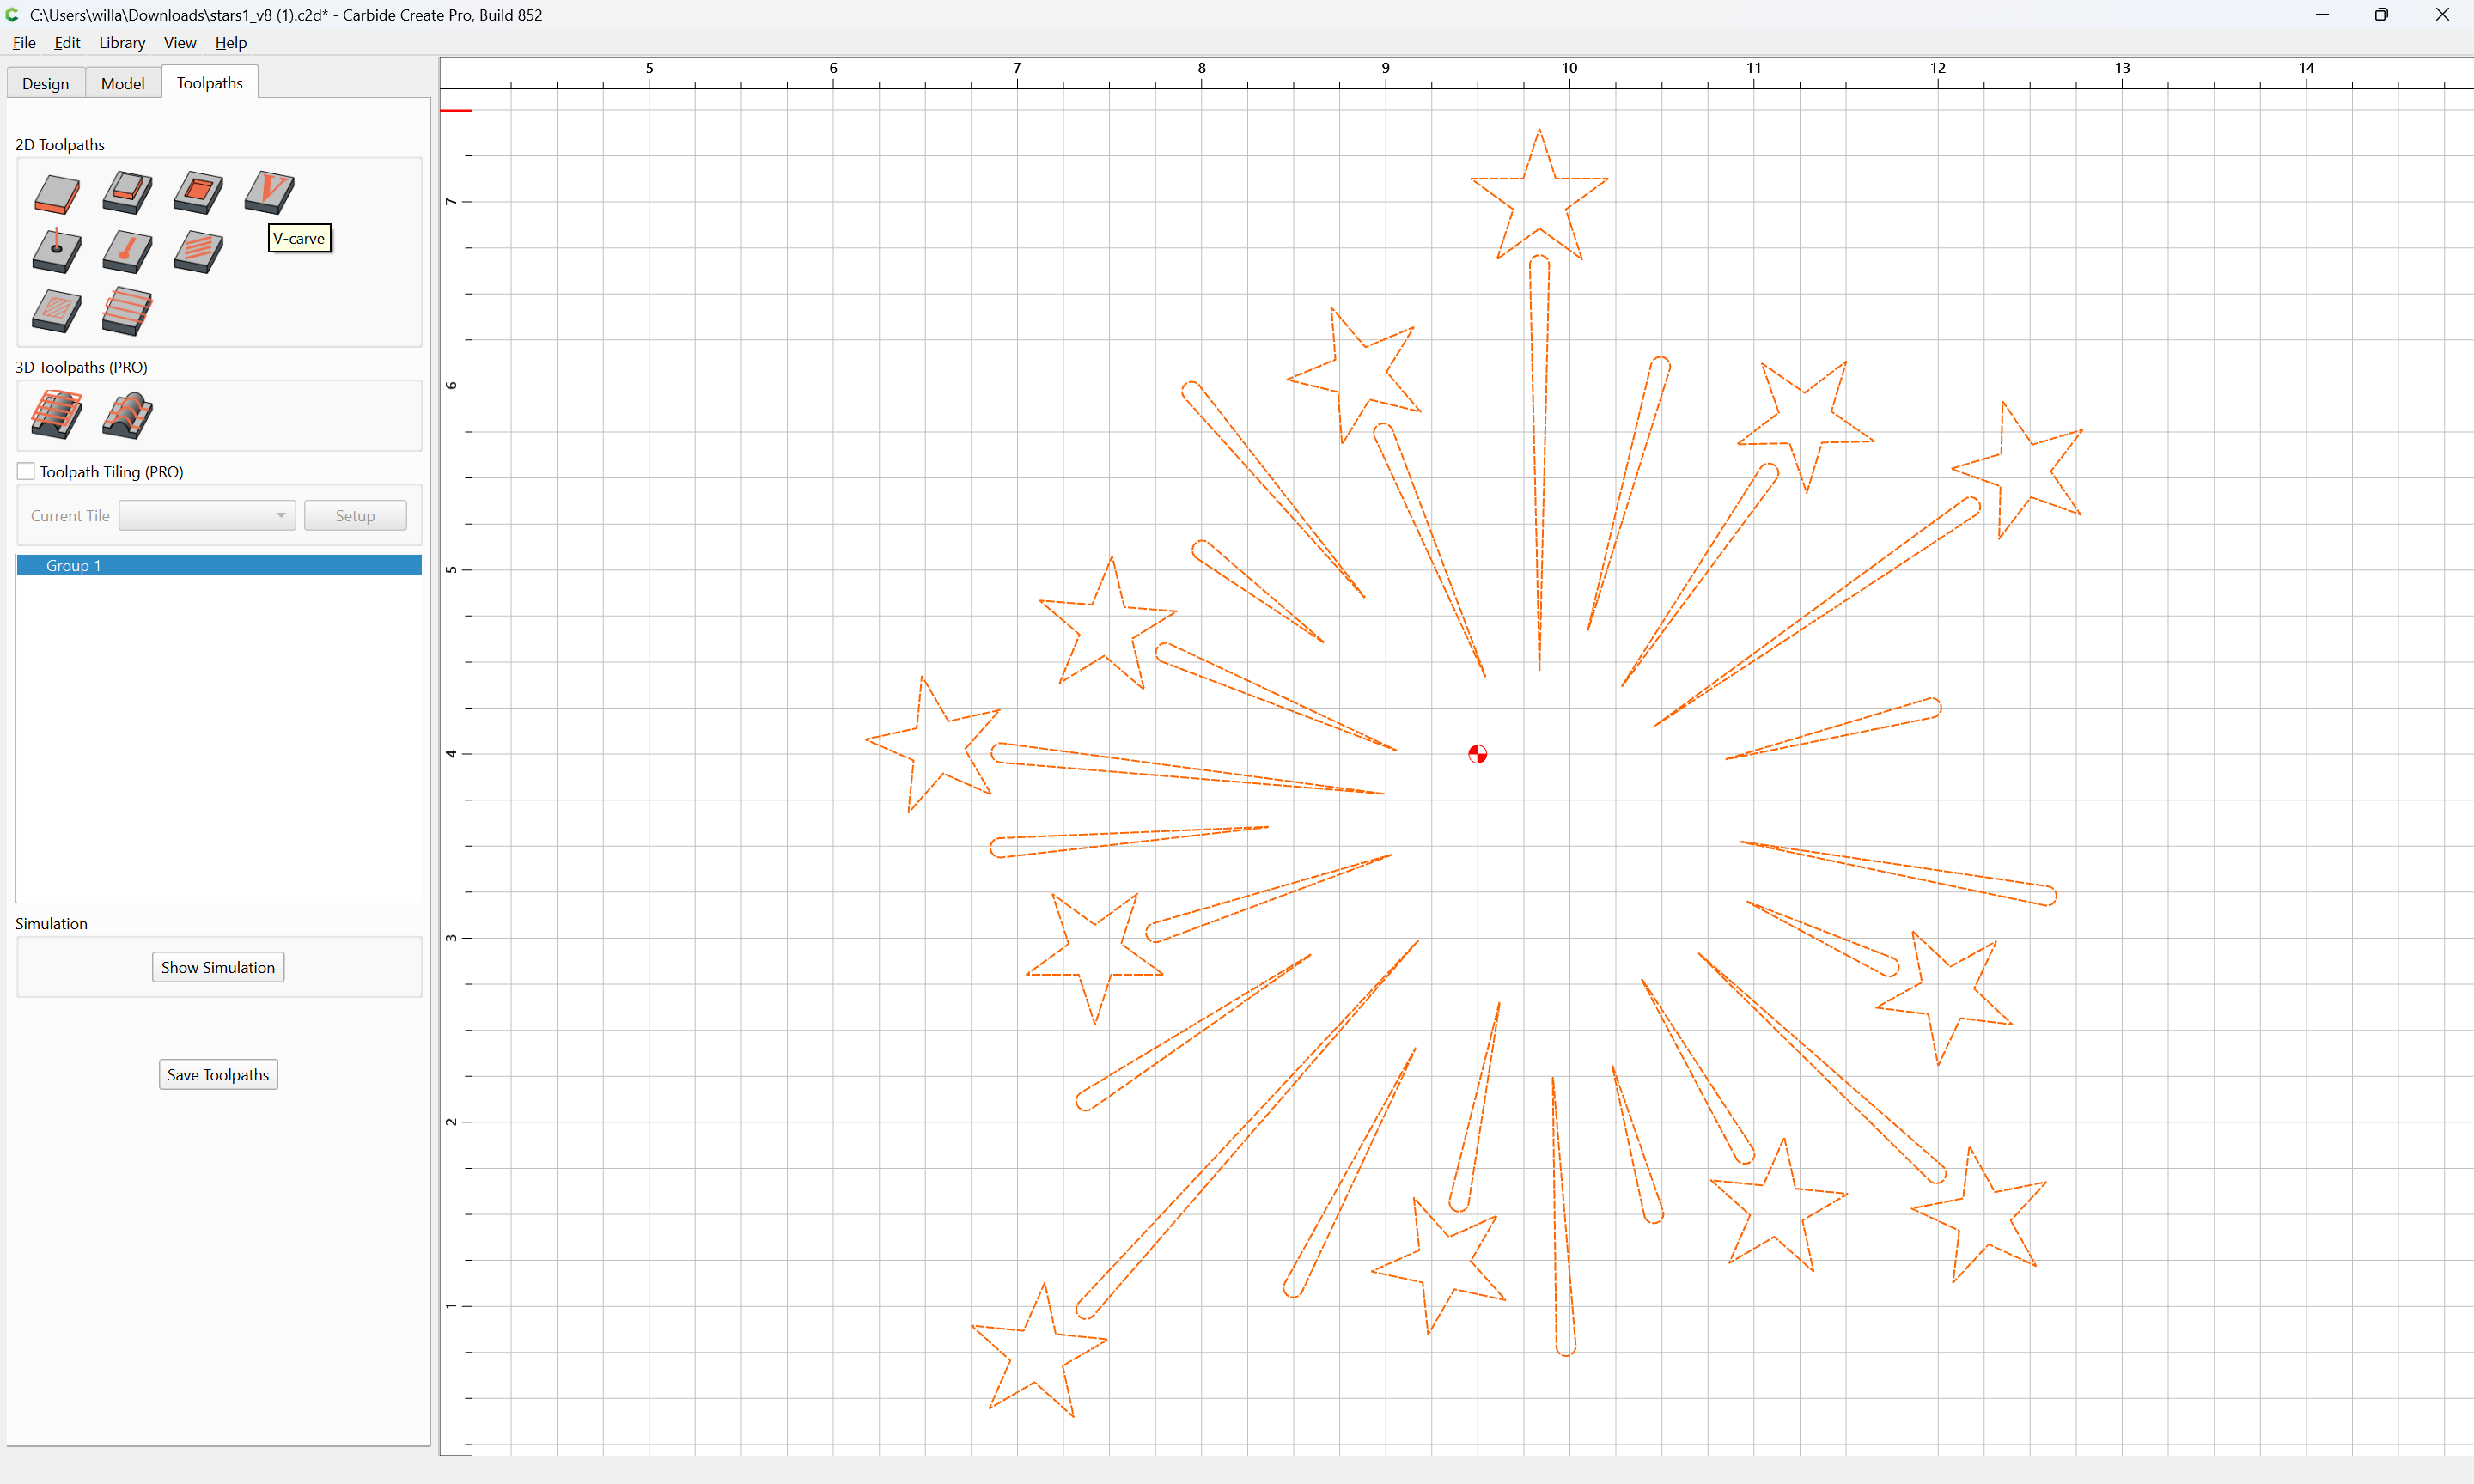
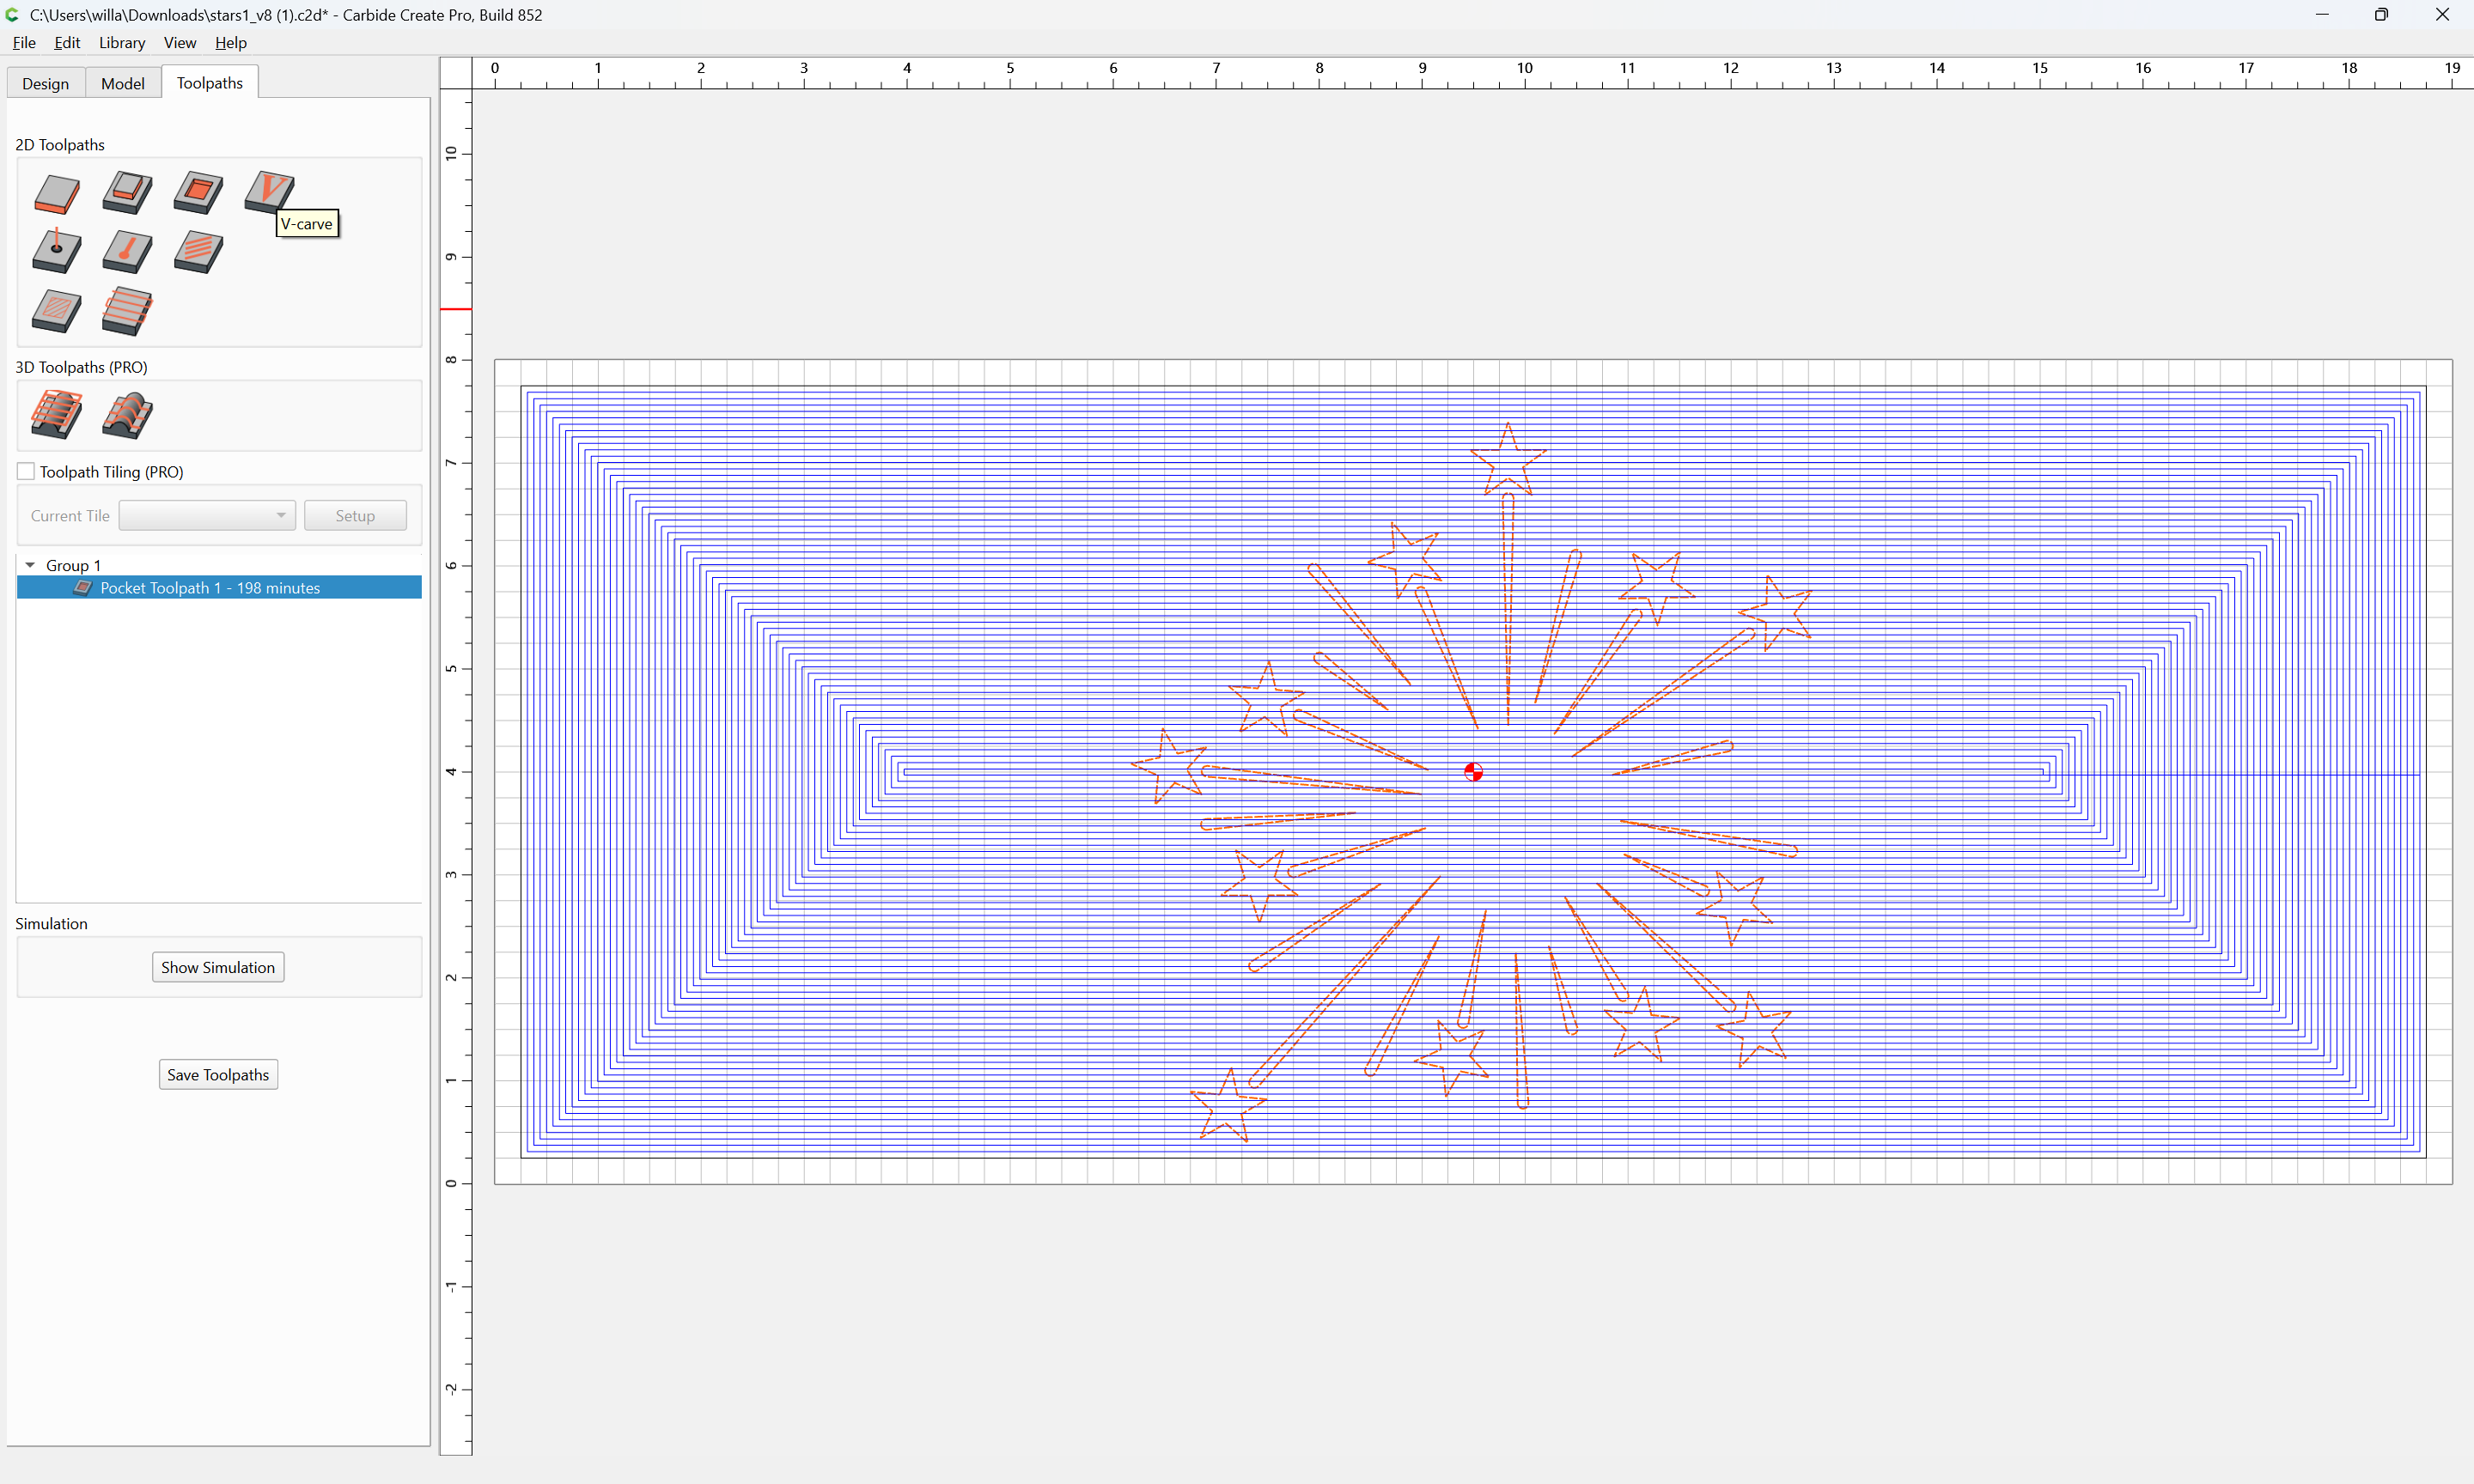
You’ve uncovered a bug in CC. It appears that it is not properly generating paths for the star trails.
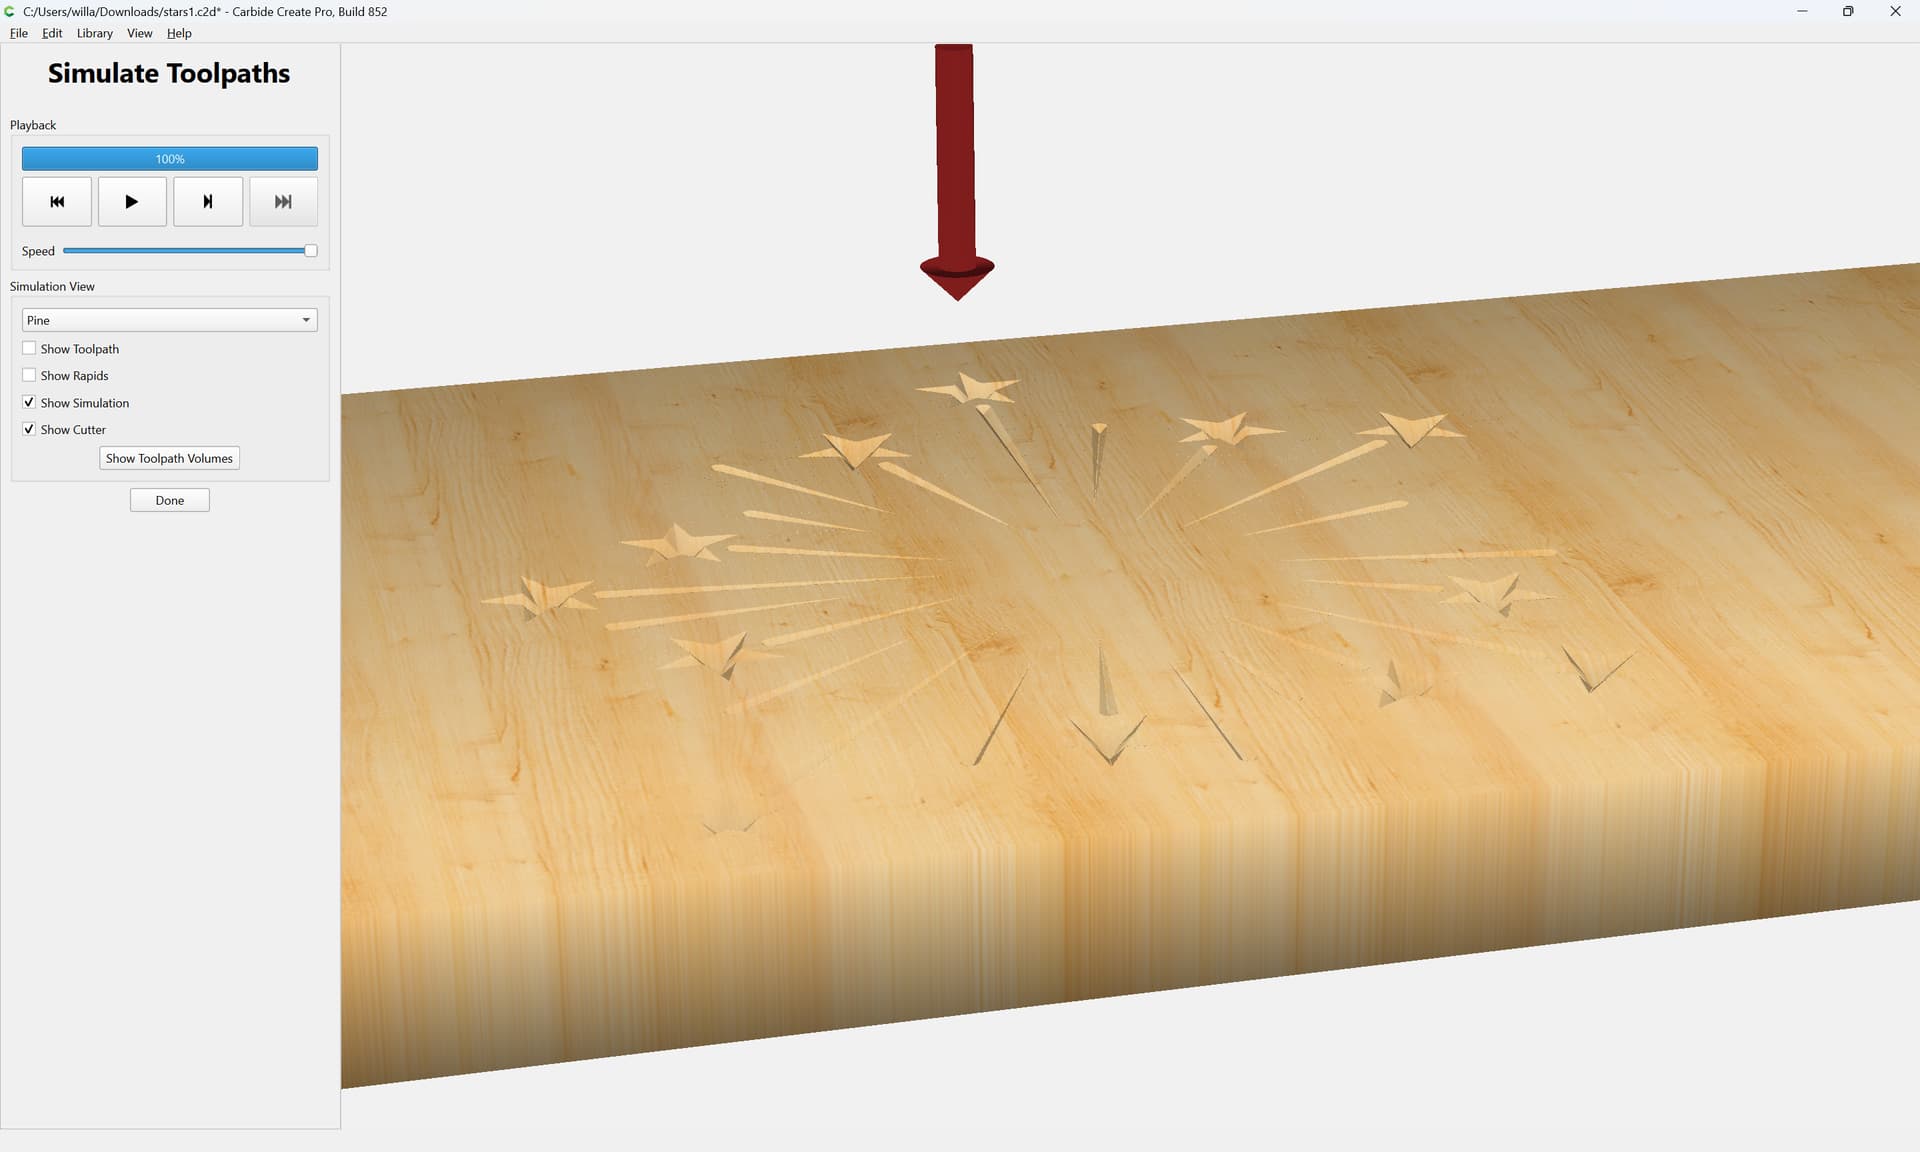
If you want deeper, you can’t just cut deeper - the depth is determined by the design and the geometry of the cutter. To have the same design cut deeper, you need to use a narrower V Bit.
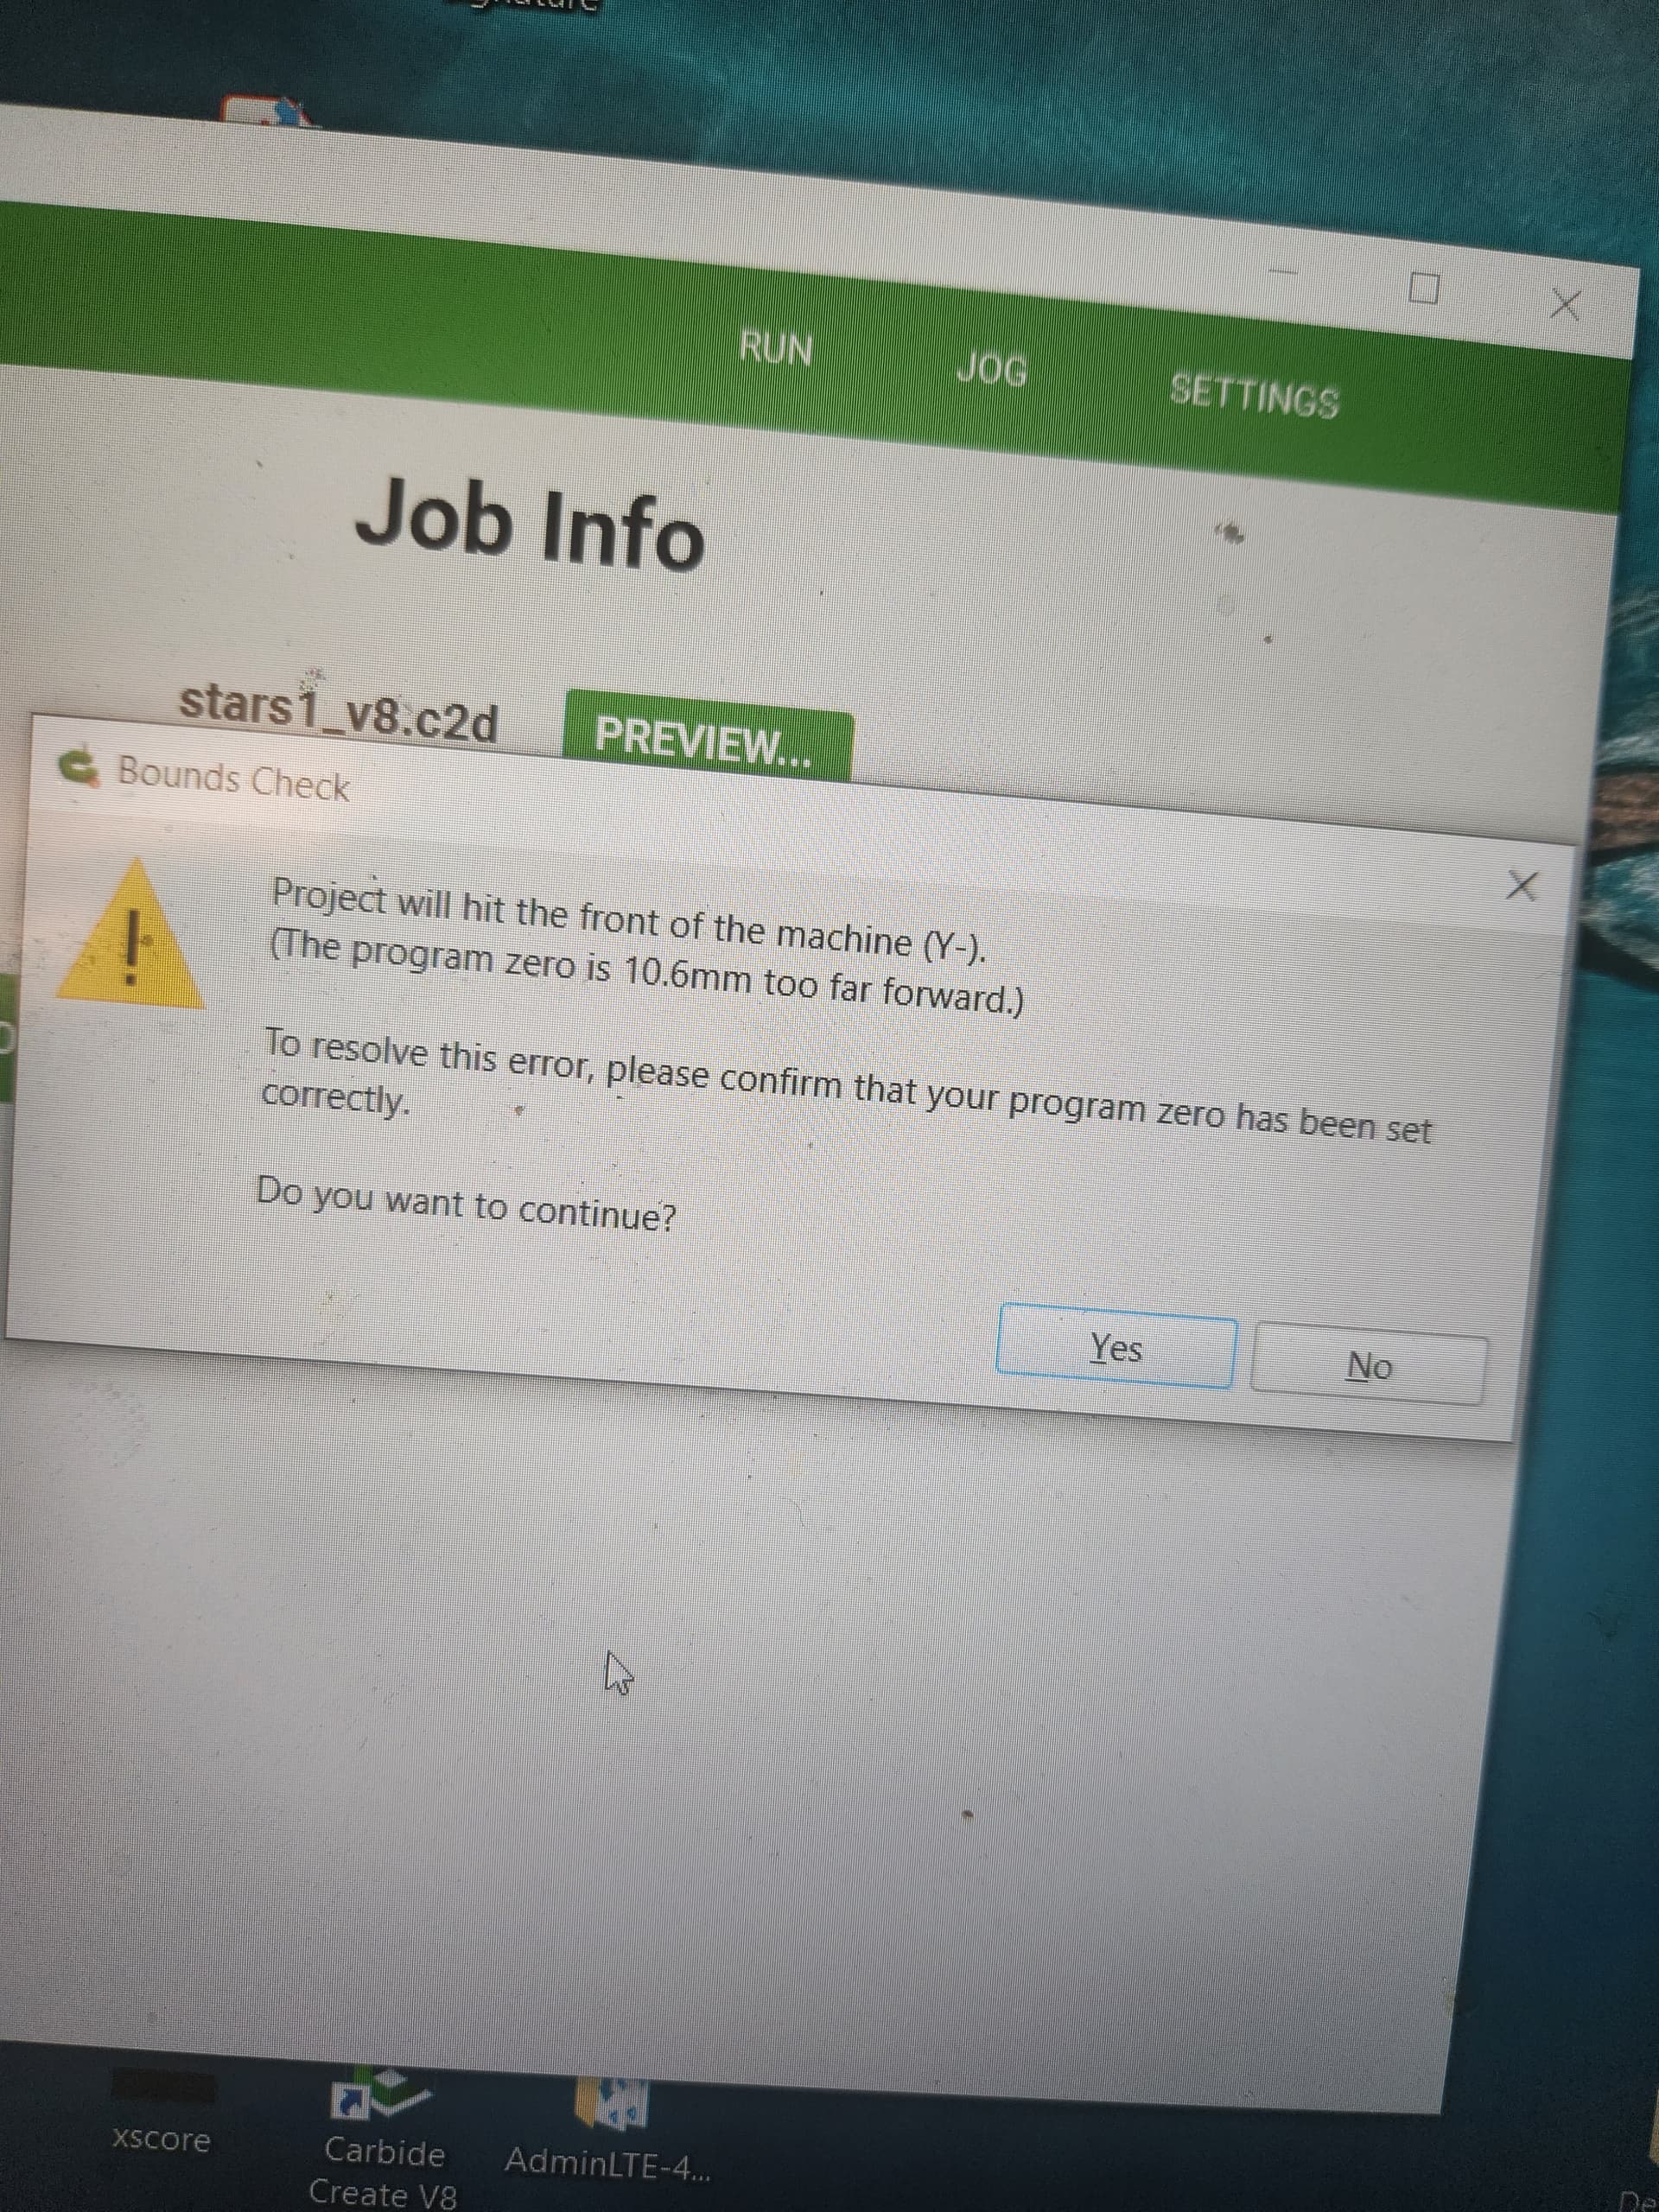
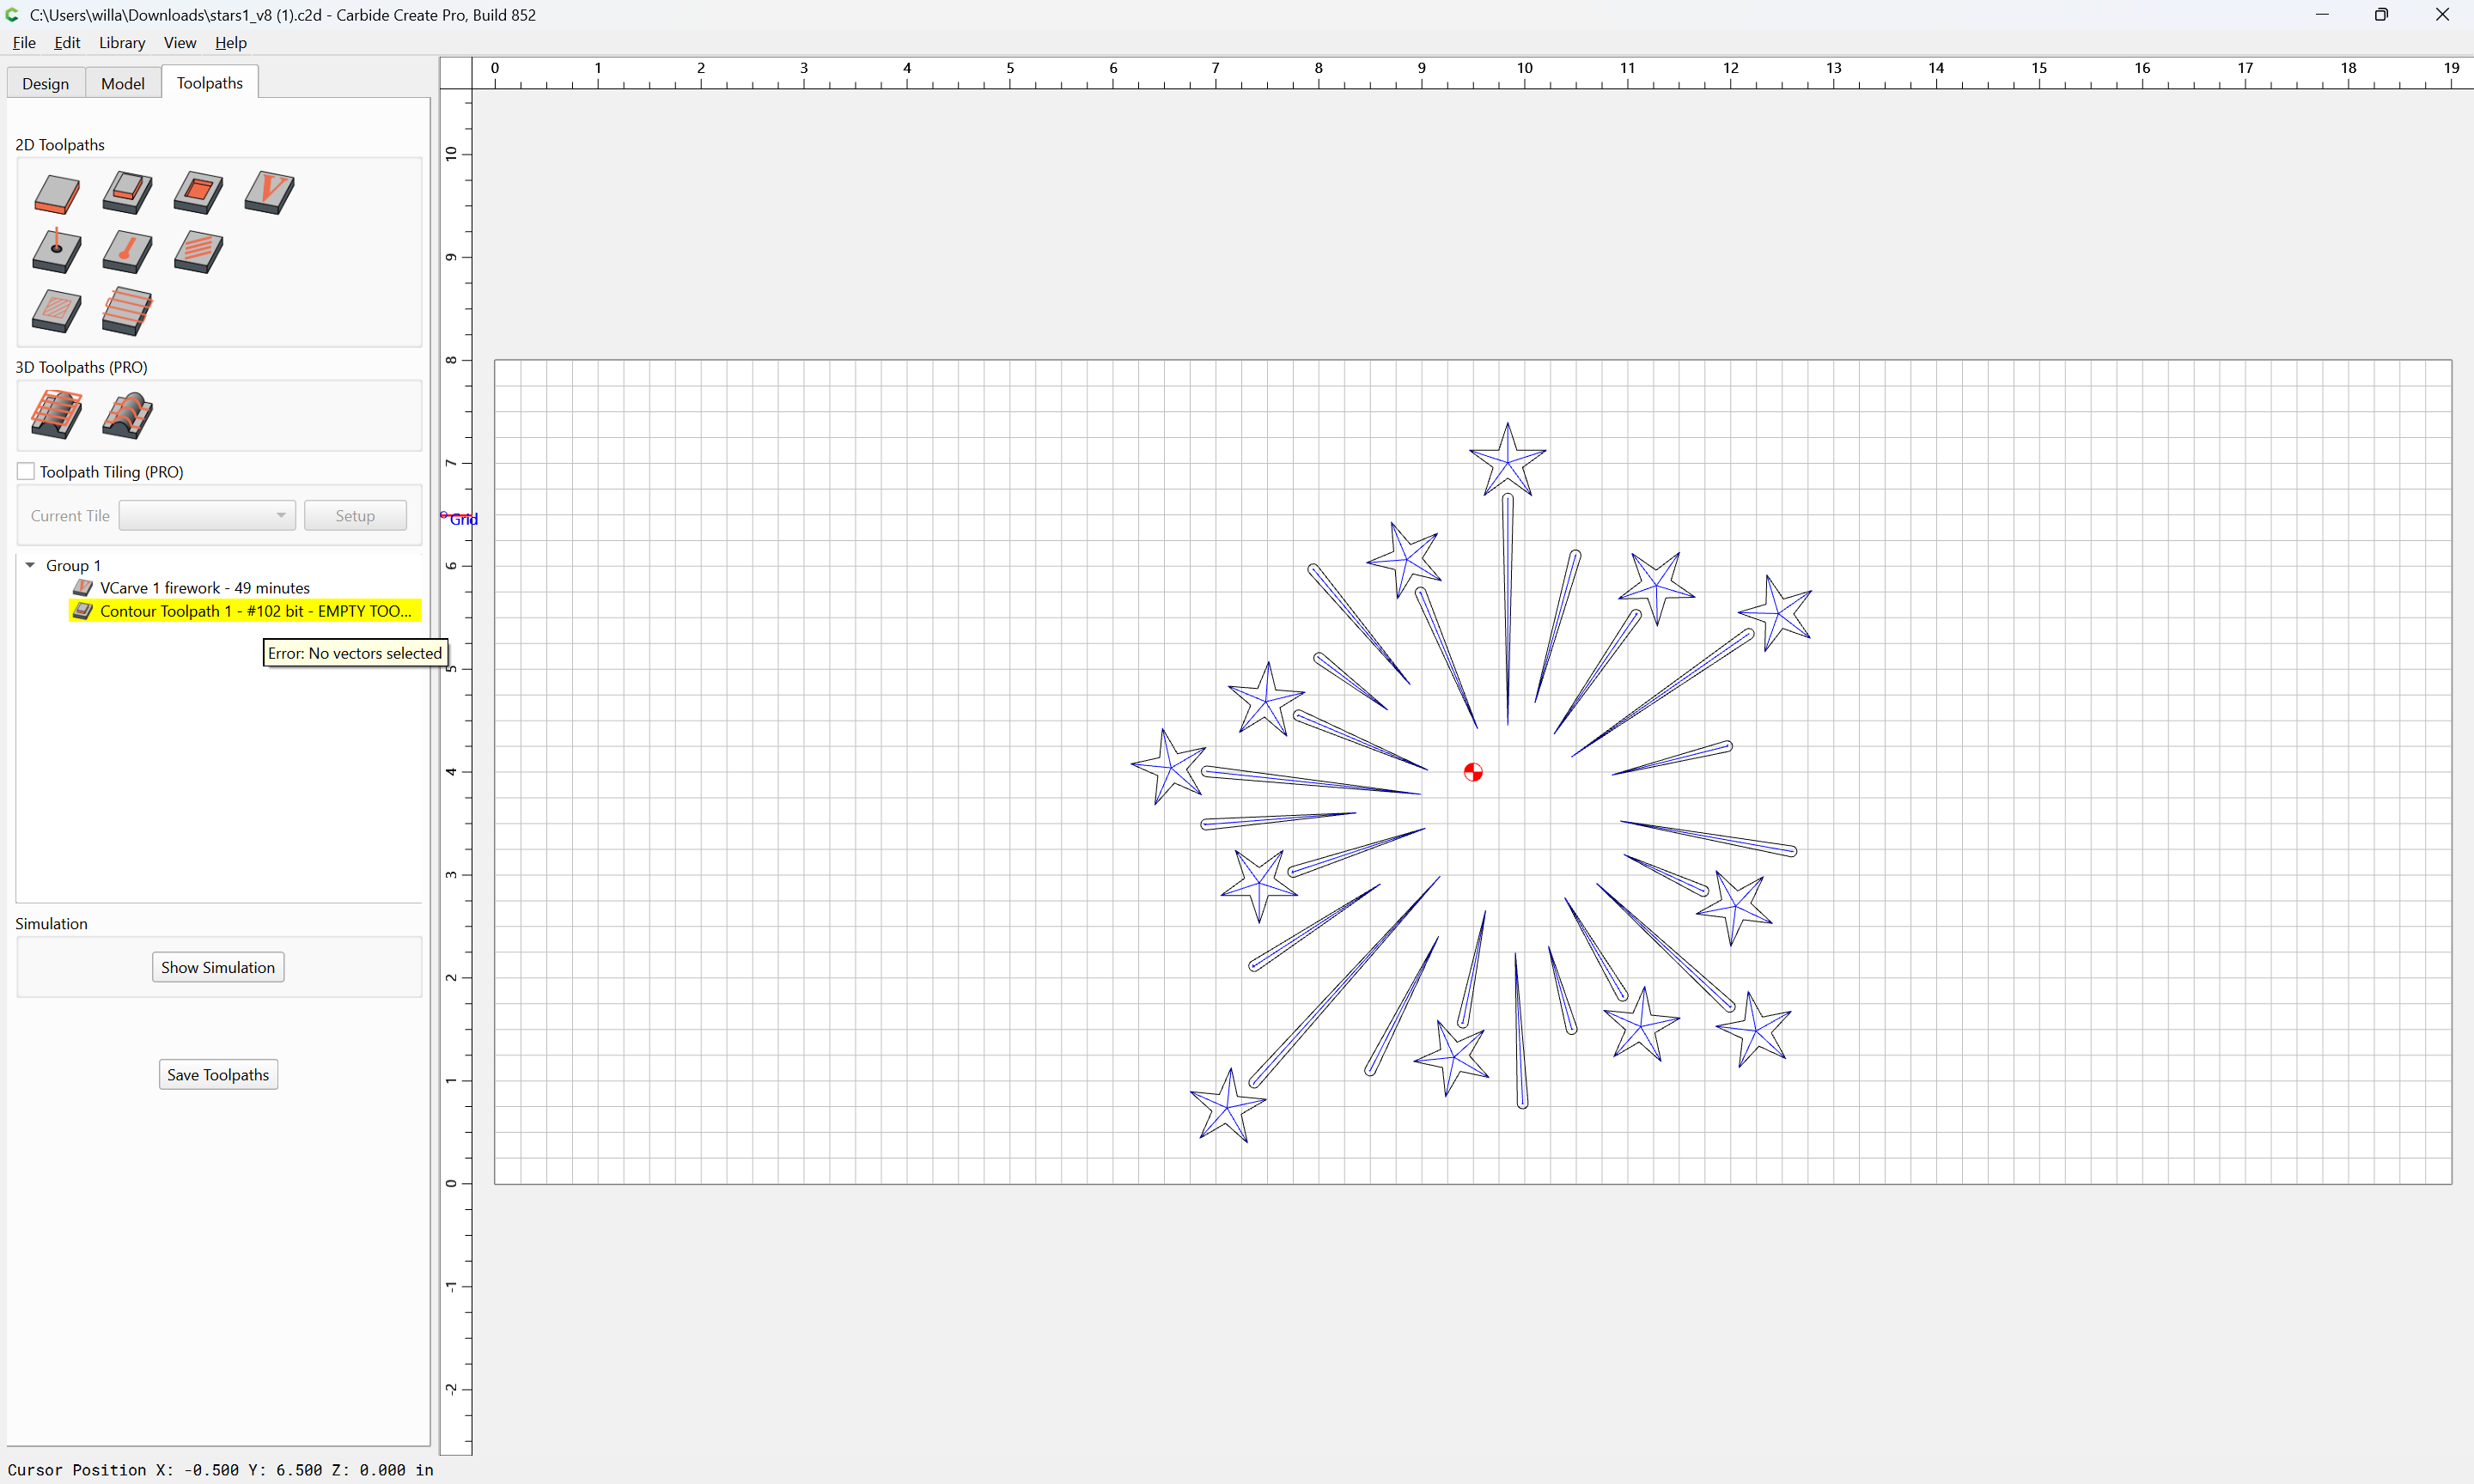
Thanks for the info and the file. I loaded your file up and am now using it. I reset zero , ensured my board was still secure. Checked and doubled checked zero at the center of the board. Everything looked good so i started the job and got this error:
Usually it is caused by a mismatch between job setup:
and how origin is set relative to the stock:
I find that opening the .c2d file up and drawing a box which matches the specified dimensions (draw up the cut in profile if need be) or moving the machine to the origin and then using a tape measure to measure out the dimension(s) in question will make clear where things aren’t lining up.
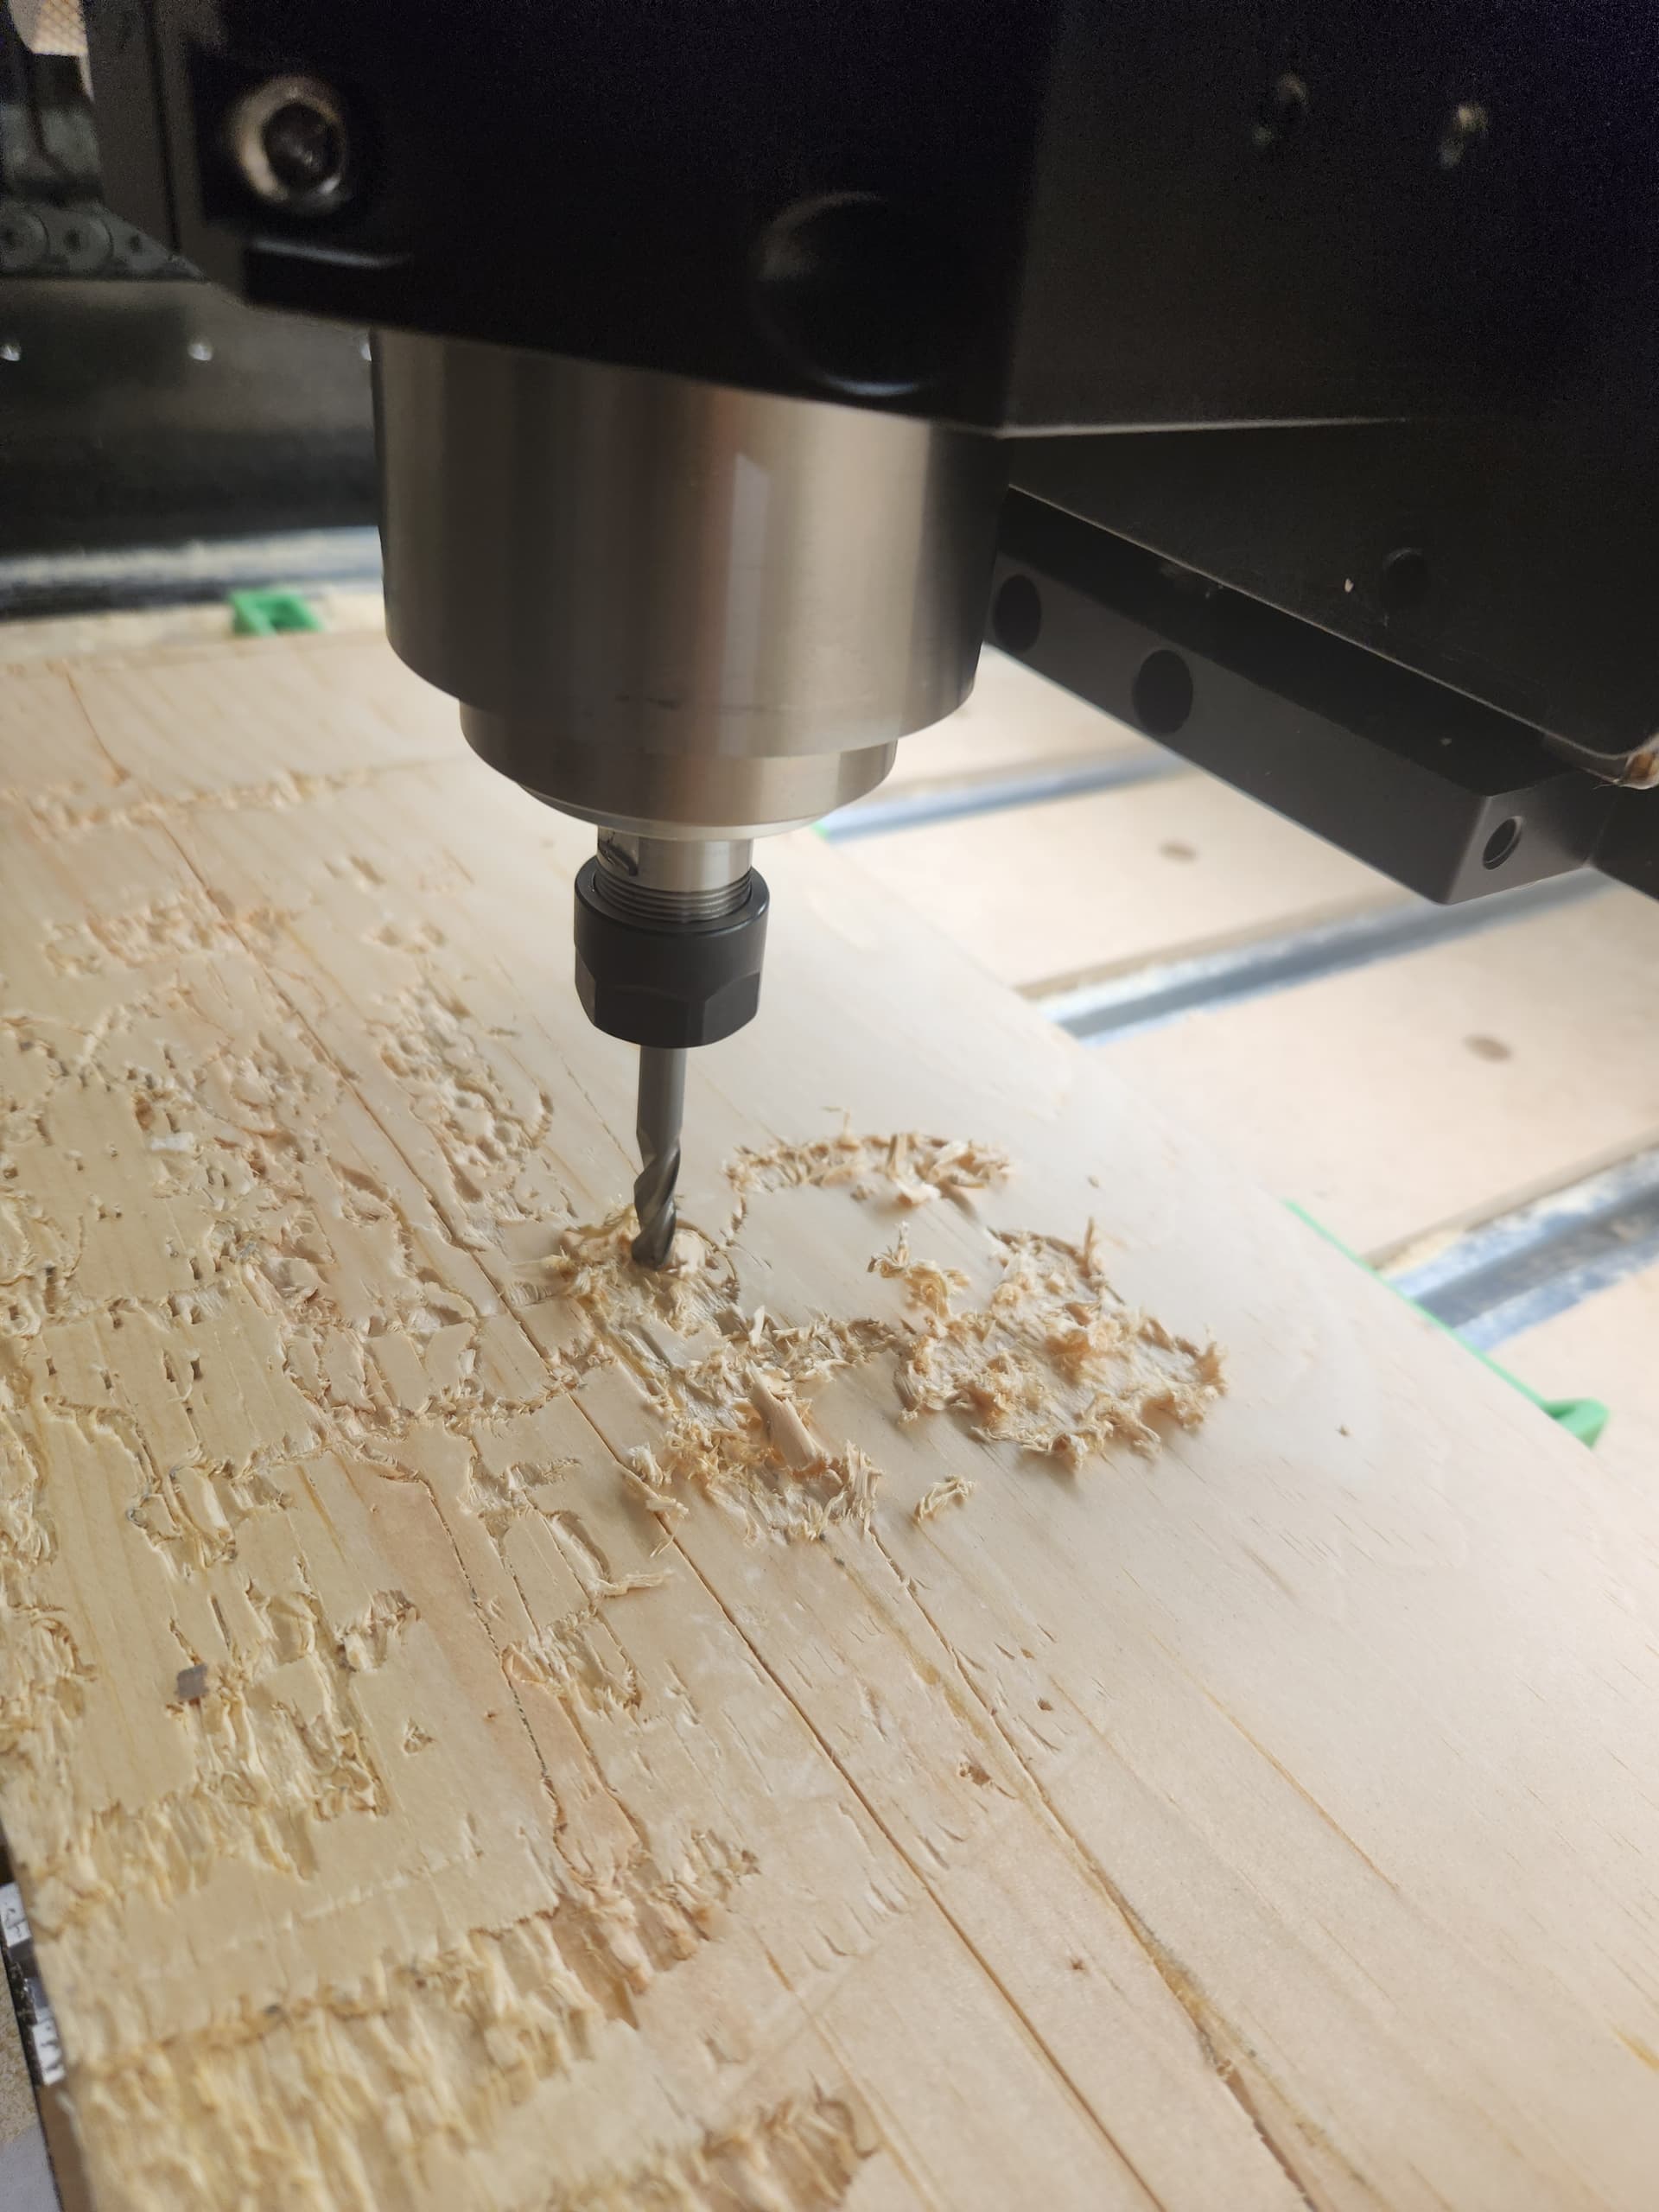
the bits on my Shapeoko do not spin. They just scrape the wood. Doesnt matter what design I make or what bit I put in. I will try to upload a video showing this:
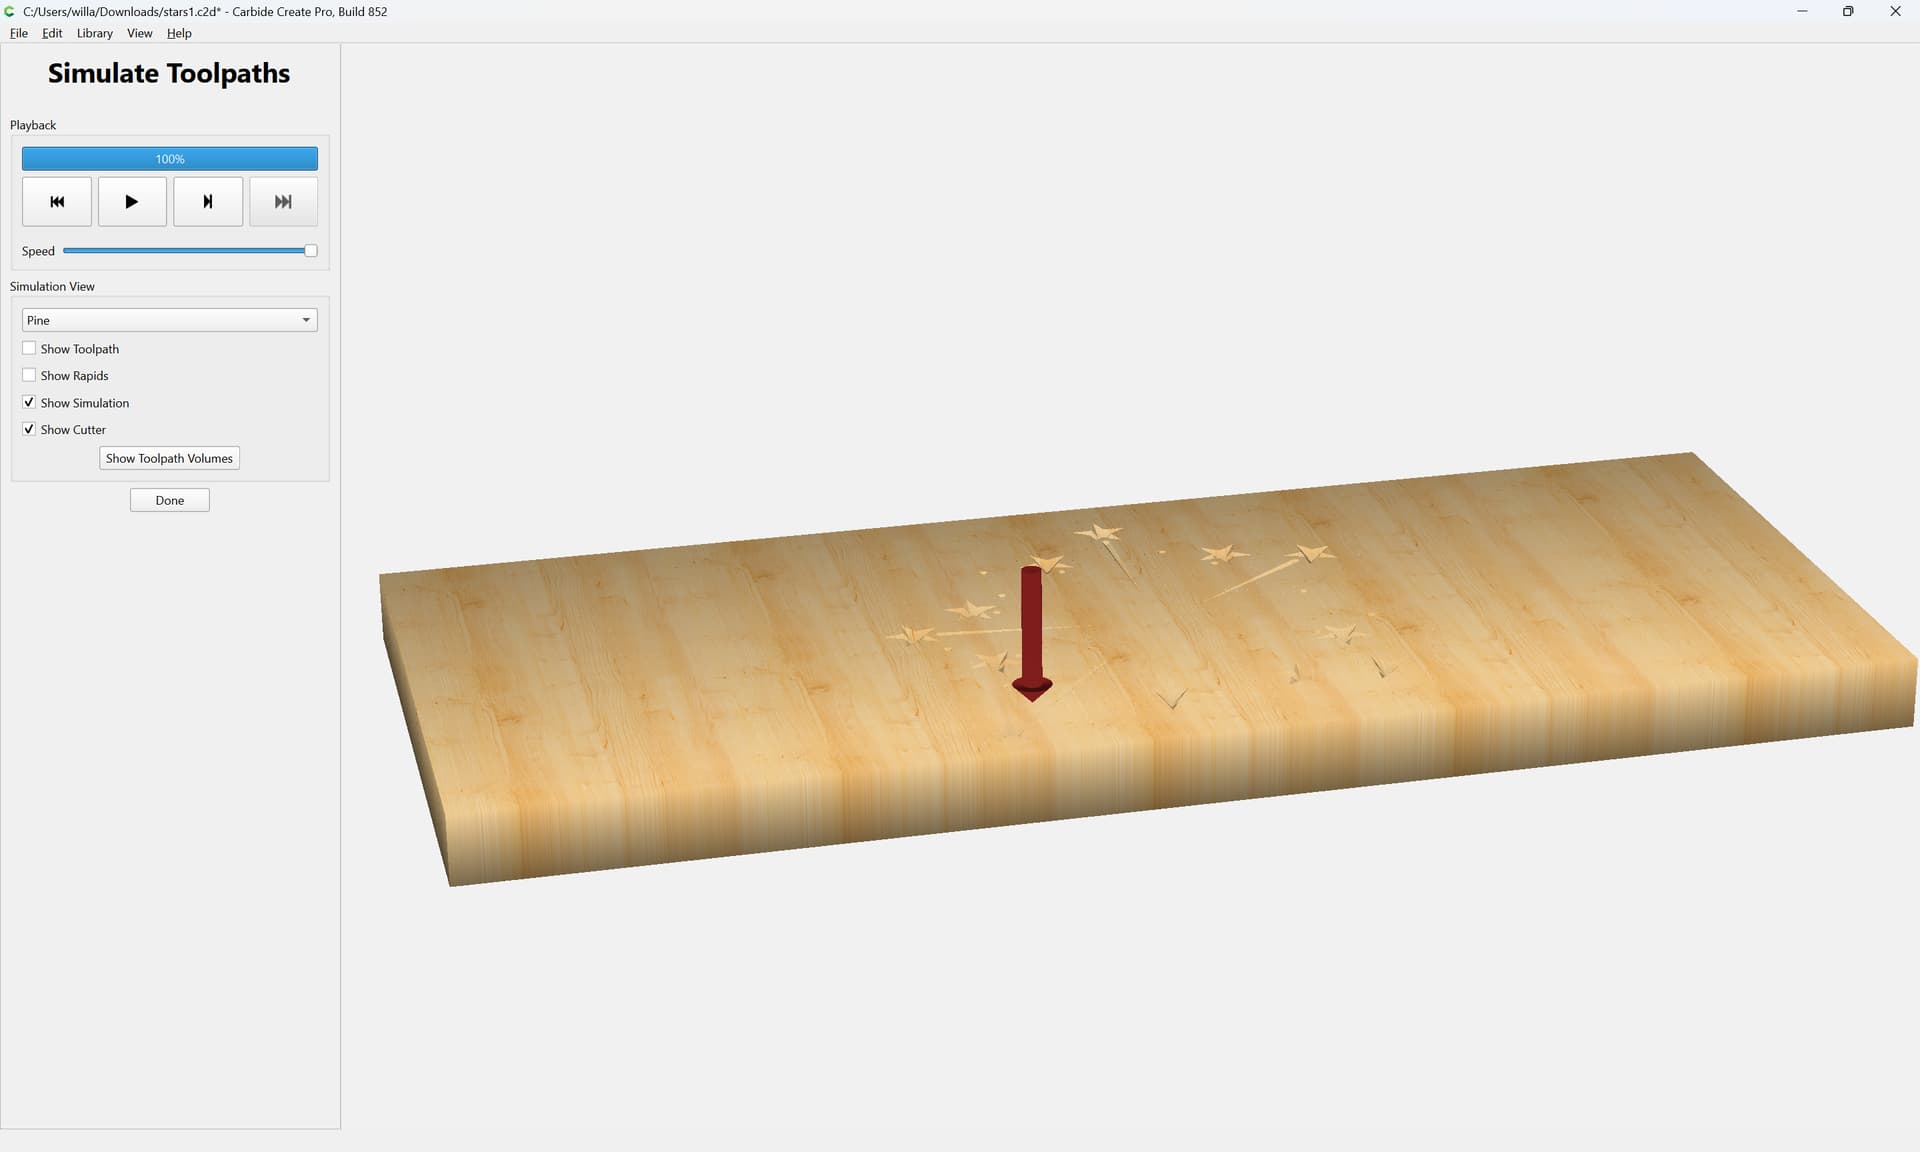
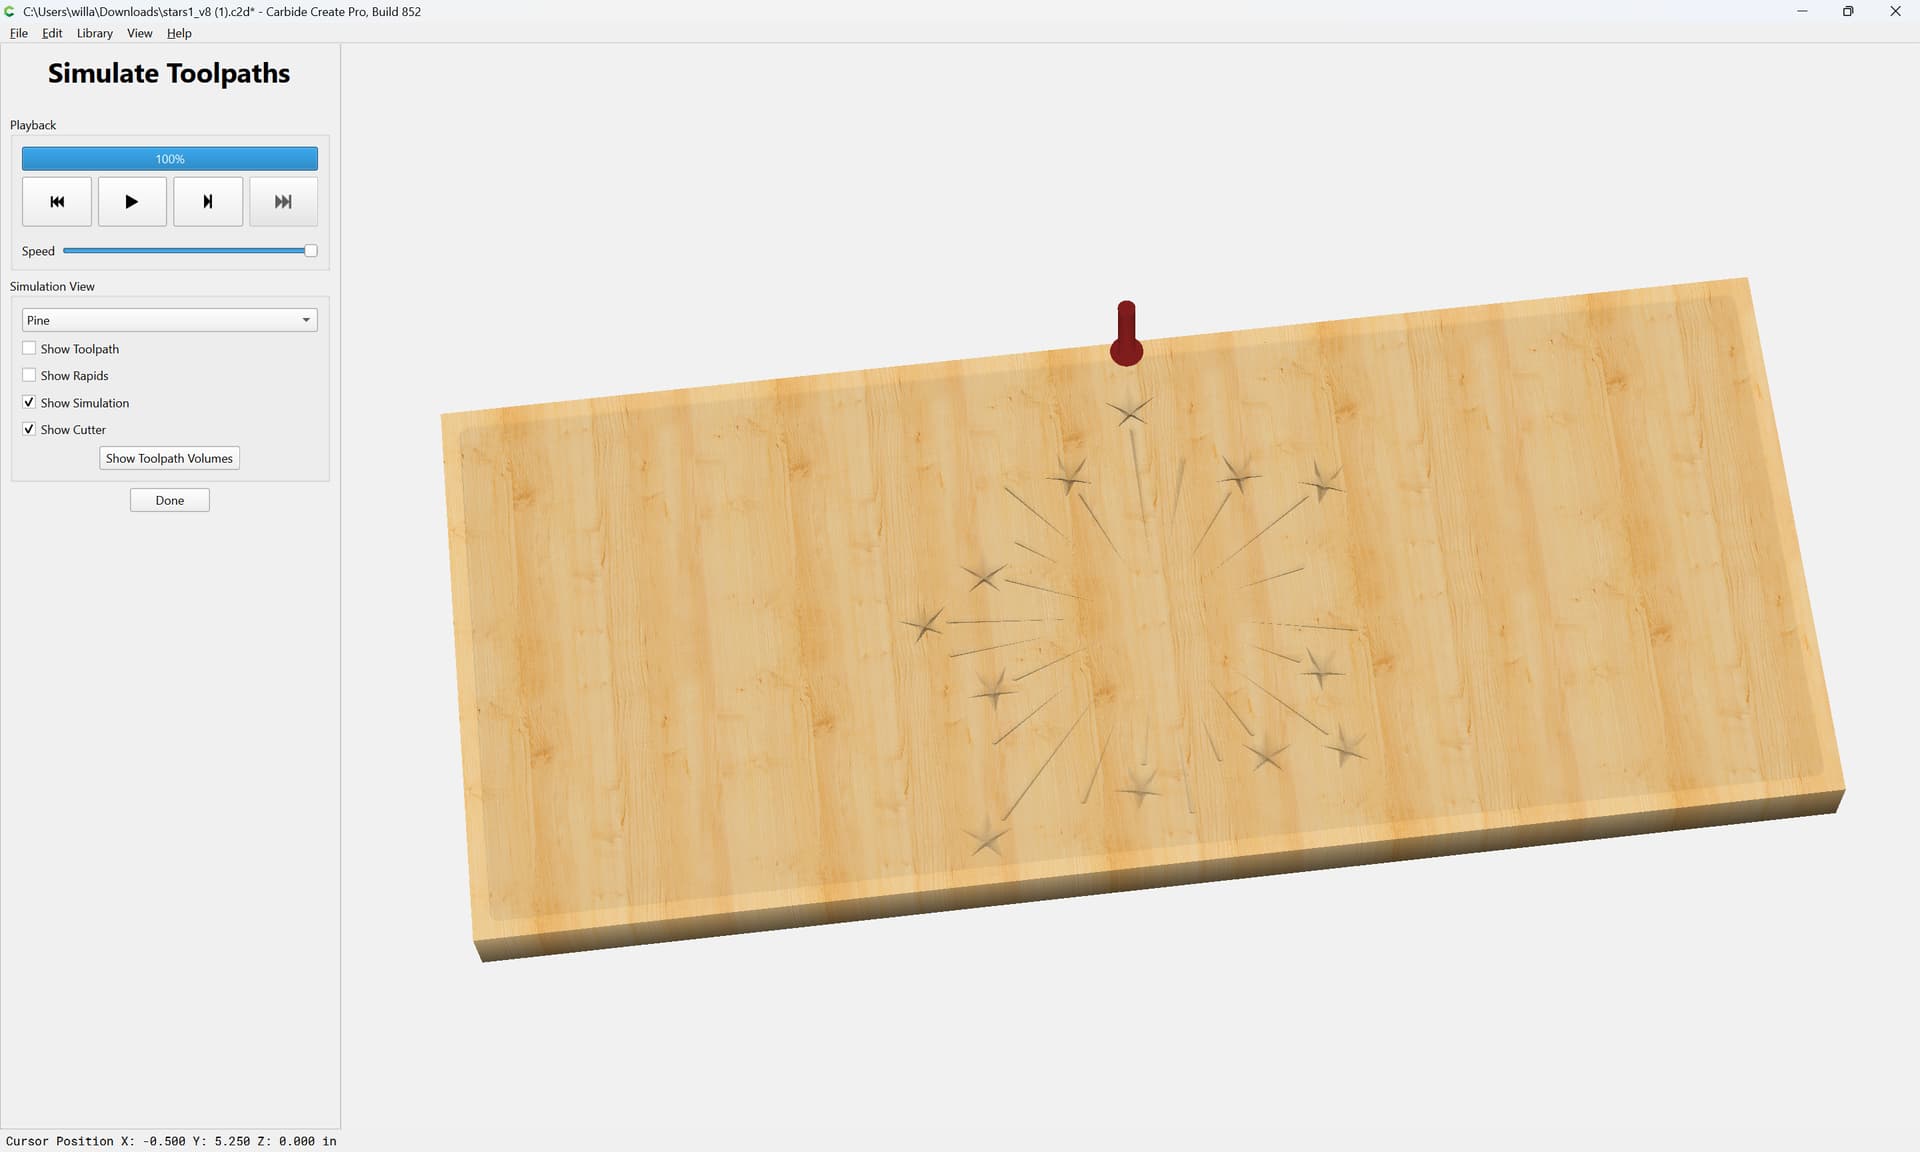
William - that video and image are taken from this morning when I tried using your version of the star pattern again. Still same outcome – I cant get the bit to dig deeper into the wood.
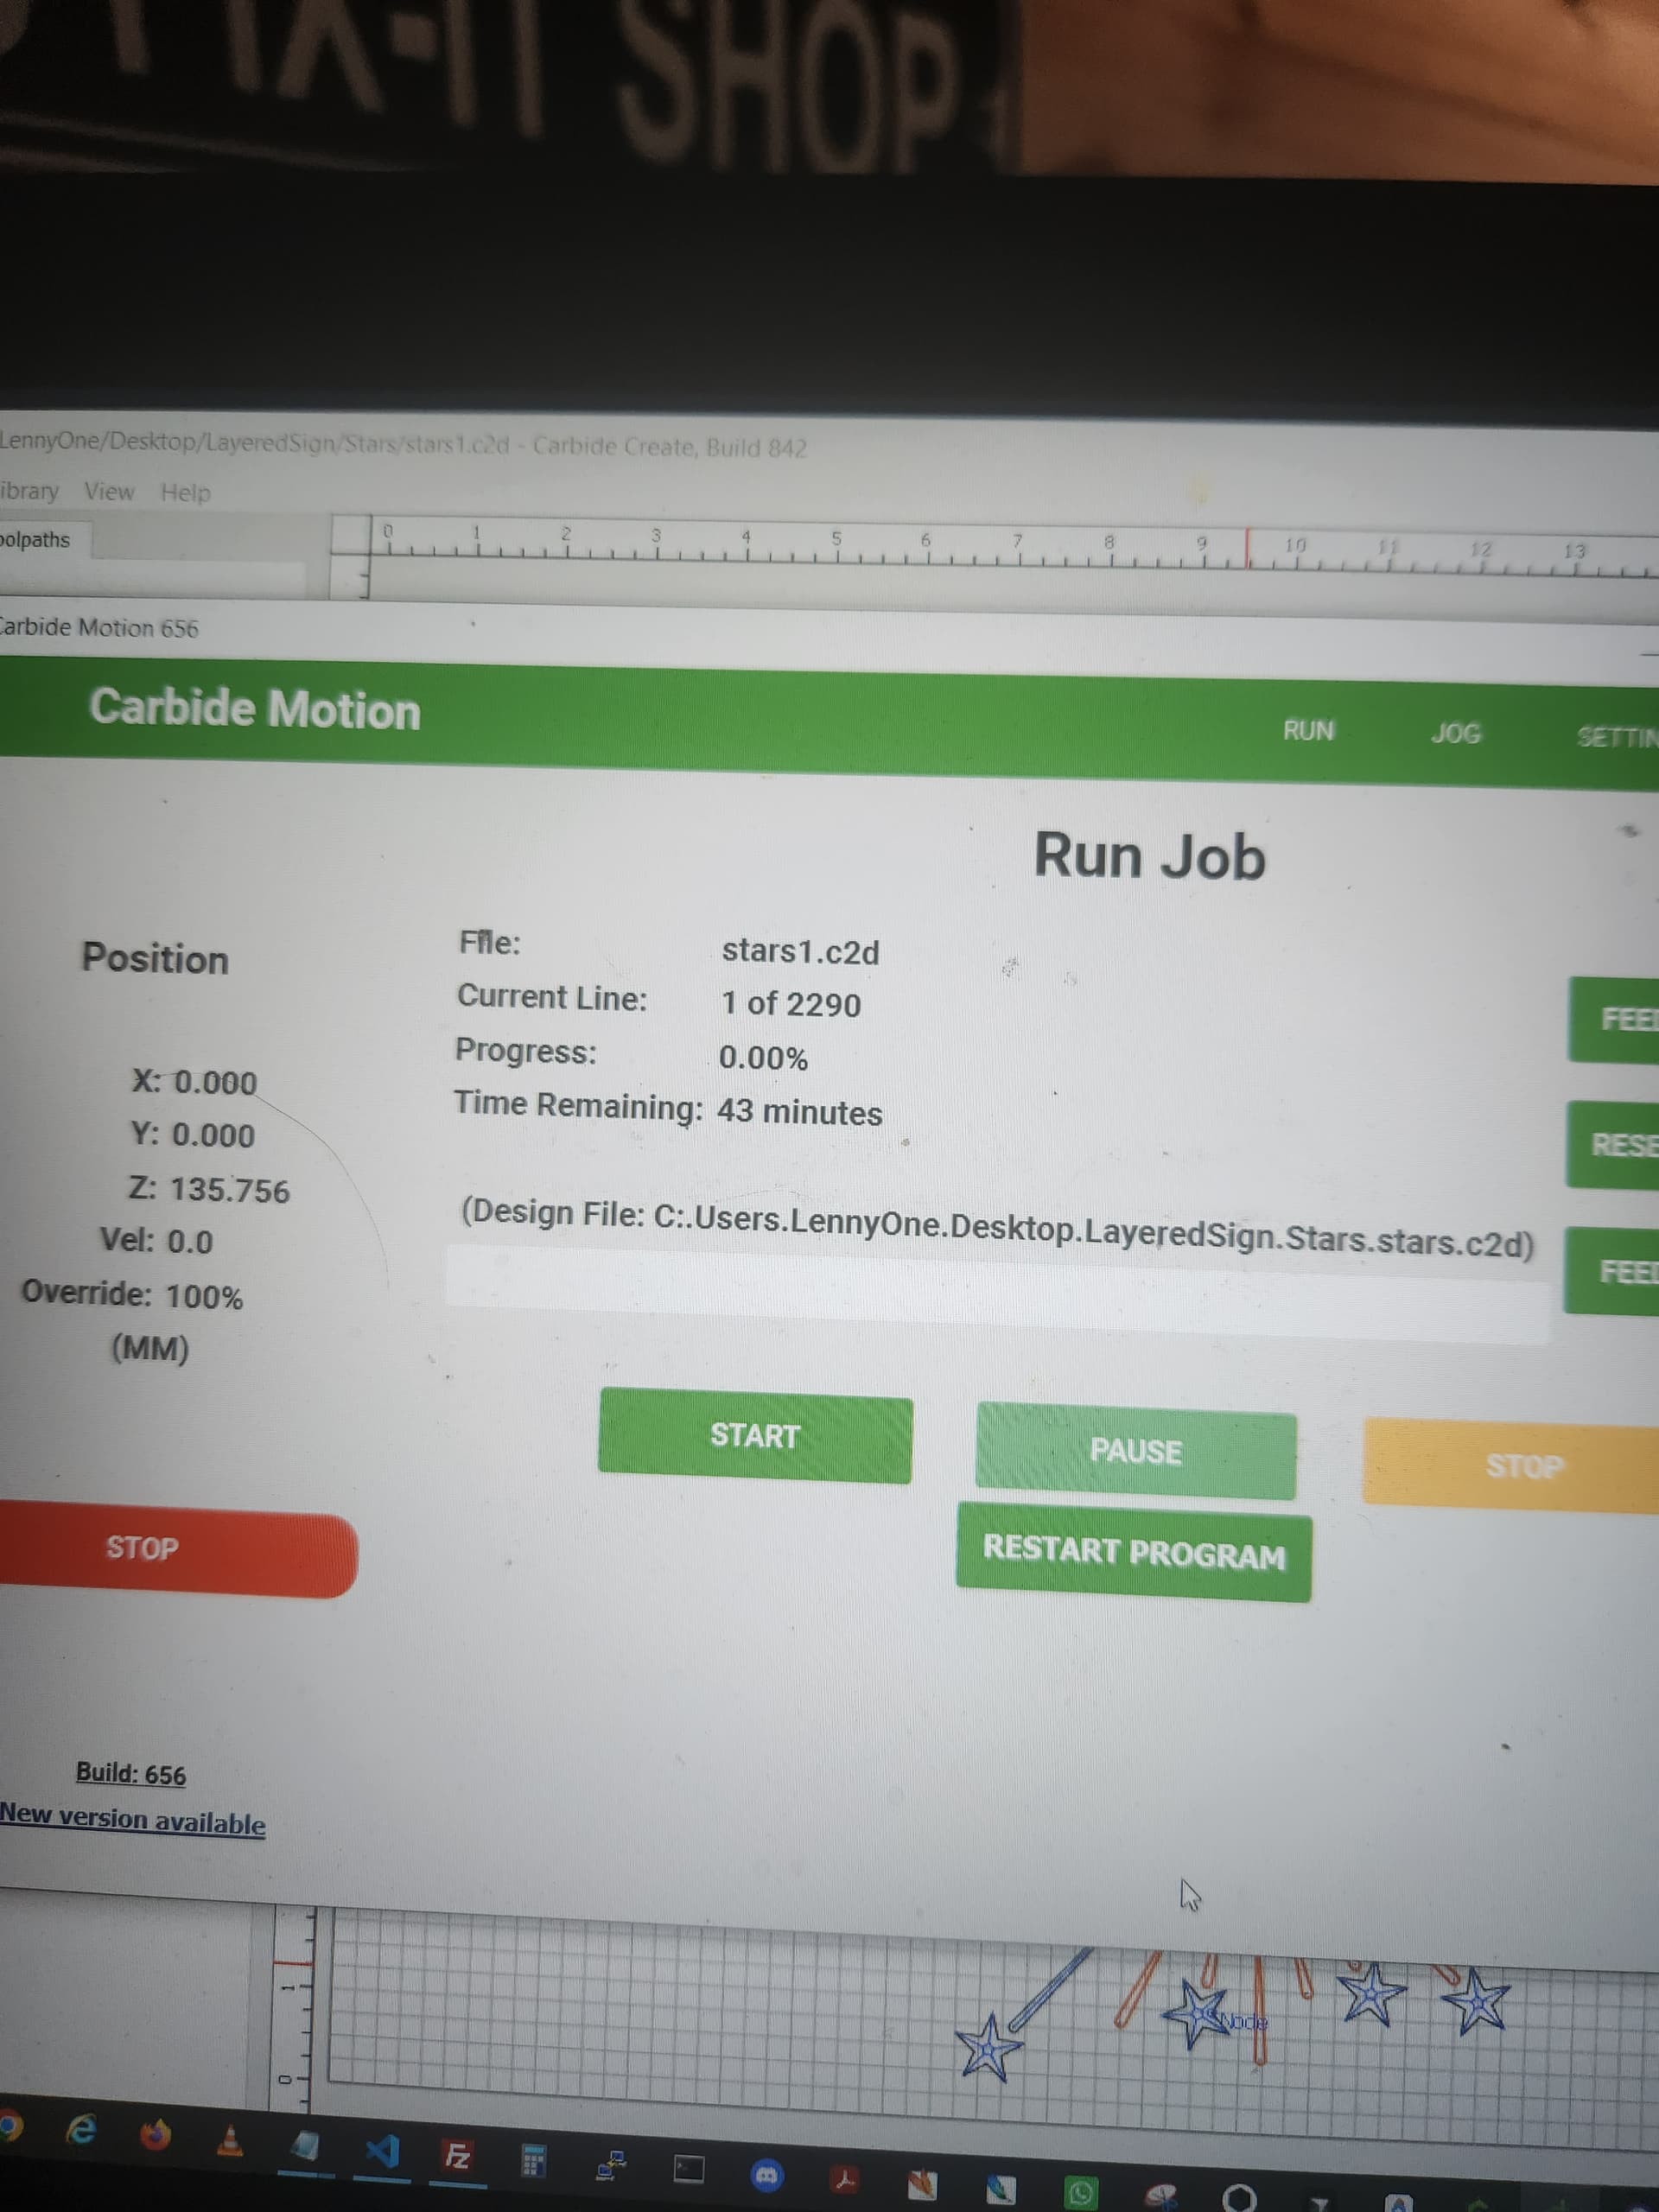
The star picture taken above is after the first tool (#301) did its scraping of the wood surface. The spindle then returned to the top right of the waste board and then the program stopped.
The v8 file you sent me @WillAdams has a second tool path. Why didn’t Carbide Motion prompt me to change tools to insert the next bit (#102)? Carbide Motion is not inuitive at all. How do I run the second toolpath with the new bit after I change the bit?
Double check that your spindle is turned on and that you see a display in the window. The light around the button can be red without the unit being powered up. Check the toggle.