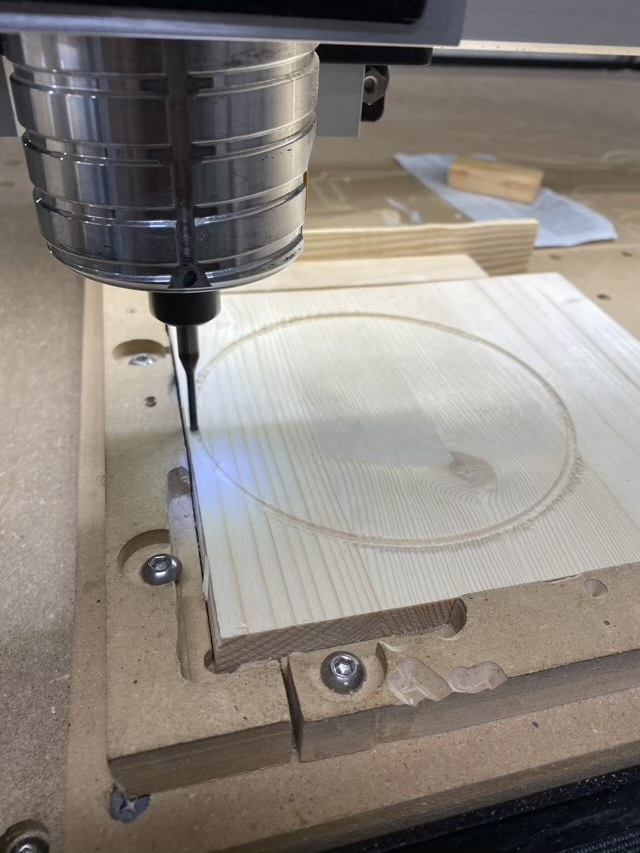
Need some help, I don’t know what happen I haven’t changed any setting on my machine, it was cutting fine, then all of a sudden my zero is off, I use the bit zero and I also tried the paper method, I check my belts everything seems normal

If you tell it to jog to current x,y zero (in the rapid jog menu) where does it go? If you rezero X&Y using BitZero does it register the zero you want properly?
1 Like
when i use the rapid jog option it works fine, the only time i notice things are messed up when i am about to begin a new job for some reason it begins the job above my work piece. or starts the job half a inch from my work piece
Are you sure you are using the BitZero properly? Which version do you have (v1 or v2)?
You have to position it differently on your stock depending on if you are zeroing just Z, X+Y+Z, for example. Setting it wrong could lead to roughly the offsets you mention.
The picture you posted looks off by more than 1/2" though, assuming actual stock is the same as the visualization.
i have the V1 i just updated CM as well, I also zeroed my X, Y axis by hand to the same result. My next assumption is maybe something is lose? i have checked my belts and they are all guitar string tight.
Can you post your test file (*.c2d). You may need to zip it.
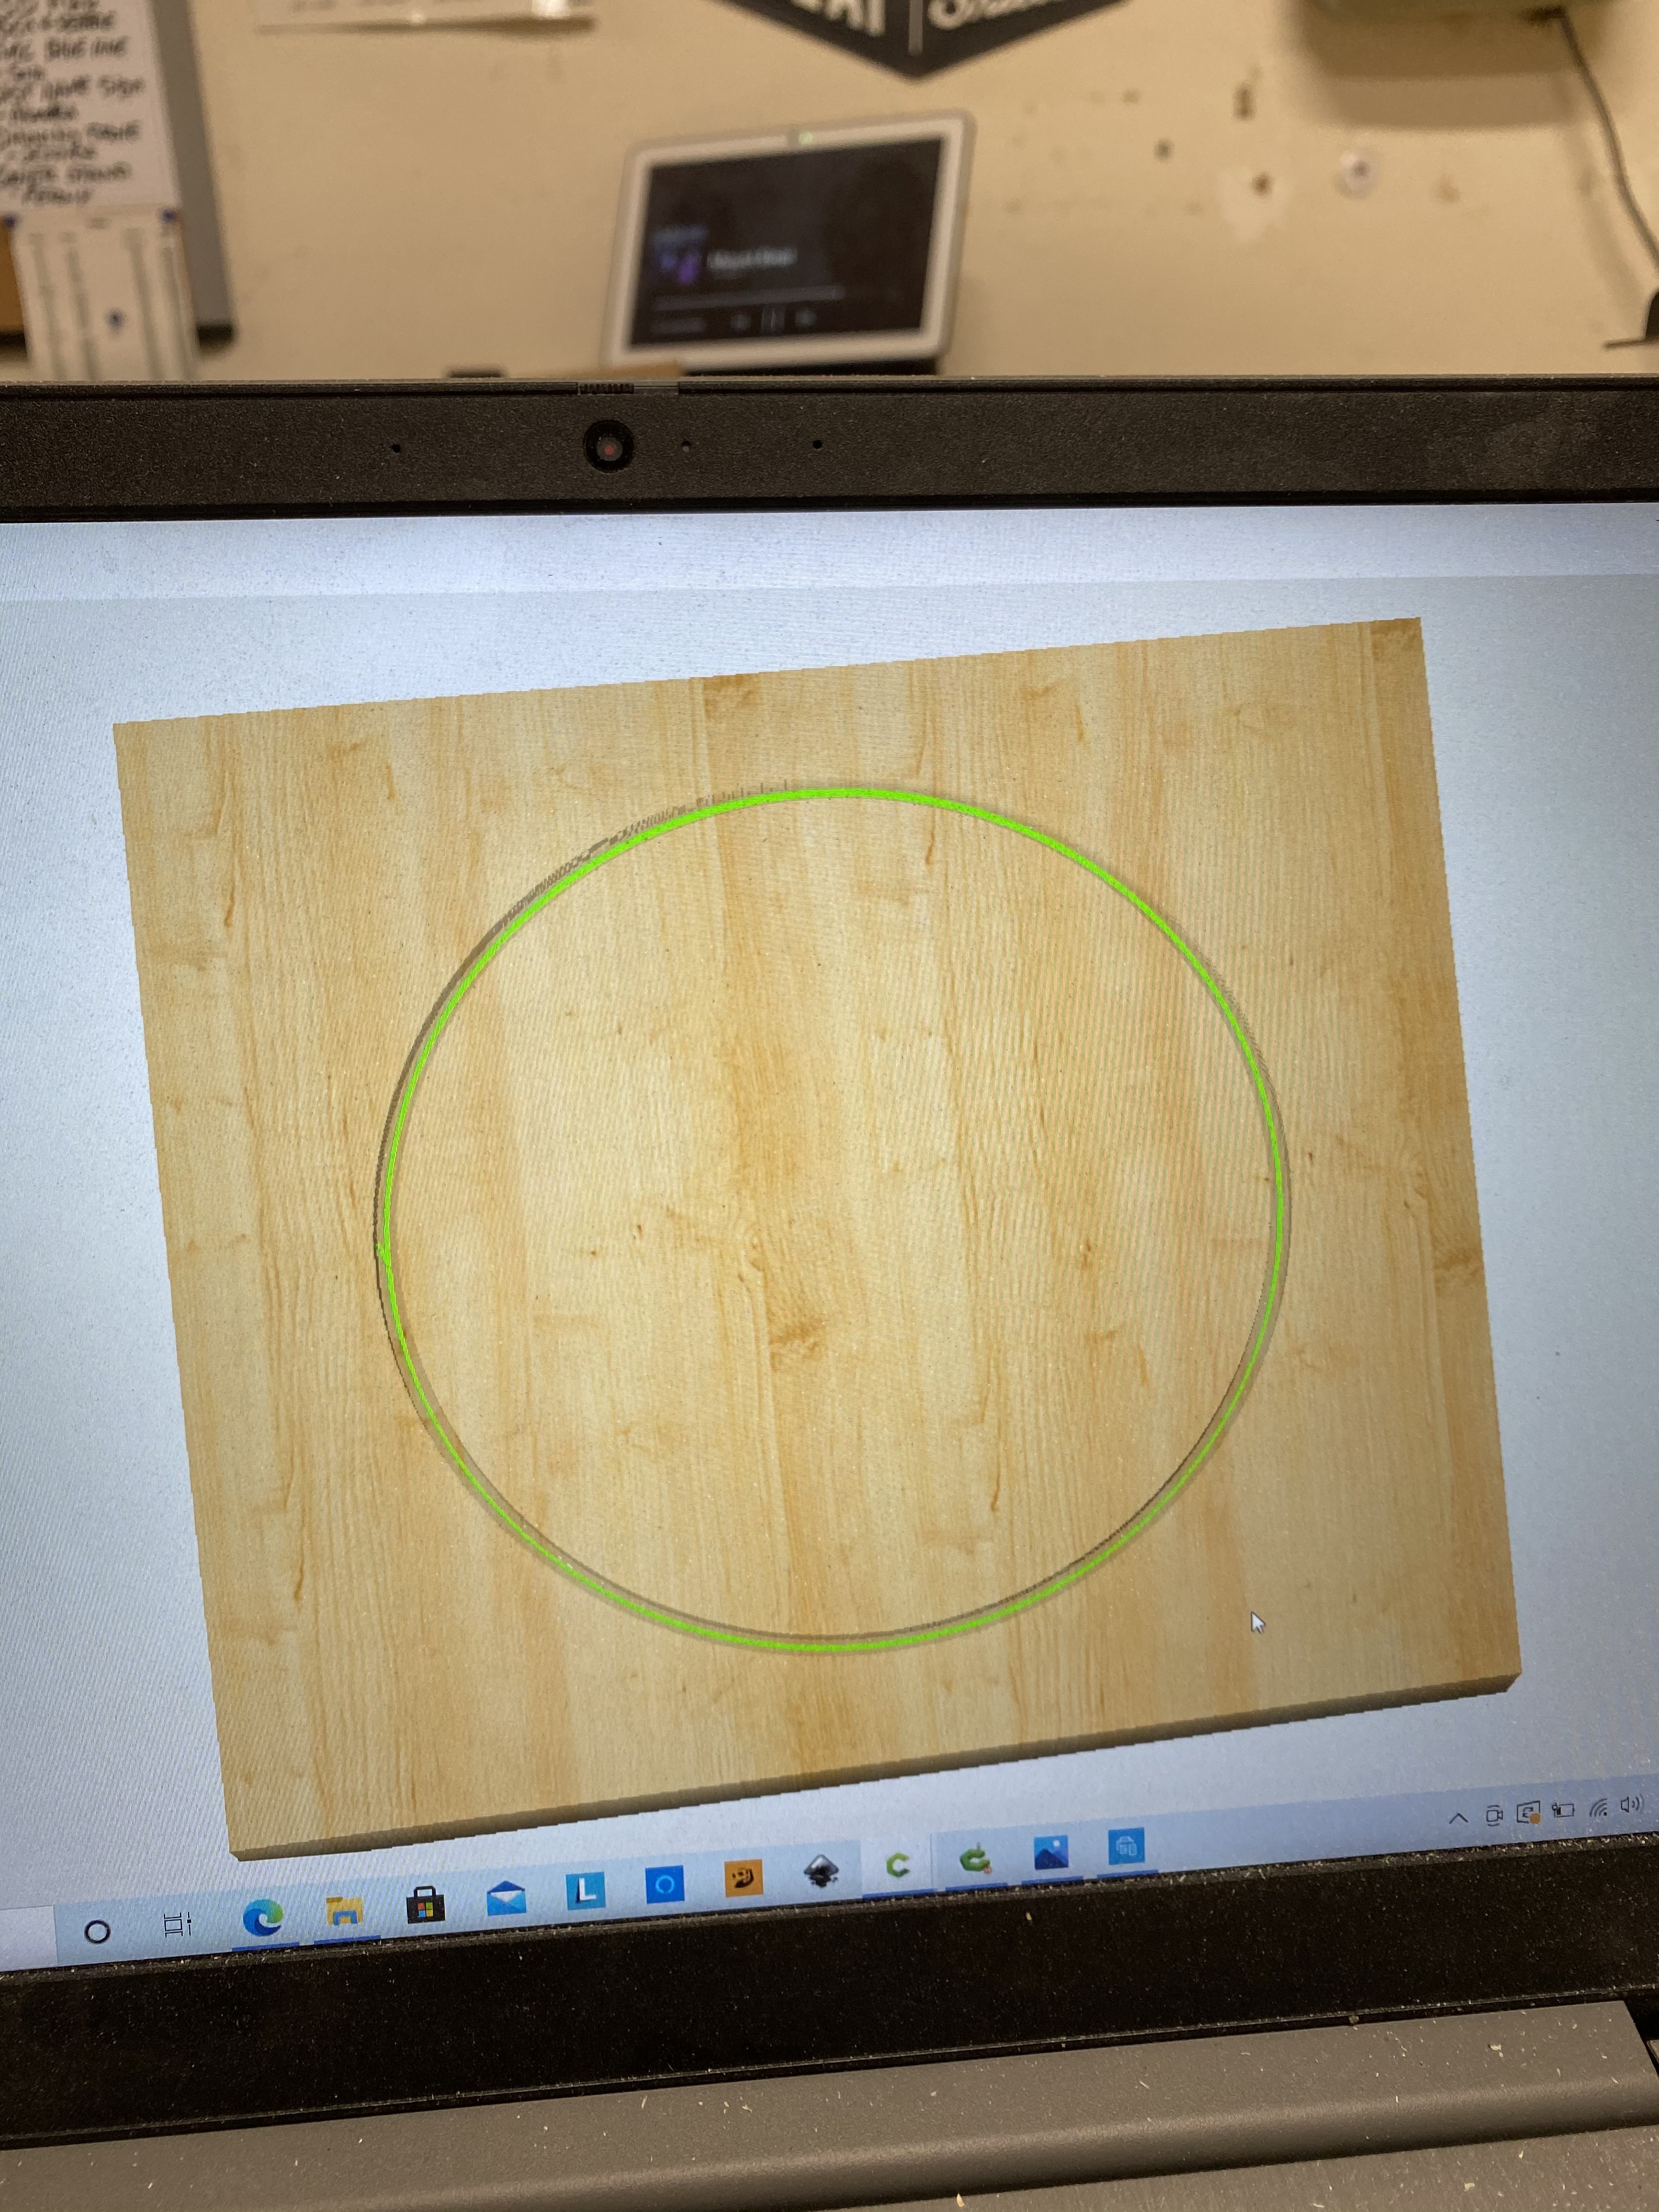
test cirlce.c2d (6.0 KB)
please let me know if it worked
It did. I don’t see anything weird in your file. Stupid and hopefully not insulting question, but you are putting the BitZero on the corner of your stock, right, not the corner square?
1 Like
So when you rapid jog X&Y, if you lower Z your bit is centered on the lower left corner of your stock? I haven’t seen an issue where it loses track of position the way you describe if everything mechanical seems sound and it hasn’t ran into something like a clamp.
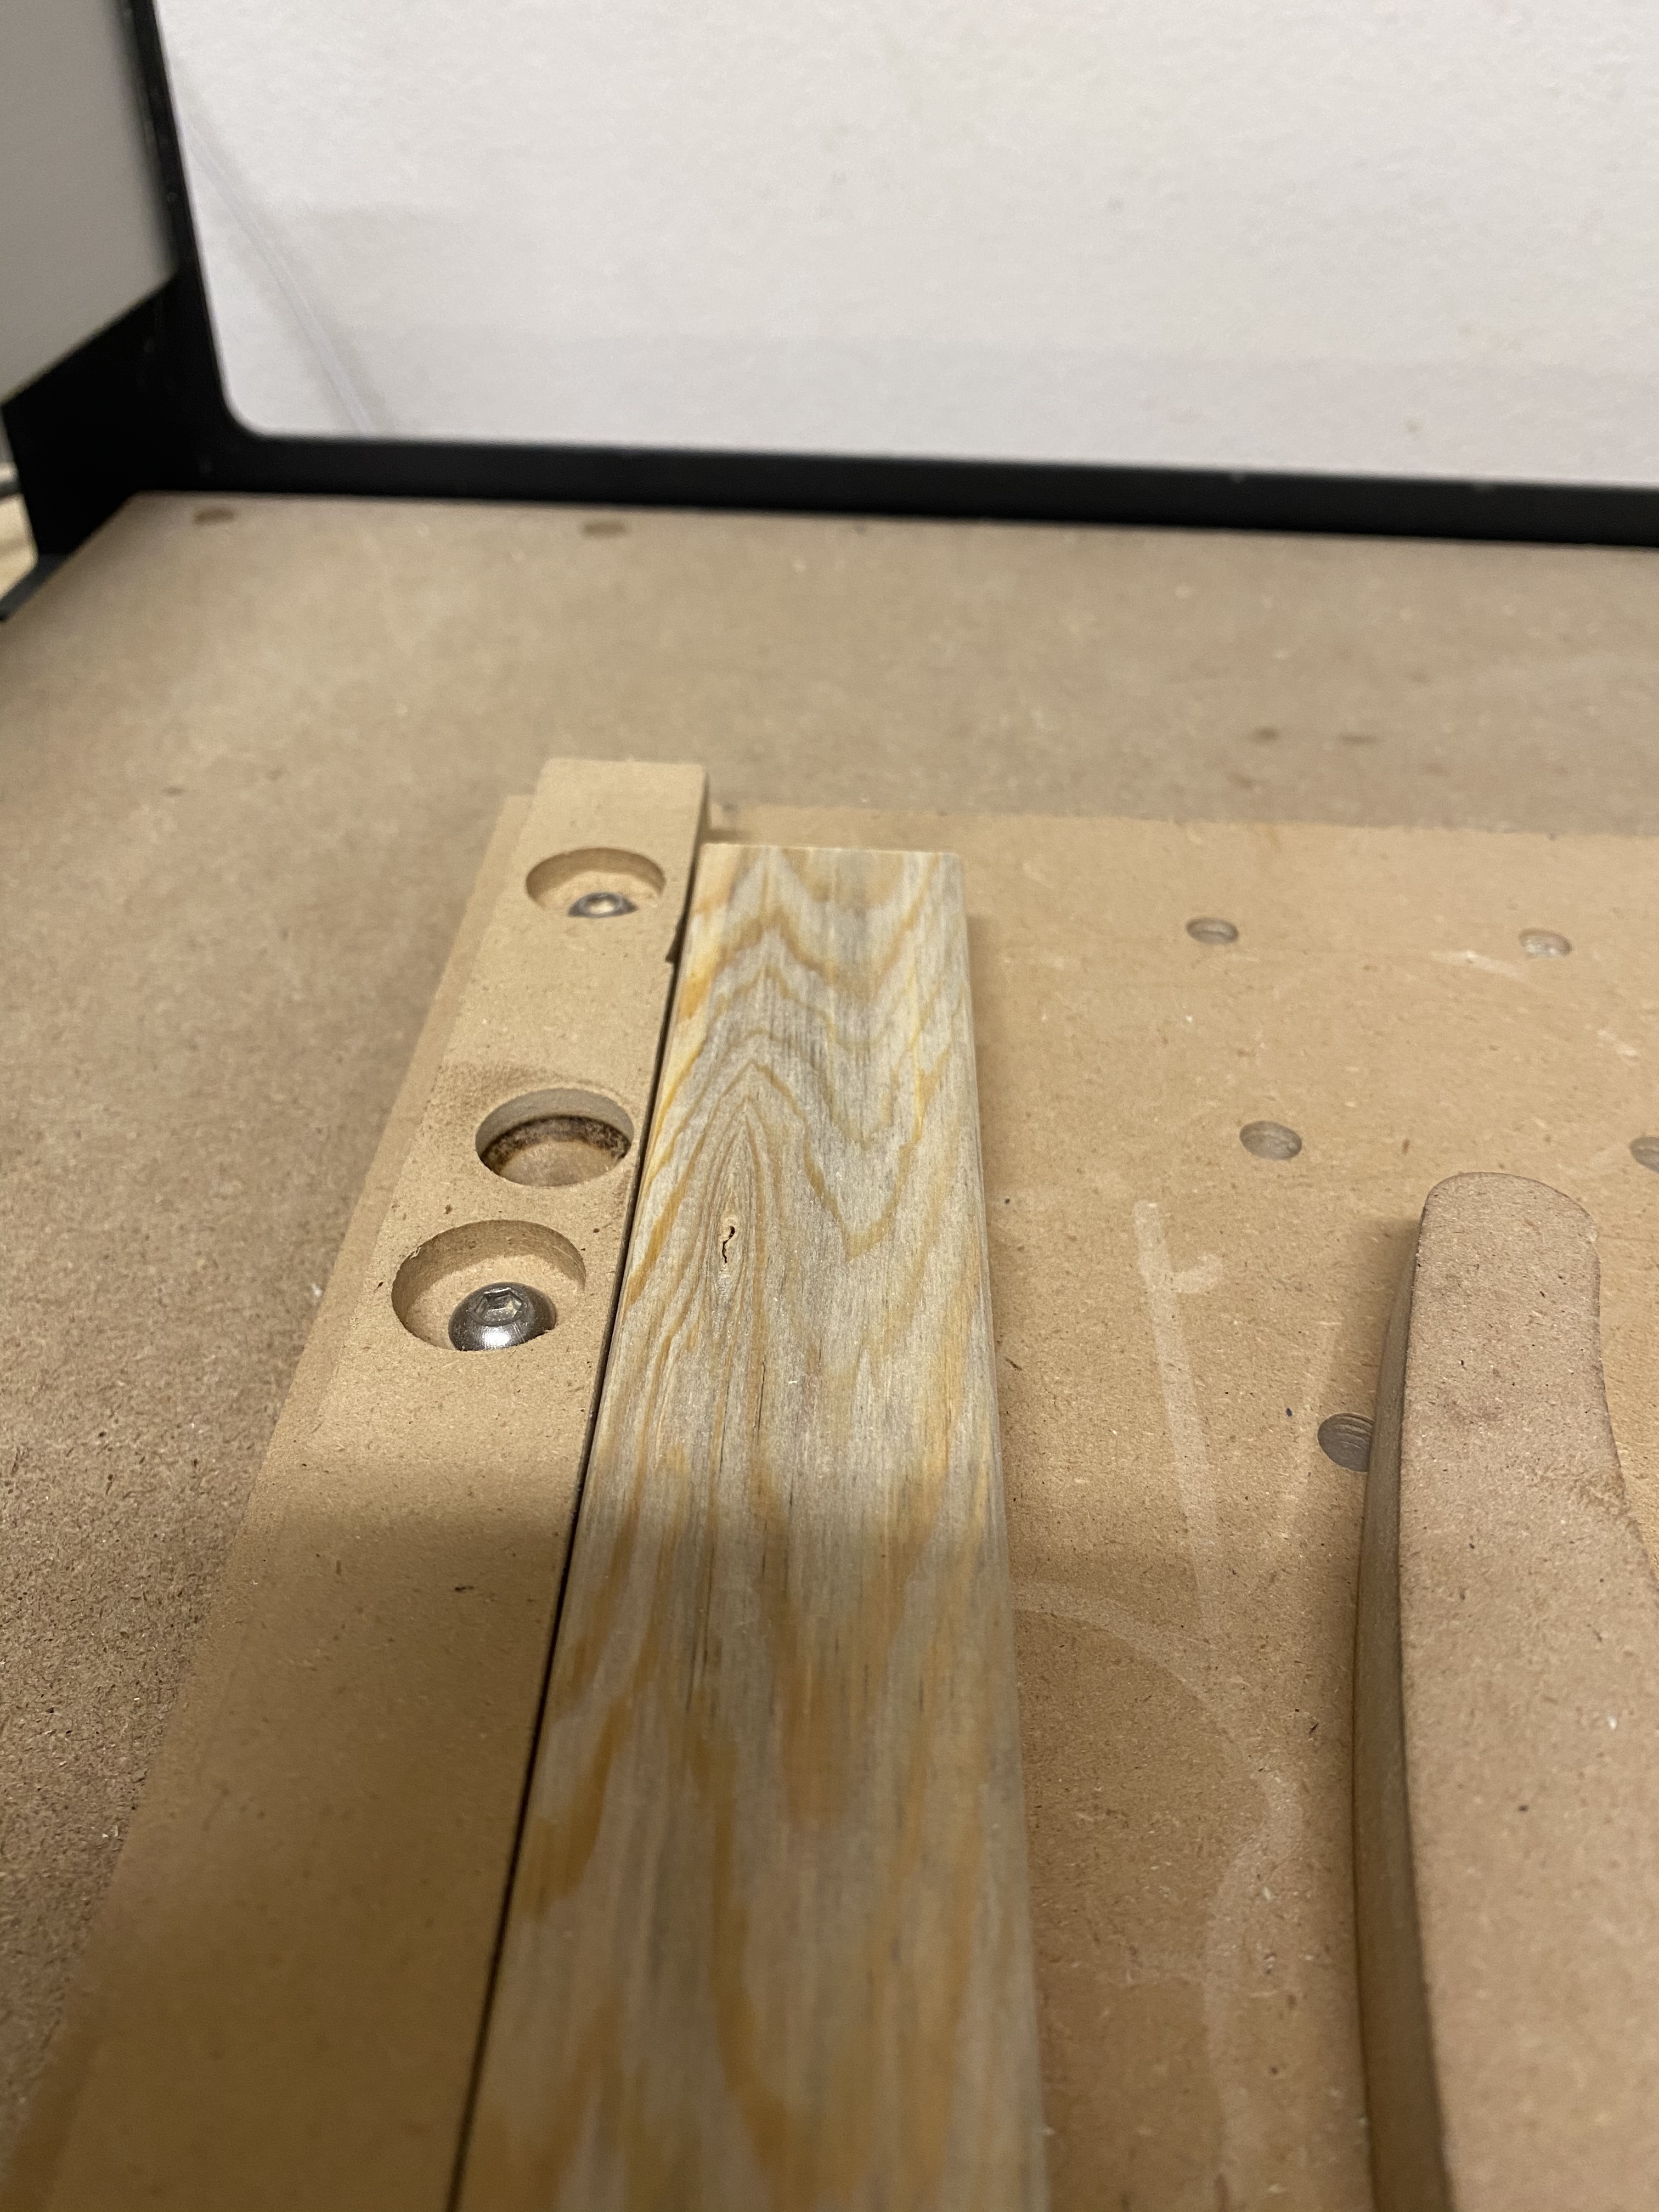
Correct i am using the BitZero as shown in the diagram when utilizing the different zero postions, i have been using the BitZero for some time now and i never had any problems till now, I have not done anything new out of the ordinary. Every cut I do, it pulls to the left of my work piece. I have and mdf fence and it keeps running the project into my fence.
 ok, I’m a bit stumped then. Can you post your *.nc file, and maybe someone can double check that as well. Probably signing off for the night here, let us know if you figure it out on your own too!
2 Likes
thank you i appreciate you time
For left/right shifts like those I would double-check the setscrews on the X axis pulley?
As in https://docs.carbide3d.com/shapeoko-faq/shapeoko-3-how-to-check-the-pulley-set-screws/
1 Like
hey Julien, I just checked all my set screws for the X axis and they all seems to be tight
Allright. To double-check that they don’t slip during the job for some reason, you can draw a mark across the pulley and shaft, run the job, and then come back to inspect the mark, it will be obvious if the pulley slipped on the shaft. Sometimes the setscrews are tight but none of the two is set against the flat on the shaft, and that won’t work well.
So you have a repeatable situation now where every single time you attempt to run the job, it will be offset to the left? And when you check X/Y zero just before running the job it is on the corner of the stock as expected ?
Also can you upload the .nc file you run for a quick check.
yes that is correct, when i do run a job it pulls to the left. Yes i even use the bitzero, and also get the zero by hand, i will post another picture showing how off my cut is. I will try your suggestion with drawing a mark on the pulley shaft, just to be clear is the pulley shaft the diagram you had just sent me correct? oh and i believe i have already posted my job file above, it is just a simple test cut of a circle.
It’s from a side plate on Y rather than the X axis which is of interest here, but the principle is correct, the important part is to make sure one of the two setscrews is aligned with the flat on the motor shaft.
Yes you posted the design file (.c2d) and that is correct, but I wanted to double-check the content of the .nc file (G-code file) you generated and loaded in Carbide Motion, could you upload that one too ?
Do you have a way to capture a video of the whole process (starting from right after you zeroed, going to X0 Y0, and then launching the job?) and to upload it on some file sharing site (possibly a YouTube account if you have one), sometimes it helps noticing small details / provide hints as to what is going on
1 Like