Carbide 3D Flip Frame for 2 sided machining

Remmy,

I like the added control of setting up 2 meshCAM jobs, one for each side.

Thats how I did the chess piece above, and it sounds like it will work for you as well.

Just rotate 180 degress around the X axis.

That’s how I did my 3D cuts - by setting them up as 2 separate cuts as Apollo mentioned. I believe that method gives us a lot more control. And since you have to stop to flip the jig anyways, having 2 cut files doesn’t really add much time to the entire process.

For a contoured 3D shape where you’re using a ball-end cutter, you can set the Max Depth to the bottom of the stock, and choose Machine Geometry + with a margin just less than your cutter radius (i.e. for .250" cutter, choose margin of .124"). Use a tight calculation tolerance, and the cutter will just not “fall off” the edge of the part. There will be a slight cusp at the “parting line” (which doesn’t need to be level) but realistically you’ll have a little hand-smoothing at the parting line with any two-sided part.

The beauty of this is that you can even do hollow bowl-shaped workpieces, and machine the whole interior without a lot of excess machining around the outside (which is machined from the other side).

Randy

OK. I just got my new Nomad and set it up and chose to do this project first because I didn’t get the metal sheet for the wrench. Now I have another noob question. How do I remove the piece from the supports?

@Mark
We ran out of the Dibond sample sheets last week!
I just cut some more, I’ll get you a piece in the mail.

To remove supports, I use a bandsaw typically or for fine wax parts an exacto knife.

You could also use a Jewelry Saw.

I’m just now starting to play with the flip jig and have a couple of questions.

If you were running this as a 2 sided job (not 3D), instead of needing to center the stock in the jig with shims, can’t one just zero z to the new side after flipping the jig? For a 2 side job, you go to the full depth of the stock anyways (of course you’ll want a sacrificial piece under it). What am I not understanding?

Here’s a tutorial on using it:

Hope that helps!

While I appreciate the link back to the same place I posted this :slight_smile:, my point was that instead of running it as a 3D job, if you ran it as a 2 sided job. In the video for example that Darren Lafreniere did, he milled the fan that way. He did tho need to shim the stock to be in the middle of the frame, hence my question. Apollo mentioned he was going to do a do a Meshcam 2 sided machining tutorial (I presume with the flip frame) but didn’t get around to it. Thanks

@sshwarts
You can do it either way.

I prefer to have 2 meshcam files, so I can control each side of the parts tool path more completely.

If your stock is uniform, you can zero off the top of the stock for each side.

Your part should be most accurate if you set the zero only once. This is why it’s worth taking the extra time to center your stock in the flip frame and setting the zero in the center of the part.

Please post a picture of your part in case I missed something. I can demo the process for you, just post the details.

2 Likes

I’m going through this now. I’m confused because if I attach the flip jig and screw it down (bolts forward, but doesn’t matter here), and use CM to “rapid move” to the center point (to set zero to dead center, as above), the center of my jig is left of center of the bed itself. I guess this doesn’t matter if I use the top center of my 2x3 renshape but did something change or am I overlooking something?

The jig is not centered in x (unless something has changed since my machine was delivered several years ago)

The y axis (front to back) center is critical and must line up with the centerline of the jig. This is what lets the sides line up when you flip the jig, since the jig flips over front-to-back. The x axis (side to side) is set for each job and, as long as it is not changed when the part is flipped, can be anywhere that is appropriate for the part, since the x positions do not change when the part is flipped.

2 Likes

Got it done! Giant Robber for Settlers of Catan finished in Renshape!

4 Likes

Finally had occasion to try this myself:

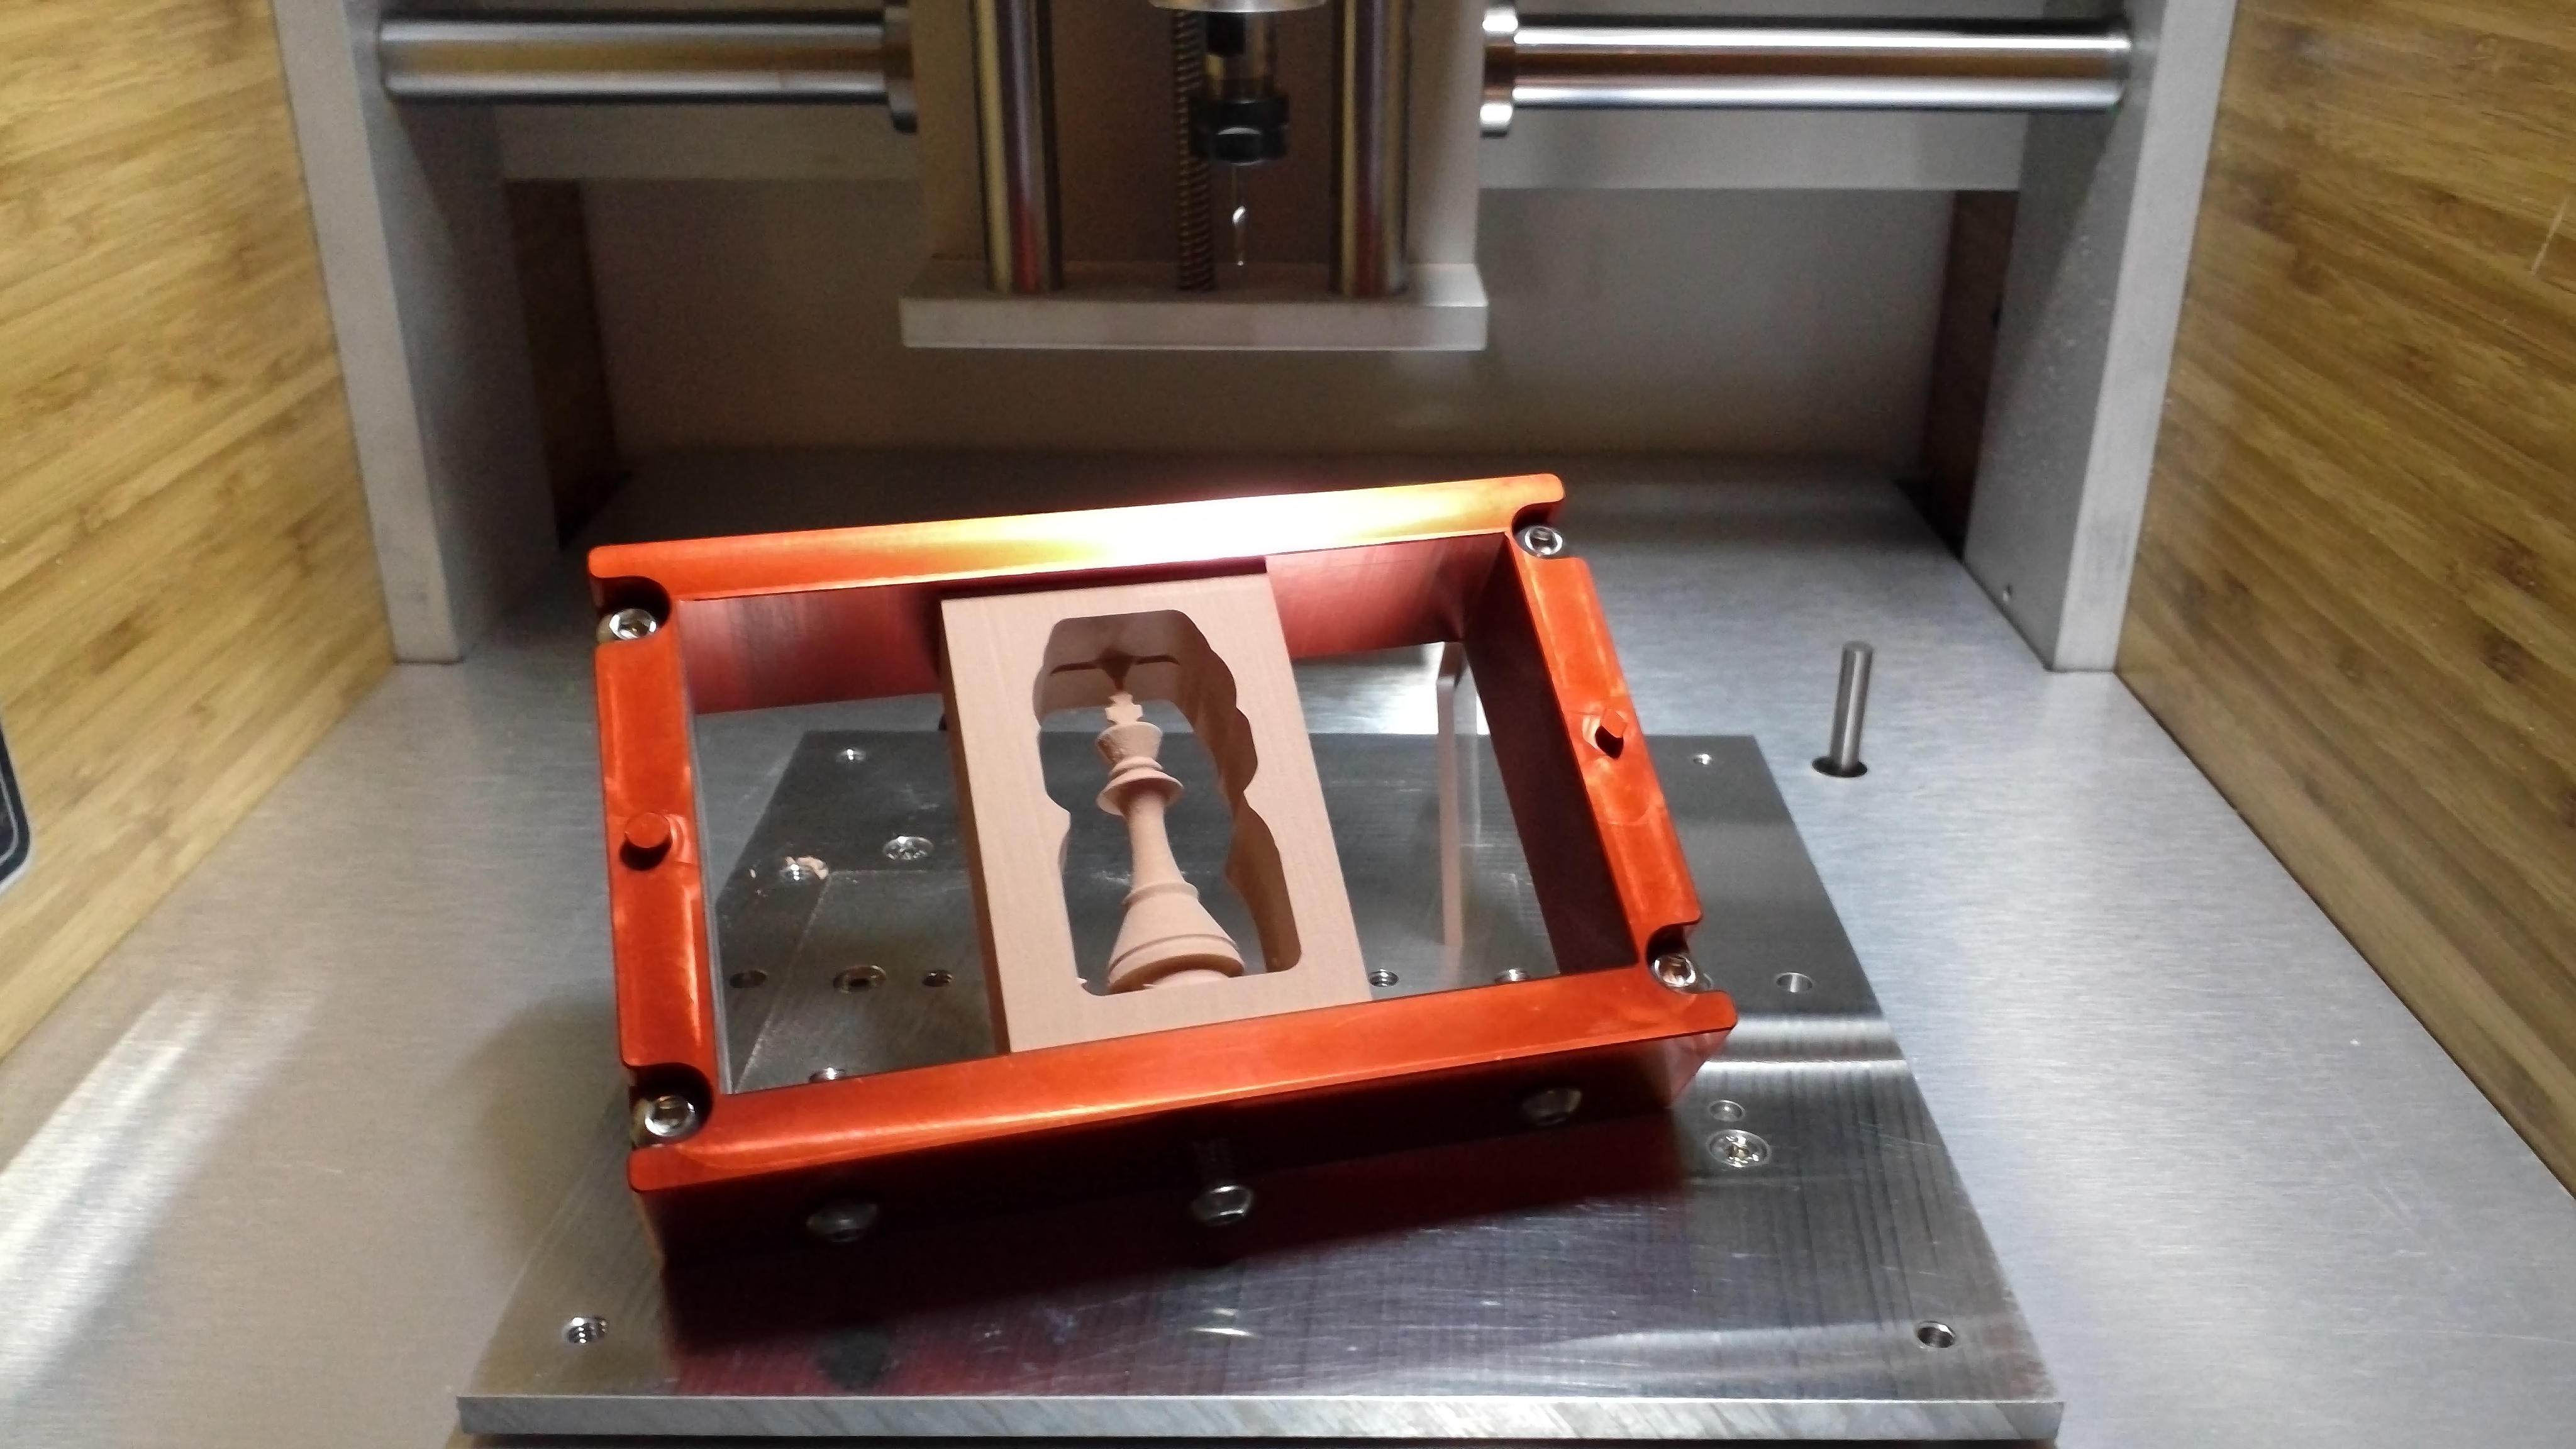
Did revise the MeshCAM file to use standard Carbide 3D numbering:

3D RENSHAPE 25 063.tps (2.1 KB)

2 Likes

My version of 4-Sided…move and repeat (3 times)…Rough, Finish, Rest Programs for a LOT of programs (somewhere around) 32 programs…


03%20AM

6 Likes

Cool that you’re still working on that! Surprised you didn’t fabricate a 4th axis.

1 Like

That’ll be one of my main focuses at IMTS!

Good memory!

1 Like

Mr. ApolloCrowe
I used to be an Adobe instructor for 4 years back in the 90’s, and I have to admit, this is AwEsOmE. If you don’t mind me asking, what’s your background?

Hi,
I’m starting to use the flip jig (I wish I’d found these instructions before my first couple of tries). I assume Mesh Cam is smart enough to flip the model for you if you set it up as a flip job?
Dave

Yes meshcam has an A & B side whem macheining two sided

This topic was automatically closed after 8 days. New replies are no longer allowed.