Very nice flag. I love to see old glory waving in the breeze. As far as heating up PVC/plastic I have no expertise. However you need a positive and negative mold to press them together to get a good molding. You can get PVC quite flexible but you have to give it a form on both sides to get a good shape that conforms to your mold.
Have a heat gun ready to help because as soon as the pvc comes out of the oven it will start to cool and at a certain temperature it will be what ever shape it is at that moment. The molds and pvc need to be both hot to get the pvc to conform. Make sure your molds do not have any trash or artifacts or you will mold that right into the surface of the pvc when in a softened state.
So take some scrap and heat that up to see how pliable it is and if you can carry it from the kitchen to the shop without it dropping so you may need a tray or board to carry it so you dont get premature bending.
Be sure to wear gloves so you dont burn your hands.
Cool idea. What size is this? Small enough to heat in an oven?
The bending temp of acrylic is more like 275° - 350°. (PVC would be 210° - 275°)
Start at 275° and if it’s still too stiff increase it. DON’T get the temp too high. The material will slough & deform.
If you’re worried about sticking to the wood, Add some wax paper between the mold & part after it comes out of the oven. The wax may melt on the part, but should clean easily. If the wood is really smooth, I don’t think you’ll have a sticking problem unless the plastic gets too hot.
You don’t absolutely need a 2 piece mold. When the plastic gets to the right temperature you can push it down with your hands. Good thick oven mits, and/or a wadded up towel or larger rag to spread out the pressure. Don’t push with your finger tips, it could distort the material in too small an area.
A 2 sided mold will certainly make it easier. And some extra weight on the top should bend the material without any interaction.
The mold shape in the .pdf looks awful (to me). It looks like corrugated fence/siding. A smoother wave, I think would look better. Something like…
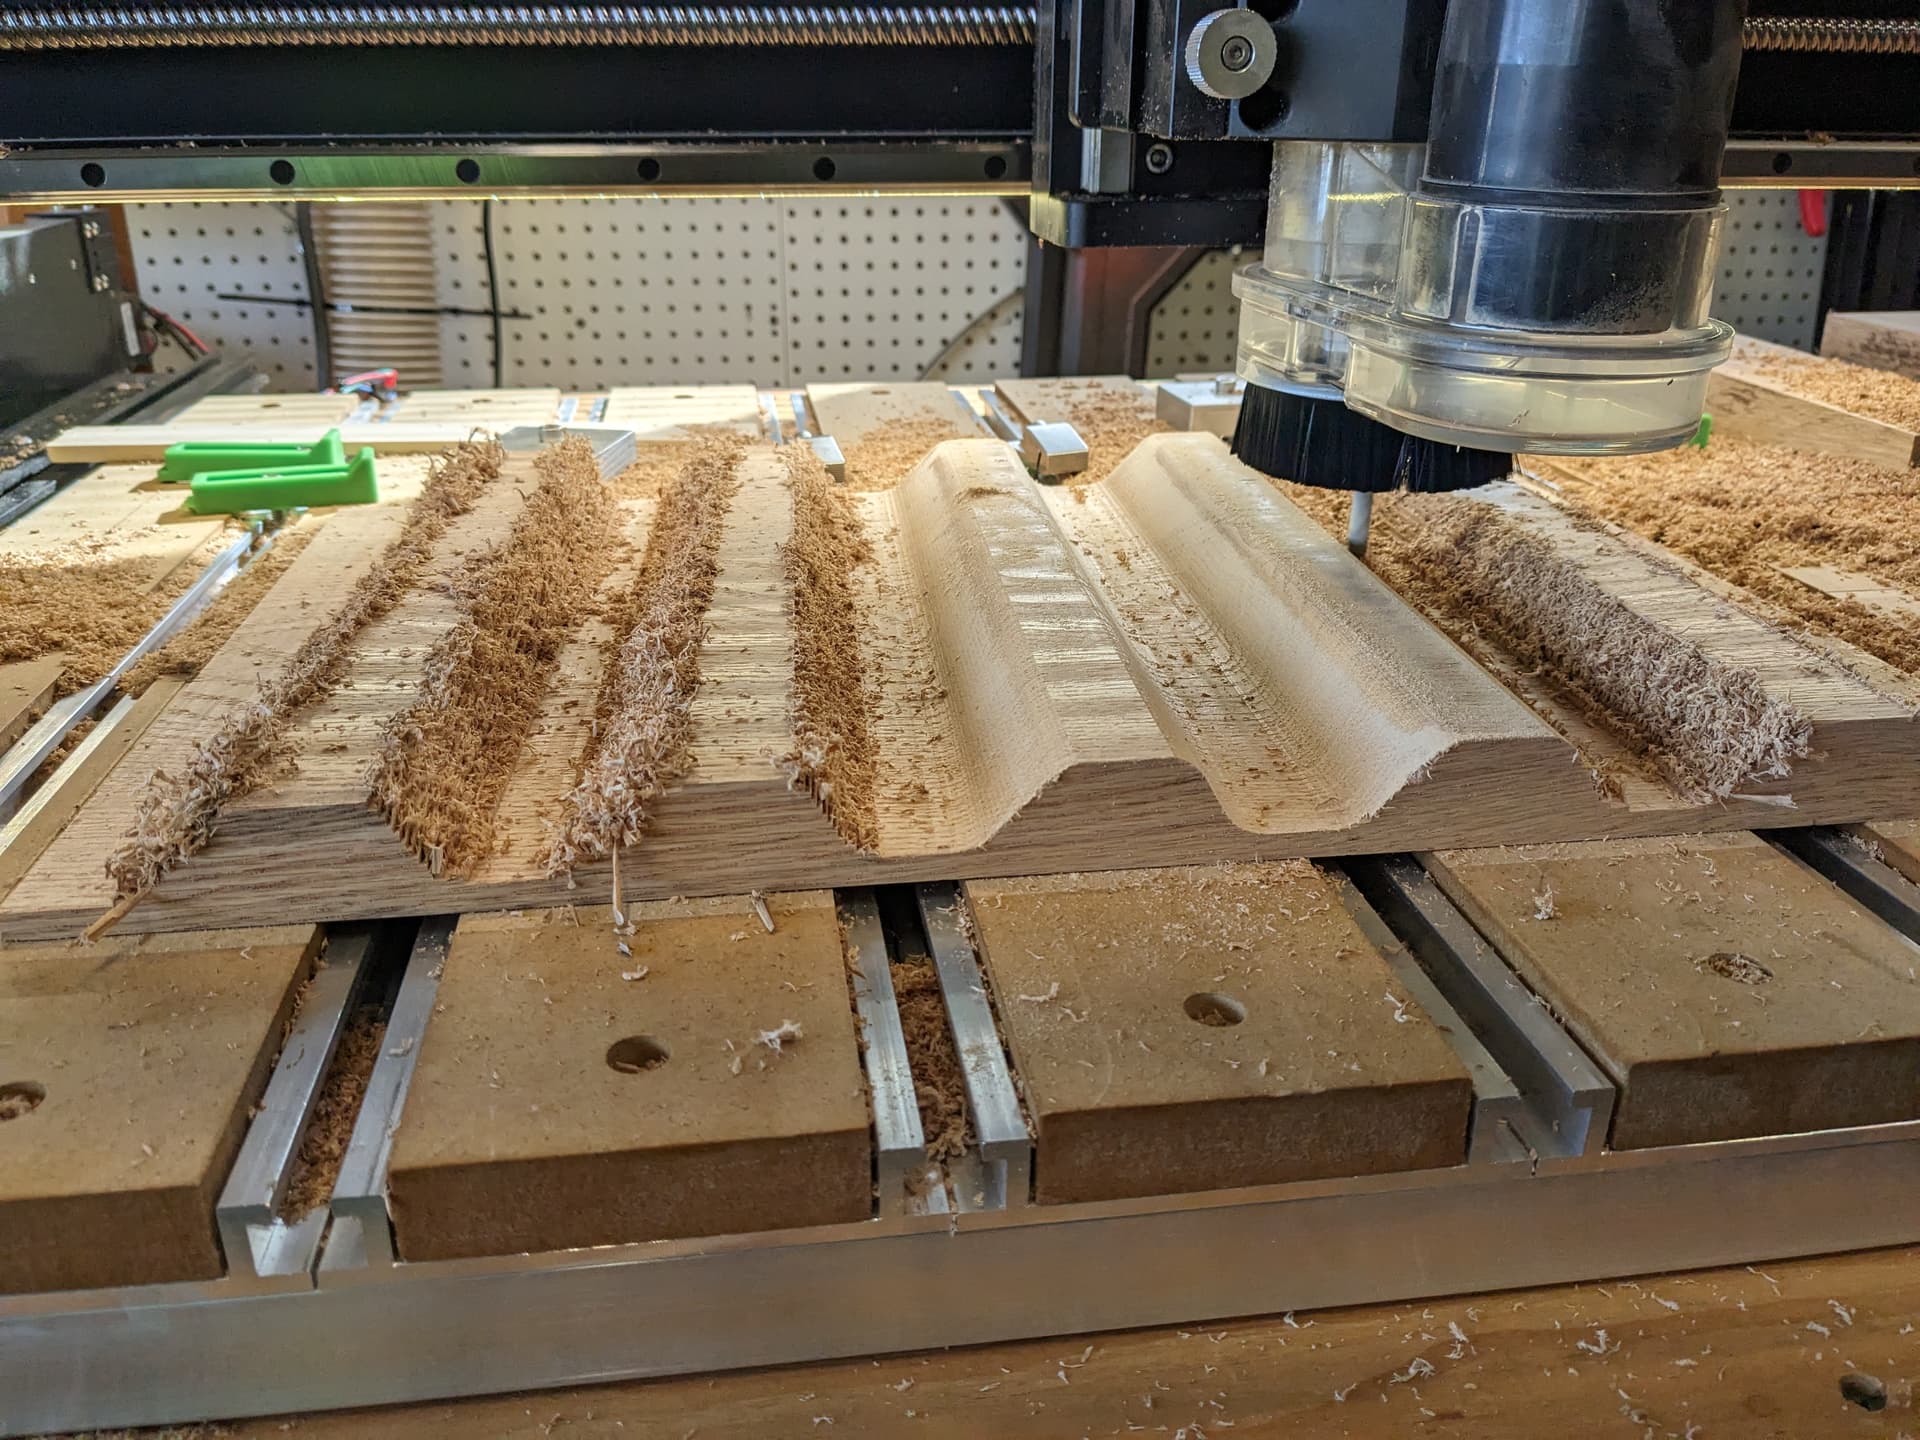
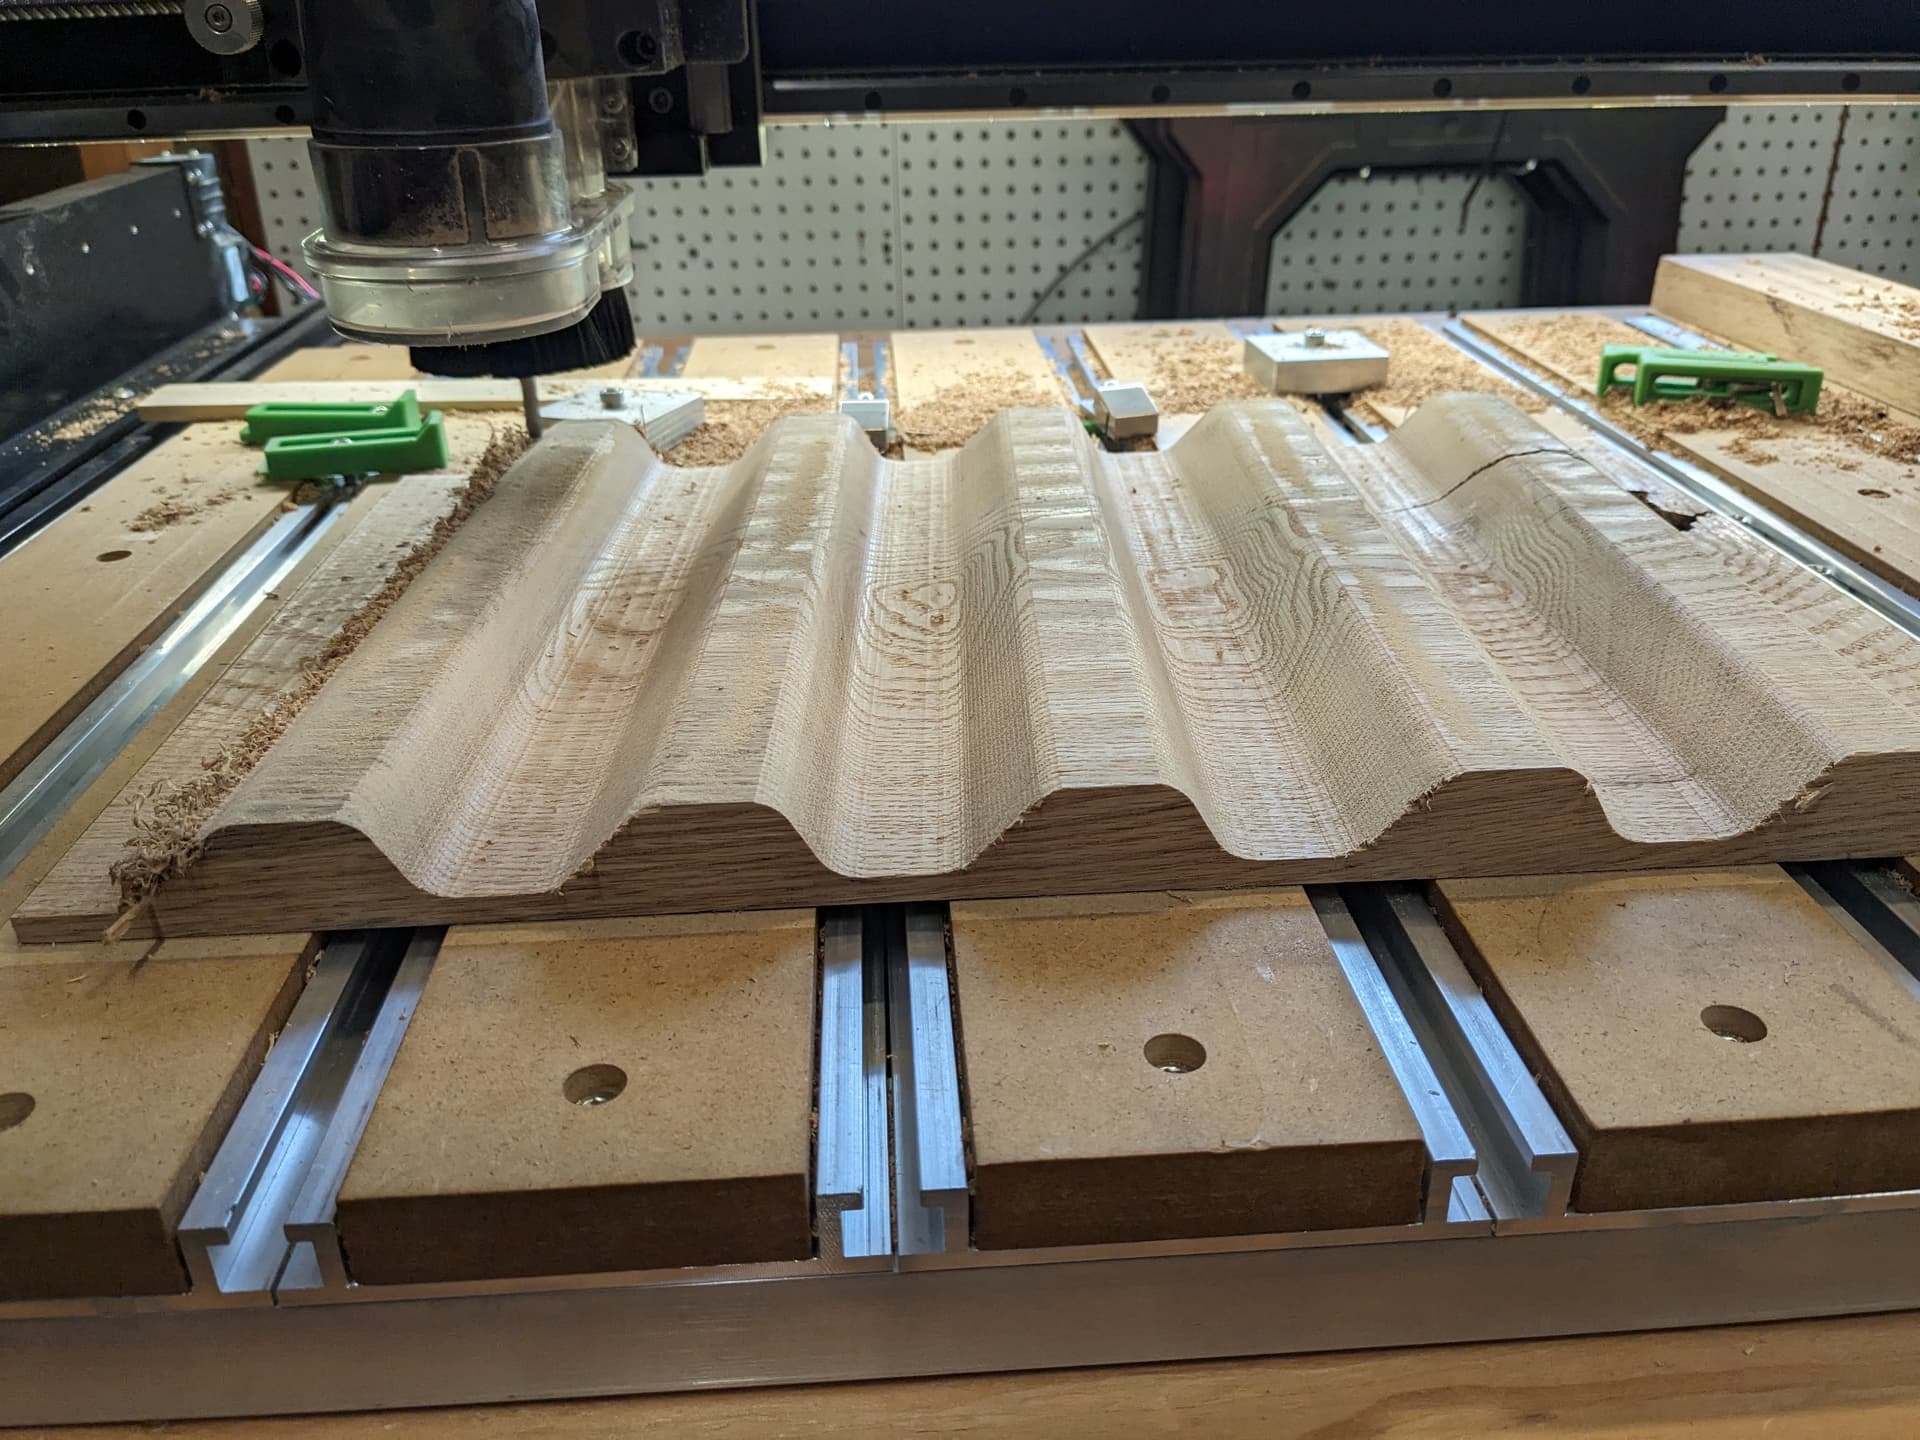
Thanks for the info ! I will have a two sided mold as shown in the attached PDF.
The size is 18 wide(X) x 12 deep (Y) and 1 thk (Z). The wave is 3/4 deep and repeats around 3.25 inches. The angles are 60 and 75 degrees, I didn’t want a too steep an angle.
I checked my oven temperature with a infra red probe and found the 170F setting was actually 200F.
So a little more testing on that needs to be done. I will get some good mits.
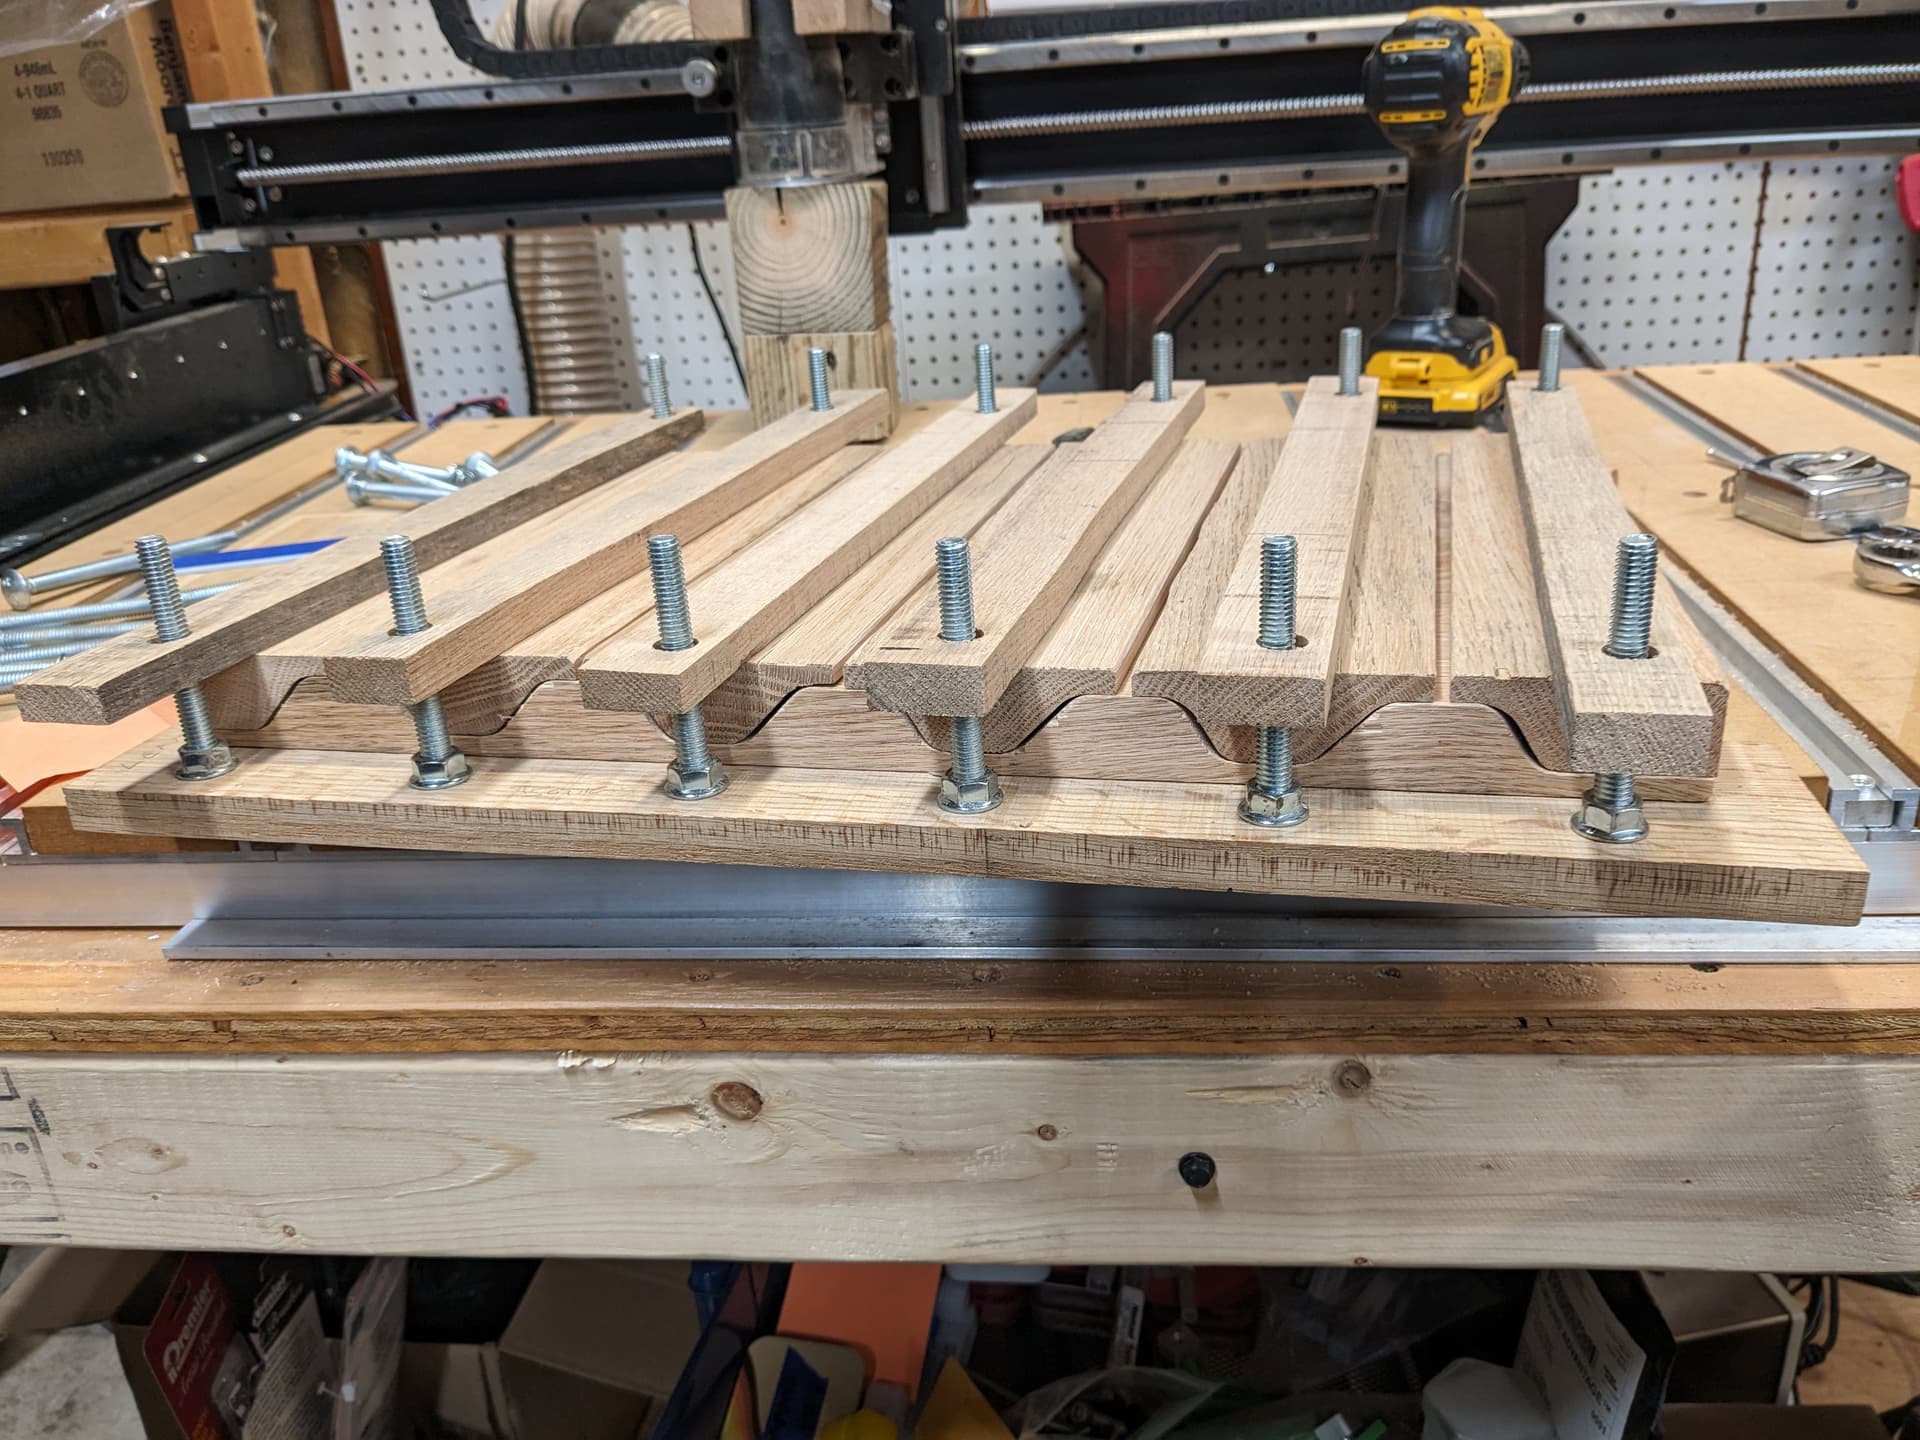
As the PDF shows I am making the top of the mold in 6 pieces. I was concerned about stretching the material too much, so I think I will start in the middle and work my way out. Since the wave is on a slight angle, I am wondering if some sort of retainer to keep it square will be needed.
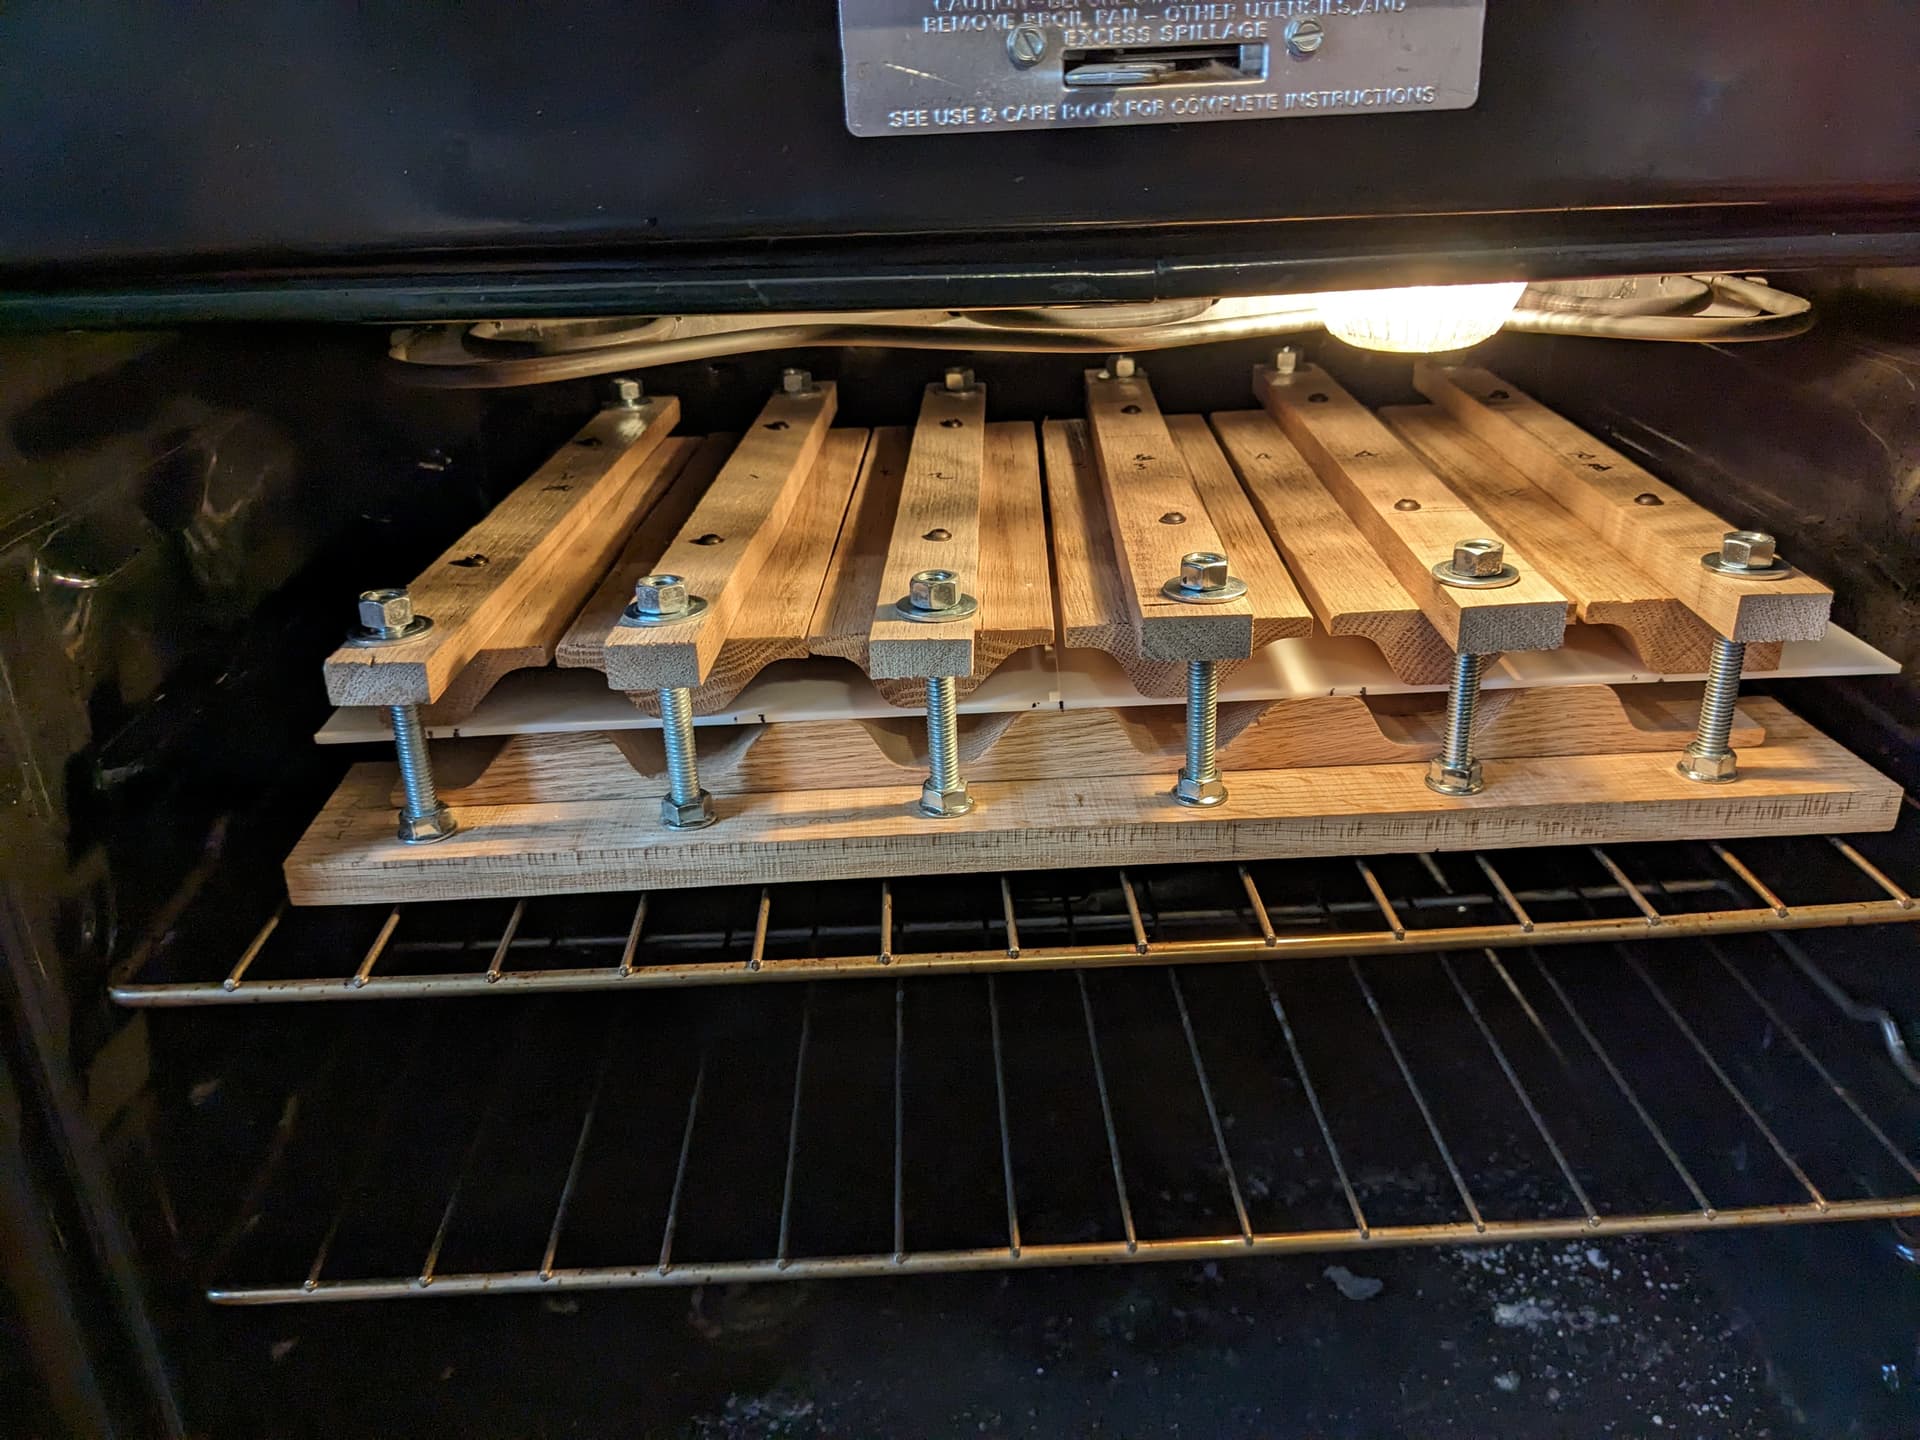
I think I am going to preassemble the rig, then use a screw gun to evenly tighten it down.
I can put the whole think back into the oven if it cools too much. I may have marks in the material where the gap between the Top mold pieces is, it’s all a test.
The bolt sizes are whatever is laying around the garage, I think I have enough 3/8 carriage bolts of a usable length, otherwise I will find some 1/4 or 5/16 fasteners.
Pictures ? Before or after the fire department shows up ?
The paint is acrylic. In the reading I found, it will soften and bend. At least that’s the hope.
If it smears, that will kind of suck. That’s another reason I am using multiple top mold pieces to limit the drag on the surface.
It also mentioned if you get hotter ( before it boils ) the paint will chemically become part of the acrylic.
There is a temperature where the acrylic gas’s off, will try to avoid that.
That concept needs further exploring on another project.
I have a thought of creating faux stained glass using clear acrylic and paint. Hmmmm…
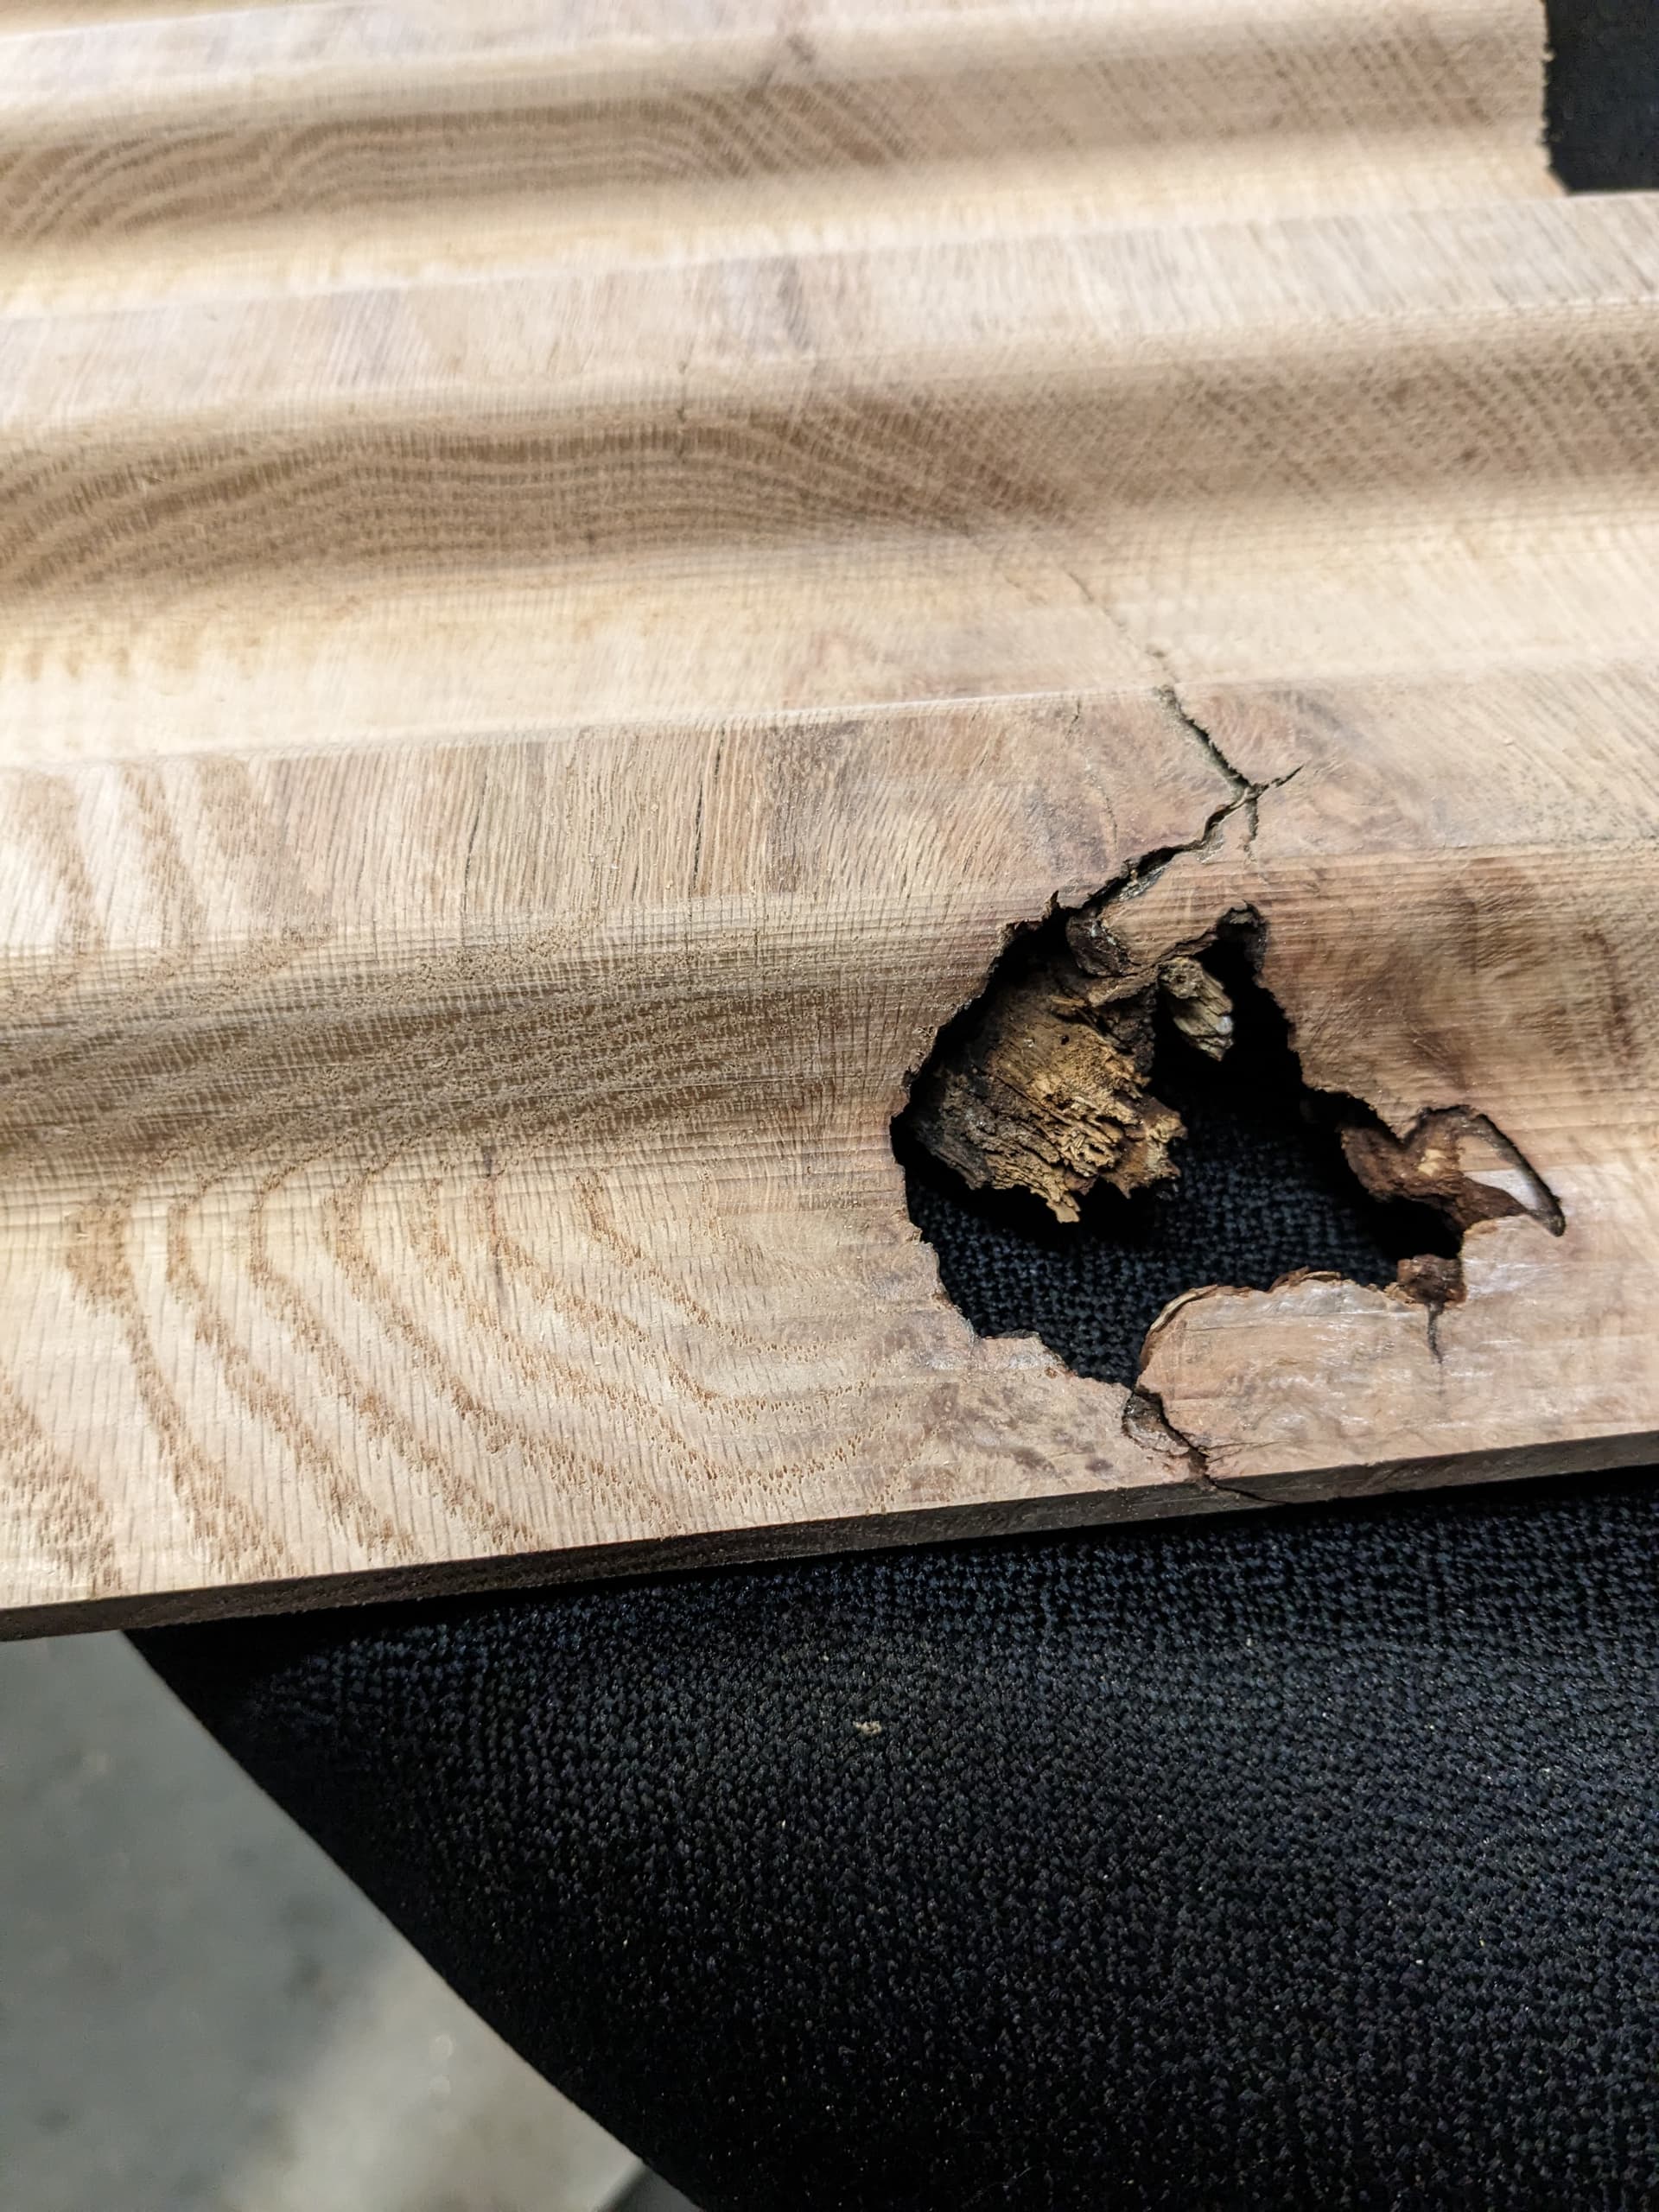
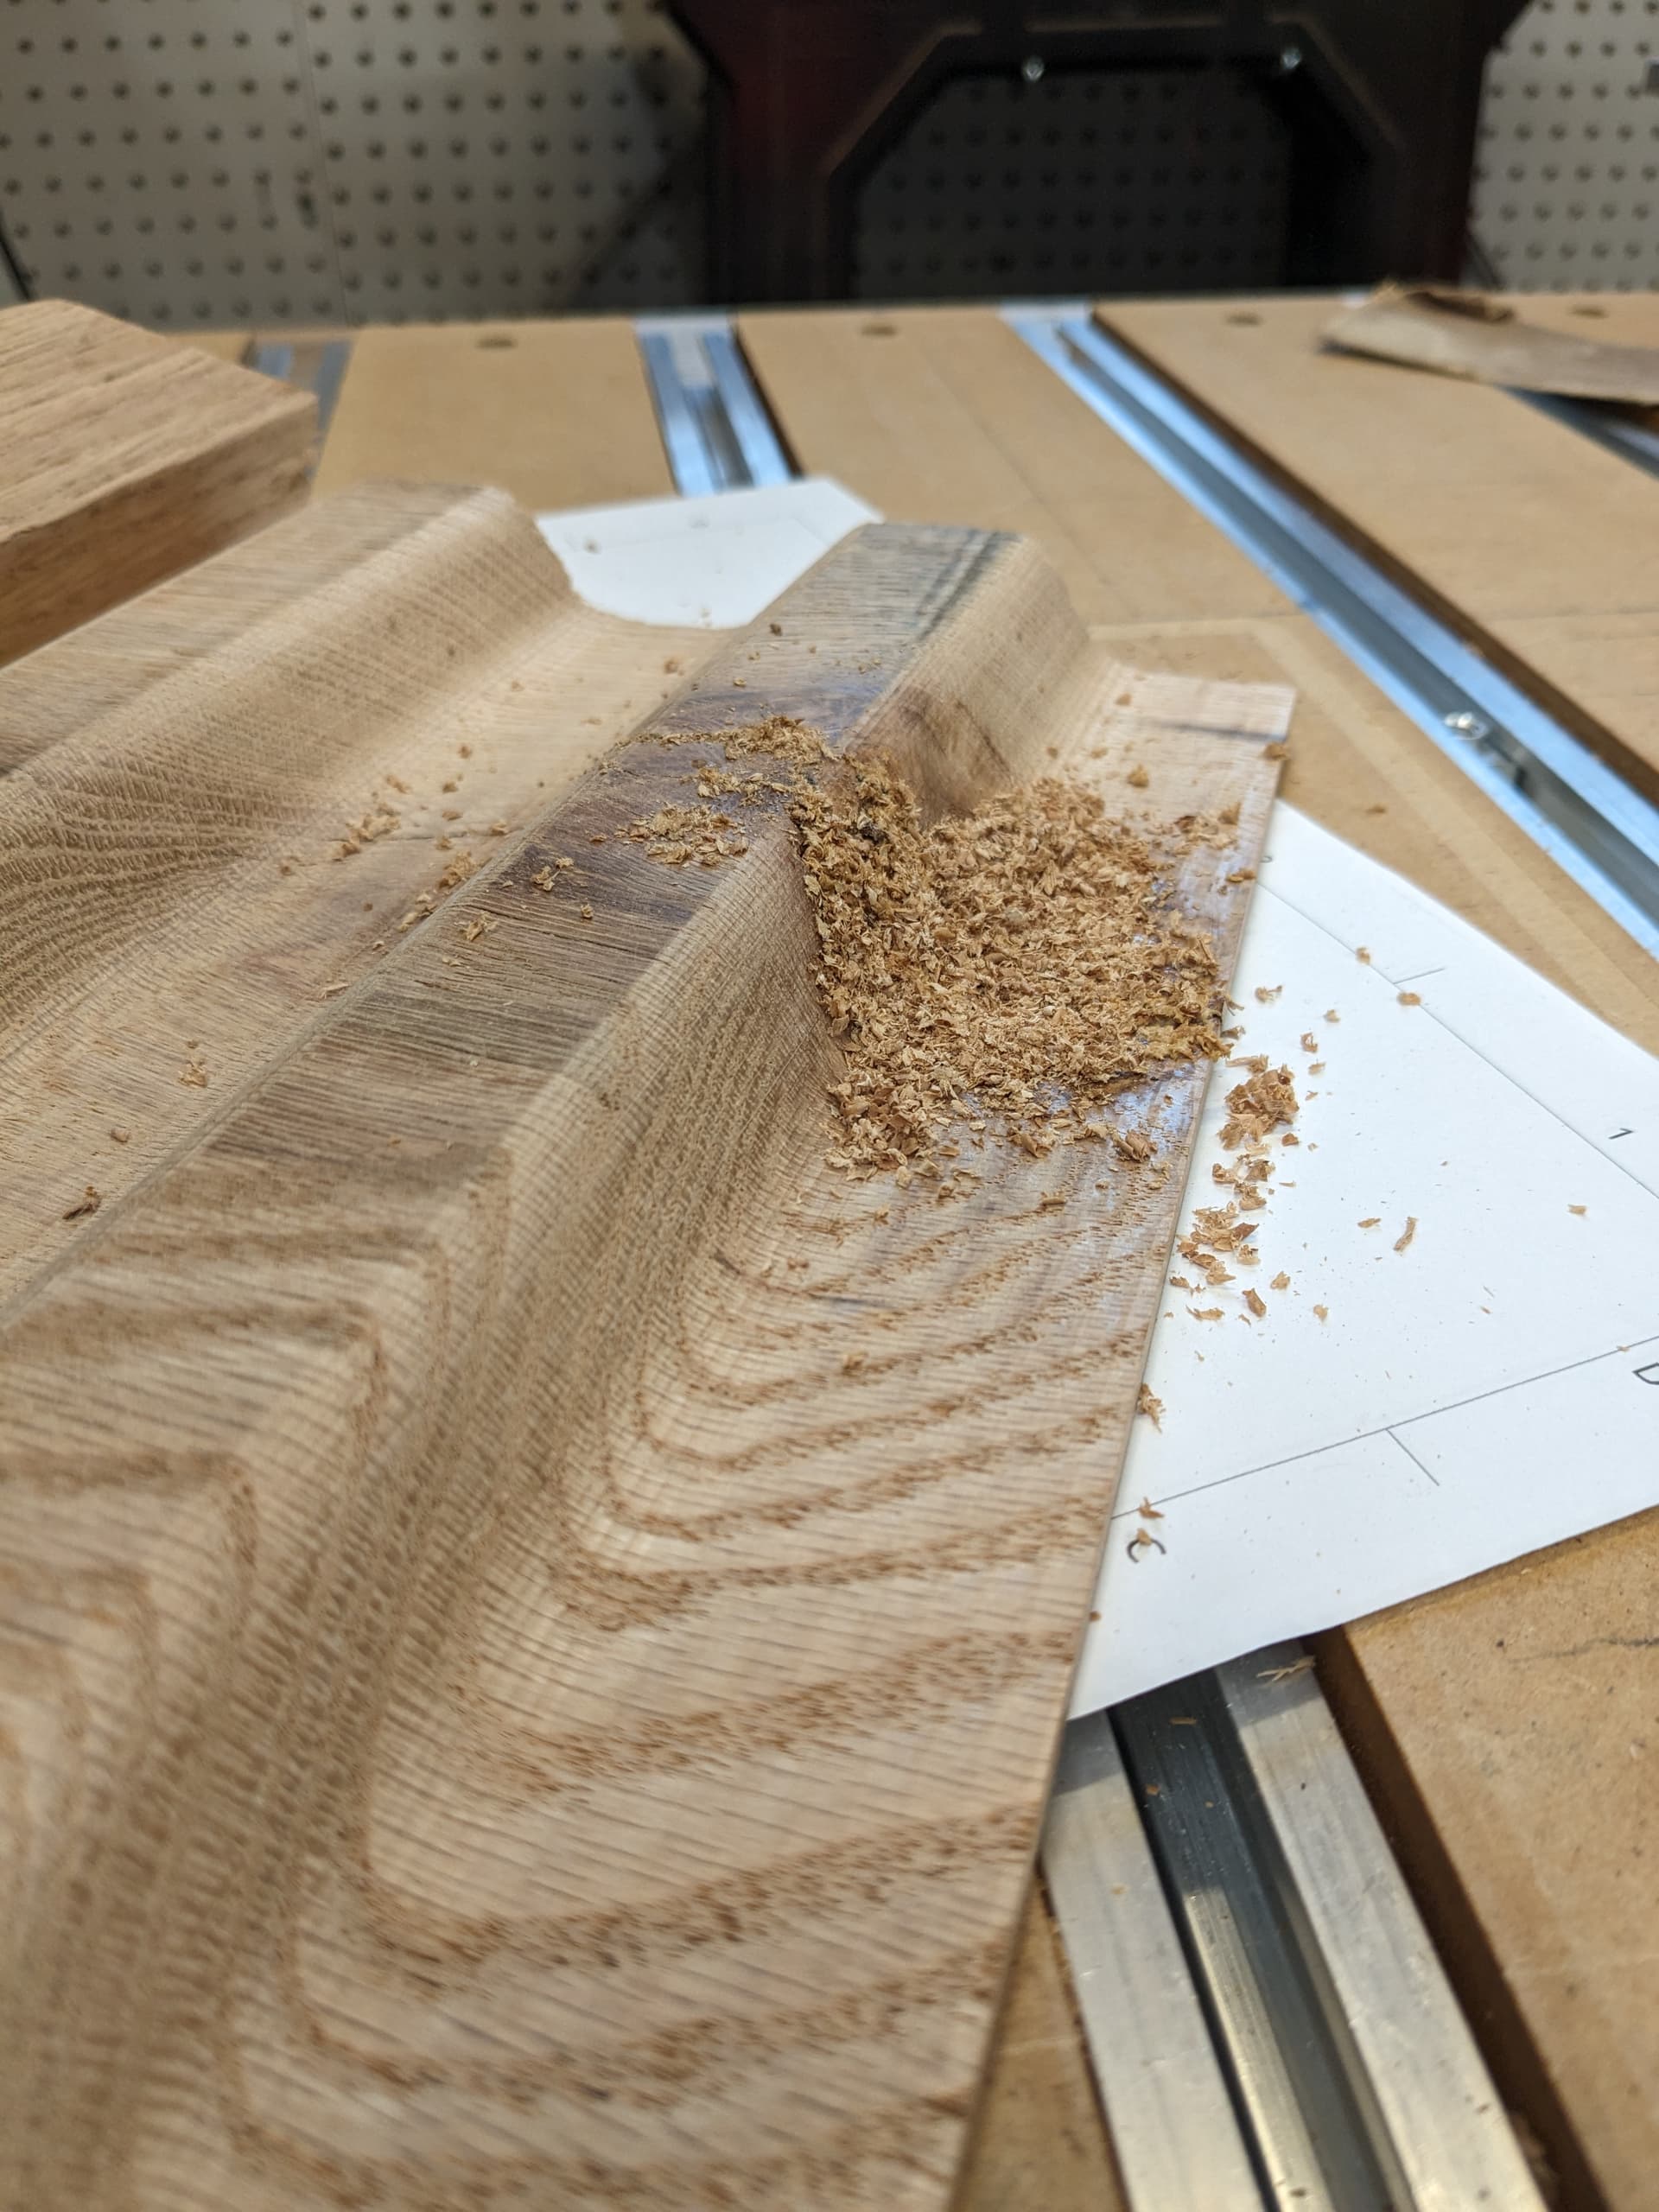
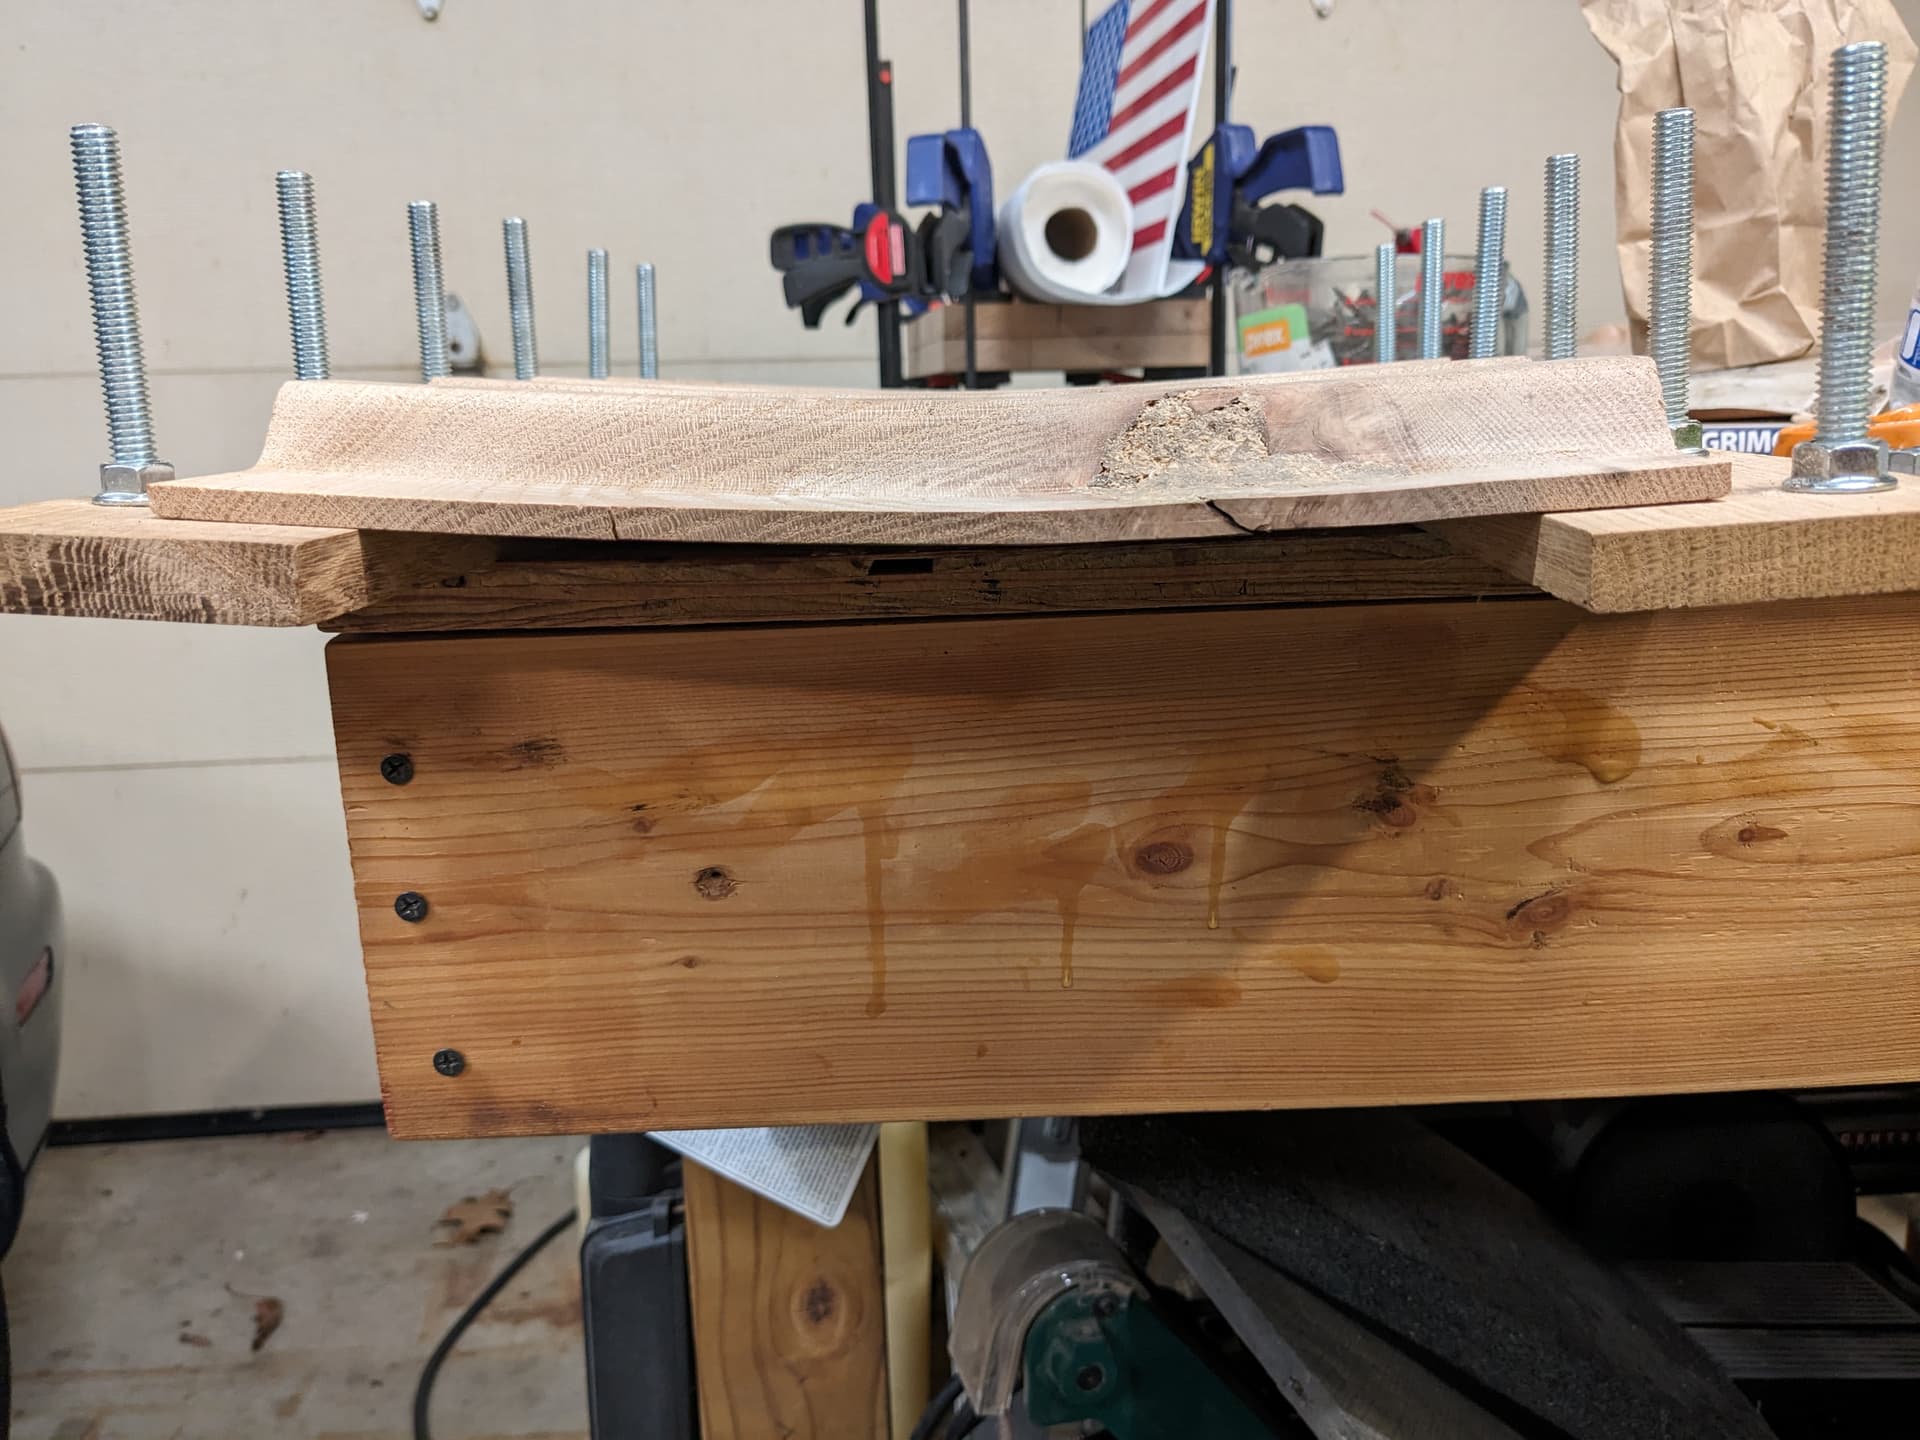
Now for some wood chip bondo to fill the hole. I saved a couple of baggies of chips.
I think it’s going to be a multi pass fill. Hole is 3" x 2" on the bottom. Less on top.
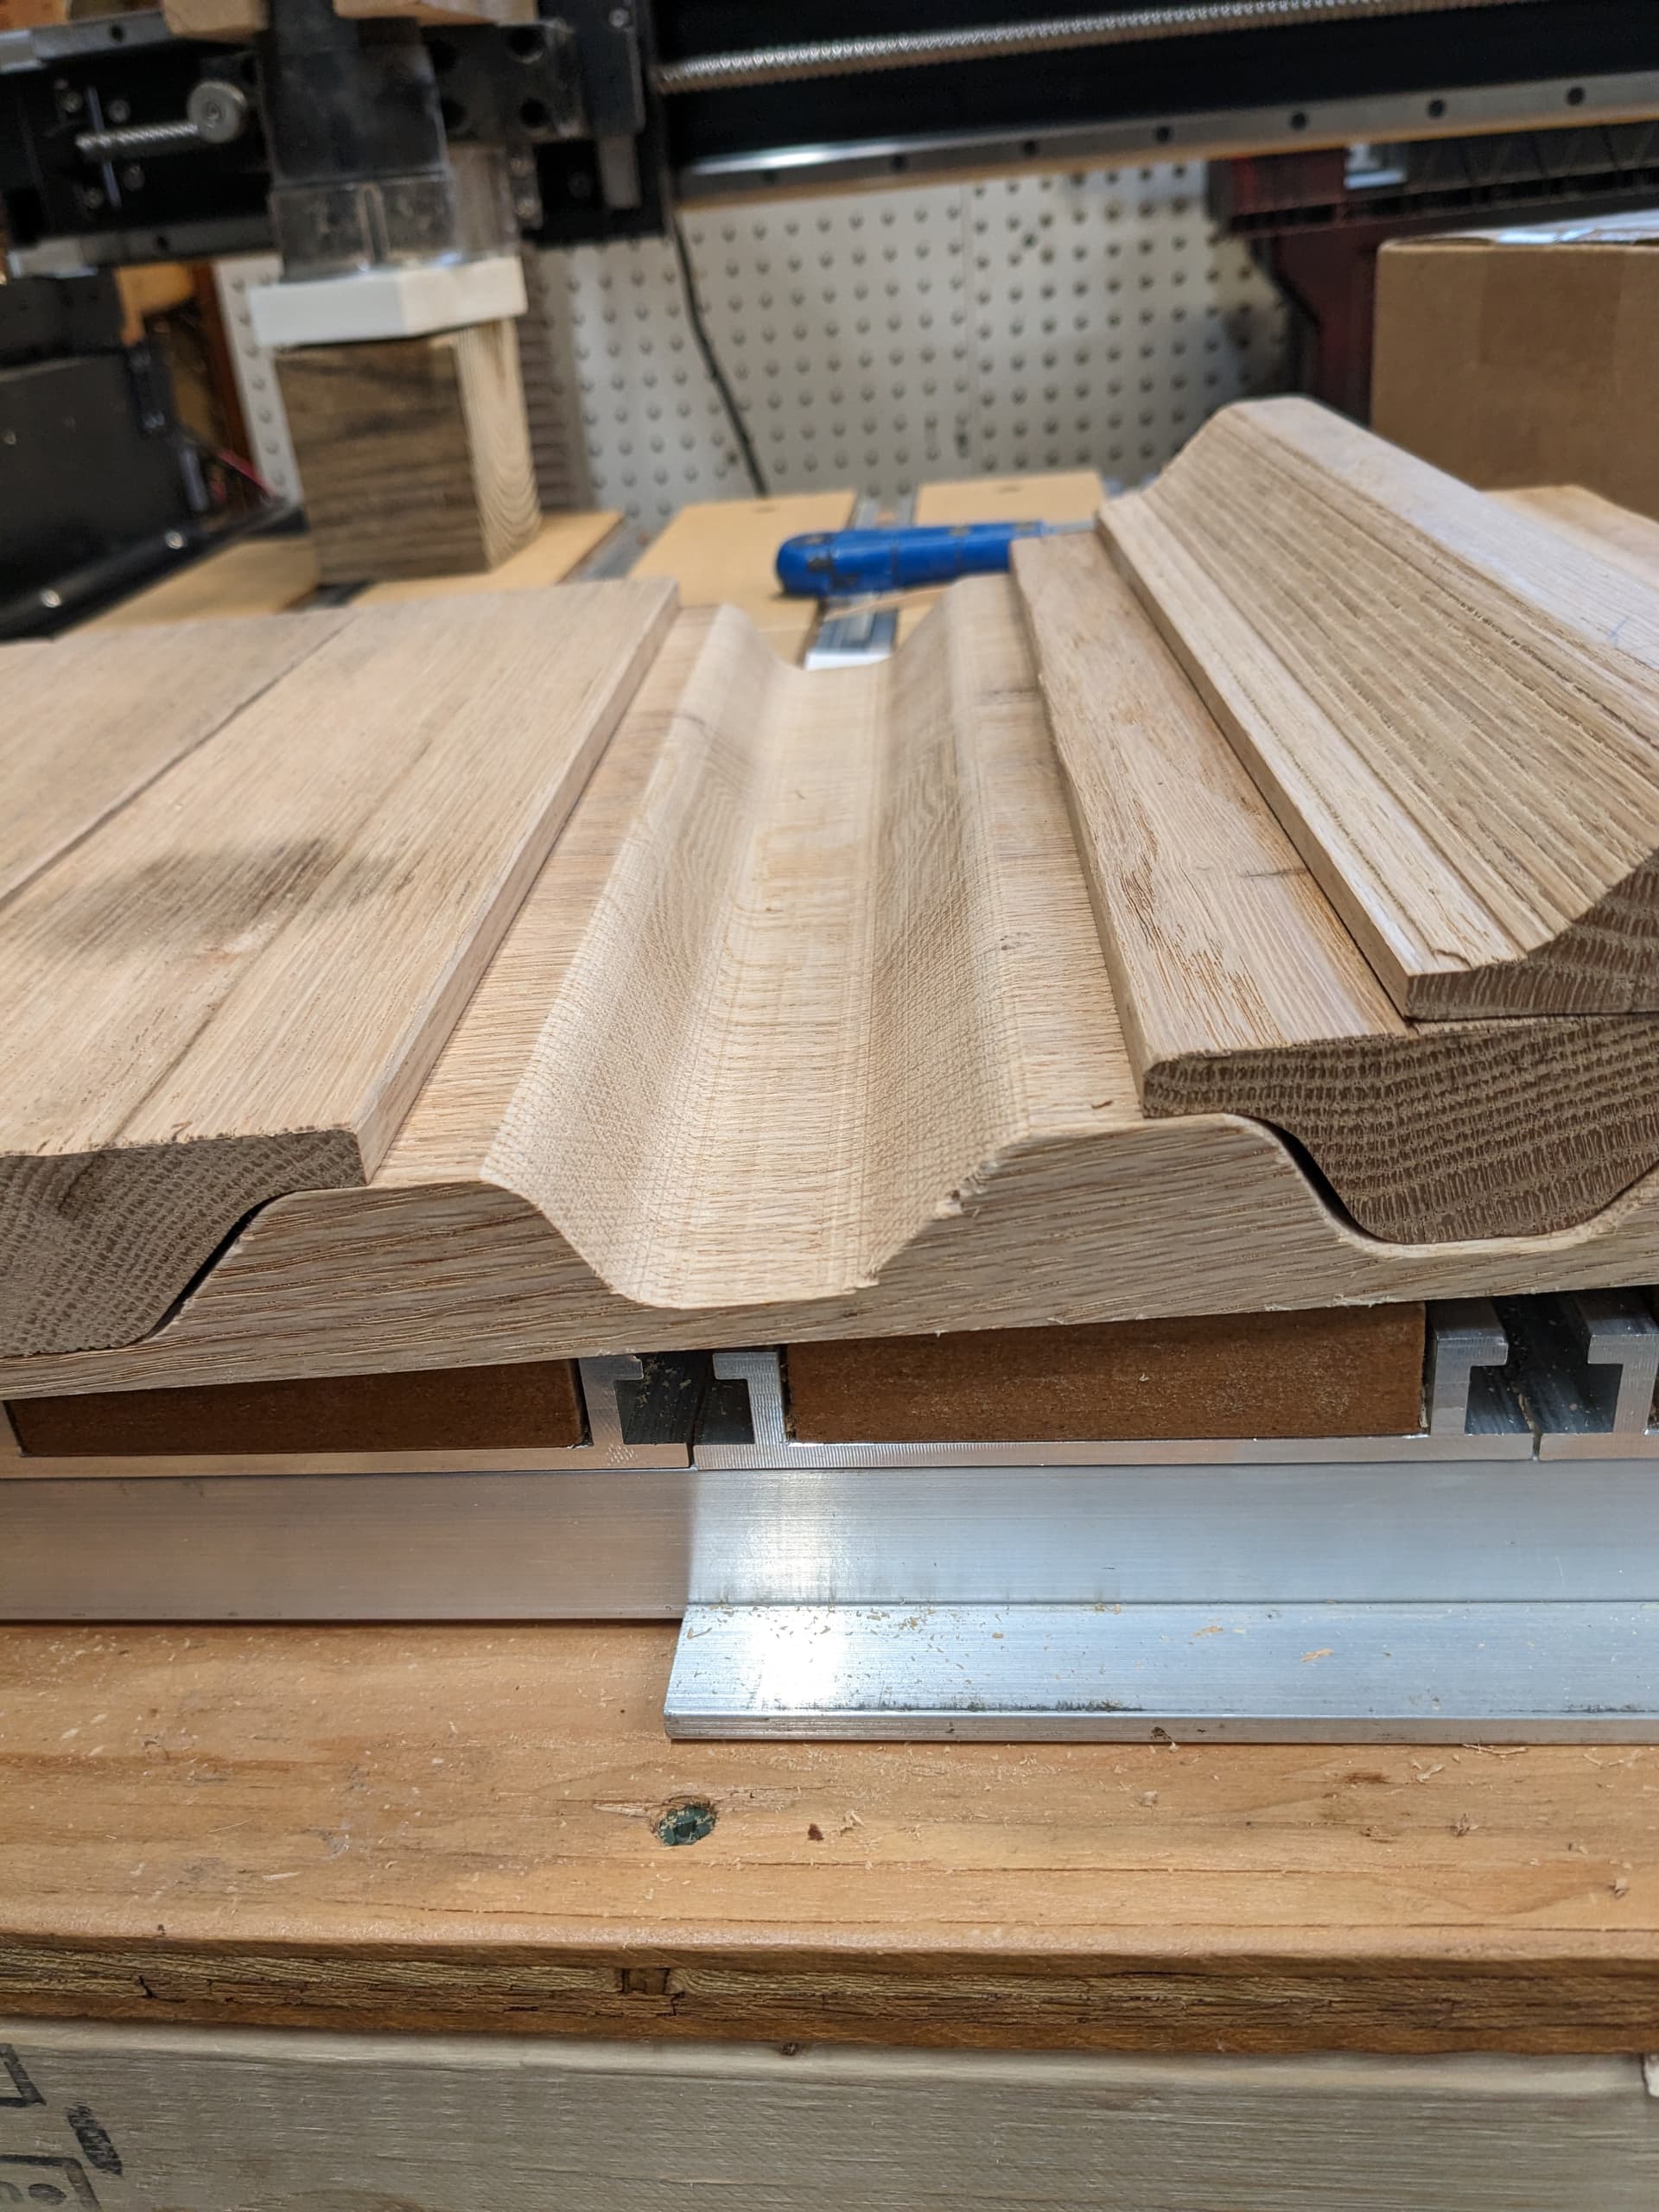
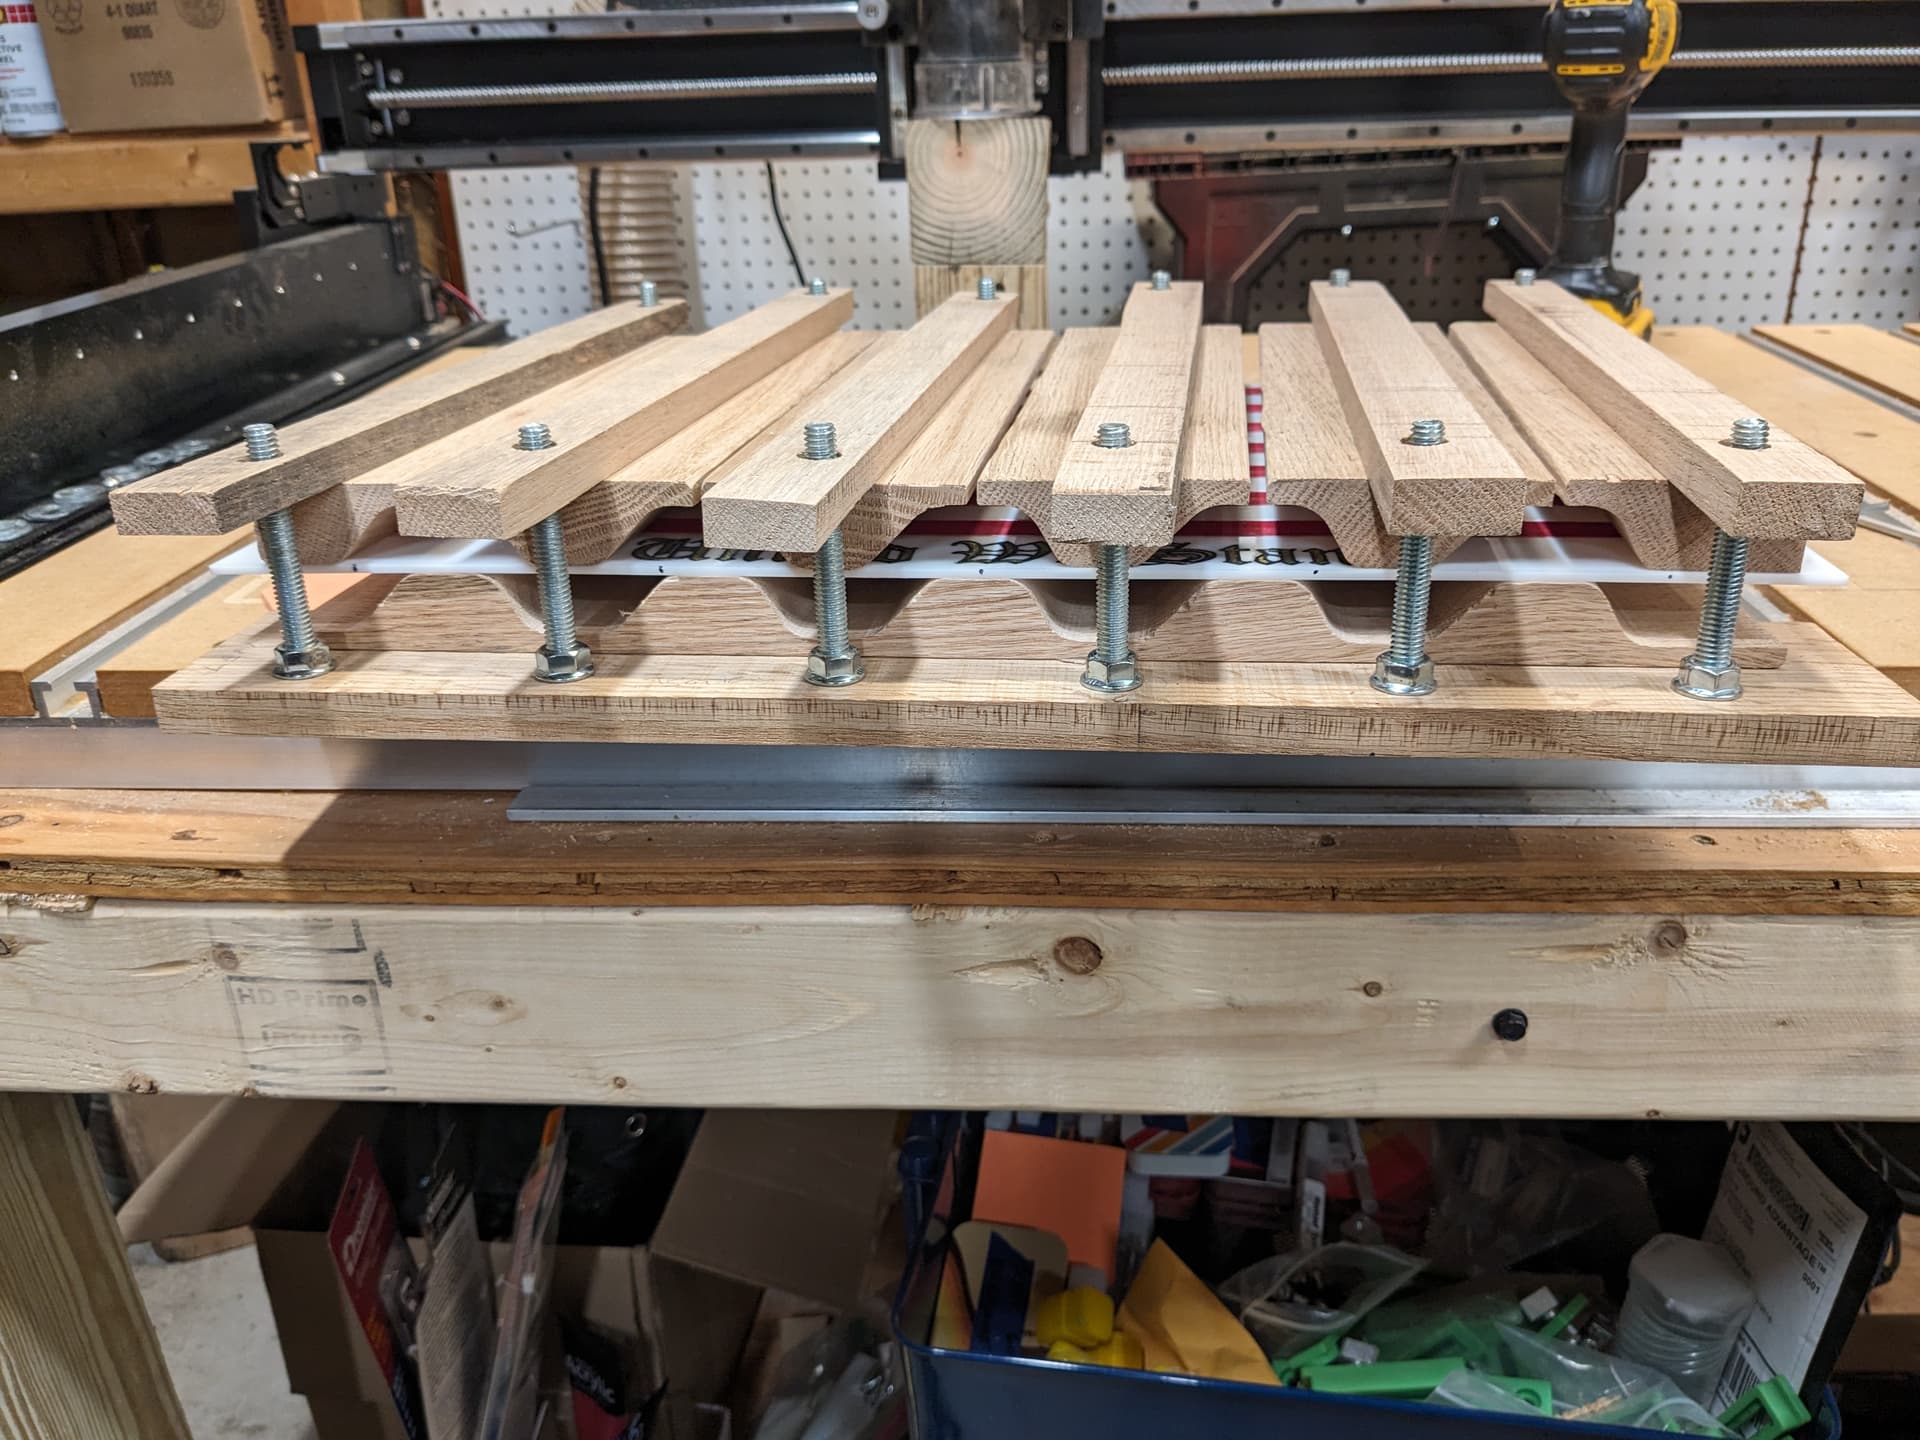
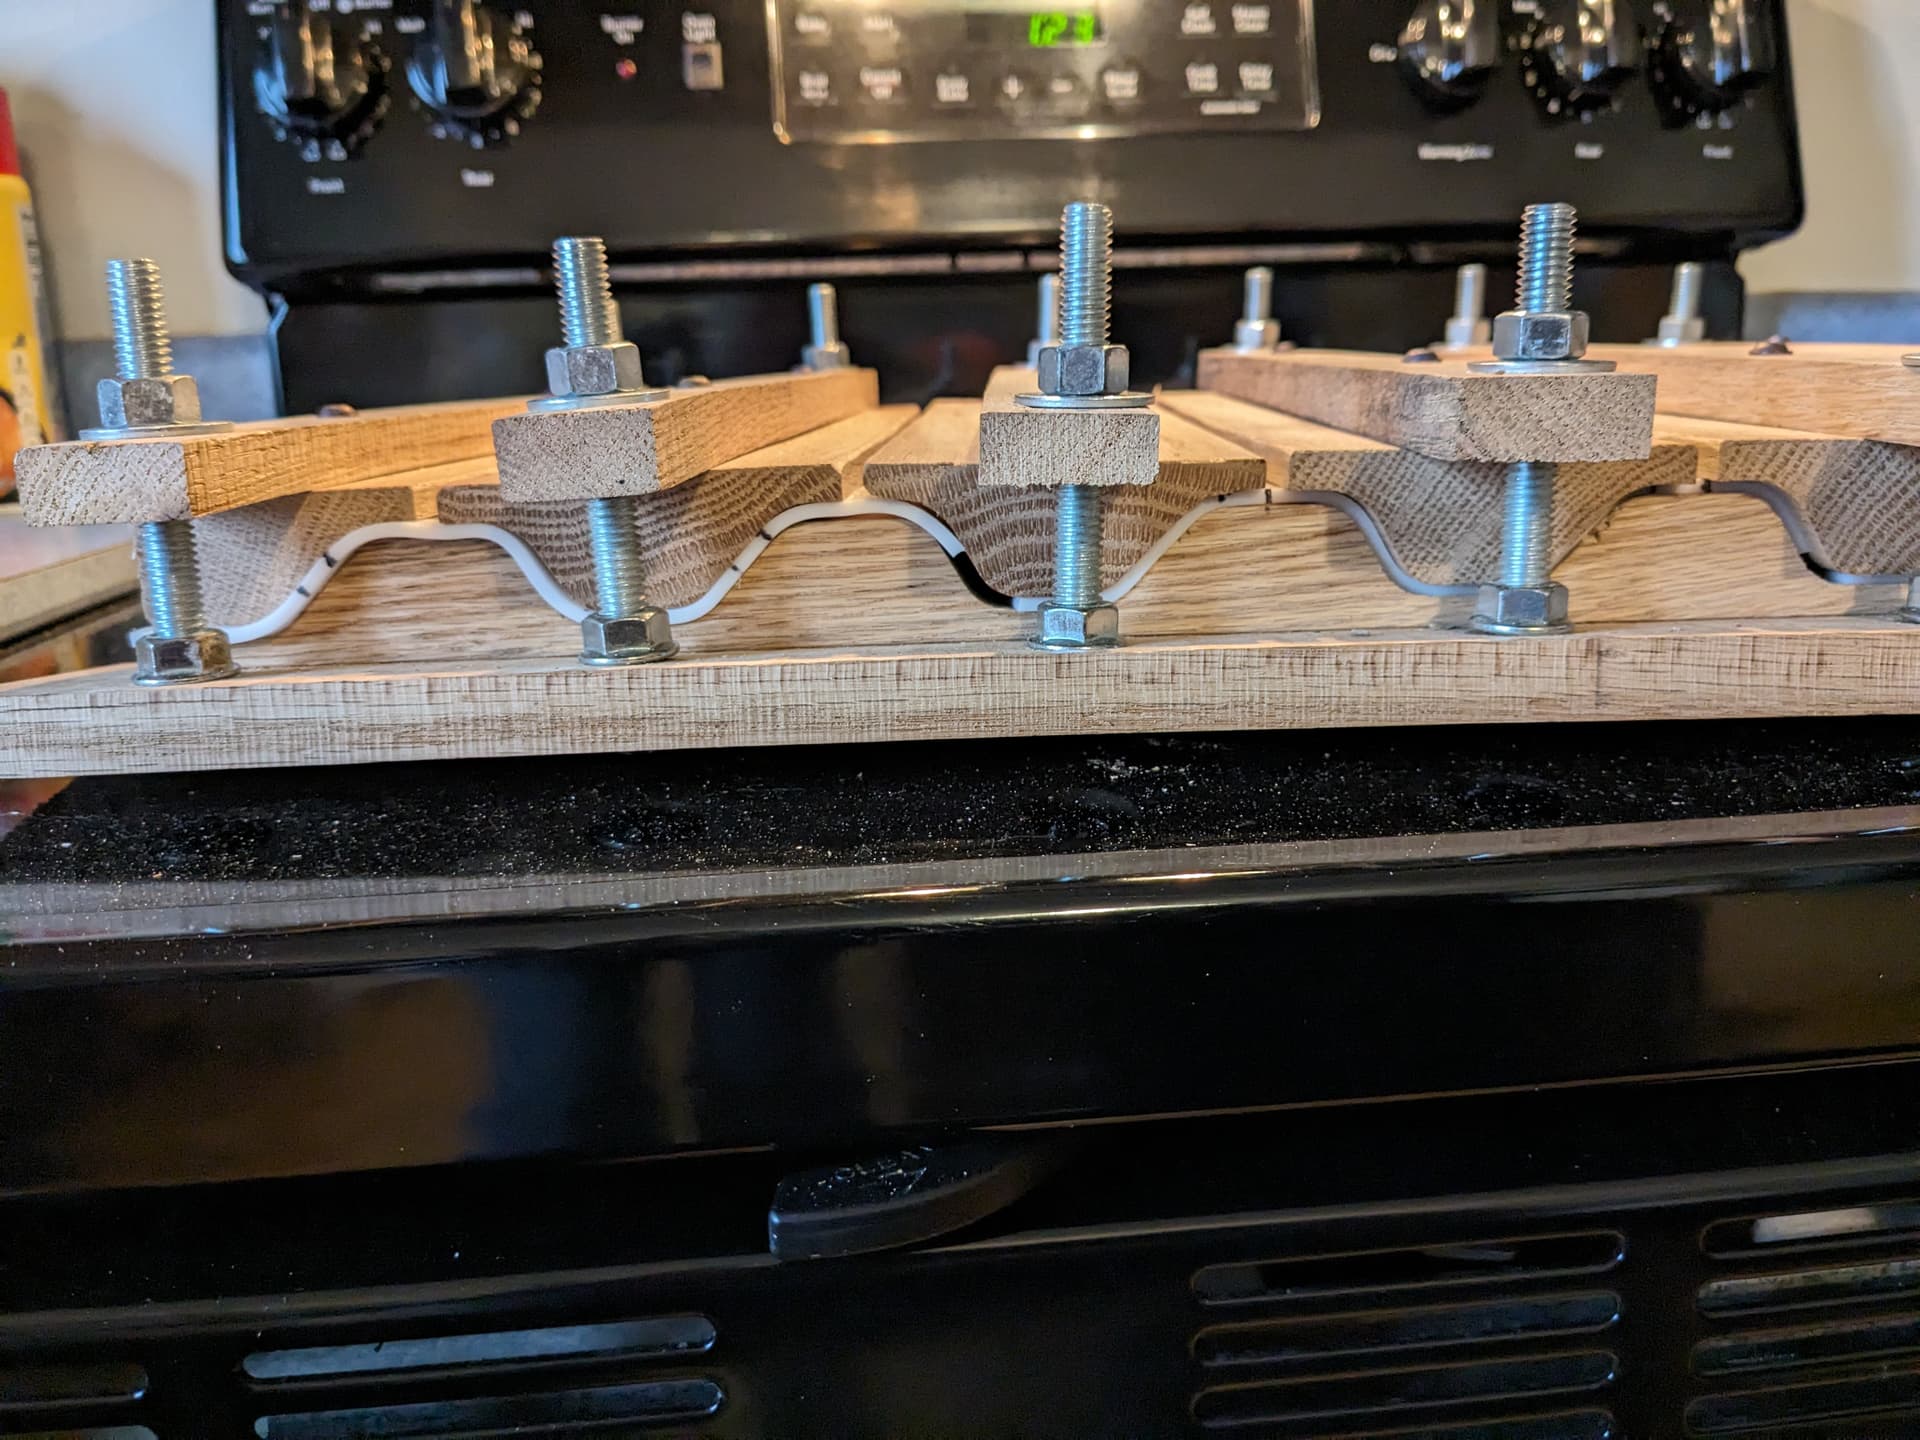
Here is a fit up check on an end top mold. I saw that gap, freaked out until I checked my CAD model to confirm that a .045 gap should be on both slopes.
Edit: The gap can’t be the same because the angles are different.
I rechecked and fixed my check assembly model.
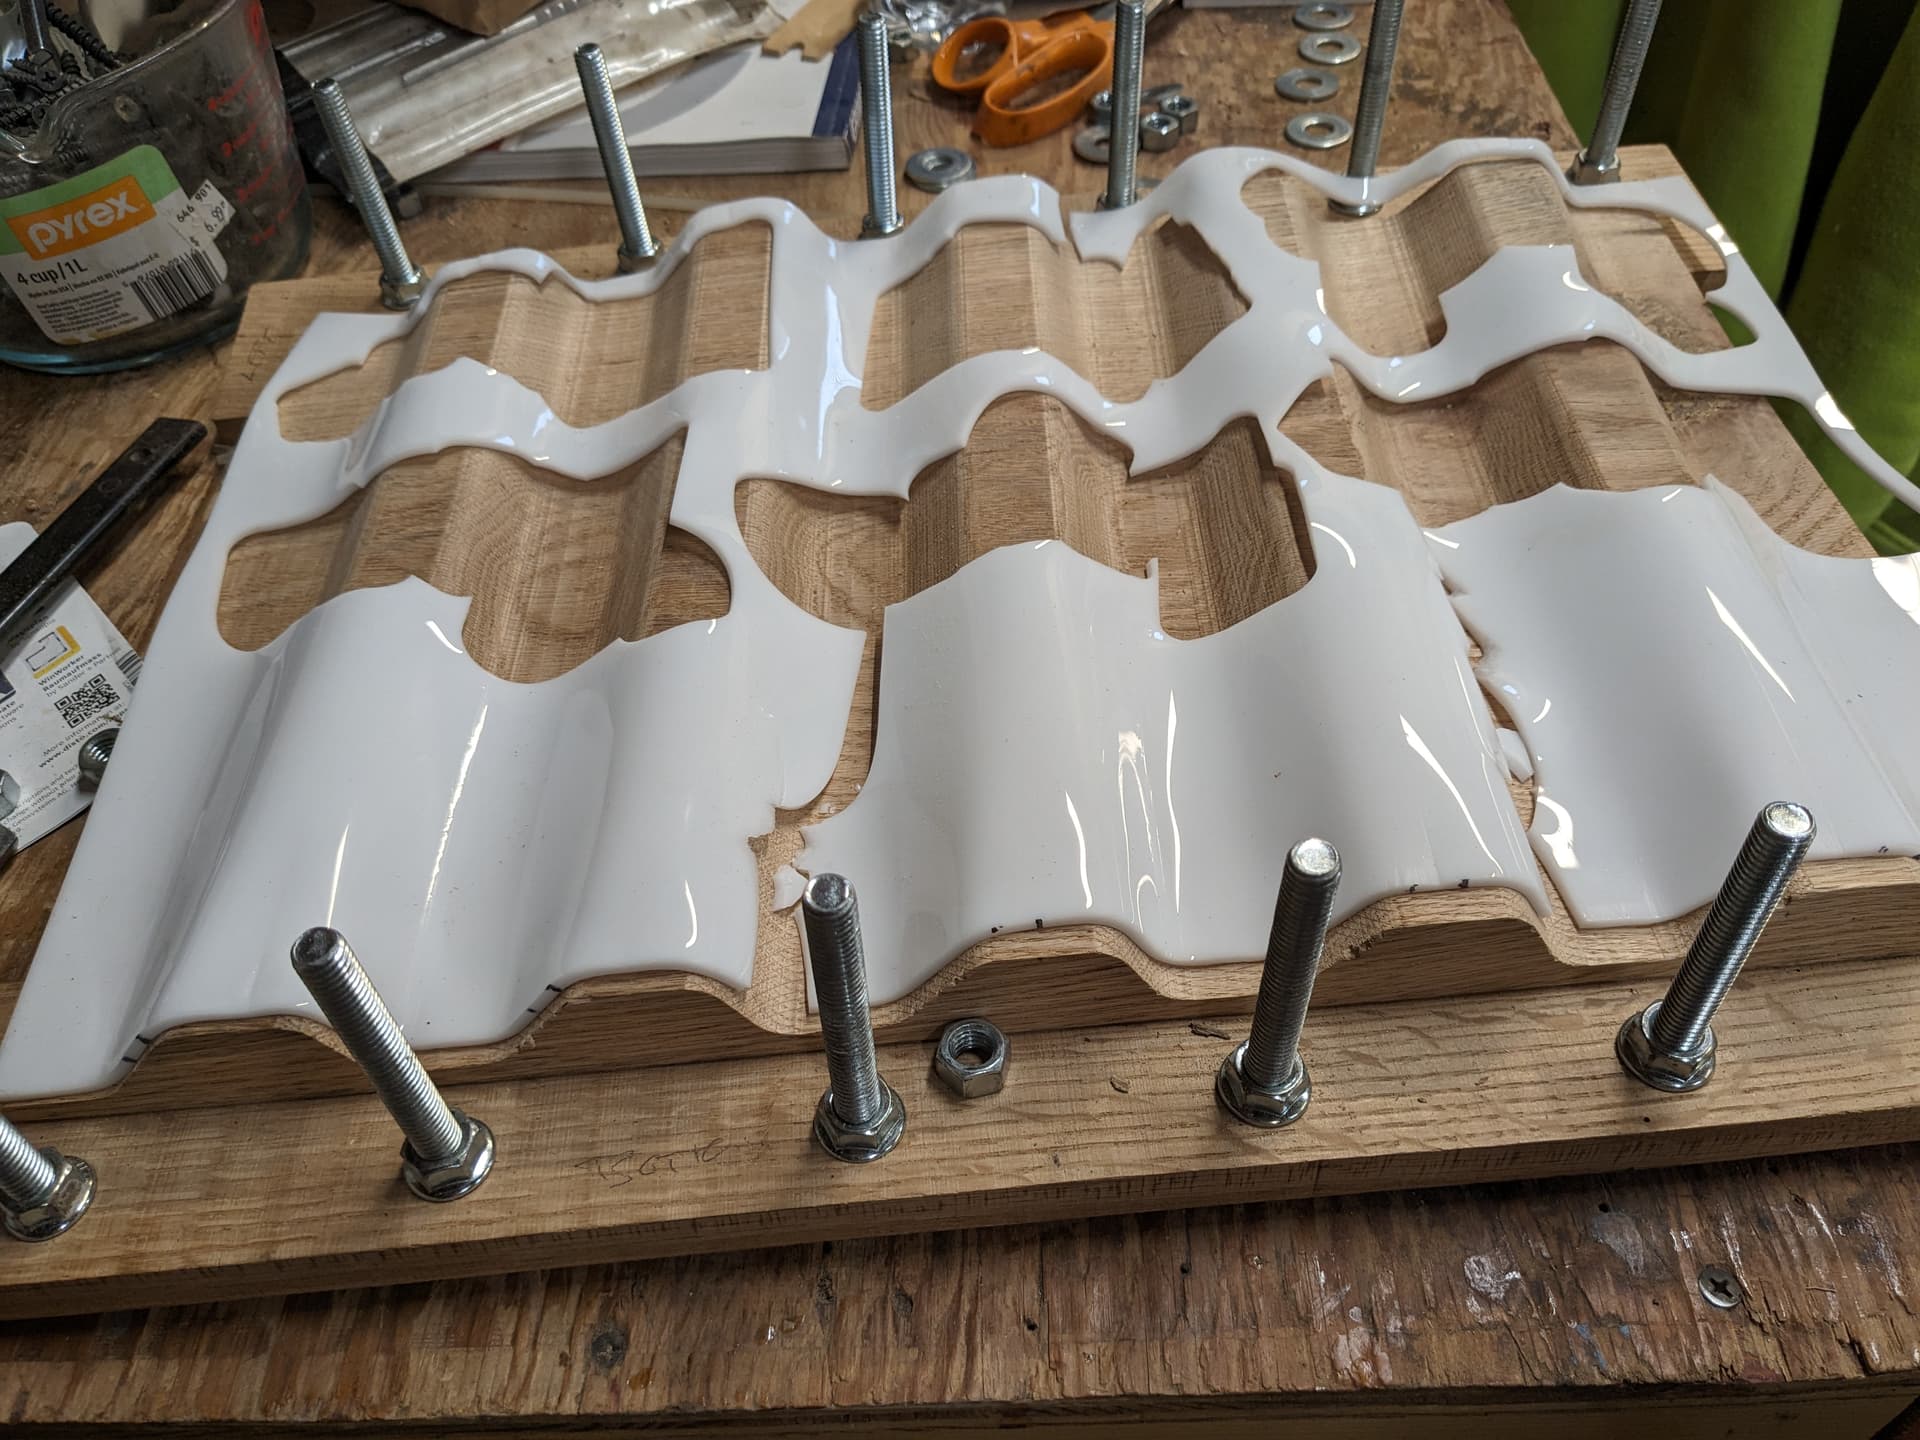
I started the oven started at 270 and I went to 320 after noting how hard it was to compress.
I used a scrap piece with cut outs for testing. This is somewhat invalid, but no useless.
I heard some creaking as I tightened, I need to have slippage between acrylic and the mold.
All in all, not good, but I have something to go forward with.
Lessons:
Wait for assembly to come up to temperature, at least 30 mins probably more.
Use parchment paper to increase slippage between mold and acrylic
Do not over tighten mold. Put it back into the oven and let the acrylic conform to shape.
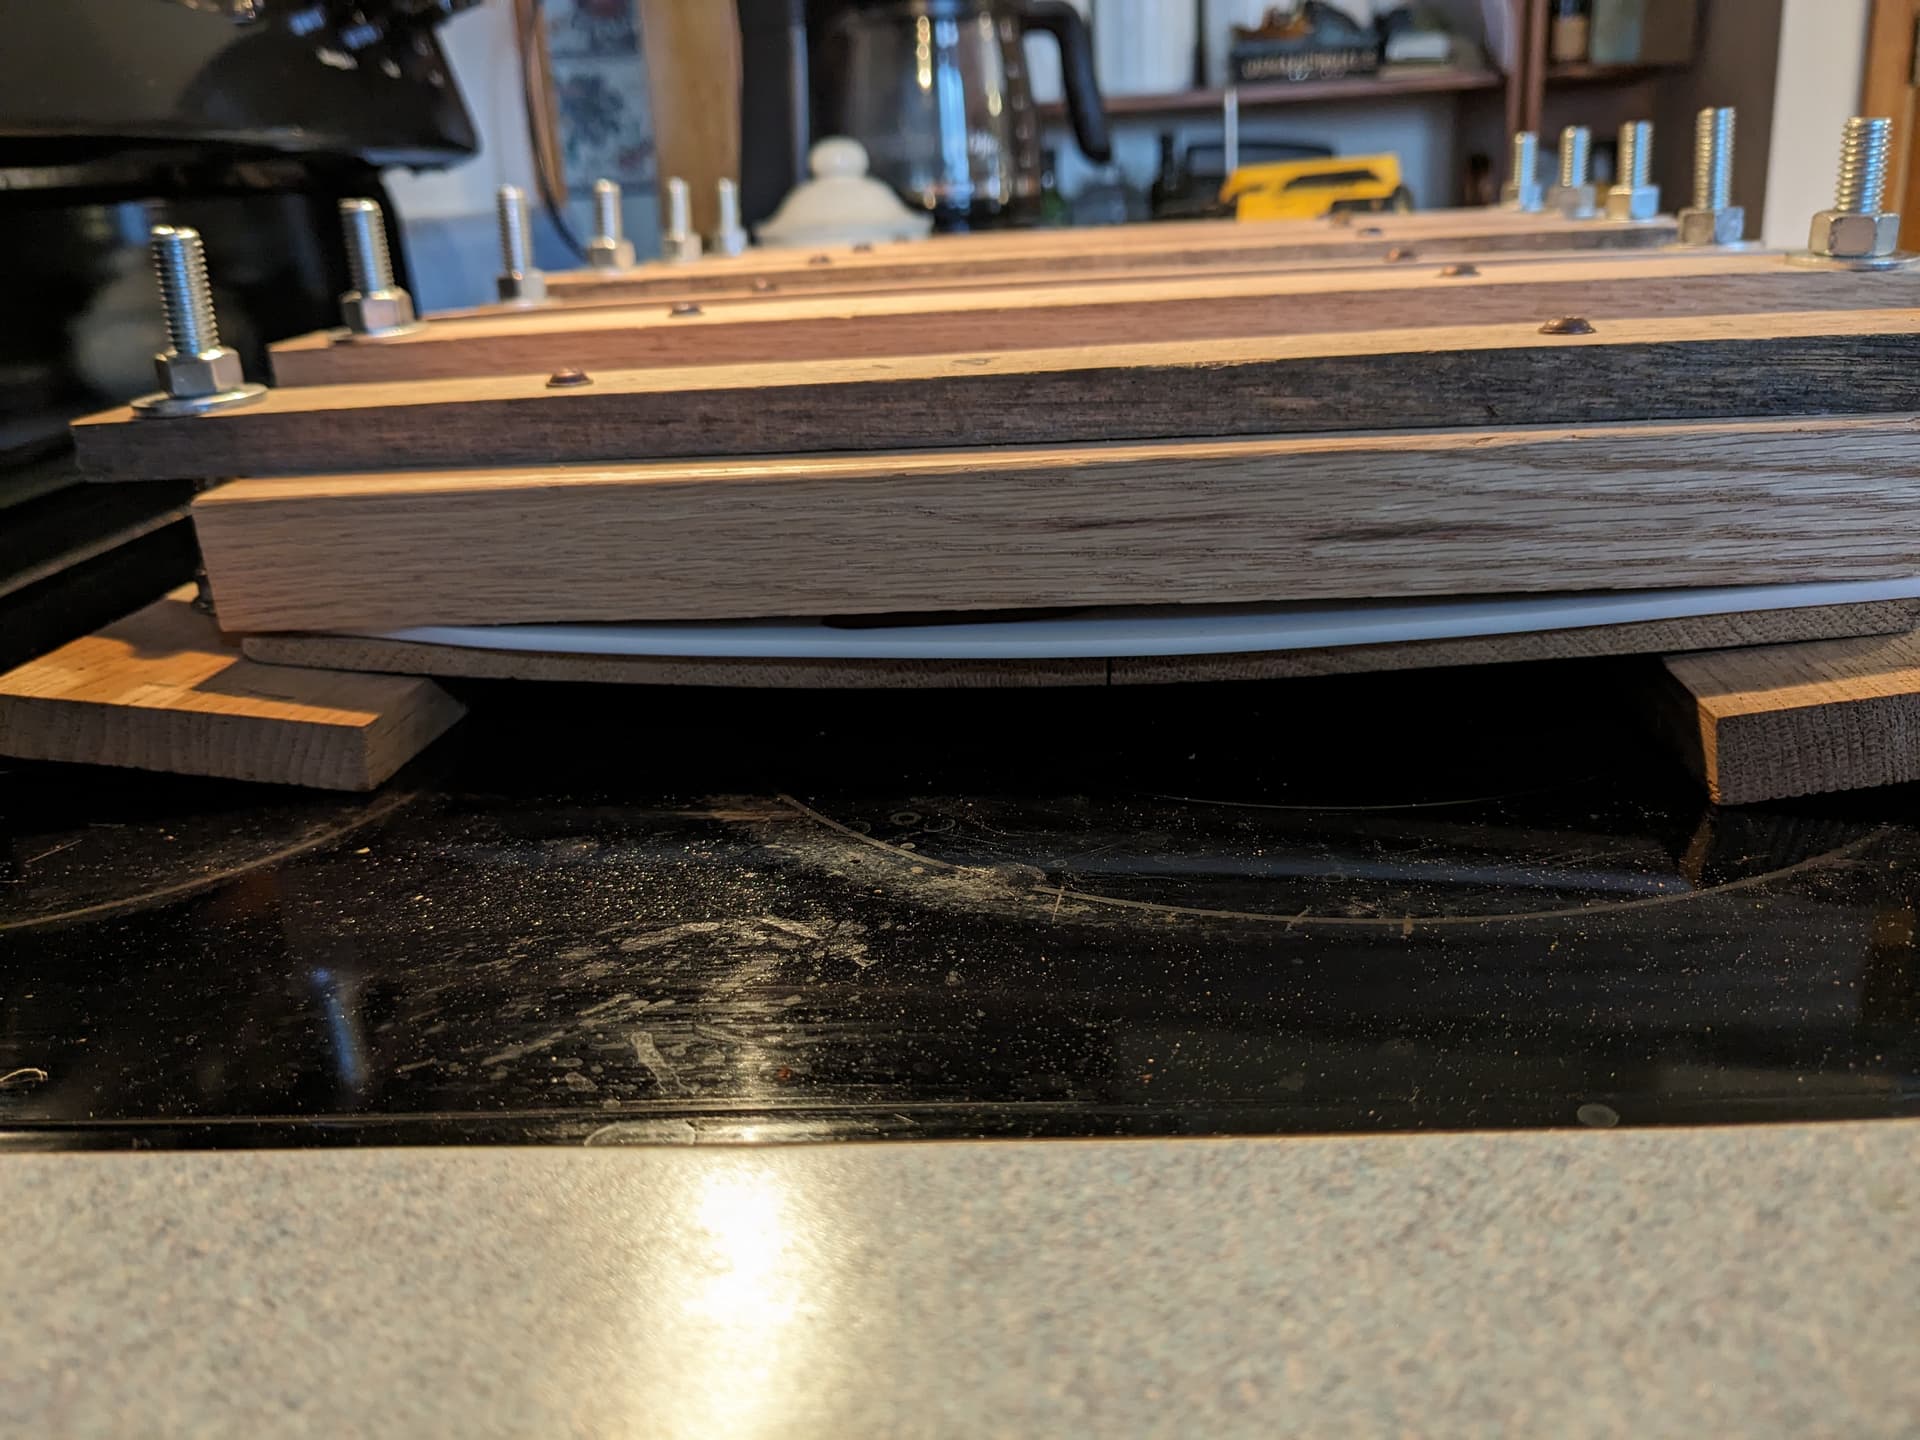
Bent the bottom mold. The grain was side to side, but the load from tightening was top to bottom.
Unsupported edges droop, need a shelf.
I am probably talking out of the side of my mouth. I have had good luck using hardwoods out of pallets for some projects. Swear I ran into some ironwood one day. Ruined a blade cutting it. Would that create aa stronger piece for you?
Really like your game plan here. If you have a welder you could make a vise with some angle iron and those bolts. Predrill holes to screw your wooden blocks through. Then a multi-use clamping jig is born for many fun acrylic projects to come. Looking forward to seeing the end product
That is totally luck of the draw — basically it’s a function of where the pallet was made and shipped from initially (I drive past a bunch of places which make pallets out of either red oak or pine here in Penn’s Woods).
After a day of thinking about it I have a few “revelations”.
I have no experience doing this, and I thought the acrylic would “fall” into the mold features and take about 30 minutes total. Not !
The bottom mold direction of the grain was 90 degrees to the load from the screws.
The bottom mold was only a 1/4 thick at the bottom of the troughs.
The surface finish was perfect except for the edges at the top and bottom that got pinched due to overtightening.
So rev 2 of the processing
Heat the mold up to operating temperature BEFORE warming the acrylic. I think the mold was a heat sink from the acrylic.
Pre mark the edge of the acrylic and align with mark on the mold as the zero point. The wave spacing is 3.25 inches and the acrylic uses 3.87 inches to follow the mold. I had done that and the one place that acted as expected was pretty close. I worked from the center out.
Lay the acrylic across the top of the mold and let it sag.
Use a dowel to initiate the bending of the acrylic into a the first trough. I will probably “pin” the acrylic temporarily before starting.
Put the first “mid” Top mold in place and finish the bending. Allow the acrylic to flop outside of the Top mold. Do not fully tighten. I think I was constraining acrylic too much by having all Top mold pieces in place, but not screwed down.
You could hear the materials “slipping” by each other, that’s why I will try parchment paper for a skid plate.
Repeat the process working in each direction, reheating as necessary.