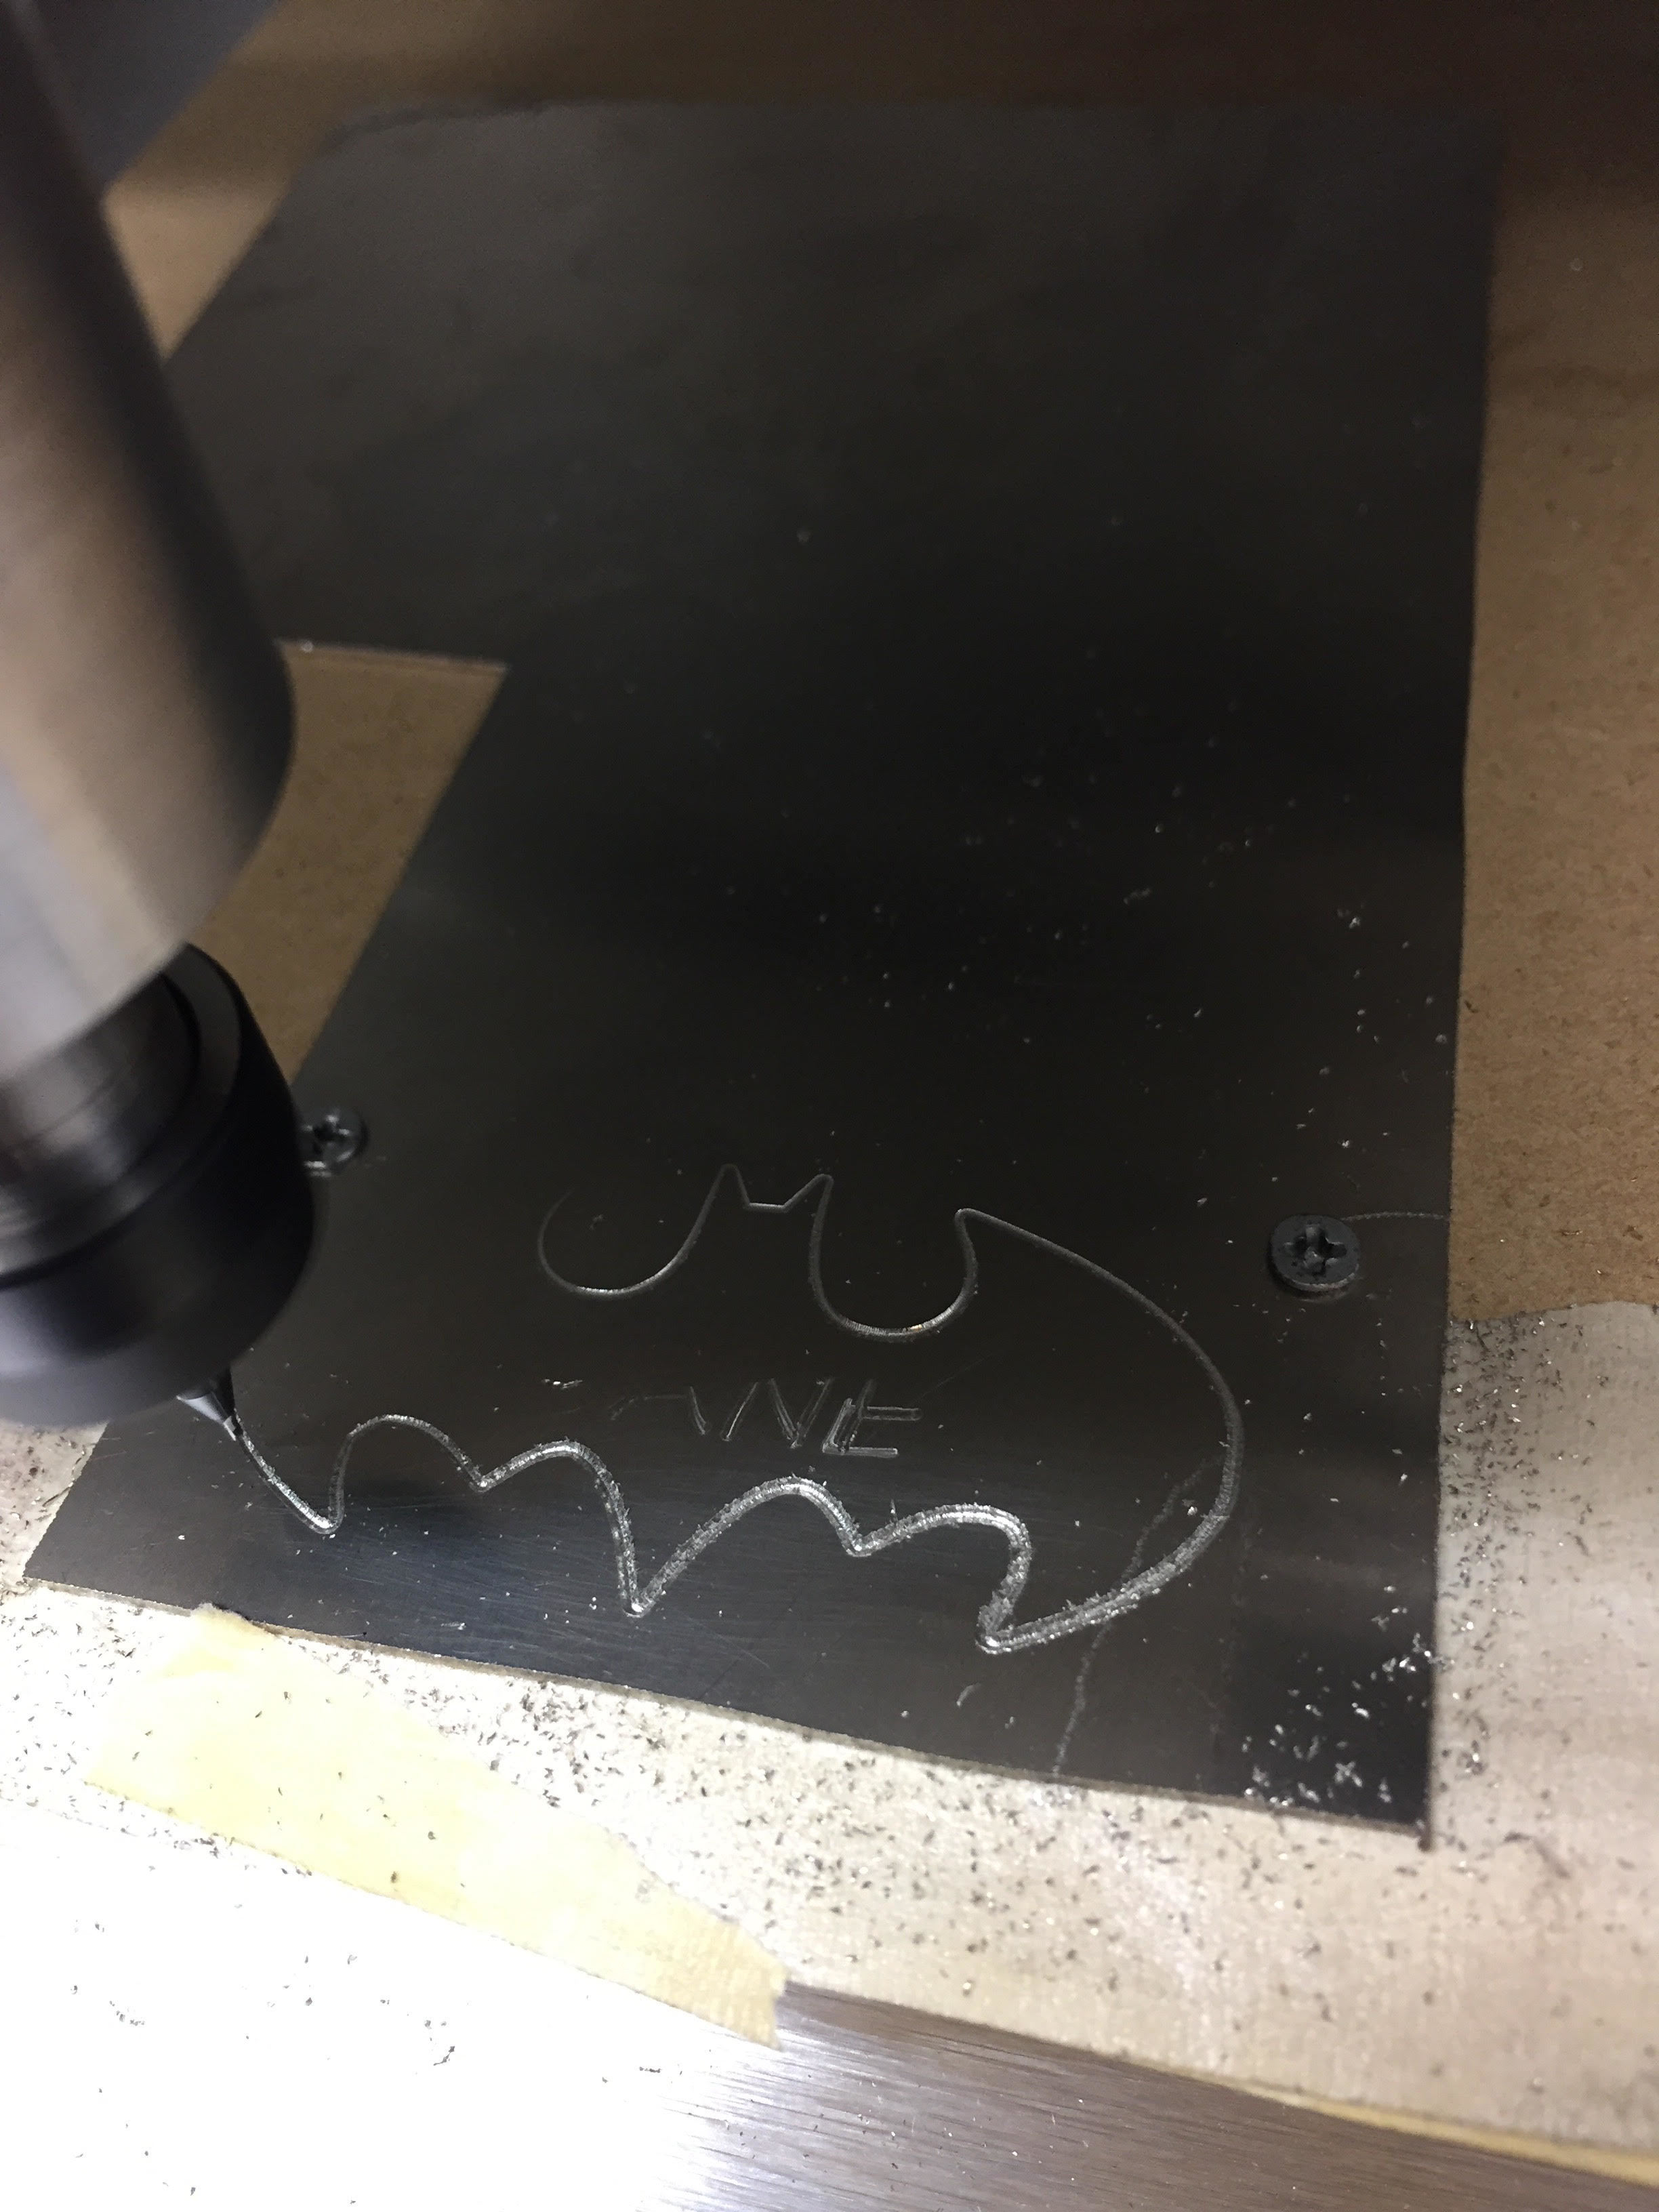
Ok, so I surfaced the wasteboard (took off .5mm) which came out nicely but something is still terribly wrong. Engraving and cutting out the image attached is still VERY uneven. Worse I think since I surfaced. It’s cutting the bottom of the design way deeper on the first pass and doesn’t even touch the top of the design. Same with the engraving. I’ve attached pictures.
This is seriously frustrating me. I also need help with engraving. I’ve broken 9 cutters since I got my Nomad less than 2 weeks ago. I do micro stuff and use .0312 and smaller. I’ve ordered mostly all Kyocera and can’t get a small micro cutter to make it. Using auto feeds and speeds. I’m very hesitant to order any expensive cutters until I learn more. I’m having trouble understanding how to make the V-Carve work.
If someone else makes jewelry size items and does engraving PLEASE give me some tips and advice to get in really tight places.
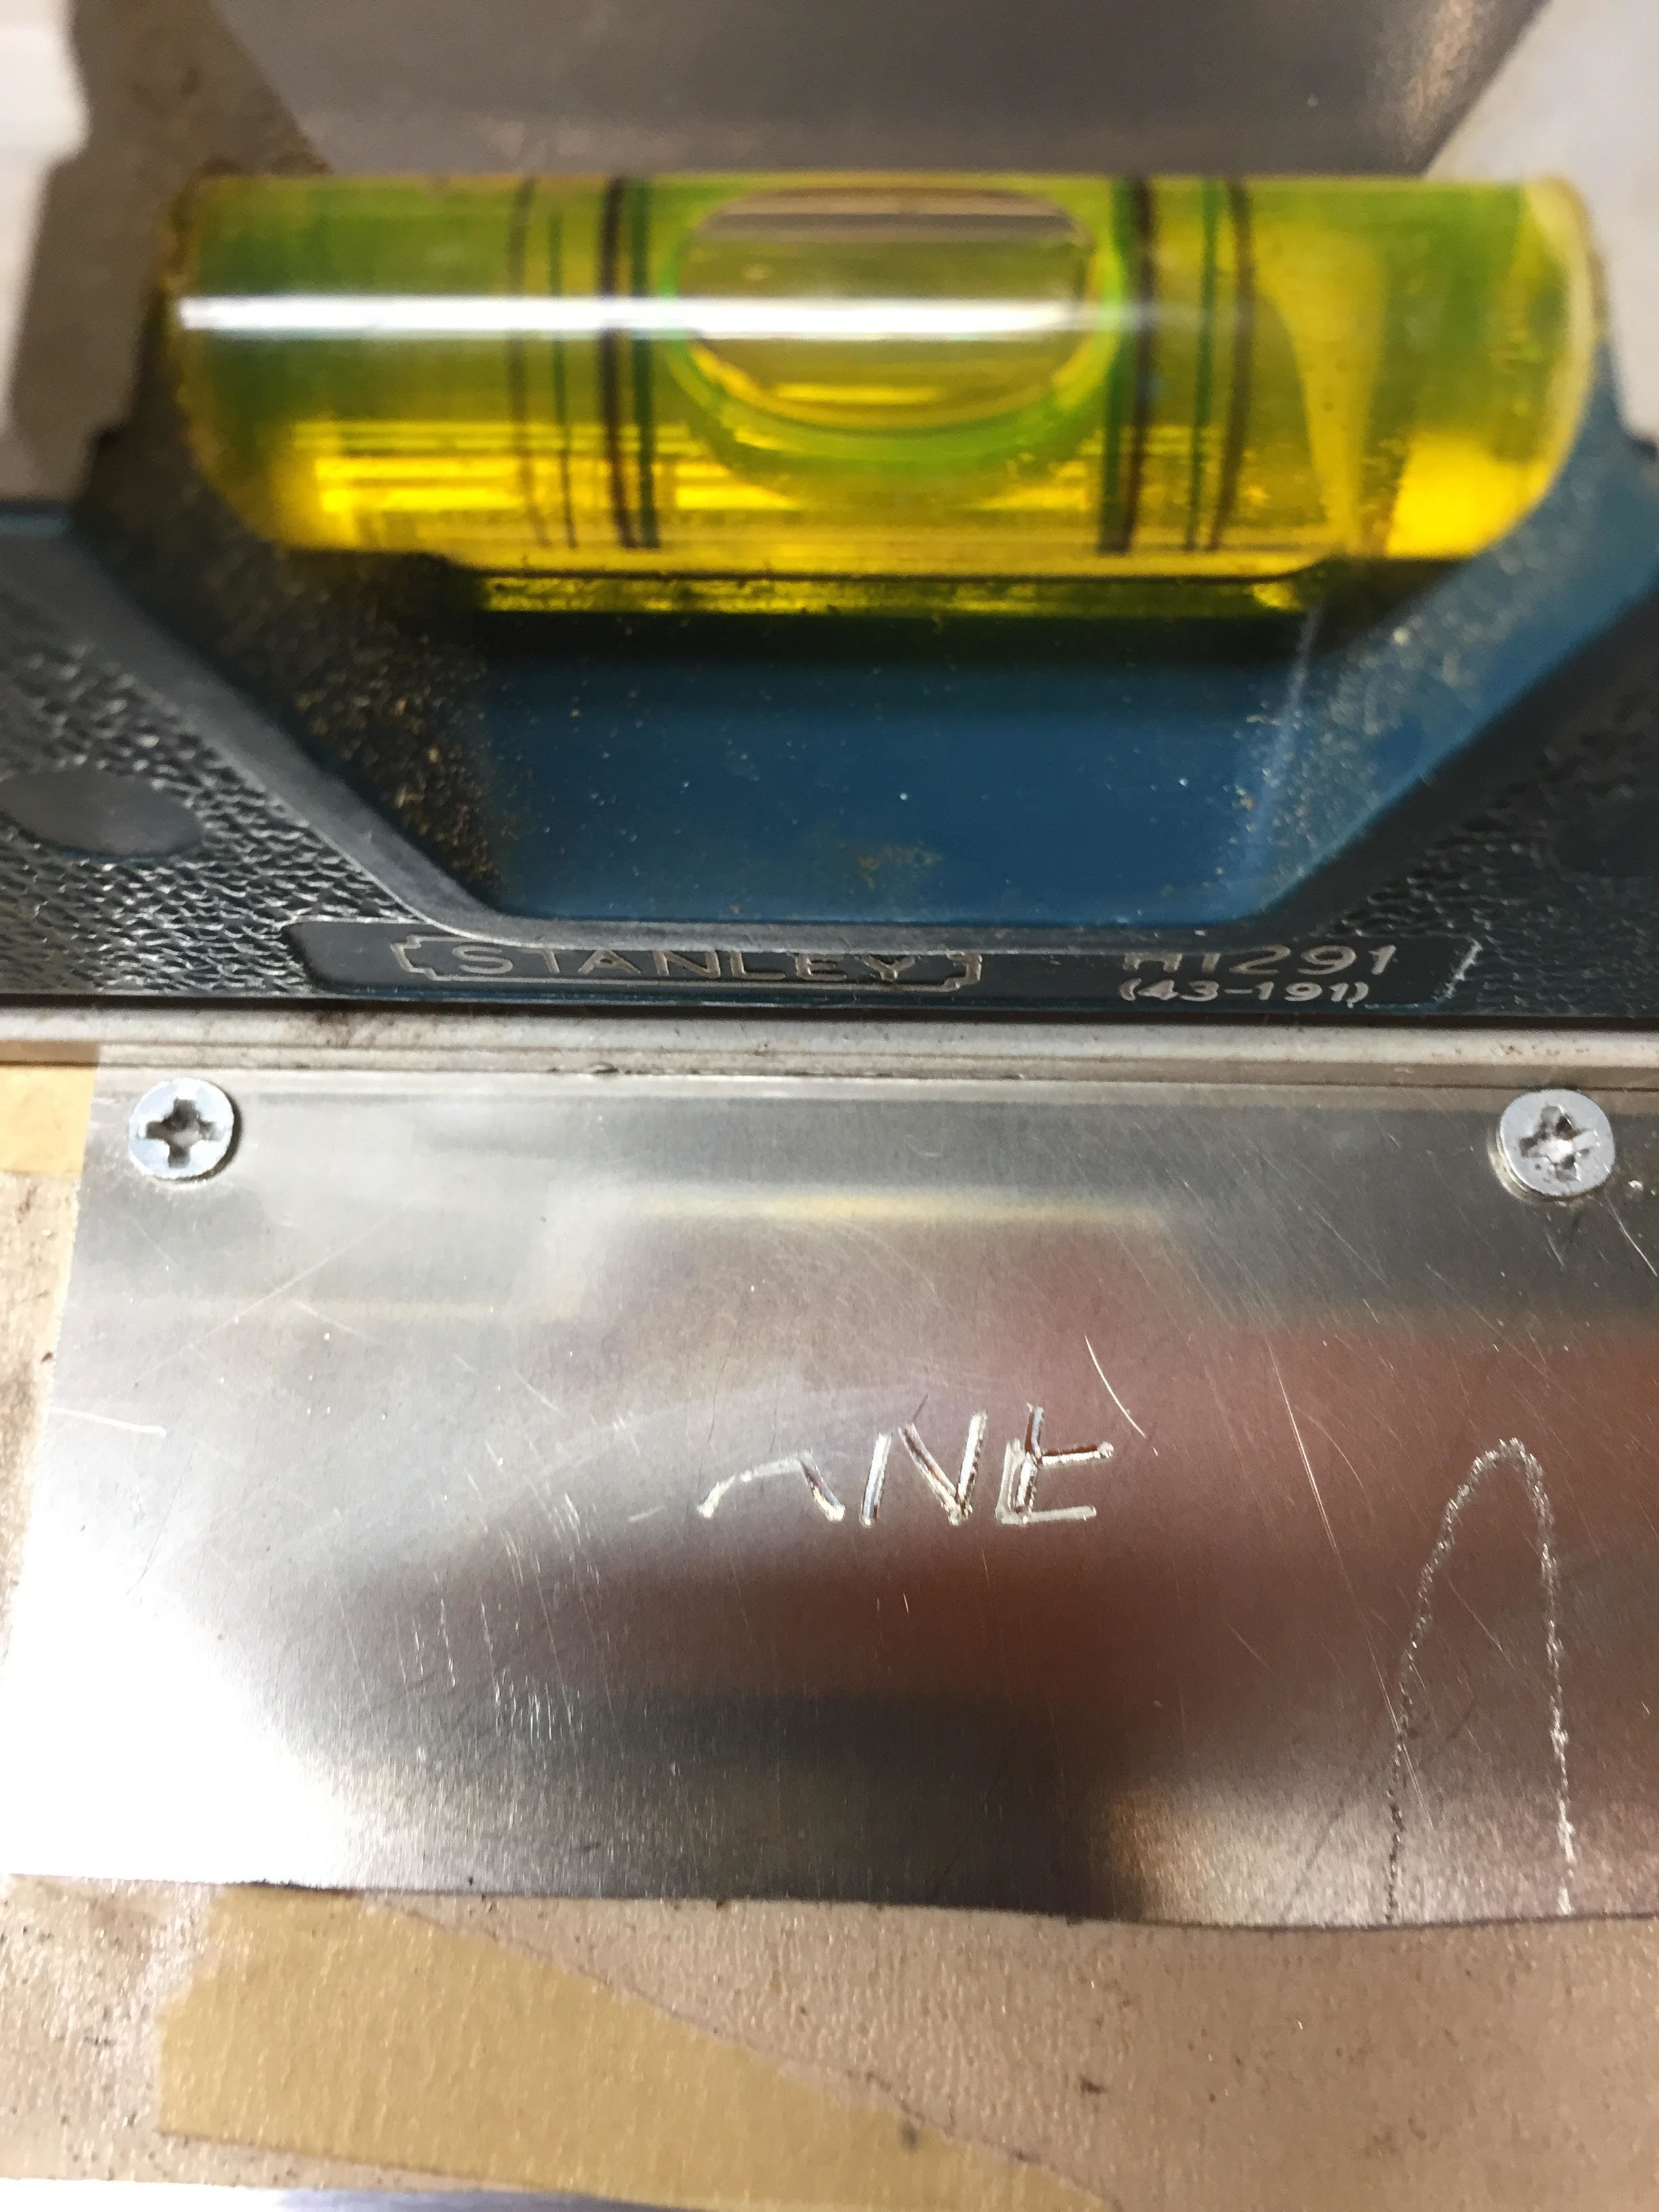
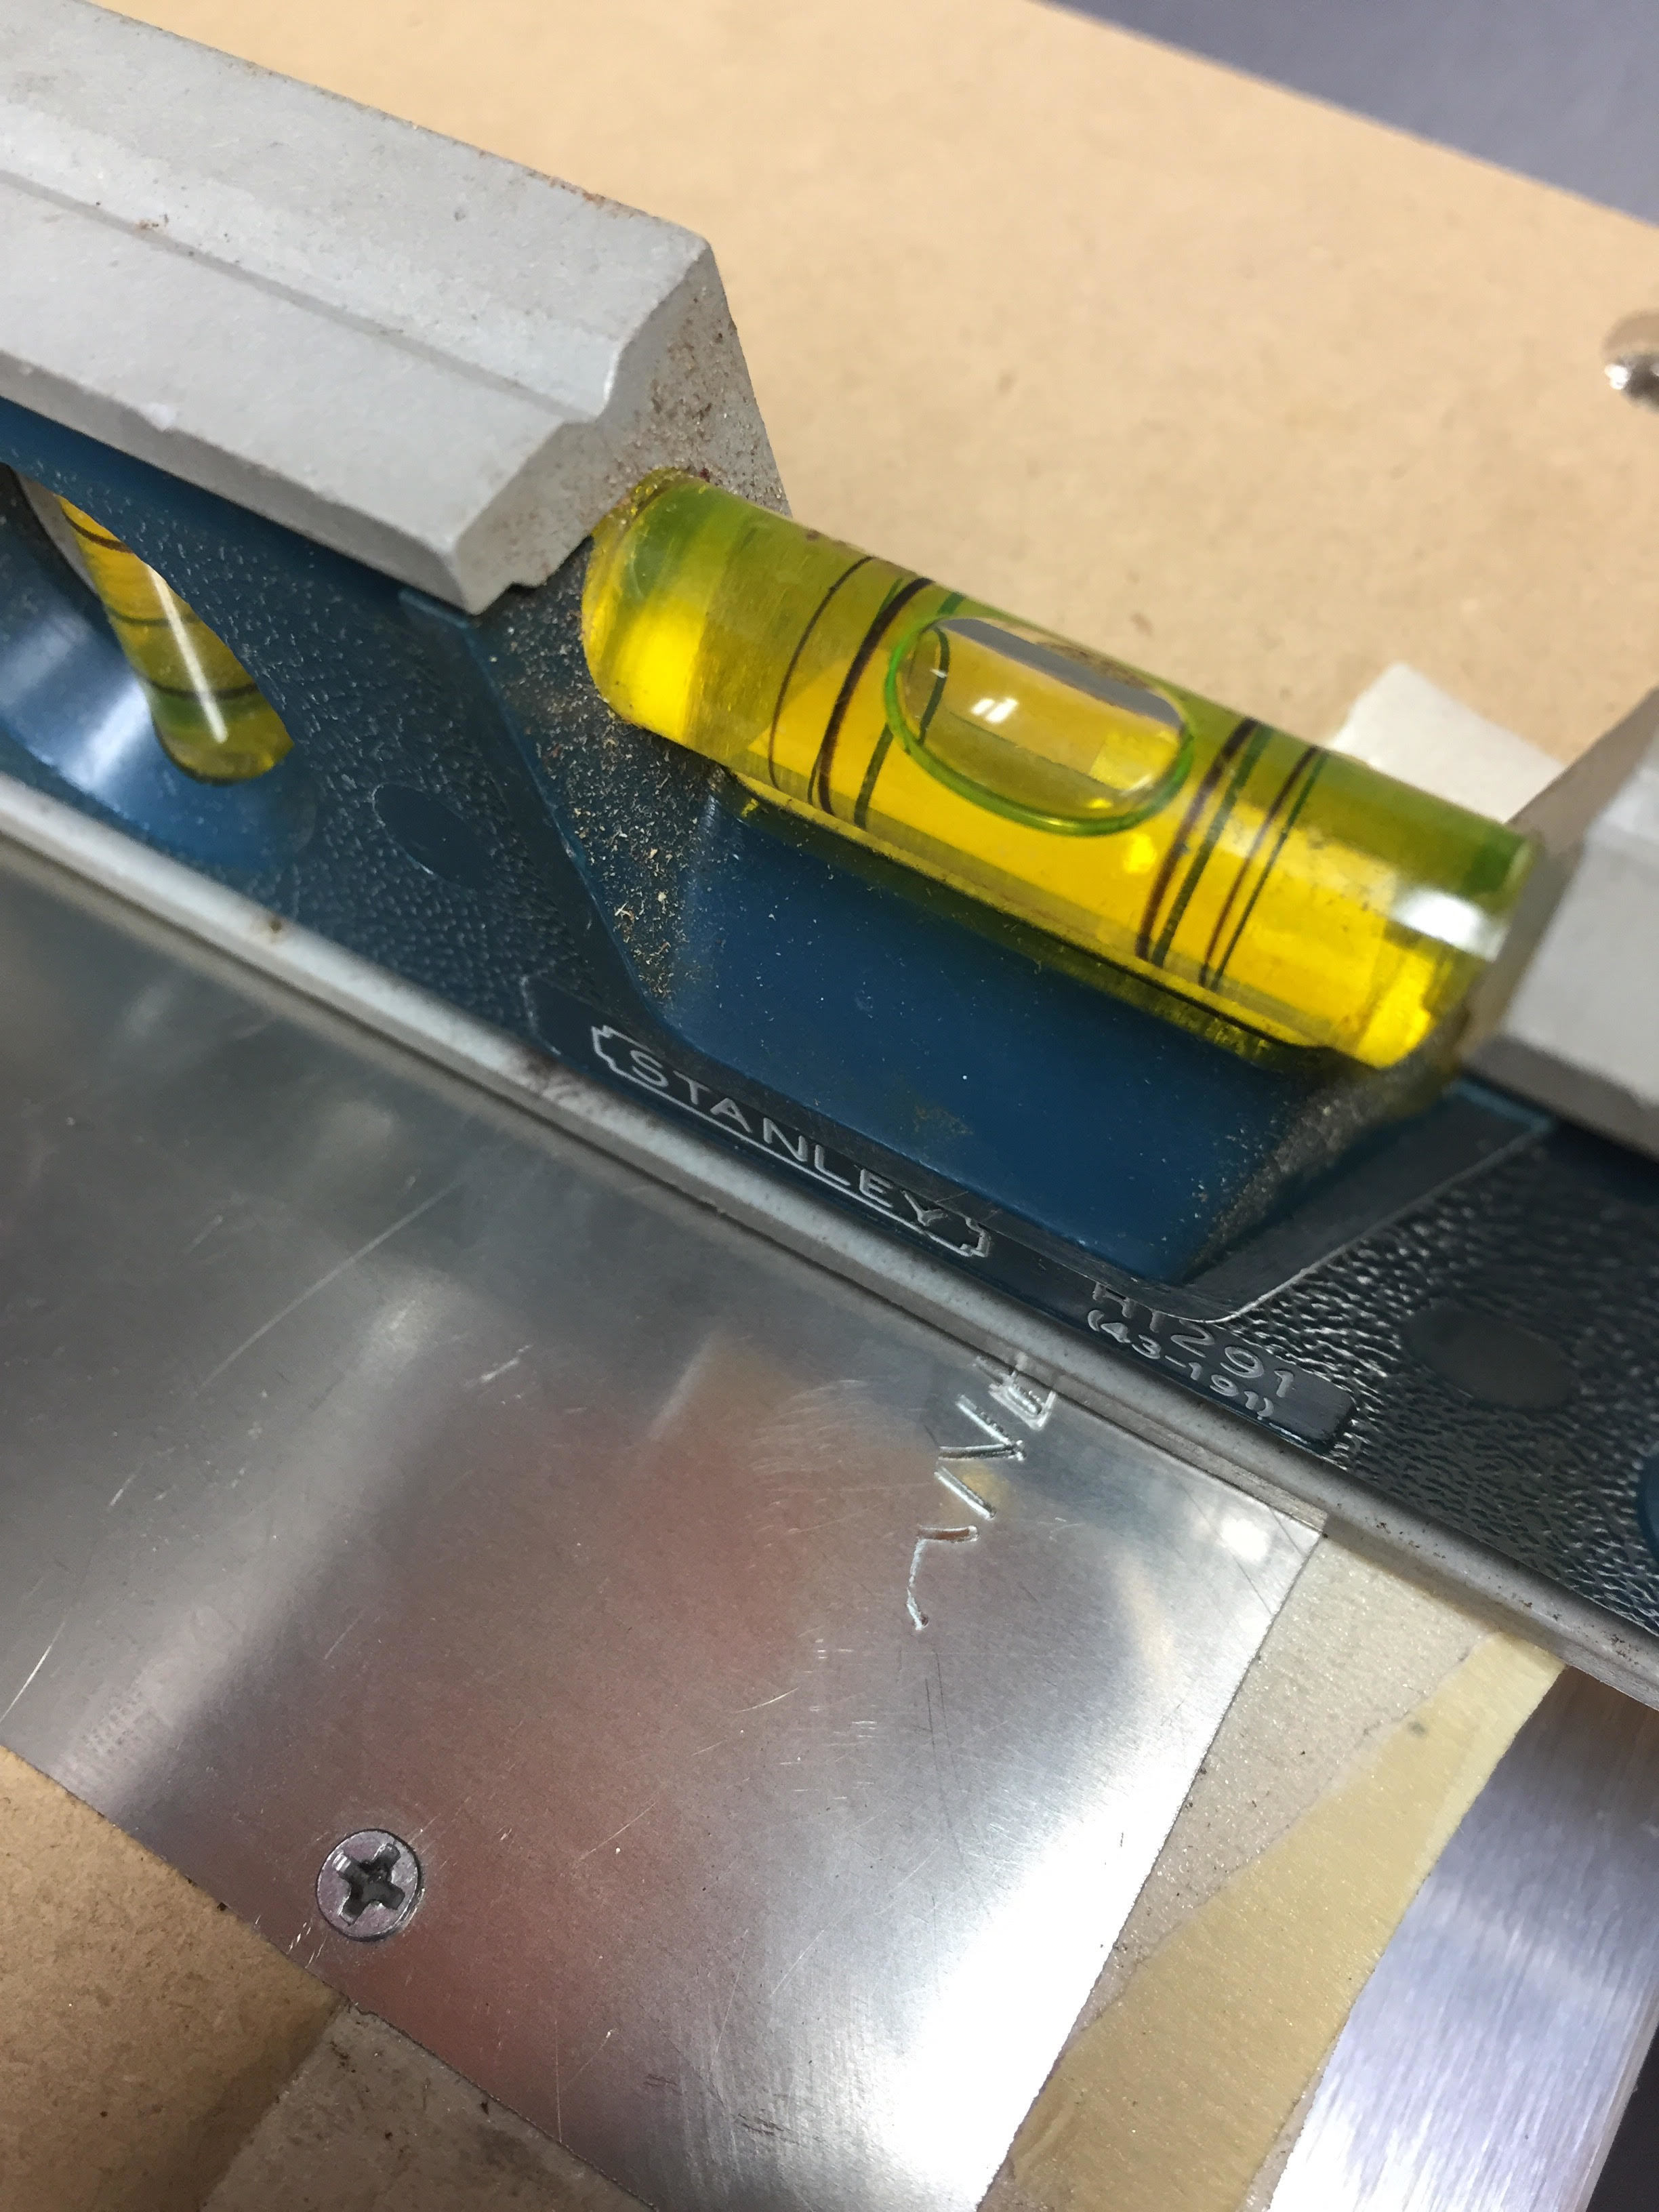
From your picture, you’re going to have some issues. This is a clamping issue. With the tape underneath the part of the material you’re cutting, and the screws at the top edge, the material is going to be canted up a few thousandths up at the “bottom of the design”. You’ve essentially “jacked up” one end of the material. That means it’ll appear to be cutting deeper (it’s not, the material is higher) at the bottom of the design. Toward the “top of the design”, it looks like a pretty reasonable cut. I would bet that’s the end where you set your Z-zero.
Put two screws on end of the material on the “bottom of the design” and you won’t fix the problem. Put the tape a little further up so that the two top screws go through the tape, and then put two screws in the bottom, and the material will be level, and you’ll be good.
Ok, so I will try that first thing in the morning. I did glue the taped piece to another piece of tape but I guess it still raised up a bit more than the screwed down section.
You might want to get fixturing wax and do away with the tape/screws entirely… just mount your stock material on a larger block/bar of flat aluminum with the wax to serve as a rigid backer, and mount that in the low-profile vise.
That will make it easy to remove the final part from your backer (you can heat the whole thing to get the wax to melt, freeing your piece) and also ensure that it’s flat and level if you apply it right.
Would also mention here that I am new(ish) to the Nomad but I would guess your material is quite flexible and prone to having workholding issues such as flexing and bulging. Instead of going and trying to run the program each time you try a workholding change I would first try and zero the Z axis at each corner and the center of the stock once held down, recording the Z height in Carbide Motion from each point. If the variation in measurements is greater than a few 0.001"s vary the workholding style until each point is within that tolerance to each other. This takes a fair bit more time but would probably save a fair amount of wasted stock and broken bits.
On a related note I have have made a dial indicator mount that fits on the carriage of the Nomad so I can do this leveling exercise relatively quickly without the repeated feeler gauge/slip of paper, click click rub rub process. Must get around to sharing it.
Very good idea!! I’m curious to see the difference. Please do share the dial indicator. It is a pain to do the paper and rub process. Also, when I use a small cutter it takes the Z axis like 10-15 min to lower to begin the cutting process. It’s so painful to wait that long just for the cutter to lower. The smaller the cutter, the slower the drop.
You just need to set up the safe height. It will rapid to the safe height, then “plunge” from there to the current z depth. The indicator setup only helps you set up Z, it won’t change any of that.
Quick question about the wax. How much do I use (a piece in all 4 corners?) and should I melt it until it’s completely melted. Seems it could cause the stock to be off if it’s melted in different amounts. What’s the standard method of using the fixturing wax. Probably sounds stupid but I’m learning precision is everything in this process.
It’ll be in the CAM software you are using to generate the gcode file that you open in Carbide motion. Need that detail to help. If you are using the software included with the Nomad it’ll be one of Carbide Create or MeshCAM.
I’m looking to change the initial time it takes for the Z axis to lower and begin the initial cut. With a small cutter it can take anywhere from 10-15 min just for the spindle to come down and begin the project.
For that, you will need to extract the plain text version of the .egc and edit the initial plunge from a G1 at your plunge rate to a G0 rapid movement. Please see:
Thanks for being so patient with me! I’m learning so much!! I changed the line referenced in the photo below to a 1, saved it just fine, loaded it in CM and nothing different has happened. It’s still the same slow Z drop. Did I change the wrong line??