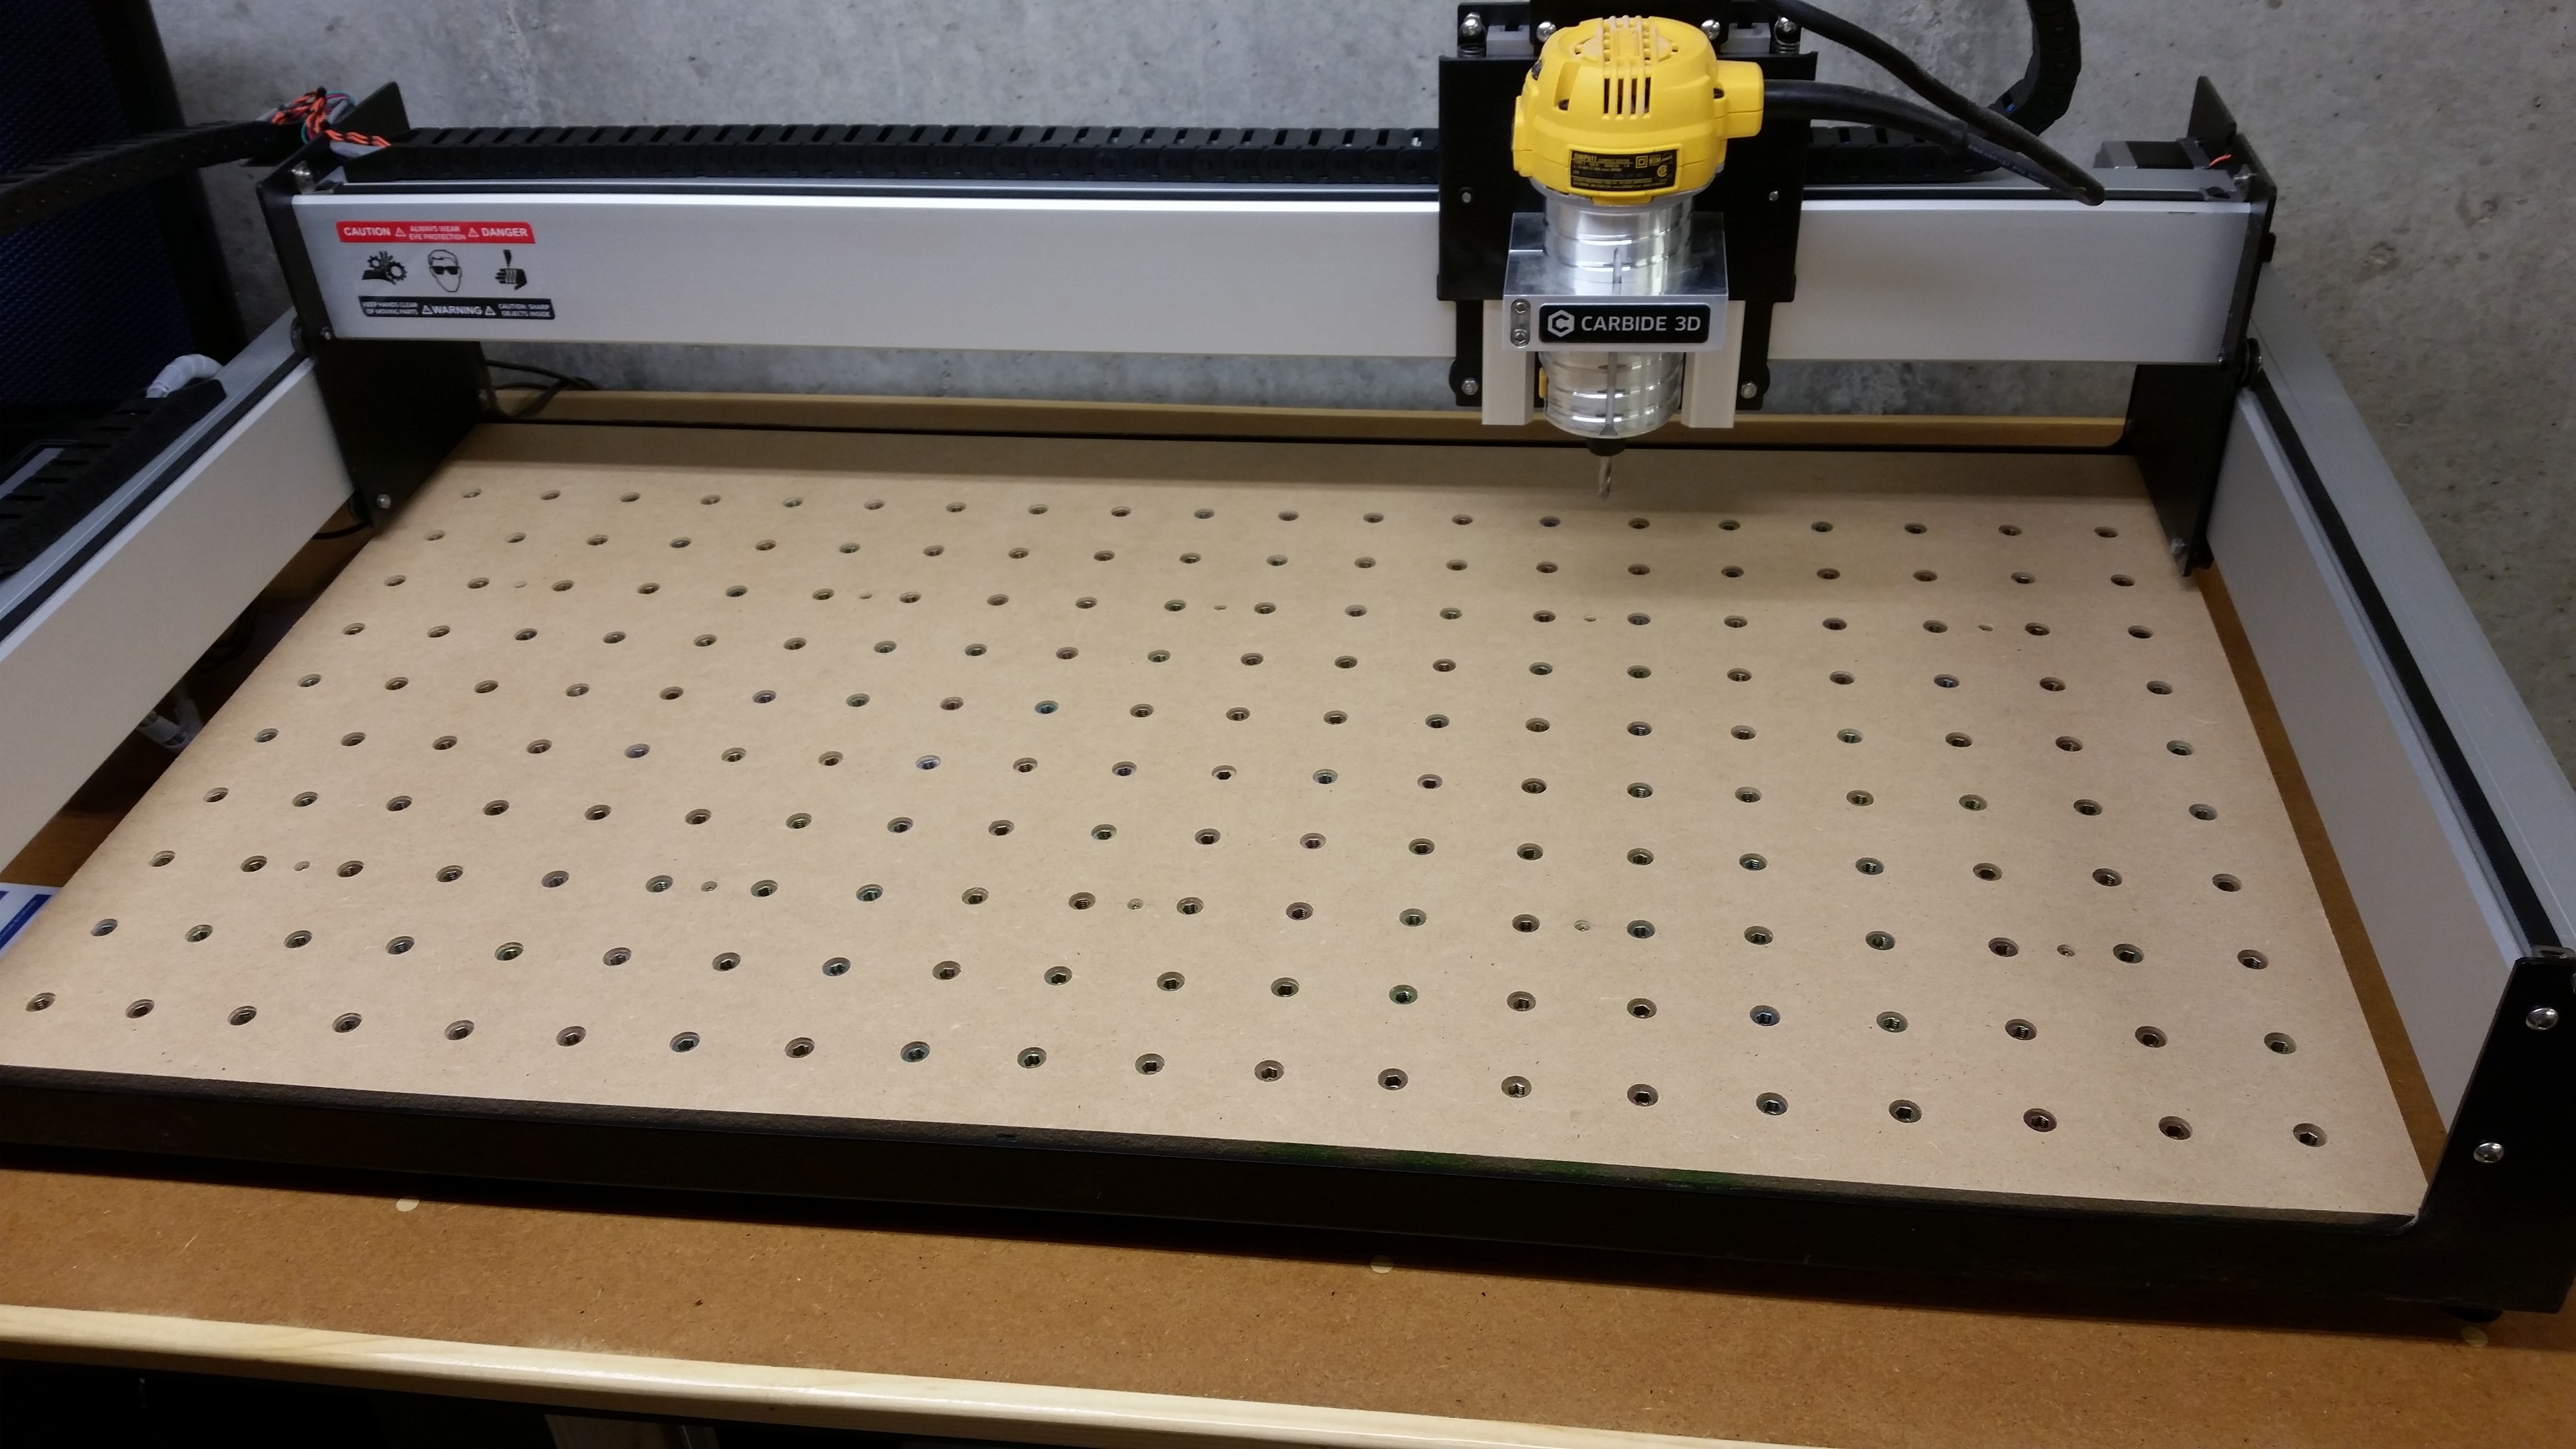
I made a wasteboard with 200 threaded inserts in a 2" x 2" pattern using a piece of 5/8" MDF. It is 41" x 23", so basically the size of the stock wasteboard. I decided to attach my wasteboard on top of the stock one. This still gives me over 3" of Z clearance with the spindle clamped about 1/2 way.
I was pretty happy with the way it turned out right up until I realized that there was no longer any room for the work piece to fit under the side extrusions. So, basically I’m limited to 41" total workpiece width. I’m sure I’ll wind up making a new one to replace the stock wasteboard eventually but I’m going to leave it as is for now.
I’m wondering though, for those of you with an XL, how often do you have your workpiece overhanging the sides of your machine?
I’ve had similar questions regarding clamping outside of the cutting area and the Y-rails. I’m still considering my wasteboard options, and there was a thread here awhile back that suggested per-job wasteboards based on the type of work one was doing. If have the XXL and I’m going to be making some experimental parts at the diagonal extents of my machine, somewhere between ~45" and ~46".
Overhang over the front of the machine also makes a lot of sense, as does removing the wasteboard to mill edges on vertically oriented materials…
I let the workpiece overhang the front when making the new wasteboard but due to the way my shop is set up, it is inconvenient and I only have a little room. Off the right edge however, I have practically unlimited room.
The more I think about it, the more I am leaning towards biting the bullet and making a new wasteboard, disassembling my machine and putting it in place of the stock wasteboard.
I’ve thought about laying work diagonally but that only buys a few more inches and seems like it would be difficult to set up accurately.
Everyone here loves pics, so please post up what you produce.
I’m still vacillating over a final design and in the interim I’m using 1/2" MDF that is T-nutted from the underside for clamping. I am leaning toward T-Track on the stock Shapeoko wasteboard then clamping the sacrificial material and workpiece atop that collection. This will allow me to surface the sacrificial to a reasonable tolerance for part accuracy.
This is the finished wasteboard. I really liked the way it turned out. One especially nice thing was that with just the stock wasteboard, the left end of the table was just a tad lower than the right end so when I put the new wasteboard on top of the old one, I slipped five pieces of paper between them which leveled the board up perfectly.
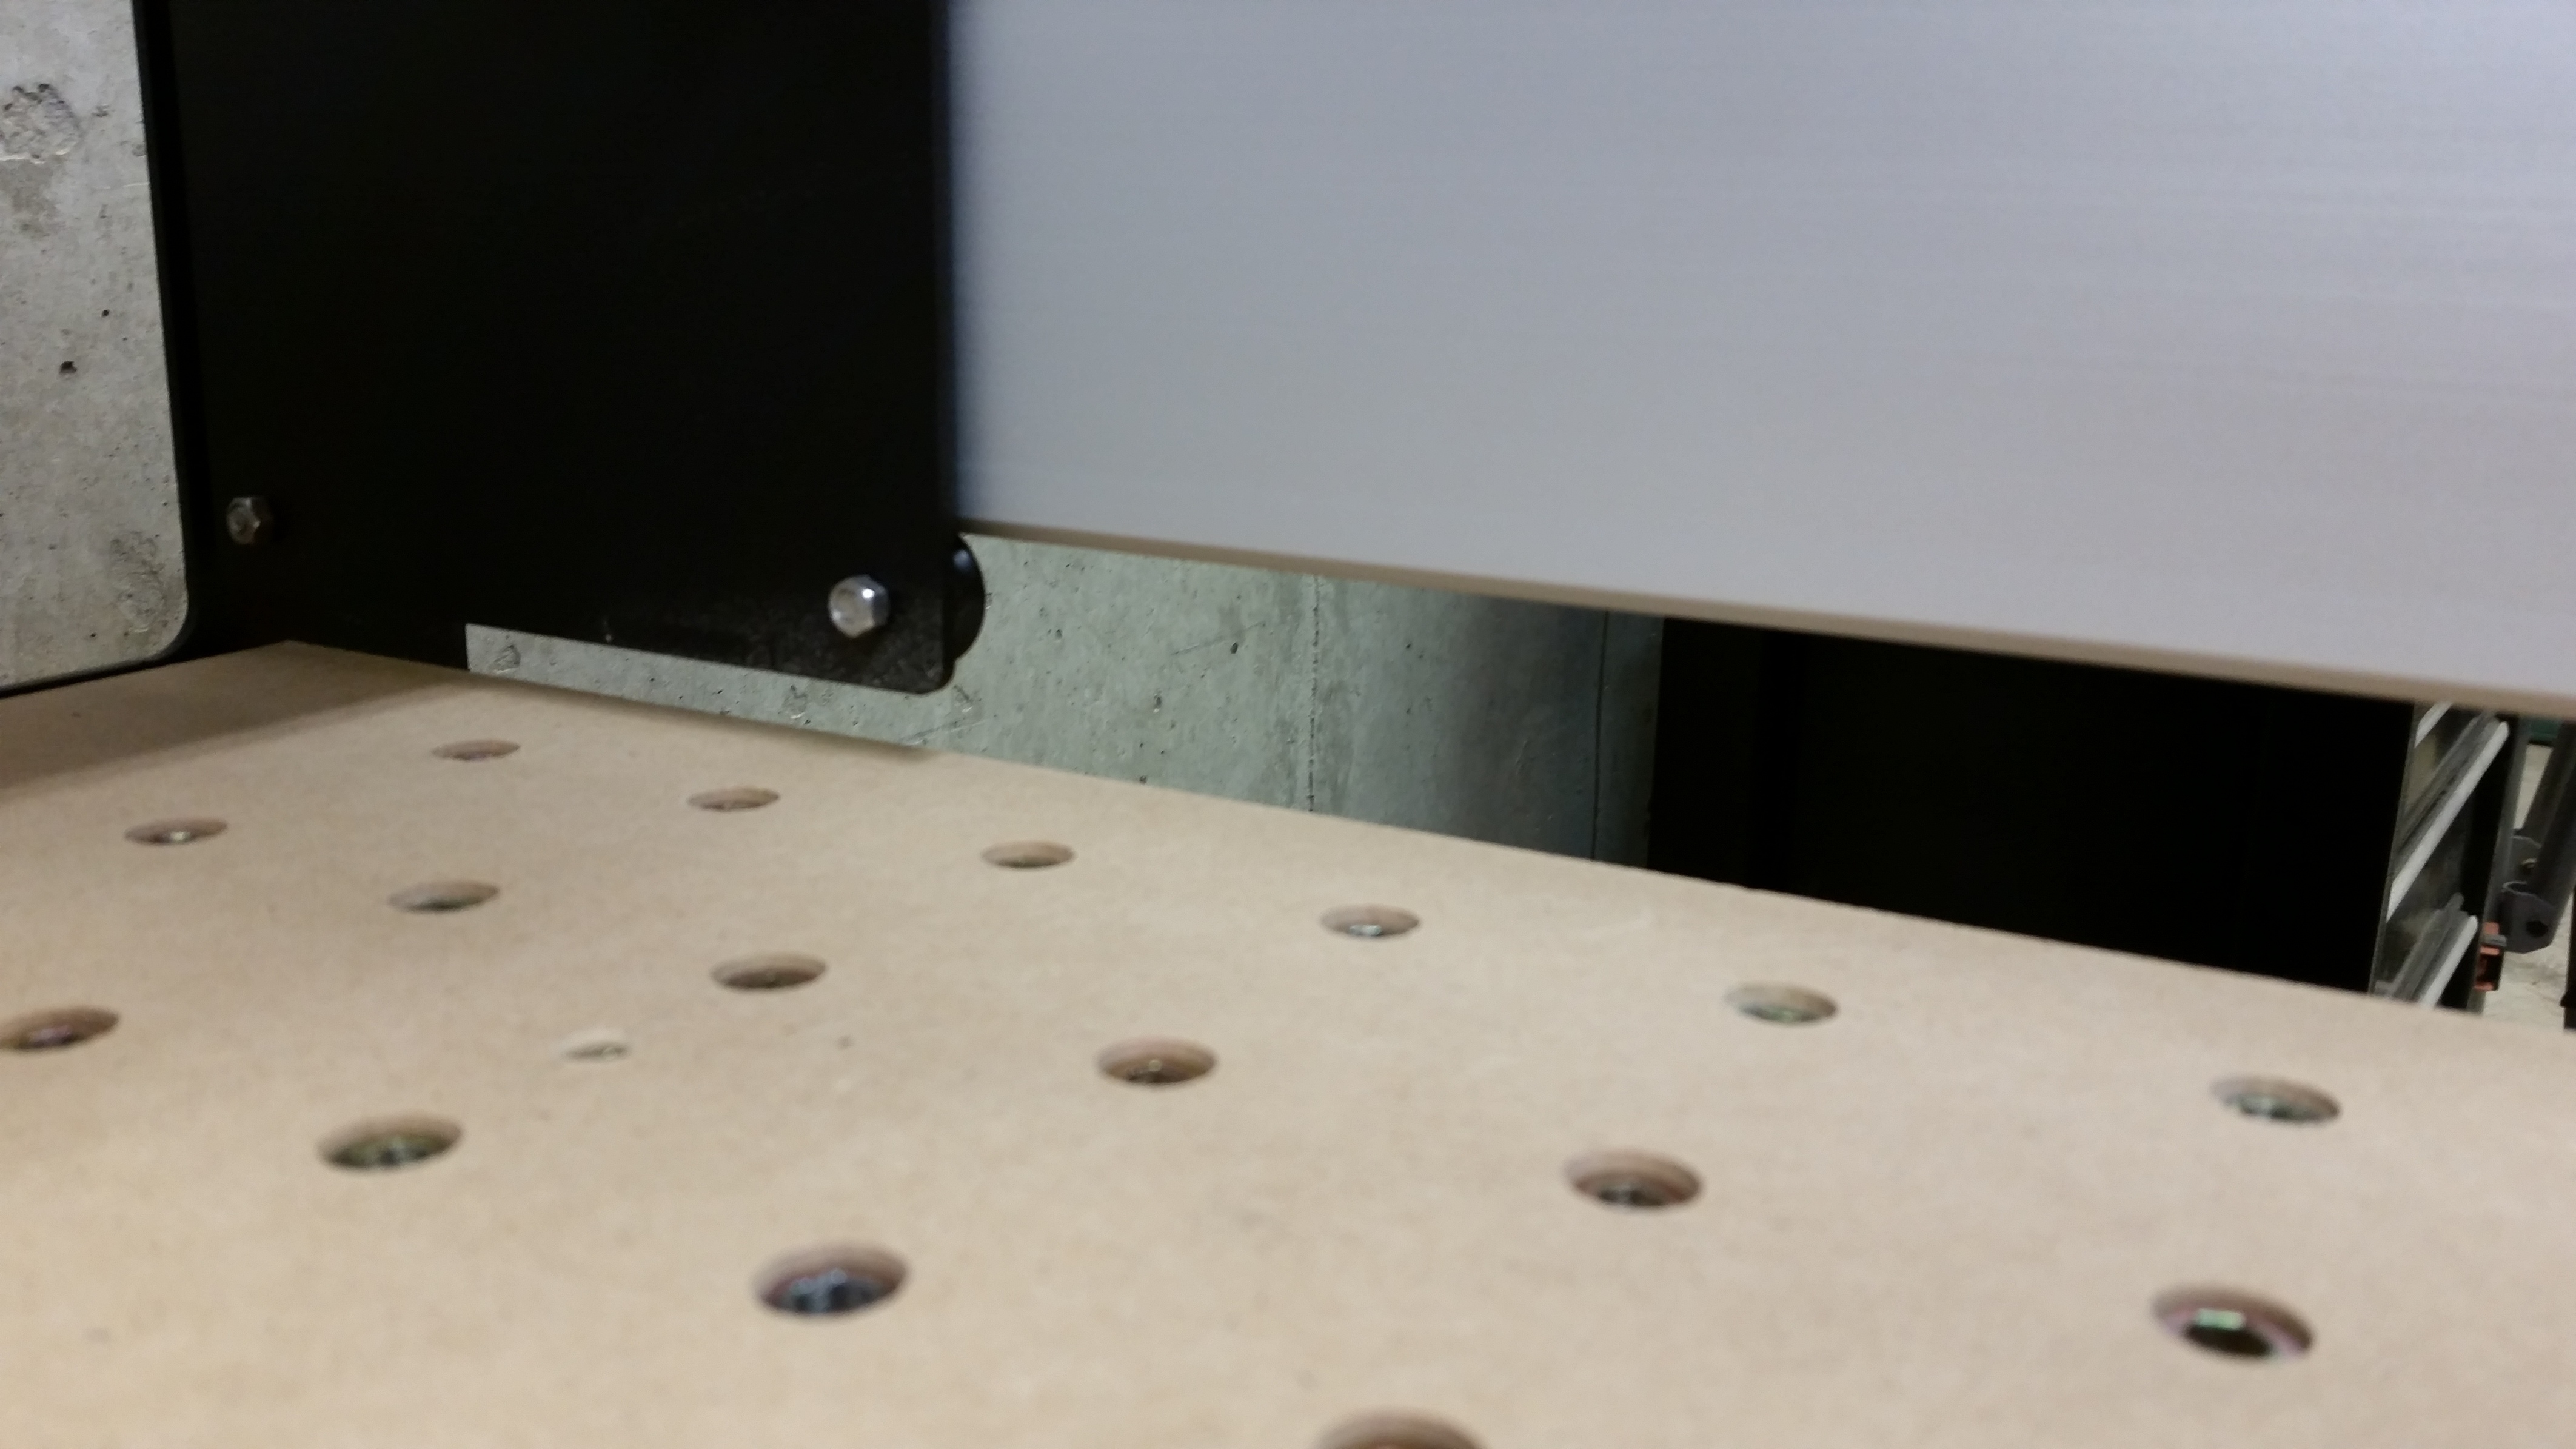
This is the problem. There is only about 1/2" between the carriage and the wasteboard so I won’t be able to let my workpiece overhang on the edges. I don’t like this limitation, so I am going to redo the wasteboard on a new piece of 3/4" MDF and replace the stock wasteboard.
Just a guess, but I suspect you won’t use many of those inserts in the back. The “active” area of the table is in the center front, the back 20% or so is unreachable by the router, as are a good few inches on each side. I’m sure you’ll use -some- of them for clamping, but probably not nearly as many as you think.
If you really want the table totally level, surface it with with the router. Then you’ve got a little better support than just the paper under the end, and it’s known flat everywhere reachable. Here’s how I did it.
Yes, I’m sure you are right about the back threaded inserts. I figured that they come 100 to a bag, I might as well use all 200. I’d rather have some holes that I never use then not have one where I need it.
This piece is 48" long. Ive got a xxl that I replaced my waste board with {2} 3/4" mdf with inserts. I have to hang my larger pieces out the front. Width wise 30- 31 inches is all I get.
That’s really nice! I like the curves. My brain doesn’t think in curves, it’s all straight lines and right angles.
The way my workshop is set up, I don’t have room front to back for much more than 48" and even that’s inconvenient because it blocks my path out of the corner.
It’s starting to sound like that is the way most people deal with overhang though. I’ll have to give it some thought and see if I can rearrange things.