I’m about 2/3 through my current job - a whole bunch of slots in aluminum. I decided to try 2D Adaptive instead of profiling the slot in multiple shallow depths. I’m using a 4mm single flute carbide endmill I bought on Amazon for $8 & cutting at 40ipm, 21000rpm, .125doc, dry. Two passes complete each .250" deep slot. It’s working great. Most of you would probably want a finish pass but these parts will be powder coated & the slot won’t be seen so it’s not necessary here.
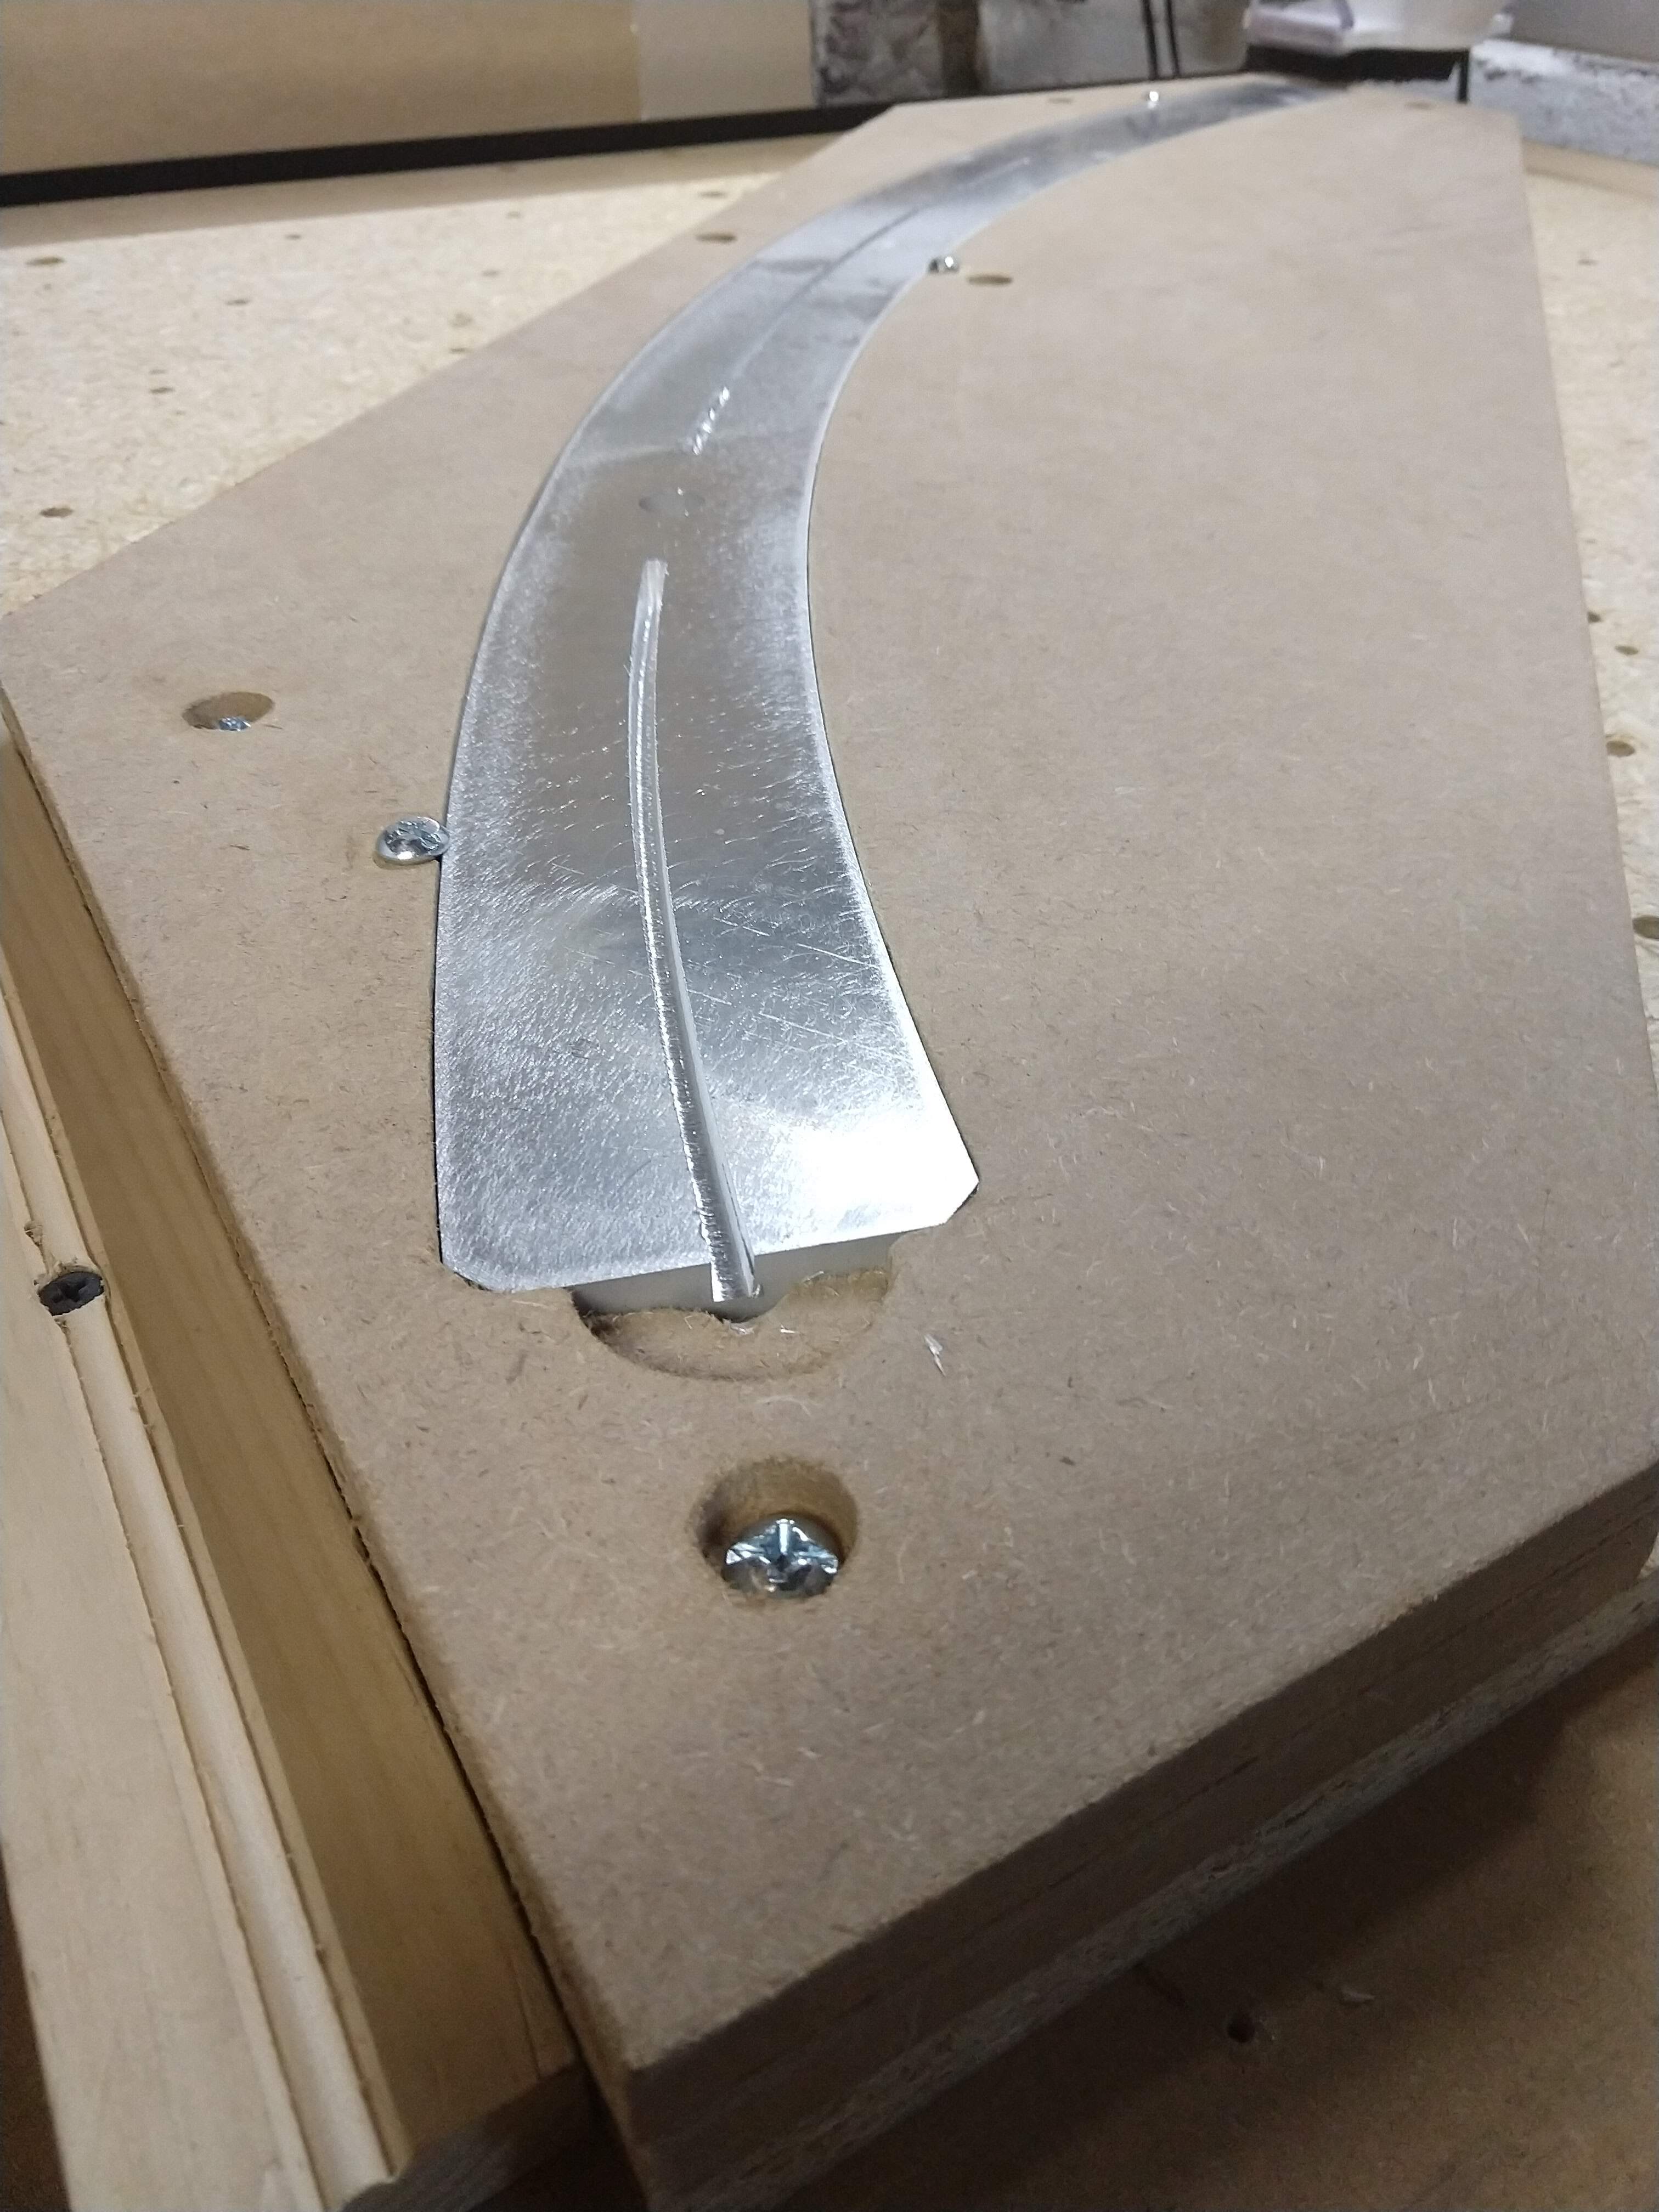
Additionally, I have the parts in an MDF jig to accurately position and hold them, and it’s all flush on top so I can use my dust boot & vacuum to clear chips & keep it clean.
The part in the pic below is actually a series of three slots. In the end slots the mill enters from the side. I can’t do that in the center slot. tried helix spiraling in but didn’t like the sound of it so I predrilled & entered there & that worked well.
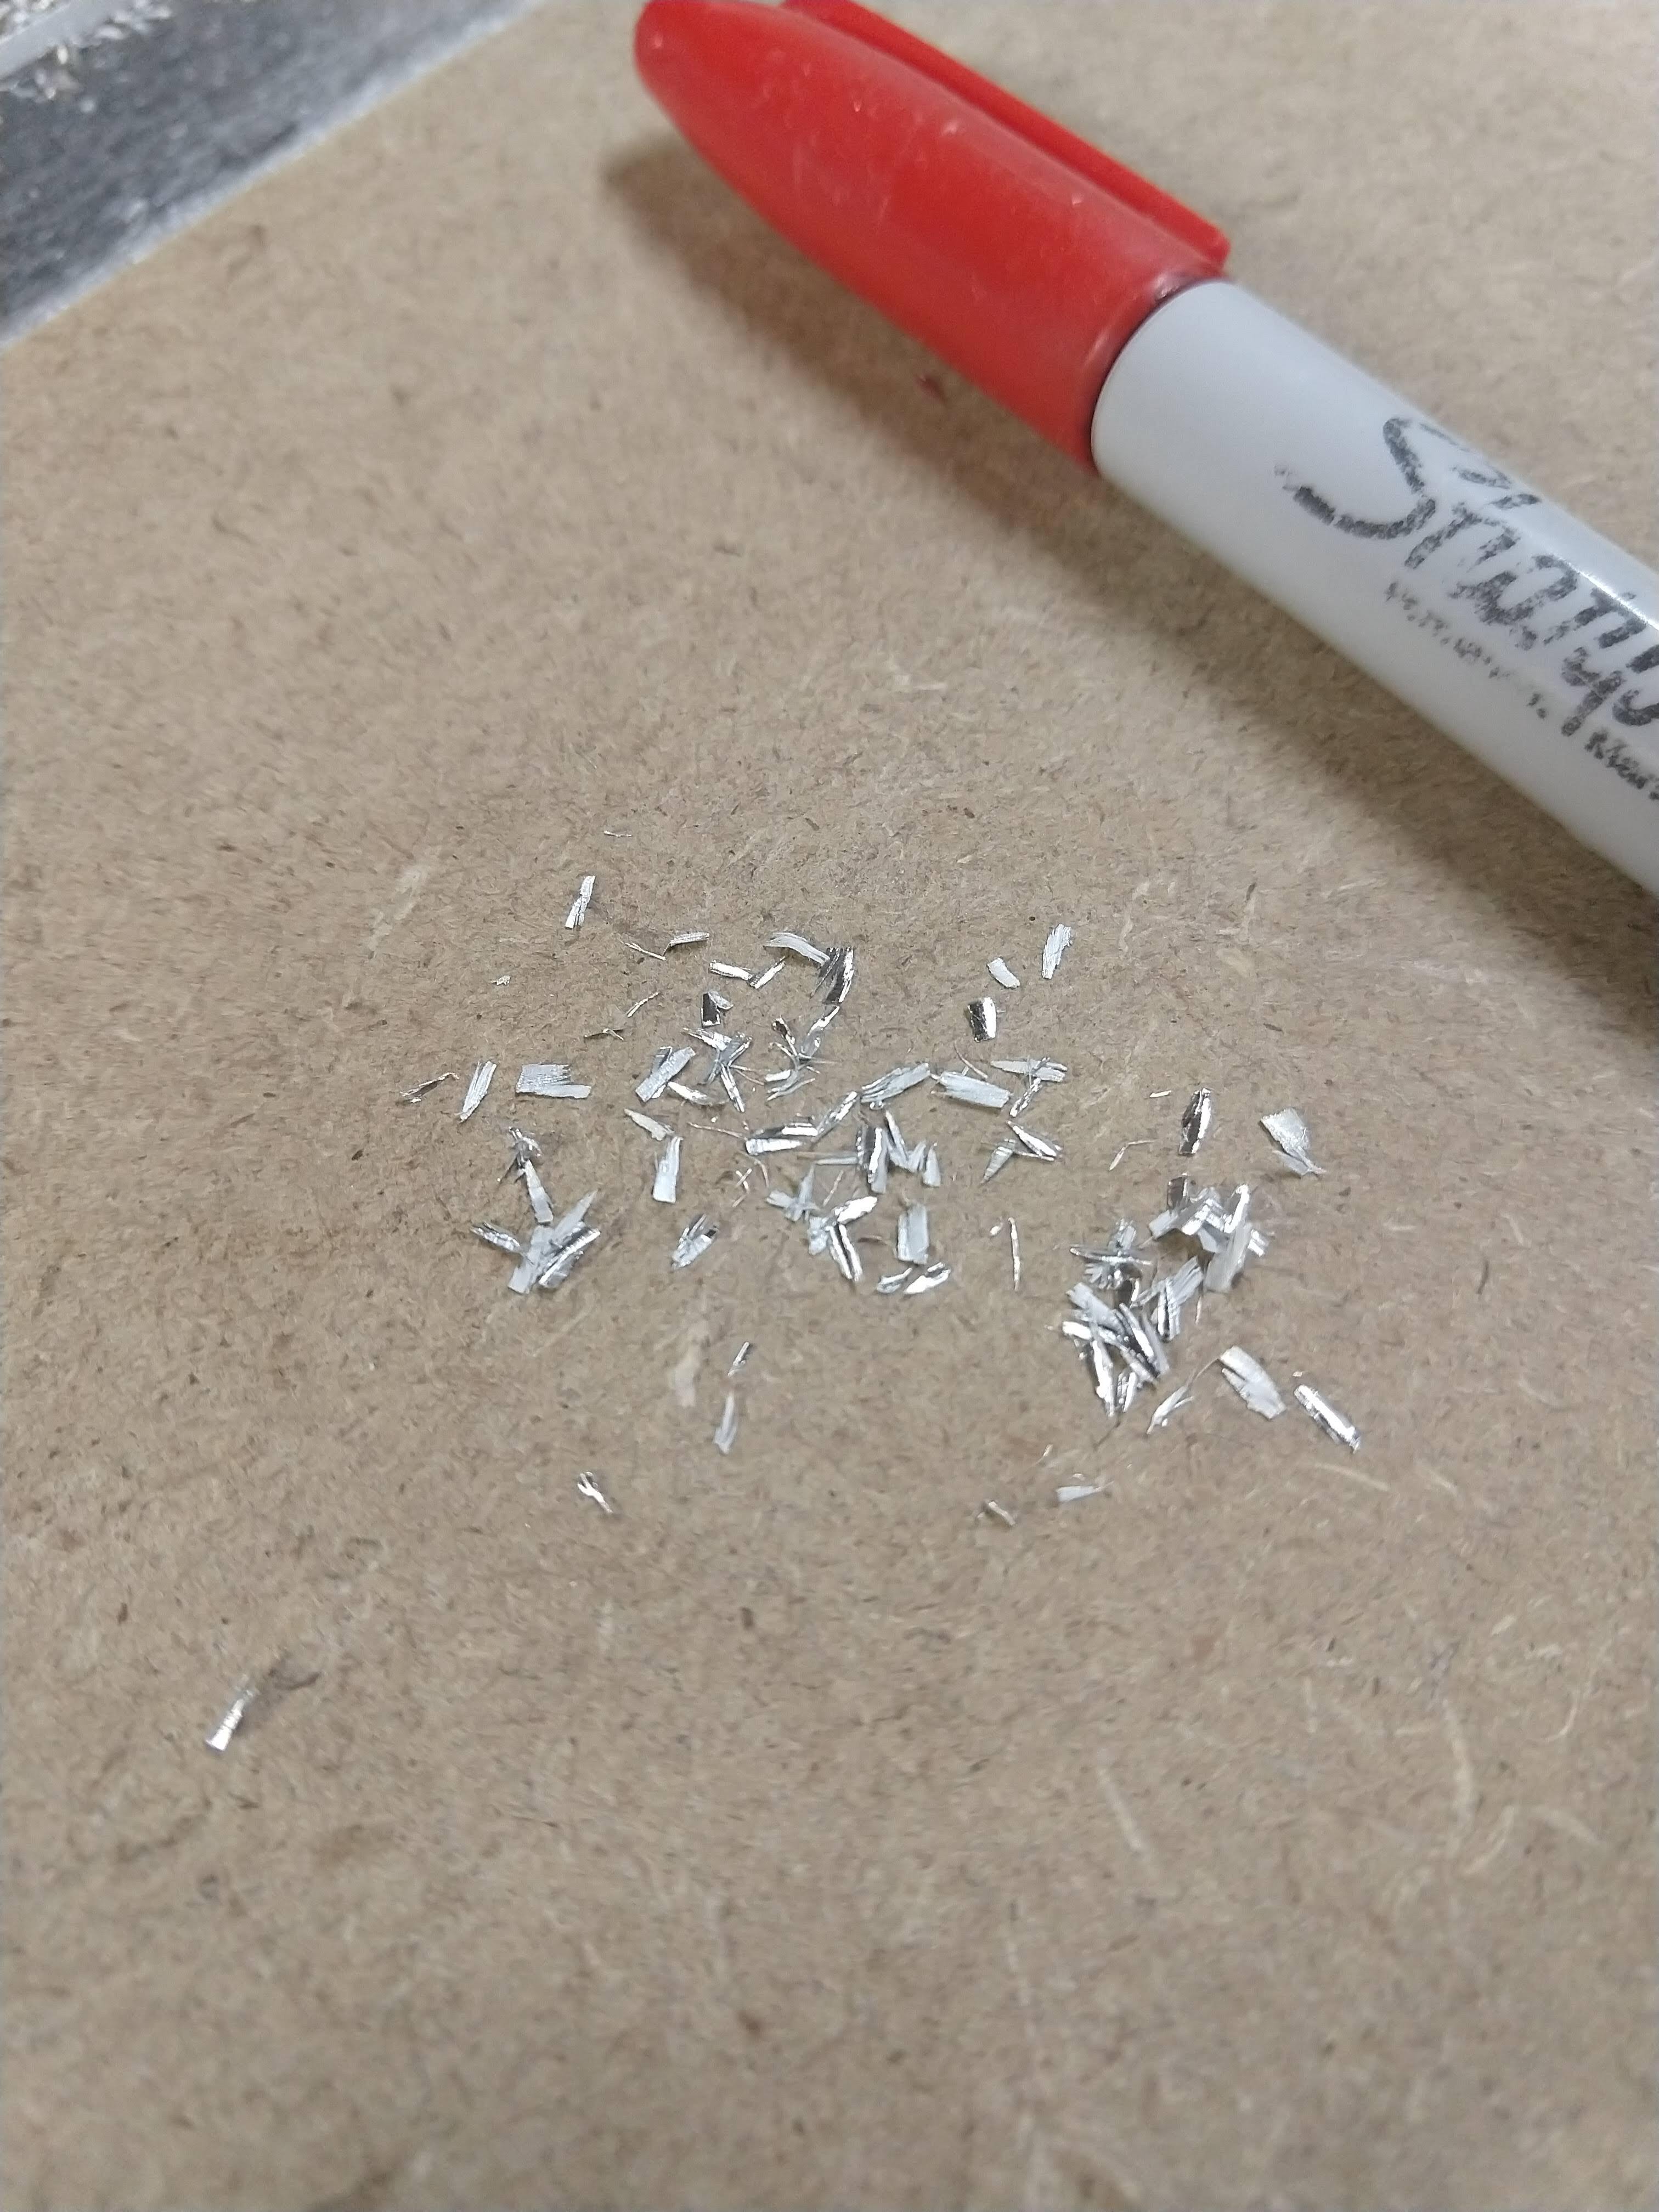
I’m afraid to change anything because everything’s working well, but see my chips in the 2nd pic below? I don’t know what an adaptive-milled chip should look like. They seem a little thin & ‘powdery’ - is that to be expected?
And thank all of you for sharing what you’re doing in this community, and helping each other. I wouldn’t have the stones to try this without all of you. There’s nothing more useful to me than all of your experience.
Chips that look like chips are a good sign! You don’t need to start to worry until they start to look like fine dust, that’s an indication your chips aren’t clearing out of the cut and are being re-cut. This is bad because it wastes energy but mostly because the former chips get hot and melty quickly and then attach themselves to your cutter, which definitely is not helpful in keeping a sharp edge!
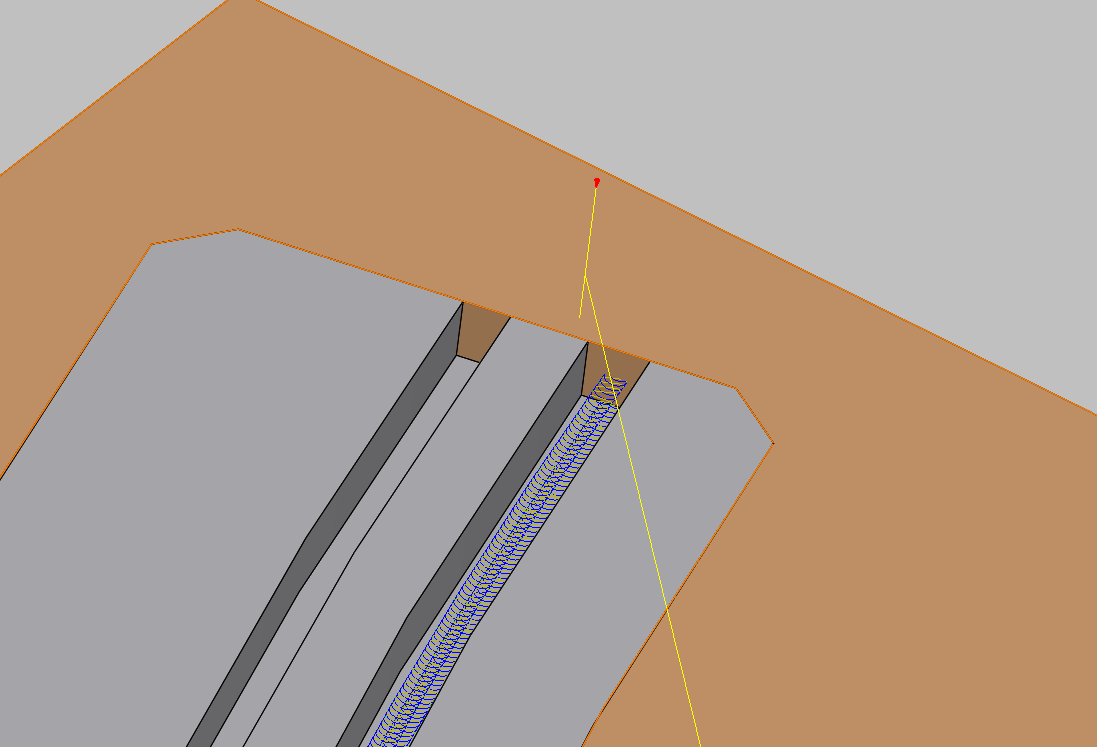
No - they’re .188" wide. Somebody else could explain this better but I can’t cut the full width of the slot with a .188" diameter tool because of rubbing and/or chip clearance. Either way I have to use a smaller tool. Adaptive “spirals” through the slot - see the toolpath below. I had to pick a tool diameter that was small enough to allow the spiral, and 4mm worked.
Nice, that toolpath looks great. I too enjoy the consistent nature of adaptive toolpaths and was converted by @wmoy. The chip clearing is great and producing a method by which you can cut deeper and use more of the flutes you pay for.
@The_real_janderson
Do you think that cutting 0.188" wide by 0.125" deep slots with a 0.1575" tool using adaptive “spirals” rather than “standard” slotting with a 0.188" tool (at the same DOC and number of passes) really make a discernable difference?
This is how I slot aluminium too, I find using a profile tool path results in a lot more issues with chip evacuation and chattering, resulting in gumming up the endmill. Others experience may differ but I can take a much larger DOC doing an adaptive cut than a profile cut. The MRR is higher and tool wear lower too
For chips I like to have a good shine, you might want to try increasing the radial doc little by little.
As for helical plunge try playing with the degrees and make your helical ramp diameter 50% of your endmill diameter. Ramp at 0.001 chipload and play with realtime feed overrides to find your tool pressure sweet spots.
Ide throw a scrap part on there and use the workbook to run through min to max.
I have completely winged it in the past, and have no firm figures. I am in the process of installing an HDZ, so numbers will change again. I’m much better at recording figures now so will update when I’ve done some testing
Very very roughly I’d say on my stock machine at 0.03mm chip load, 16krpm with a 6mm 2 flute I would run
1mm optimal load, 4mm doc
2.5mm optimal load at 1mm DOC, and anywhere on that scale in between.
Thanks! That’s pretty close to the 100% DOC and 20% WOC that NYCCNC recommended in their speeds and feeds spreadsheet that I adopted for the SFPF Workbook.
Like how Stuart mentioned, I end up with better chip evacuation and a more consistent cut. Adaptive takes a lot of the guess work out of it, plus, it works really well with my 3D adaptive templates in Fusion to make toolpathing a breeze.