Wanted to start this post, I haven’t been able to finish the project but just surfaced the vacuum table wasteboard and seems promising, so i will start uploading some pictures and a basic idea.
will add explanation as I go on.
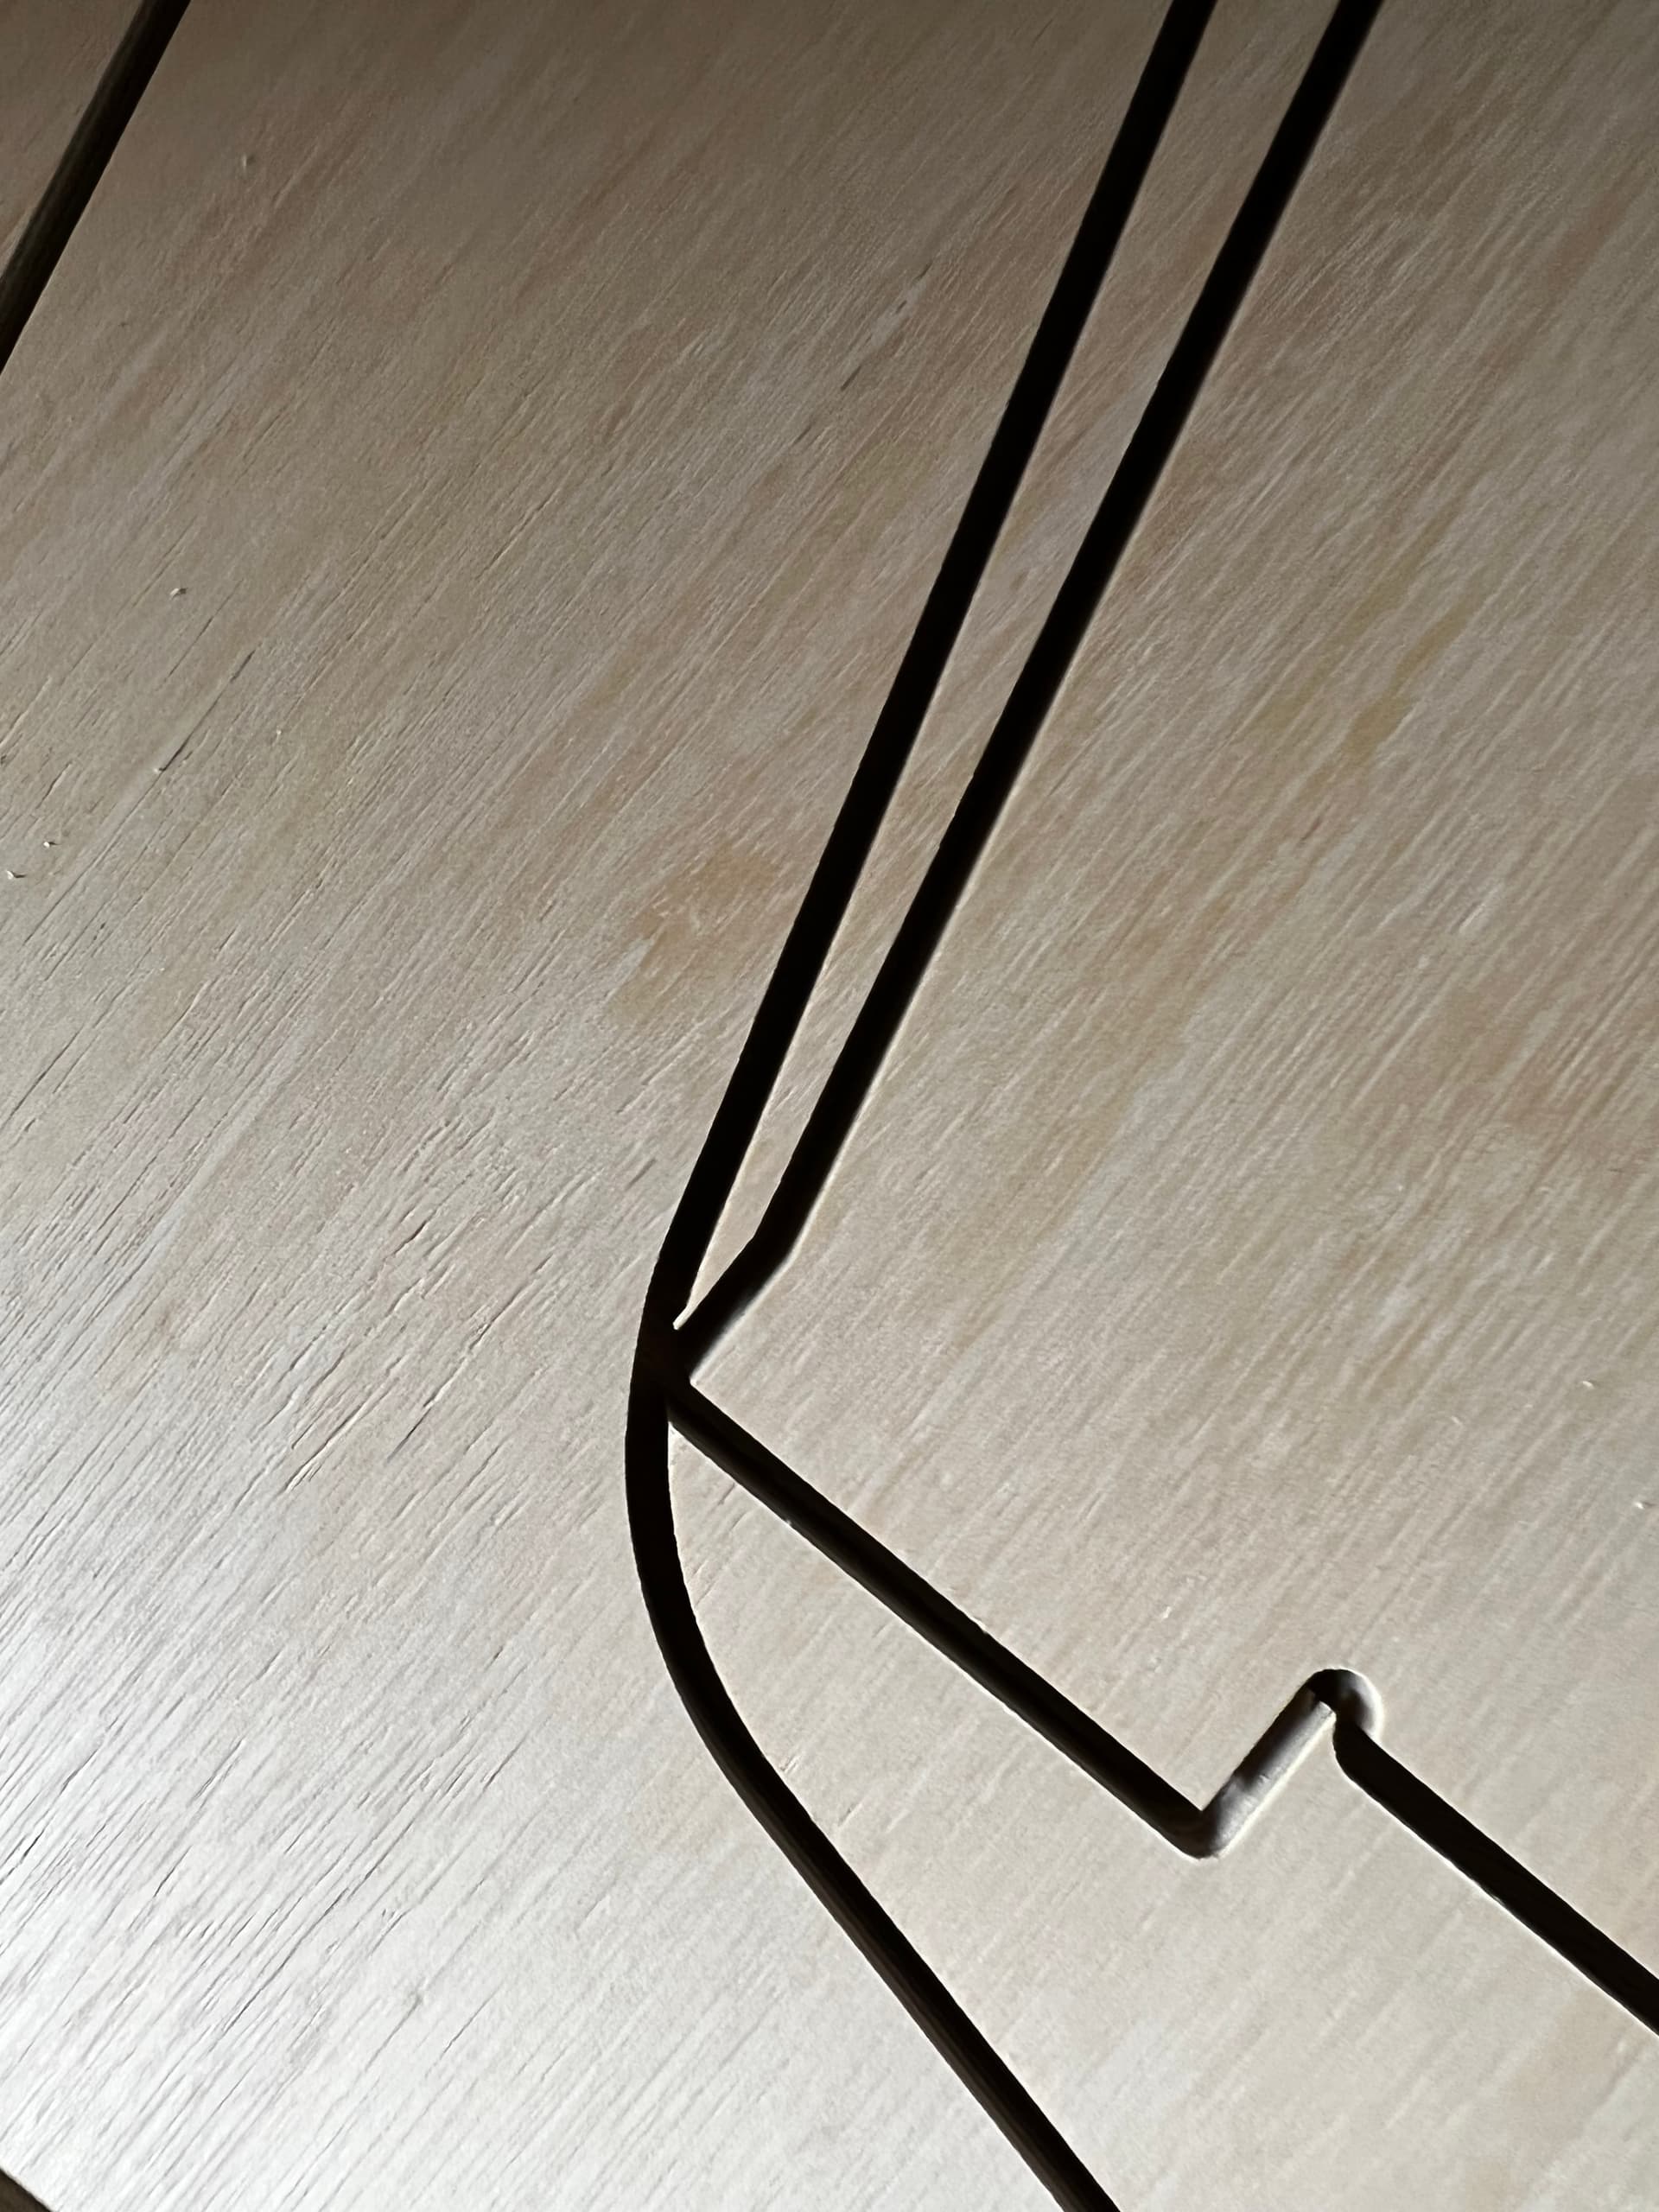
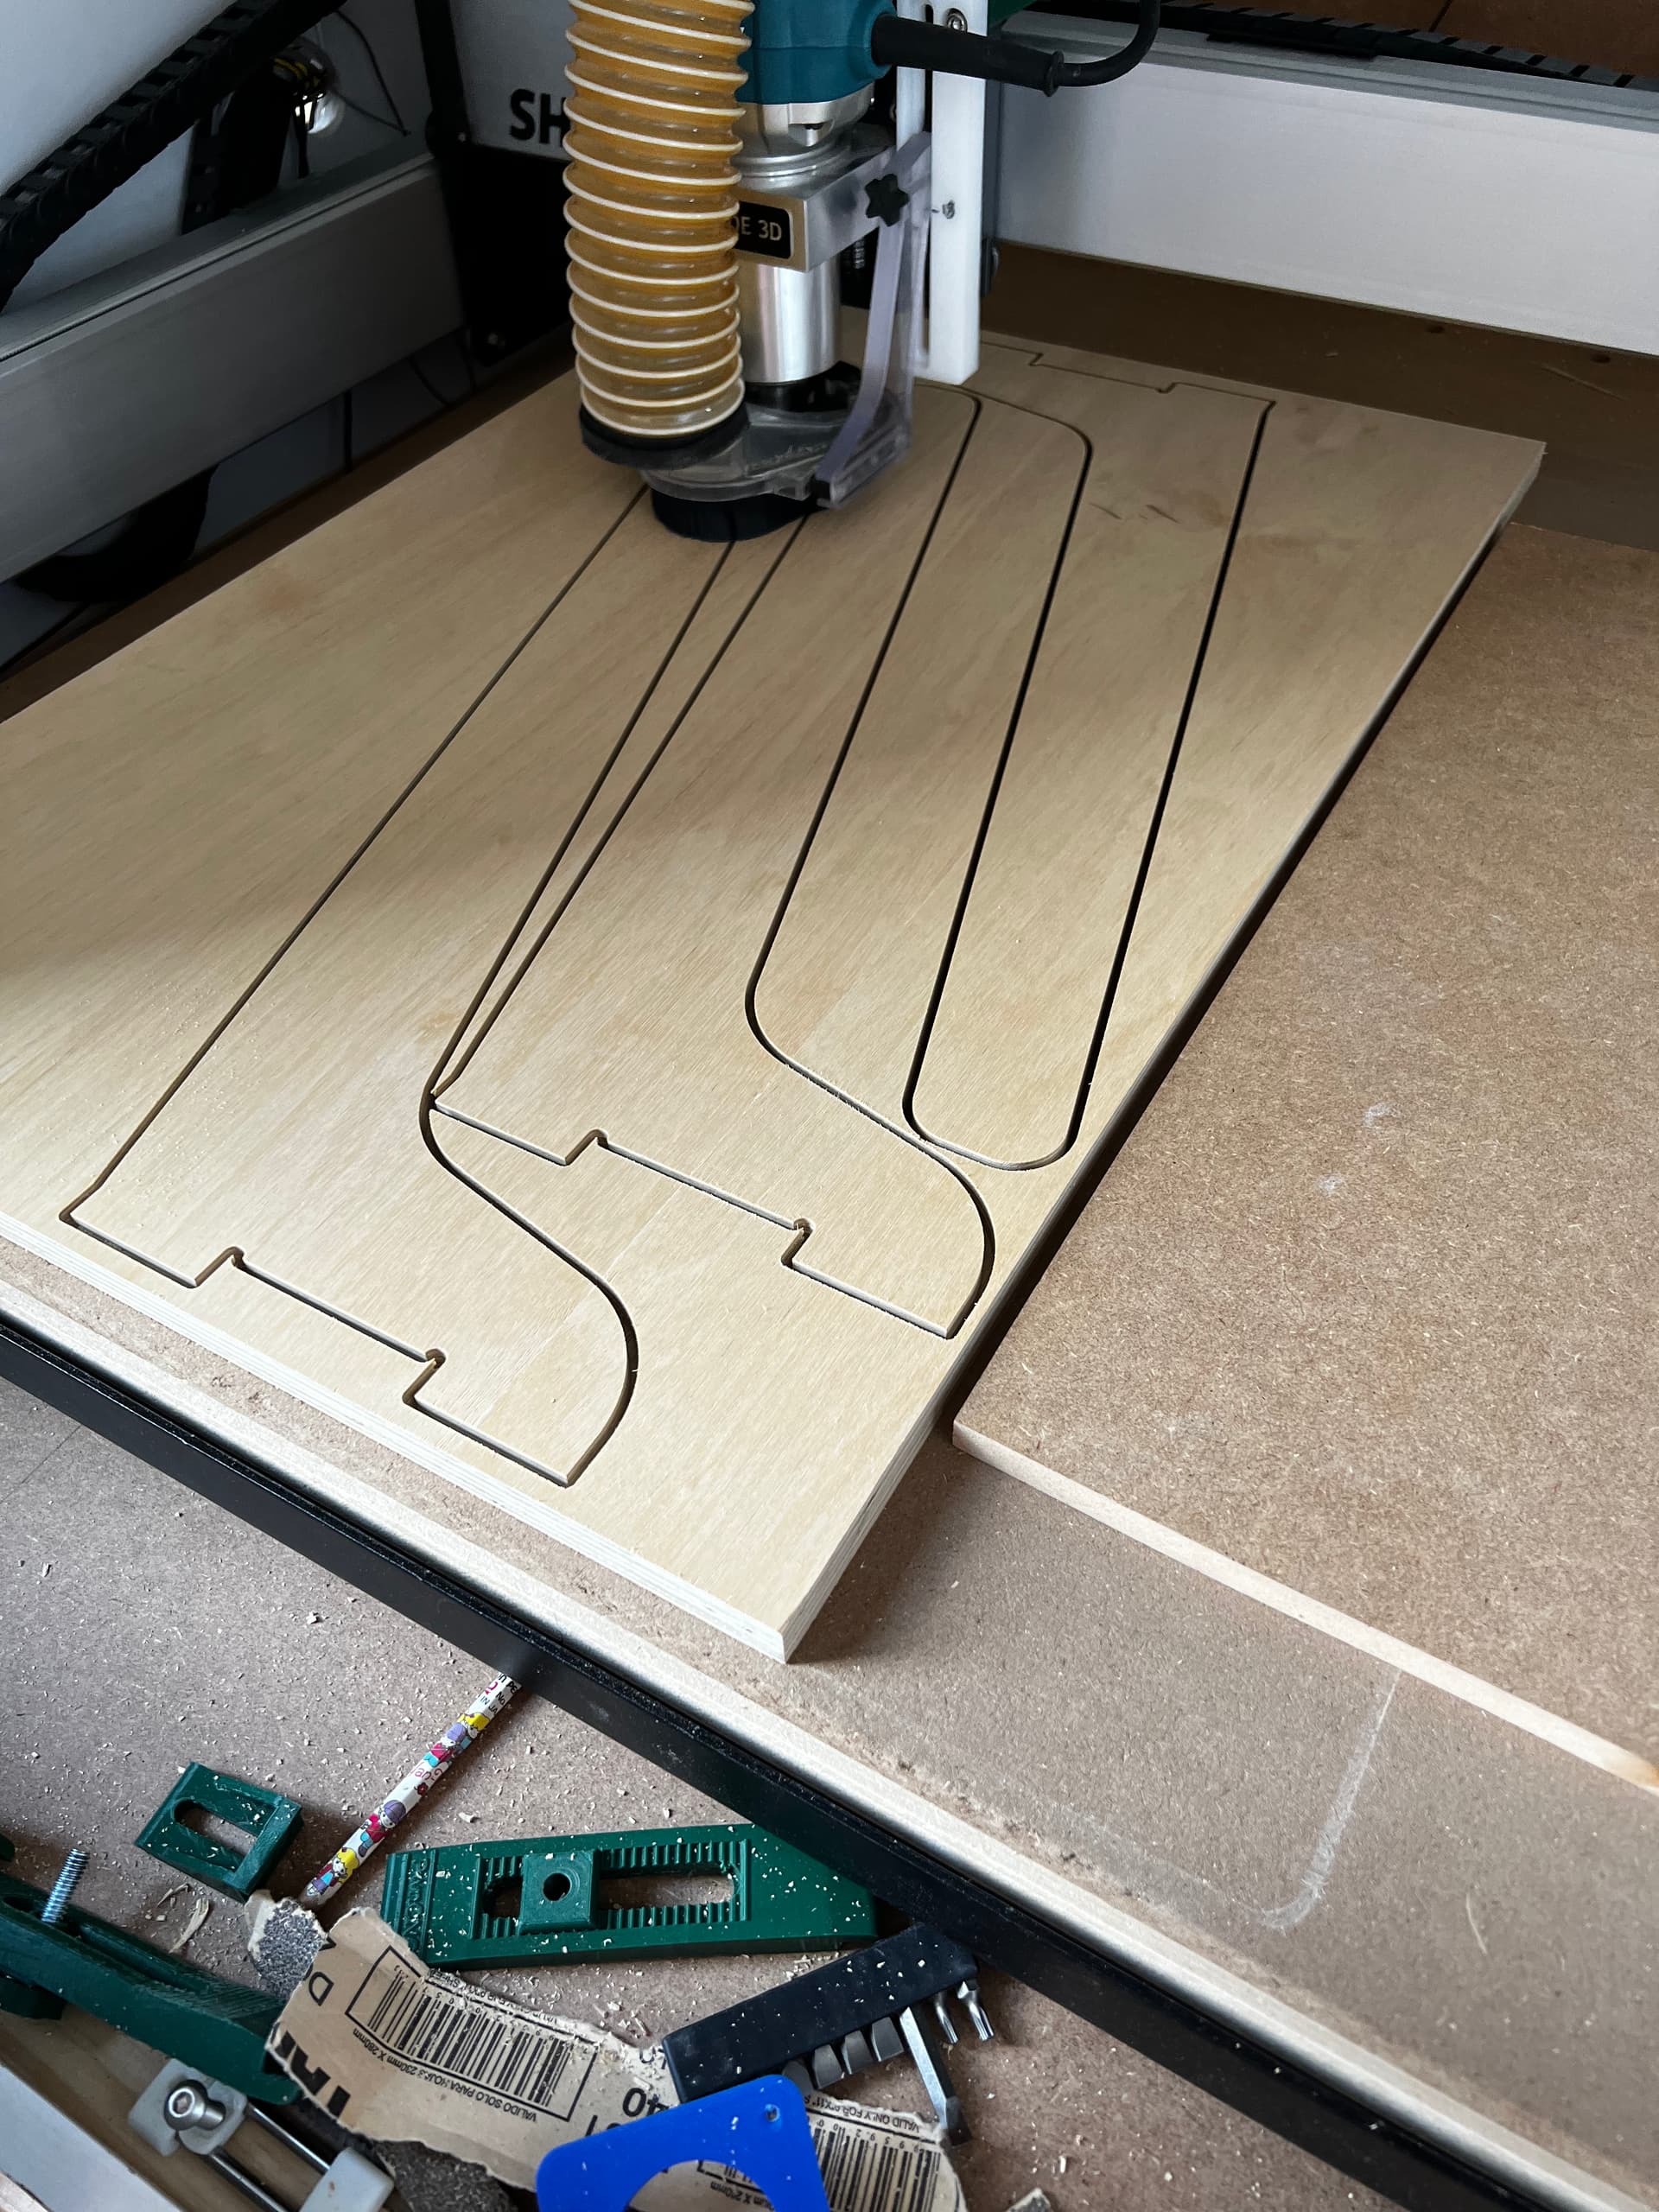
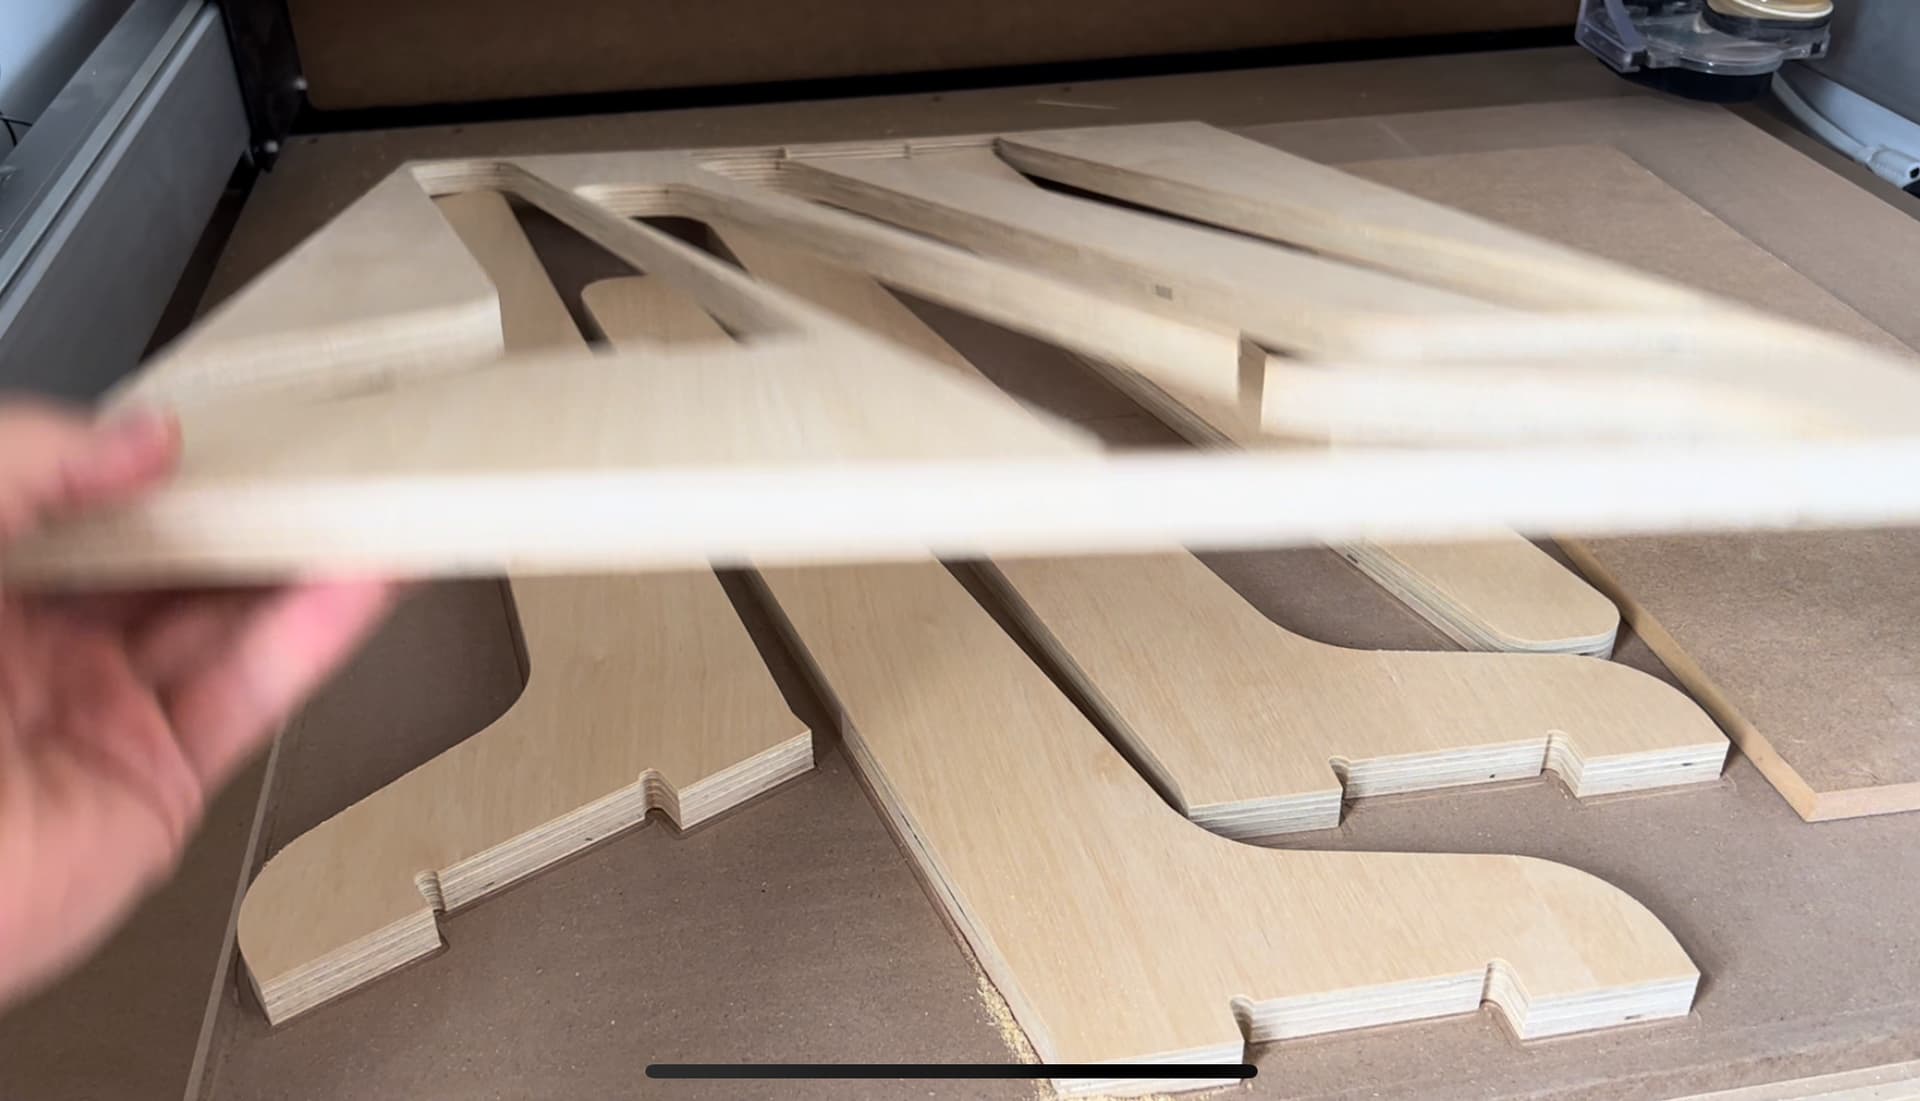
1.- first of all why 3 zones: my main goal is to take advantage of the full xxl size as a few of my projects have been limited by this, and when cutting multiple pieces with tabs it becomes very difficult to lift the work without tearing out the plywood.
I would also love to have the zones for smaller pieces and this was the best split I could think of.
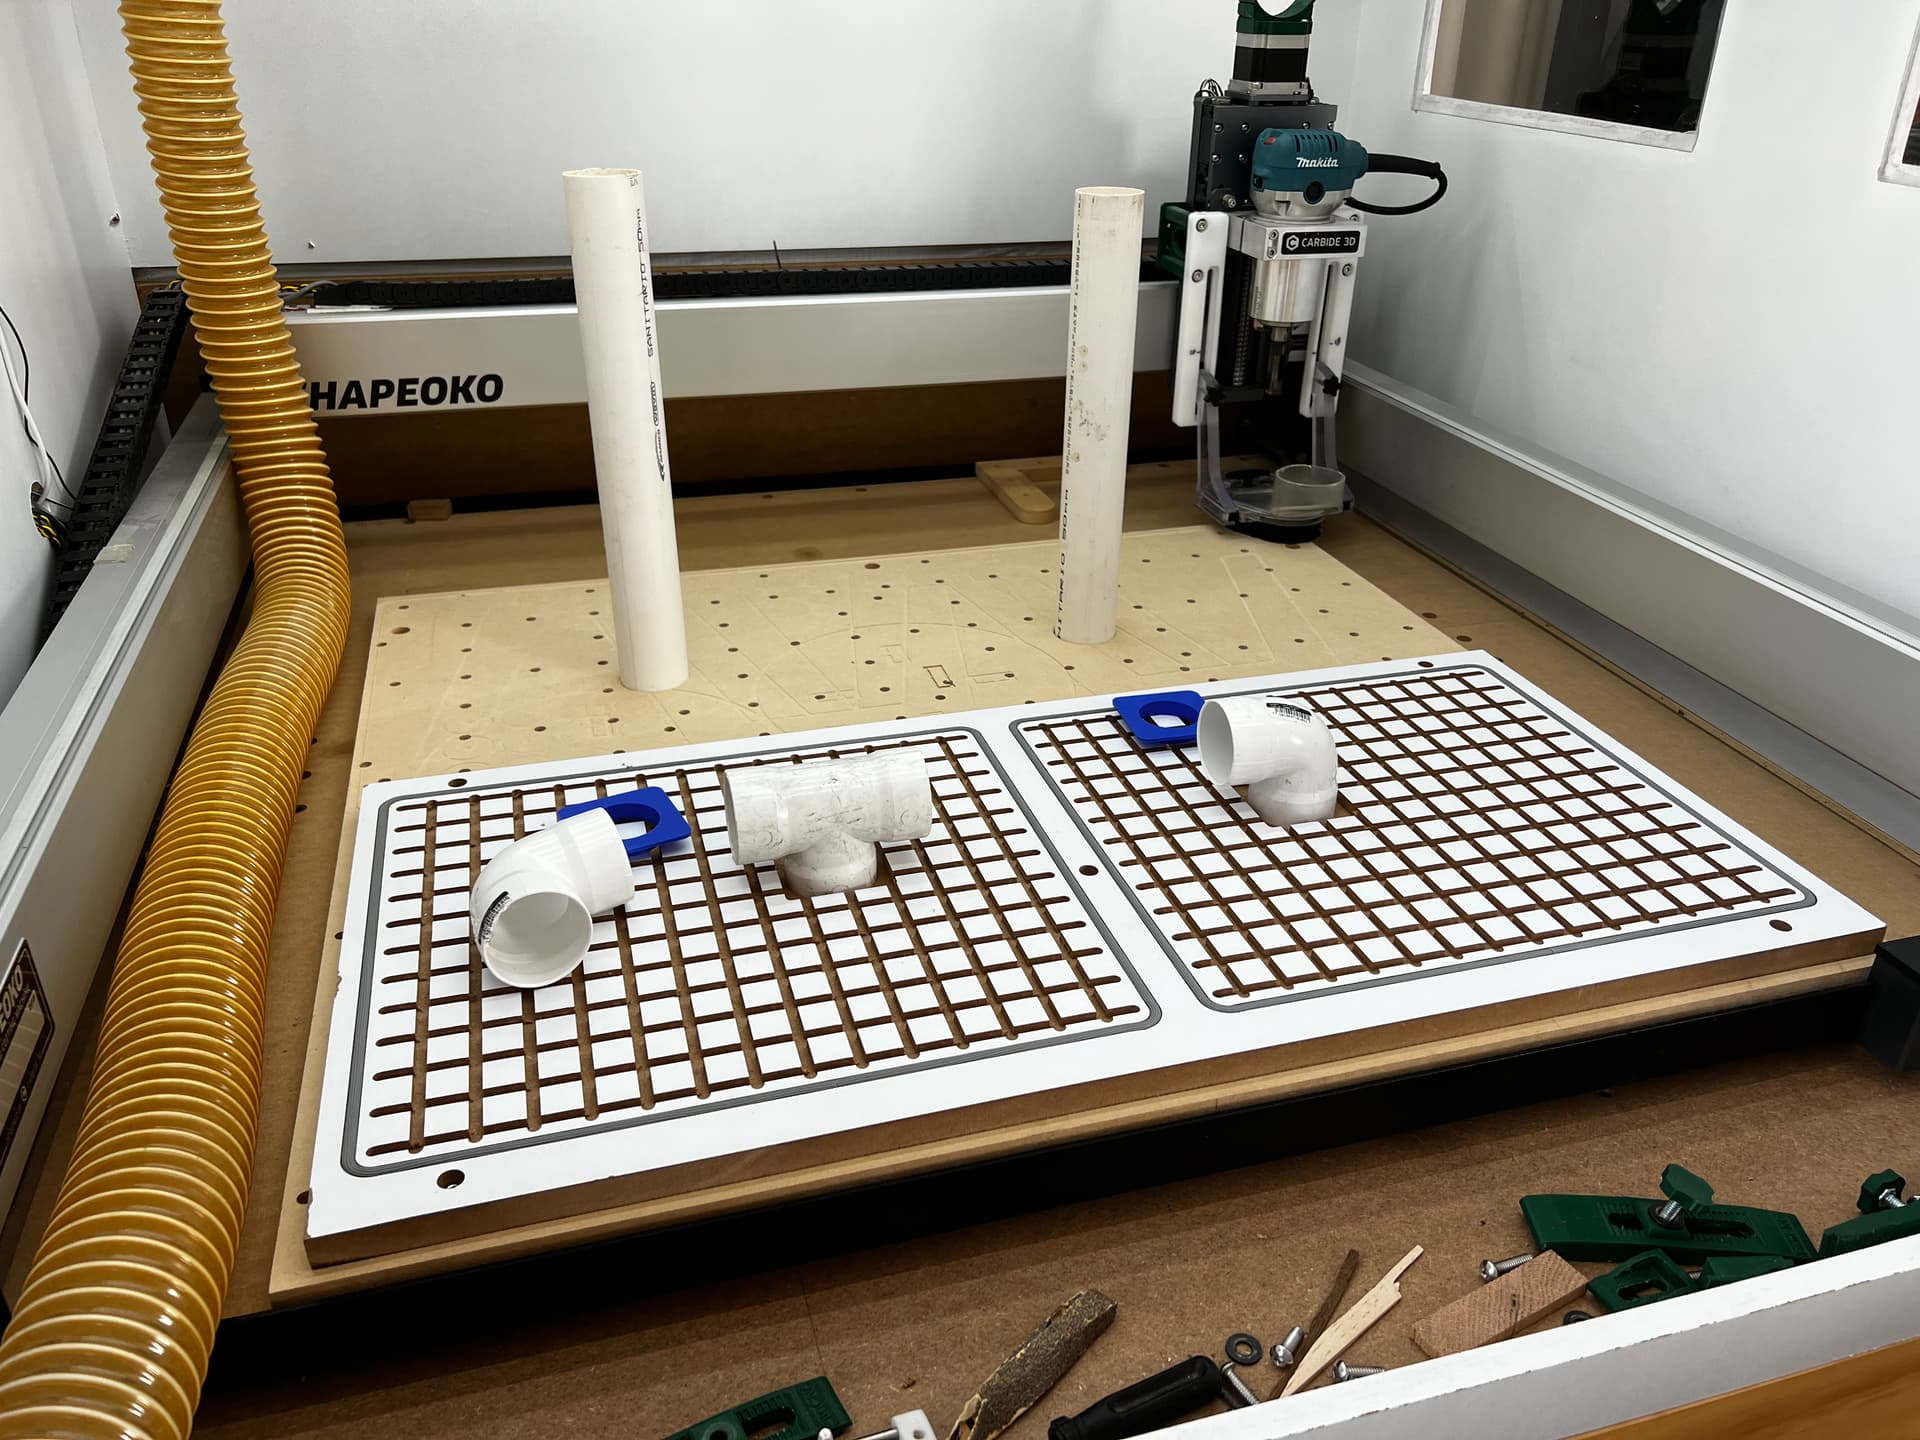
2.- it’s made with the material I had in had for V1, I would use a single piece of laminated MDF for the V2 for sure.
3.- I wanted to make it easy to mount and return to bolt down wasteboard so decided to use the pattern to mount (This is the first fault in my design, for V2 I would swap it and have the vacuum permanently attached below the bolt down this way I don’t have to mess with 2in holes in my wasteboard)
4.- PVC pipes are definitely not in the optimum configuration just wanted to get it running, have been thinking about airflow and how to close the zones (bought a couple of ball valves but they feel to bulky and hard to rotate for this use. will give some sort of blast gates a try soon)
5.- I had an underpowered tiny shop vac. that was enough for 1 zone. for the full table I got a Craftsman 6.5HP seems to work pretty good I can move the table before the Plywood on the work area moves. there are a lot of recommendations on the Fein Turbo, just din’t want to spend that much yet. hopefully the Craftsman won’t burn out but will update if that happens.
6.- To seal the contour, (and if required custom shapes) used a roll of Prime-Line Products P 7709 Screen Retainer Spline.250-in(1/4-in), 250-ft Roll. found it on amazon for less than 15USD so decided to give it a try. something softer might be better.
7.- created the design file on fusion, to my metric wasteboard, but should be very easy to create a parametric one for universal fit.


I have added some 3d Printed blast gates from thingiverse for zone control, probably leak some air but seem to work fine: