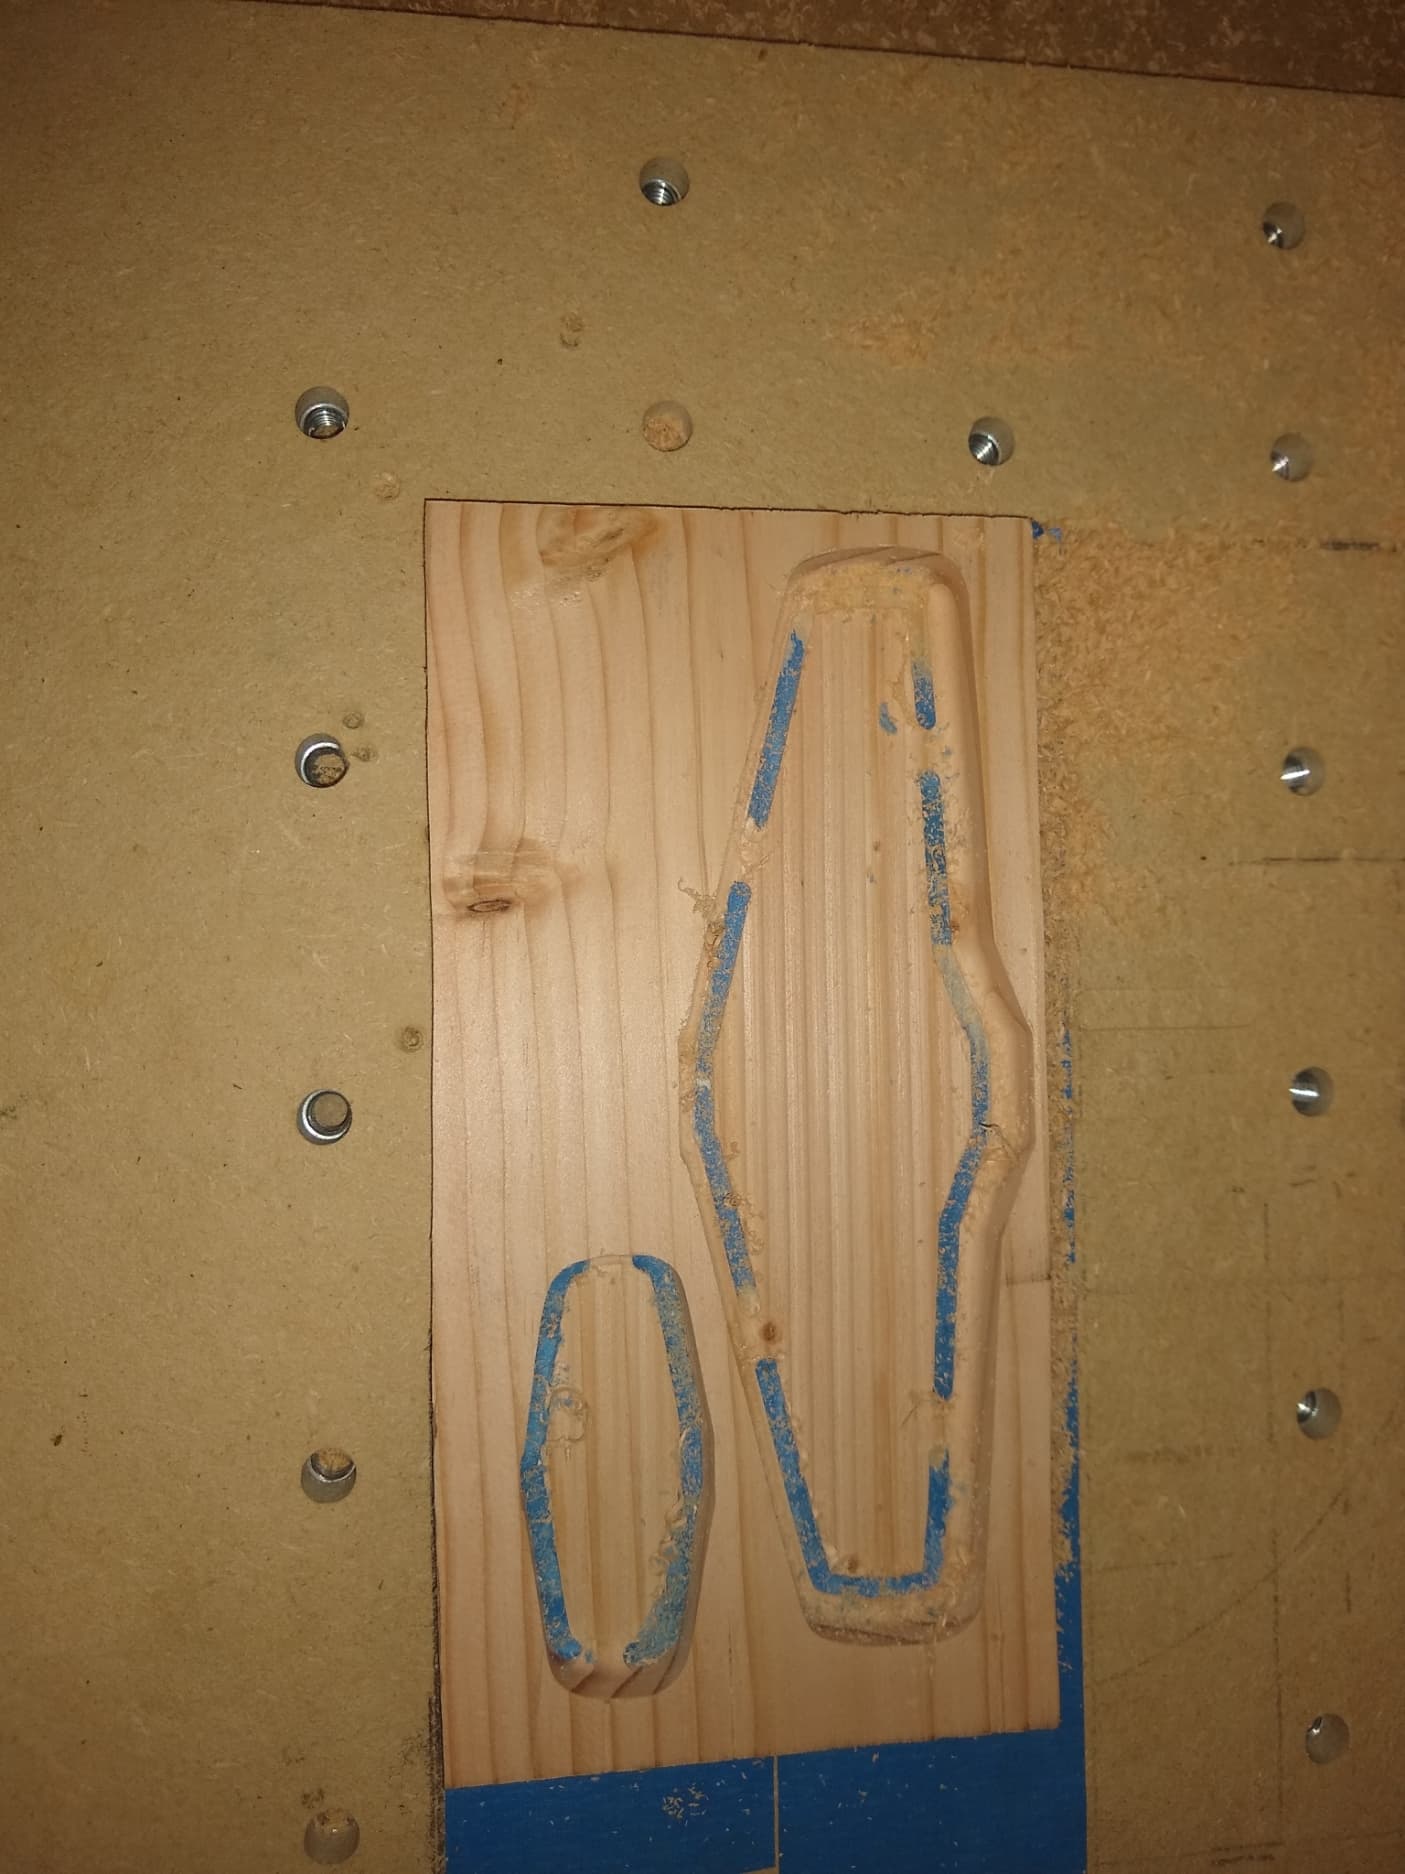
I am cutting out a P-51 Mustang for a 2x4 contest. I modeled the wings and tail but when cut they are basically flat. Can anyone give me direction to get a more 3d height on the wings. They are very flat and very thin. Attached is the c2d file and a picture of the cut out wings.
I see 2 modeled objects, but no shaded areas showing what they are.
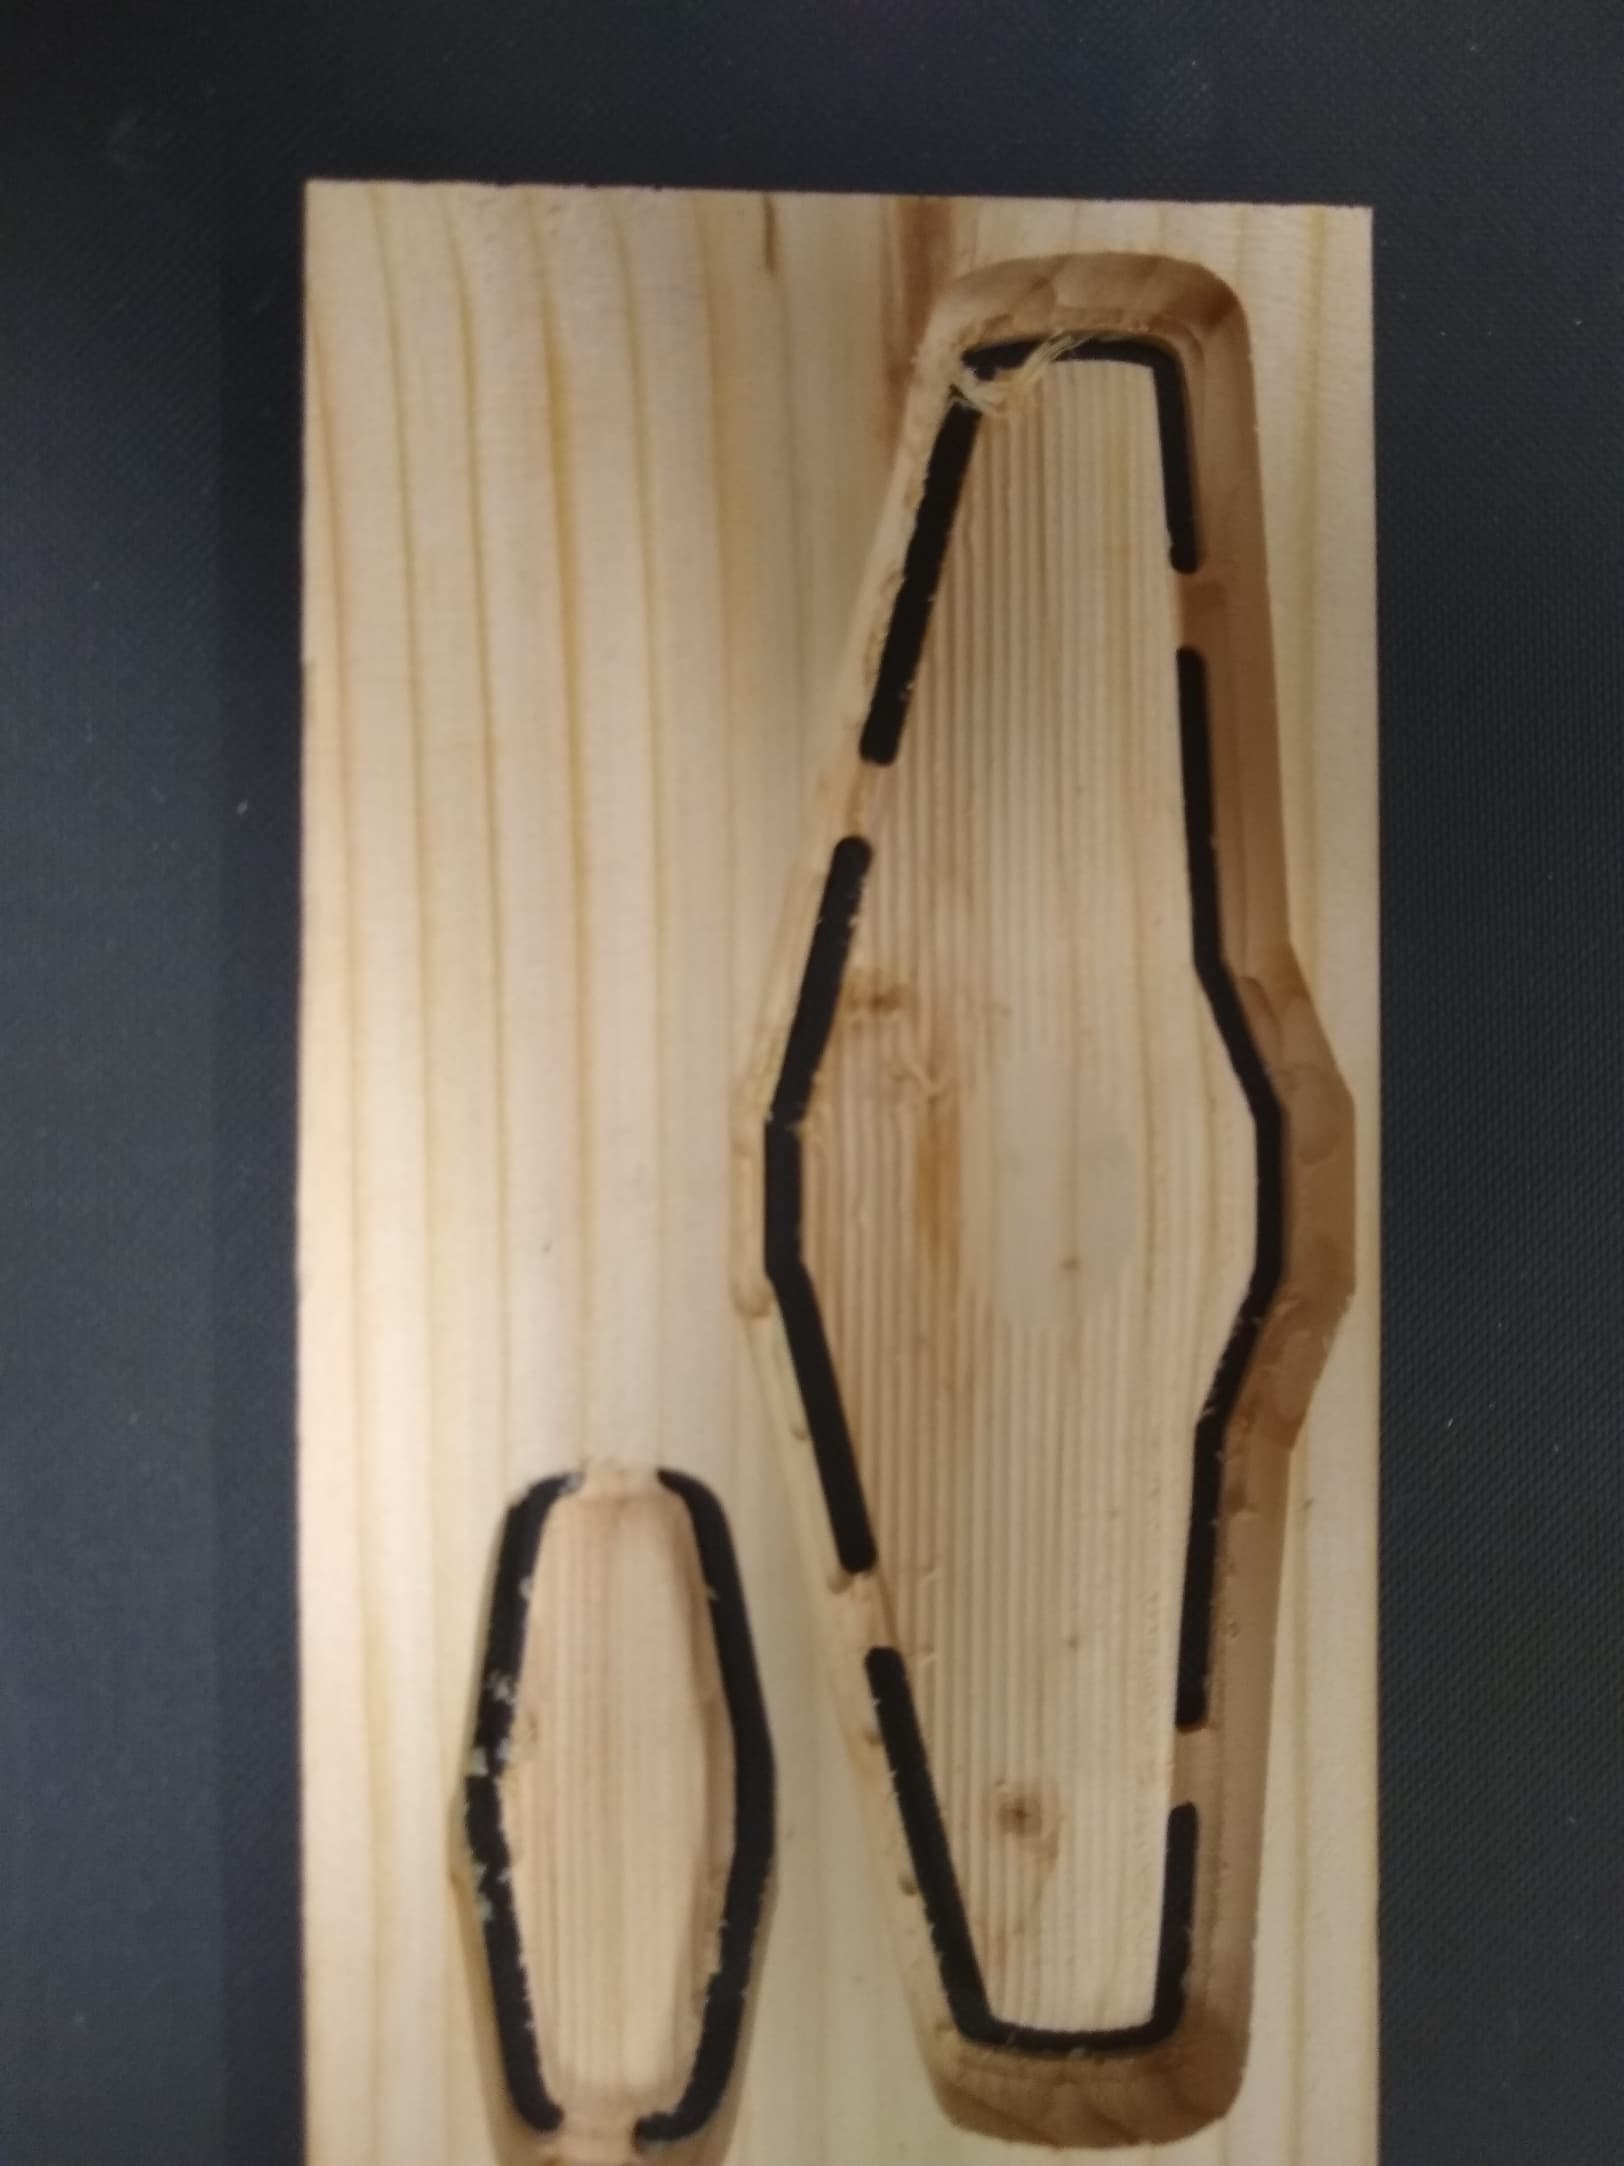
Measuring the sections off to the side, I get these dimensions…
Wing Top: 0.160" Bottom 0.110 Total 0.270
Tail Top: 0.054" Bottom 0.043 Total 0.097
Putting the parting line for both at the same height, 0.110 from the bottom,
I built the wing as a Round, 45°, limit height: 0.160, with a base height of 0.110.
And the Tail as a Round, 45°, limit height: 0.054, with a base height of 0.110
For the flip side you would use…
Wing - Round, 45°, limit height: 0.110, with a base height of 0.160.
Tail - Round, 45°, limit height: 0.043, with a base height of 0.160
I added tabs as 3D objects as well, just to make sure the 3D paths don’t cut too low.
Well I changed things and think I got a good carve. I have only done the 3d modeling a couple of times but it is finally starting to gel in my brain. Thanks for the help.
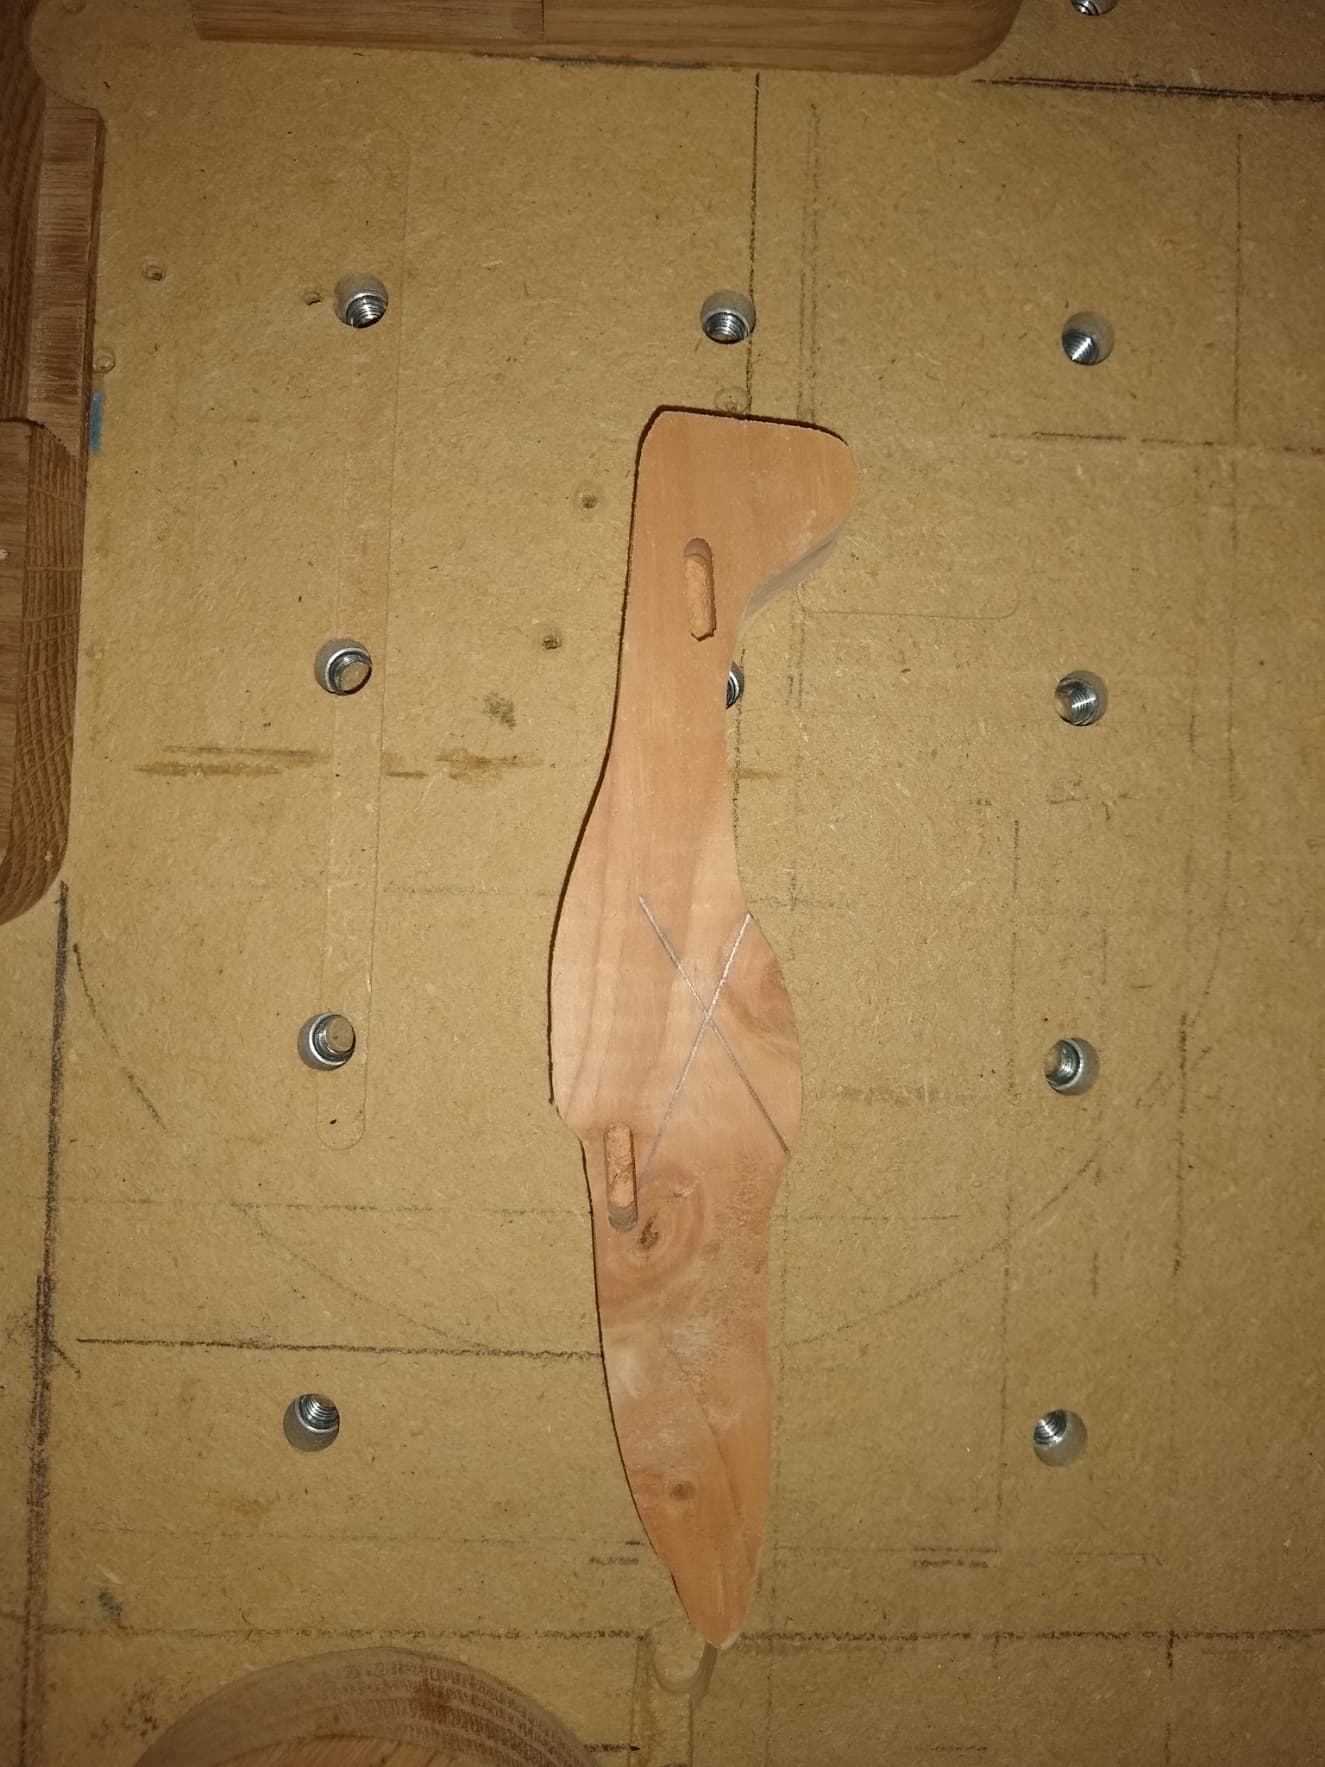
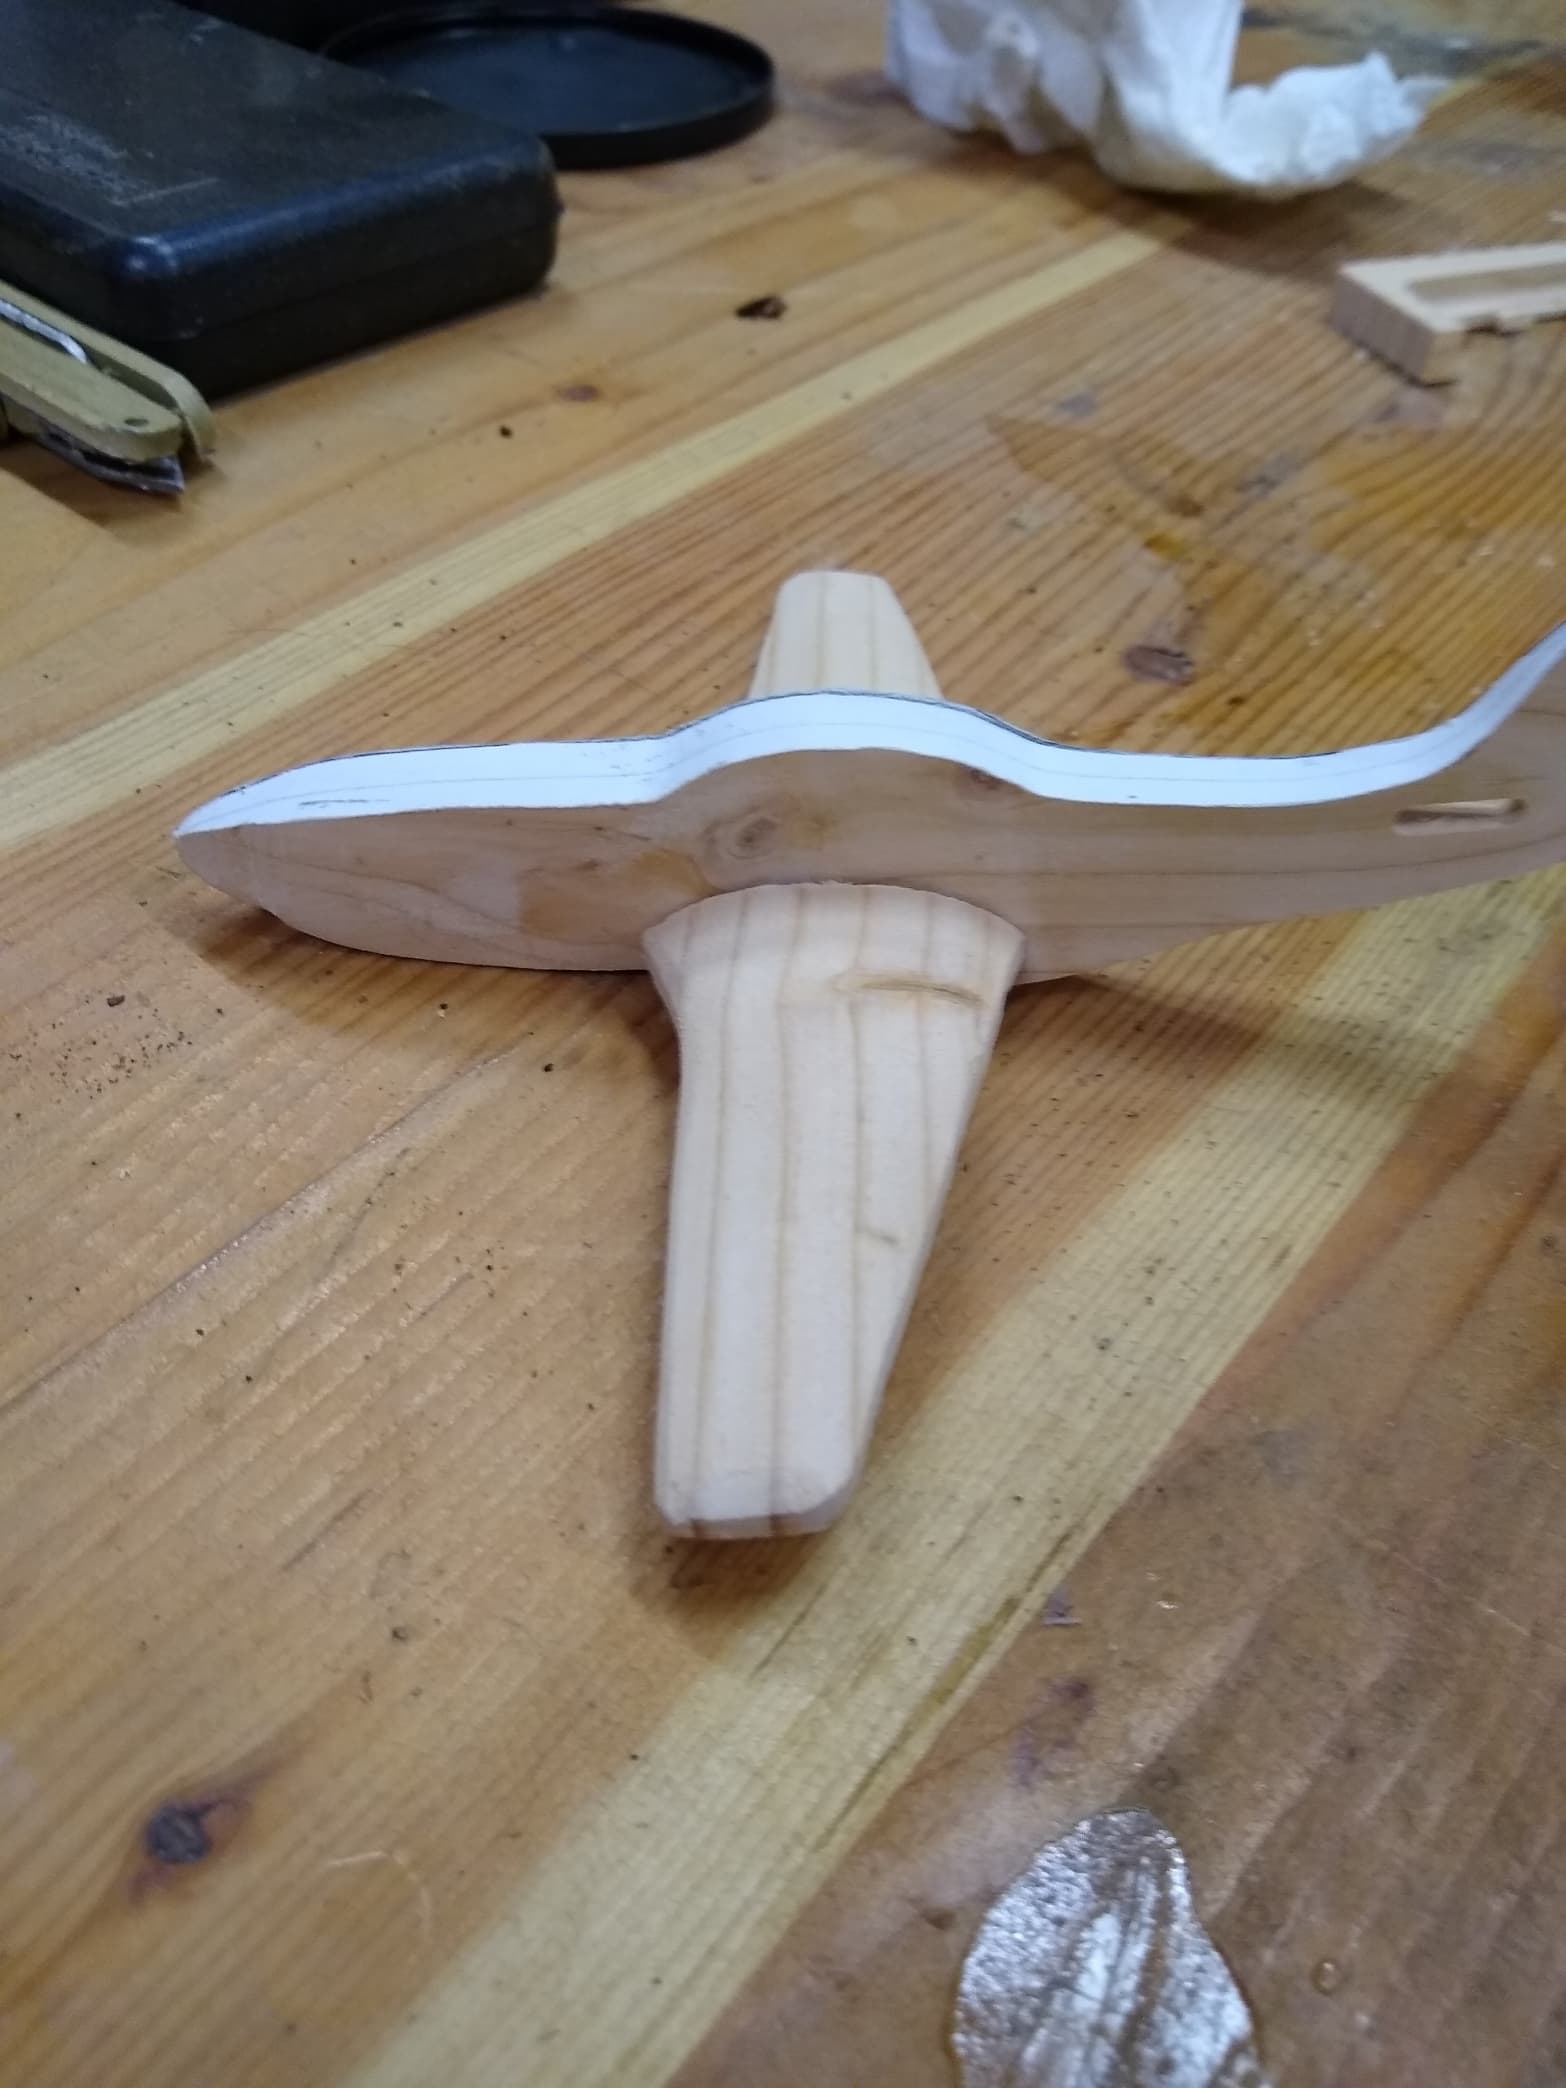
I defenitely need to do some sanding and I have to cut the wings in half and make some tenons to apply to the plane. Here is the P-51 body that is just cut from 3/4" stock. I need to use the scroll saw to thin the tail and the front but that is minor.
If this works I will cut one out of hardwood for myself to display. I need to draw up some landing gear so the plane can sit on a table. There are a lot of images on the internet on the P-51 Mustang.
I have a top view and will print that and stick it on the model and then use a scroll saw to cut it down at the tail and the front. The fuselage is about the right width but I need to make the canopy a bubble. Then I will use my oscillating belt sander to smooth it up. When assembled I will paint it silver and maybe paint on some decals.
Have you thought of carving or engraving markings, which could make painting insignia etc. easier? Alternatively there are several good decal shops on eBay, if you want to go that route.
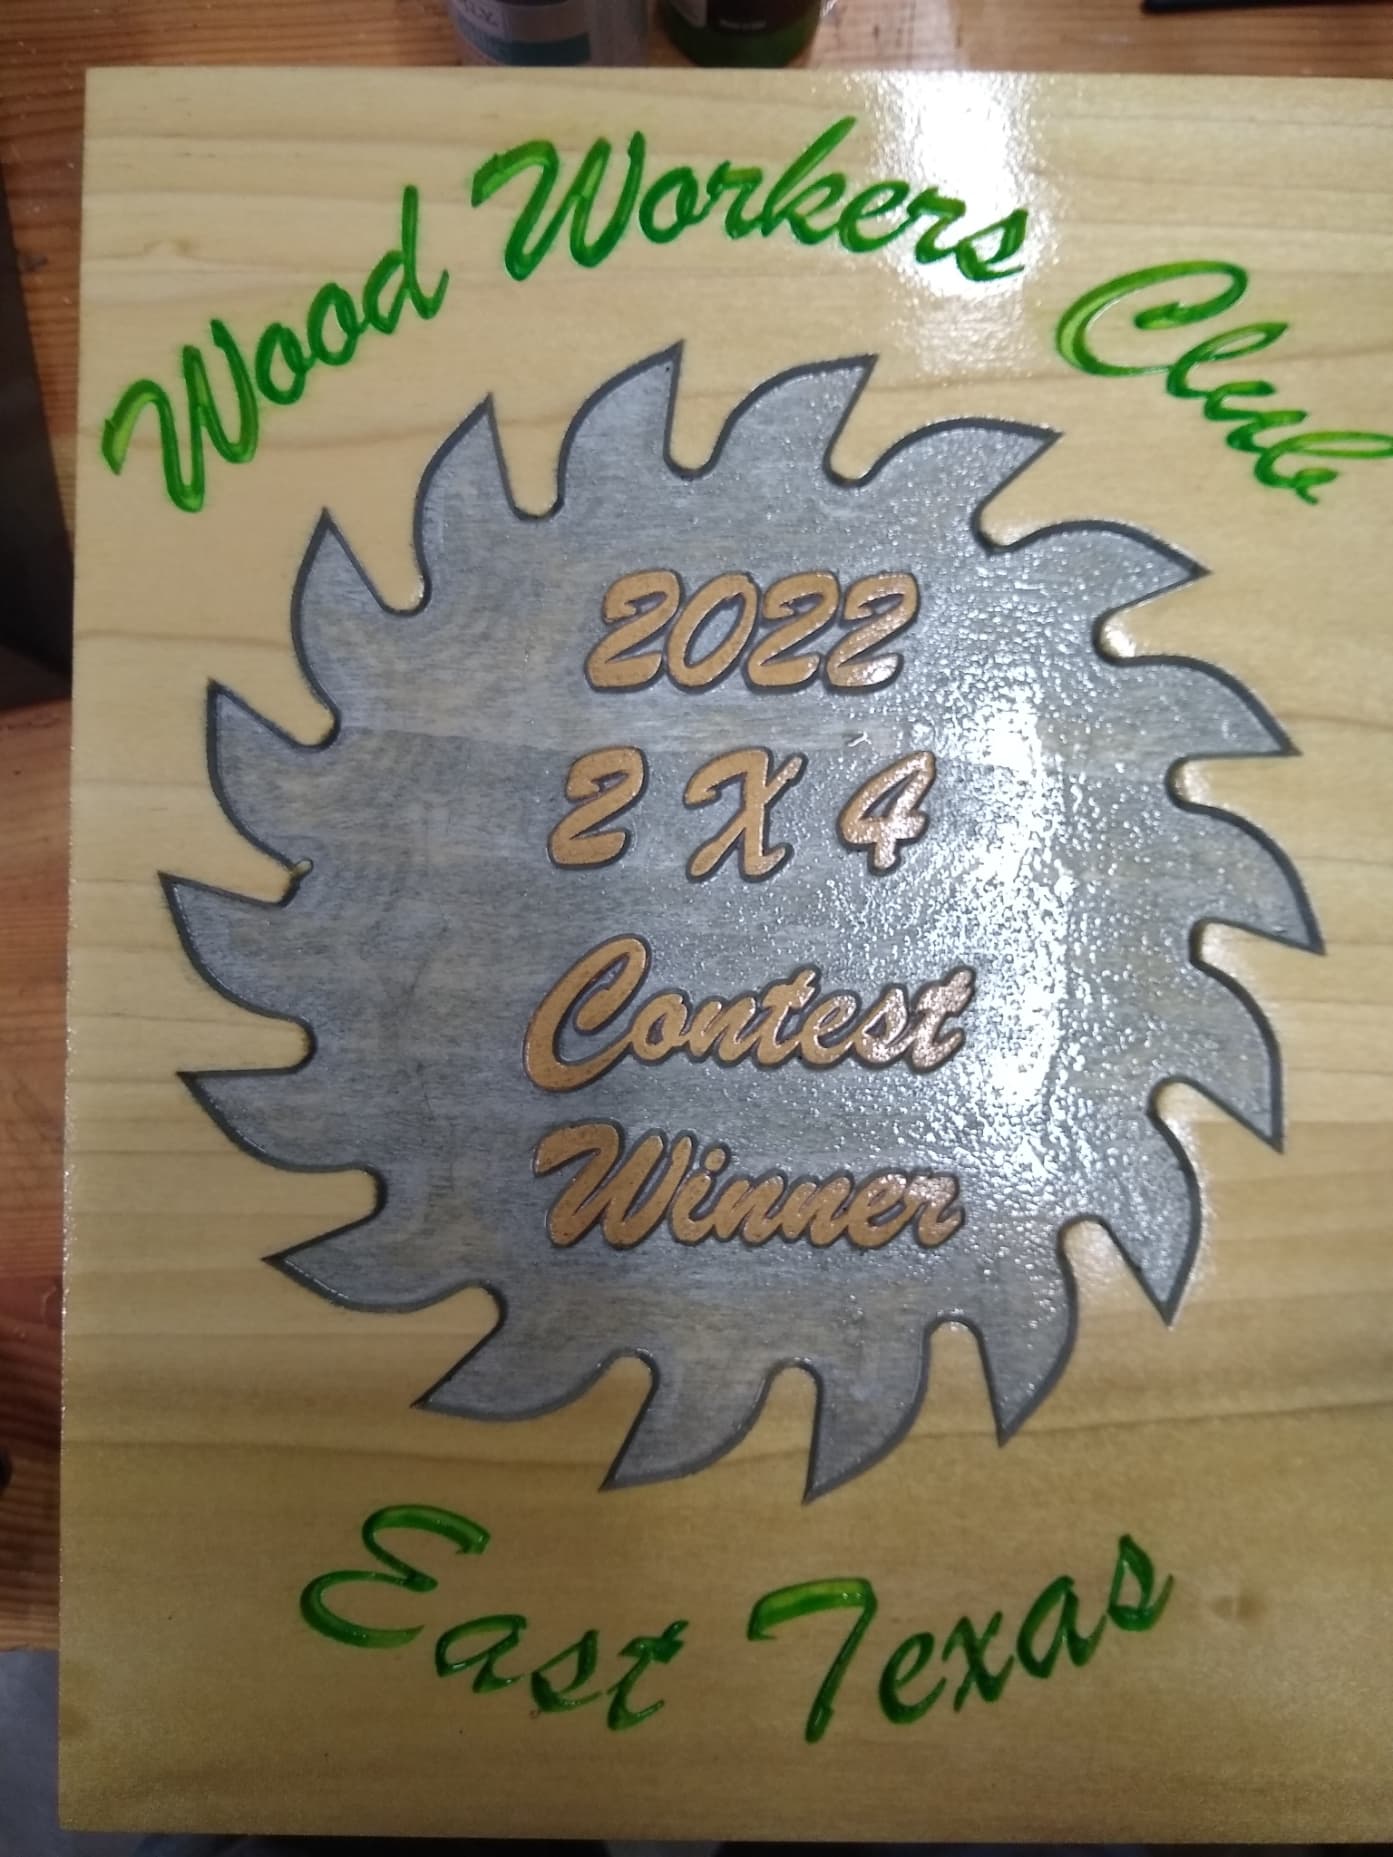
Our Wood Workers Club of East Texas has an annual 2x4 contest. Our contest is October 1, 2022. Previously I had posted pictures of a Letters to Santa mailbox. I was going to enter that but I found the plane and liked that better. You can only enter one item. The Letters to Santa wont go to waste because our club participates in a Christmas Craft Show and that mailbox will be there at the booth for kids to write their letters and give the parents a flyer about the club. The stand is not part of the contest but is for the display of the mailbox.
There is a Rockler 2x4 challenge that you can find on youtube. There may be others but my local contest is for bragging rights for the local club. I created a plaque for the winner.
Made progress on the wings today. I had them modeled with help from @Tod1d and I needed to make some tenons on the wings to glue into the mortise on the body. I created the tenon by creating 3 rectangles and cutting pockets on the two on the ends all the way through and the center one to leave 1/8" to fit into the body mortise. I need to do the same thing to the tail. I also got the body cut down on the scroll saw. I had images from the internet and I sized them in CC to fit my project. I exported the fuselage and opened it in Affinity Designer. The image was too big and then I remembered that CC exports at 96 DPI and Affinity opens at 72 DPI. So when I finally found the menu to change to 96 DPI the model was the correct length which is 6". I glued the printed paper onto the airplane body and used my Hegner Scroll Saw to cut it down.
So after I got the wings cut out and cleaned up I temporarily attached the wings and took the P-51 for a spin around the shop. I felt like a kid flying my airplane. Fun Fun Fun.
Dont know if I will win the 2x4 contest but it has been a bang creating this from scratch.
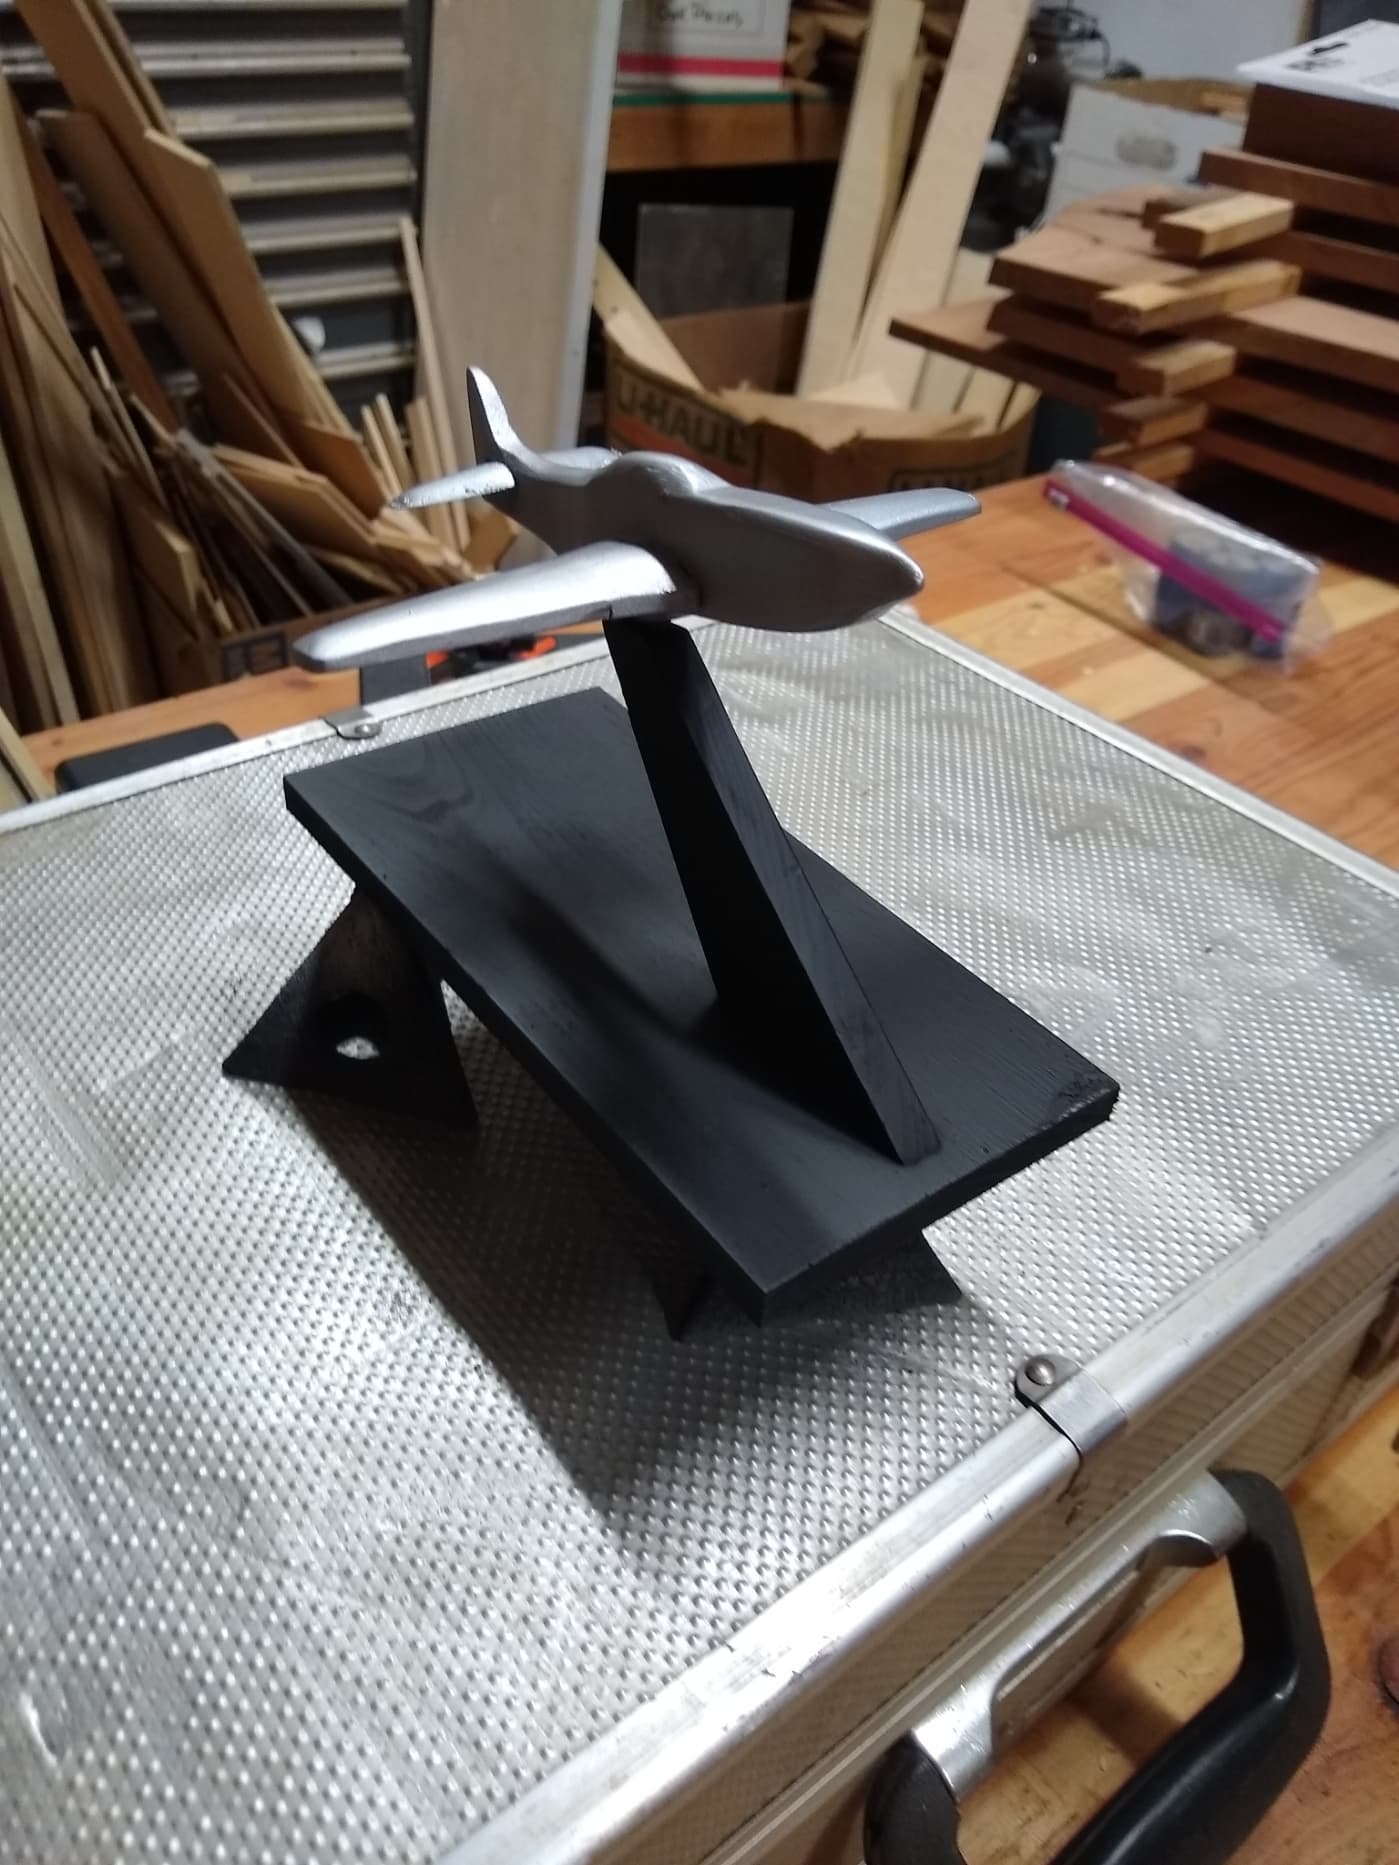
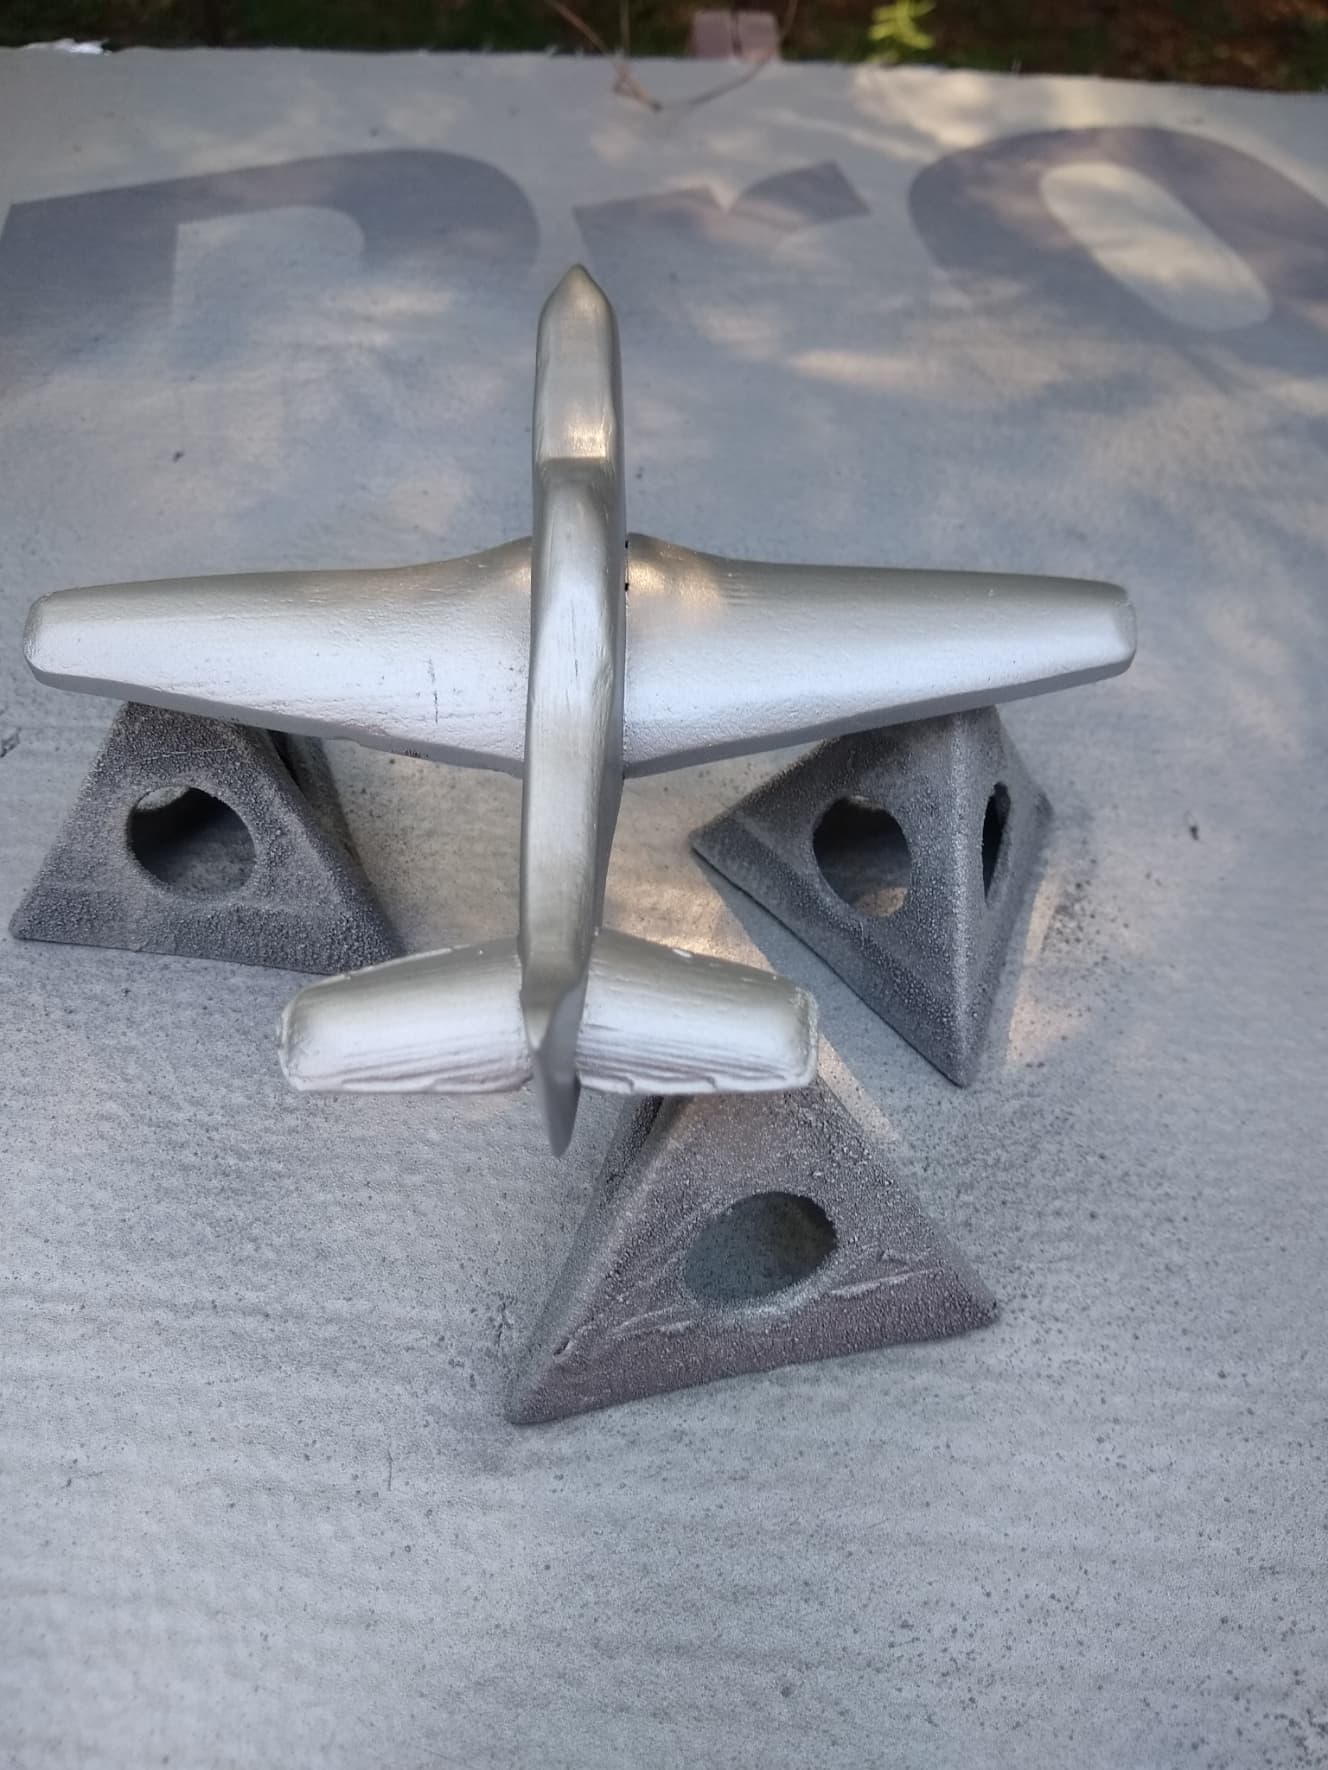
I finished my P-51 model for the 2x4 contest. I used very little of a 8 foot 2x4. I painted the plane silver metalic and the base flat black. It is drying. I used two 1/8" dowels in the base and one on the plane. This was a really fun project to make. I used CC Pro to model the wings and tail and my scroll saw to cut the fuselage down from 3/4". The wings and tail have a mortise and the wings and tail have a tenon. I used super glue to attach the wings and tail. Sanded and primed and painted the model. I was gonig to model some propellers but have decided against that. Next week when I get back home I might paint the USAF decals on but might just leave it alone. Tomorrow I am traveling to Houston and taking my family to see ZZ Top, Jeff Beck and Heart. Vroom Vroom Tat Tat Tat 50 caliber machine gun firing.