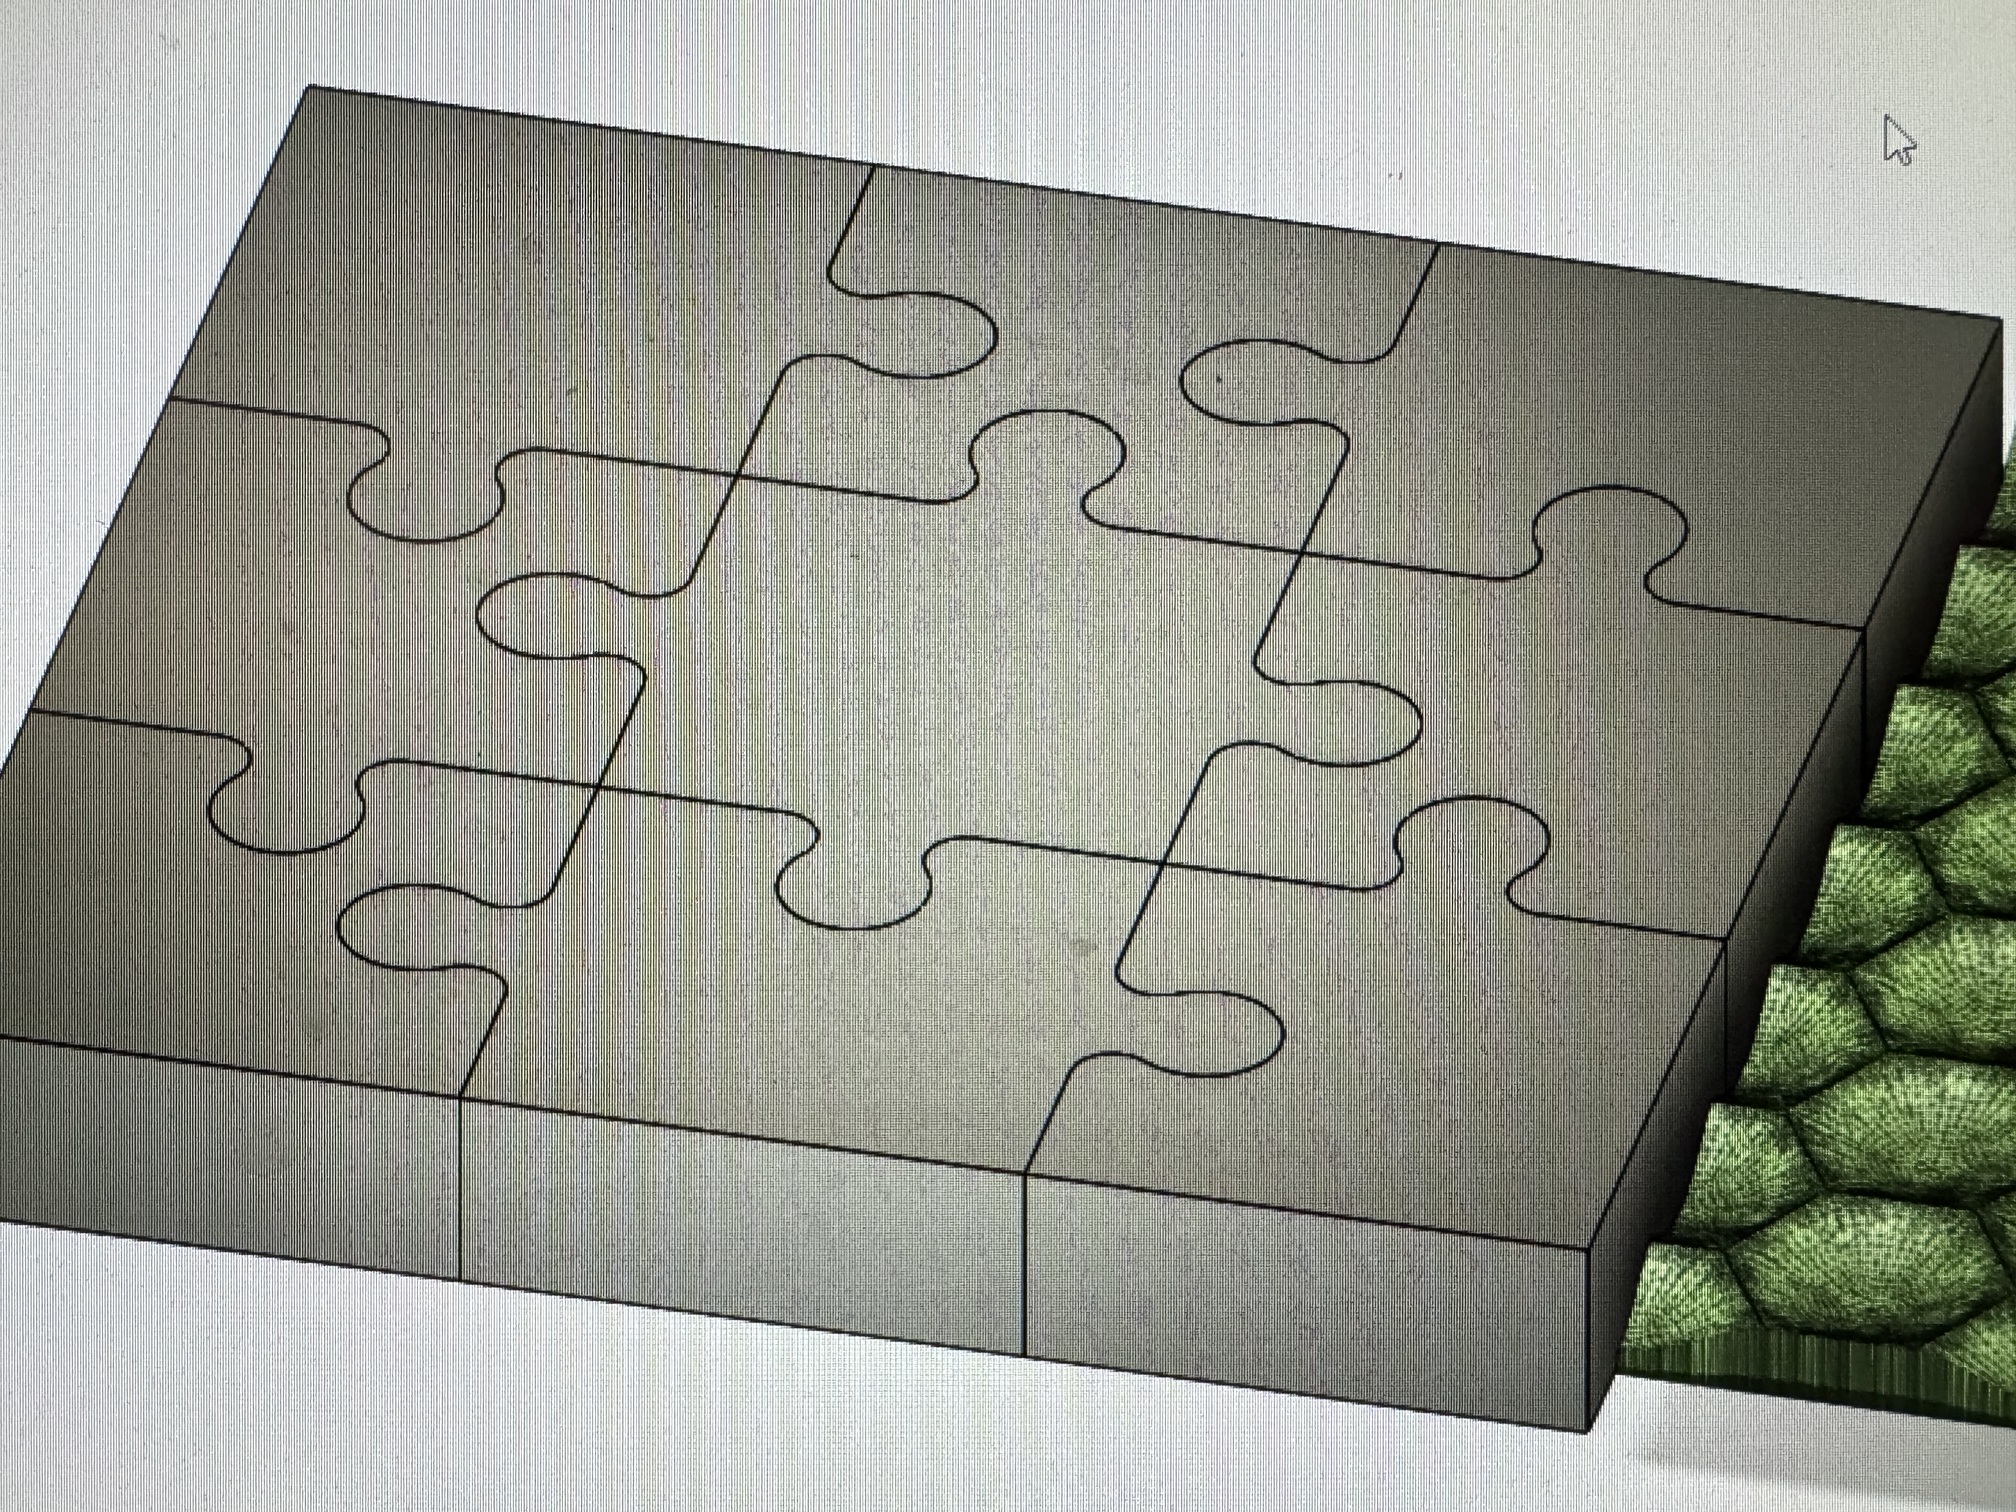
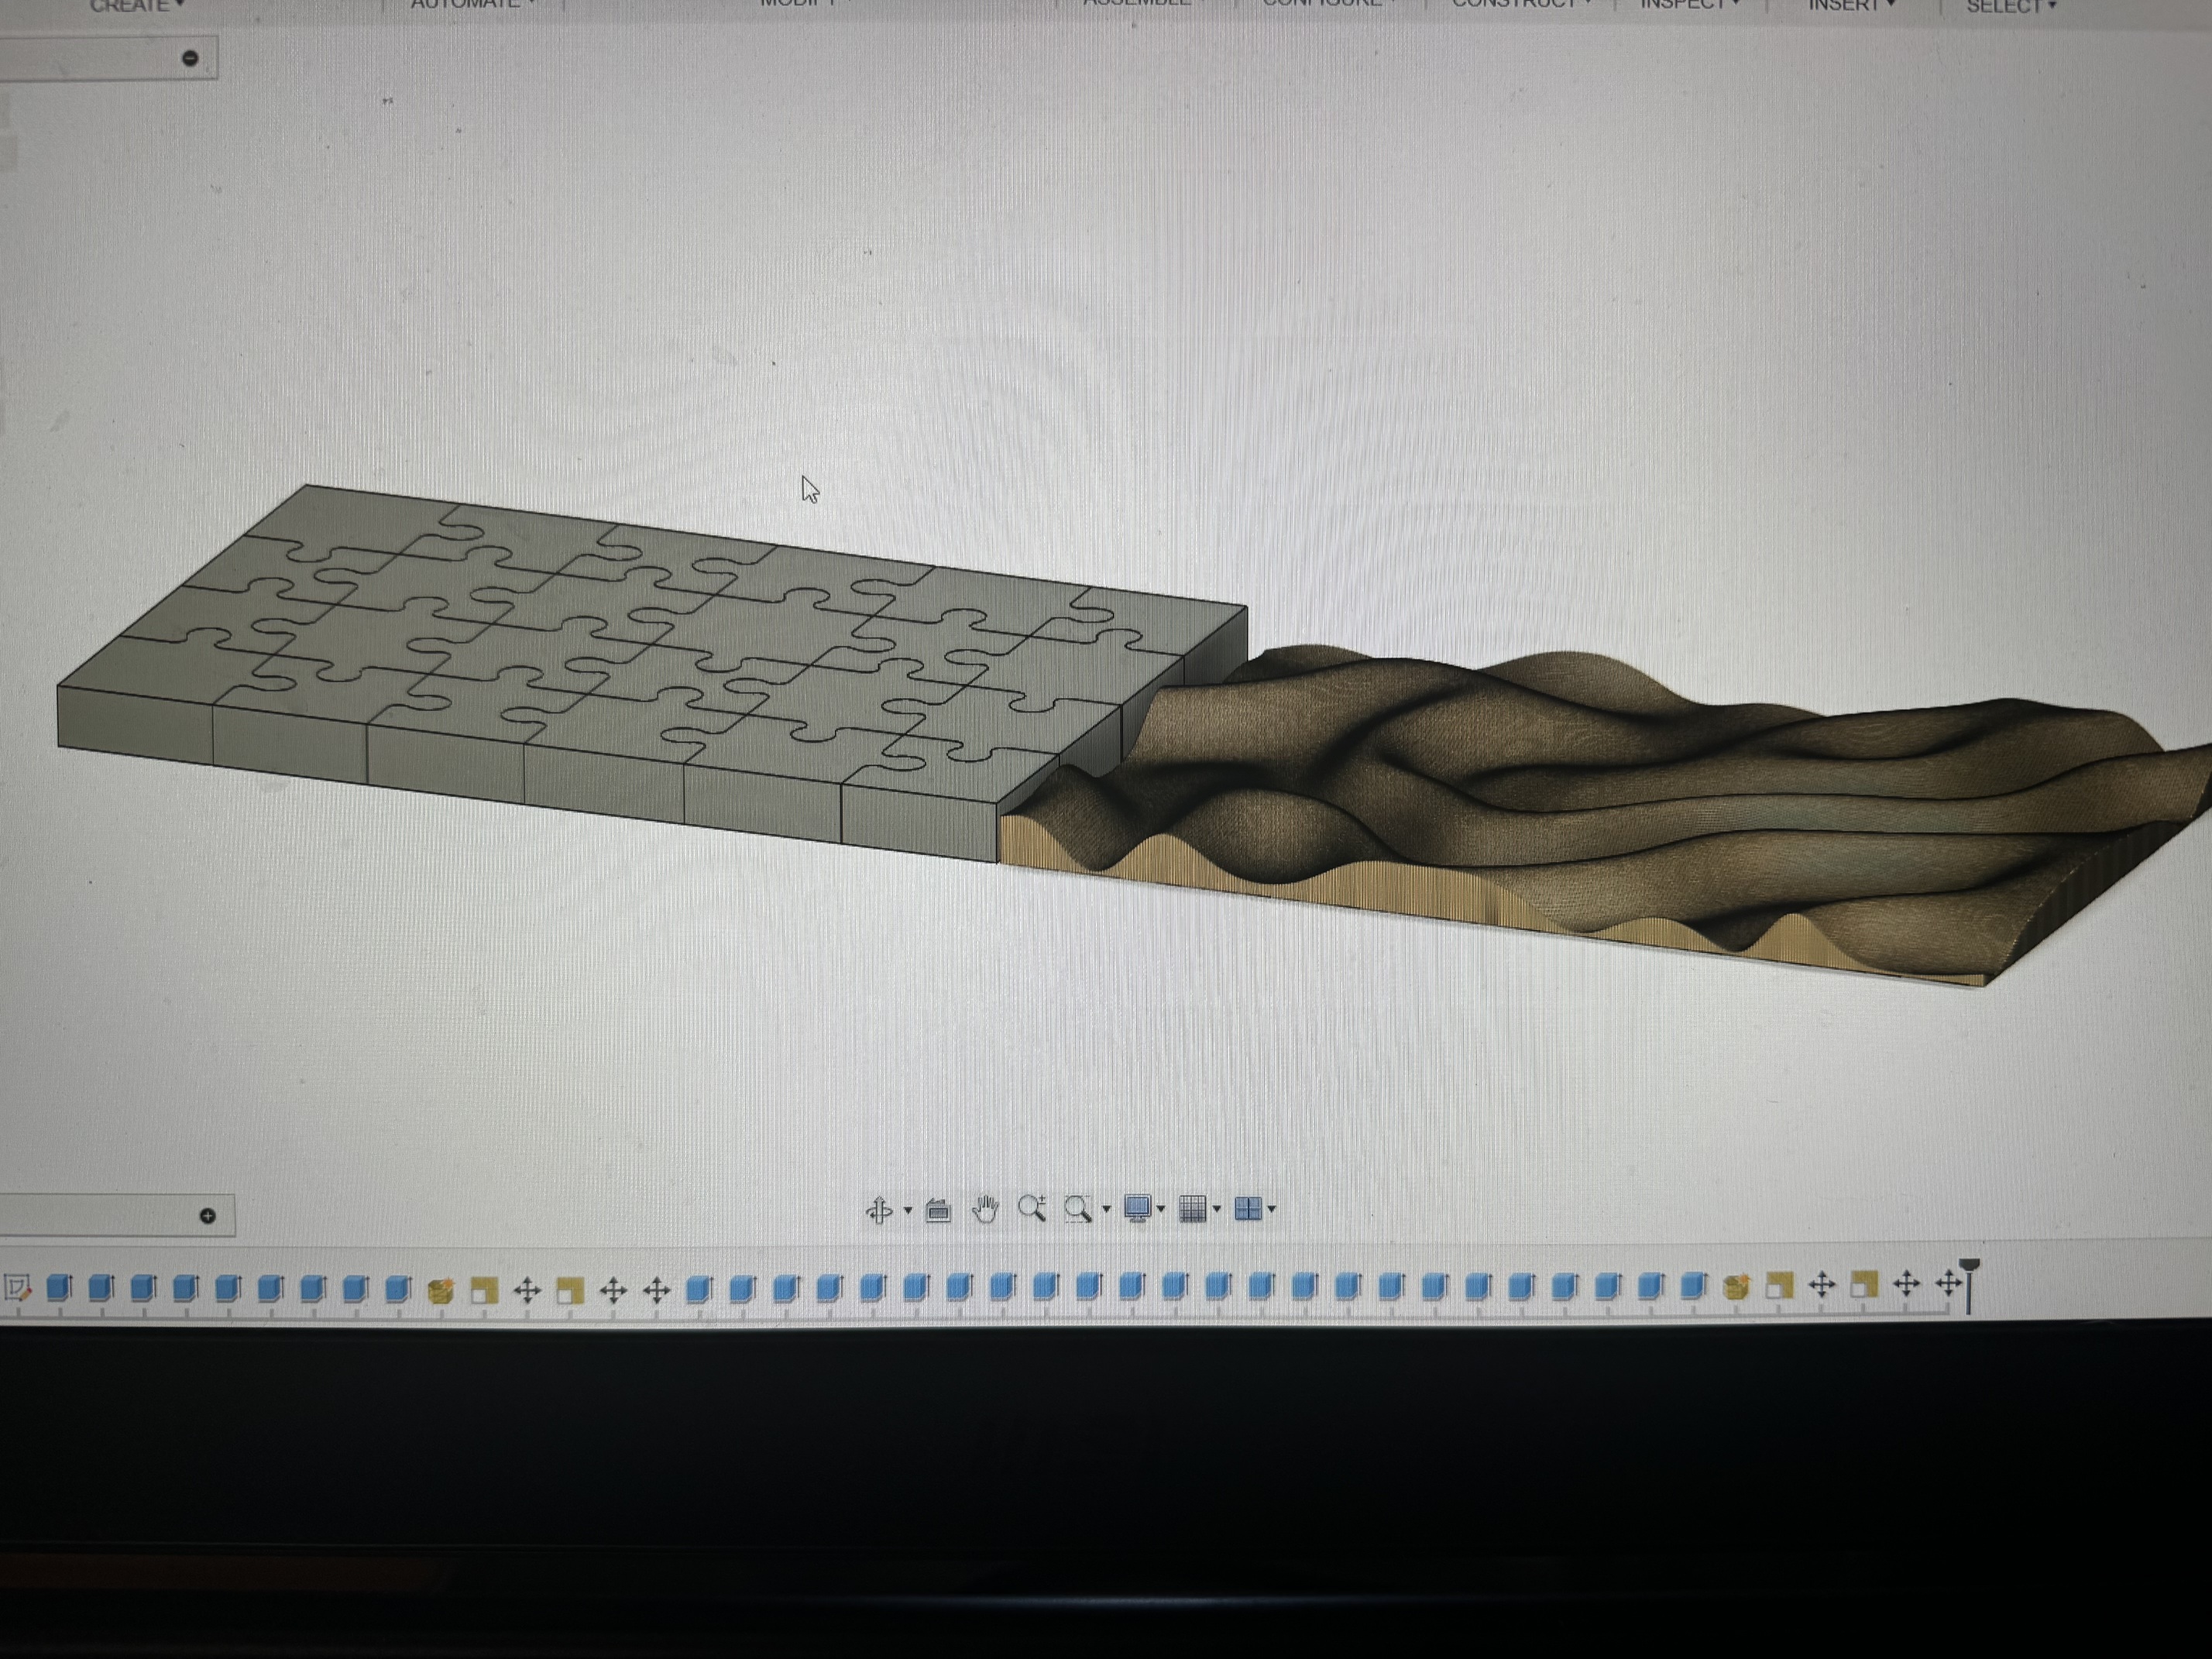
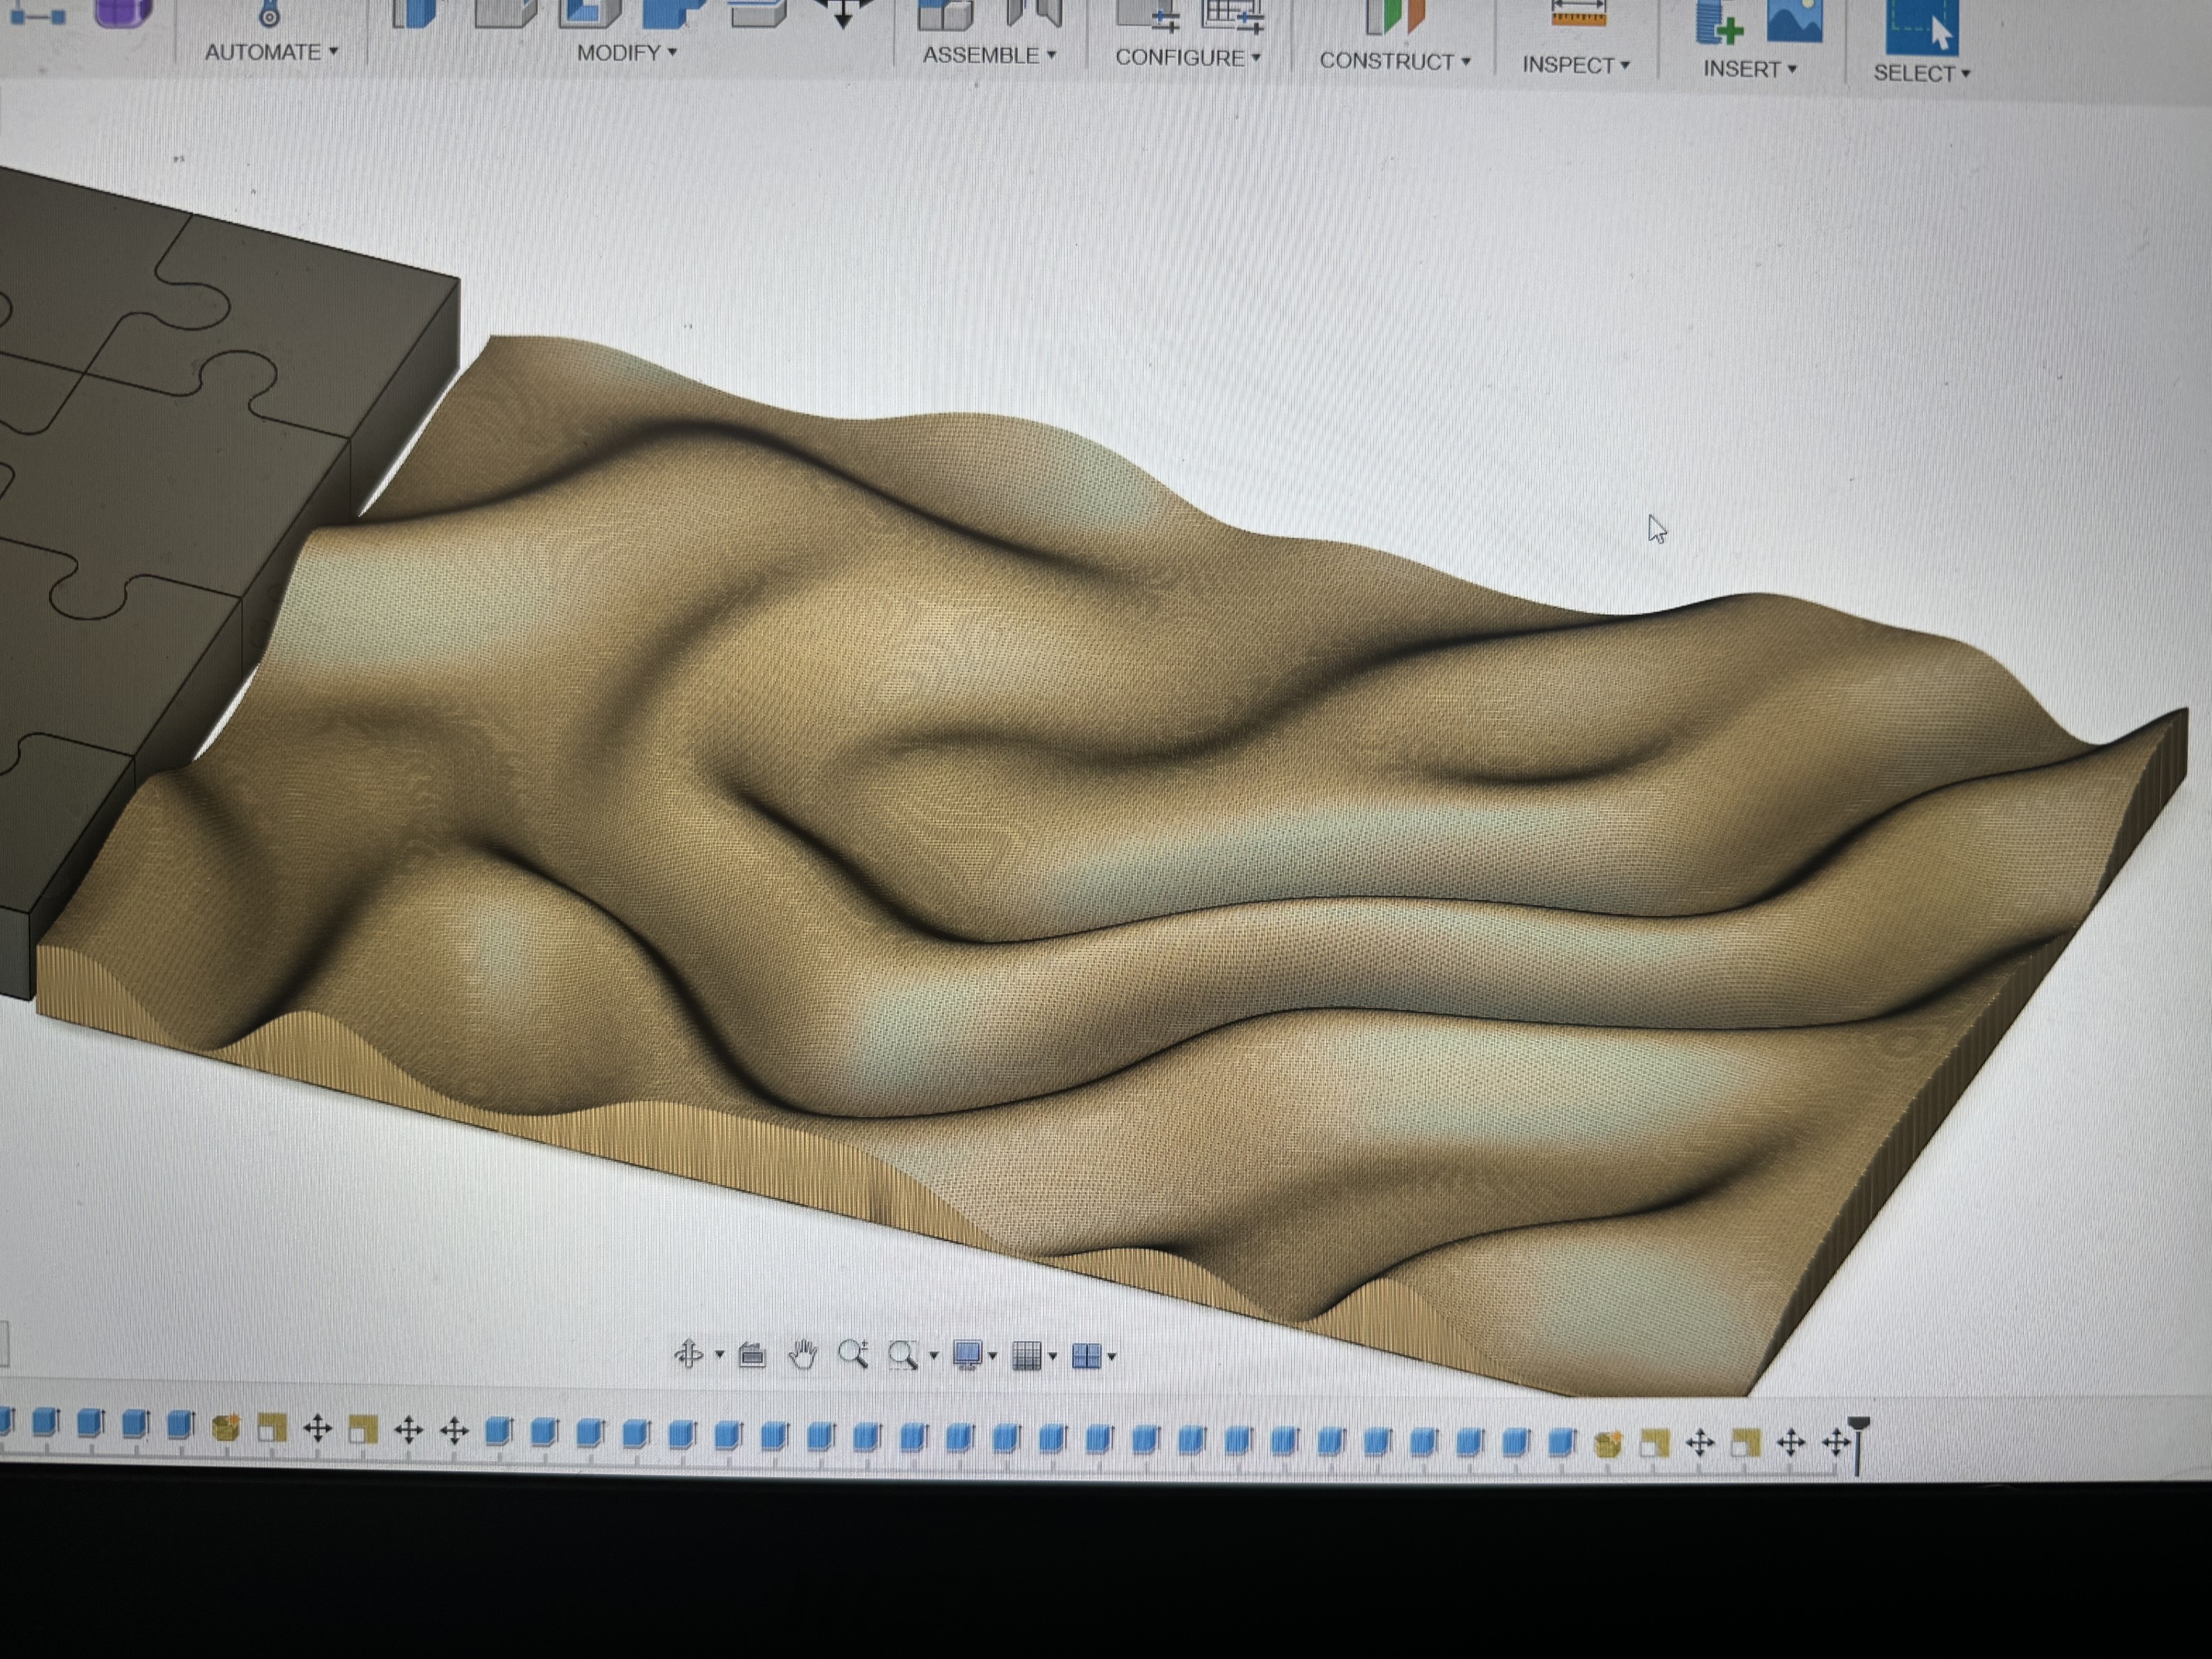
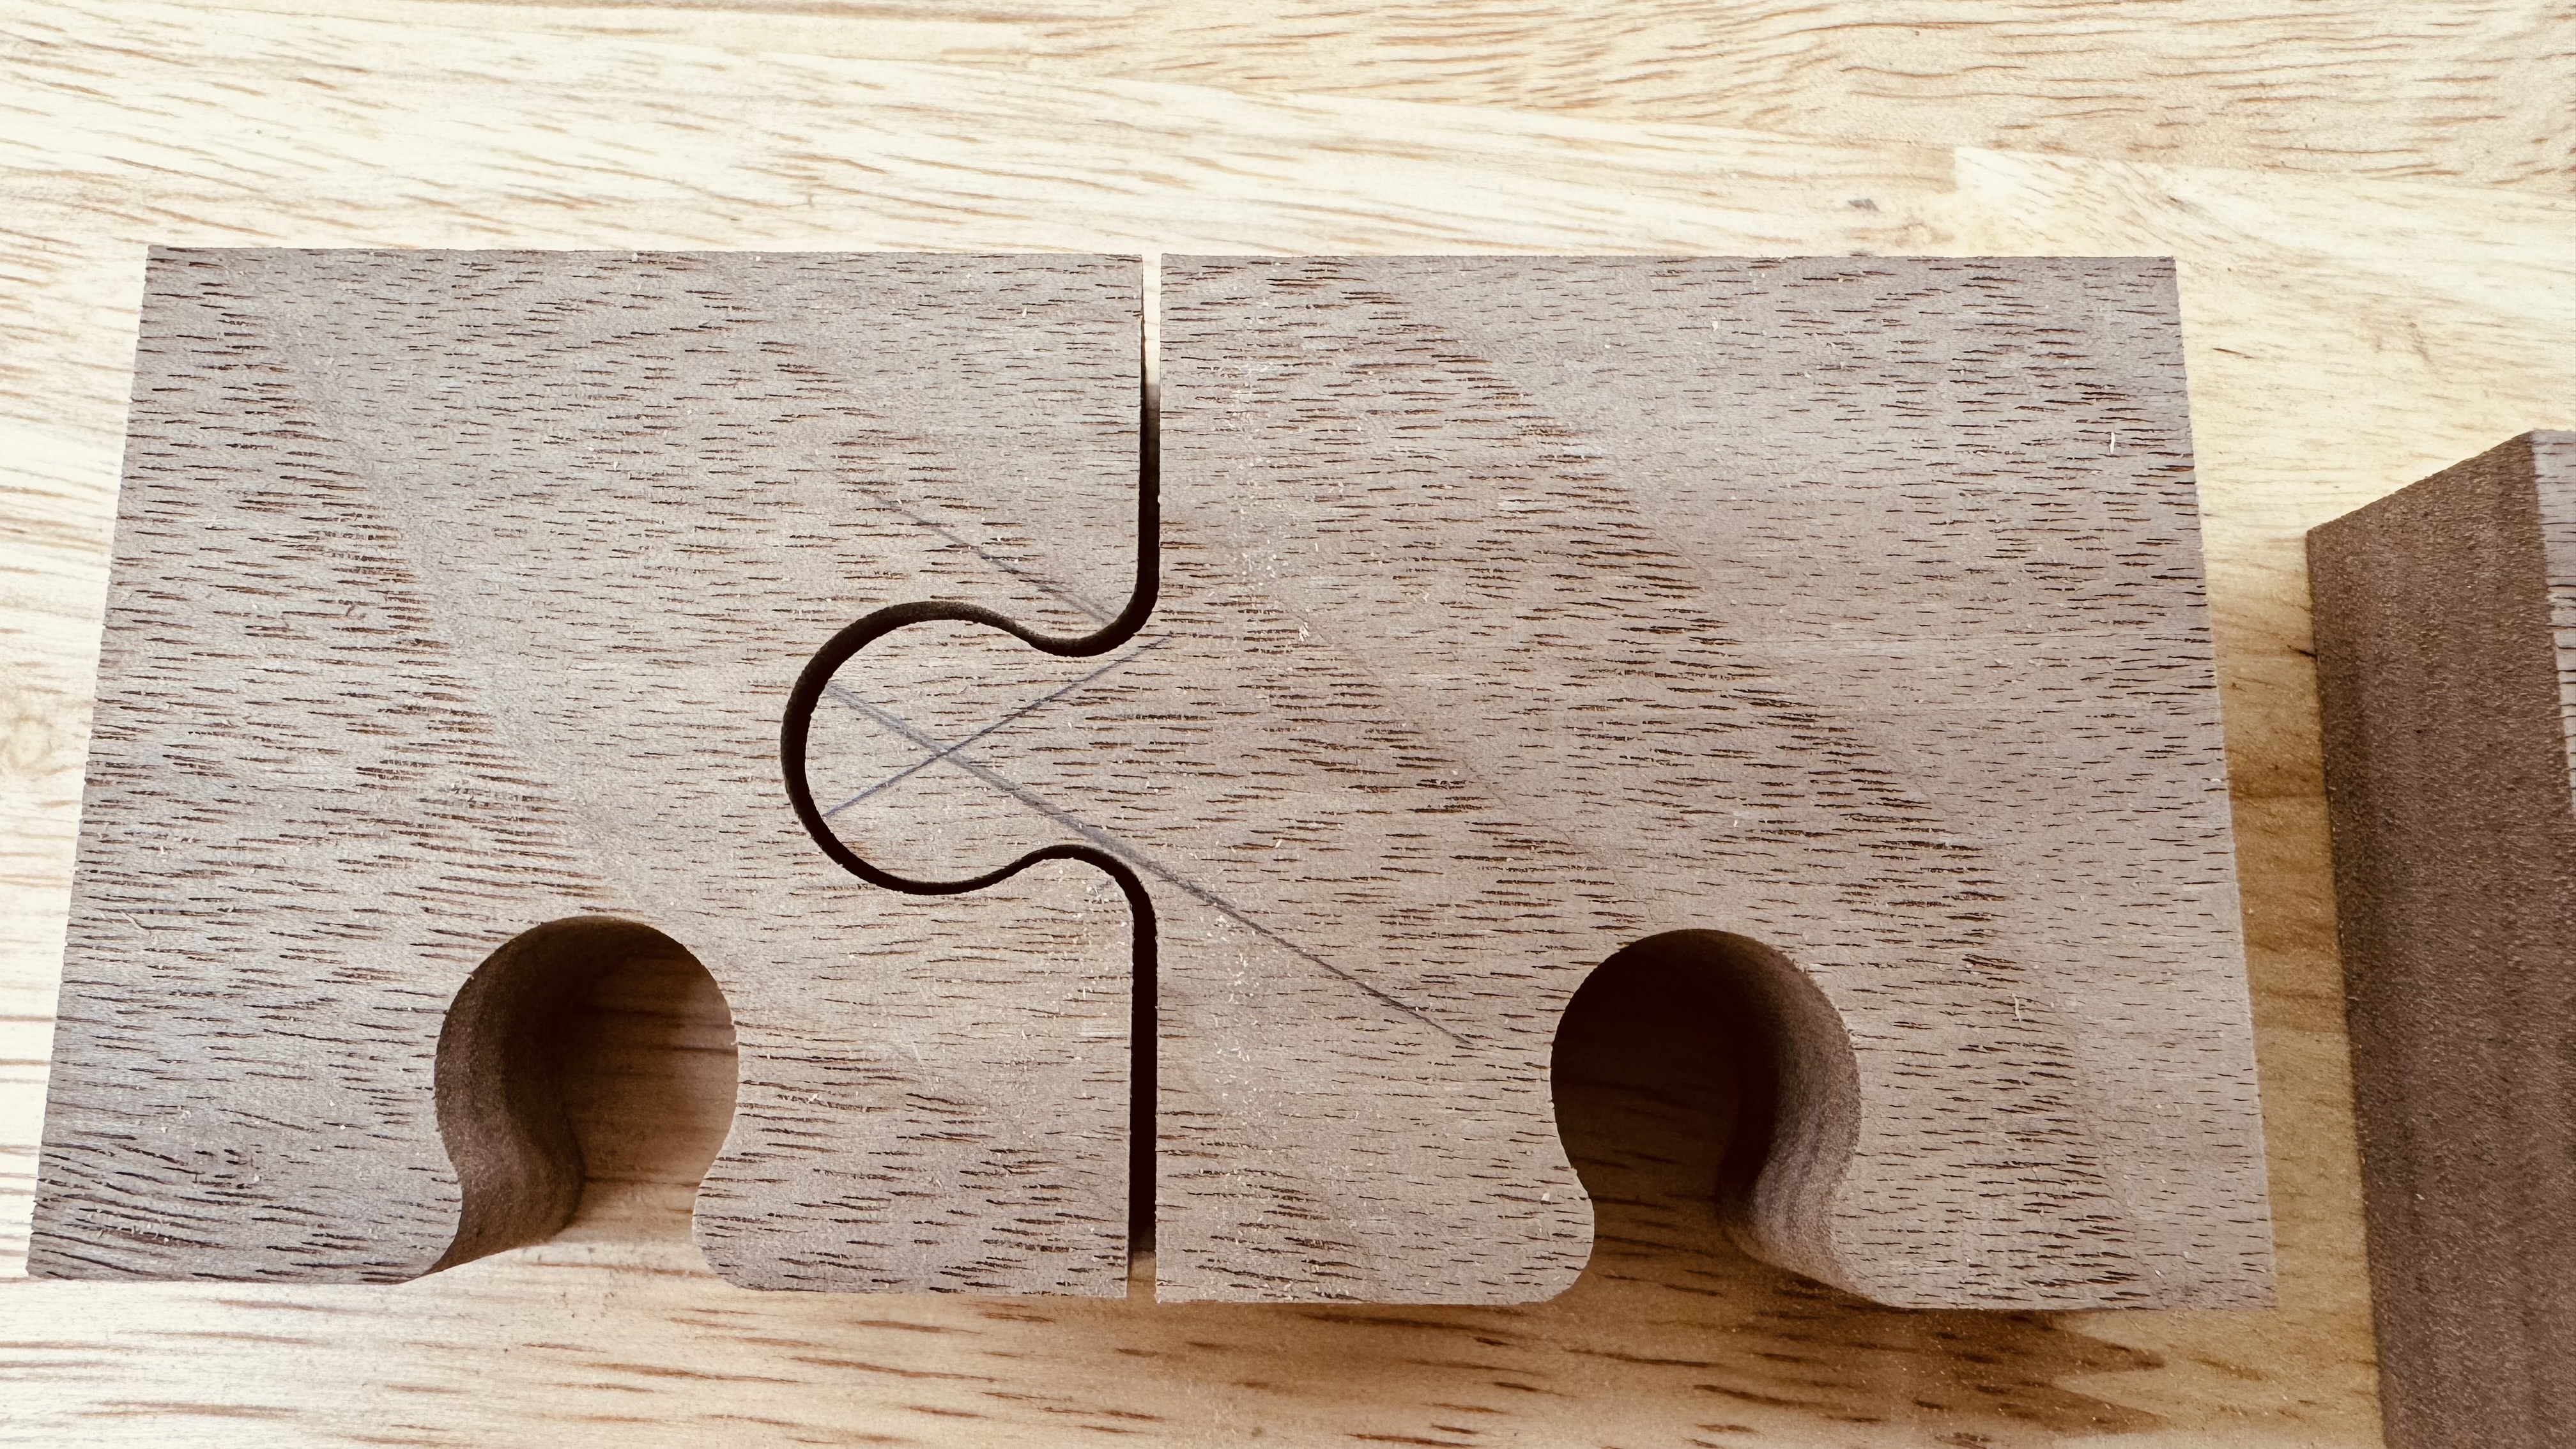
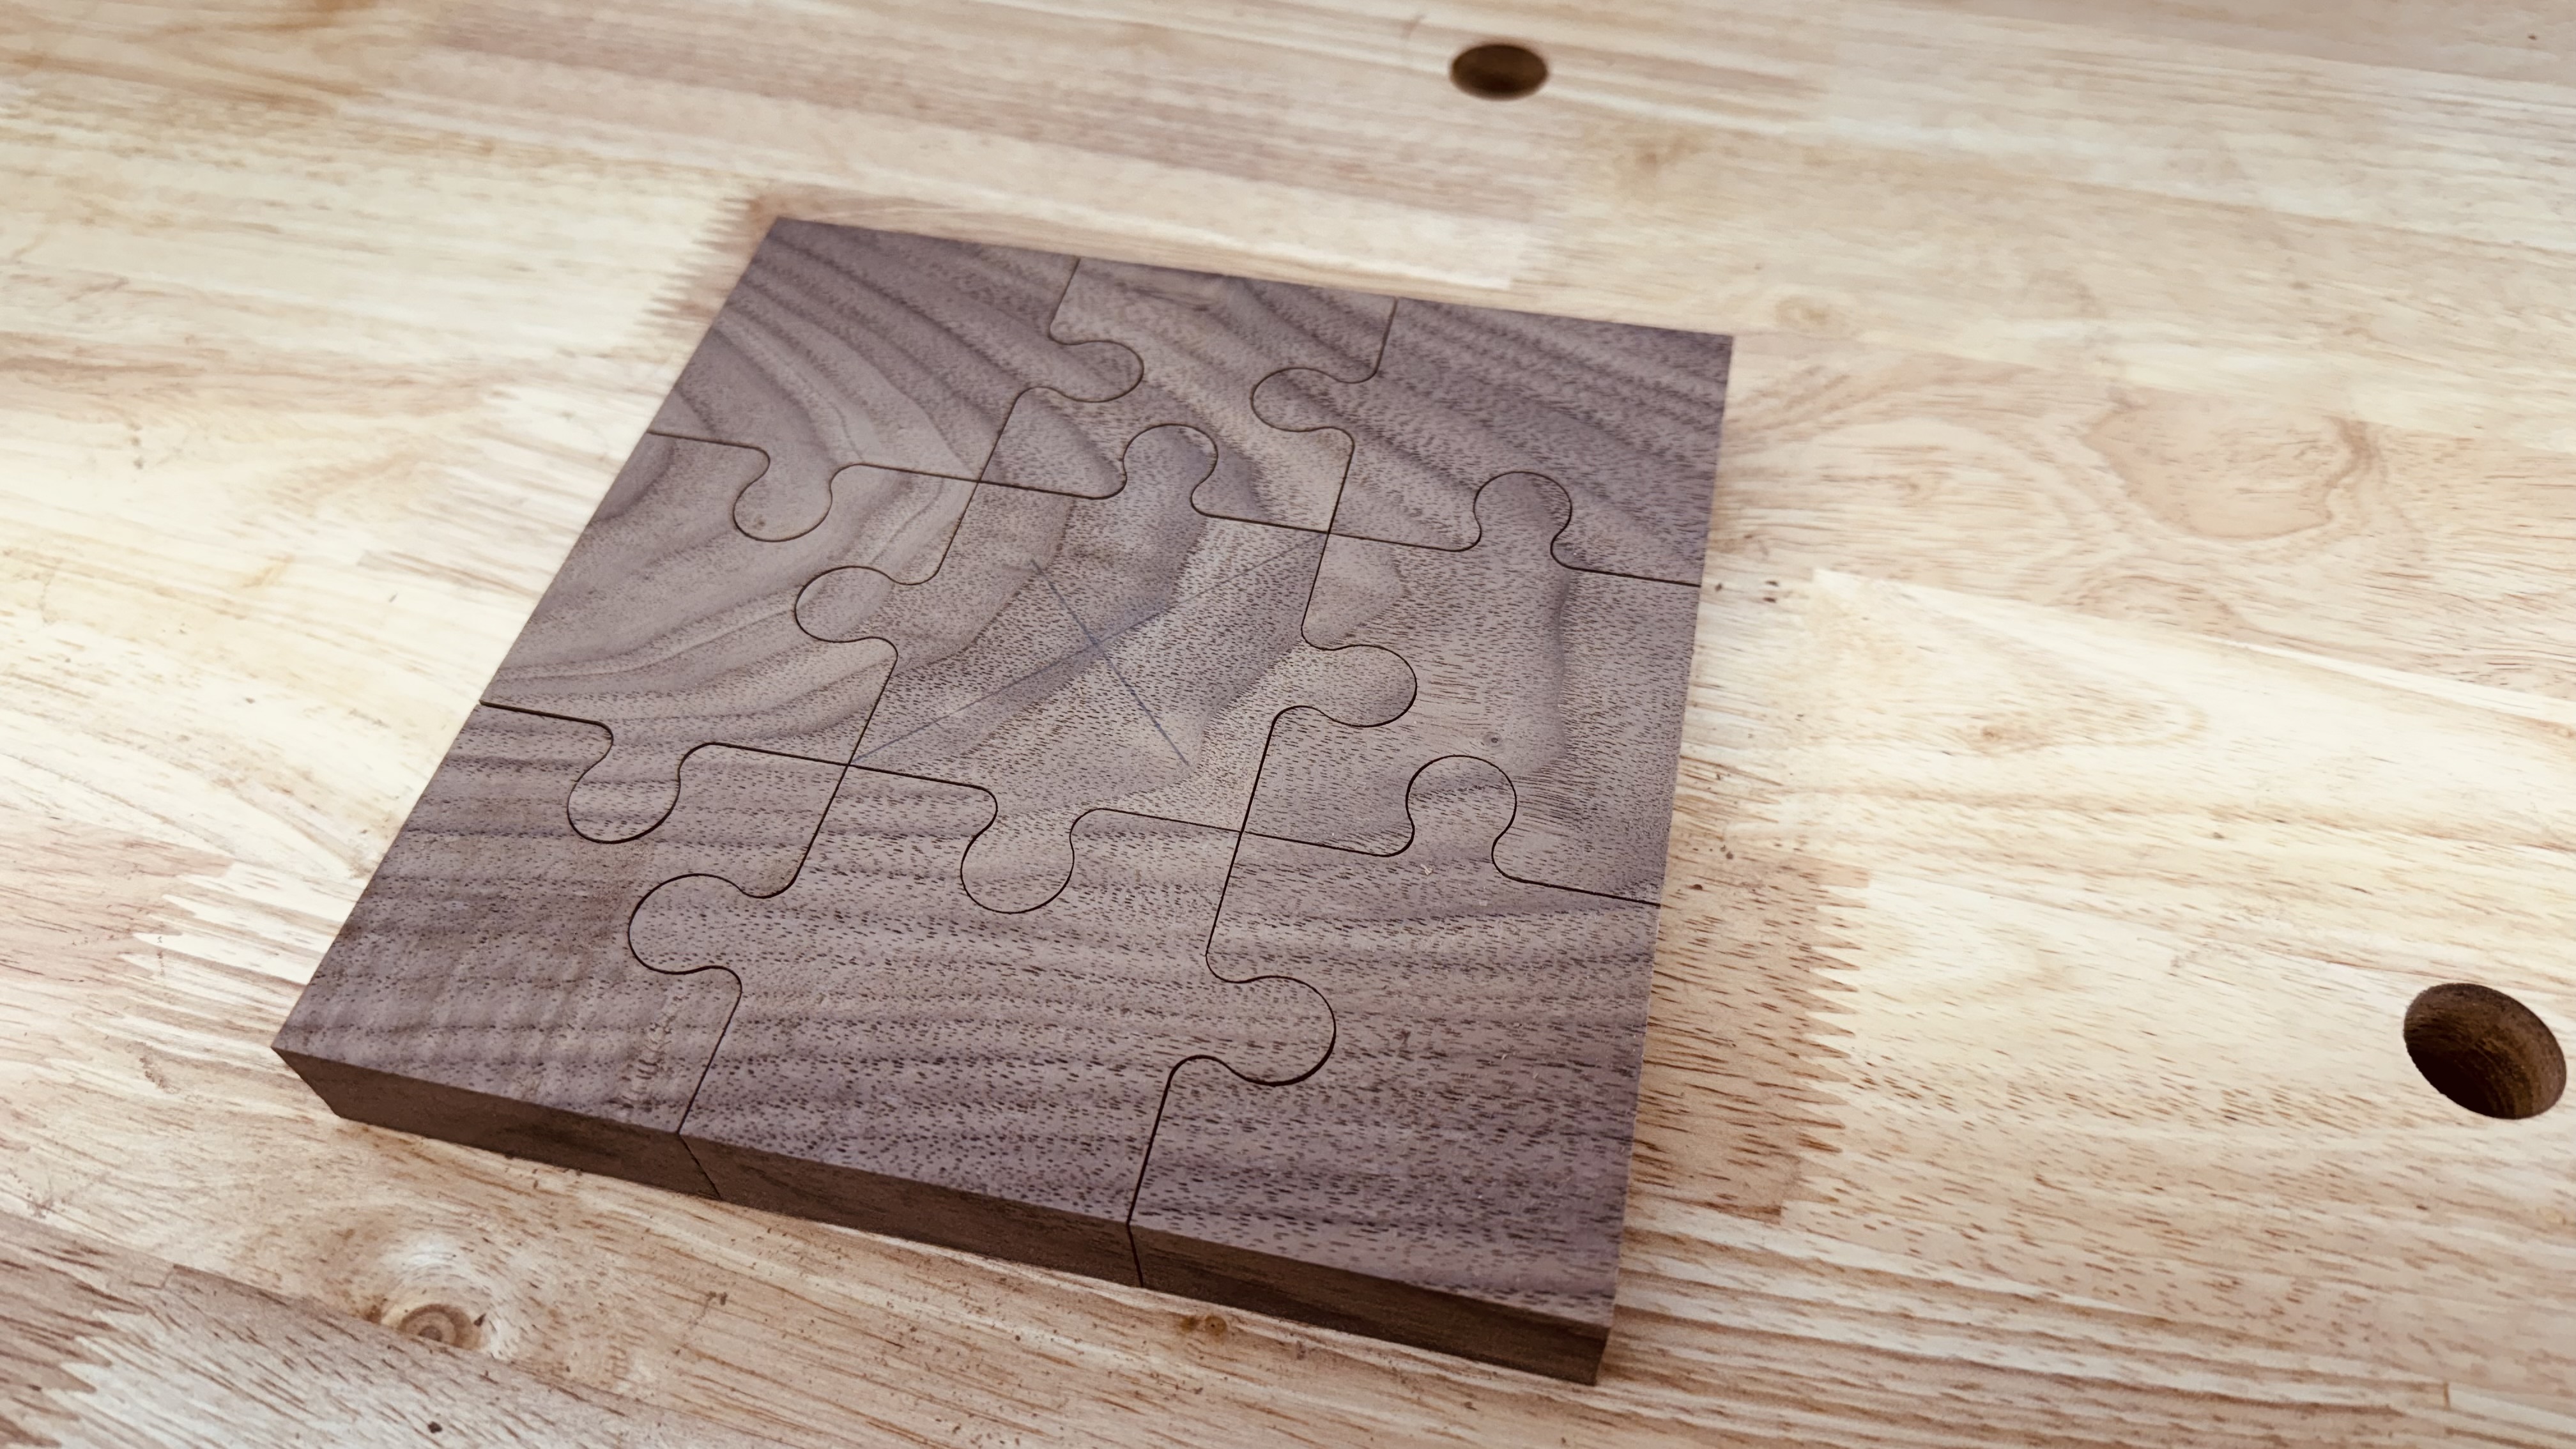
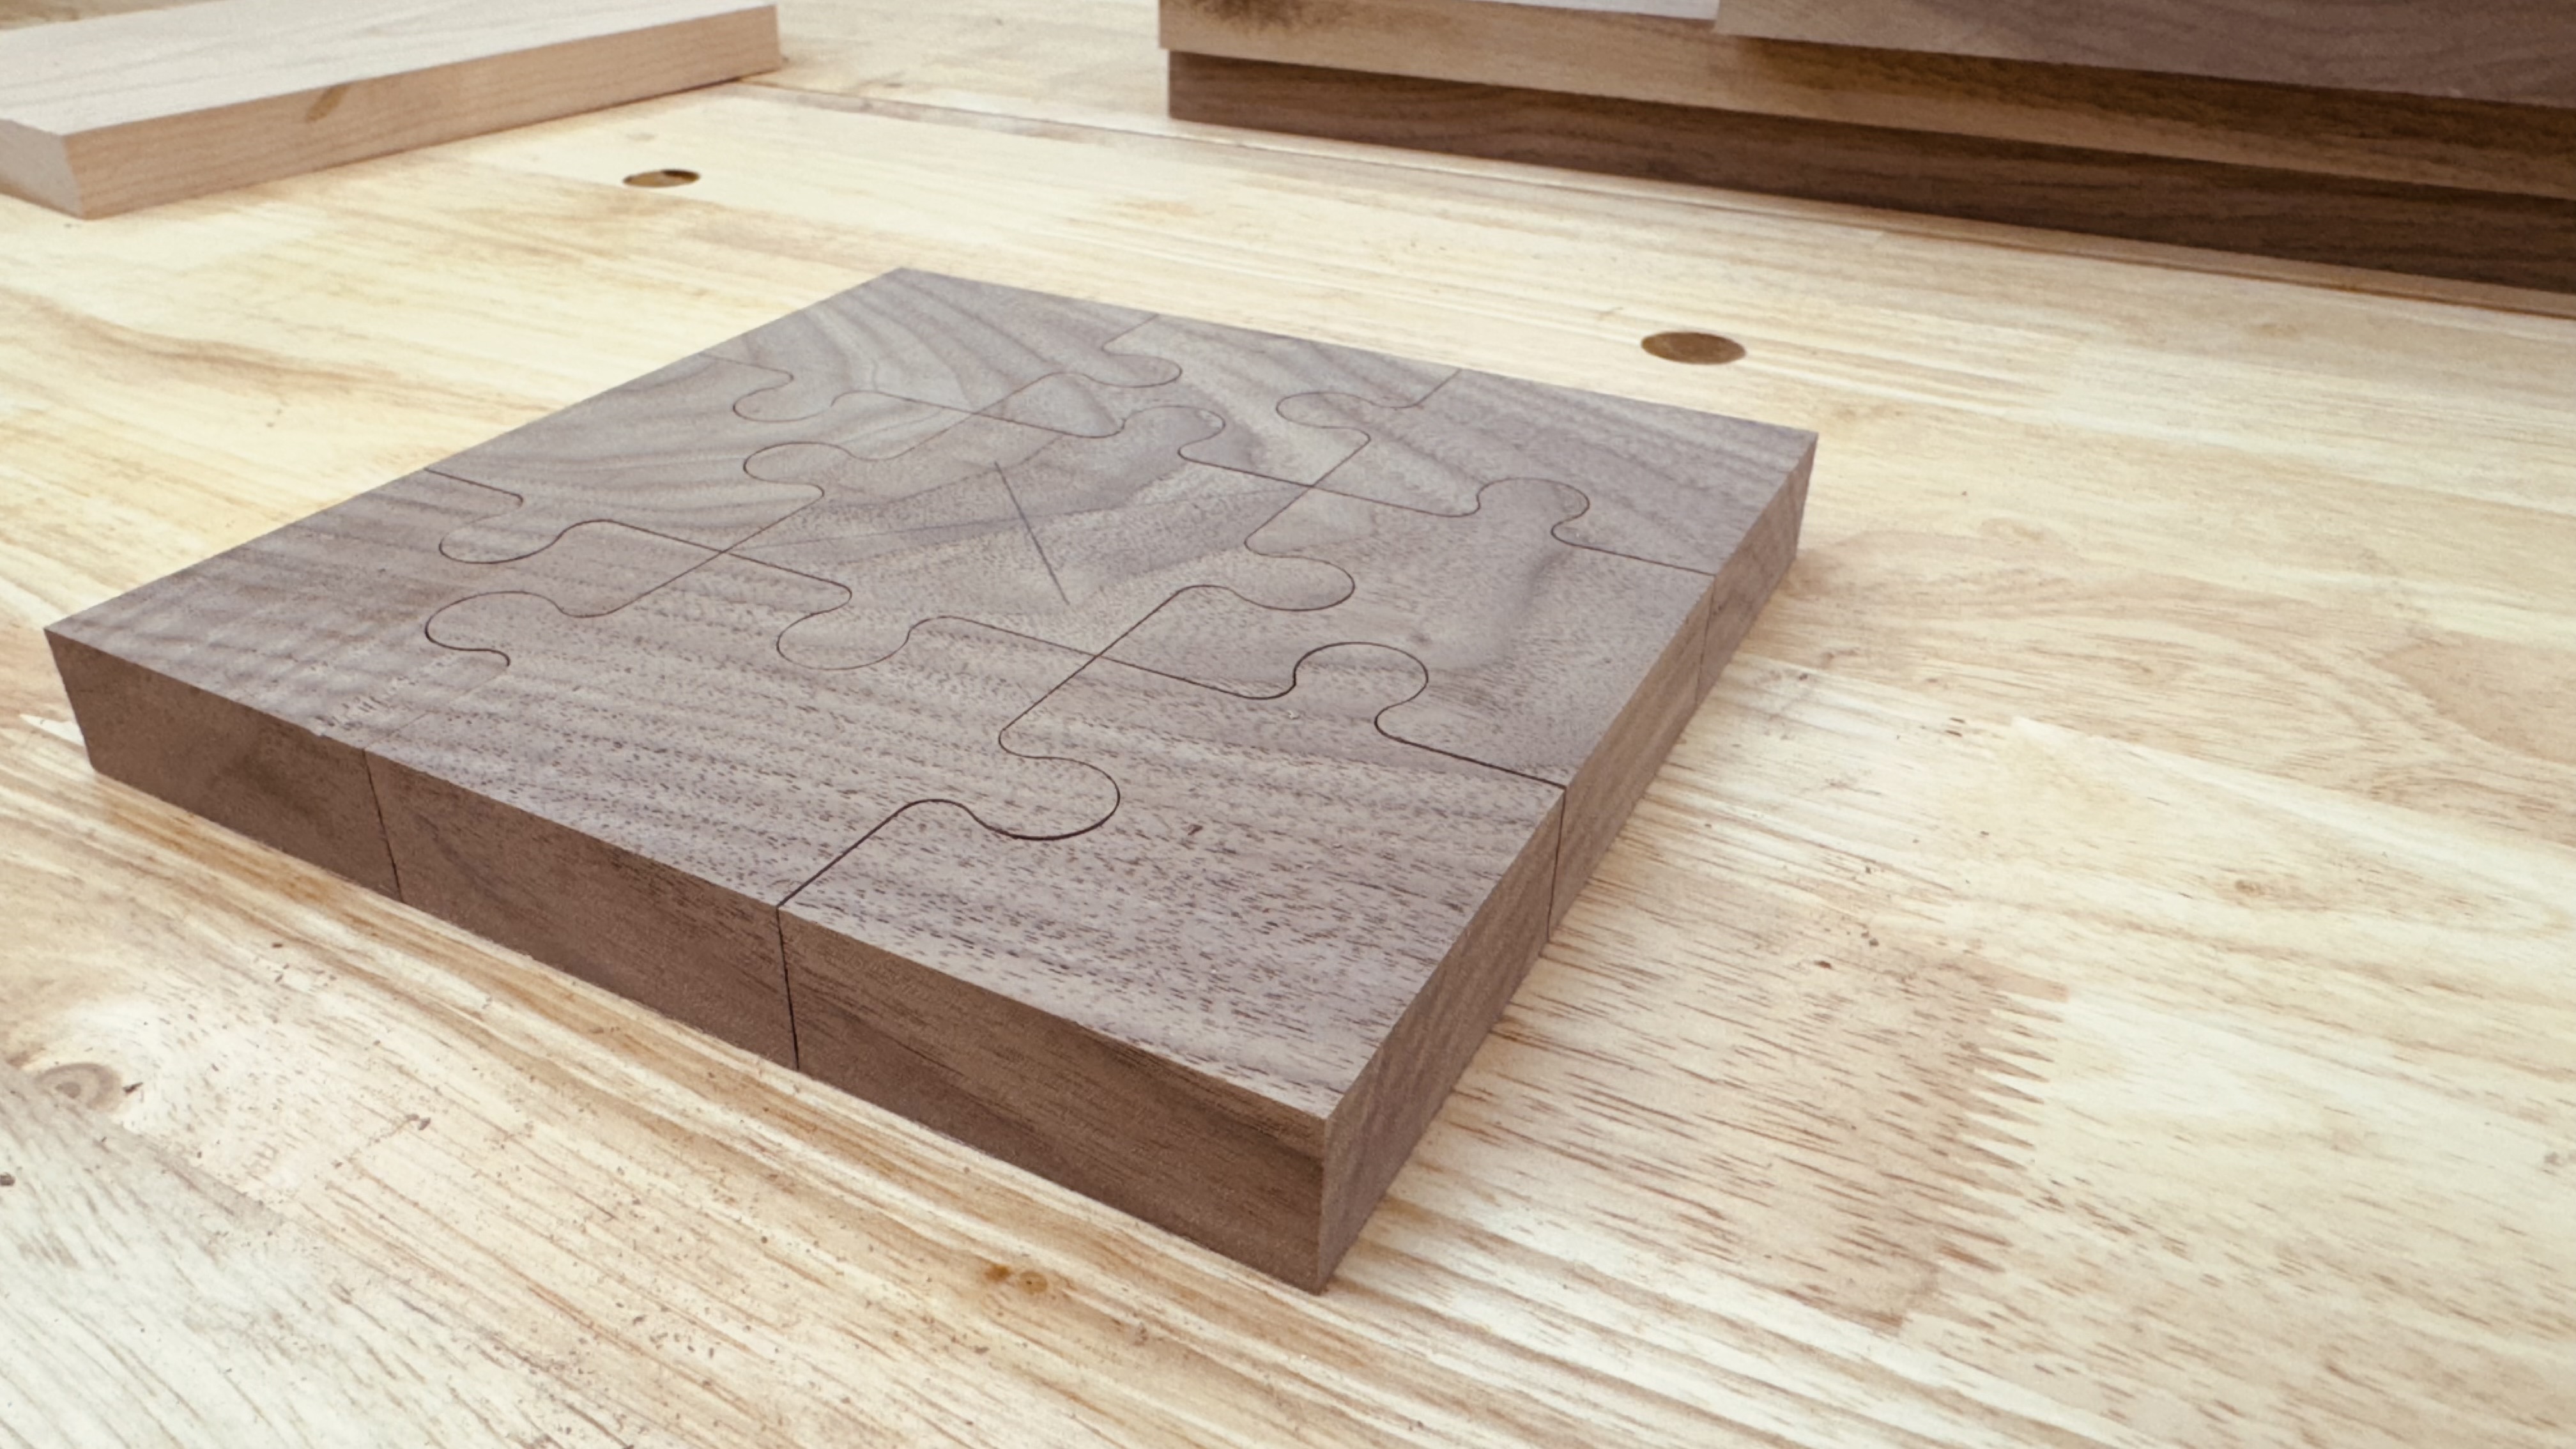
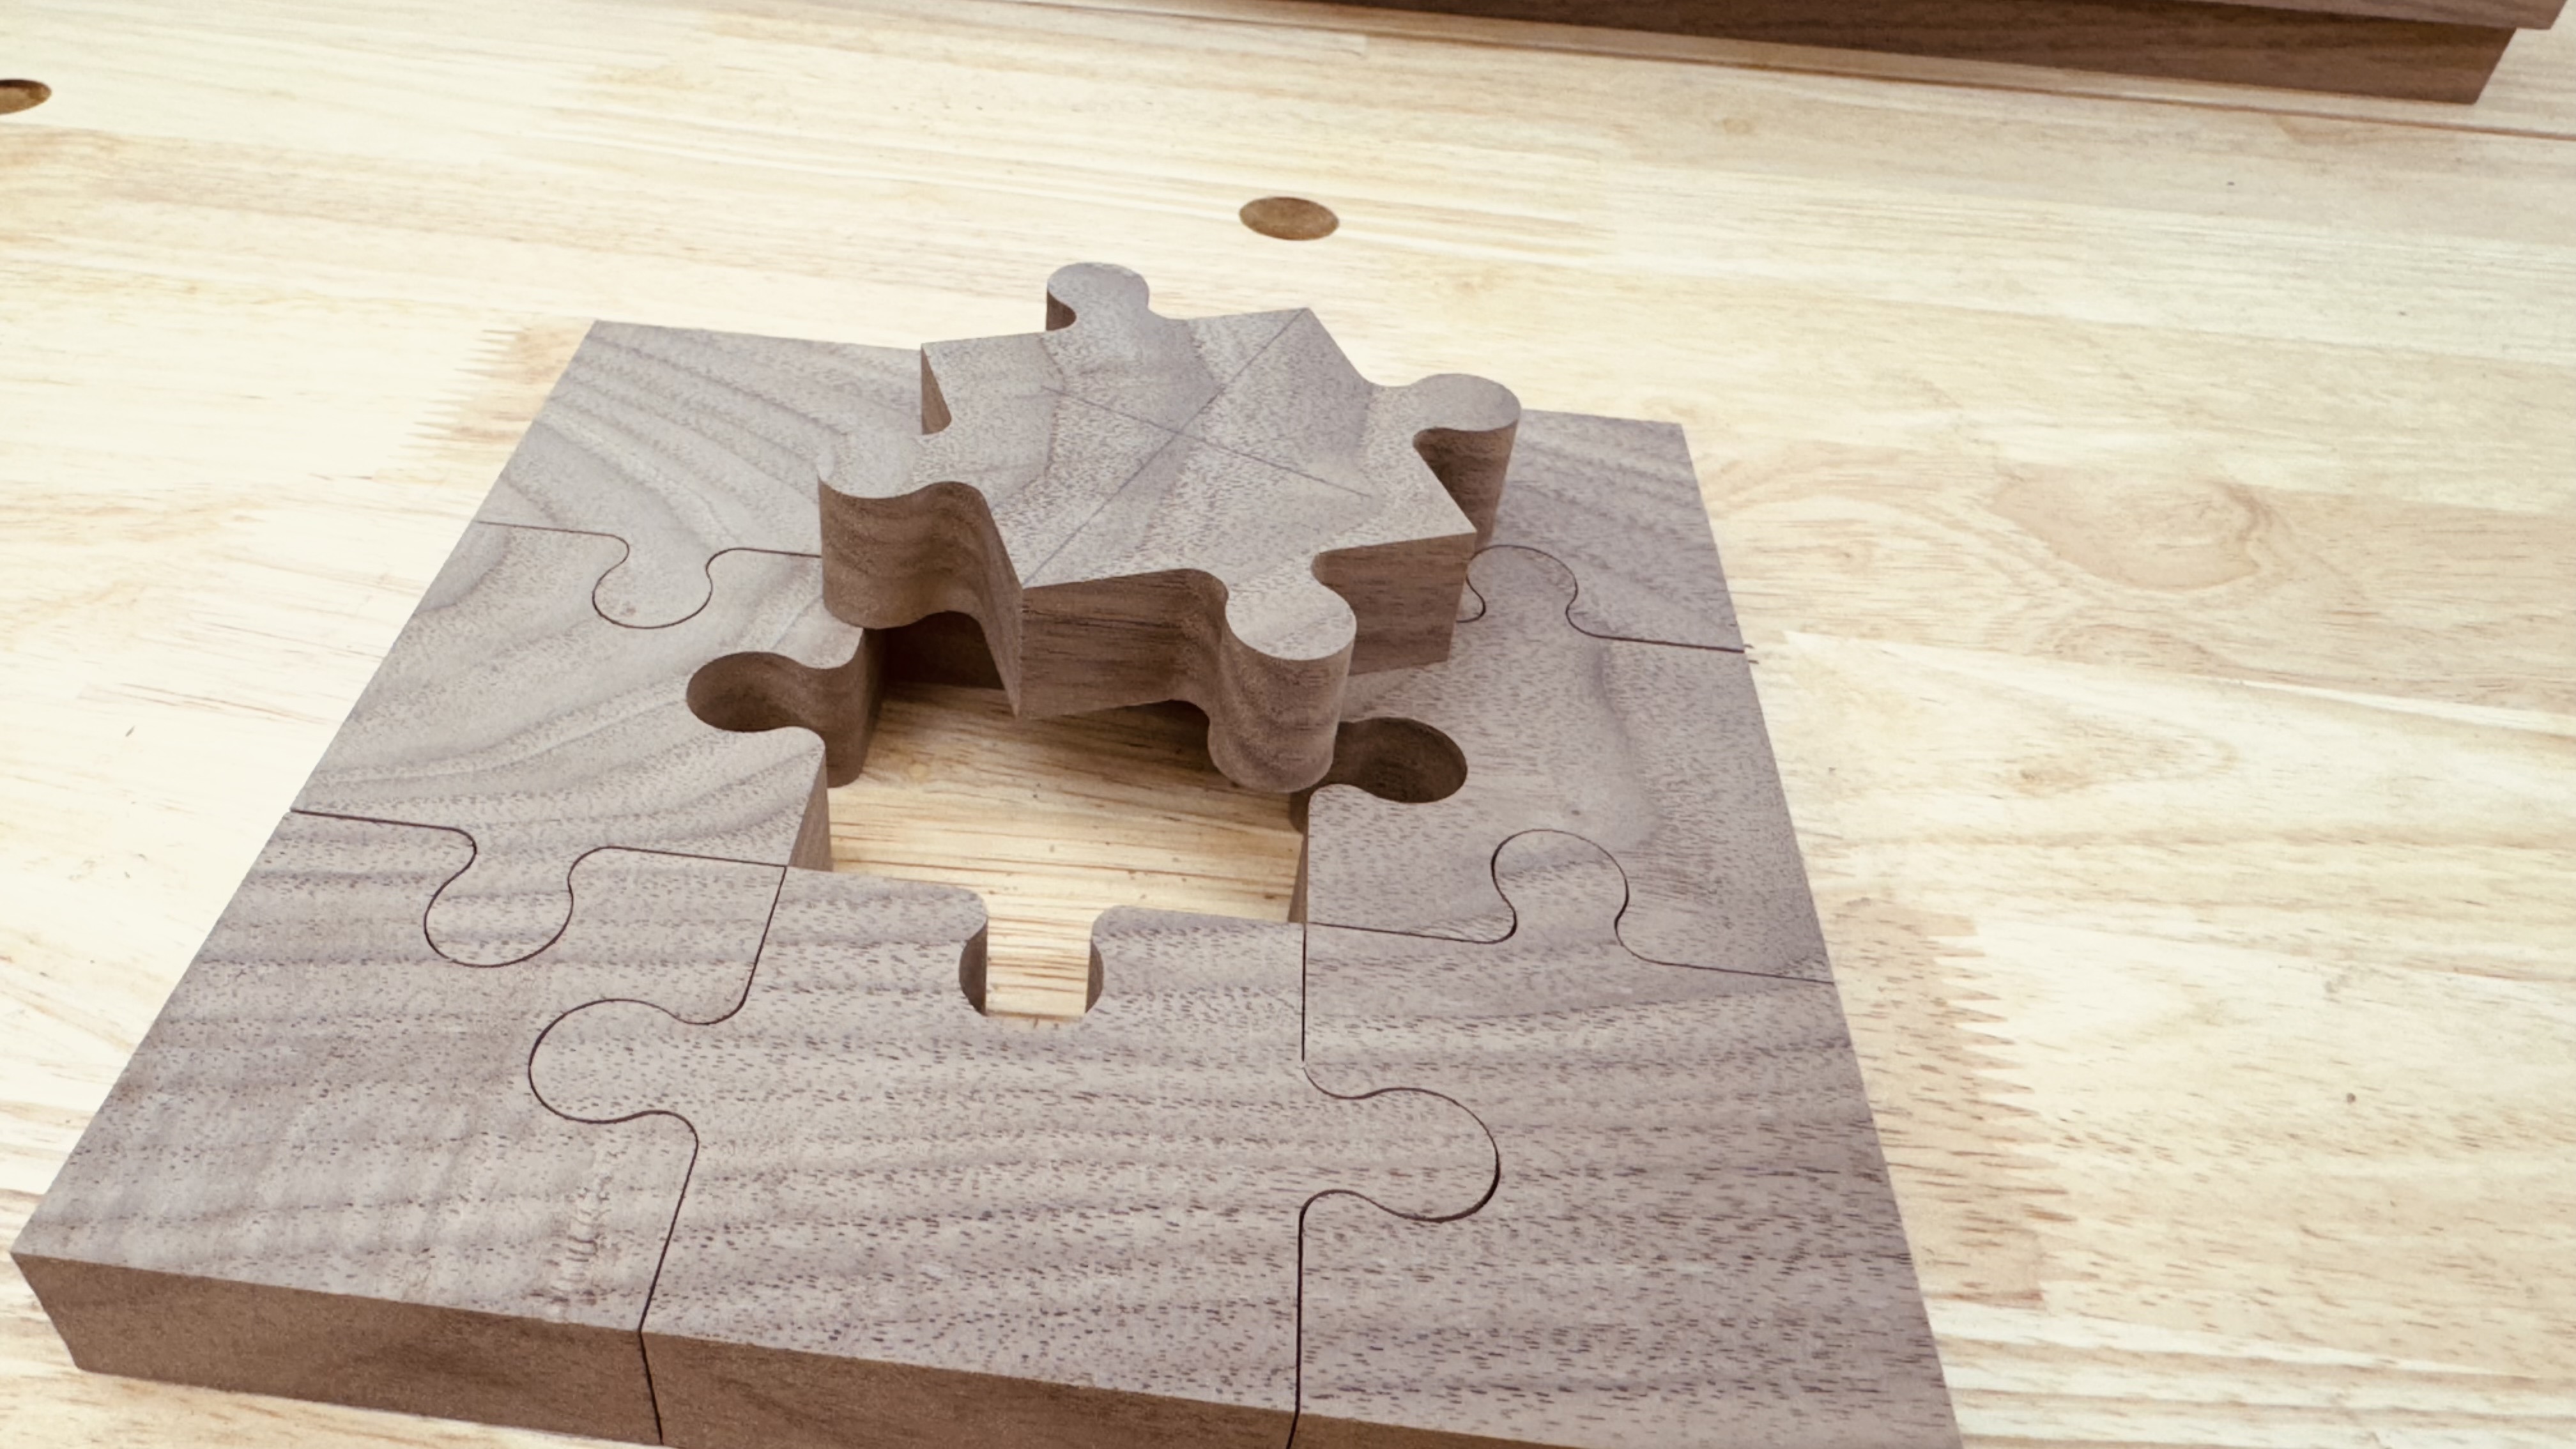
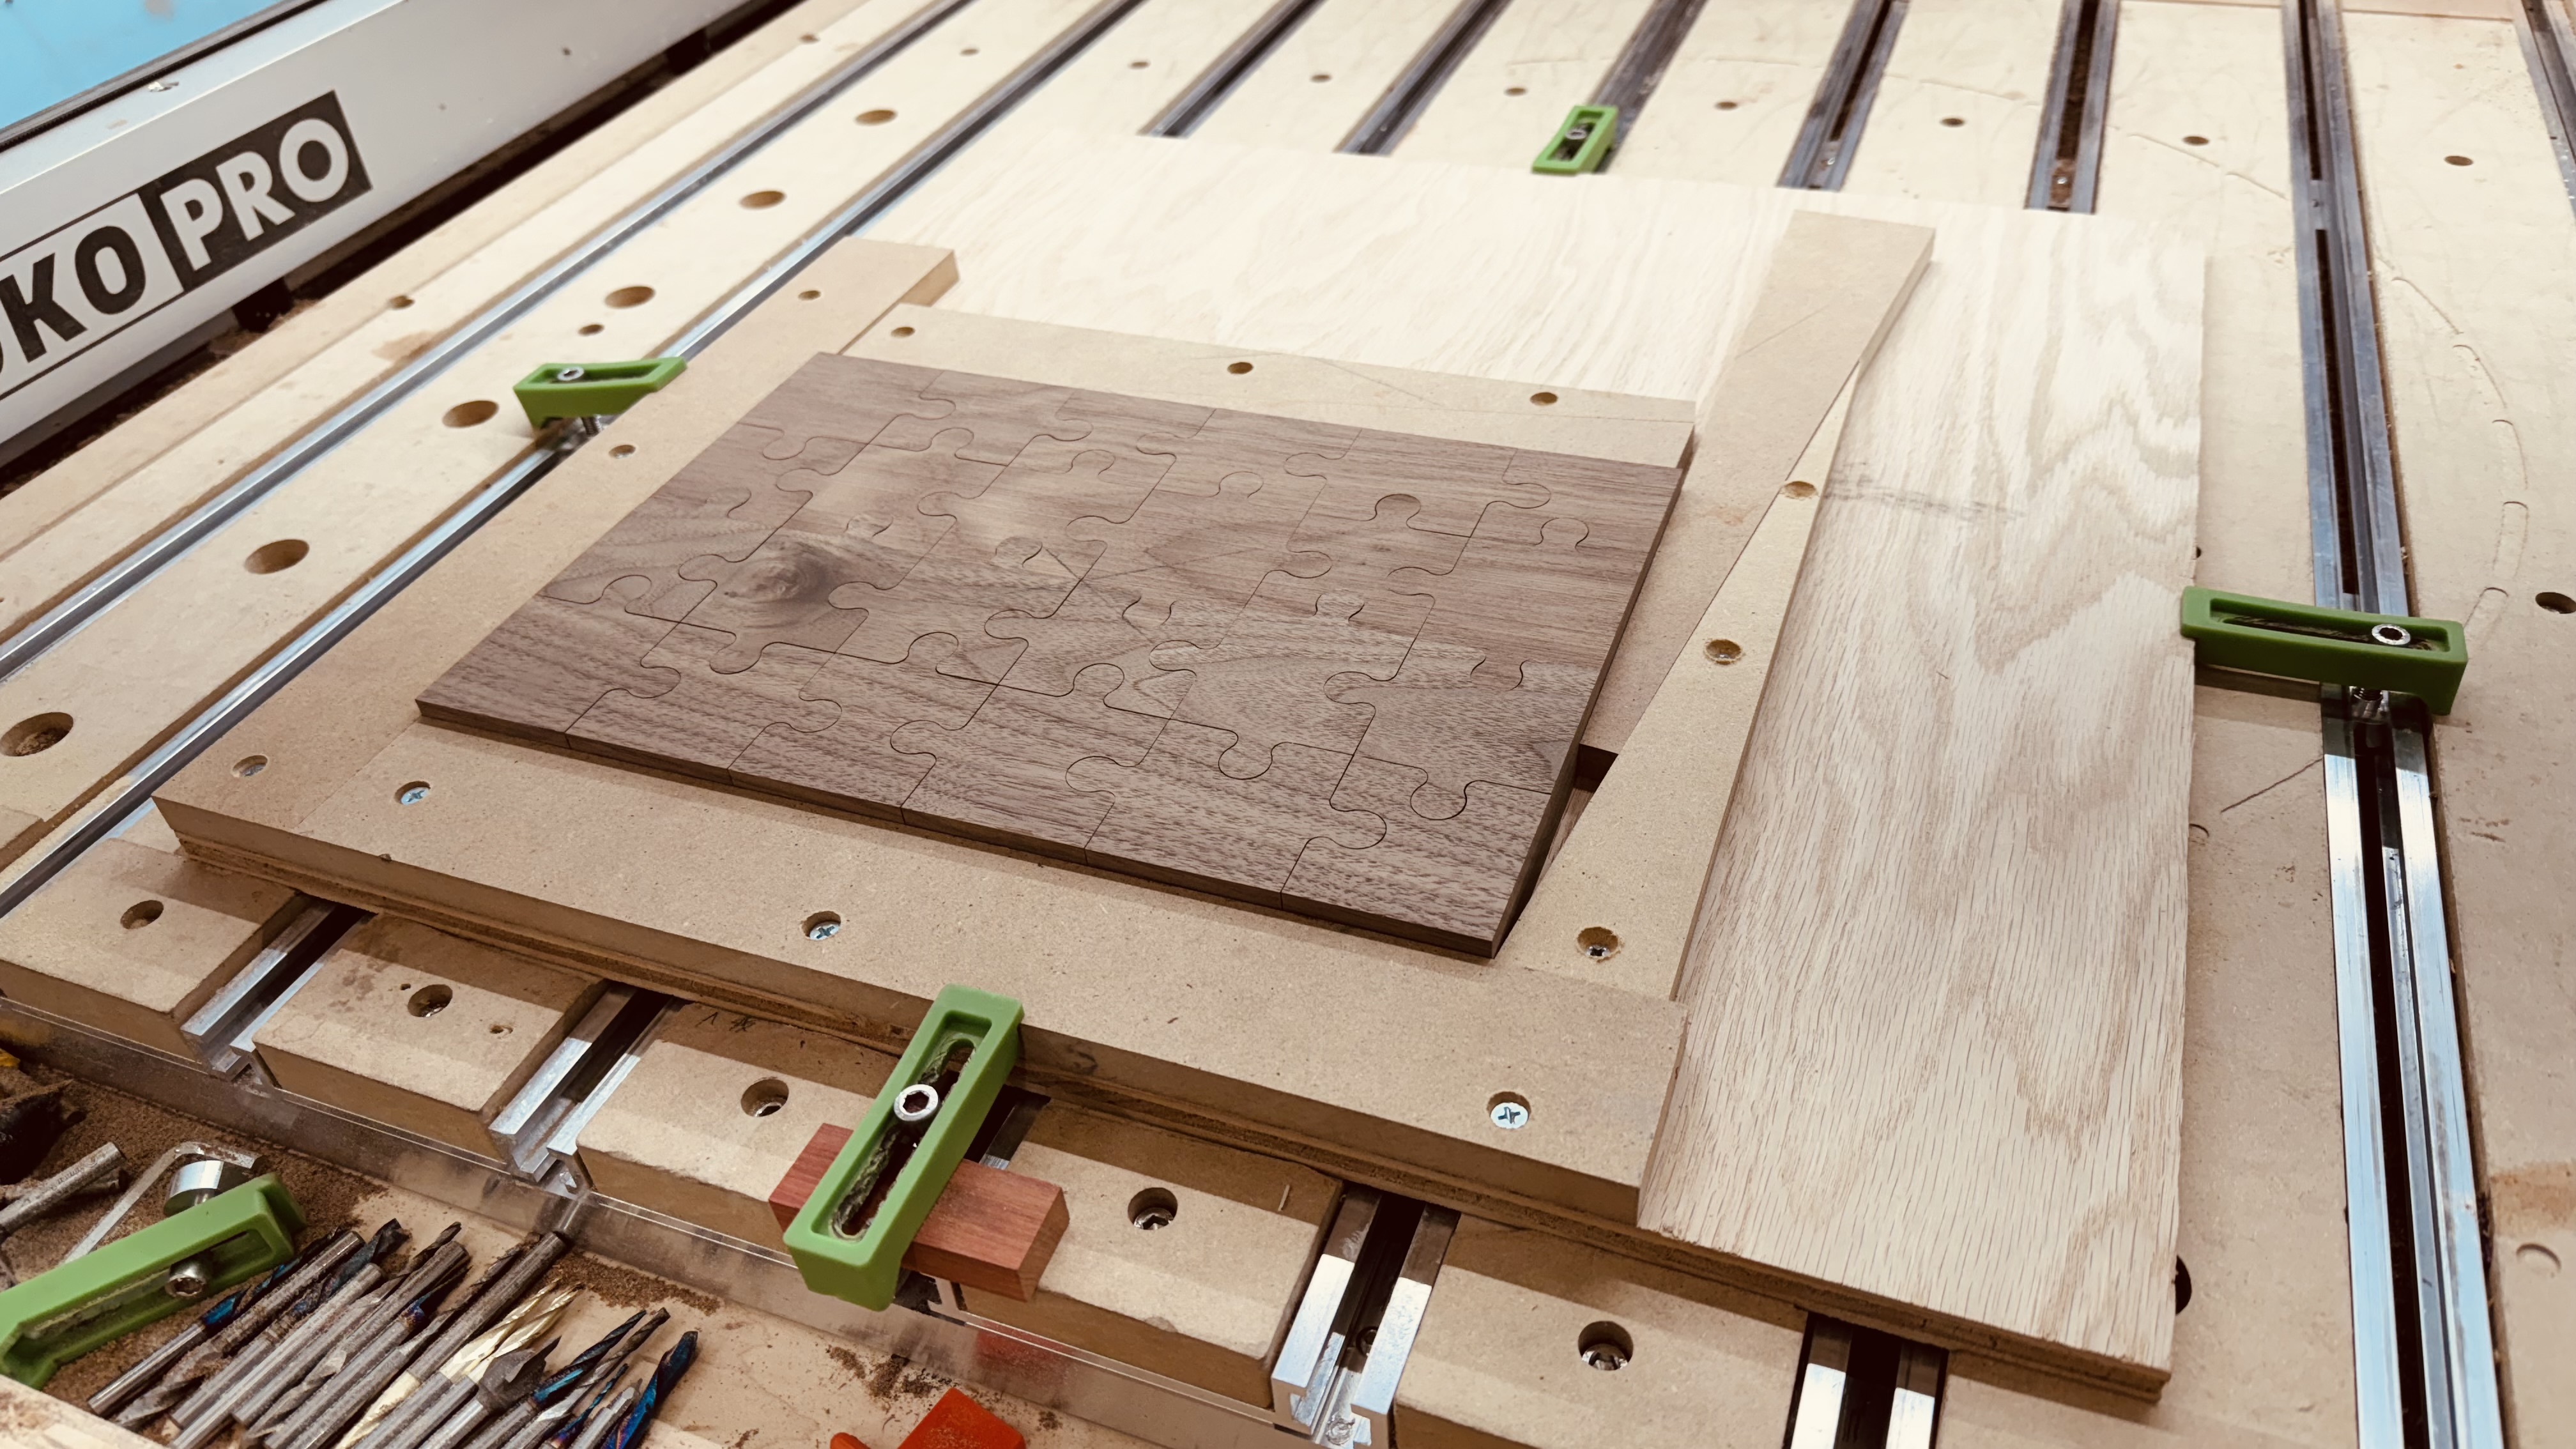
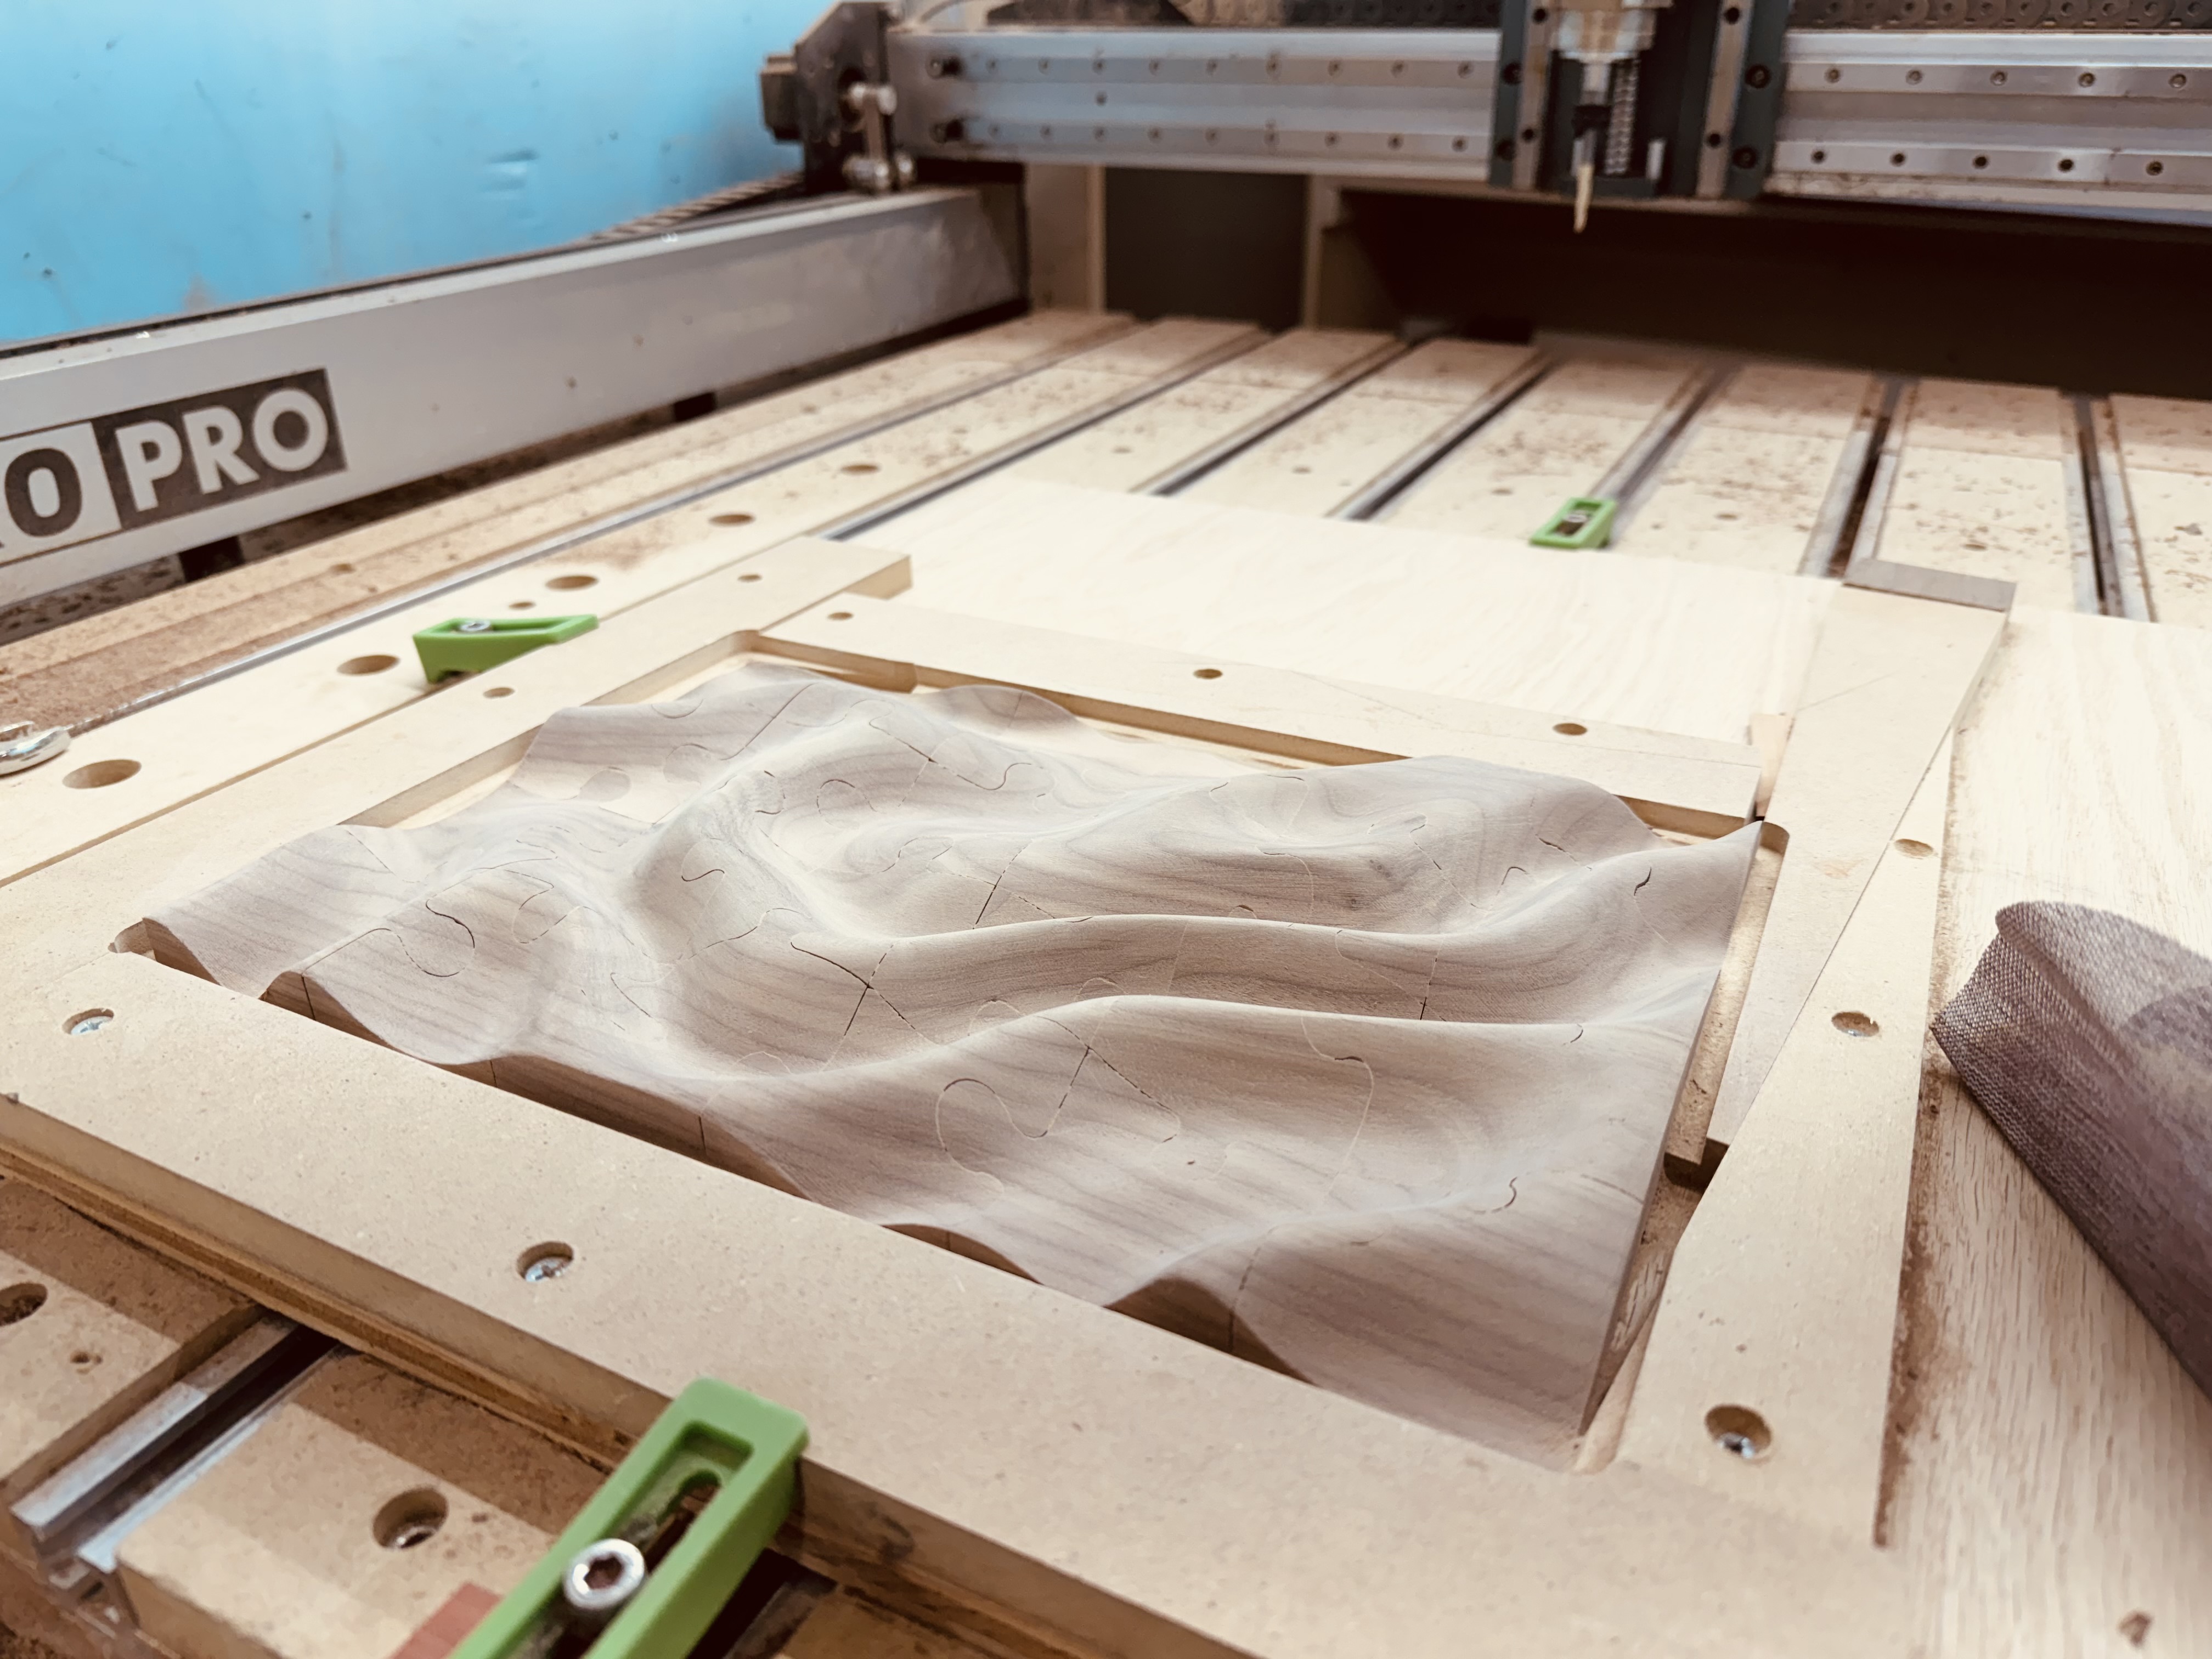
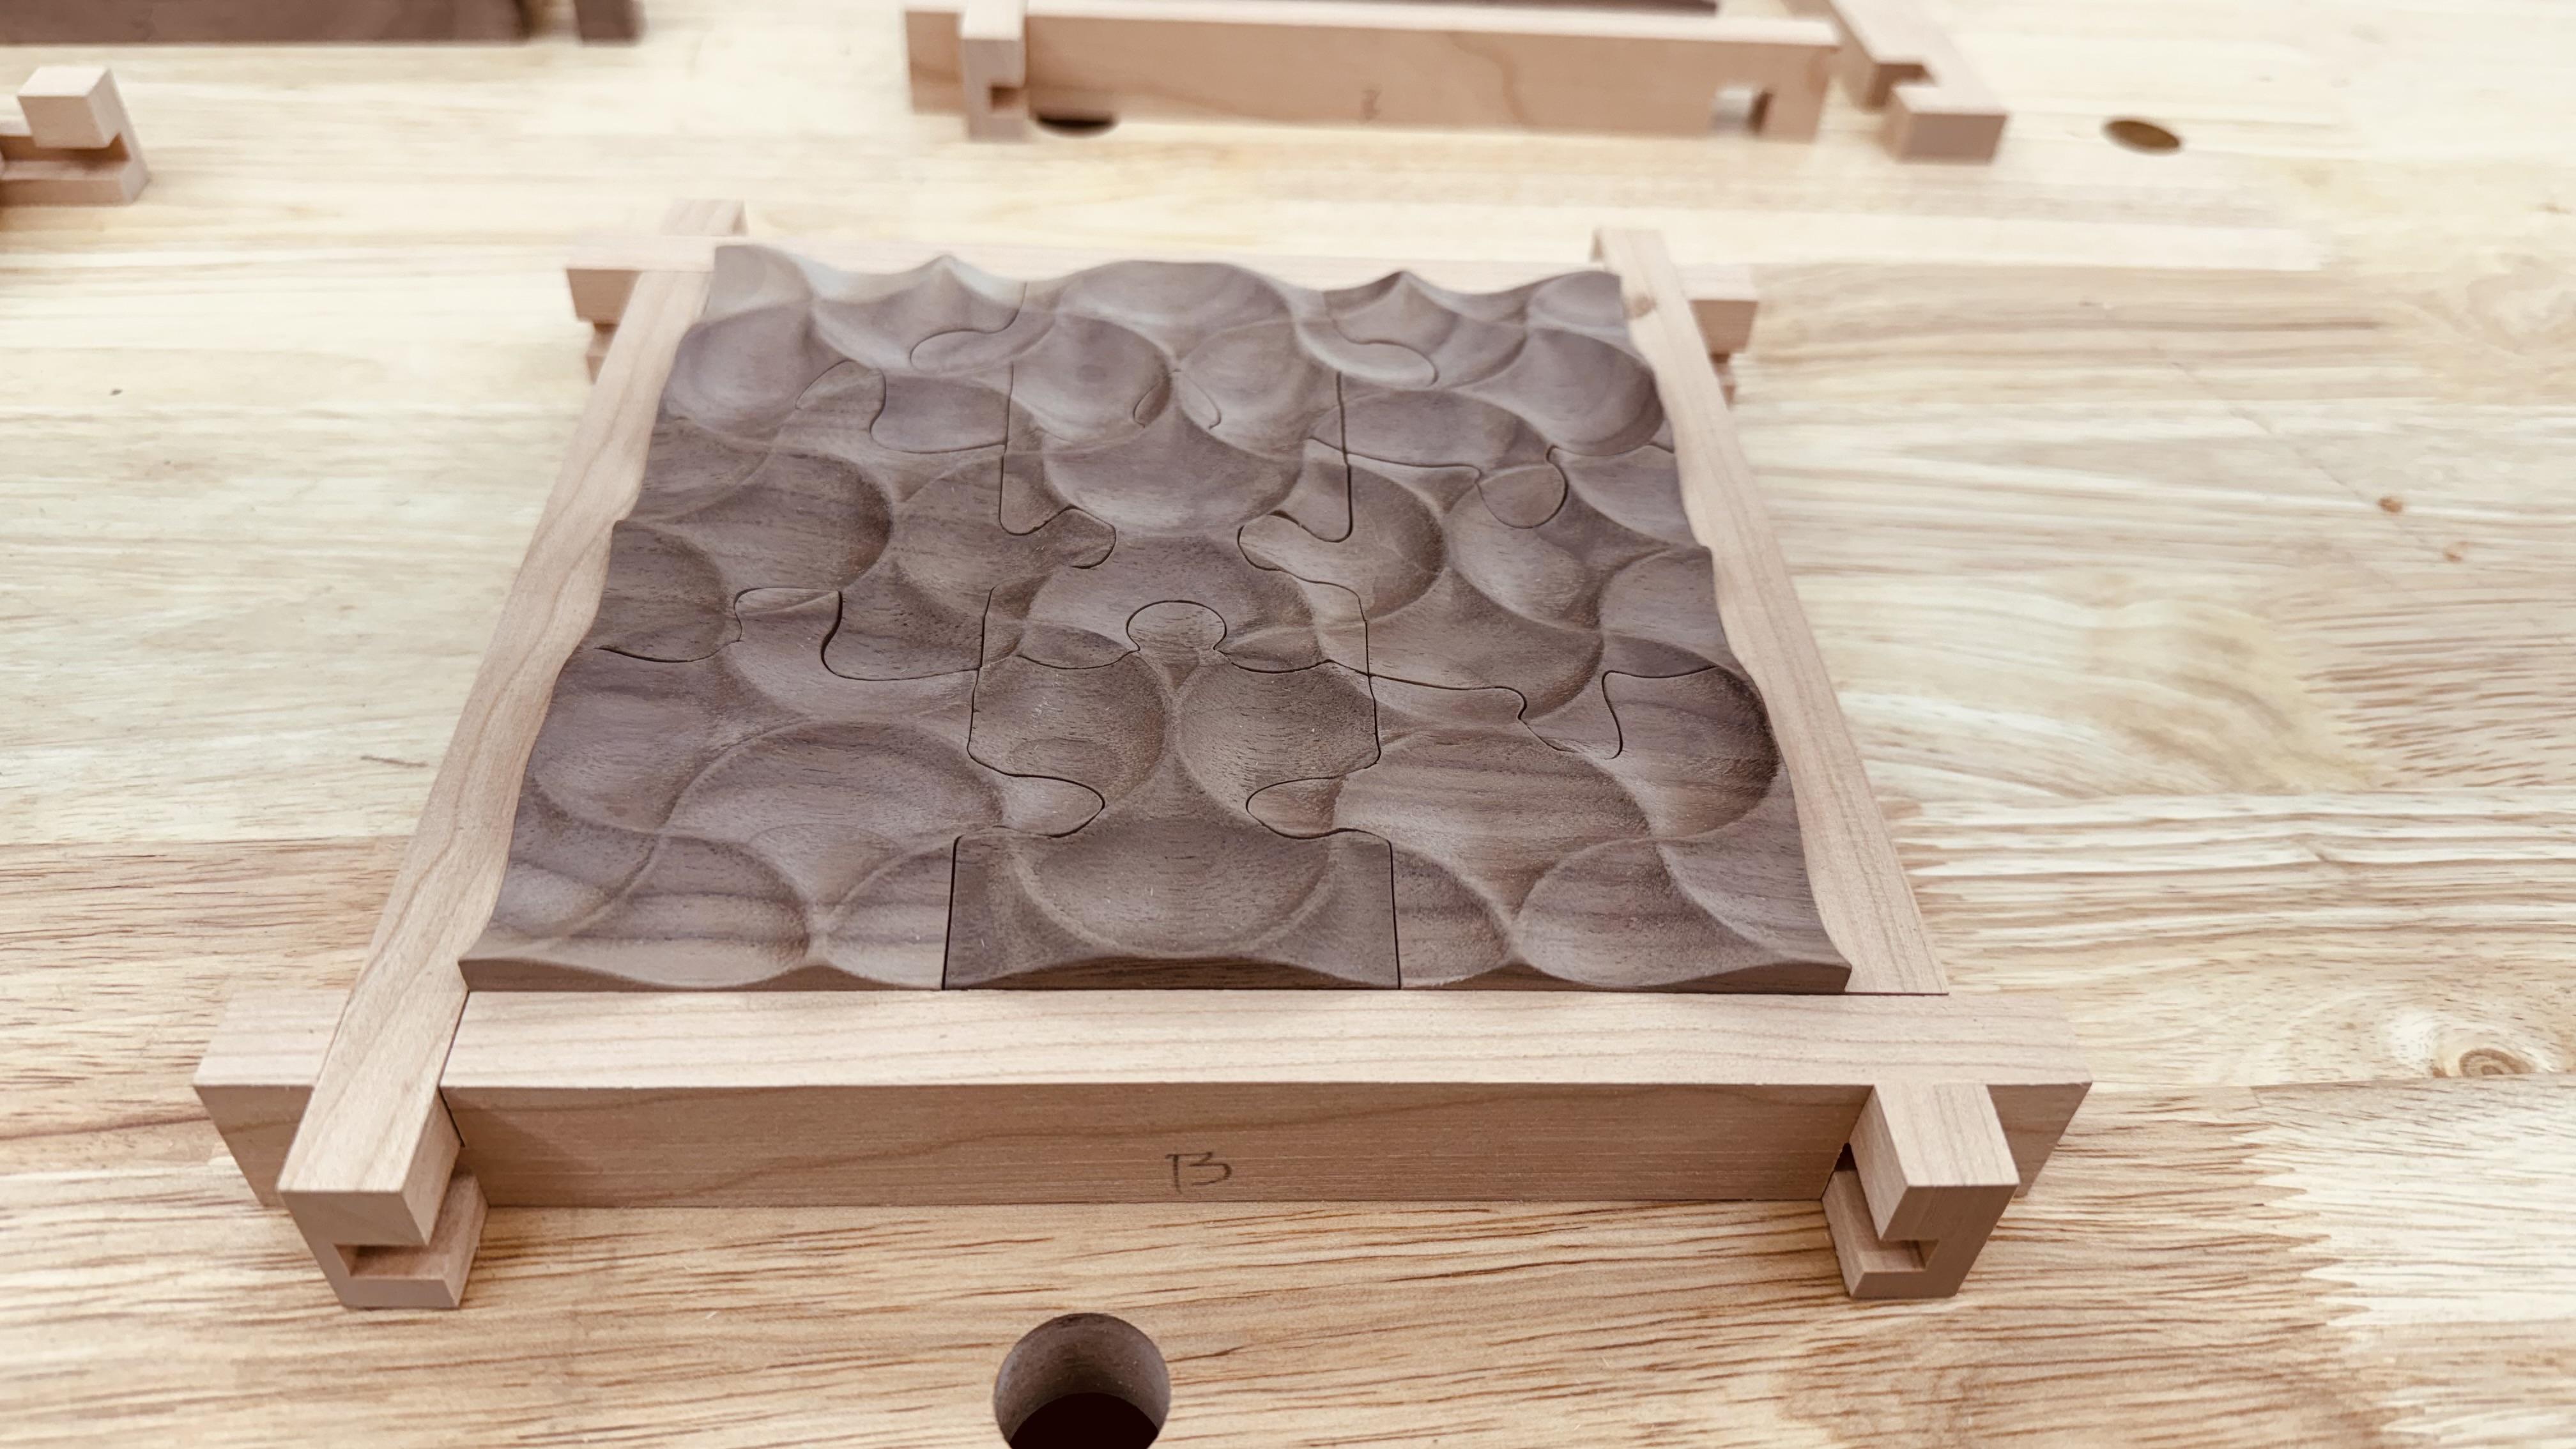
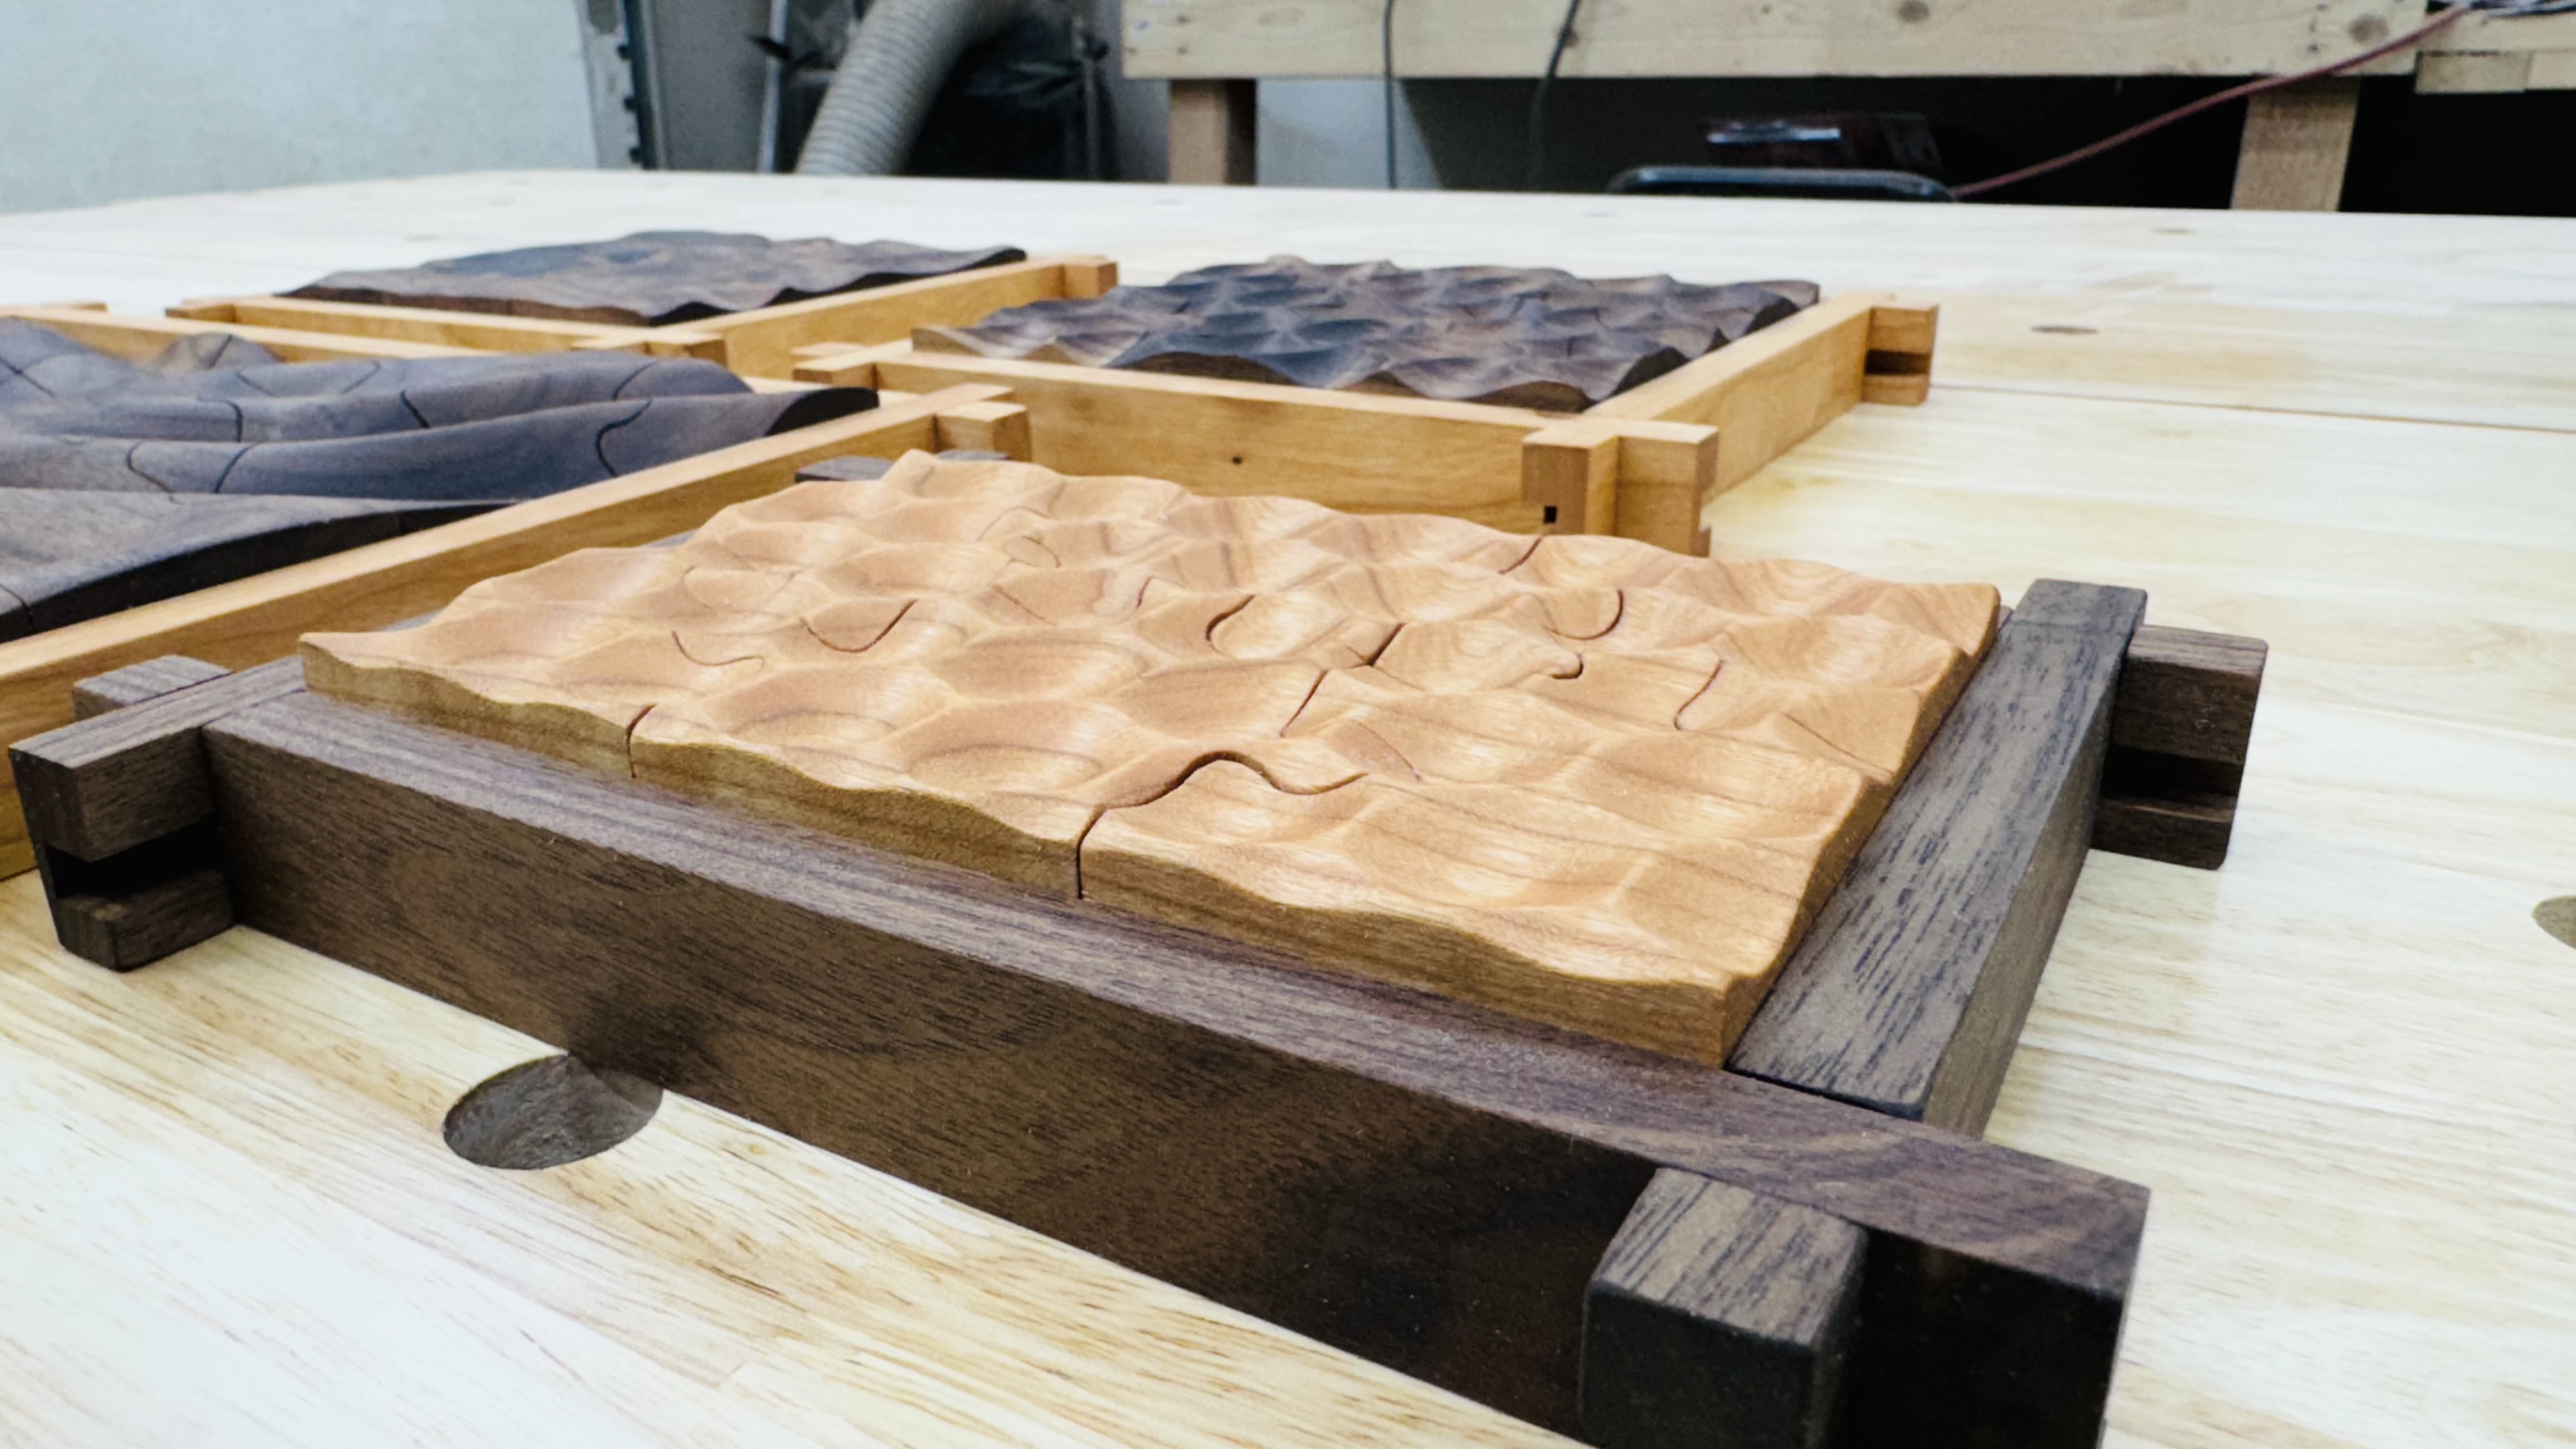
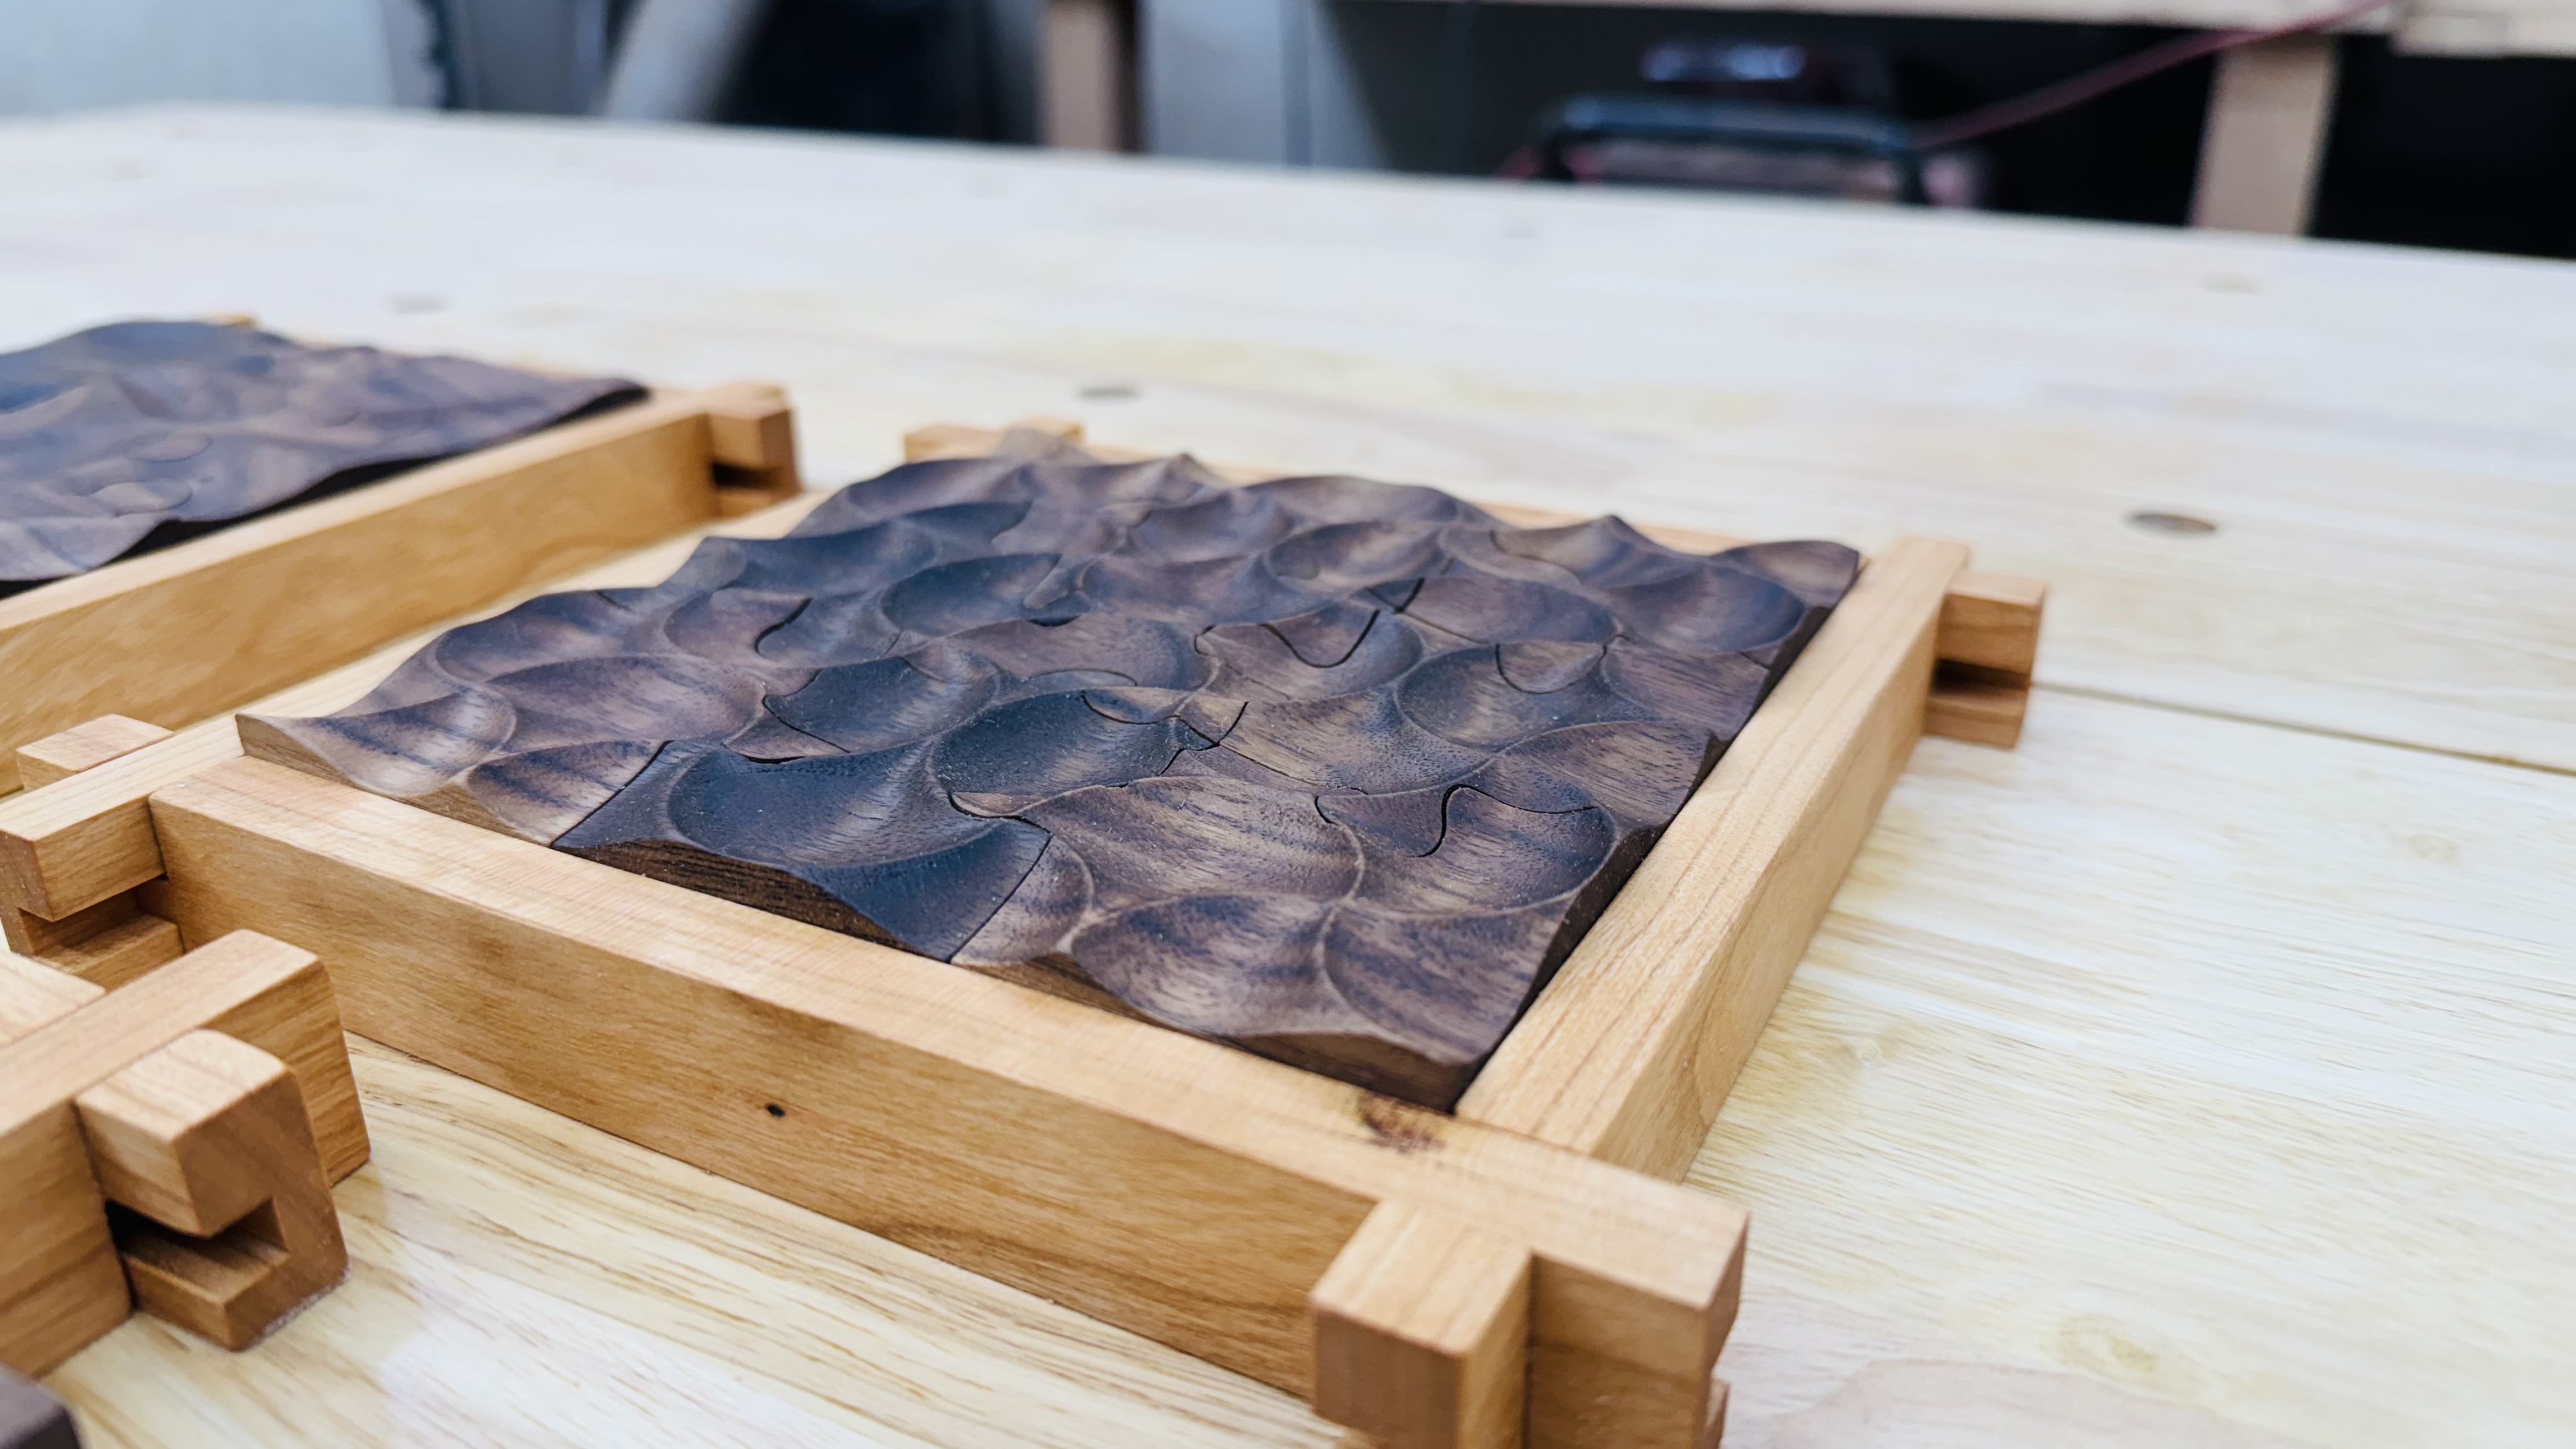
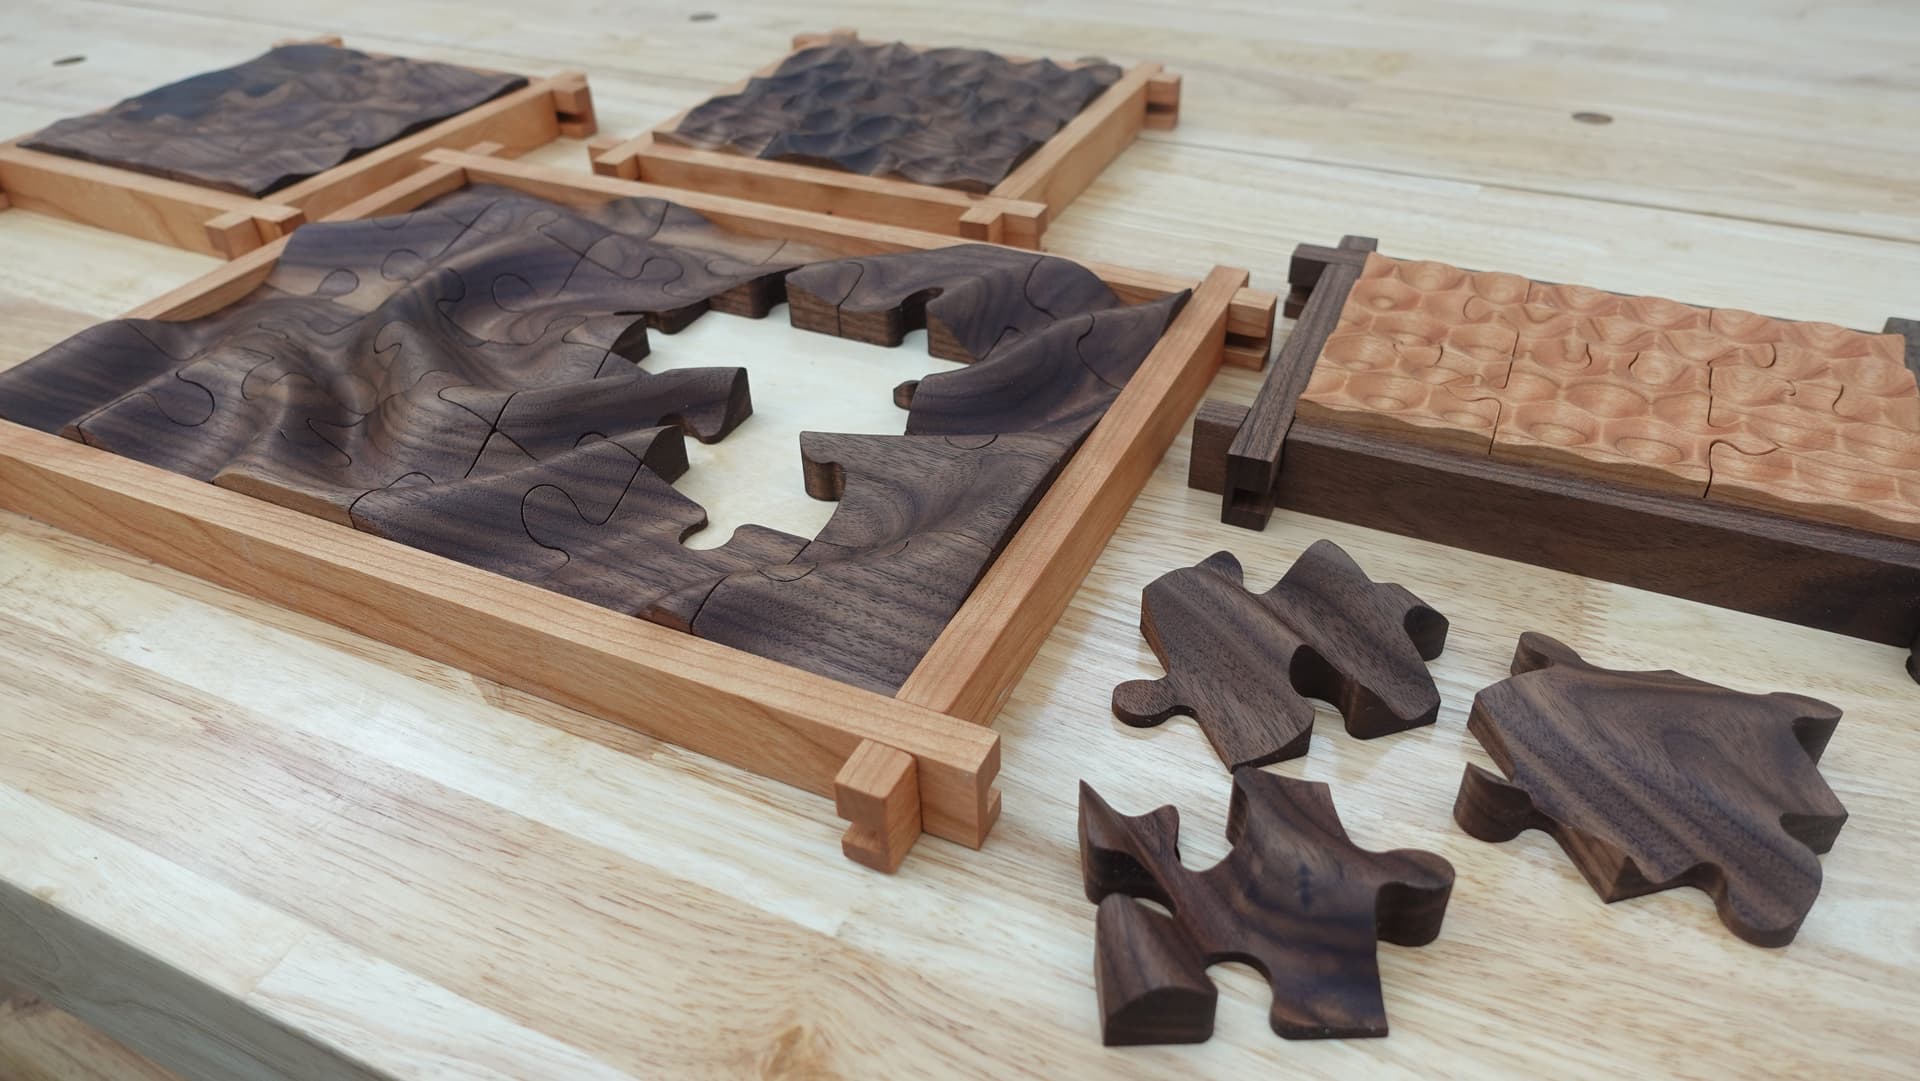
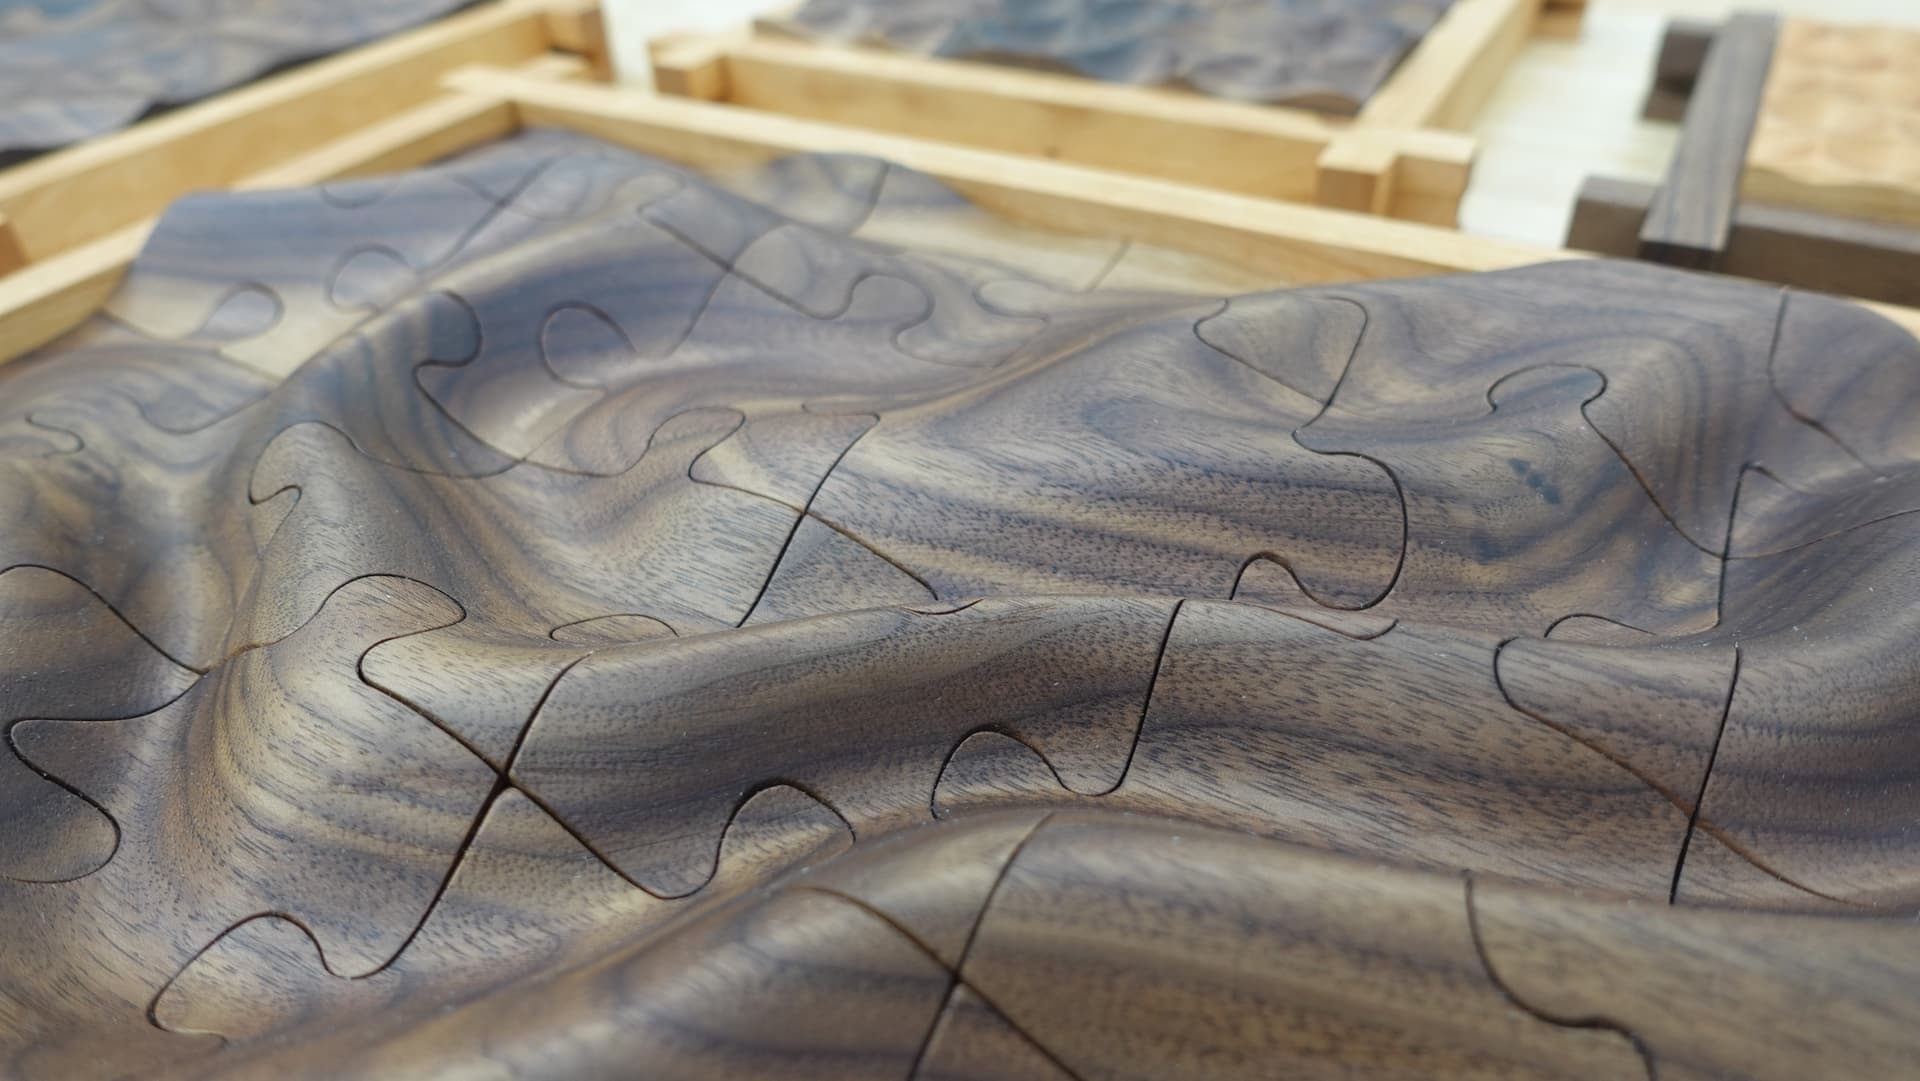
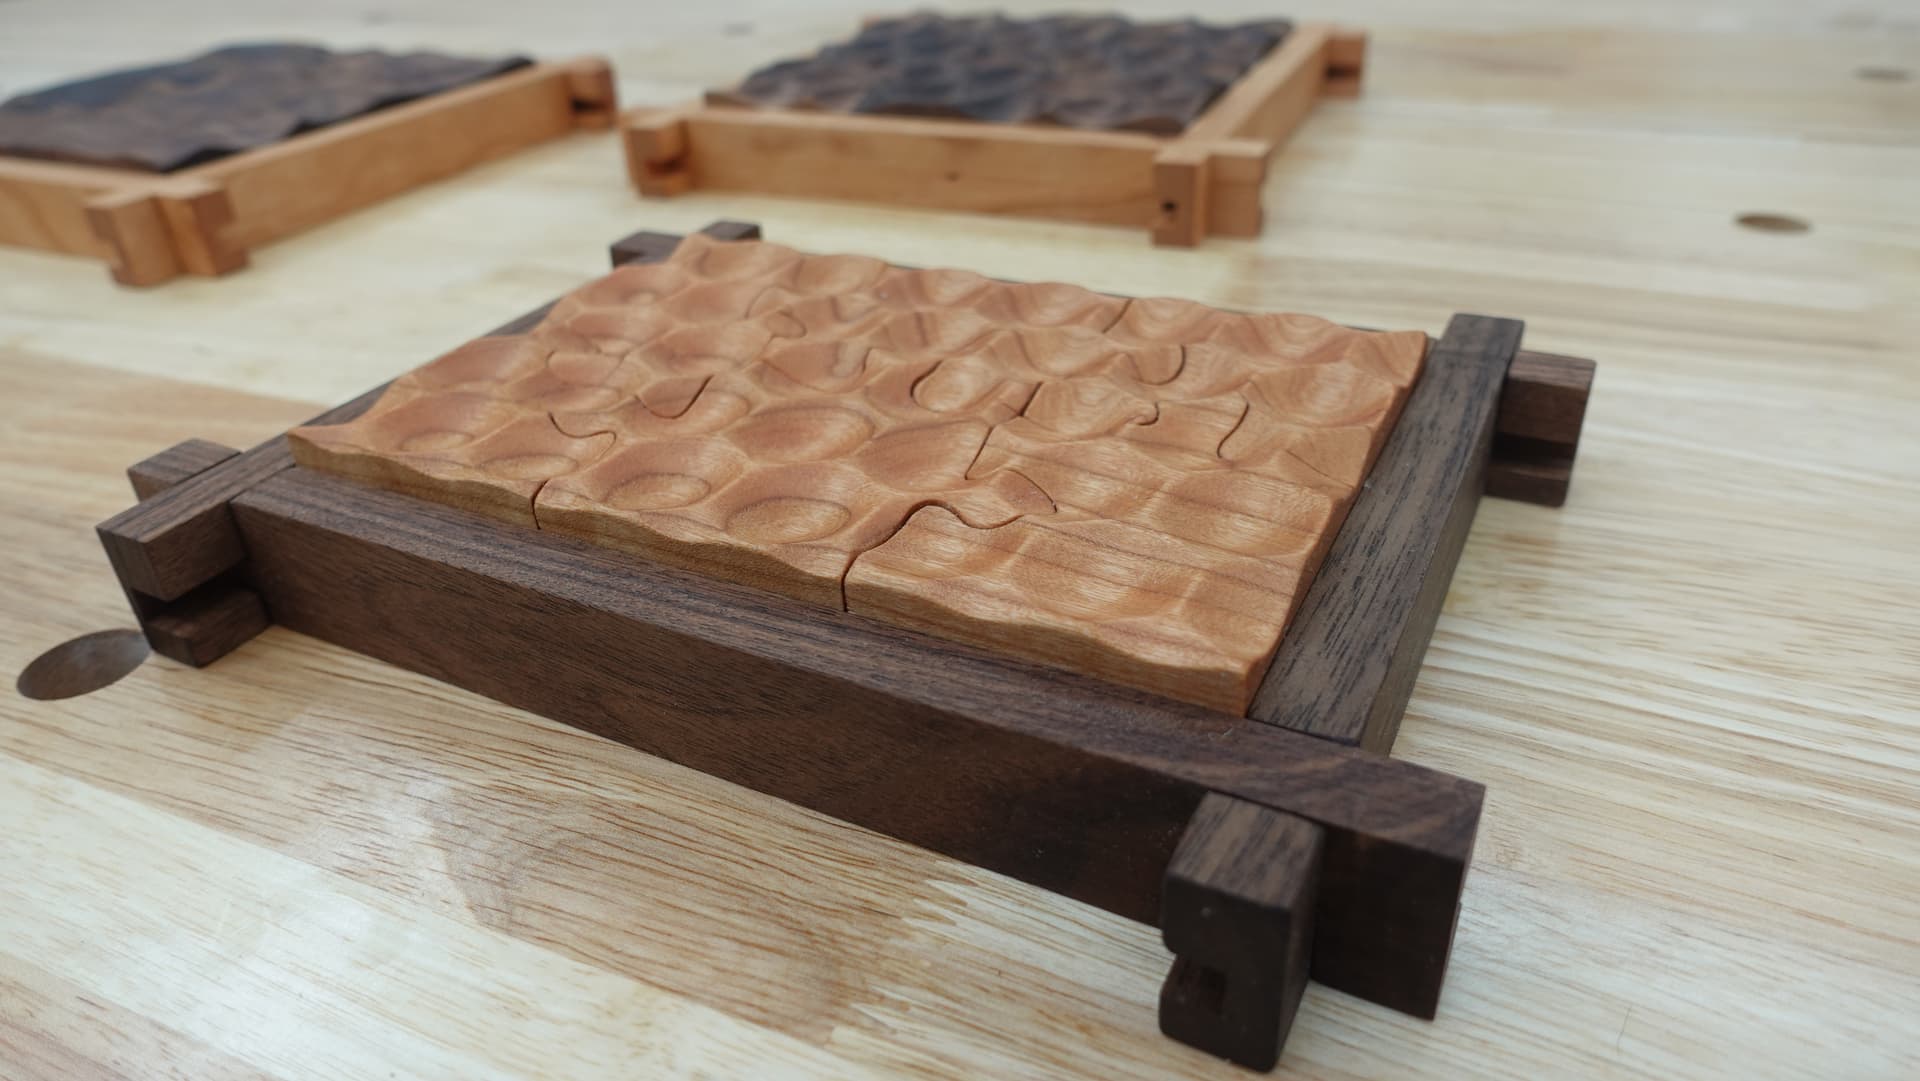
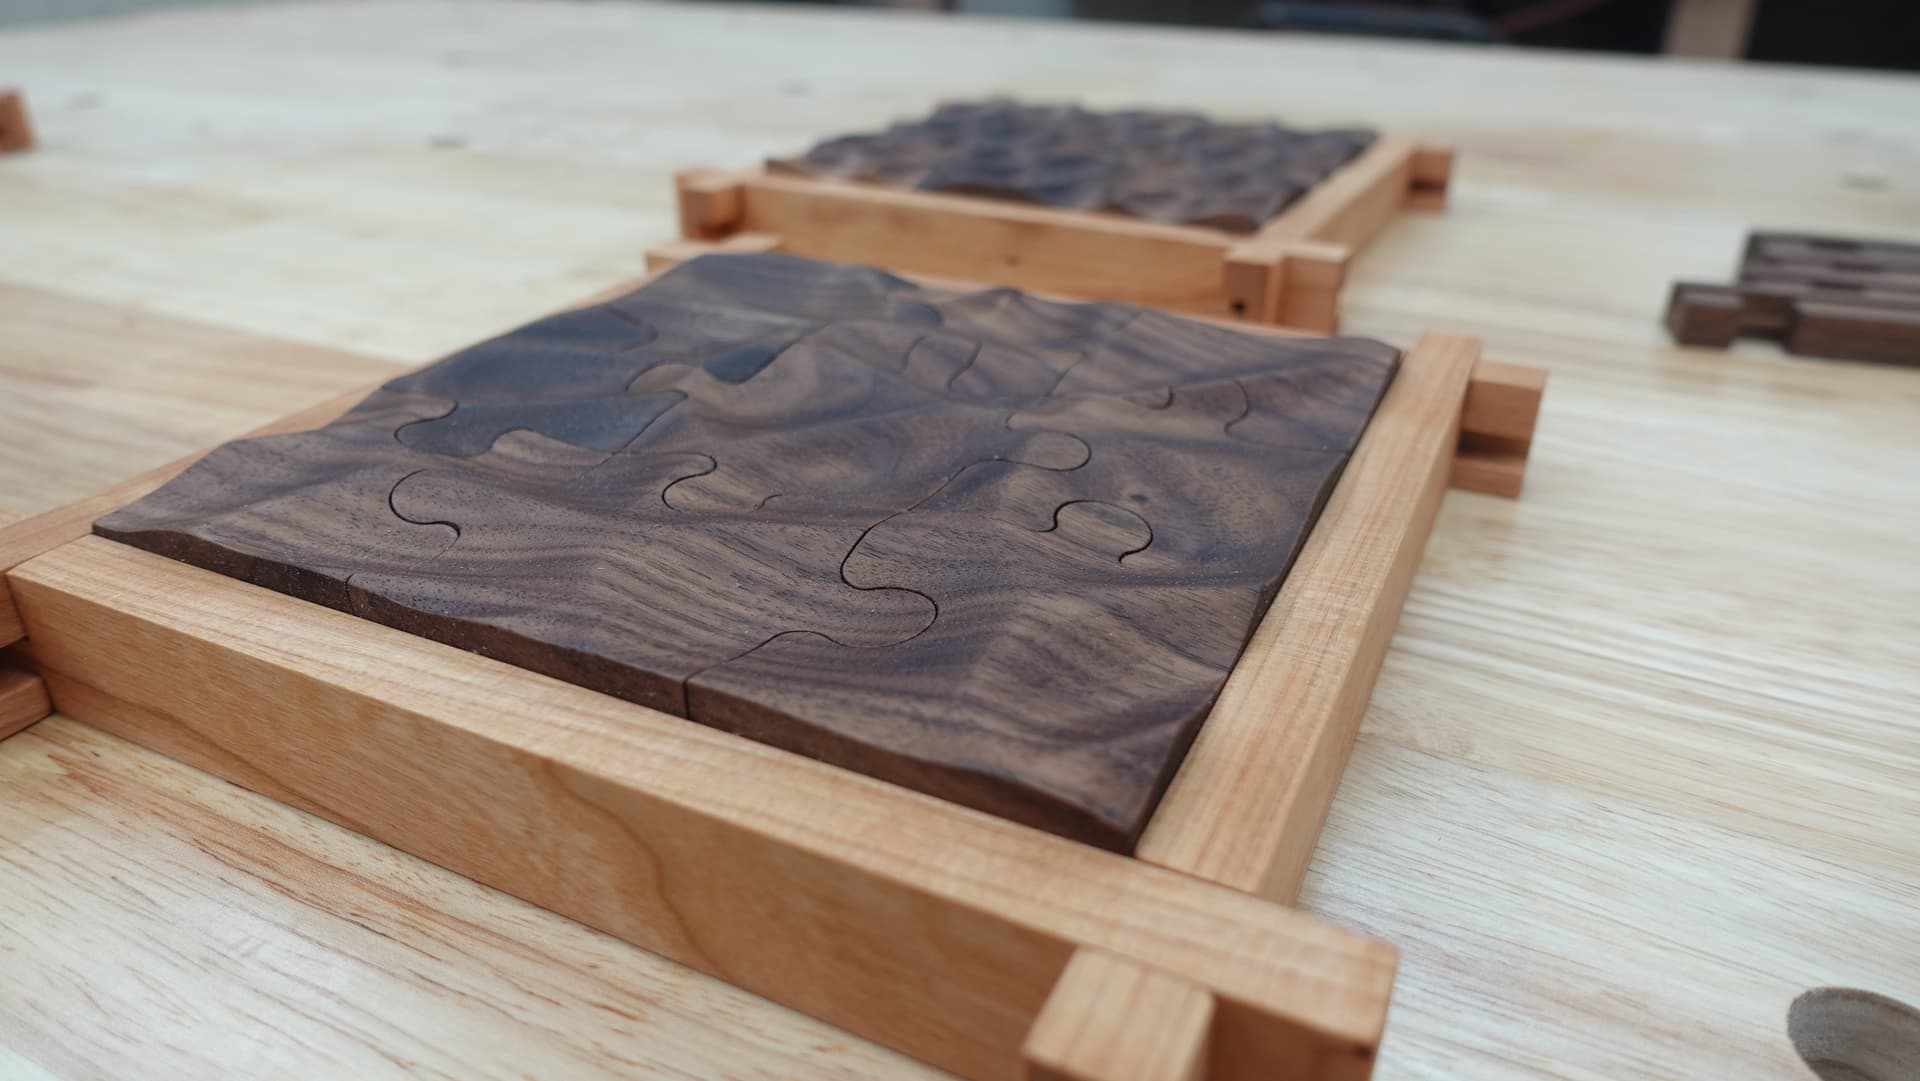
So a good friend asked if I could make a jigsaw puzzle out of wood for him with his business logo on it. I really liked the idea, but I told him what if I put a texture or curved surface on it to add to the dynamic of it as I thought it might be kinda blah. He told me have at it
Fun design - I’m looking forward to the final product. I love working with walnut, which this appears to be. Did you design the pieces from scratch or did you use a program or online generator? I’ve been playing around with this cool online puzzle generator: Jigsaw puzzle generator
@ScottsdaleSteve very cool! I’ll have to check that out. I’ve been experimenting with other people’s SVGs lately to help understand the dynamics of selling them. I’m going to start creating and possibly selling, but I’m still on the fence.
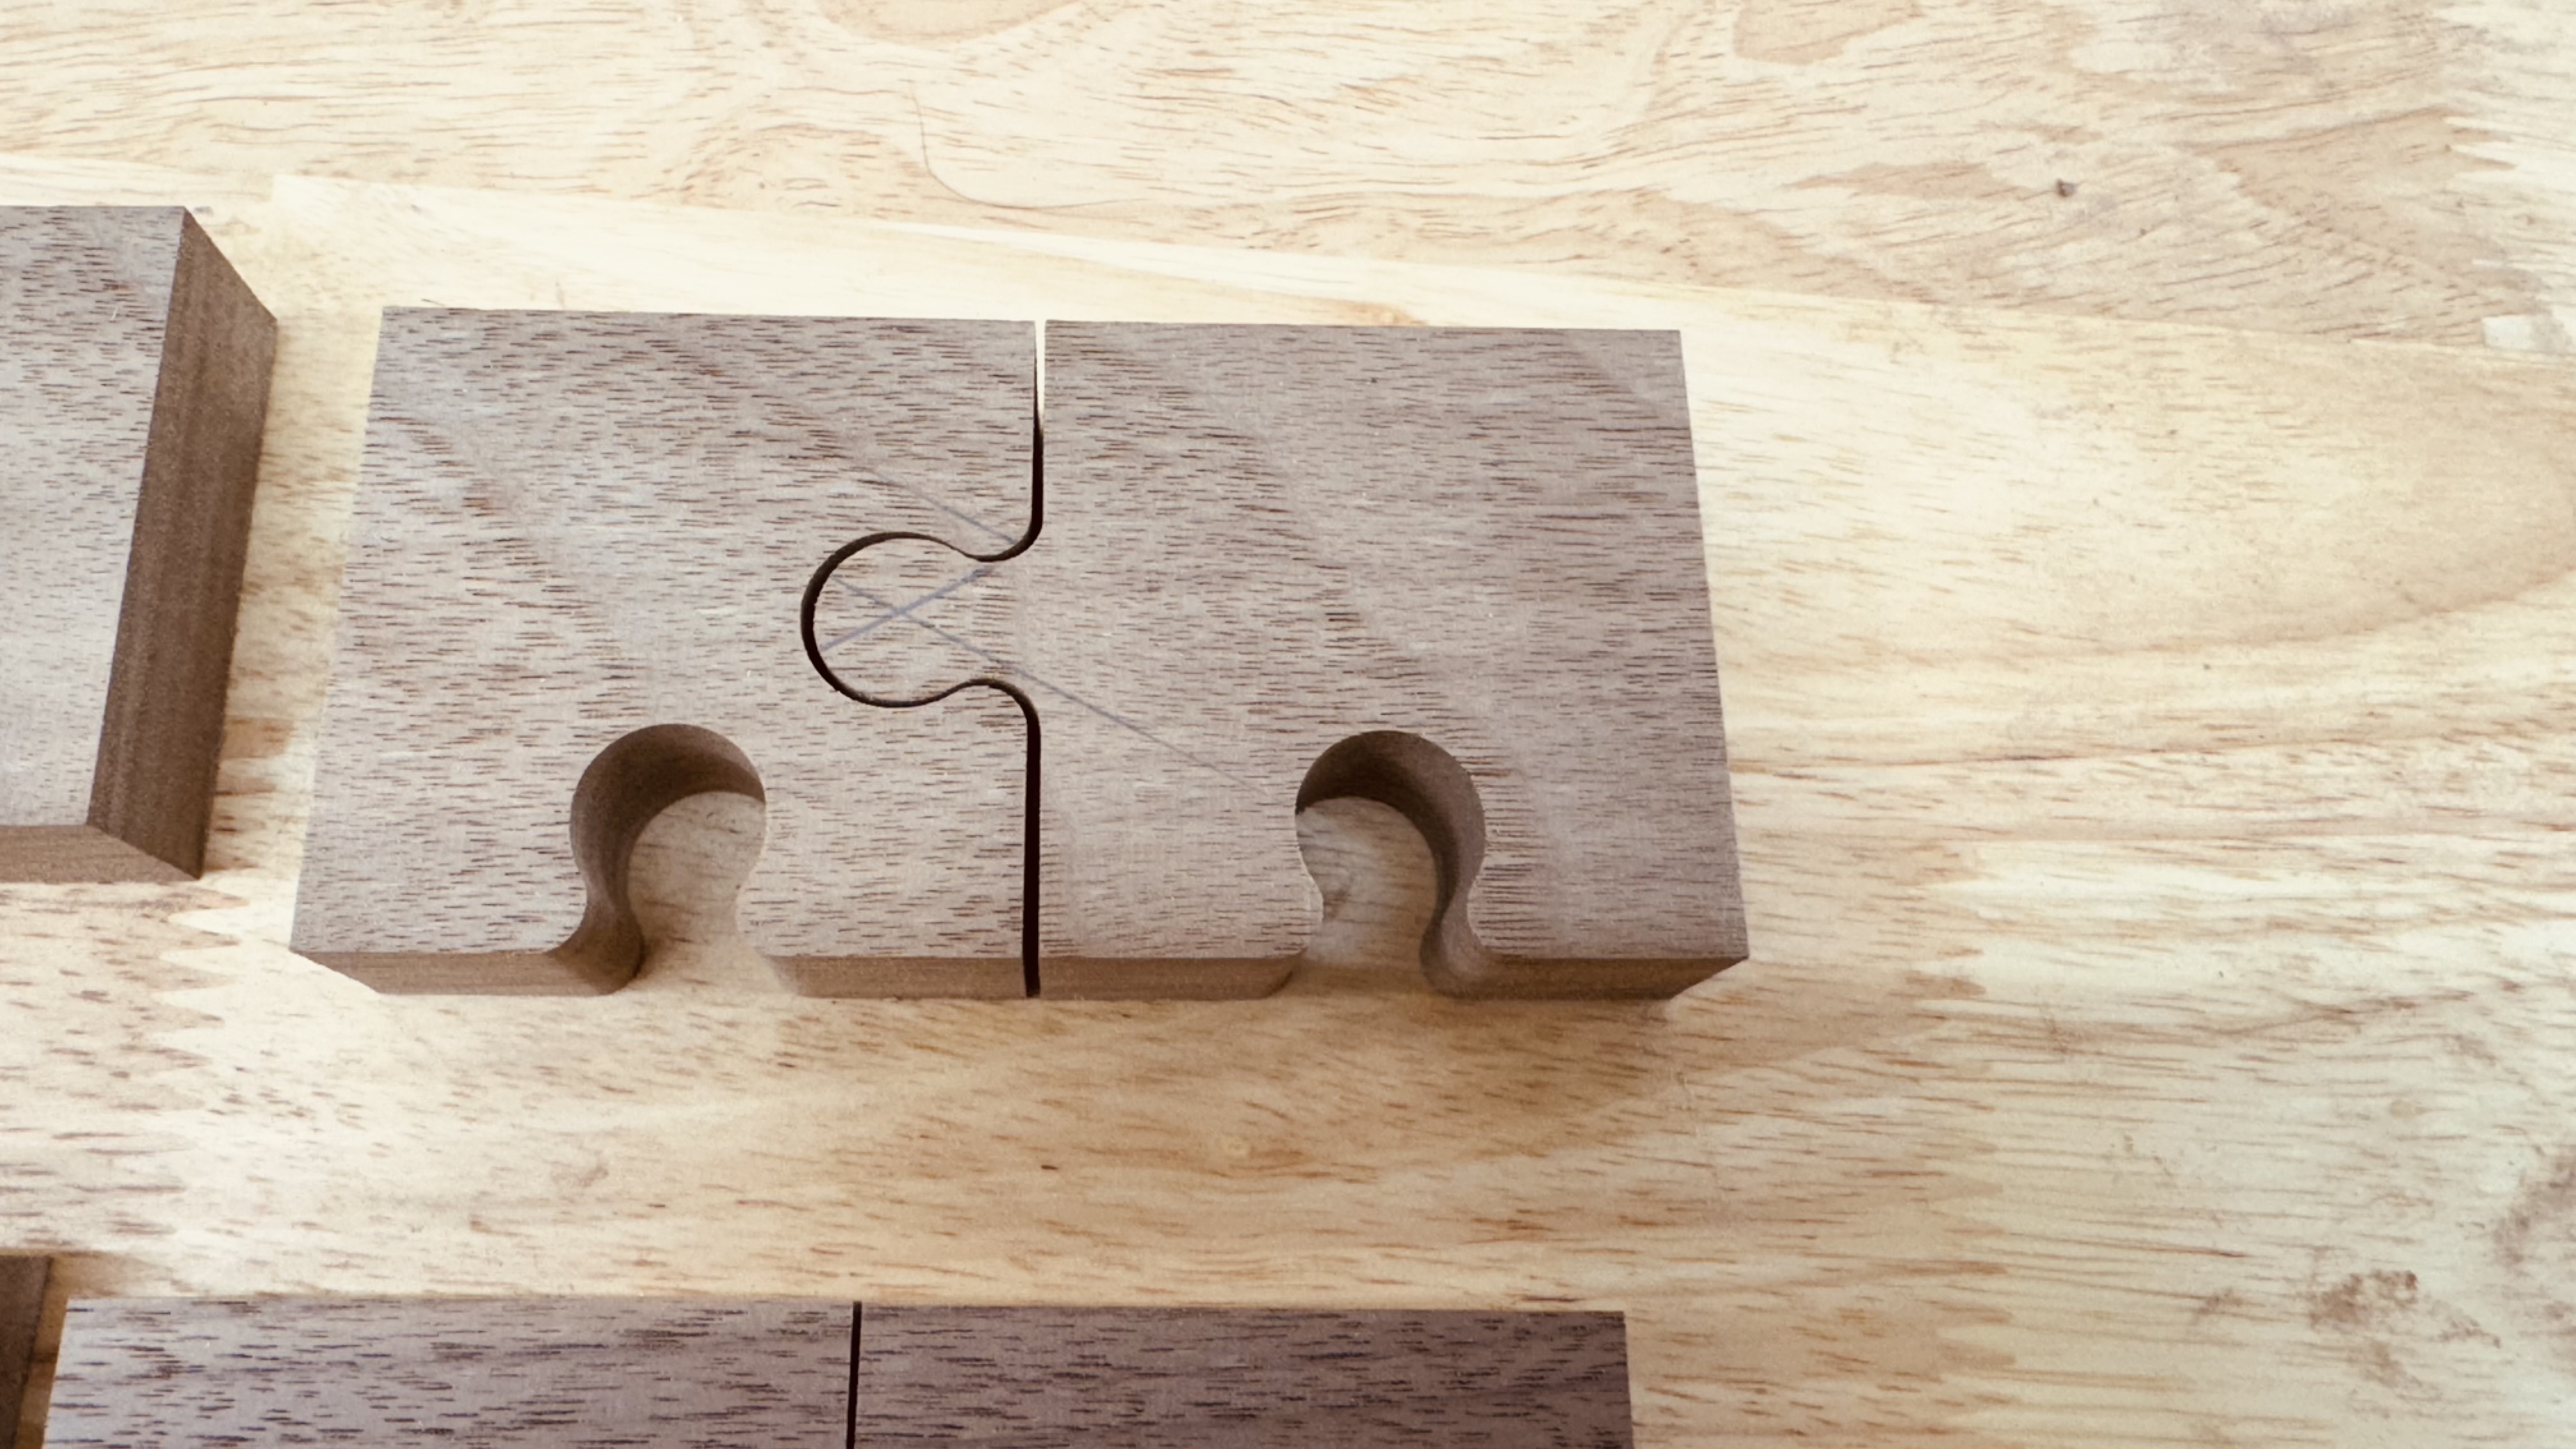
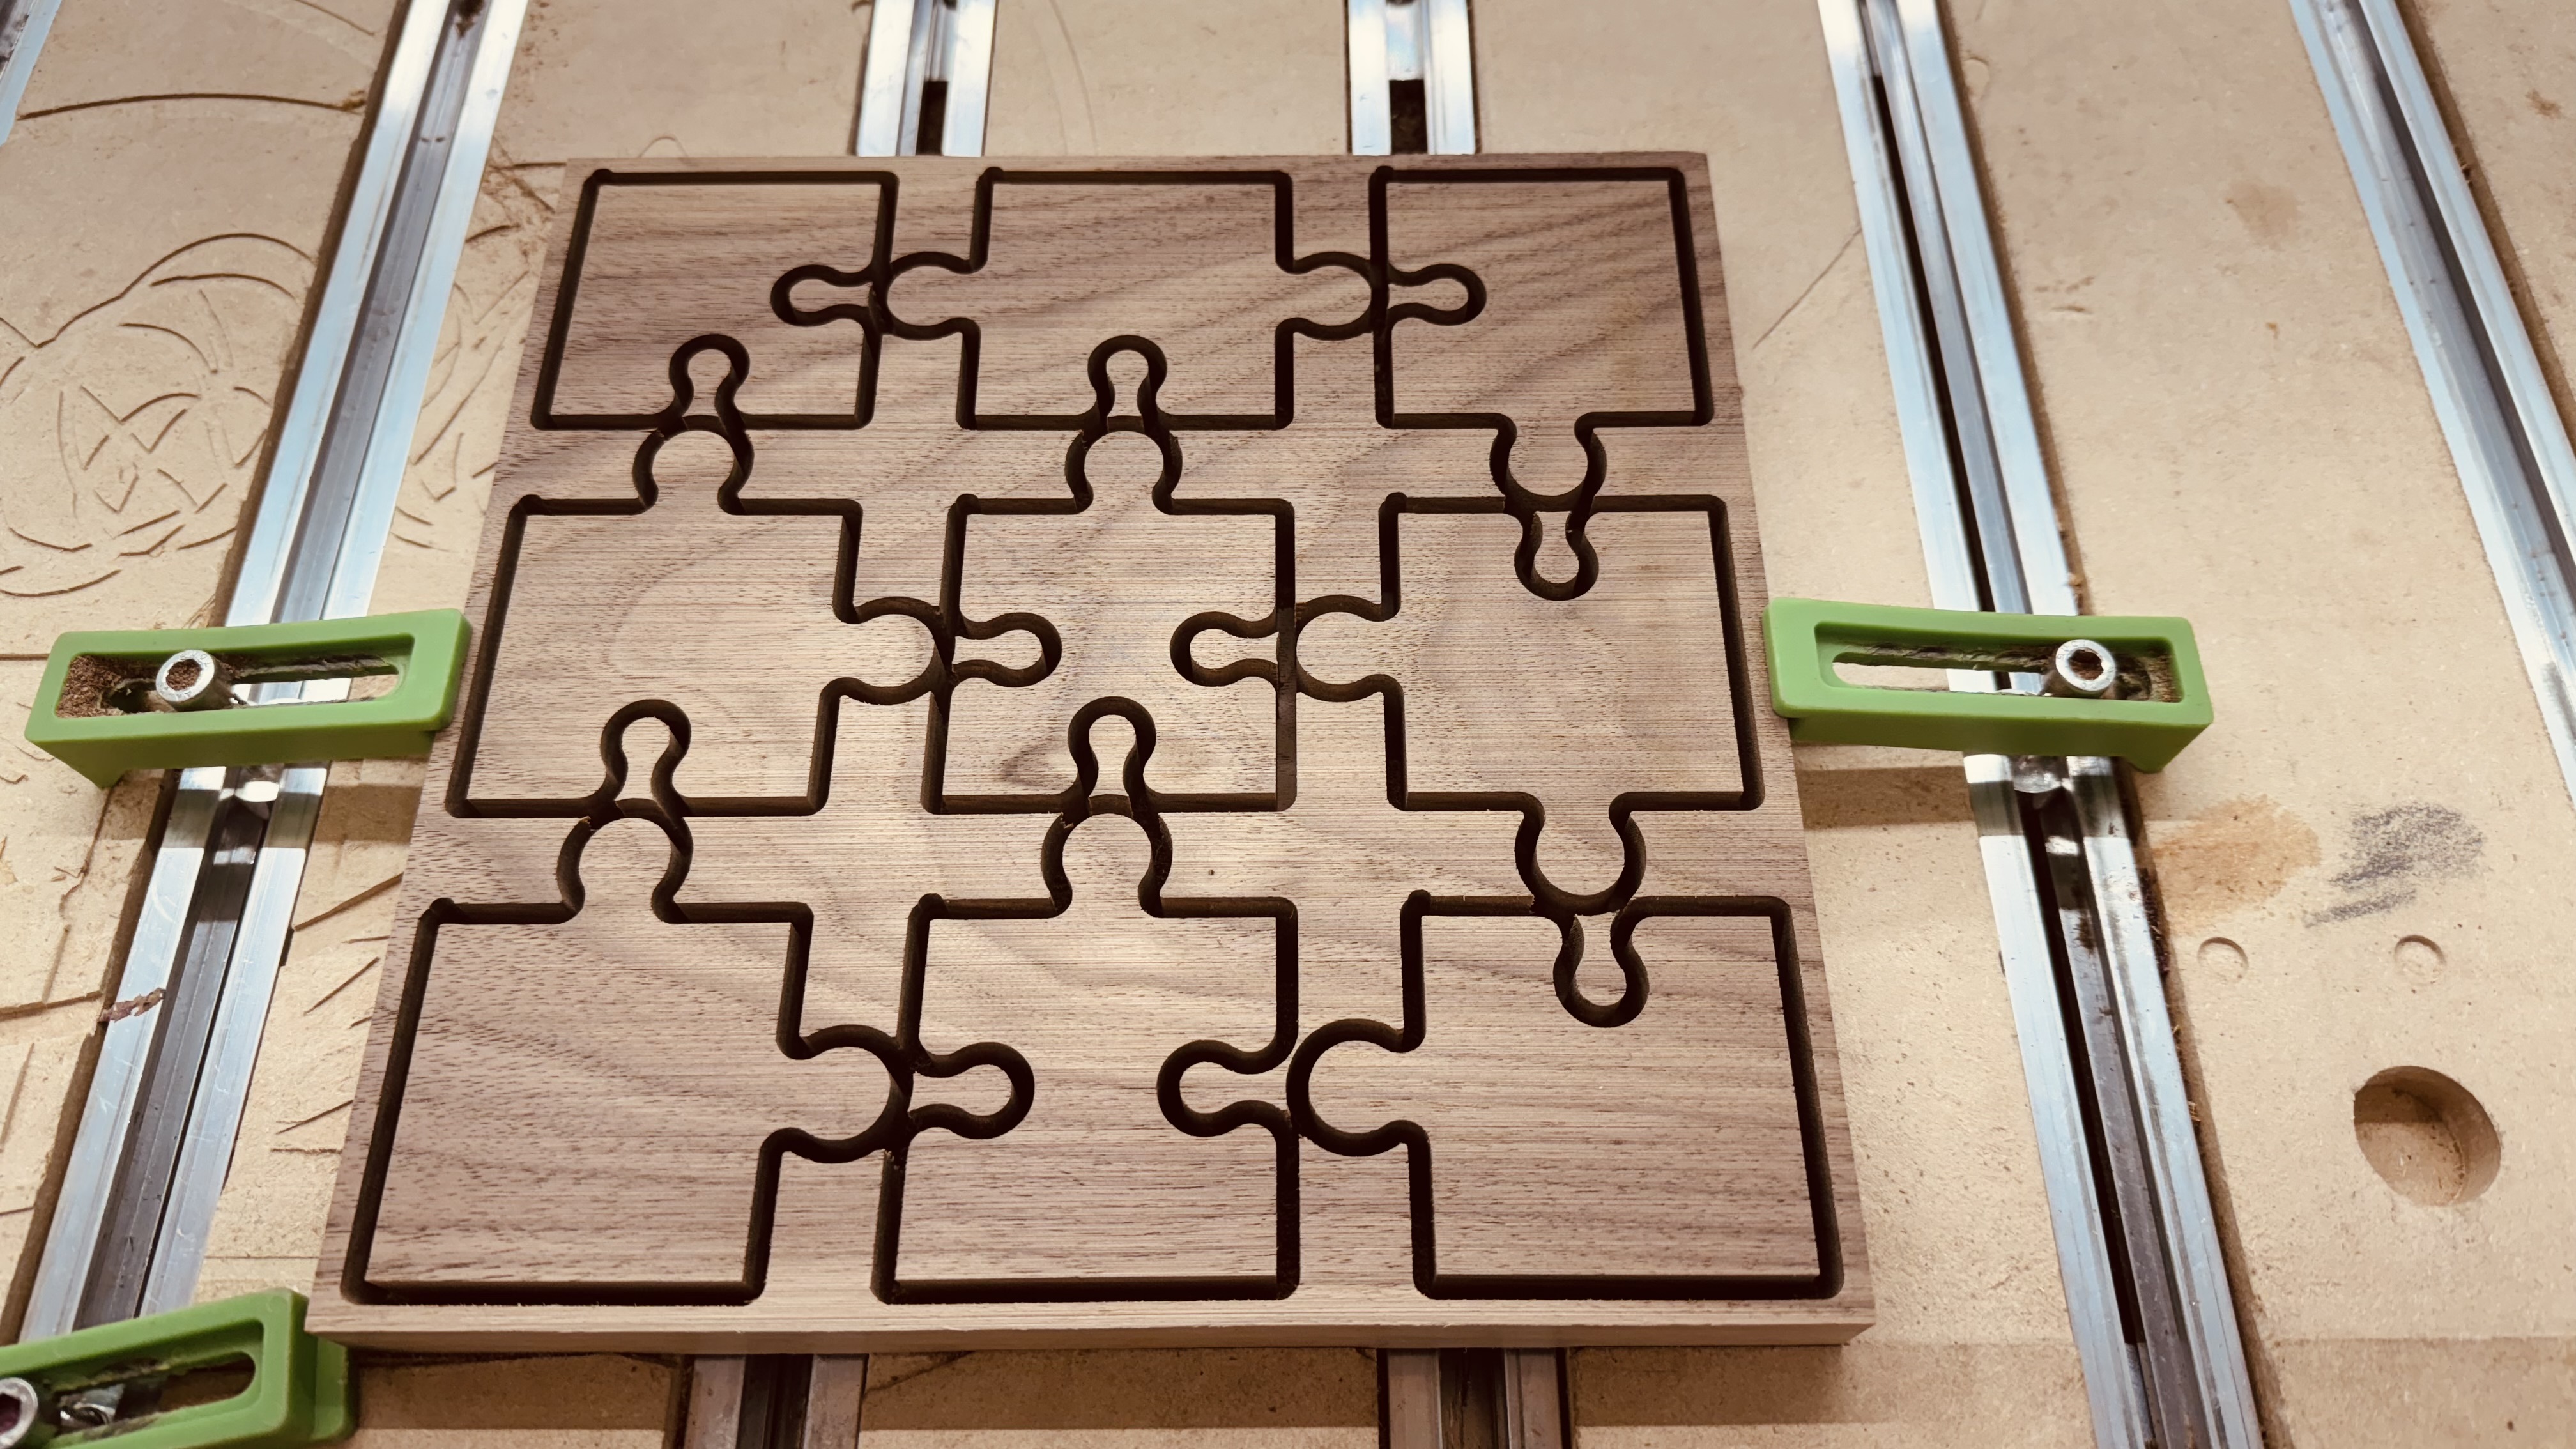
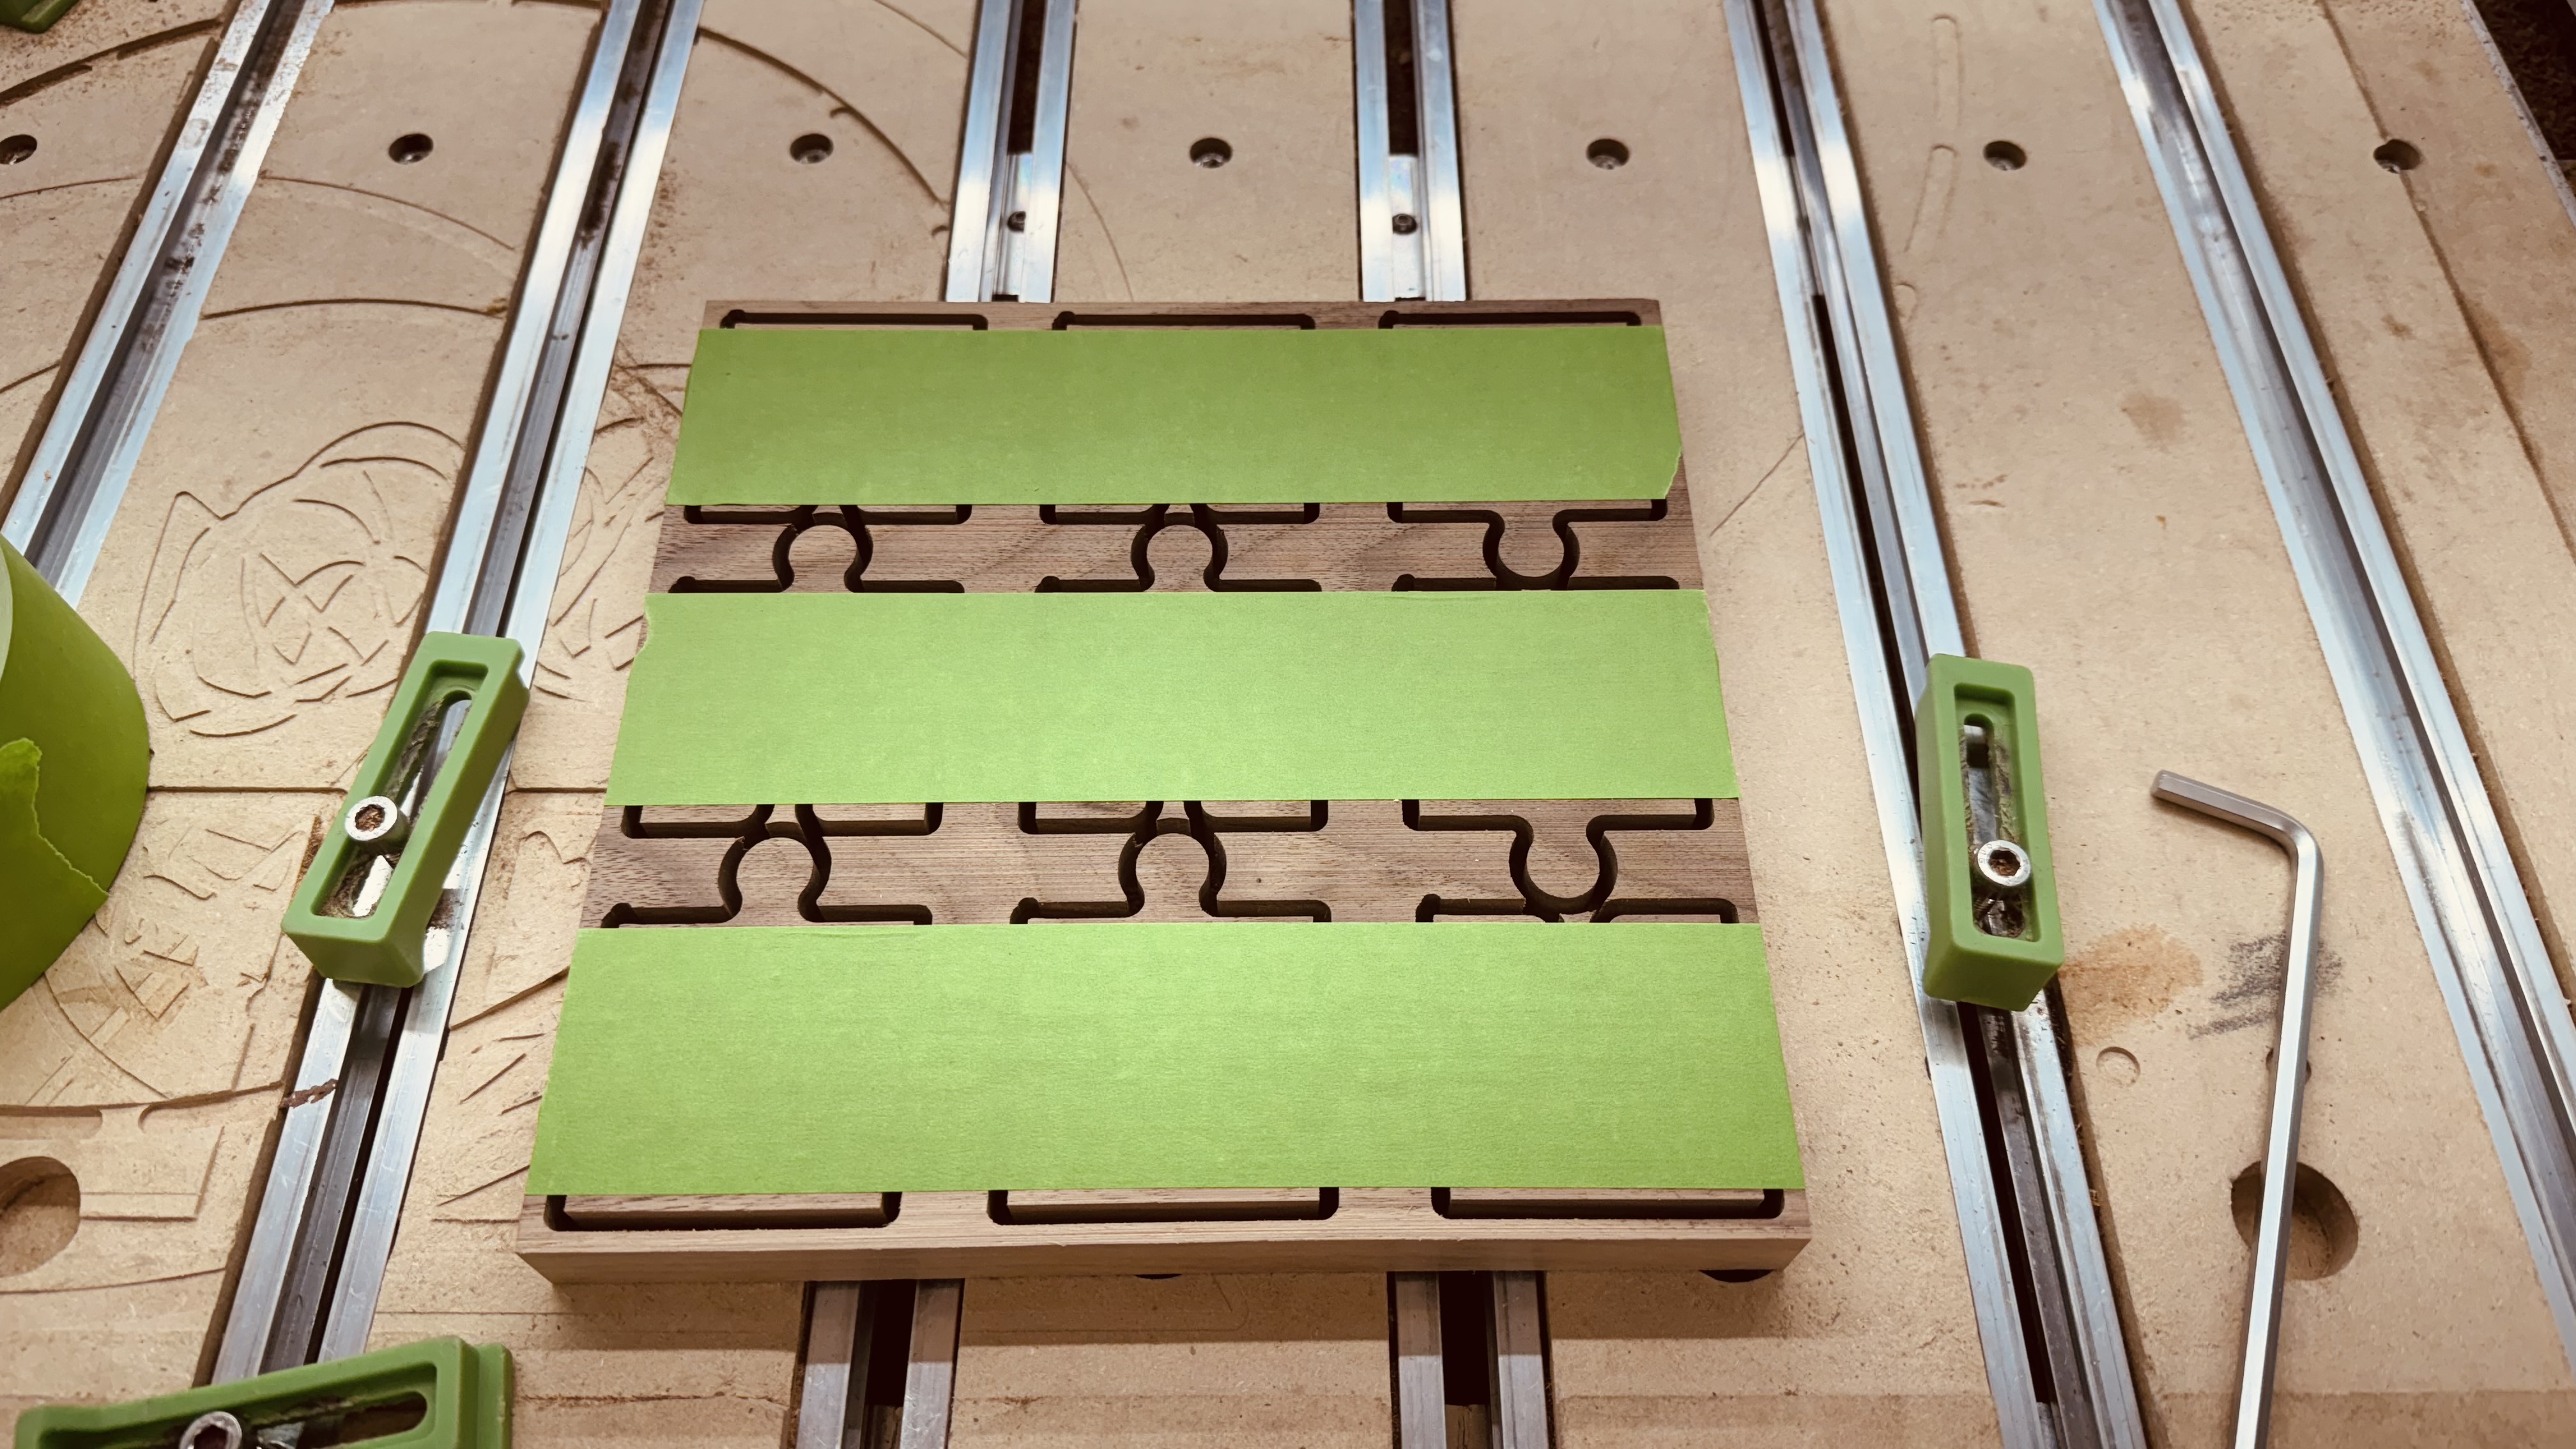
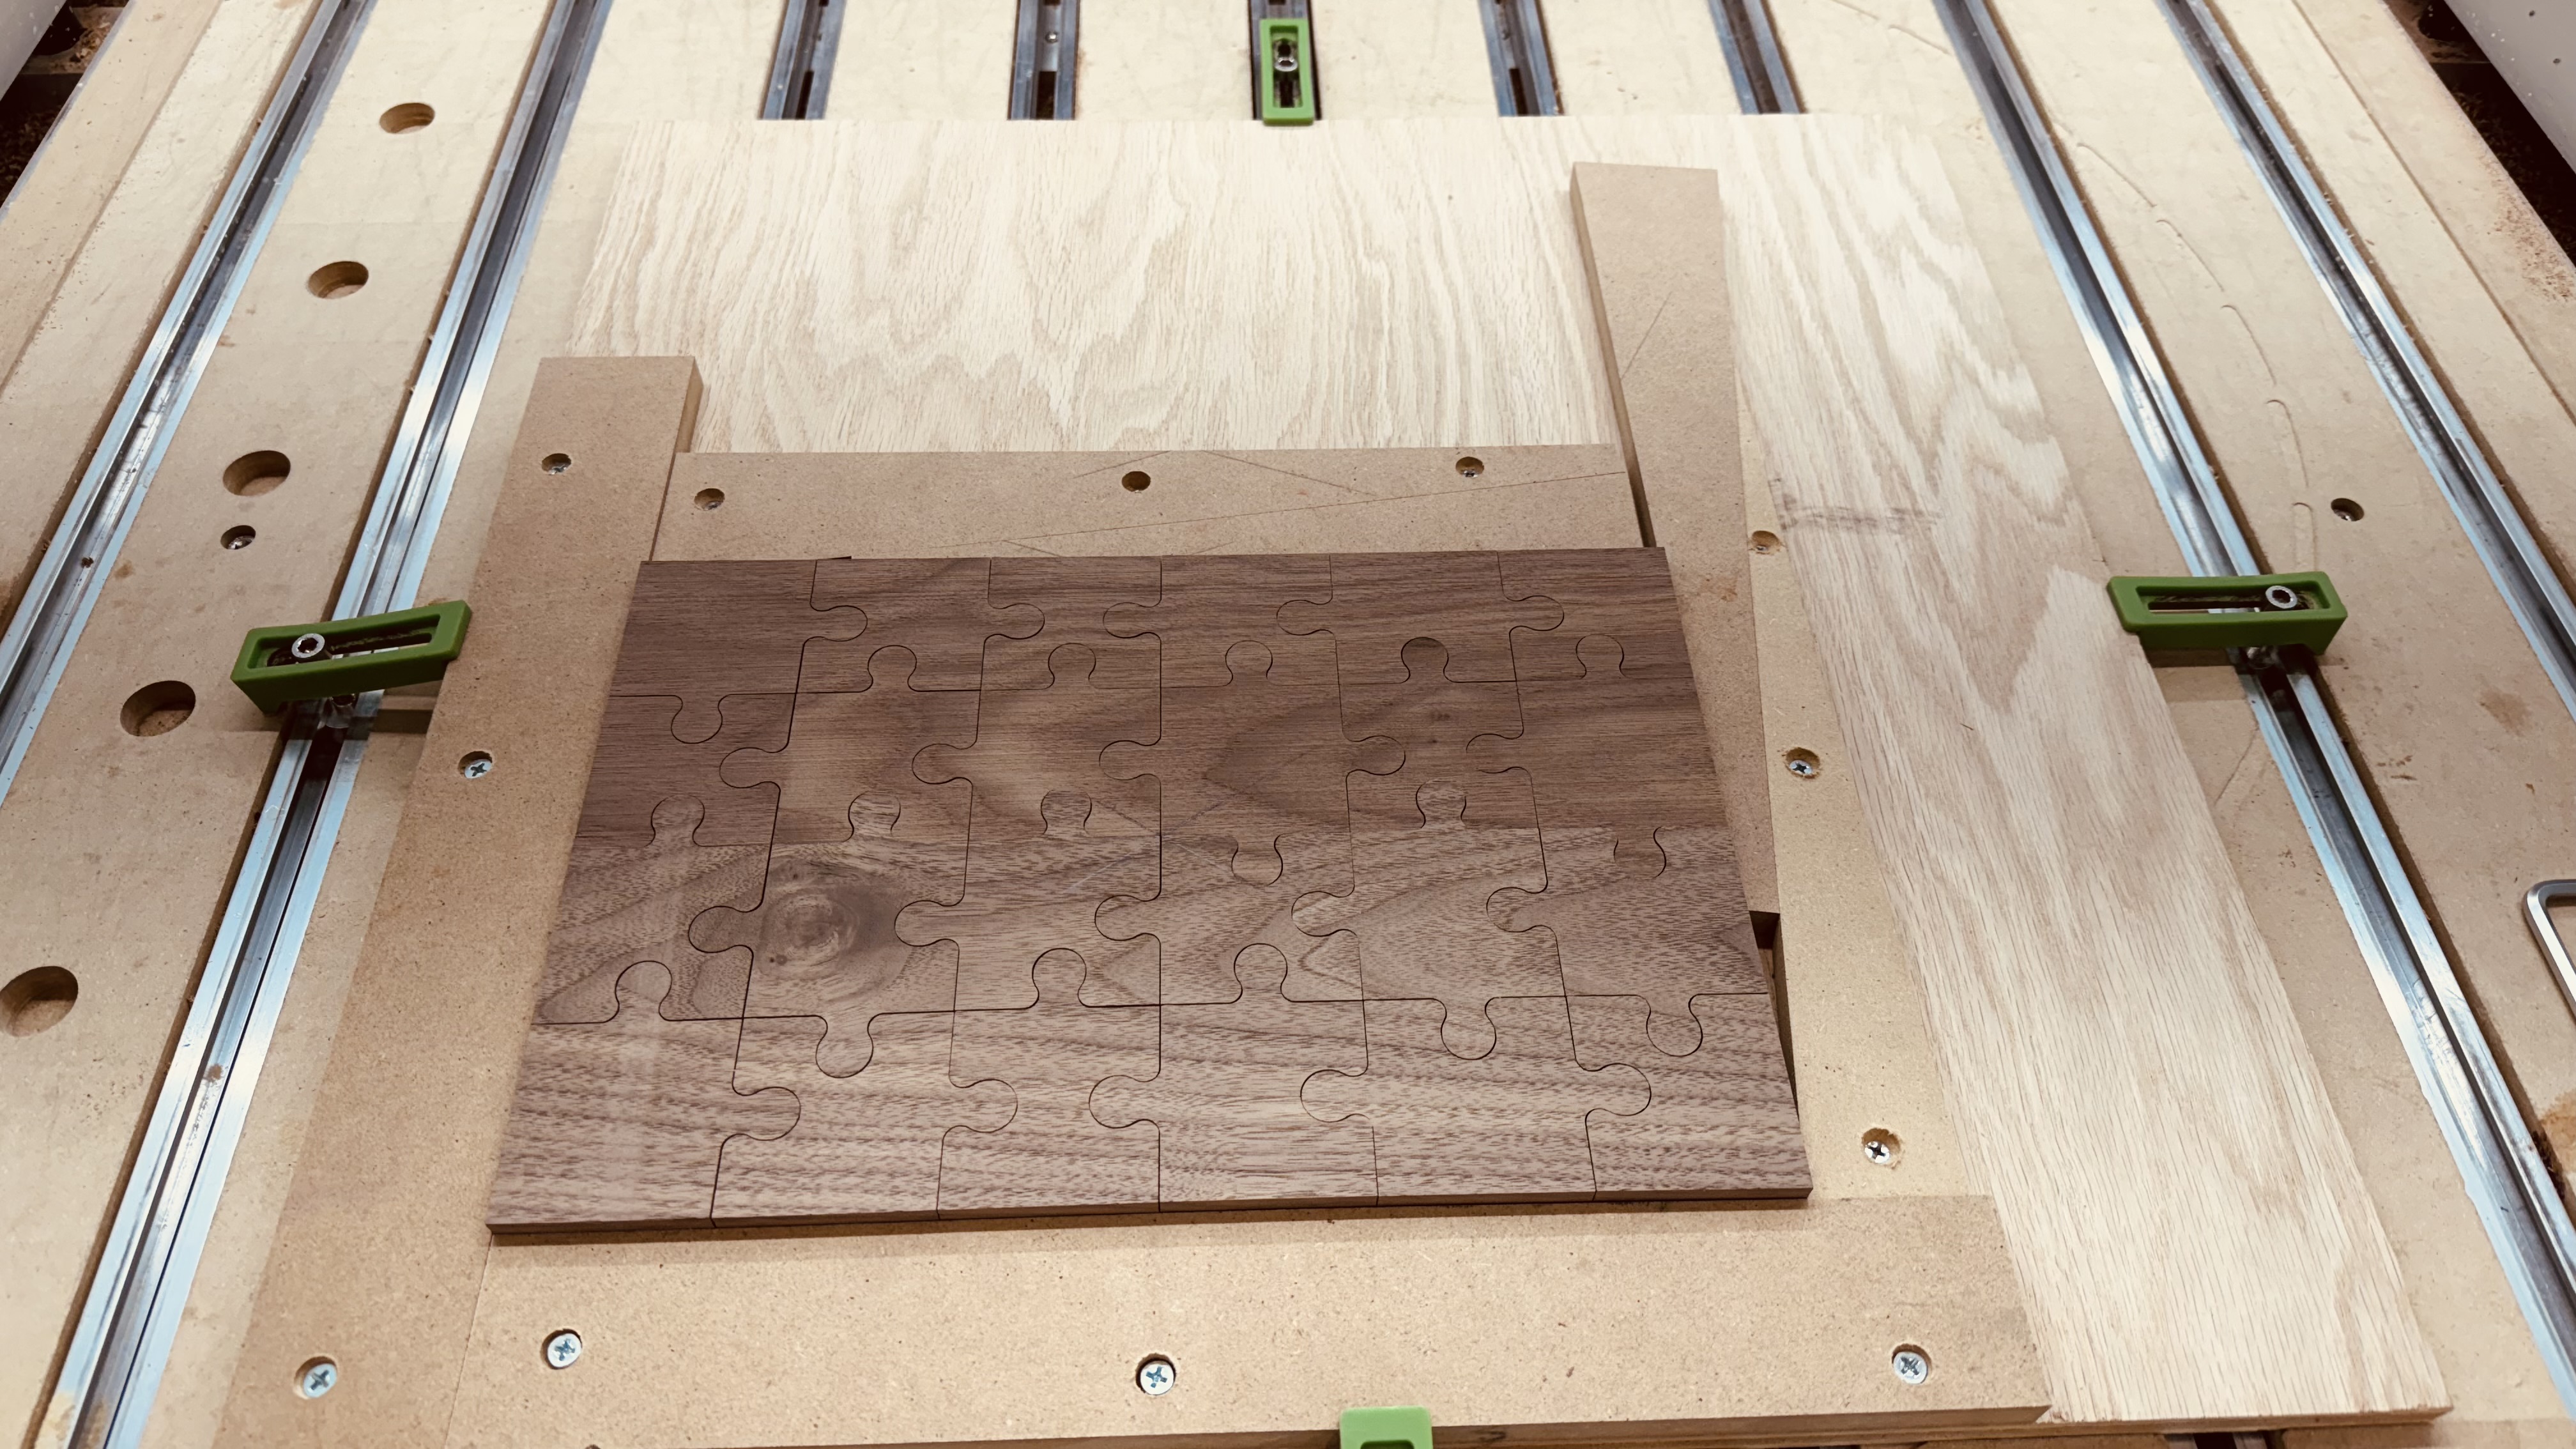
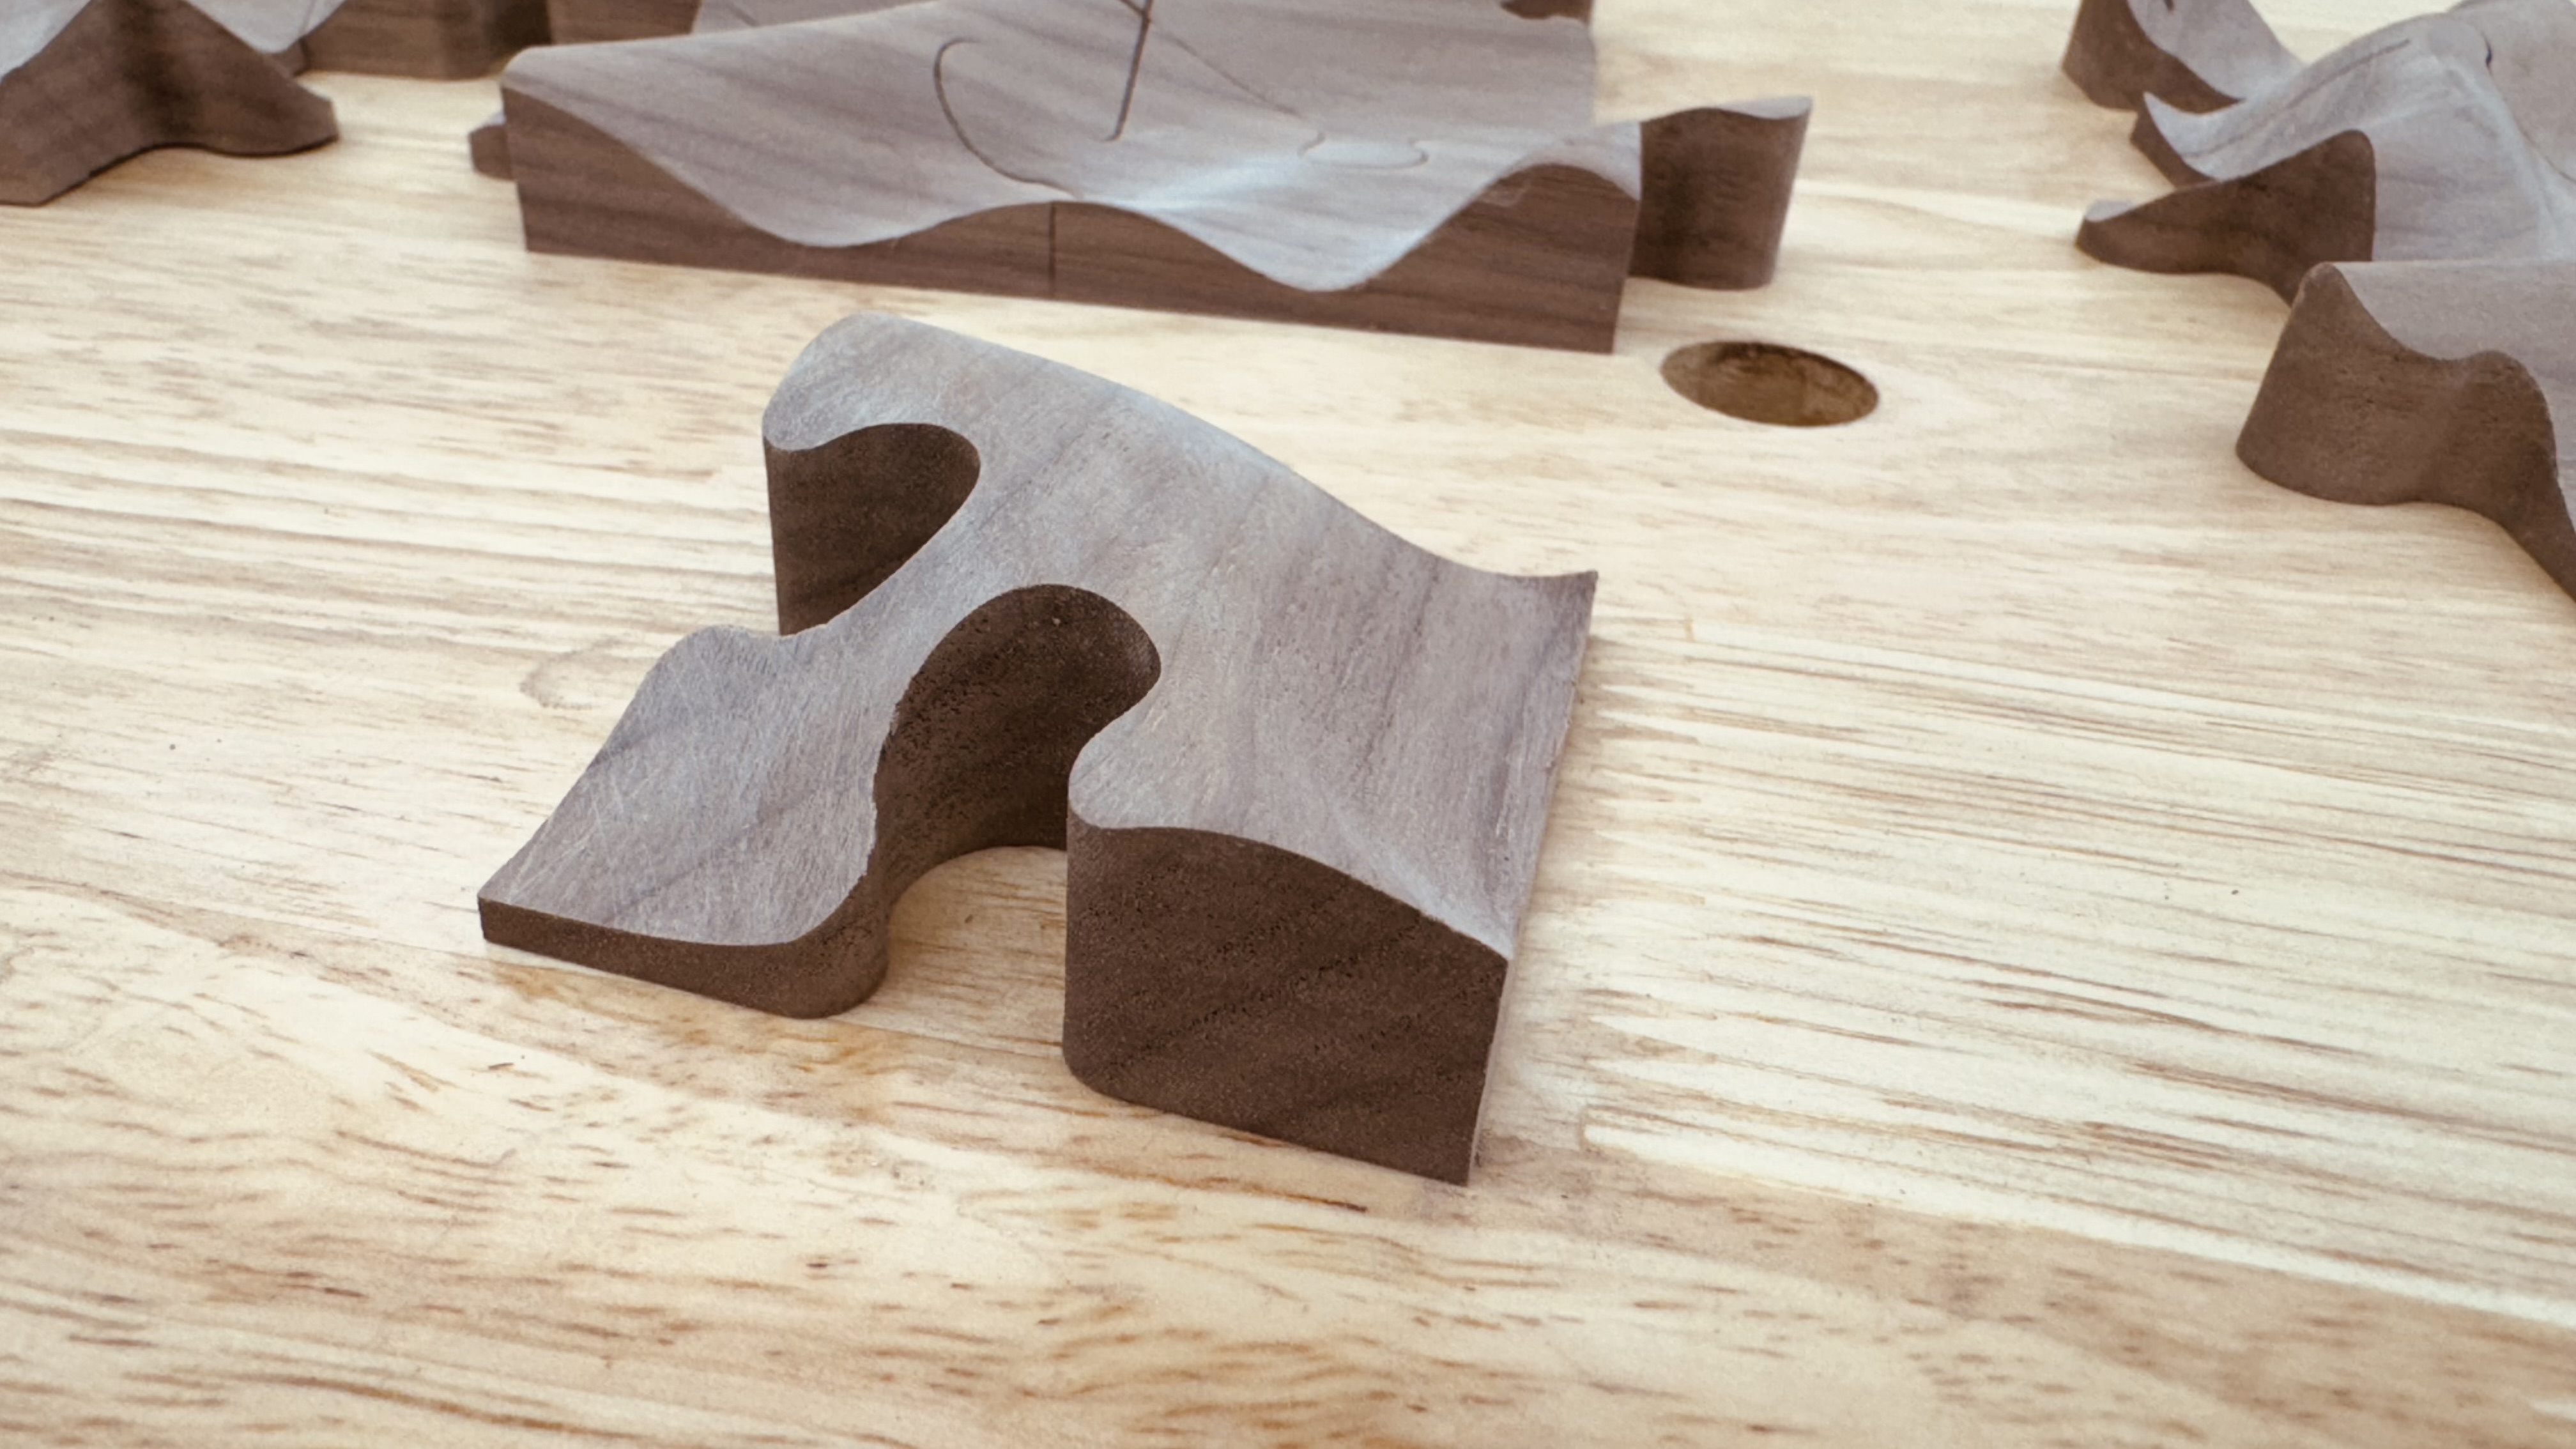
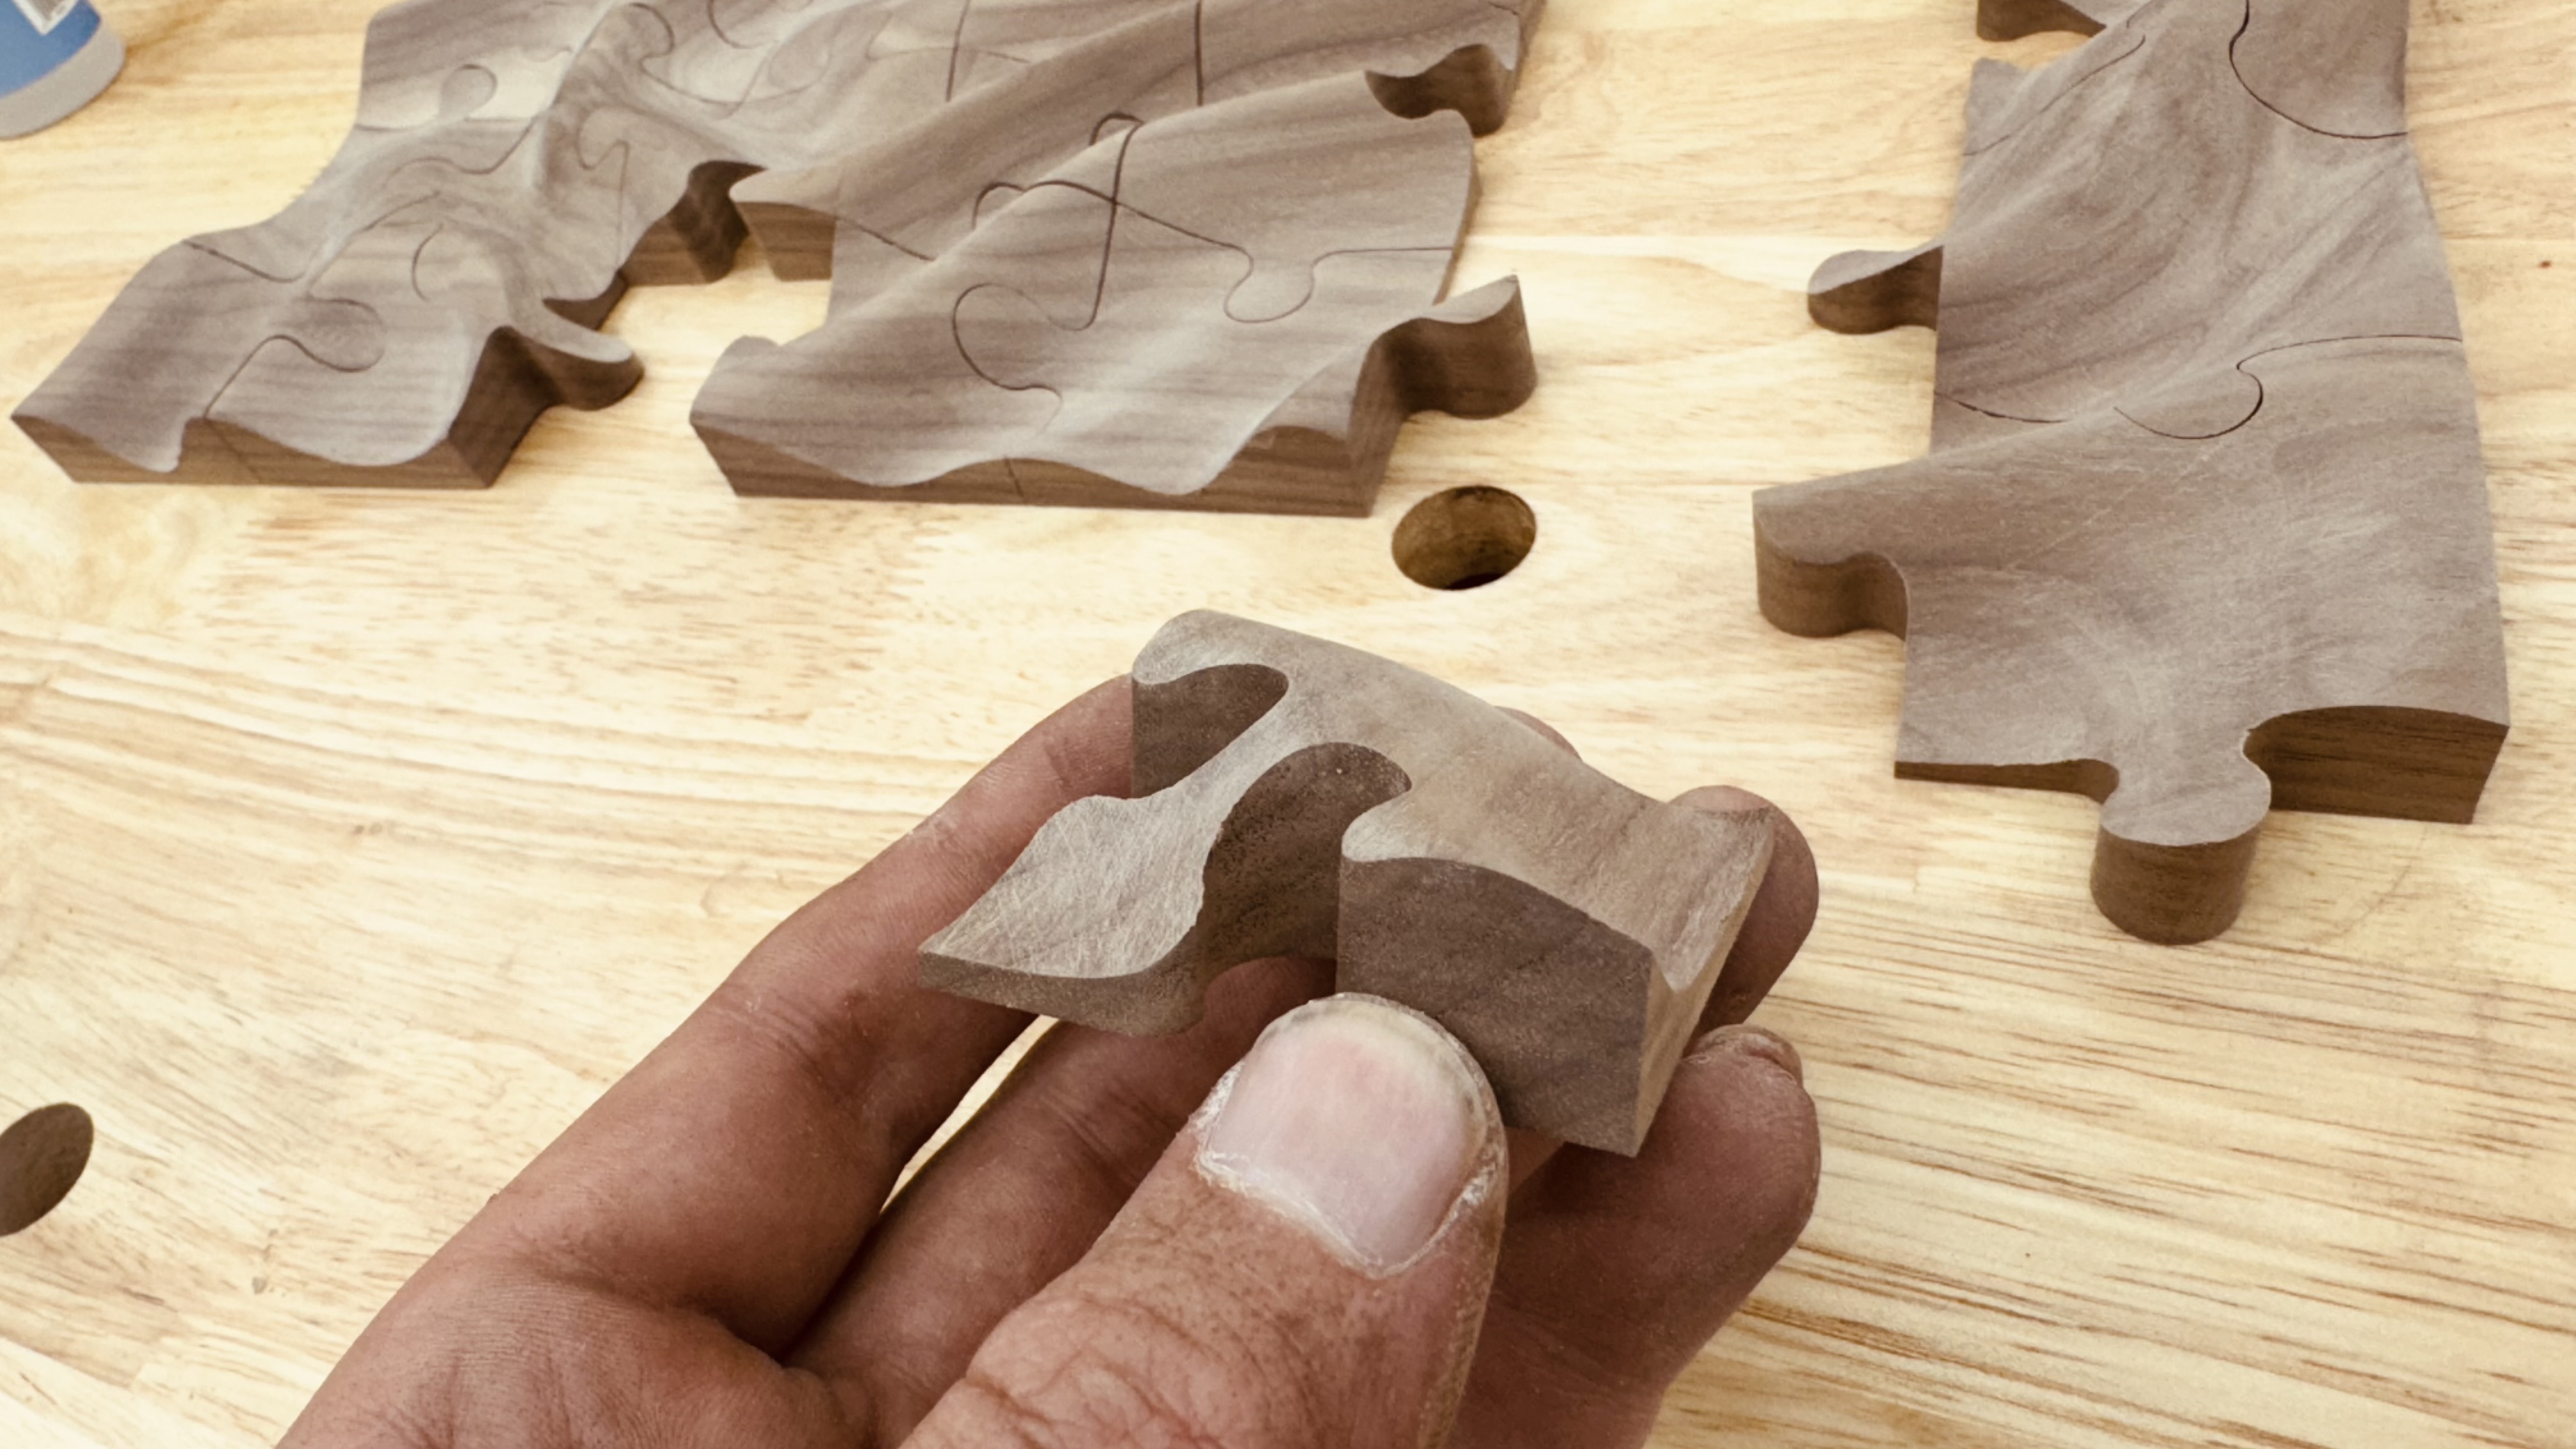
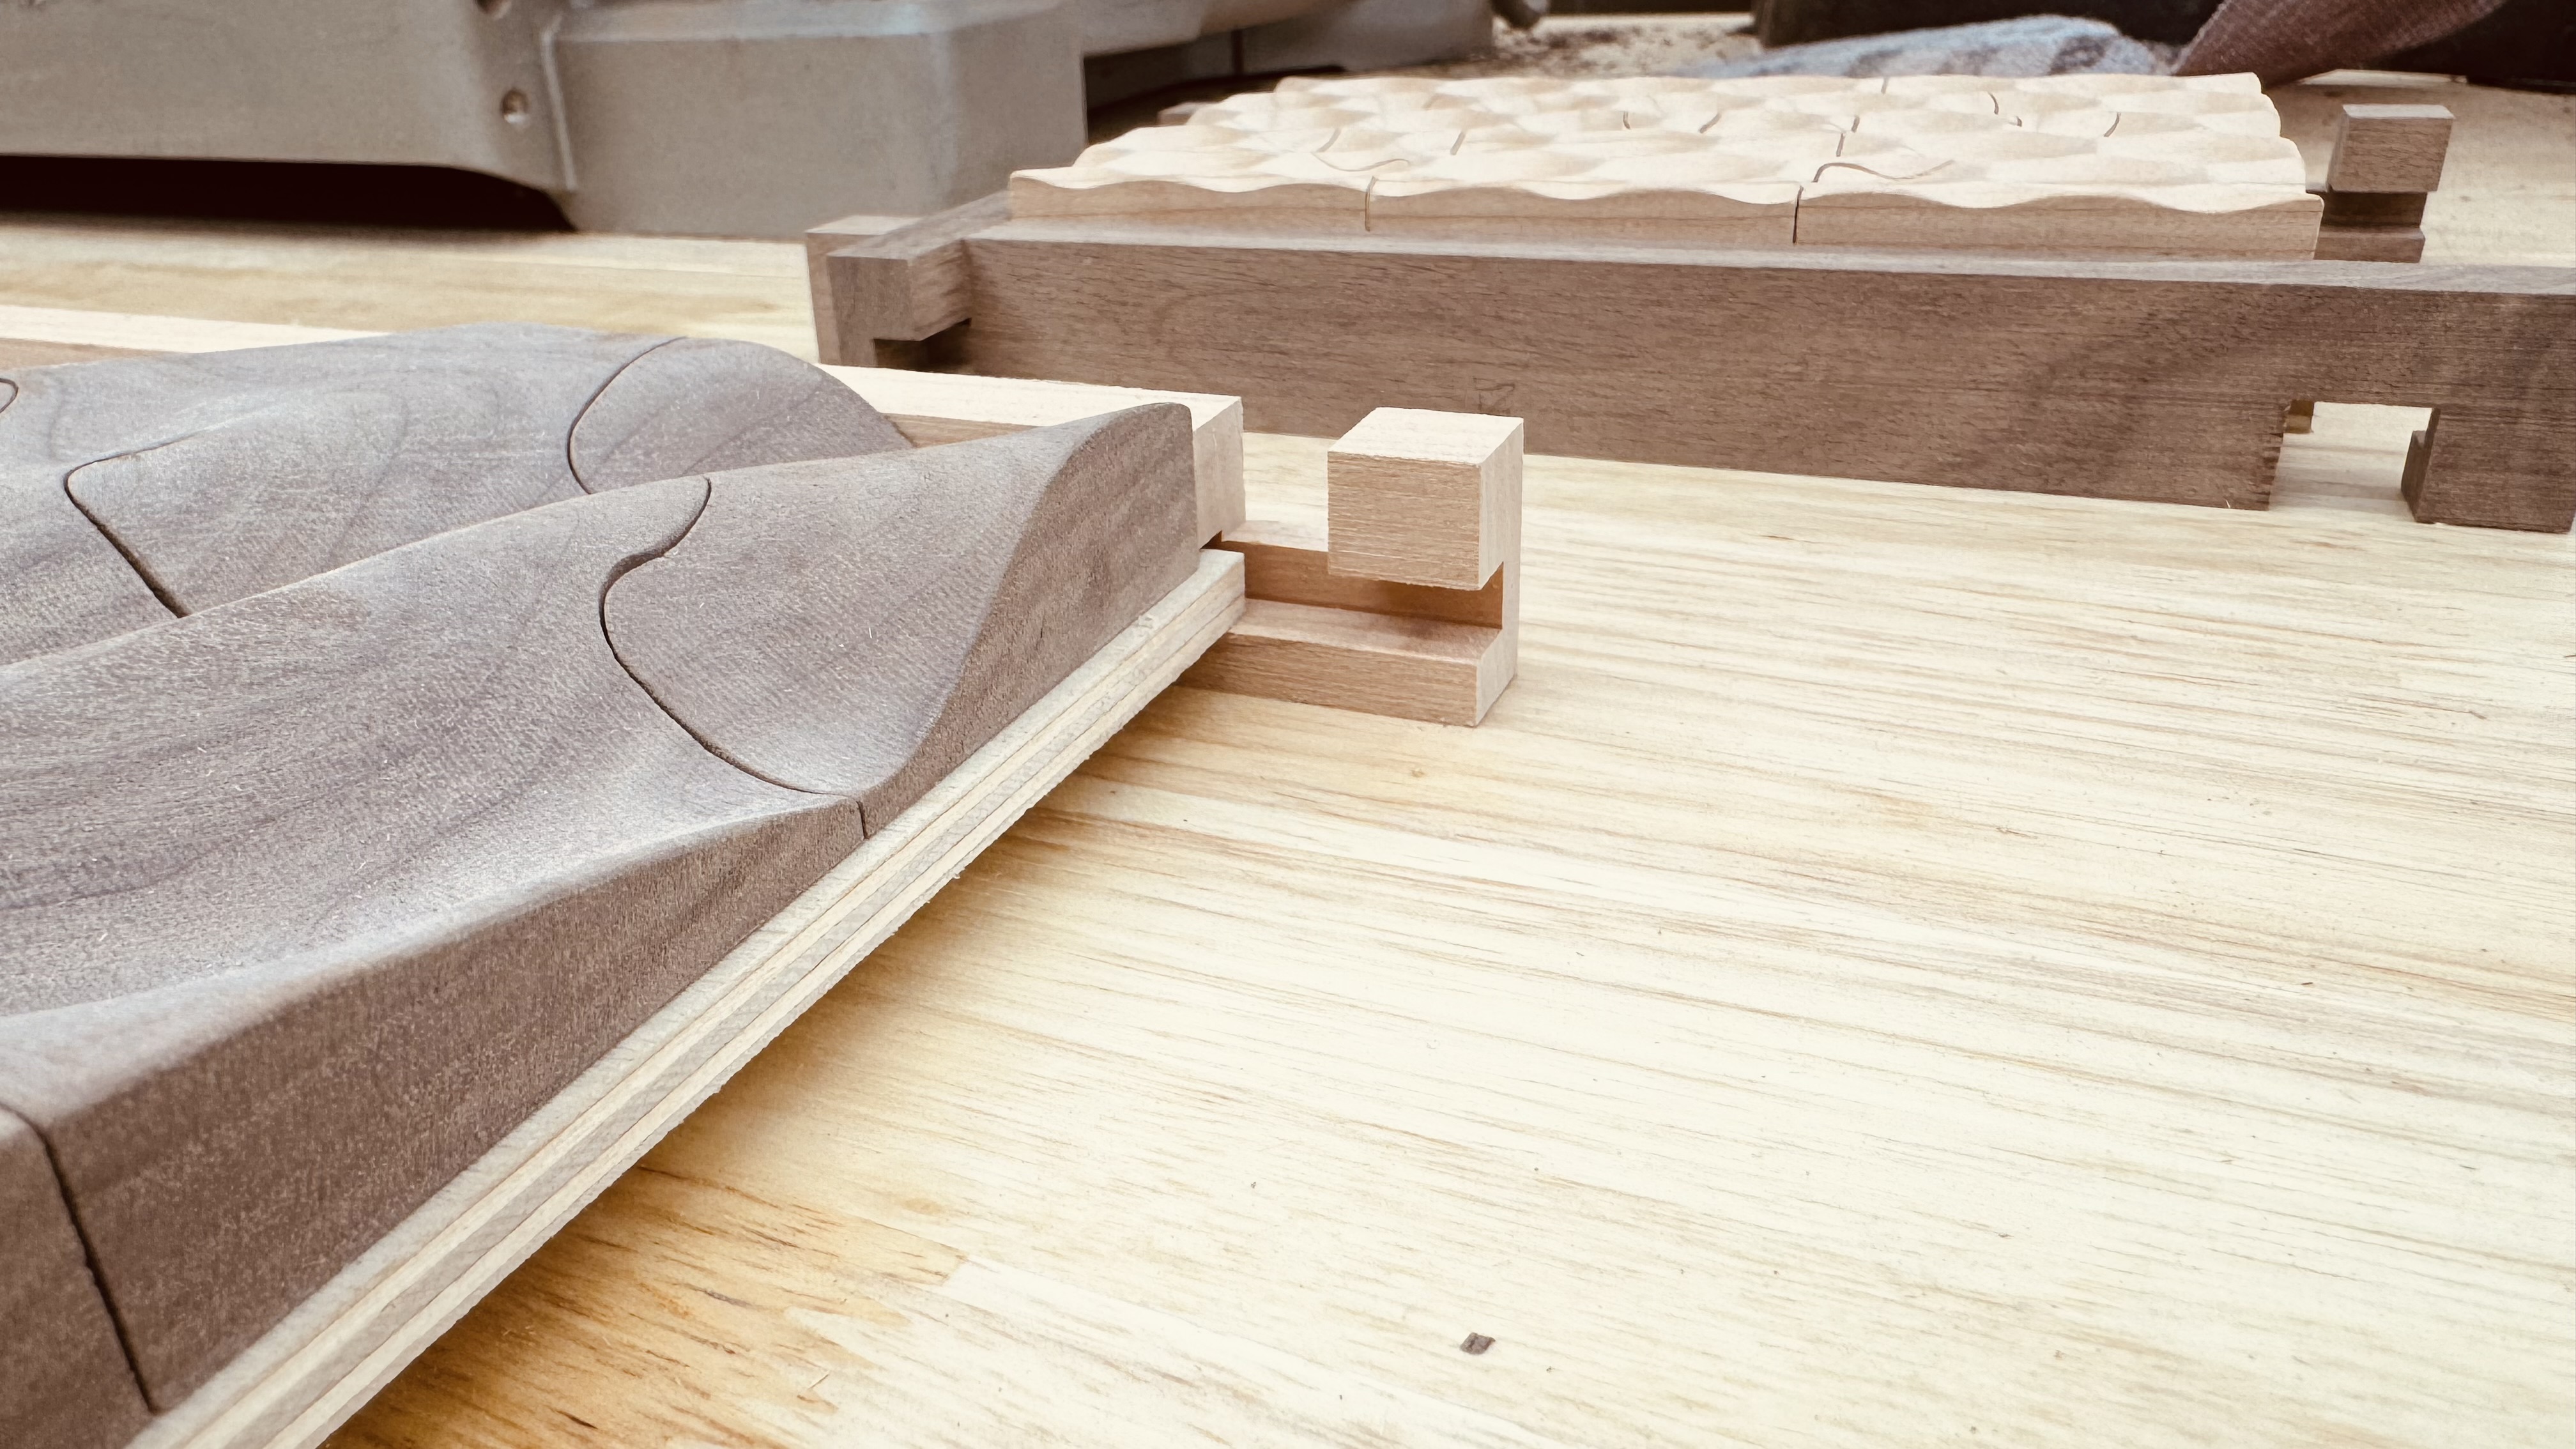
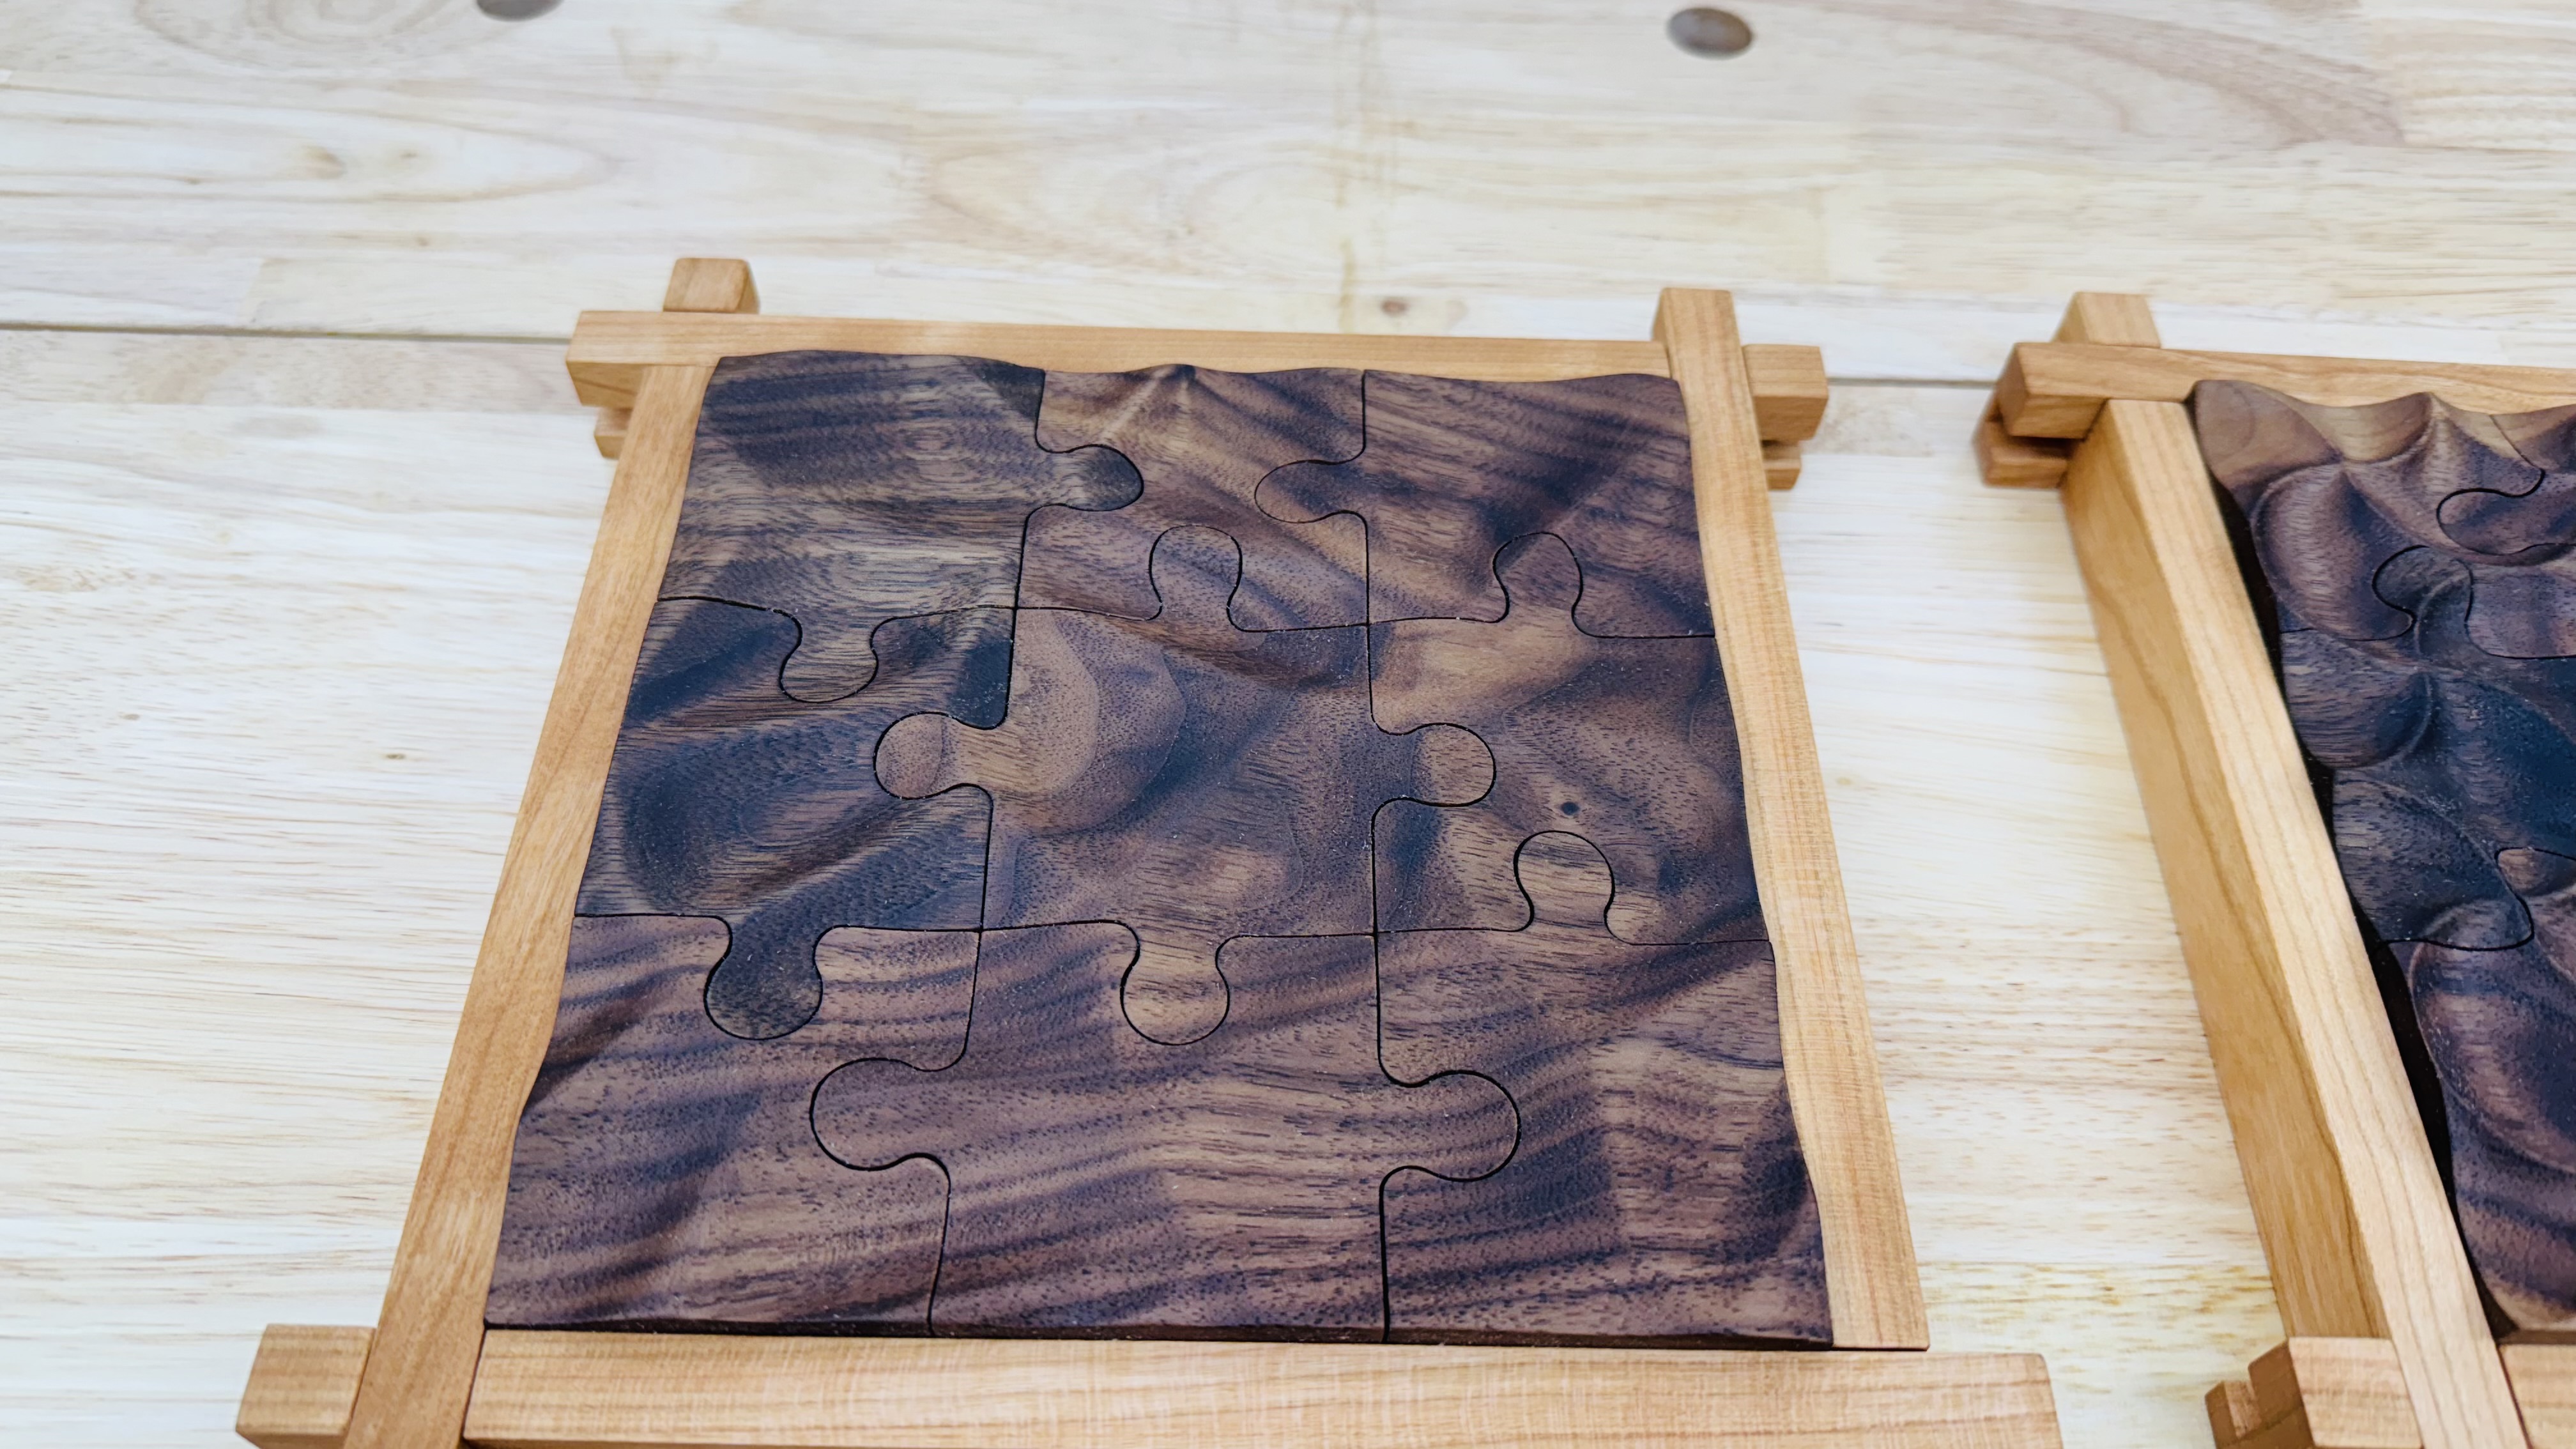
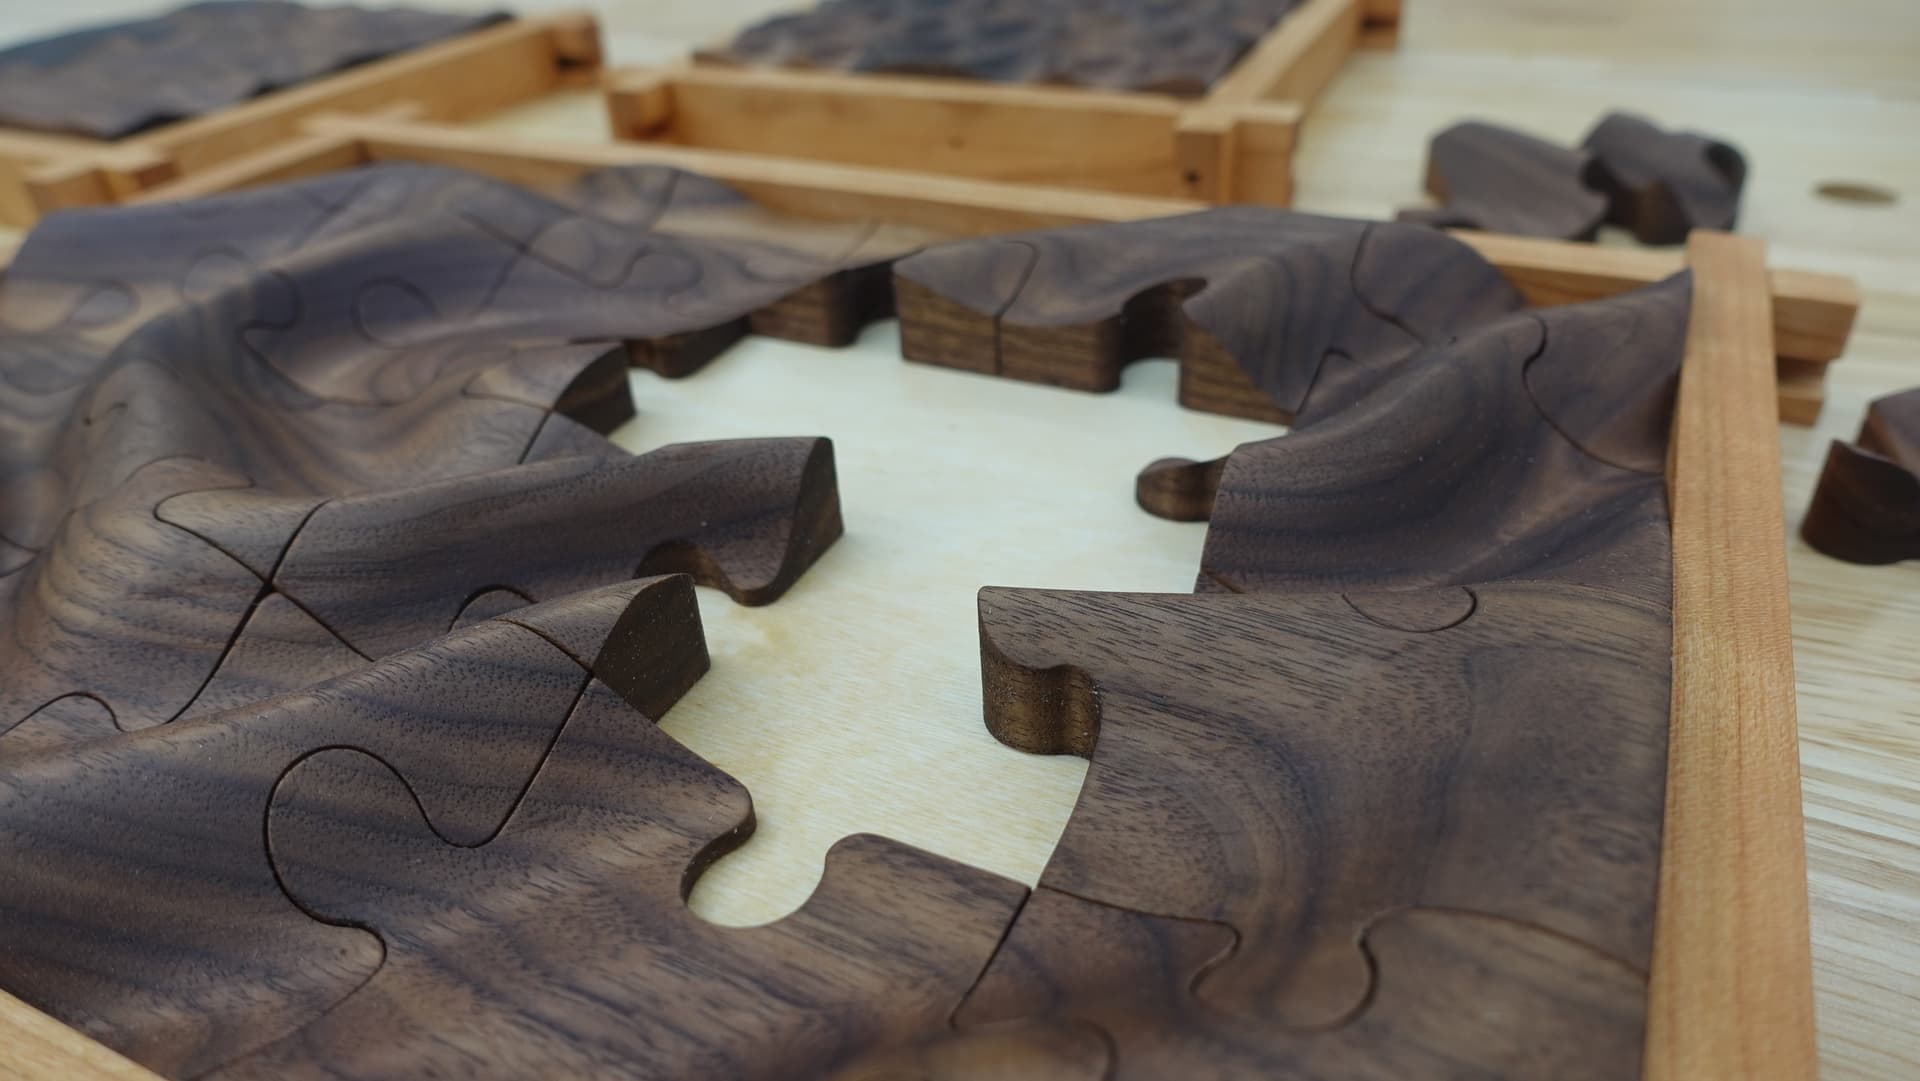
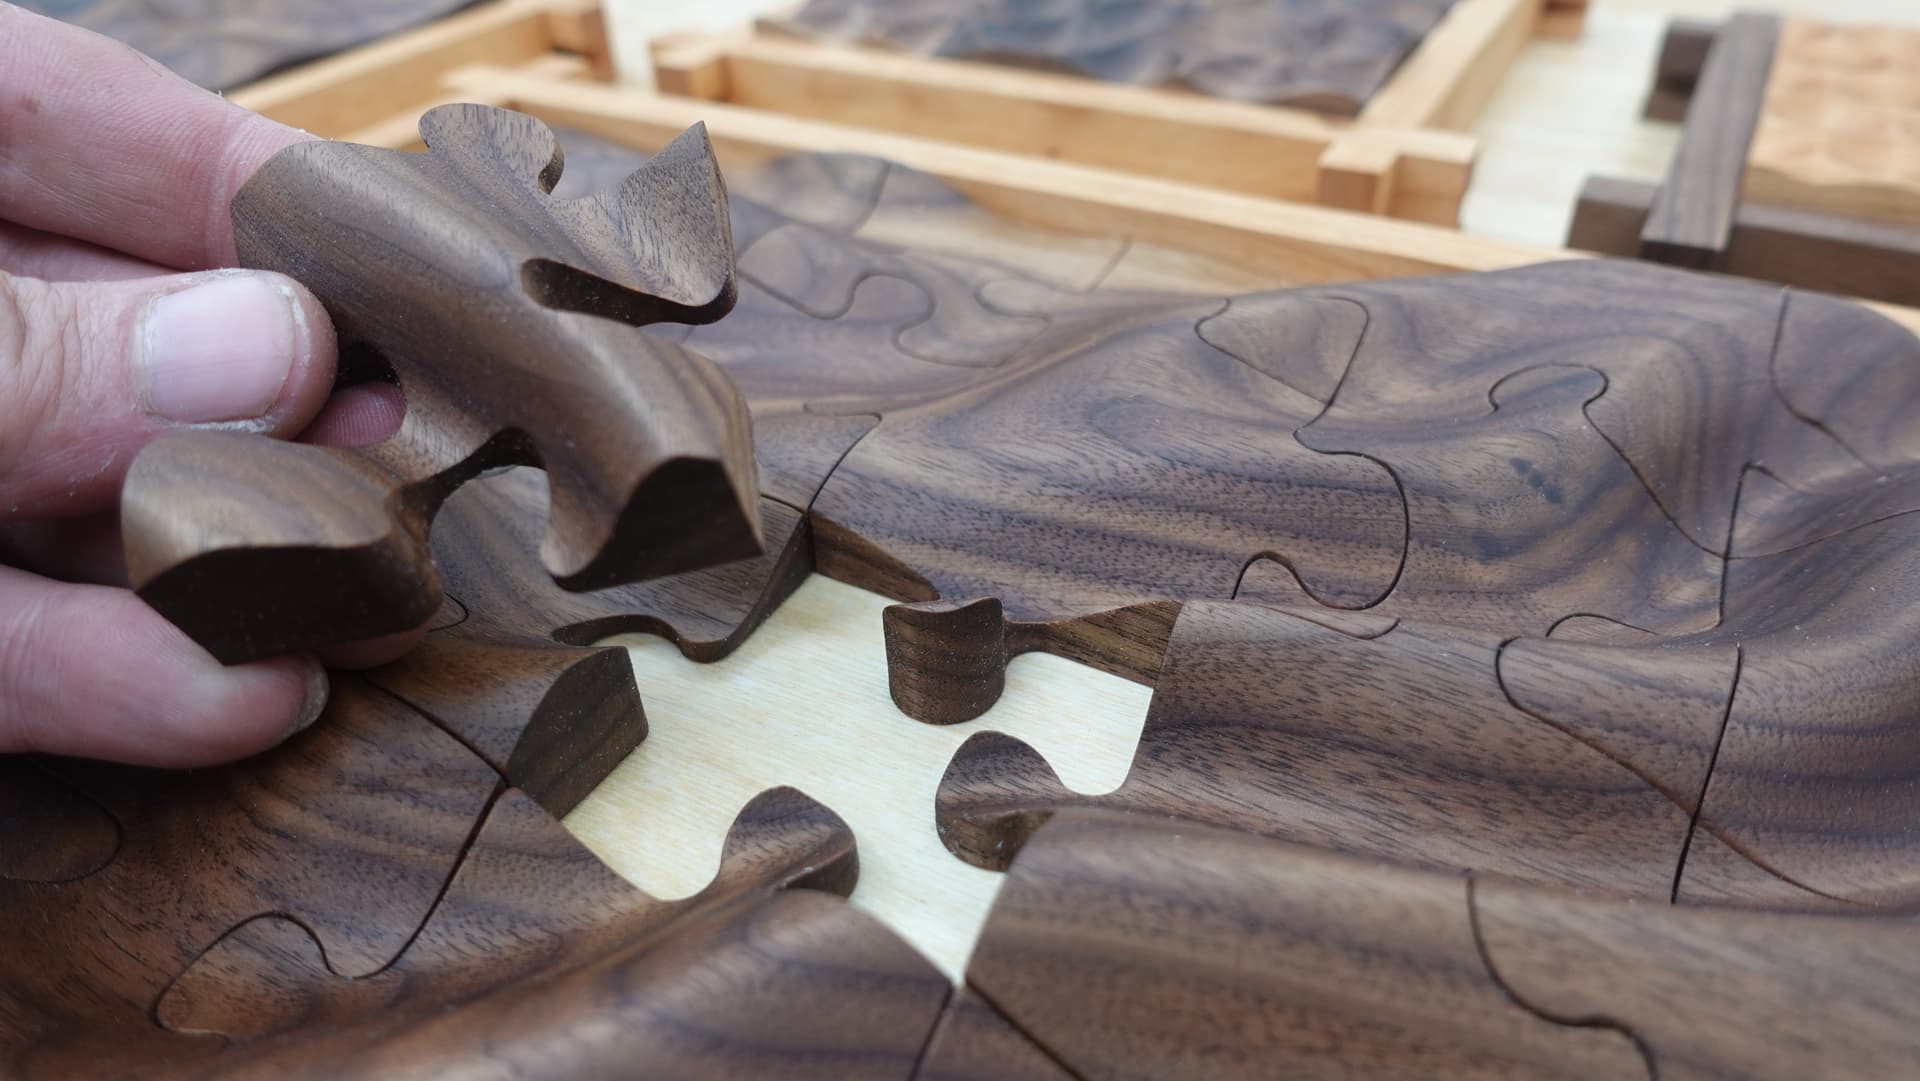
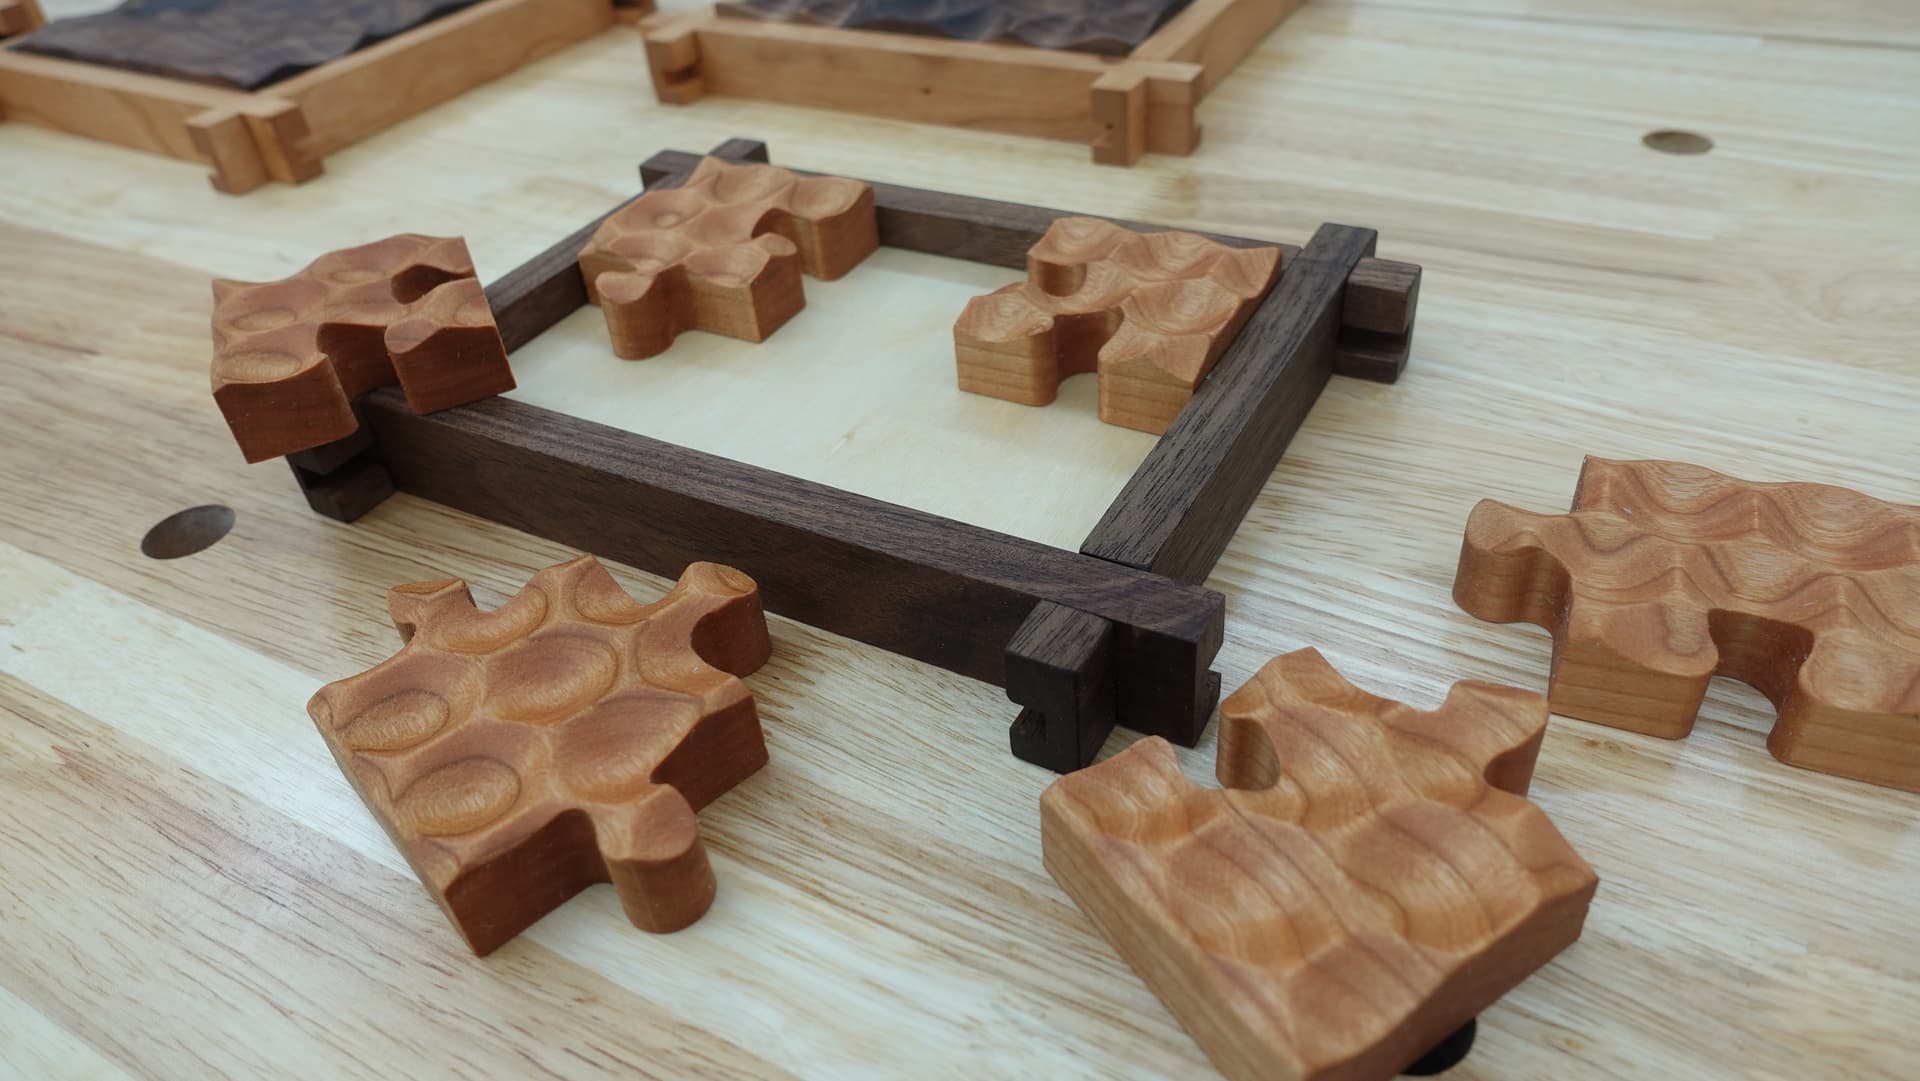
@CrookedWoodTex not worried about the gaps lining up, I’m mostly worried about movement for each individual piece when I start putting the profile in. I ended up making a jig to snuggly hold the piece in the machine. The gap is super tiny, so as long as it’s close, the profiles will automatically align.
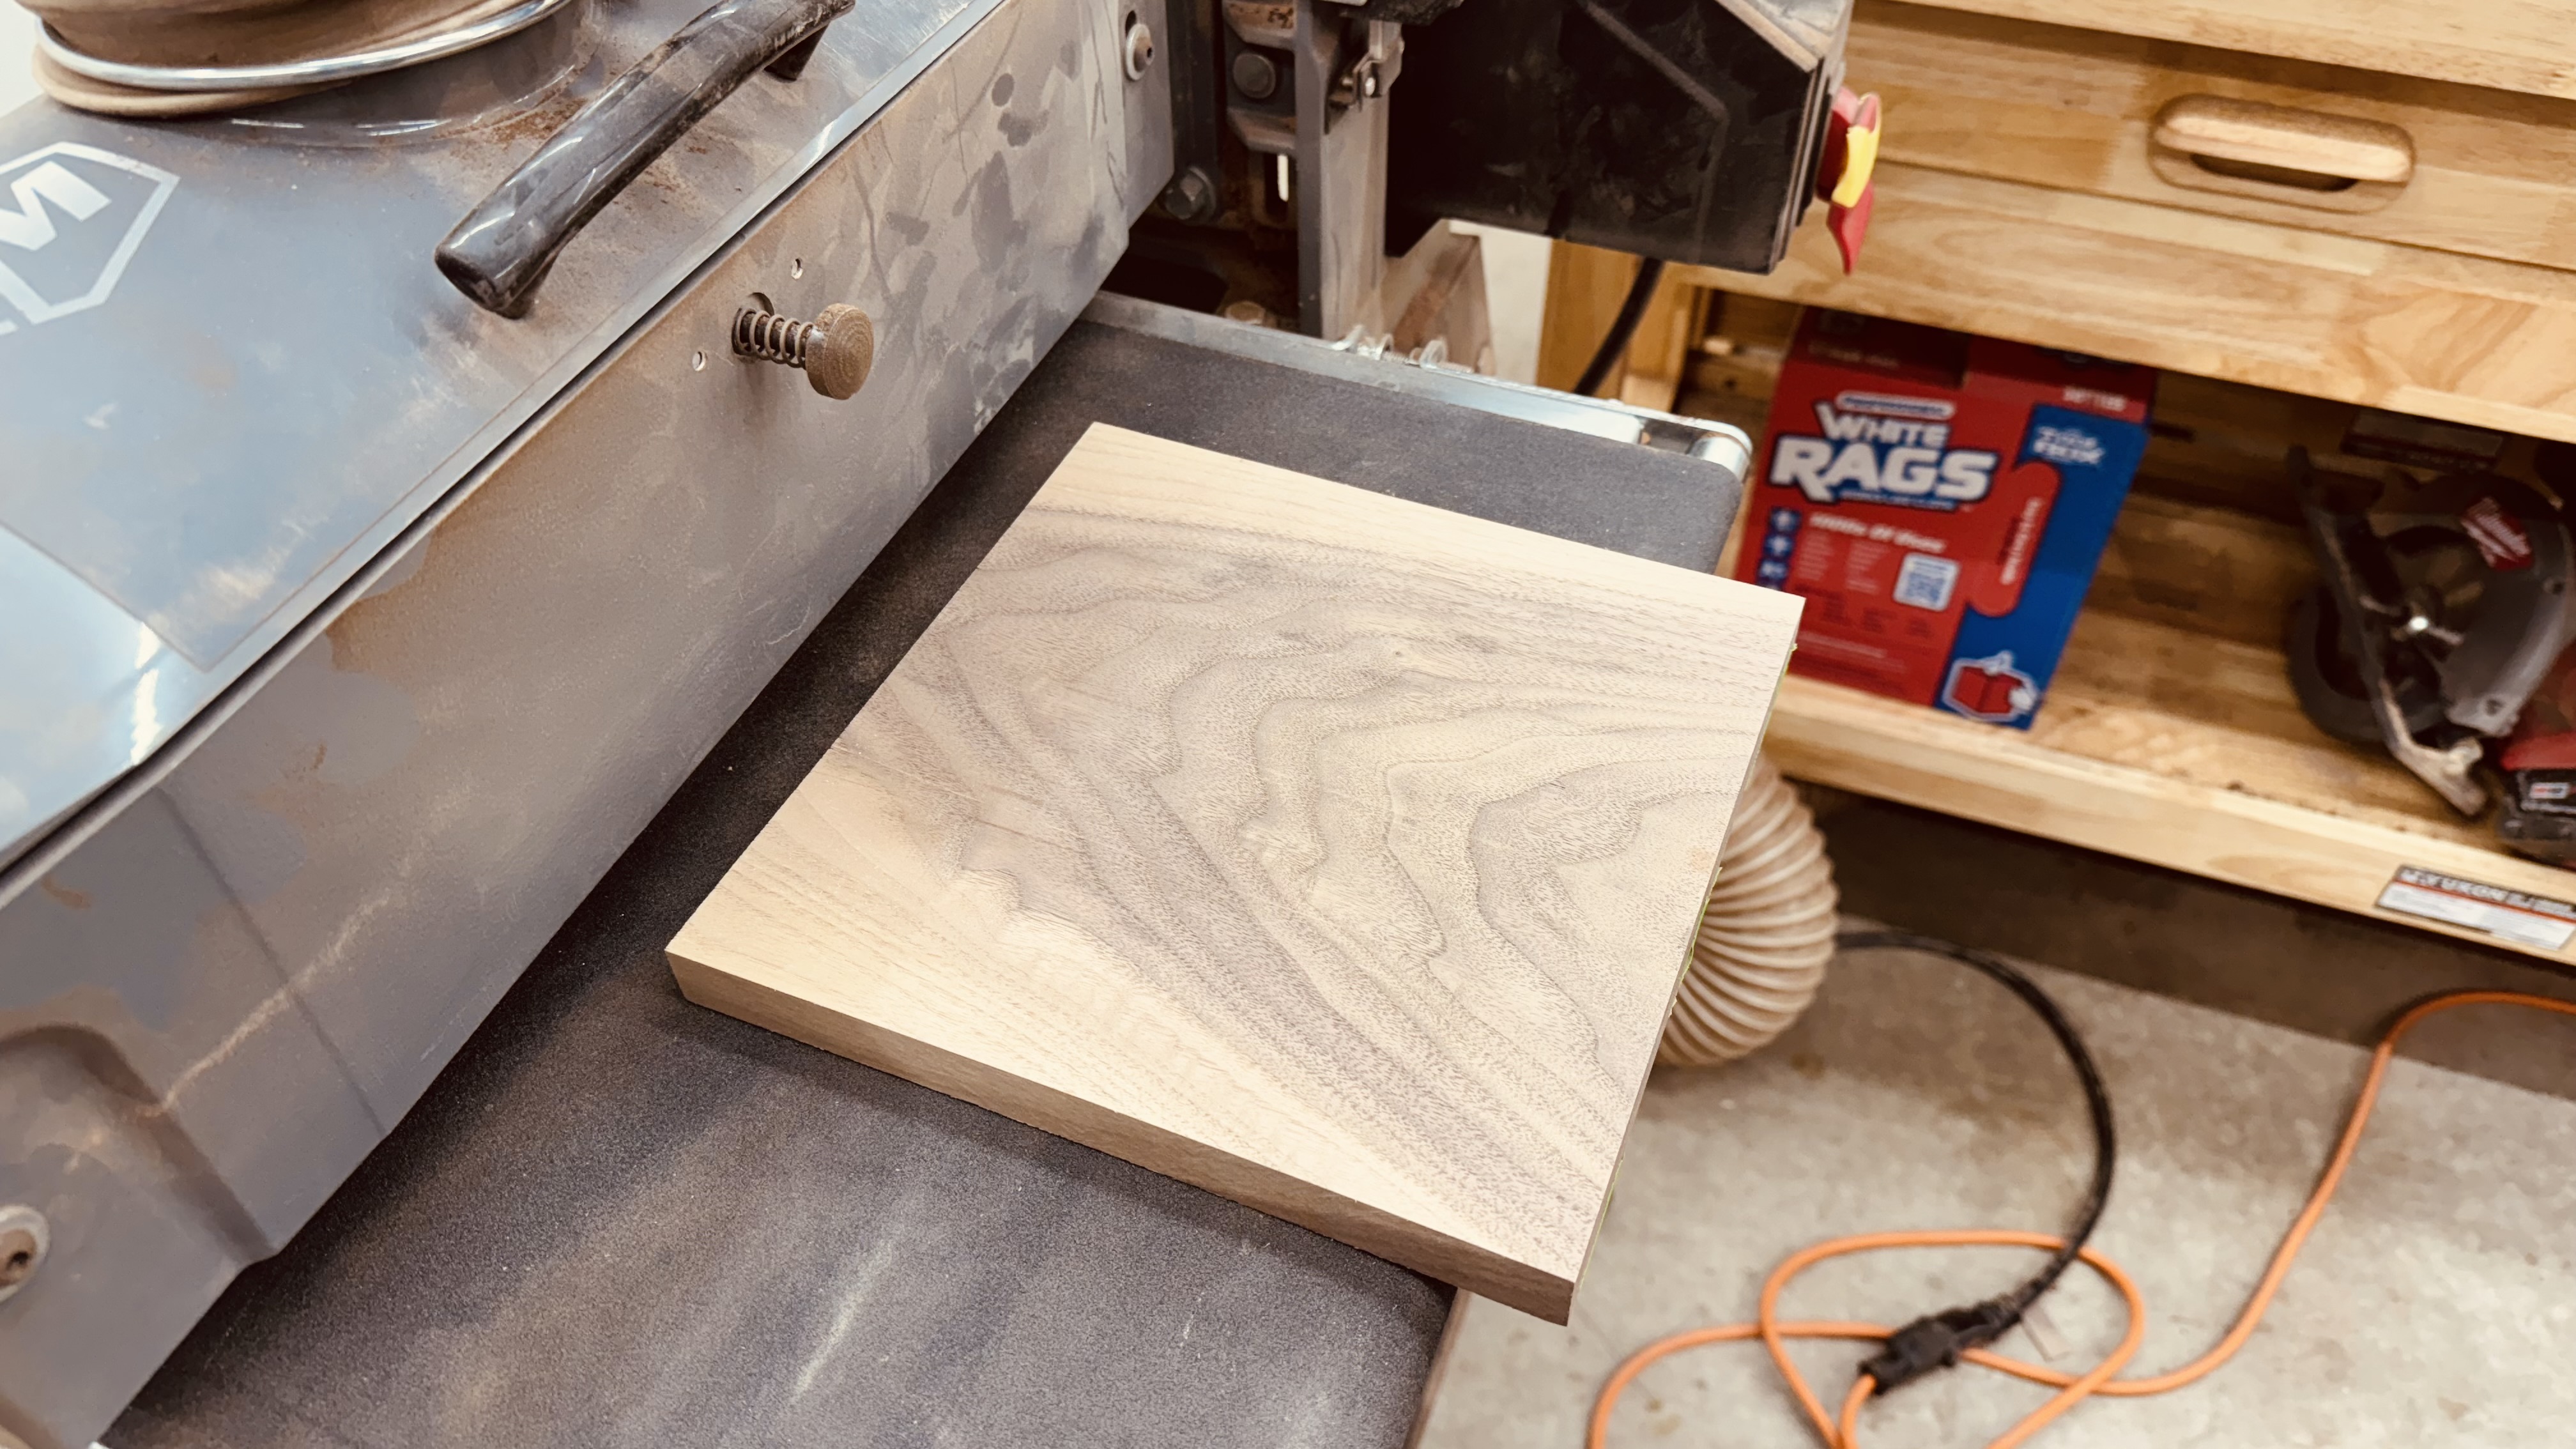
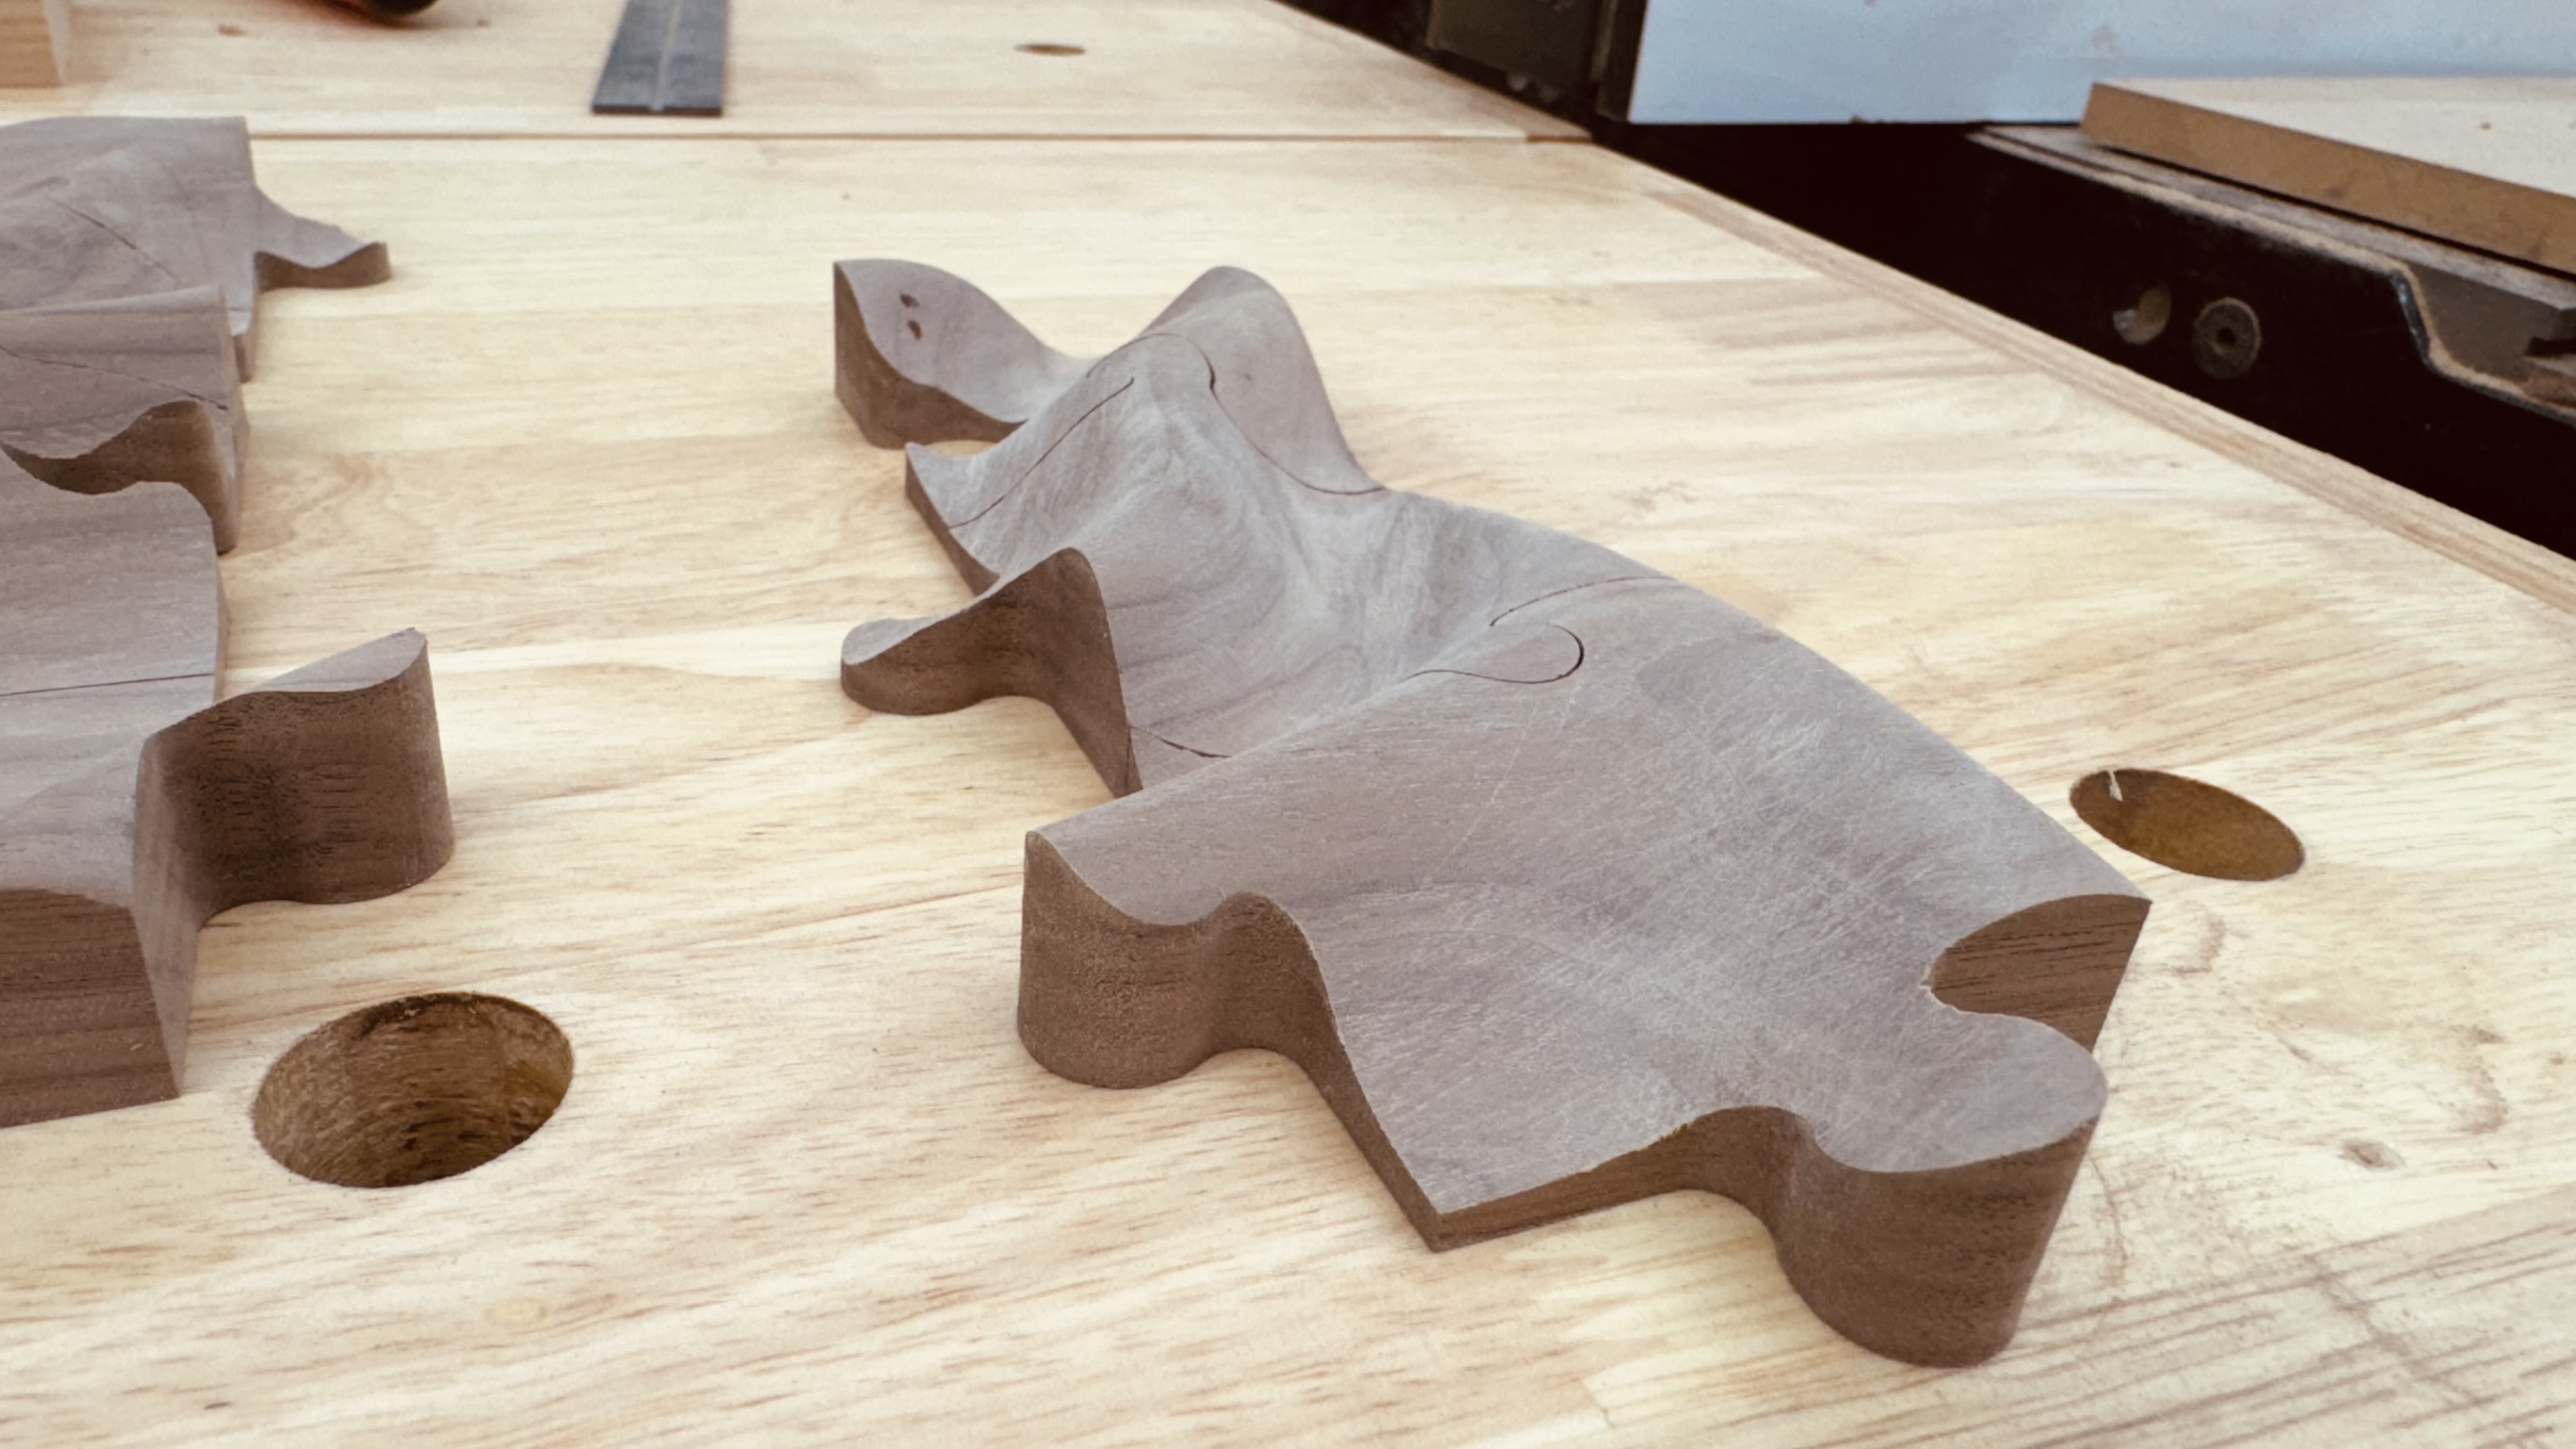
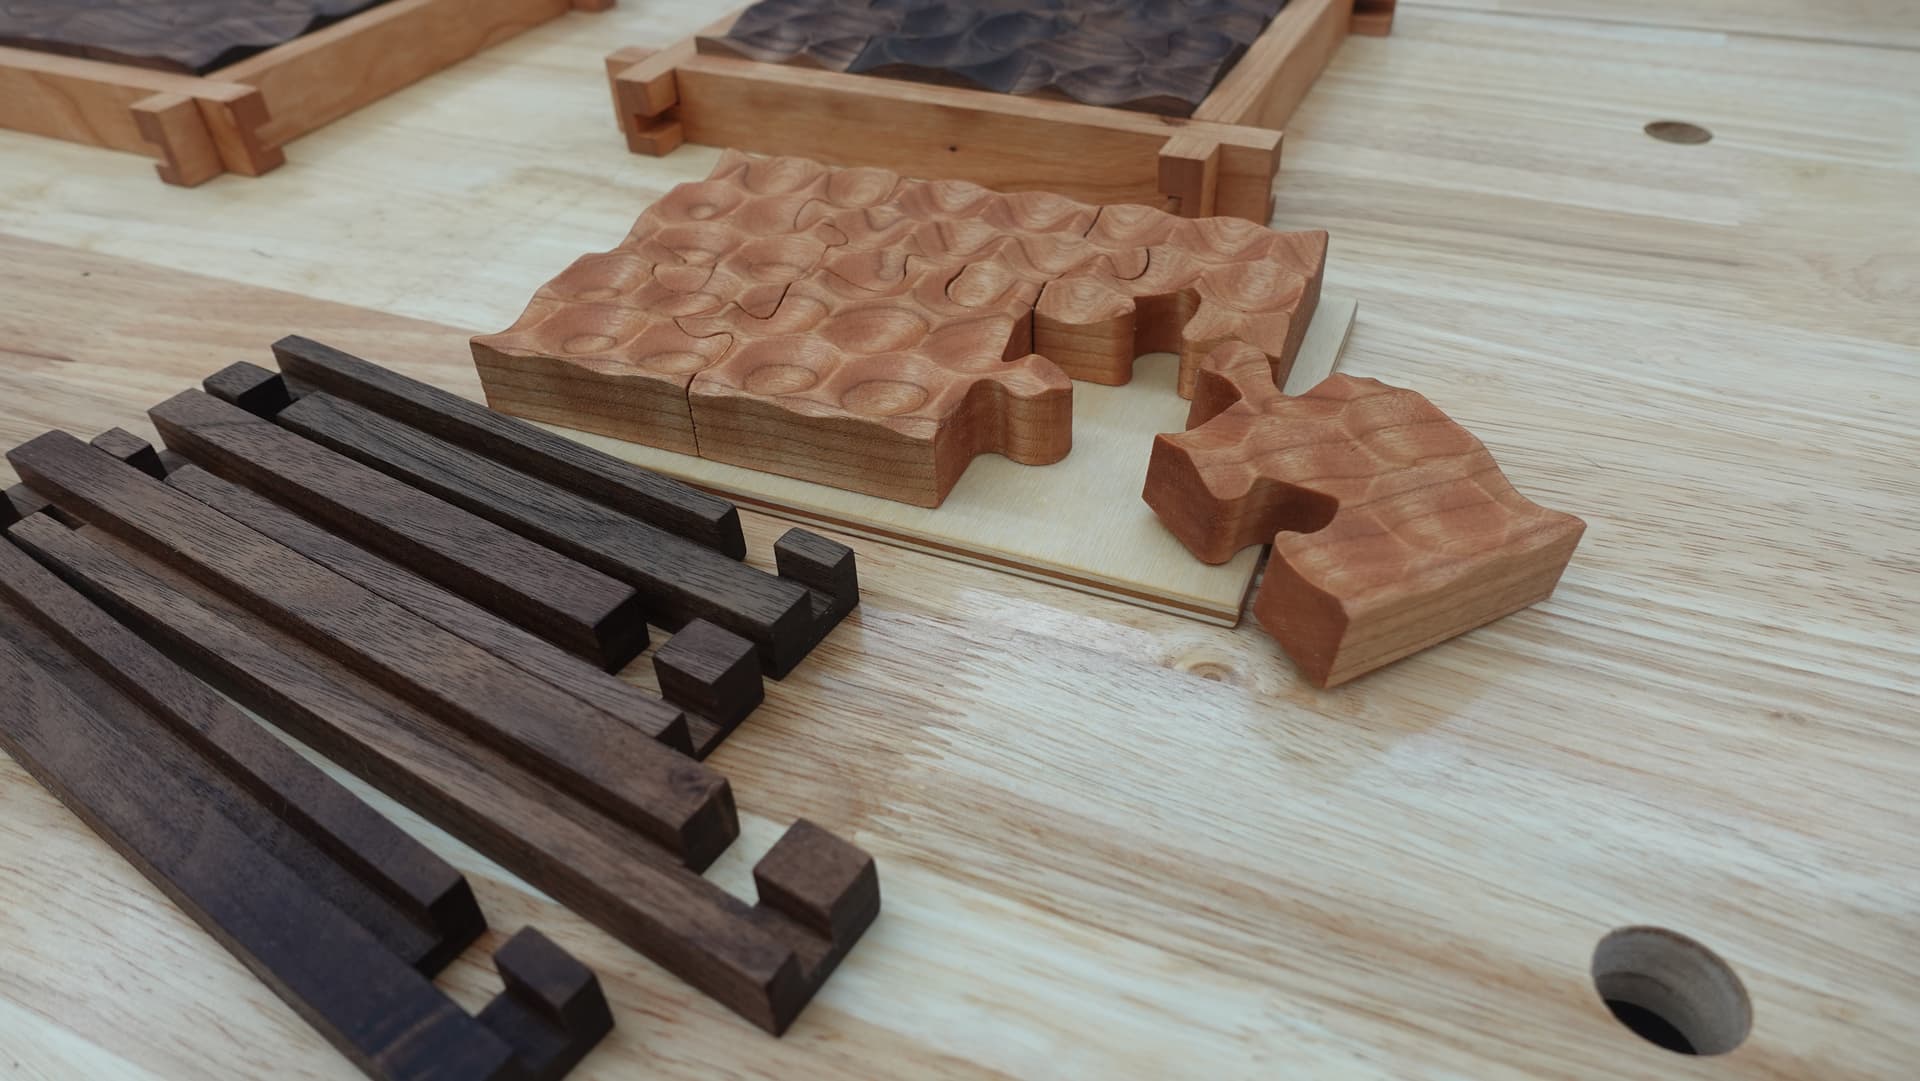
For those with a drum sander, this is my go to for cutting out pieces, or multiple pieces that require no cleanup. I no longer do tabs.
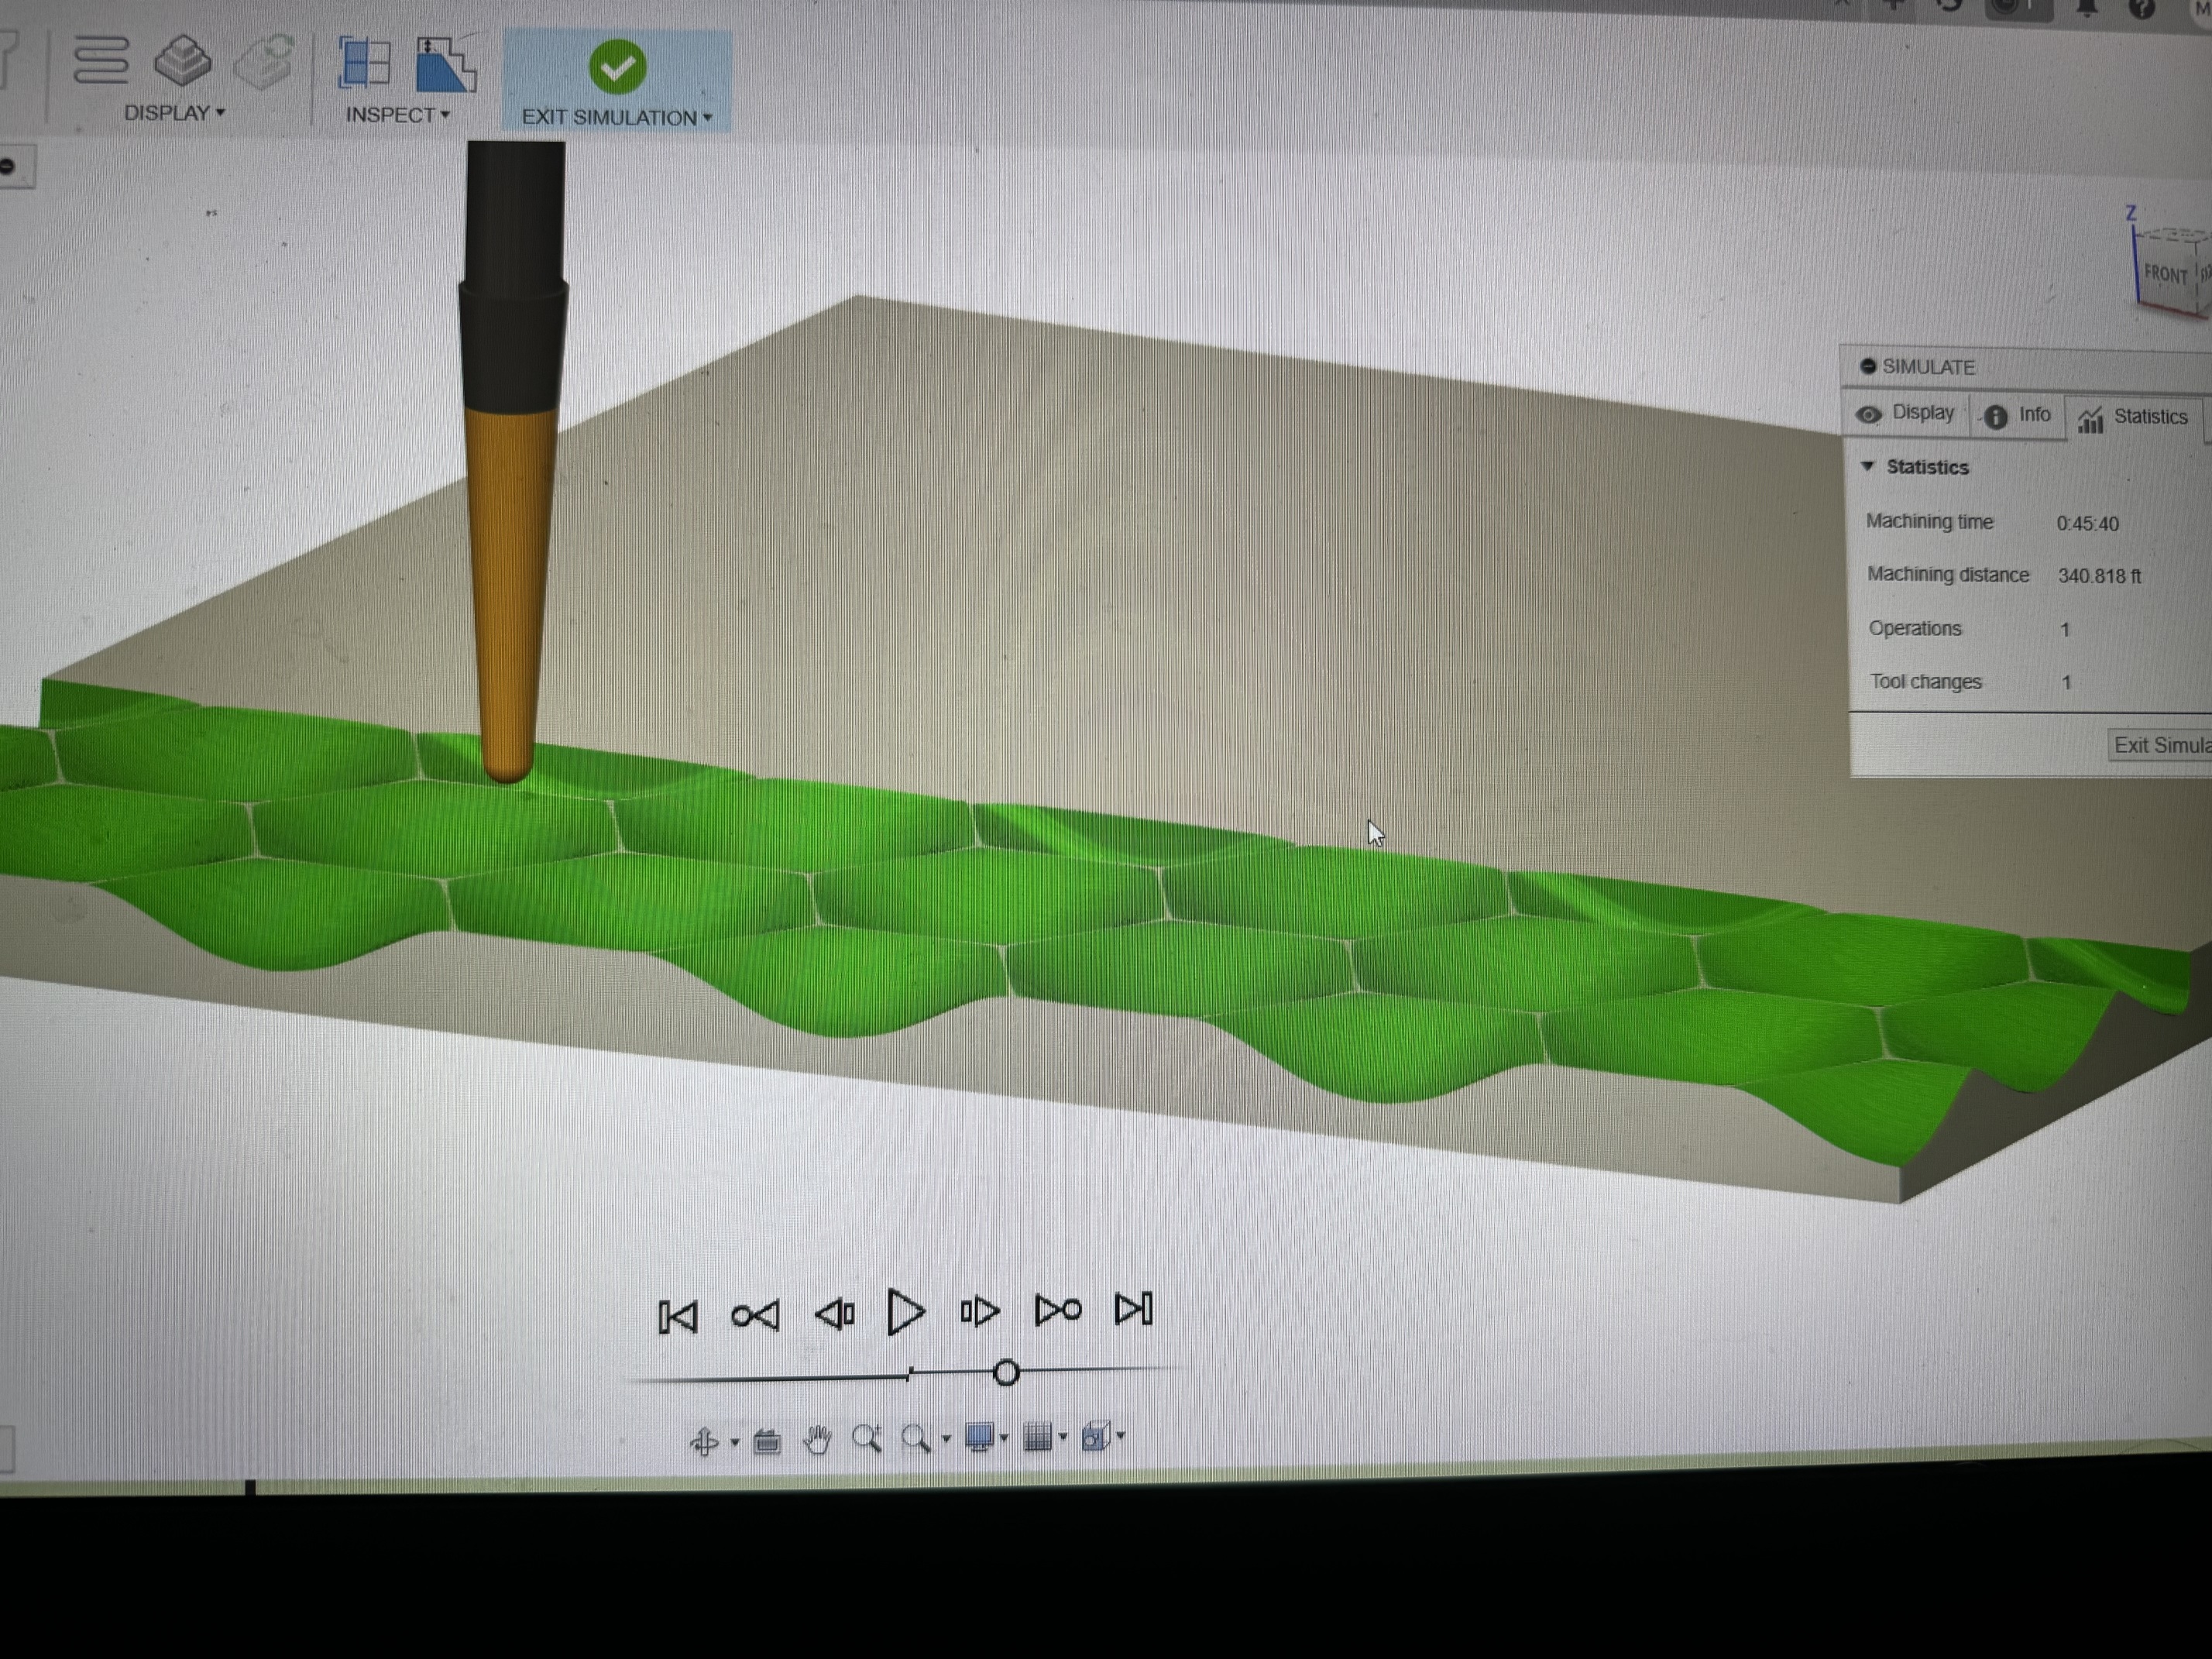
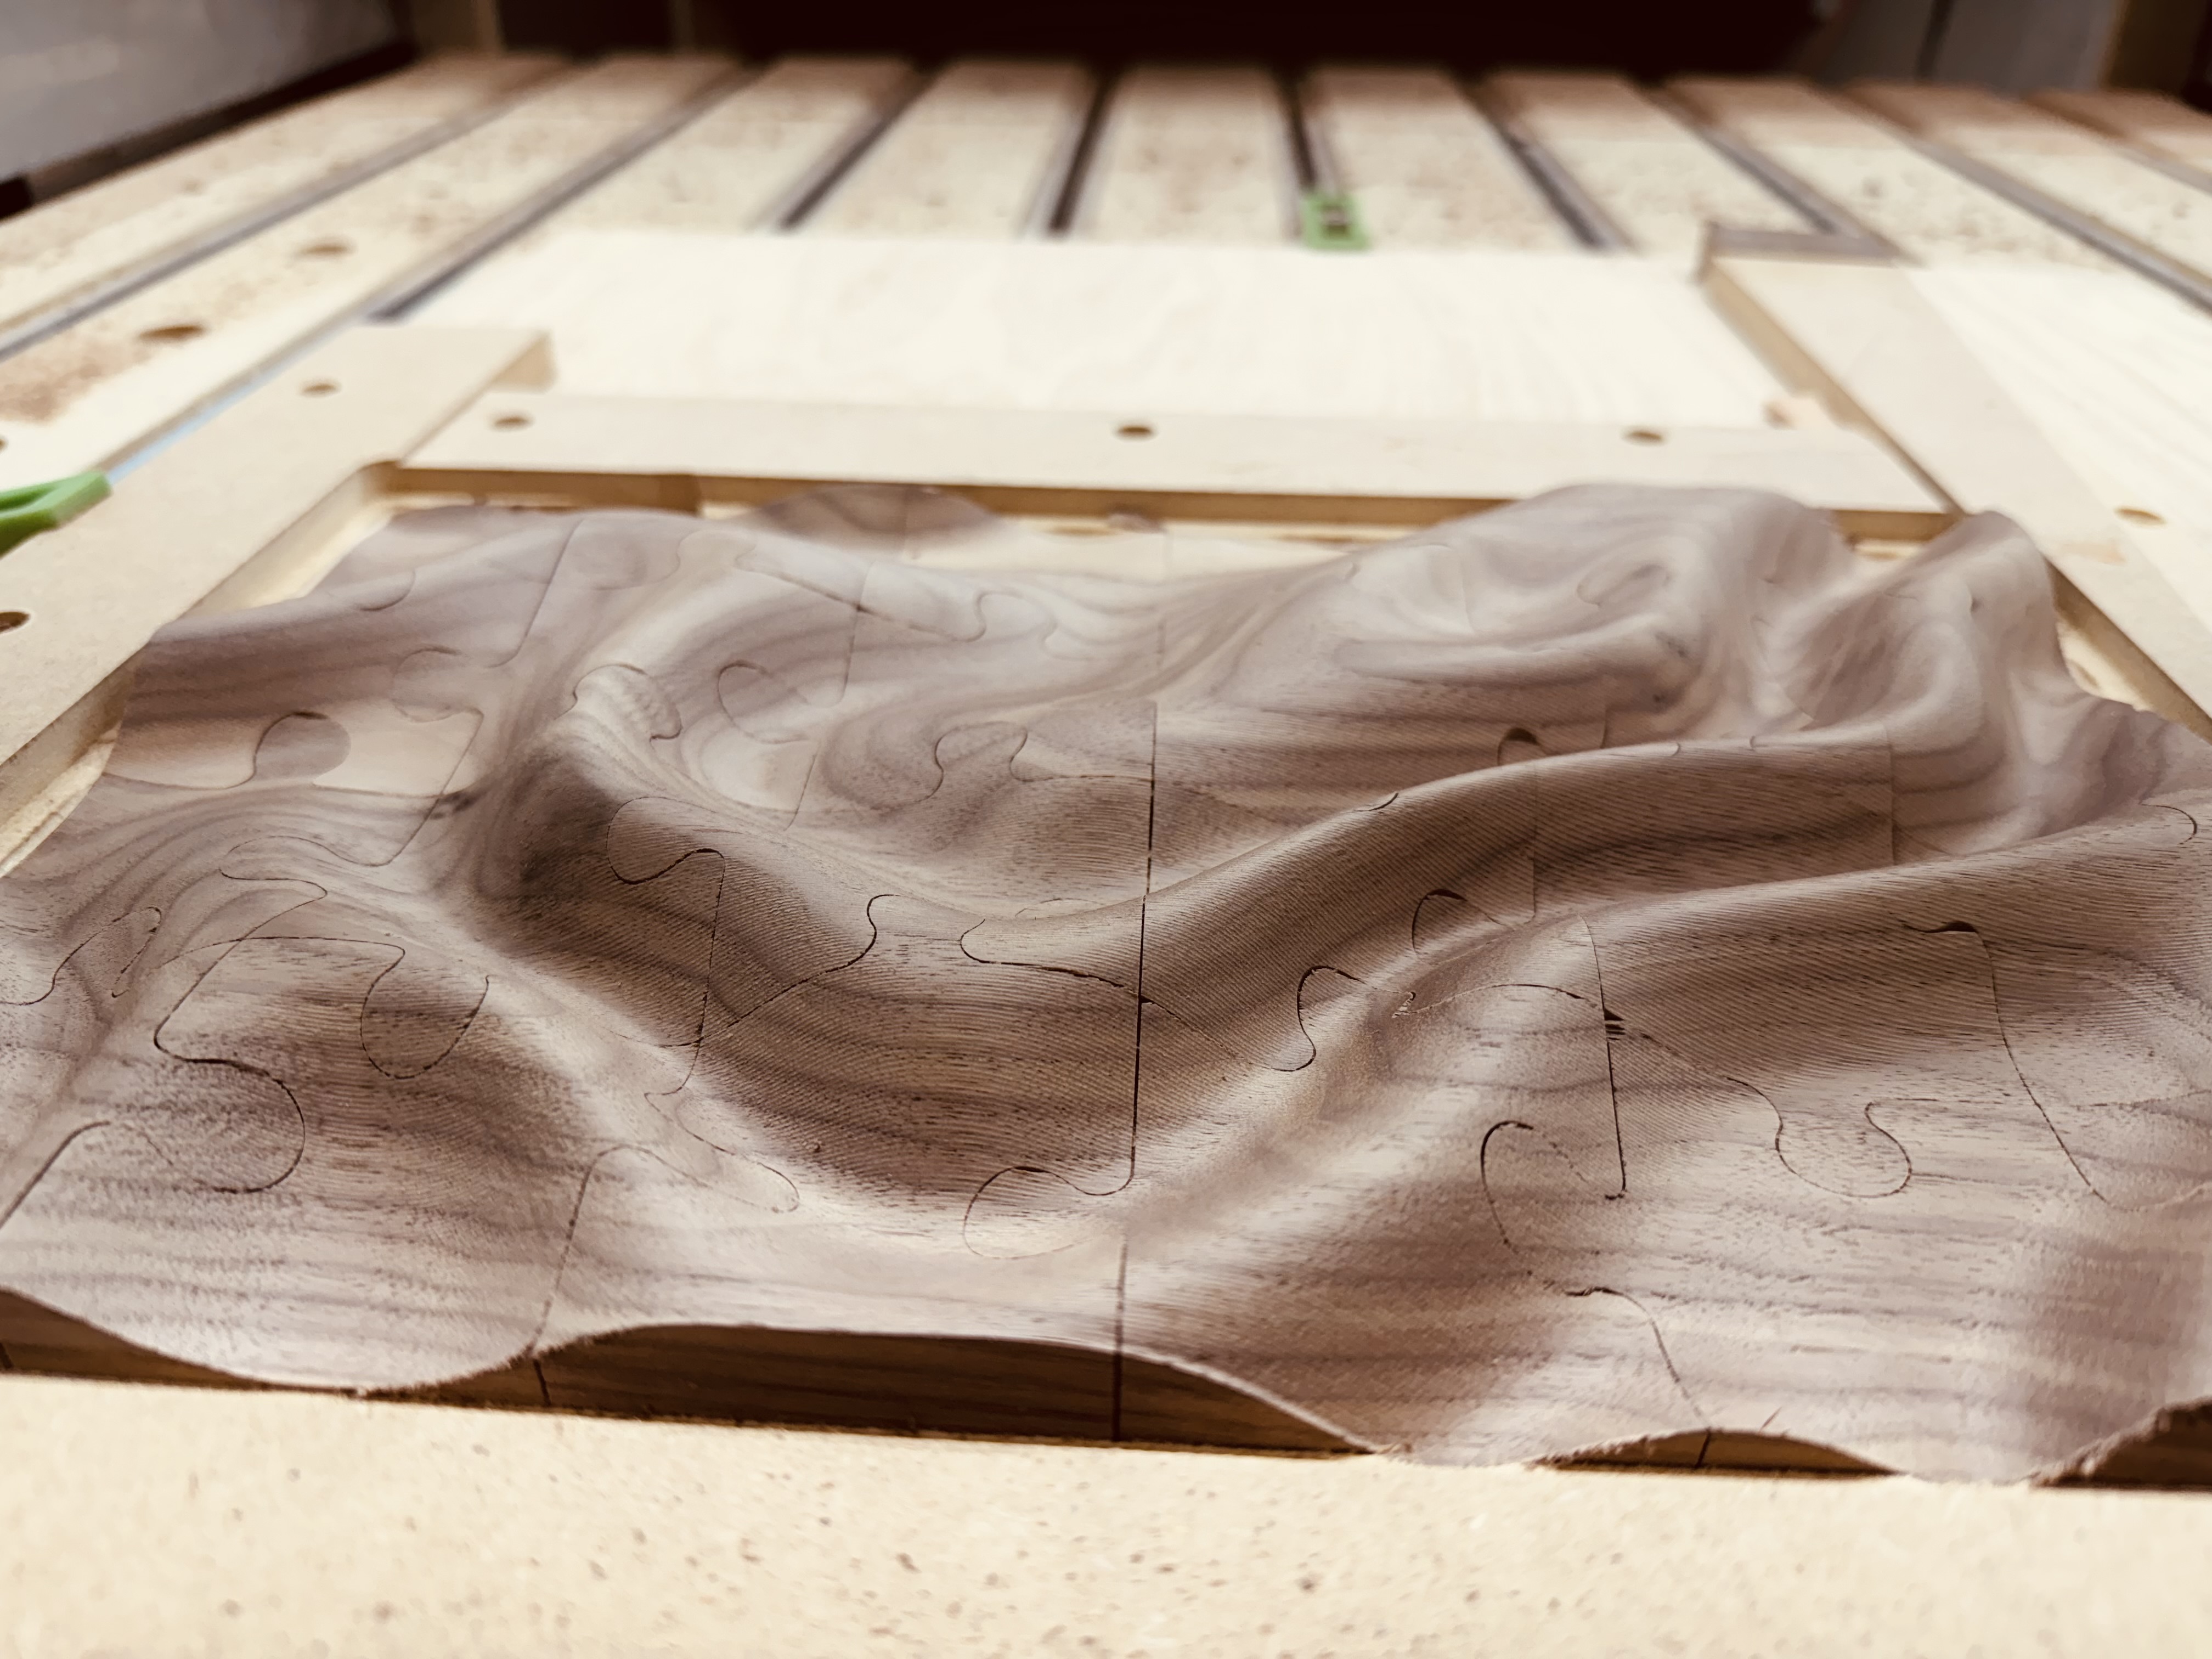
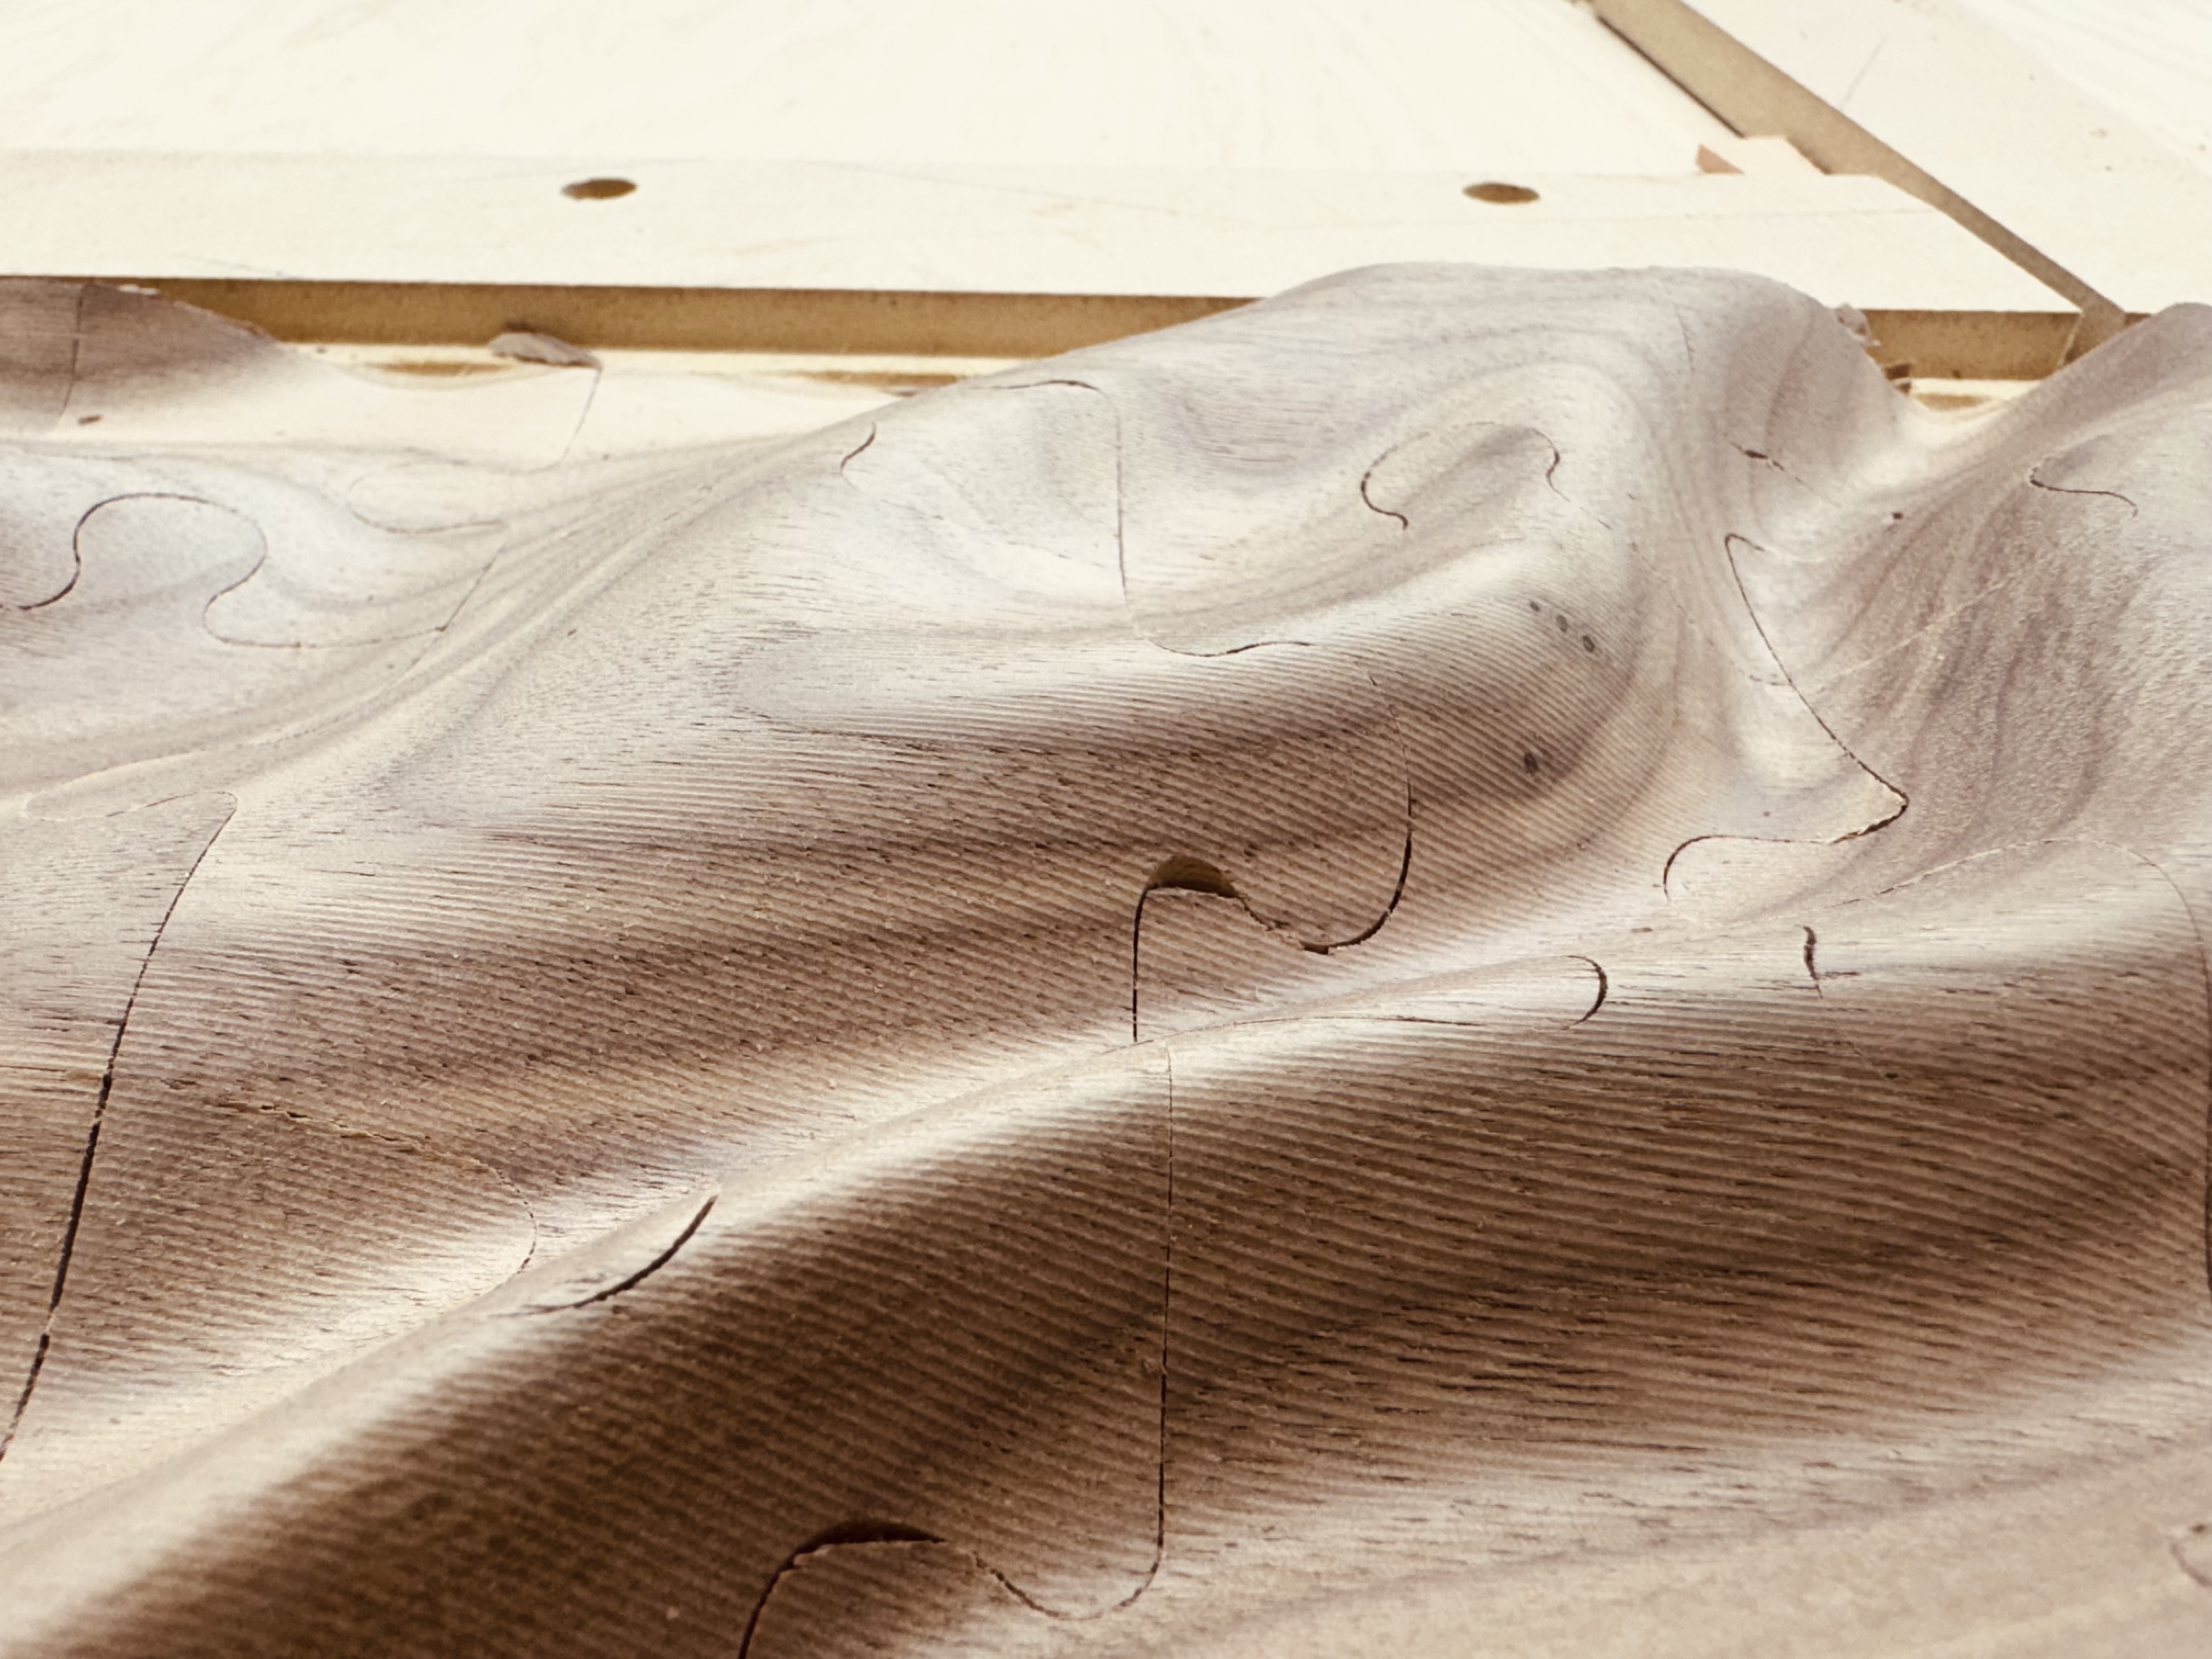
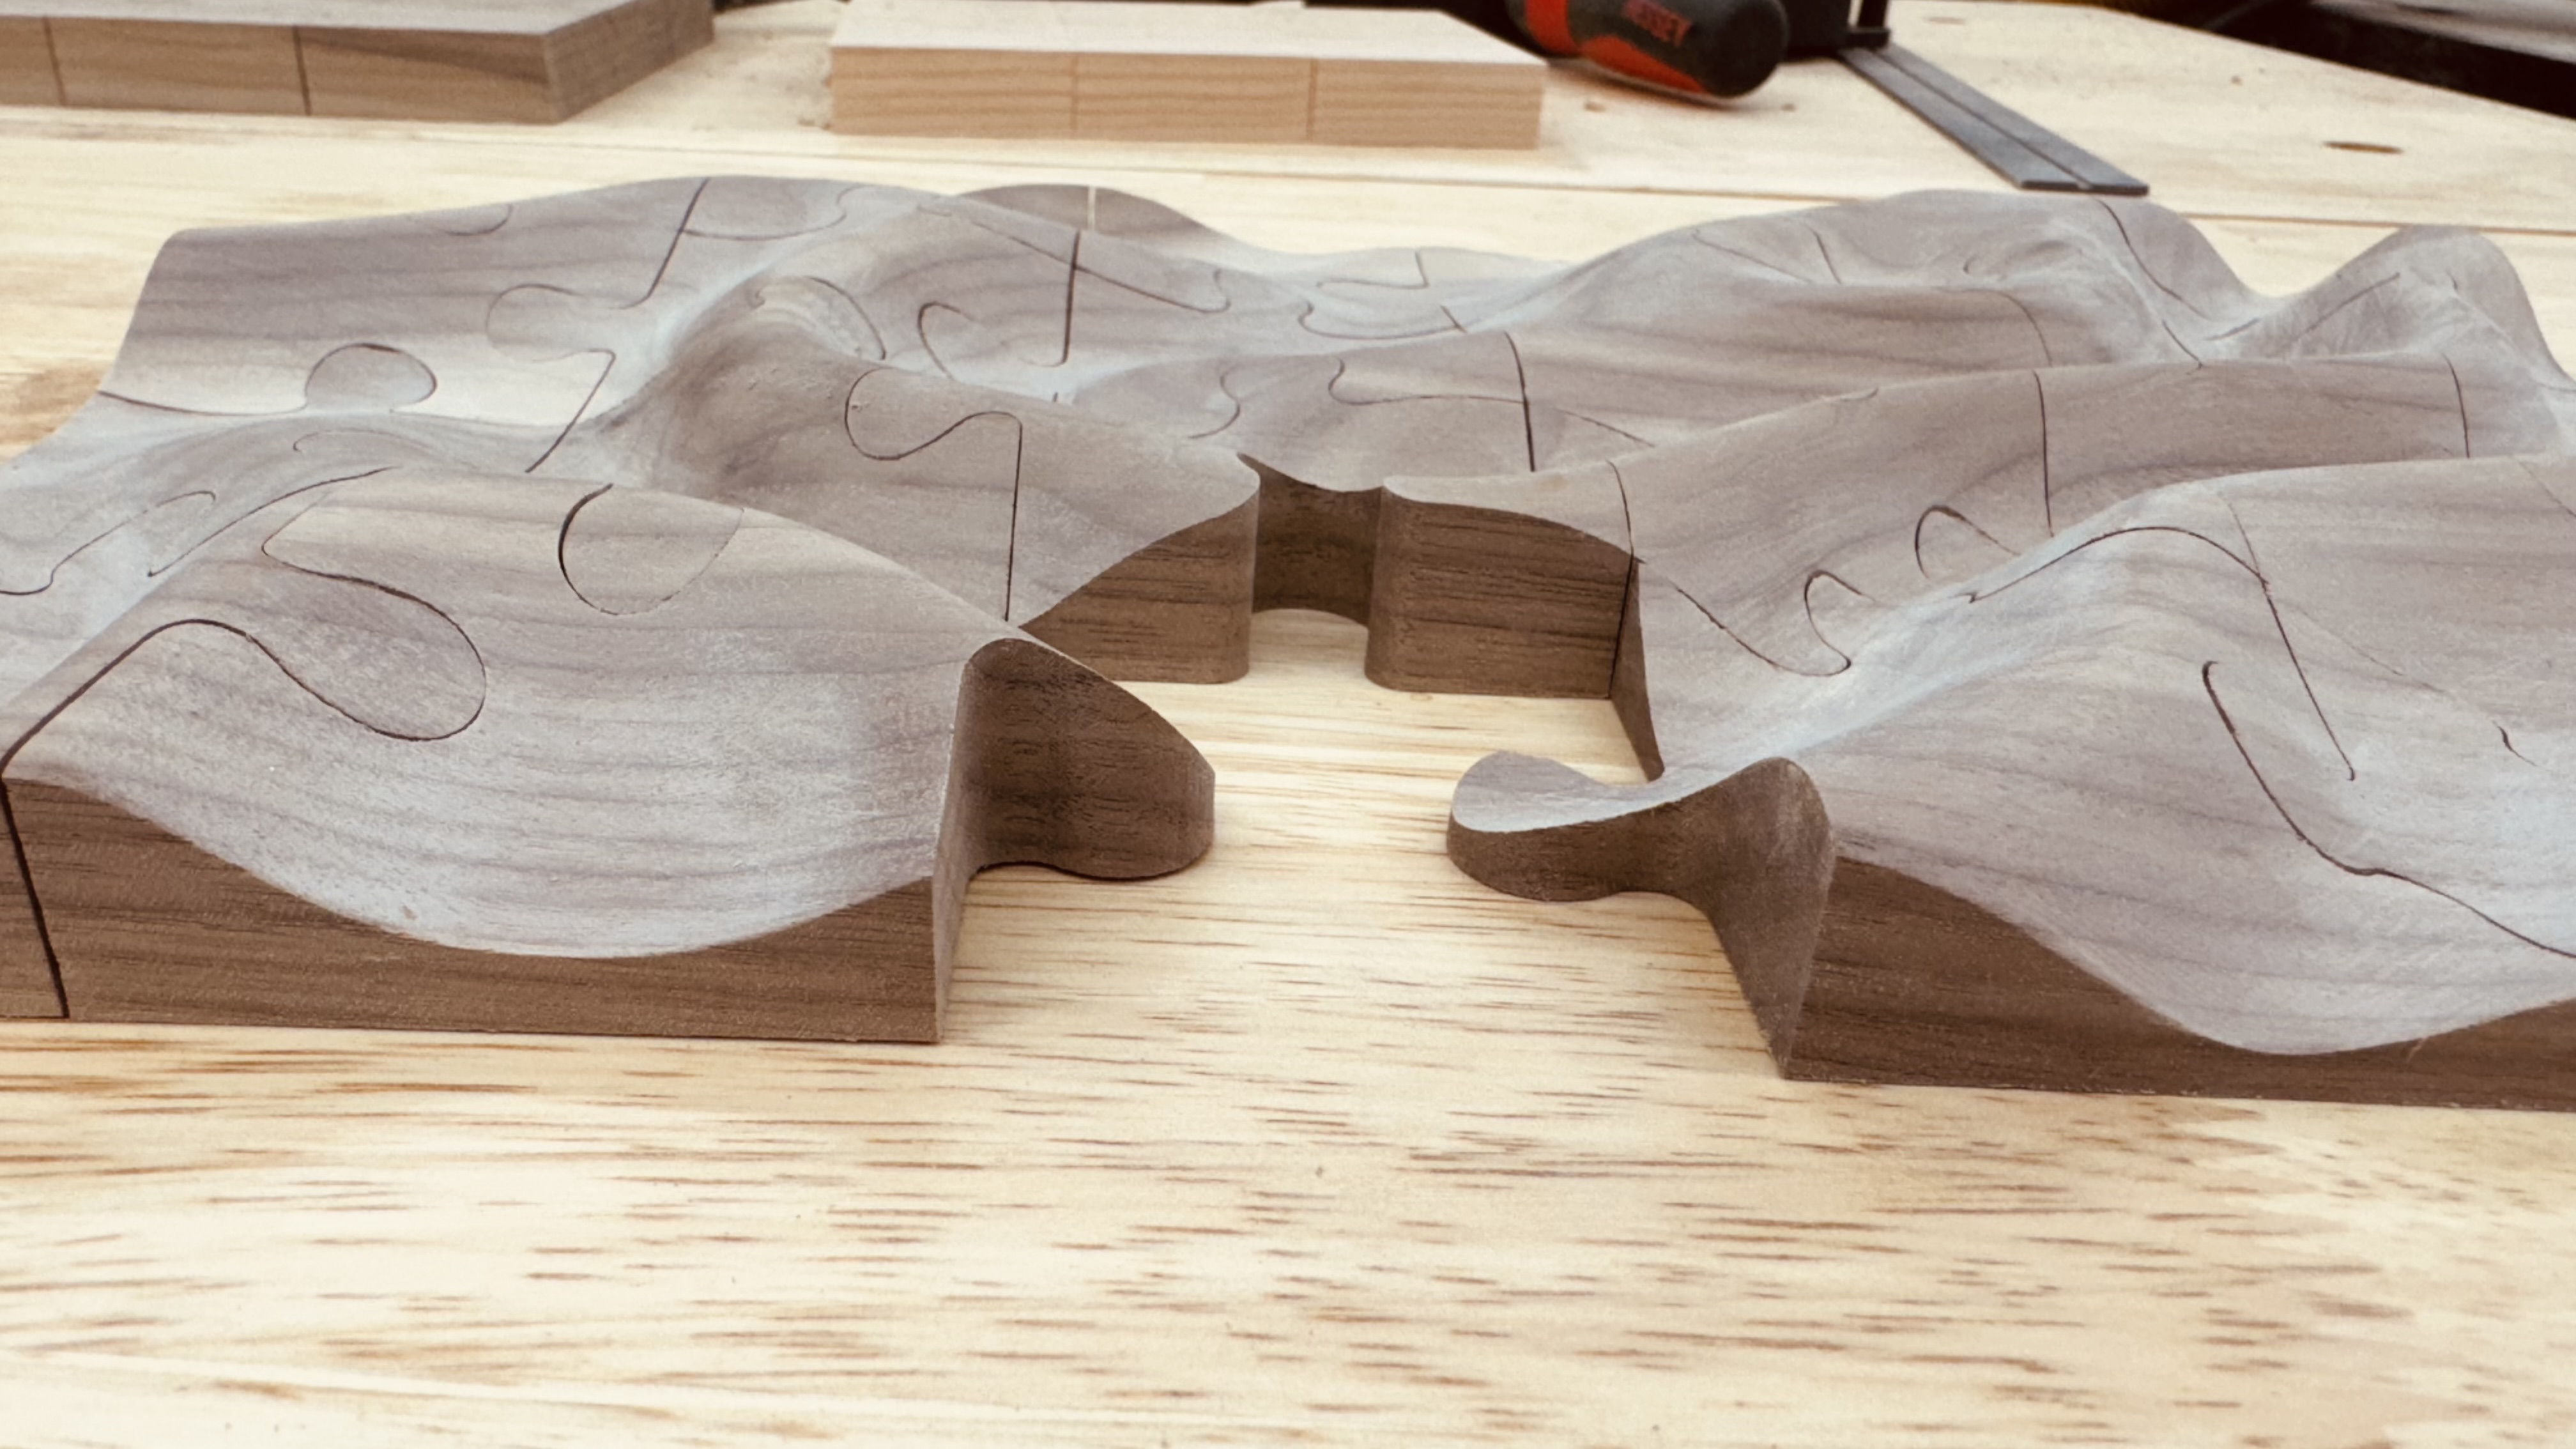
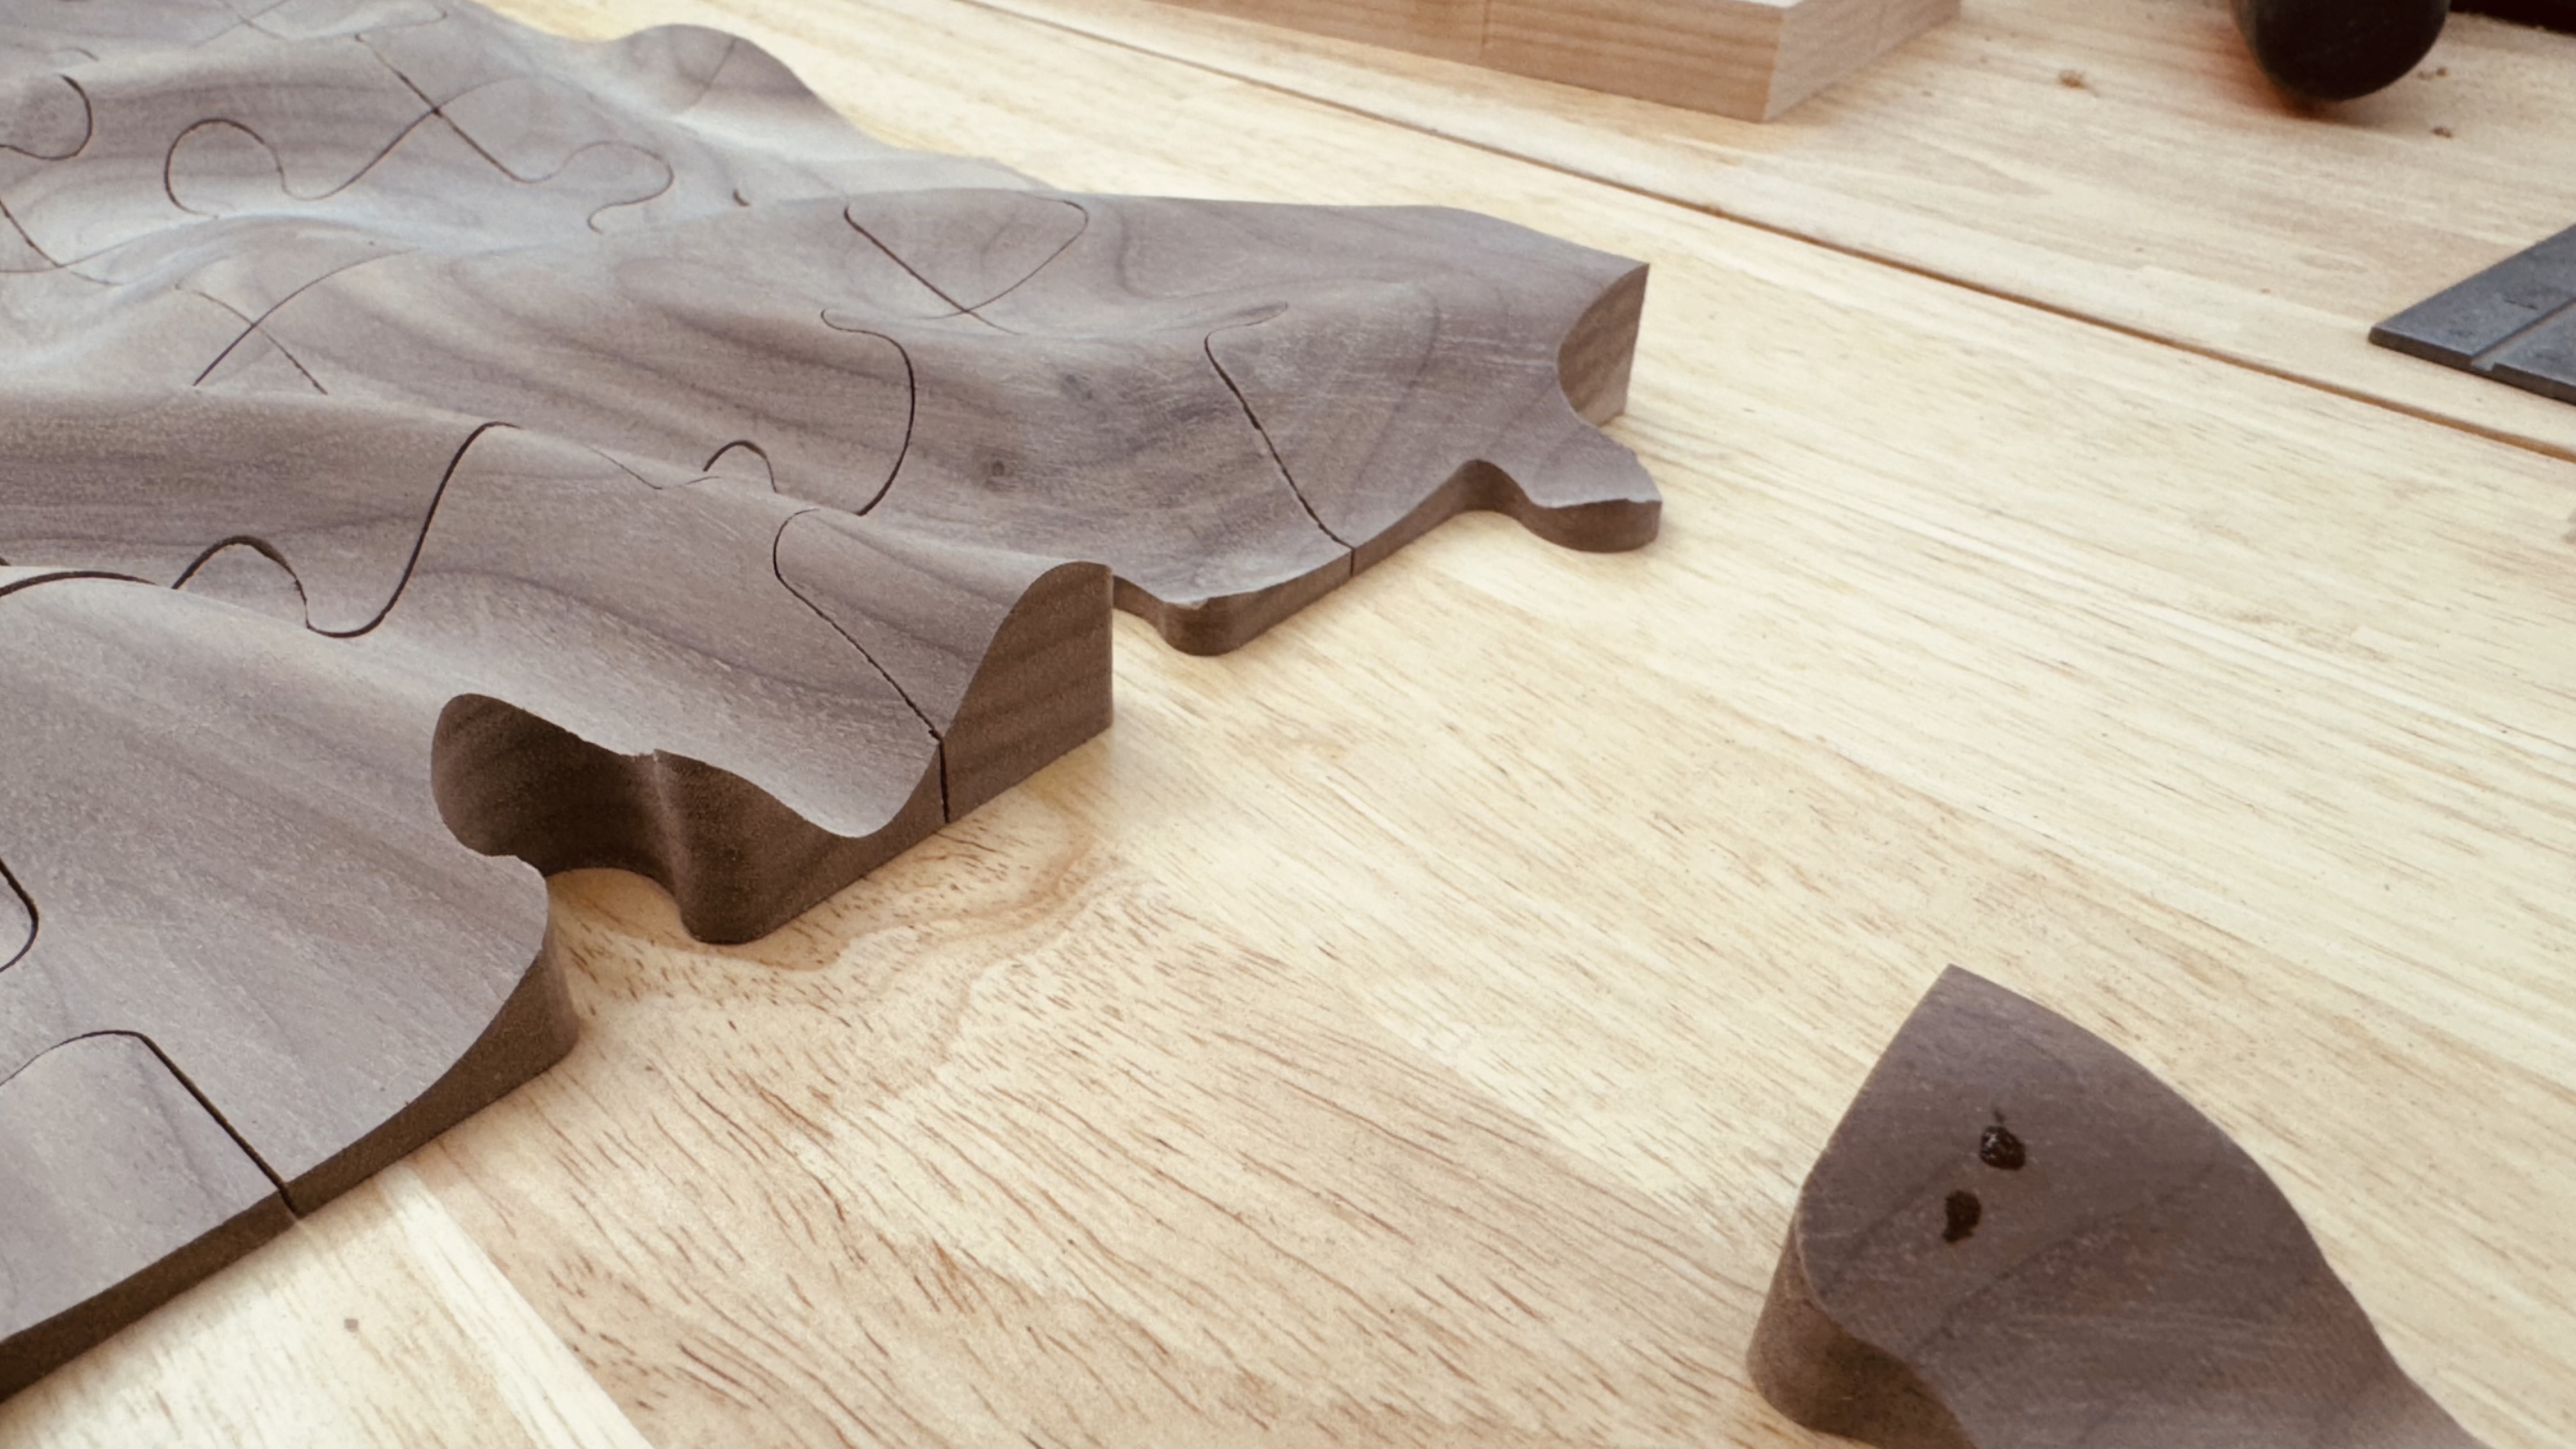
My last pass stops an .02” short of the bottom of the material.
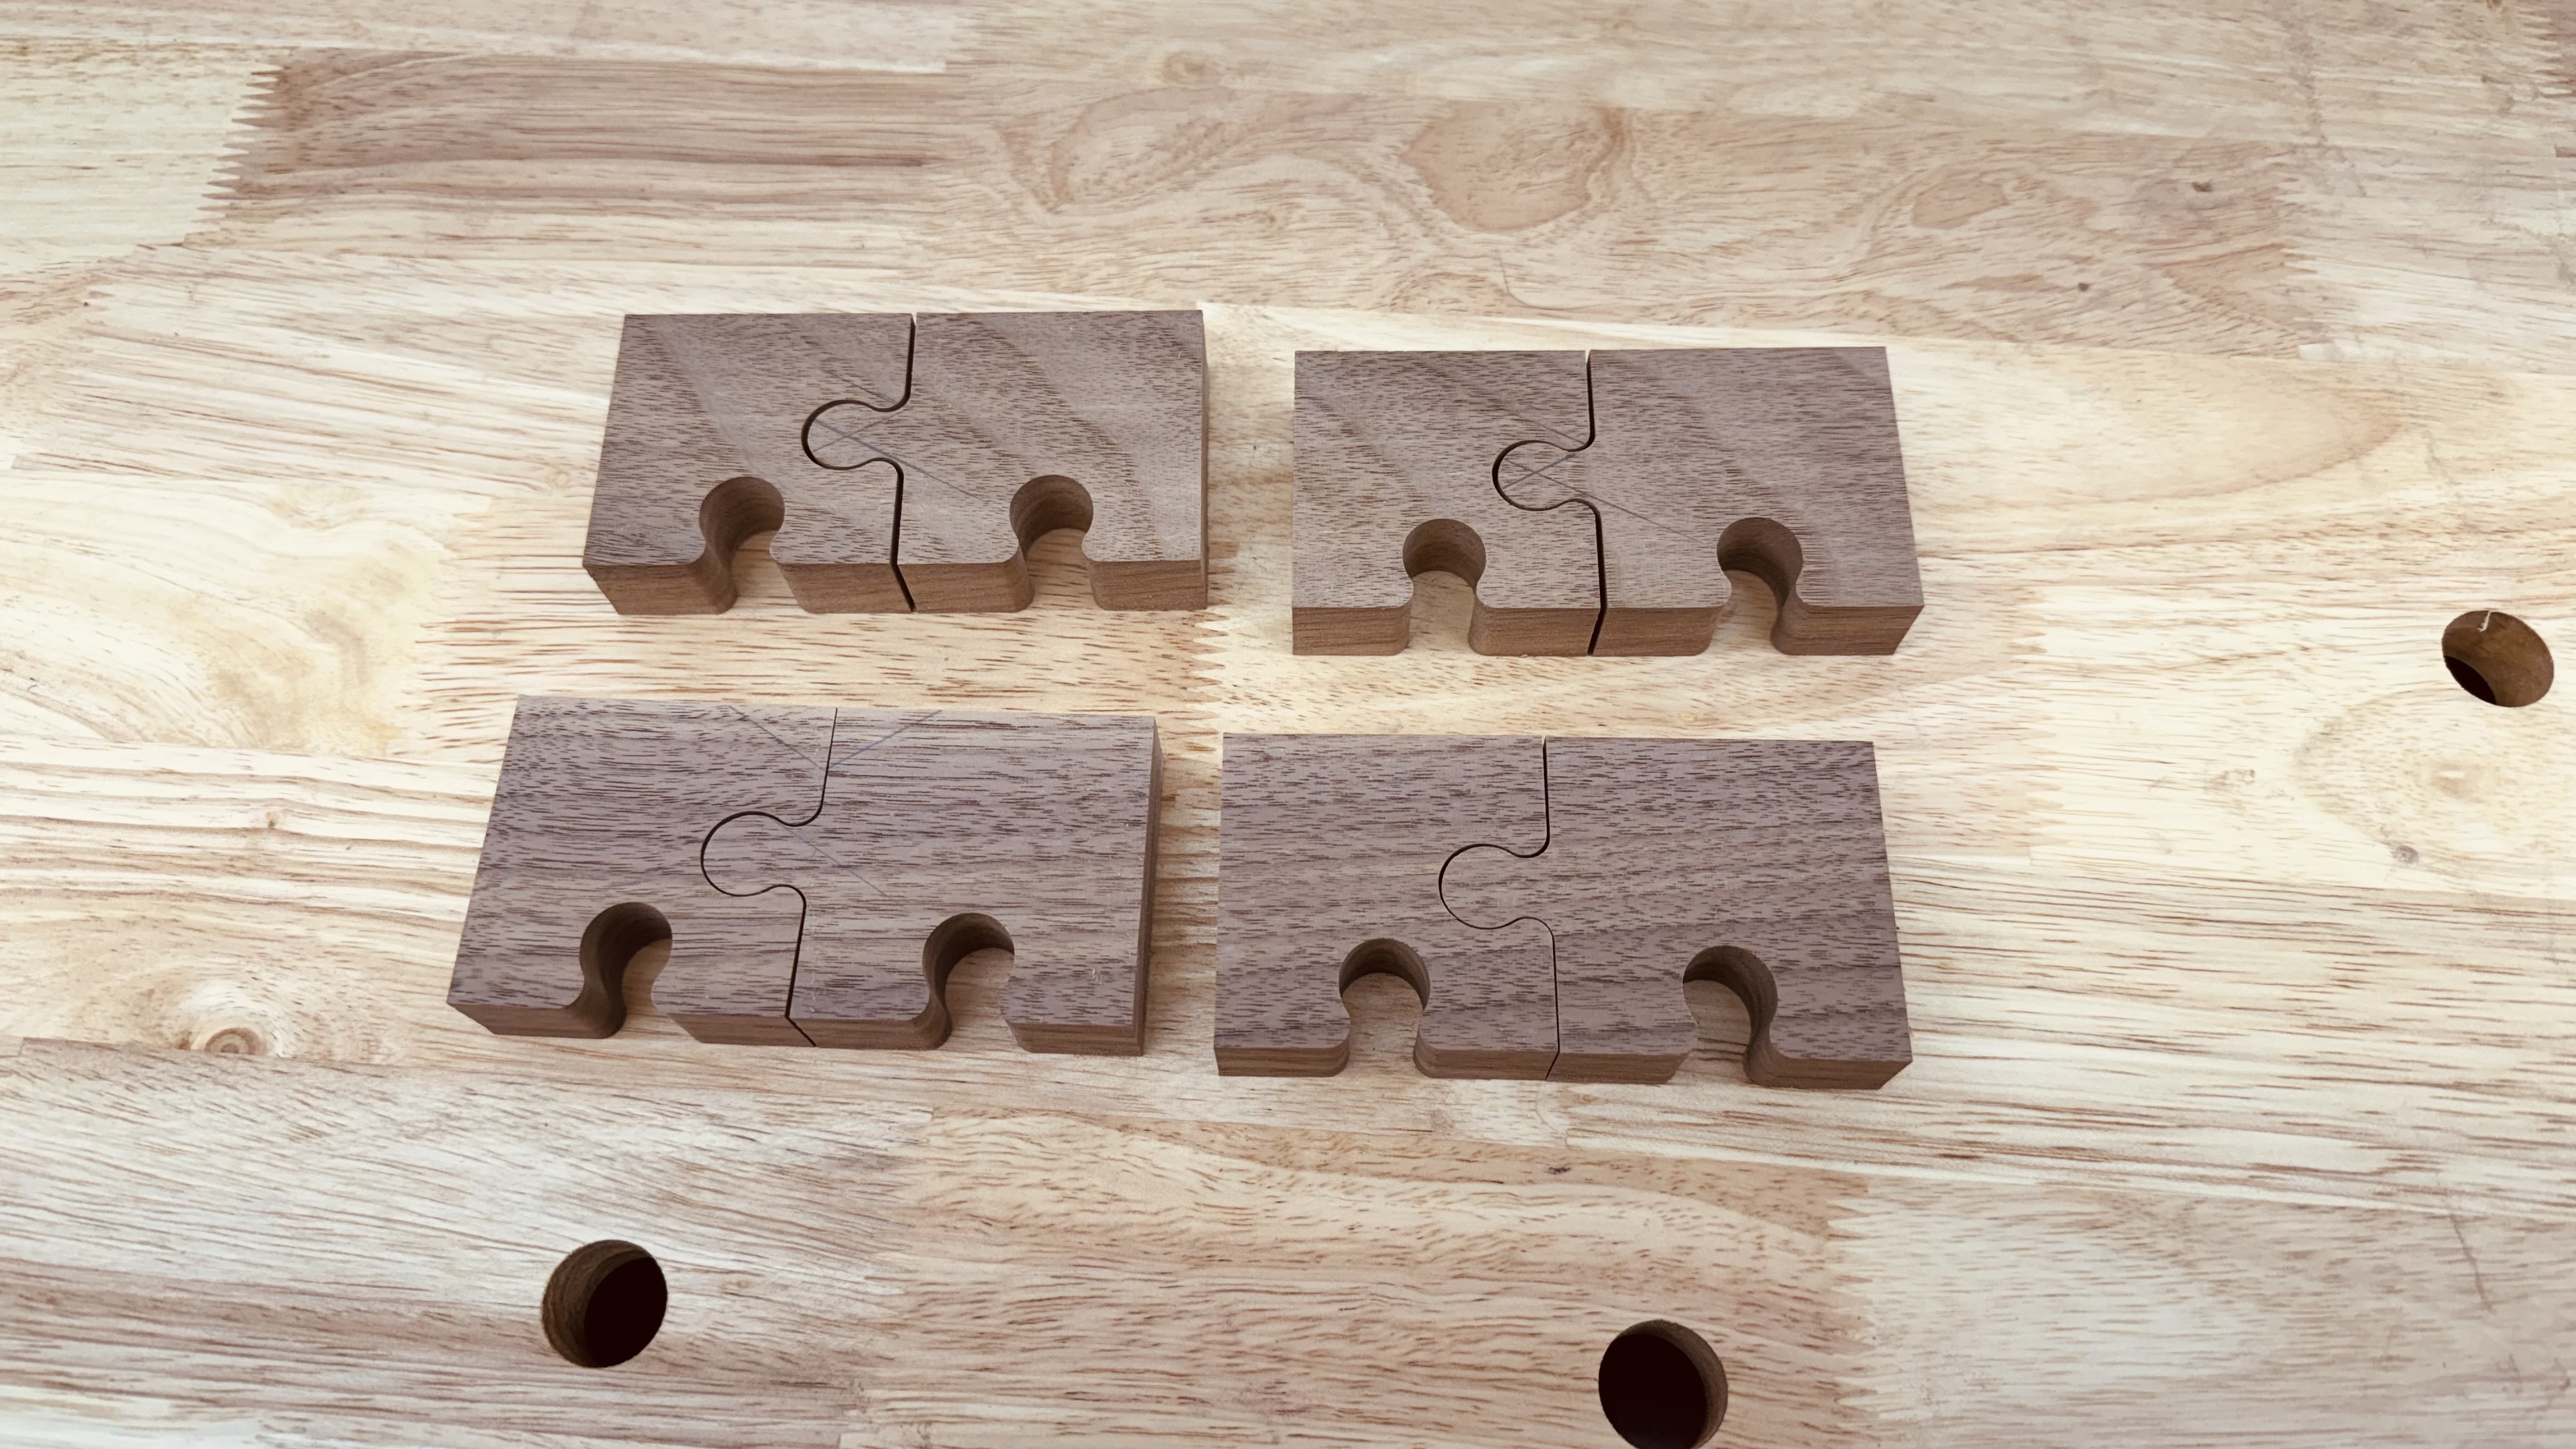
@CrookedWoodTex this is the jig I made to hold the pieces together. It’s pretty tight and I didn’t see any movement in the pieces. There were some gaps, but not noticeable with the top profile.
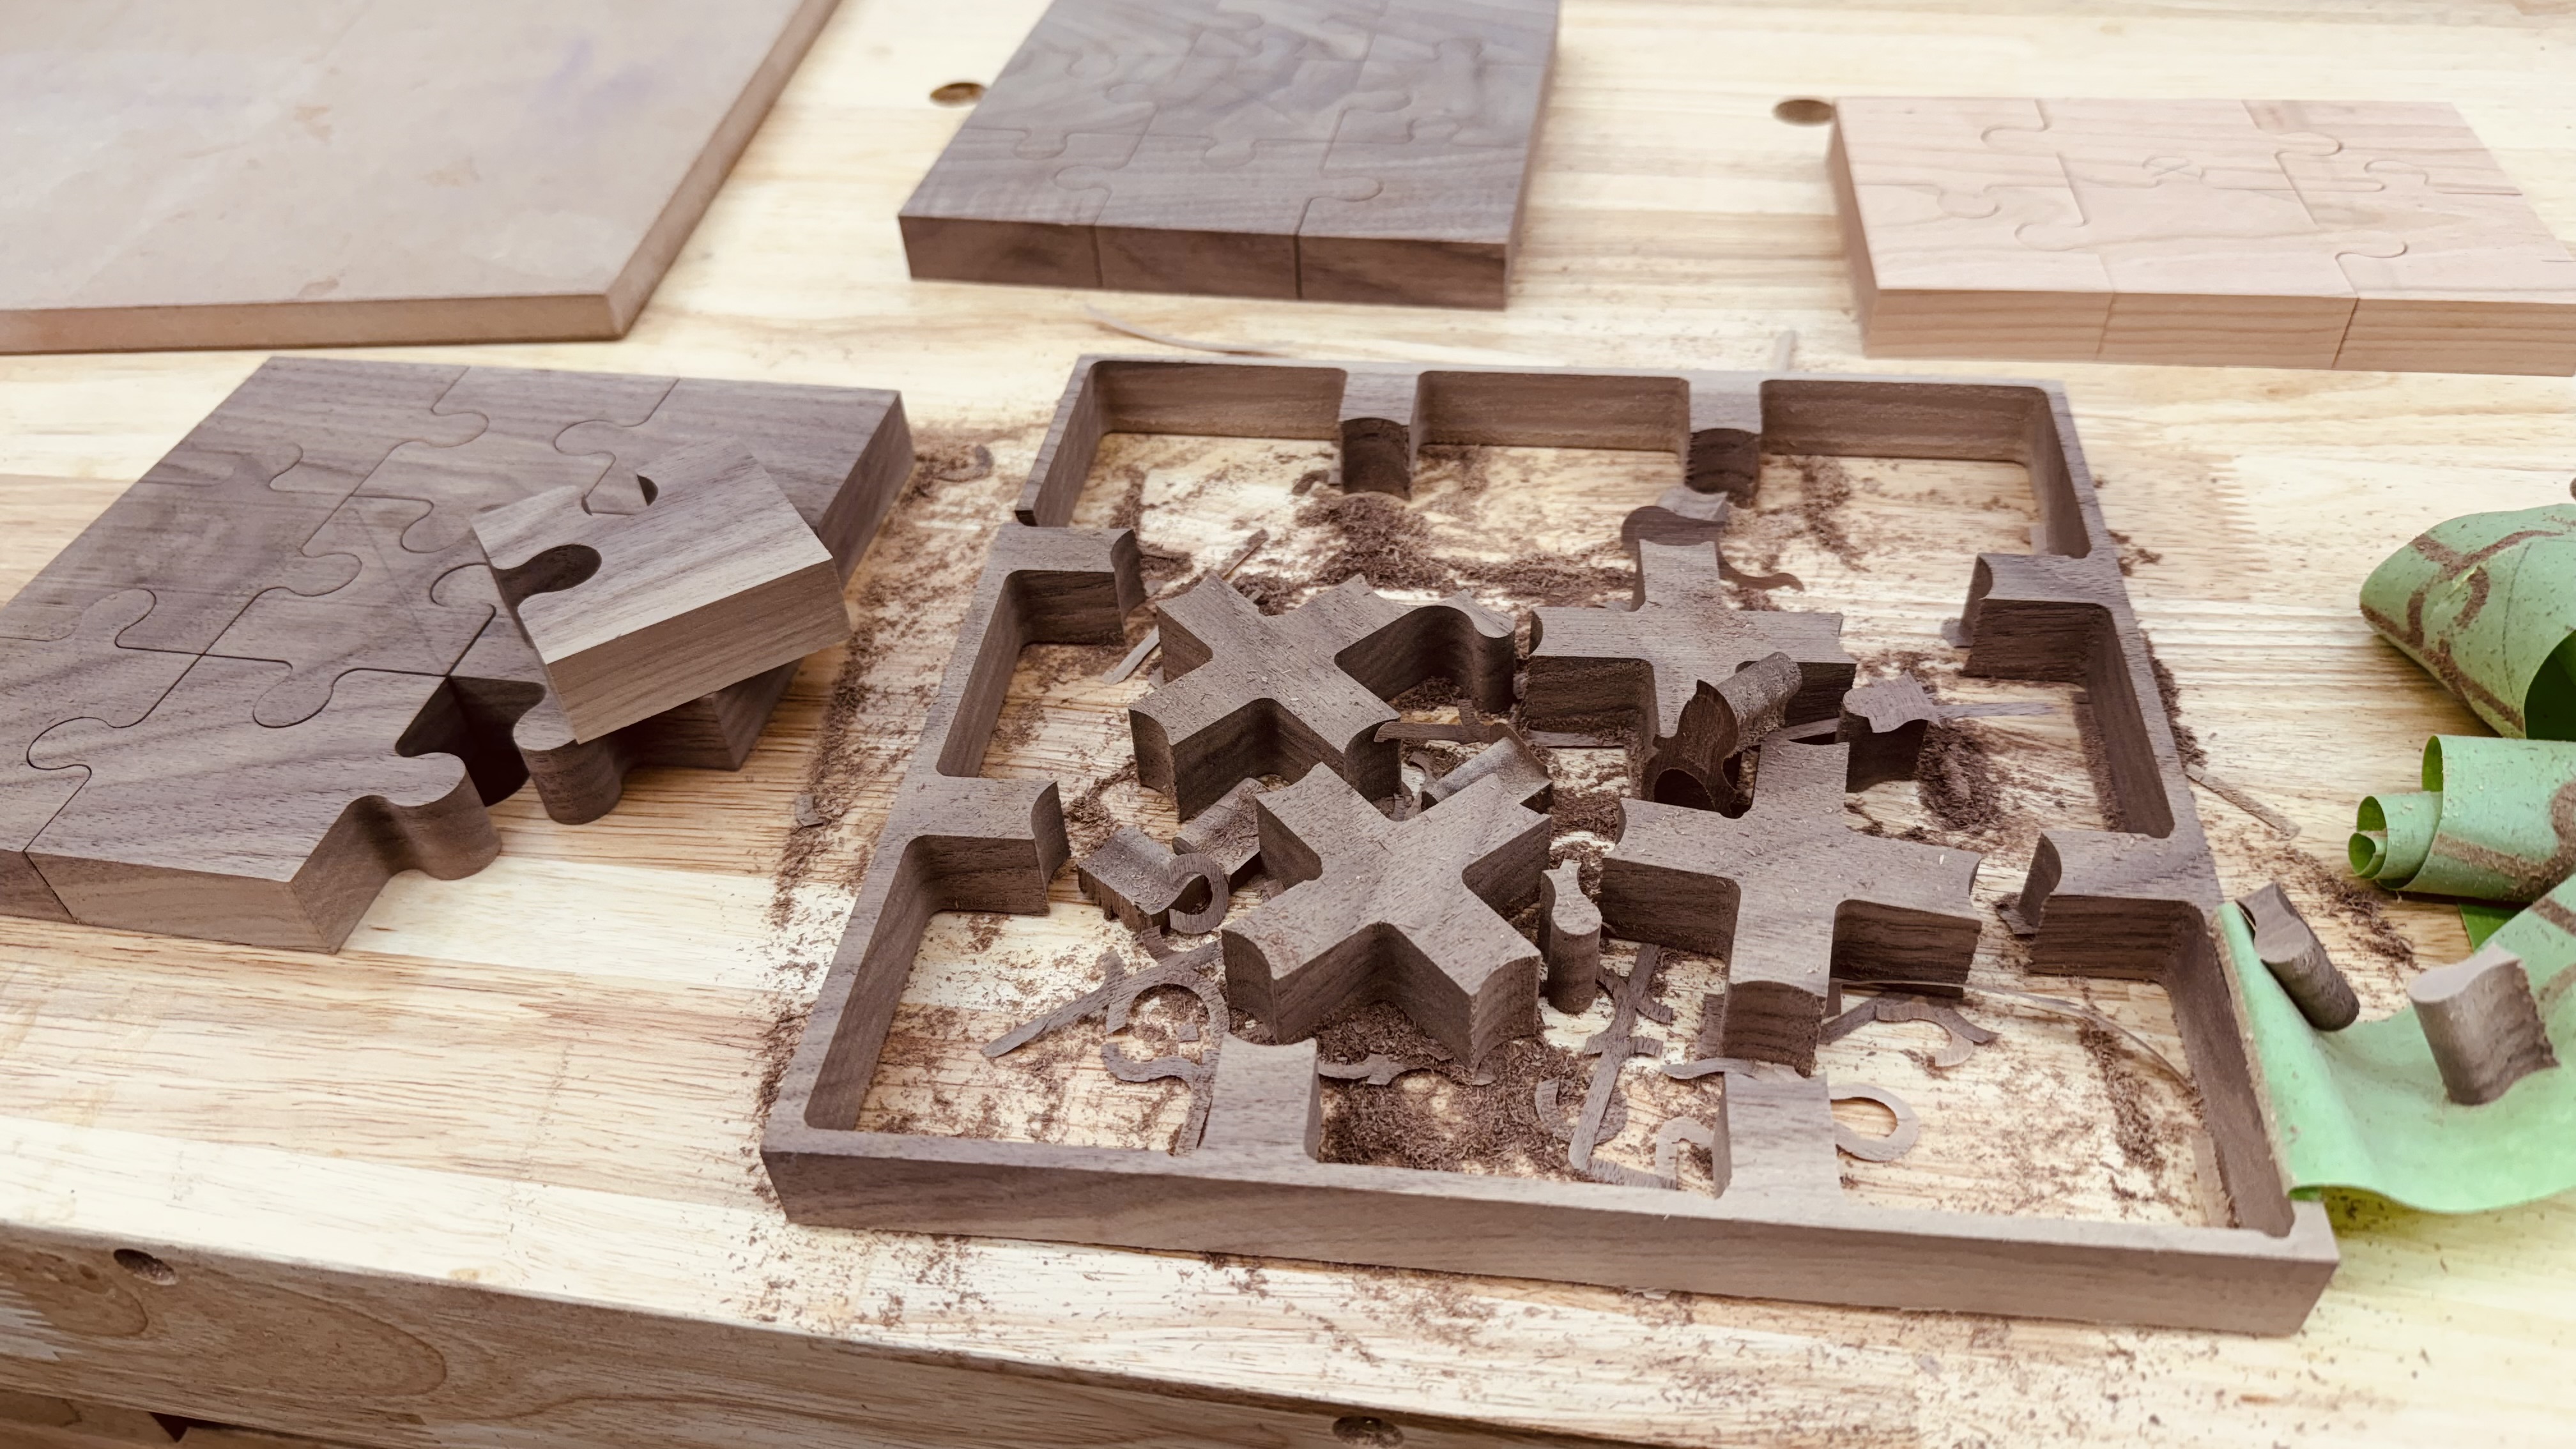
That wraps it up for the night. I had a 2 hour battle with the double sided tape I put on this dang thing, I really took my time getting it off the jig. Probably won’t use that again!
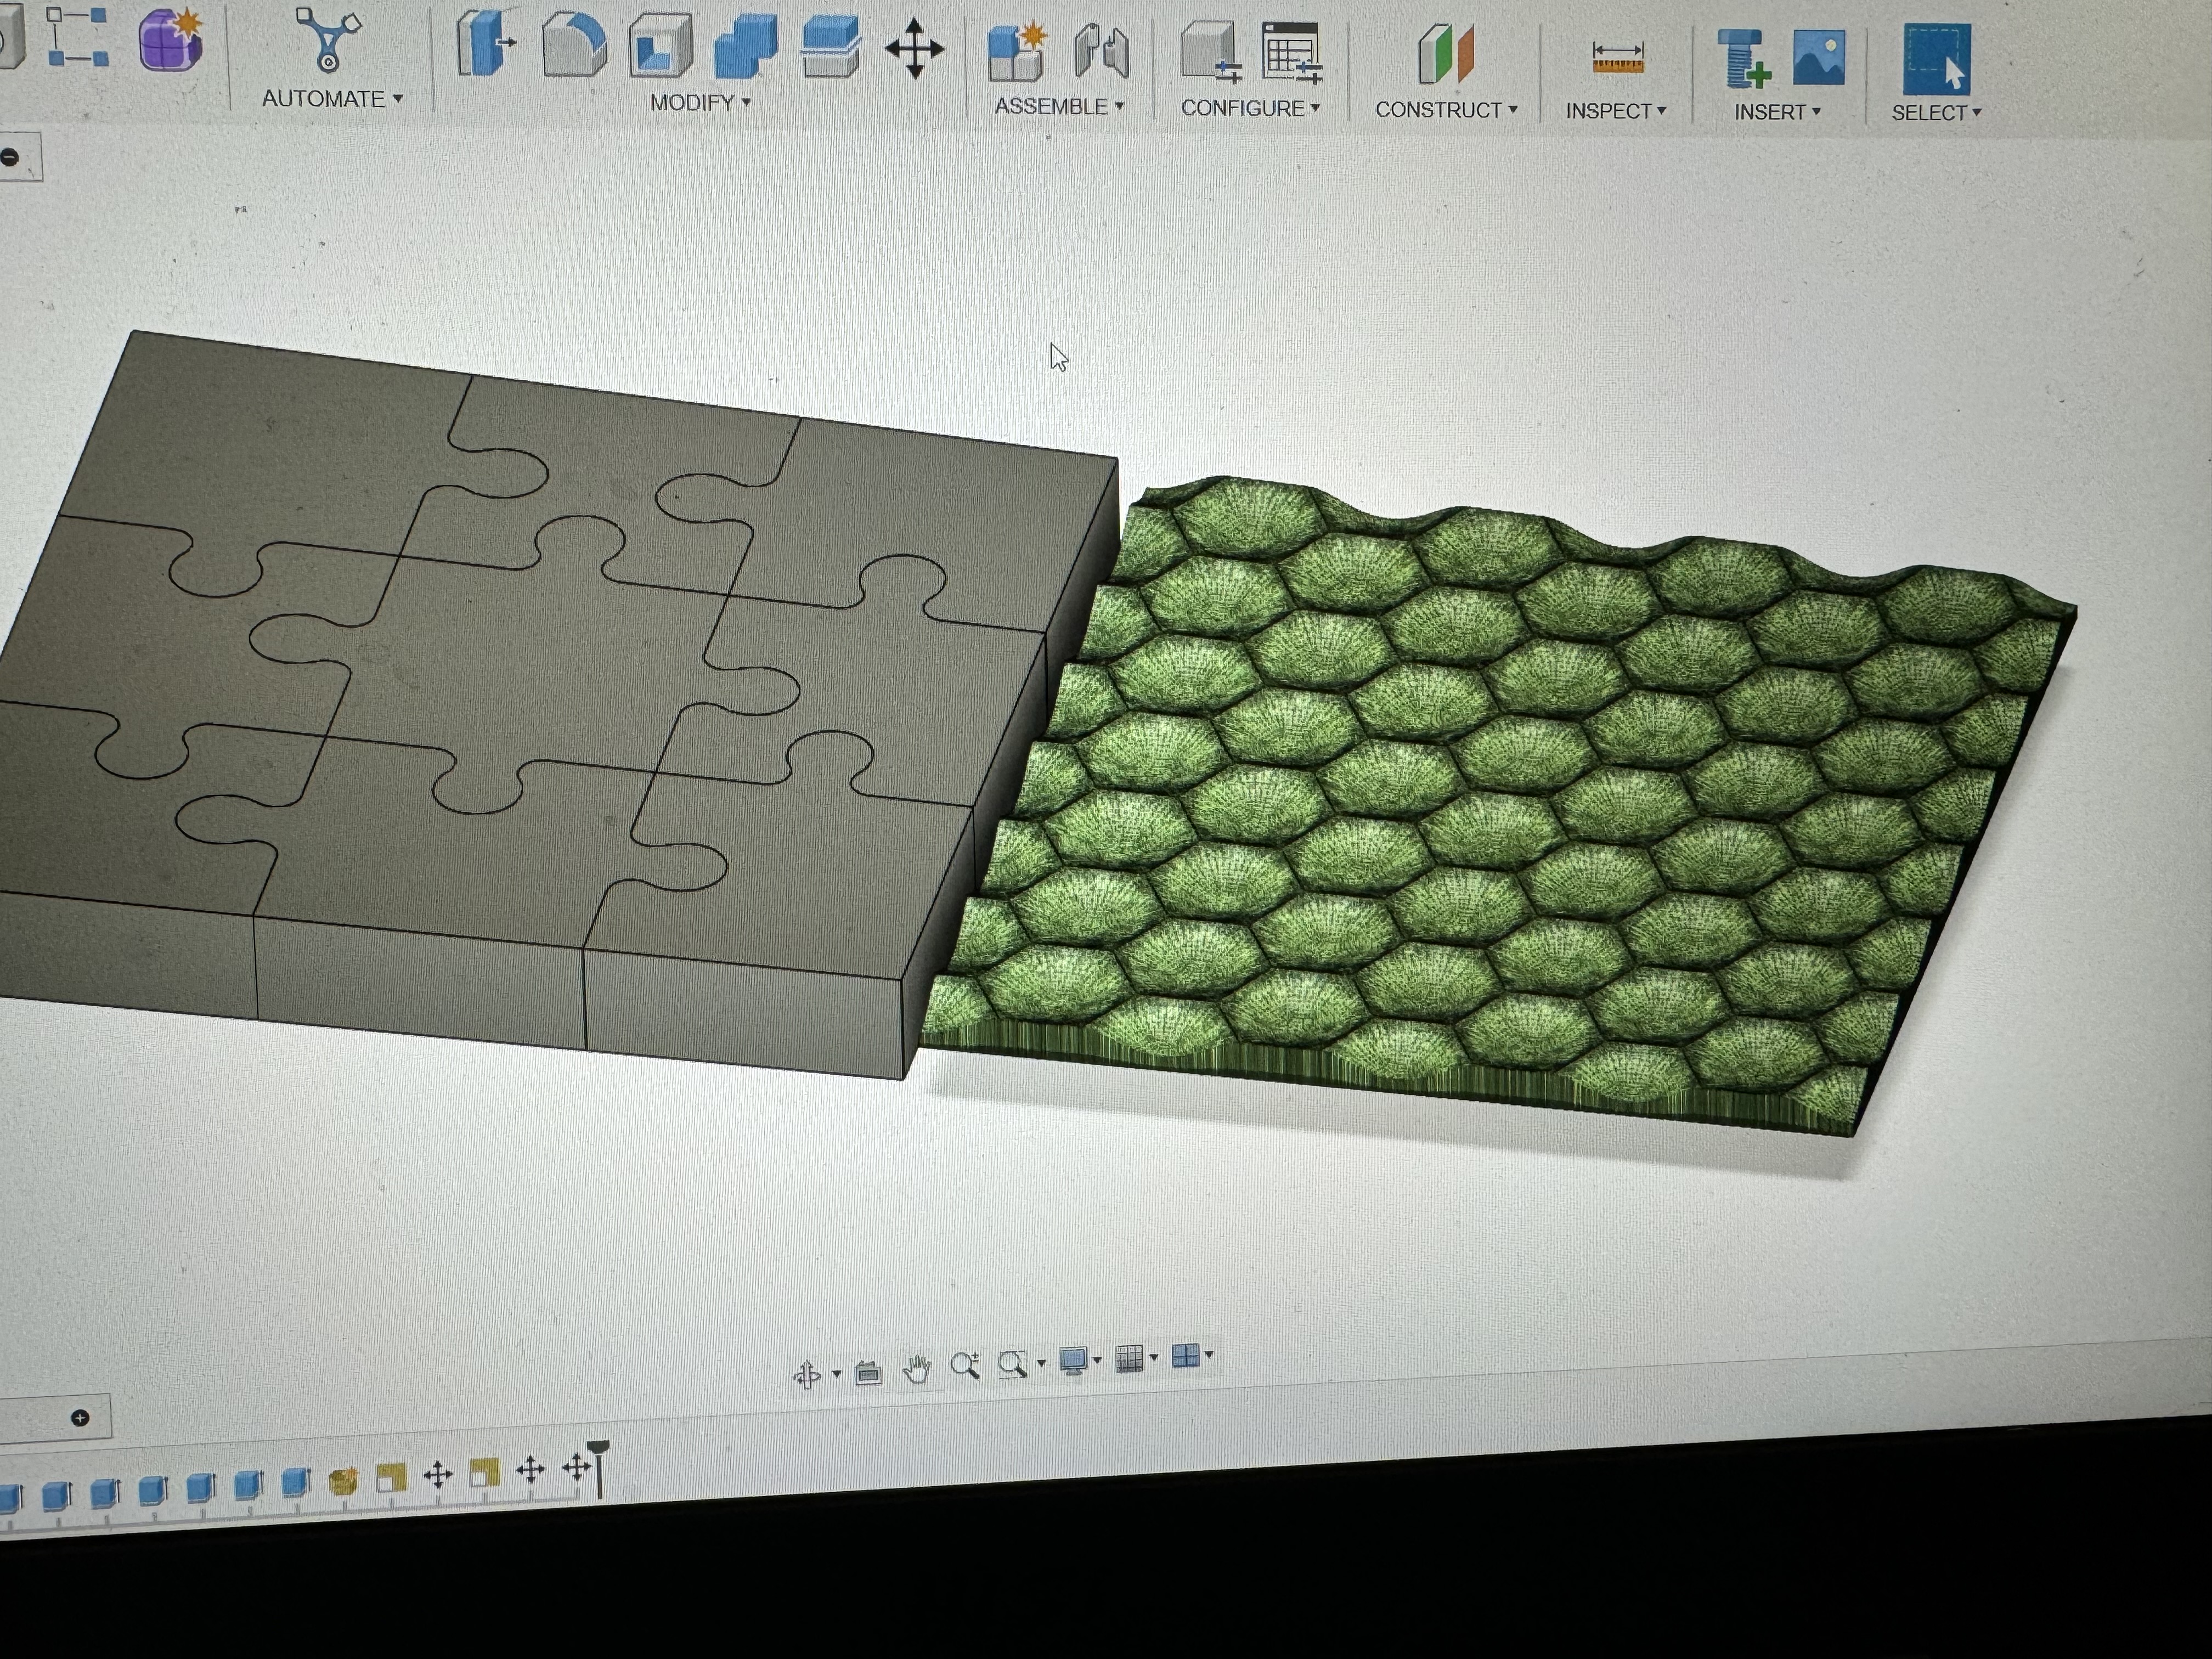
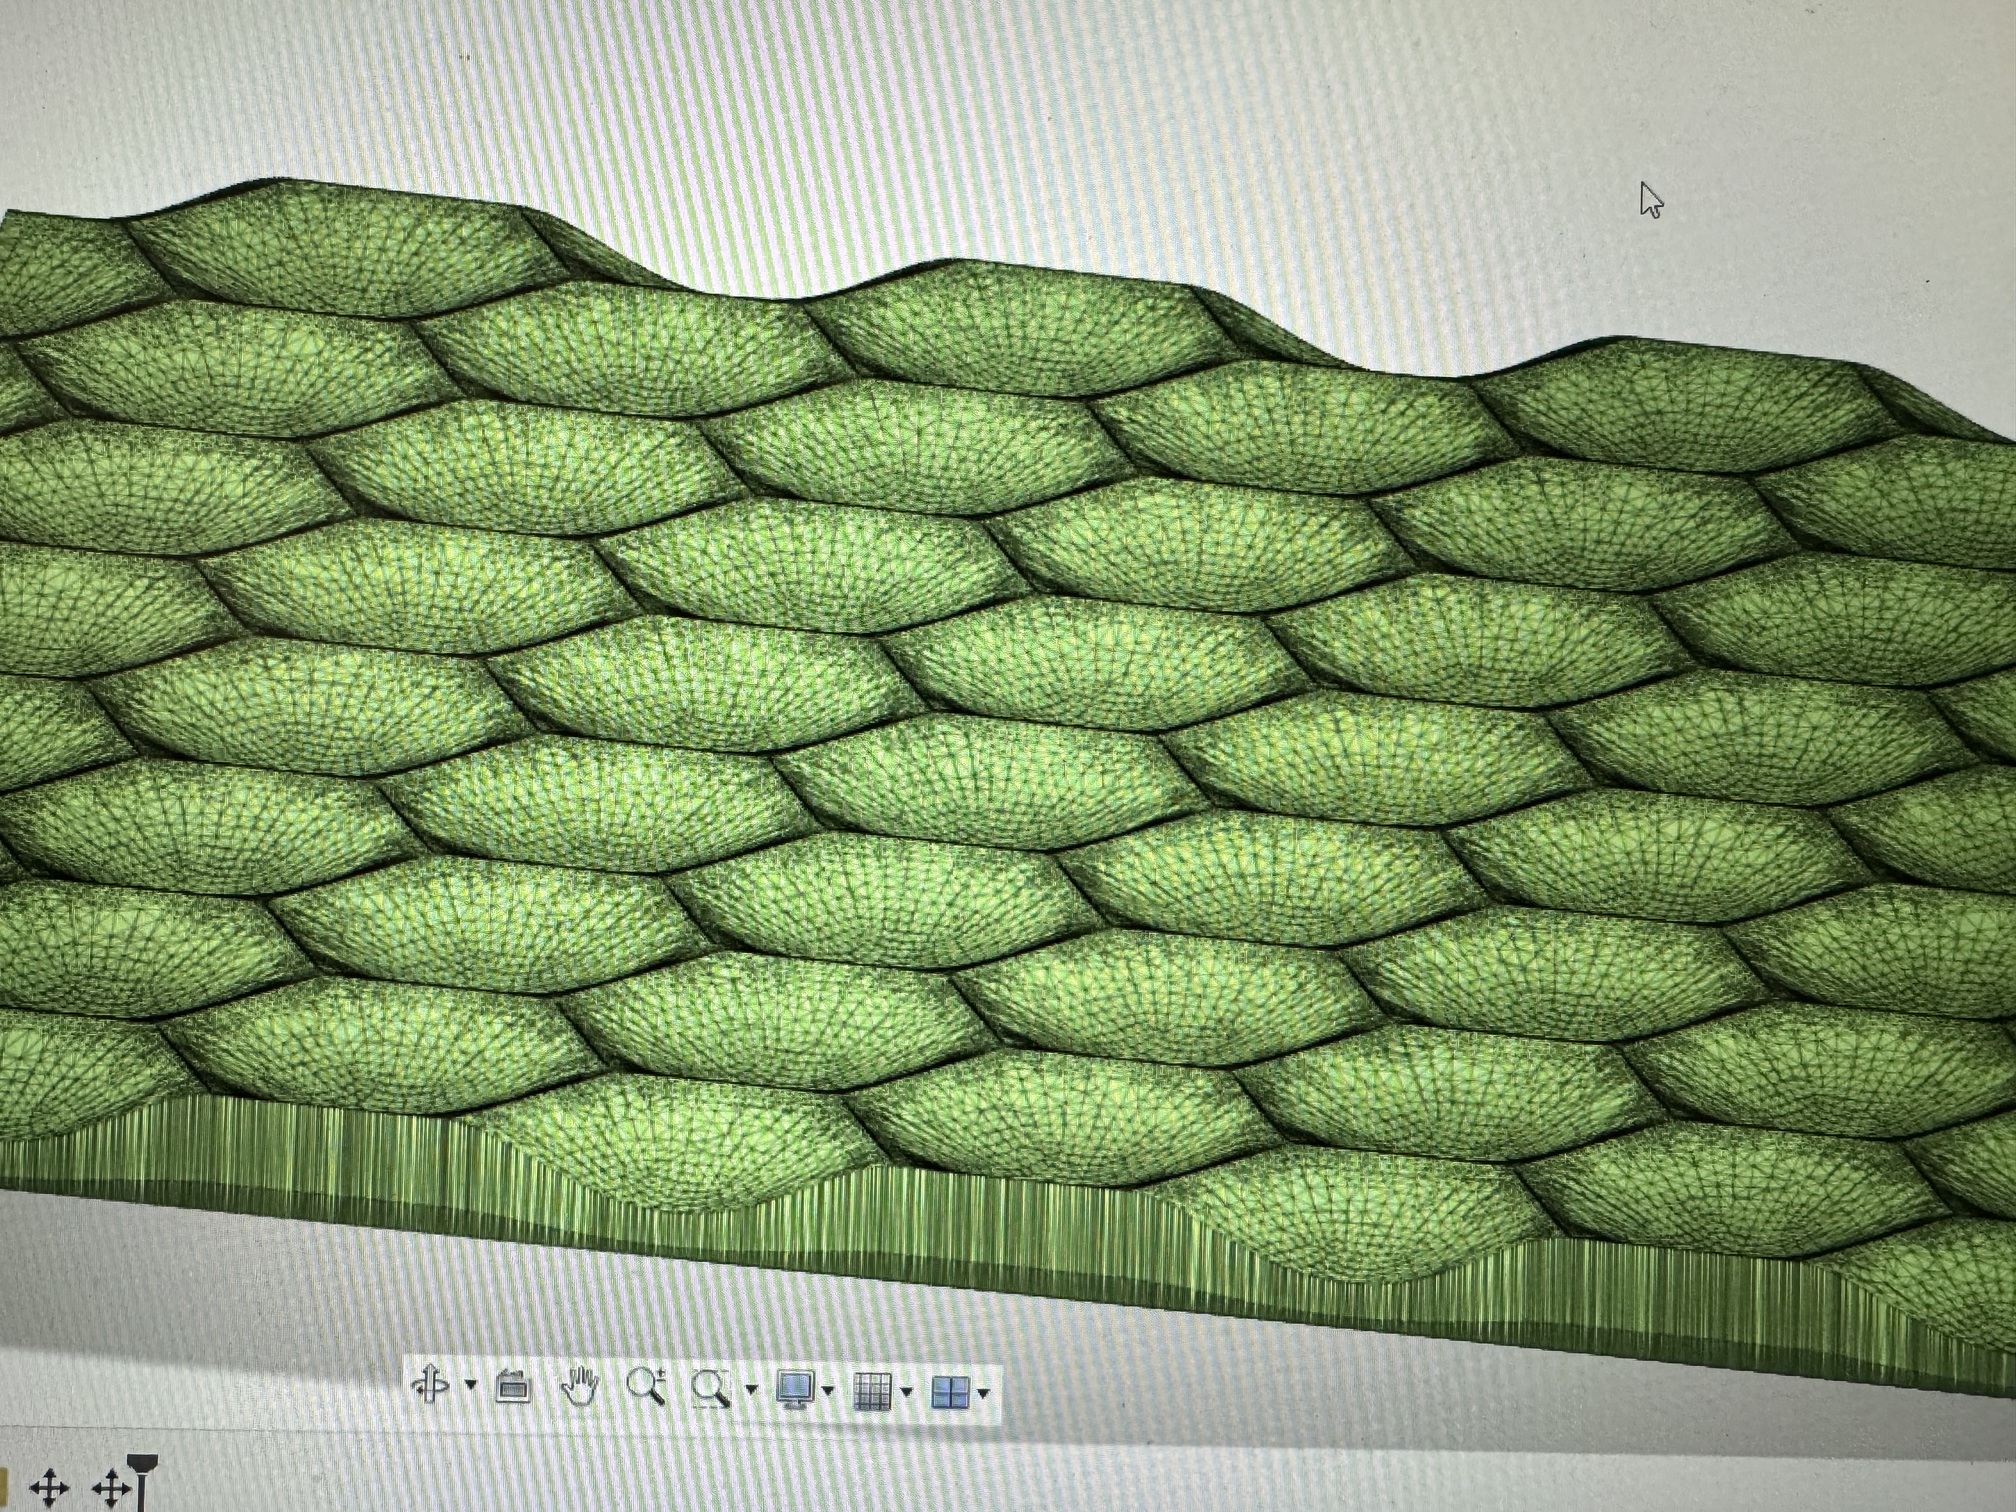
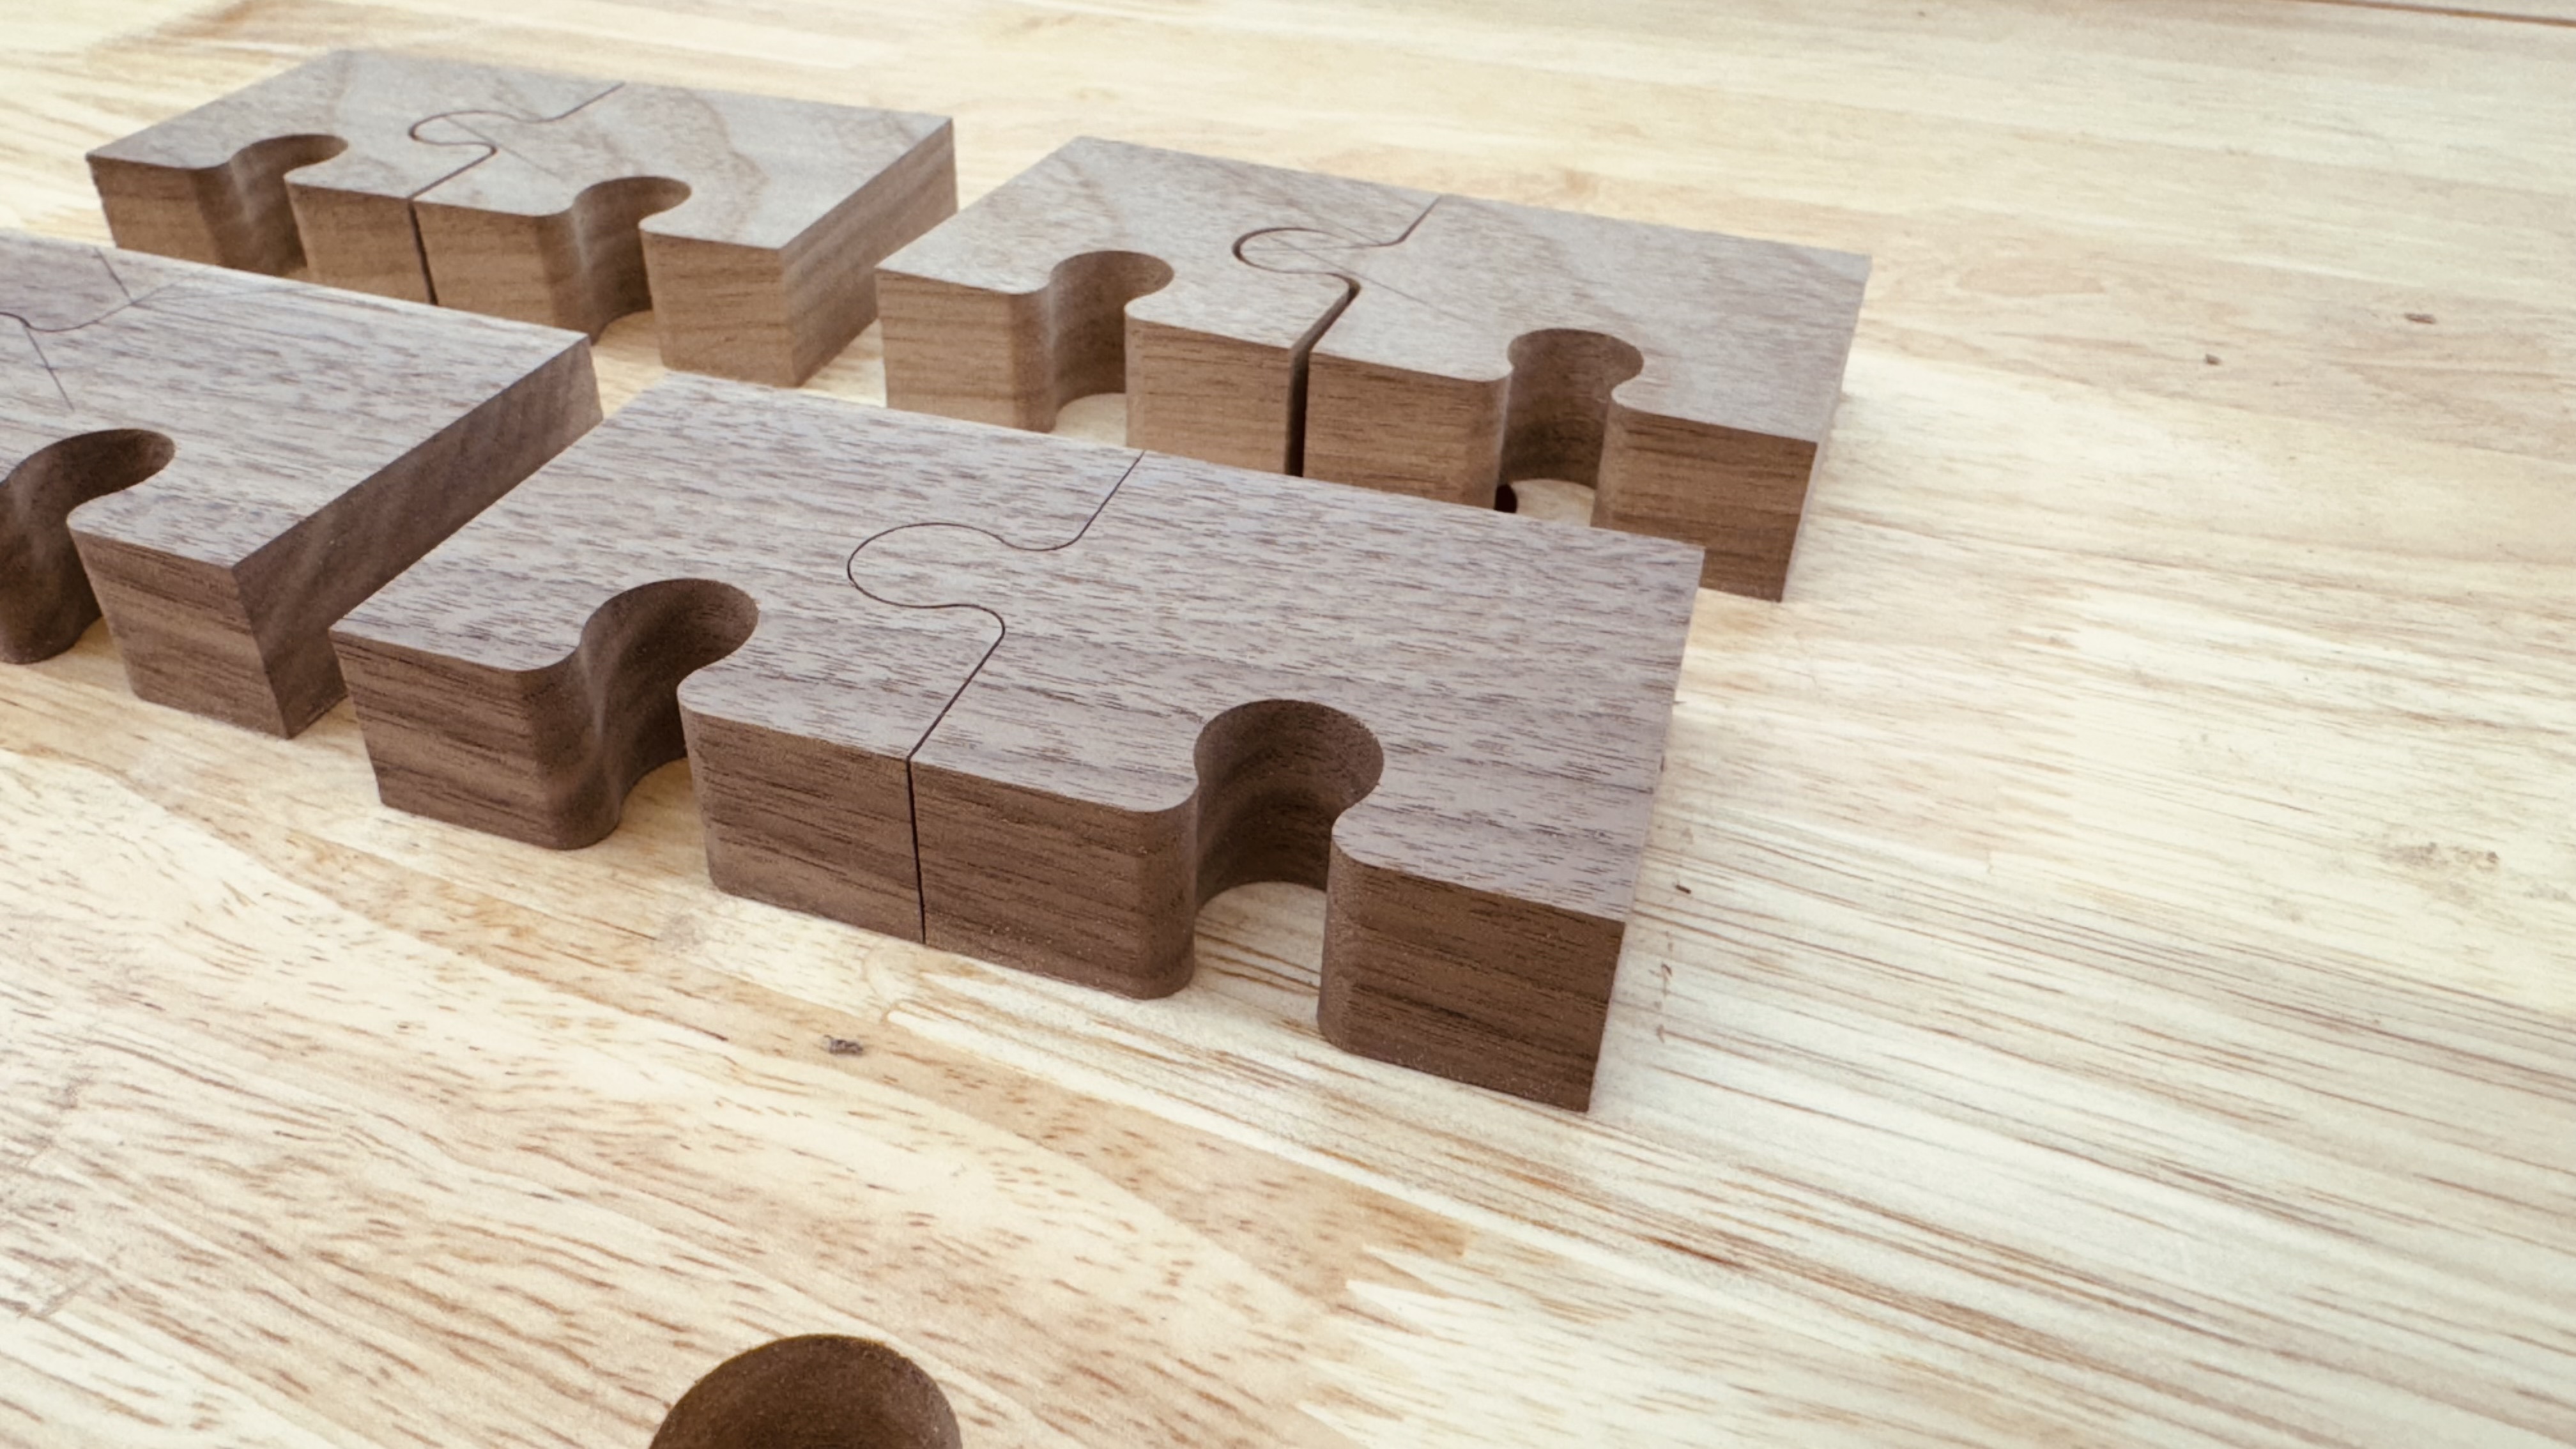
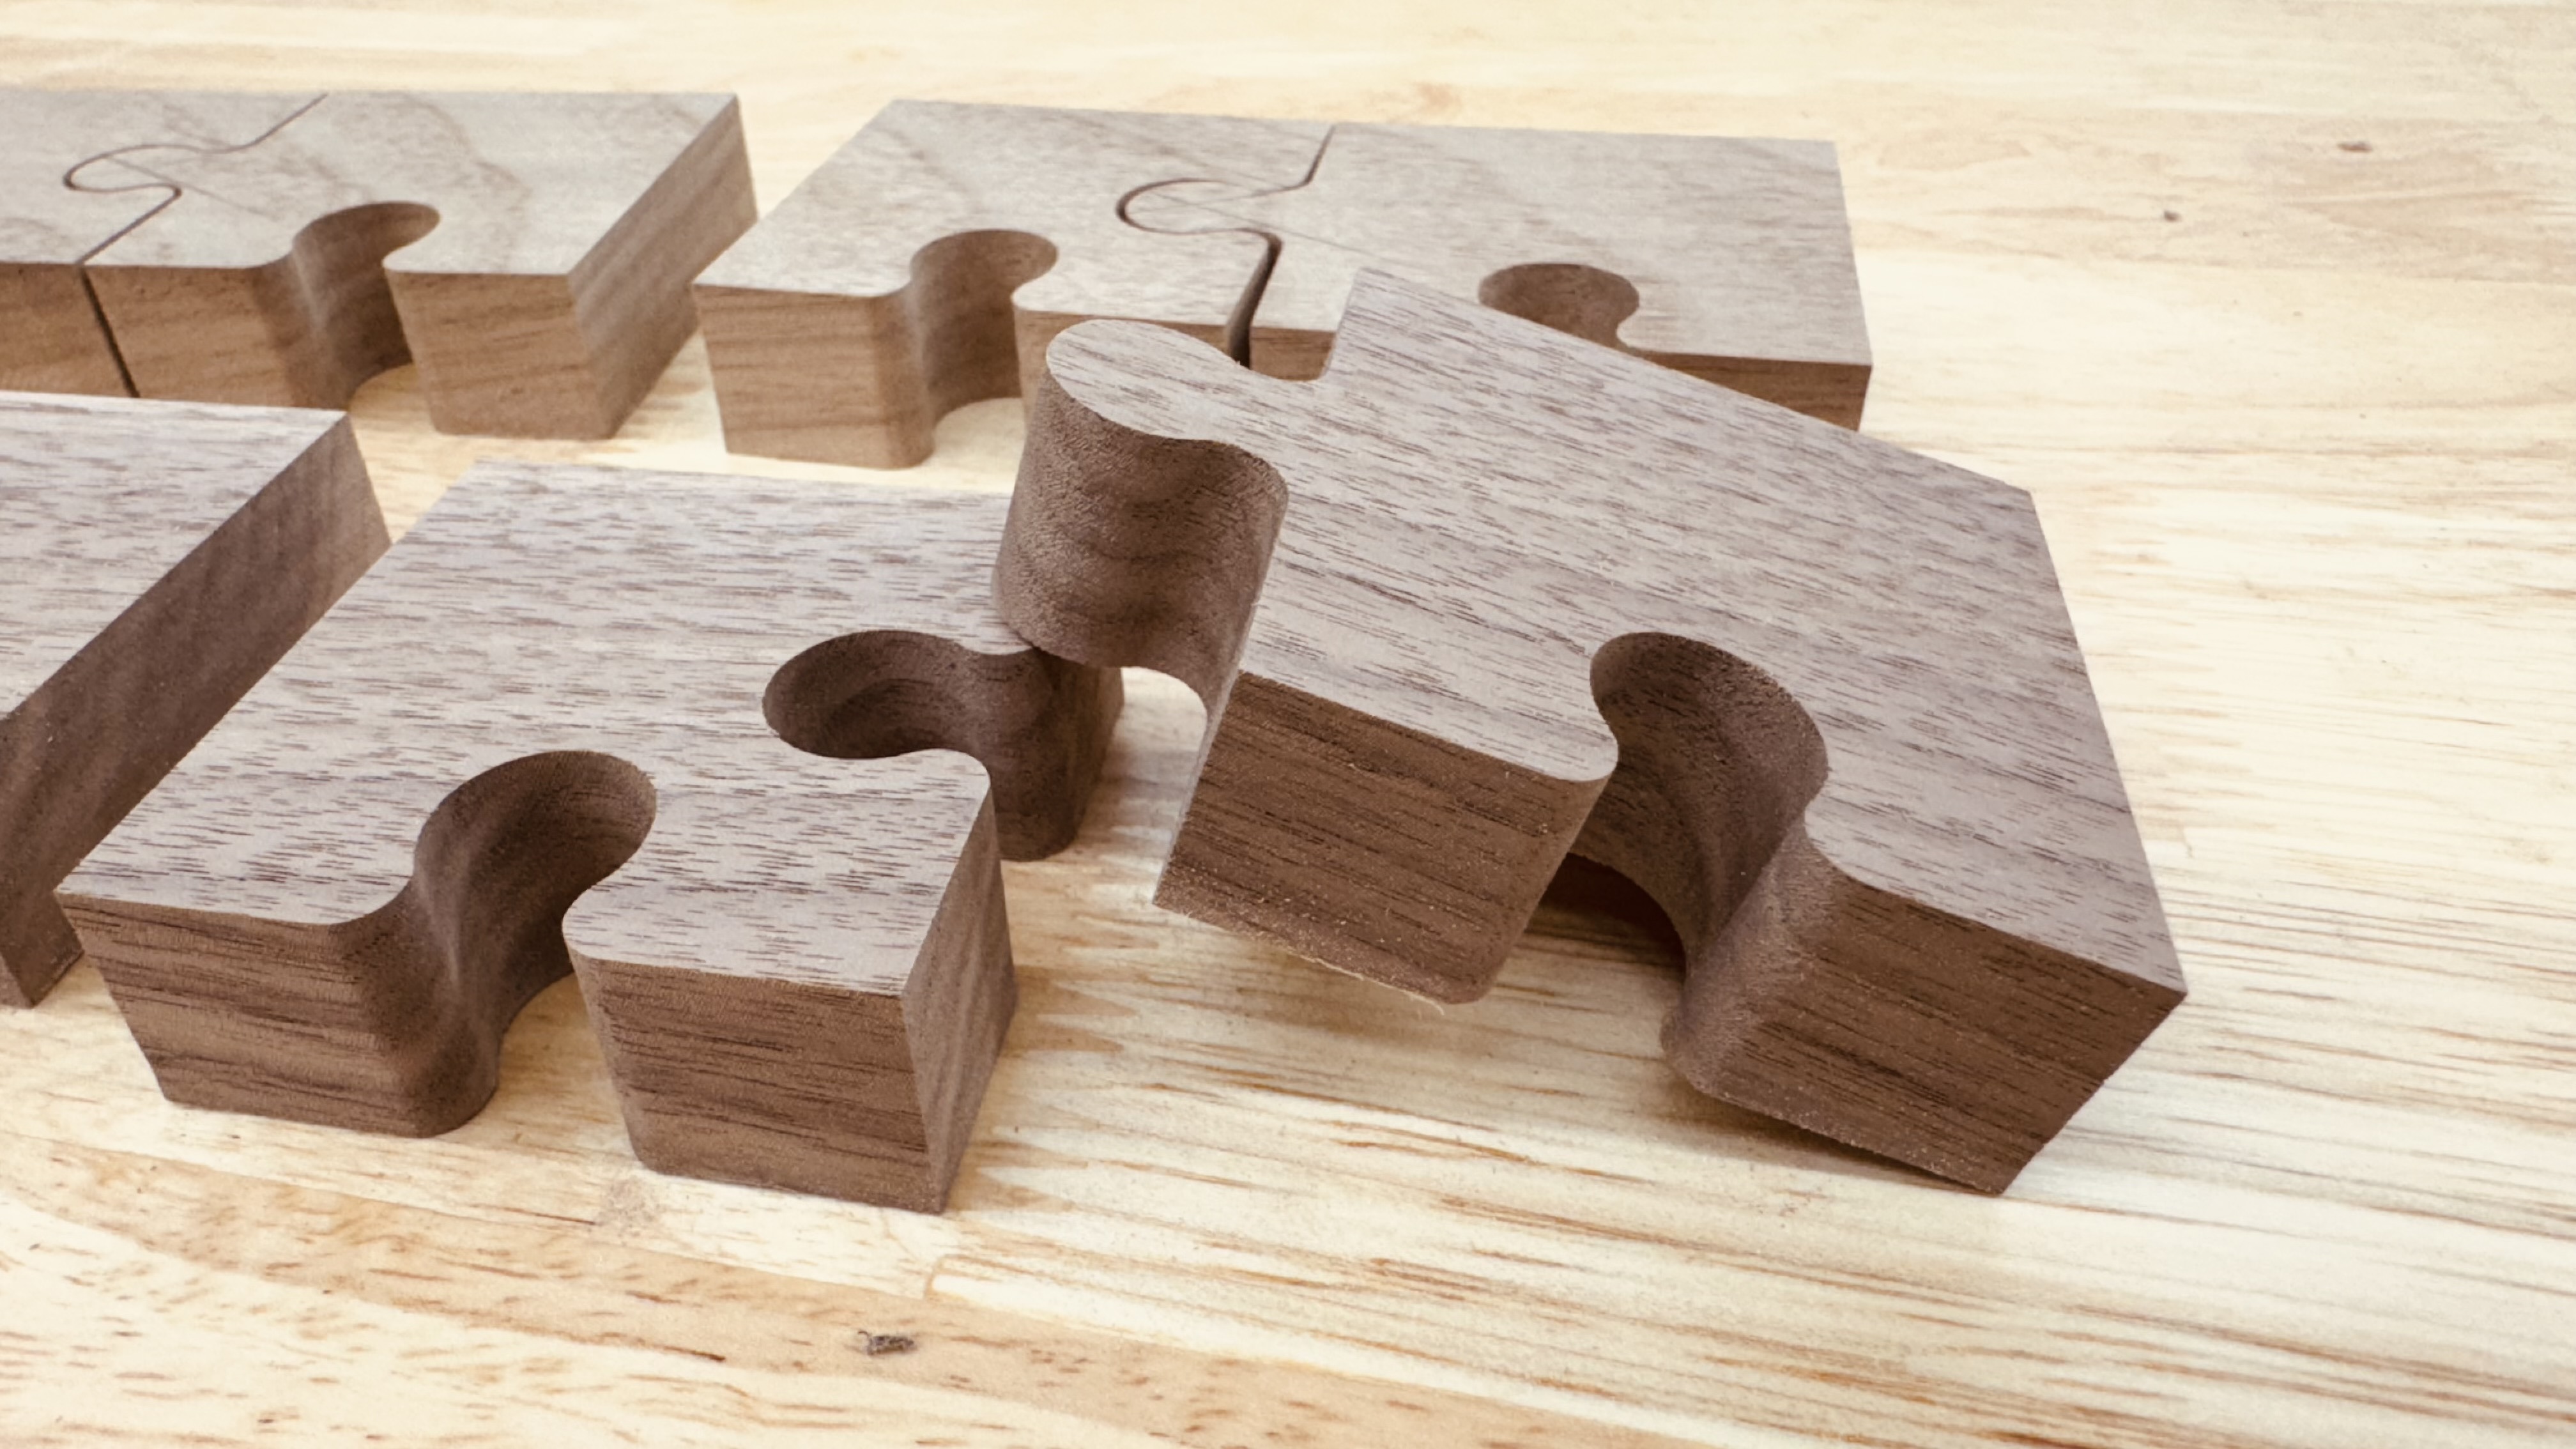
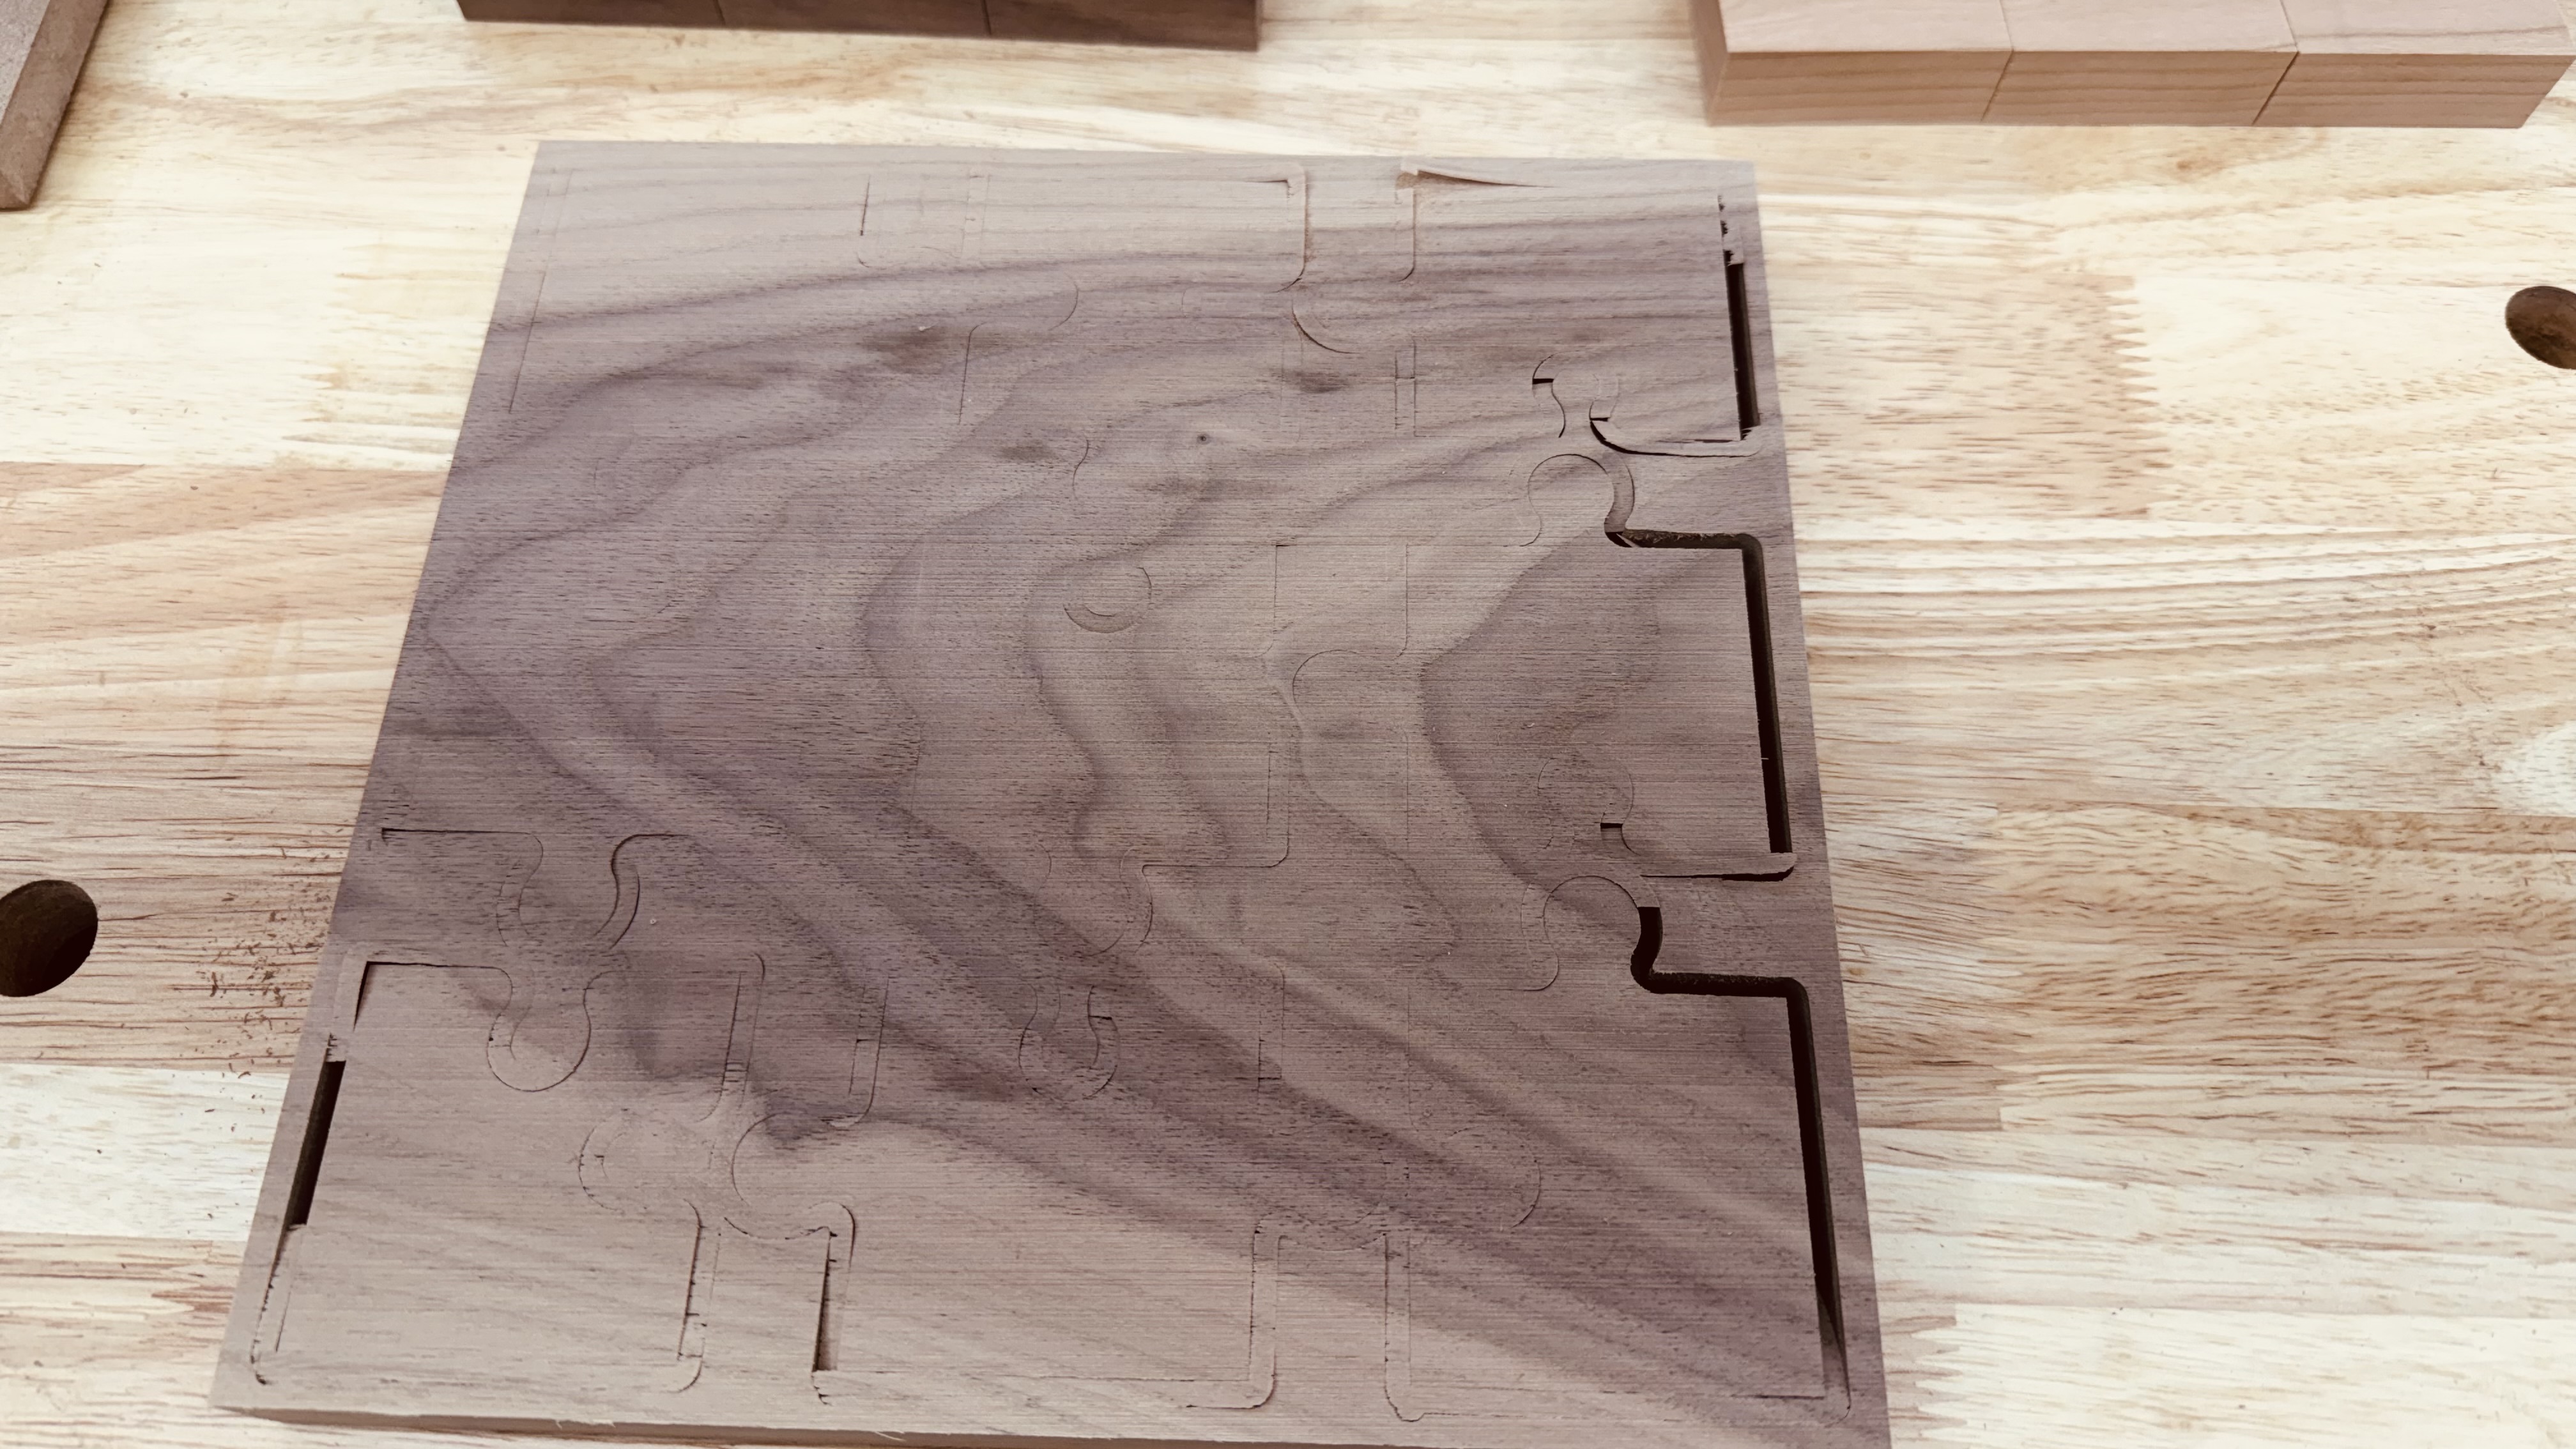
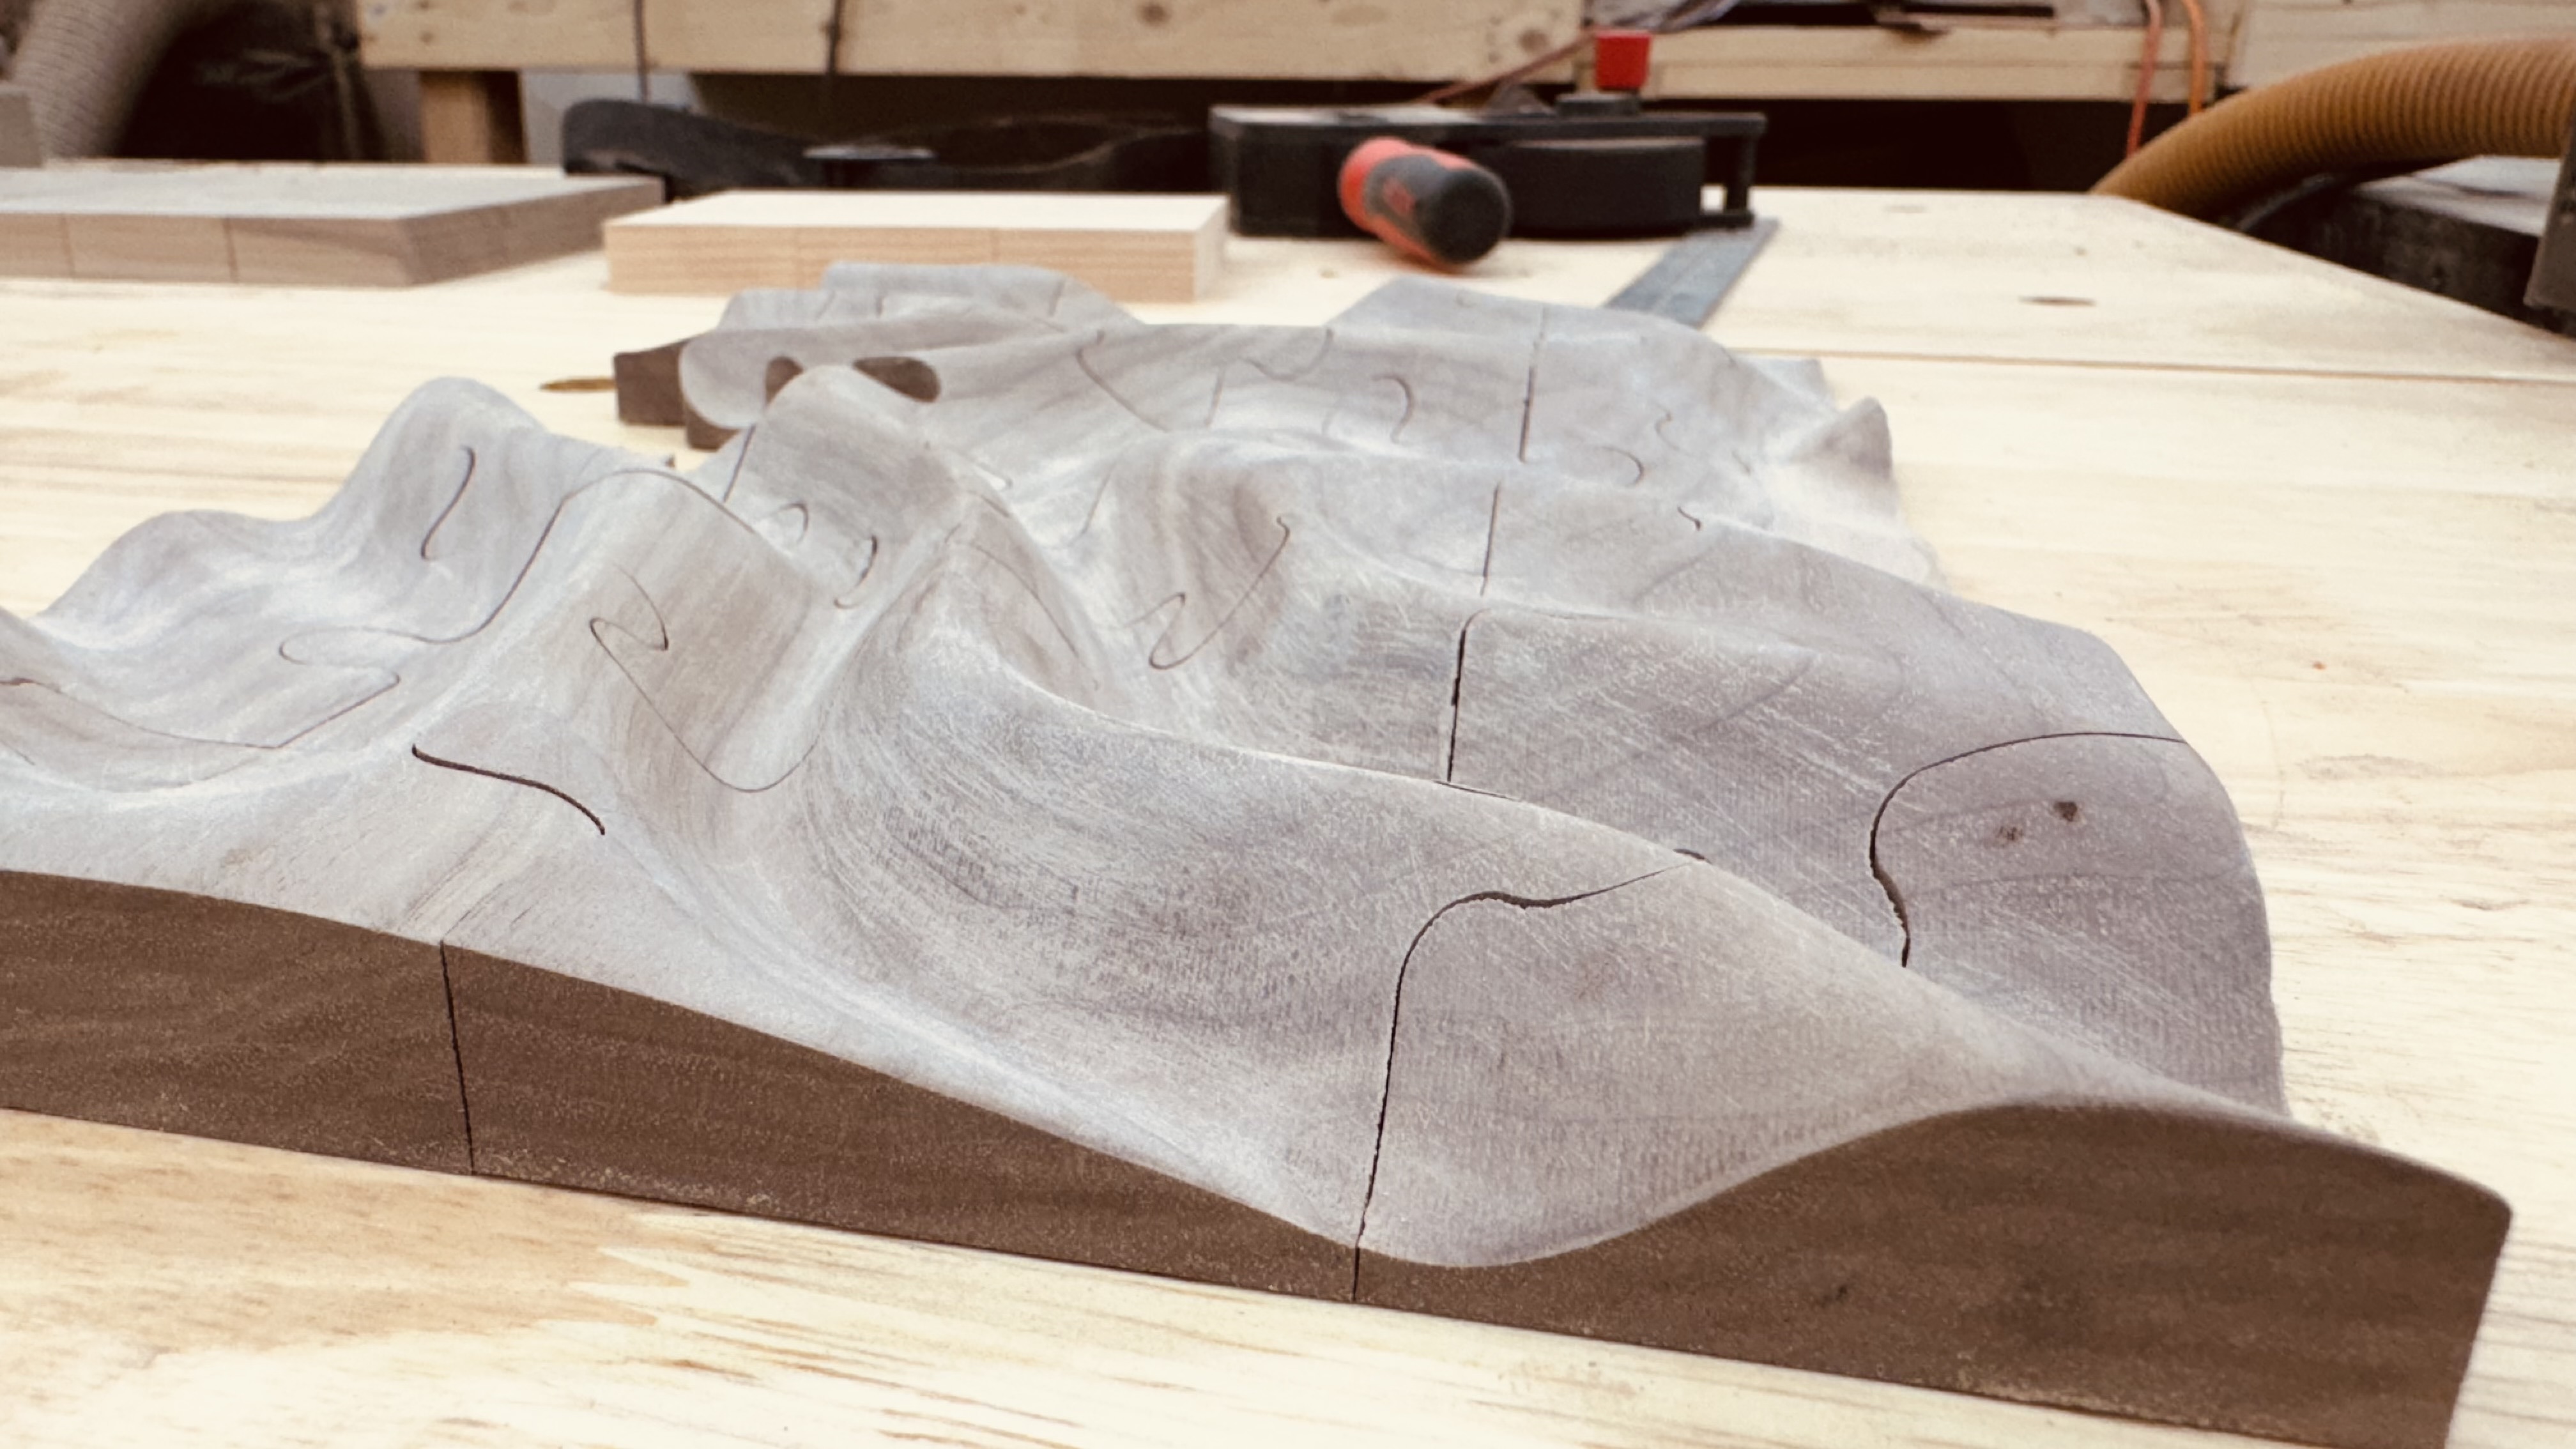
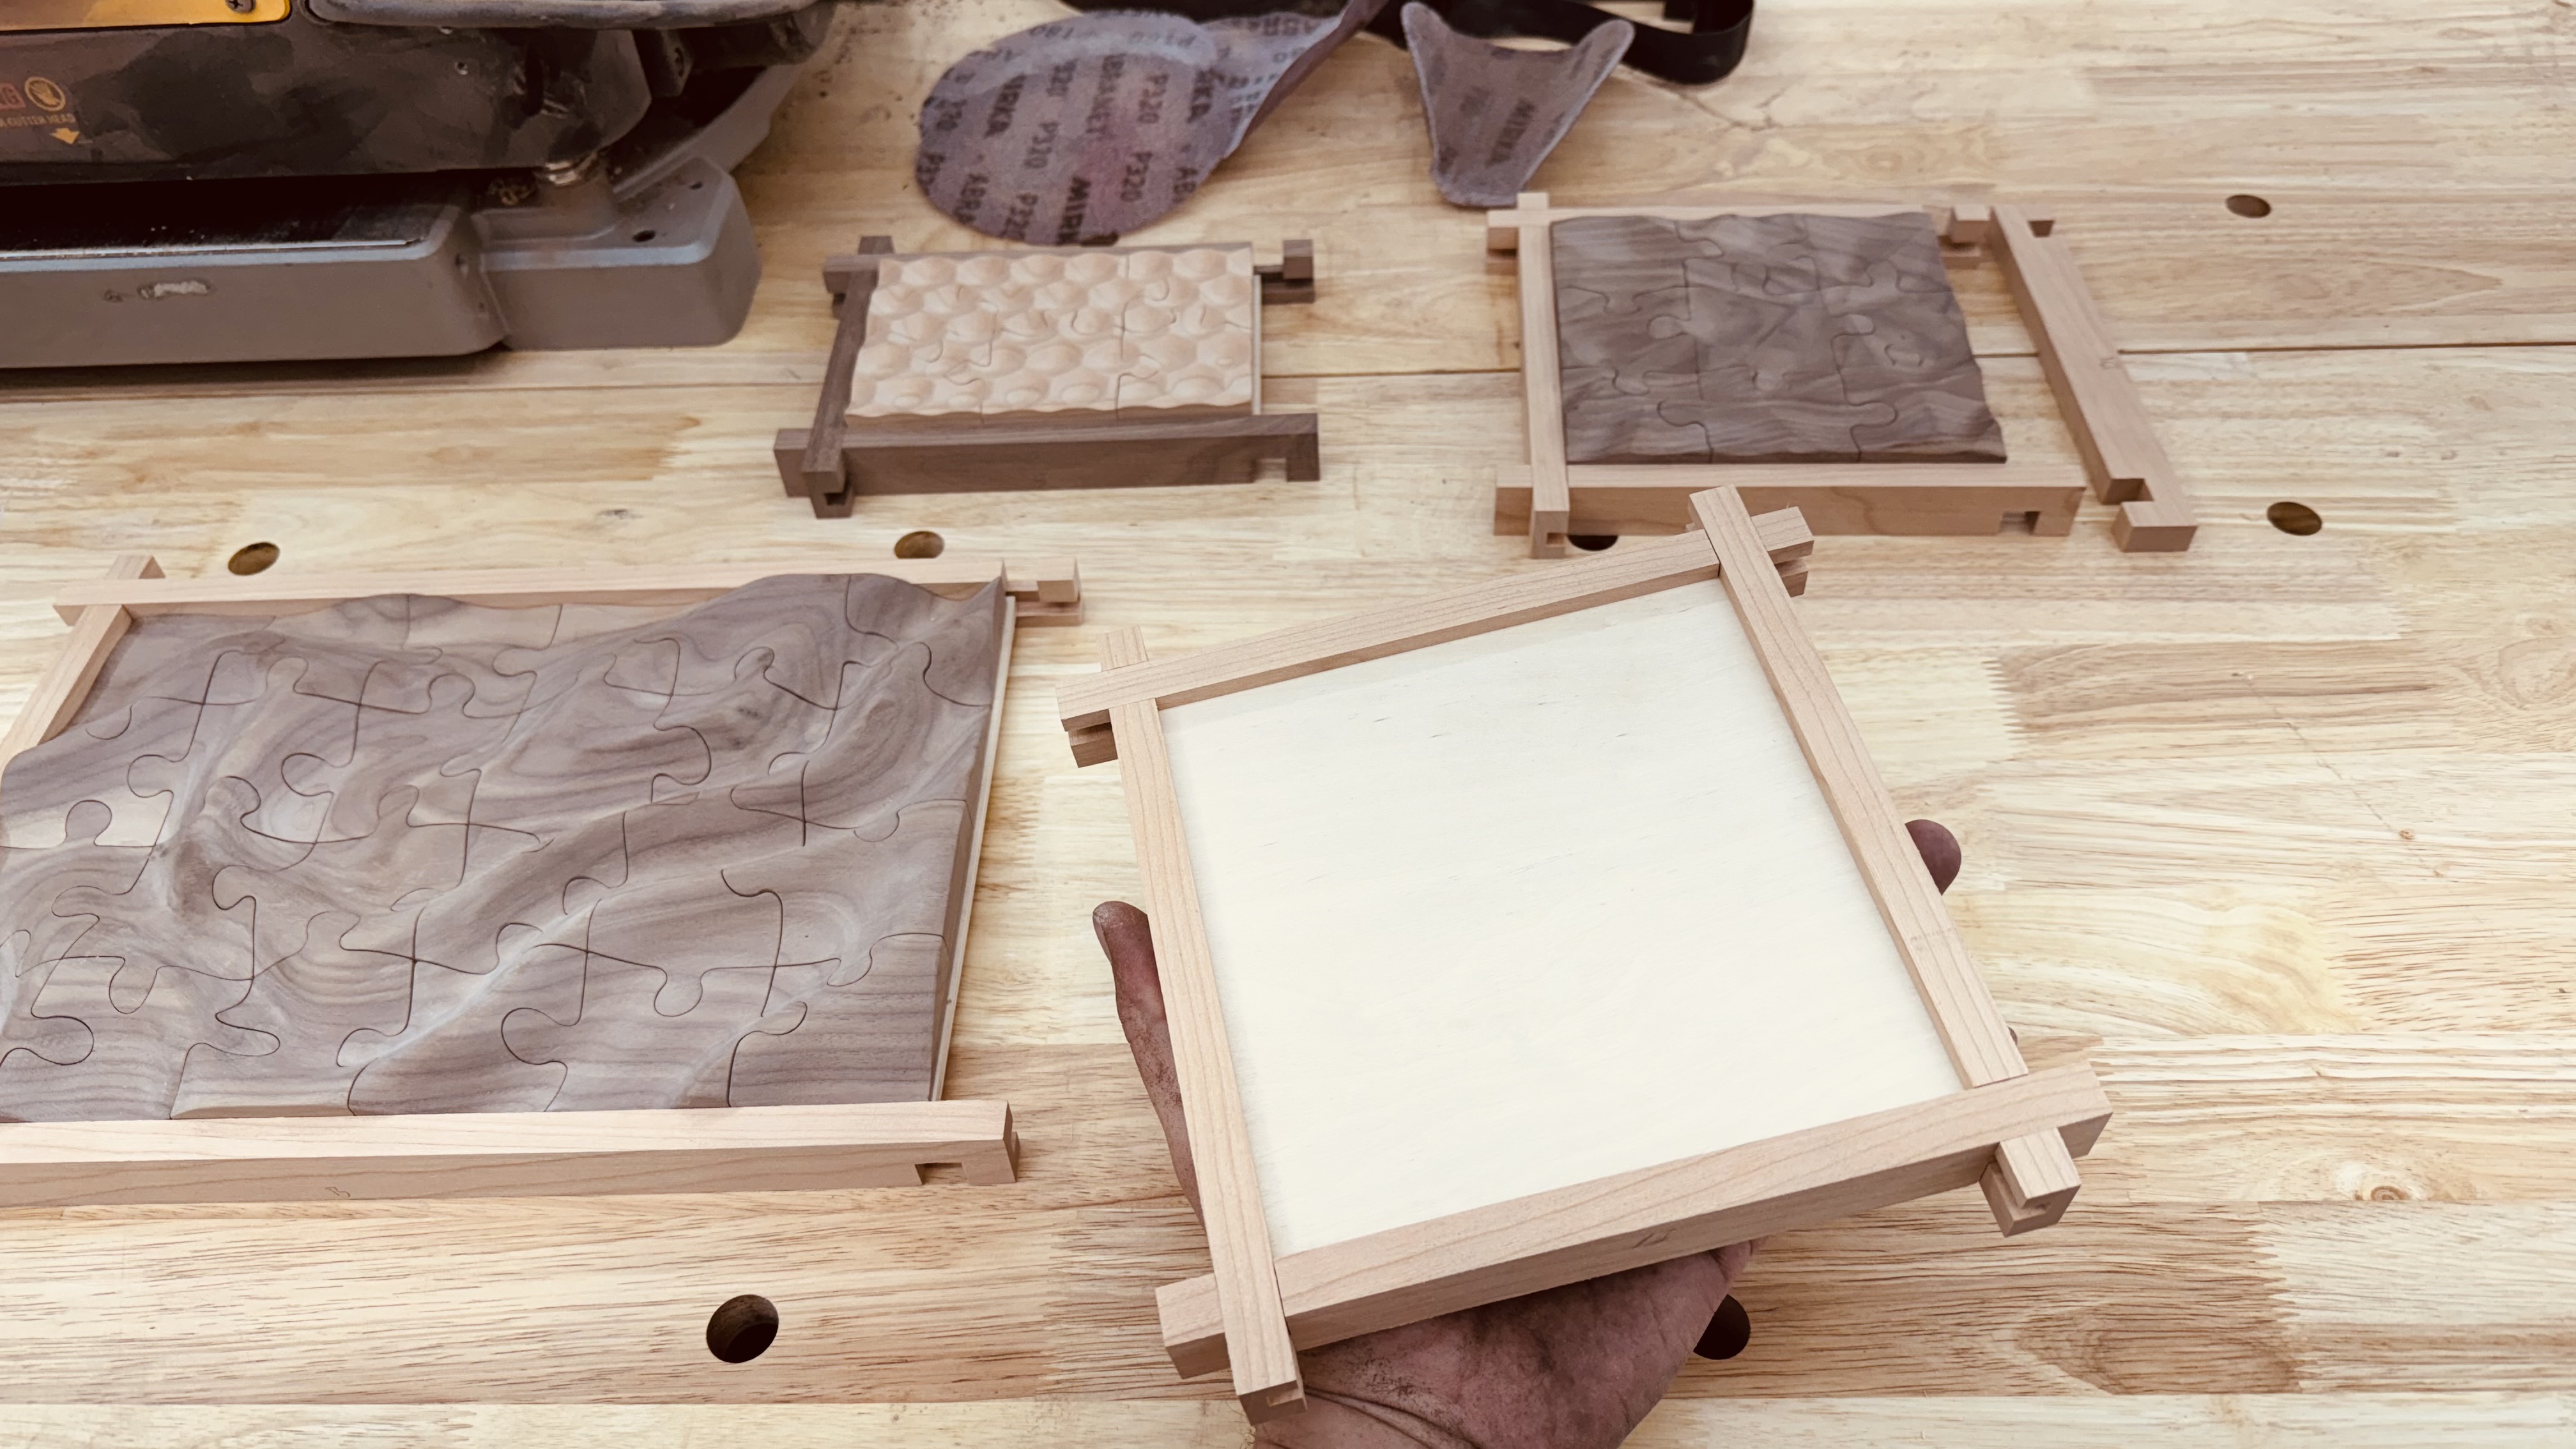
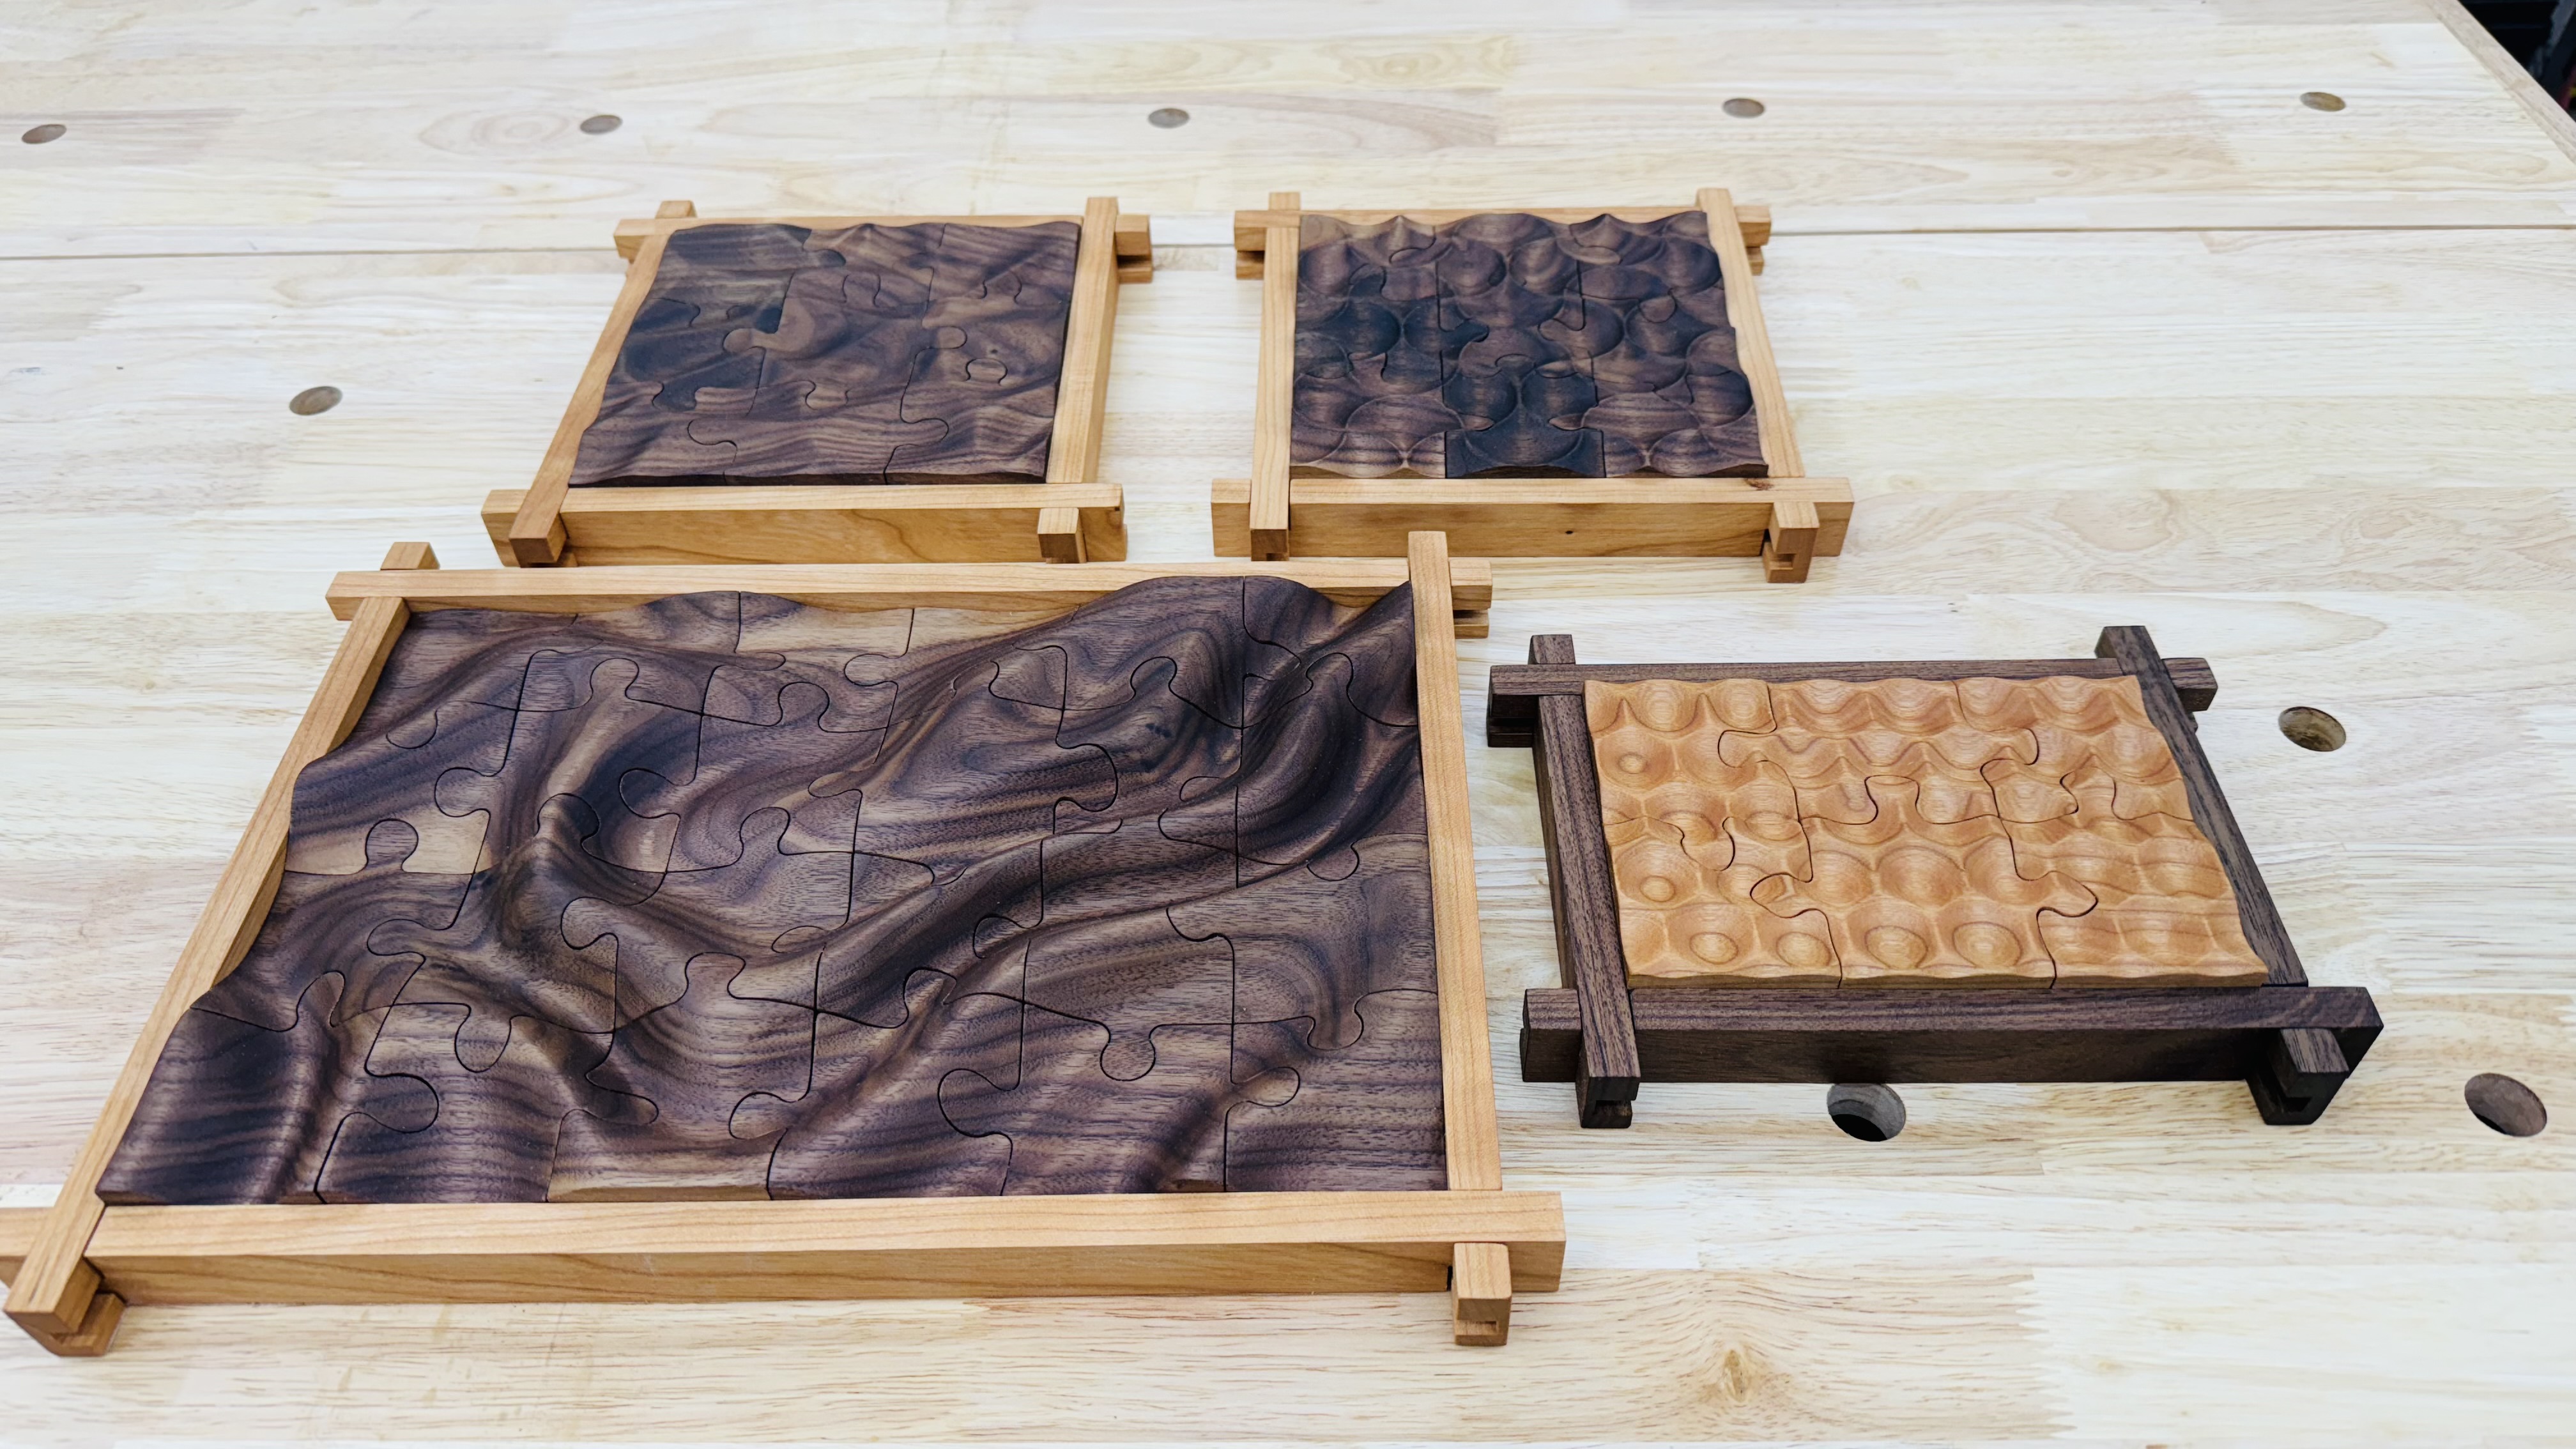
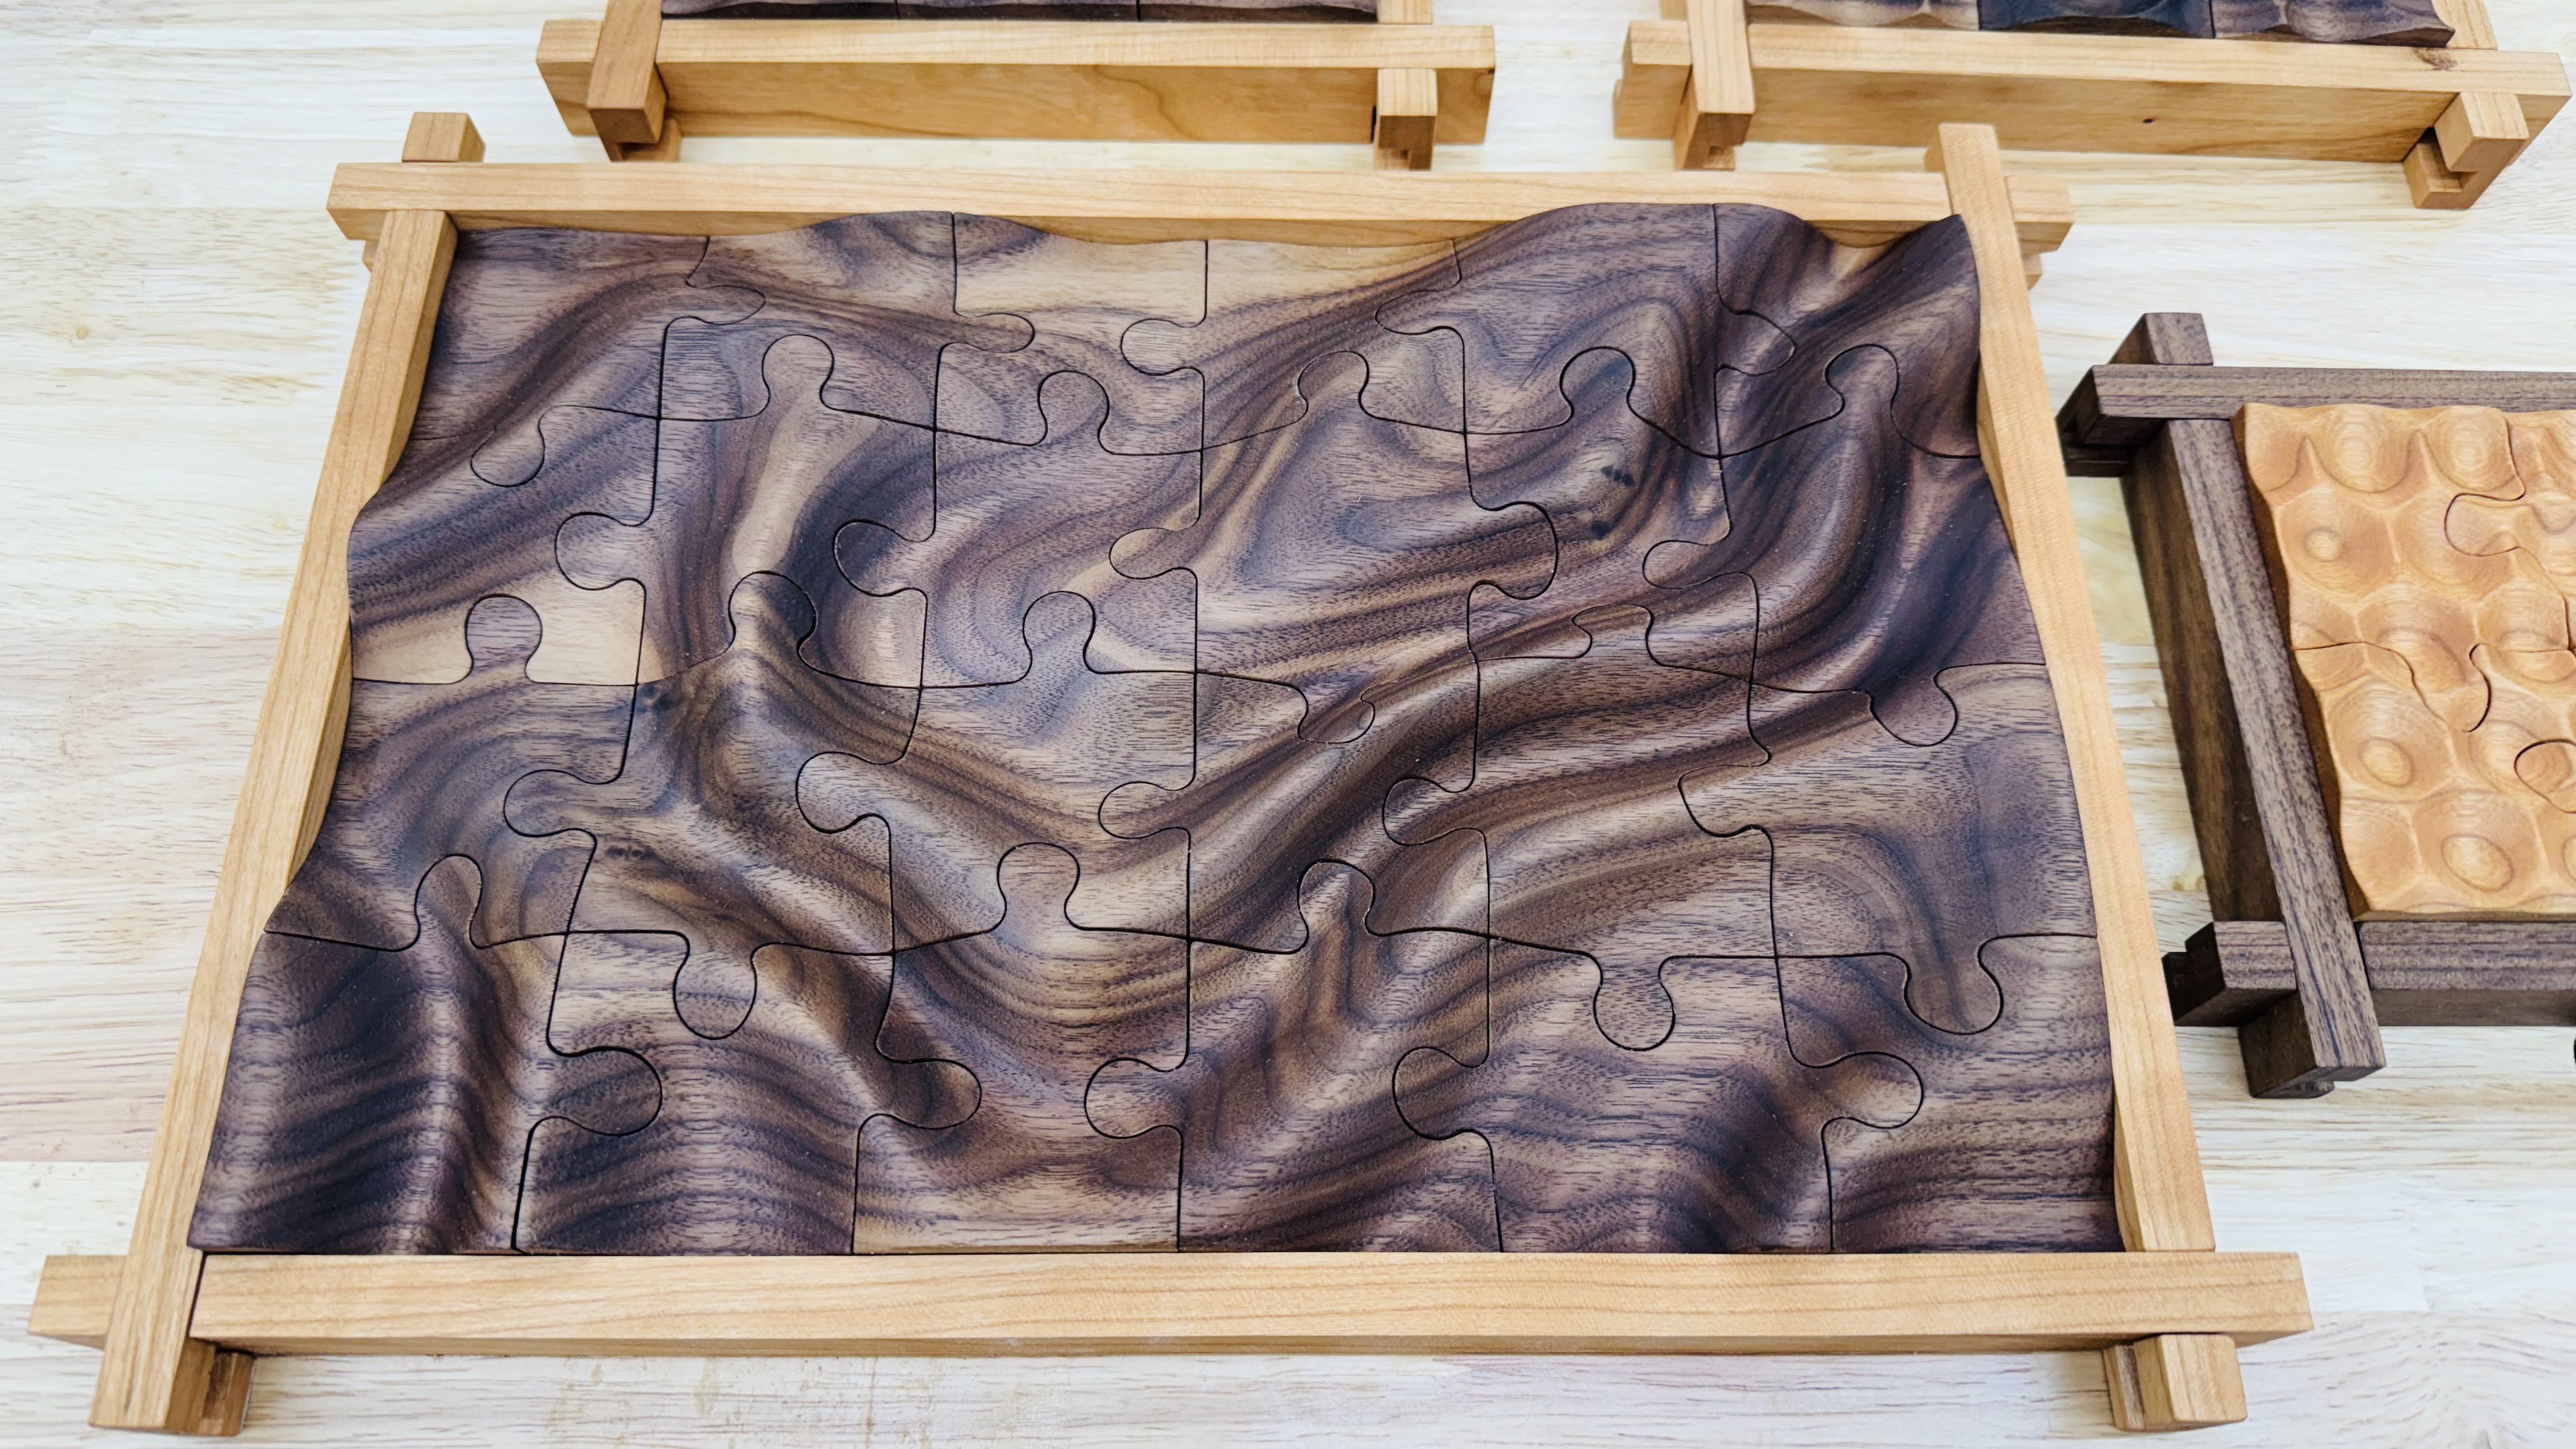
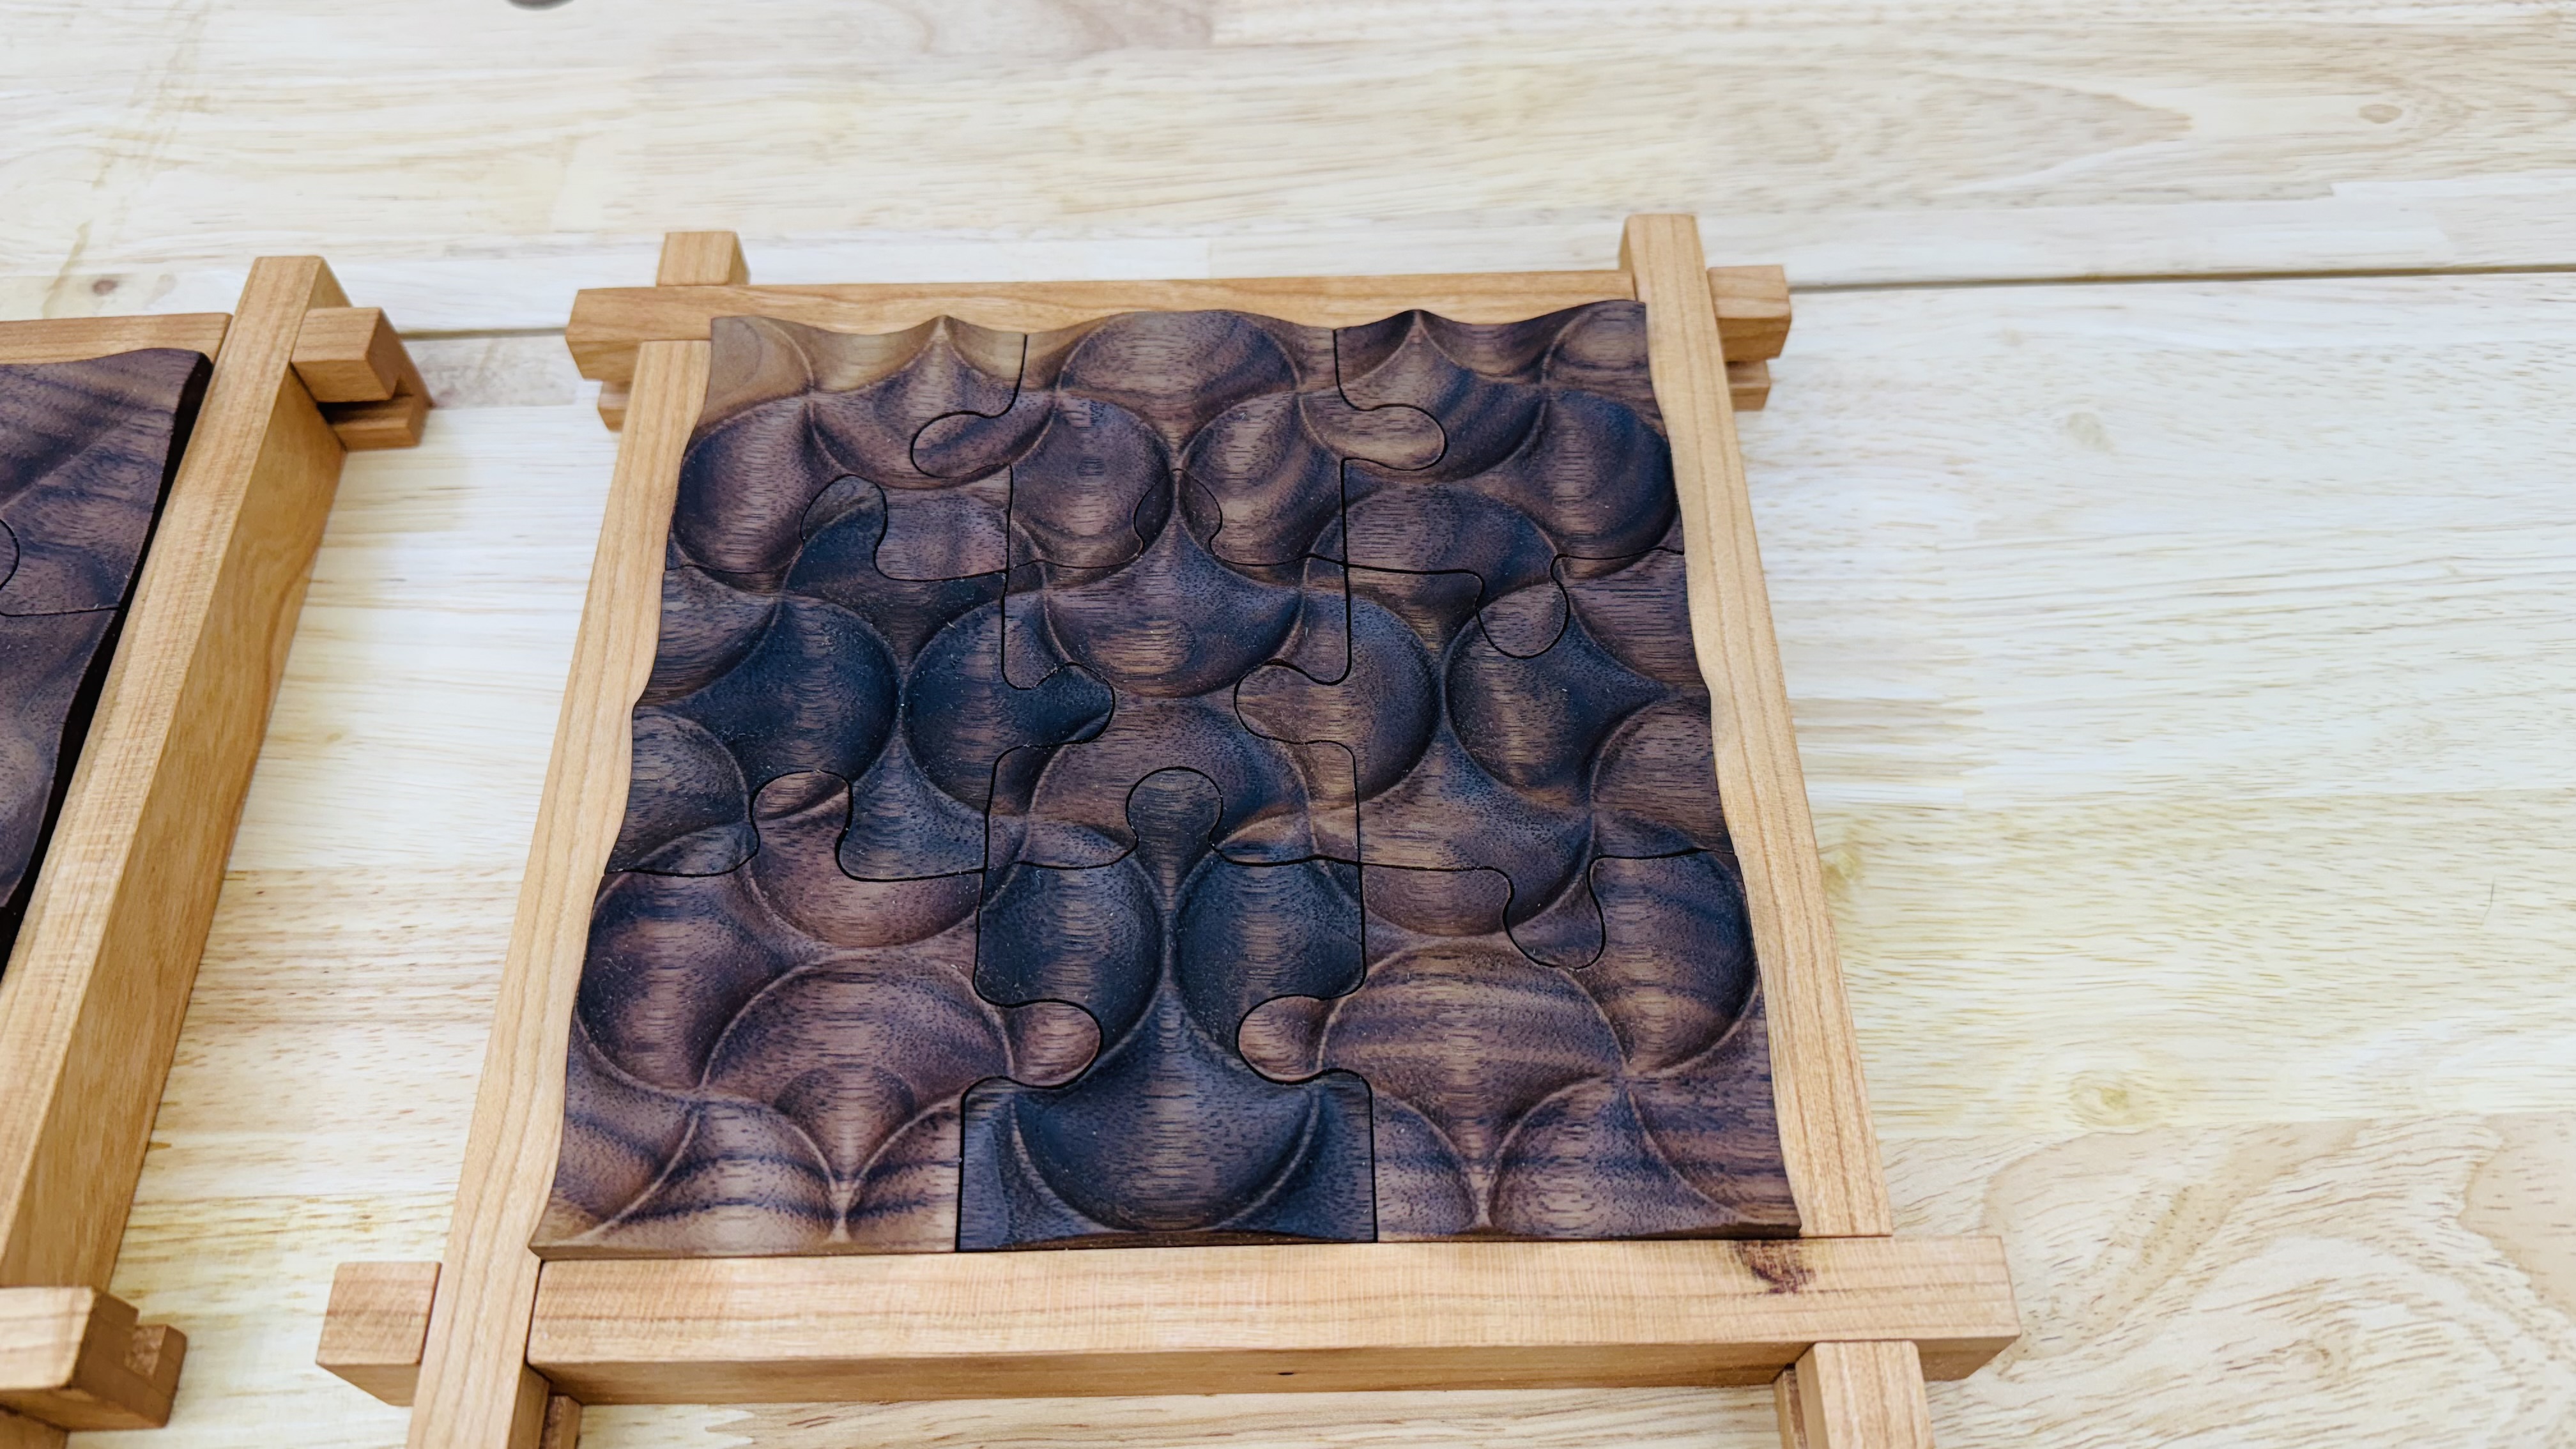
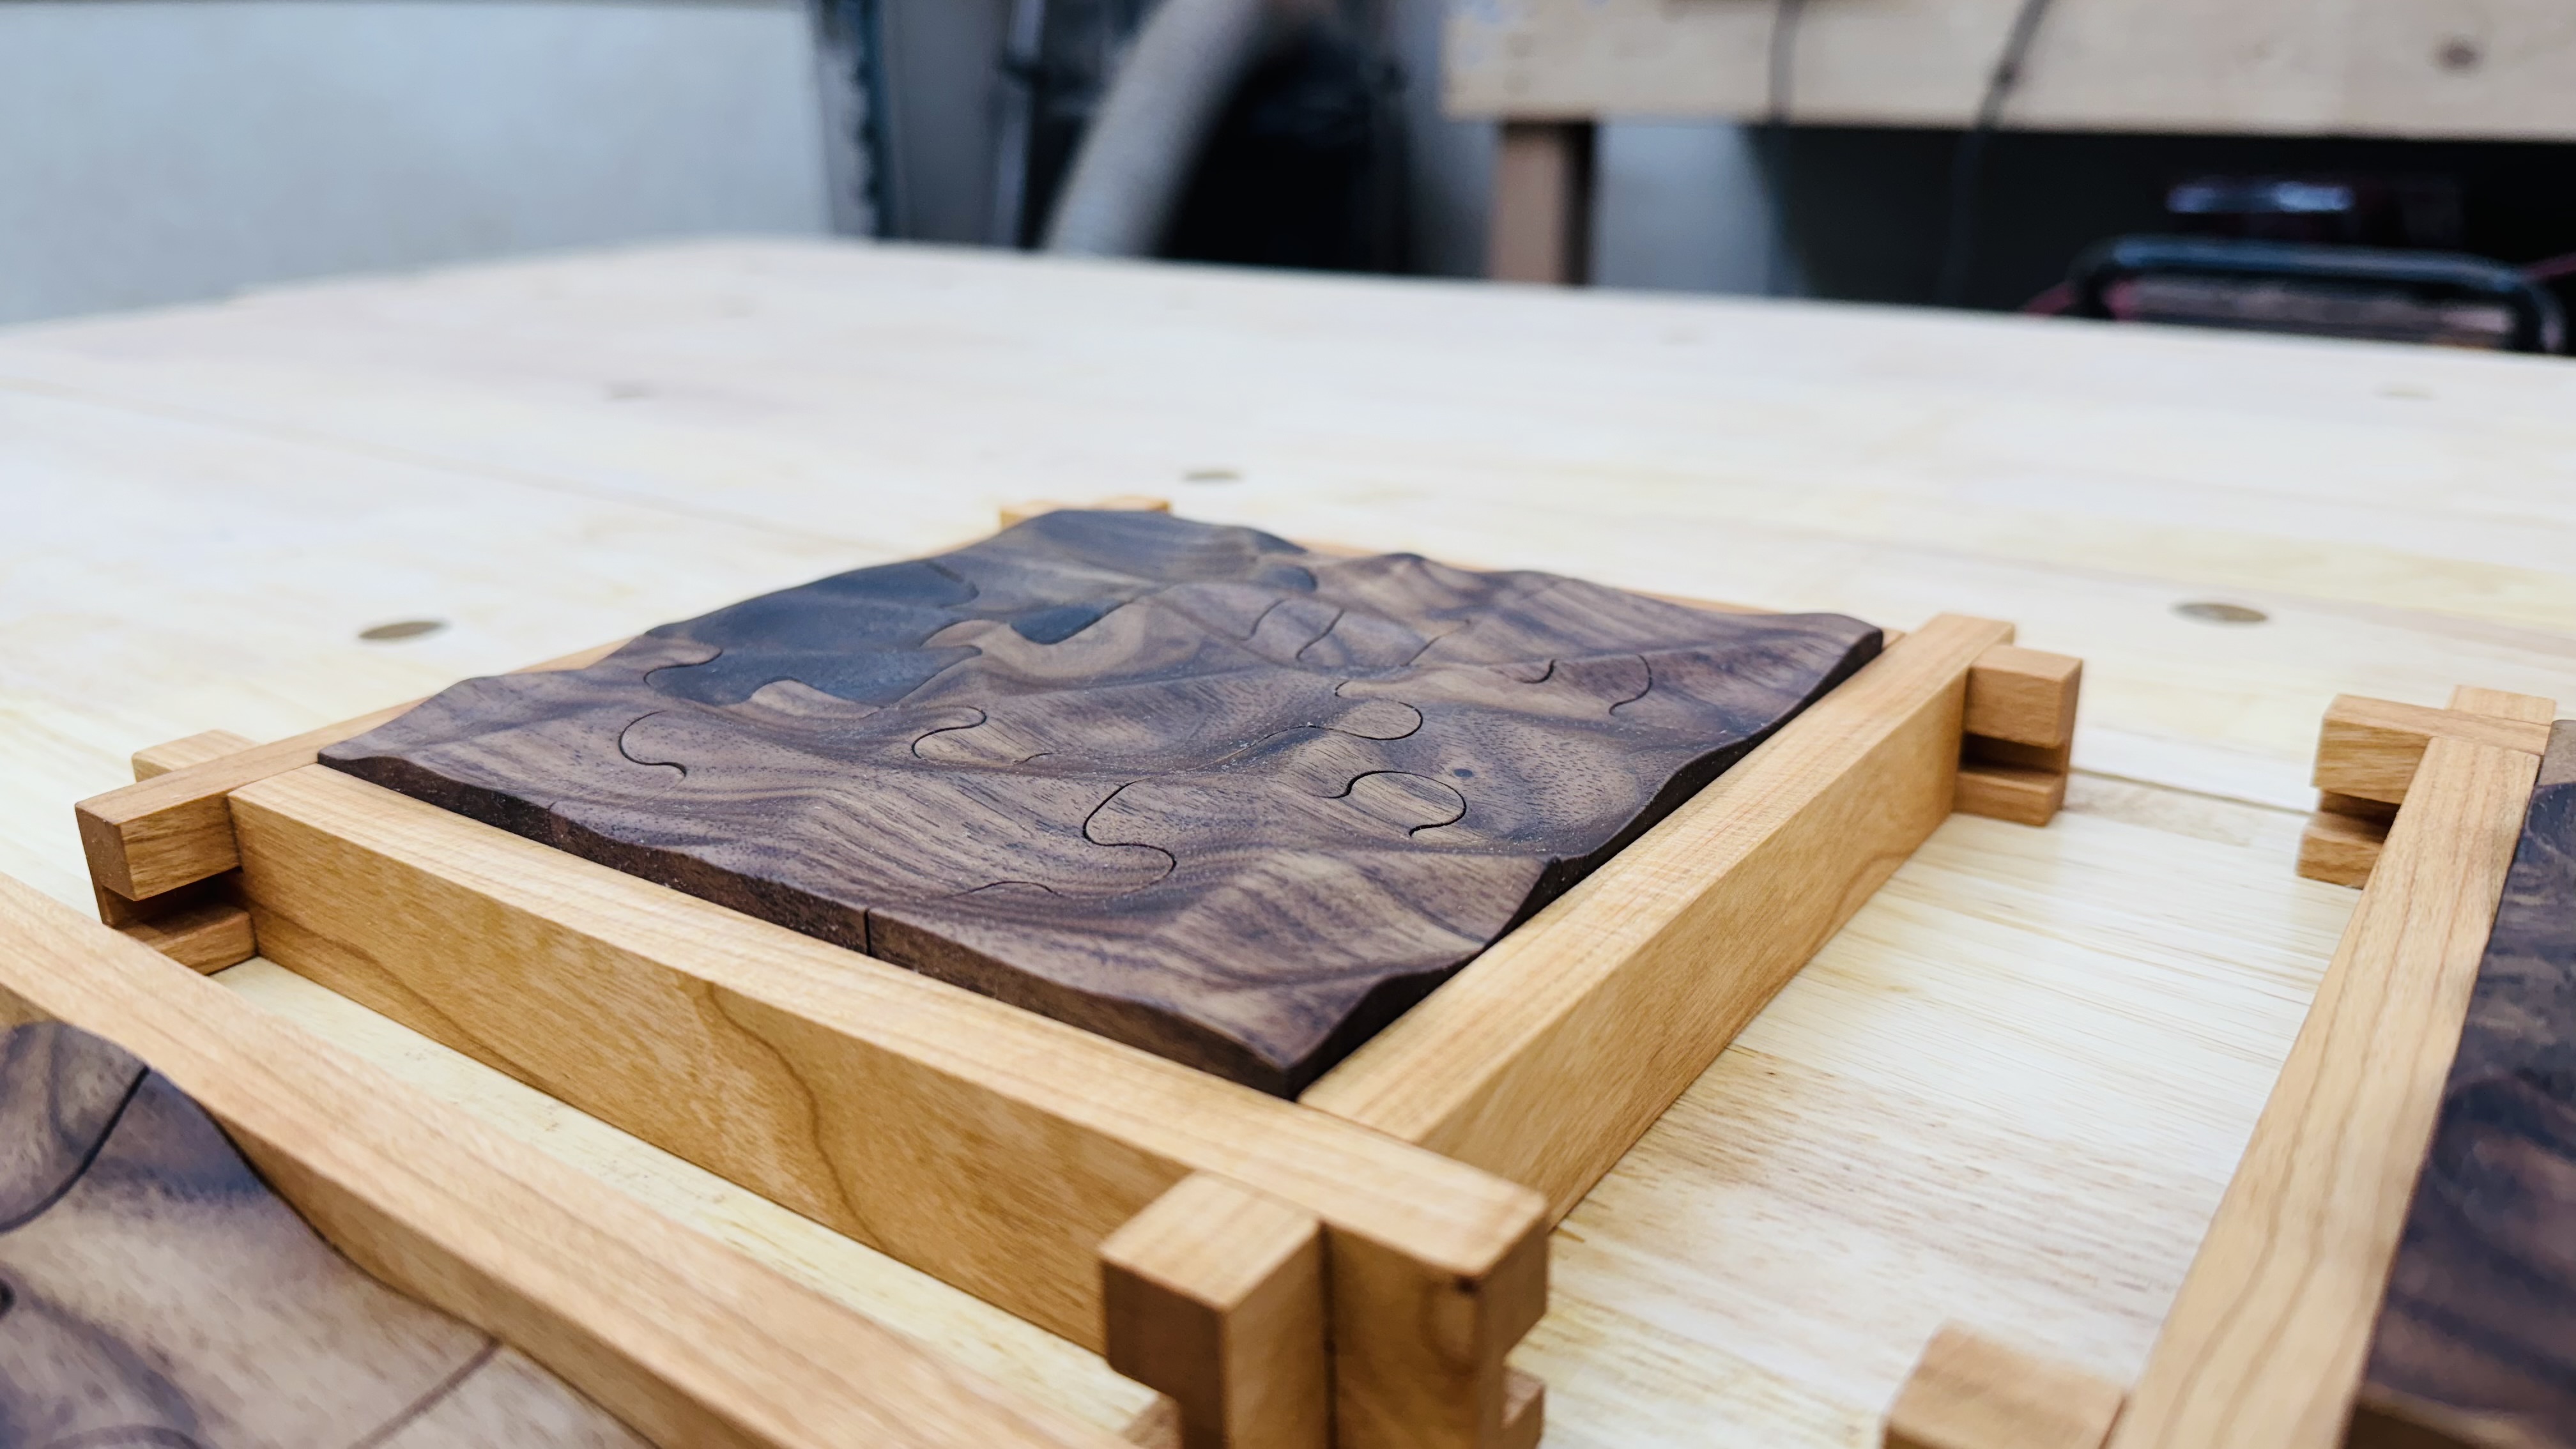
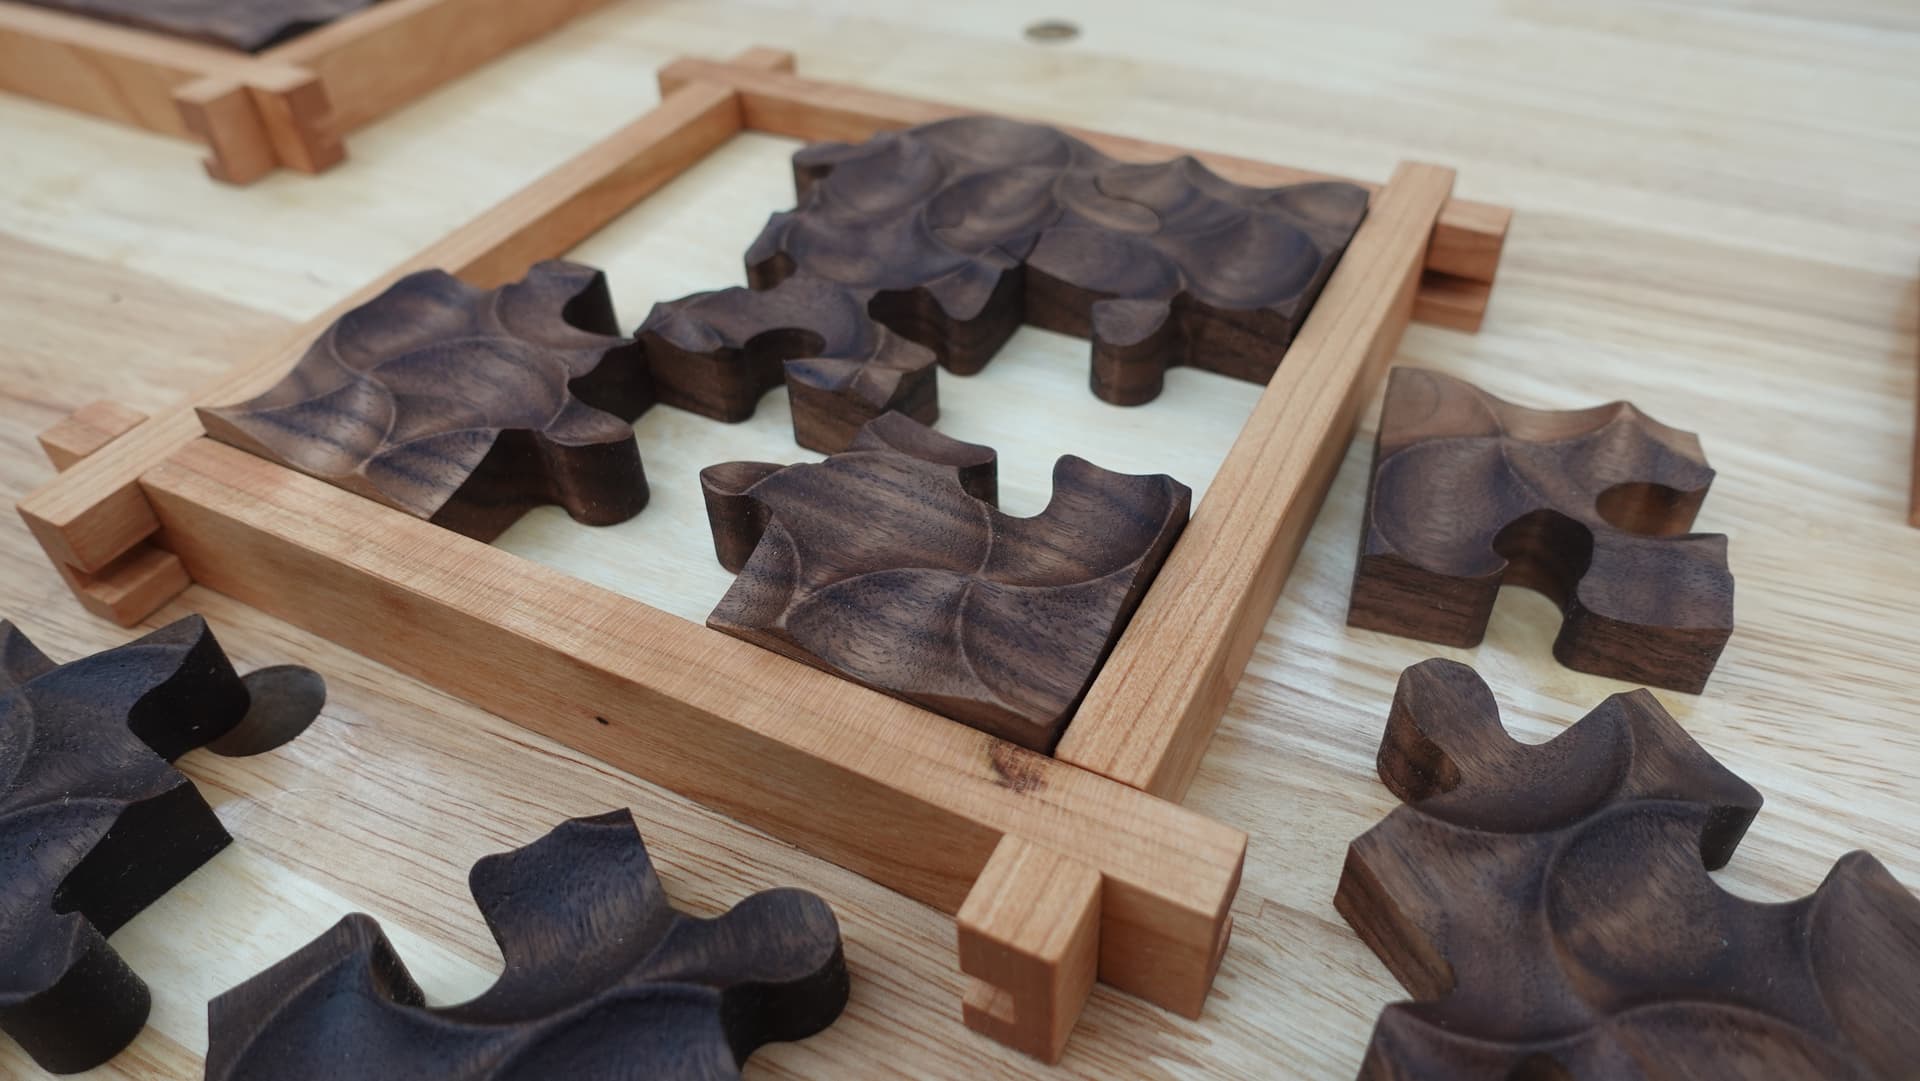
@CullenS im finishing the other 3 x 3’s today, they have a different texture feature for the top profile. One will go to him and I’ll use my laser to map the surface and laser engrave his logo. I’m a little nervous about mapping it as the laser uses a “laser” measuring system to pinpoint the area of the profile, if it hits a seam between the pieces, it will not measure correctly. I’ll have to really pay attention to that. For the larger profile in the previous pictures, that profile is a little to extreme to map.
A wavy flag puzzle??? O man….that would take some time figuring how to align everything properly. Interesting though
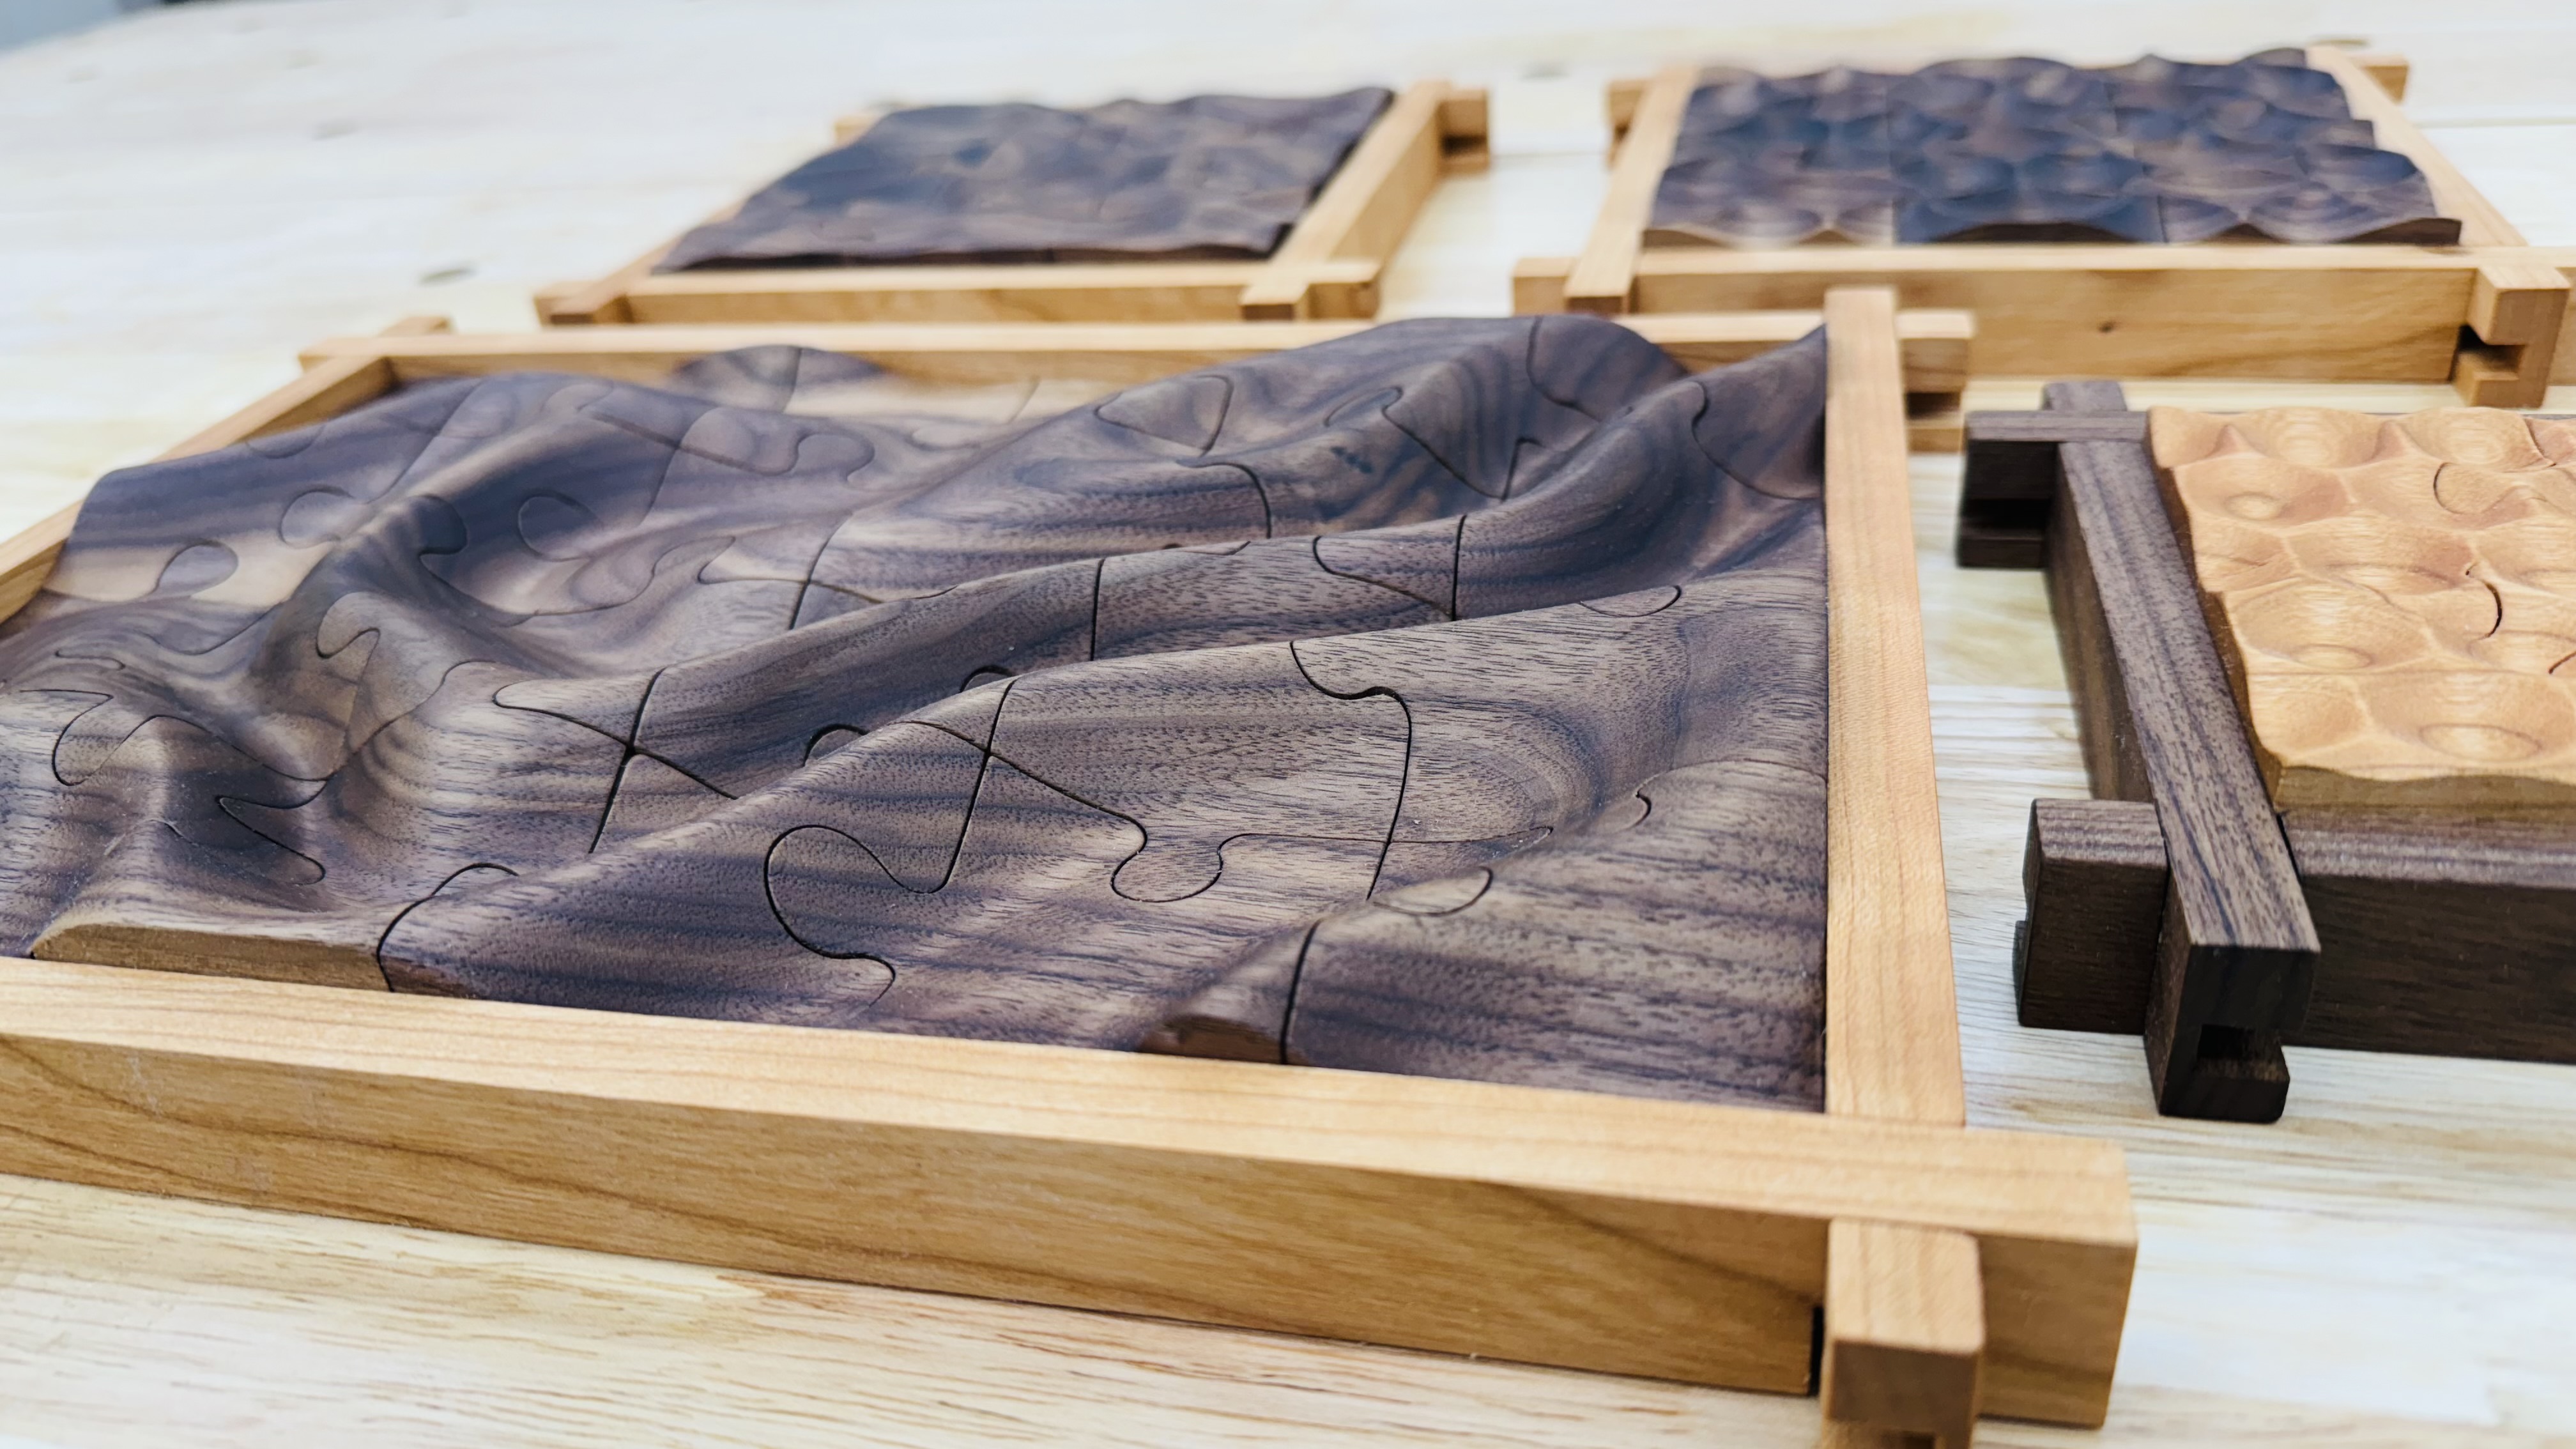
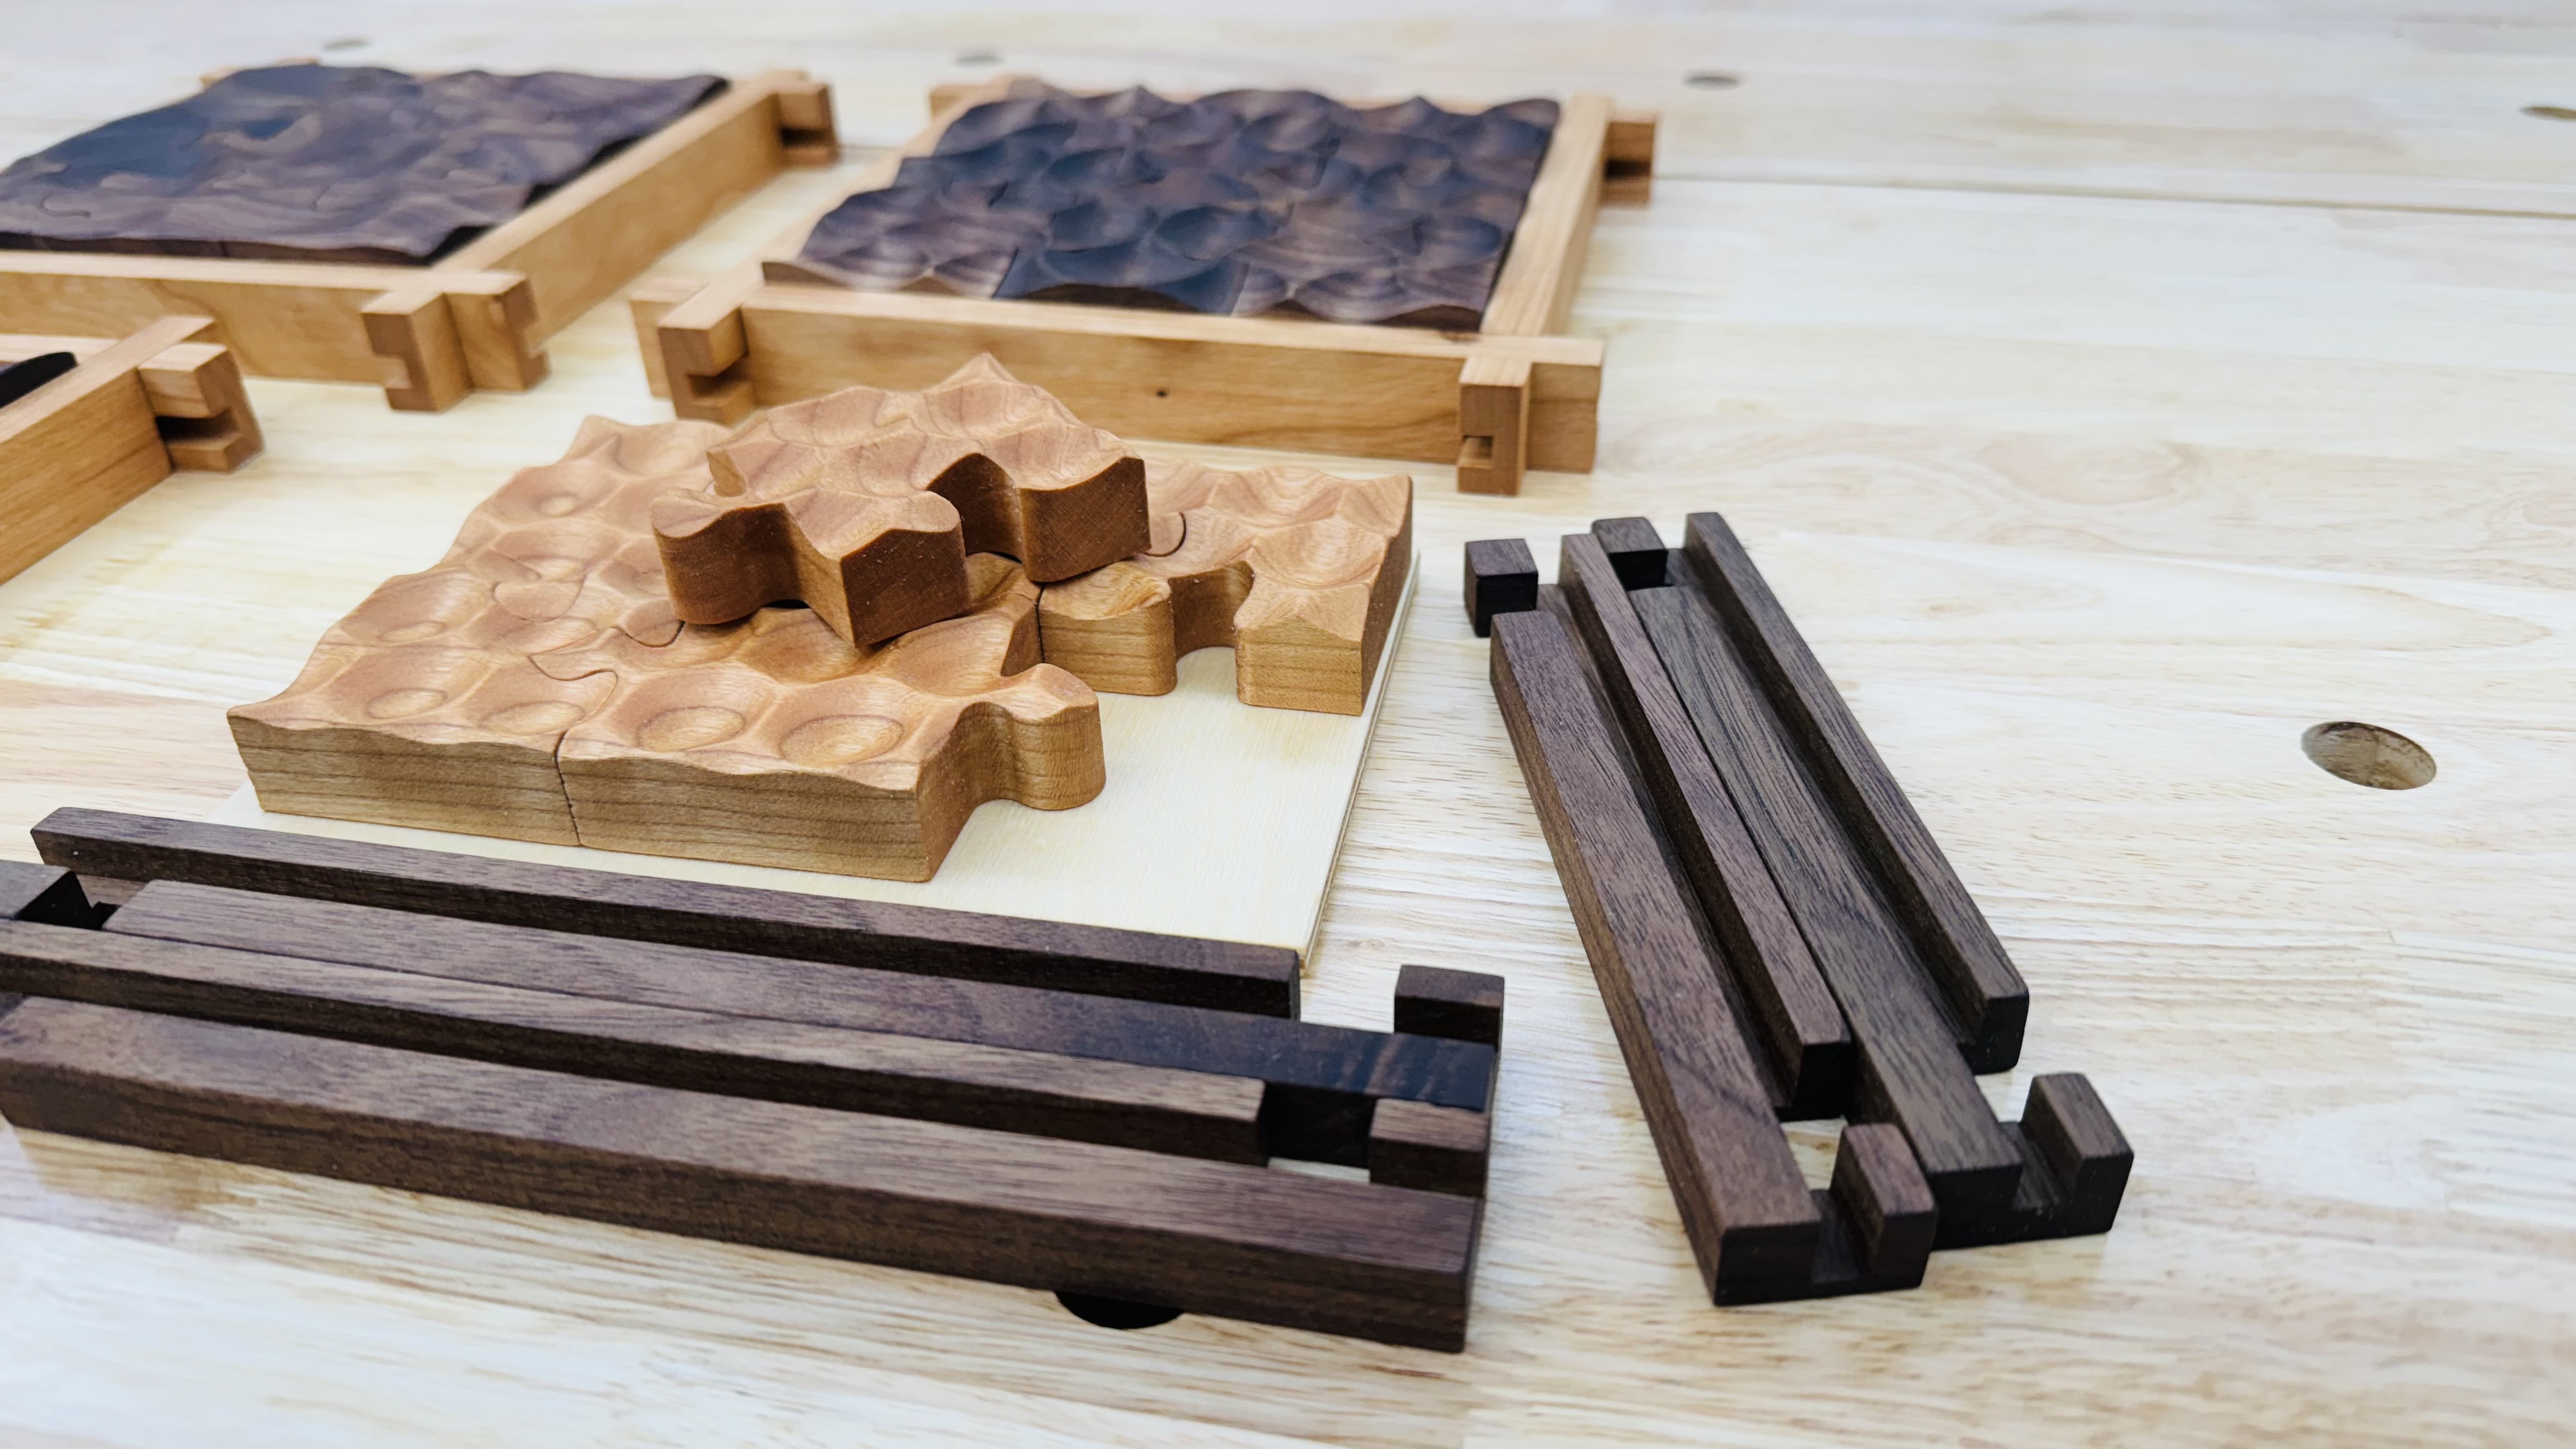
All finished up, working on the video. Lots of work went into these. The 5th one for my friend was left out of the pictures. Cheers everyone, I’ll post a link to the video once it’s done.
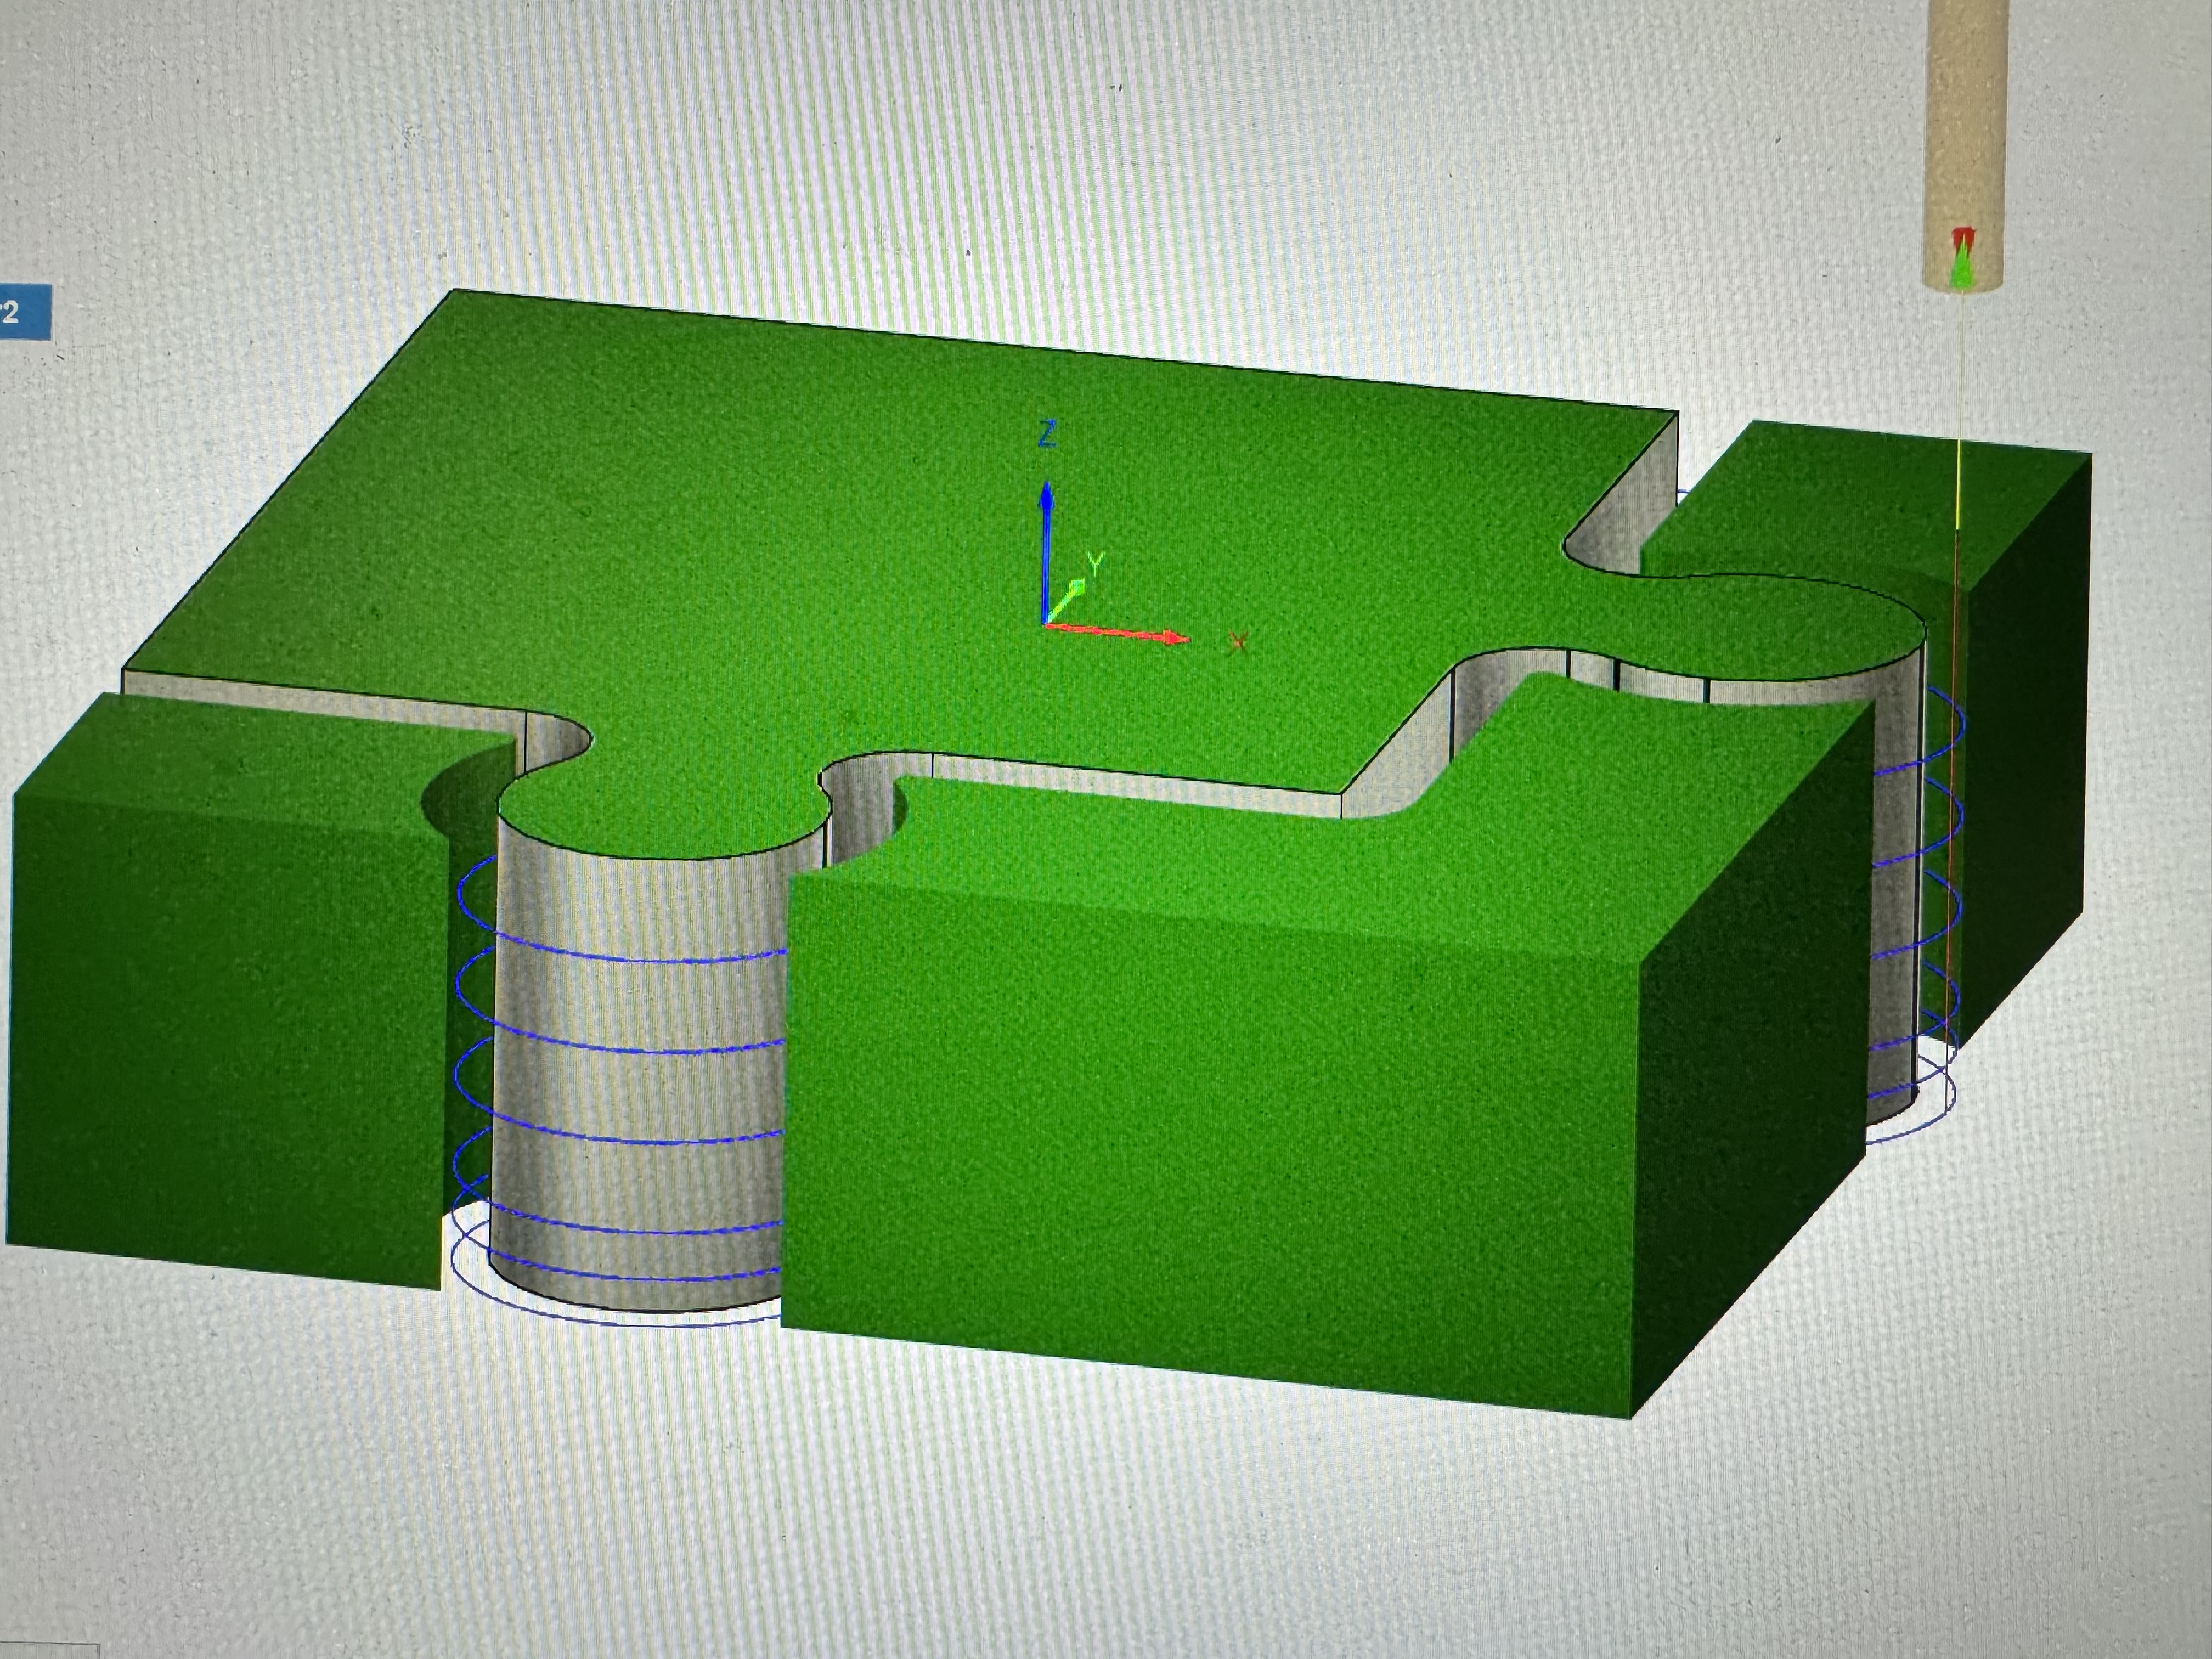
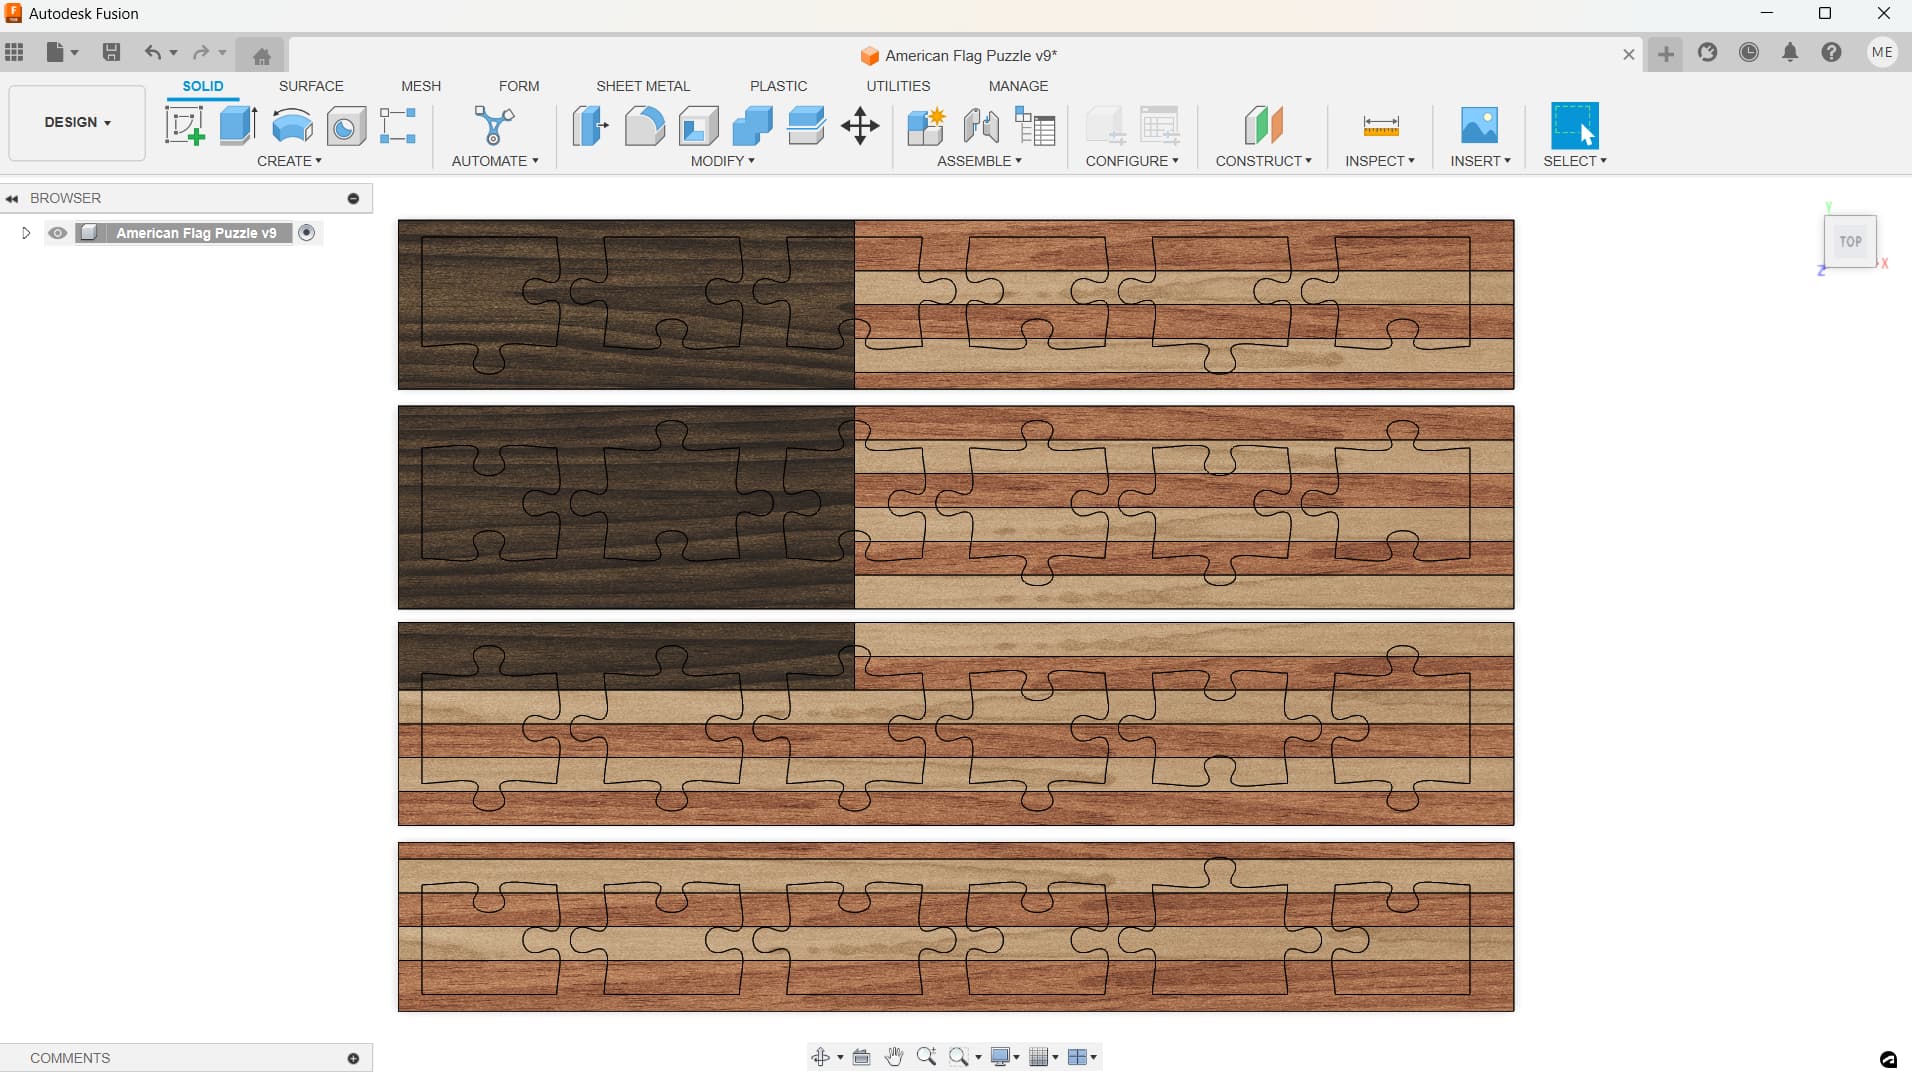
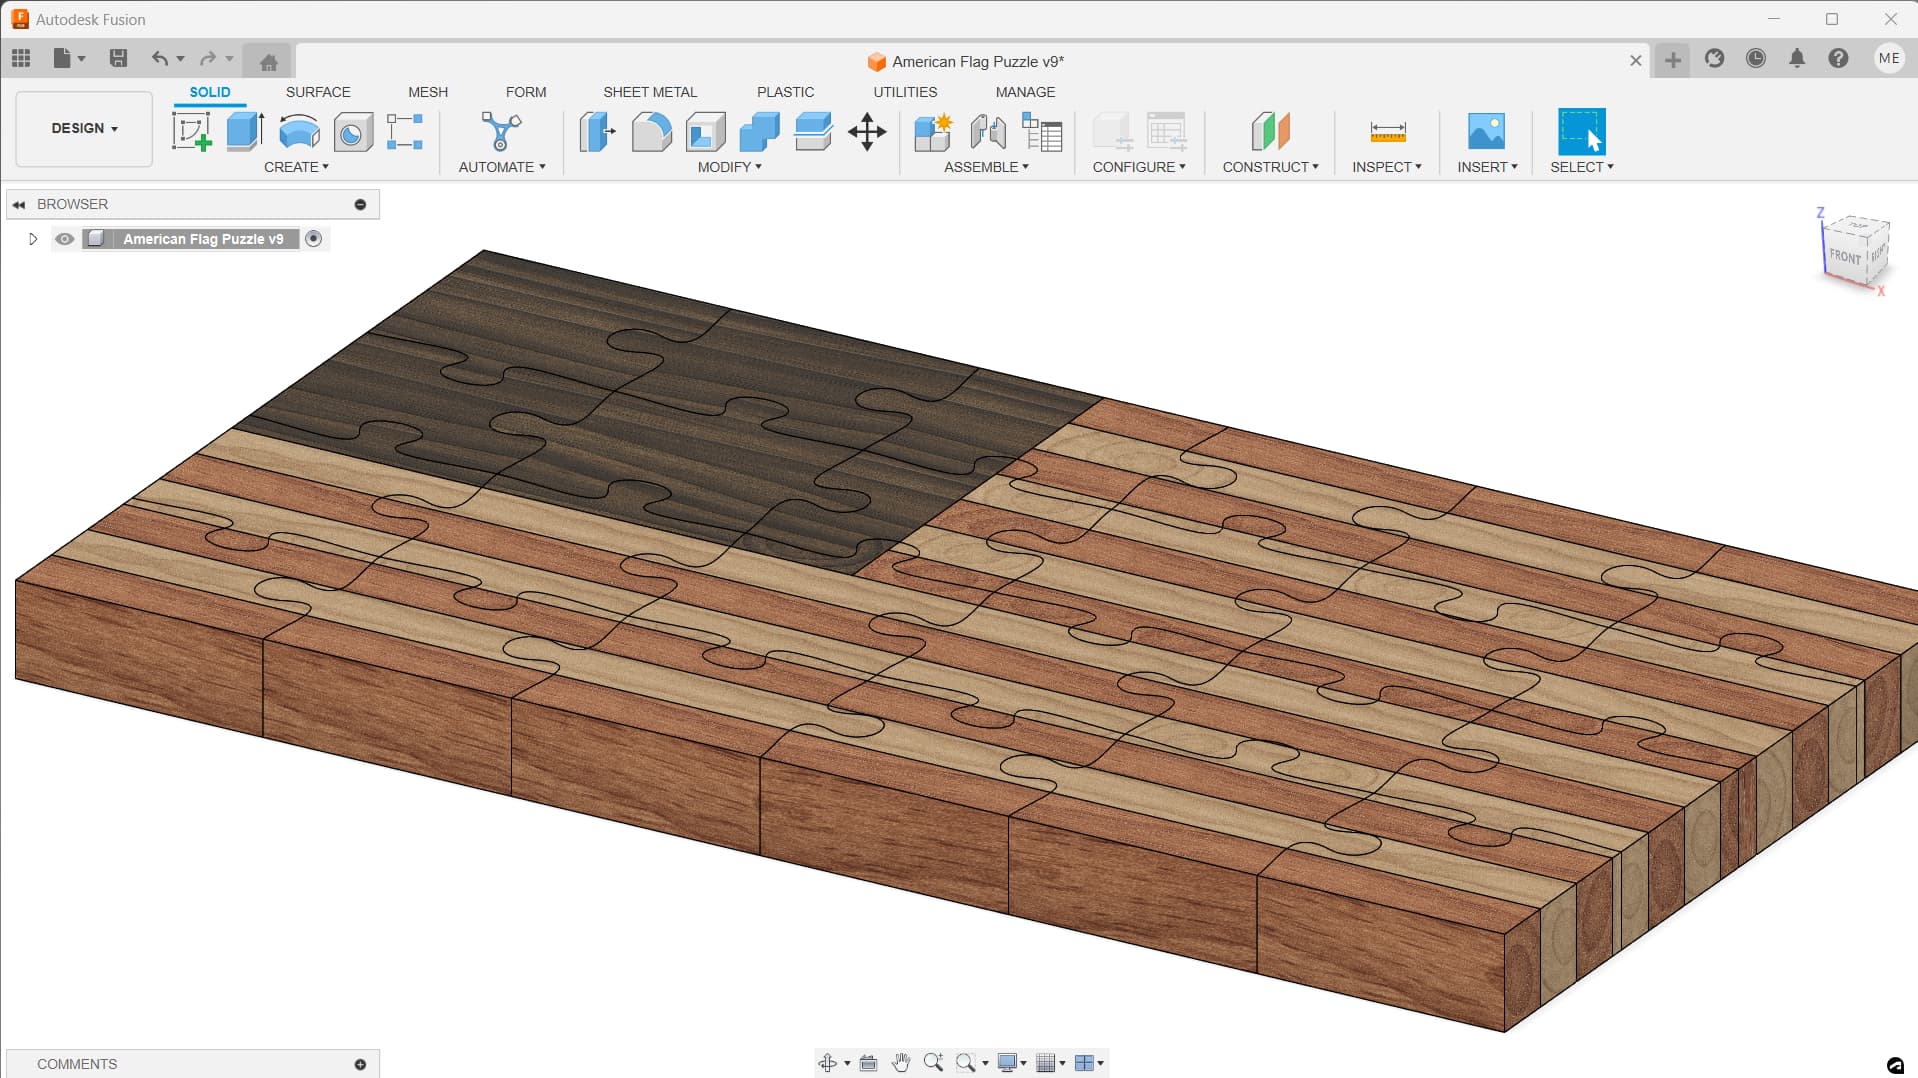
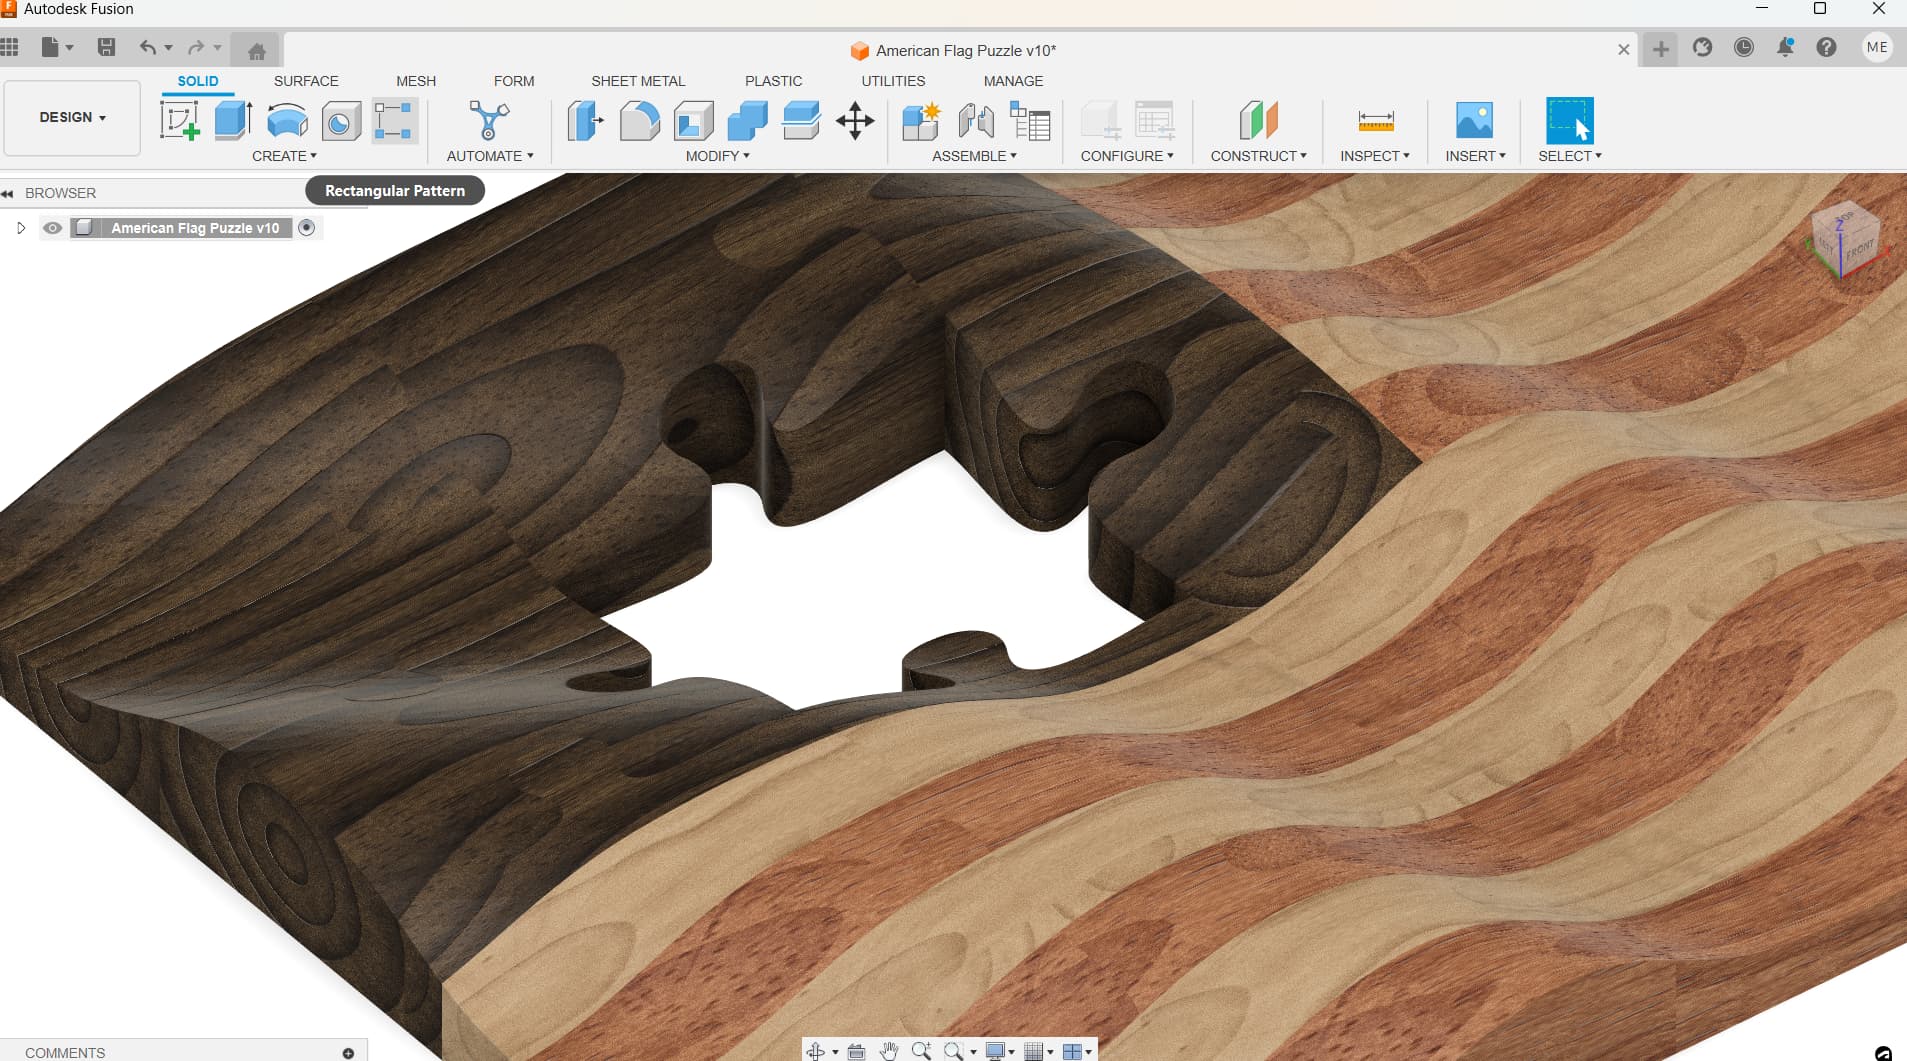
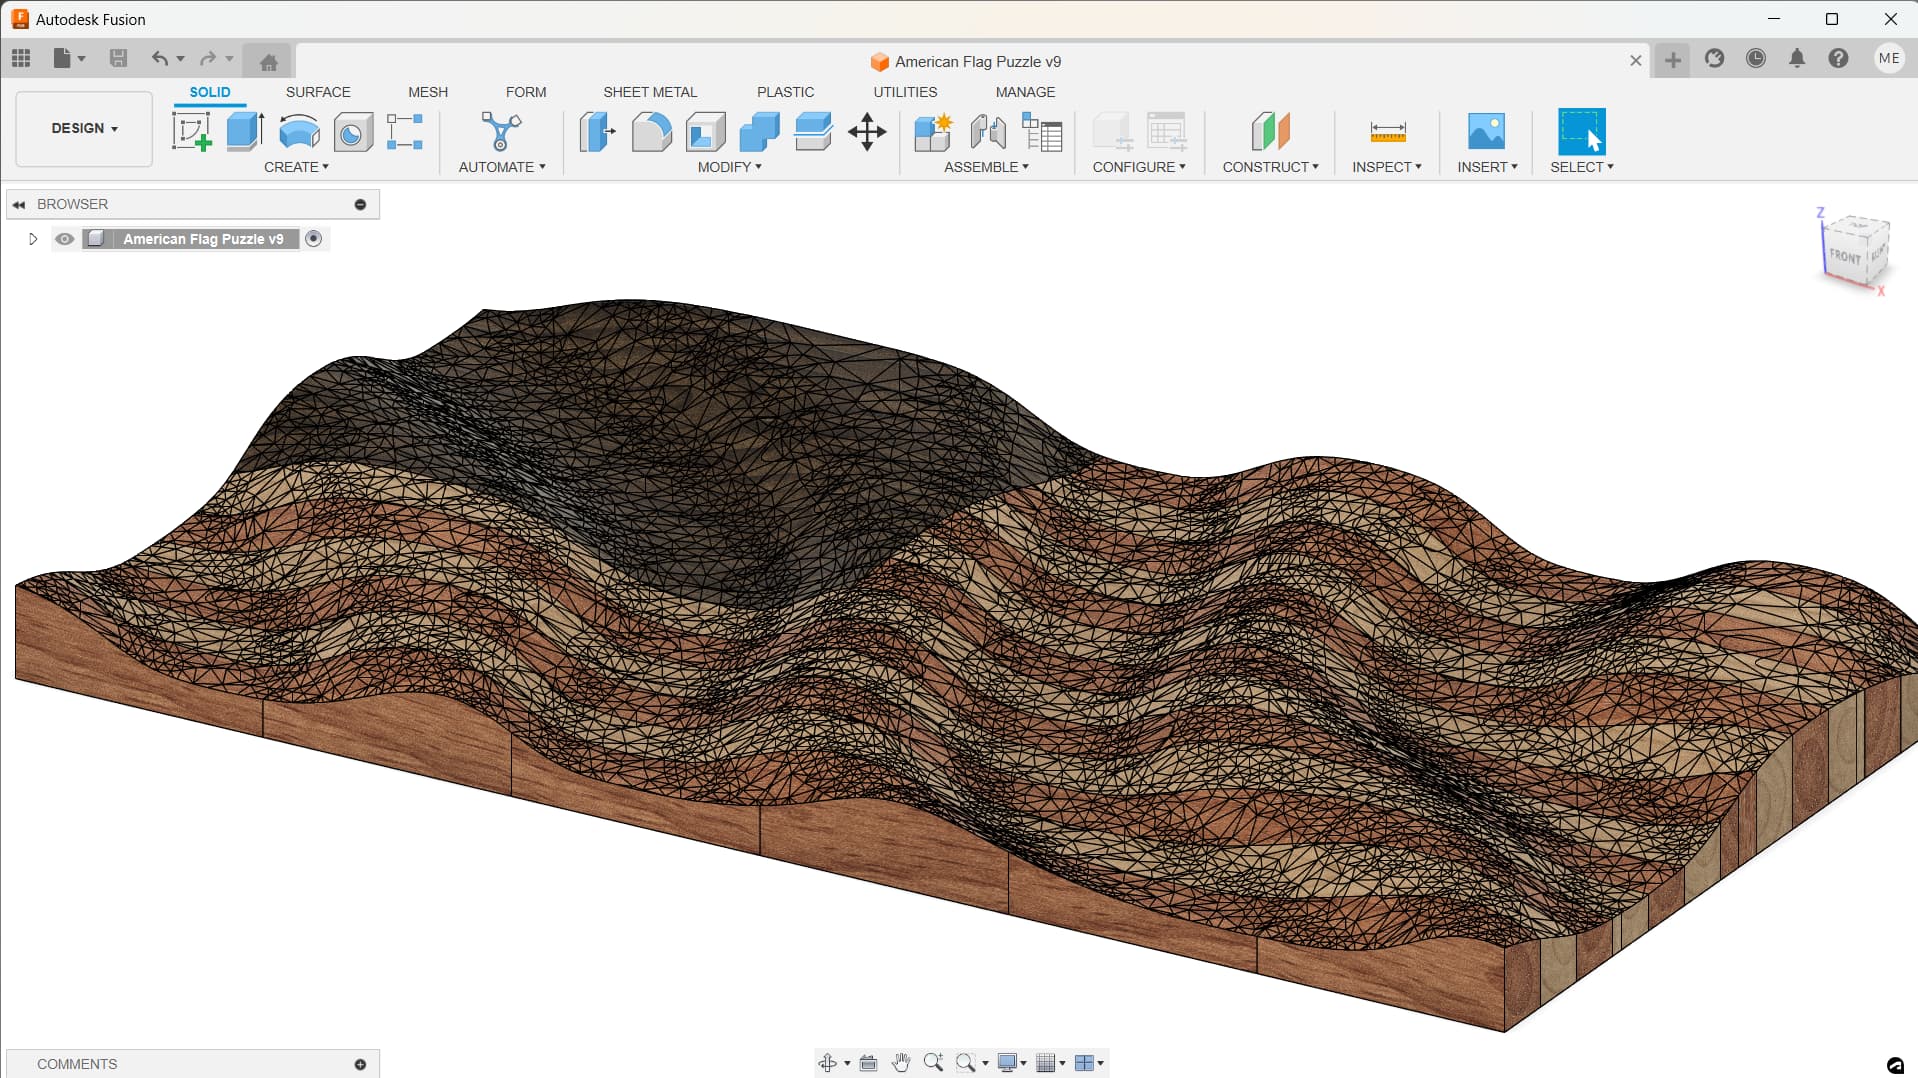
Alrighty, so apparently the wavy flag puzzle is a thing that people want. I got an order for one and I just finished with all the CAD work to make it. For Educational Purposes Only (please do not sell the file on ETSY), I attached the complete file build on Fusion360, to include all the toolpaths. Feel free to play around with it, make it, just please do not sell the file . Also, use at your own risk and double check everything before you post any processes.
File Removed
It took a little bit to figure out, specifically the diffrent jointed wood seems and how they line up with each puzzle. Below are the specs:
Total Size: 12" x 6.5"
Stripe Size: .5"
Union Size: 5" x 3.5"
Puzzle Piece Tolarance: .003" (Each)
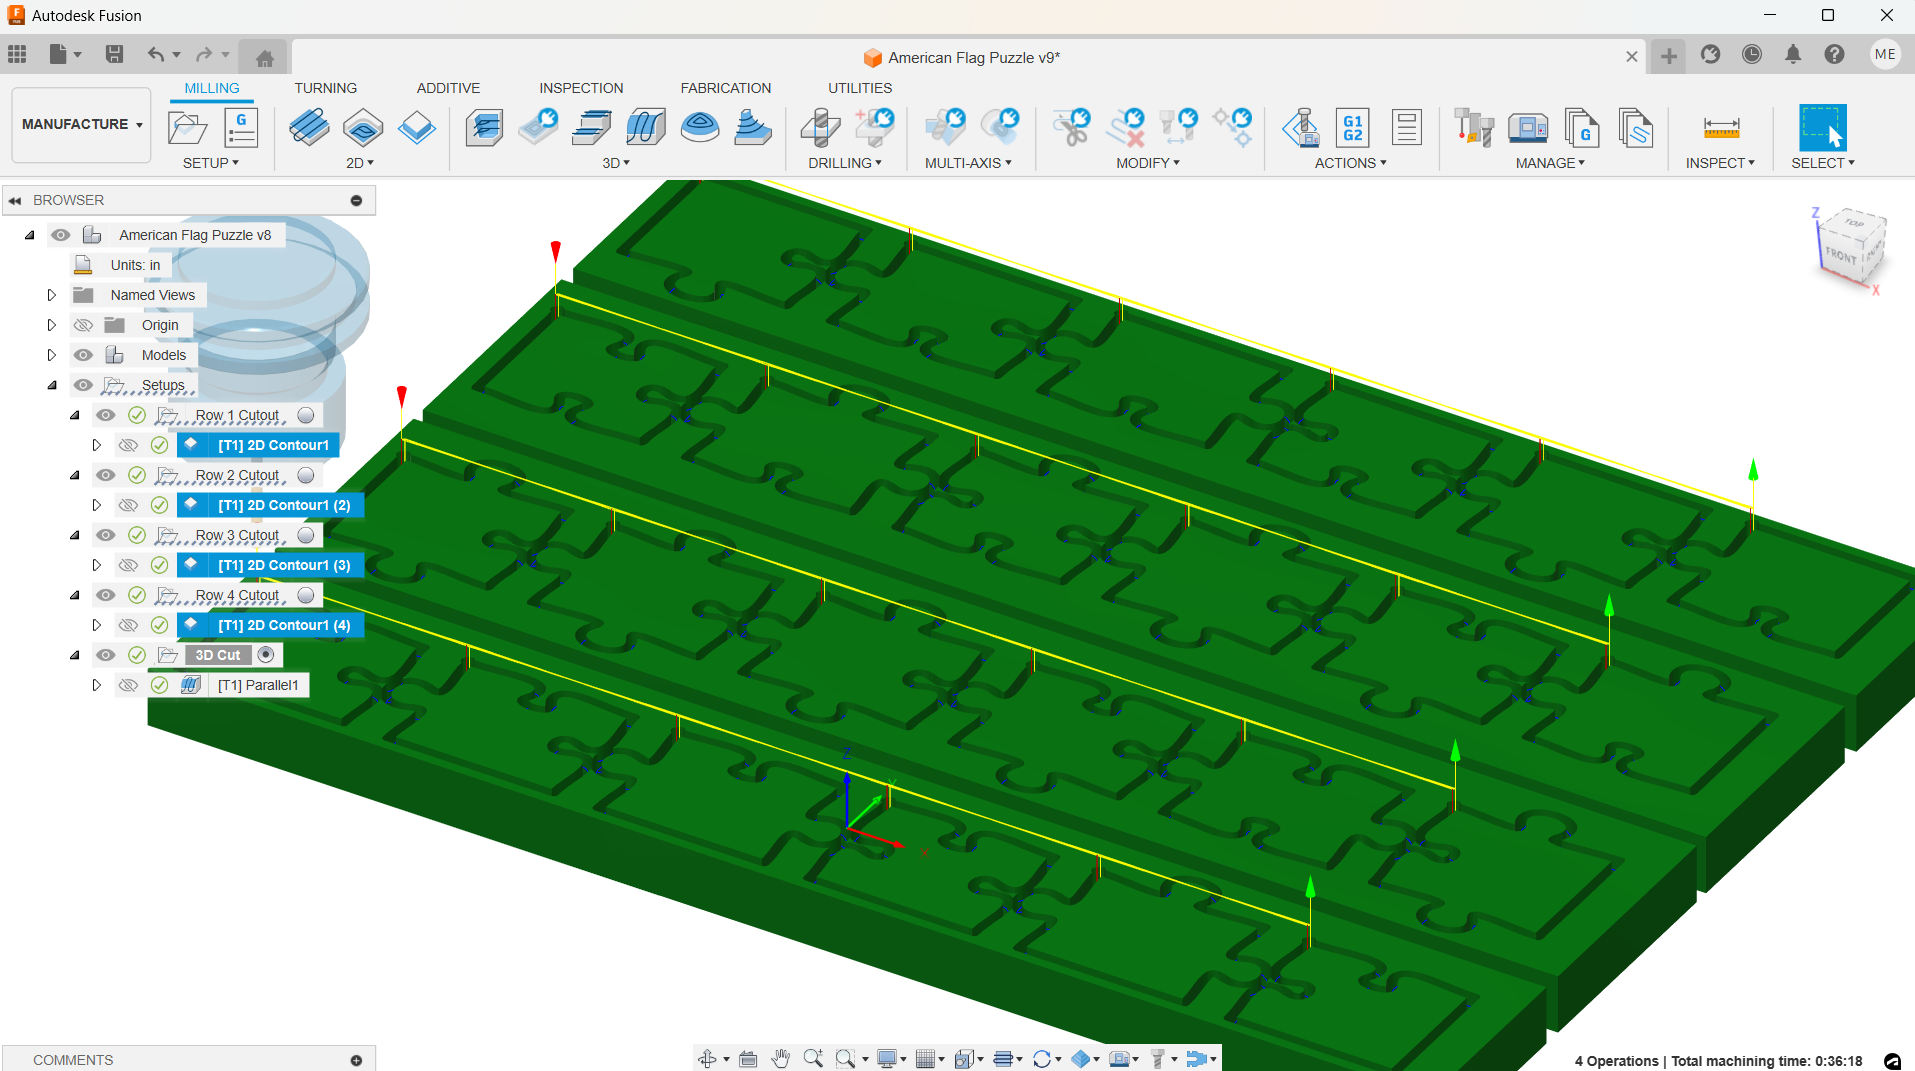
The puzzle cuts are broken into 4 diffrent cuts and they will come together for the total flag dimension for the 3D profile cut.
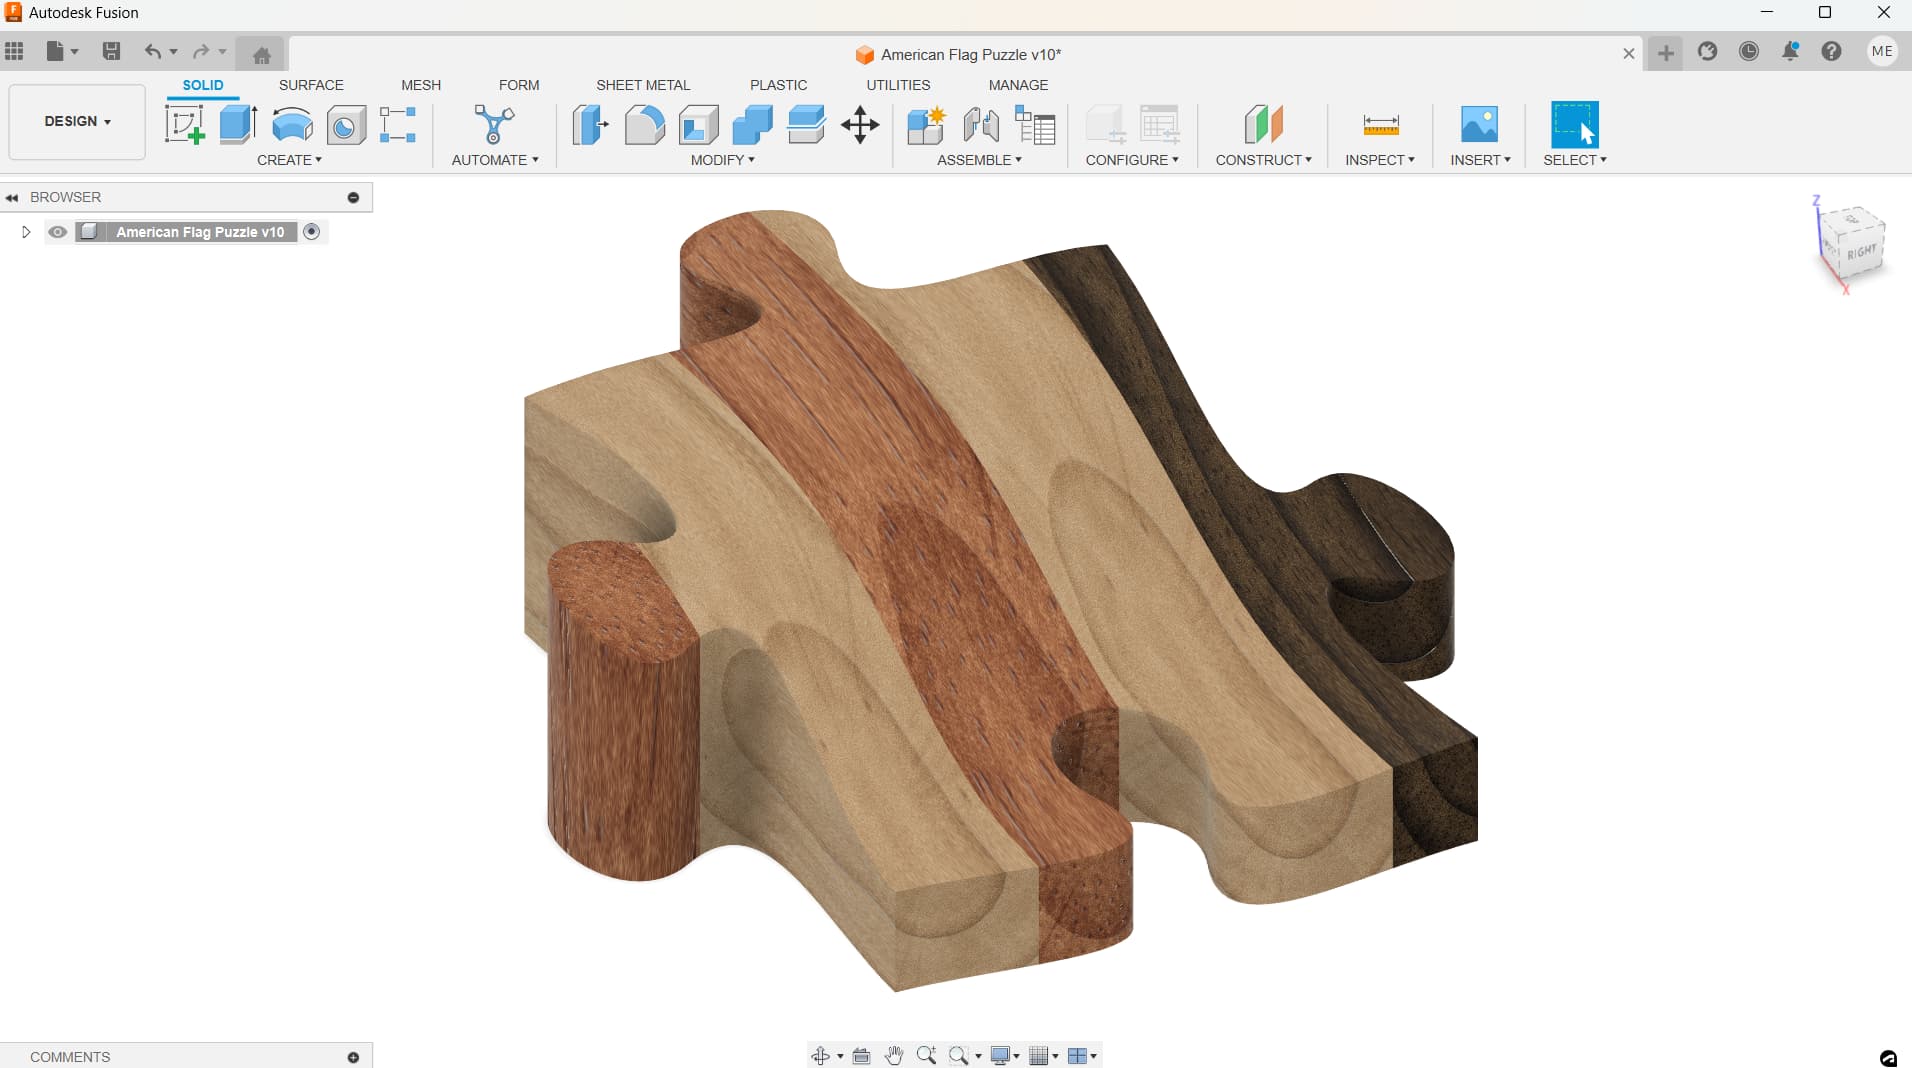
Should be pretty fun. Points given if anyone actually makes it before I complete mine. The one I’m going to do will be Walnut, Curly Maple, and Redheart for the flag. I’m also doing a keepsake box with a mountain veneer scene with the outside box made of Big Leaf Maple. Starting tomorrow and I’ll post some update pictures and the completed piece once done.