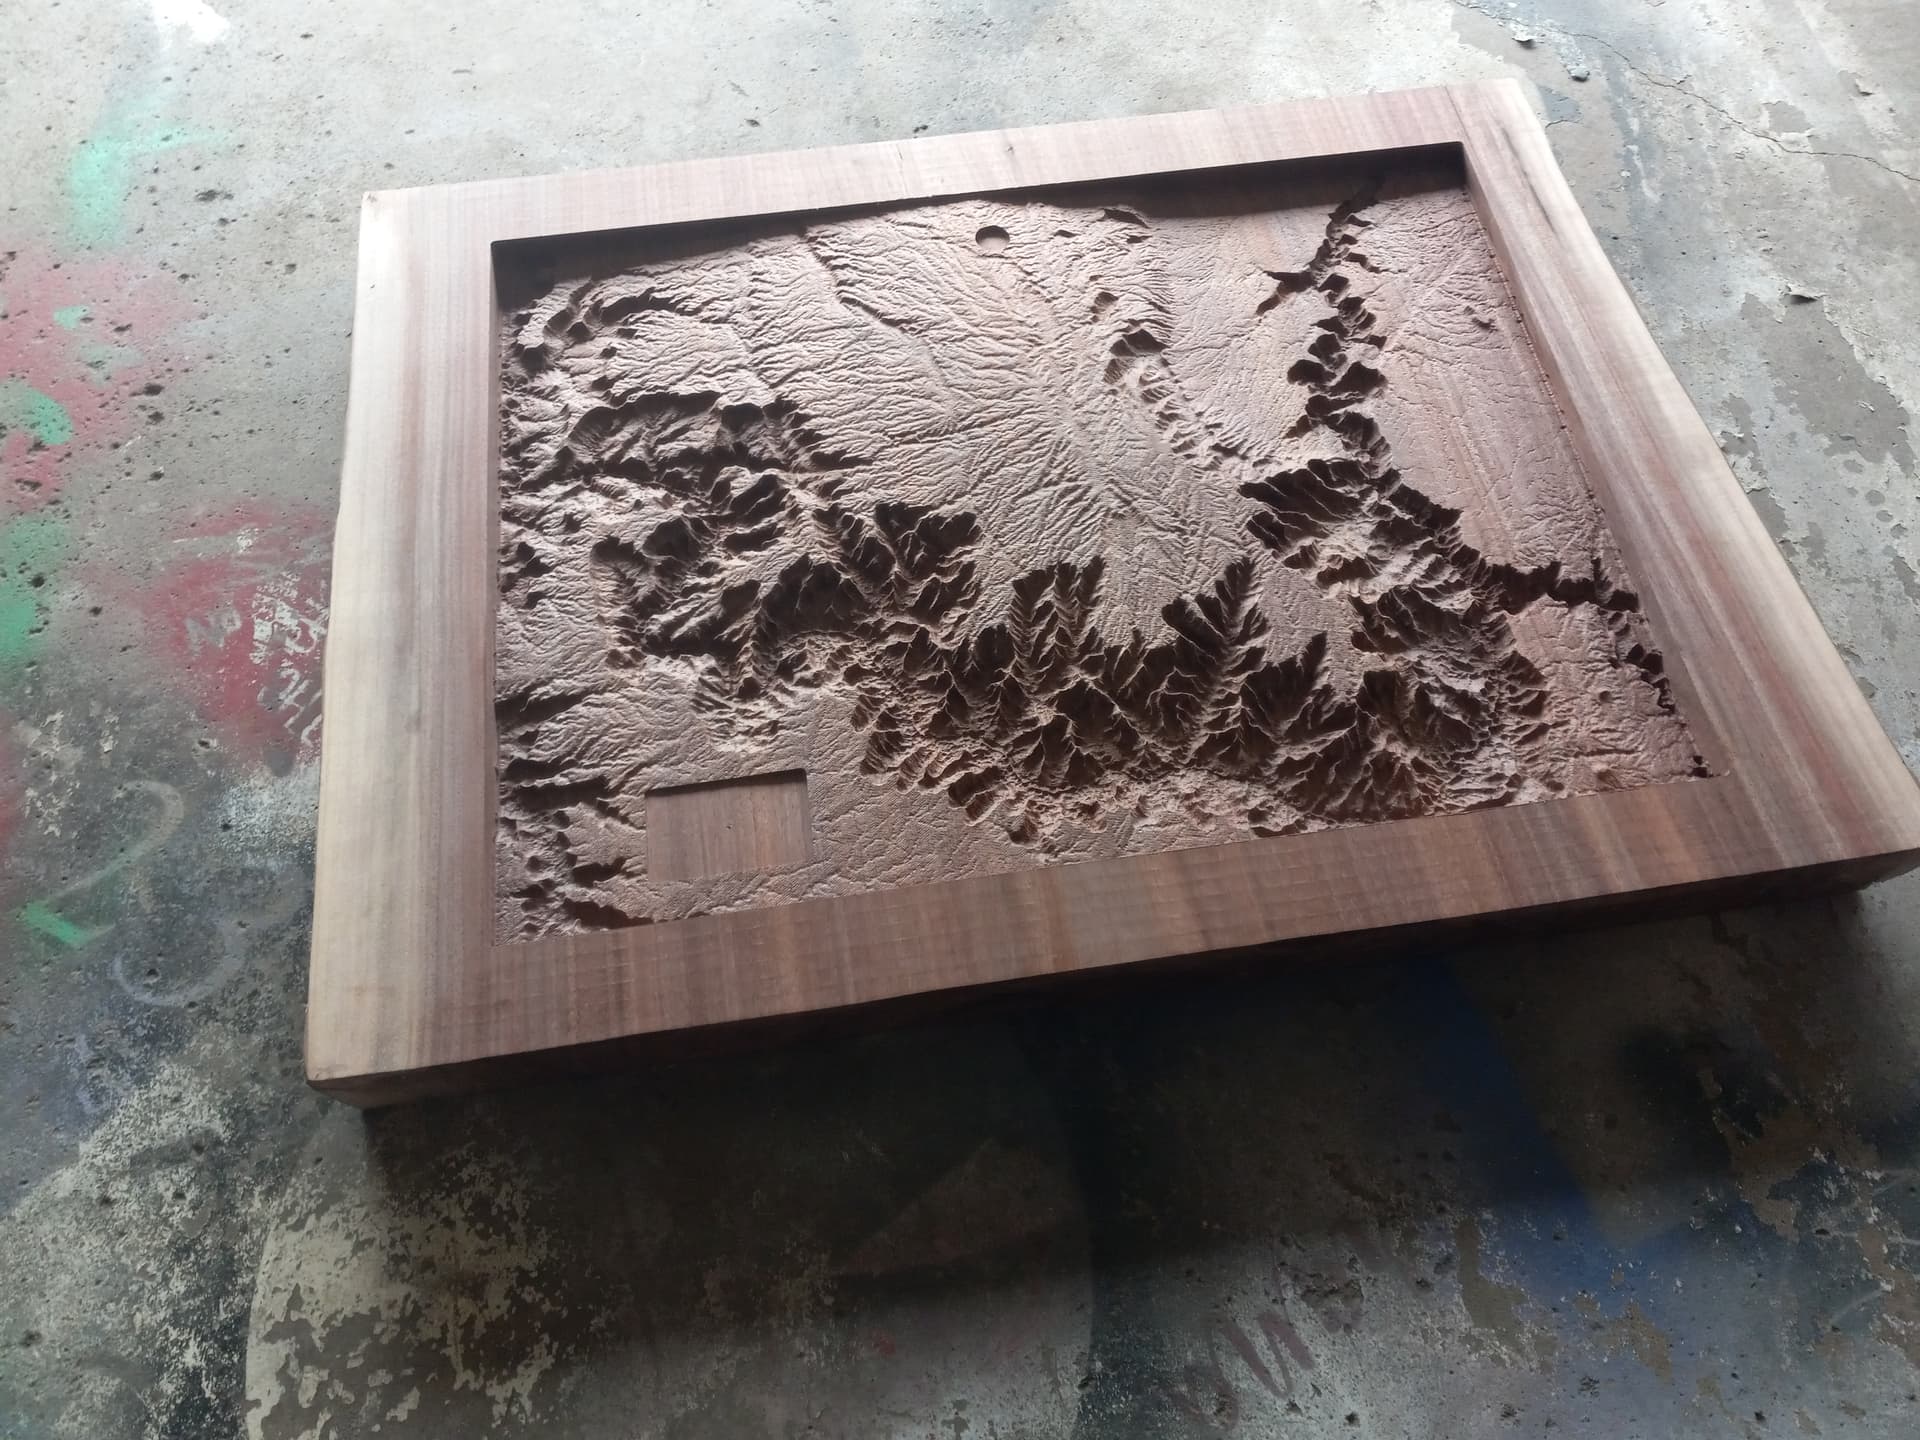
Hi all. Working a pair of matching topographic maps carved in walnut. One is the Grand Canyon, the other is a lake of the customer’s choosing as well as some surrounding terrain.
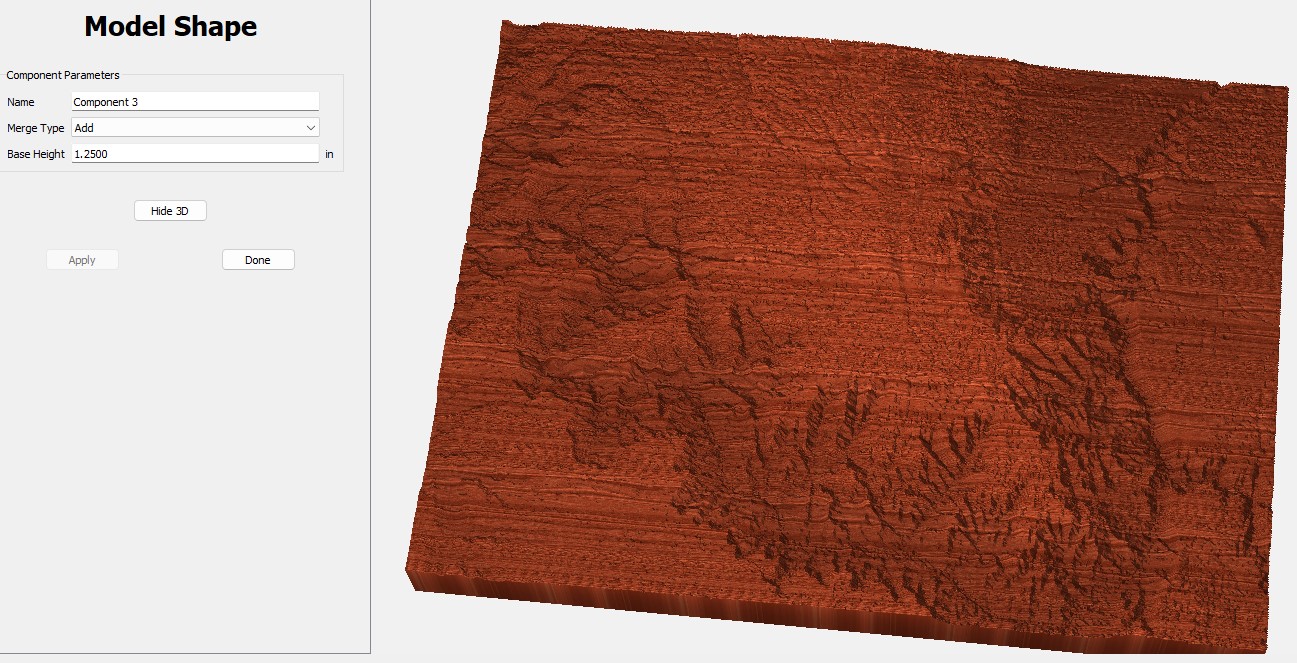
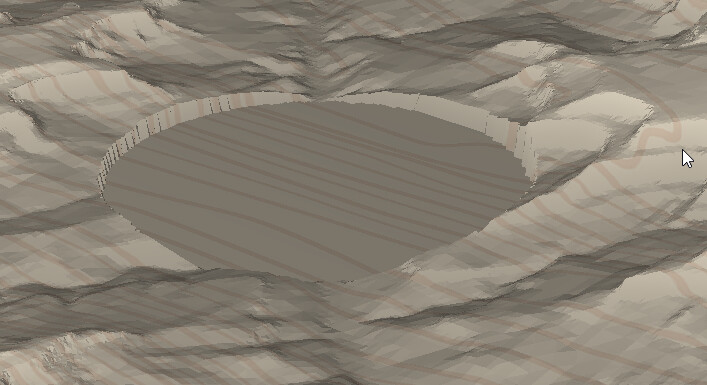
The issue I am running in to is that of scale. Below is the model of the Grand Canyon, the height which isn’t visible here is 1.25 as well.
It was quite a long cut time, but the outcome is fantastic. I have done the canyon several times so the scale, etc. makes sense to me. Now the issue I am having is the follow on lake, which I would like to mimic in appearance to as much a degree as is possible, understanding the topography is not as extreme as the grand canyon.
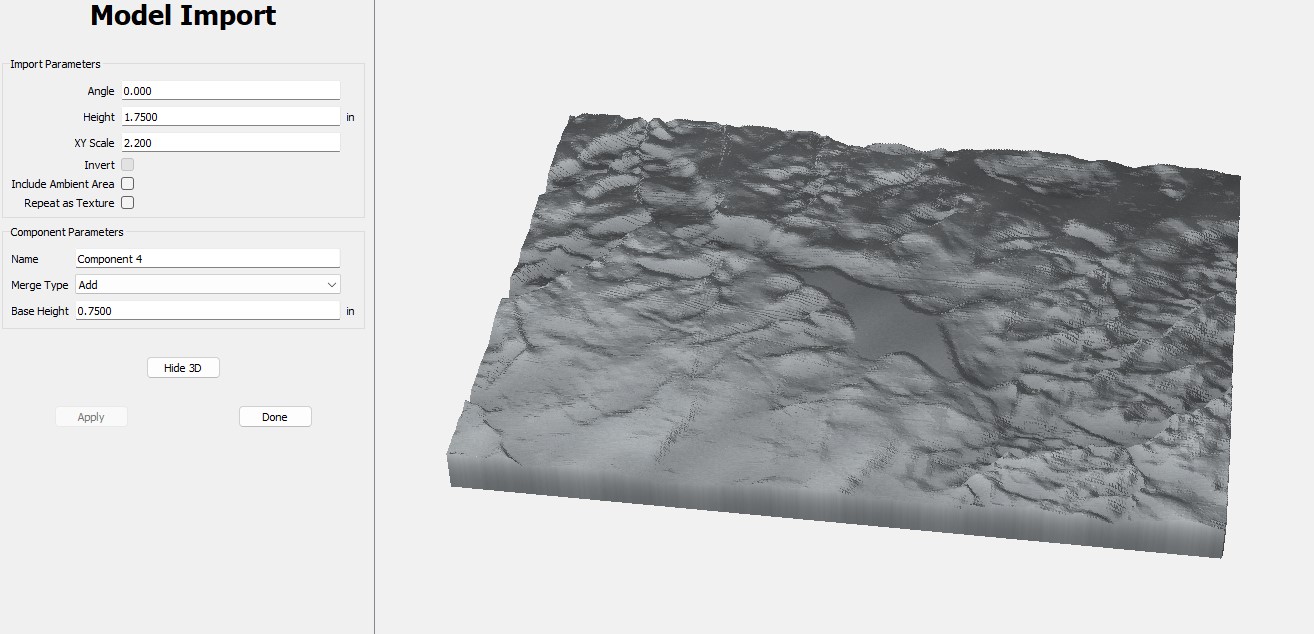
I am having a hard time envisioning where, depth wise, this is going to place the topography? Is there only going to be .75 of material beneath the lowest part of this topography? It certainly does not appear in the 3D image that the depth from highest to lowest point in the topography is 1.75" (that is my understanding of what height does…)
What I am looking for essentially is to have enough variation in the terrain to be roughly scale to the actual area, and have it sit roughly 1/4 inch below the face of the maple at the highest point of that terrain. My brain… is simply not wrapping around this one.
What I am thinking might work… is surface down 1/4… then cut the terrain with the desired height, and no base. But wont that simply take the cut all the way to the bottom of the stock depth selected in the setup (2.5 inch in this case). Could I fool it and set stock thickness to .75 or something?
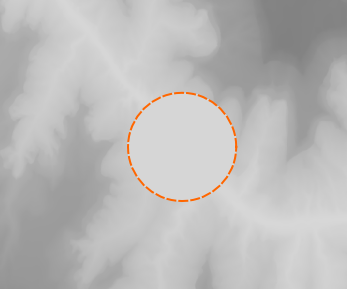
A cool trick (I learned from Will) is to create a gauge block & model it in 3D at a given height using the Merge Method: Equal. It basically cuts out a hole & places the new component in the hole.
You can then compare the height of that object to the terrain height.
another way to do this is to change the workpiece height. The model above the workpiece height will draw in a dark red color. So with your values & a workpiece height of 0.8" I see
If you have 2.5", and you want 0.75 at the bottom & 0.25 at the top, that leaves 1.5 for the 3D relief.
I might push it & go 0.5 at the bottom & 0 at the top for a full 2" of relief.
That is really a brilliant idea! Thanks! That gives me a good way to explain it to customers for sure. I kind of figured it out last night, where I just adjusted the base height until just the very tops were red, then moved it another quarter inch to sink it to where I want it. I like this guage block idea though, i am about to use it as a sanity check!