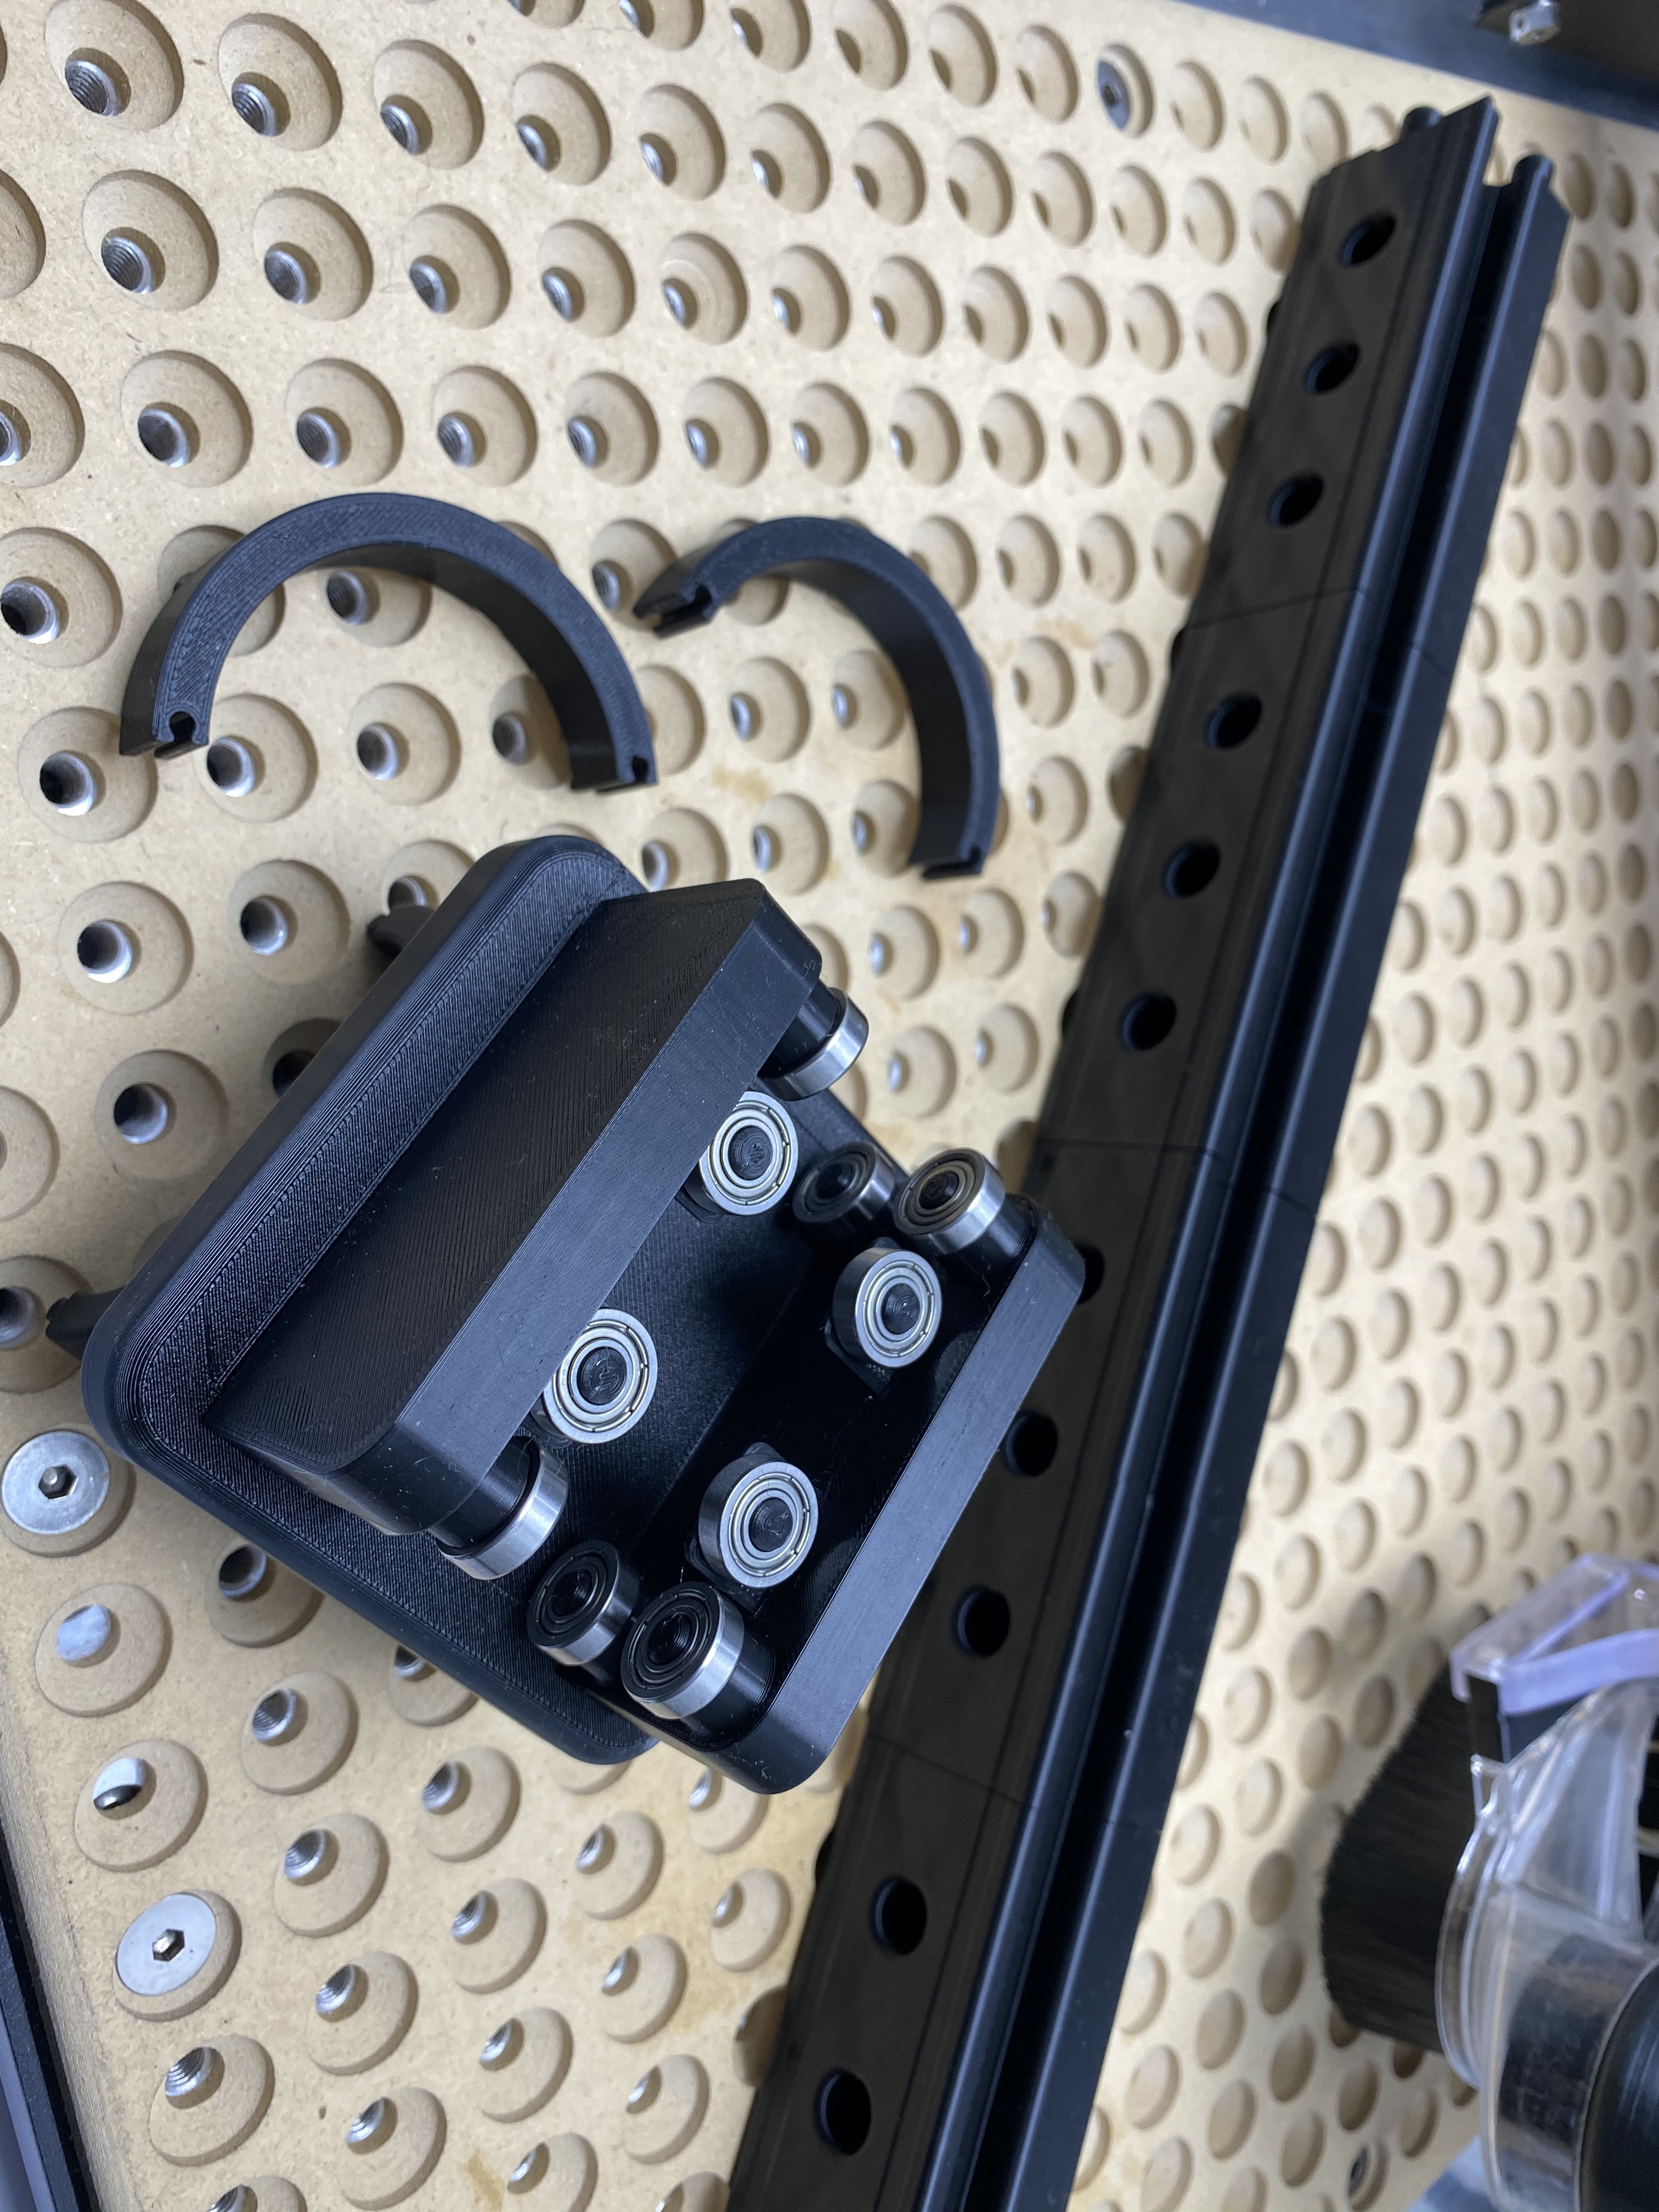
I recently designed a hose trolley and track system with a weight and pulley system to keep it in place when the gantry is not pulling it around. The track comes in sections that fit together, so you can print it with a 6" 3D printer. The trolley uses 12 1/4" shaft bearings, so it costs about $15 in parts plus the PLA. It glides along the rails very smoothly with no effort.
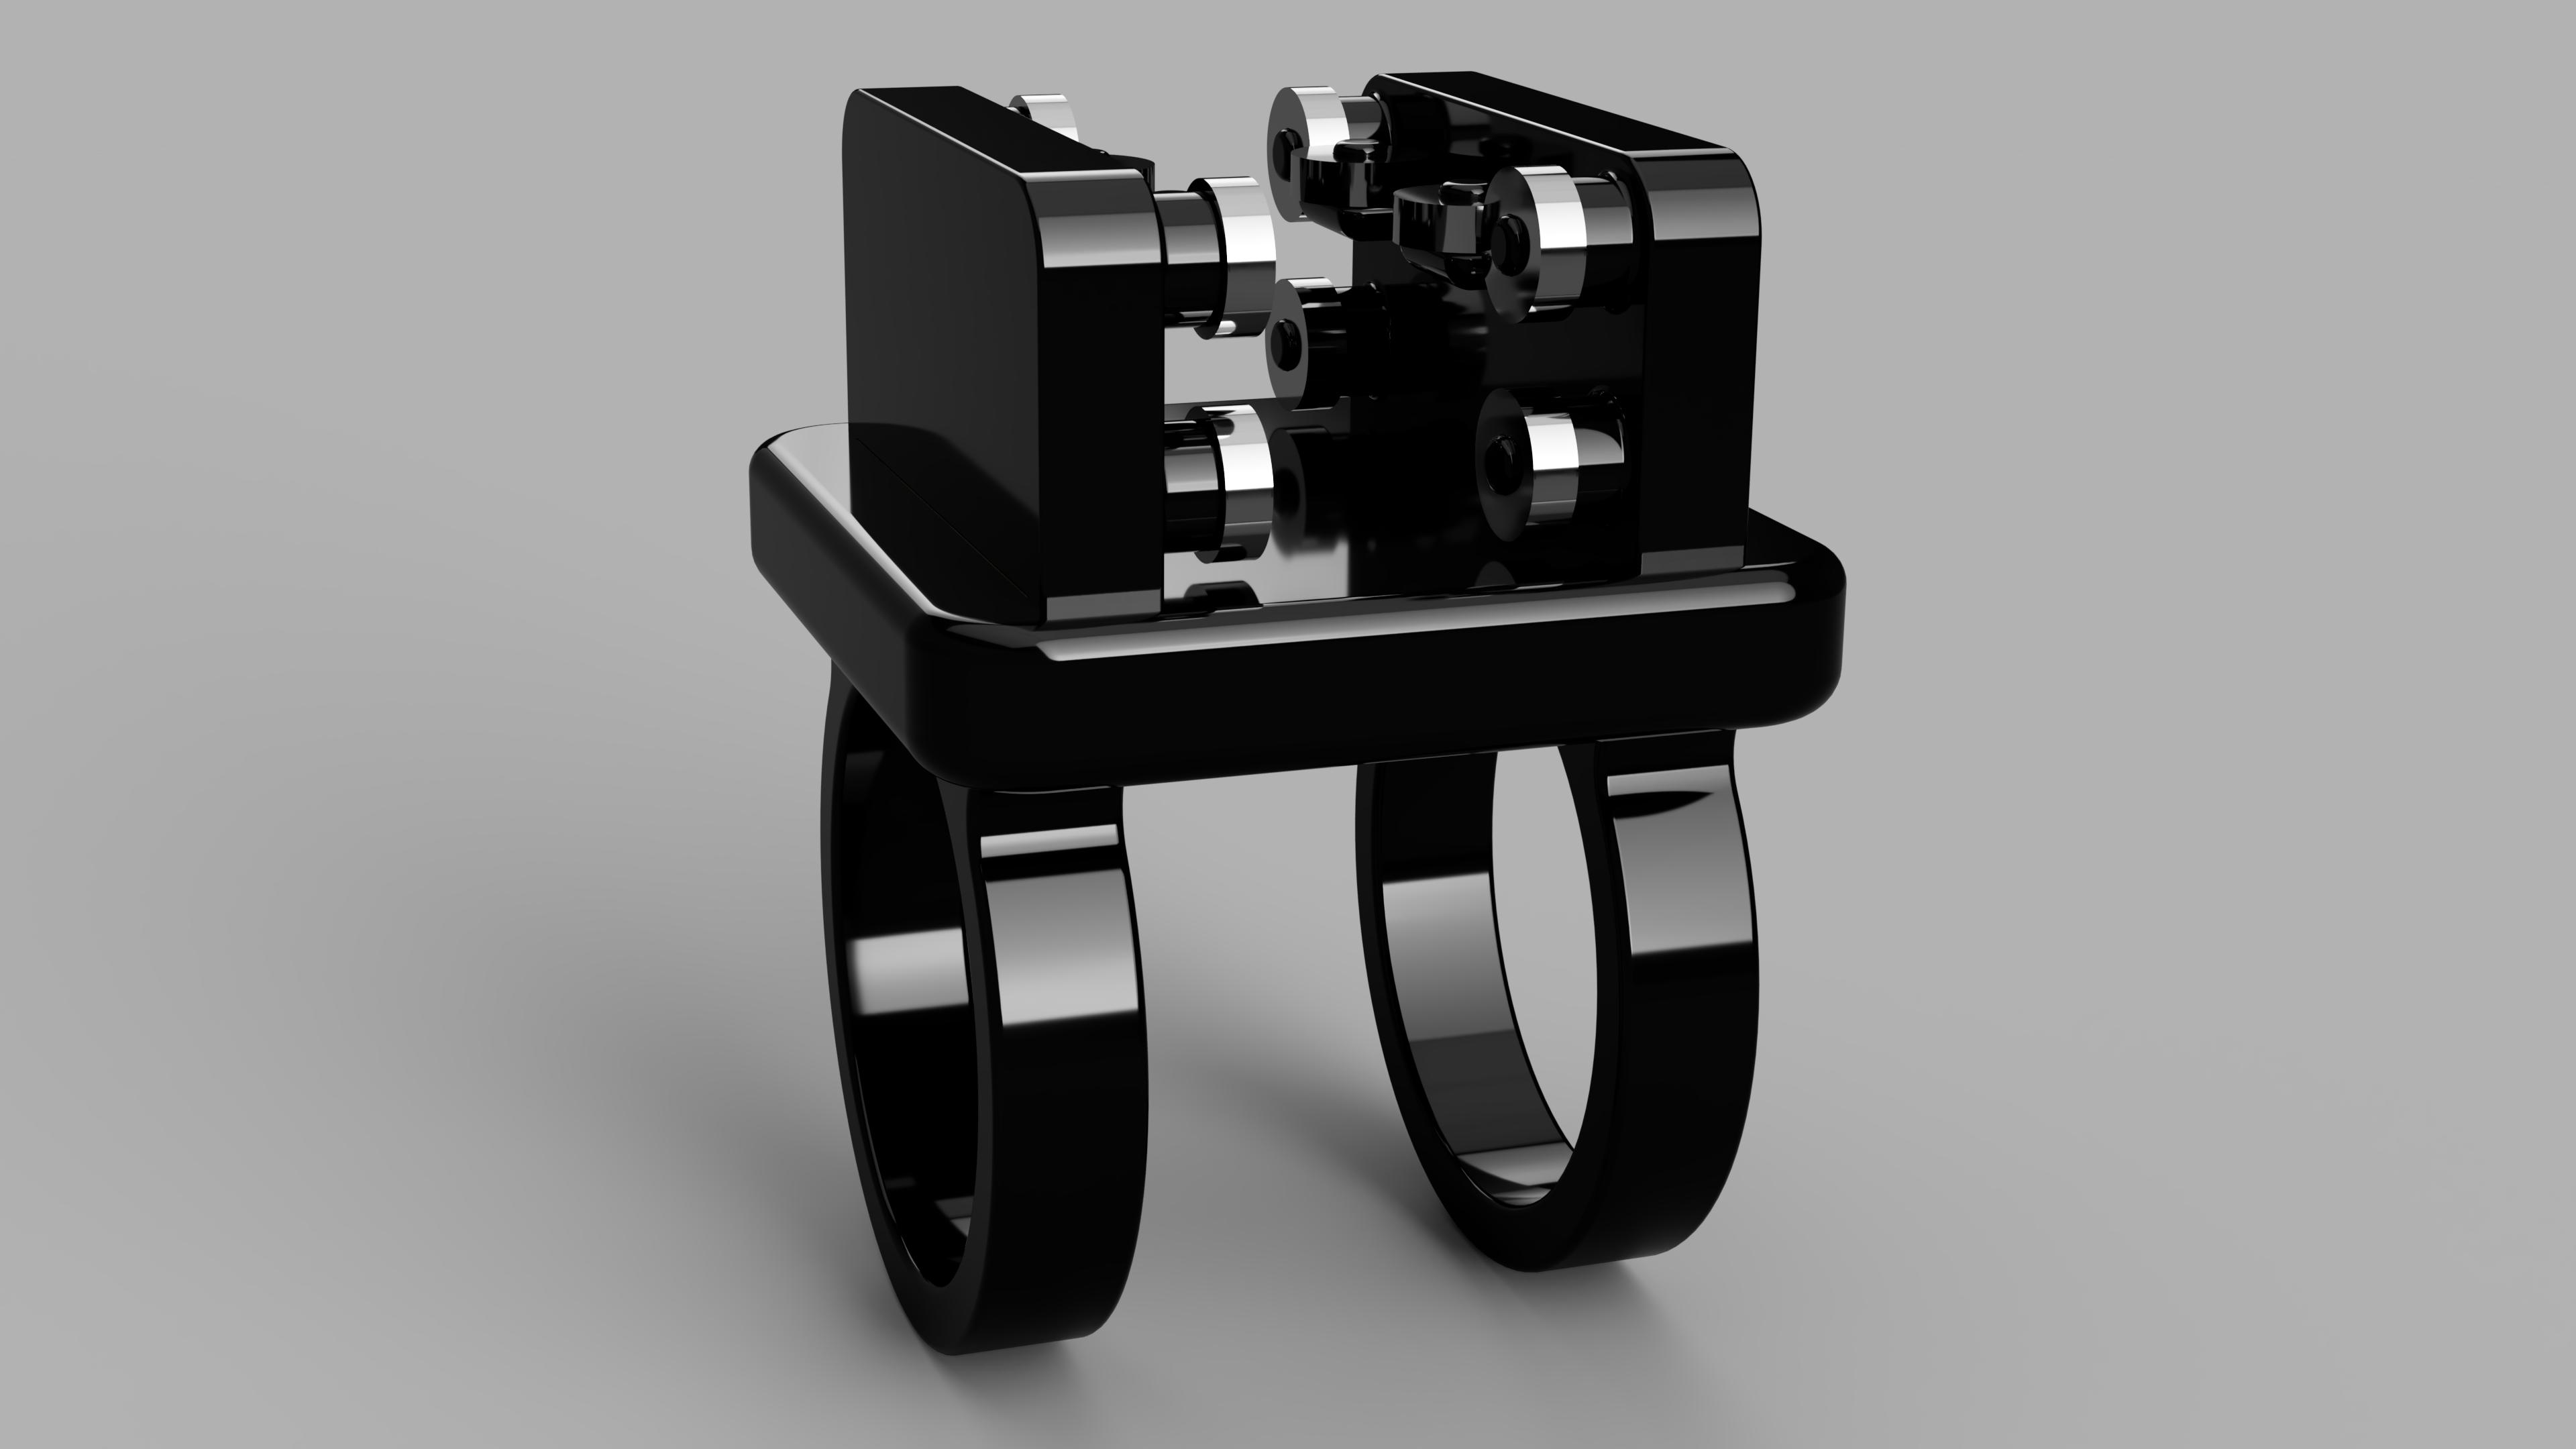
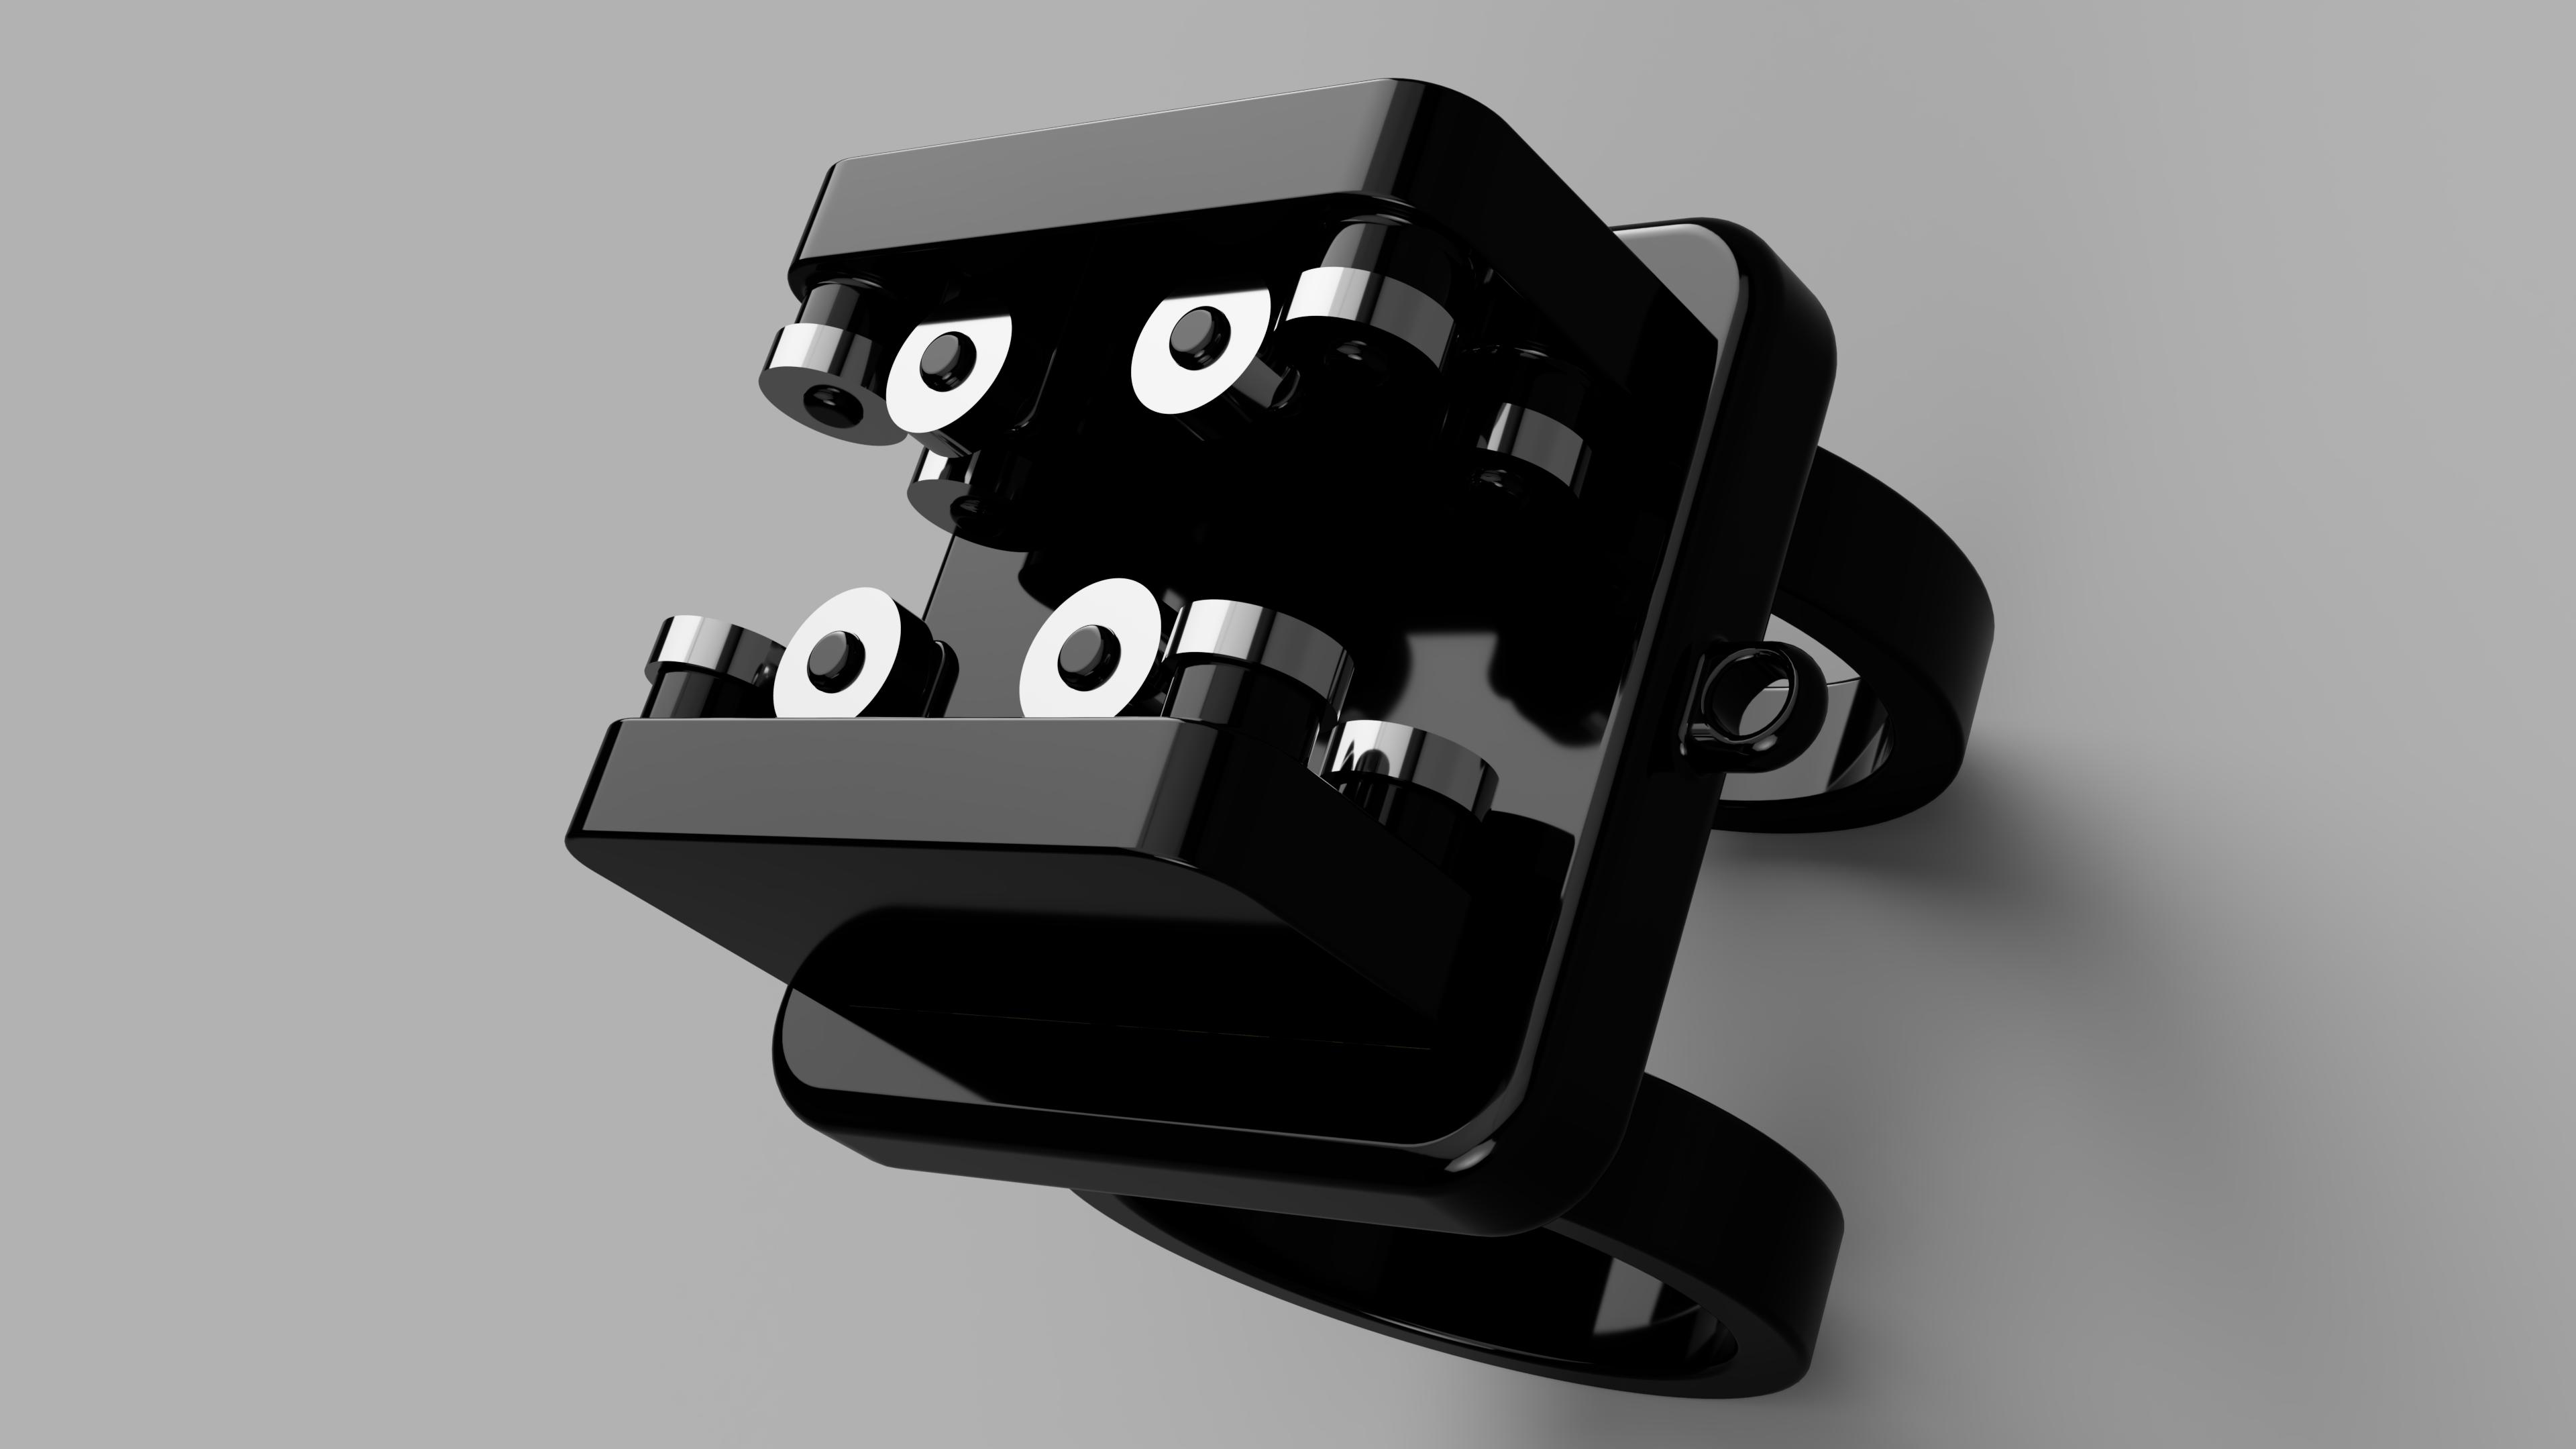
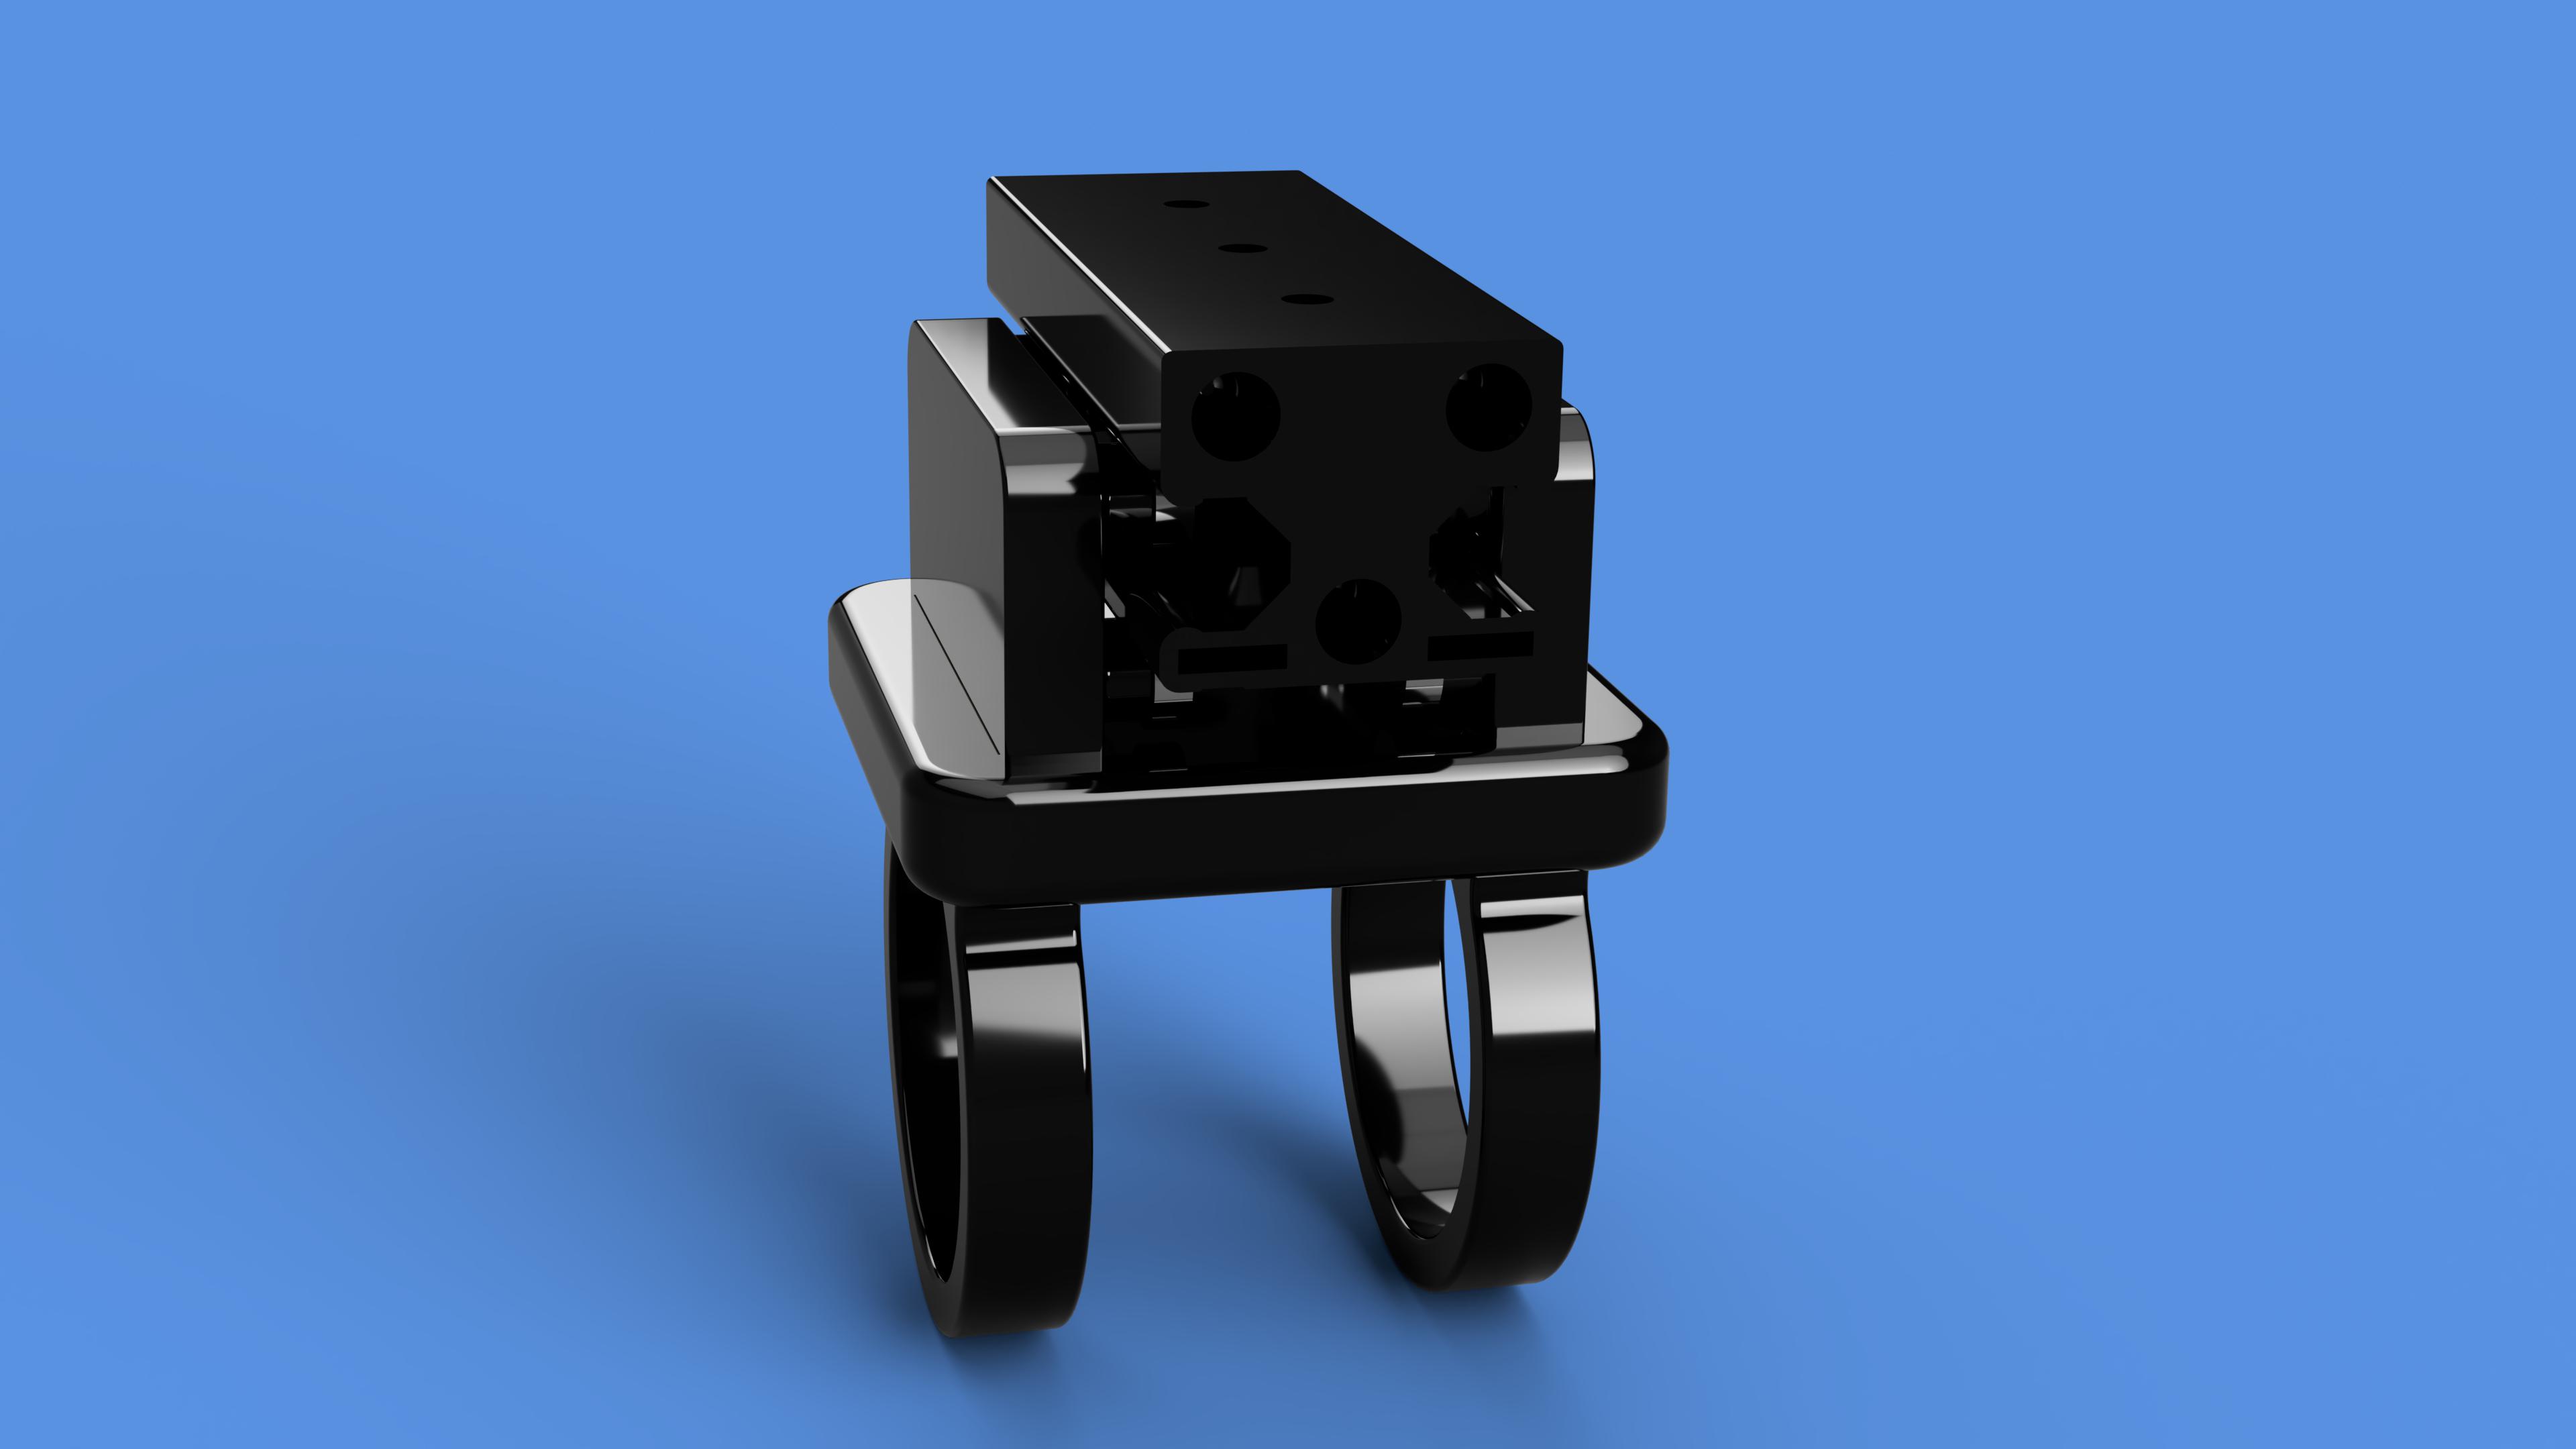
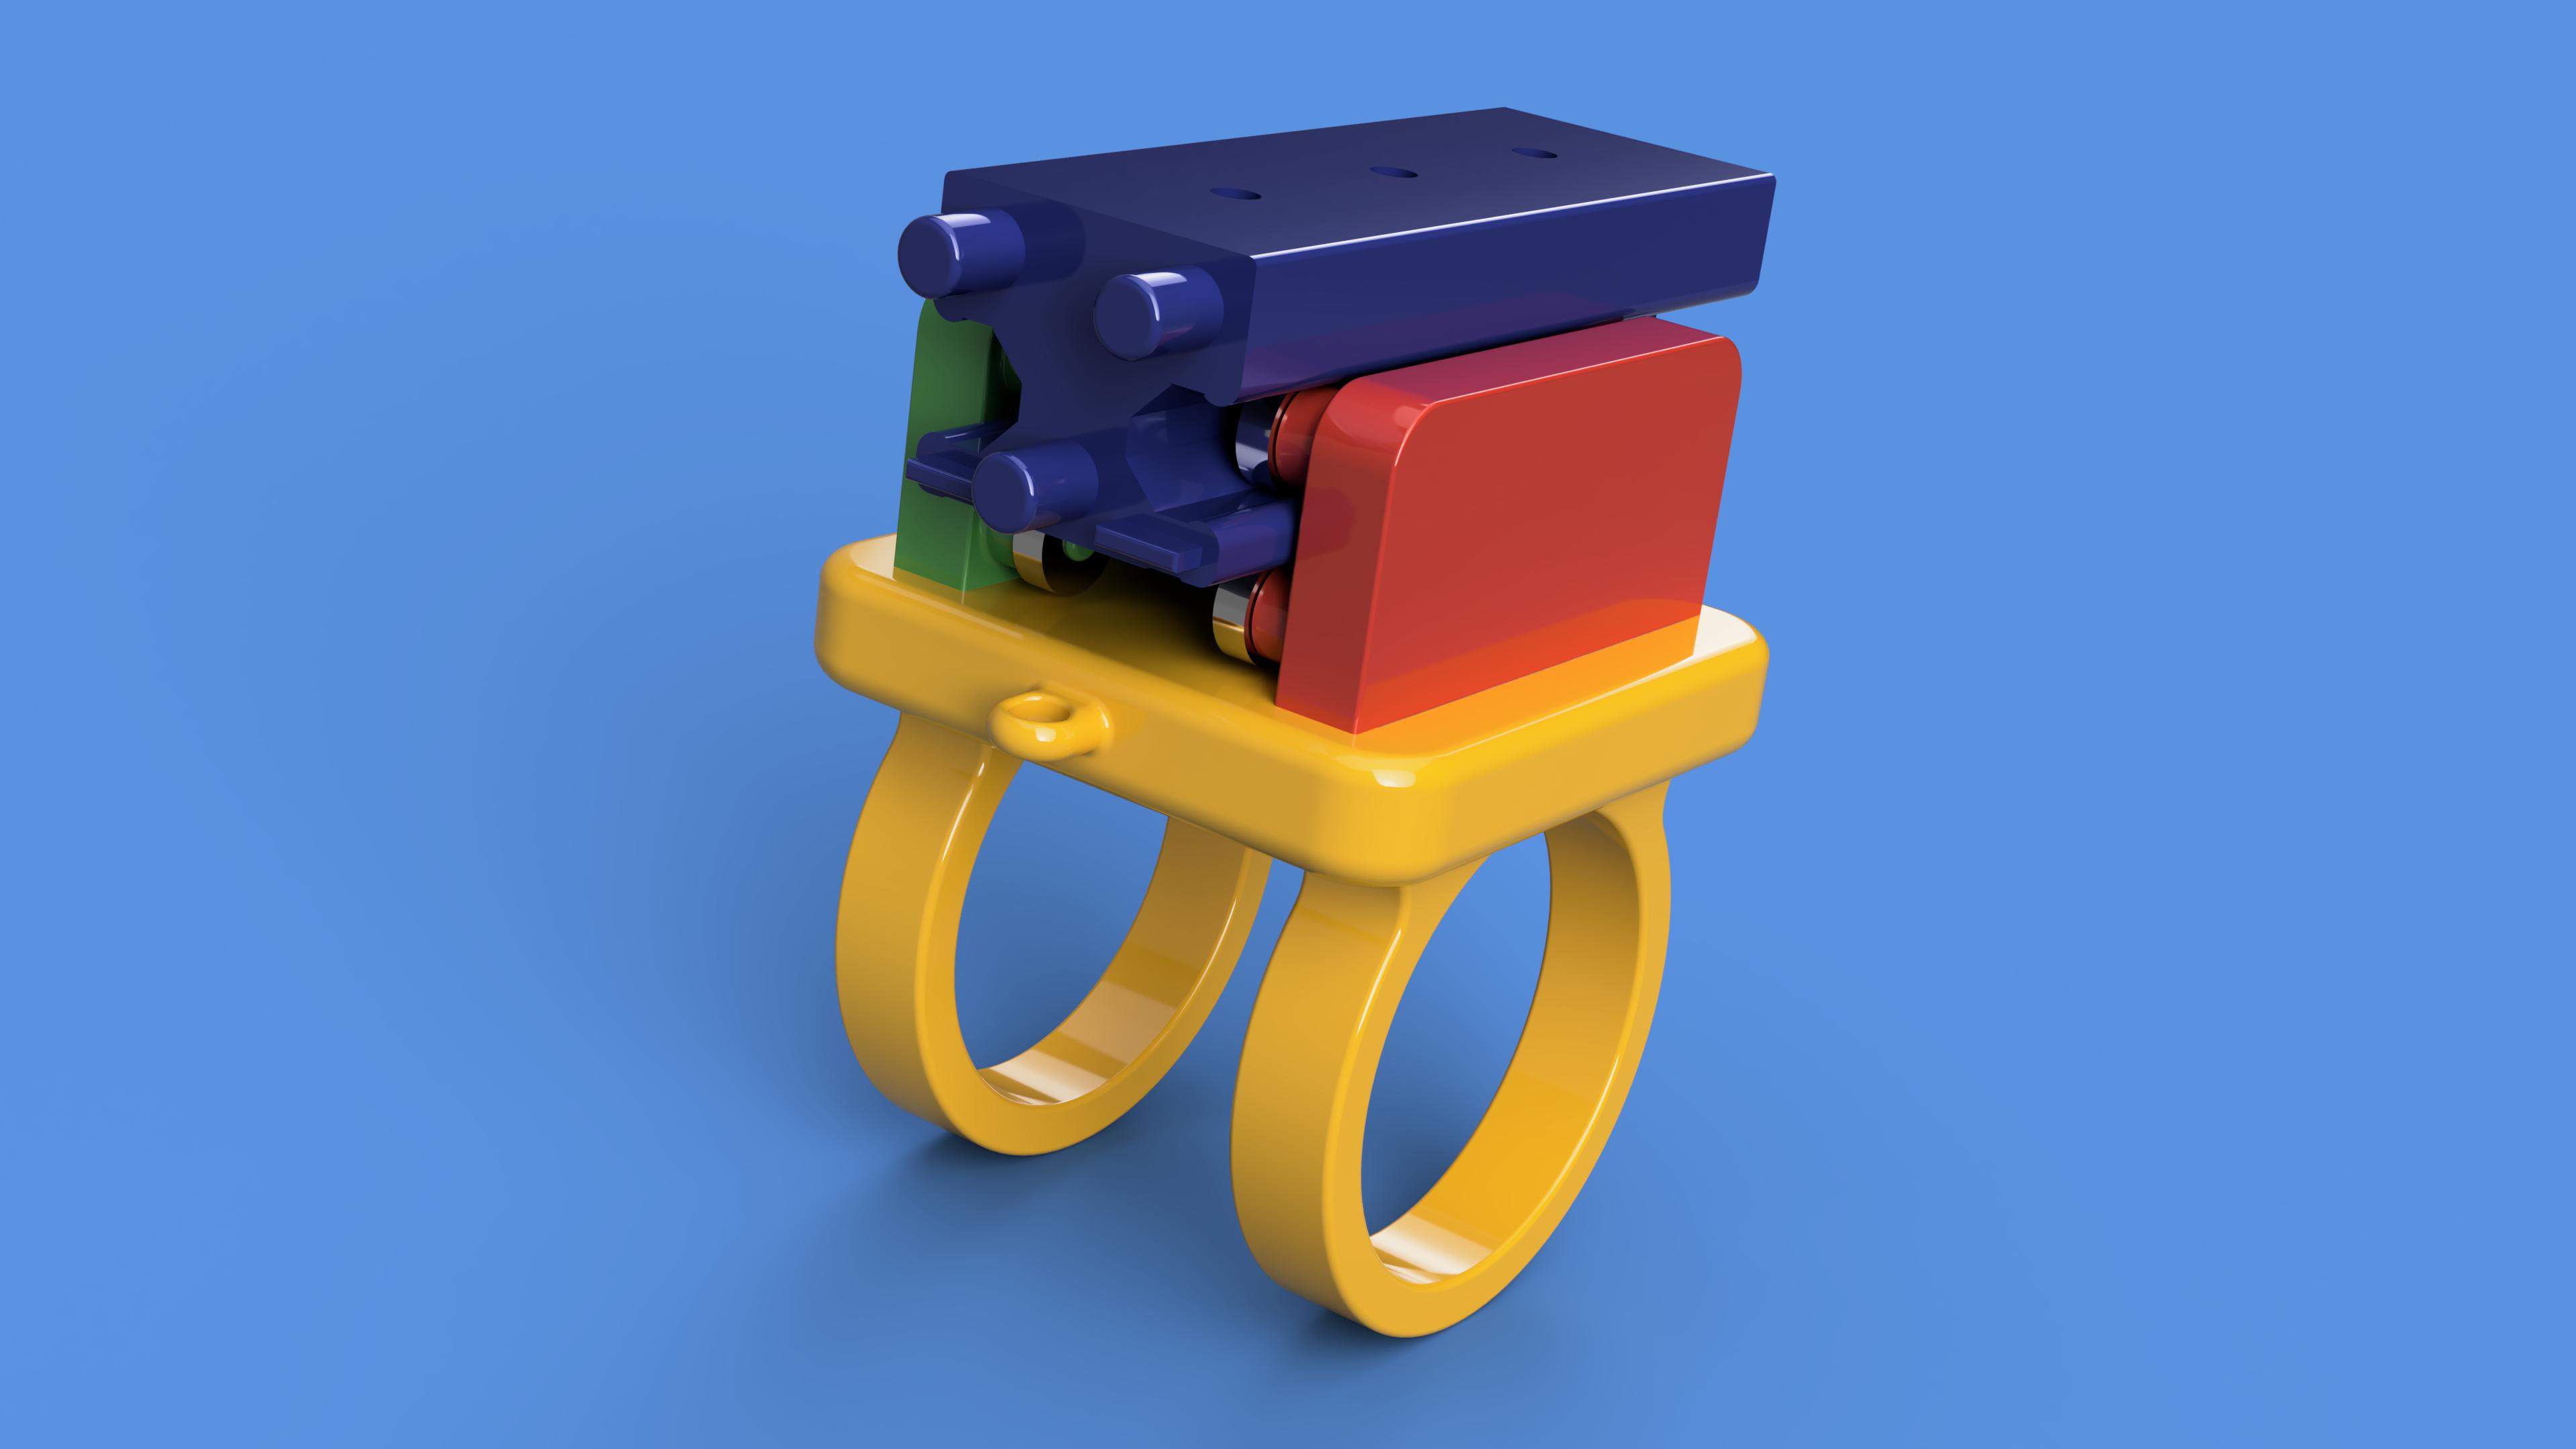
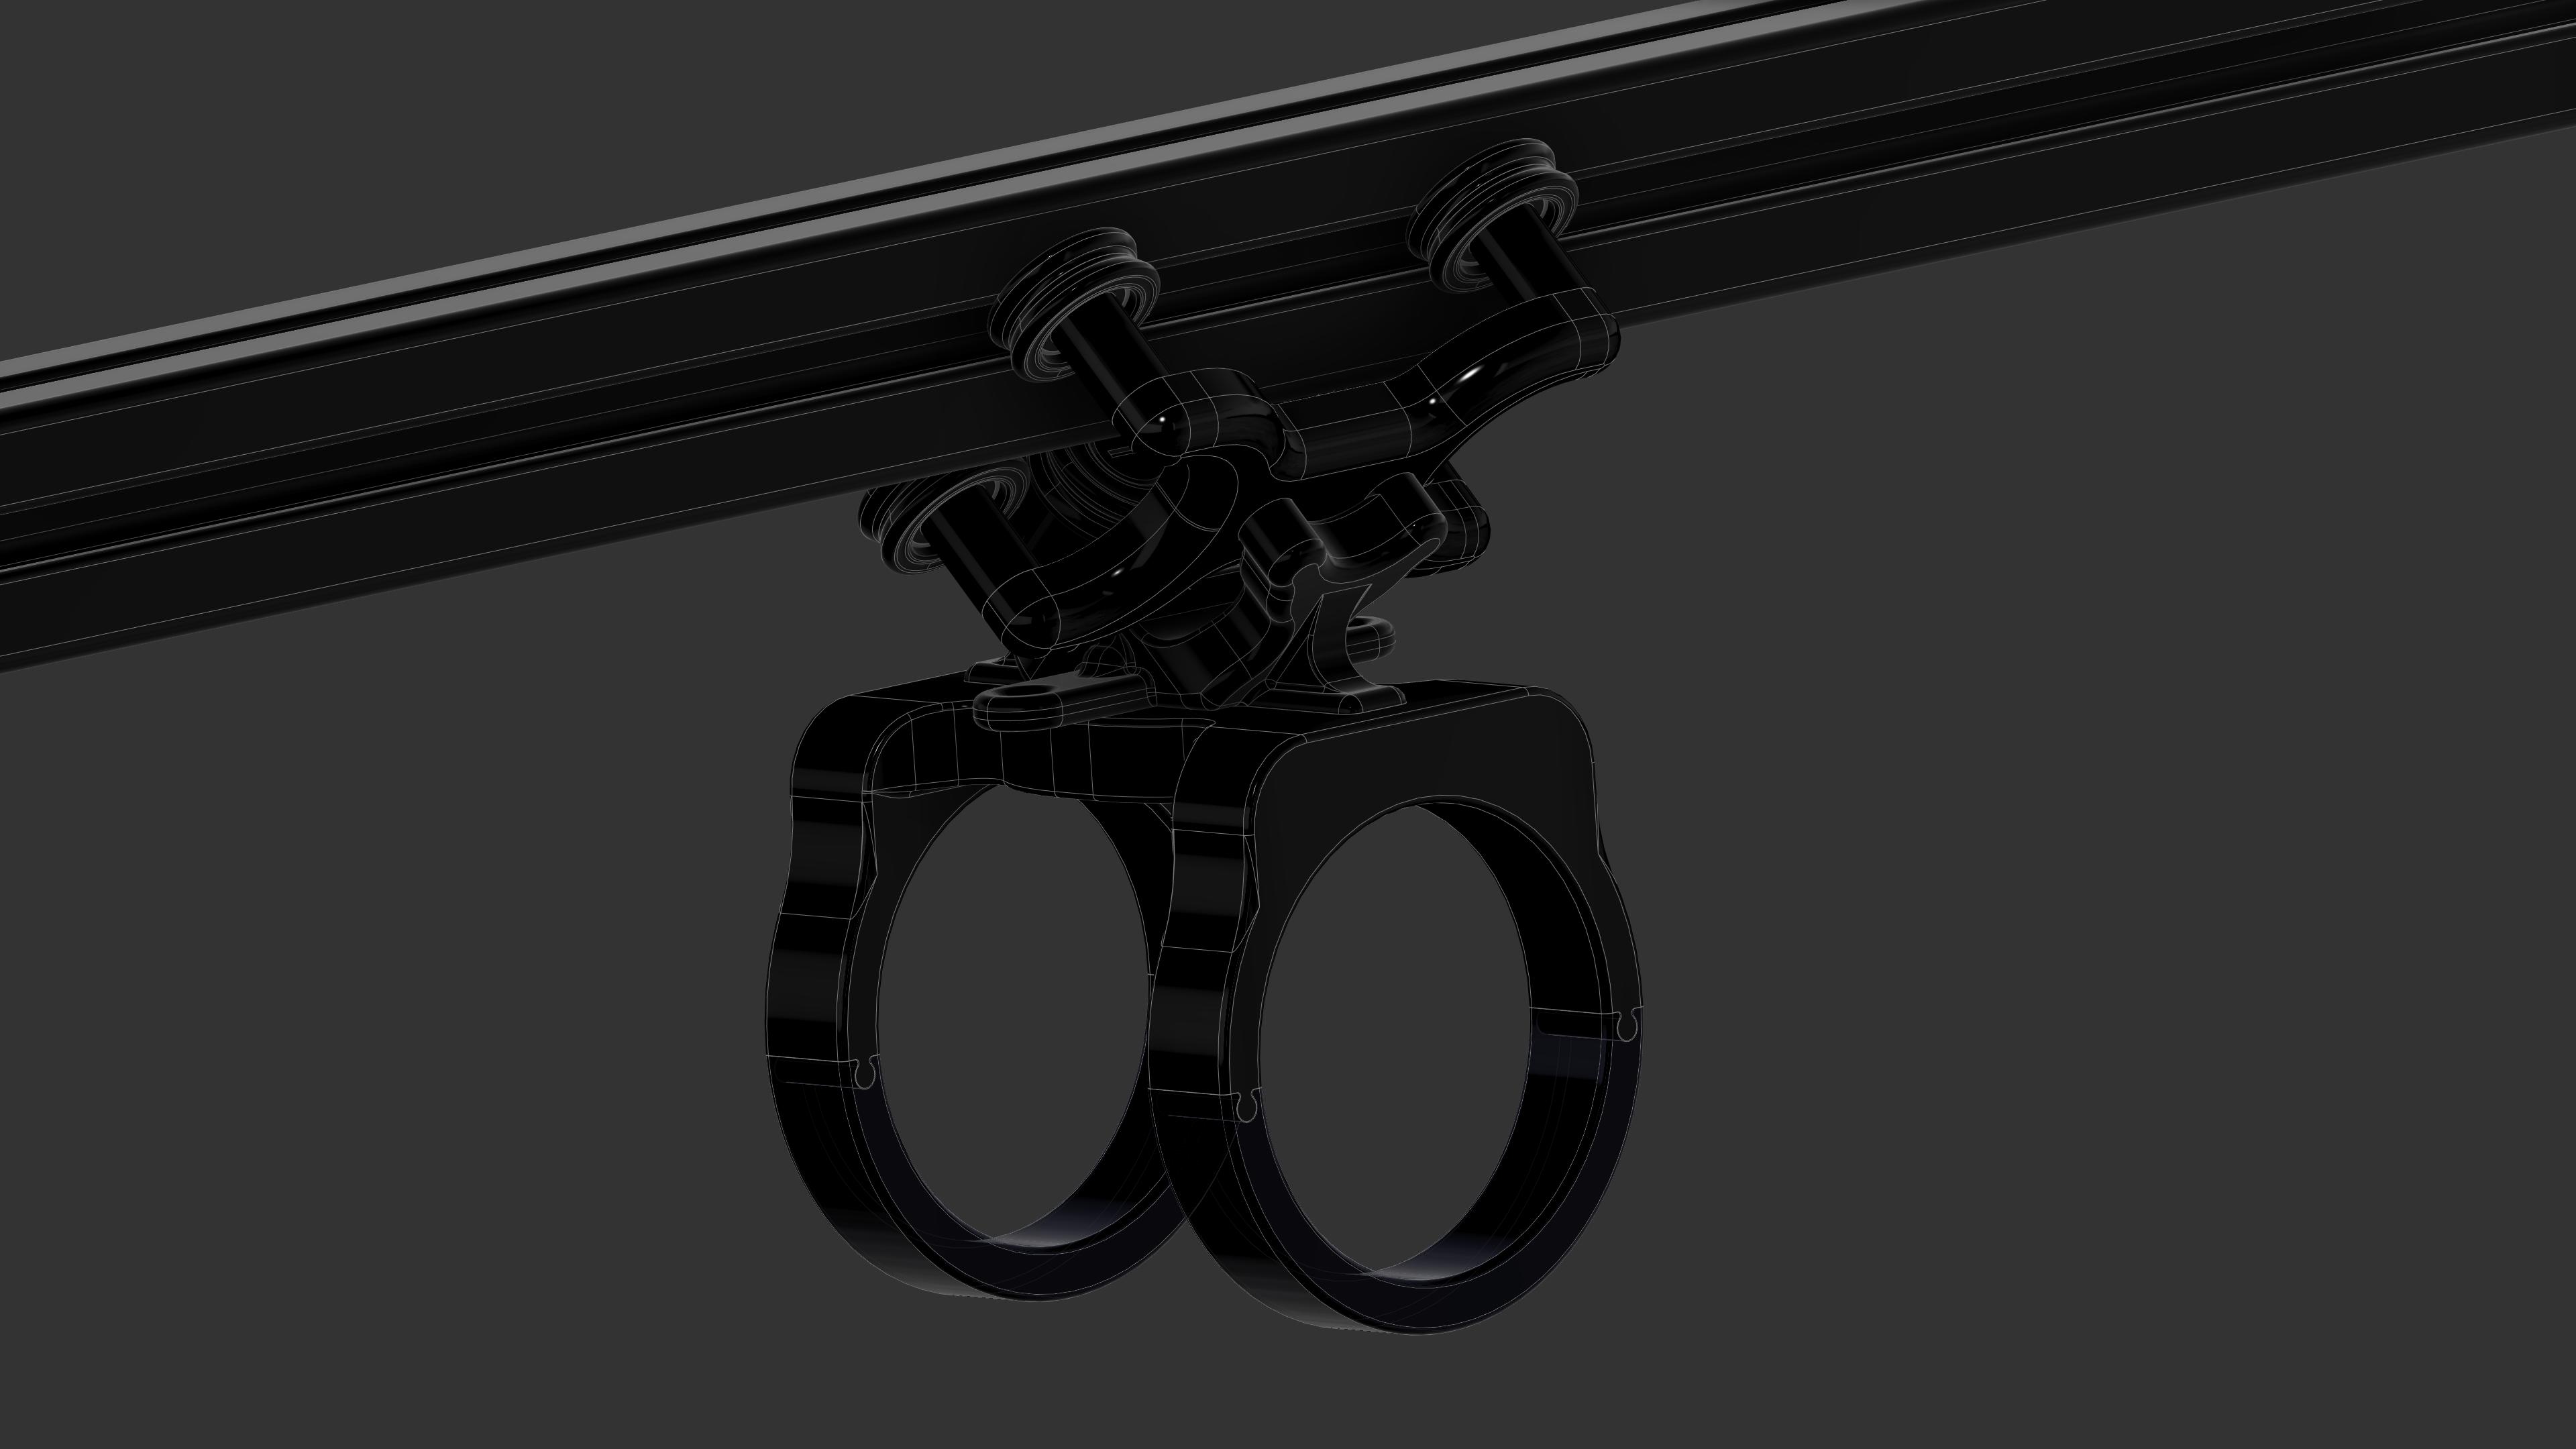
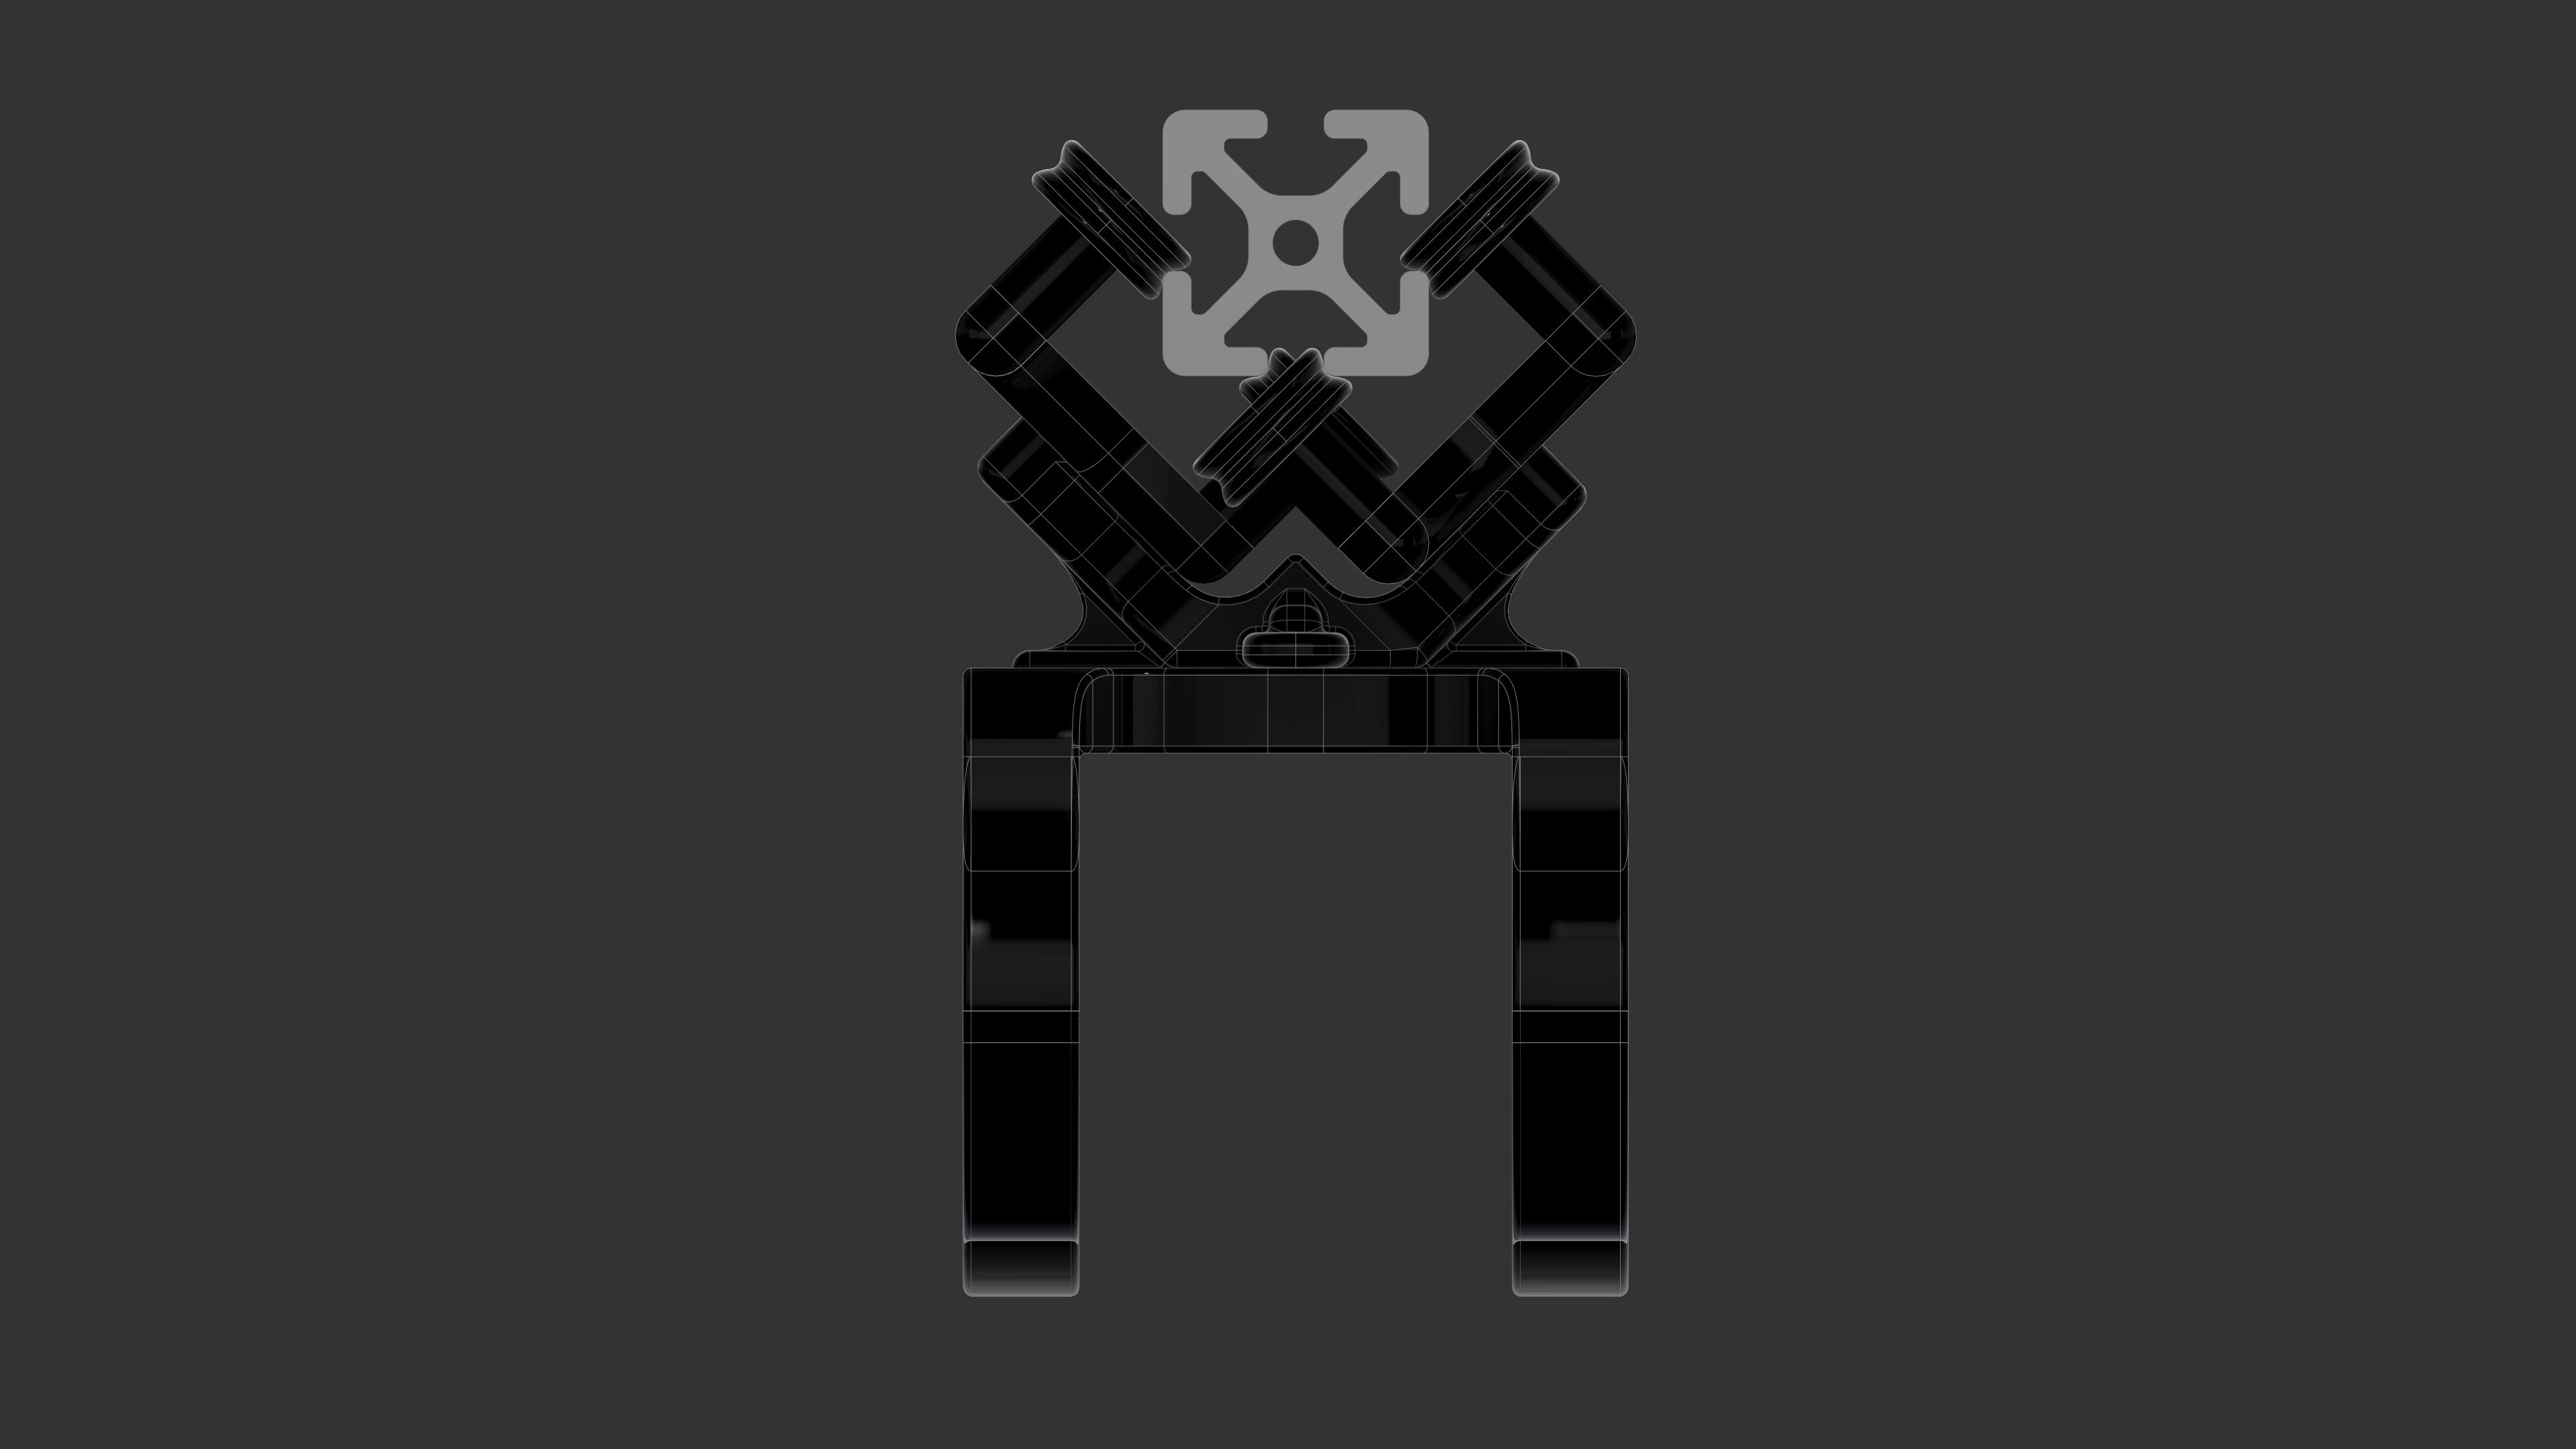
I also got a 2 piece hose ring designed and tested and it works well.
These files will be available for forum members to download as soon as I get some additional testing done.
Here are some photos:


13 Likes
I have a converter app on my phone and I think it is the most used app after e-mail, text and phone. It converts not only metric to imperial but other scales as well.
3 Likes
This is great, could use this to manage hose using PWNCNC dust boot rather than the old hanging string trick. Or am I the only one that does that still? Actually it is a bungee cord but who is counting.
3 Likes
Share it  please please please and share the link of the parts
1 Like
Omar, this system needs some adjustments. I am currently working on V2. It was getting slightly hung up between some of the rail seams and I am working on a better design for the rails with less material needed. The current ones were taking 6 hours per section. I will share the files as soon as I get it perfect.
5 Likes
Good luck bro don’t stop the good designs  Bravo
Bravo 
1 Like
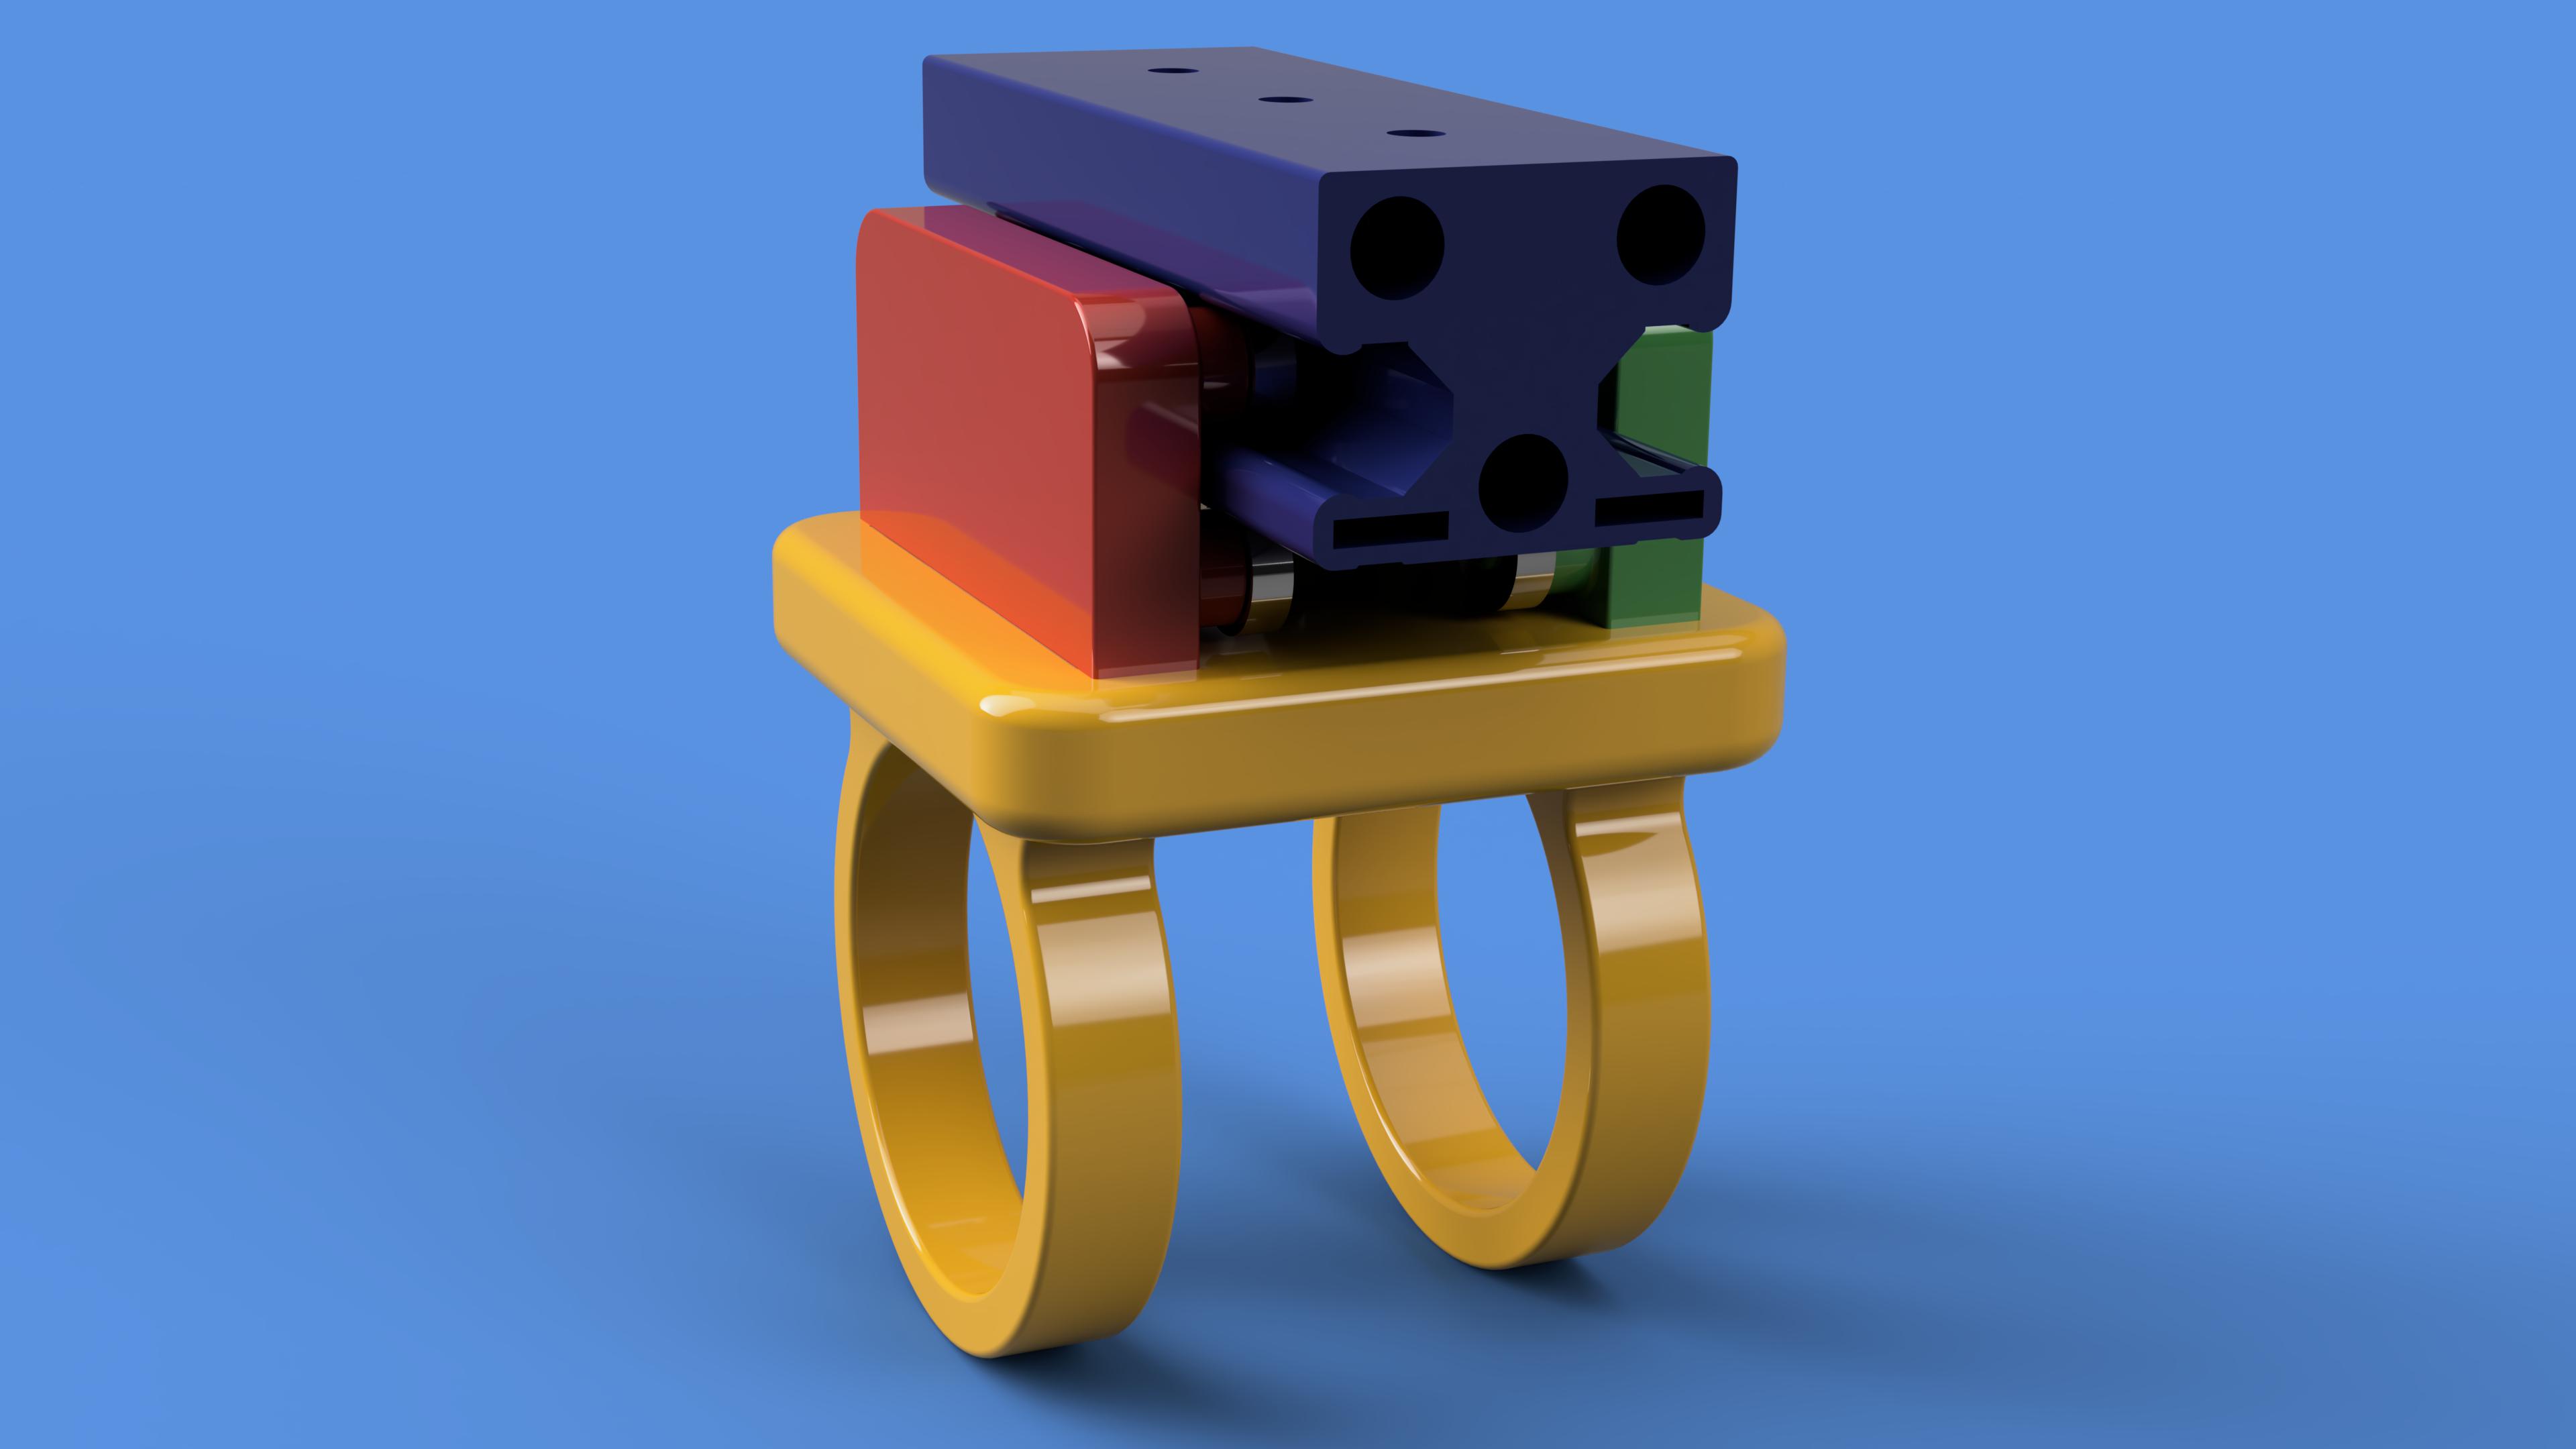
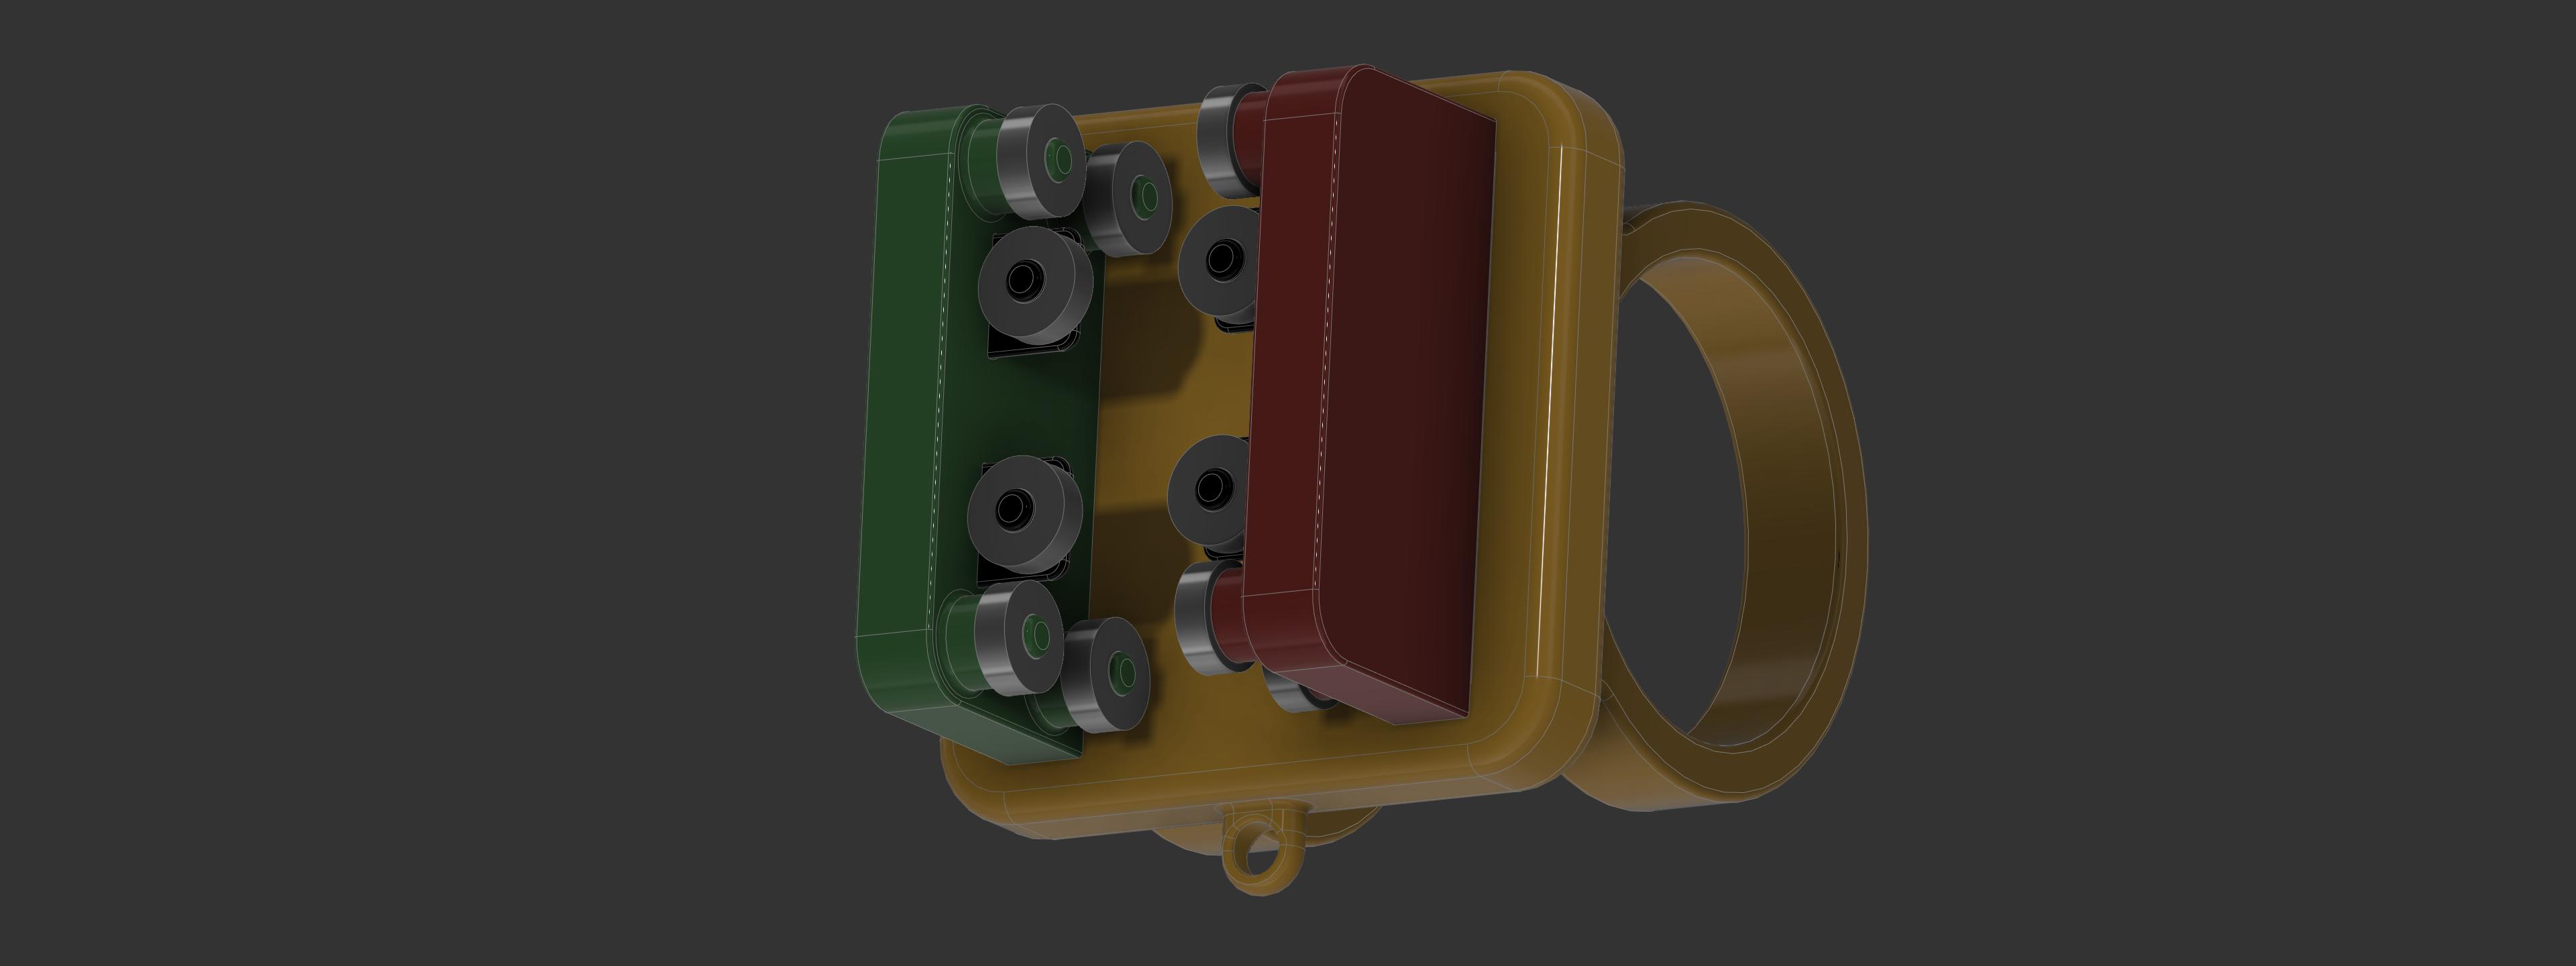
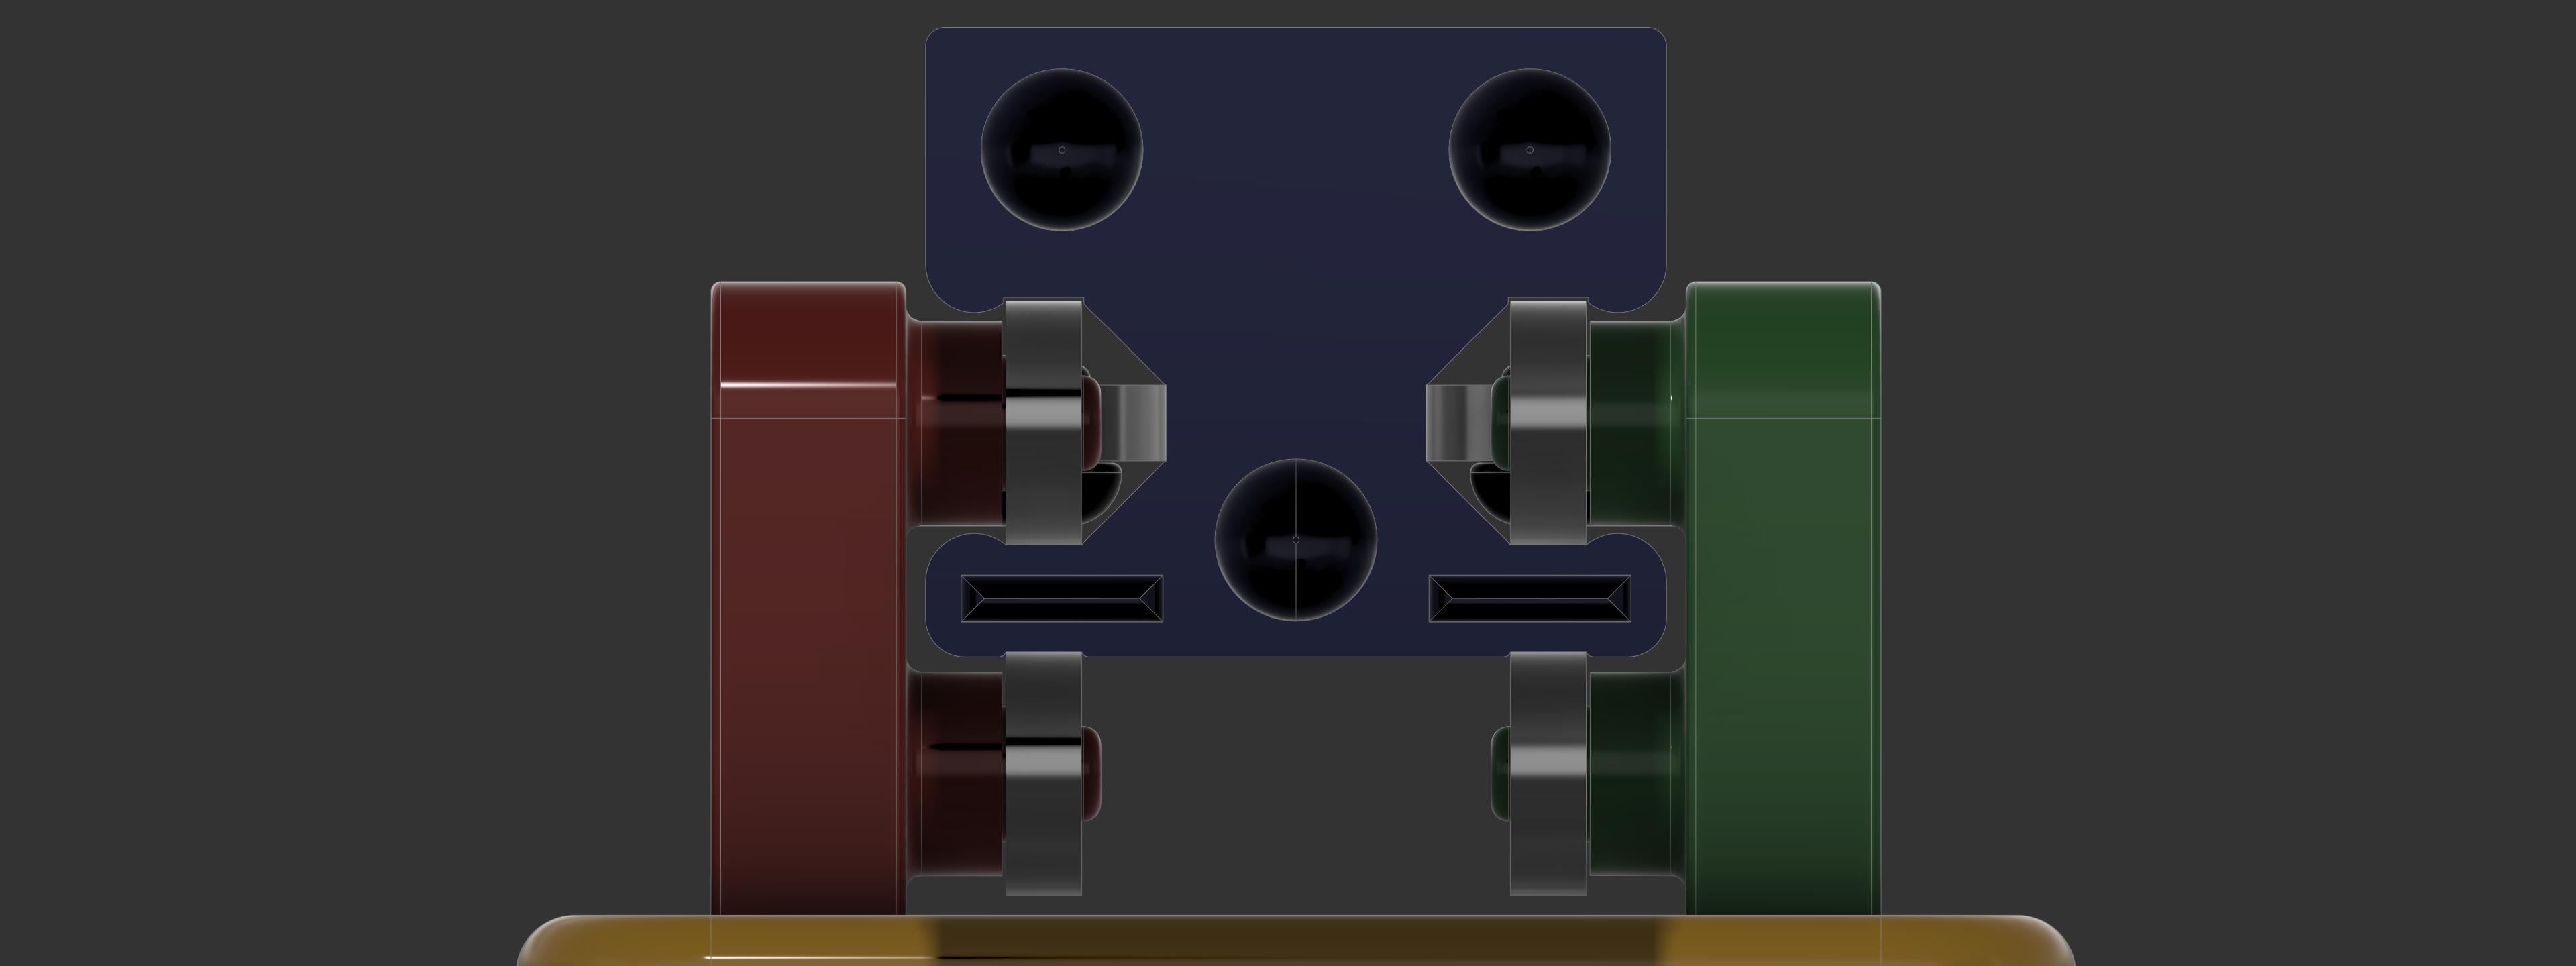
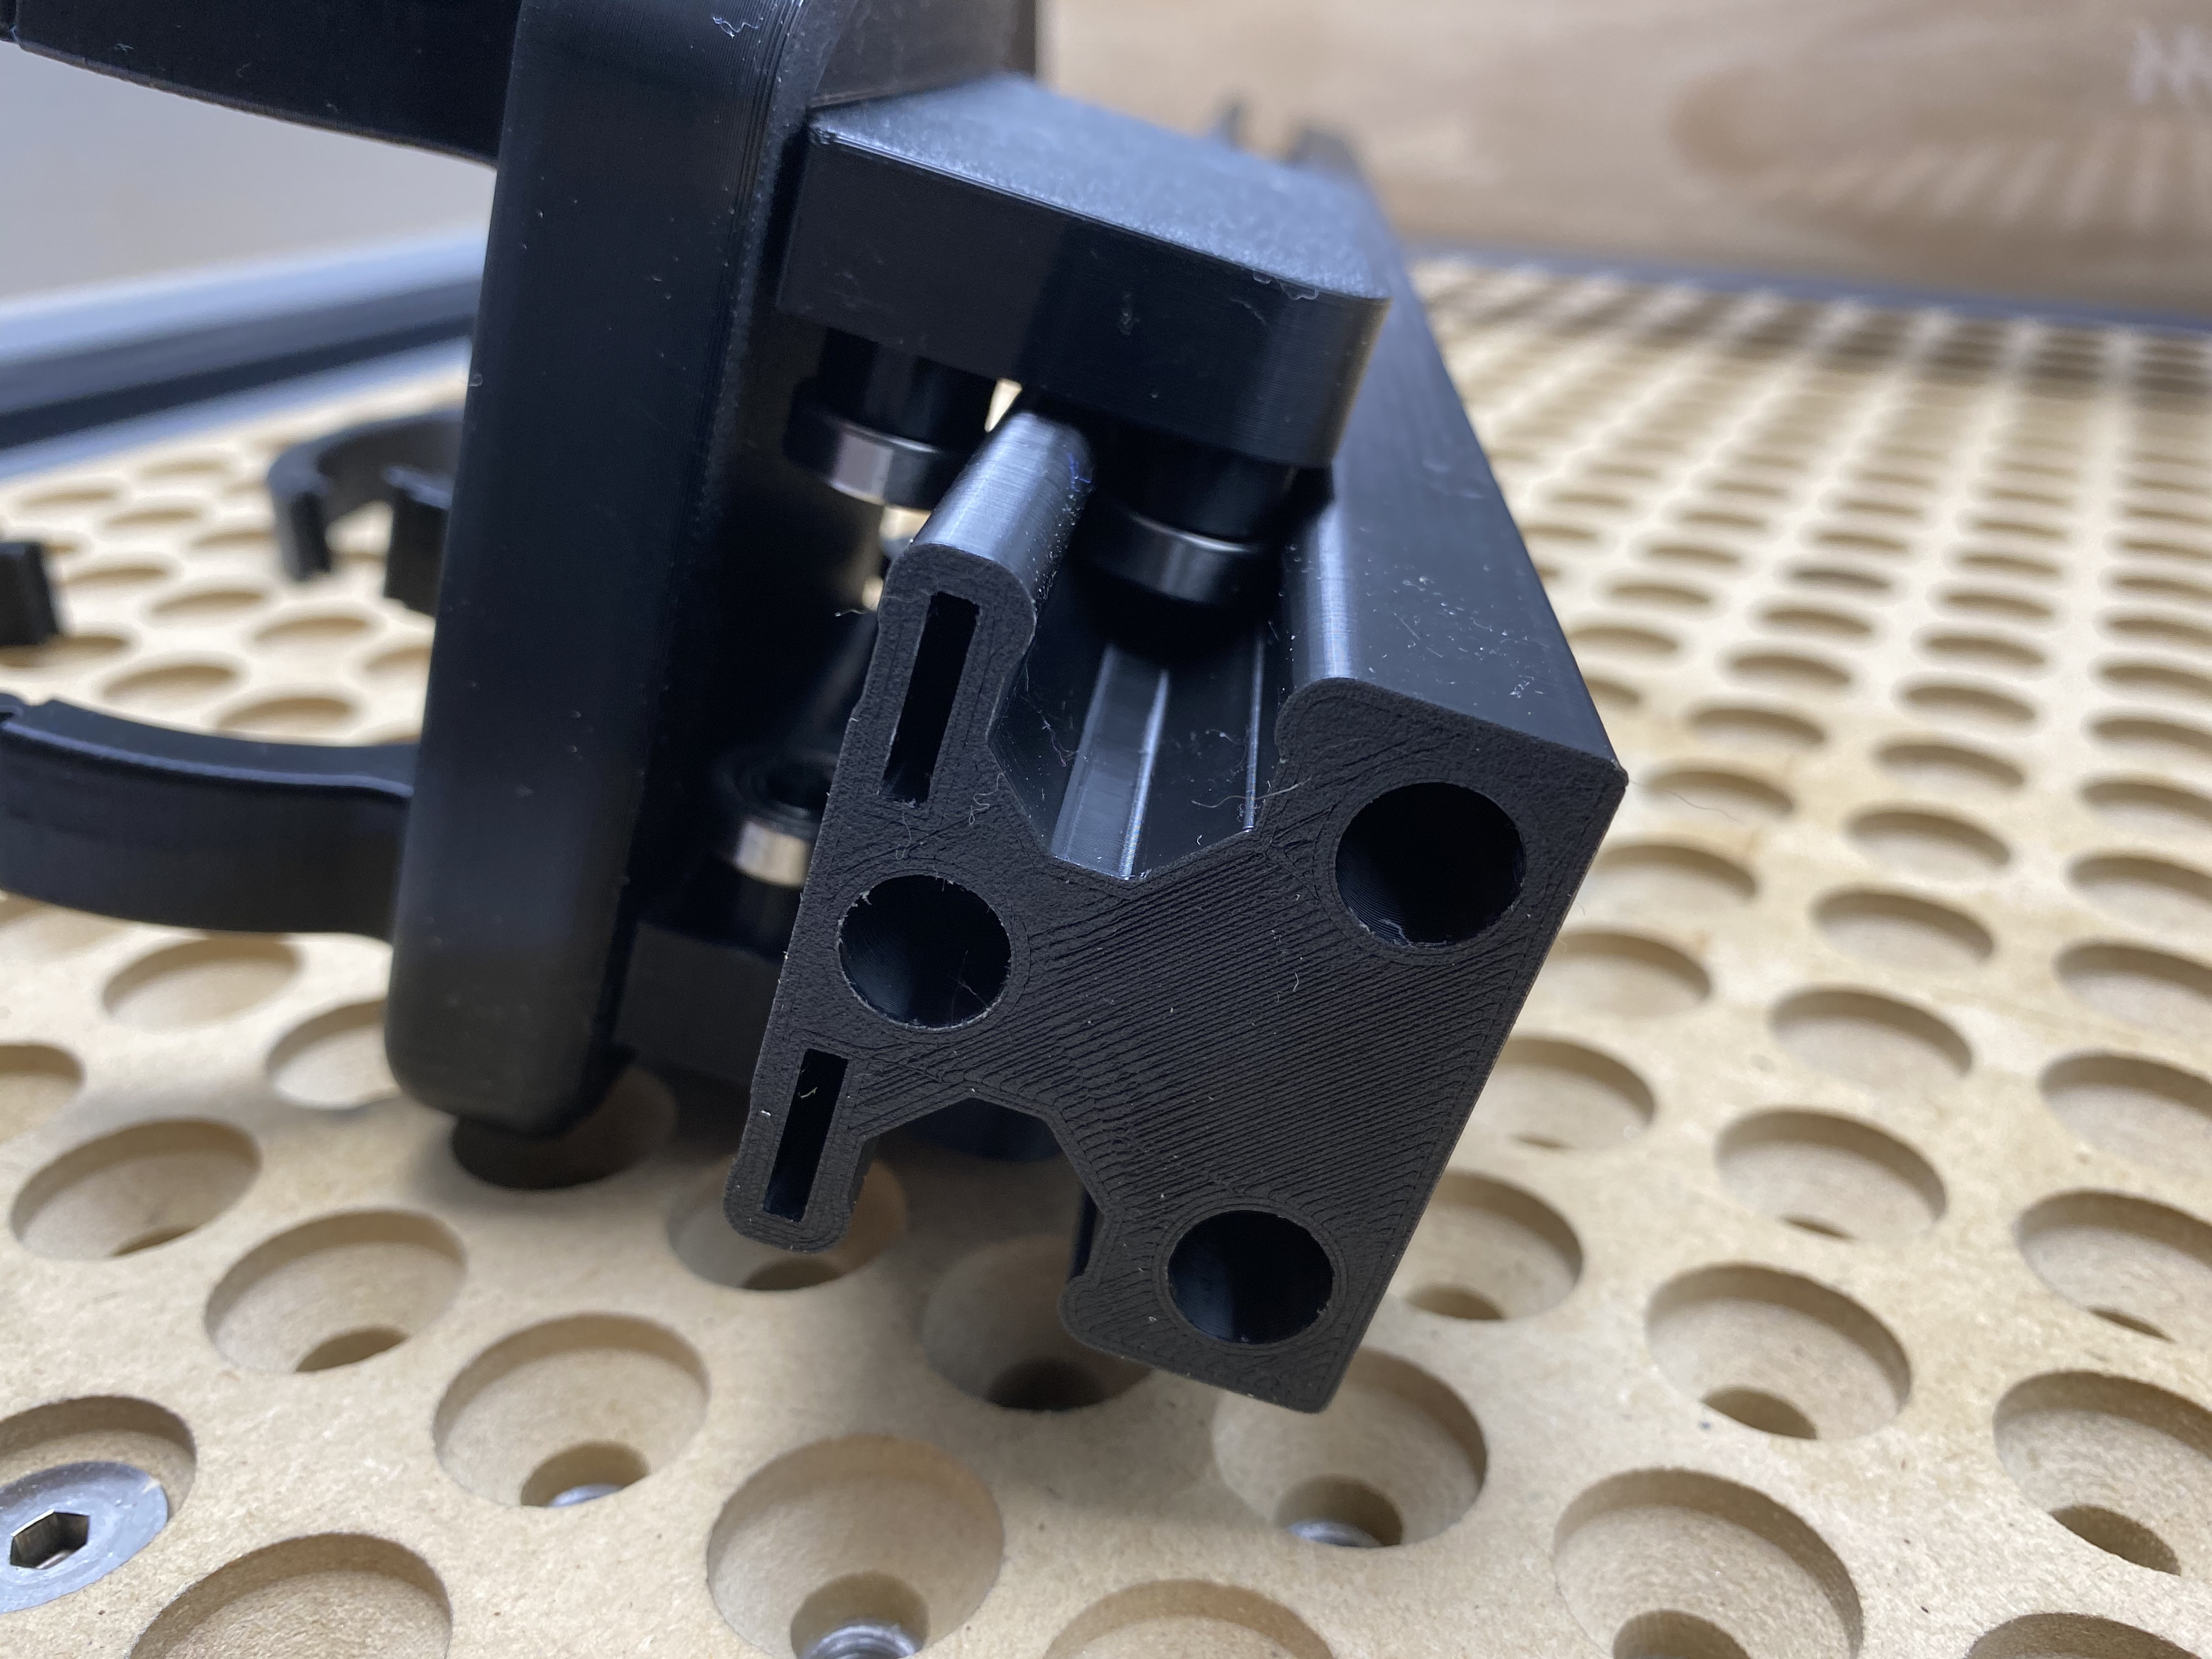
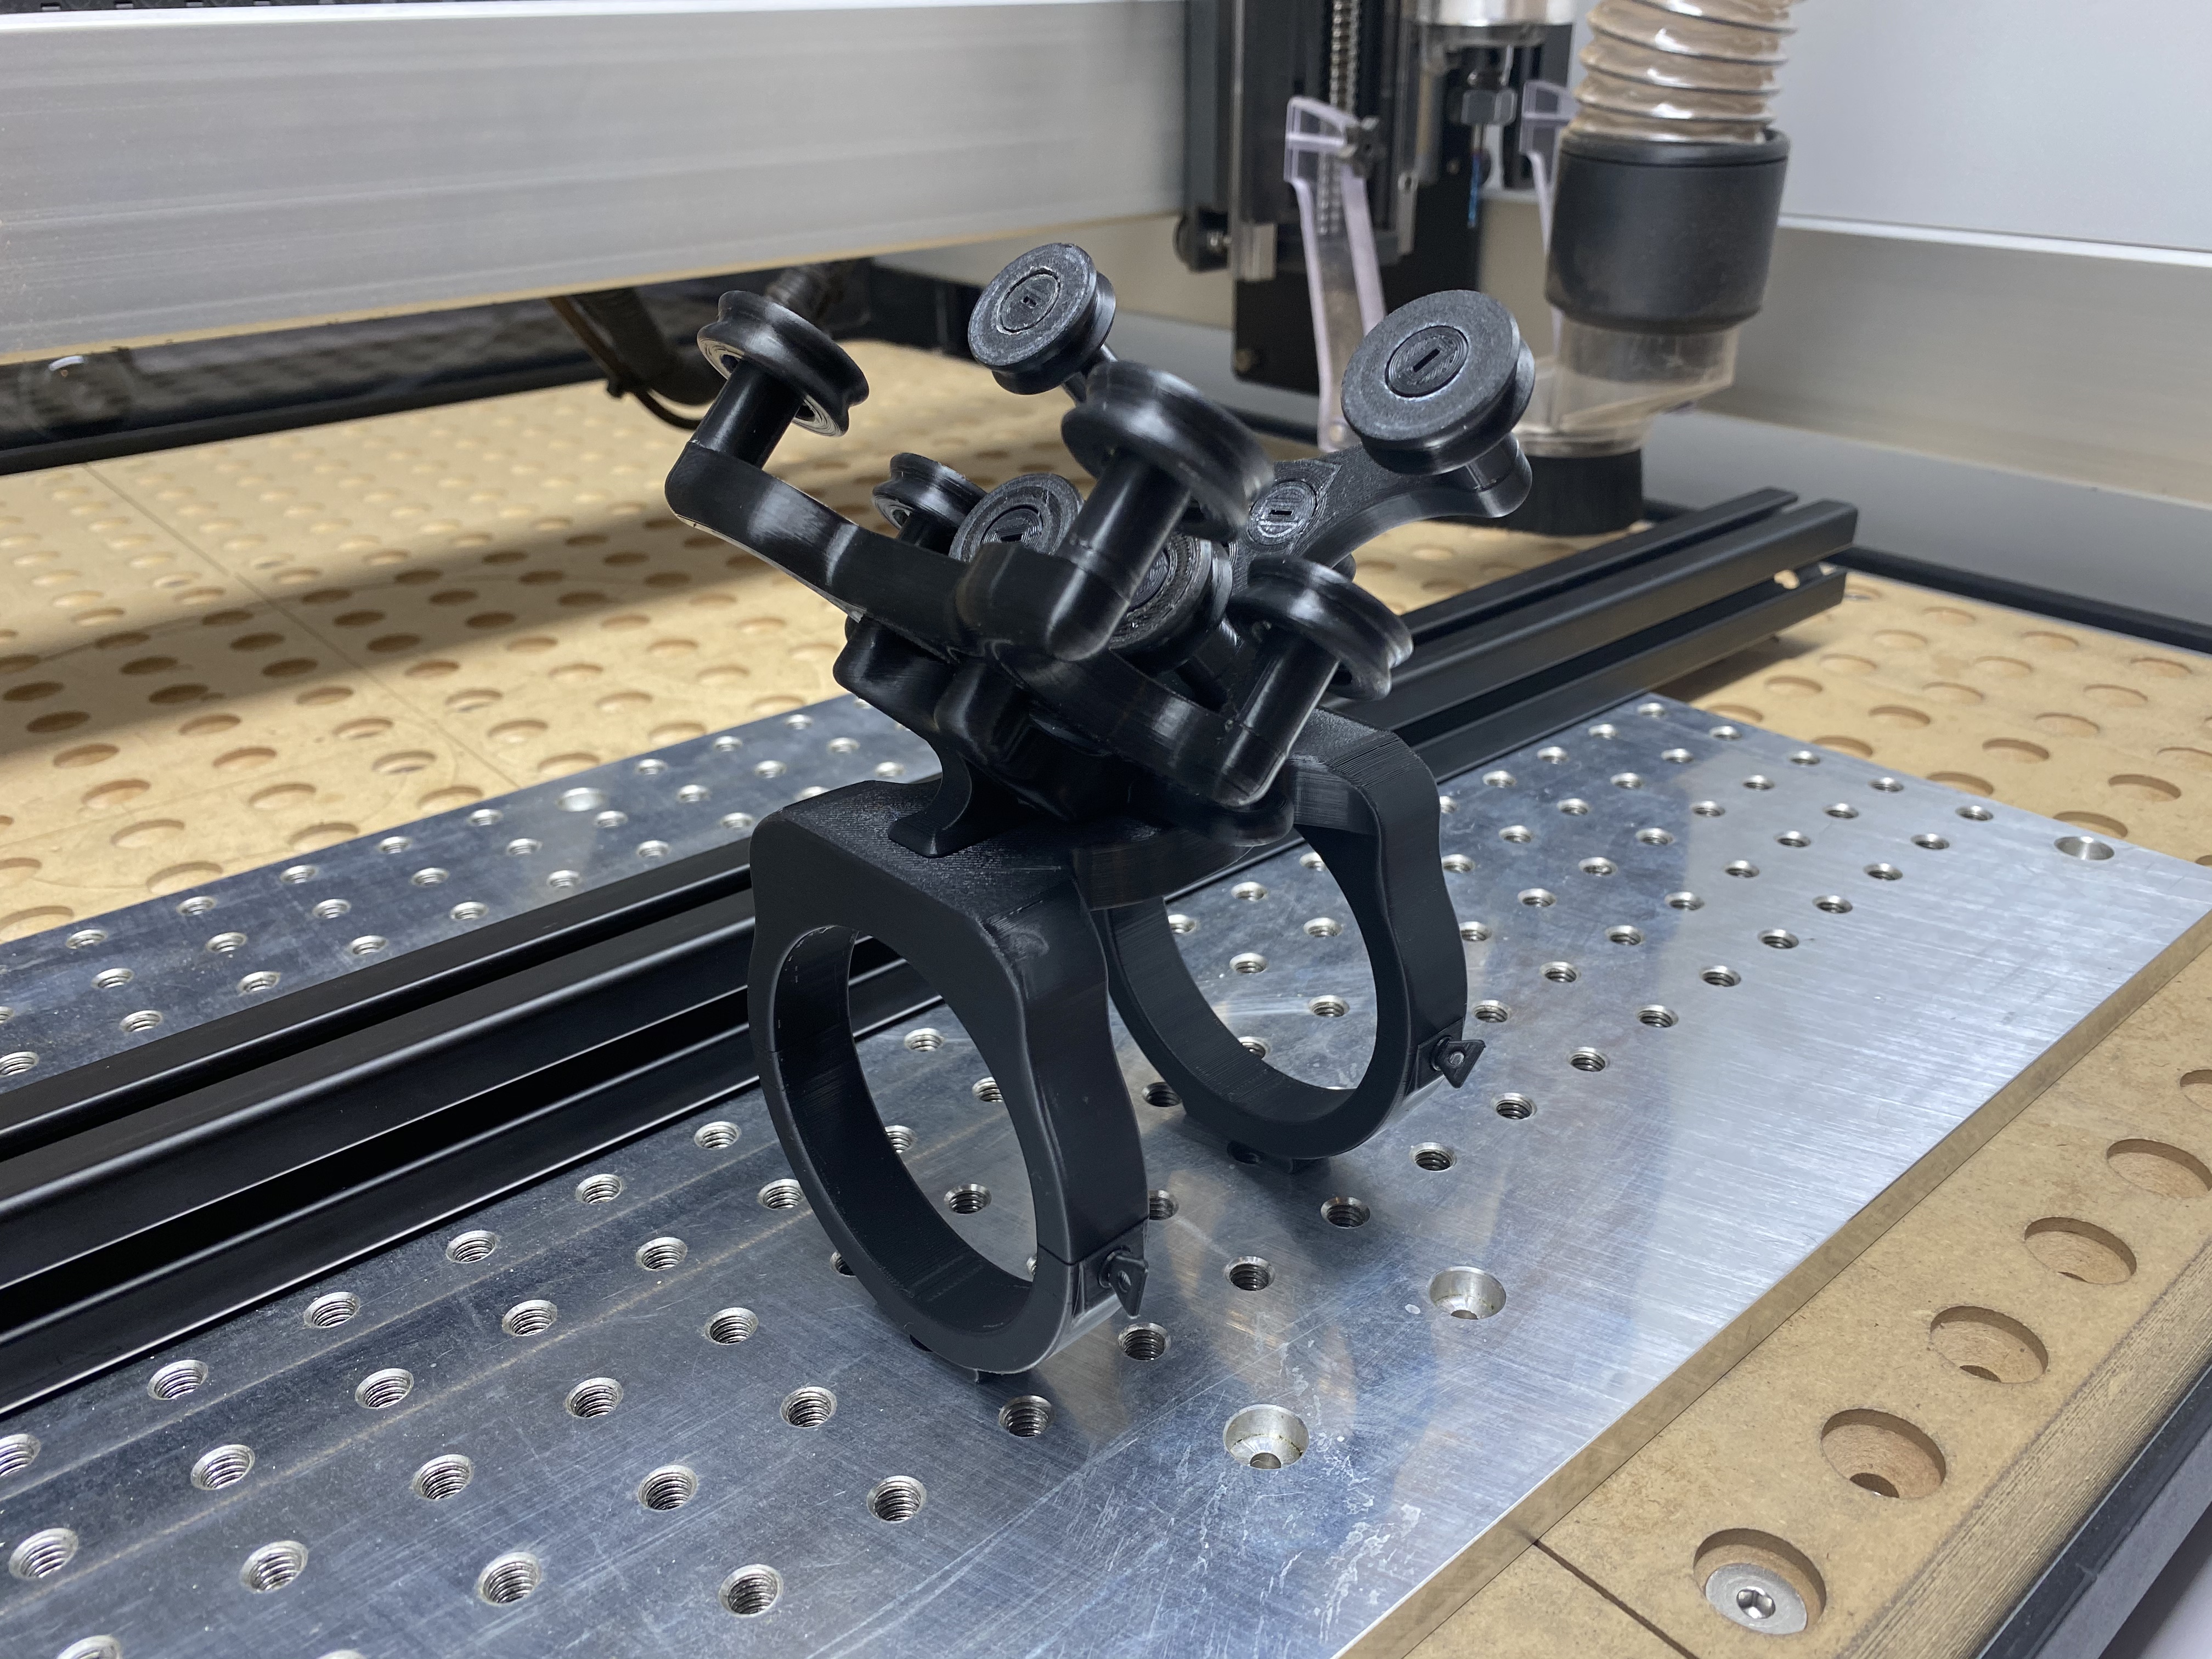
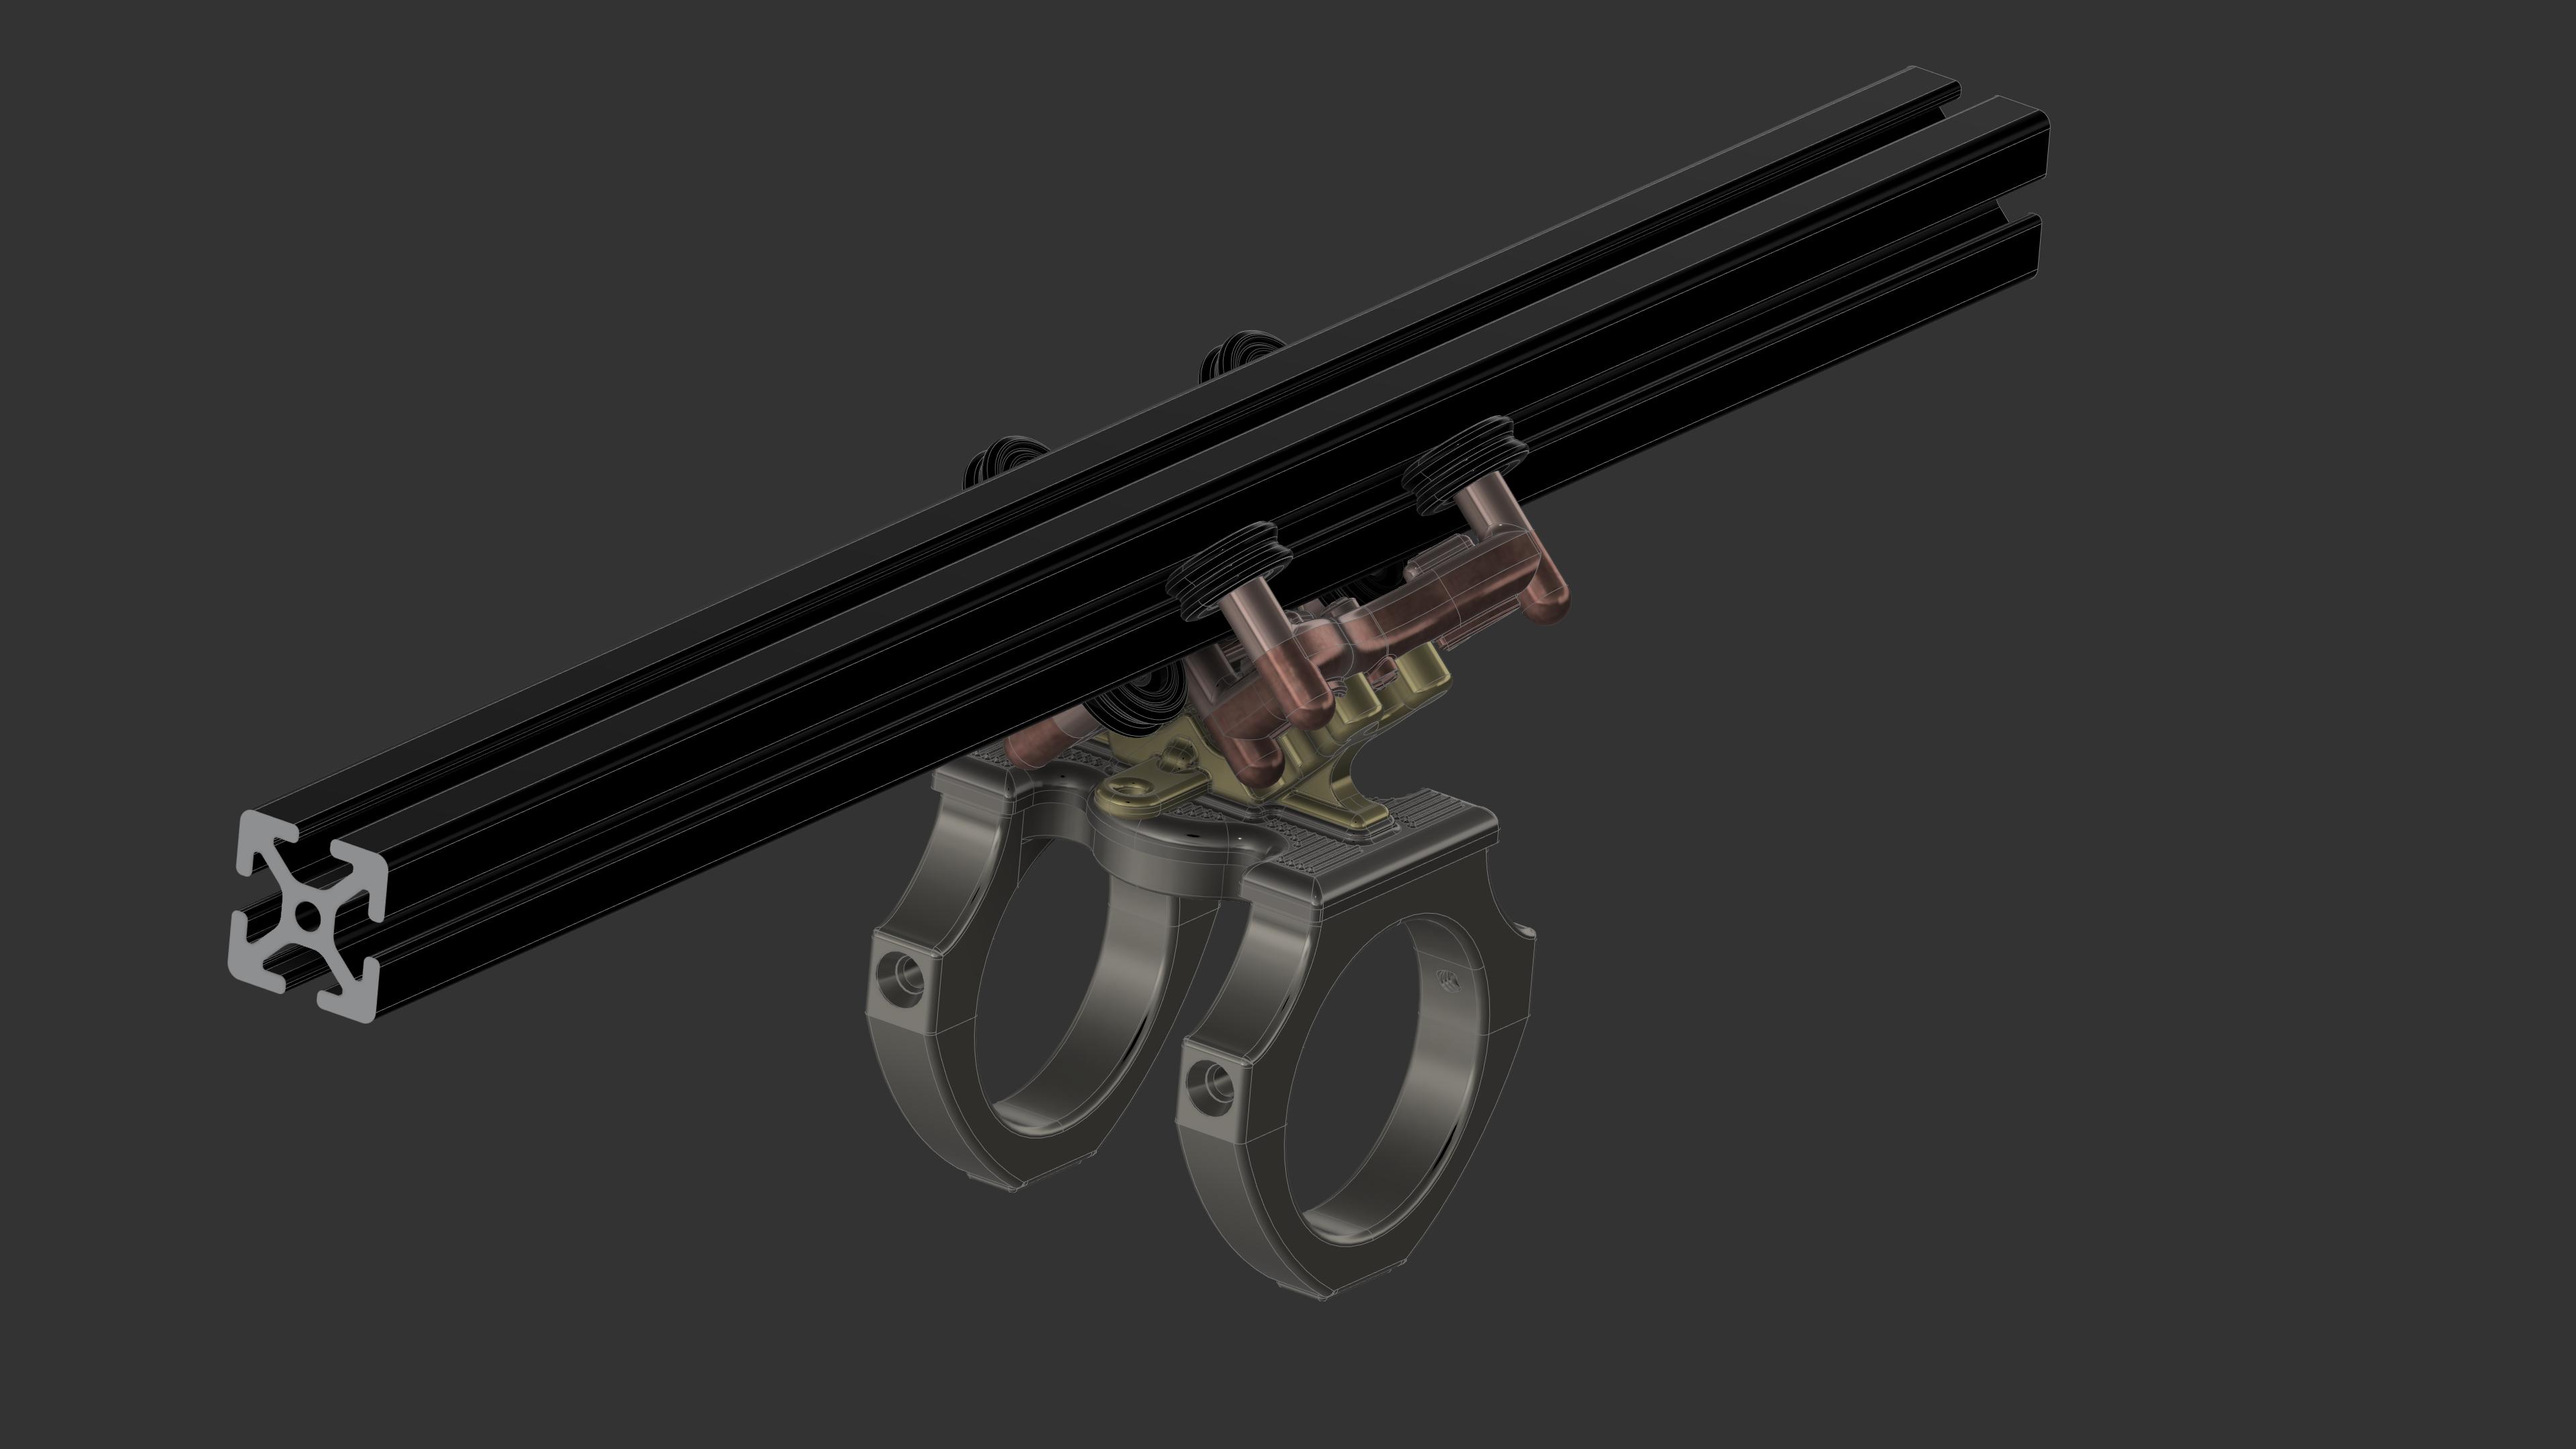
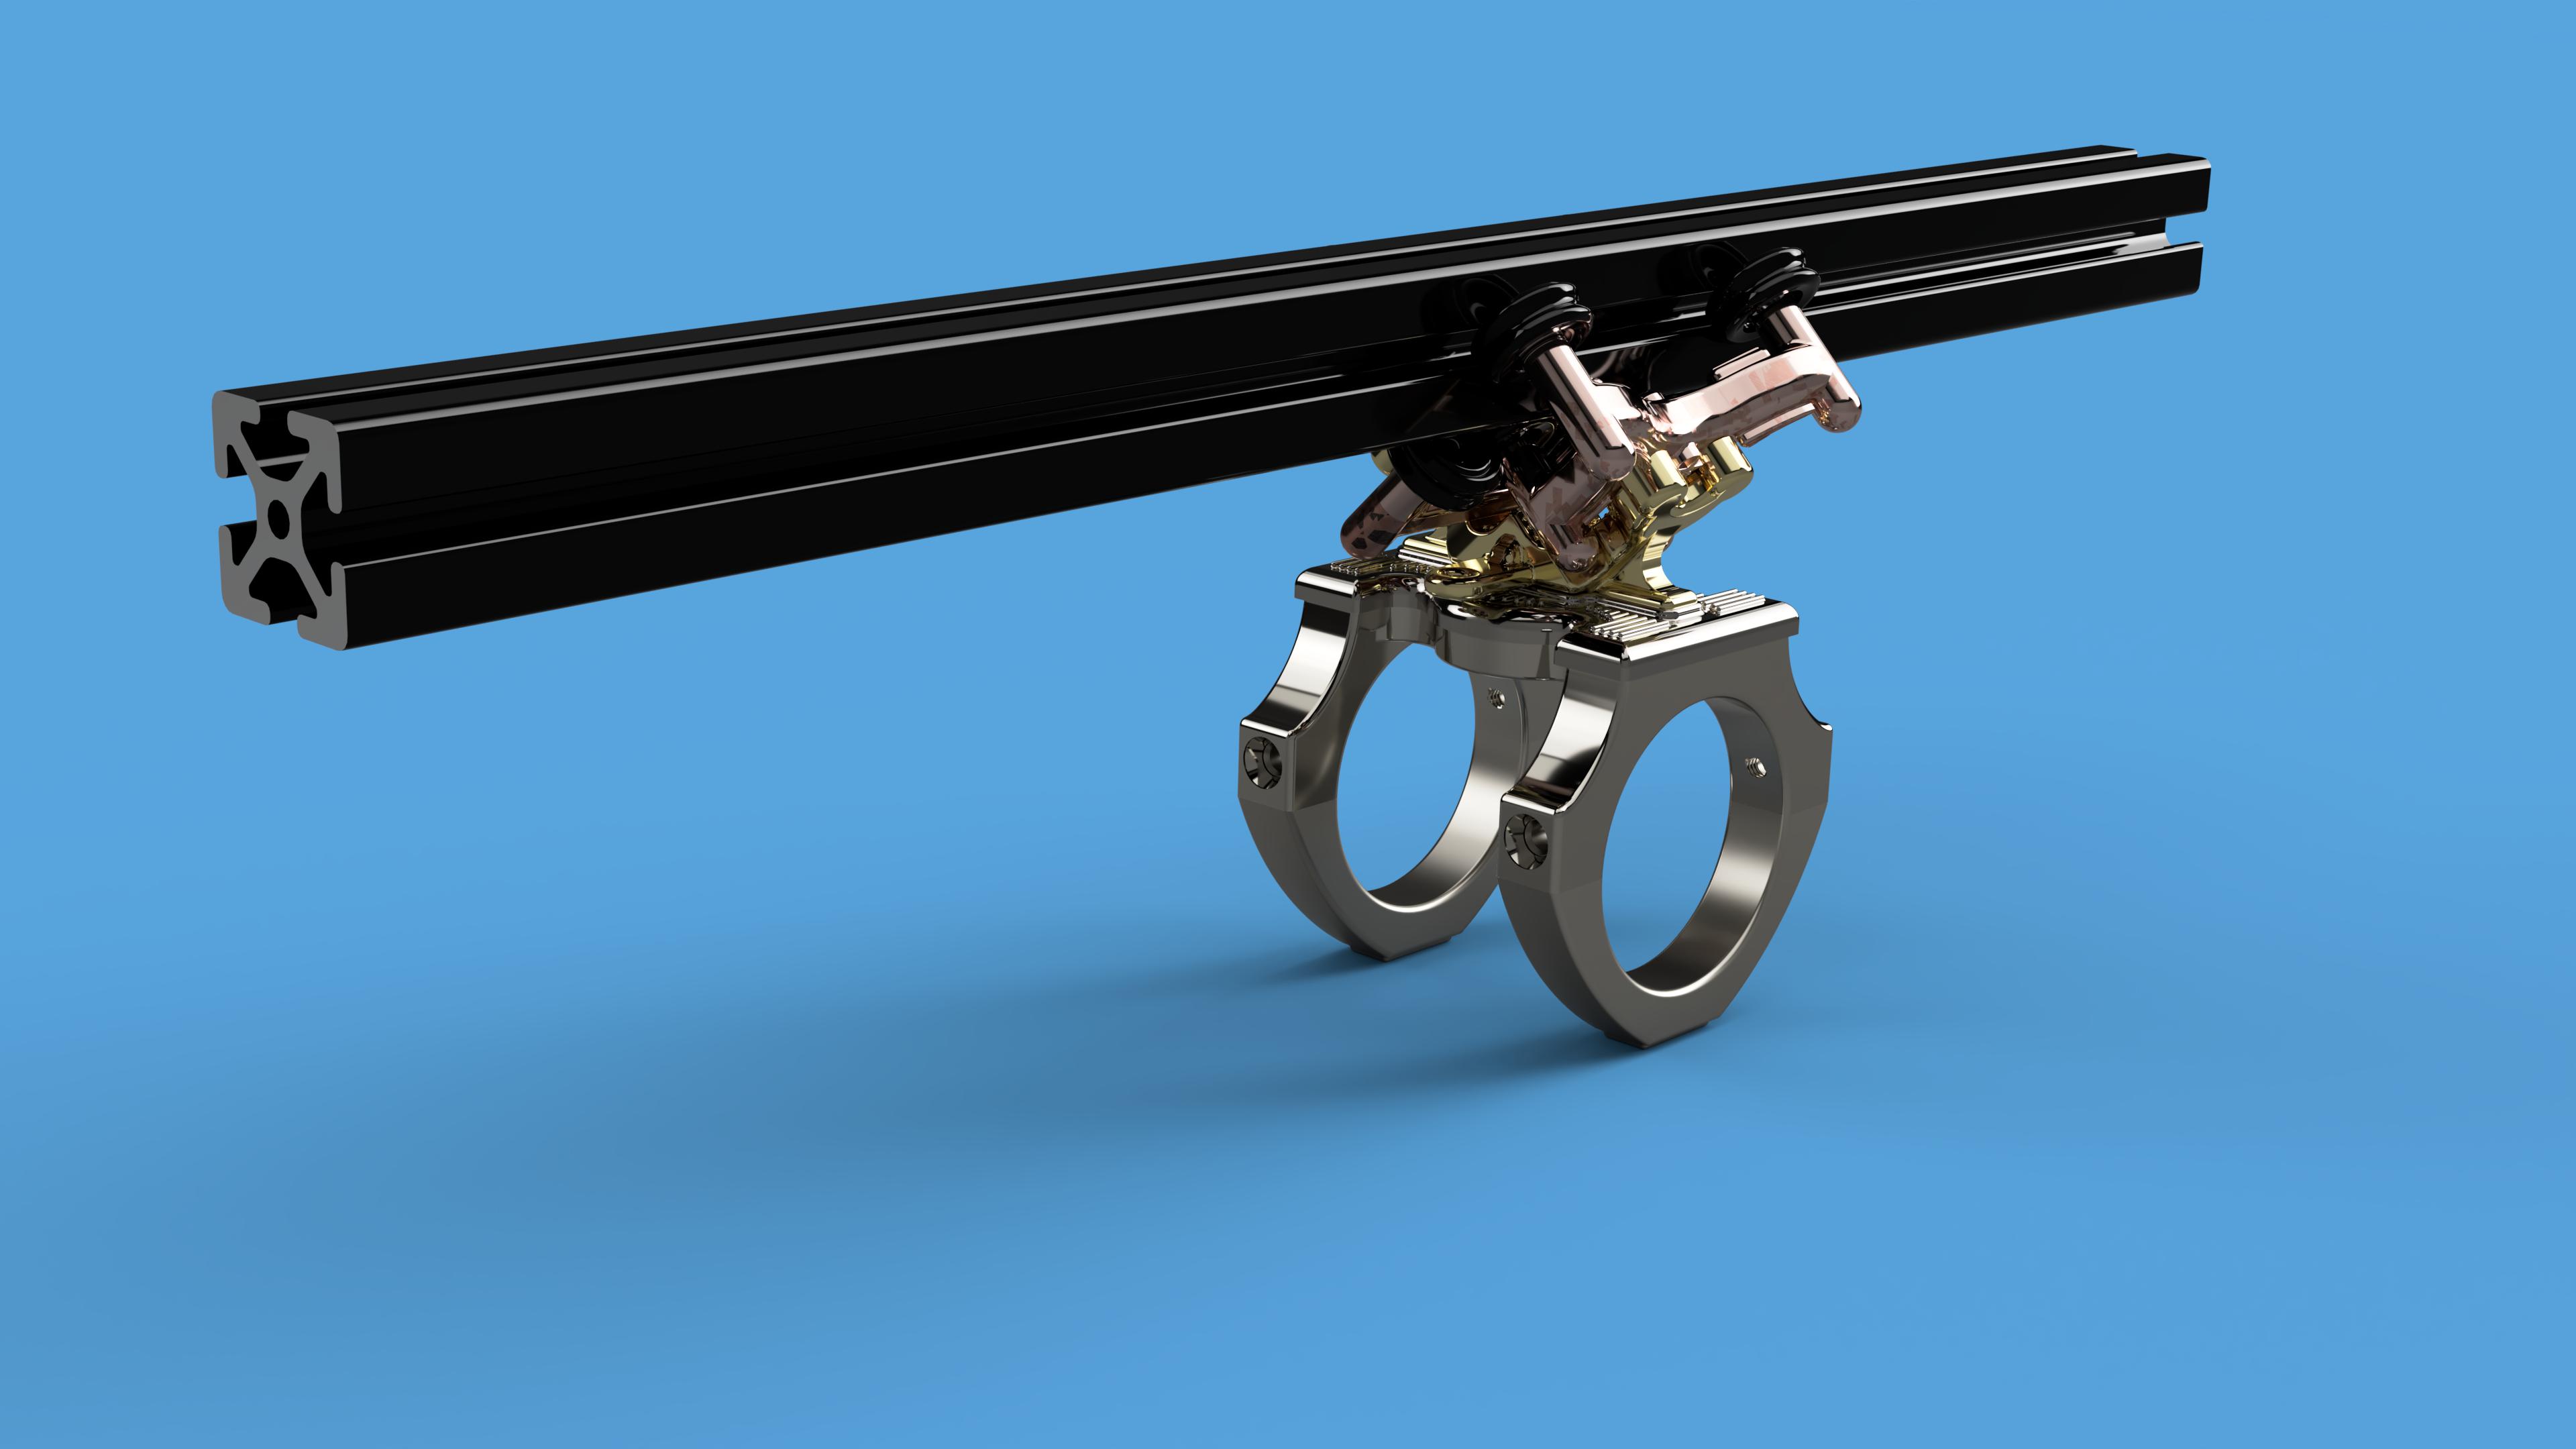
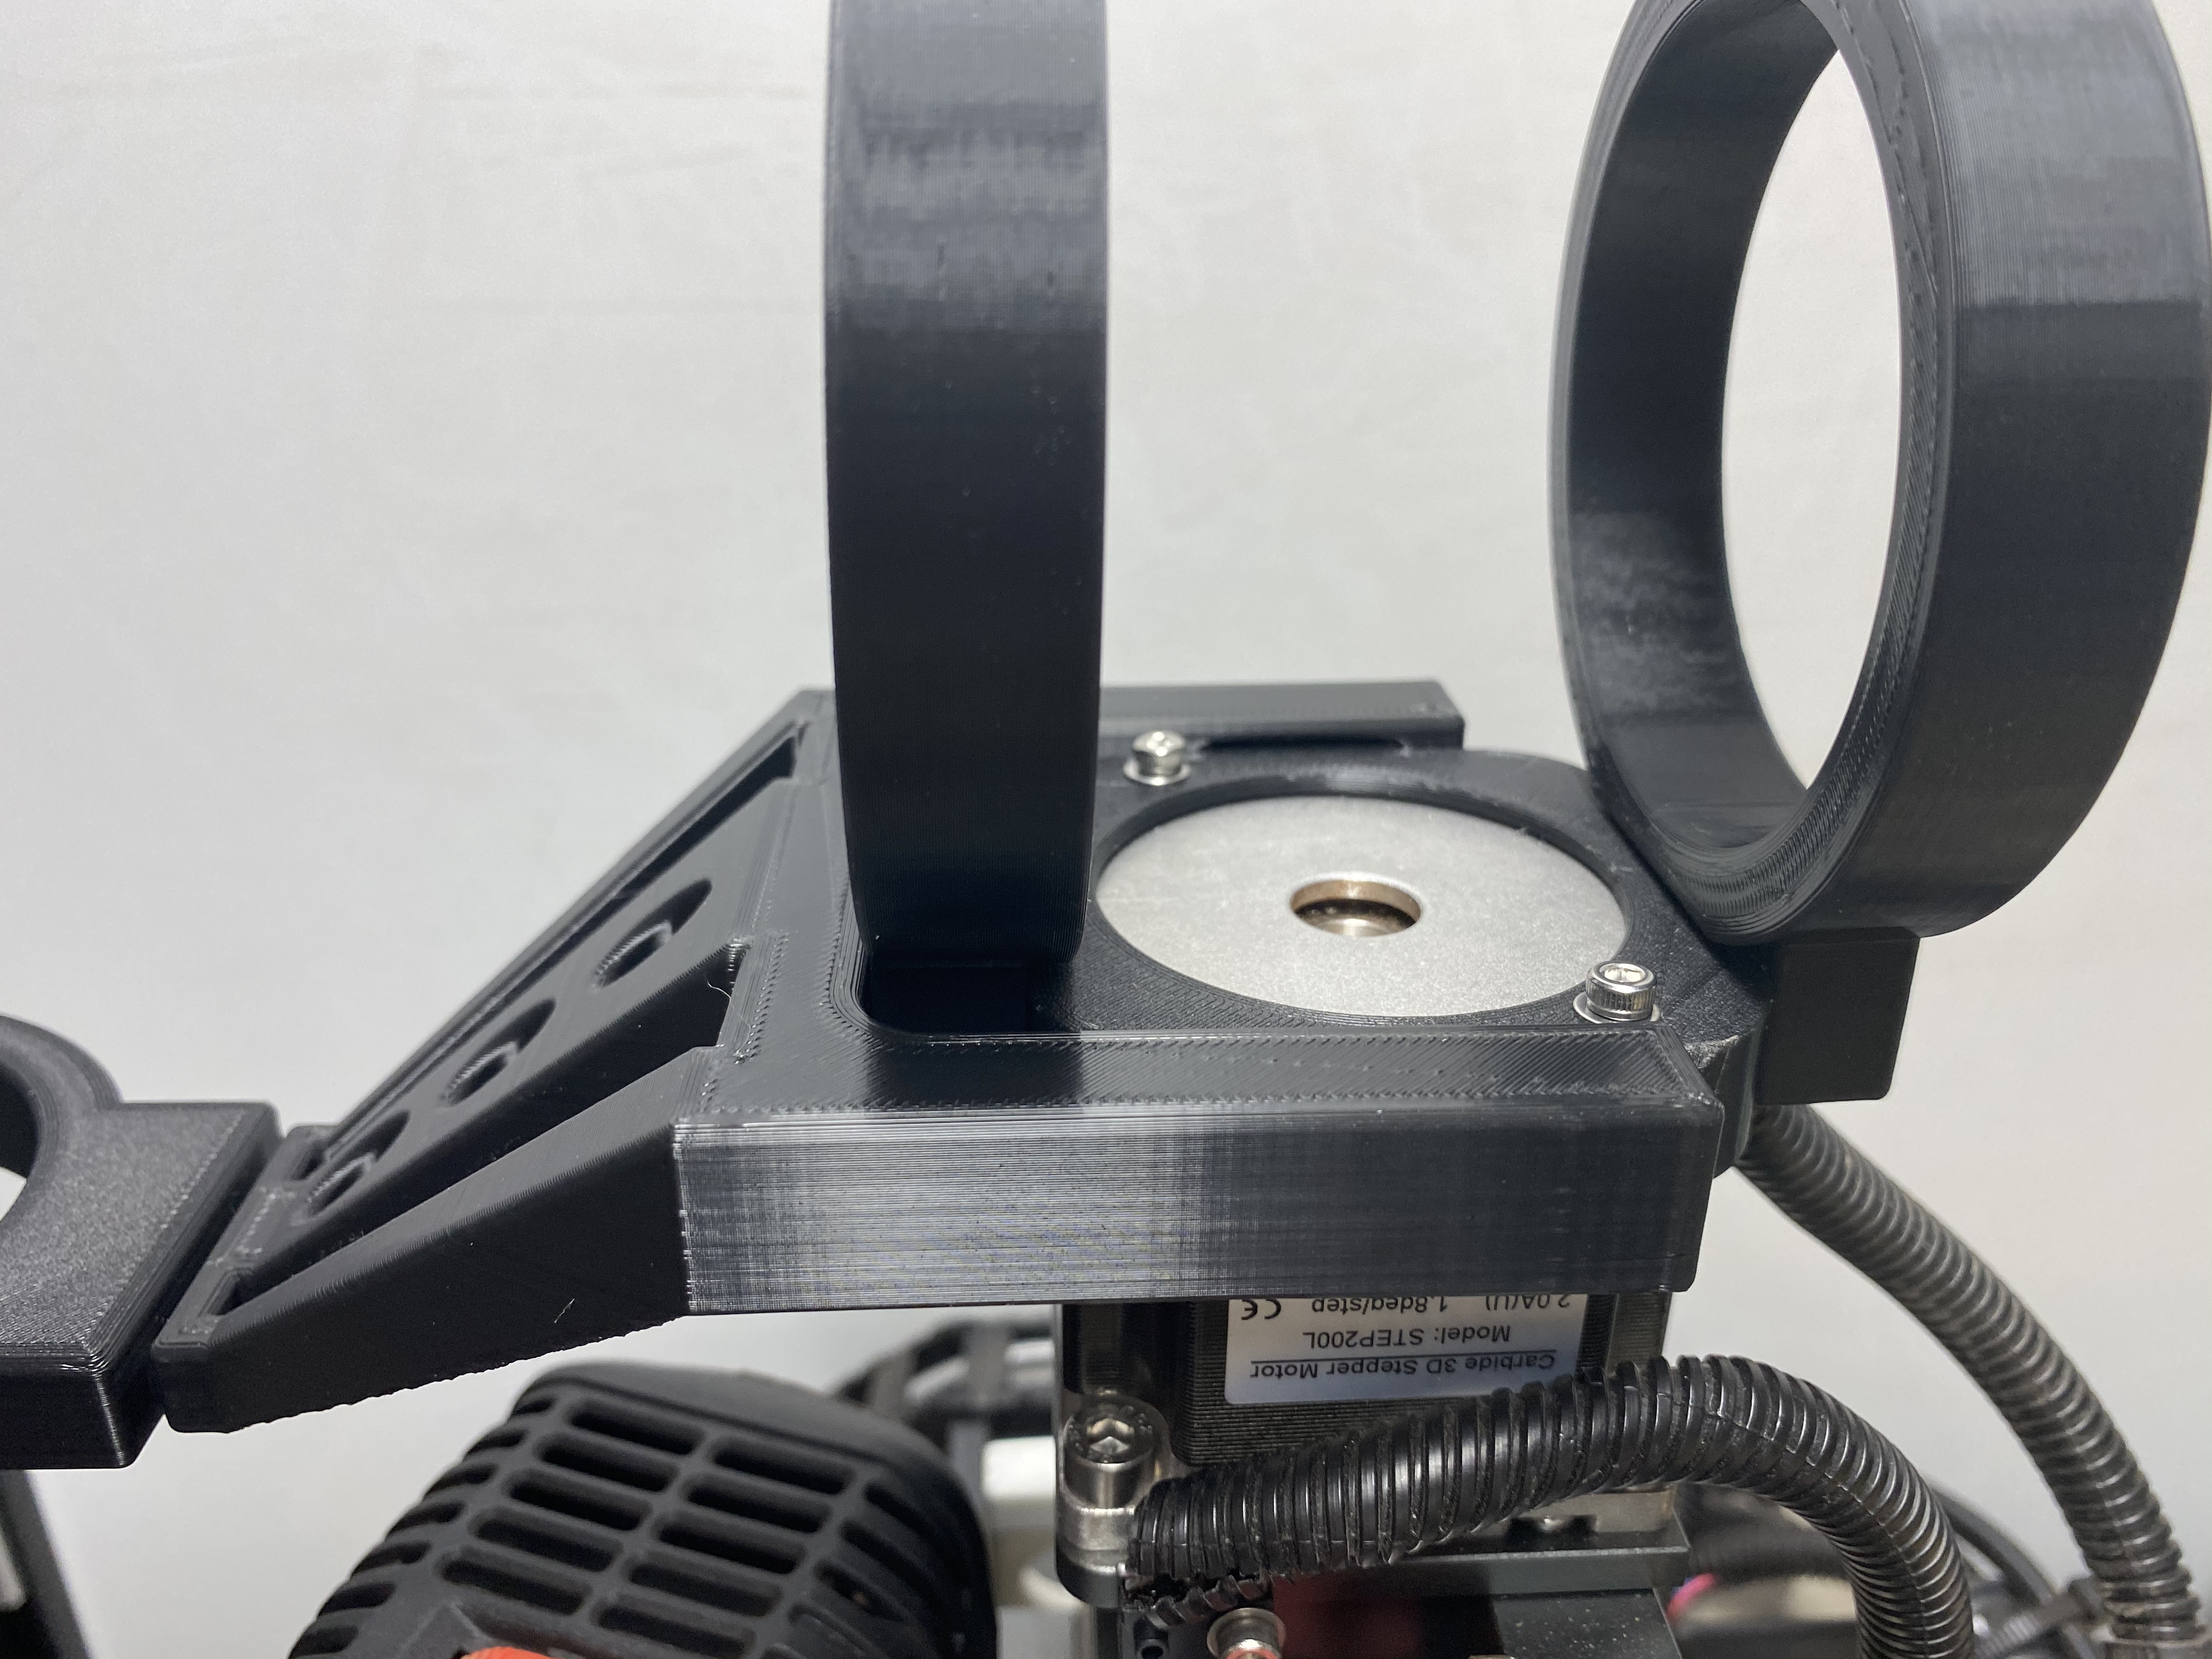
Getting ready to start printing this new version. I learned to create my own nuts and bolts with my 3d printer, which makes attaching things together much easier. This design uses a section of 15 LS 80/20 extrusion instead of 3d printed rails. I made my own V wheels to match the extrusion curves.

6 Likes
Very happy with the new design, shocked to count that it is 50 pieces lol, took me 2 days to design and 2 days to print. It works very well and can be used for anything, lights cameras etc. The modular system has the hose attachment base that bolts on with 4 bolts. More pics to come when it is set up in the enclosure.
Also have a bunch of these ready to ship if anyone needs one. Sweepy adapter 15 plus shipping, Deluxe Suckit or Sweepy hose adapters 25 + shipping, and HDZ hose mounts 35 plus shipping.

9 Likes
Great print quality on those parts! Still PLA ?
2 Likes
It is PLA Plus, very nice quality never any issues. I bought 8 Flashforge Adventurer 3 Lite’s to speed up production and design. They work very well.
5 Likes
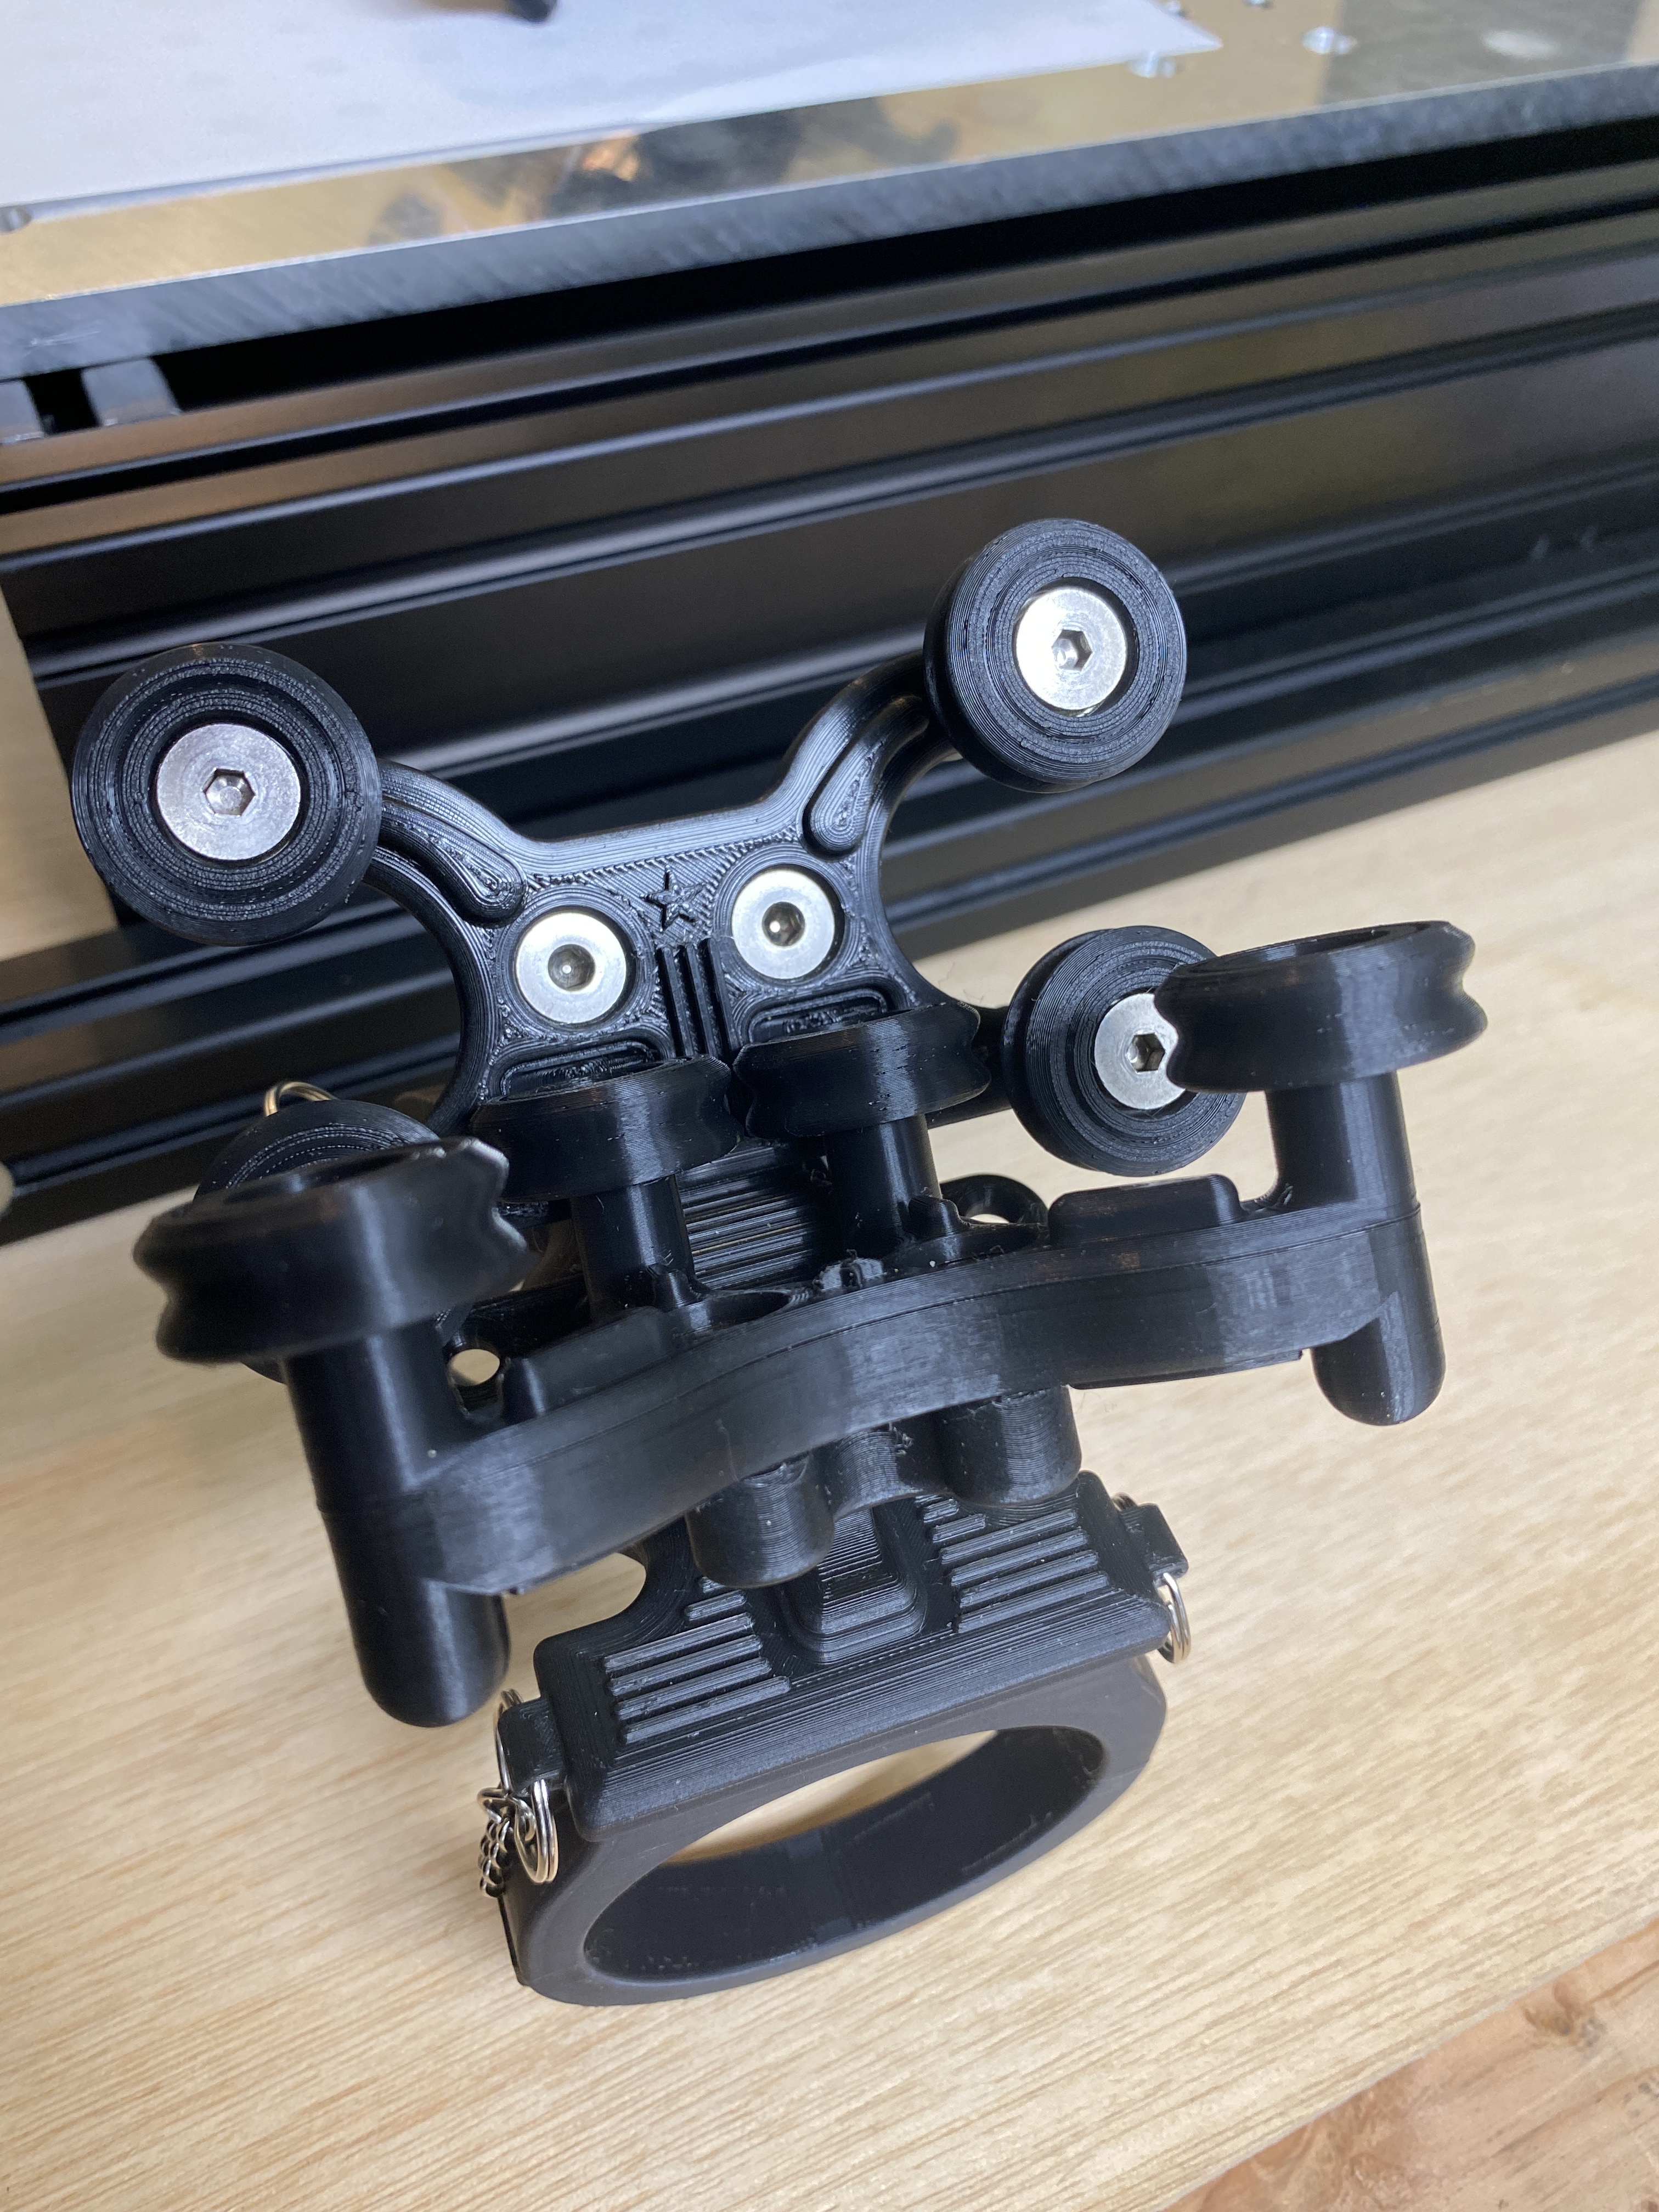
After installation it worked amazingly well for about 20 seconds but I was a little too happy about it and that possibly caused two of the plastic bolts holding the Vwheels on to break. They were not strong enough for the weight. Will redesign using metal hardware.
Future designs will use embeded stainless nuts and bolts for everything instead of relying on plastic threads! Stupid plastic bolts!
4 Likes
I’ve found that 3D printed threads to bolt into work pretty well, they’re also a good incentive not to over-torque the bolts and break the printed part. Real stainless bolts to put the print into compression across the layer lines are definitely the way to go, I’d only 3D print the bolt part of a thread where locating is more important than holding force or when comically large like M40+
5 Likes
3d printed threads tend to work better with “hand drawn” threads unless you need to match standard hardware. Fusion isn’t great for modeling custom threads, but a coil can be tweaked to make it work. Even on standard threads, I always offset the surfaces a bit.
One of the best things to have on your desk.
5 Likes
It is very convenient to print off some custom size bolts. I really like Fusion’s threading feature. They have all Metric and SAE thread sizes pre-configured from loose to tight. Perfect for printing whatever you need on the spot for testing and ordering hardware after.
I think my failure might have been due to a bad print layer, I was nesting the bolts, and noticed the two that broke snapped in the exact same place. I can twist as hard as possible with my hands on these 100% infill 1/4-20 printed PLA+ bolts in my fingers and they do not bend or break. I also tested some 1/2 deep threaded printed sleeves with stainless bolts. The threads hold up very well.
My problem is I was confident it was going to work so I super glued every plastic bolt in place to make sure they were not going to vibrate loose. So instead of replacing 2 pieces I am now making 44 again haha…
4 Likes
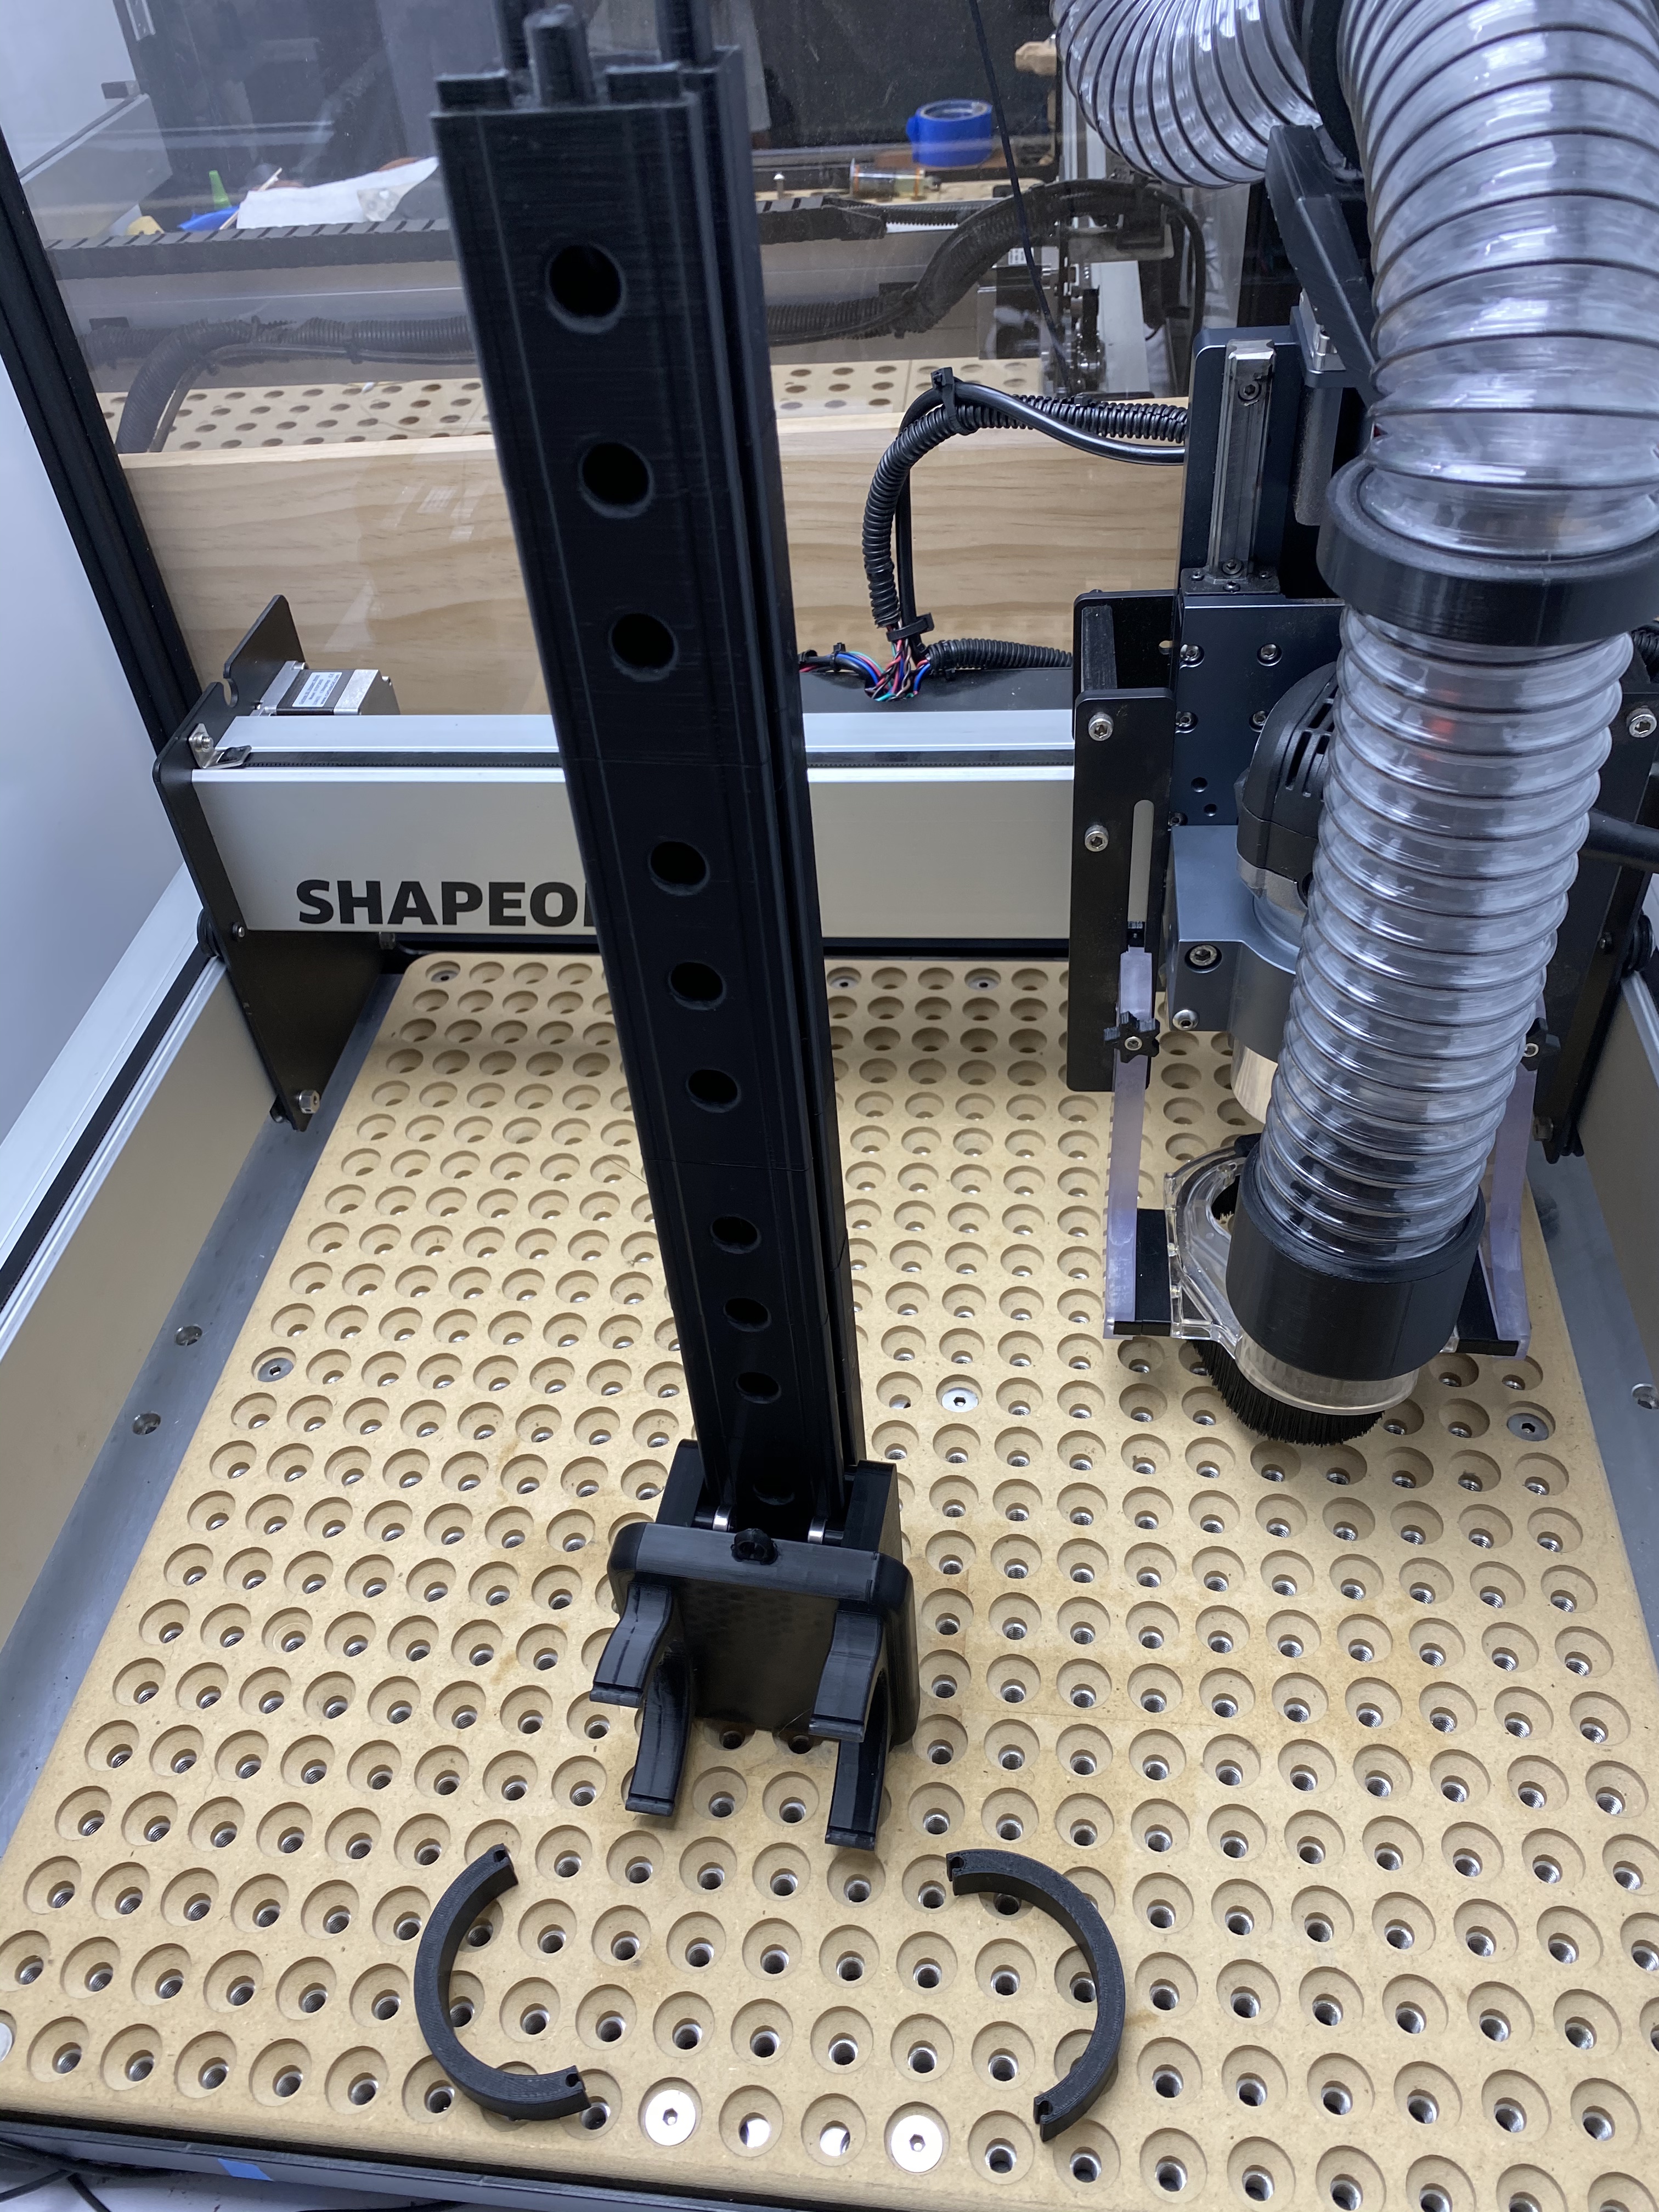
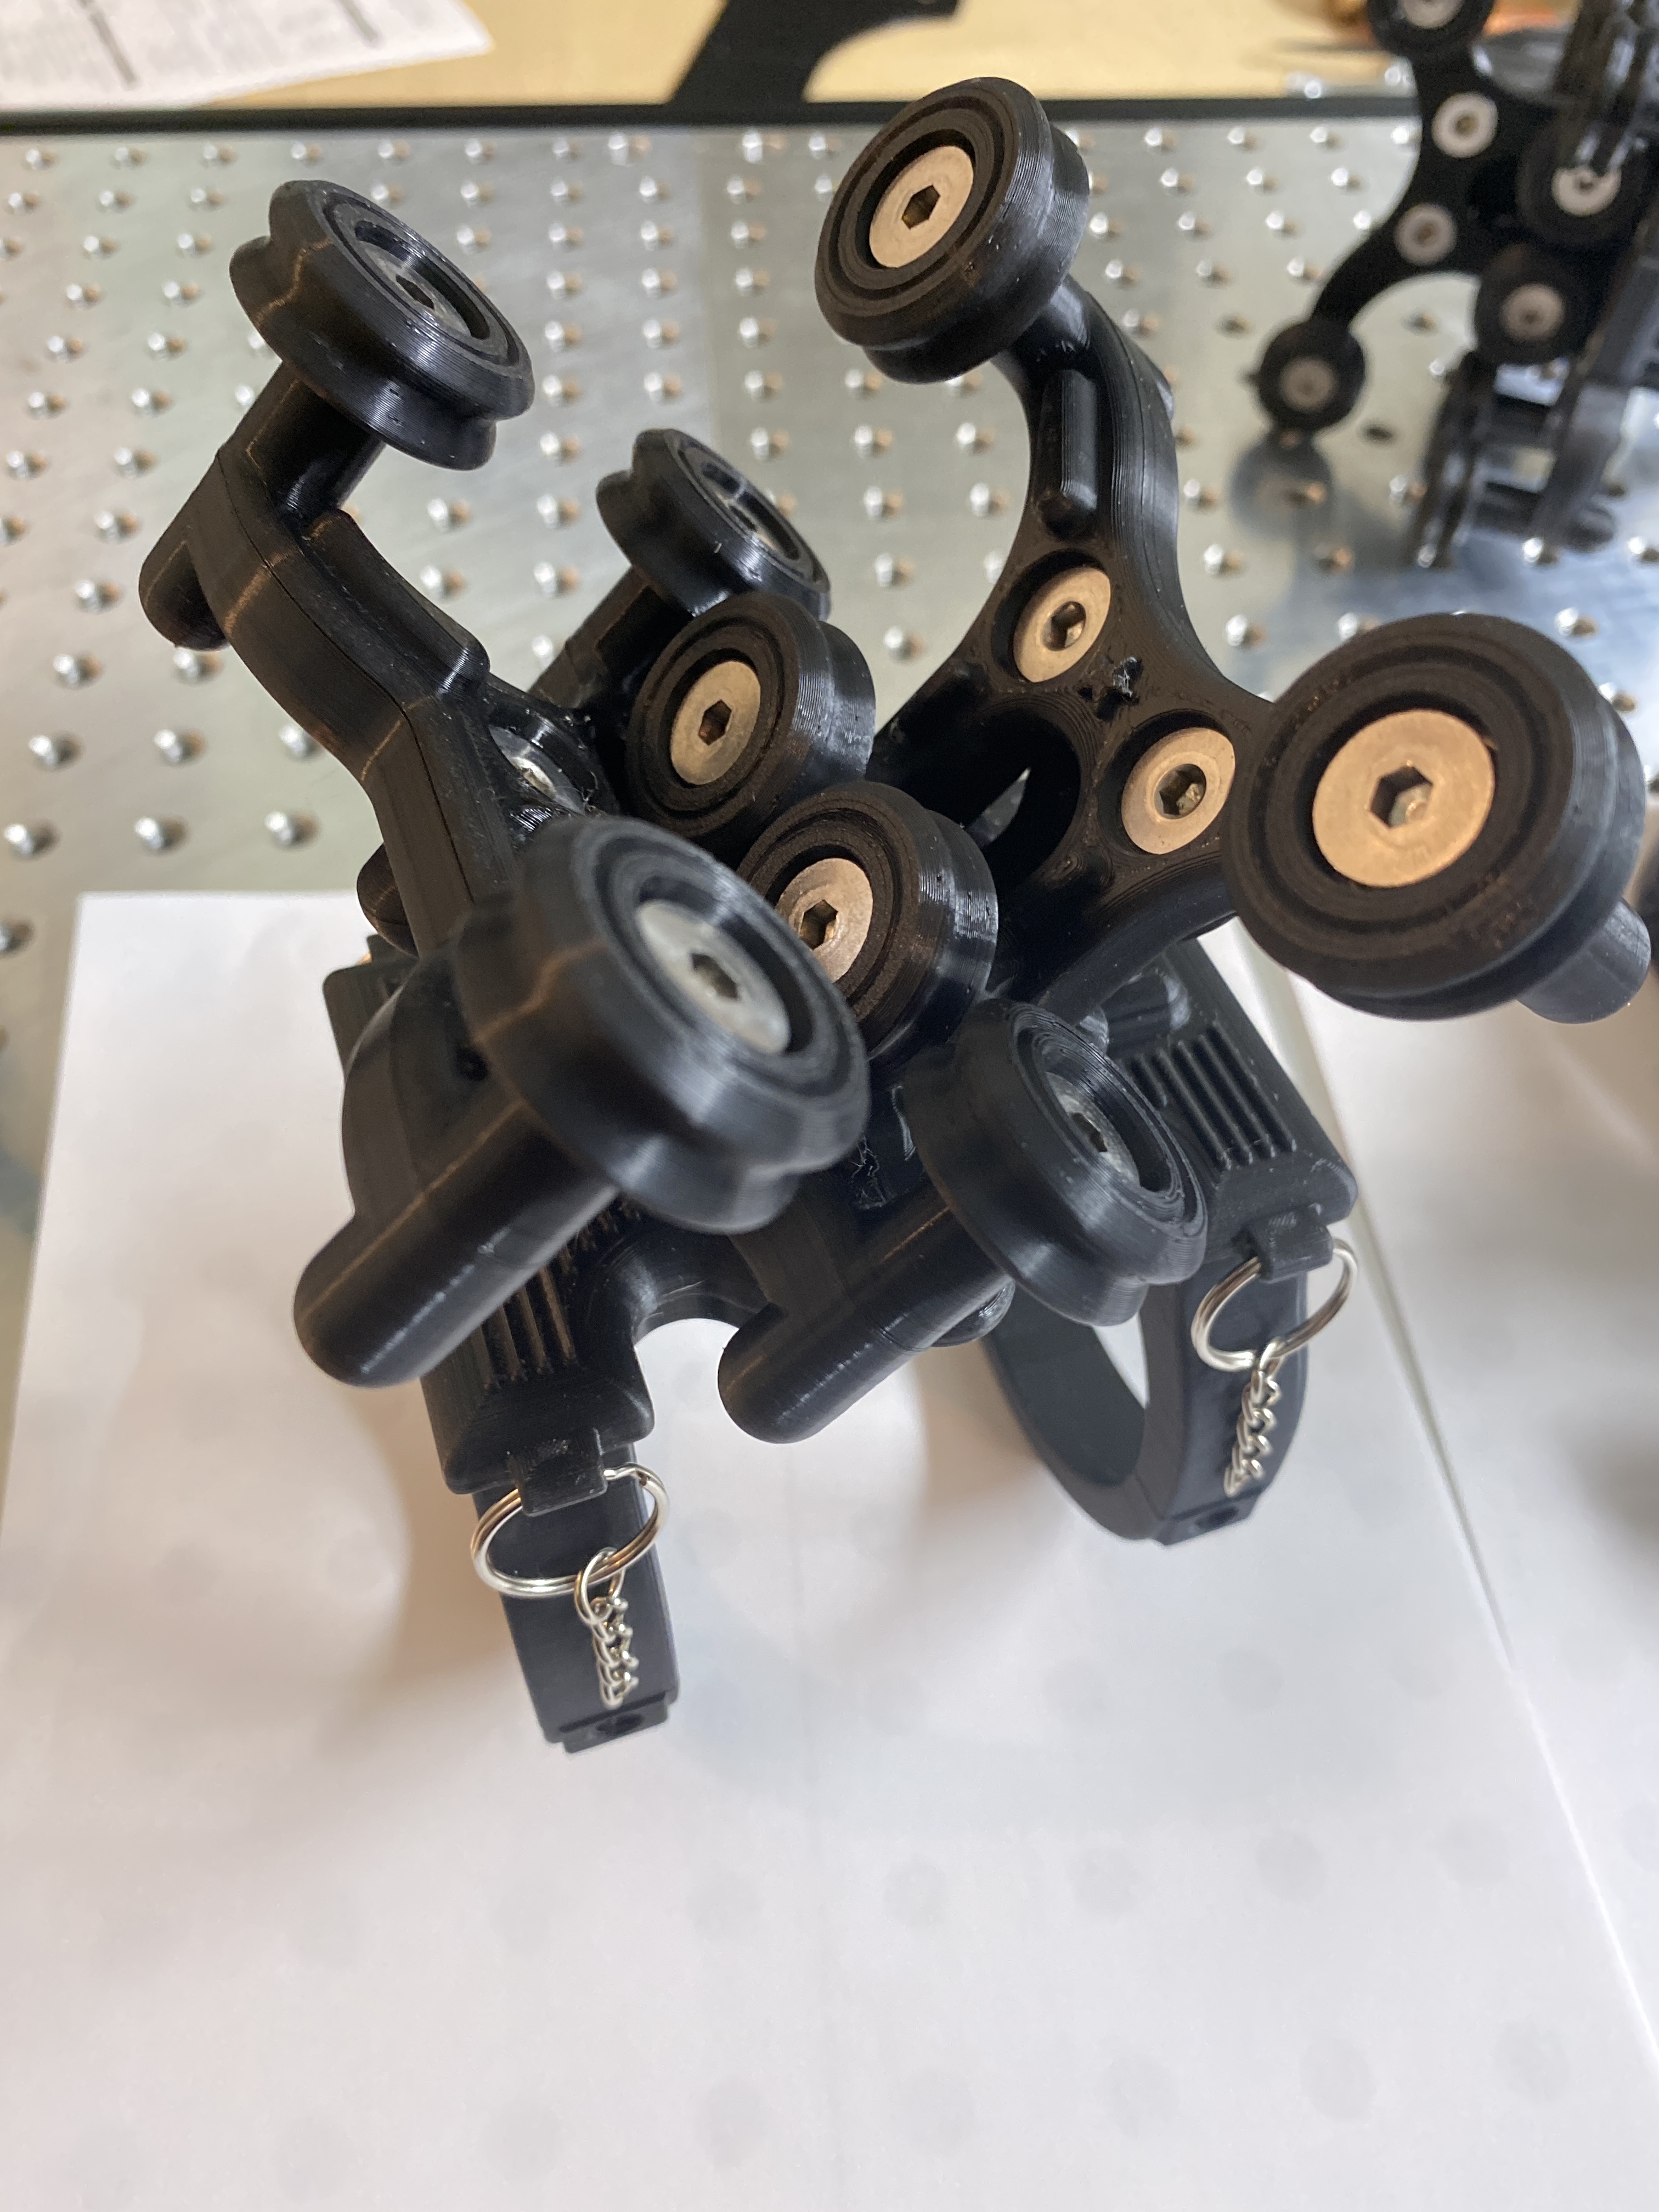
Many many many hours later…
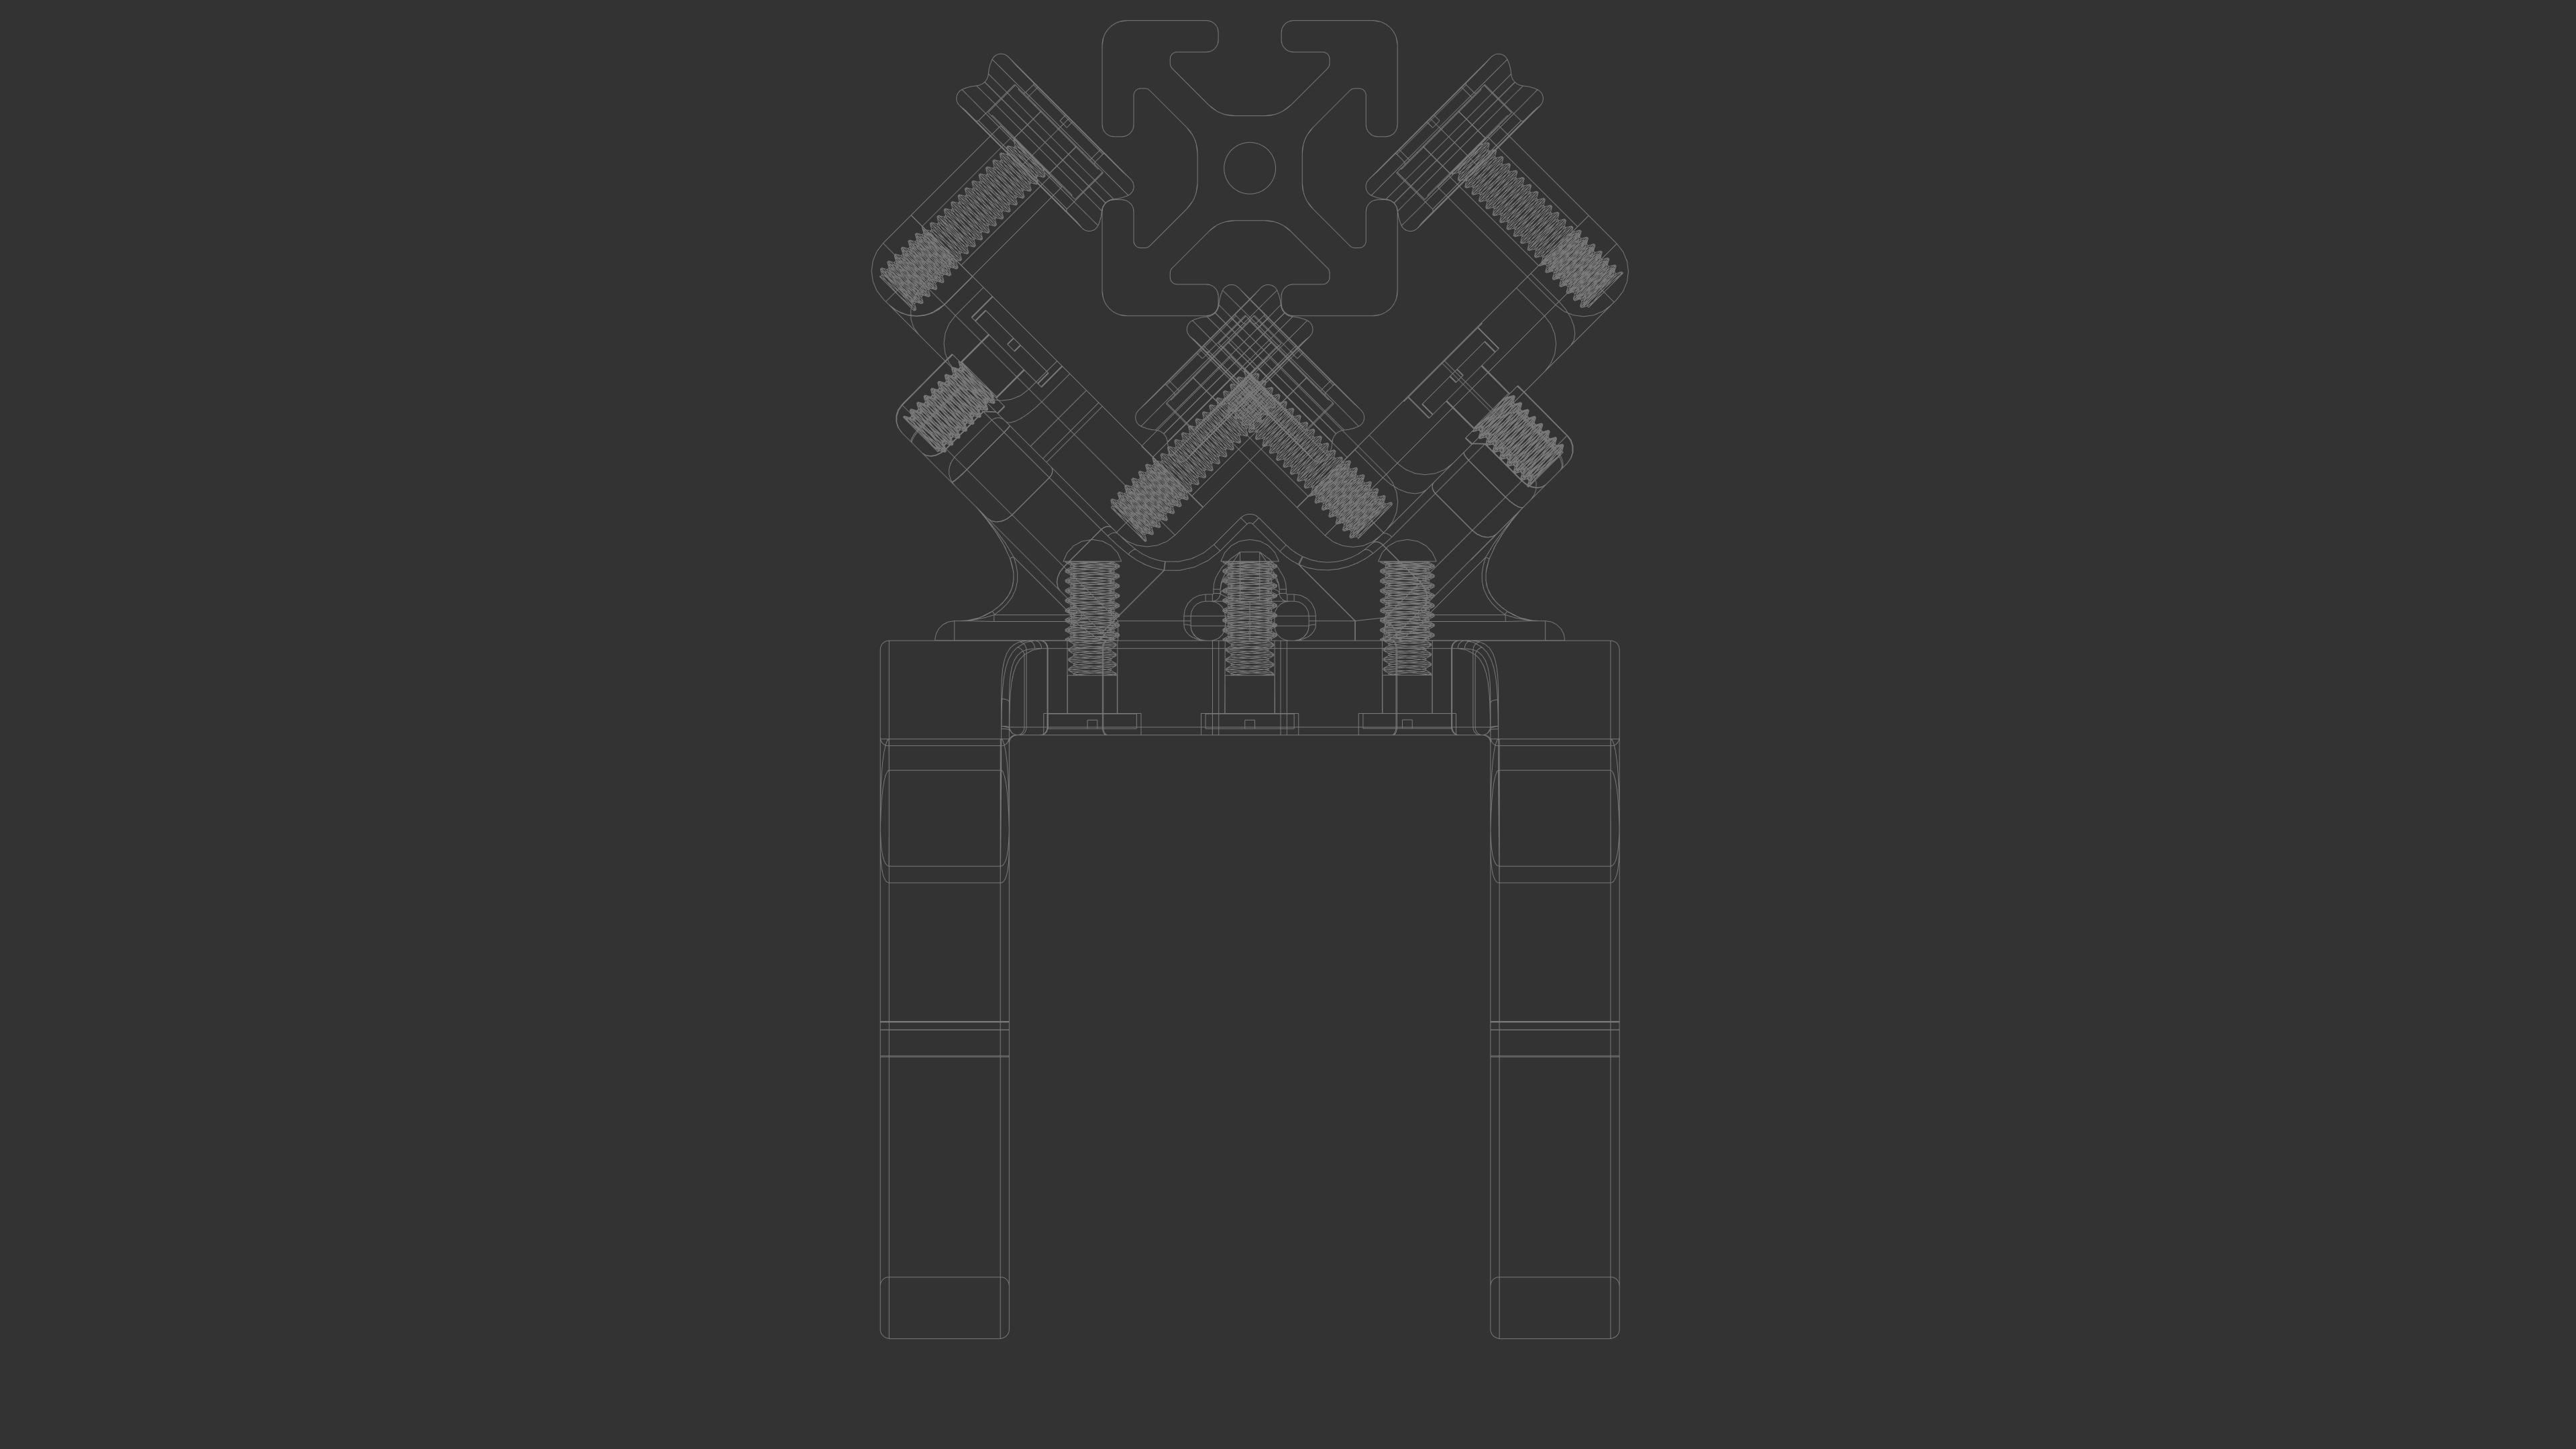
Stainless bolts with 3d printed threads work very well for me.
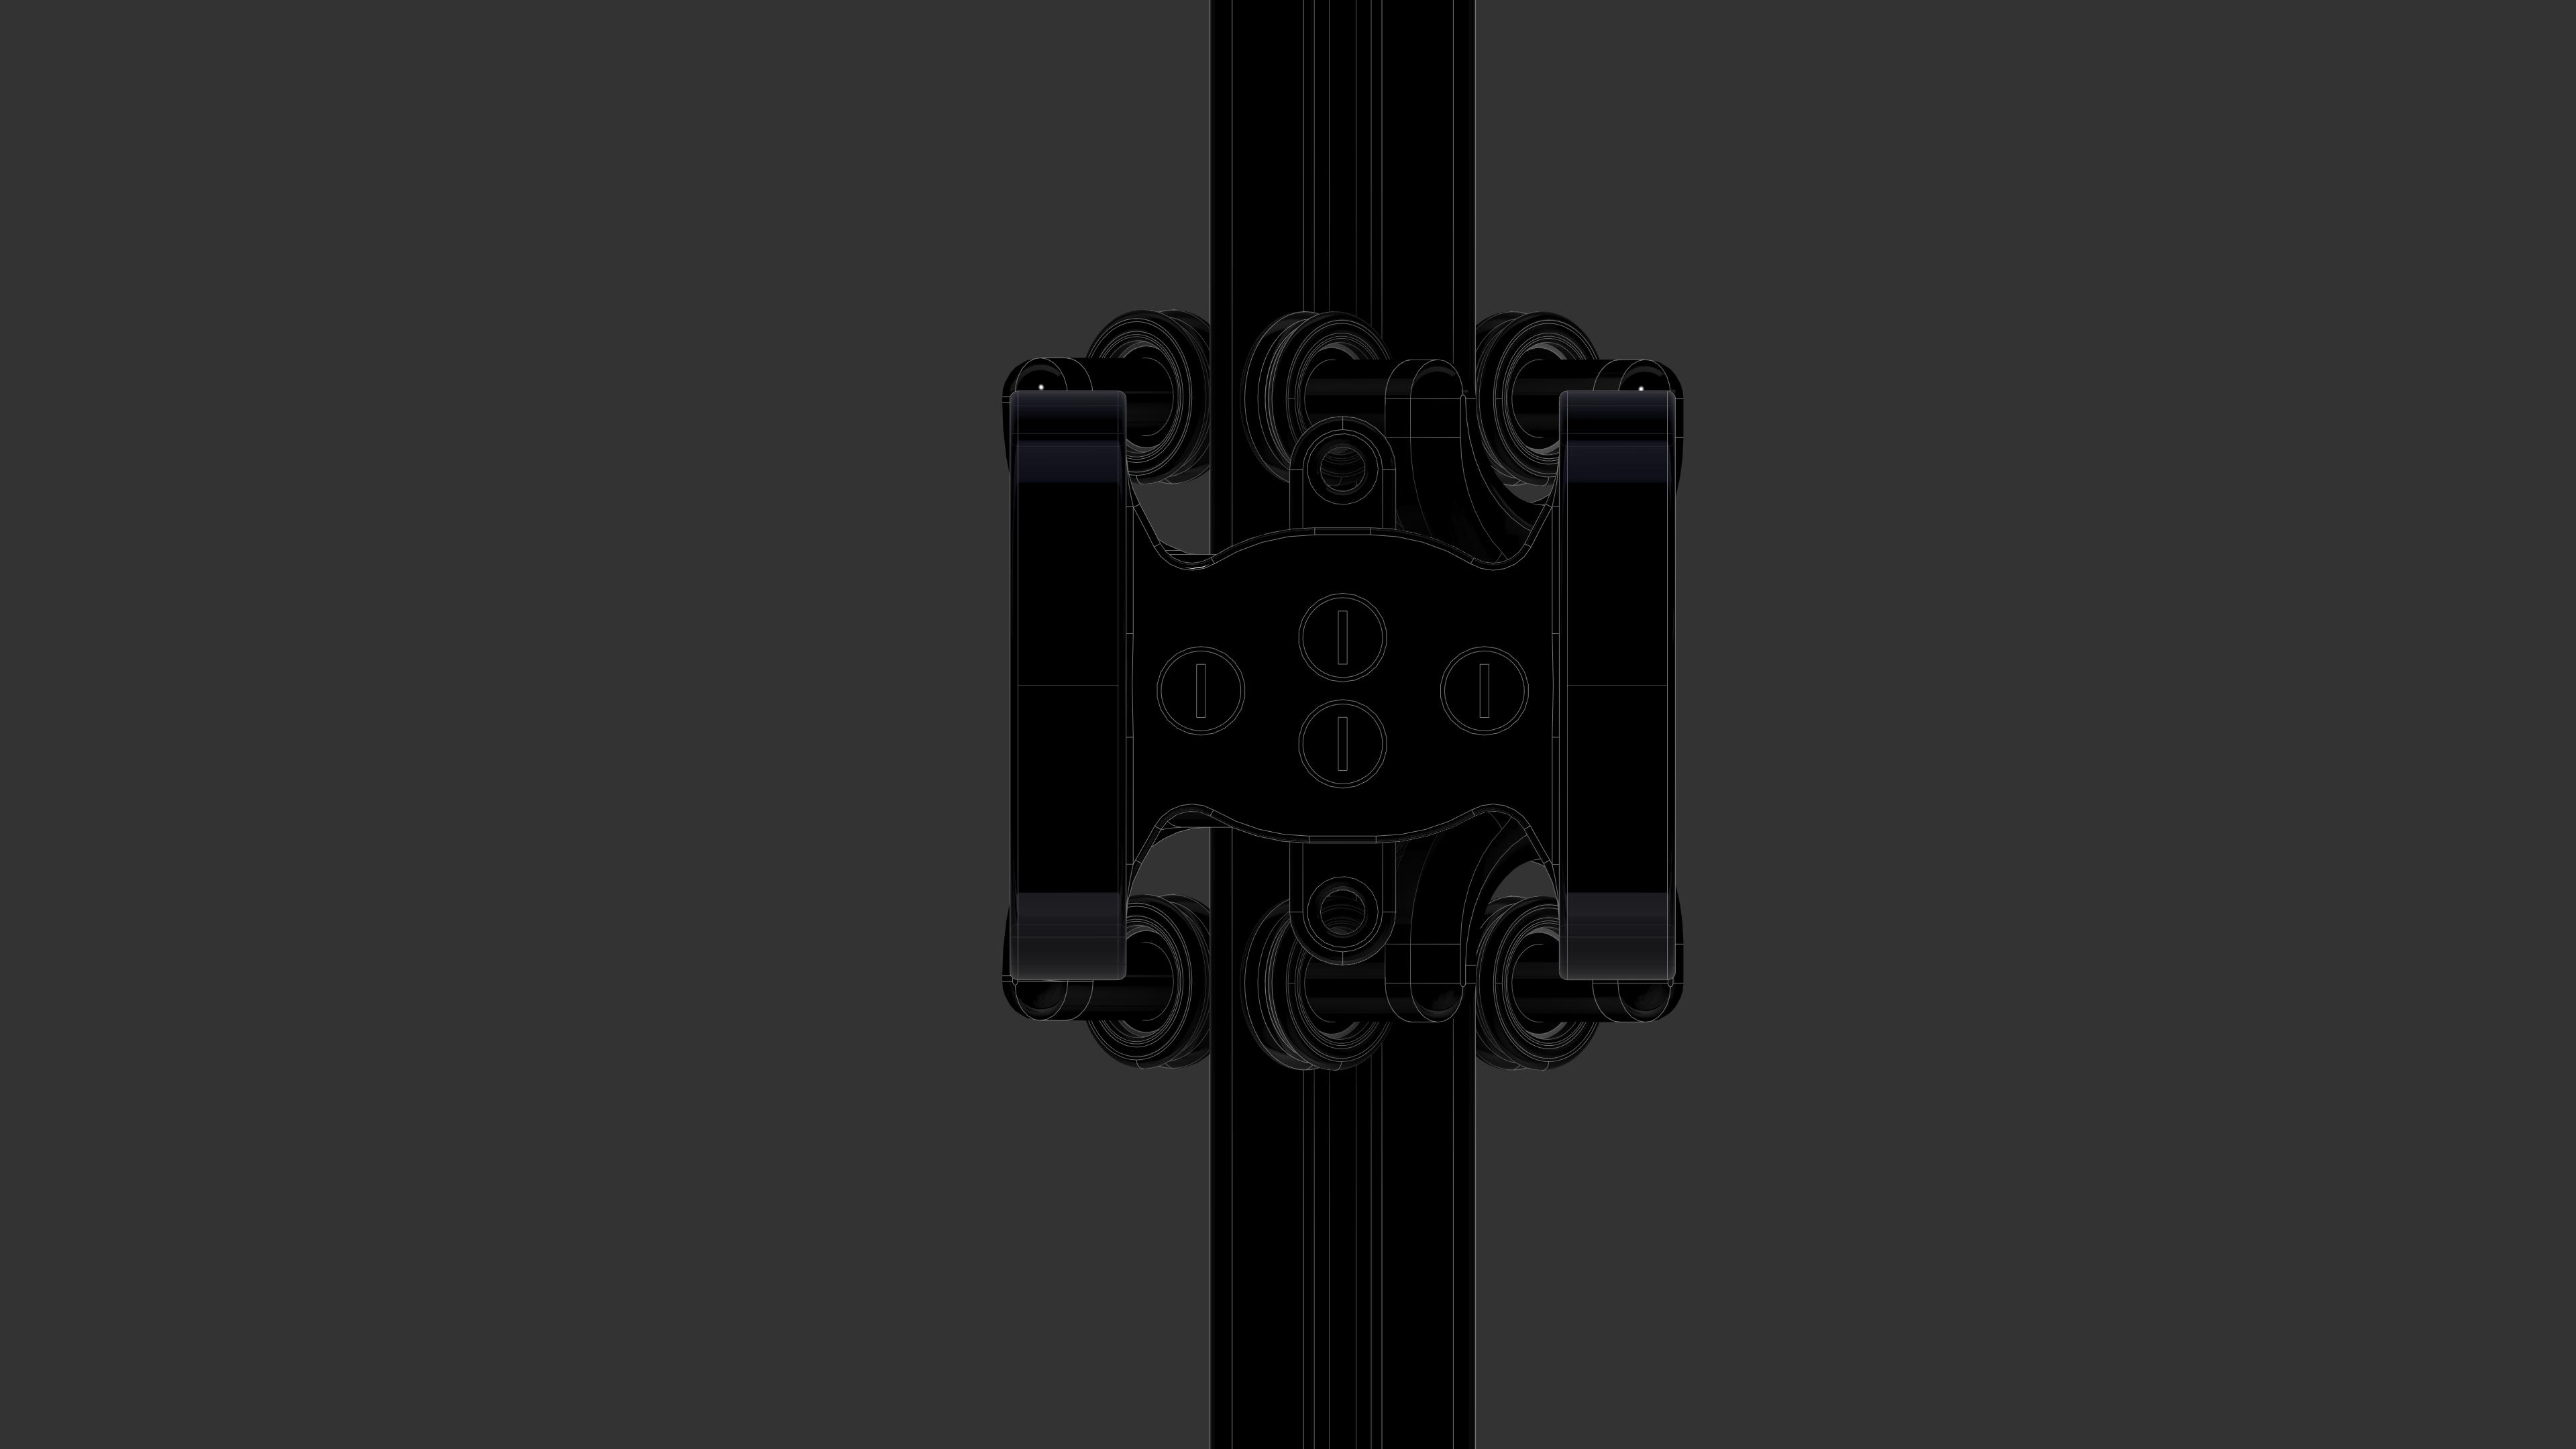
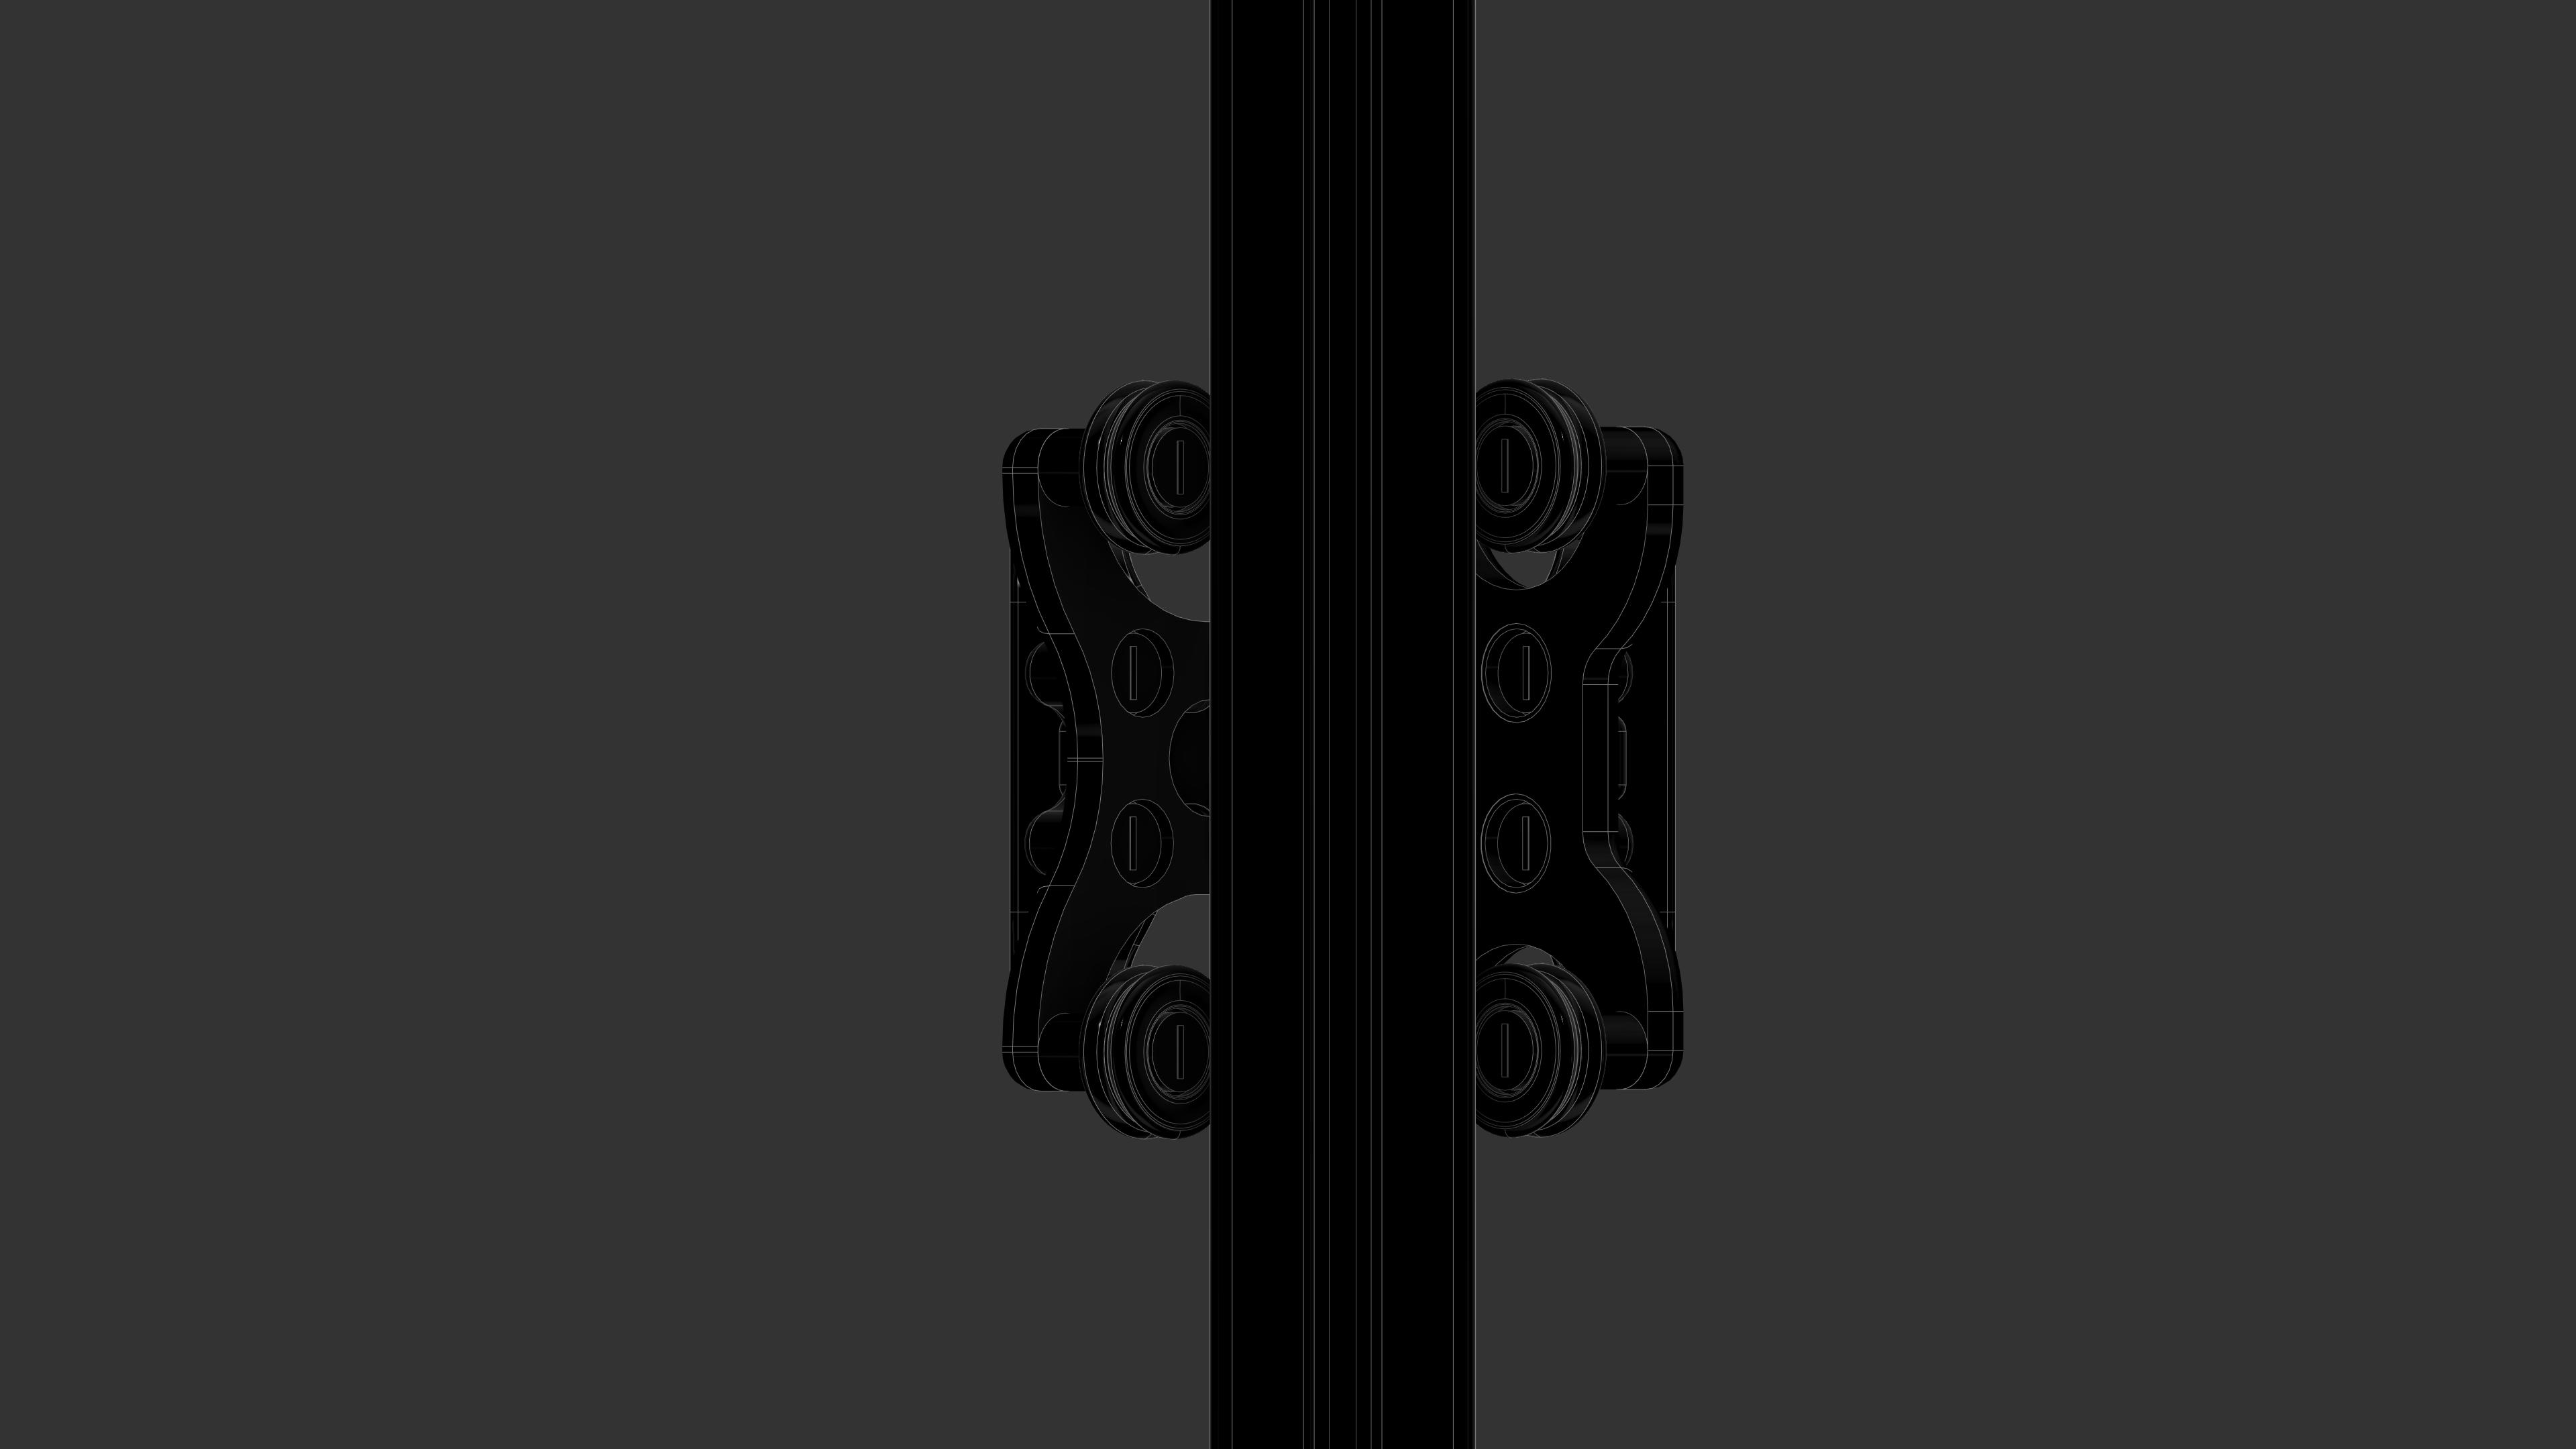
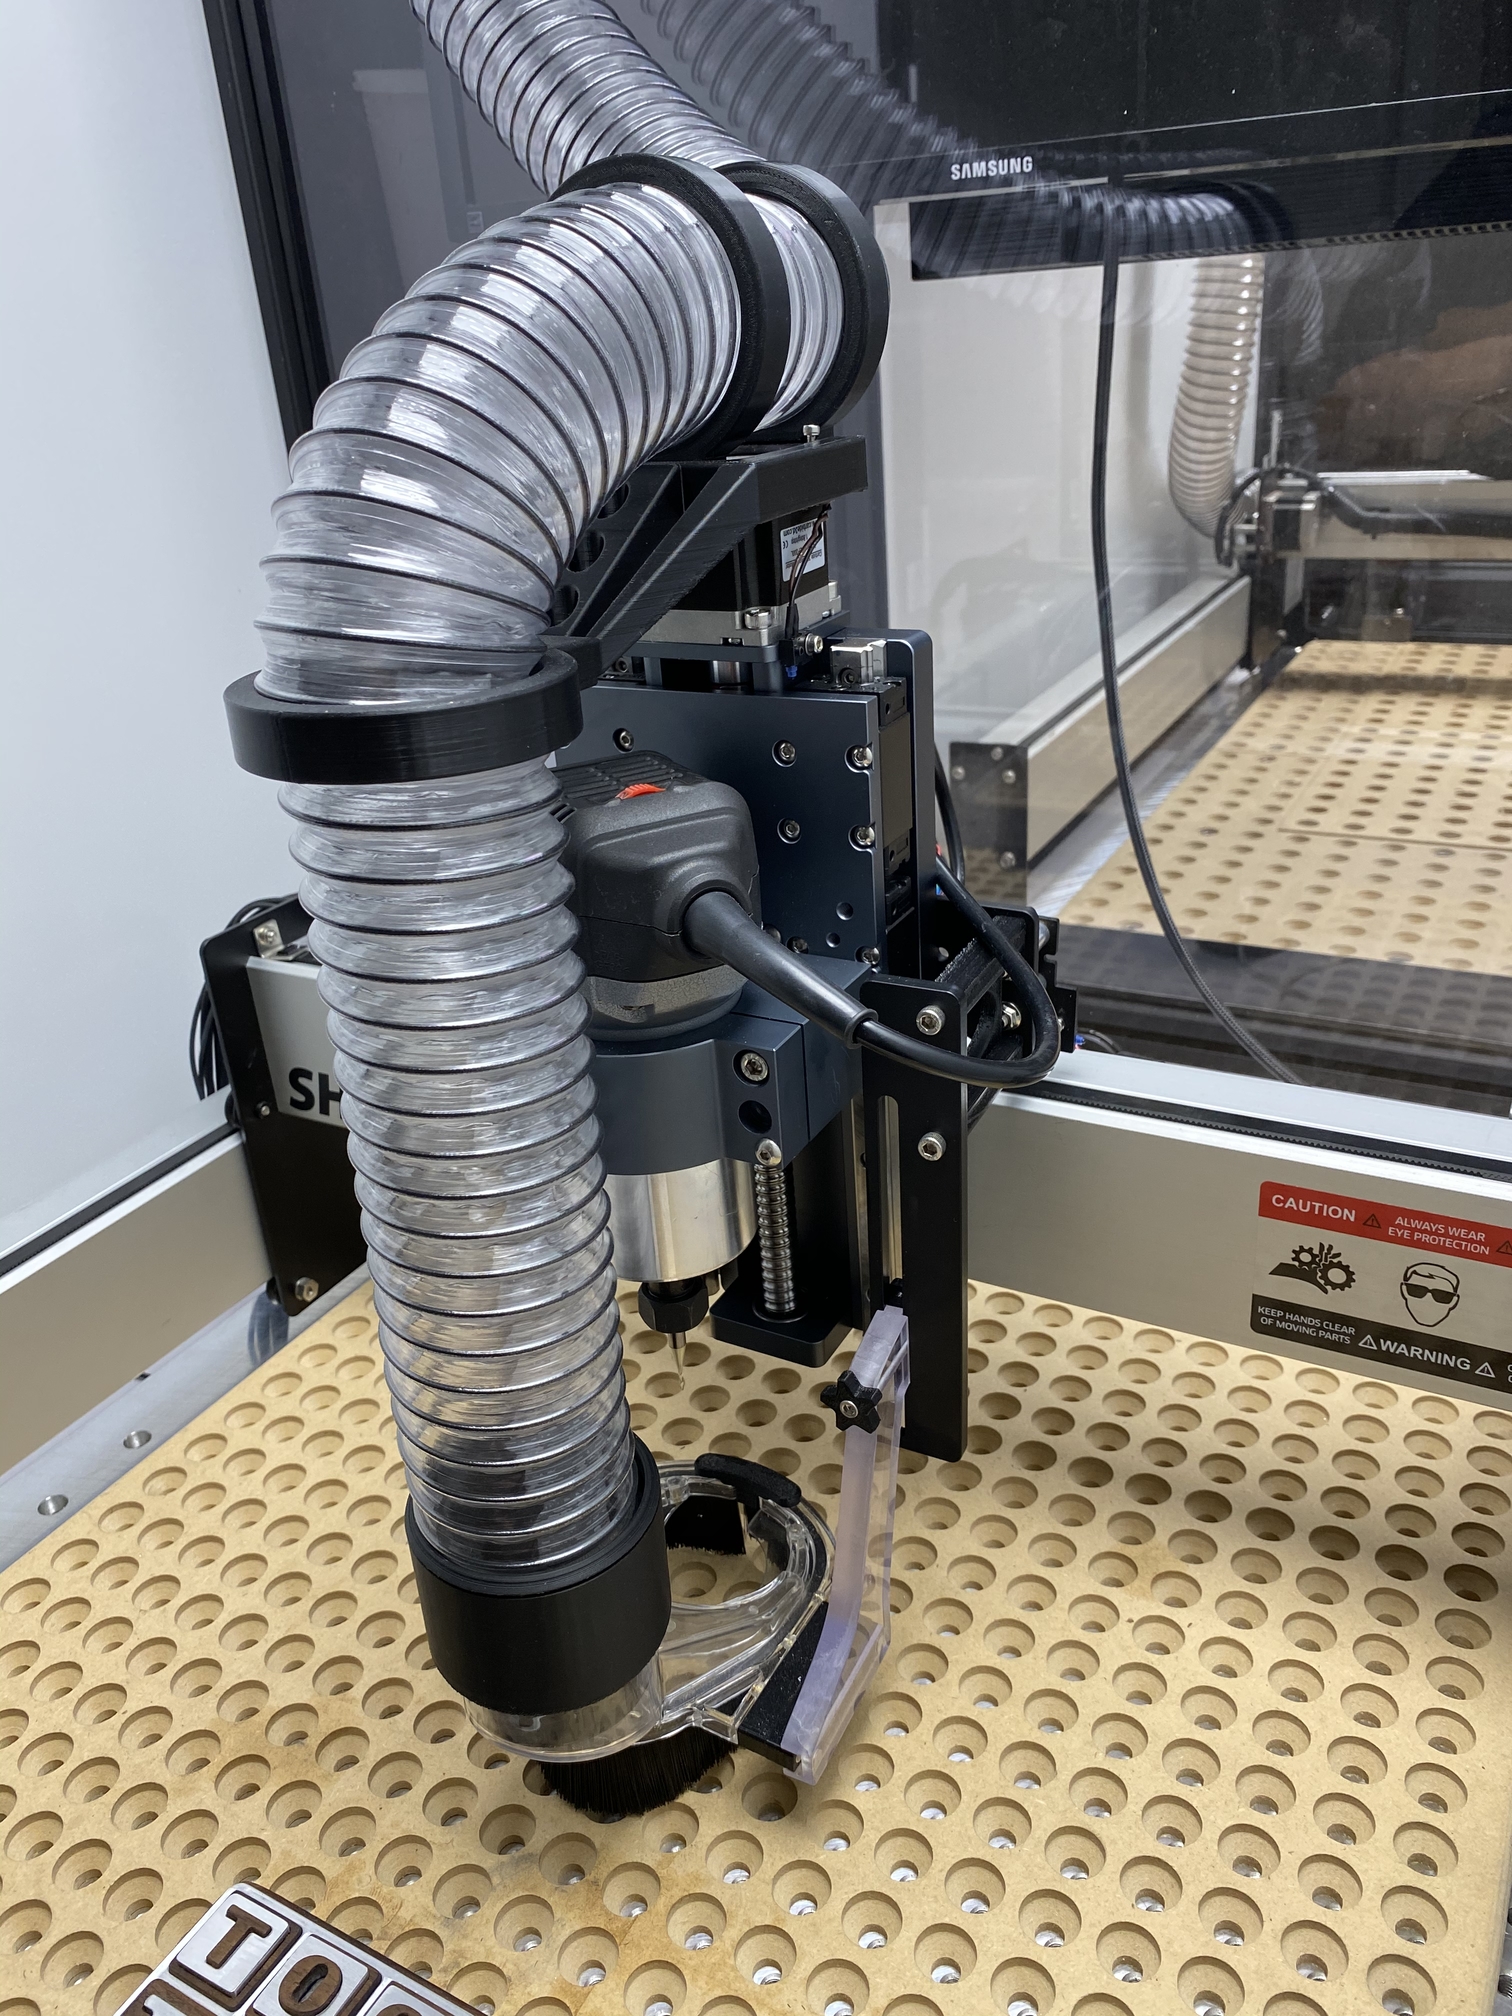
Had to redesign a lot of aspects after testing for proper function, stronger structure and rings, vanity covers to hide the ugly, and removed all questionable overhangs for almost perfect prints. Covered most exposed bolts…
Working on counterweights, quick connect and bulkhead fittings next.

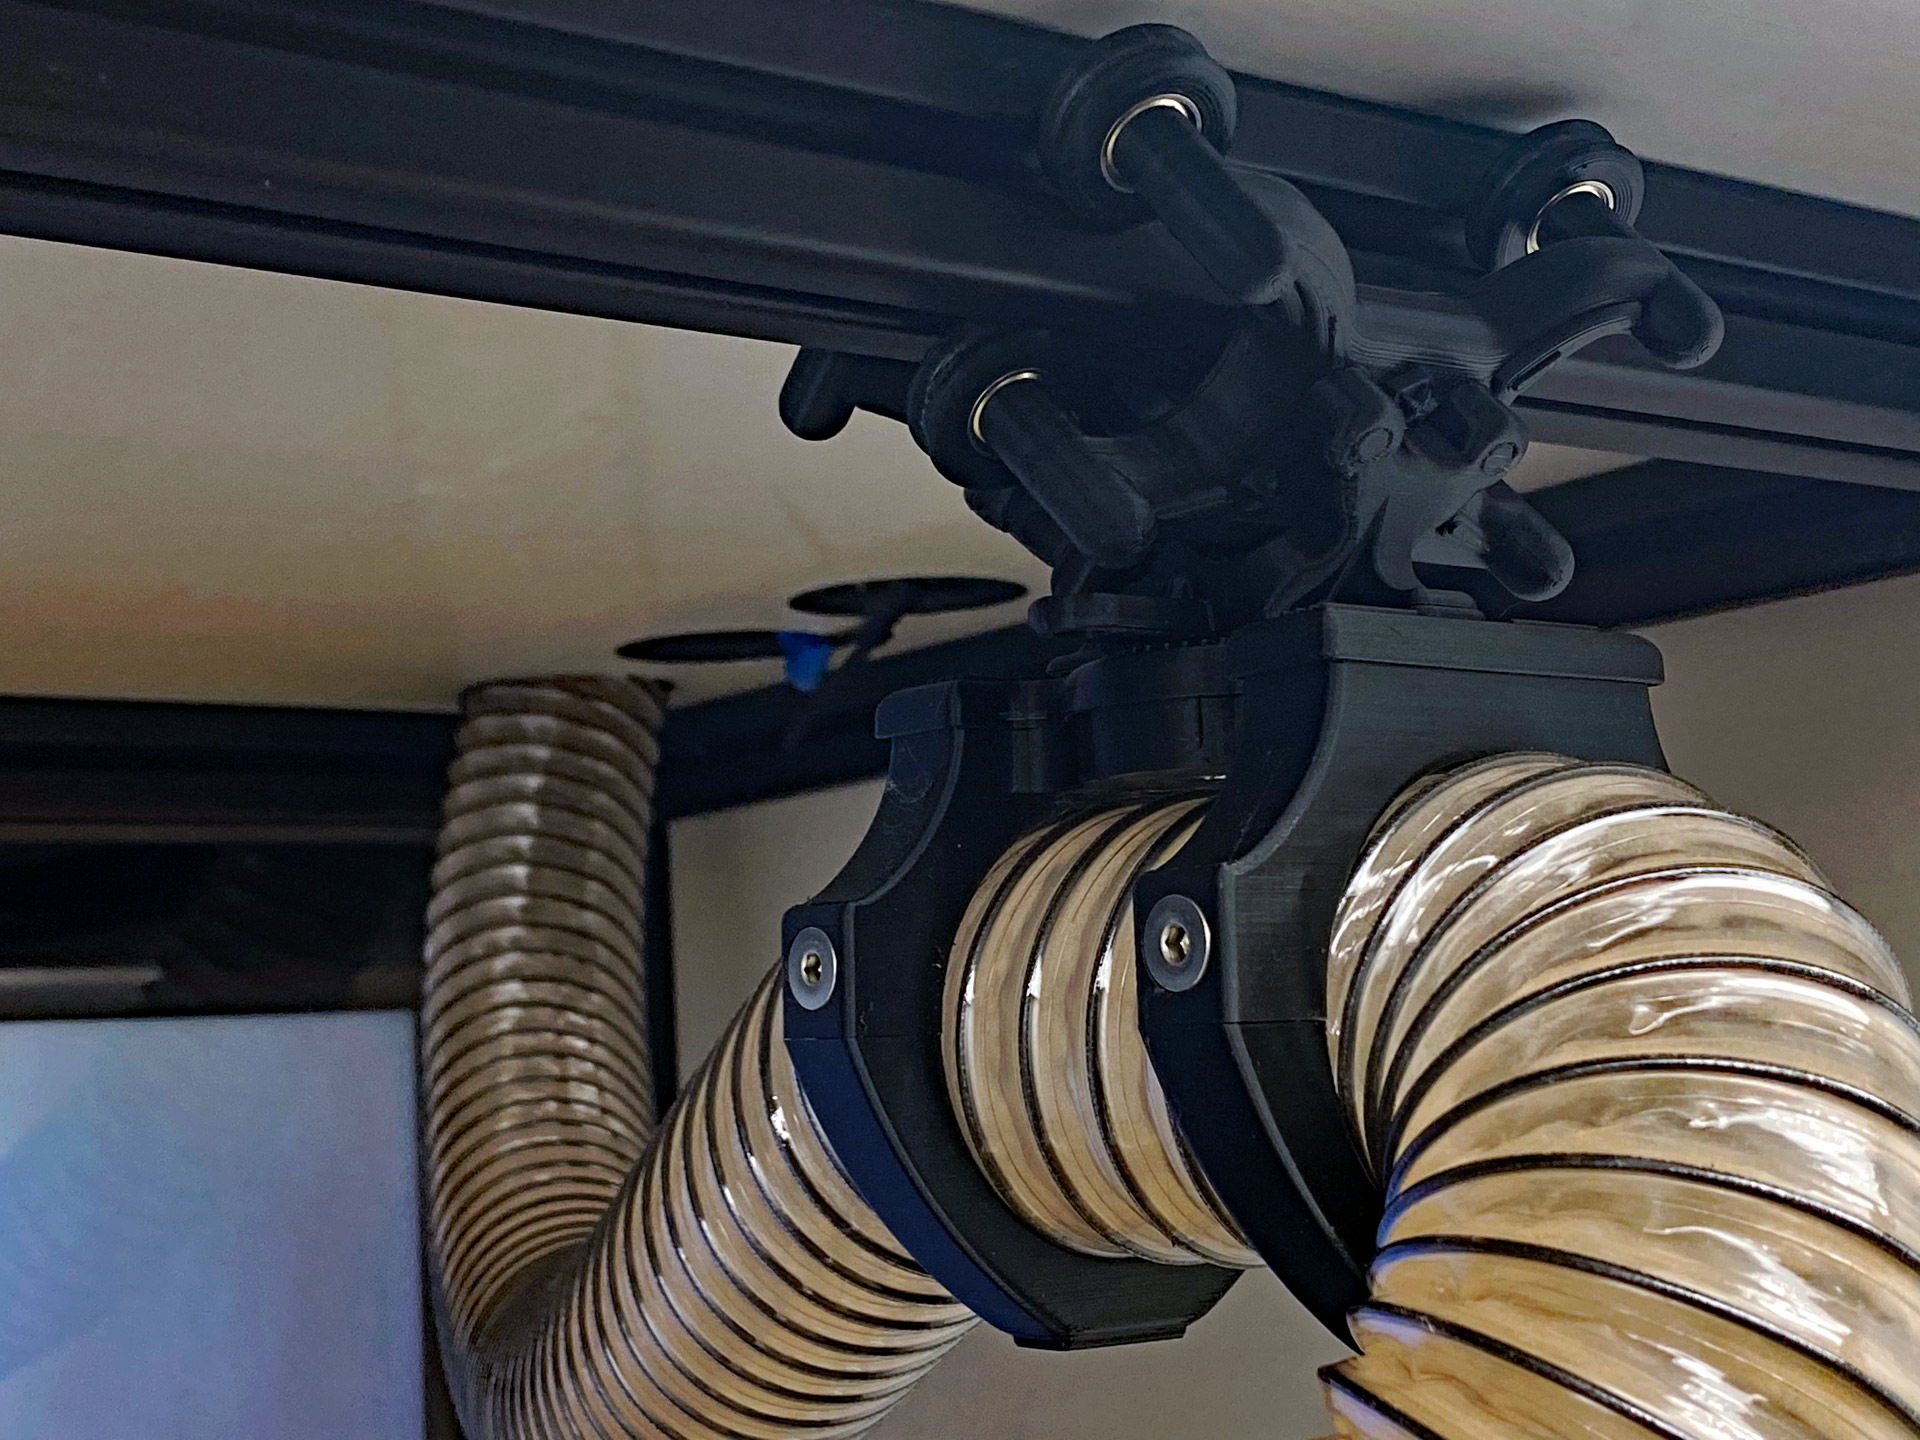
8 Likes
Does this include the v-wheels and the 80/20 track?
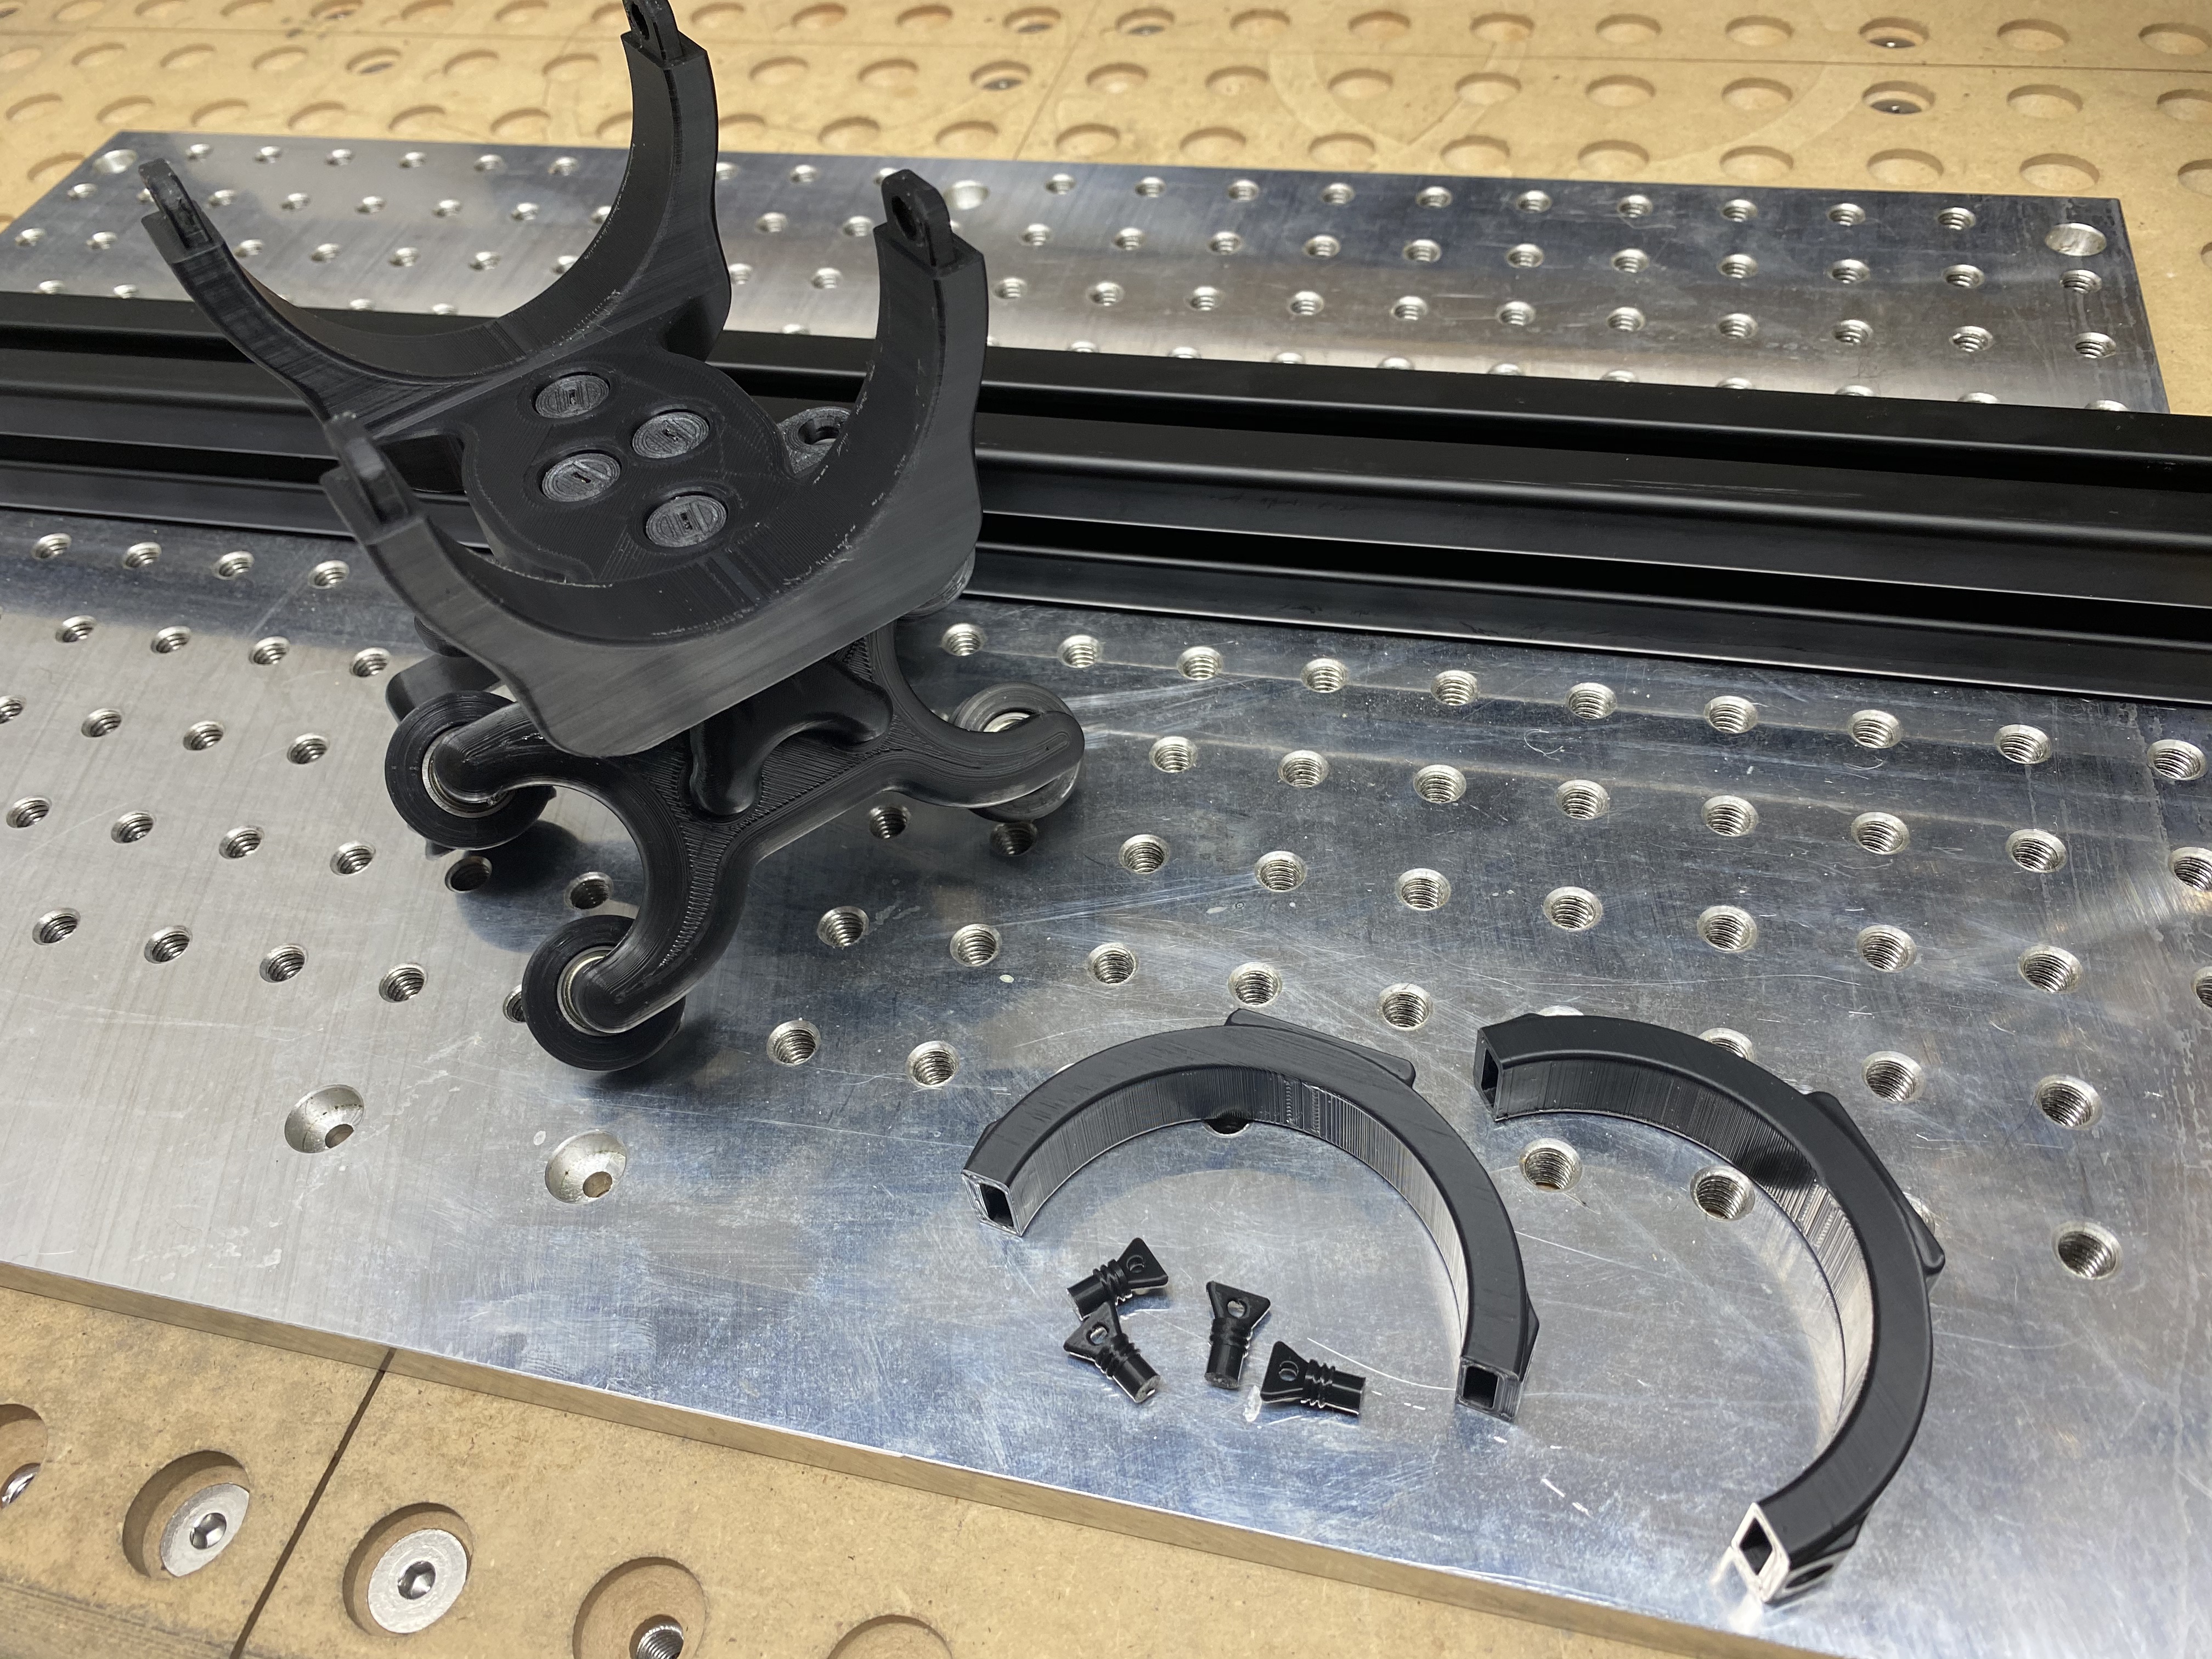
The HDZ hose mount is different from this hose trolley. The trolley I am designing takes over 50 hours to print with 10 dollars worth of bearings in it and *20 Stainless bolts, *45 pieces total with well over 200 hours into development. I have not set a price yet but I am thinking it will be closer to $100 due to the time it takes to print, the amount of filament and the components. The V wheels do come with it (I made them) but a piece of 80/20 rail would need to be ordered from 8020.net to fit your application @52 cents a inch.
A lot of money for a 3D printed hose mount, but hell I have paid over $100 for a end mill, was worth it for me.
The 5 piece part with the 3 rings on top of this picture is the HDZ hose mount.
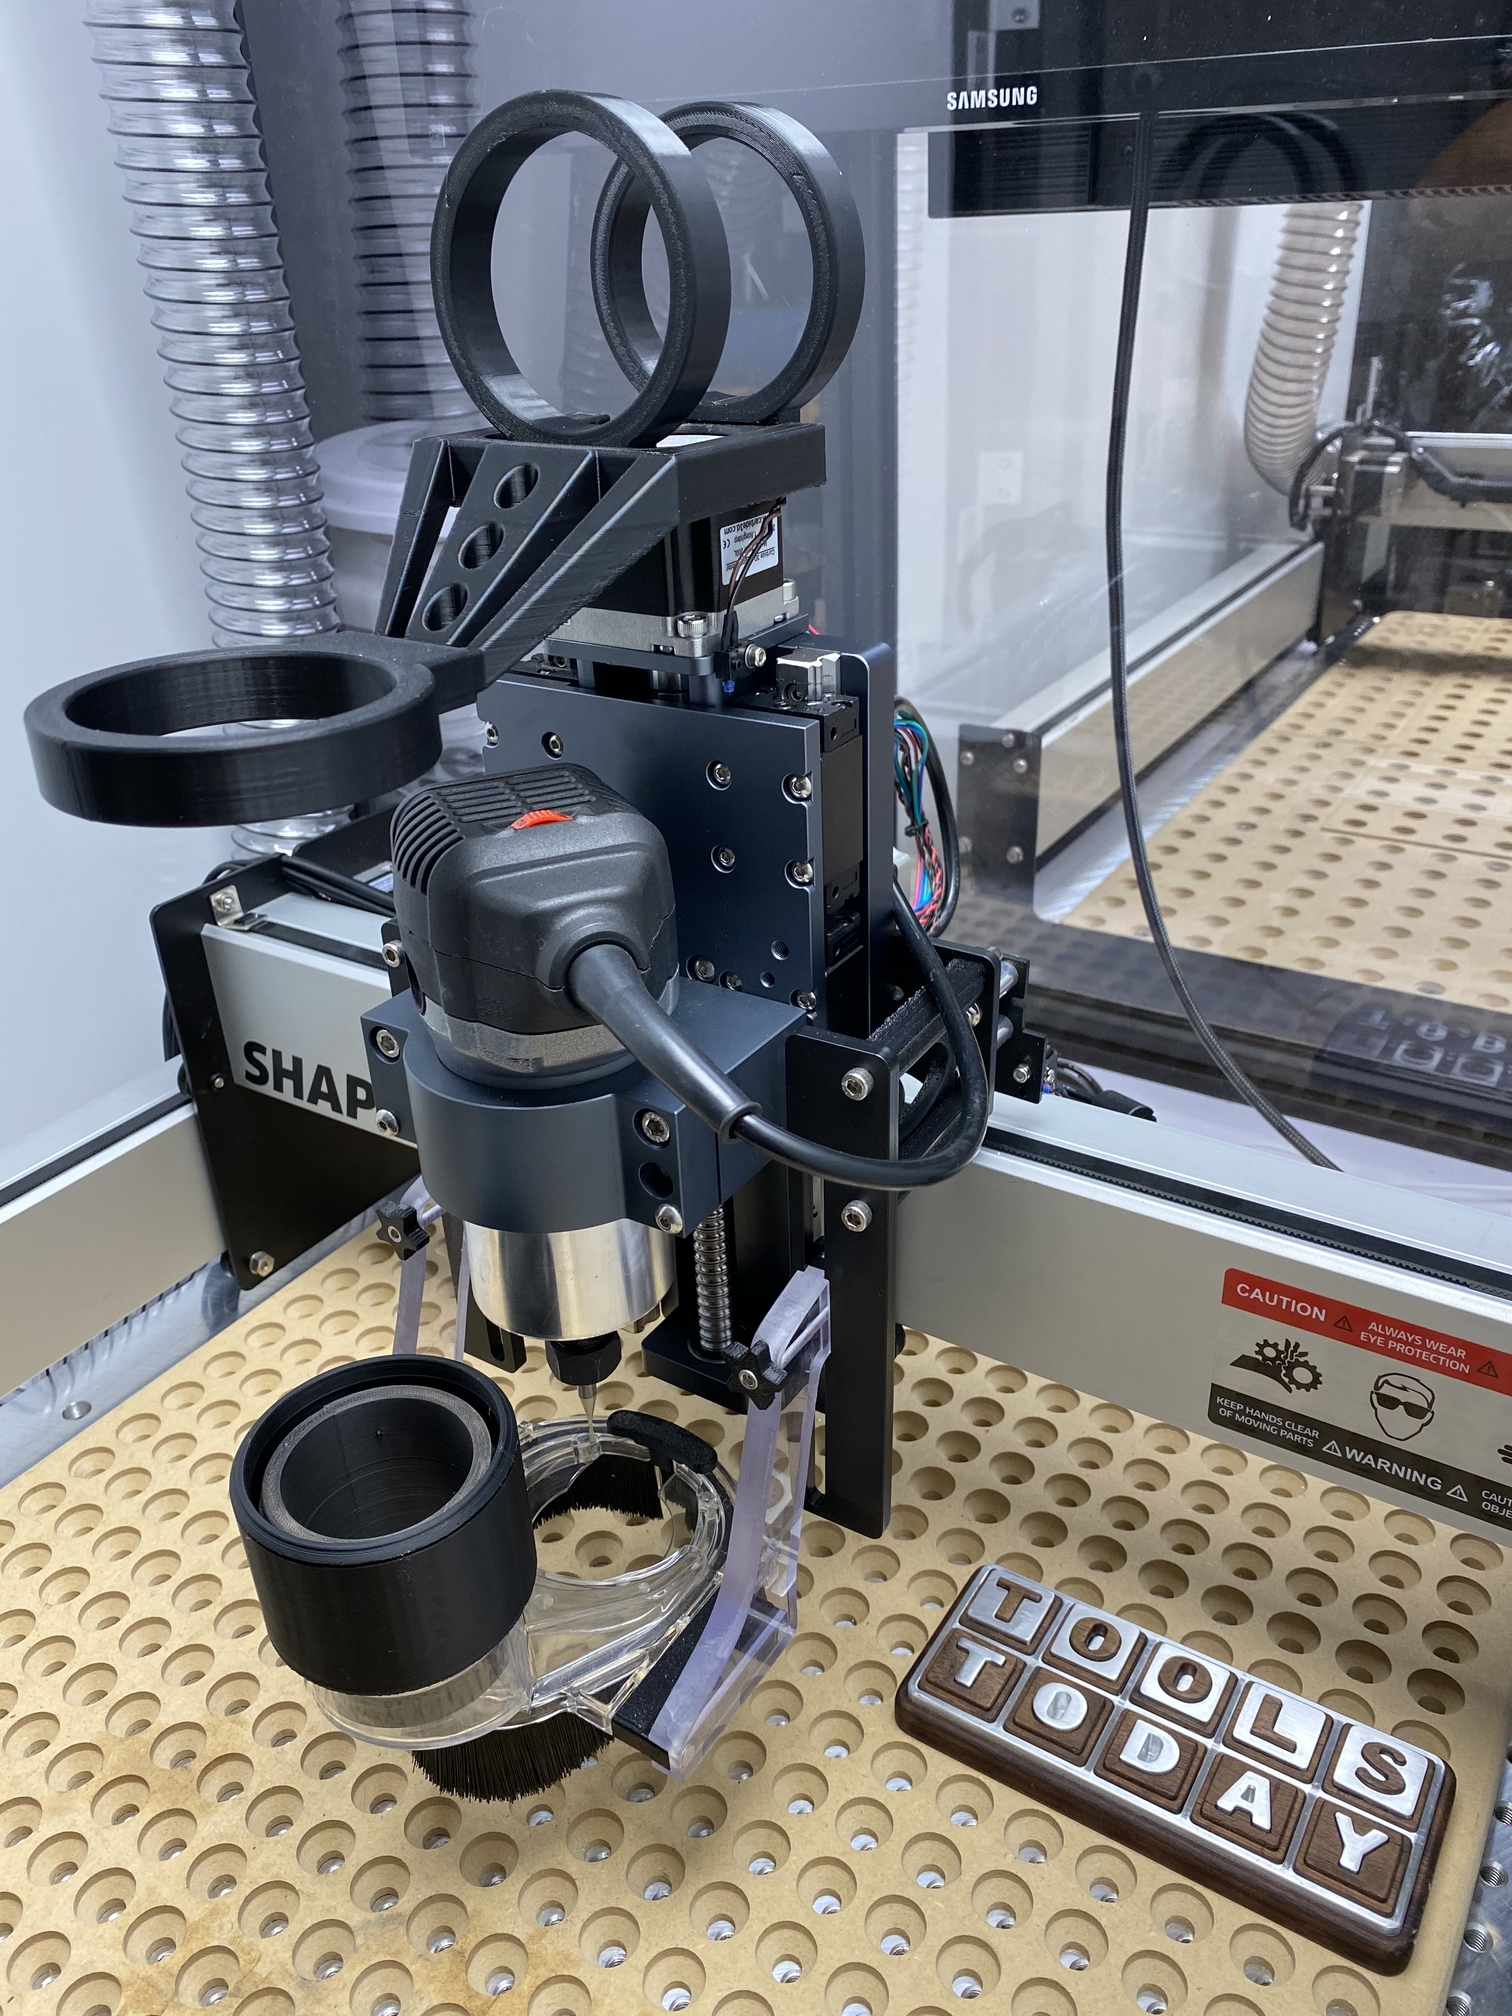
6 Likes
I know the answer before I asked, the main reason I did was to make it clear for everyone and save ourselves from any confusions that might come up… Thank you and keep up the good work.
BubbyDog, this is so awesome. I hope you setup a way for people to be able to donate to you, these parts will be very helpful.
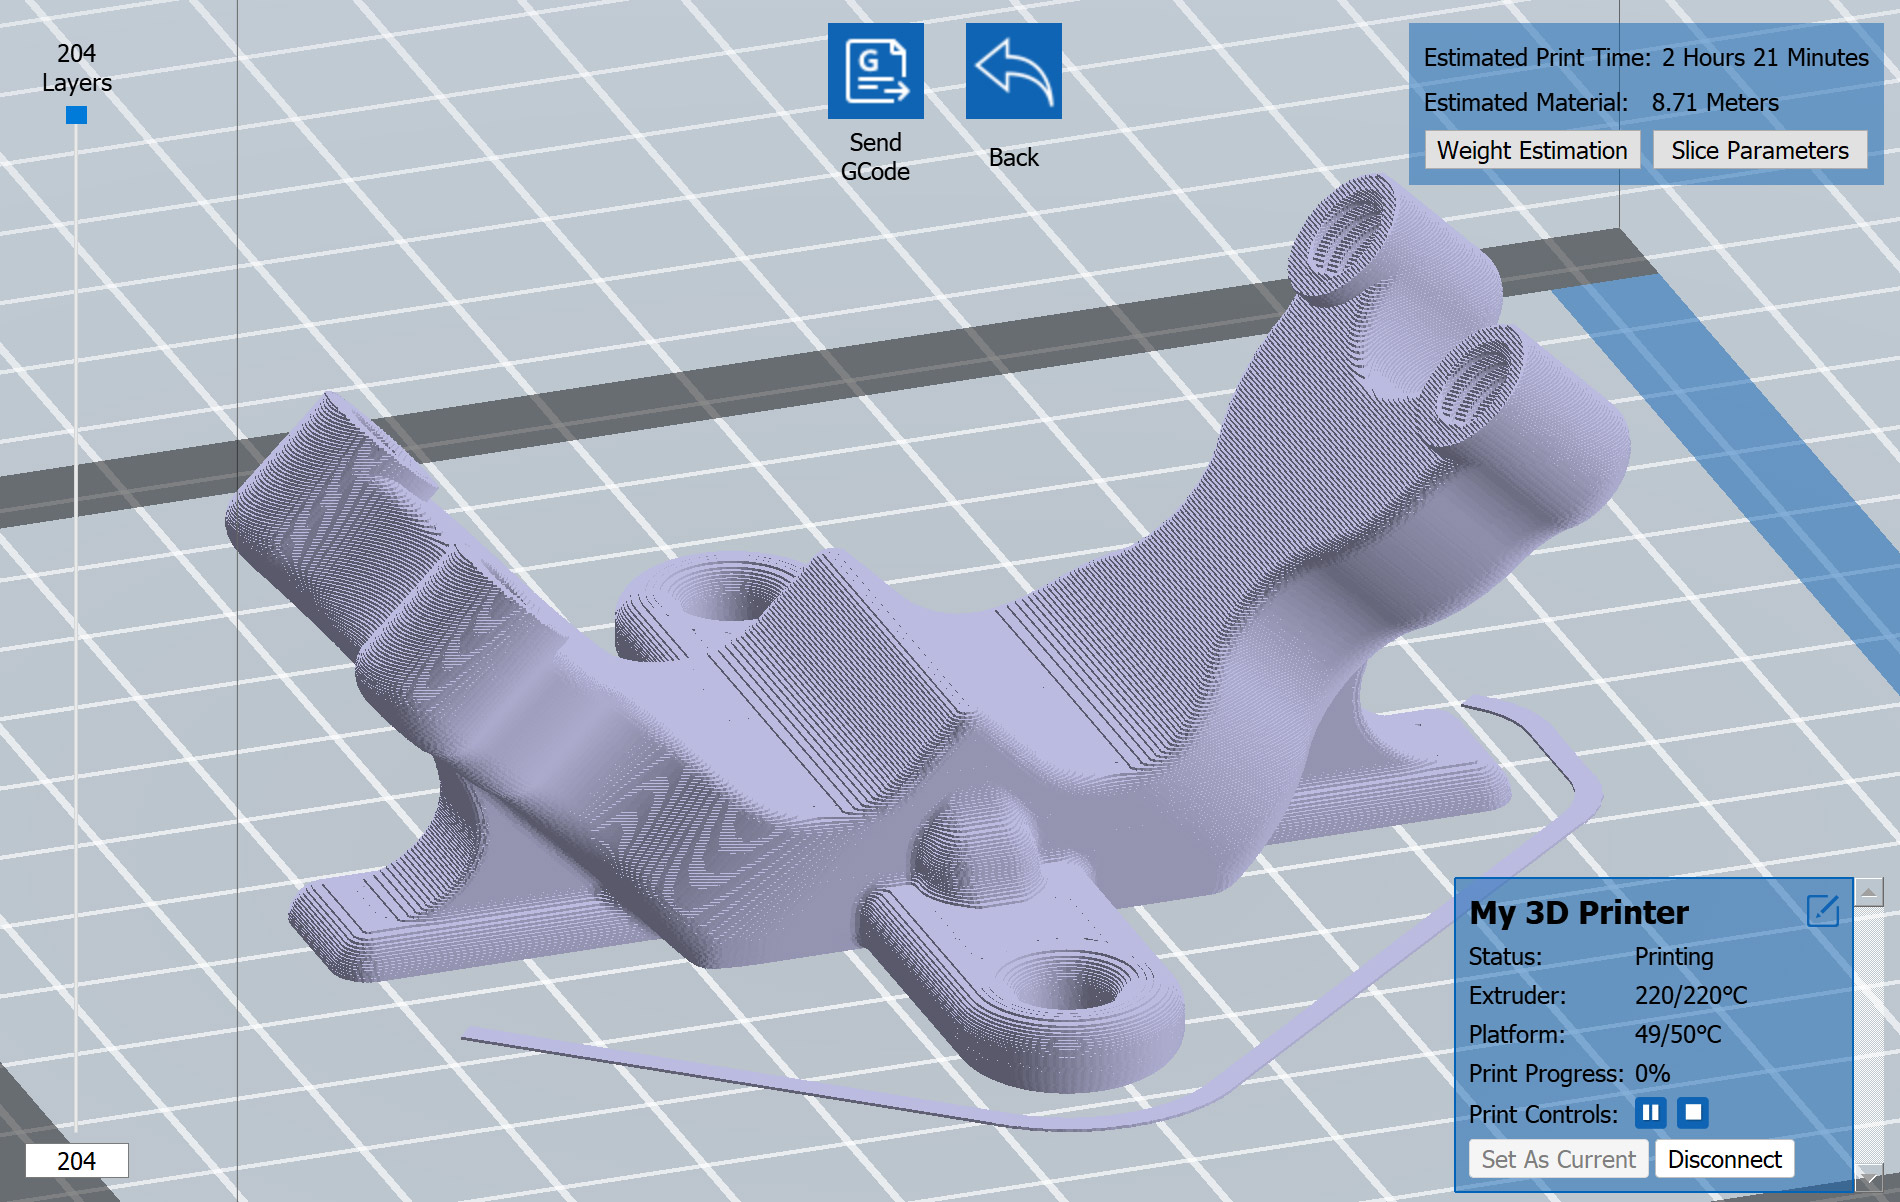
I’m trying to import the hose holder into PrusaSlicer, however the scaling seems to be off when I open them (see screenshot), Do I need to adjust the scaling?

Thanks,
Chip-
So it appears to be off by about 10x, so maybe it’s a centimetre to millimetre issue?
1 Like