Christmas is nearly here and I already made a few gifts for my family with my new-ish Shapeoko 4 and my old-ish heavily modded Ender 3v2. I have been eyeing these puzzles for a long time and my sister even suggested them to me as a project.
There are quite a few ideas on this site. Enjoy.
I managed to model one of them in OpenSCAD but it will require rotating more than a few of the rectangular pieces in increments of 90 degrees. I’m a big fan of the CA glue / blue tape method and I thought I could add a long alignment clamp along one of the rails to line it up.
I wondered how you folks had tackled similar projects. I think I will have to make my own “clamp” here with the printer as it would have to stay in place but also be more of a “side alignment guide” than a clamp. I thought I could make it very short in height, just a few millimeters, to avoid the tool from hitting it.
So the jig would be as long as one of the pieces, and at least hold 2 of those chunky square t-nuts on each end of the jig or wherever they would stay out of the tool path. Perhaps even an L-shape for better guidance and placement…
Does this seem like a wise approach?
Happy Holidays to all of you celebrating them and to the rest of you, too. Have a cold drink of choice on me. Put it on my tab.
I have used tape and ca glue to hold down acrylic and then ran a profile cut through (zero on the spoilboard) to the shape I want for a semi permanent low profile clamp. Peel away the waste and you have any shape clamp guide you want. I will sometimes do that when tiling jobs, too. You can be sure it’s square with your y axis.
That sounds like a good plan. I don’t have any acrylic but I could source some. I would like to try cutting it to add it to my other projects as windows or the like.
I think if I print a straight piece of PETG long enough and wide enough, it would have a good edge for this project. I did something similar on my 3018 when I had to move the stock after an error – to keep the X and Y aligned when I taped it back on the bed.
I have made the one labeled “wooden interlocking puzzle” in cherry and walnut on a table saw and spent a decent amount of time setting up tool paths with plans to do it on the CNC. I was going to hold the pieces with double sided tape in a jig with pockets the same rough shape as each of the twelve pieces. It would have still required planing and a fair amount of accurate table saw work prior to CNC. Due to the turning involved and multiple tool paths, etc, I concluded that in my hands the CNC would neither really simplify nor speed up the process and never followed through. The table saw process took a lot of test cuts in scrap and use of the digital calipers to ensure depths and widths of cut were correct before cutting the actual piece. Then a significant amount of sanding because the pieces fit too tight. I am sure there is a way to CNC these efficiently, I just could not figure it out. Cheers and good luck.
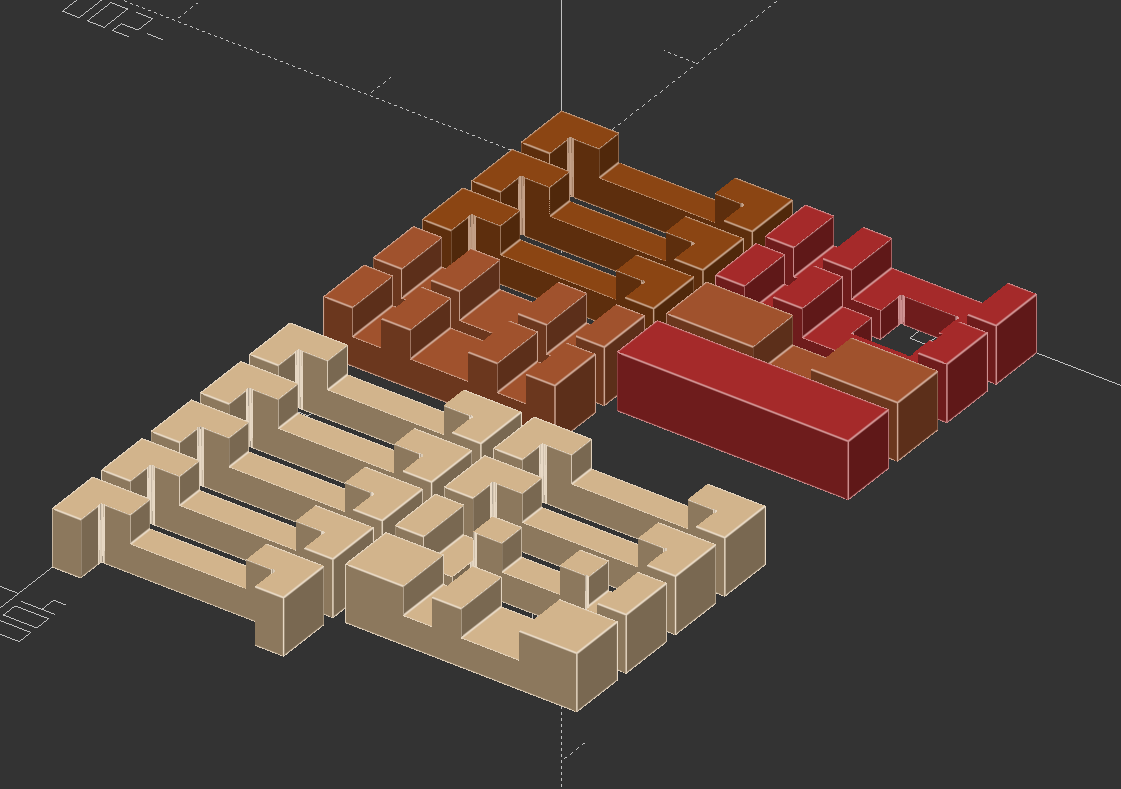
At this point, I have the parts drawn but I have not added any tolerance to the notches. Here’s a screenshot of the “Orion” 18 piece puzzle. Originally, I wanted to try this on the 3018 but I got busy with lfe and other projects.
You can seen there are a few parts that can be cut in one pass and a few that need rotation. I left this project about a year and a half ago and I’m not sure where I was with the double-checking.
I will definitely look at the tolerances since you ran into issues with the finished parts.
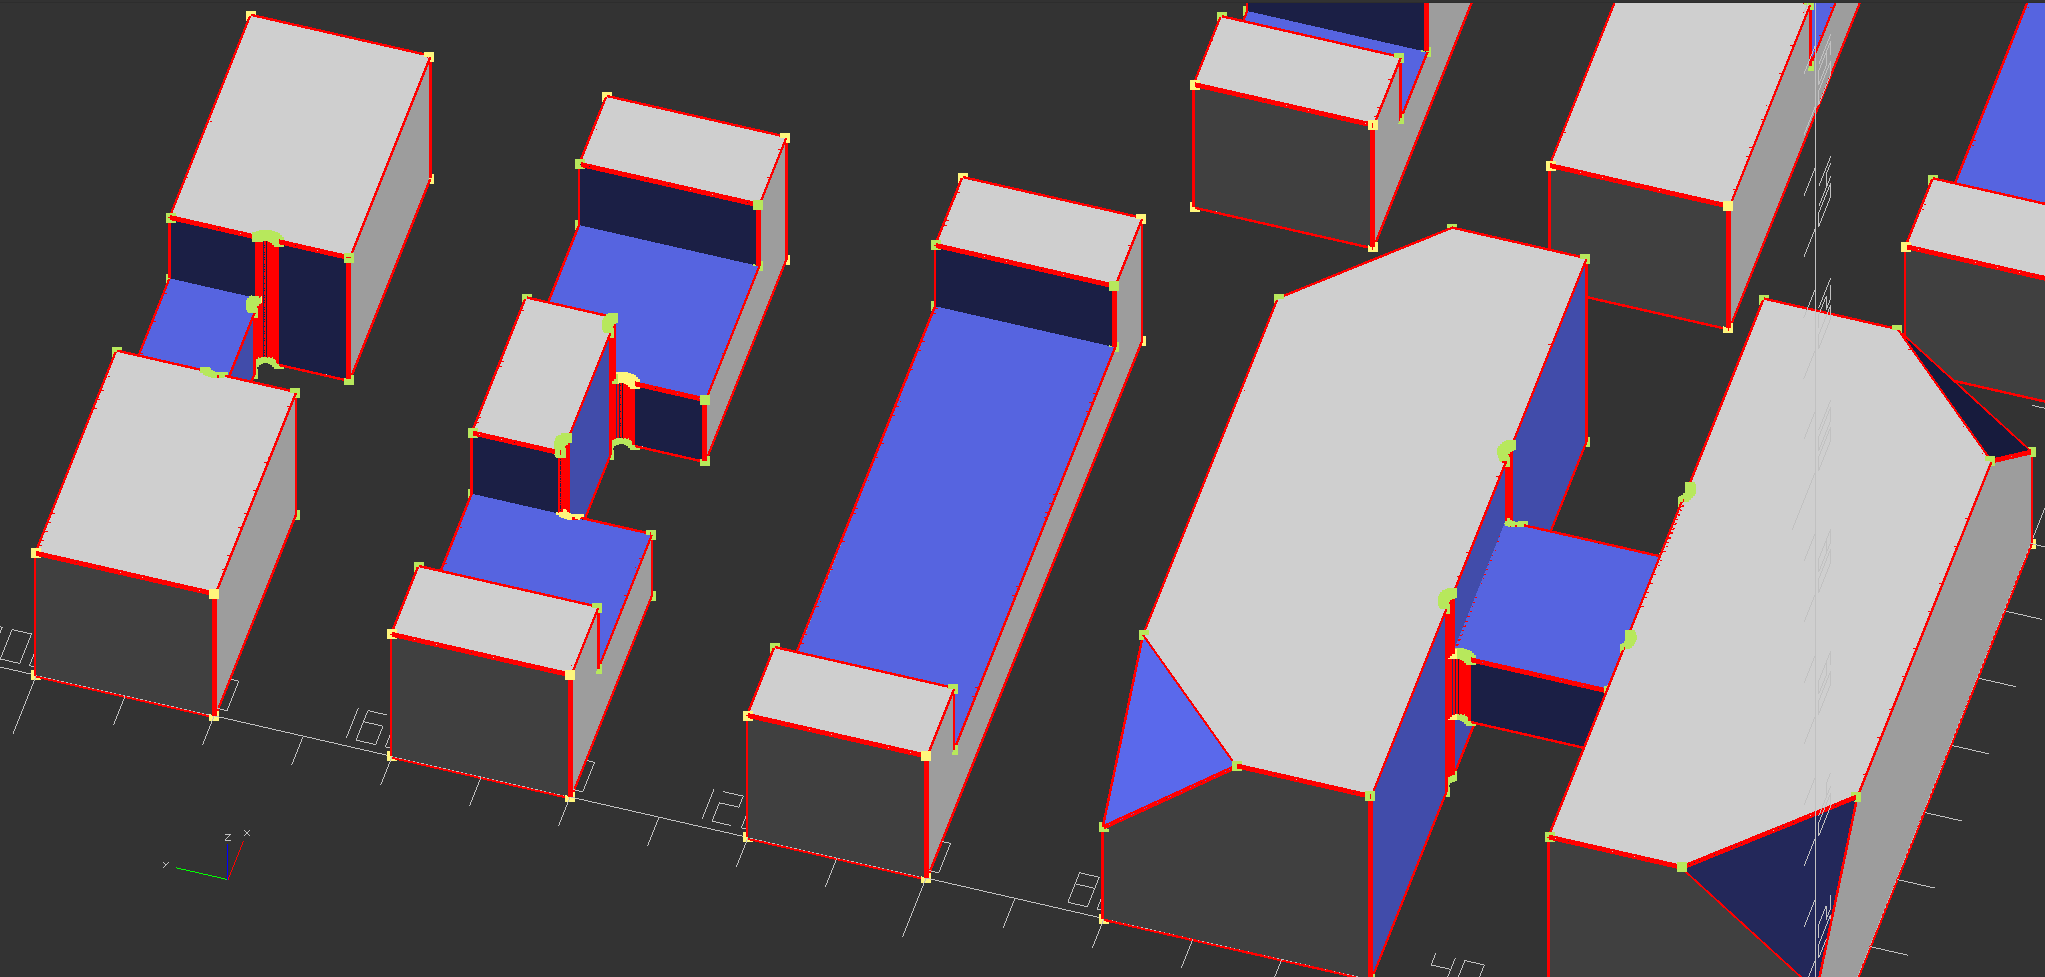
EDIT: It looks like I have some primitive “dog bone” functionality in my code for the corners. You can see that in a few pieces shown in the image.
The maple pieces around the edges are spacers to prevent tearout on through cuts (cut three on the pieces shown does not involve through cuts).
EDIT: I suppose this ia actually a fixture, not a jig.
If you choose to make this jig, place the wedge on the left so cutting forces tend to tighten the wedge instead of loosen it. Learn from the mistakes of others; you won’t live long enough to make them all yourself!
That is an impressive jig. I’m trying to wrap my head around how it works.
I think I can minimize the number of dog bones I have by changing the rotations to reduce the number of interior corners. It probably won’t work with all of the pieces, but maybe I can make them for my smaller bits and do the main work with the larger bits on the first passes.
I watched this guy make a similar puzzle on a table saw. I got a small portable table saw this past summer and have mainly cut larger pieces with it.
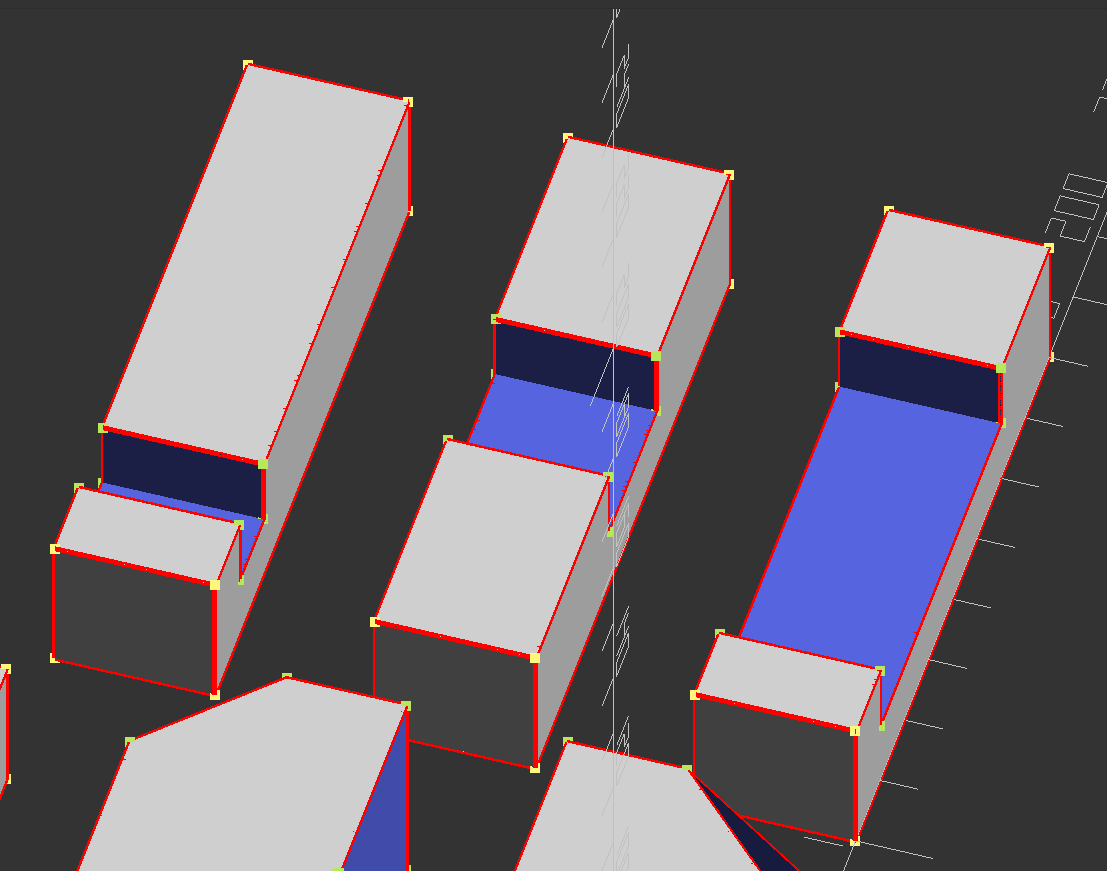
I rather enjoyed doing the modeling for these puzzles and working out the dogbones, but I’m not sure I like the aesthetics / look of the finished pieces. I’m going to keep looking at this as I have some free time until the beginning of the new year.
I meant to say that I’m not sure I like the look of the dogbones.
I thought I could make them the size of the finishing bit and do that carving on the finishing pass. I think with some pieces I can escape them with proper orientations, but in other pieces they cannot be totally avoided.
I do want to try different types of wood. There is a shop near me that has premium wood but they only have large lengths to purchase. For now, I’m going to try with some 3/4 square dowels in poplar which I can get at Lowes fairly cheaply.
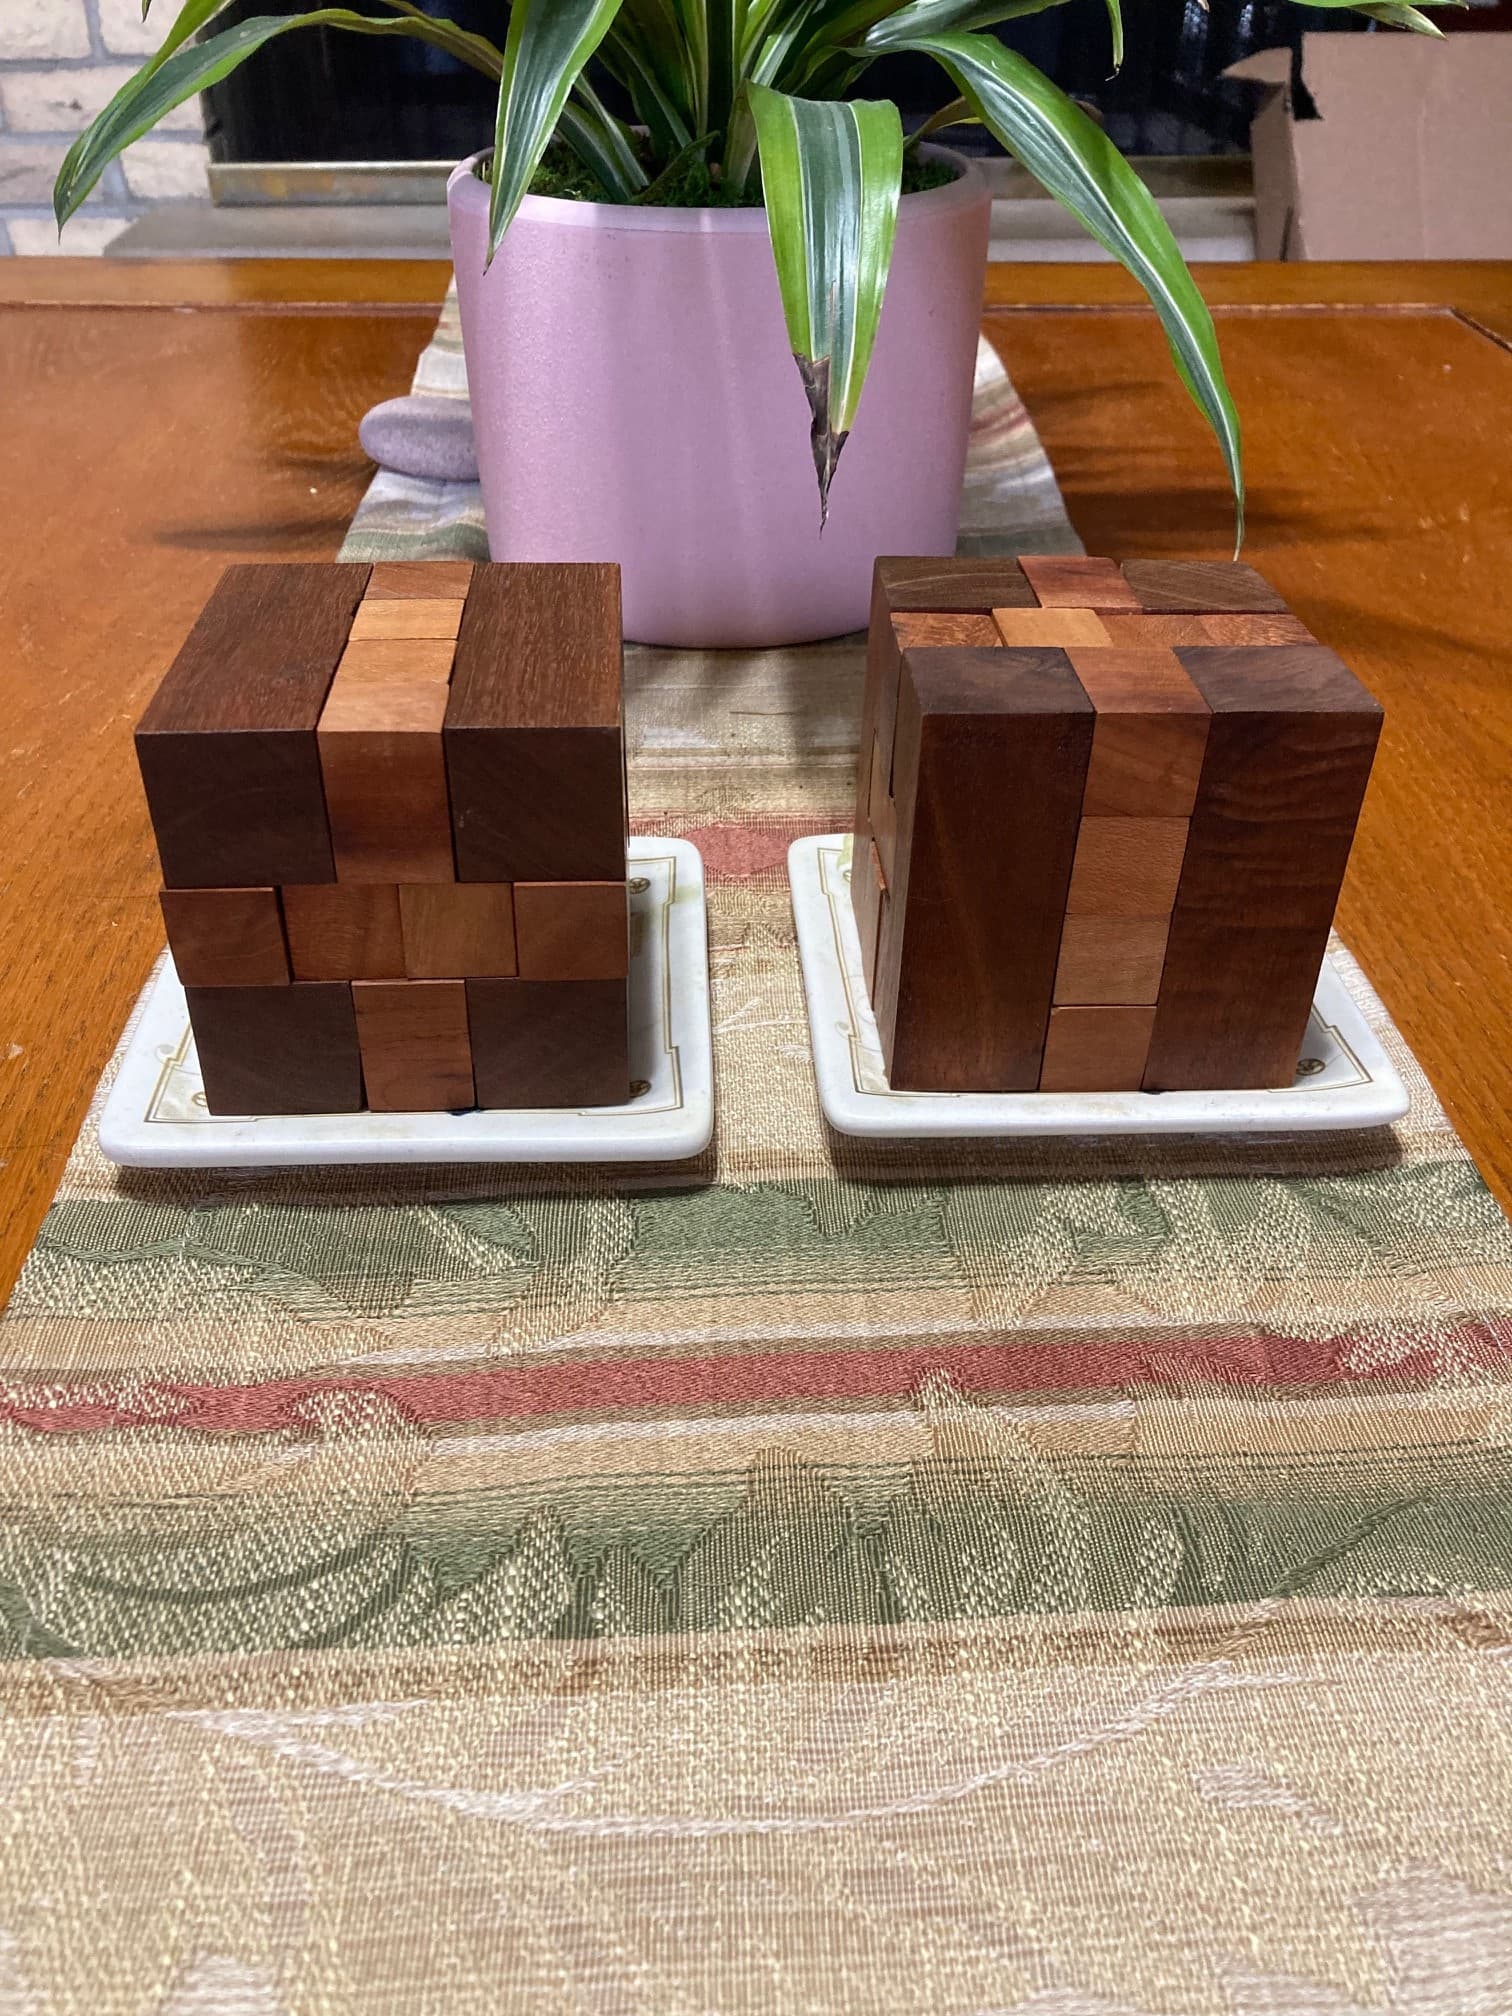
Two 12 piece burr puzzles, 3.125 inch cubes in walnut/black cherry. Mineral oil finish. Not done on CNC. I really like the wood combination and the size. To automate these on the CNC would be fantastic.
Working drawings of the 12 piece cube Burr puzzle can be found at www.craftsmanspace.com >Free Projects>Mechanical 3D Puzzle Plans>Wooden Interlocking Puzzle Plan> at the bottom of the page: Download project in PDF File Format.
An epiphany in a dream state this morning: for the 12 piece cube puzzle, all 10 pieces which are 20 x 20 mm could be done as one long stick (20 mm square x ~900 mm long ) with 2 tool paths (one for each side which needs milled).
Essentially cut the dados on the cnc as pockets then cut the ten apart on the table saw.
I remember from my youth, cutting an 8 or 10 piece, completely on my Dad’s old Craftsman multi-tool saw with a dado blade set. Used a wide board and ripped the puzzle strips out. I think I gave away 20 sets as gifts (and never tried this again! )
I am pretty sure you need the dogbones in the inside corners, otherwise the bit won’t clear the corner and it will round it. Basically it’s a circle with the diameter as the bit size and its center on the inside corner. In these I did a 3.175.
Another thing to consider is the length of the bit, and the smaller ones probably won’t reach that far. I have a lot of tiny bits from my 3018 setup but I doubt they’ll reach 20mm without the shank getting in the way.
Like @Bozo said, these could be lined up. You’d just have to allow for the kerf of the bit between cuts but you guys know that better than I do I’m better at the design part of things.