I wrote up a macro for probing 40mm coins in my soft jaw fixture.
Works beautifully and is so much more accurate than my previous method of “eh, close enough”
I think I can probe twice on the same side to get the curvature and then project the center point from there. That would be a much faster probing routine but more importantly, more fun to figure out. Who doesn’t love revisiting high school maths after… many years
I dont know exactly how everyone is using or wanting to use a touch probe.
I would like to use one to probe an object to create a point cloud to reverse engineer the shape of the item. To creat a surface or solid of the item.
Is anyone doing this?
Thanks.
i was thinking it would be necessary from the get go, but with how small it is in person, like you said unless you have a really tall part or stock, i cant imagine needed it.
im hoping to get my xlr connectors in soon so i can test it out
if folks want I can publish the javascript code that did all this – it’s not clean or anything but it worked
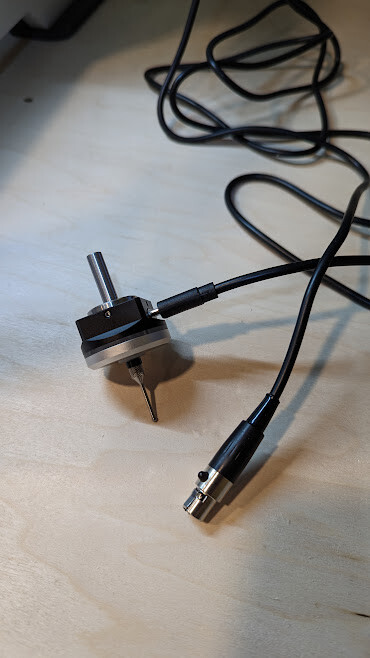
also one note of warning: these probes are VERY fragile. run into something and the little balls inside escape their confinement ring and… good luck getting those back, I hope you like pincers and have some good “soldering station” helper equipment. So rule 1: GO SLOW
iirc I used F100 to get close, and then the slow probe for the last bit.
Yes this is likely MUCH slower than needed… but after the first … eh… failure I decided I rather wait on the machine than deal with getting those little balls back in place
Should we start up another thread for general Nomad 3 with gSender shenanigans? Things like making sure it “just works” as expected with the standard posts? Making sure tool change works as expected and probes length etc…
I think most of the work has been done over time but not really compiled in one place?
Probably not a bad idea. I think the toolchange length measuring can actually be handled by the before and after code in gSender to pretty much mimic what Carbide Motion does.
can confirm, @natewalck 's git repo does have the bitsetter routine.
edited for clarity
this particular tidbit is unrelated to the bitsetter macro.
if you import the config contained in the repo, the safe height is has set at 30mm.
when you use gSenders “goto” buttons, it moves the Z axis to the safe height before moving. with the safe height set at 30mm, it means it will move the Z axis 30mm below the Z endstop.
When i used those buttons for the first time, and it moved the Z down it was a bit butt puckering.
I raised my safe height to 5mm, low enough to clear the endstop, and high enough that it shouldnt ever hit anything.
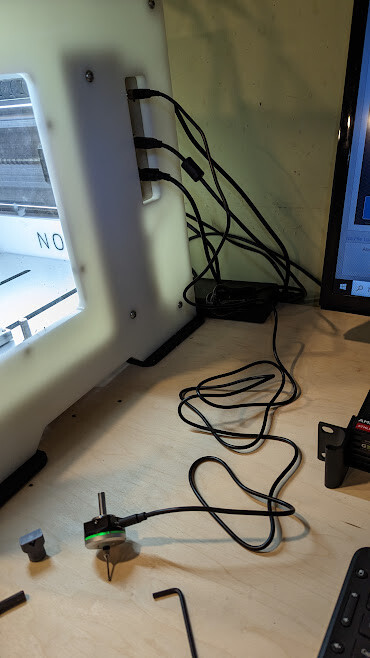
also, i got my probe cable soldered up and everything worked. I grabbed a pack of like 5 XLR mini connectors off amazon, definitely the cheapest way to go if you are comfortable soldering the XLR mini. a set of helping hands came in handy, even with good vision the pins are tiny af
I’ve never used a G68 but it looks awesome. I imagine you’re right in that it would be a gSender addition to support it “in line” with the gcode.
That said, it probably wouldn’t be too difficult to write up a little “resolver” script that could convert the g68 into a series of supported gcode steps. (This could probably be done more quickly than in line support so if you’re interested, let me know )
I’ll put “look into gcode ripper” on the todo list as well.