In
Digitally Map a Surface in 3D [CNC Shark Duplicator] @JVarn was wondering (paraphrased) if a shapeoko could do the equivalent of something called “shark duplicator”, basically do a 3D scan and then a carve out of an object, and I couldn’t resist trying. Below is a short story with pictures on how this went.
It all started with one of these:
Which will act similar to the bitzero and bitsetter, and if you plan to buy one yourself, make sure you buy a “normally open” one that closes to ground, and can work with only 5V of input voltage (which is what the Carbide3D PCD supplies).
I then had to learn how to make those little 3 pin molex connectors to connect a long wire (the probe comes with maybe 4" or so) from the bitsetter splitter board to the probe… and soldering thin wires is, lets say, not my super power. But I got it to work, albeit a bit ugly (I optimized for “it will work” not “is it a pretty solder joint”).
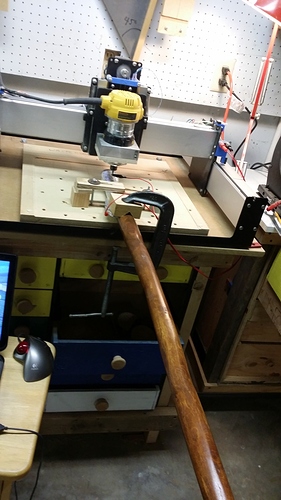
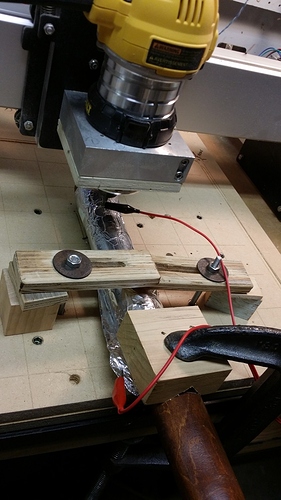
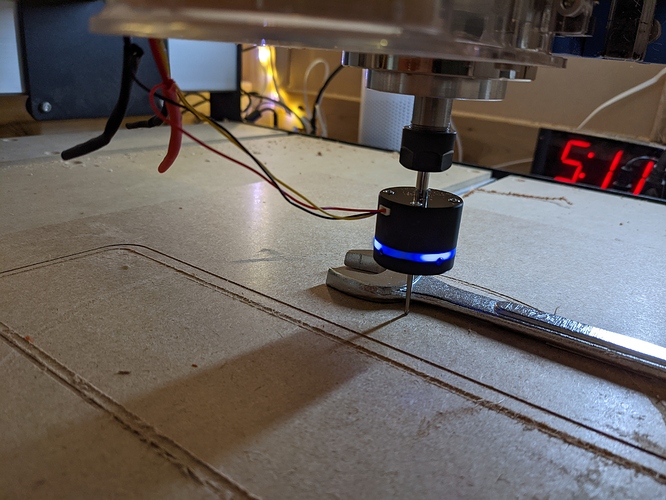
A simple test with having Carbide Motion in the settings screen, and then by hand touching the probe showed that both the LED turned on, and CM noticed the probe. Ok, all the evil analogue stuff taken care of and working: The final contraption can be seen (next to the object I’ll be scanning) in the picture below:
Next… write some software to probe… and realizing I might as well do this as a browser app since it seems most CNC software I write ends up being ported to that. Thankfully something called “Webserial” is now a thing, and after spending 30 minutes learning that it only works over https and not http… I was in business. I ended up learning the hard way that controlling a Shapeoko (using gcode) over the USB cable is quite a bit more messy than just writing nice clean gcode for cutting things… but ok.
Wrote code for probing, wrote code for moving around, wrote code for interpolating inbetween probed points, wrote code to probe in the most interesting places (gradients etc), made the output a grayscale depthmap suitable for Carbide Create Pro… took a bunch of shortcuts and somehow ended up with roughly 3000 lines of code.
Probing is slow, and I decided that I was going to probe at least one real object before I was going to work on speed optimizations… and well, that wrench was around and was as good an object as any.
A small number of hours of probing later, I got this depth map: (1 pixel is 0.1mm)
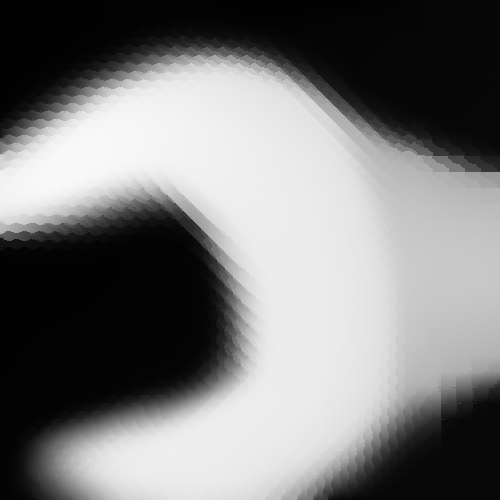
If I had kept scanning, the accuracy would have gone up but I goofed up something and didn’t want to restart, so called it “good enough for a first try”.
Next step: Carbide Create Pro… basic modelling step and then cut 5cm x 5cm scan out of a piece of scrap wood. I used a 1/4" flat endmill for the roughing pass, and a 1/8" flat endmill for the finishing pass with a 0.2mm stepover.
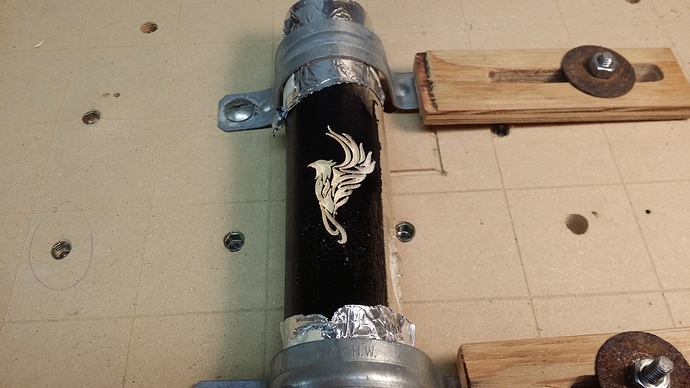
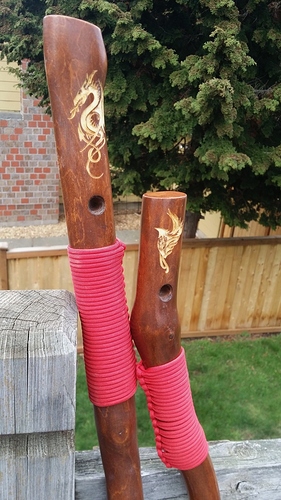
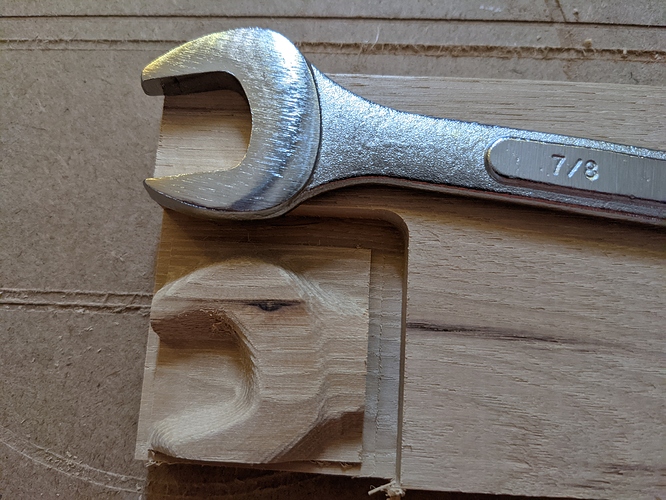
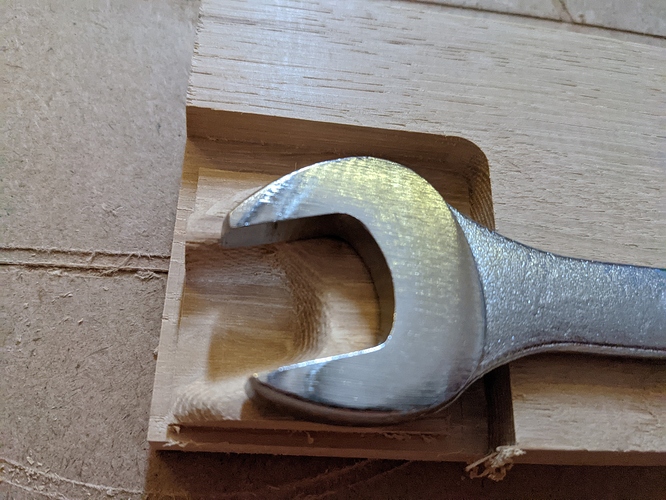
Pictures of the final result below from a few angles; overall I’m not unhappy for a first try.
But also some lessons learned:
- The probe is fragile. And it gets out of center easily and then the rest of the probe cycle is a misfit
- The probe also probes side ways (and has deliberate amounts of play for that), which means on a smooth sloped surface it will “slide” a bit before triggering
- The probe is not super great at probing completely vertical walls due to the deflection property
- It takes a long time to probe an object. I have lots of ideas to optimize this, but Christmas break is, like 2020, approaching its end and this might be for some future time instead.
- I should spend some more time on interpolating; if I get that better I likely need to probe less
- Despite being cheap and fragile the result was better than I expected
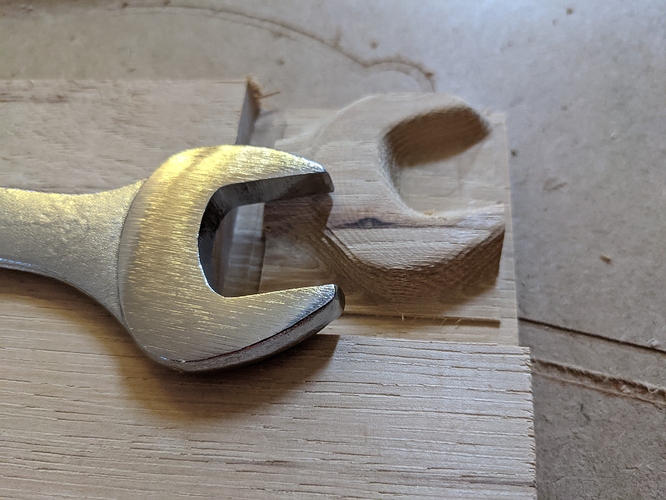
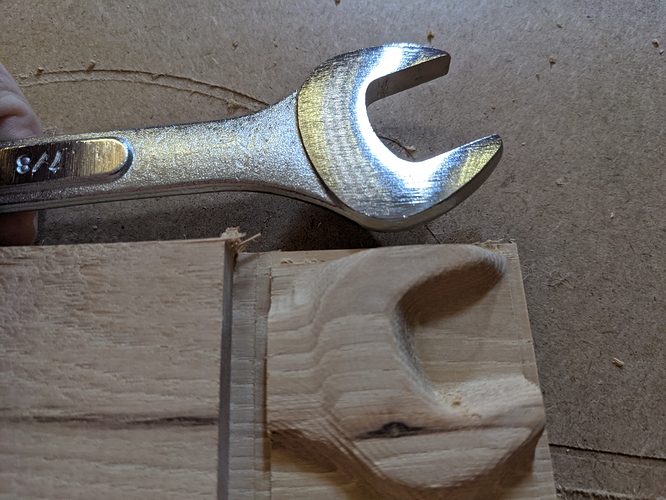

 . Especially as you expect smoothly curved surfaces.
