Anything in the works to make a 4’ cutting length machine or a mod to the xxl?
3 Likes
It is possible to use tiling to extend the effective Y of any shapeoko to an arbitrary length. I’ve used it to mill workpieces very nearly four feet long on my XXL (longer than the Y travel of the machine, at any rate), and much longer is possible.
But I don’t know if that will work for whatever you have in mind.
2 Likes
There is no length to what you can tile with VCarve or Aspire. I have done 2 foot by 8 foot sections for the Ron Paulk Work Bench to cut out all the holes on the top.
4 Likes
Do you need VCarve Pro to tile or can you do it with VCarve Desktop? Vectric’s website claims that VCarve Desktop does tiling, but I want to be sure.
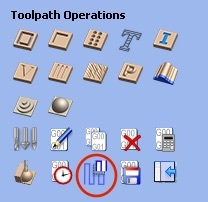
Just checked my version of V-carve Desktop and Toolpath Tiling is certainly available. The Tiling Manager is available when setting the toolpaths as shown here:
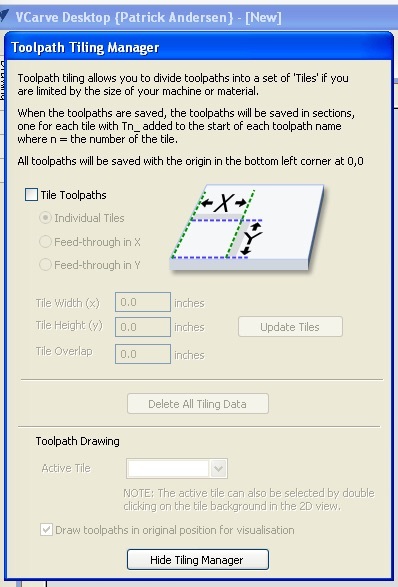
And that brings up the Toolpath Tiling Manager:
I have Pro so I can’t speak to the limitations of Desktop. IIRC Desktop limits the size of the project, which was the main reason I bought Pro in the first place; so tiling might only be helpful for machines smaller than that limit, to get them to that limit.
One thing to consider when tiling very long pieces thru the Shapeoko is whether your machine is against the wall. I’ve got plans for some long projects coming up and I’m going to cut a"mail slot" in the shop wall behind the machine. I’ll cover the slot on the outside of the shop with a strip of rubber to keep the weather out and I’ll be able to slide any length work piece right out the side of the shop and tile away to my merry heart’s content. If you space out “zero” and alignment holes within you project spaced the available length of your Y axis than you can extent the cut all you want. Careful consideration is all that is required. And remember “you can do it !!”
3 Likes
I was curious so I checked the product comparison on the Vectric website. Note the line that says ‘Cut parts larger than 24"x24" without tiling’ – checked for Pro, not checked for Desktop. I presume that means that Desktop can cut parts larger than 24"x24" with tiling. Probably still best to ask a Vectric rep to be sure though.
1 Like
Desktop can only cut a 24X24 piece on the bed. You can still do 24 X whatever with tiling. Pro has no limitations on size so you could have a 96 X 96 inch CNC if you wanted to build it.
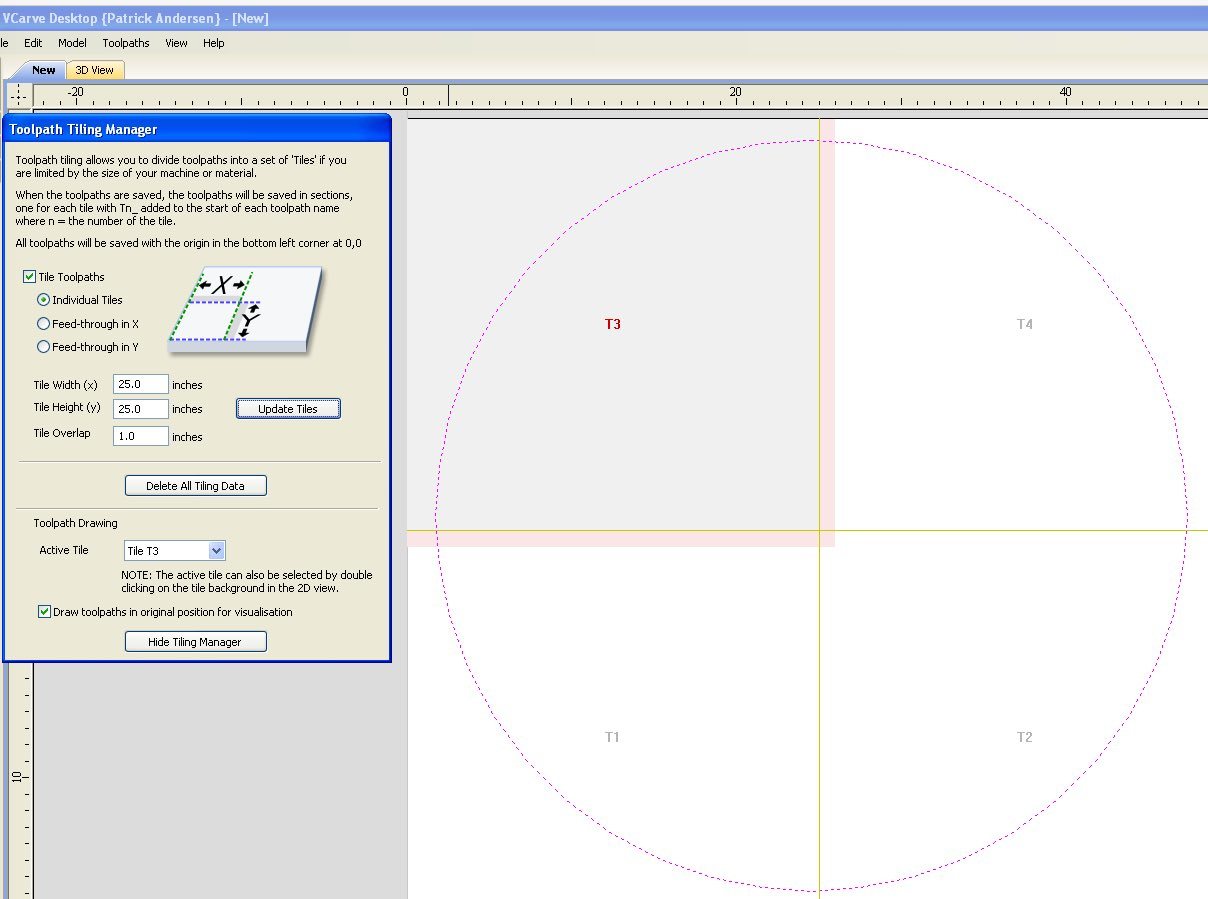
Thanks Matt, even though I haven’t used Desktop myself for Tiling Here are two further images that shows that Desktop will define toolpaths for tiling. The board was specified at 50 x 50 ins.
2 Likes
You can still design any size project in VC Desktop, you can only cut a maximum of 25"x25" tile. To allow overlap tool paths between tiles 24"x24" is the largest tile size I run.
If you need to upgrade to Pro from Desktop you only pay the difference. This may change with v9 being released soon, v8 was the first Desktop version
How do you reliably index the workpiece when moving it into position for each tile section? Does VCarve add index holes or something?
Thanks!
G’day again Danny. No V-Carve doesn’t make any registration (index) marks, you could probably make them yourself in V-Carve if you careful position them.
As I noted earlier I haven’t done any tiling myself but a quick Google search produced this:
http://cncsharktalk.com/viewtopic.php?f=2&t=473
There are probably other links out there but this may give you a start. I’d be inclined to try it on something simple first, probably some shallow profile cuts at 45 deg across the tiles - if errors in your method are going to show up it will be with 45 deg cuts.
Your test piece need not be 4 feet long, much shorter would be OK just use the tiling option on a shorter piece to get the hang of it.
1 Like
Shopbot has a good video on YouTube tiling in V-Carve. You can make registration holes, or simply mark on the edge of your workpiece and mark your fence.
It seems more difficult than what it is. My first run at tiling I was able to make a 48" x 72" sign from Beetle Kill pine. On a standard SO3. It came out great. 3 16" wide boards glued up after the fact for those wondering how I got 48" of stock thru a machine that is 25" wide.
3 Likes
Thanks Craig that tiling with Vcarve video is excellent. Here is the link for others:
1 Like
I added registration holes to the design in the overlap region myself. I am not aware of any special “help” from the software. Note that registration features don’t have to be located at the zero for the next tile: you just have to know the offsets and take them into consideration.
One annoying limitation in Vcarve tiling is that zero has to be the lower left corner of the current tile. There have been times when I would have preferred elsewhere.
1 Like
From the Vectric (V-Carve) Forum, another way to tile:
http://forum.vectric.com/viewtopic.php?f=3&t=26703
Worked up an image which shows one way to do this sort of thing:

Basically start with a 16" square w/ a pair of indexing holes at one end (a known dimension from the edge). Adjust its length until the other edge aligns against an empty area in the design. Clone the square and holes and overlap it at that edge by twice the dimension the holes are inset. Repeat until one reaches the end. When setting up machining, do only those parts which are wholly enclosed by a given panel.
3 Likes