Thanks! Looking forward to folks trying this out — I think the larger tool simplifies things sufficiently that it should be straight-forward for folks to cut.
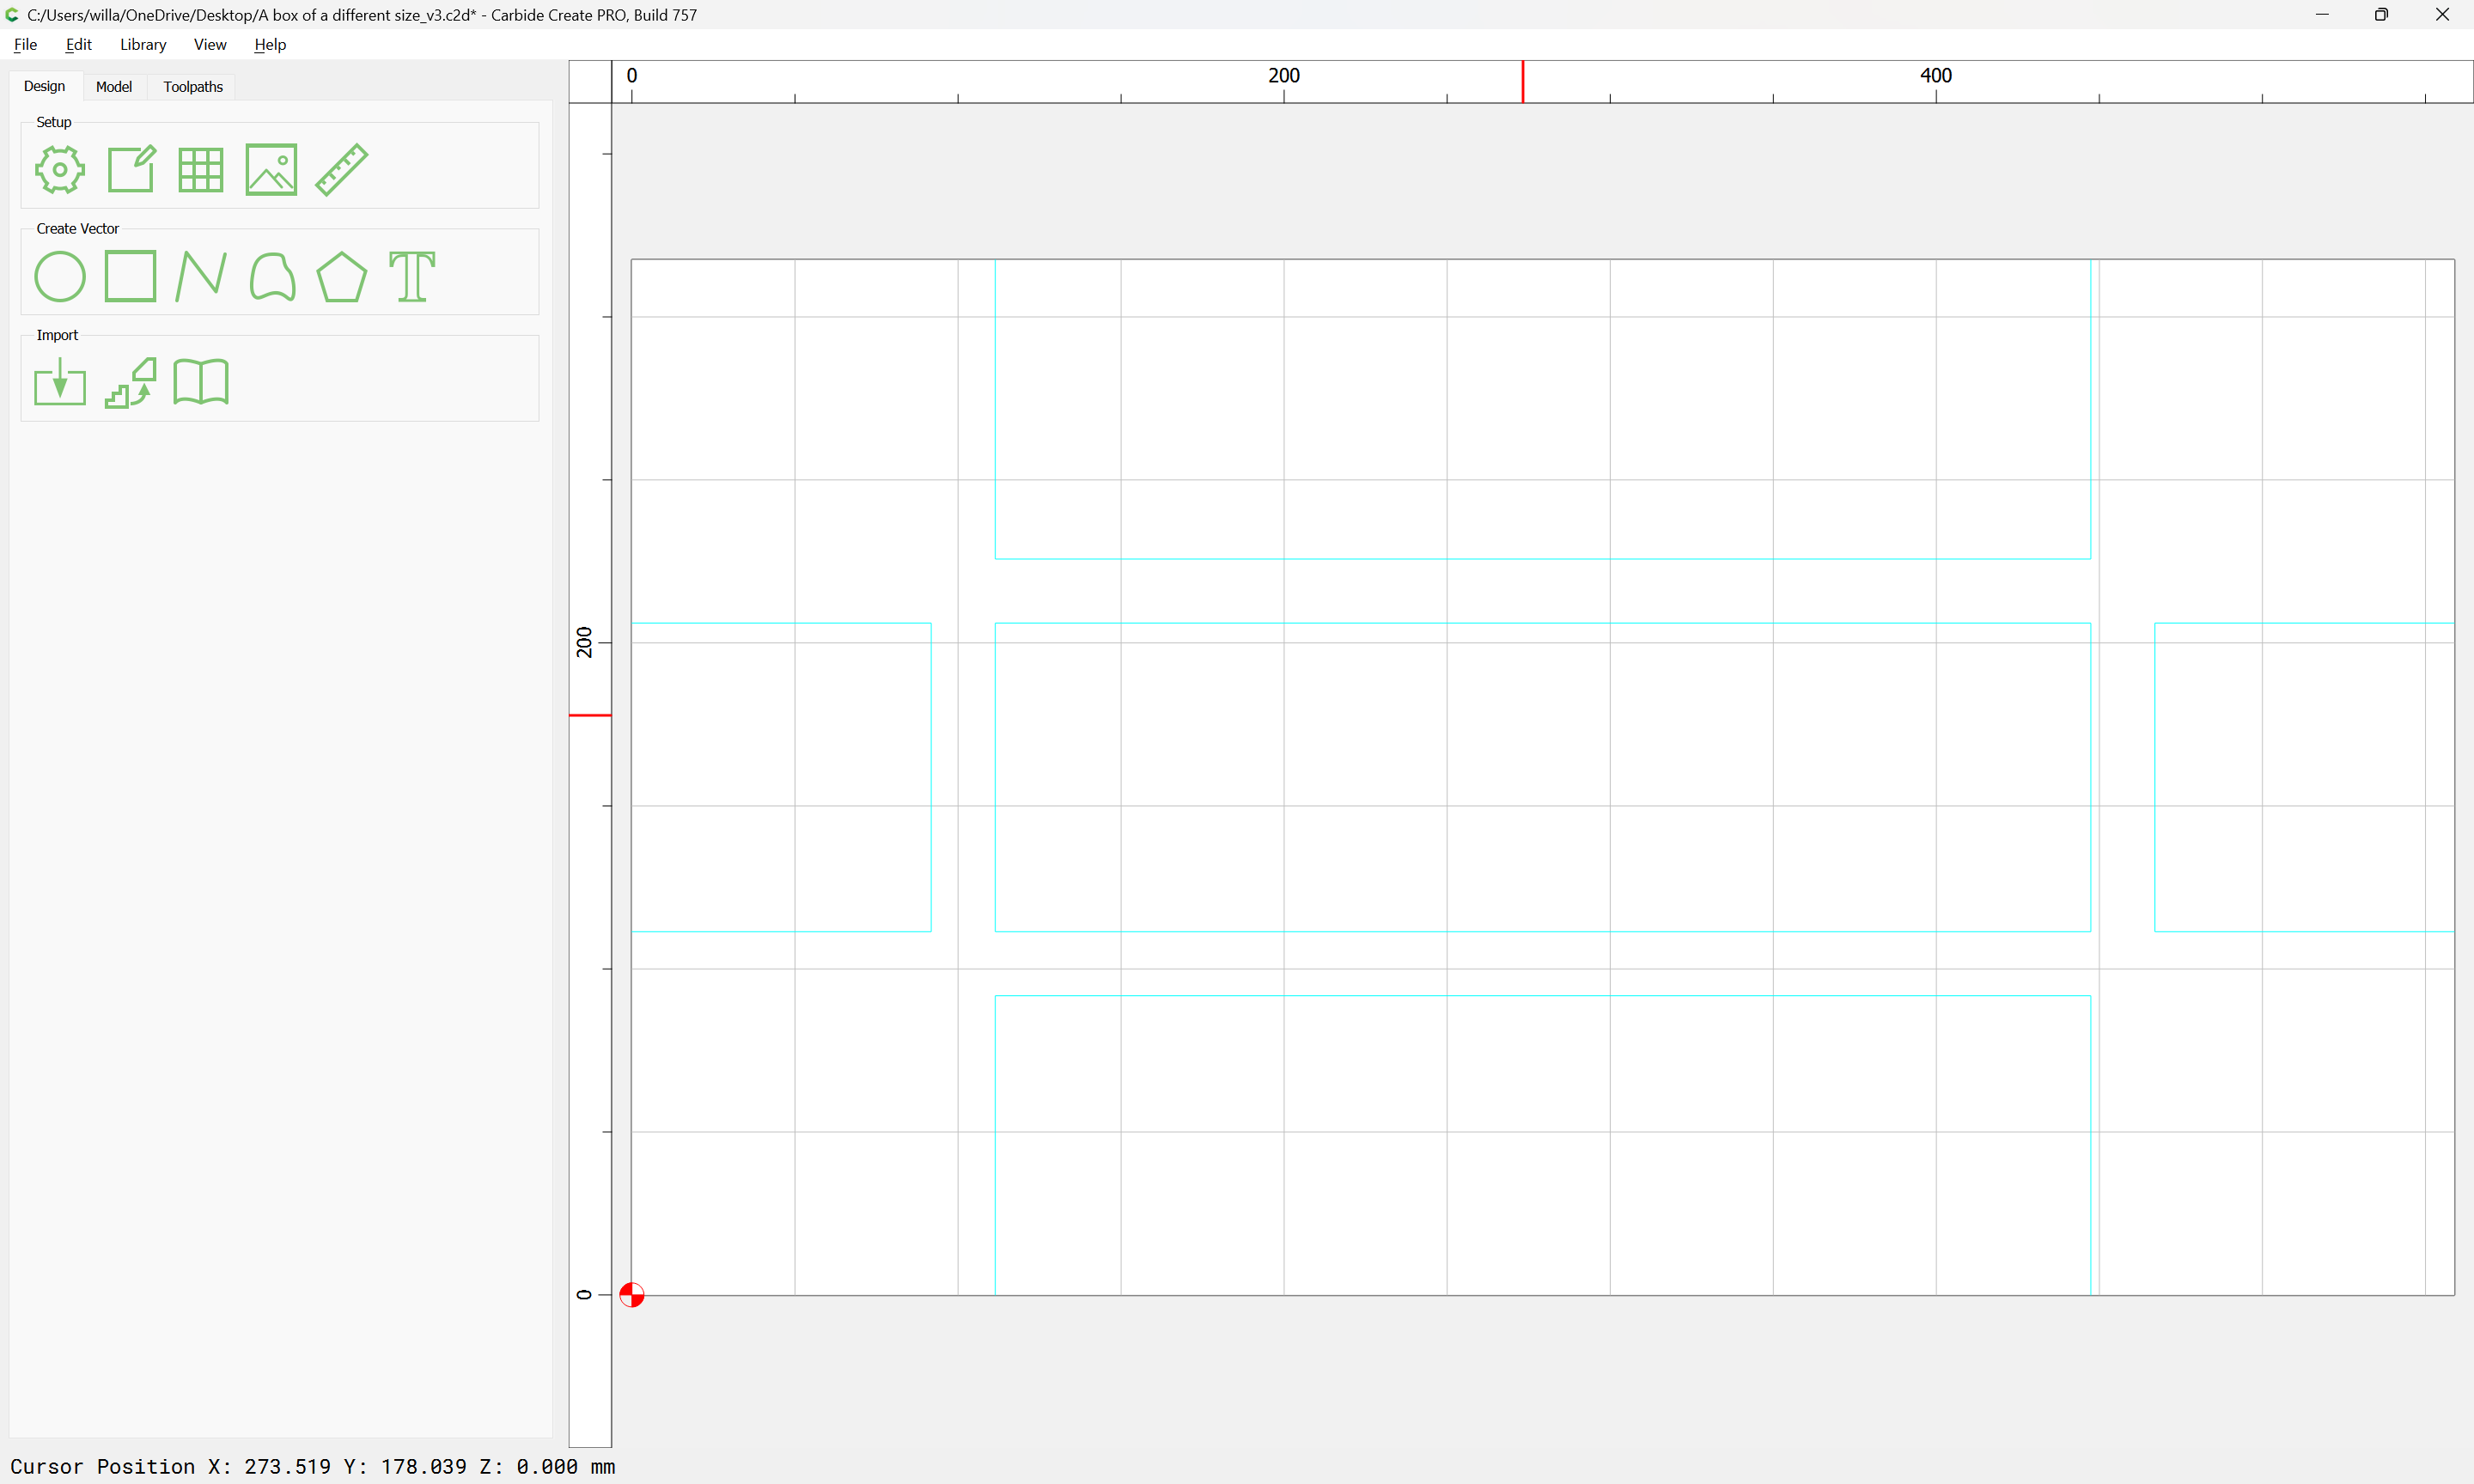
Adjust the inset geometry for the initial V carving to be at diameter:
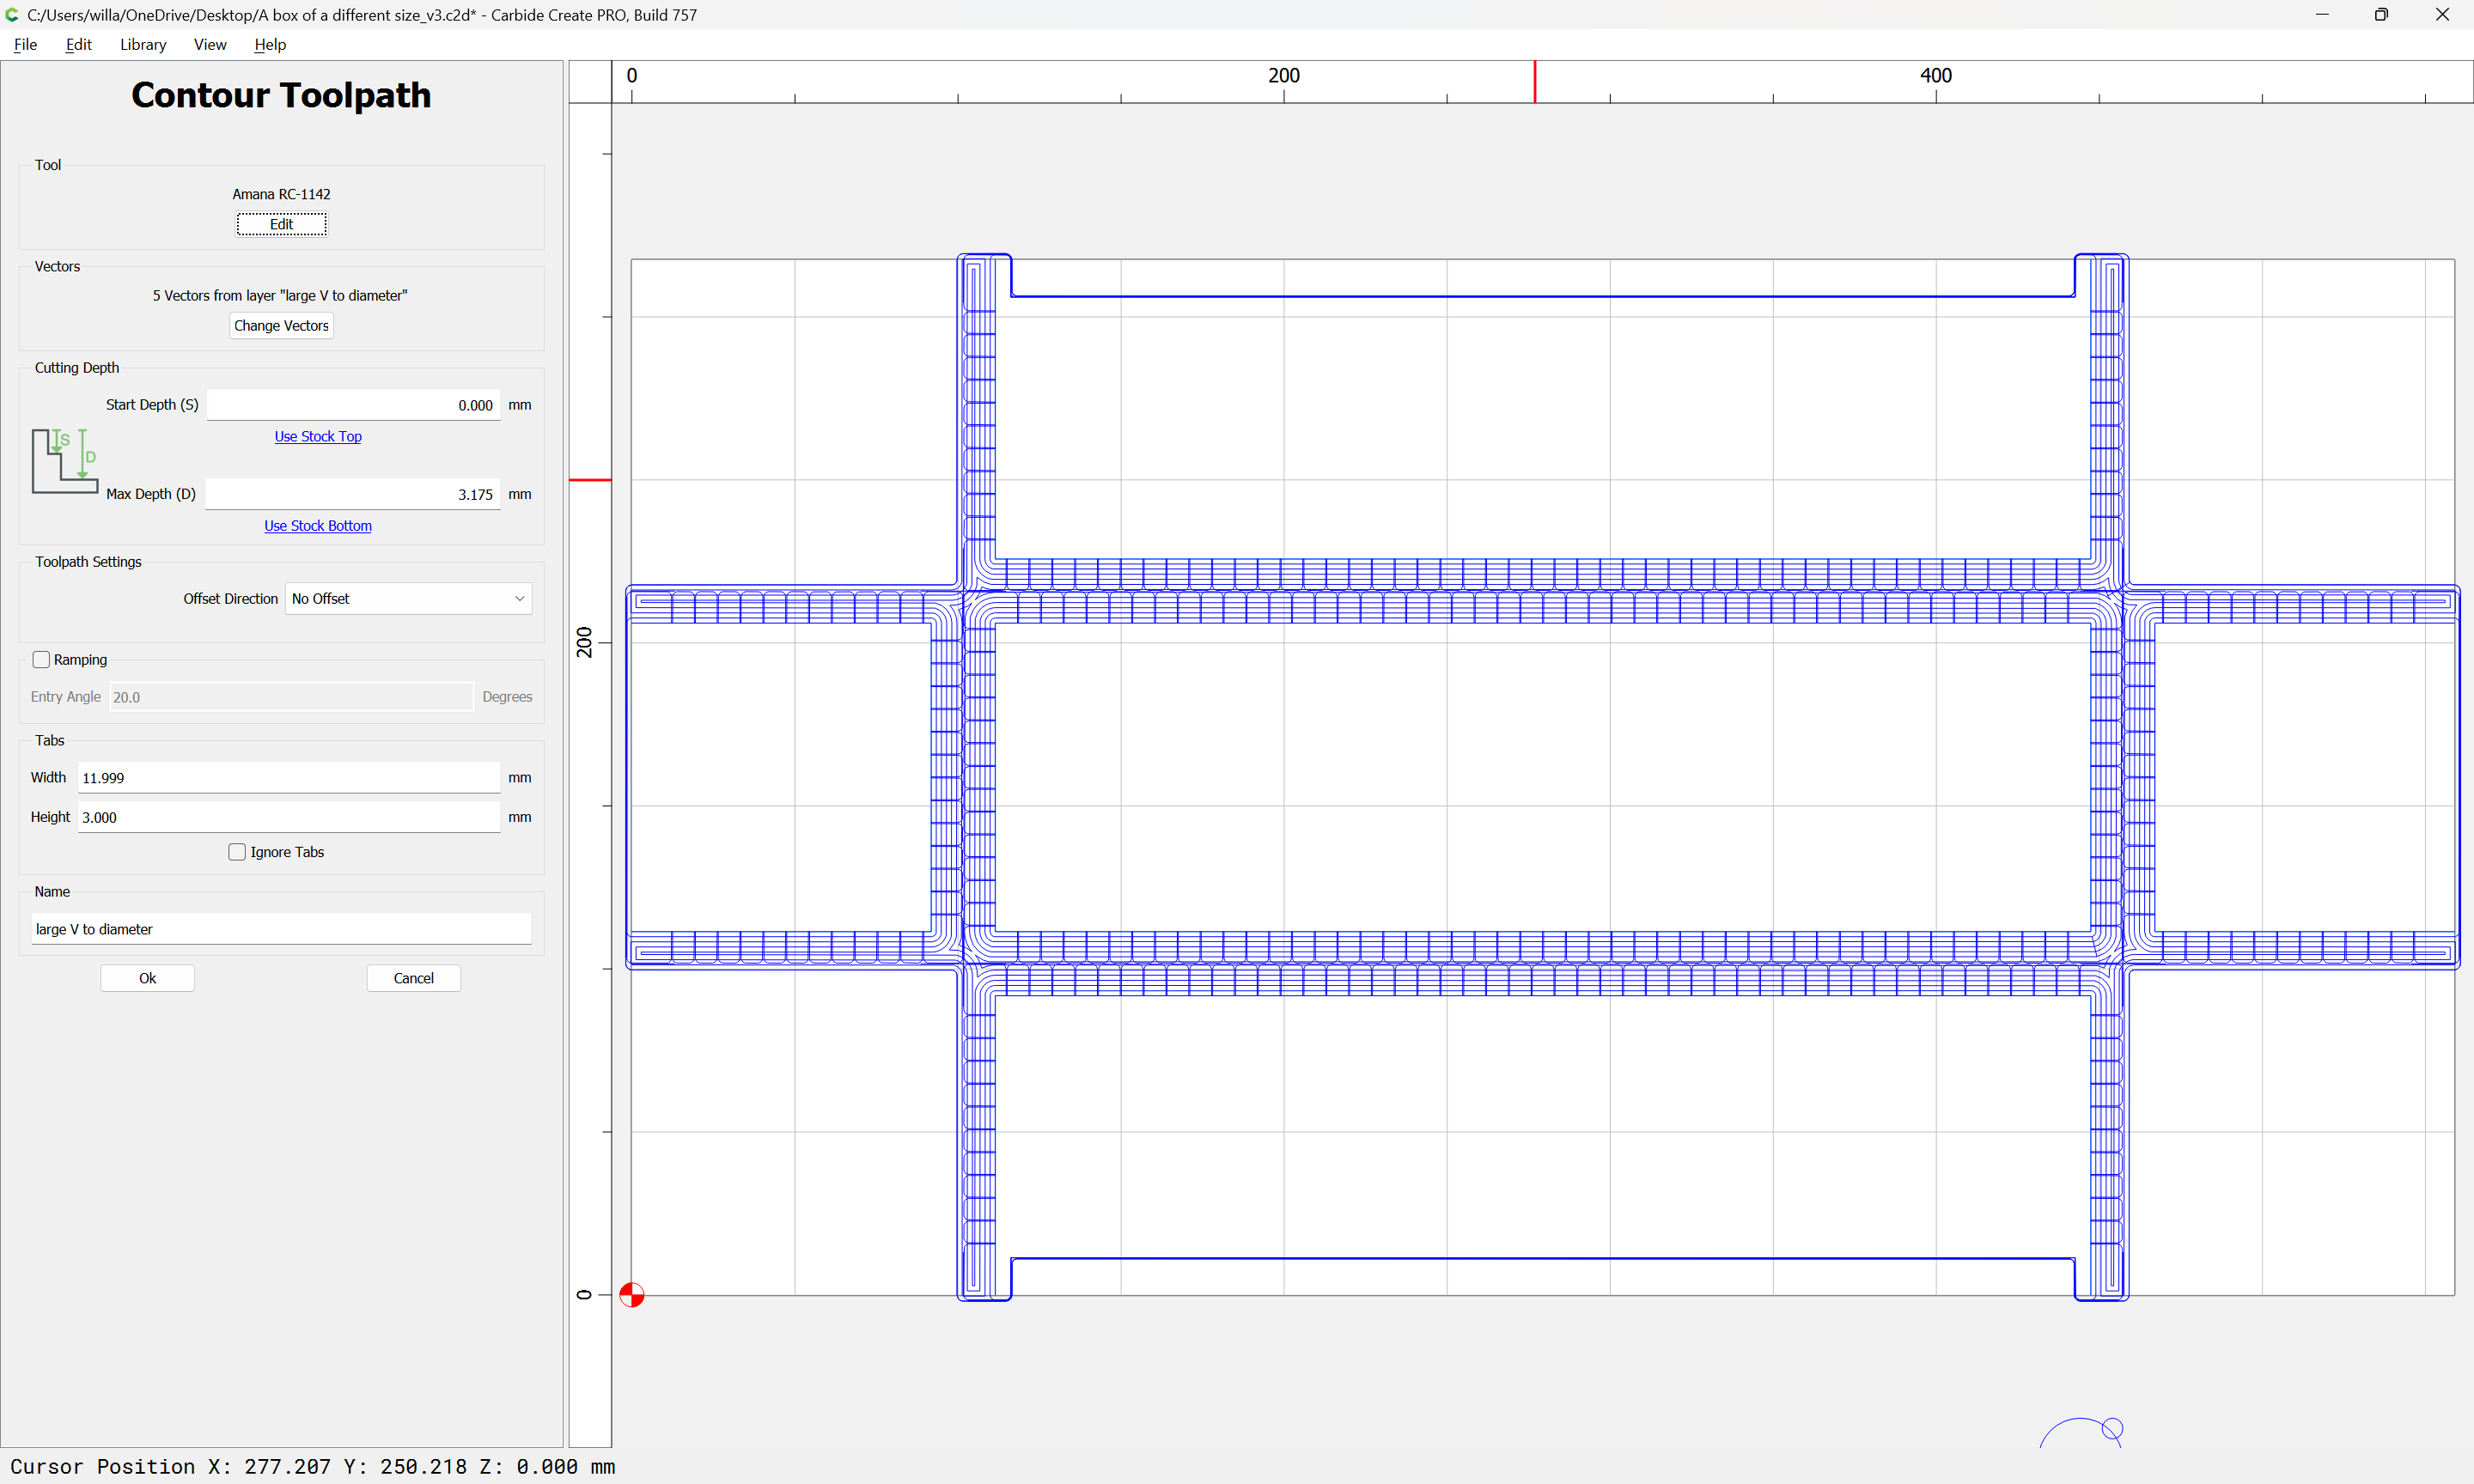
and the toolpath to match:
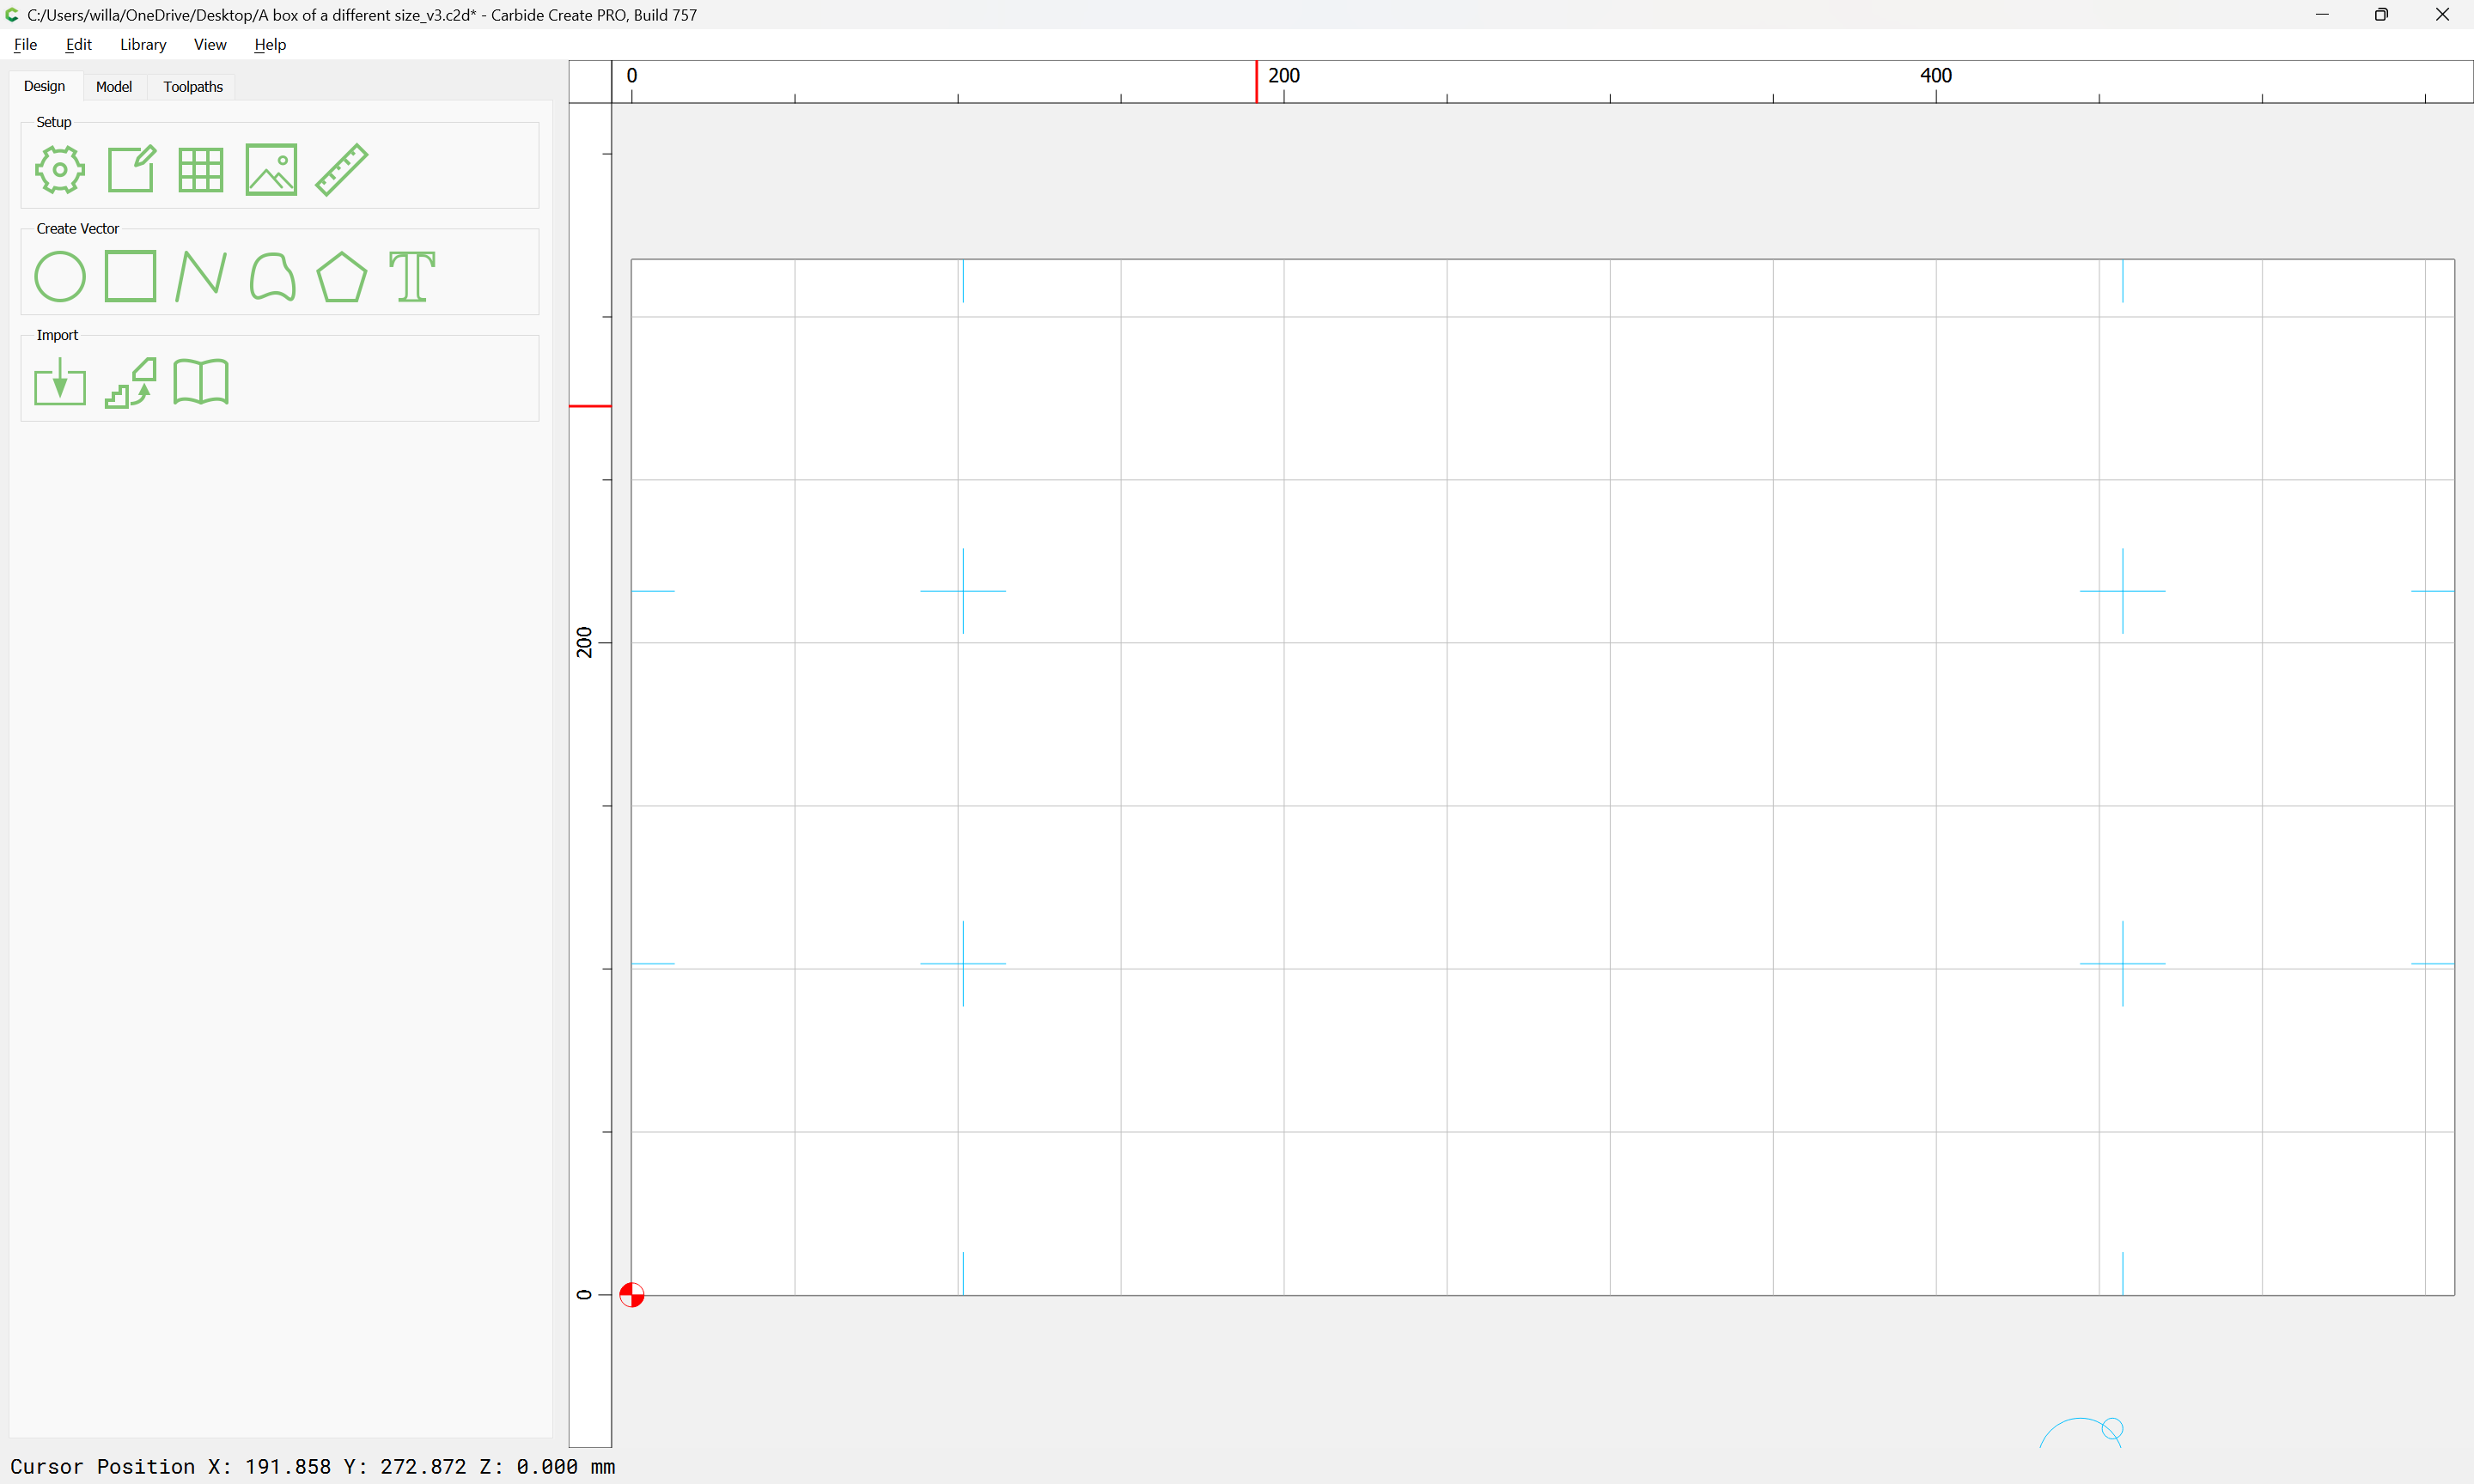
Adjust the open geometry for the full-depth V carving to project stock thickness from the corners:
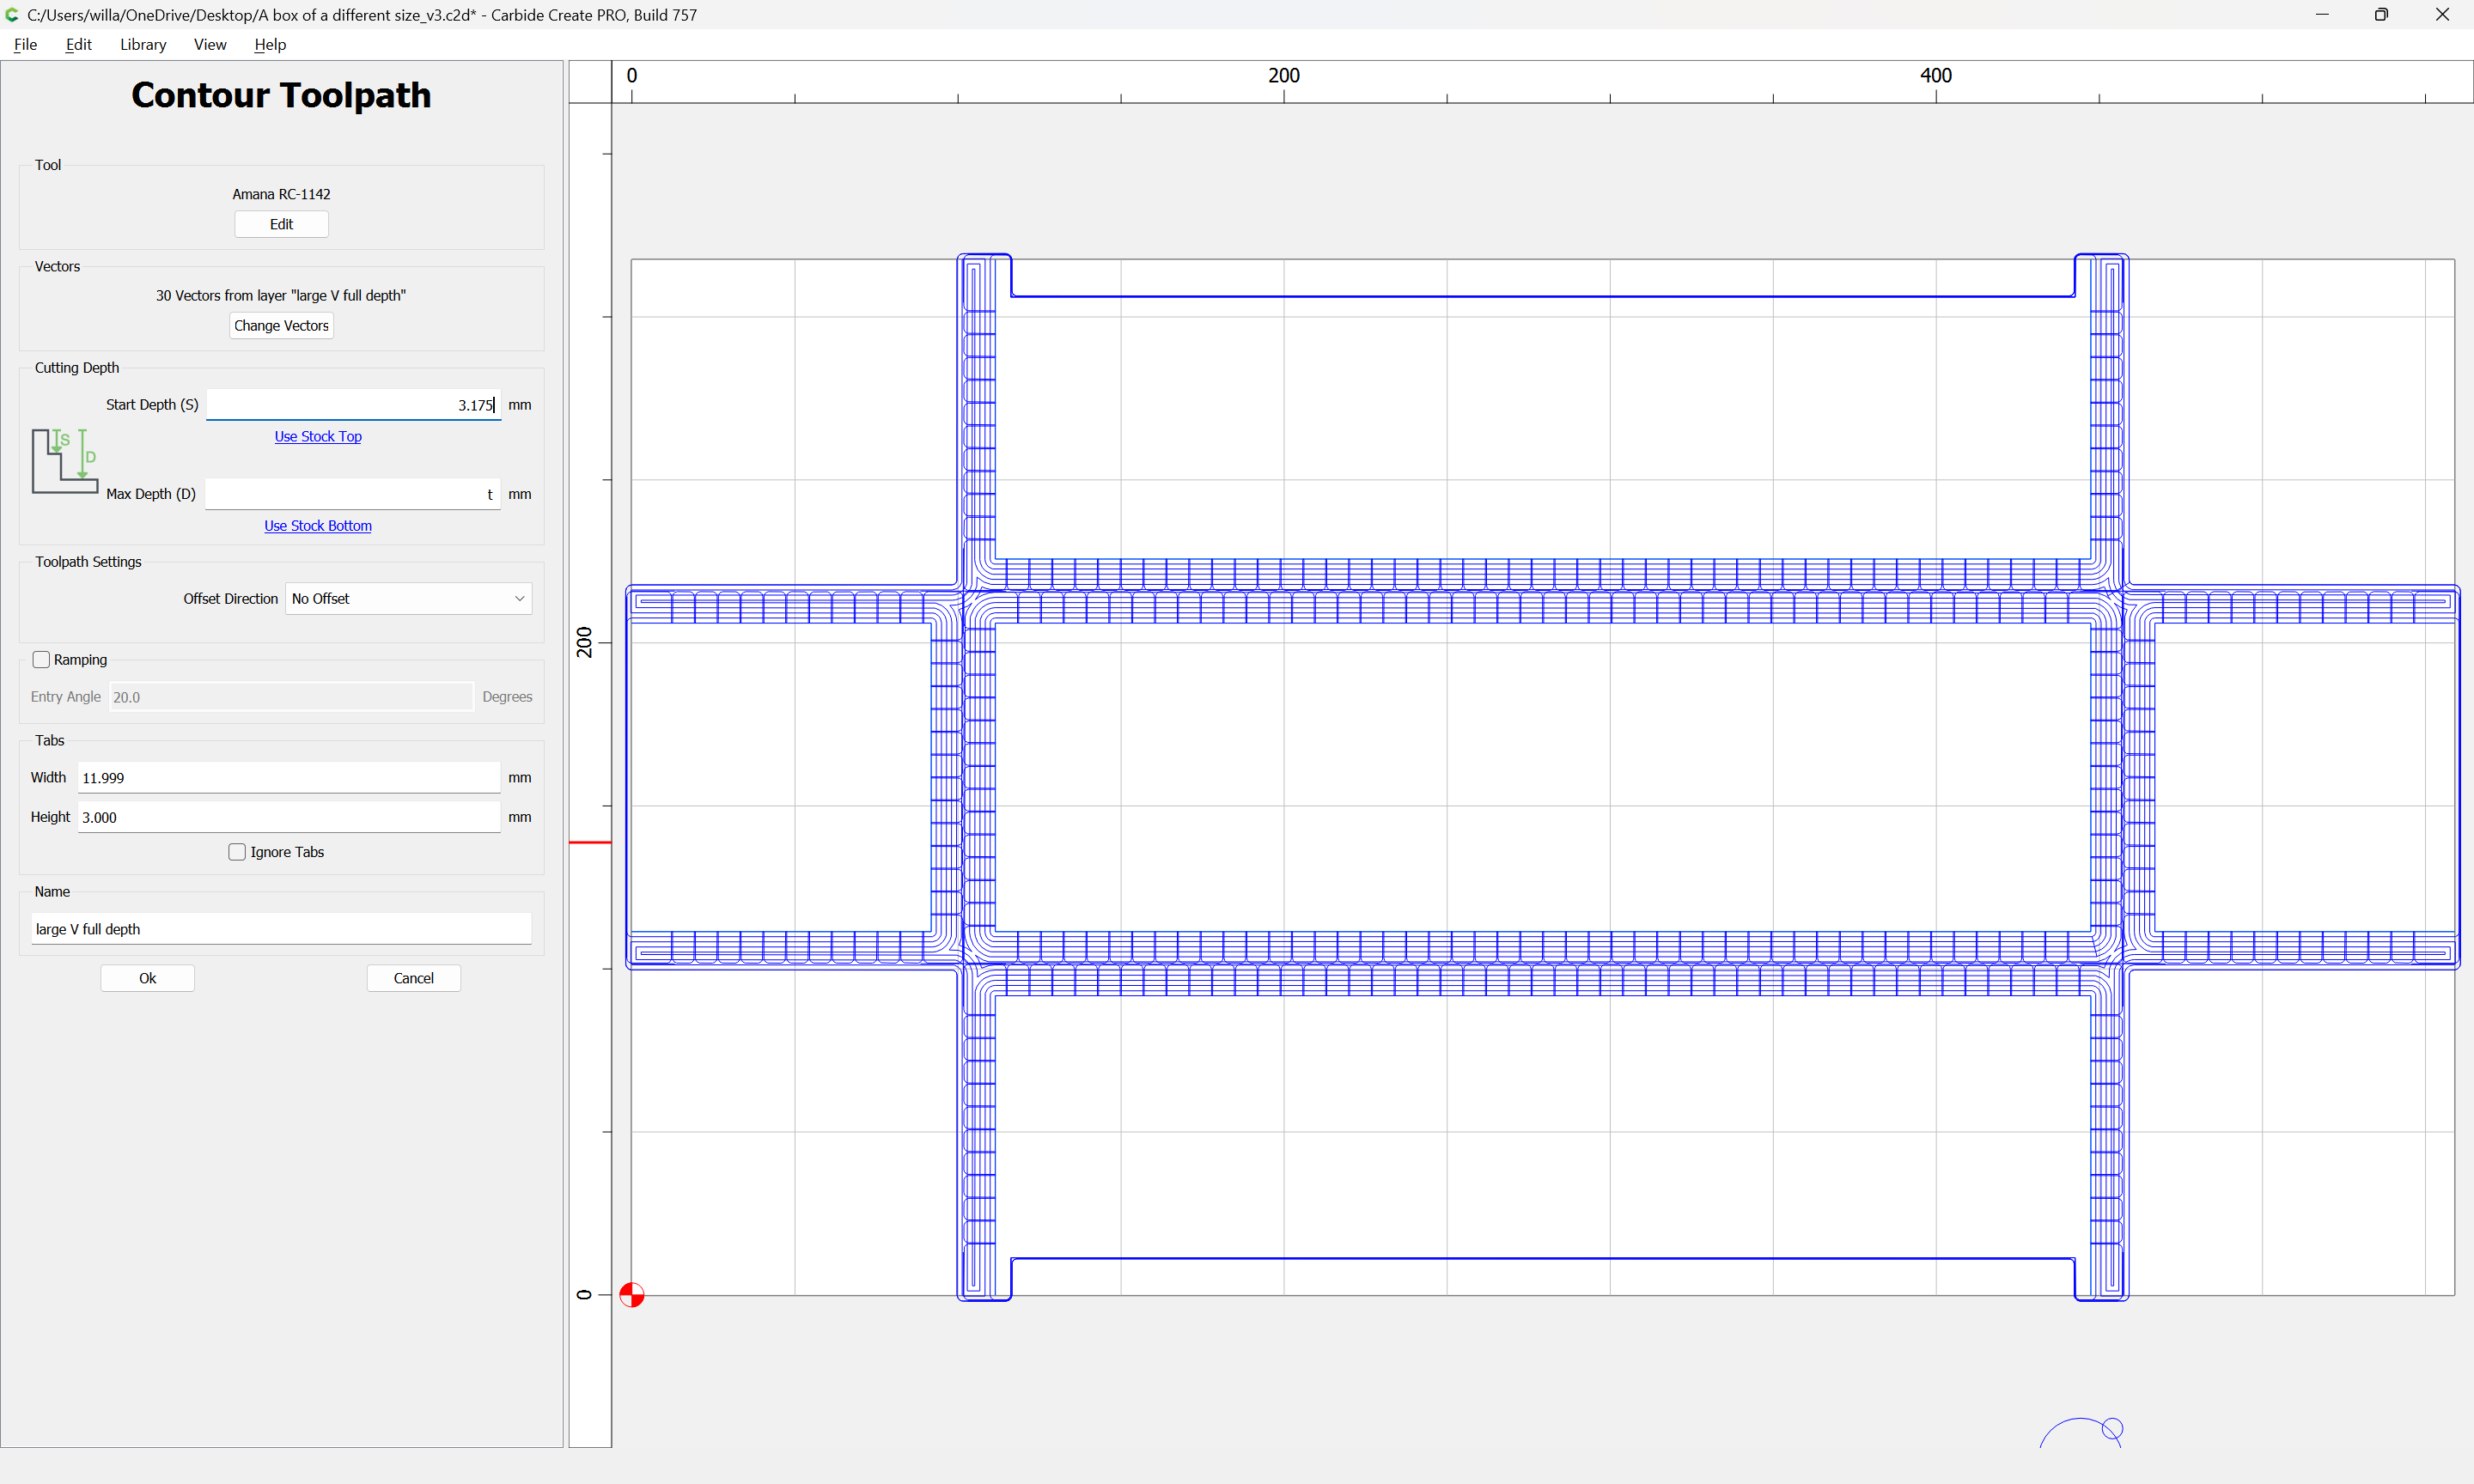
and adjust the toolpaths to match:
(a further optimization would be to determine how low the tool can be lowered before coming into contact with the sides of the channel)
For the small V to full depth geometry, it should reduce time to only cut in-between the full-depth V passes w/ the large tool:
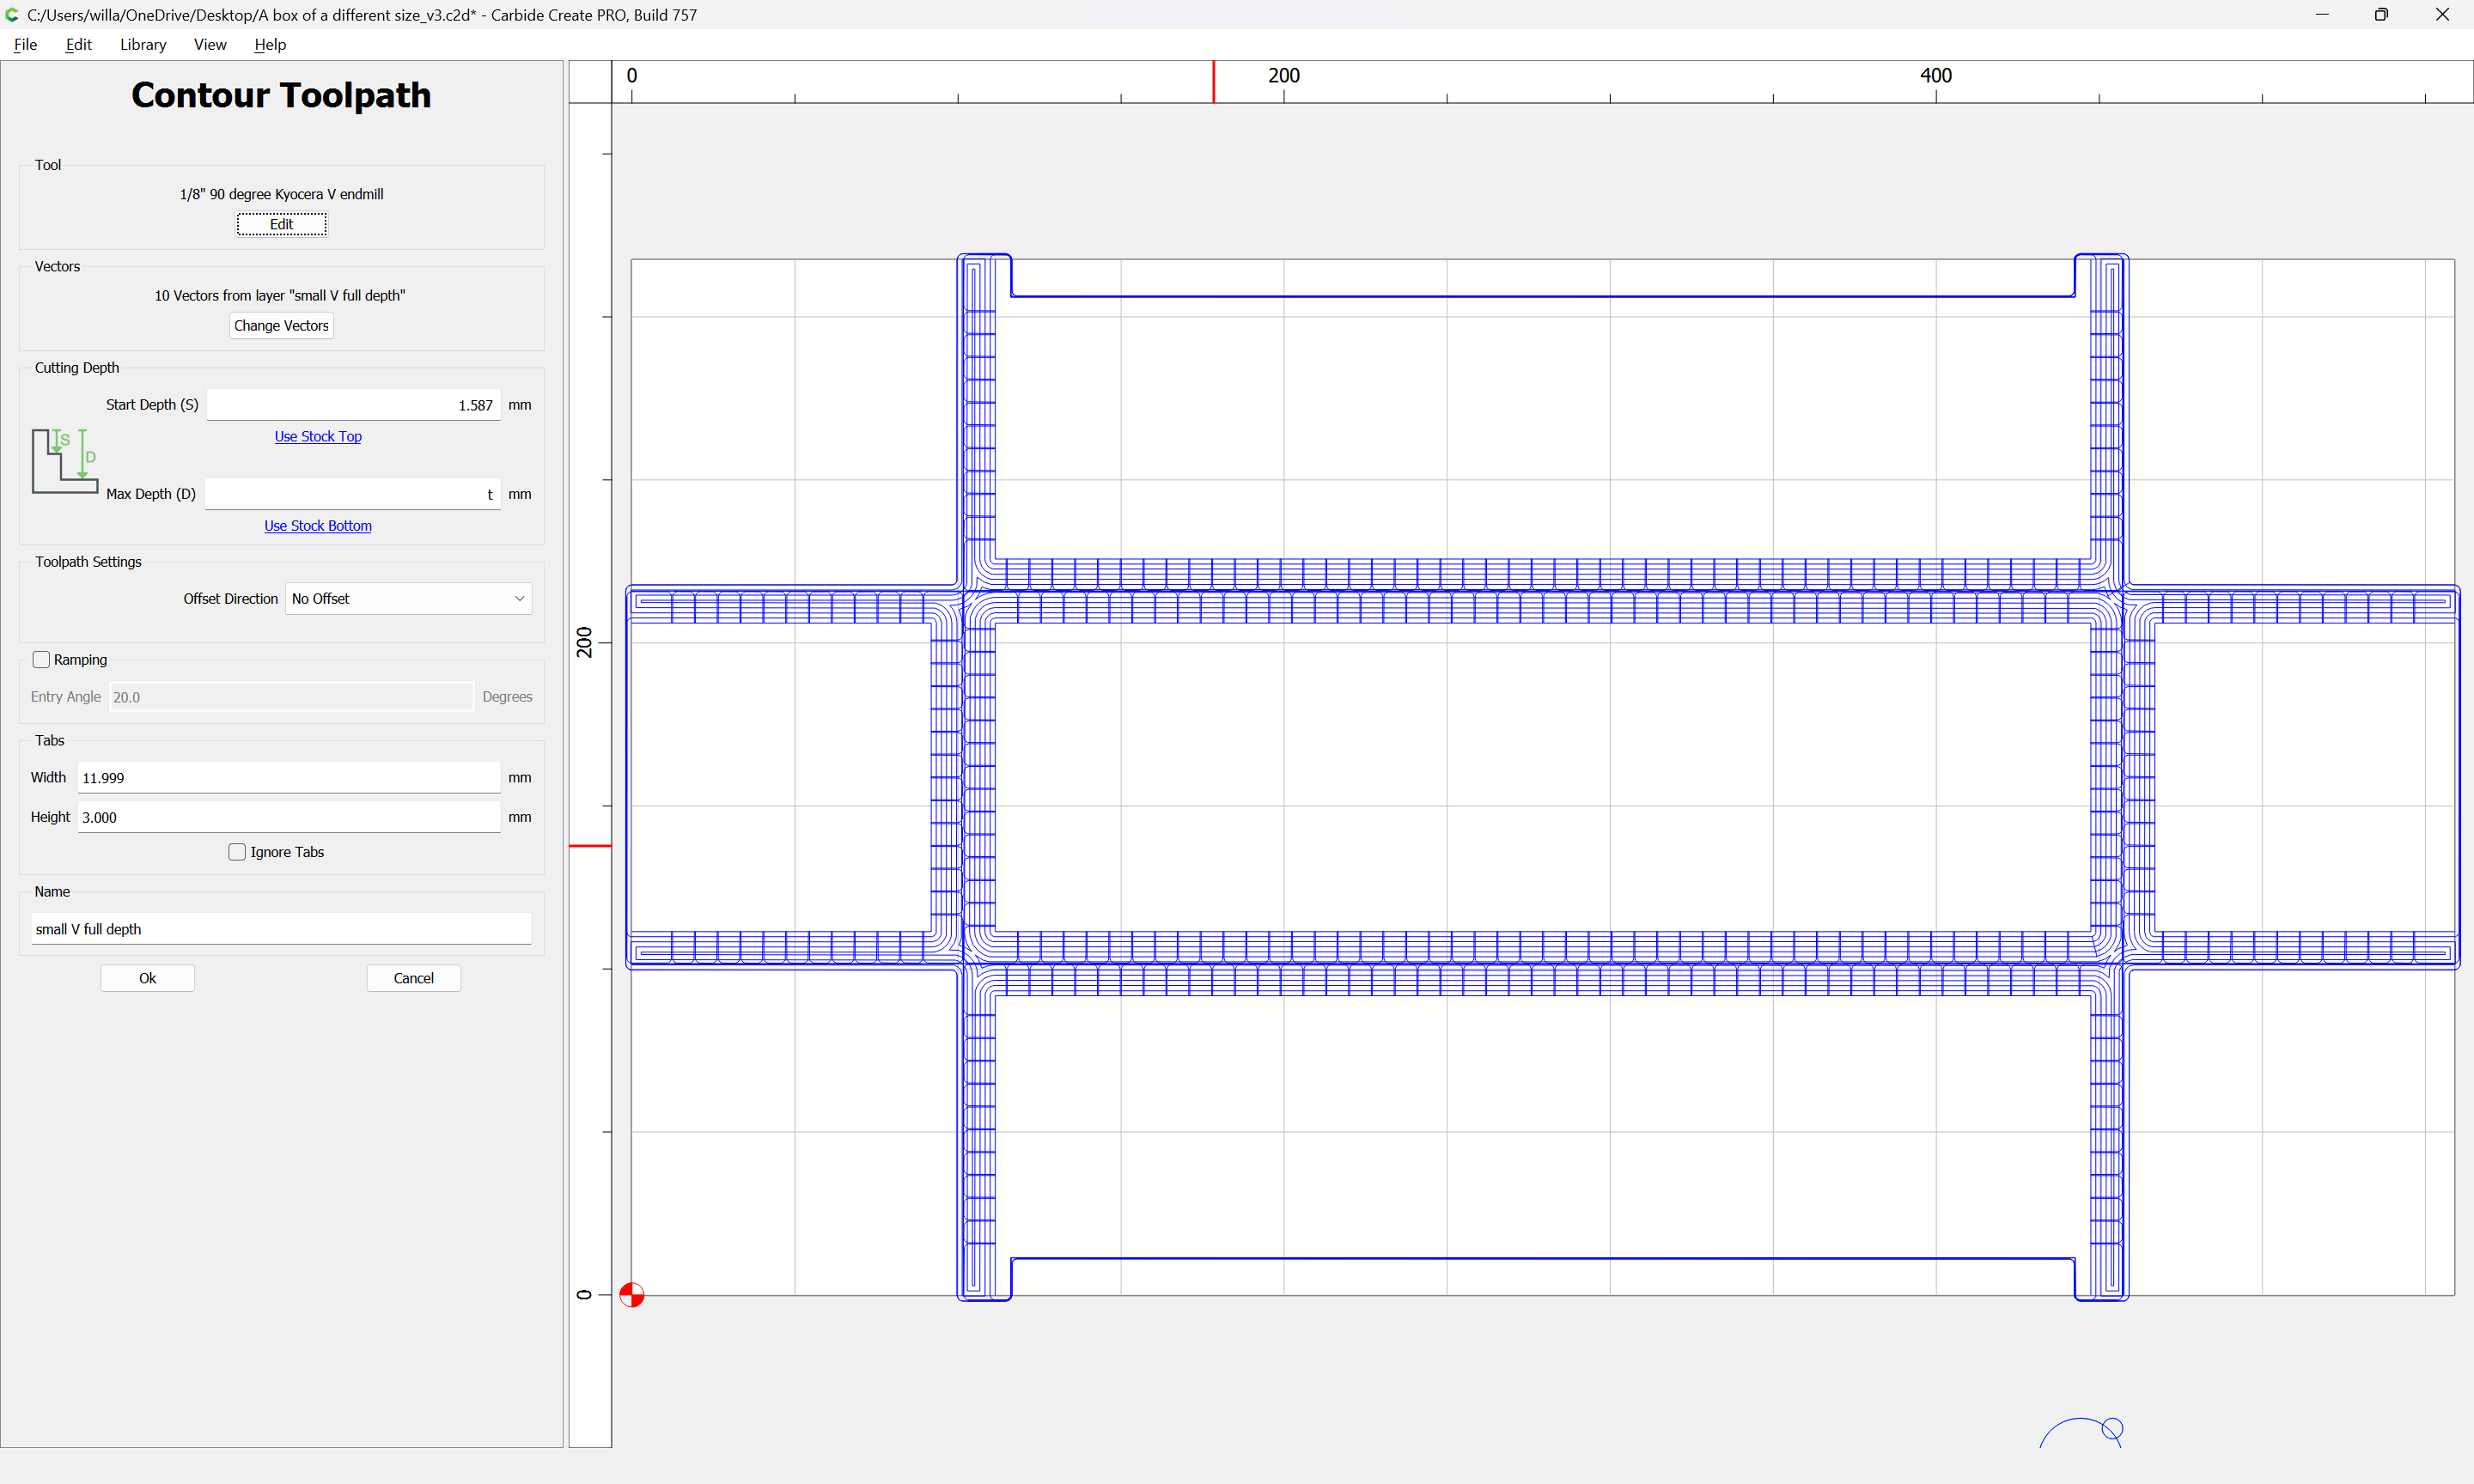
which all previews as expected:
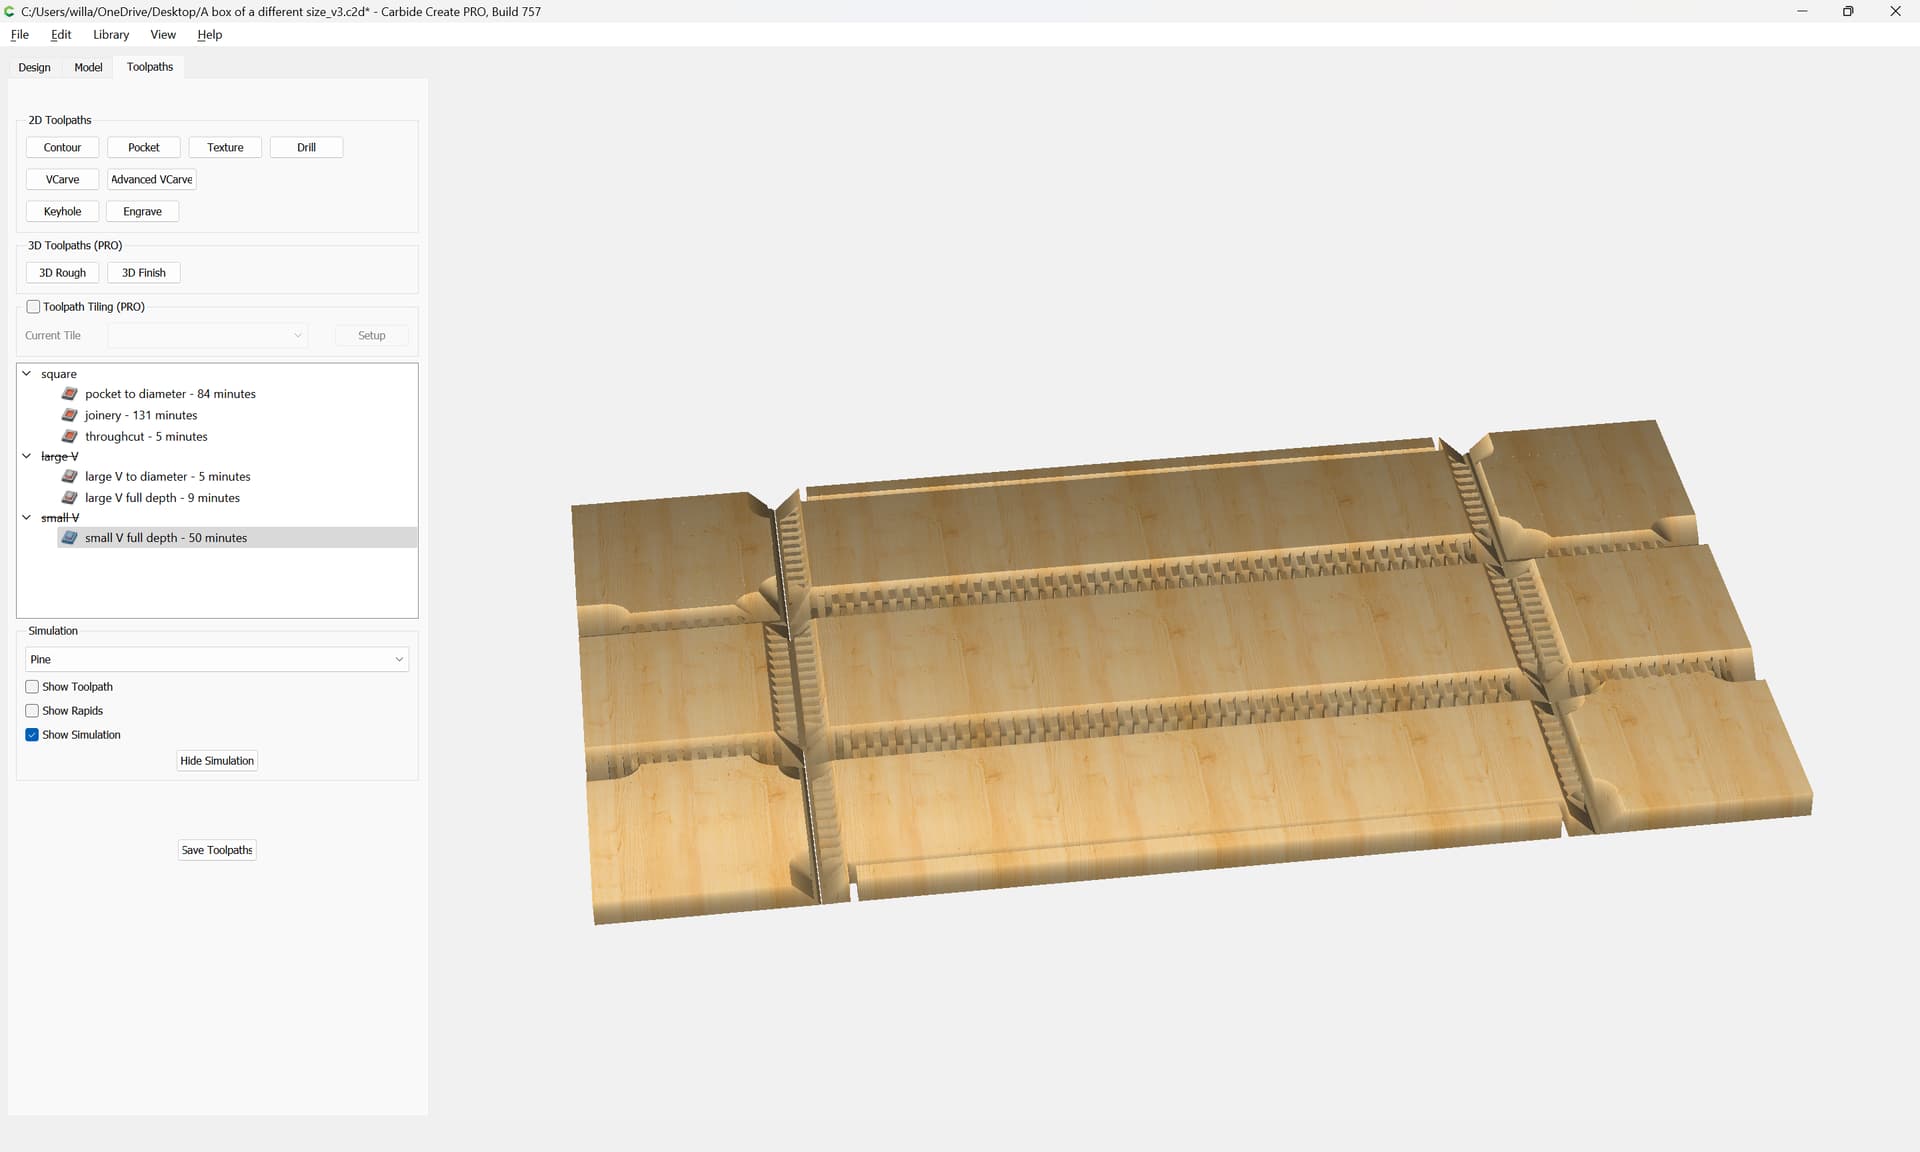
and the box should be done:
A box of a different size_v3.c2d (212 KB)
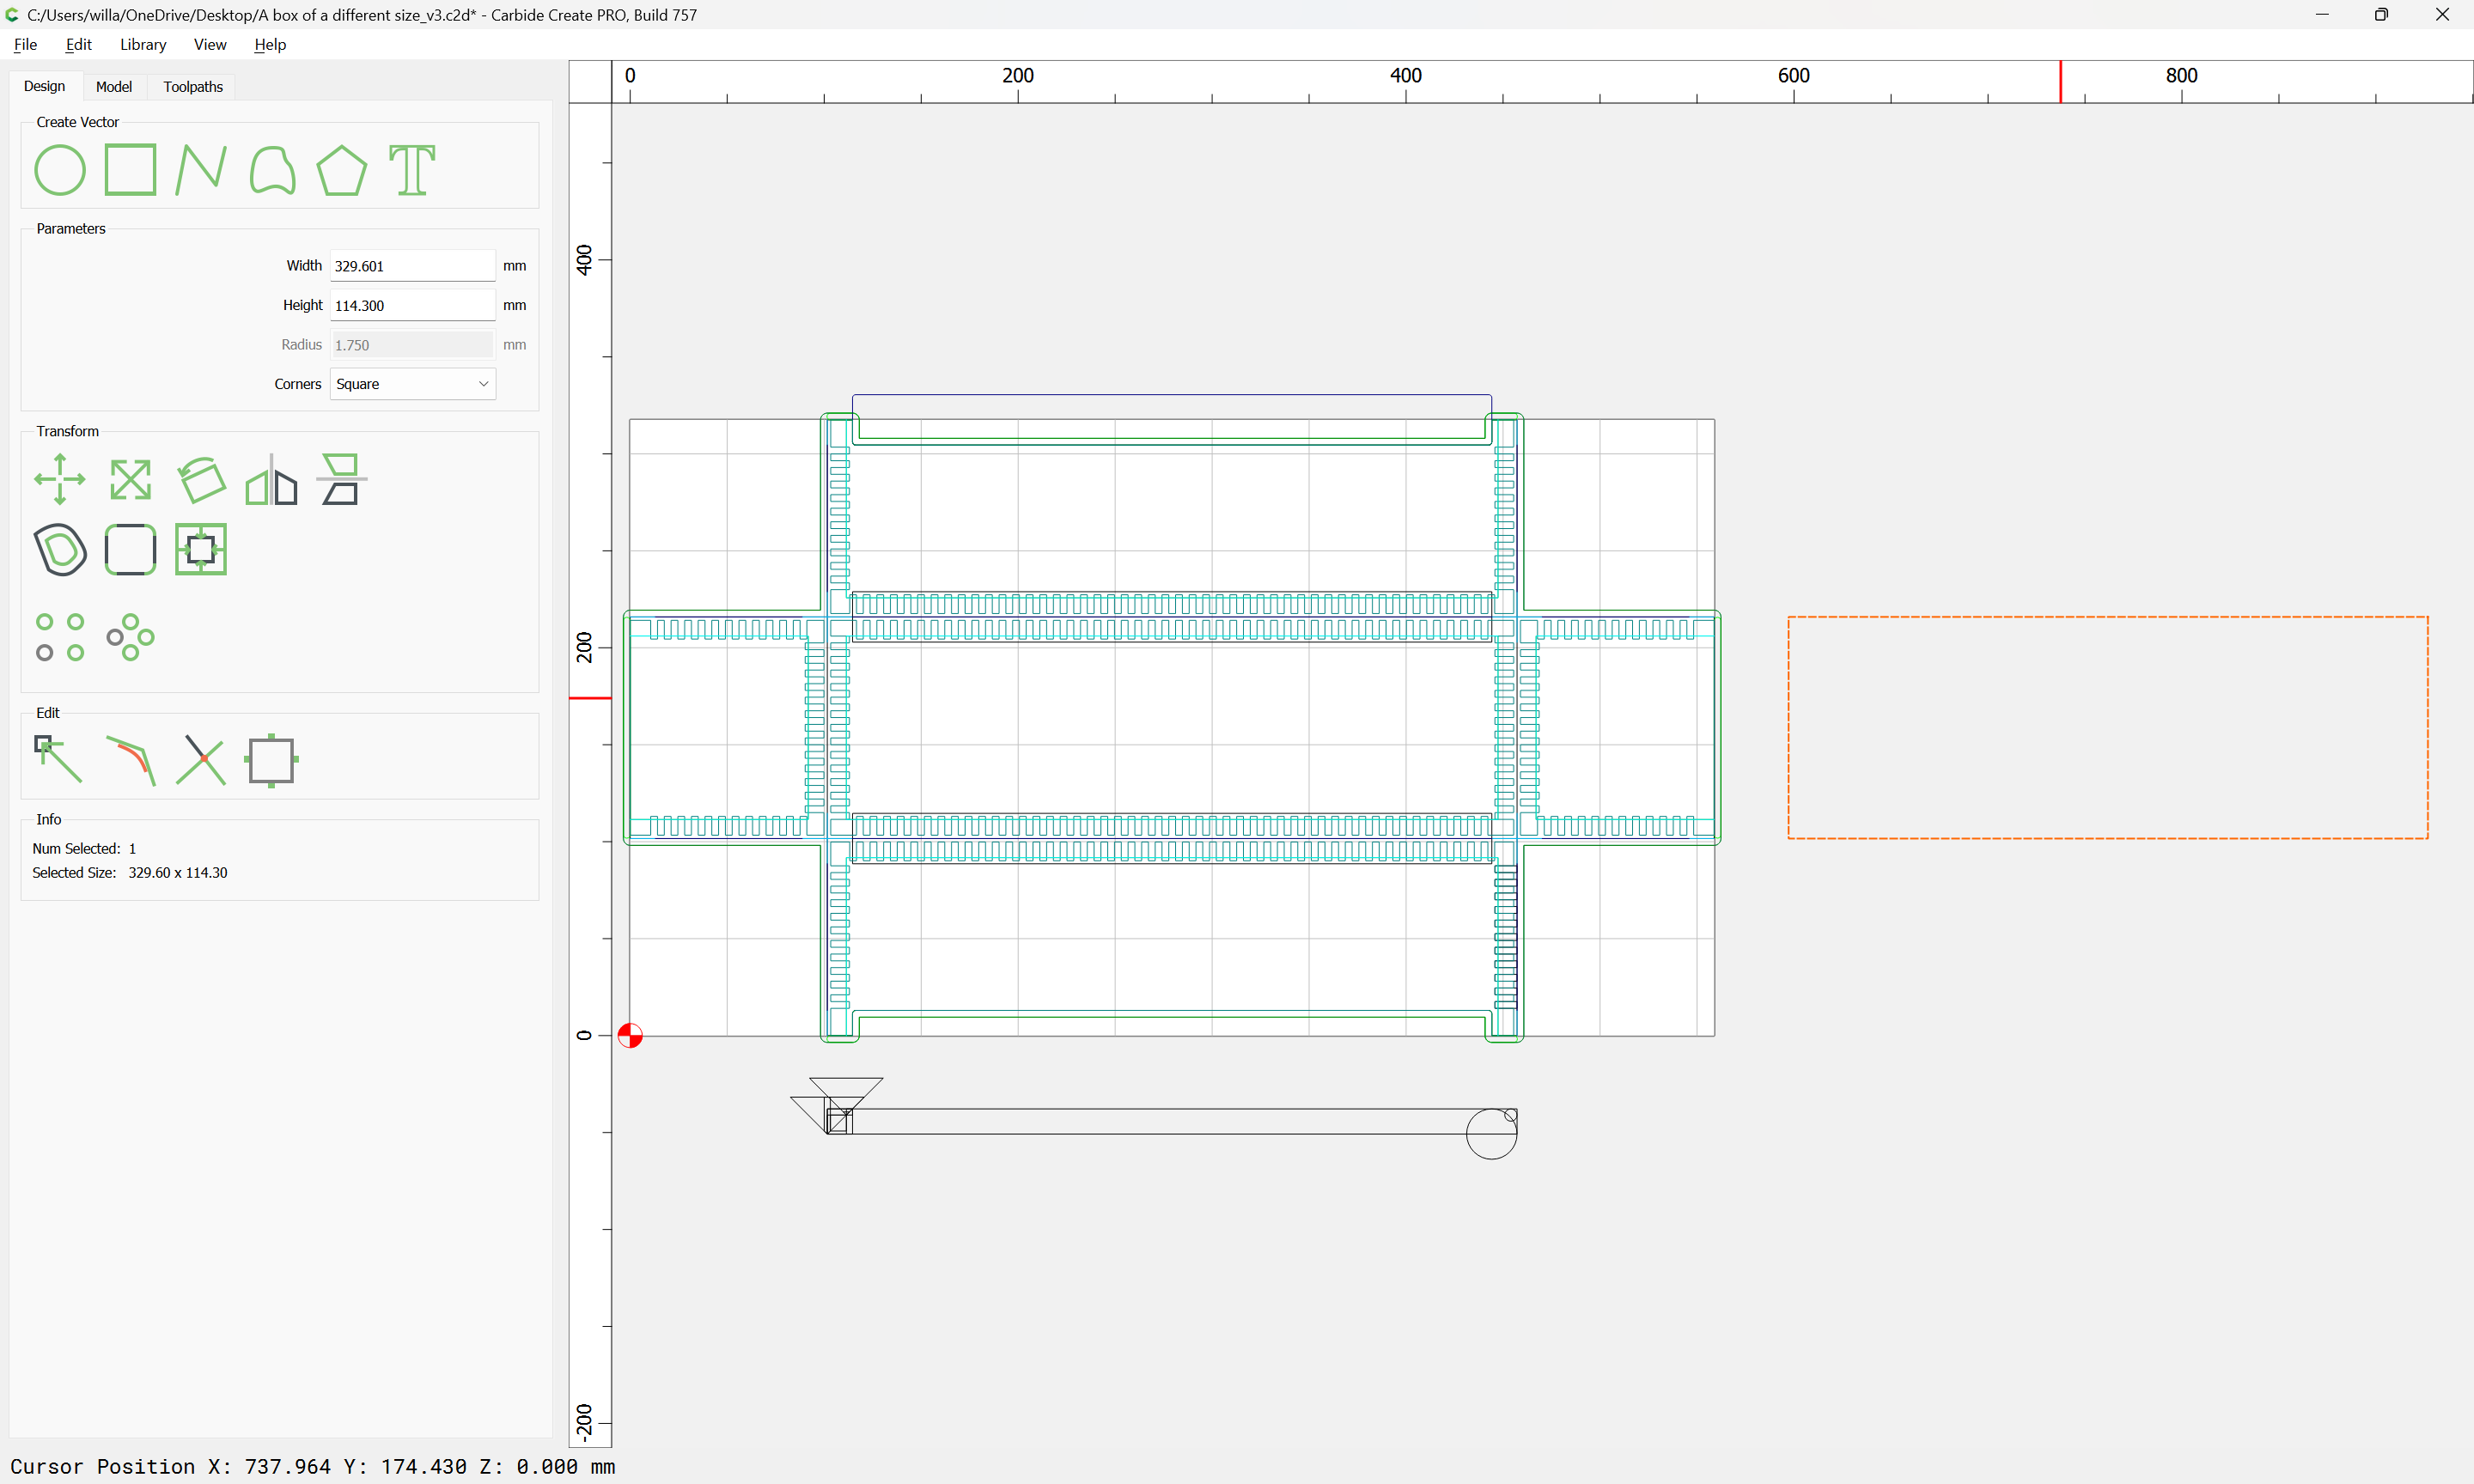
Note that for such joinery, esp. if cut in that orientation it may be necessary to calibrate for belt stretch:
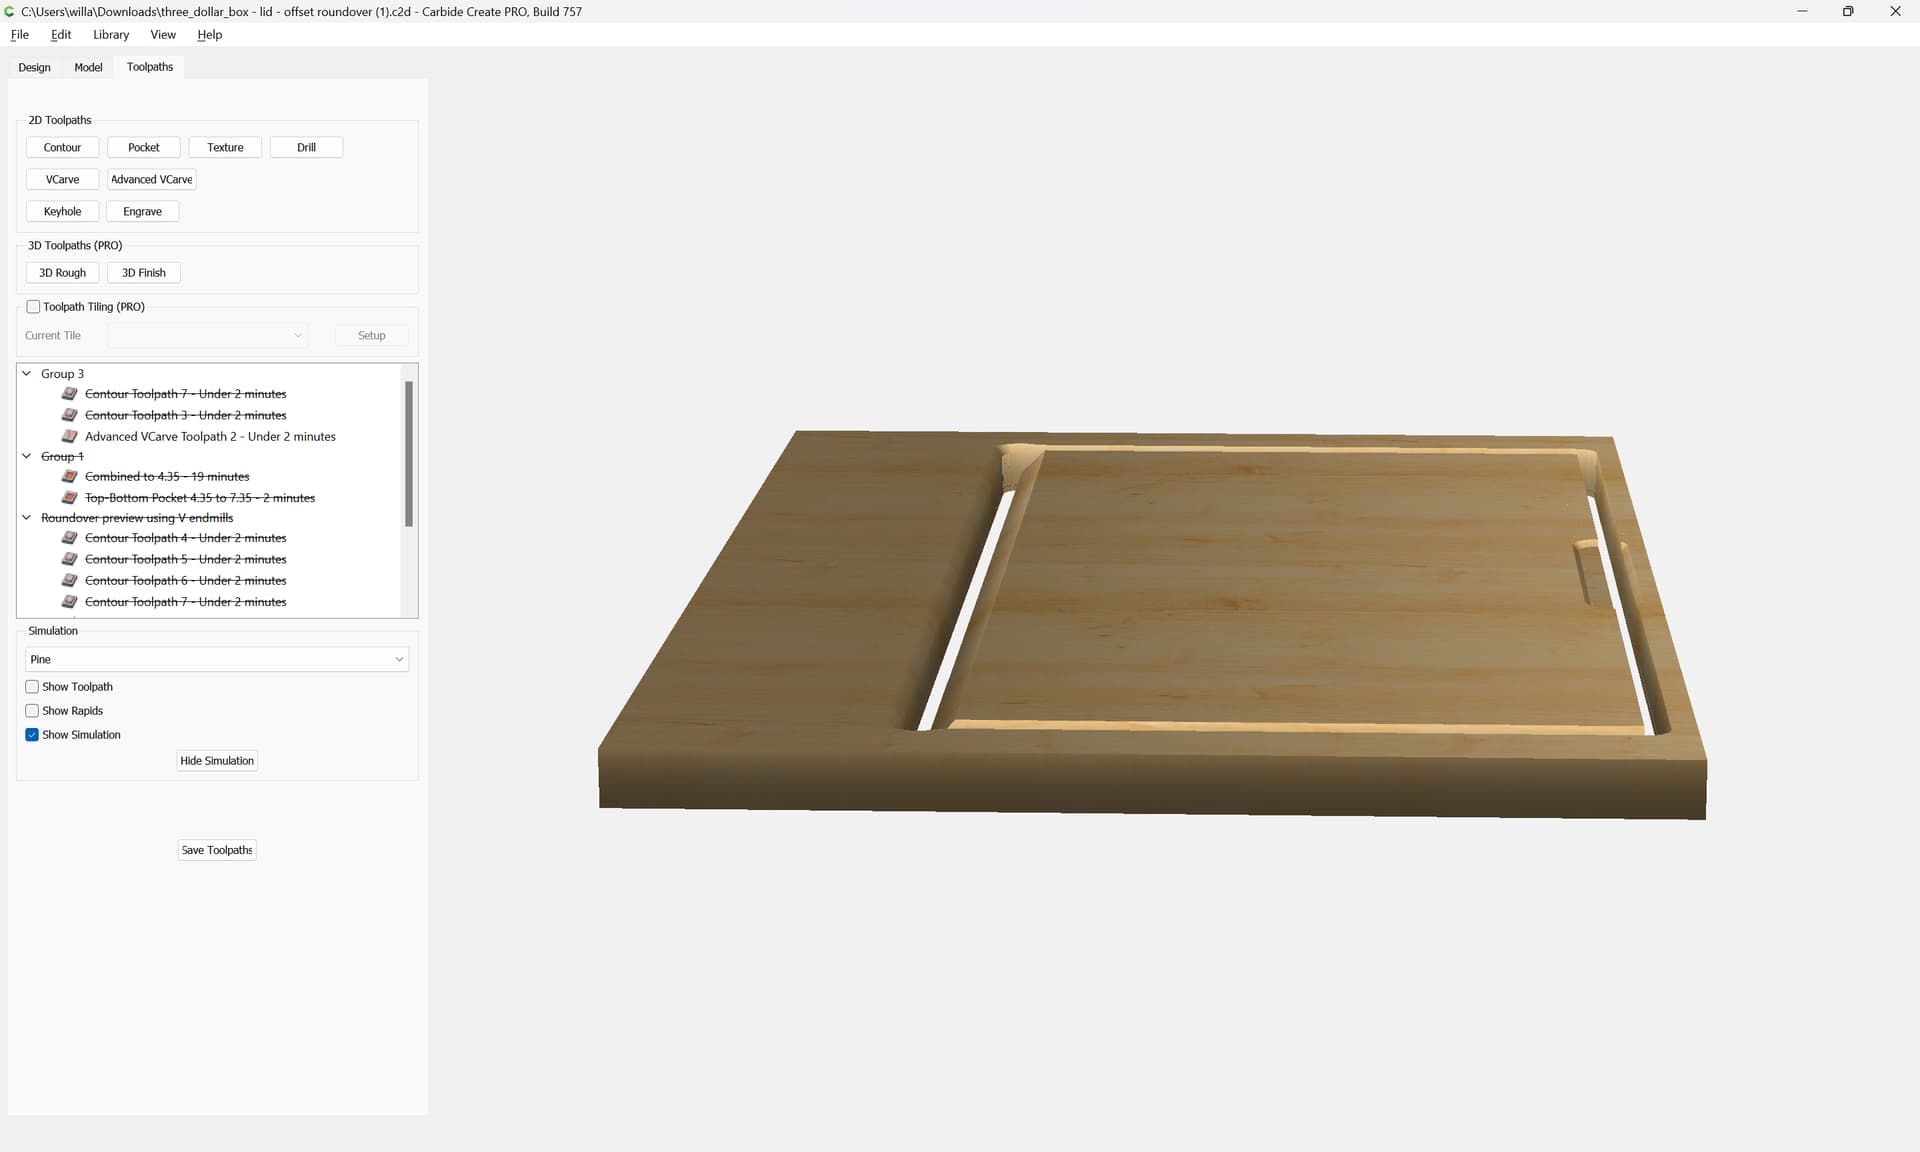
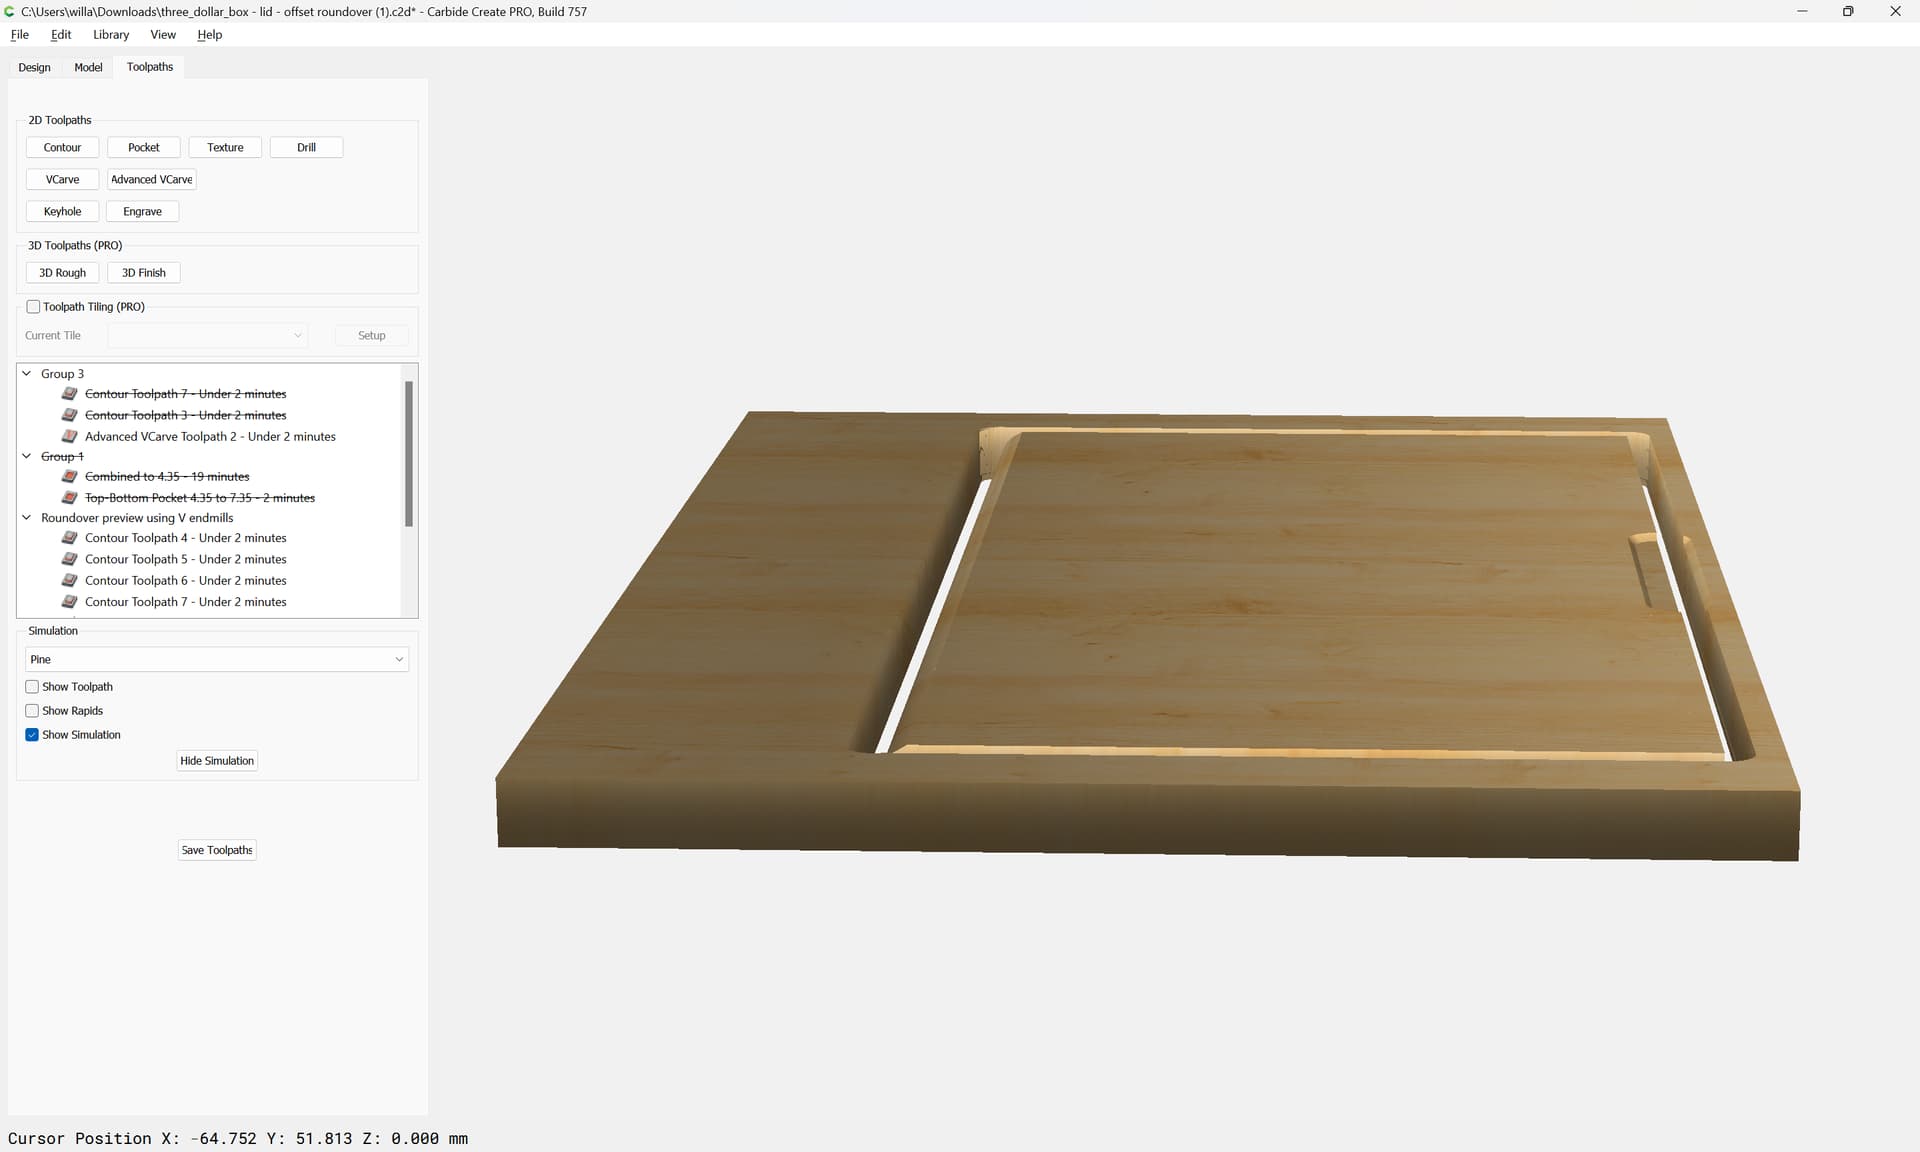
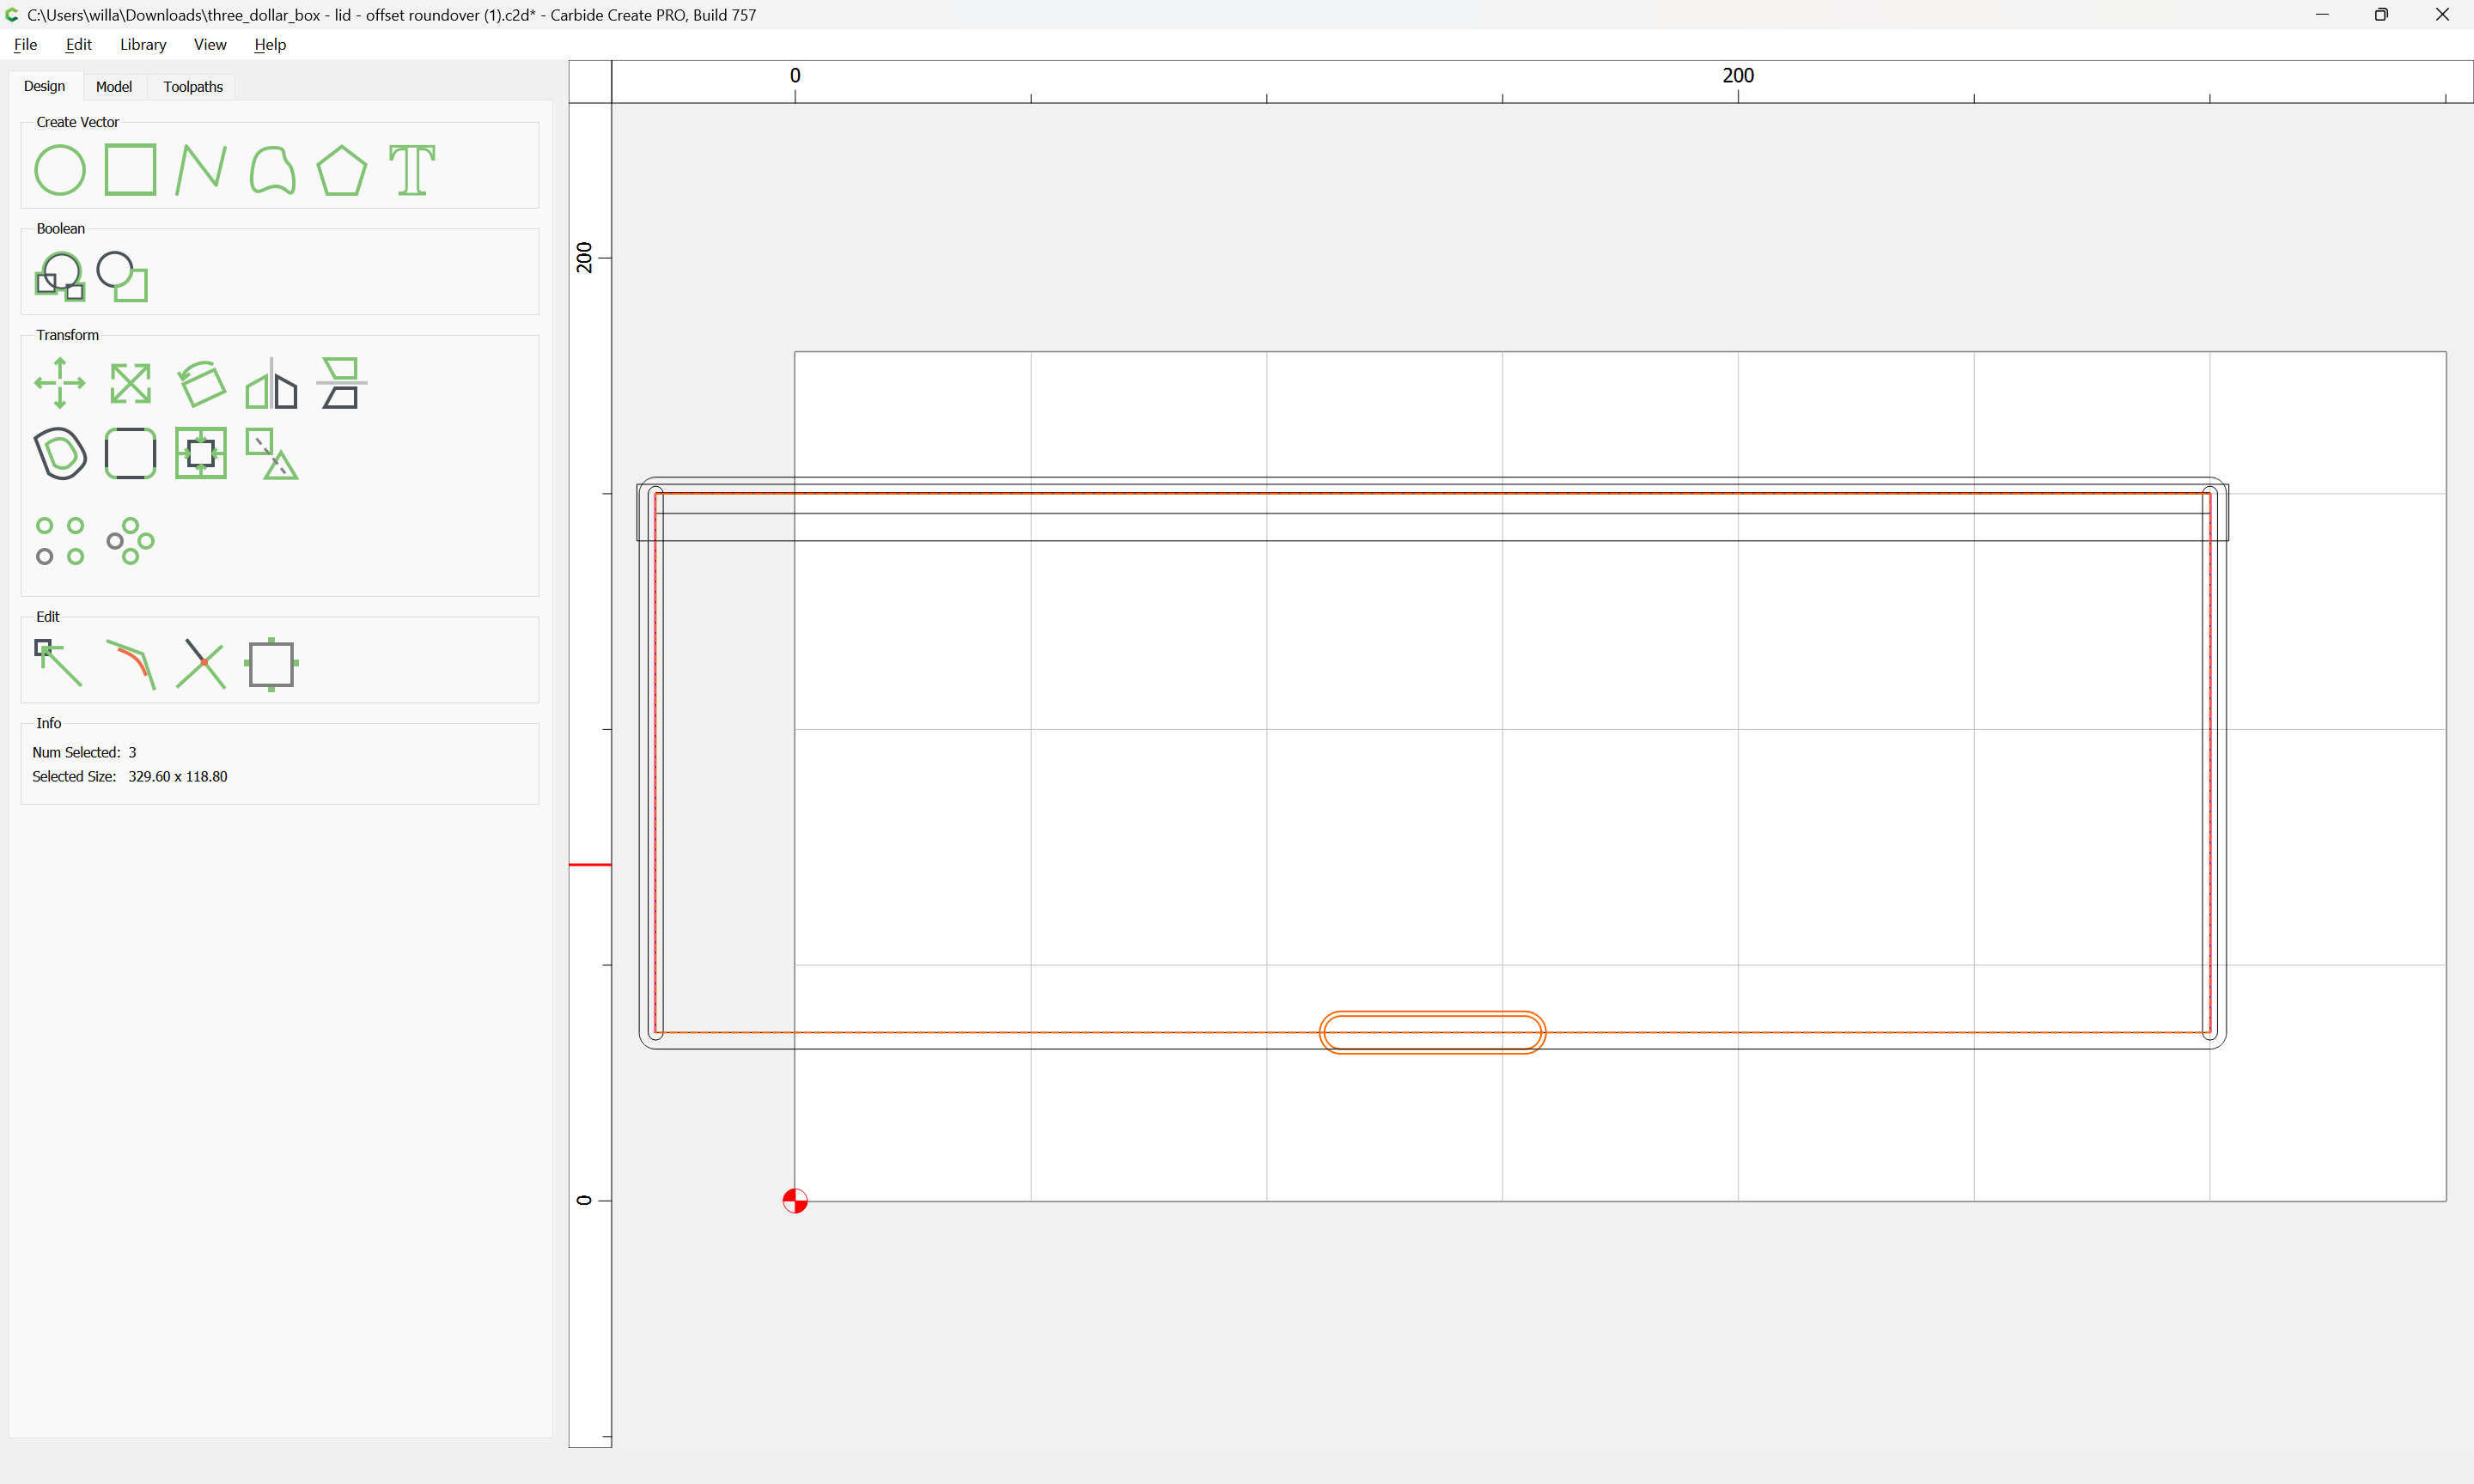
Last is the lid:
which we will do in a modified version of the previous file.
As opened, the file in question is ready for cutting:
as discussed at the previous link:
roundover tooling cannot be directly previewed in the current version of Carbide Create, but can be approximated with several V endmill passes:
Modifying this file requires changing X and Y to match the dimensions of:
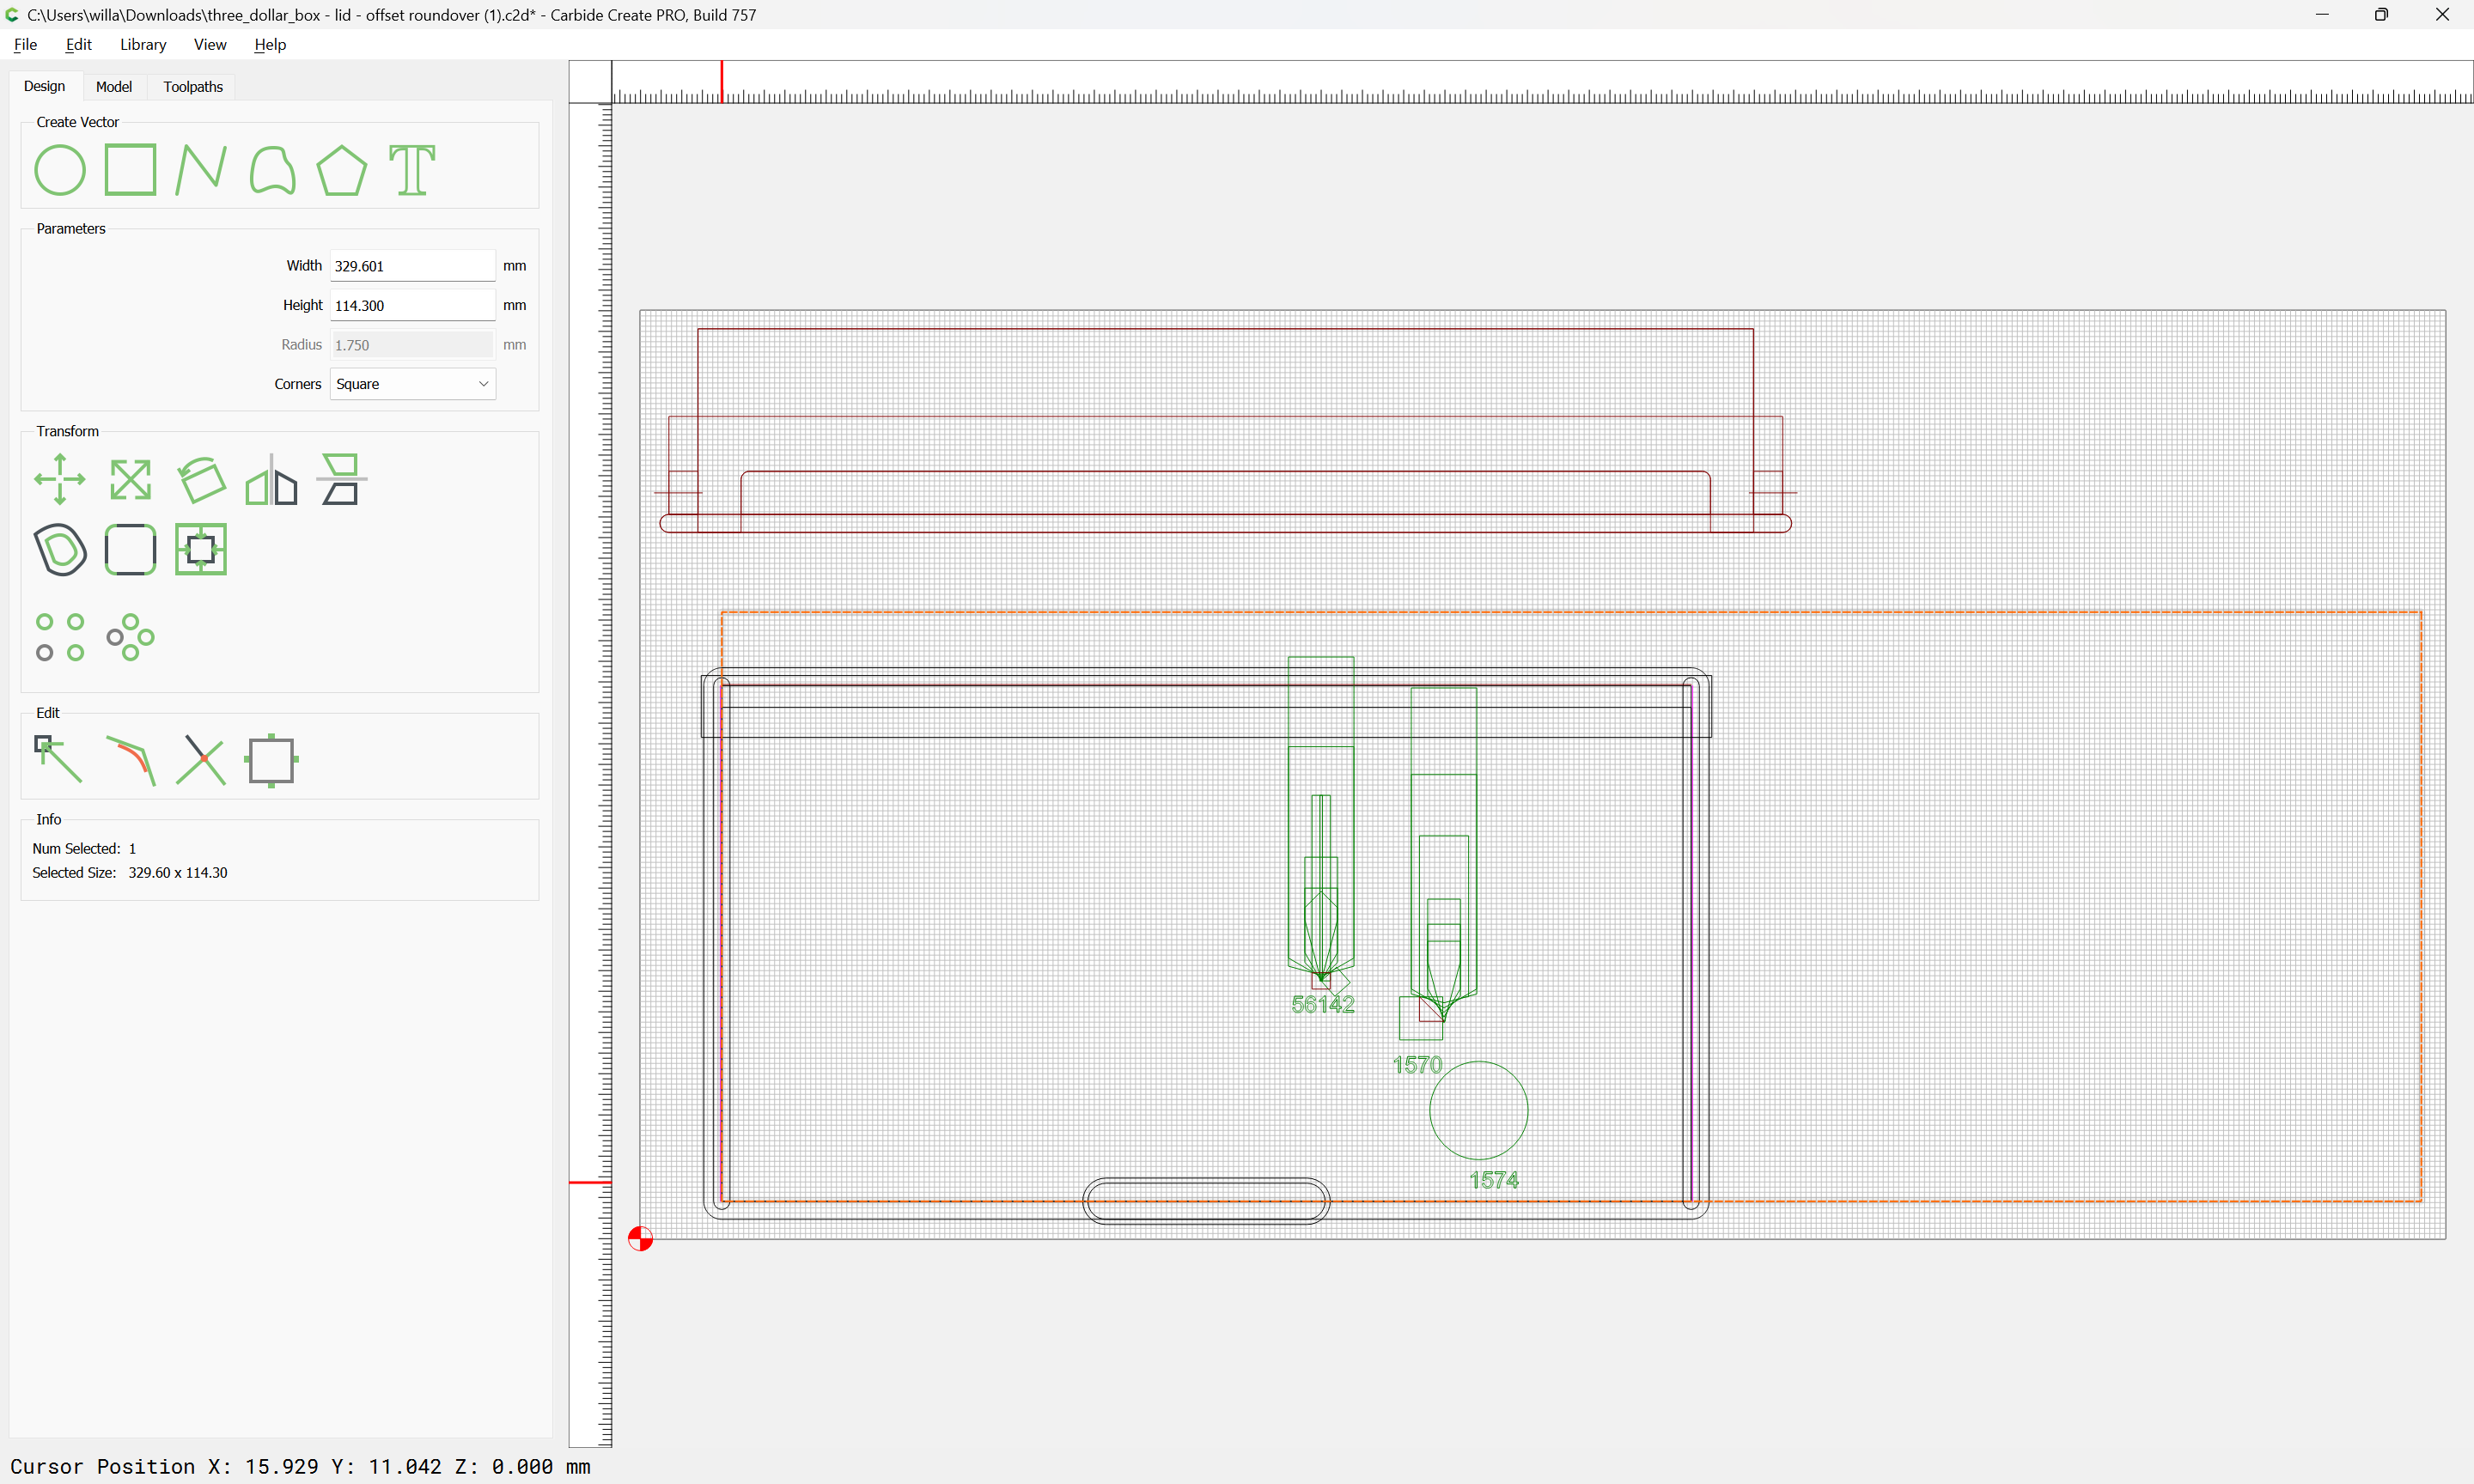
which brings up an interesting way to change the dimensions of a file (using this technique to change the balance of the files for the box is left as an exercise for the reader).
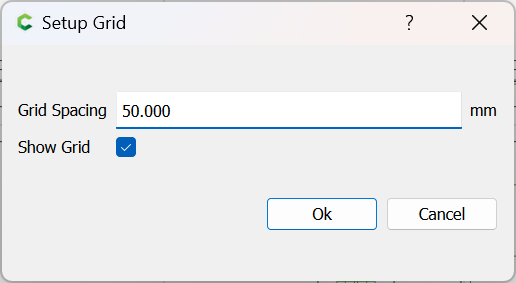
First, set the grid spacing to a very coarse dimension:
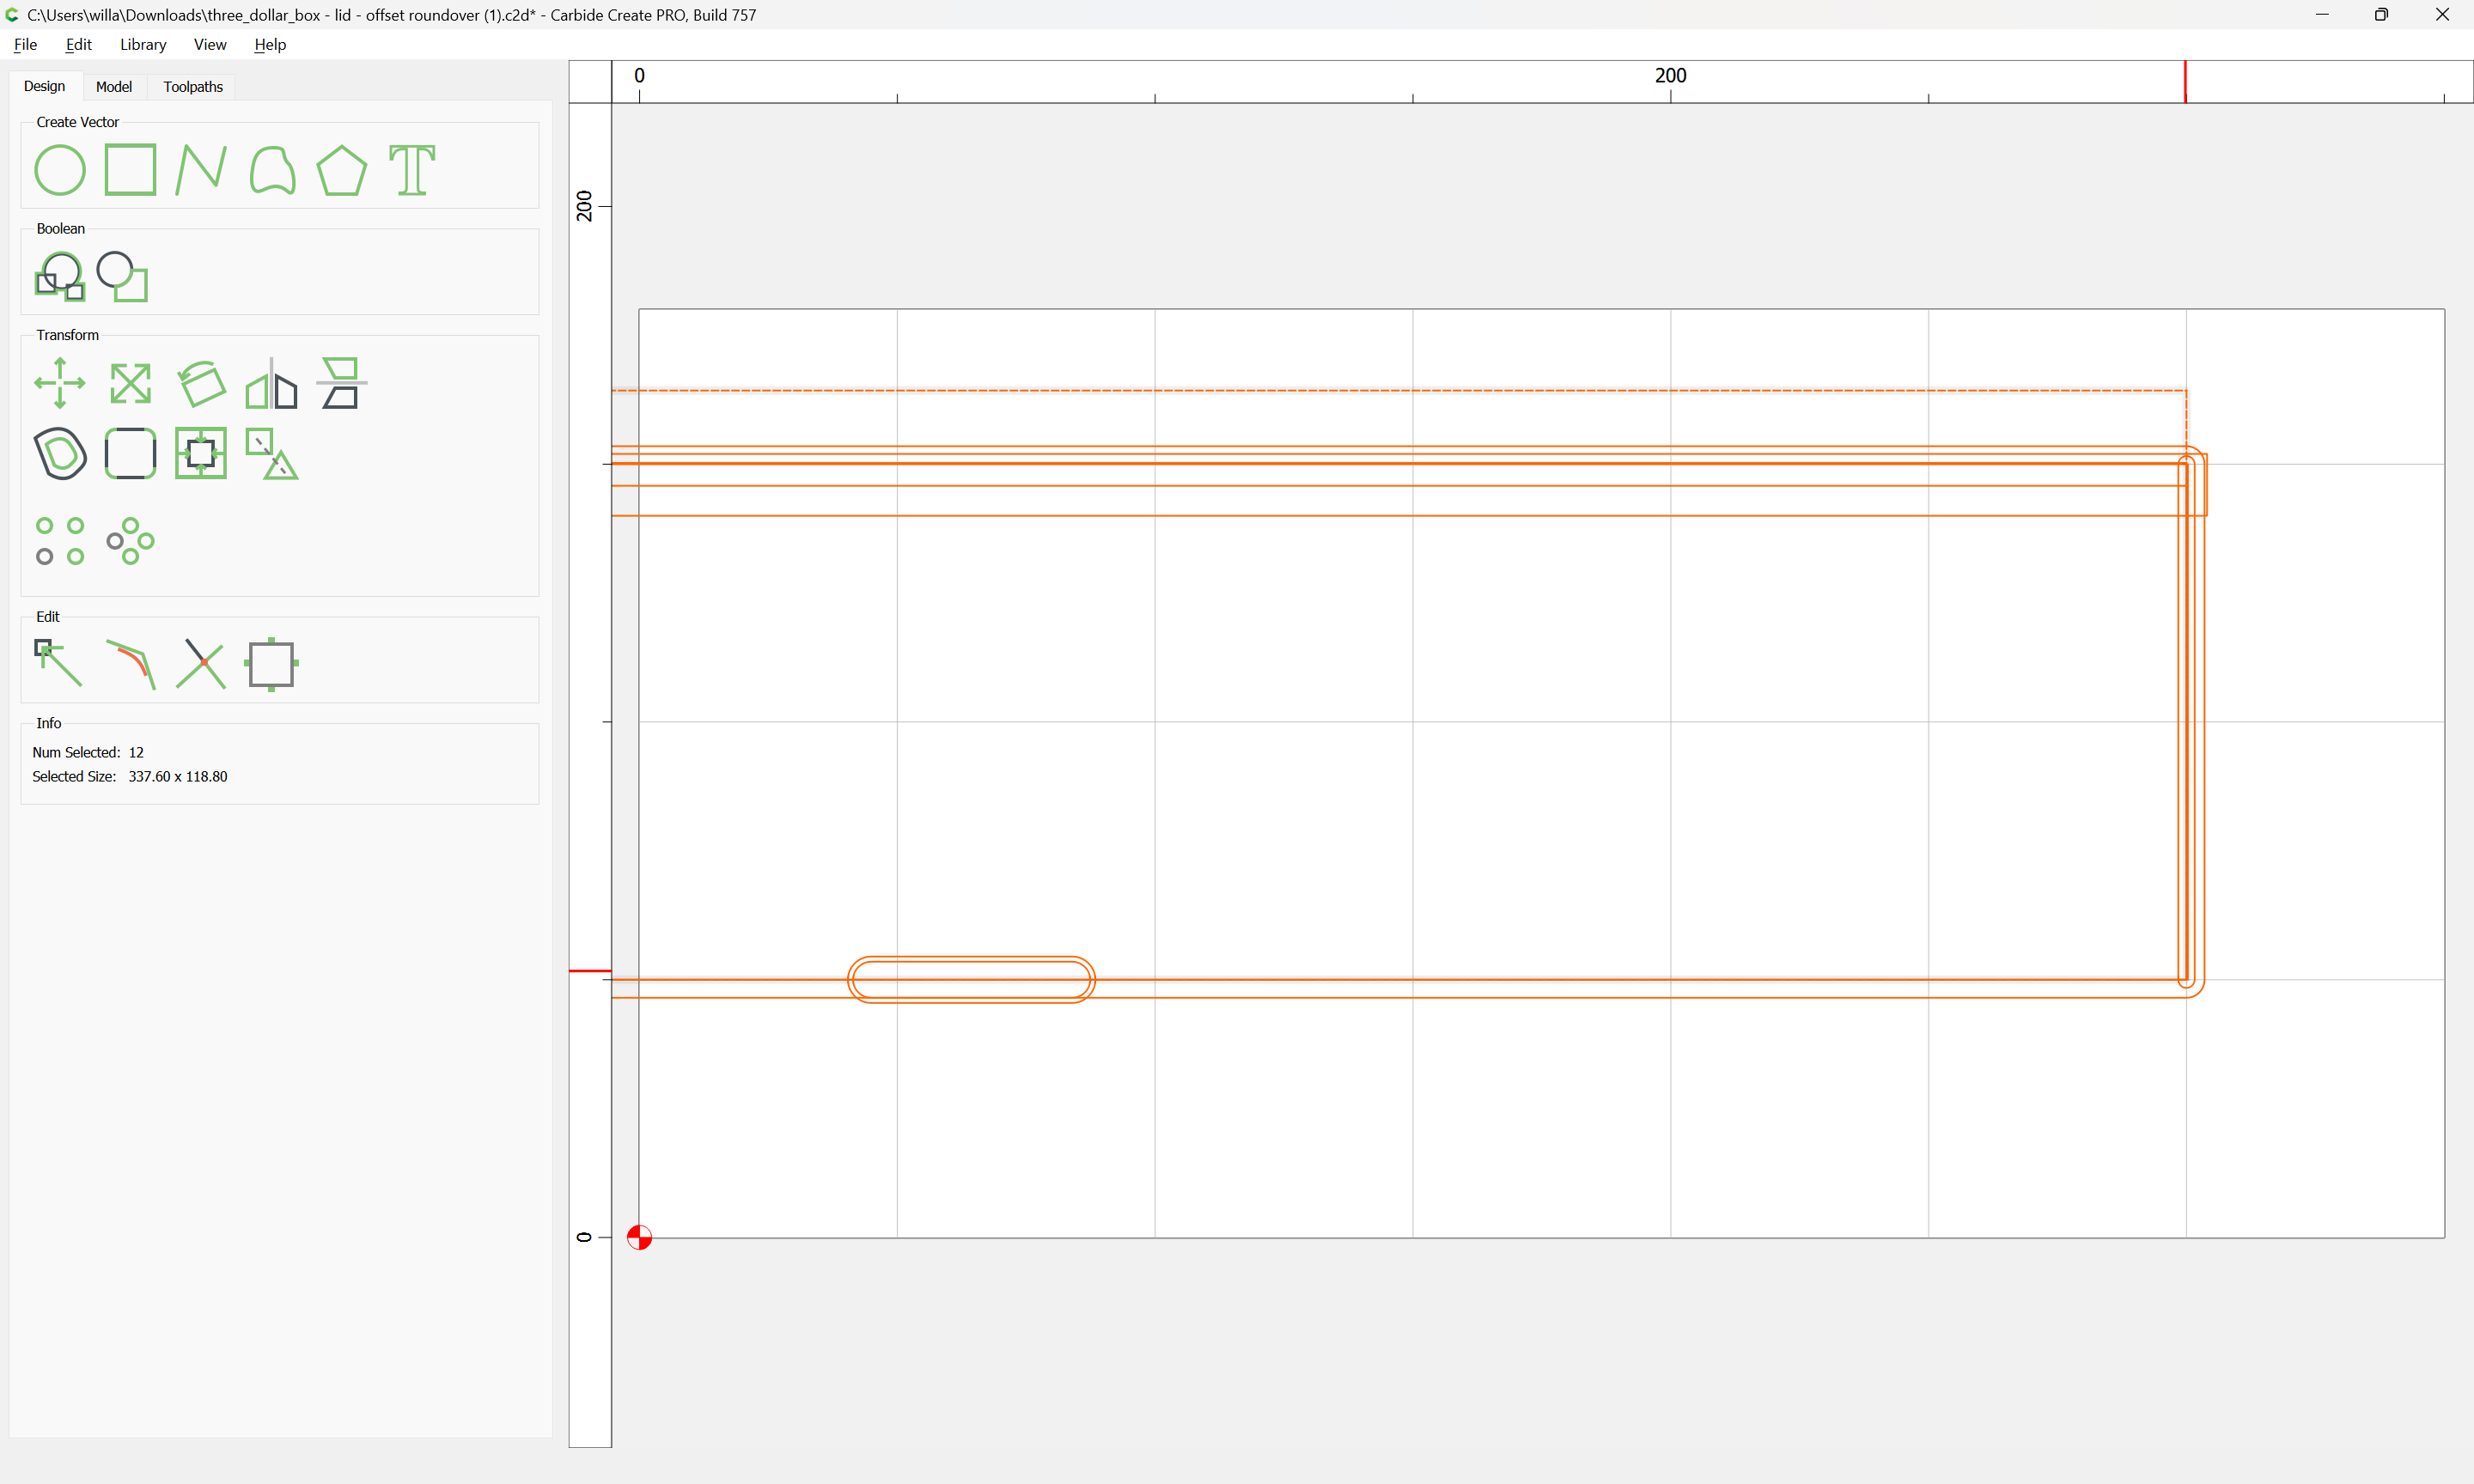
Then select all the elements which one wishes to adjust, including an element which is the desired dimension:
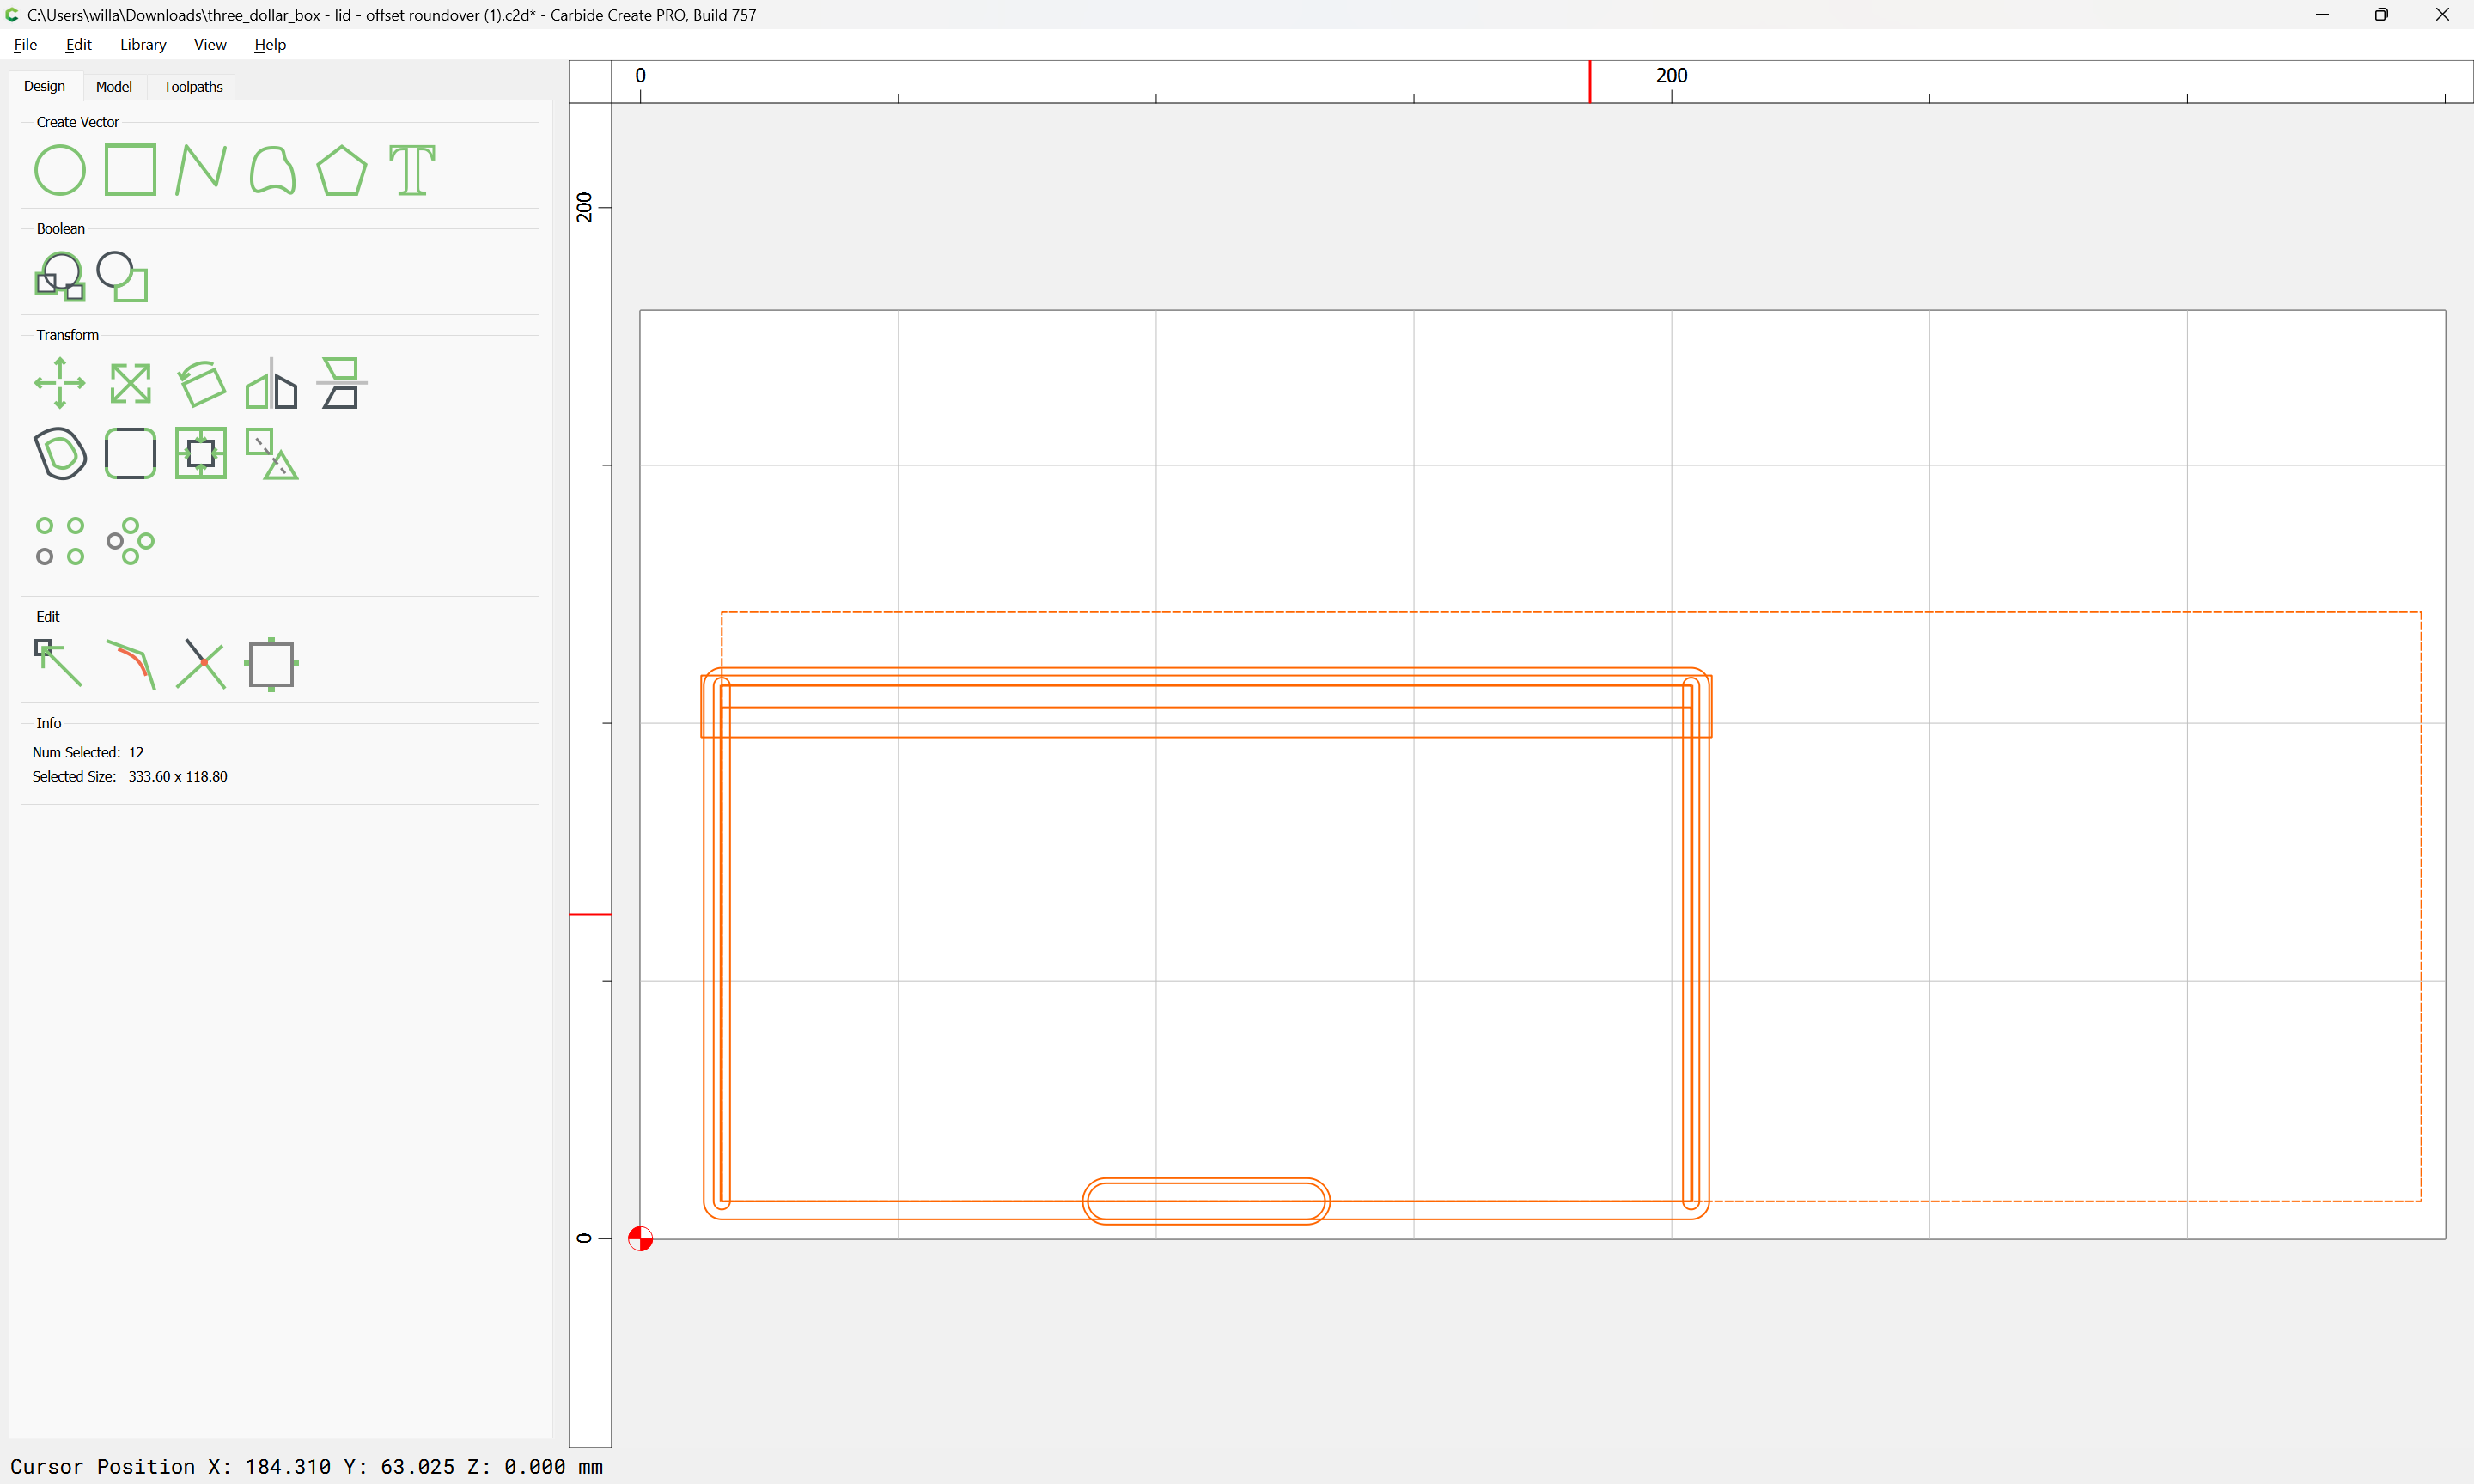
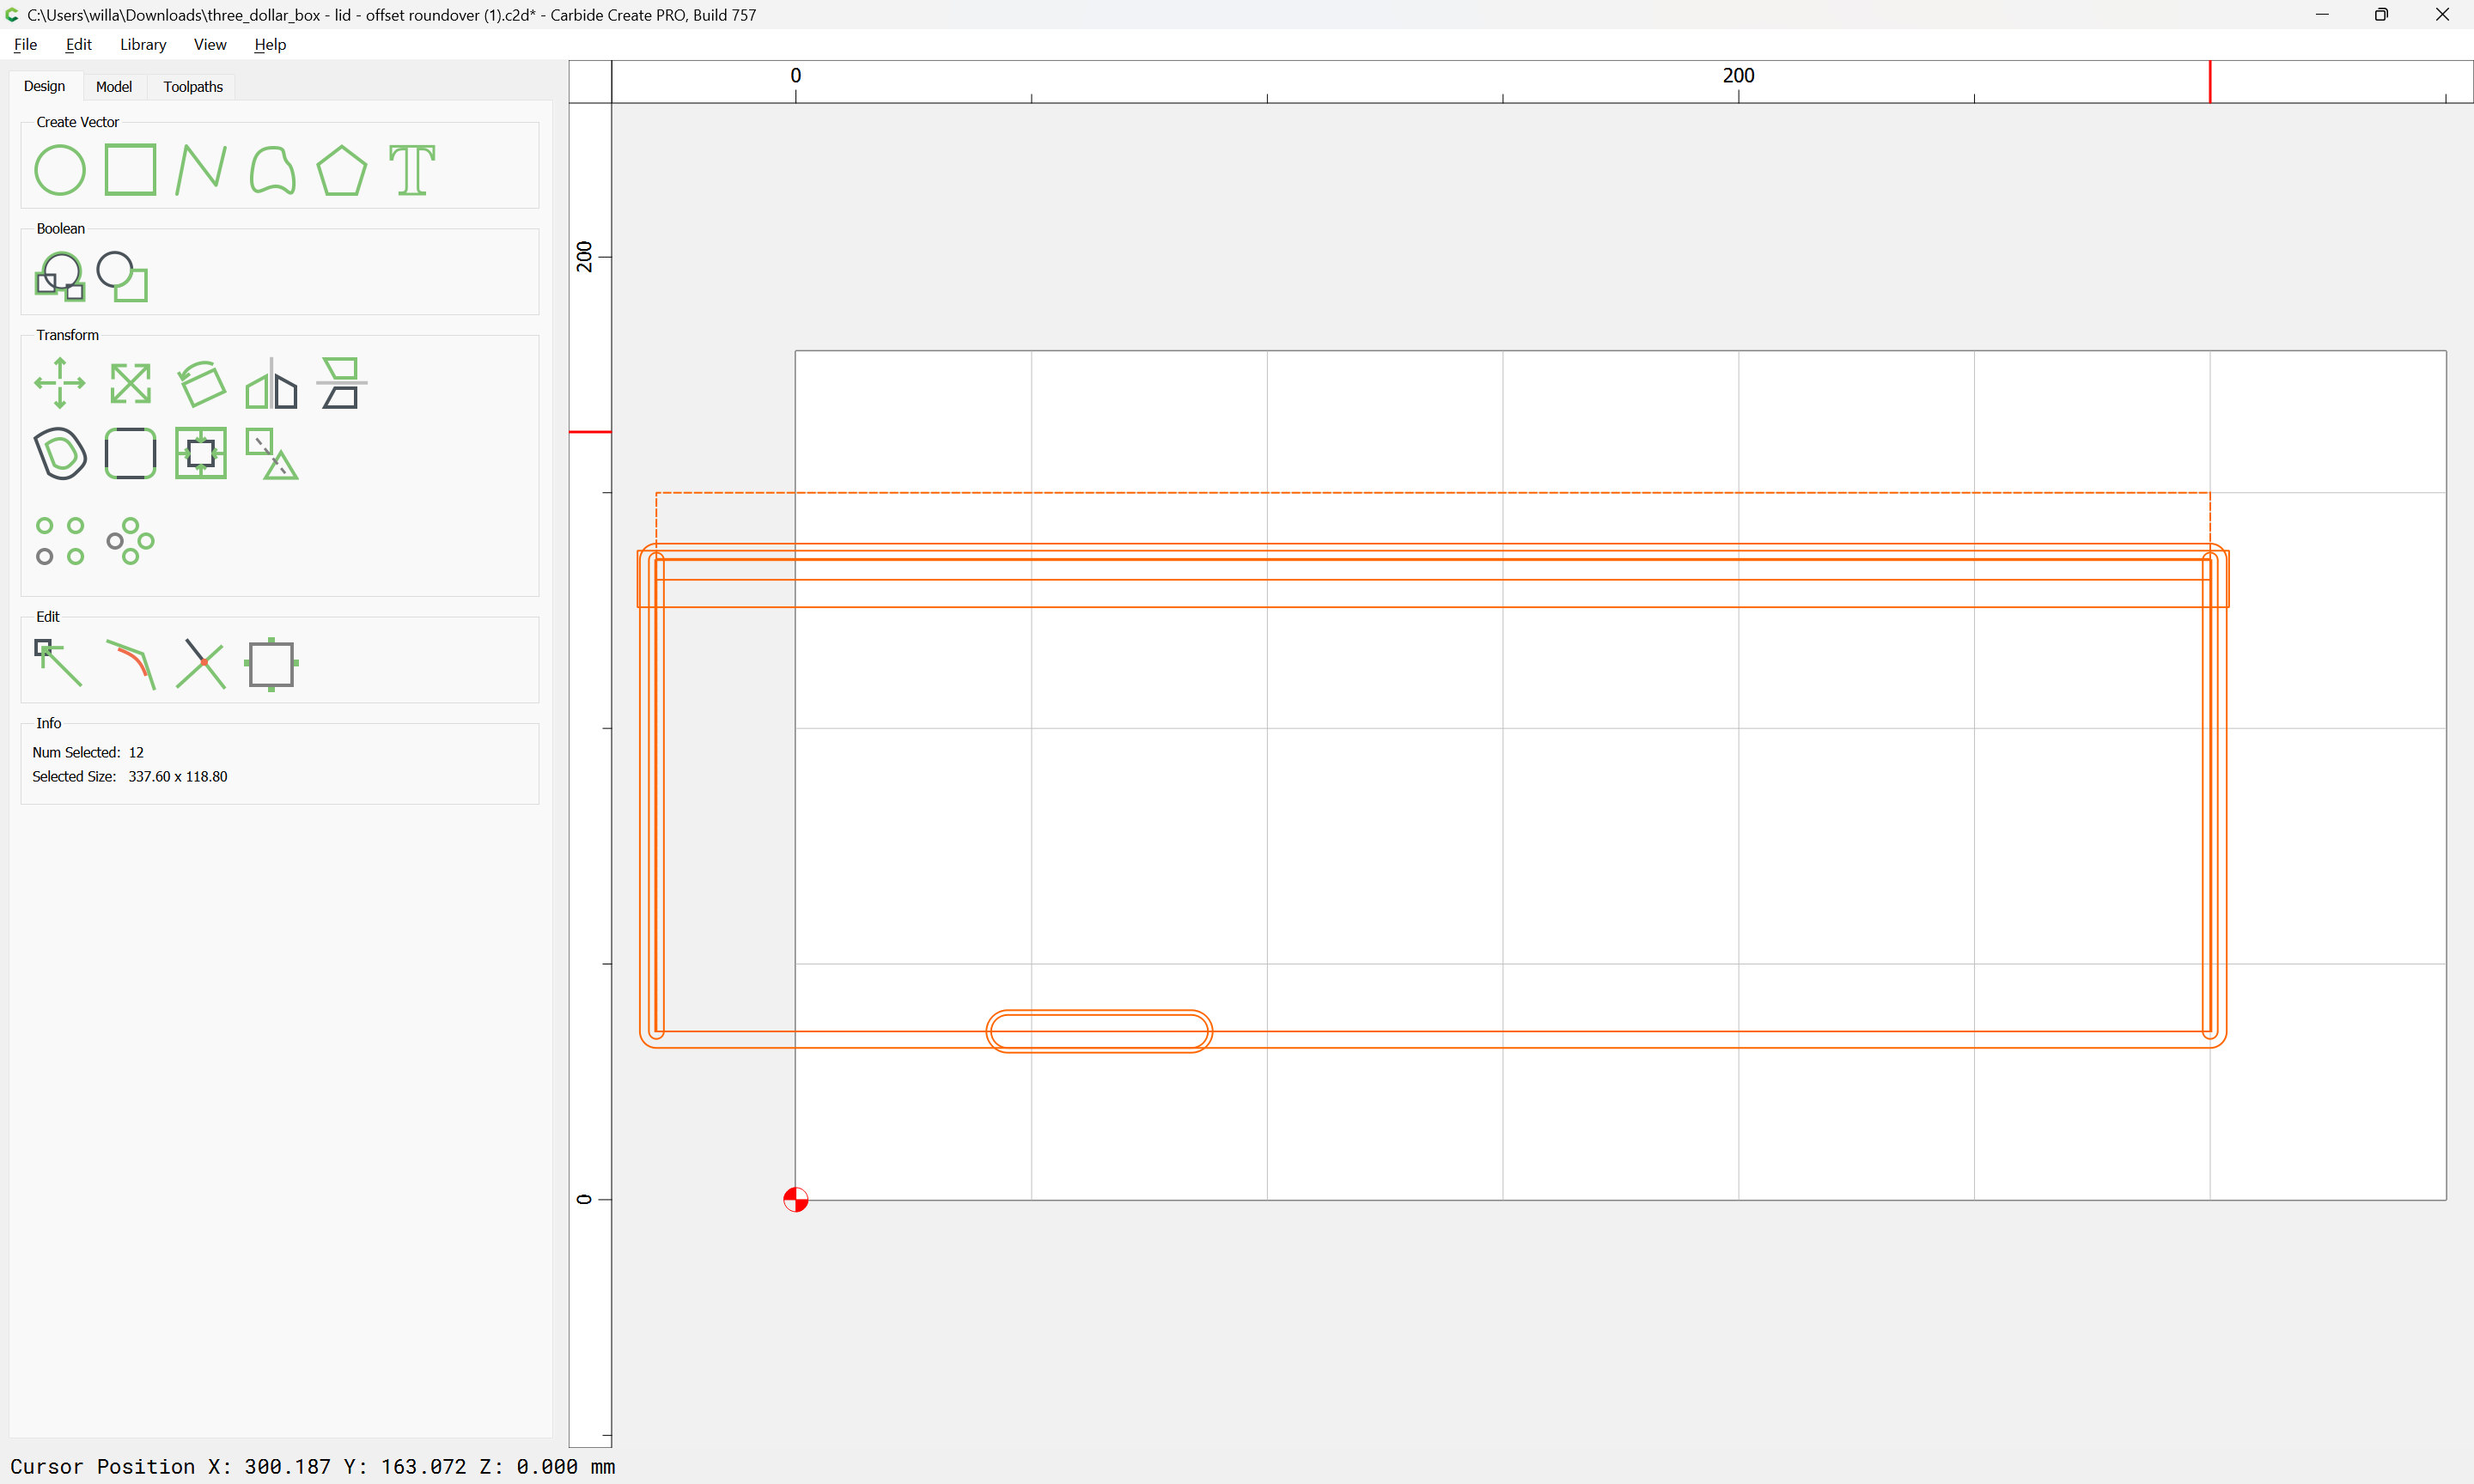
then drag it until one point is at a grid intersection:
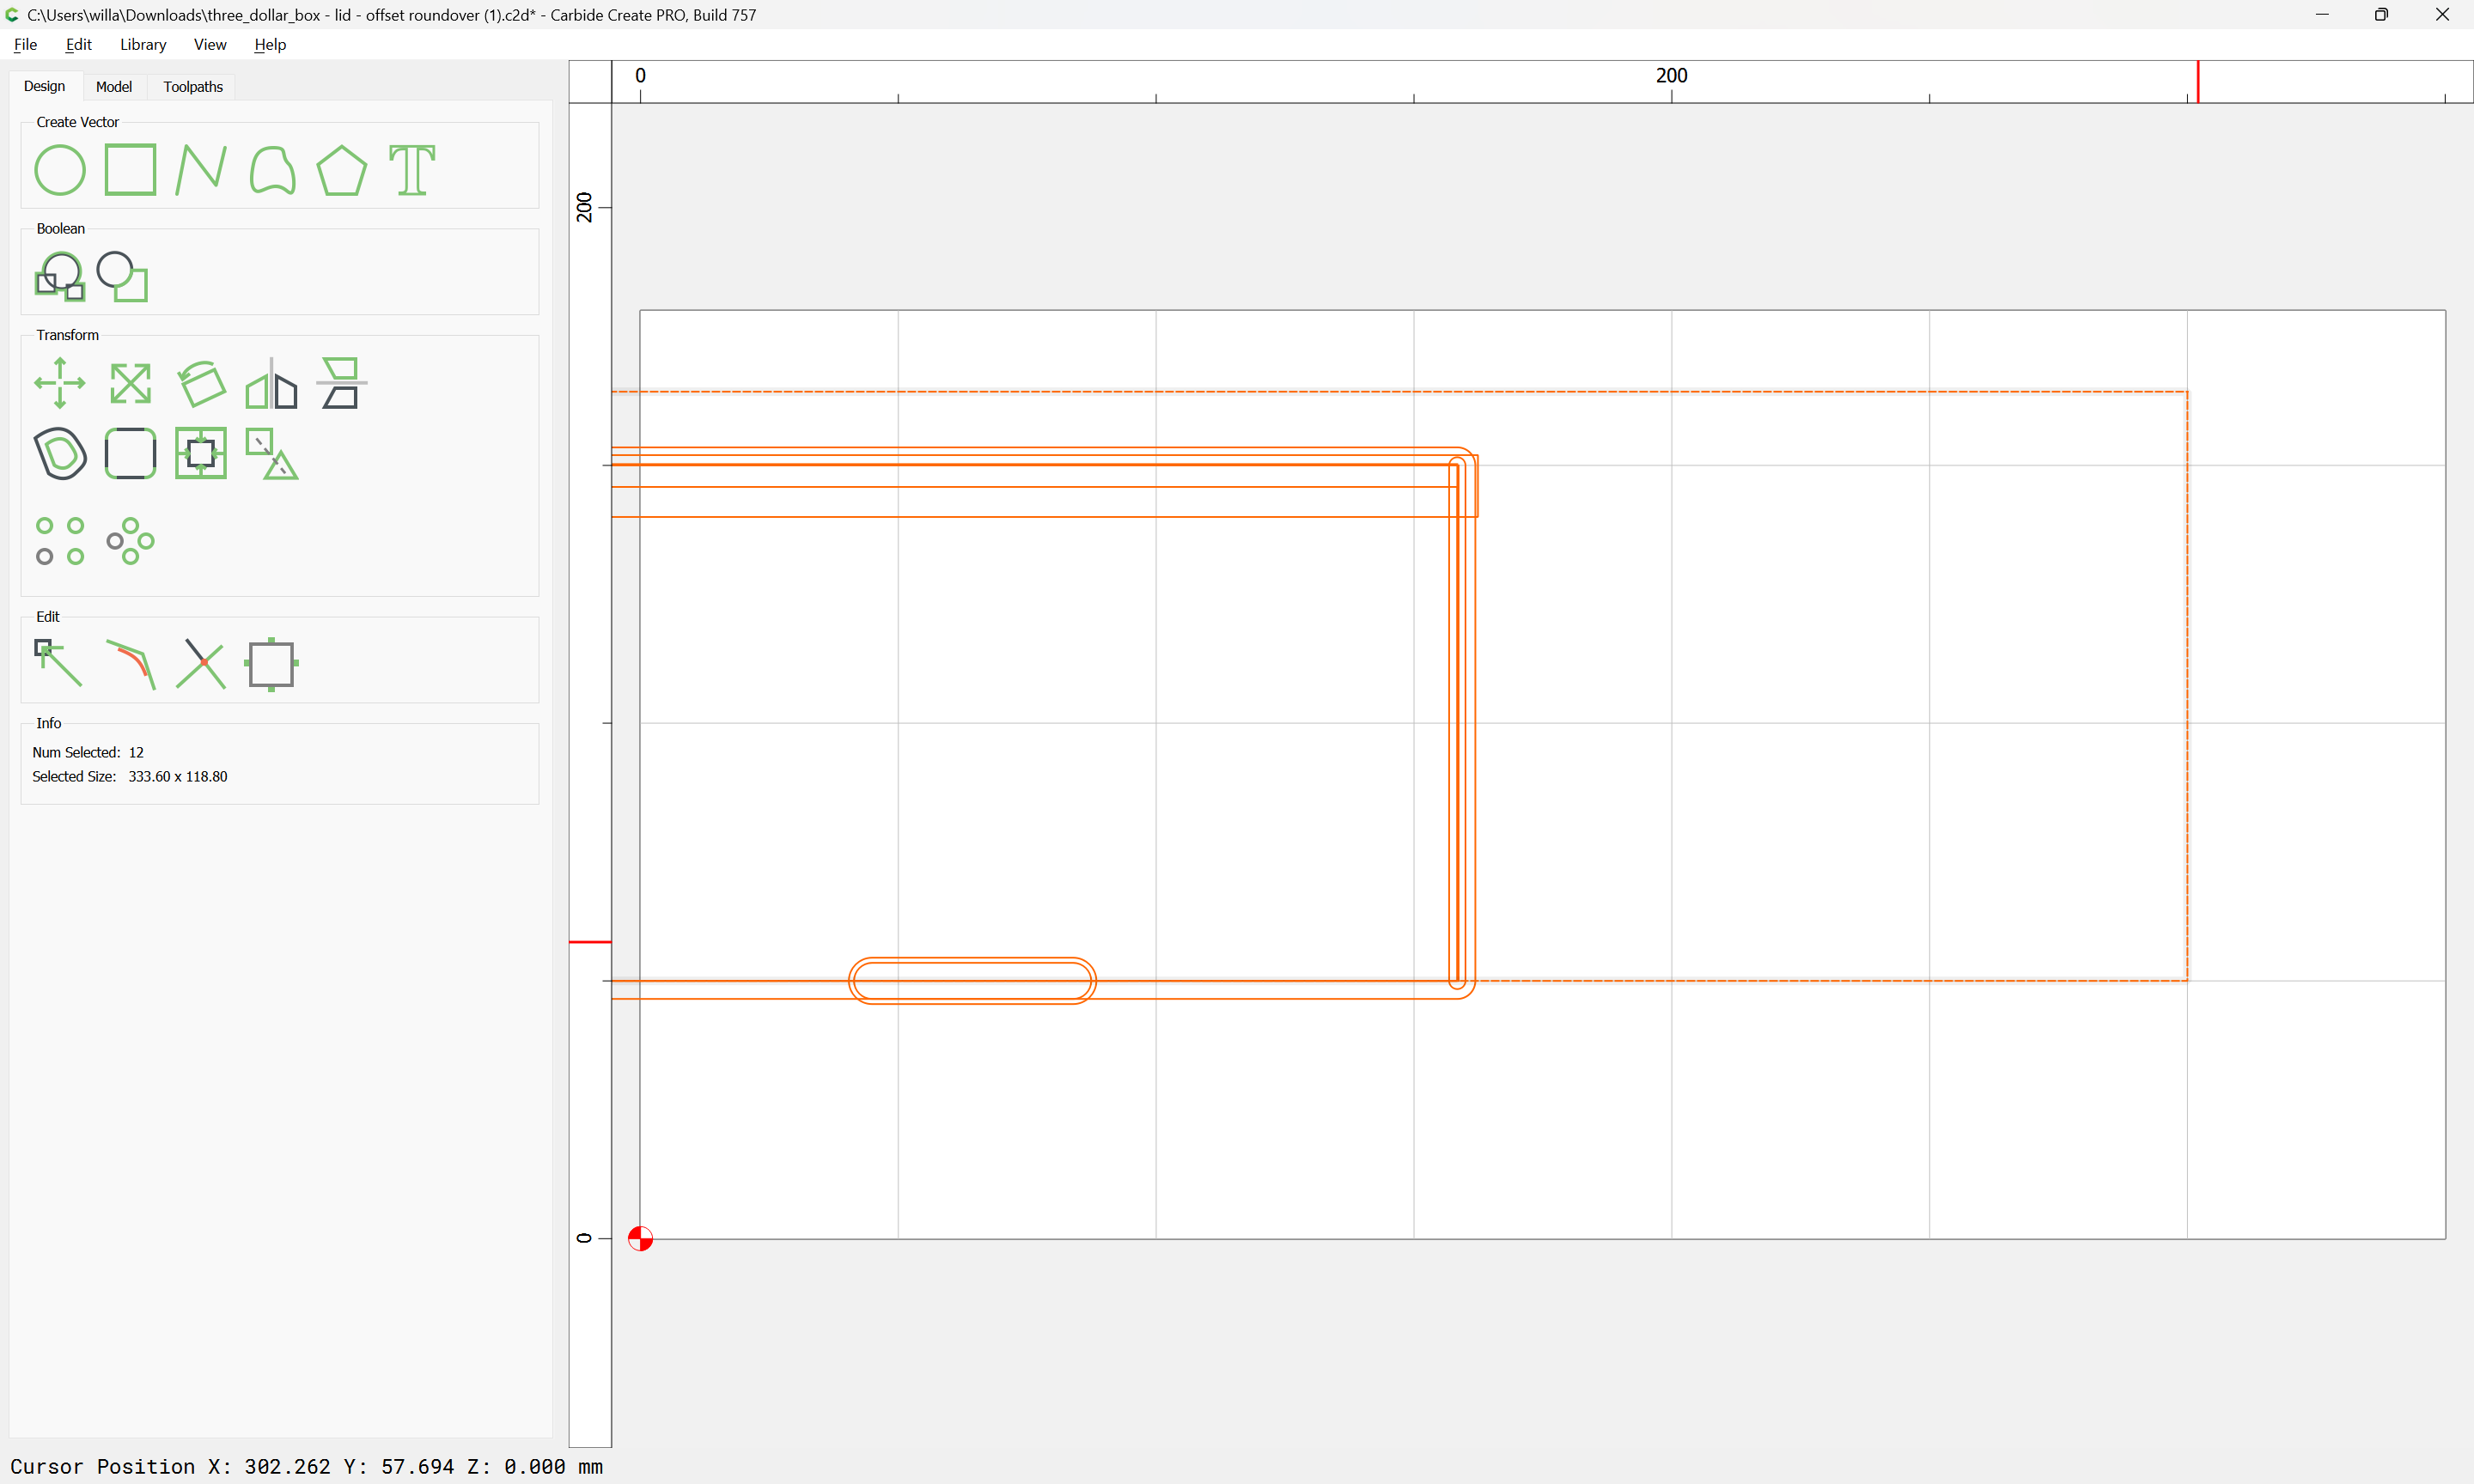
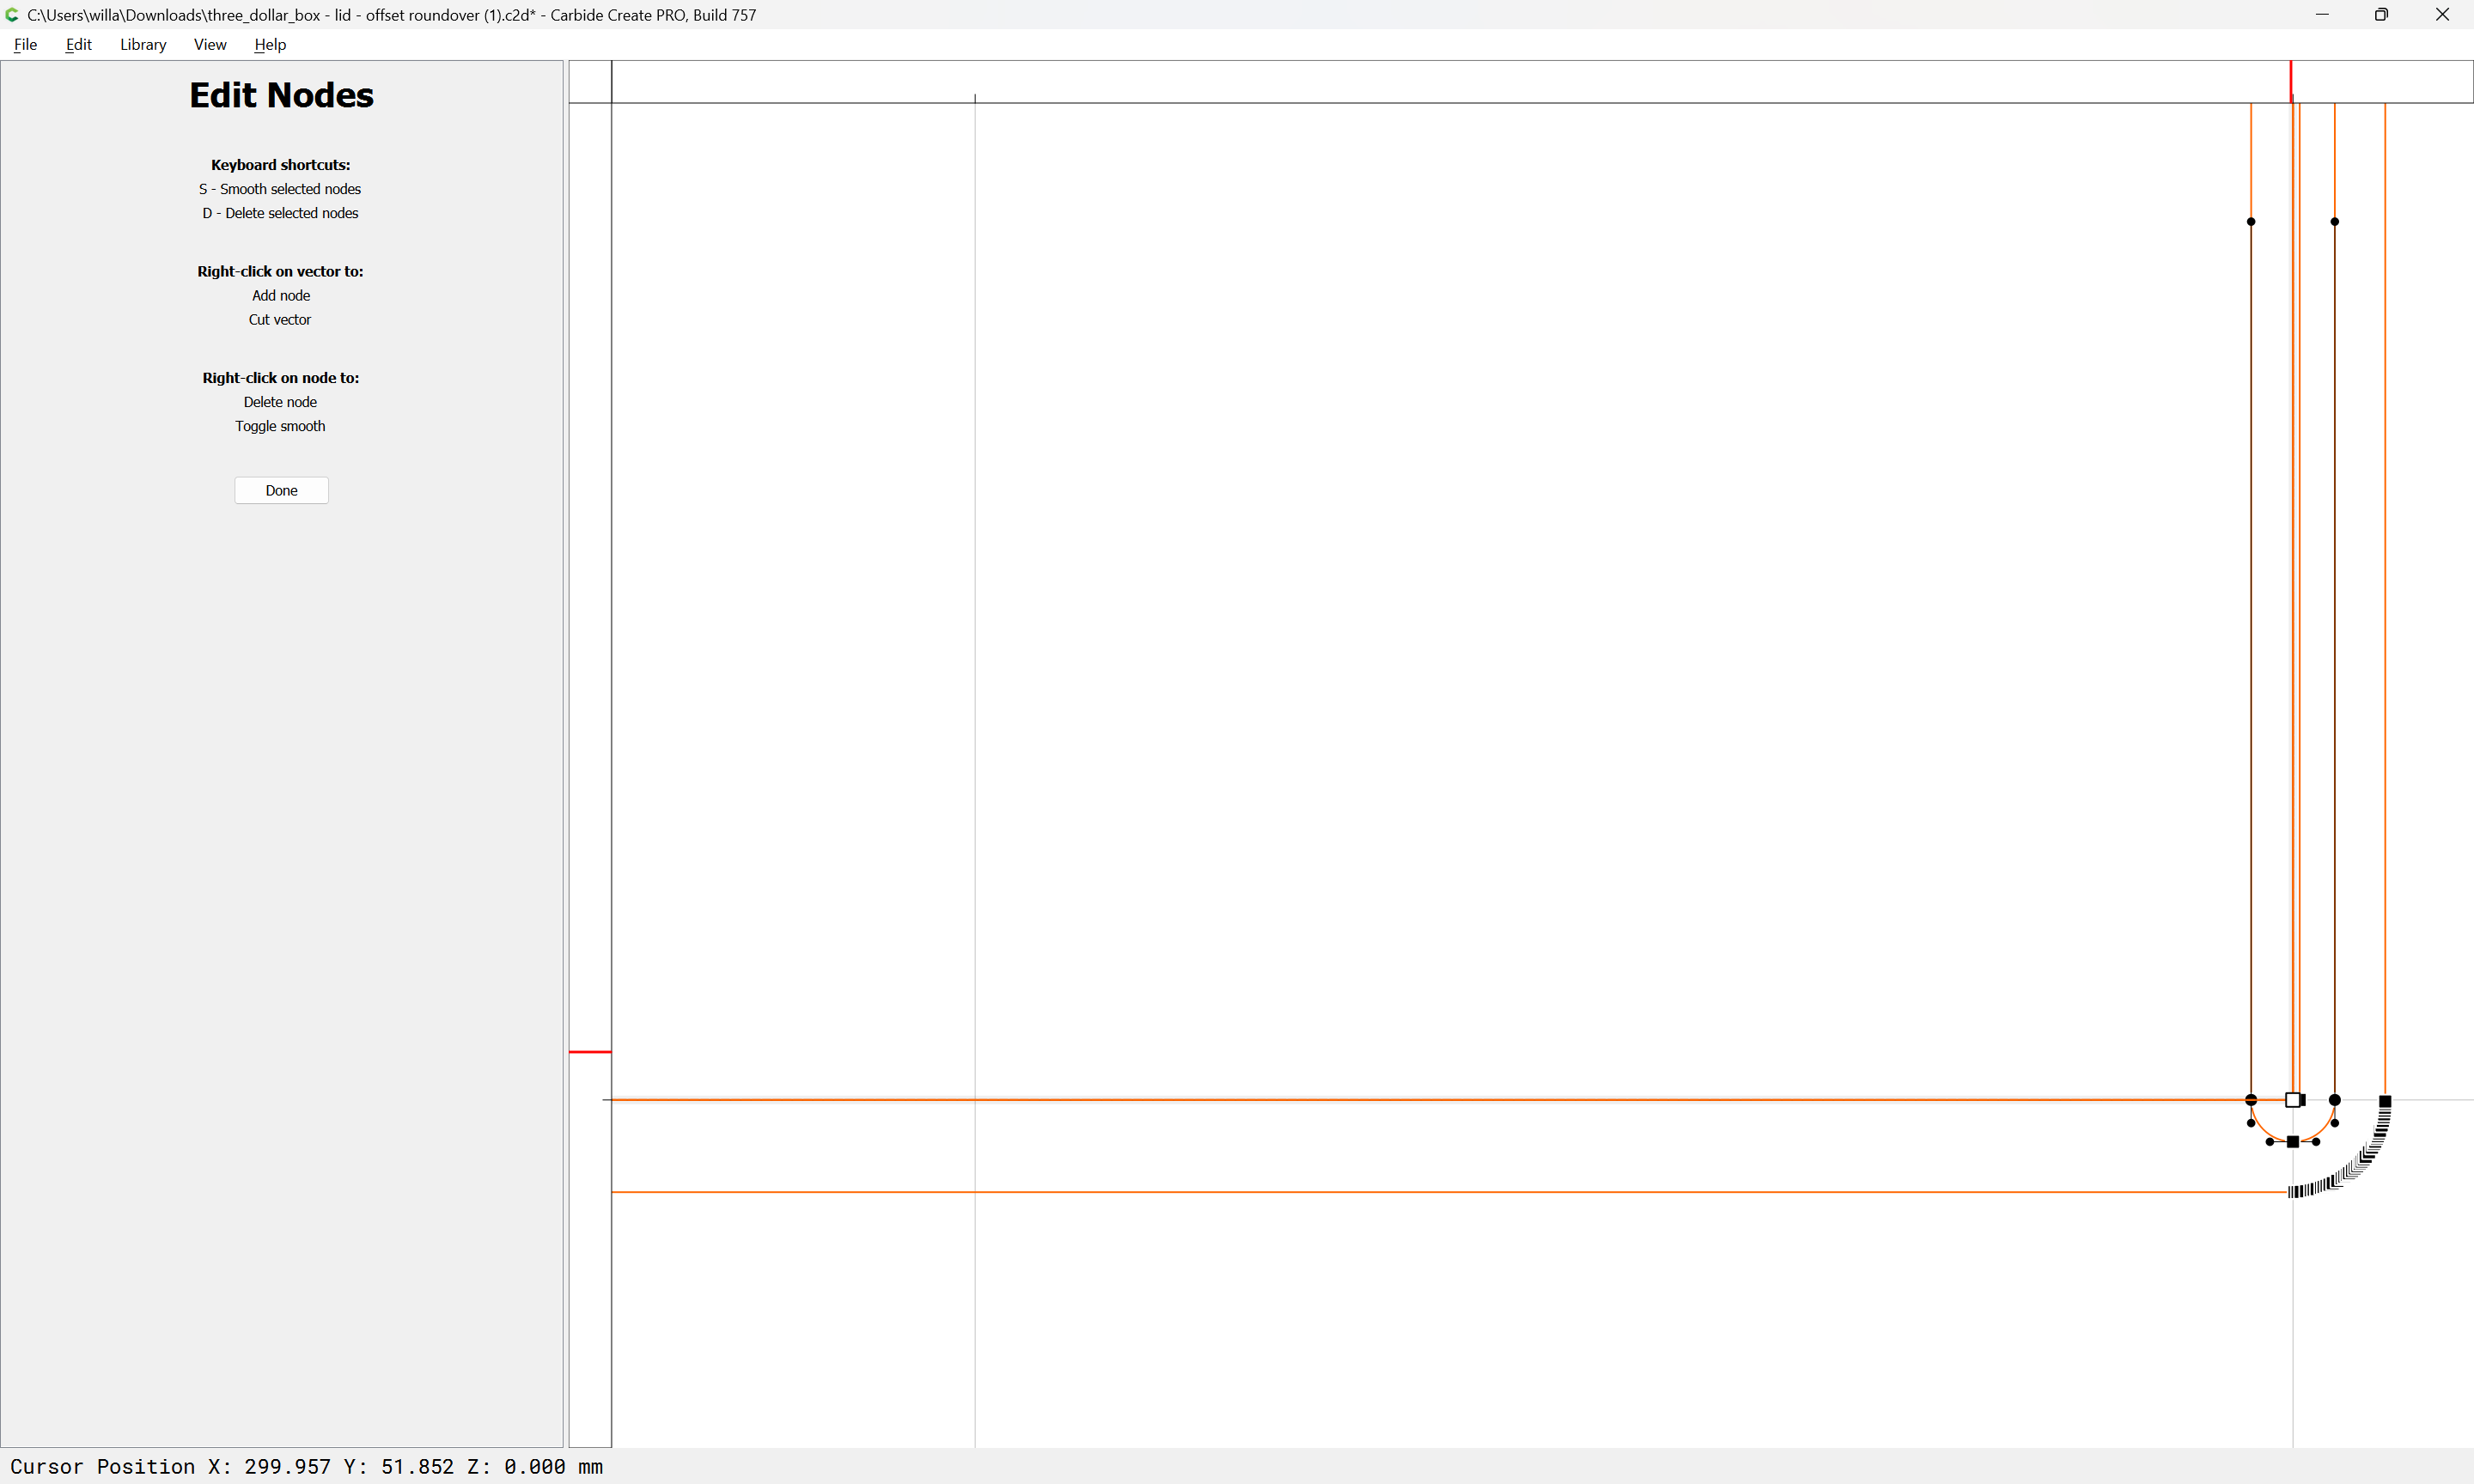
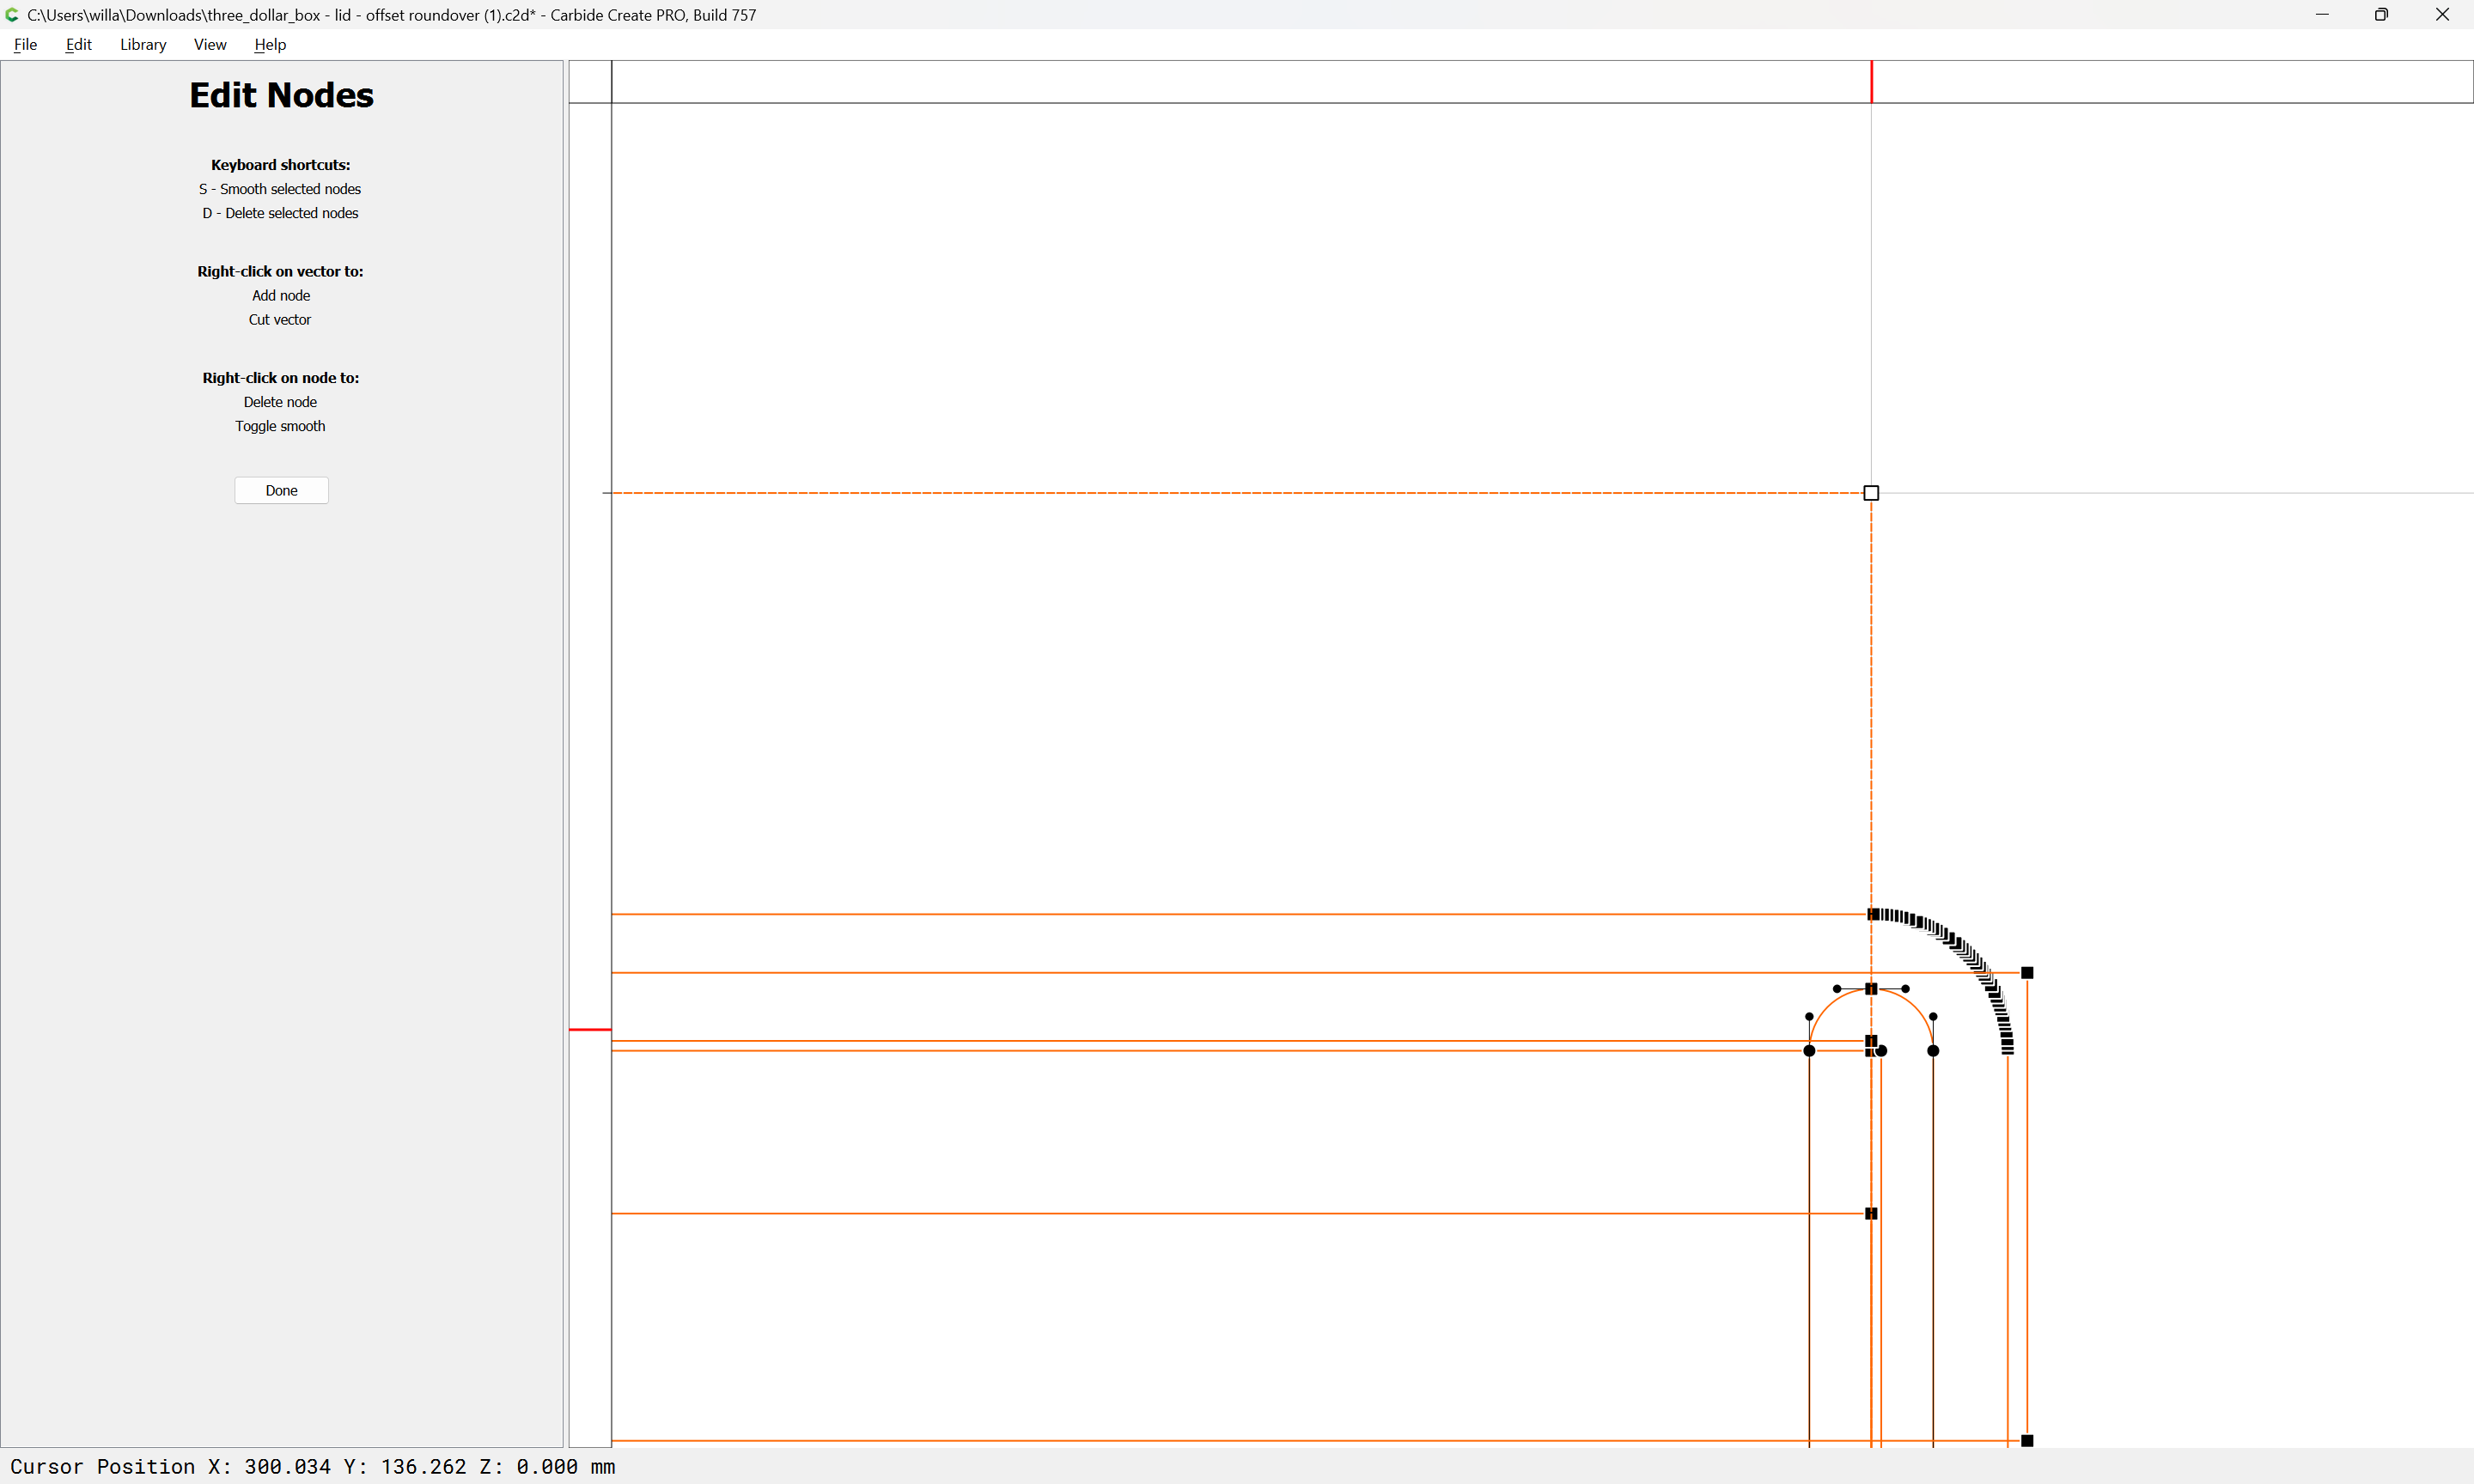
Go into Node Edit mode:
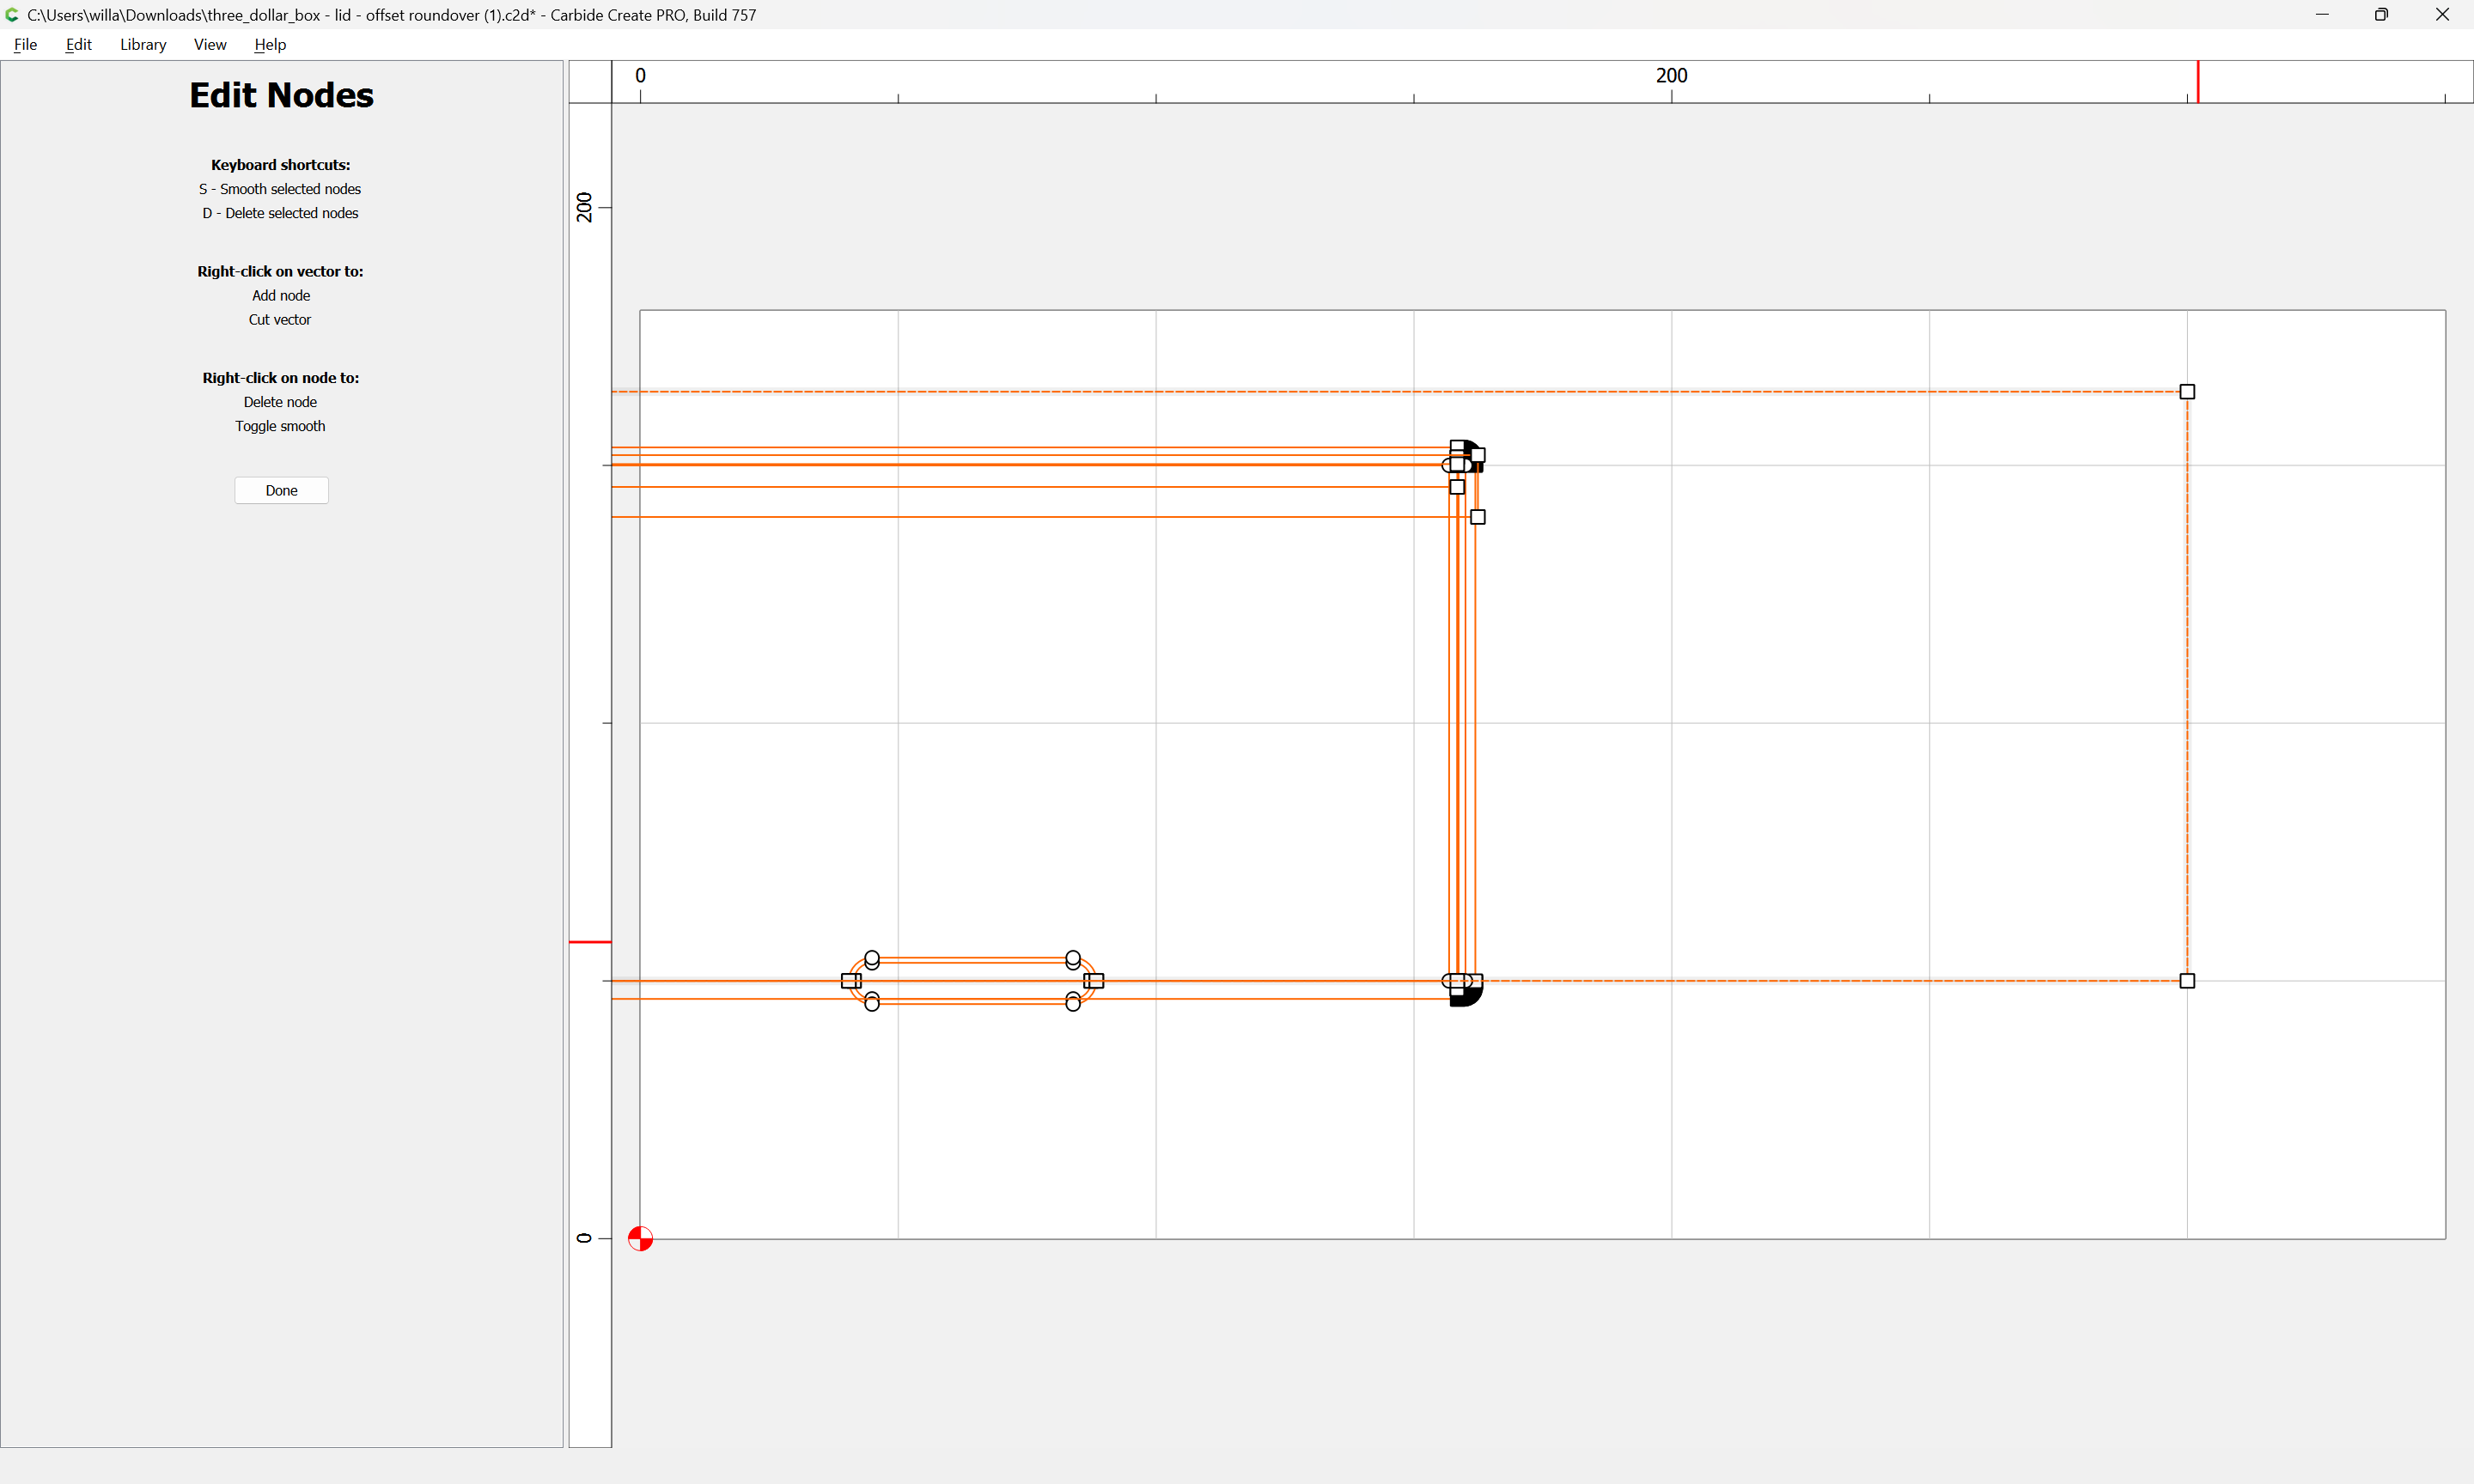
Select one entire edge of the design which includes the point which one wants to move to the desired dimension:
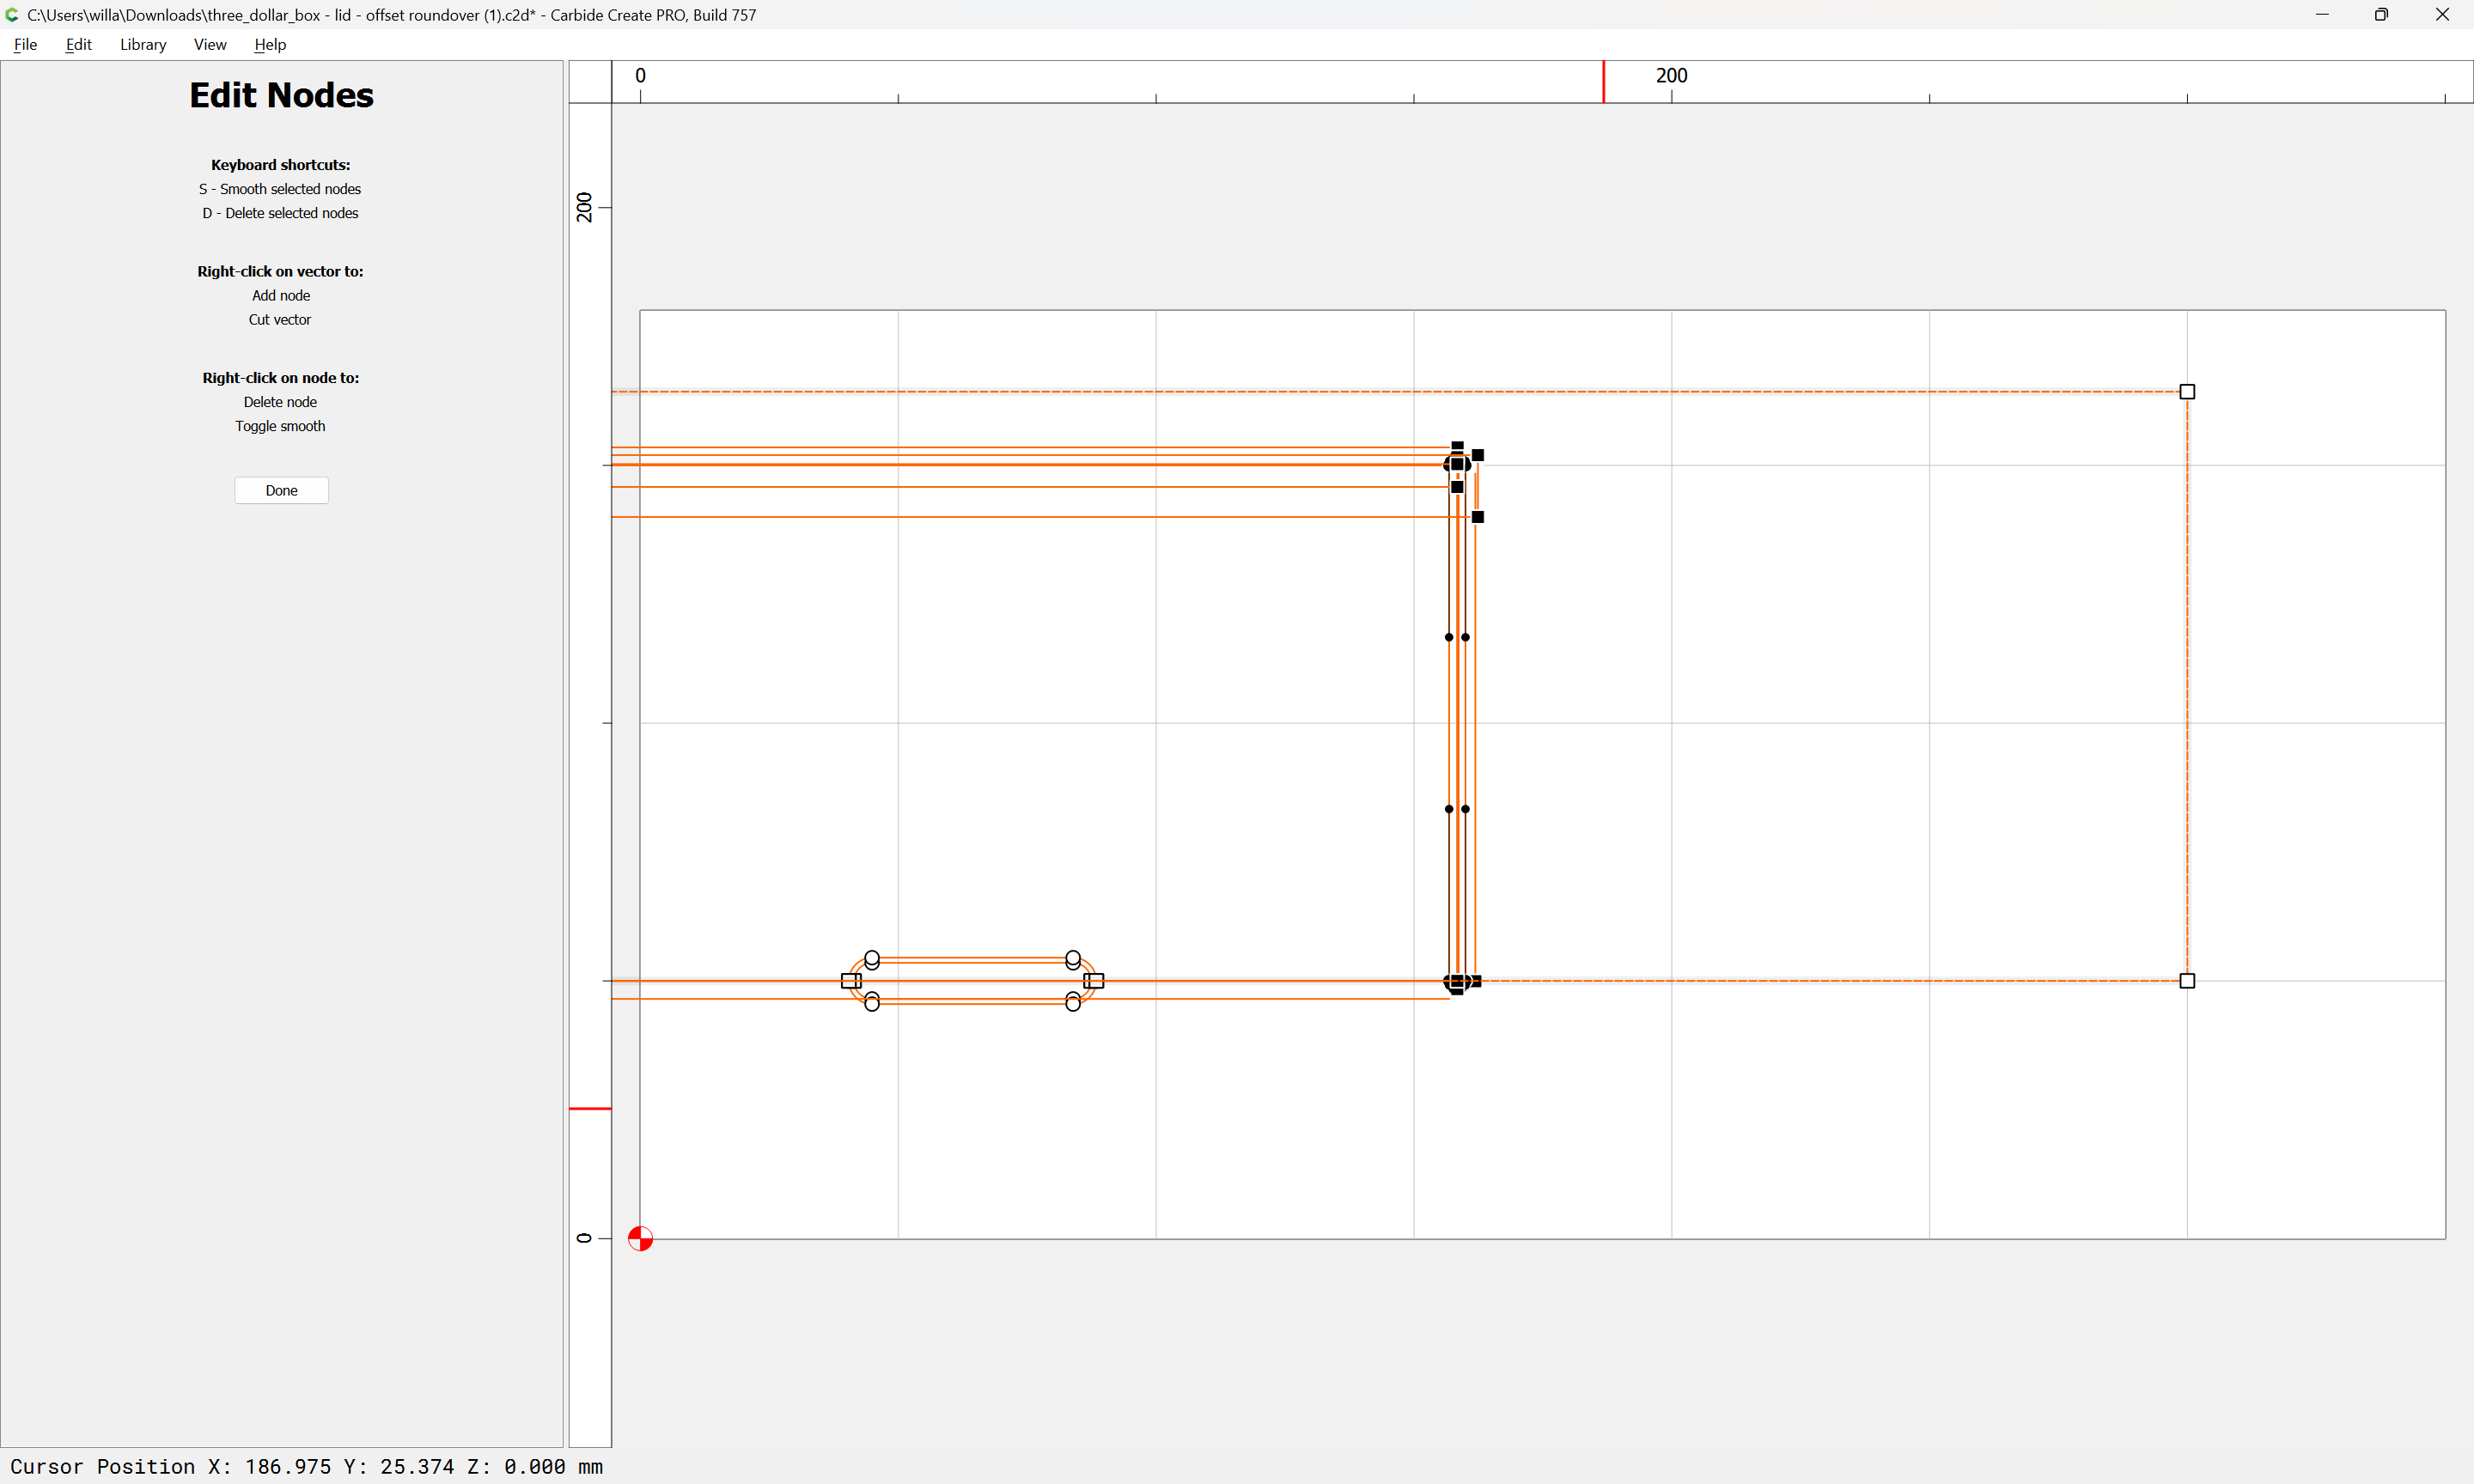
begin dragging to the grid intersection:
Done
repeat for the other edge:
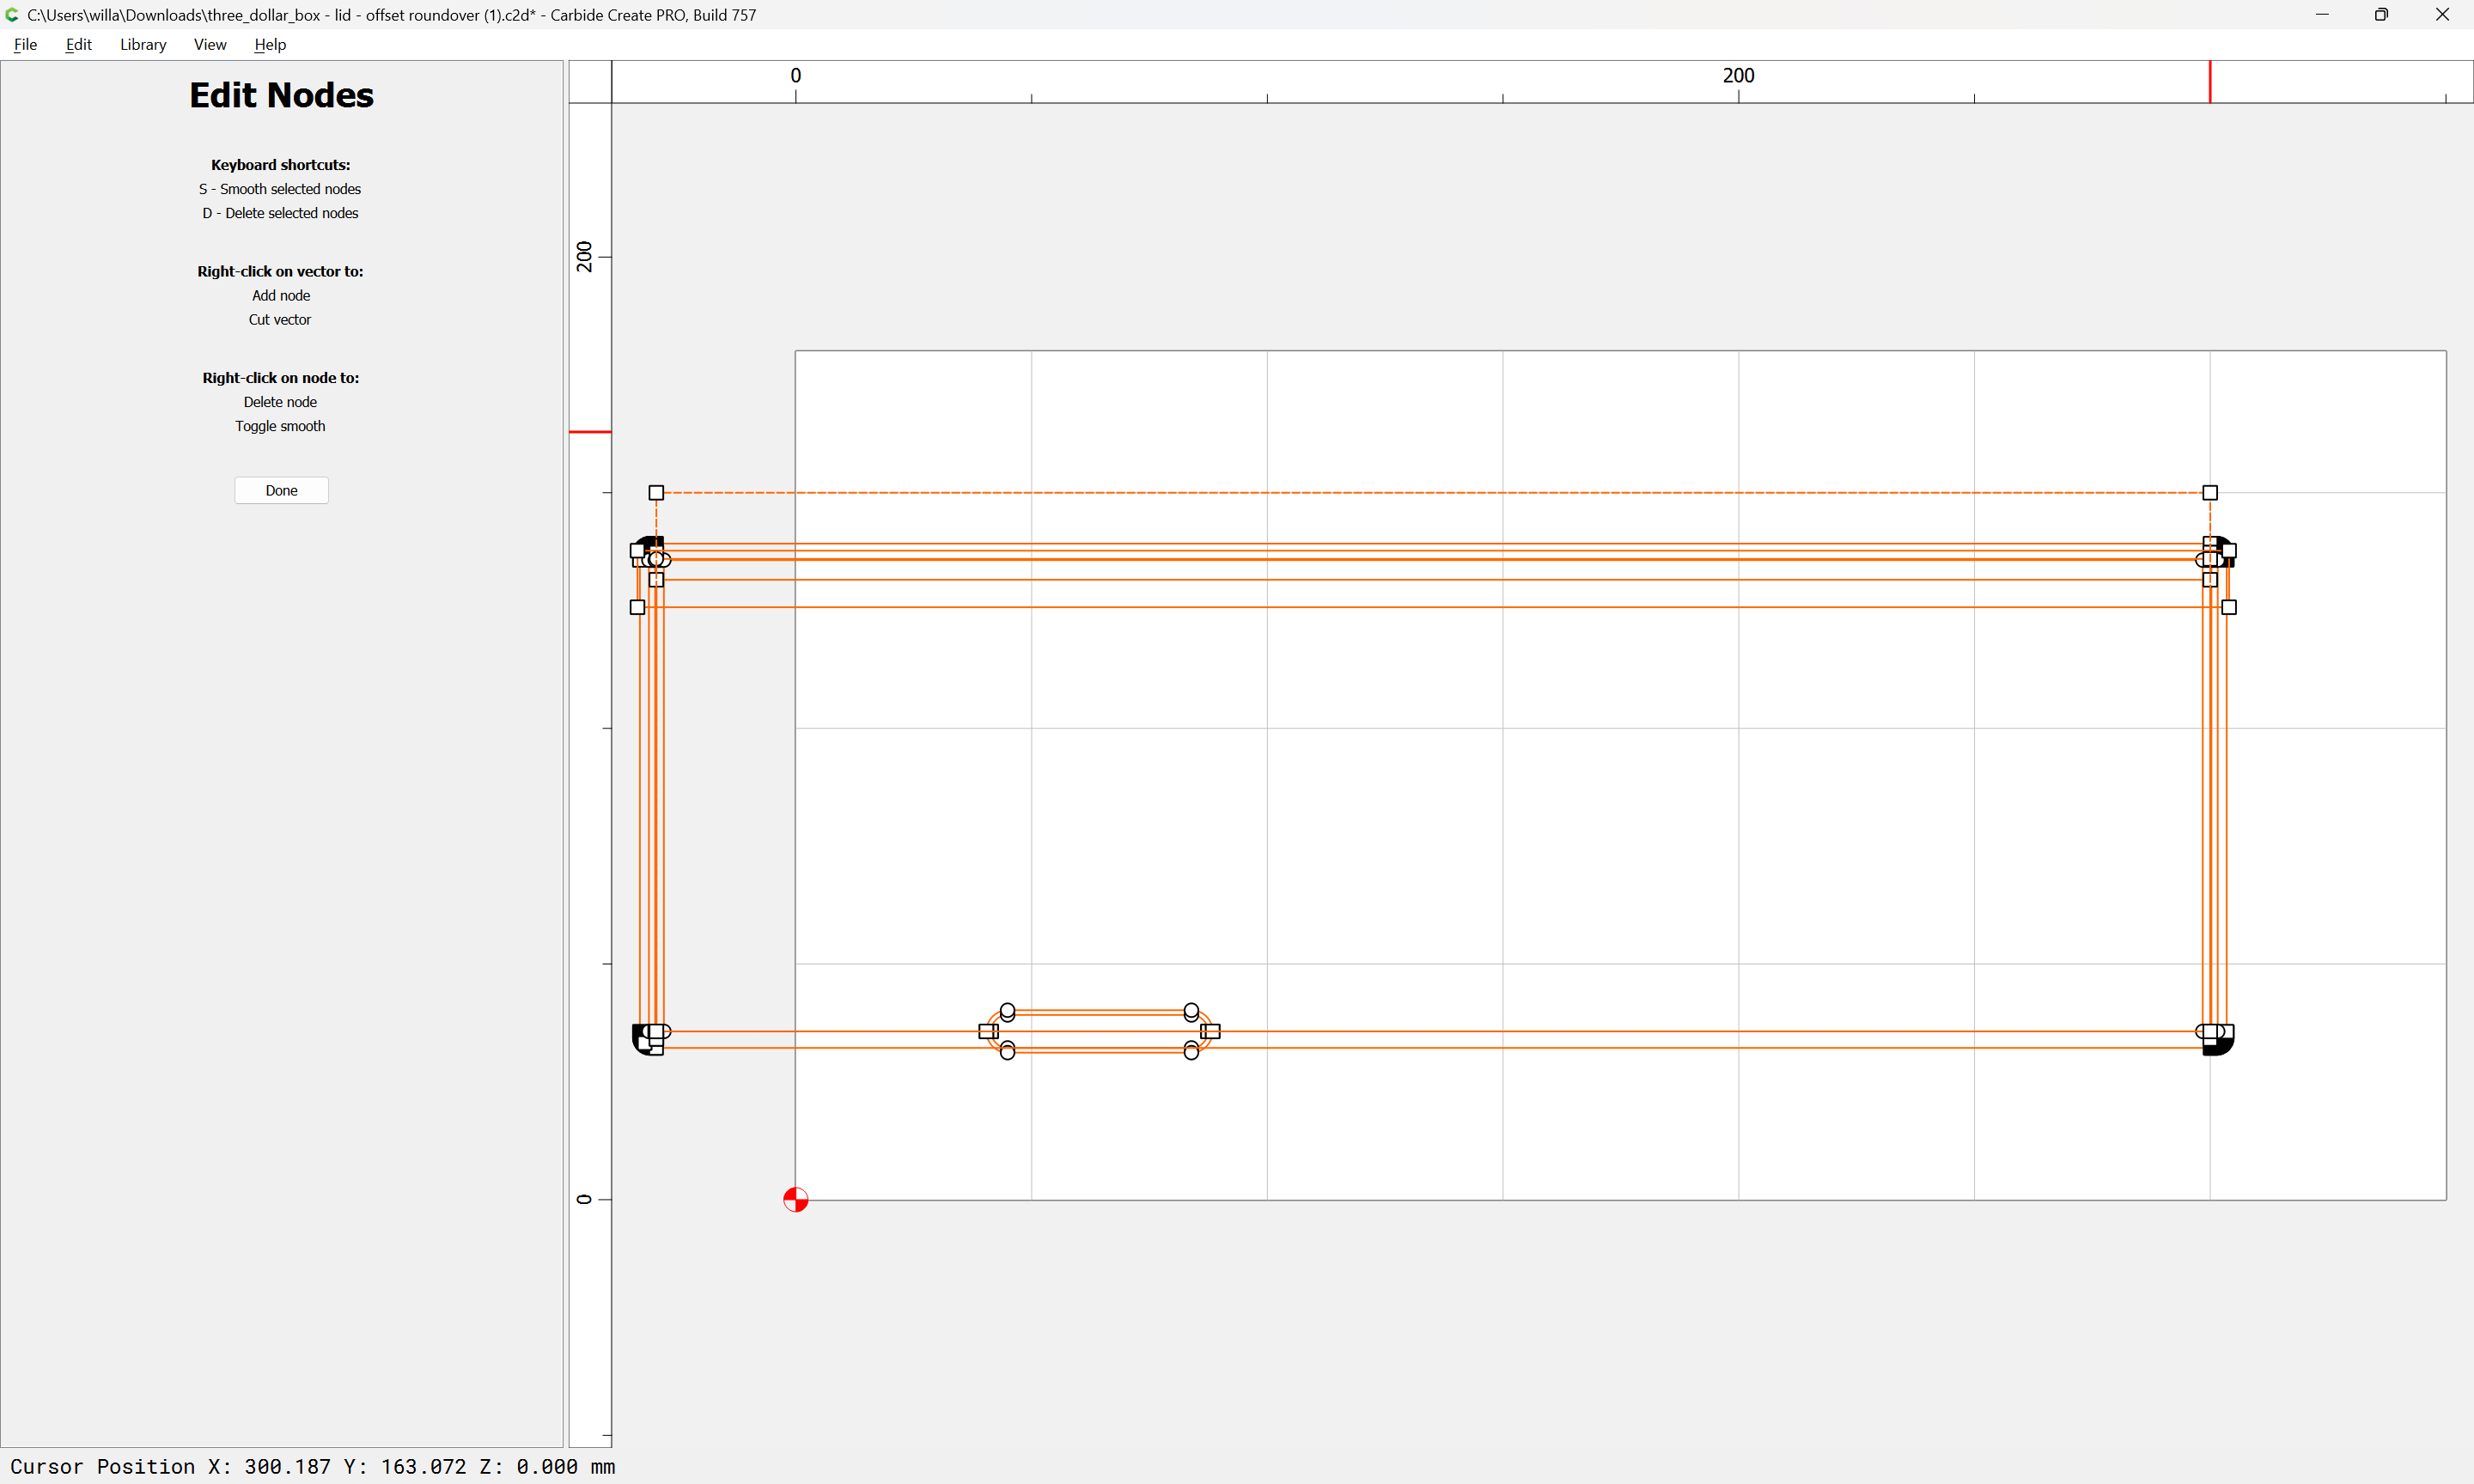
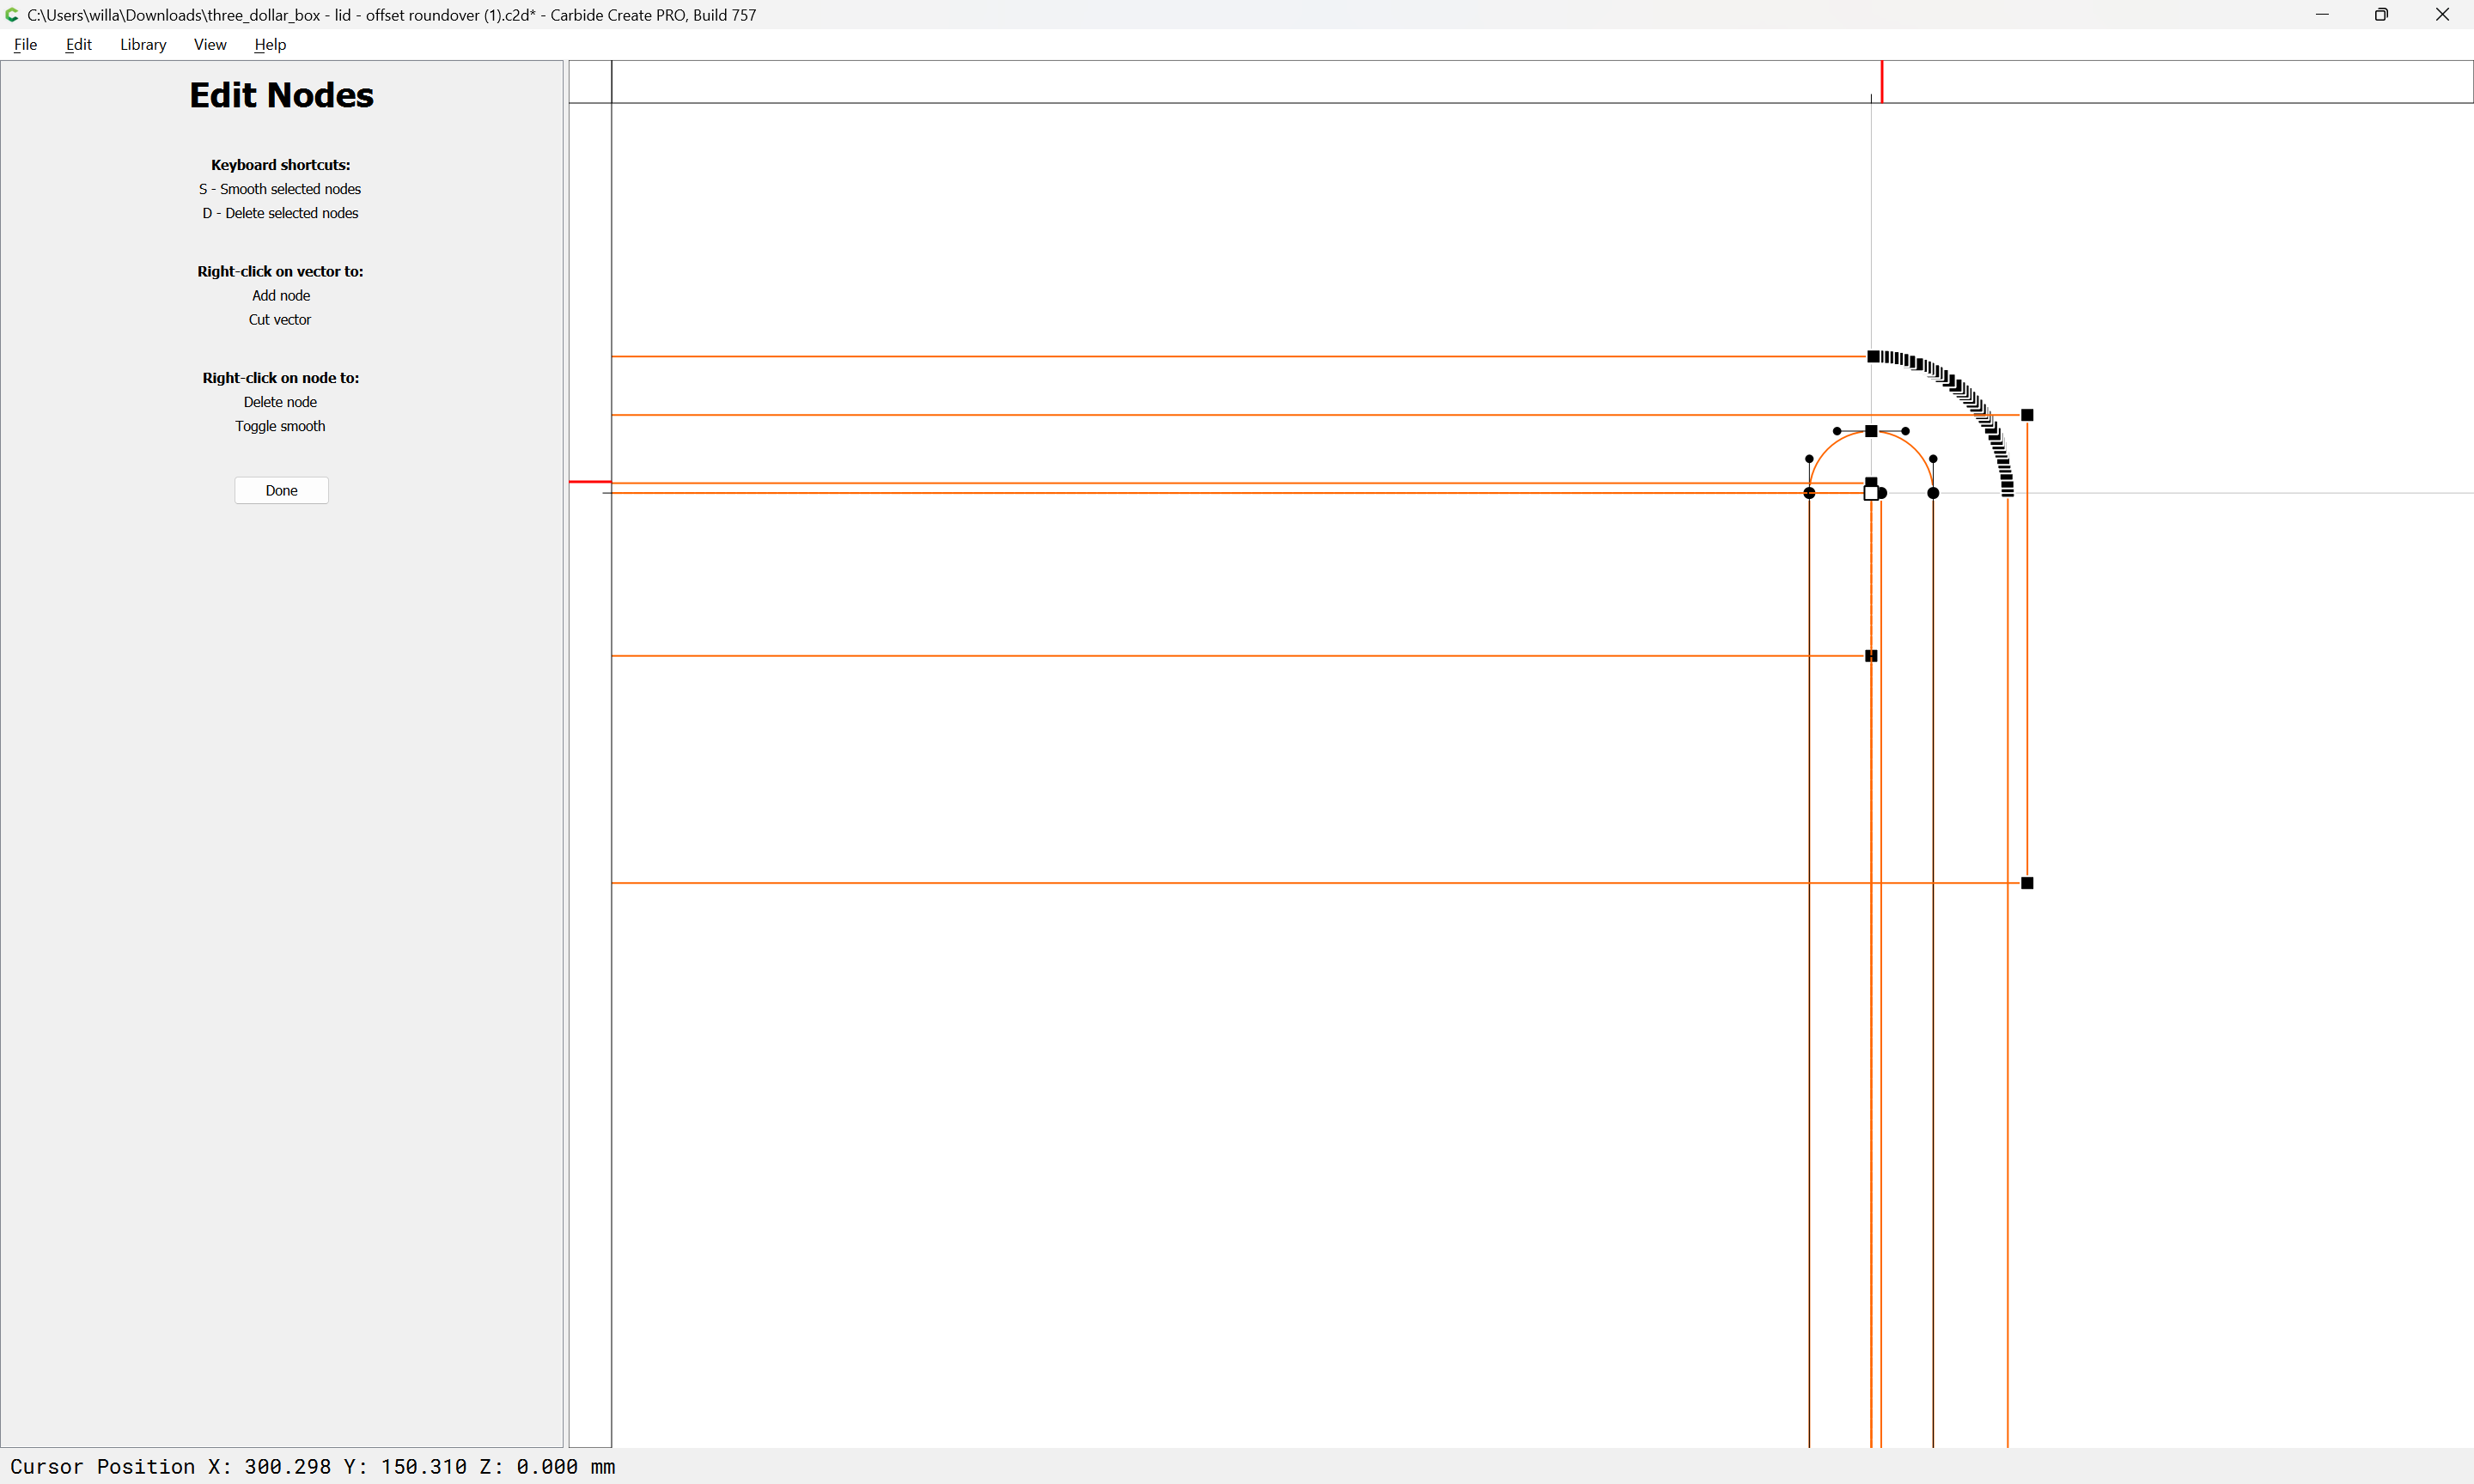
Done
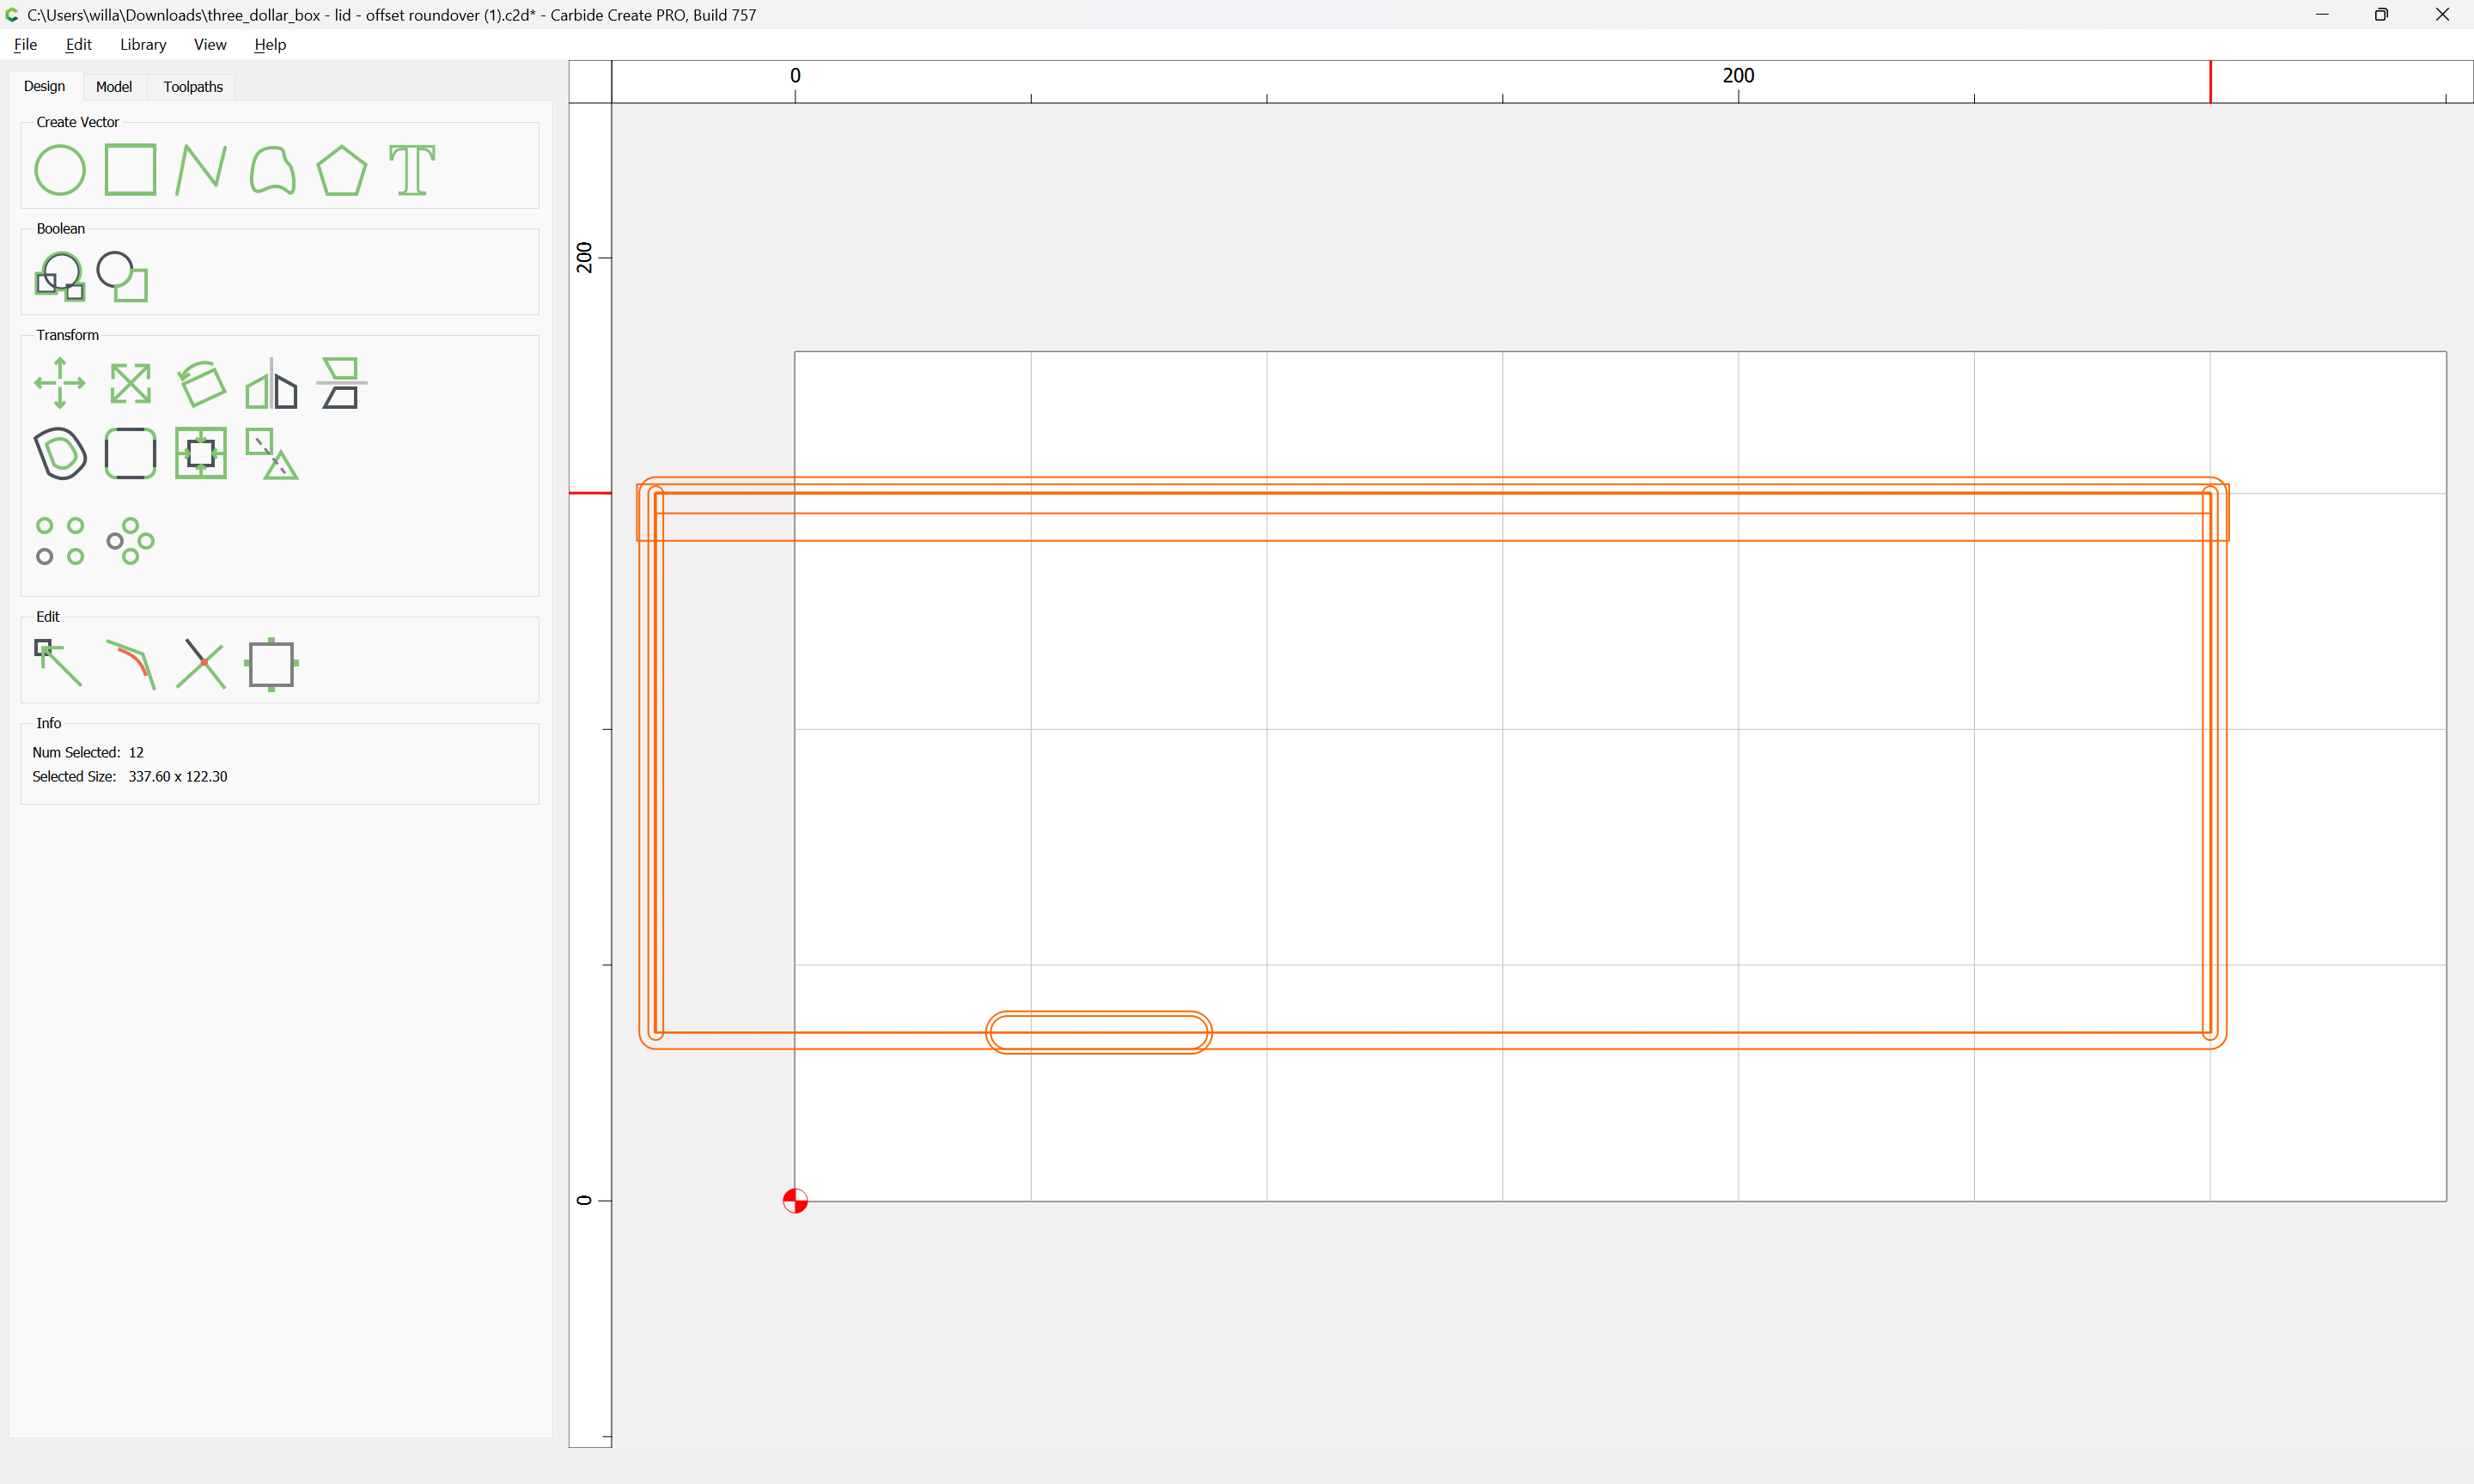
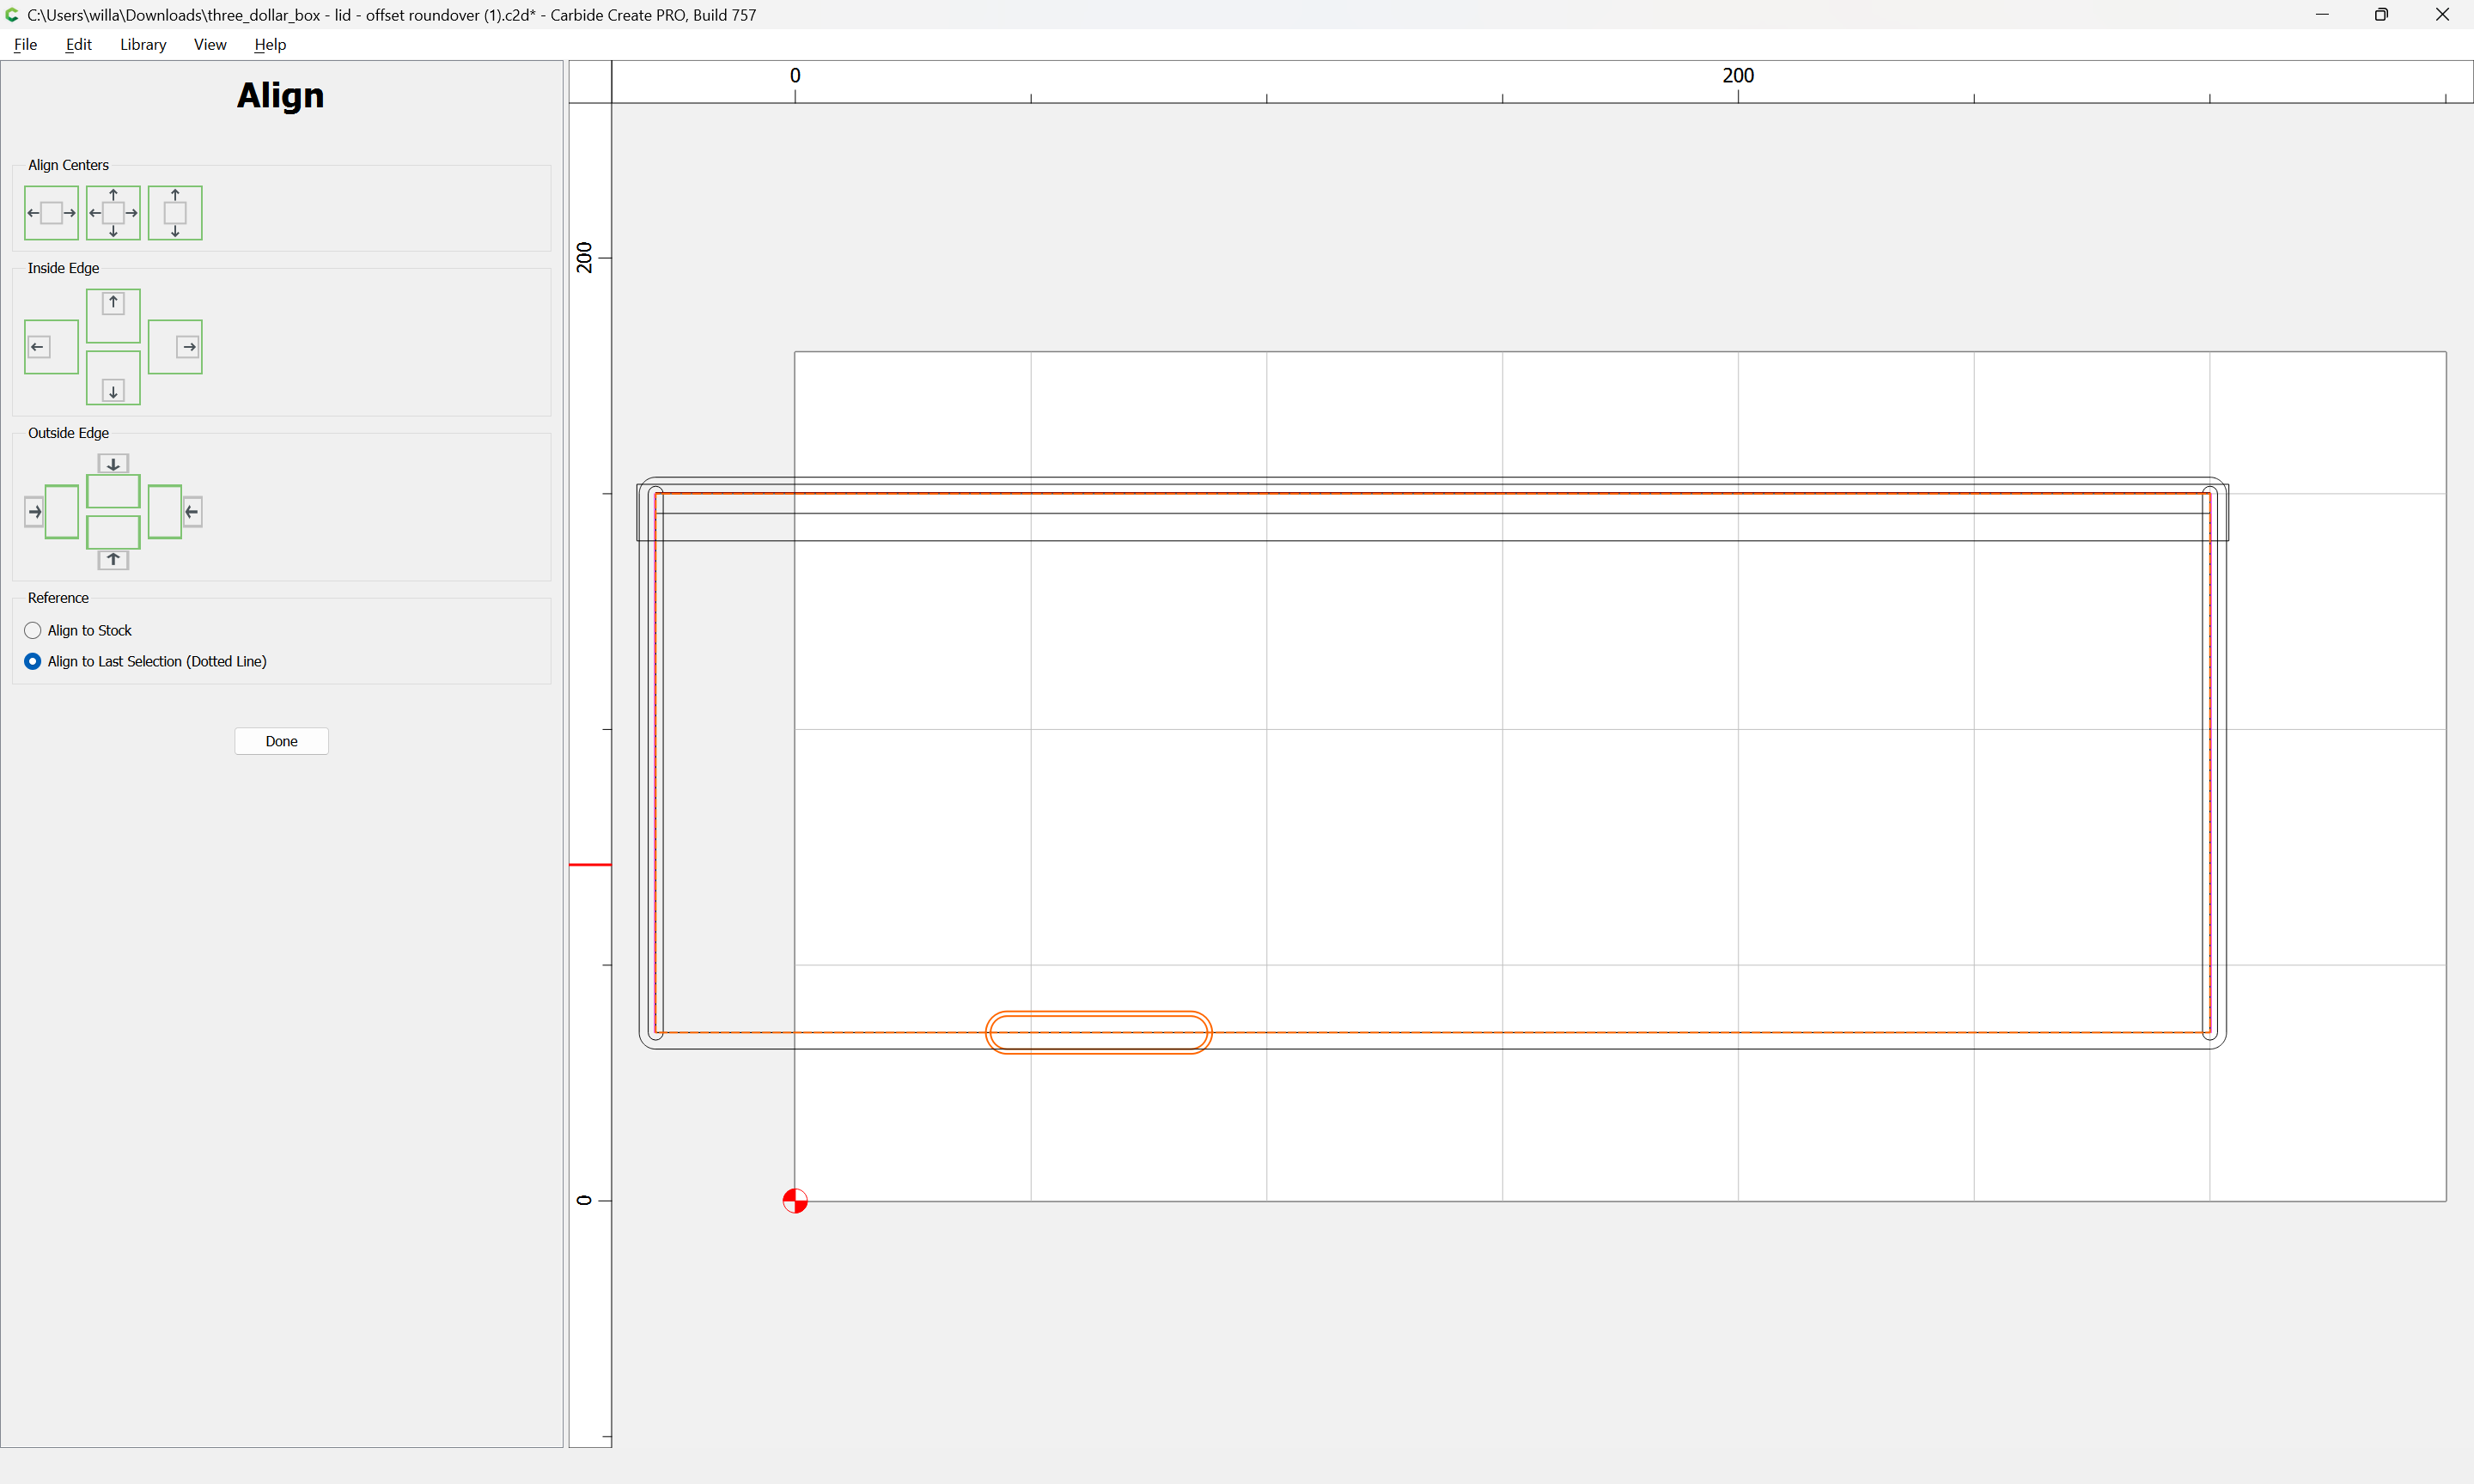
Select any elements which need to be adjusted and align as necessary:
Note that the thickness will need to be adjusted, and the 1572 tool defined, and the fixture similarly adjusted (didn’t think to include it in the selection, mea culpa).
1 Like
As I follow along with this build on my computer I can’t help but being impressed on the creative nature of the joinery design. I would have never thought to use Linear Array in the box joint design. My approach would have probably been with a single element design then Duplicate and Align. Great tutorial with many lessons learned.
I wish I could take credit for it — a number of folks have done this sort of joinery before I finally settled upon it:
I’ve got an idea for a perfect joint, but I’m still working on the math for it — if anyone has any books on conic sections to recommend, I’d be grateful.
This topic was automatically closed after 30 days. New replies are no longer allowed.