WillAdams
April 3, 2022, 2:27pm
1
These are usually used in routers for decorative effects in wood:
https://www.whitesiderouterbits.com/products/1570
but they are potentially useful for joinery:
Next up is more boxes, this time for magazine storage — for my part I just cut open Fed Ex boxes:
[WIN_20190912_14_02_59_Pro]
But they’re not always available in a suitable size for typical magazines.
There are a number of commercial options:
So there is certainly precedent for wooden boxes — we’ll try for an inexpensive material, since this is going to be a fairly large project (sorry Nomad owners) — Luan Plywood is available at most home centers, usually as underlayment, a bit of care…
They are also useful for rounding off parts to allow rotary motion as for a hinged lid.
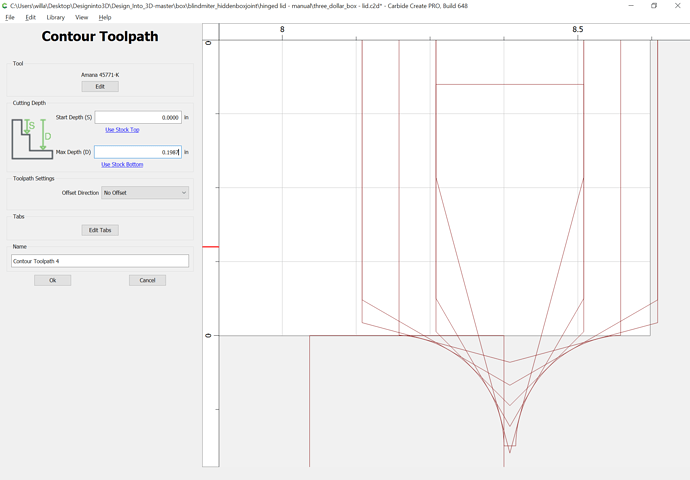
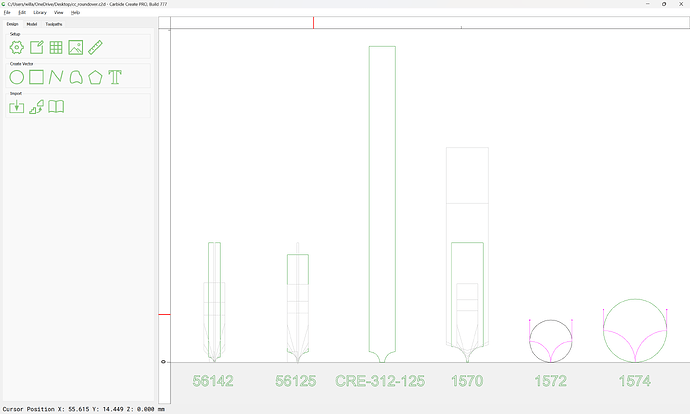
Unfortunately, Carbide Create does not support this endmill geometry — but using the new support for previewing a V endmill when used in a No Offset Contour toolpath, it should be possible to preview them w/ confidence by stacking a series of V endmill cuts.
2 Likes
WillAdams
April 3, 2022, 3:59pm
2
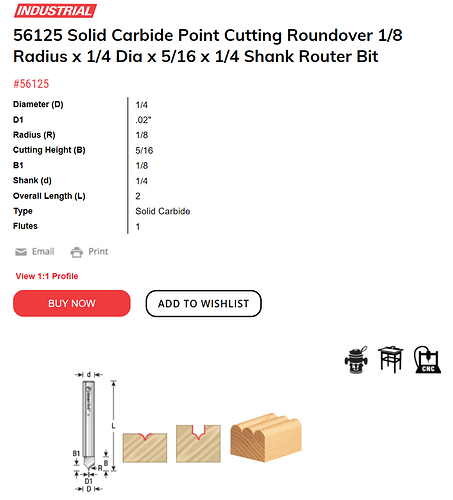
Another source for these is Amana:
Industrial Quality Router Bits, CNC Router Bits, Saw Blades, Shaper Cutters, Boring Bits & Planer and Jointer Knives by Amana Tool
which has the advantage of providing rather more detailed information, in particular the tip diameter:
which allows one to set up a tool w/o the need for a test cut.
I was looking at these the other day and with a simple properly spaced grid could make for a nice soft “pillowy” background effect. like a nice tray of milk buns or somehting
2 Likes
WillAdams
April 3, 2022, 5:23pm
4
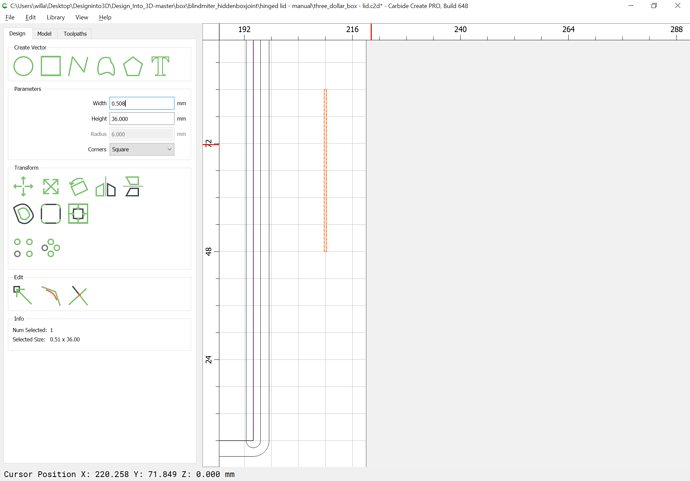
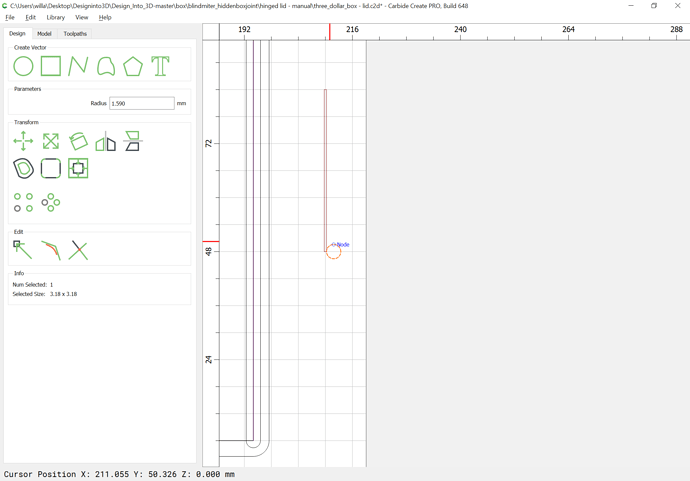
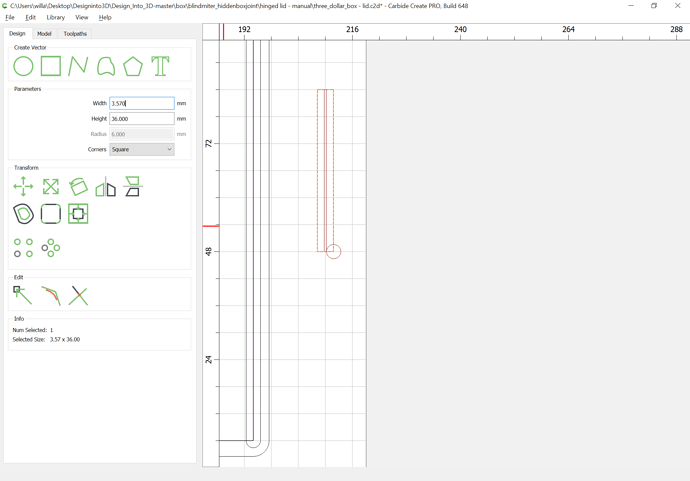
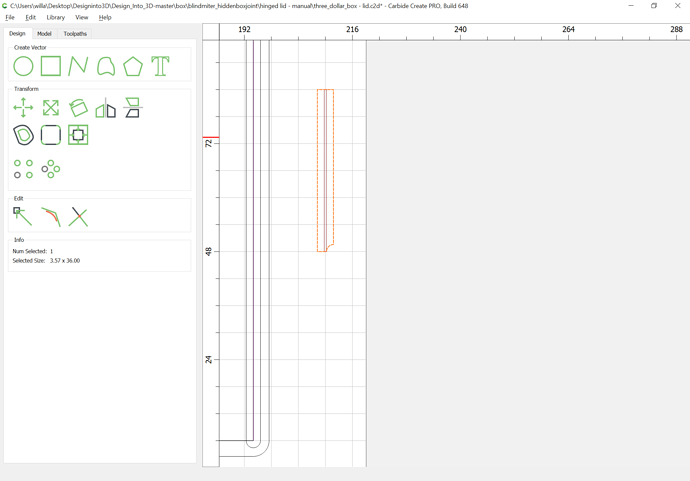
To get a preview of how the tool will cut, draw up such a tool in profile (or import the DXFs):
The tool drawn above is:
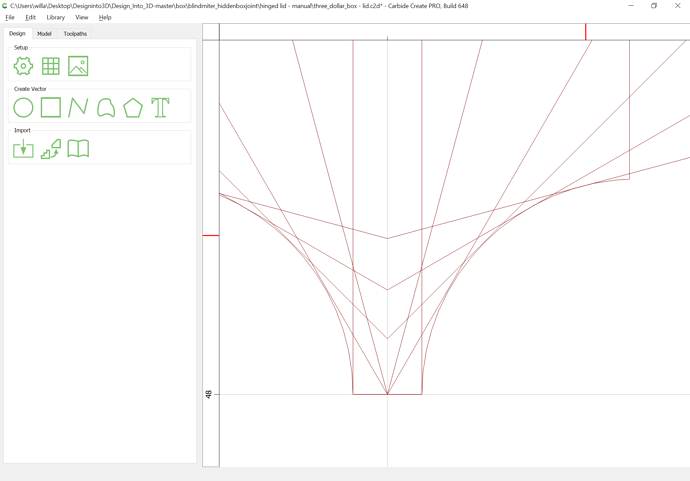
With a profile in place, it is simply a matter of matching up various V endmills at appropriate depths:
(depicted are 30, 60, 90, 120, and 150 degrees)
This also brings up the fact that one could make such cuts using a series of V endmill and then sand to the desired profile.
WillAdams
April 4, 2022, 3:36am
5
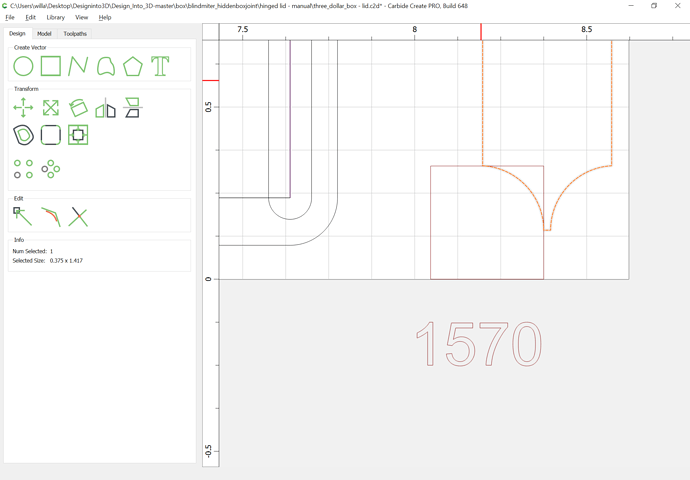
Once the geometry which we wish to use is drawn up:
we position various V endmills relative to it:
and then draw the line for the contour toolpaths:
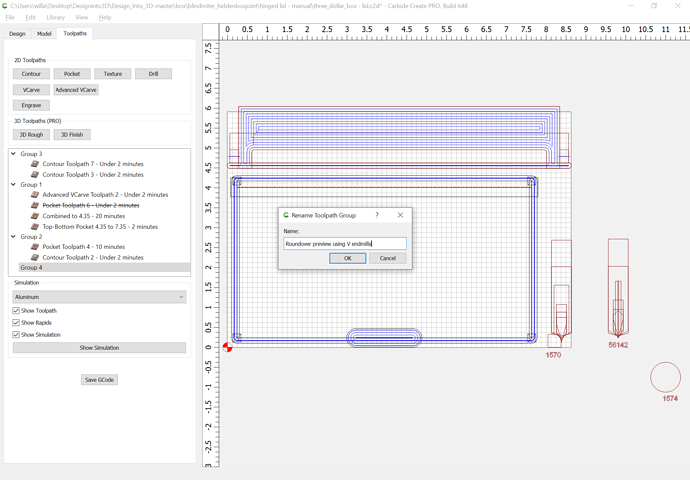
and create a group for the V endmill toolpaths:
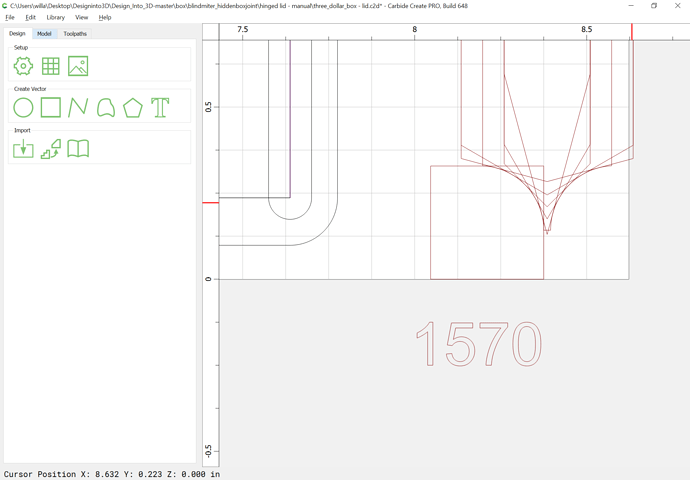
and then assign the various V endmill toolpaths cutting to the appropriate depths:
until one arrives at:
1 Like
WillAdams
April 29, 2022, 2:22am
6
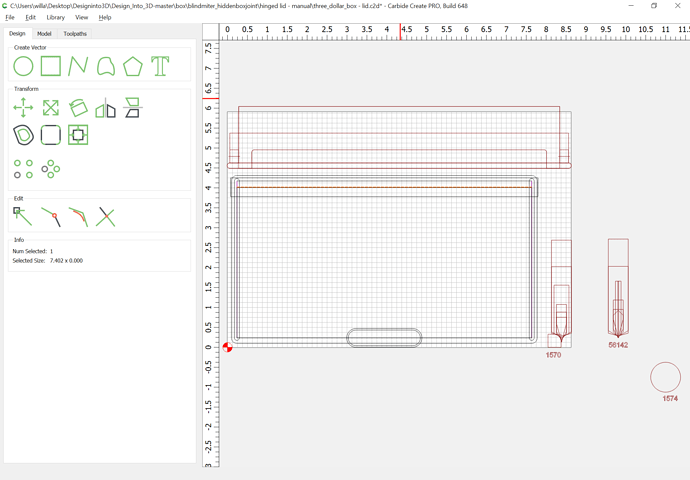
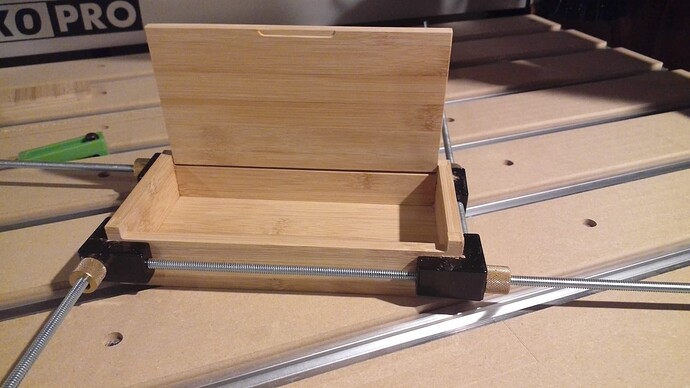
Here’s a lid which uses this technique:
three_dollar_box - lid - offset roundover.c2d (501.2 KB)
which can be used on:
Revisiting
for a hinged design — first, verify the concept by designing and cutting a prototype in Carbide Create, then going back and updating the 3D modeling.
First consideration is size — want it to use 3 bamboo cutting boards:
top
bottom
sides and front and back
[image]
1 Like
WillAdams
April 29, 2022, 11:51am
7
2 posts were merged into an existing topic: Clamps and clamping techniques
WillAdams
April 29, 2022, 12:21pm
8
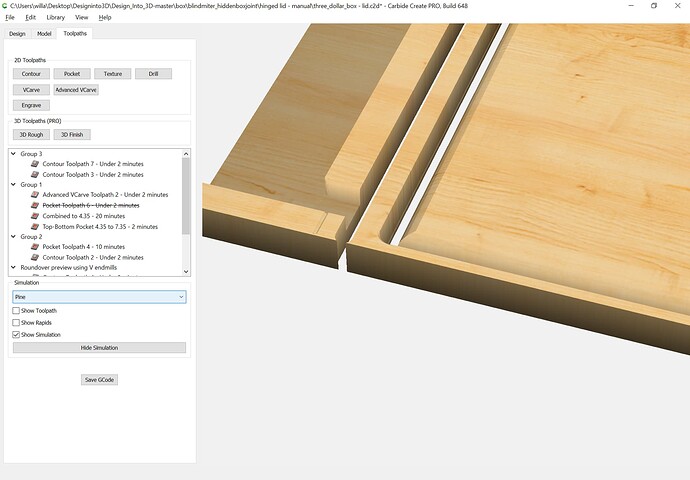
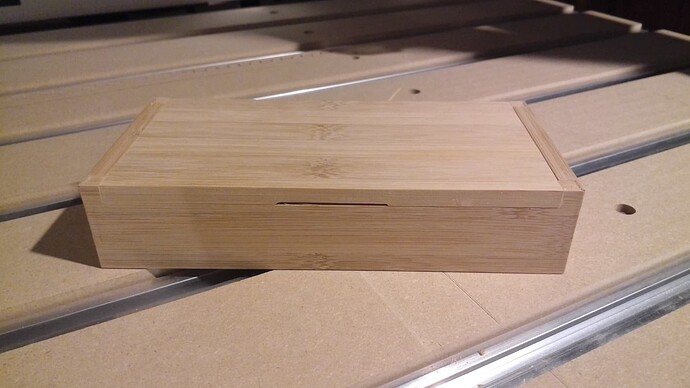
The fit and appearance of the lid w/ the roundover tooling is much better:
system
May 3, 2022, 2:27pm
9
This topic was automatically closed after 30 days. New replies are no longer allowed.
system
June 13, 2024, 11:40am
11
This topic was automatically closed 30 days after the last reply. New replies are no longer allowed.
WillAdams
June 28, 2024, 2:02am
12
Here is a set of roundover tools:
cc_roundover.c2d (240 KB)
1 Like
