It is best to work from inside towards the outside, and to start the toolpaths at the surface, then gradually move down into the stock.
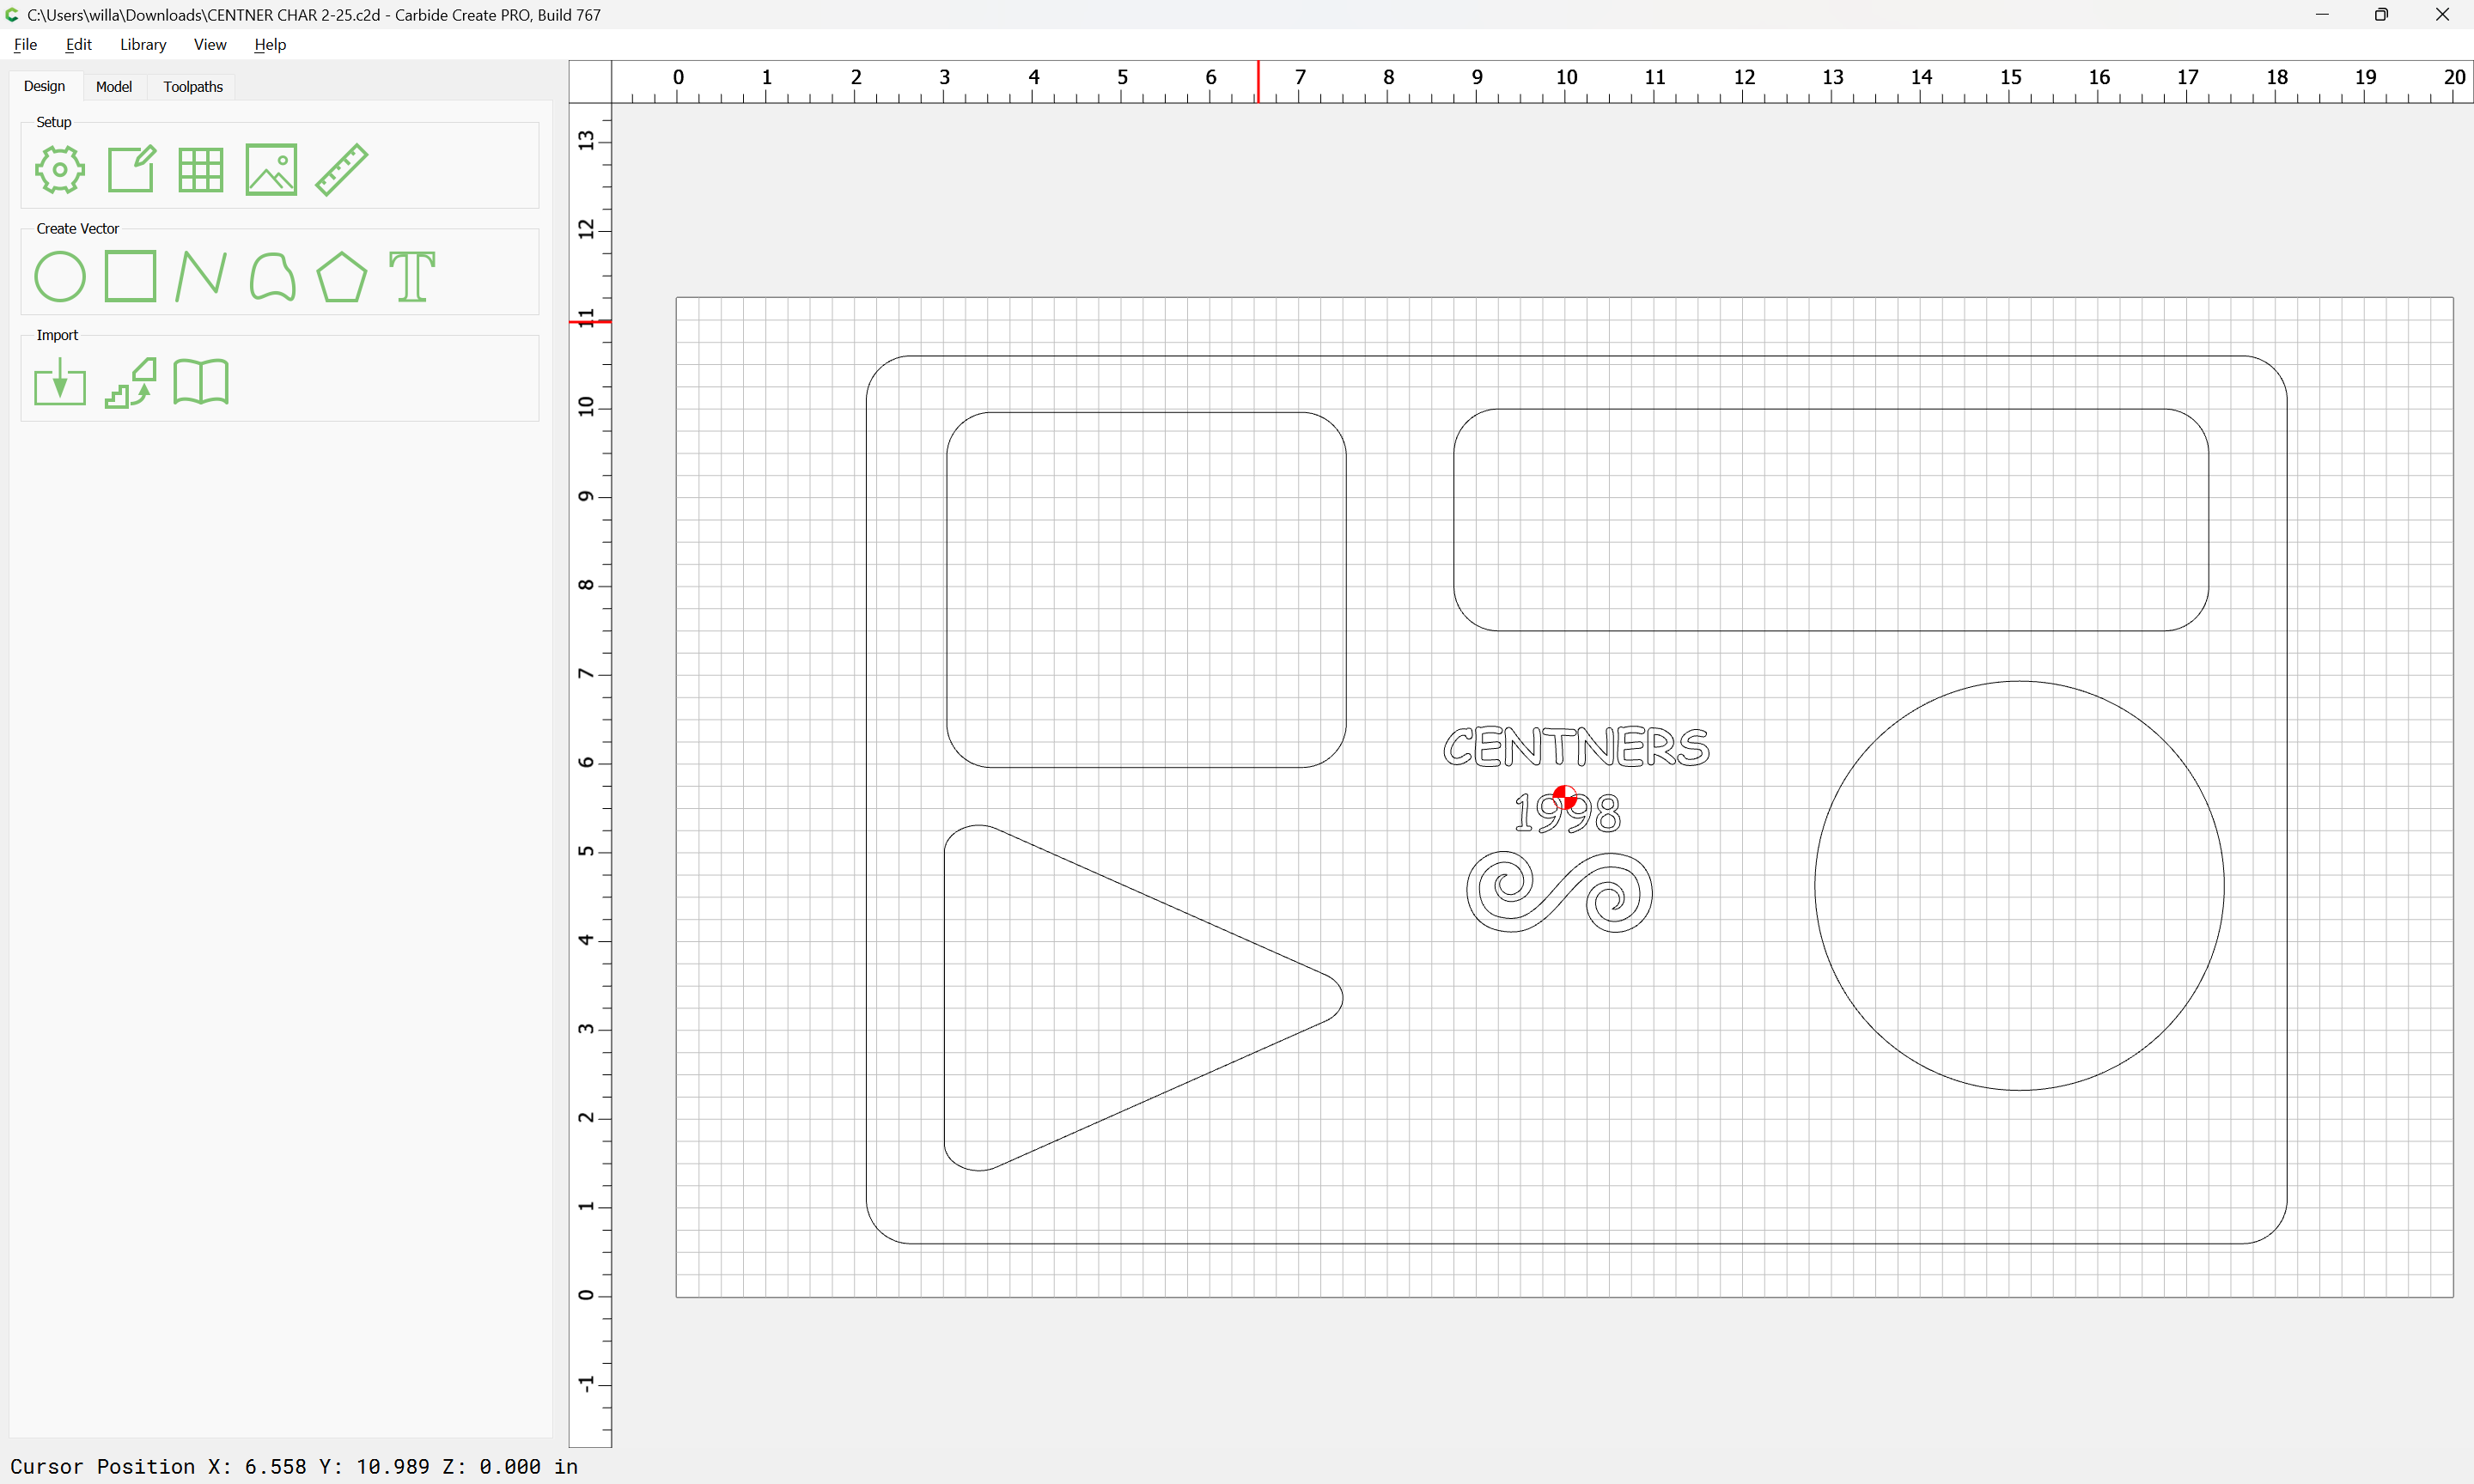
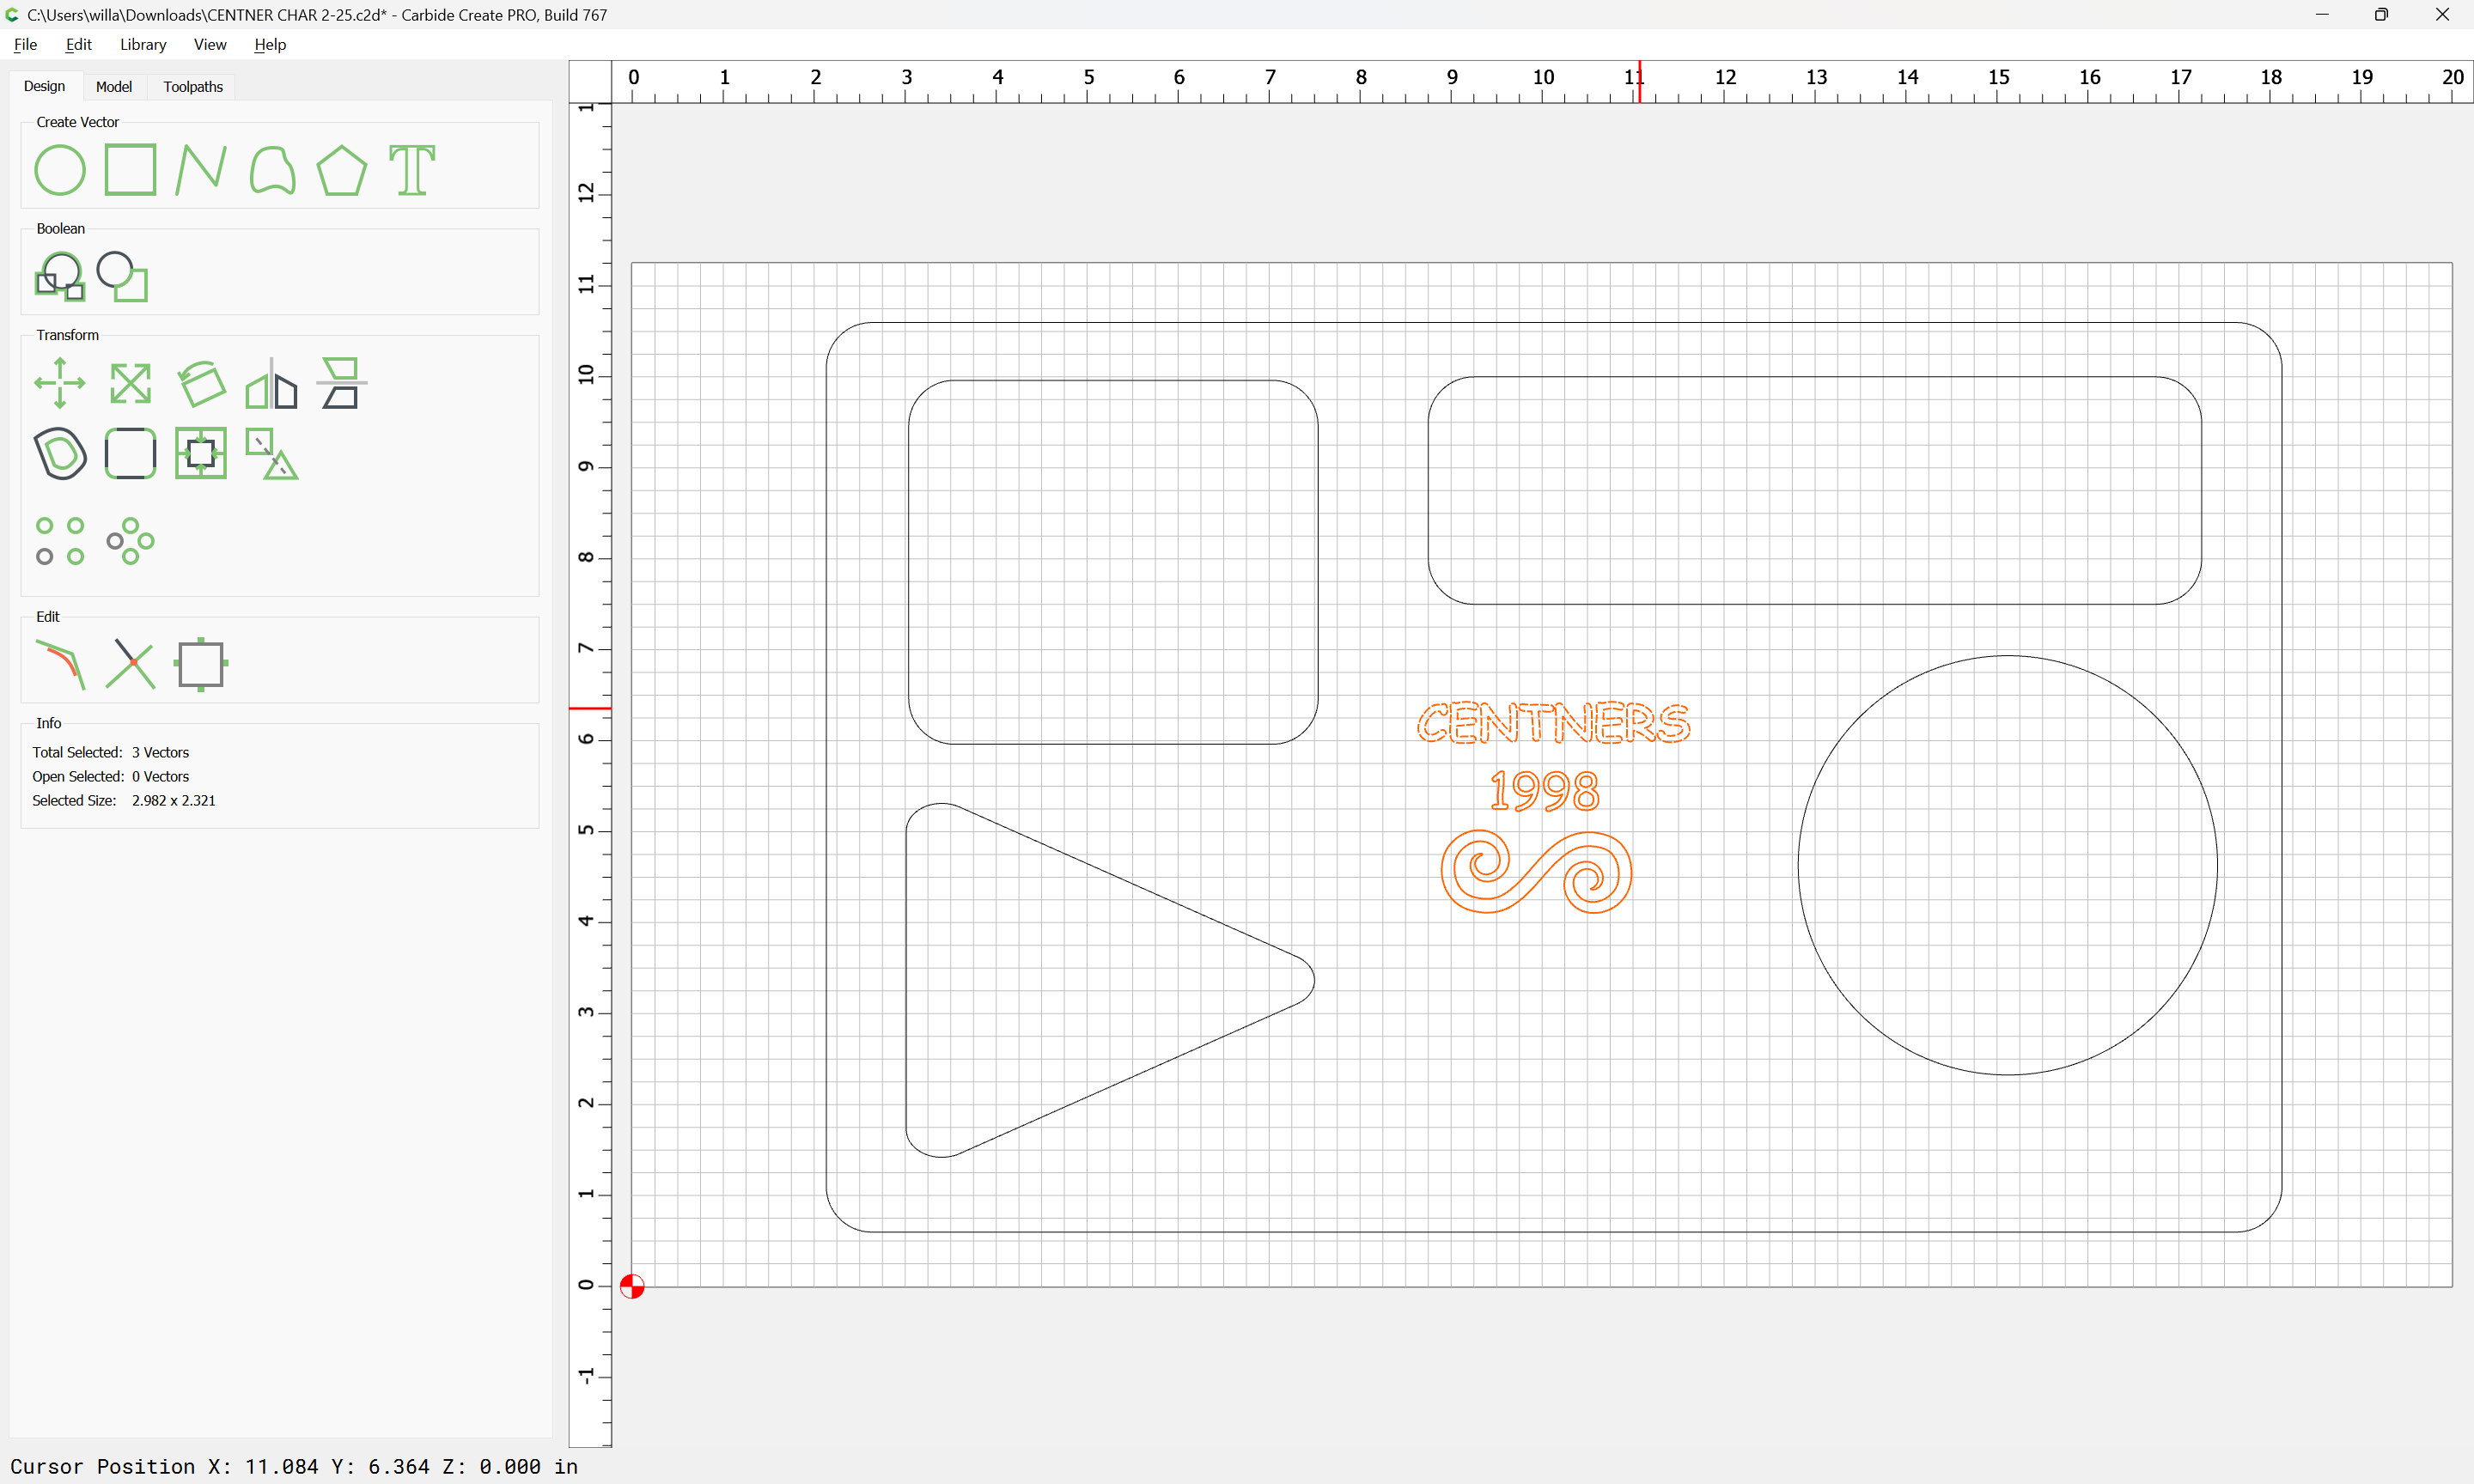
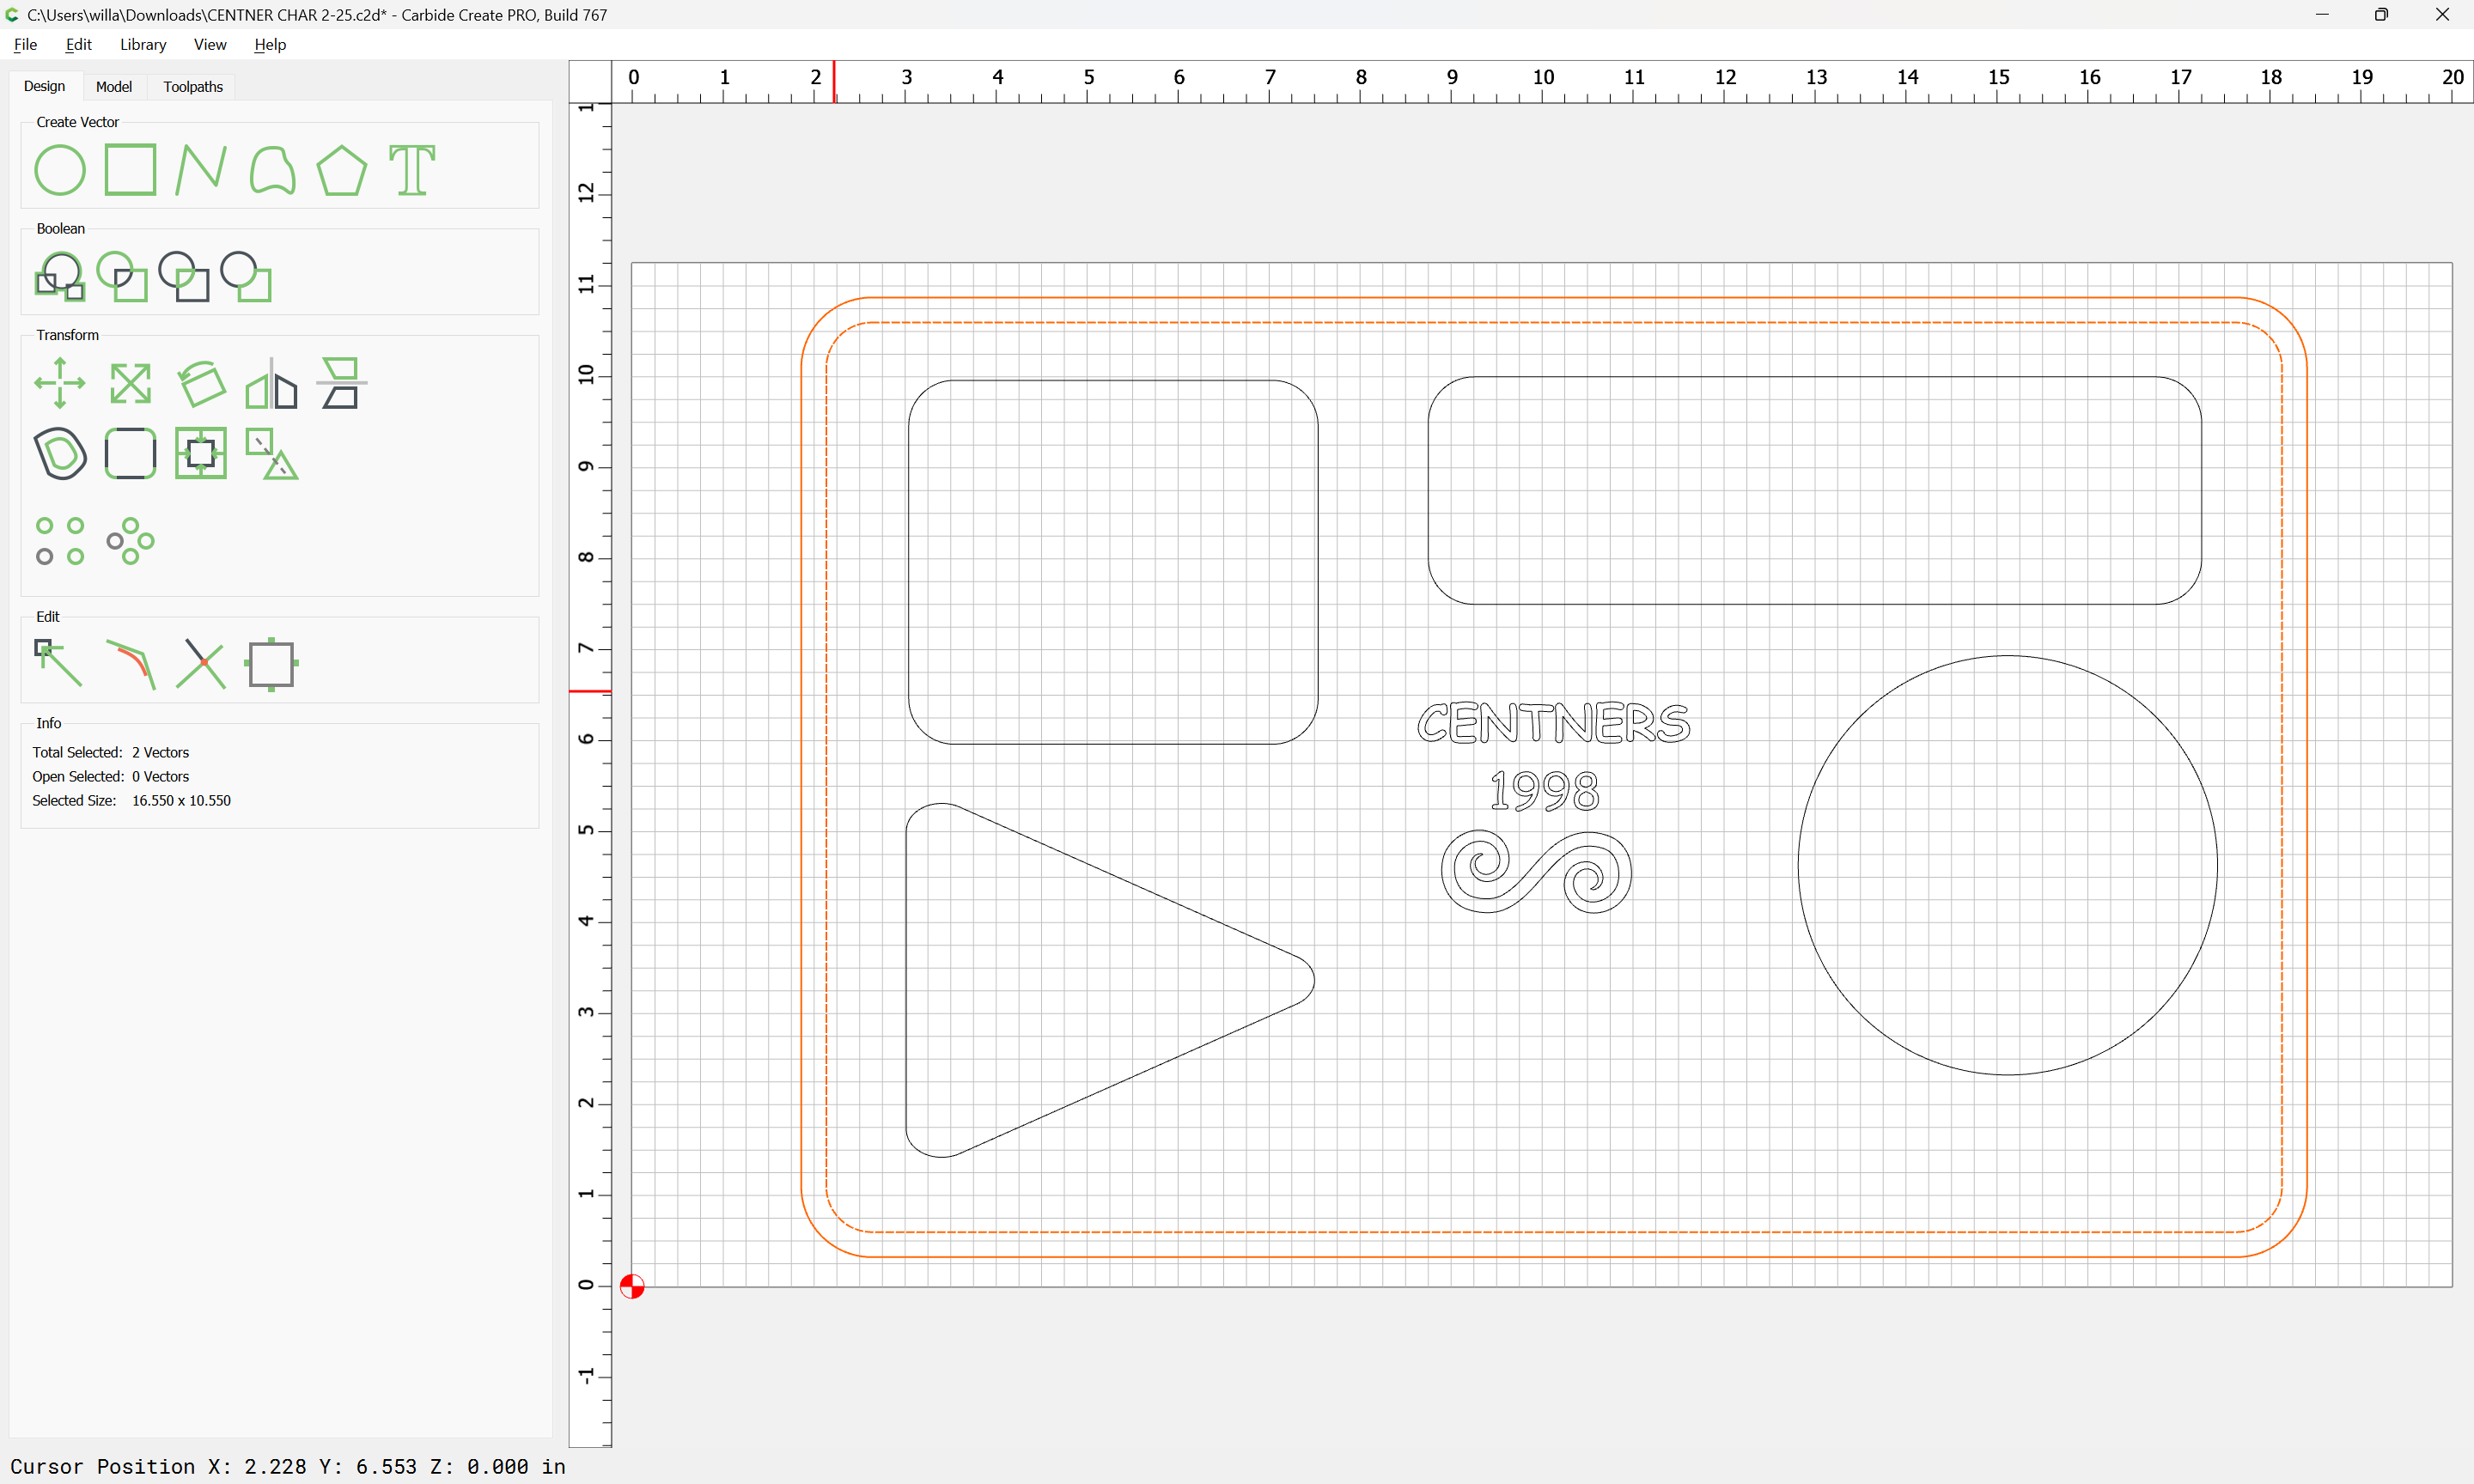
This would be the decorative elements at the center:
They may be easily cut as a V carving, for which see:
https://my.carbide3d.com/gswso/12/
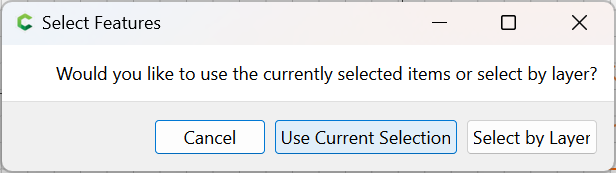
Use Current Selection
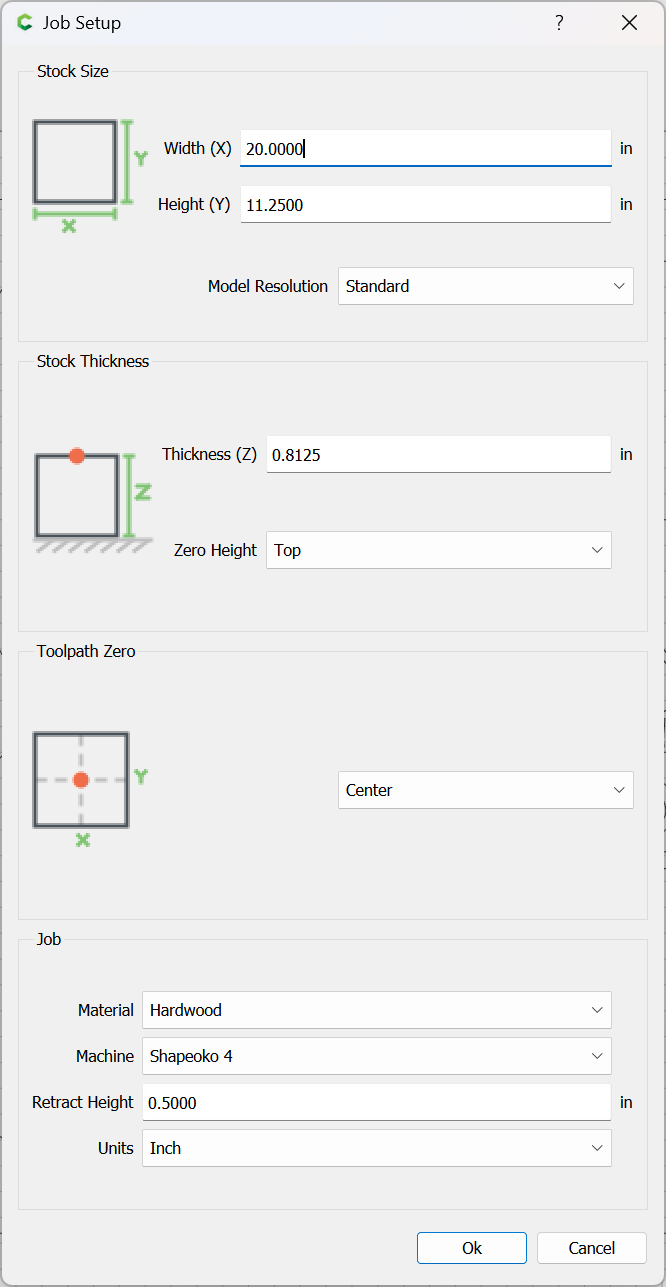
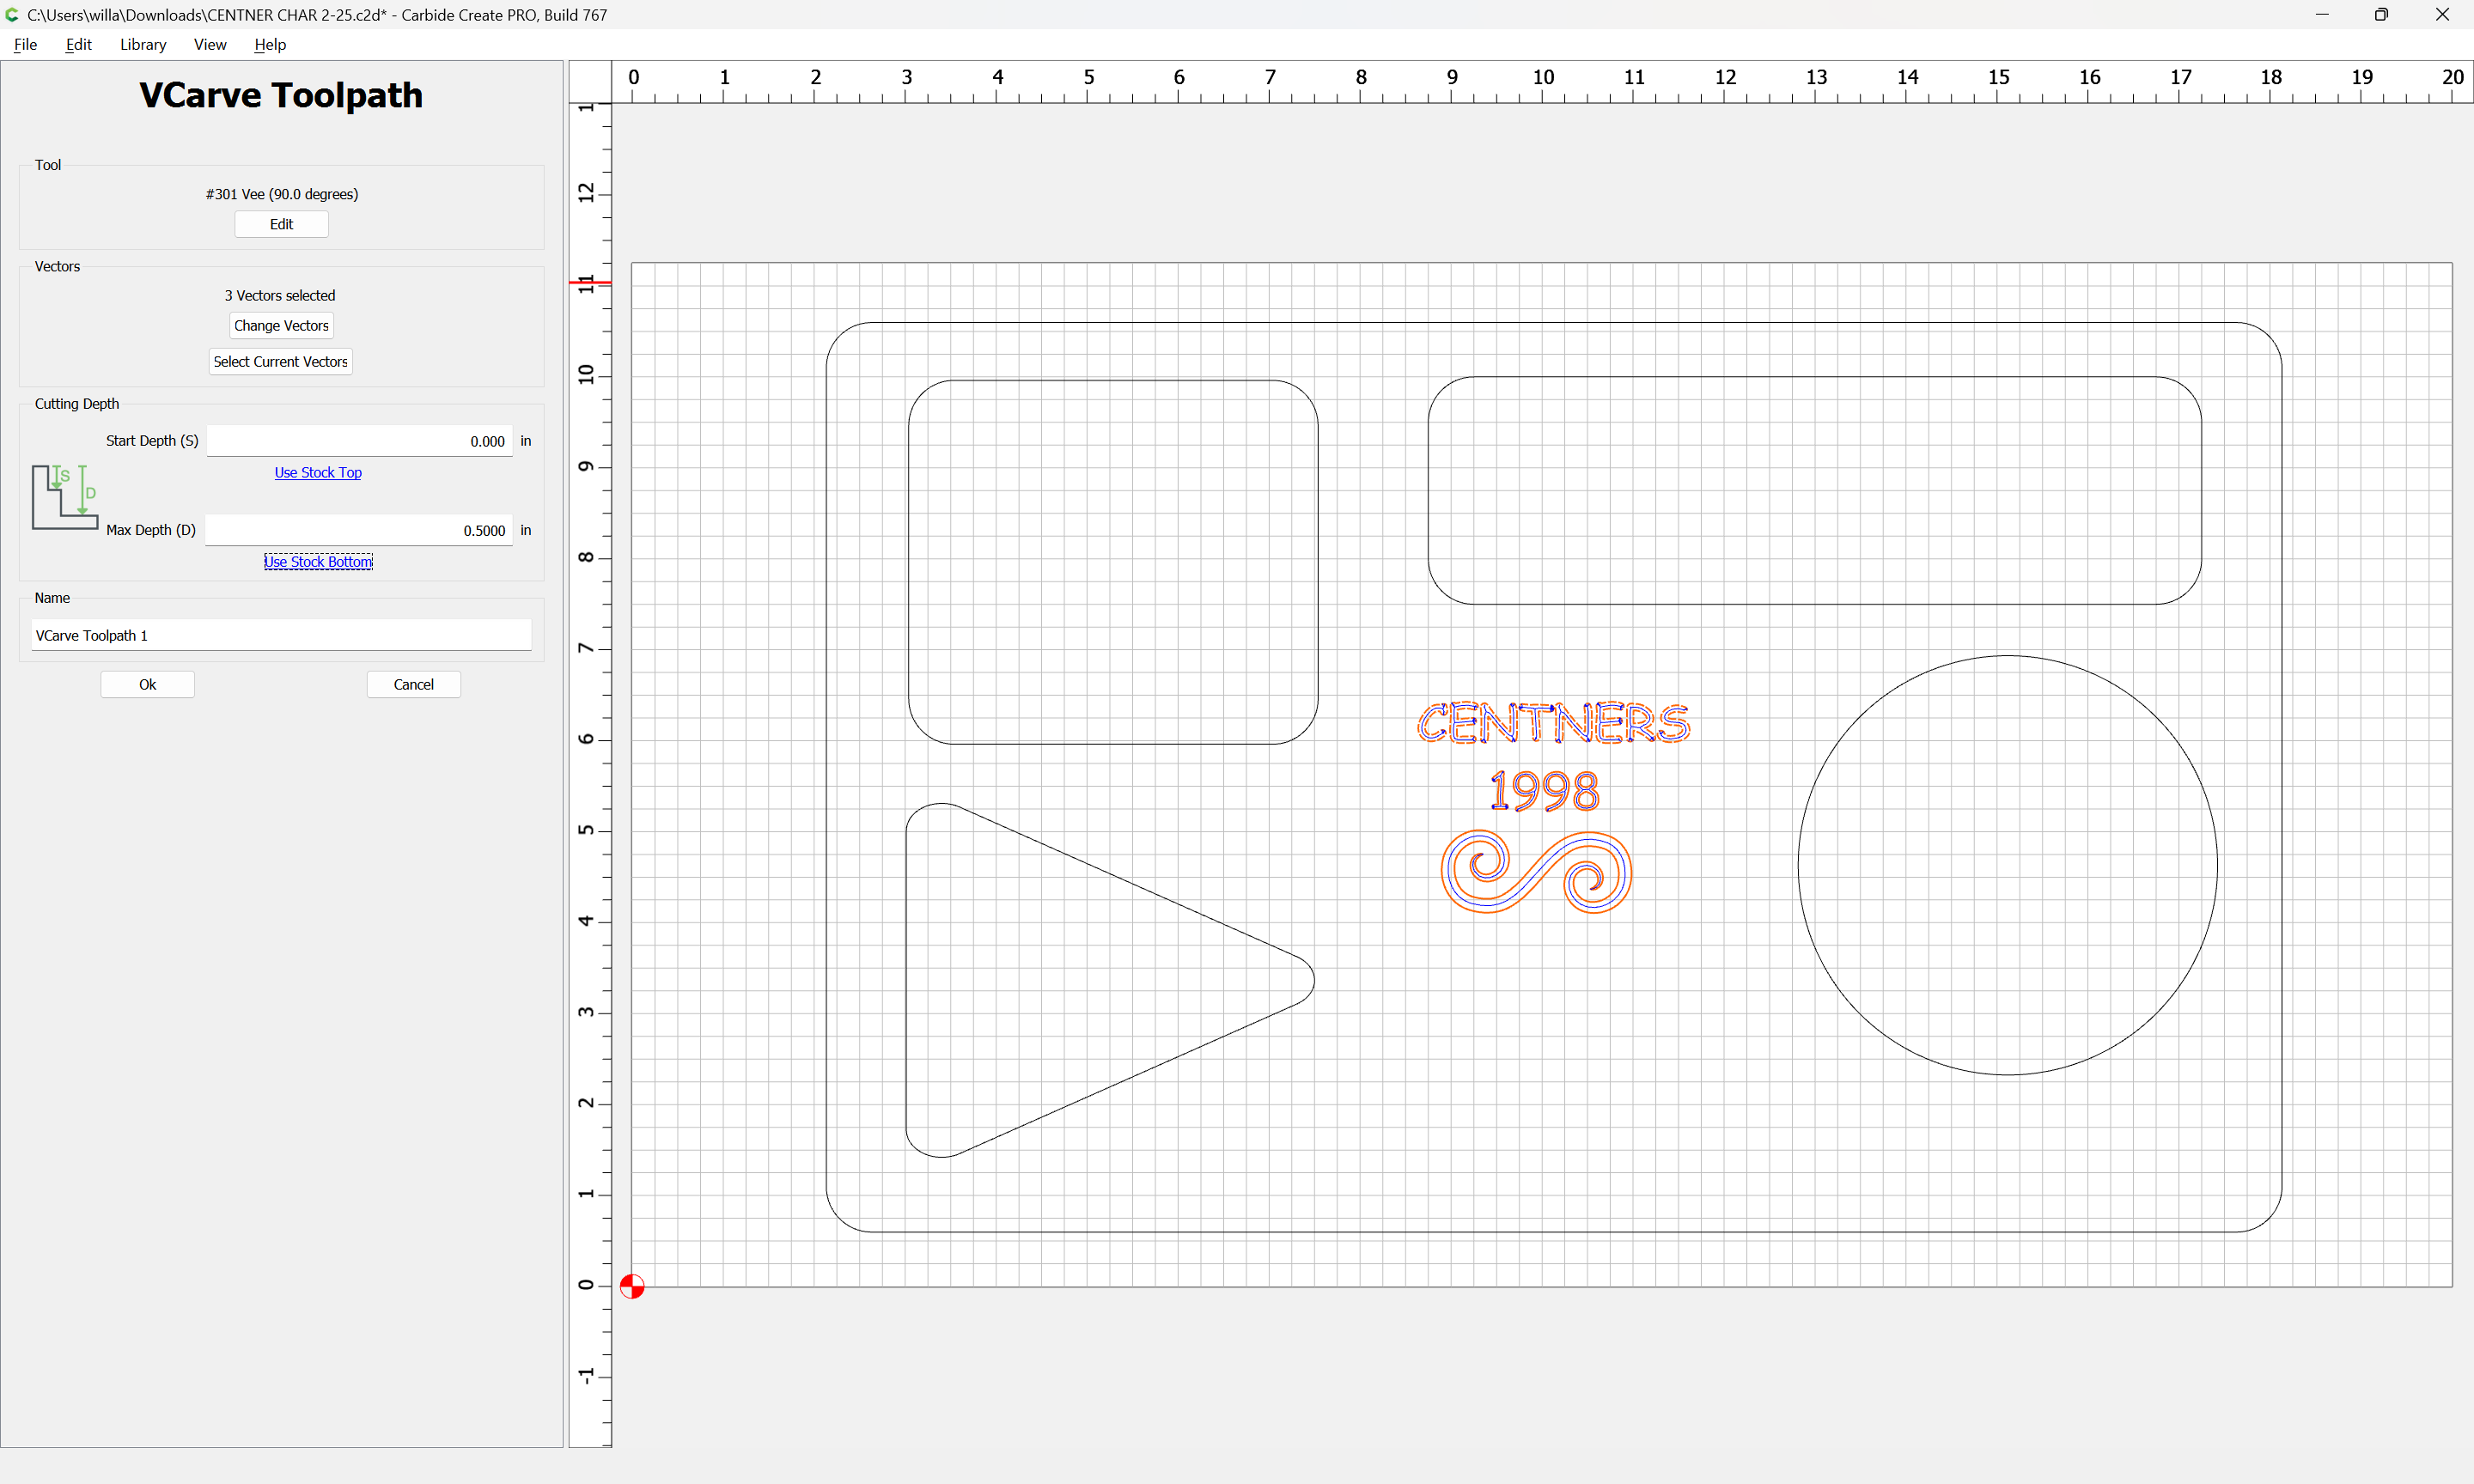
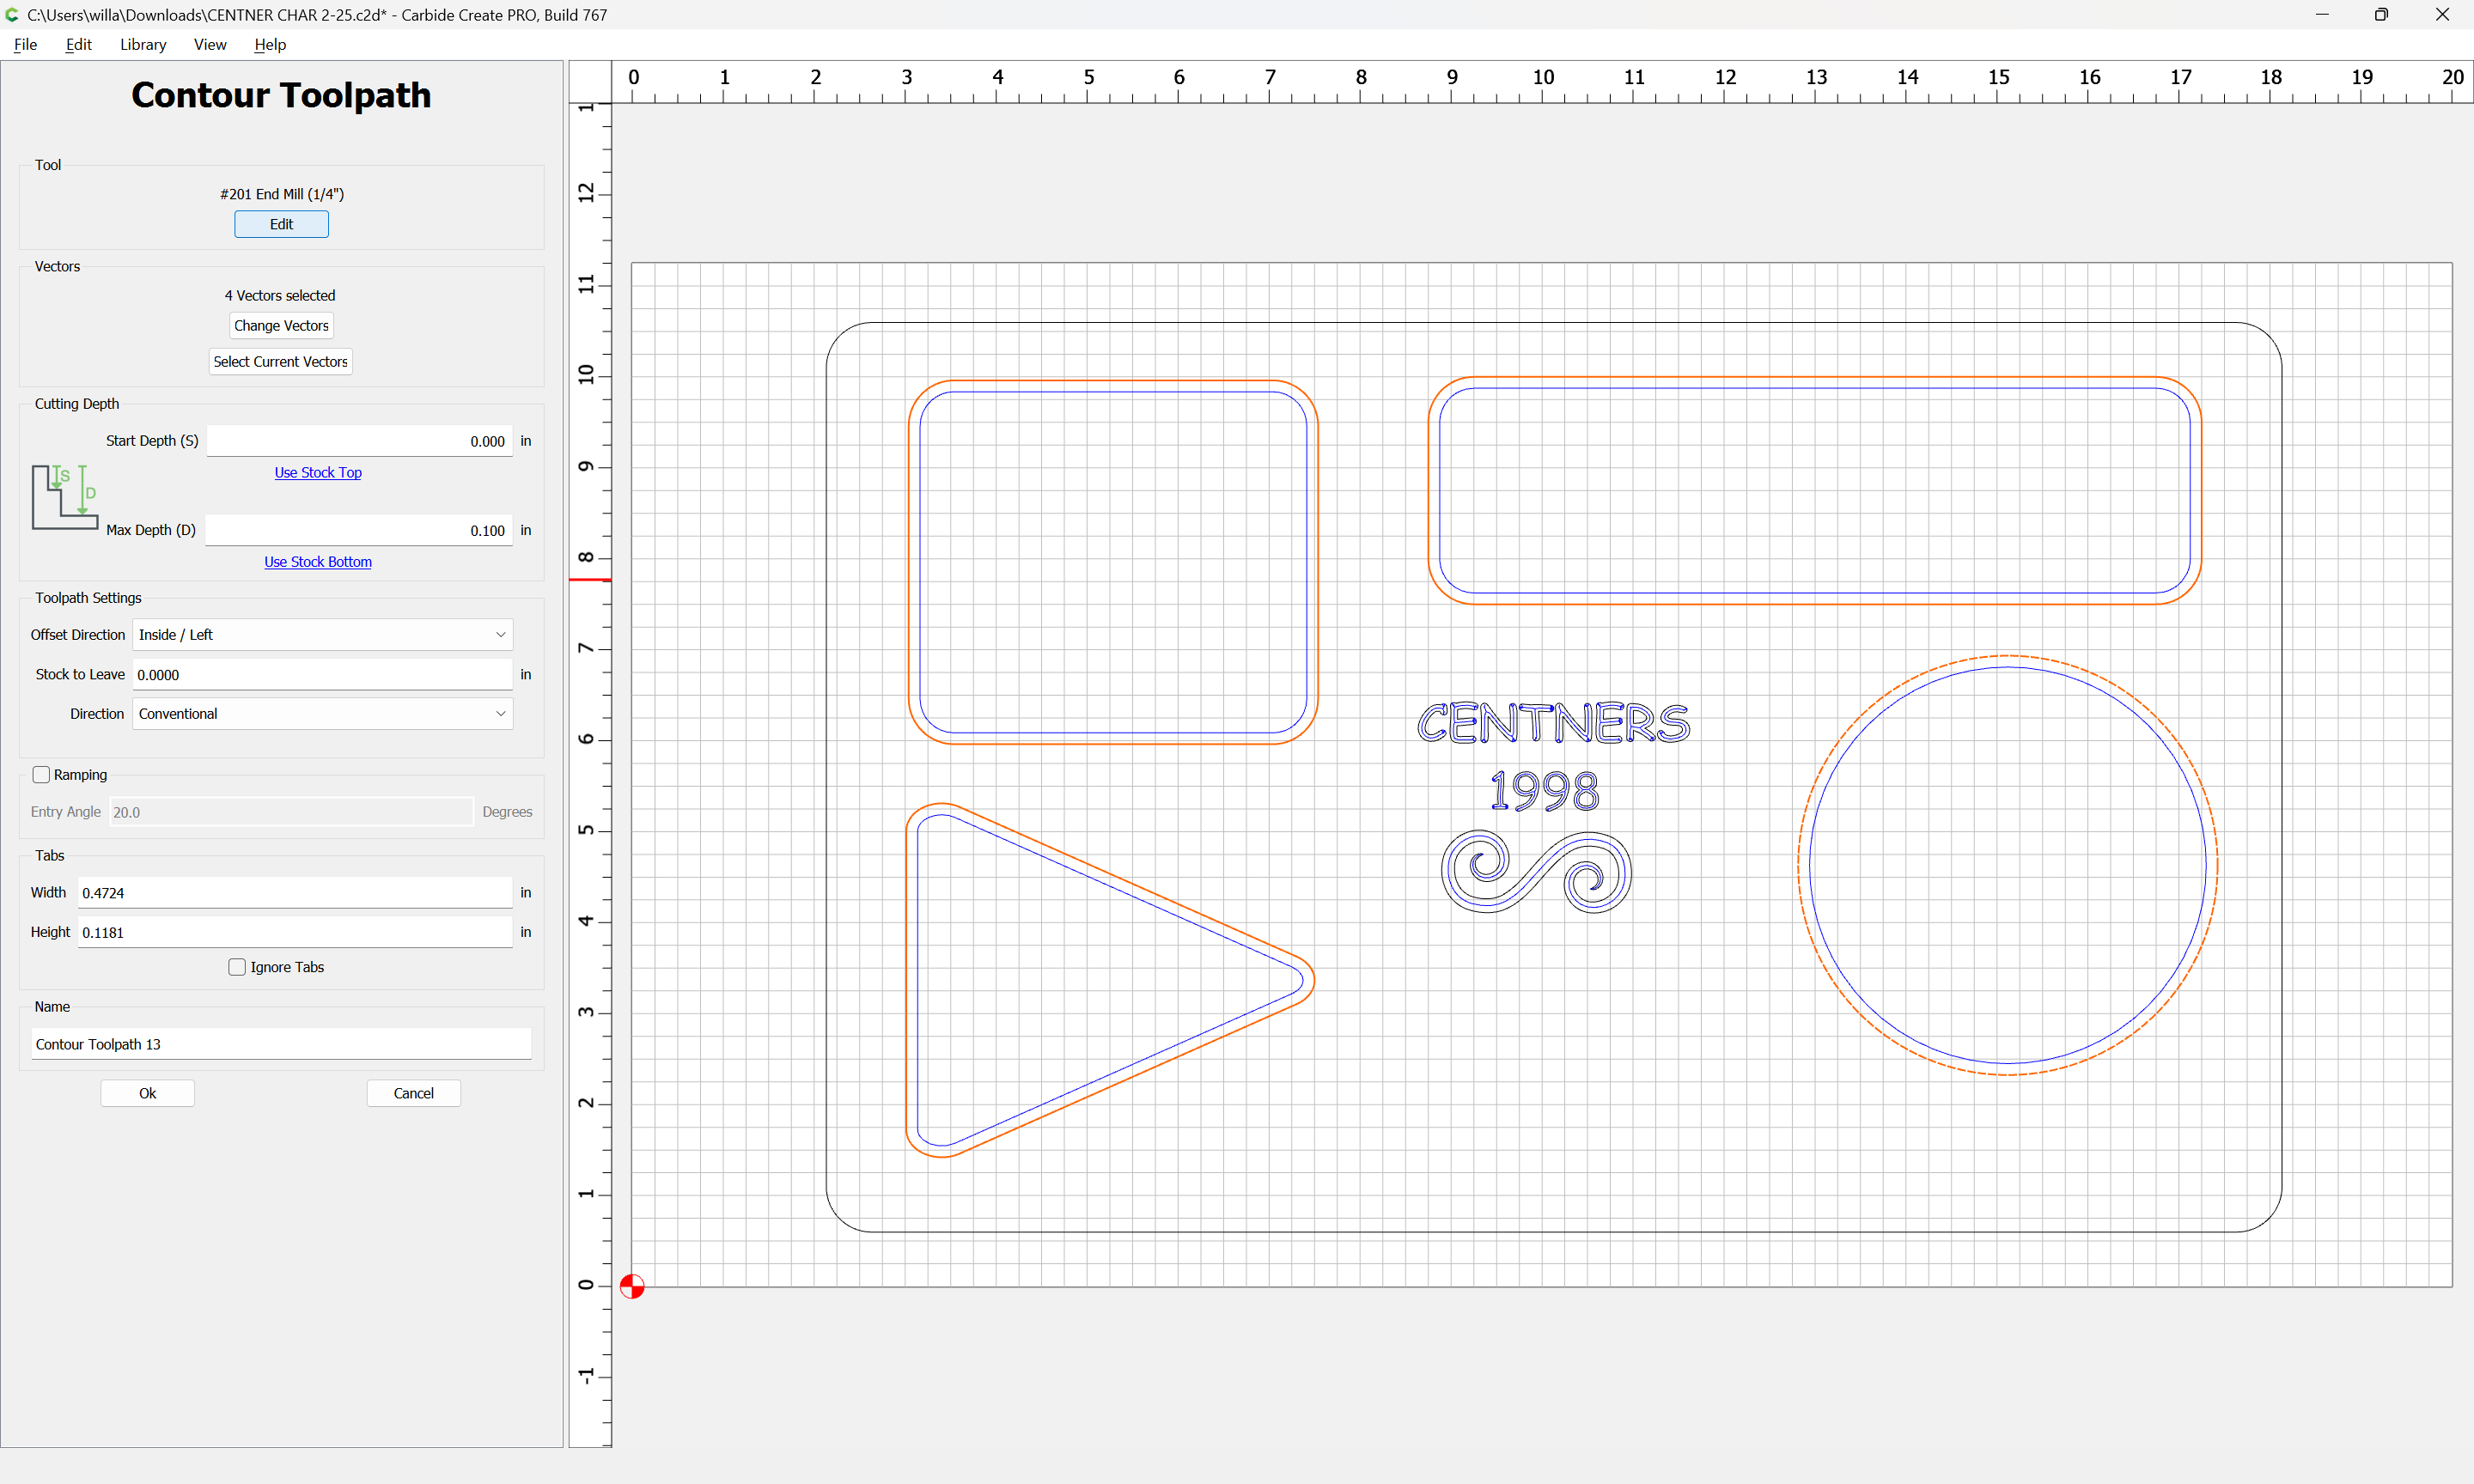
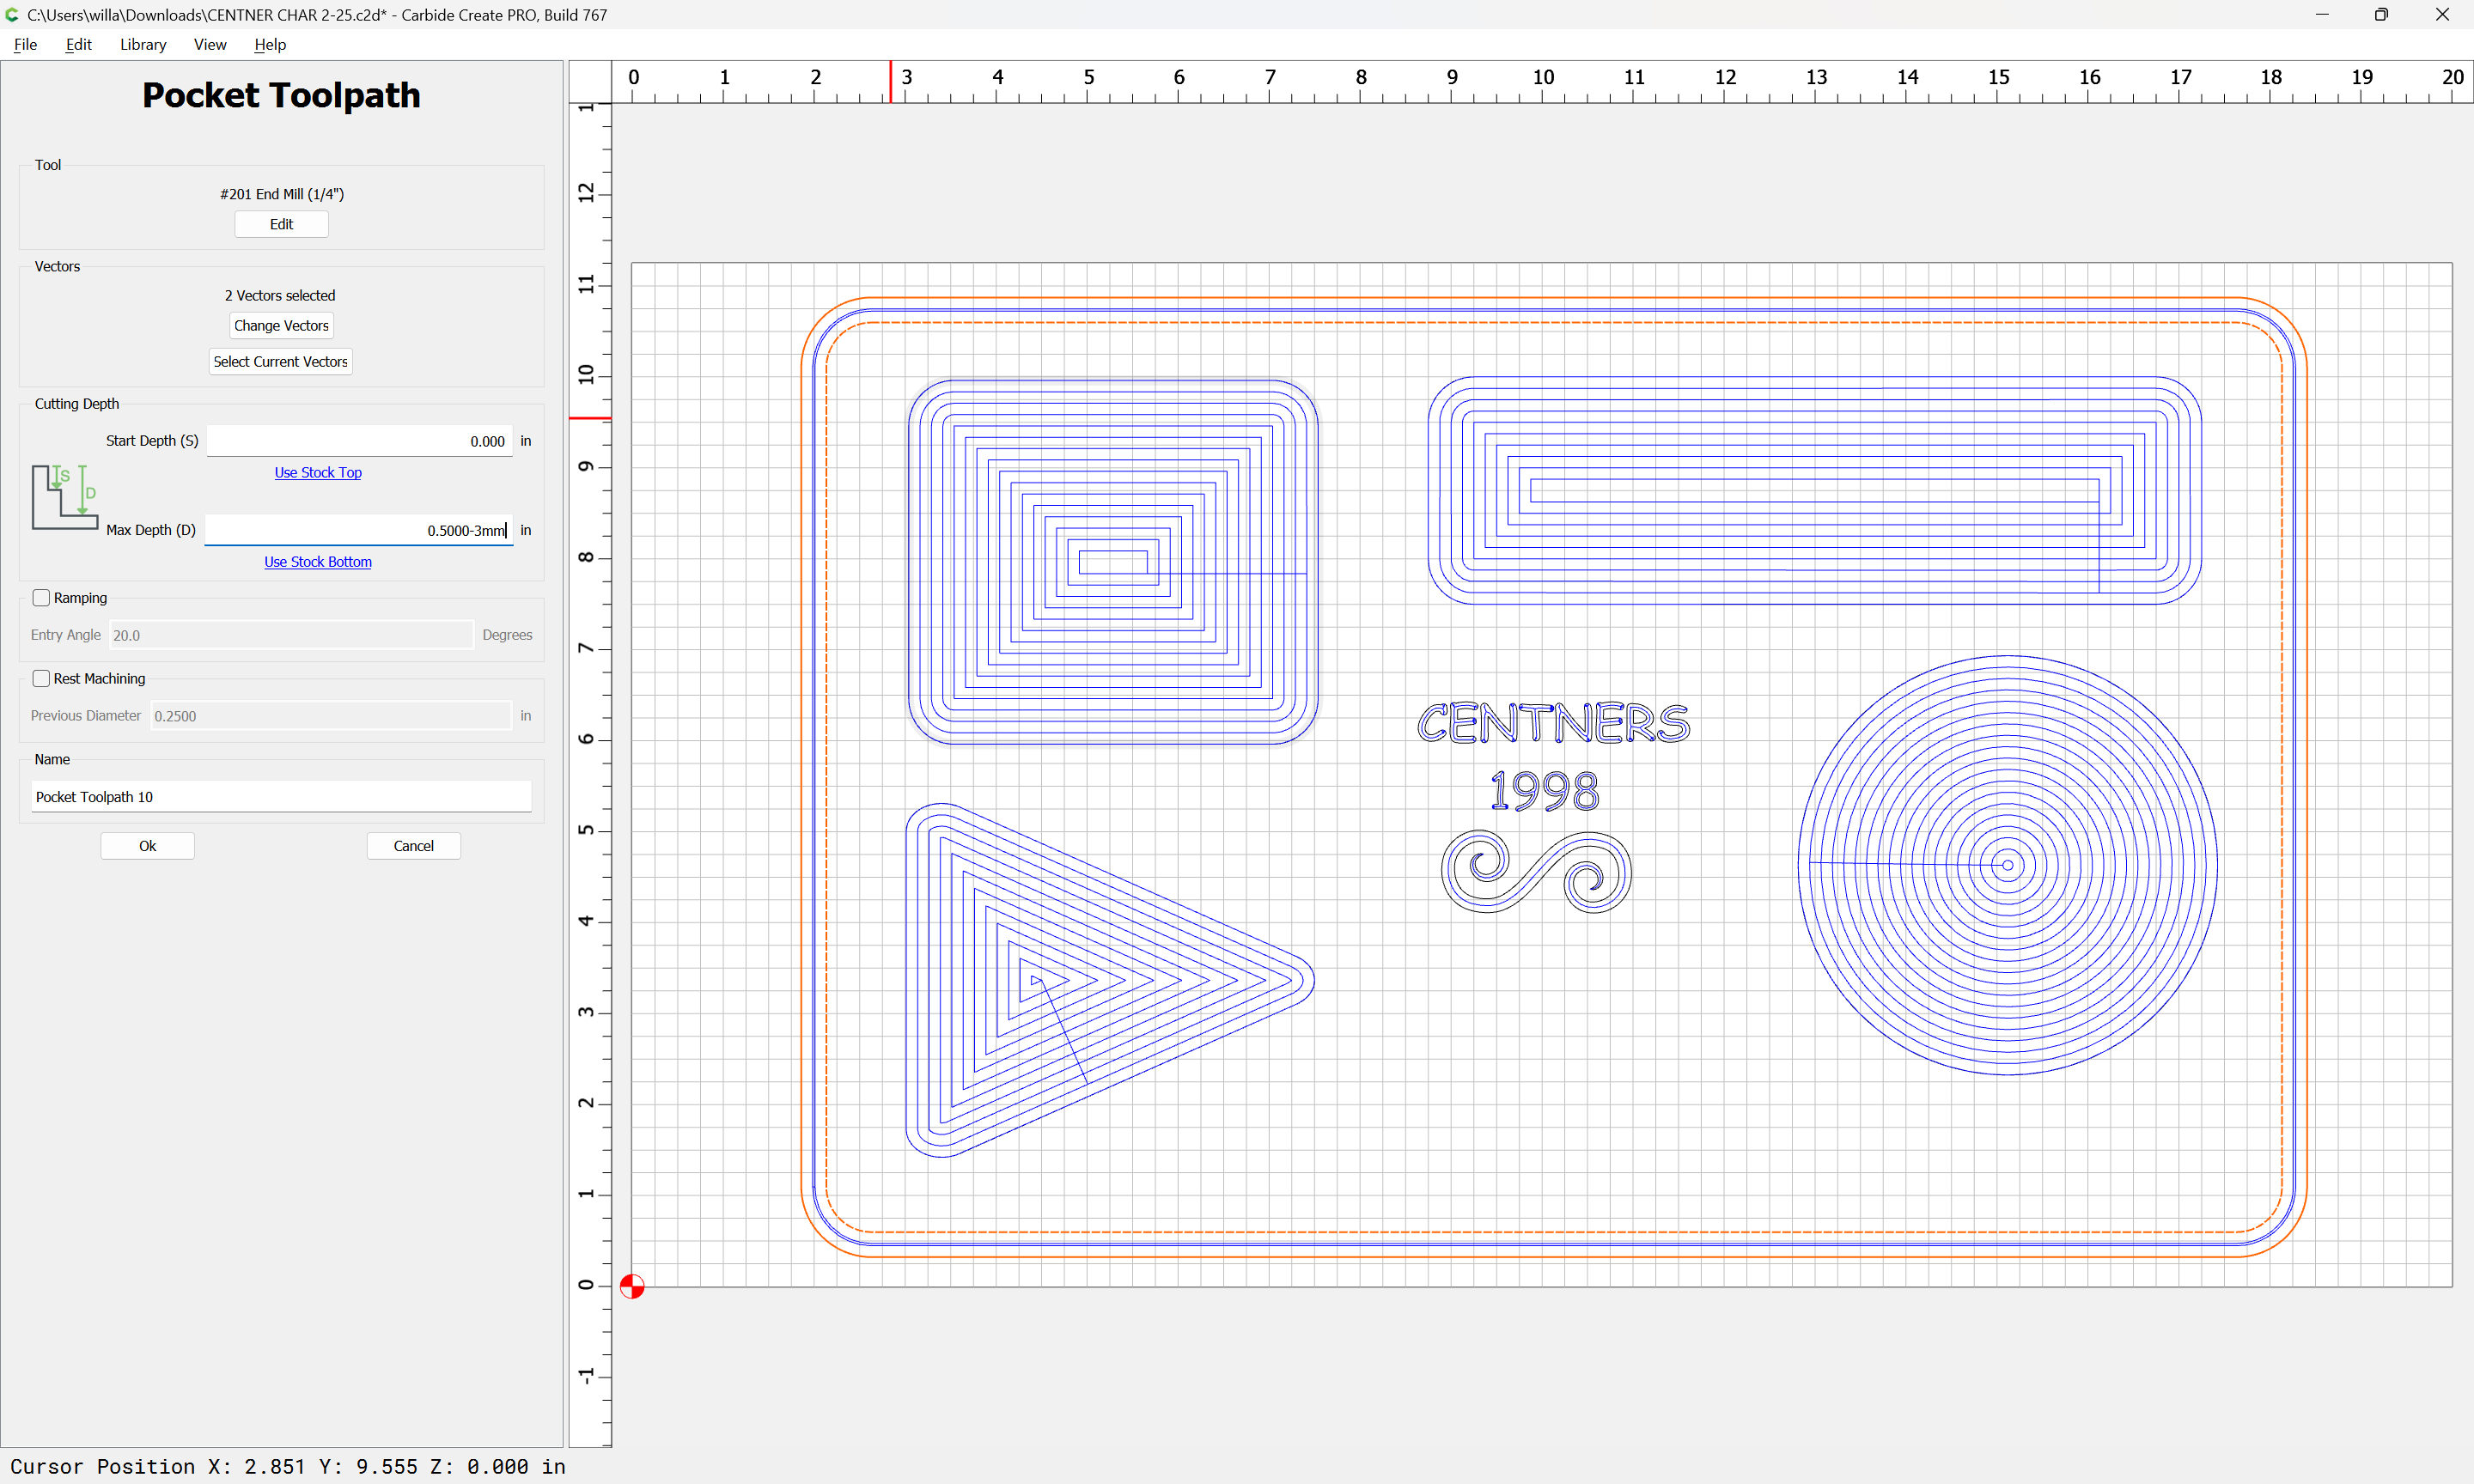
The Max Depth should be set to equal the Stock Thickness by clicking “Use Stock Bottom”
We will accept the suggested 90 degree endmill, because it should be reasonably workable (we can verify this by checking the 3D preview) and it will also be used for a chamfer operation next (in lieu of the unsupported roundover tooling, for which see: Using unsupported tooling in Carbide Create: Roundover / Cove / Radius bits )
Ok
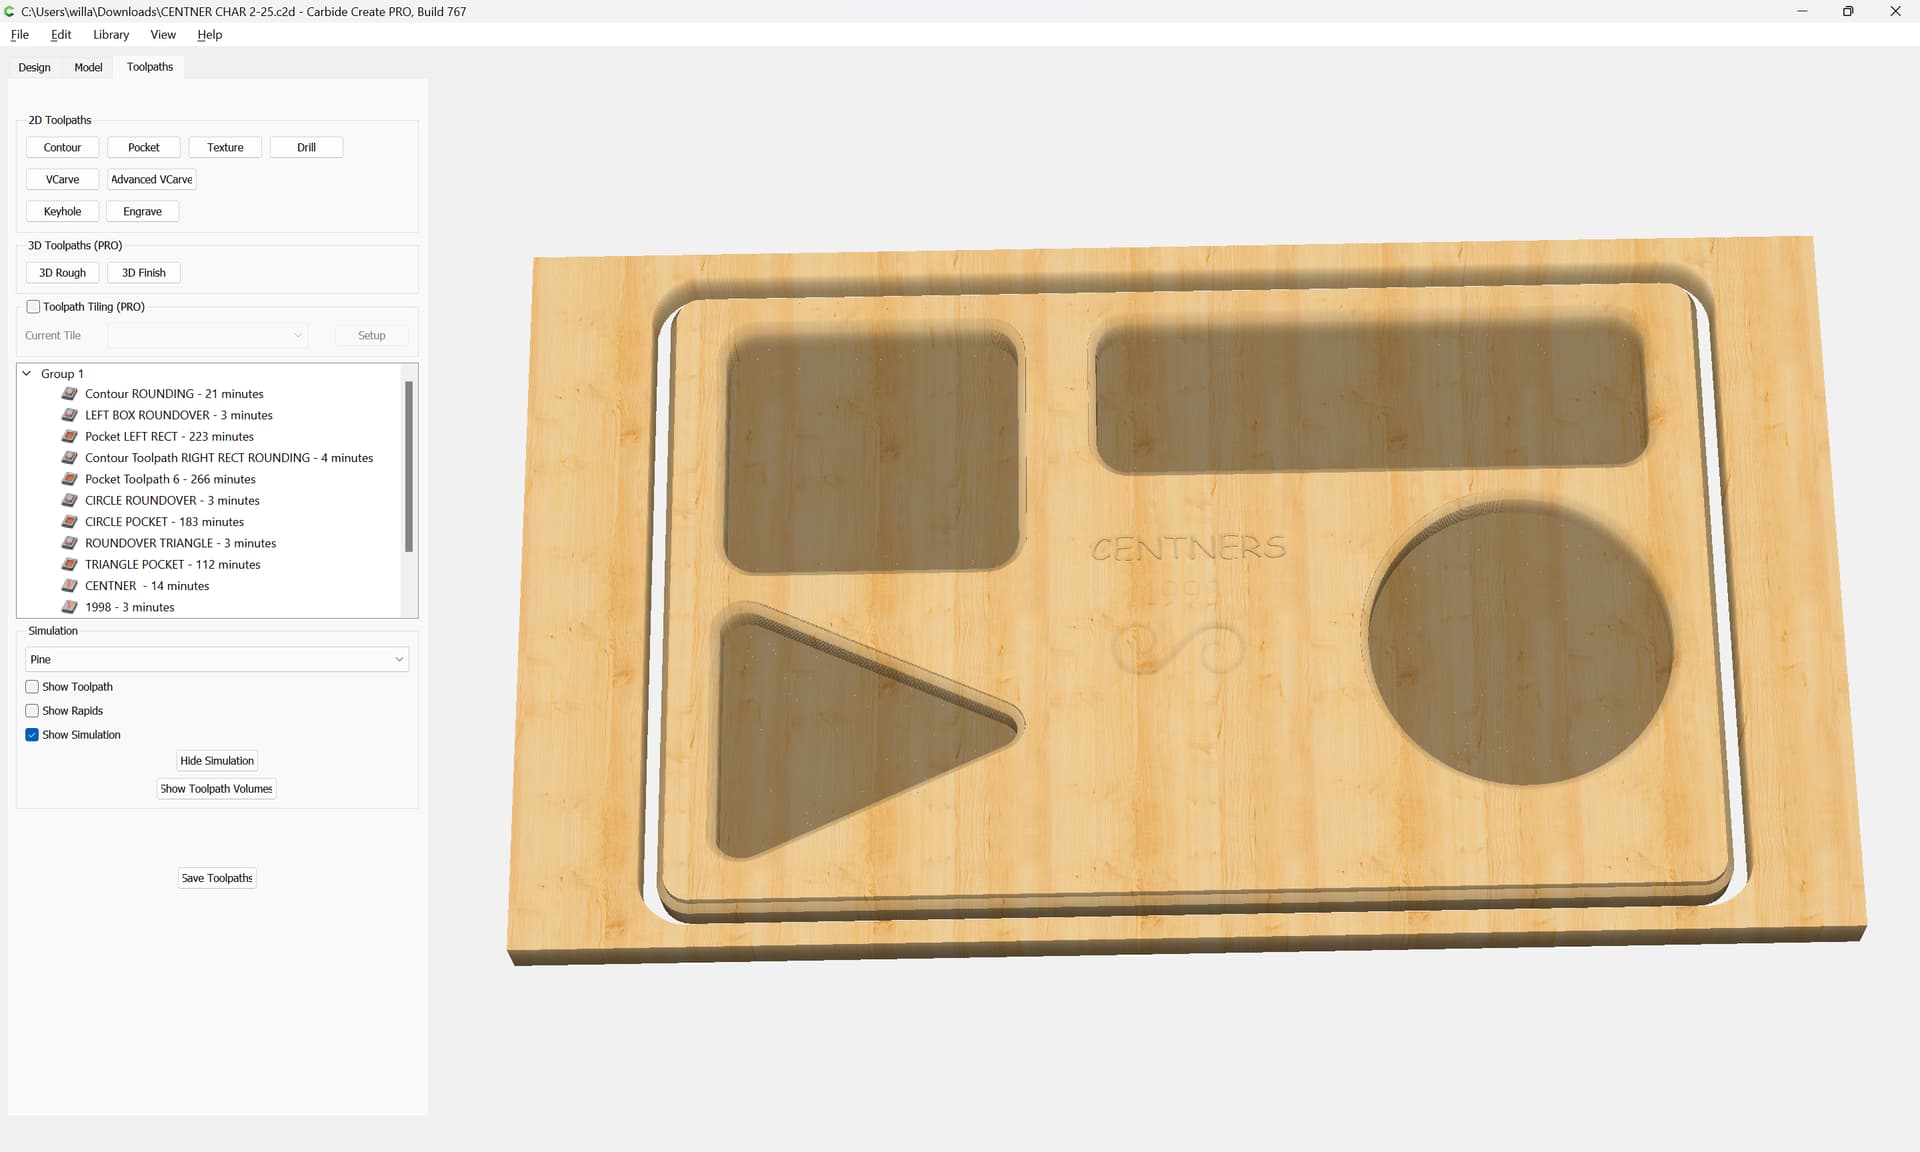
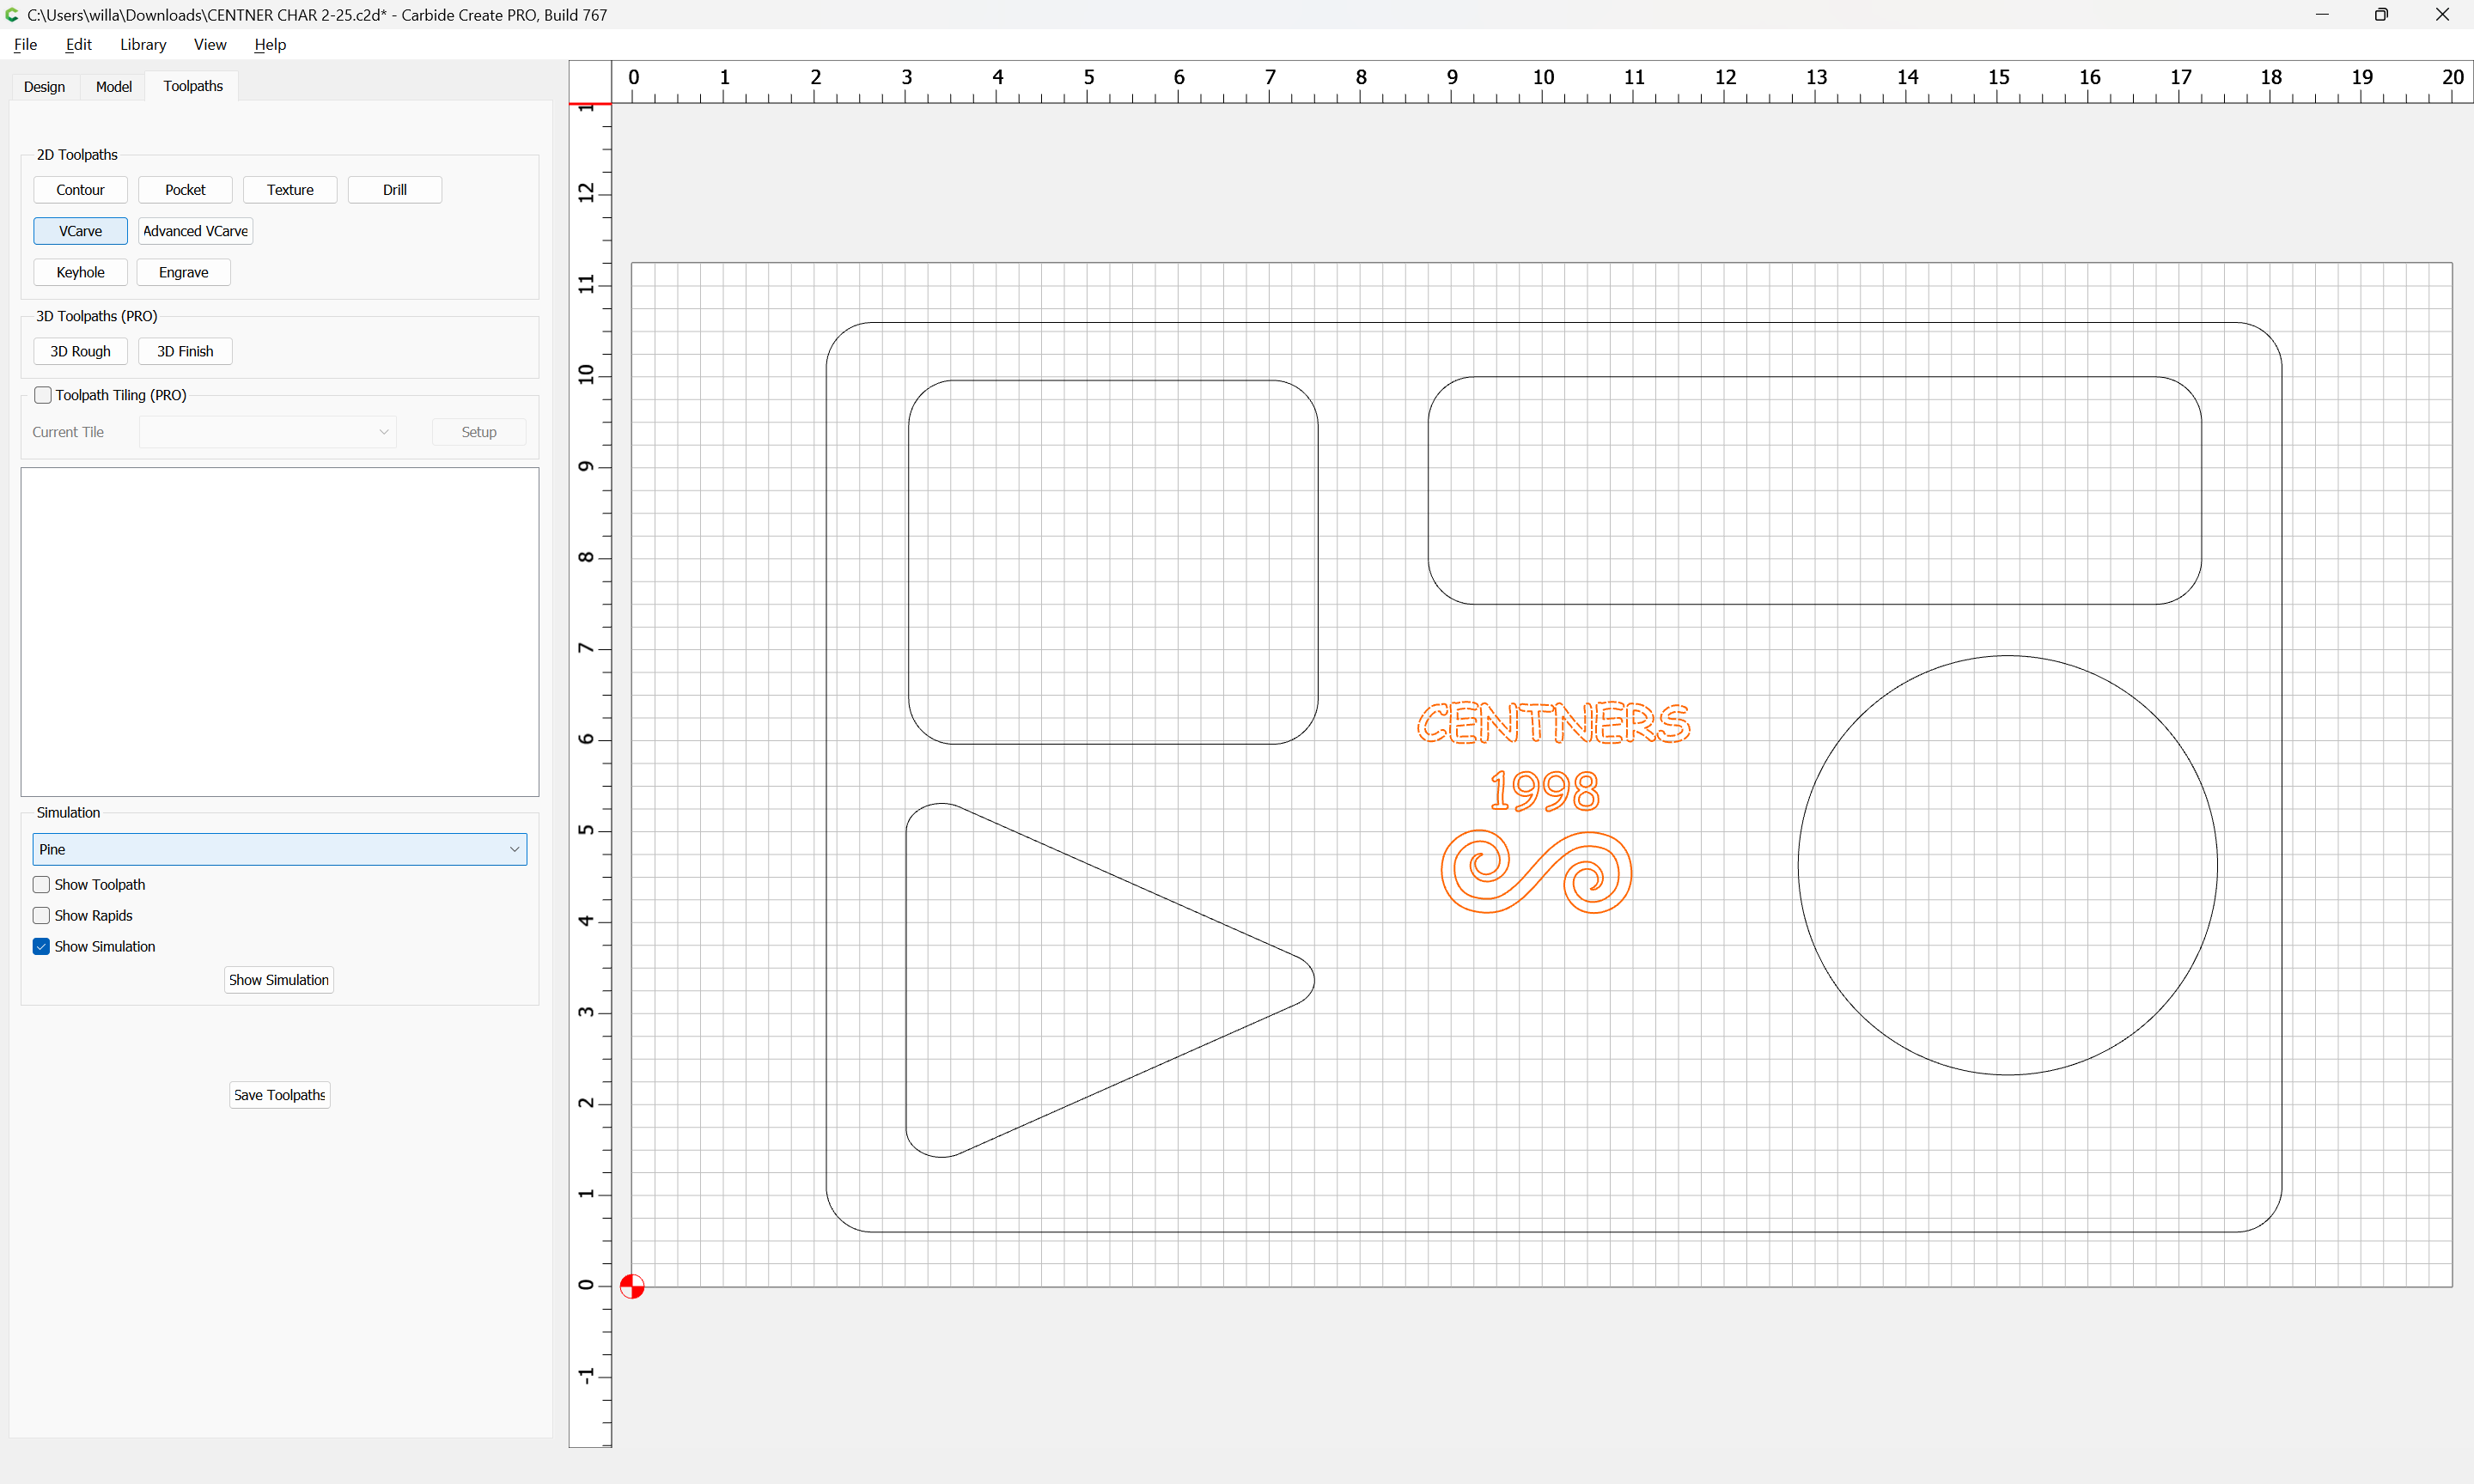
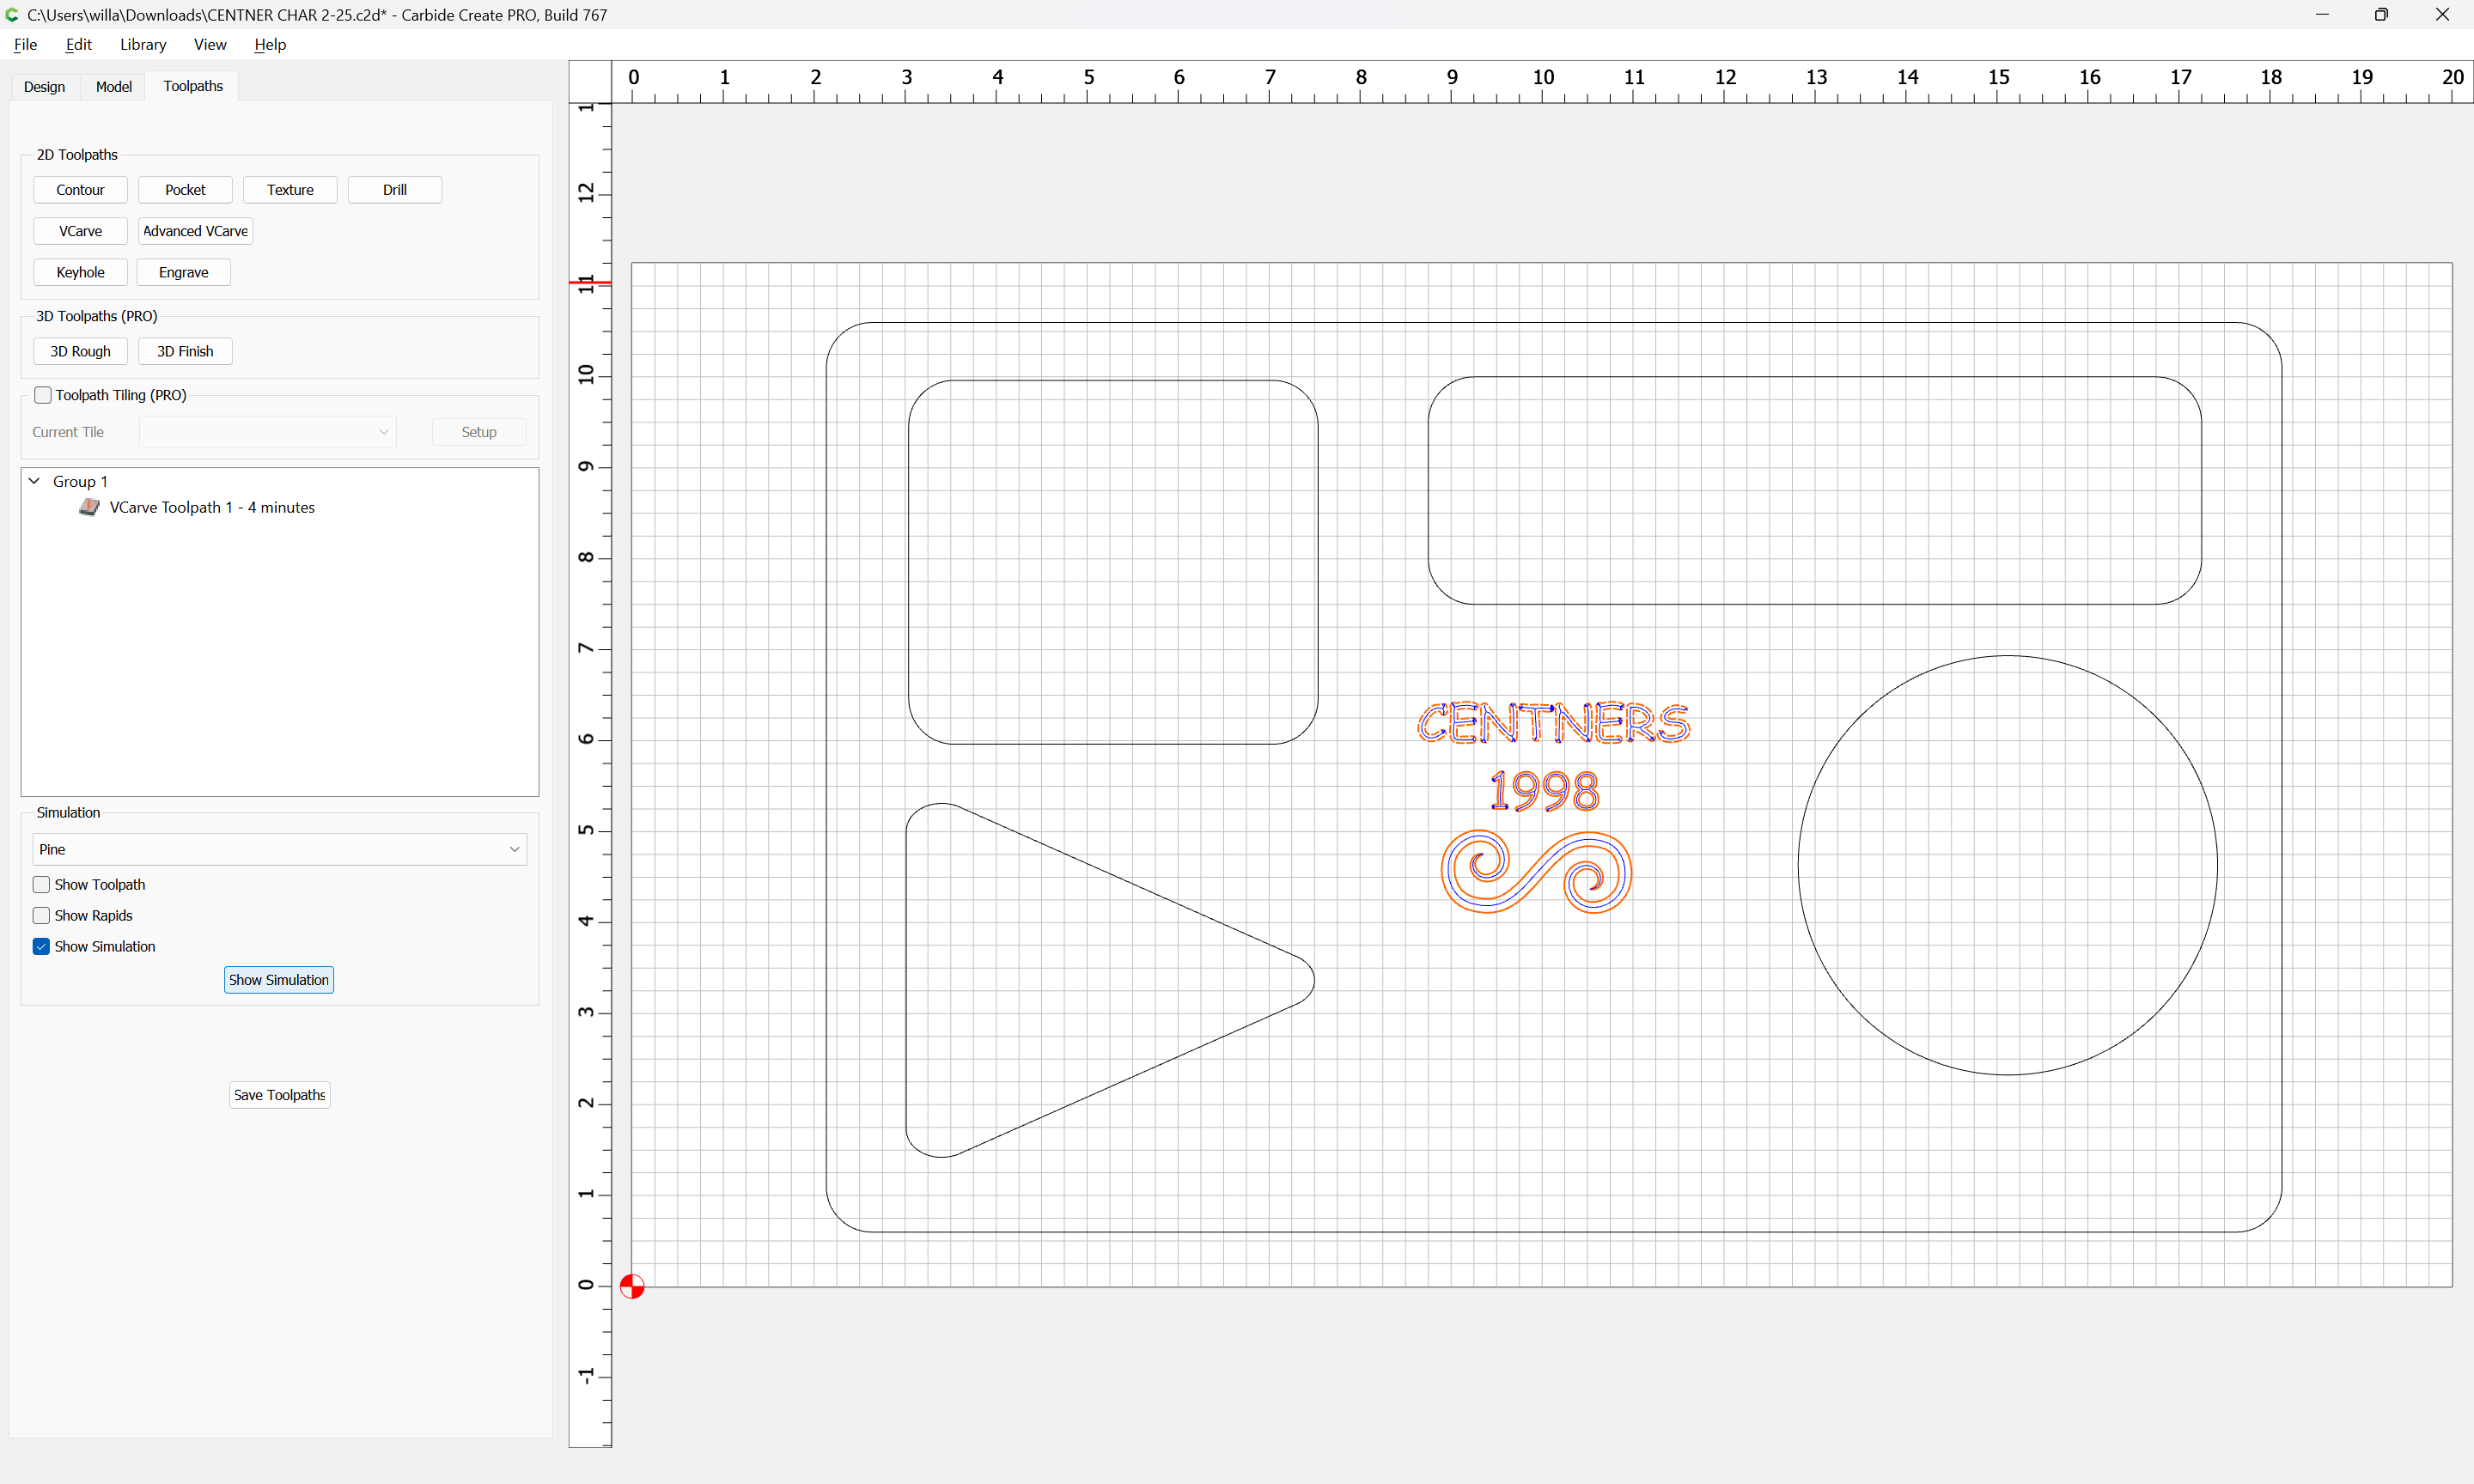
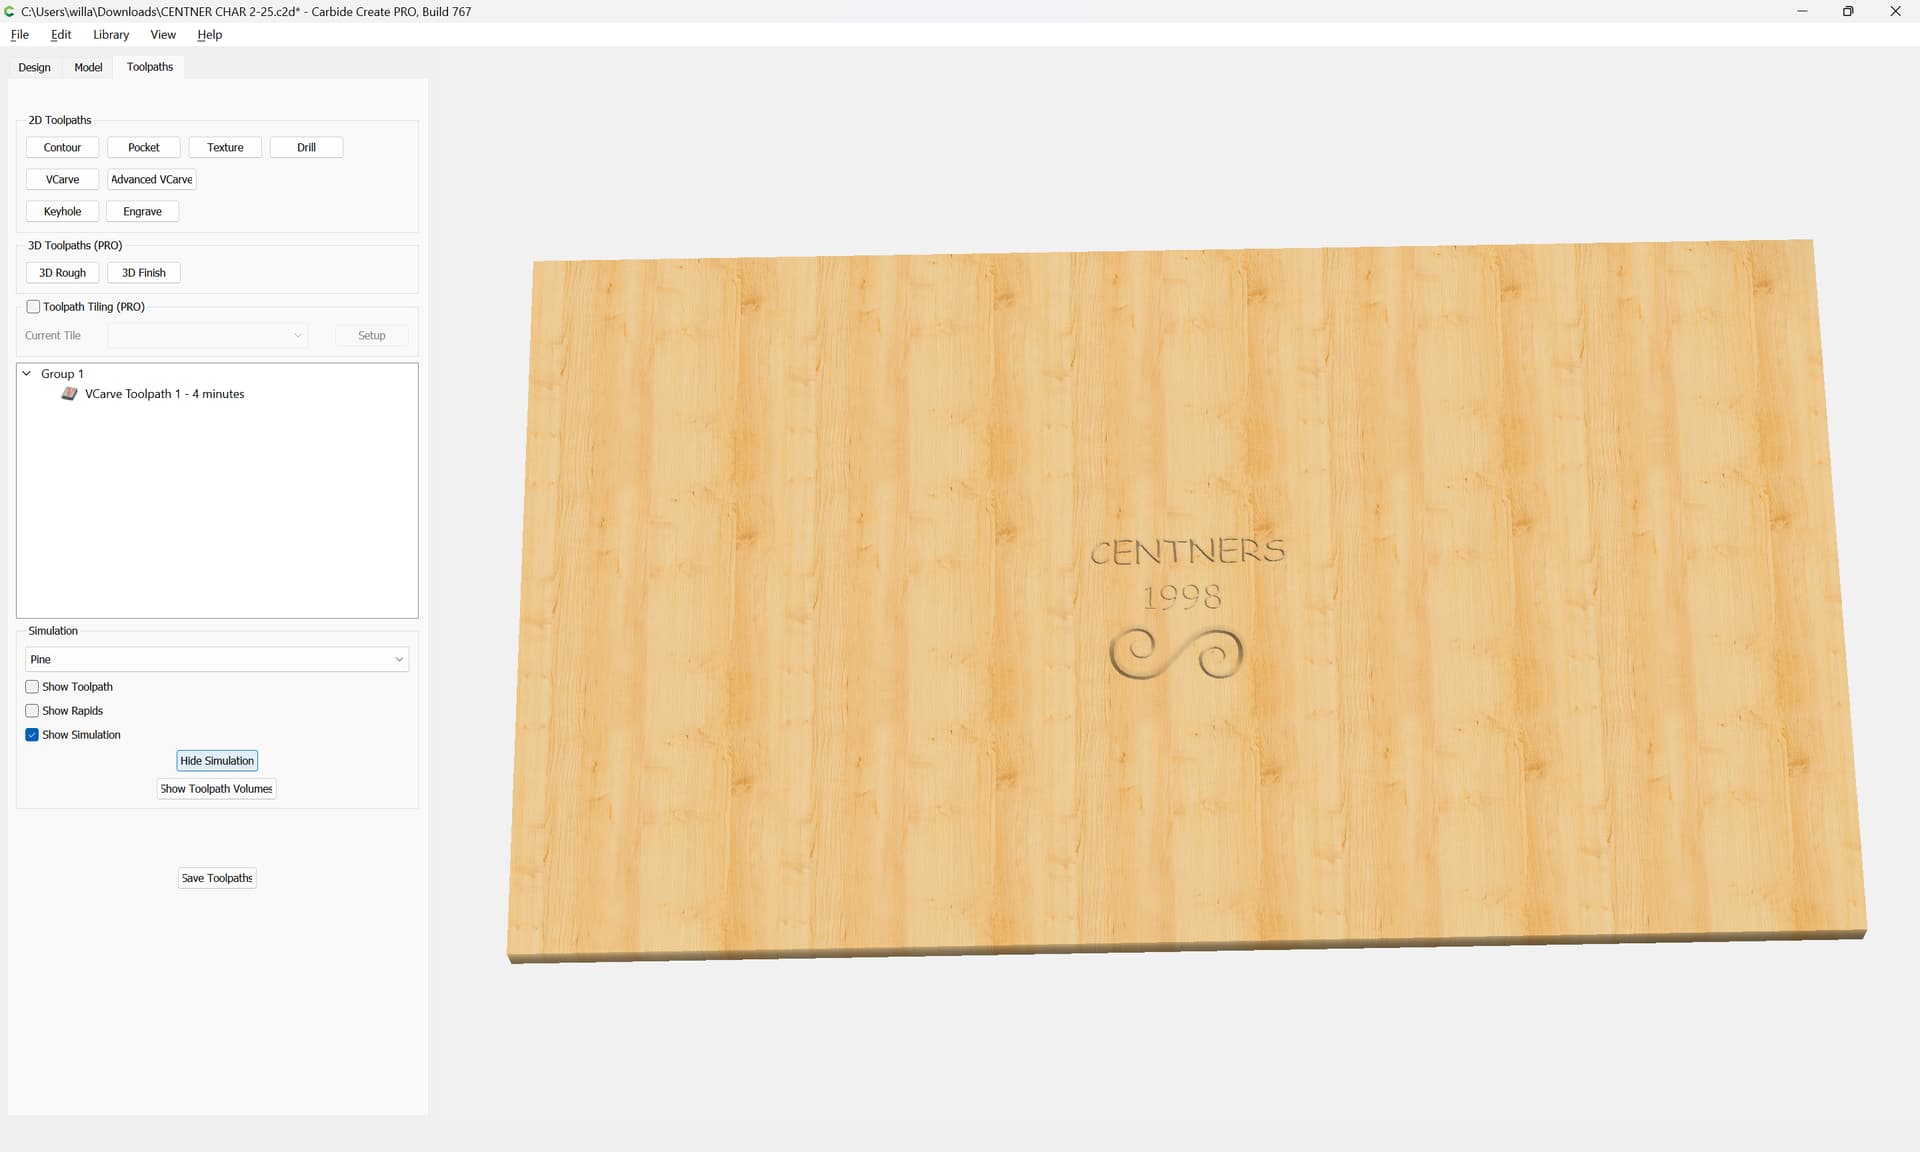
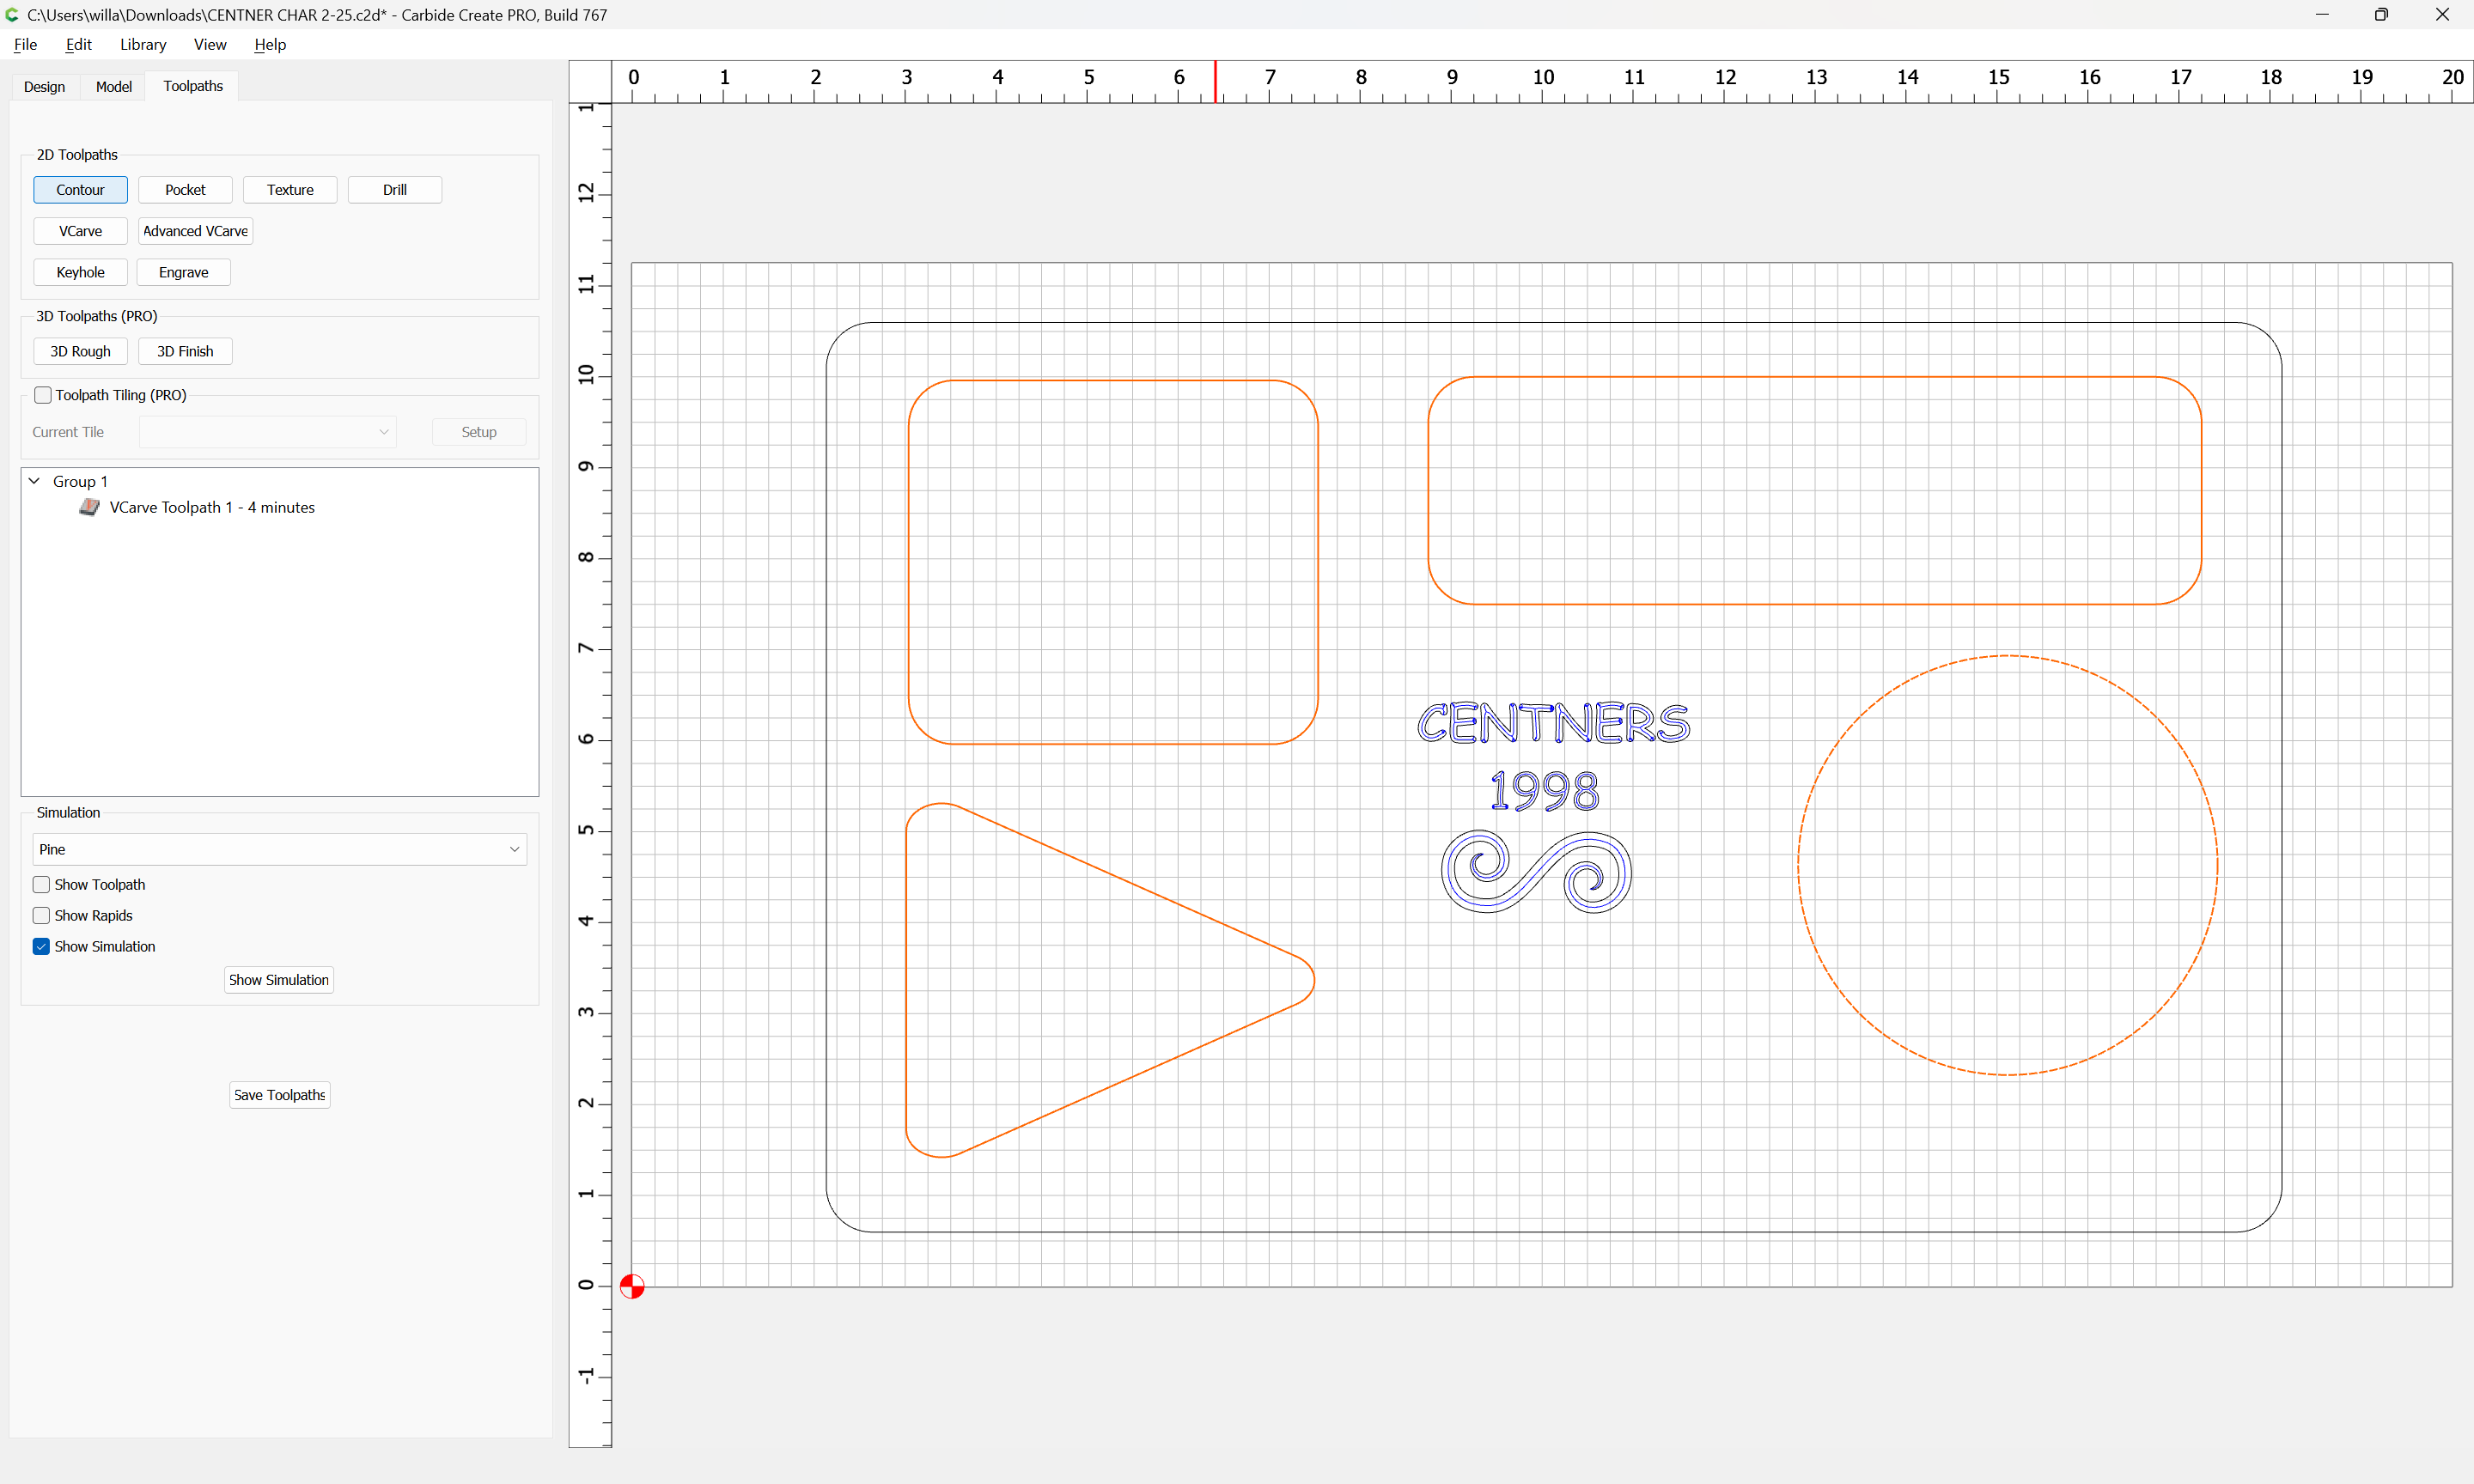
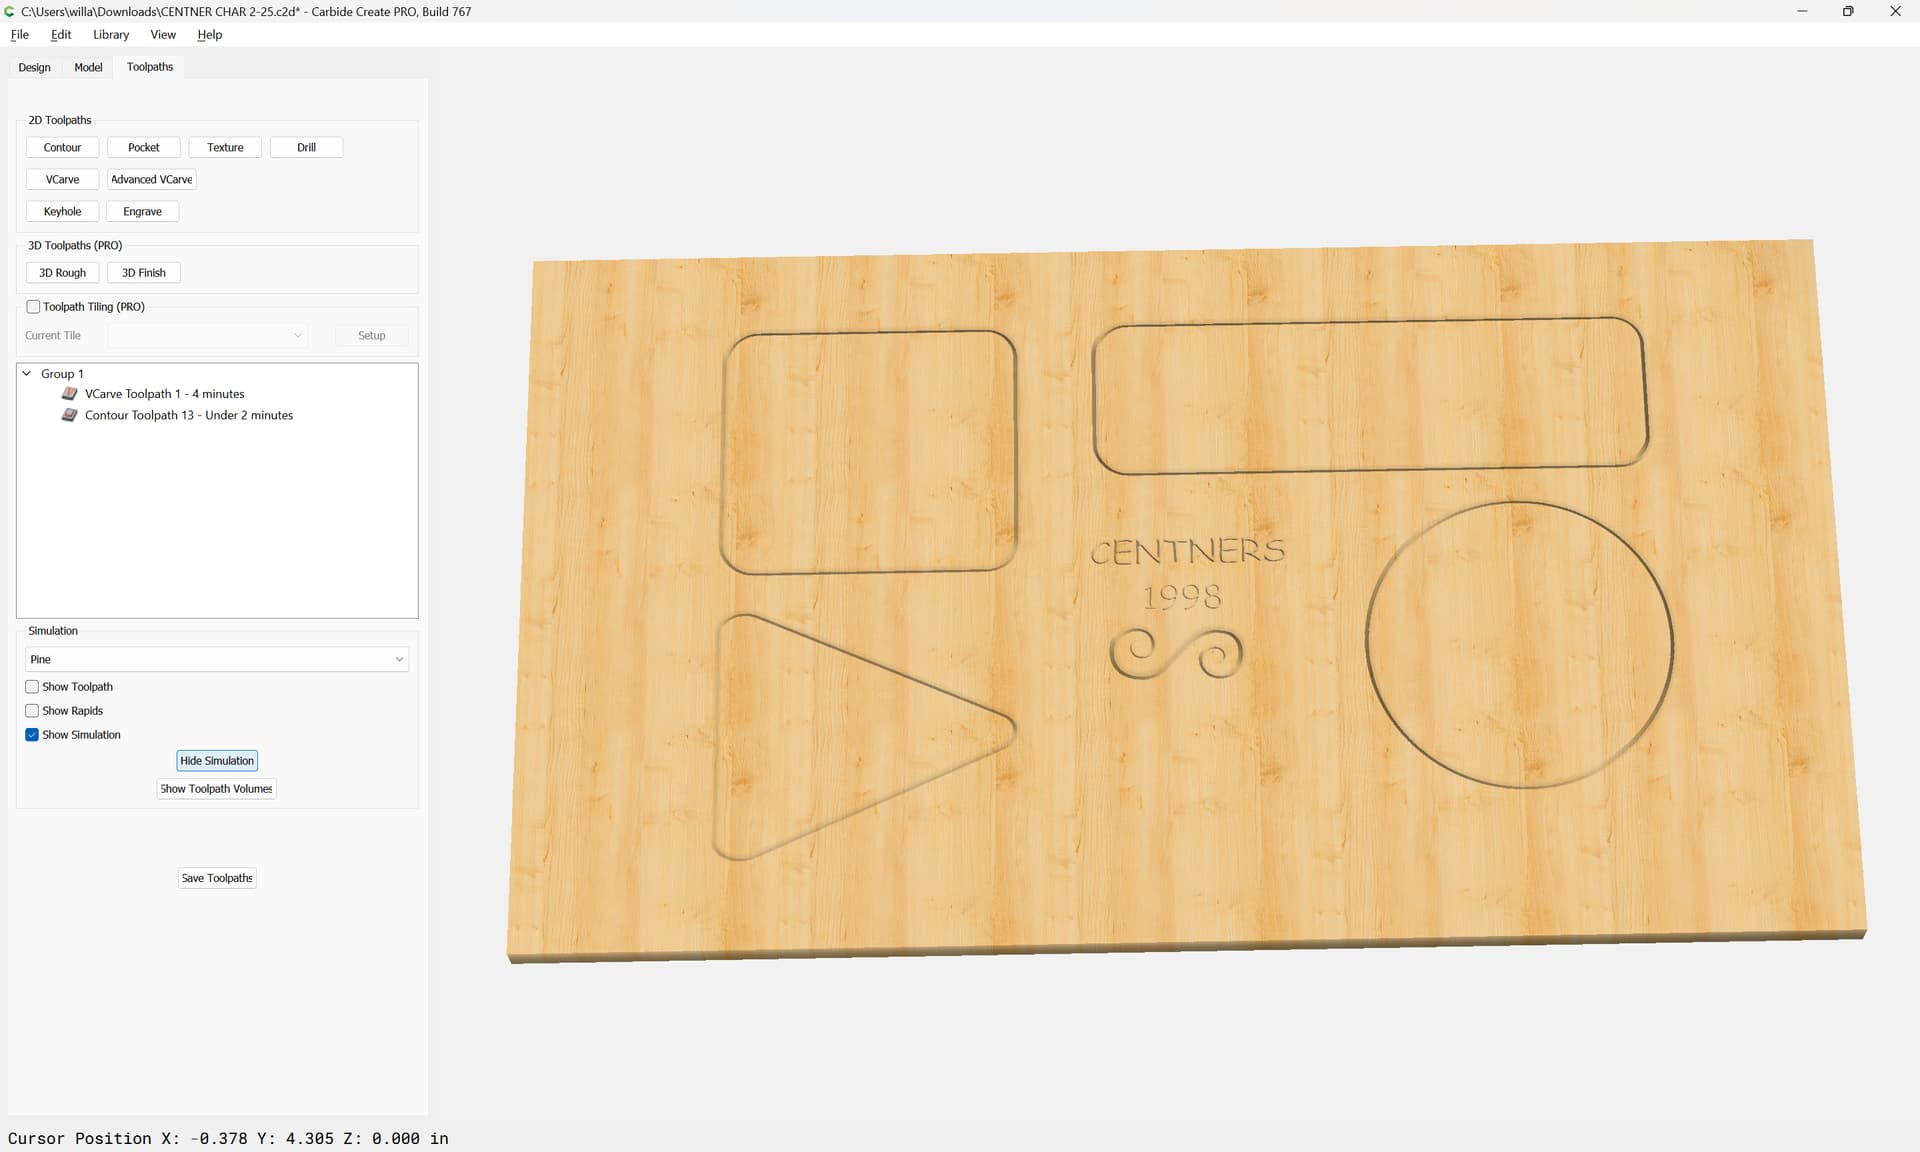
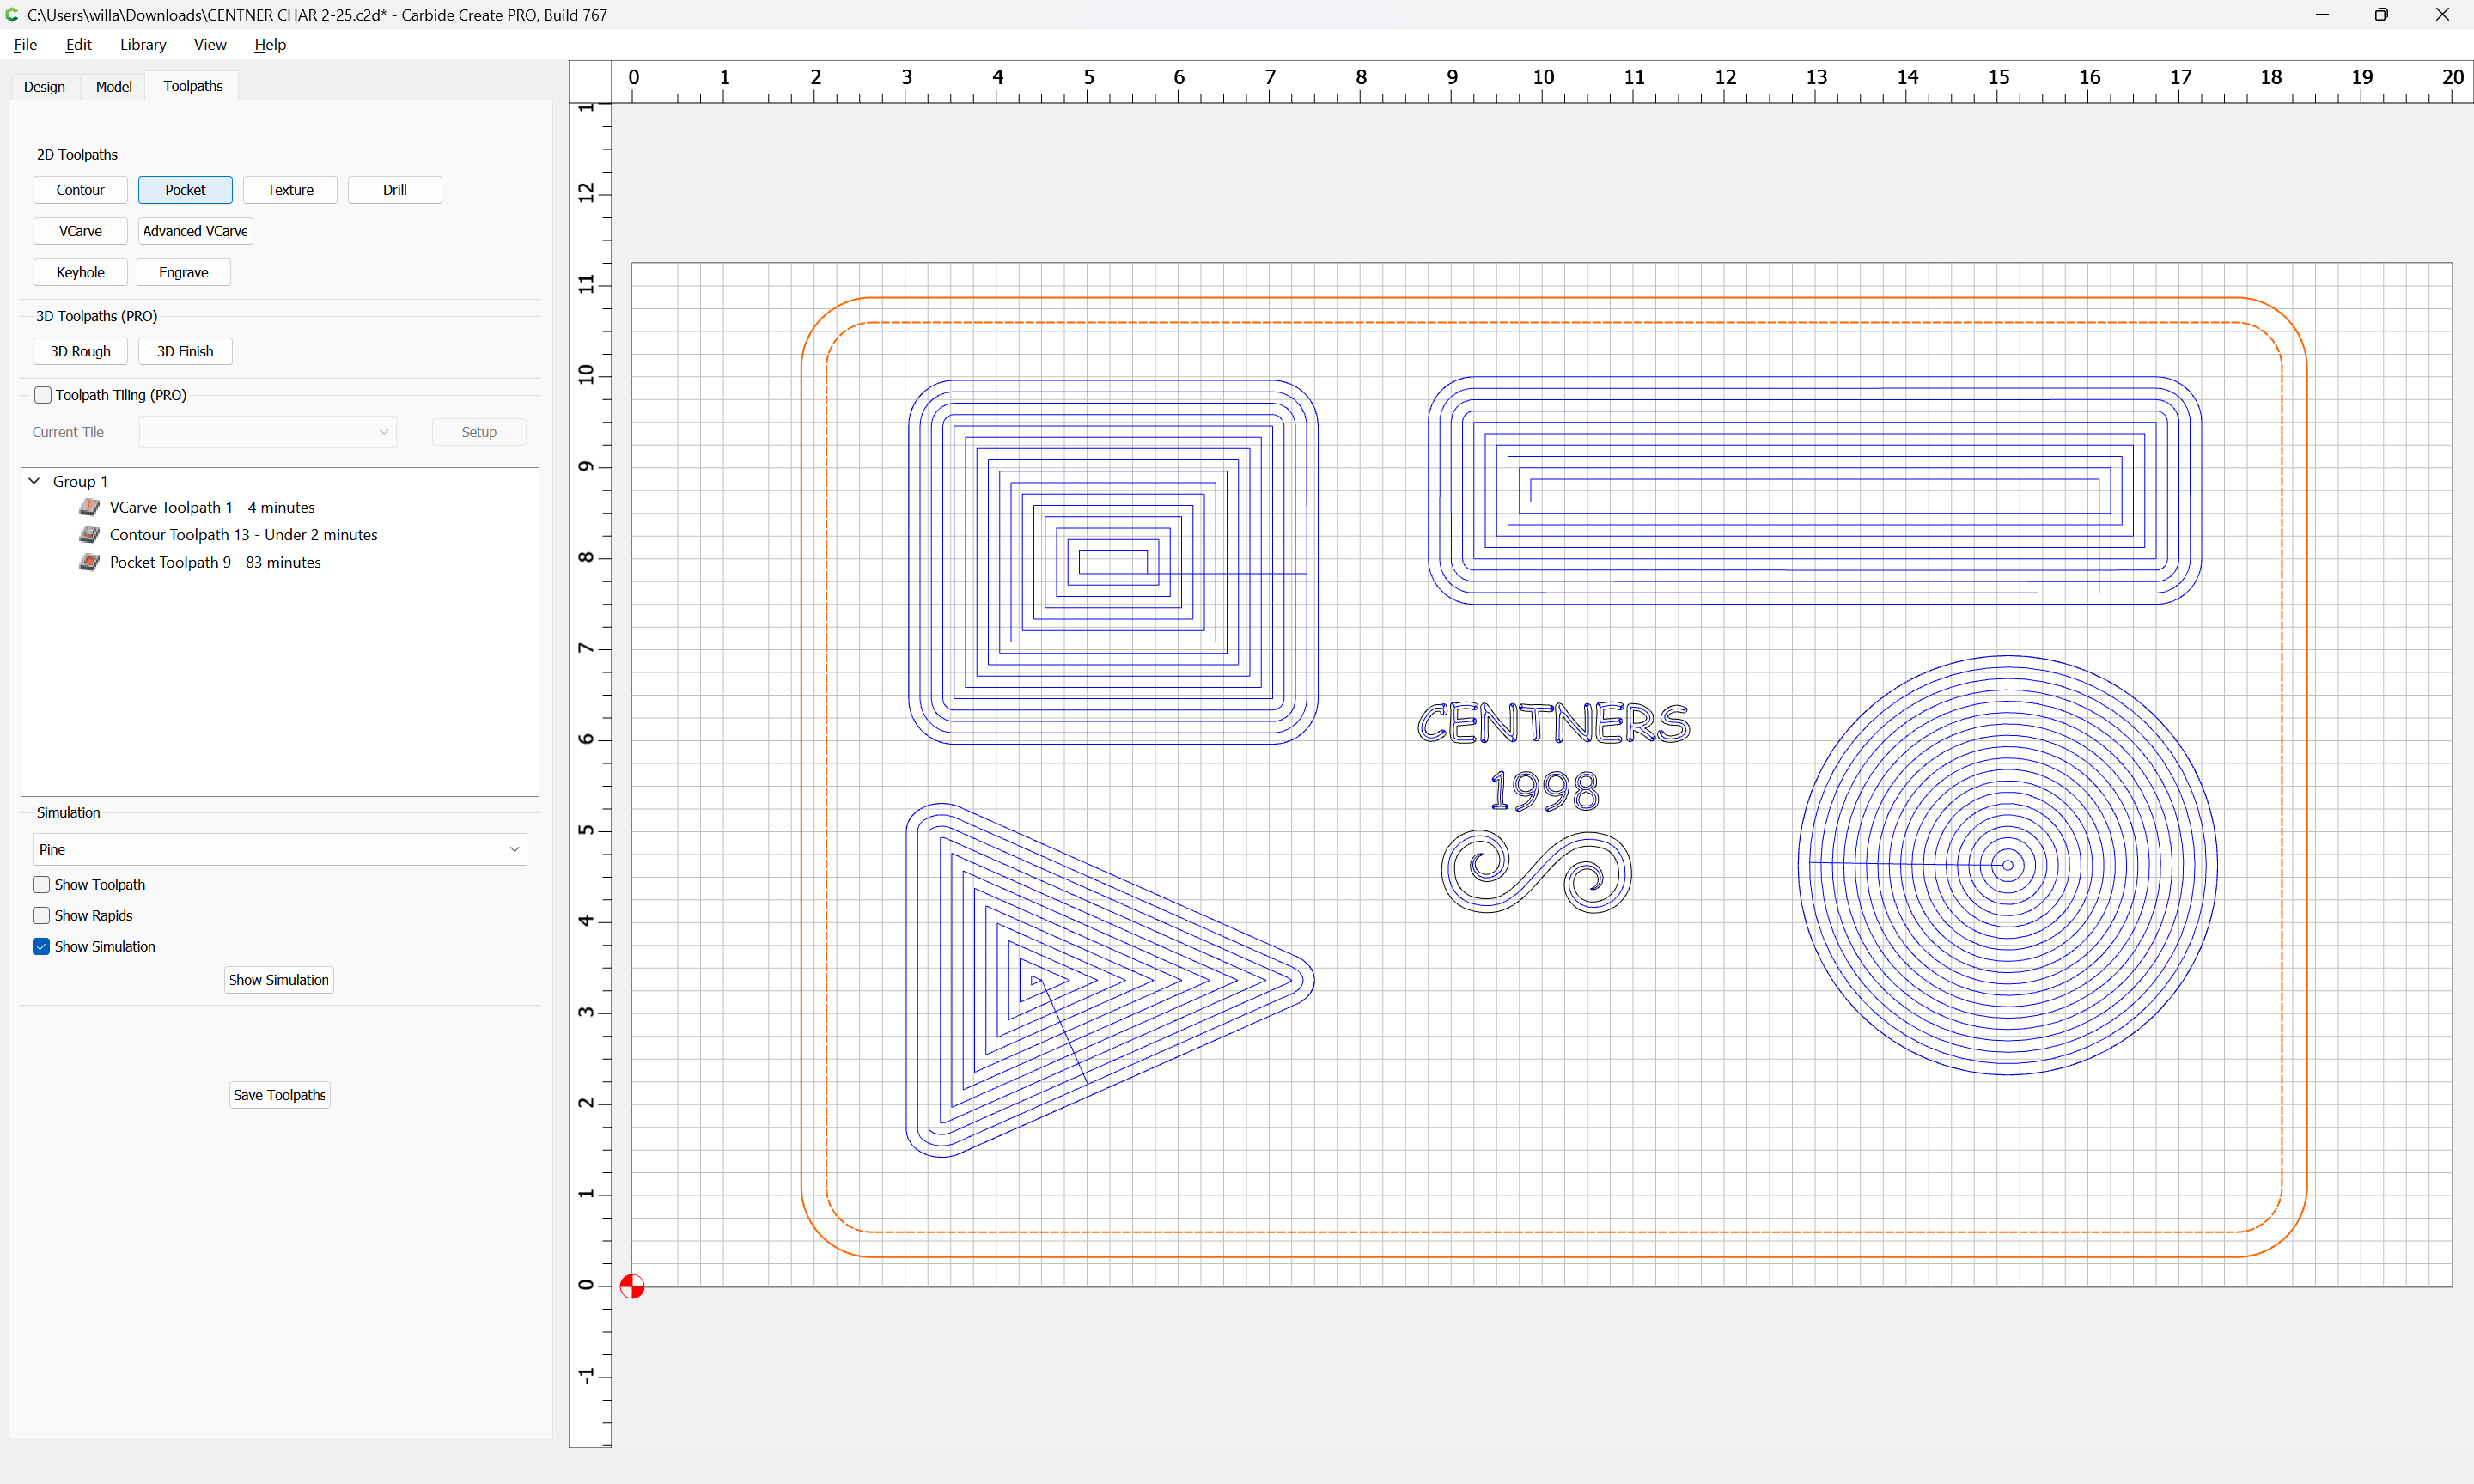
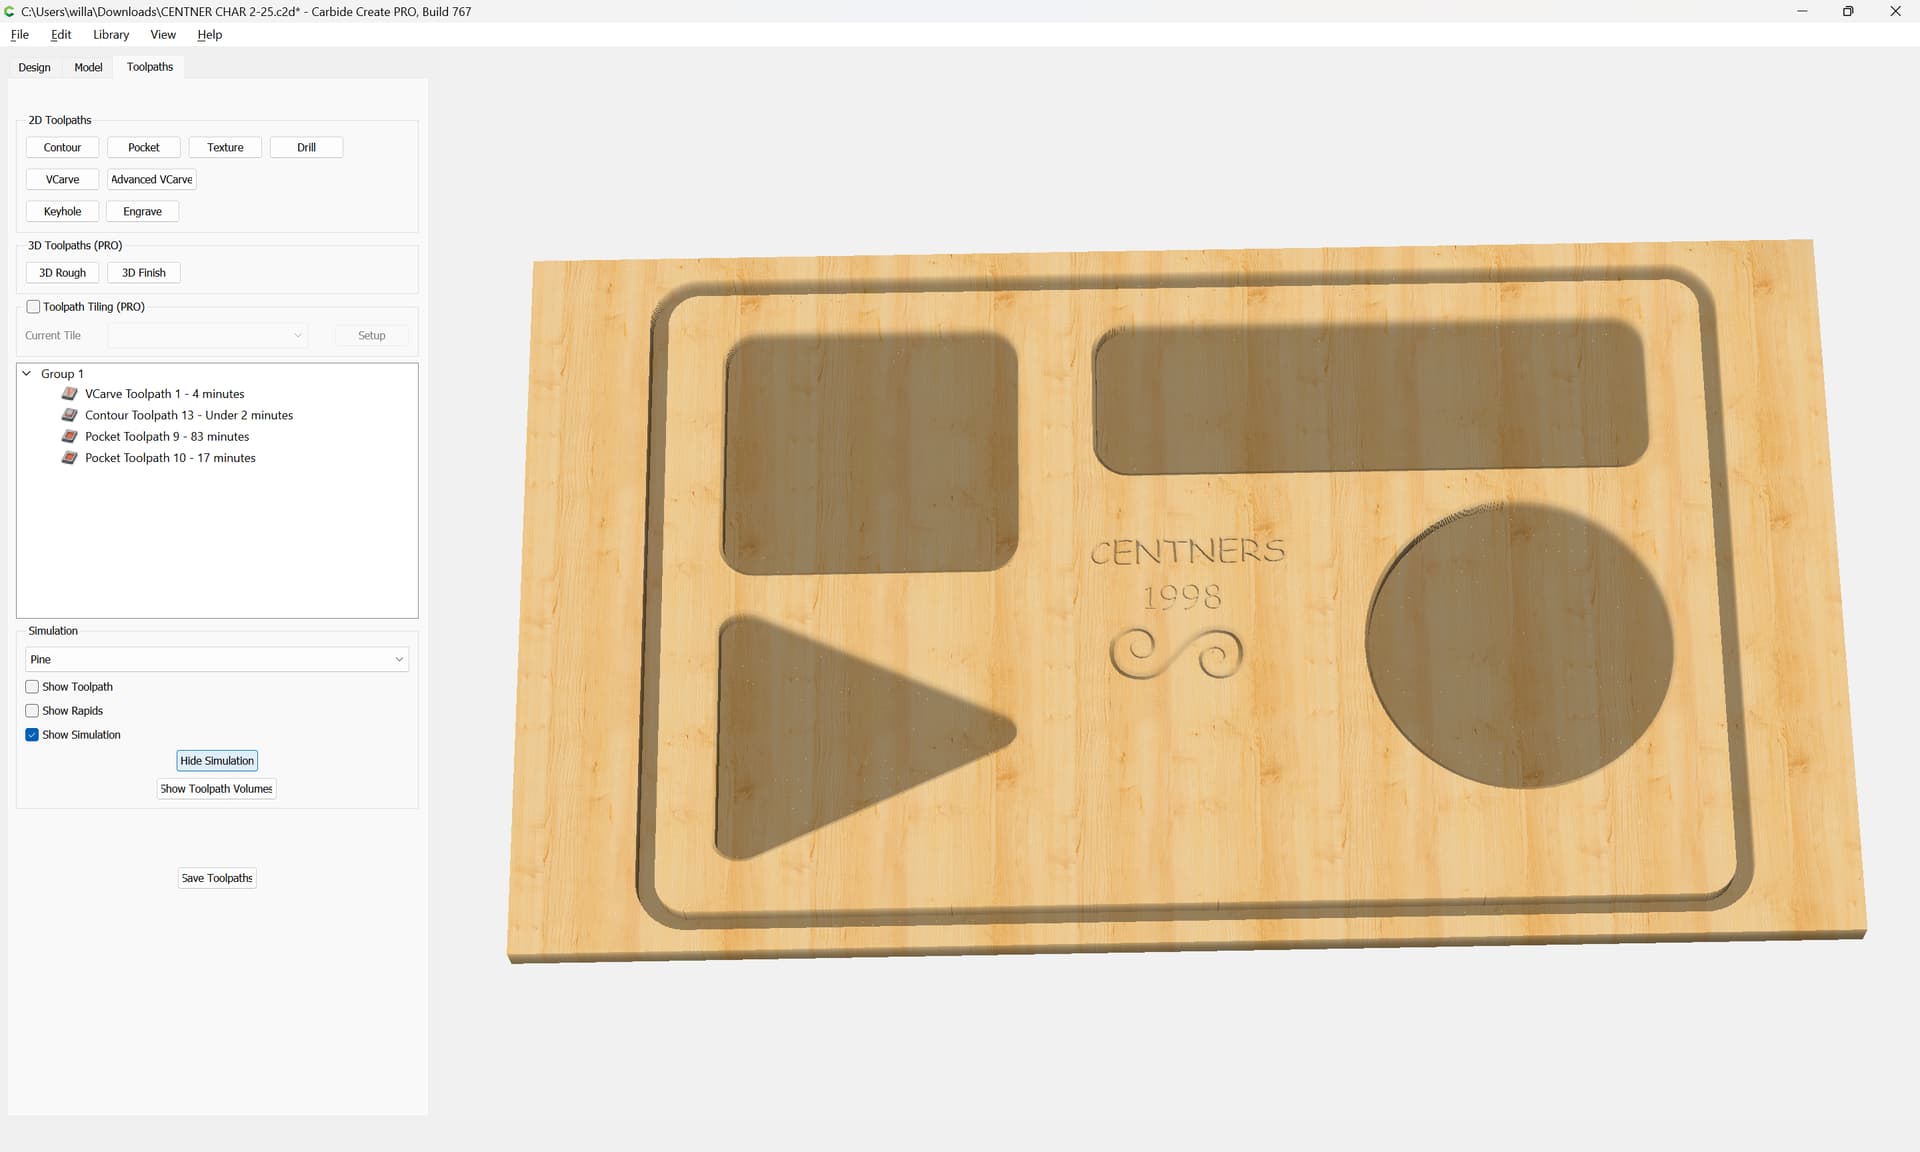
click “Show Simulation”
If the appearance of that simulation was not as expected, then edit the toolpath and adjust as need be. For more on simulating see:
https://my.carbide3d.com/gswcc/10/
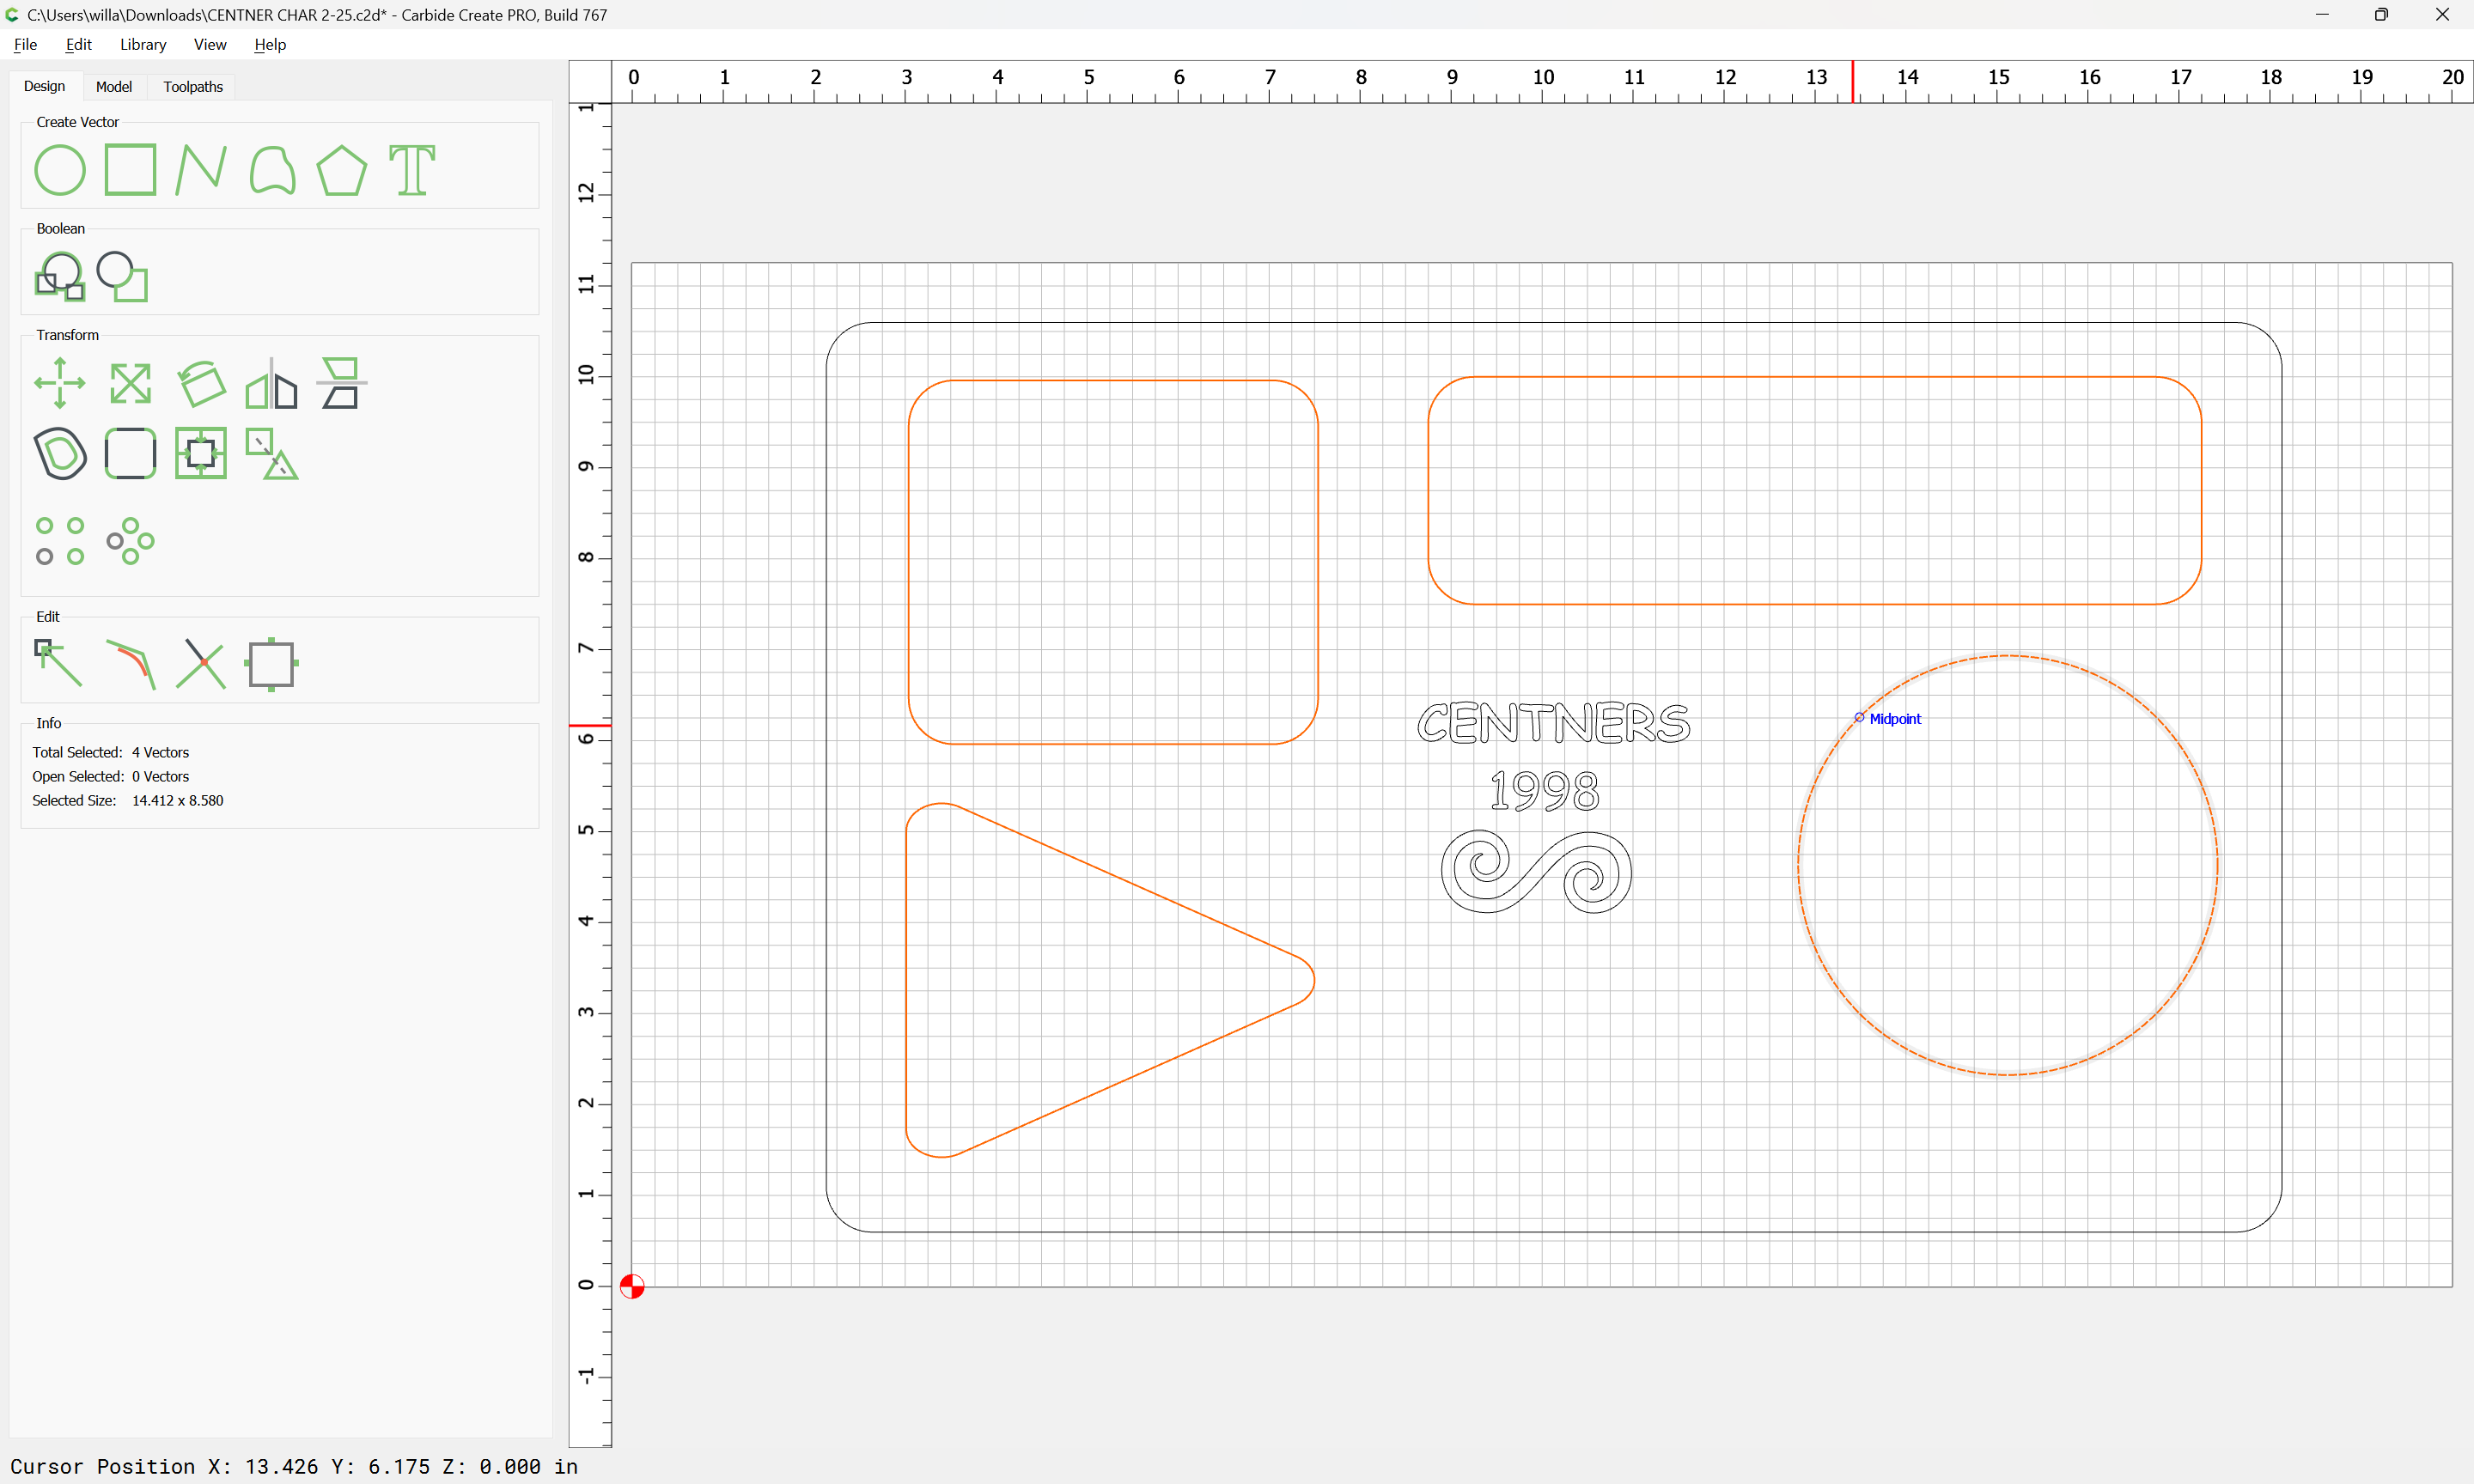
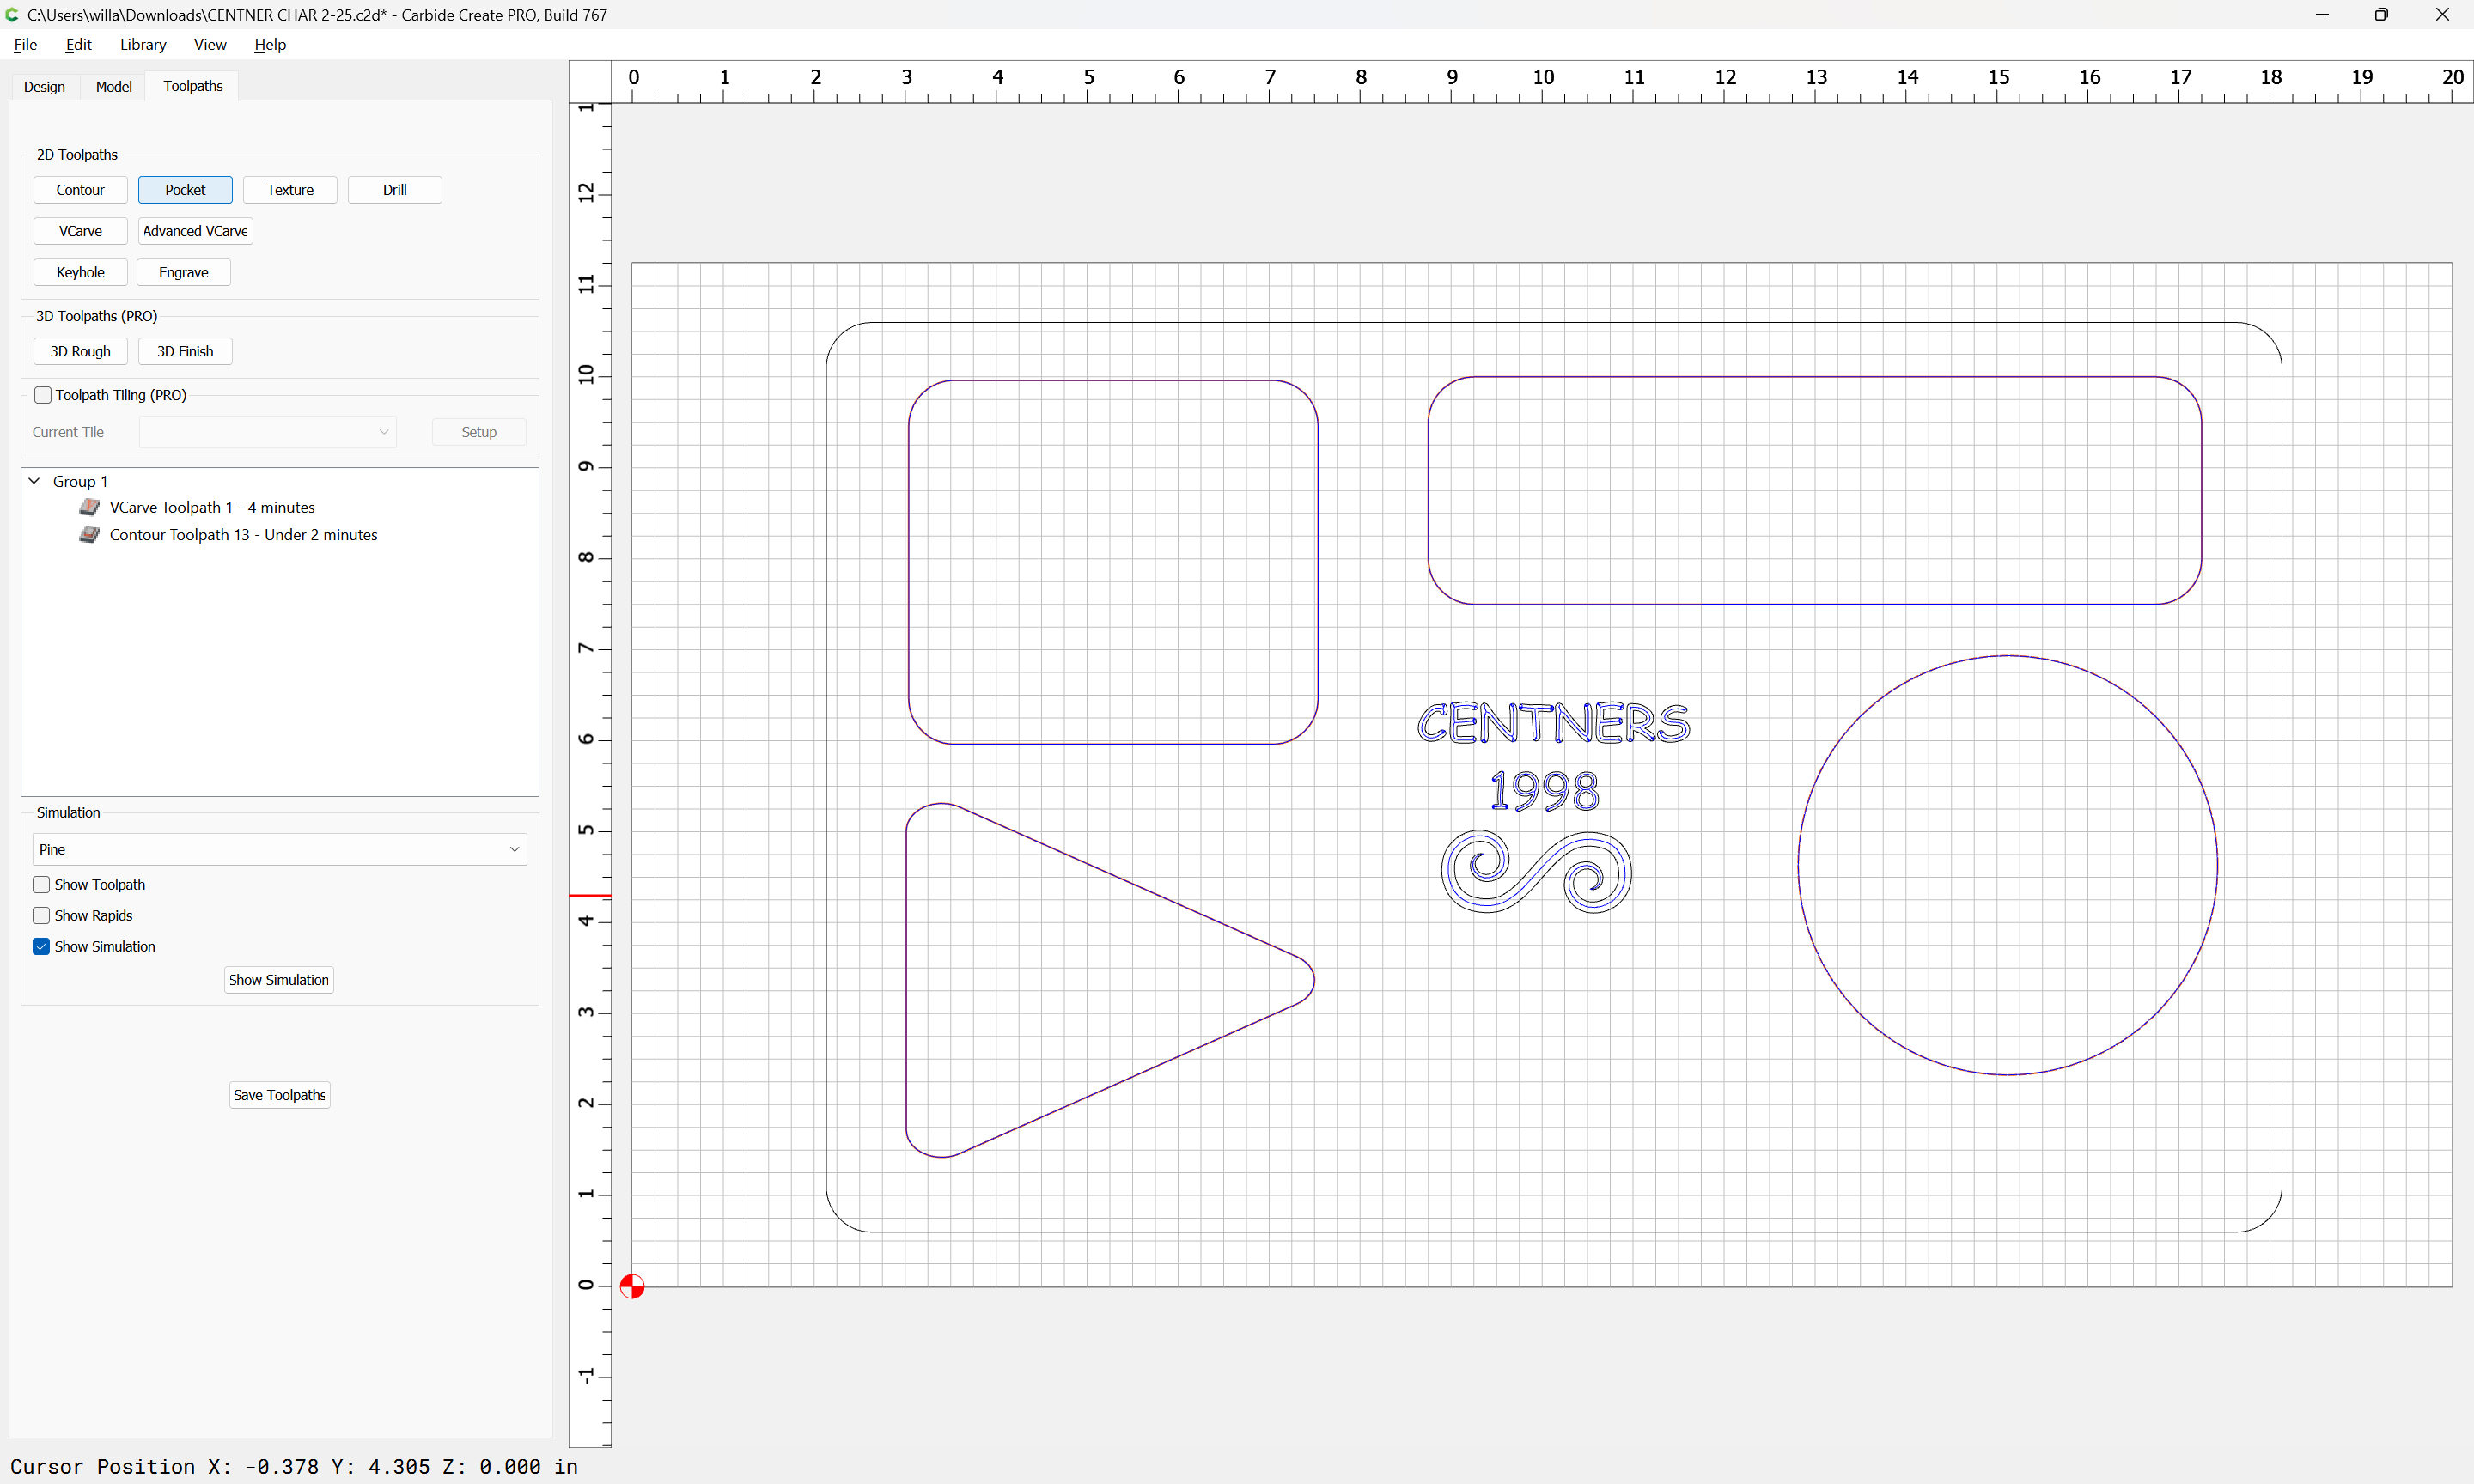
The next operation will also be with the 90 degree V endmill, select the geometry for the pockets which we wish to have chamfered:
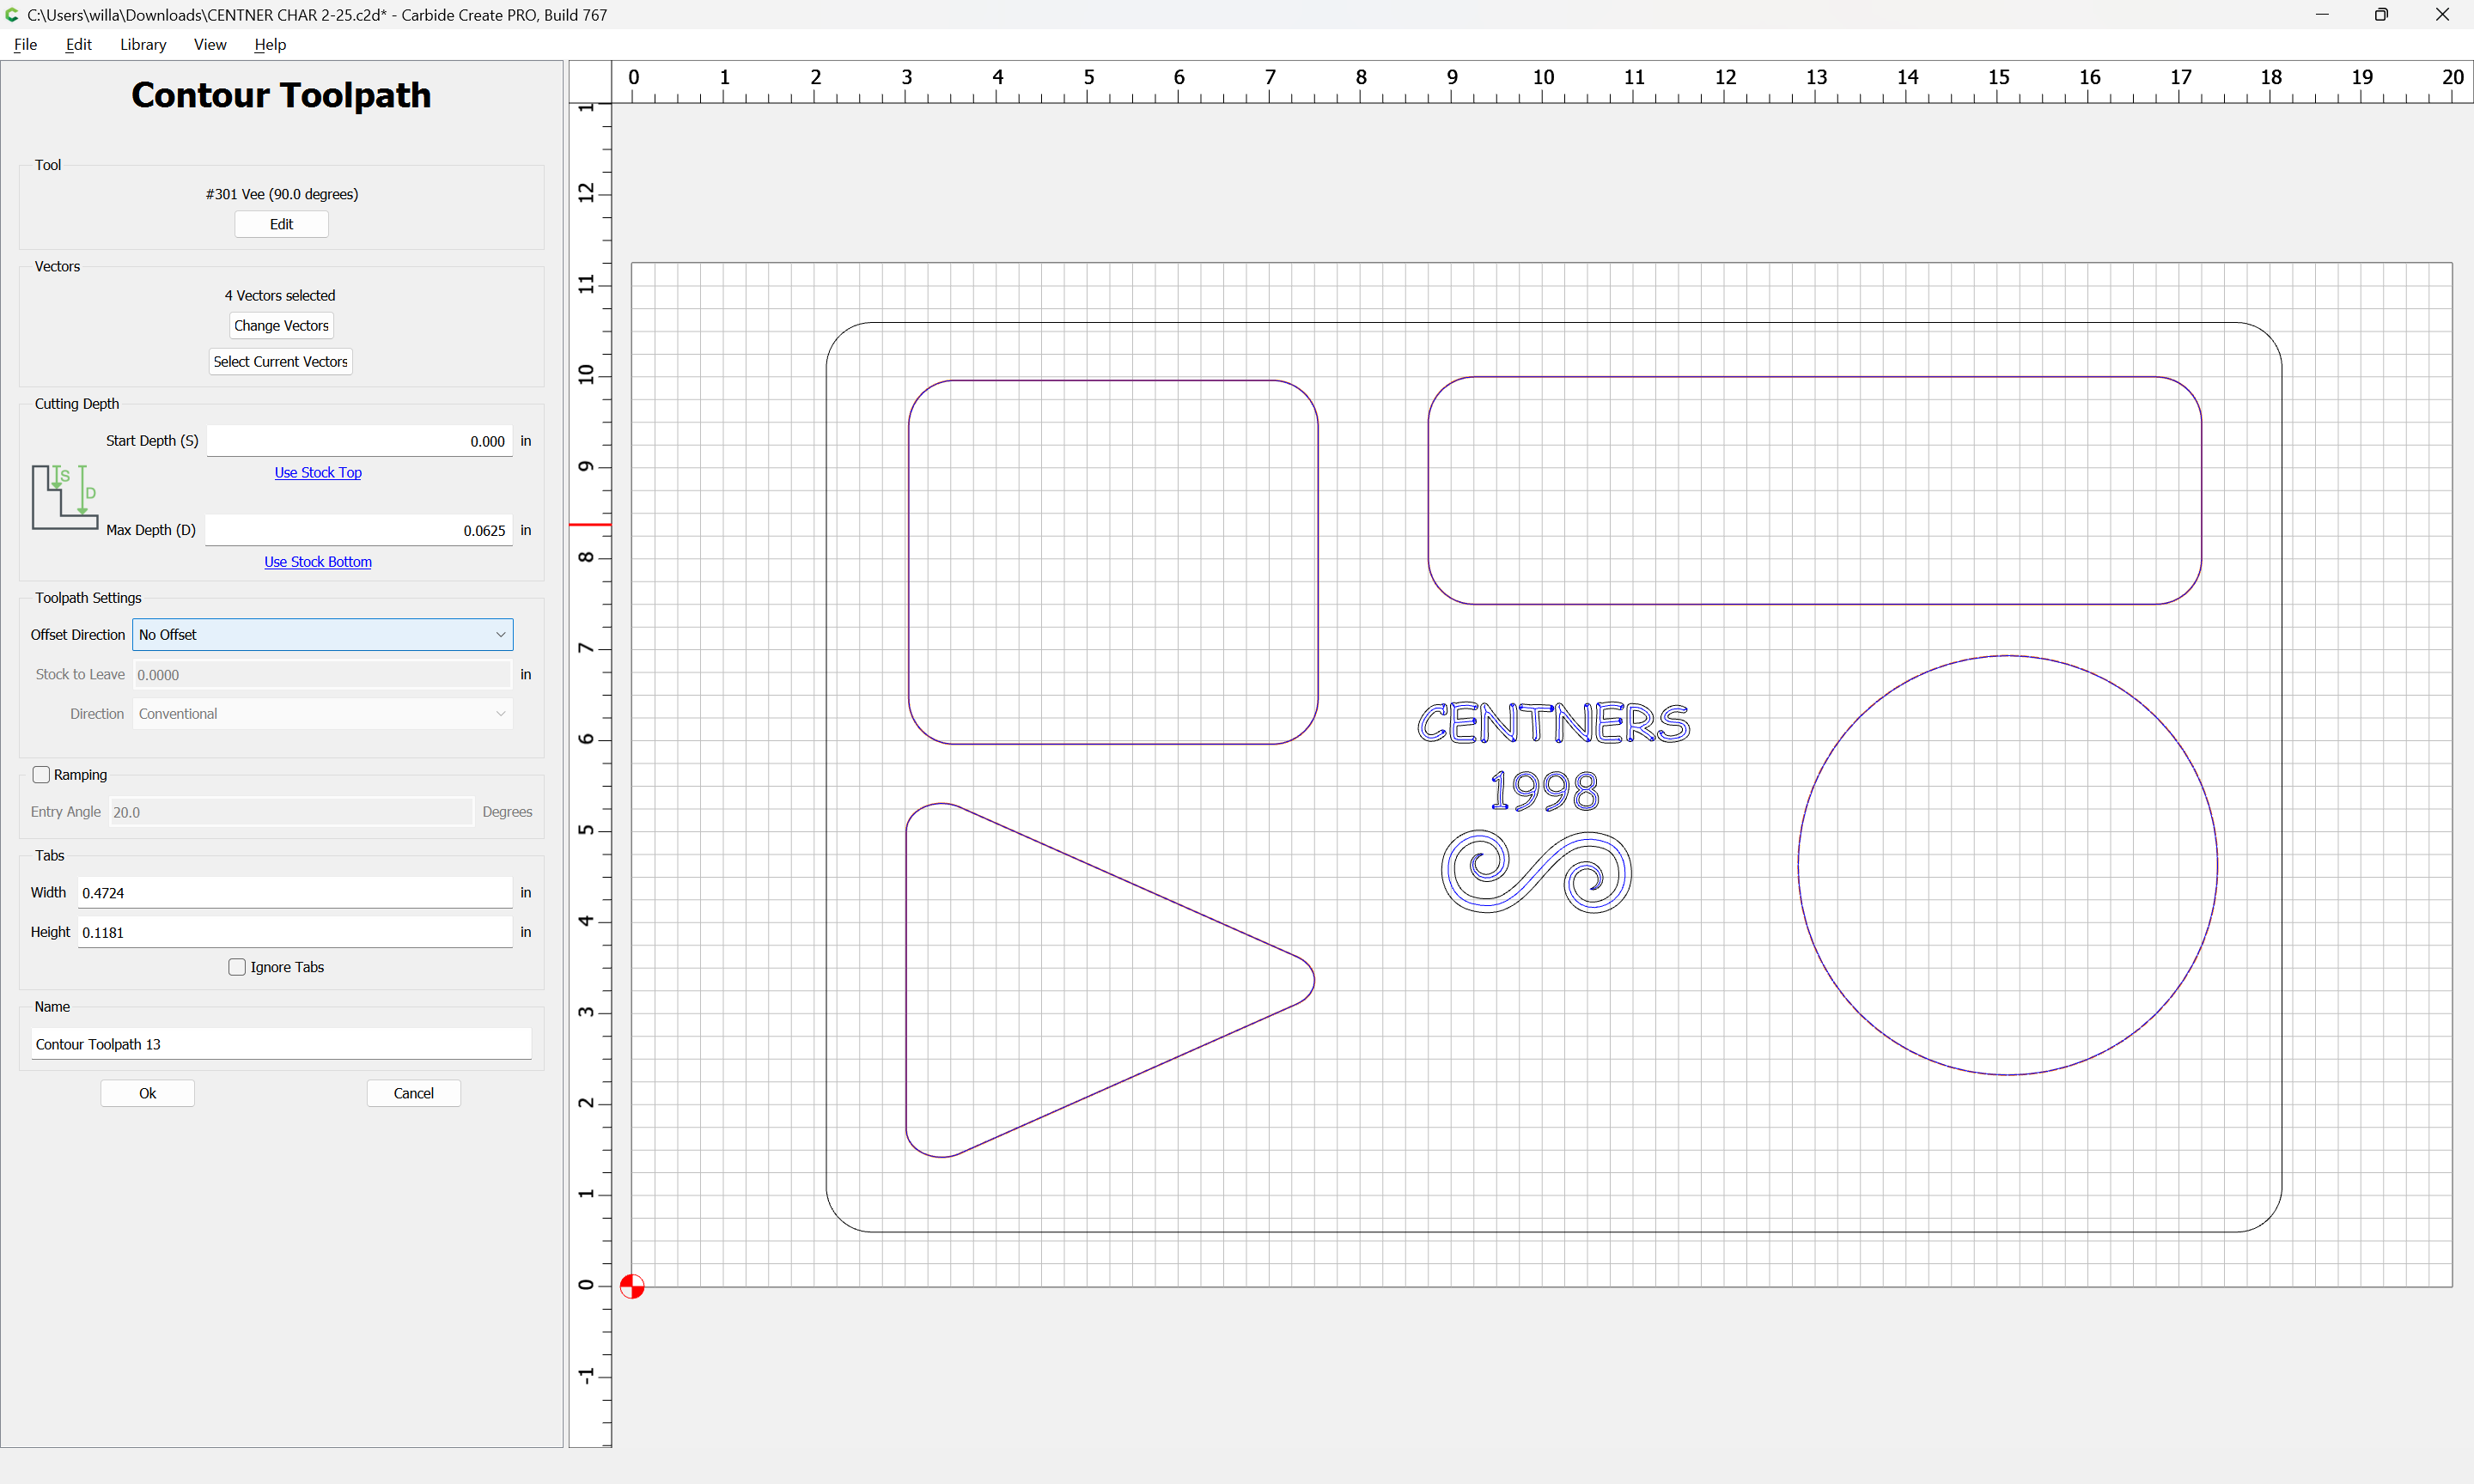
and then assign a Contour toolpath:

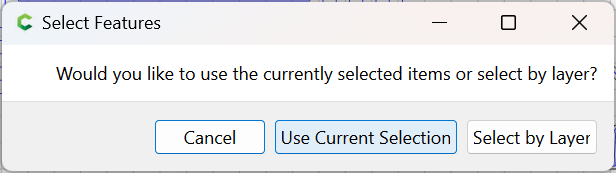
Use Current Selection
The defaults are not what we want, so will need to be adjusted:
For more on this see:
https://my.carbide3d.com/gswso/10/
and
https://my.carbide3d.com/gswcc/08/
Ok
Again, verify using the 3D preview.
Show Simulation
If that is not as expected, edit the toolpath as need be to adjust.
Next, we use this same geometry to cut pockets. See:
https://my.carbide3d.com/gswso/11/

Use Current Selection
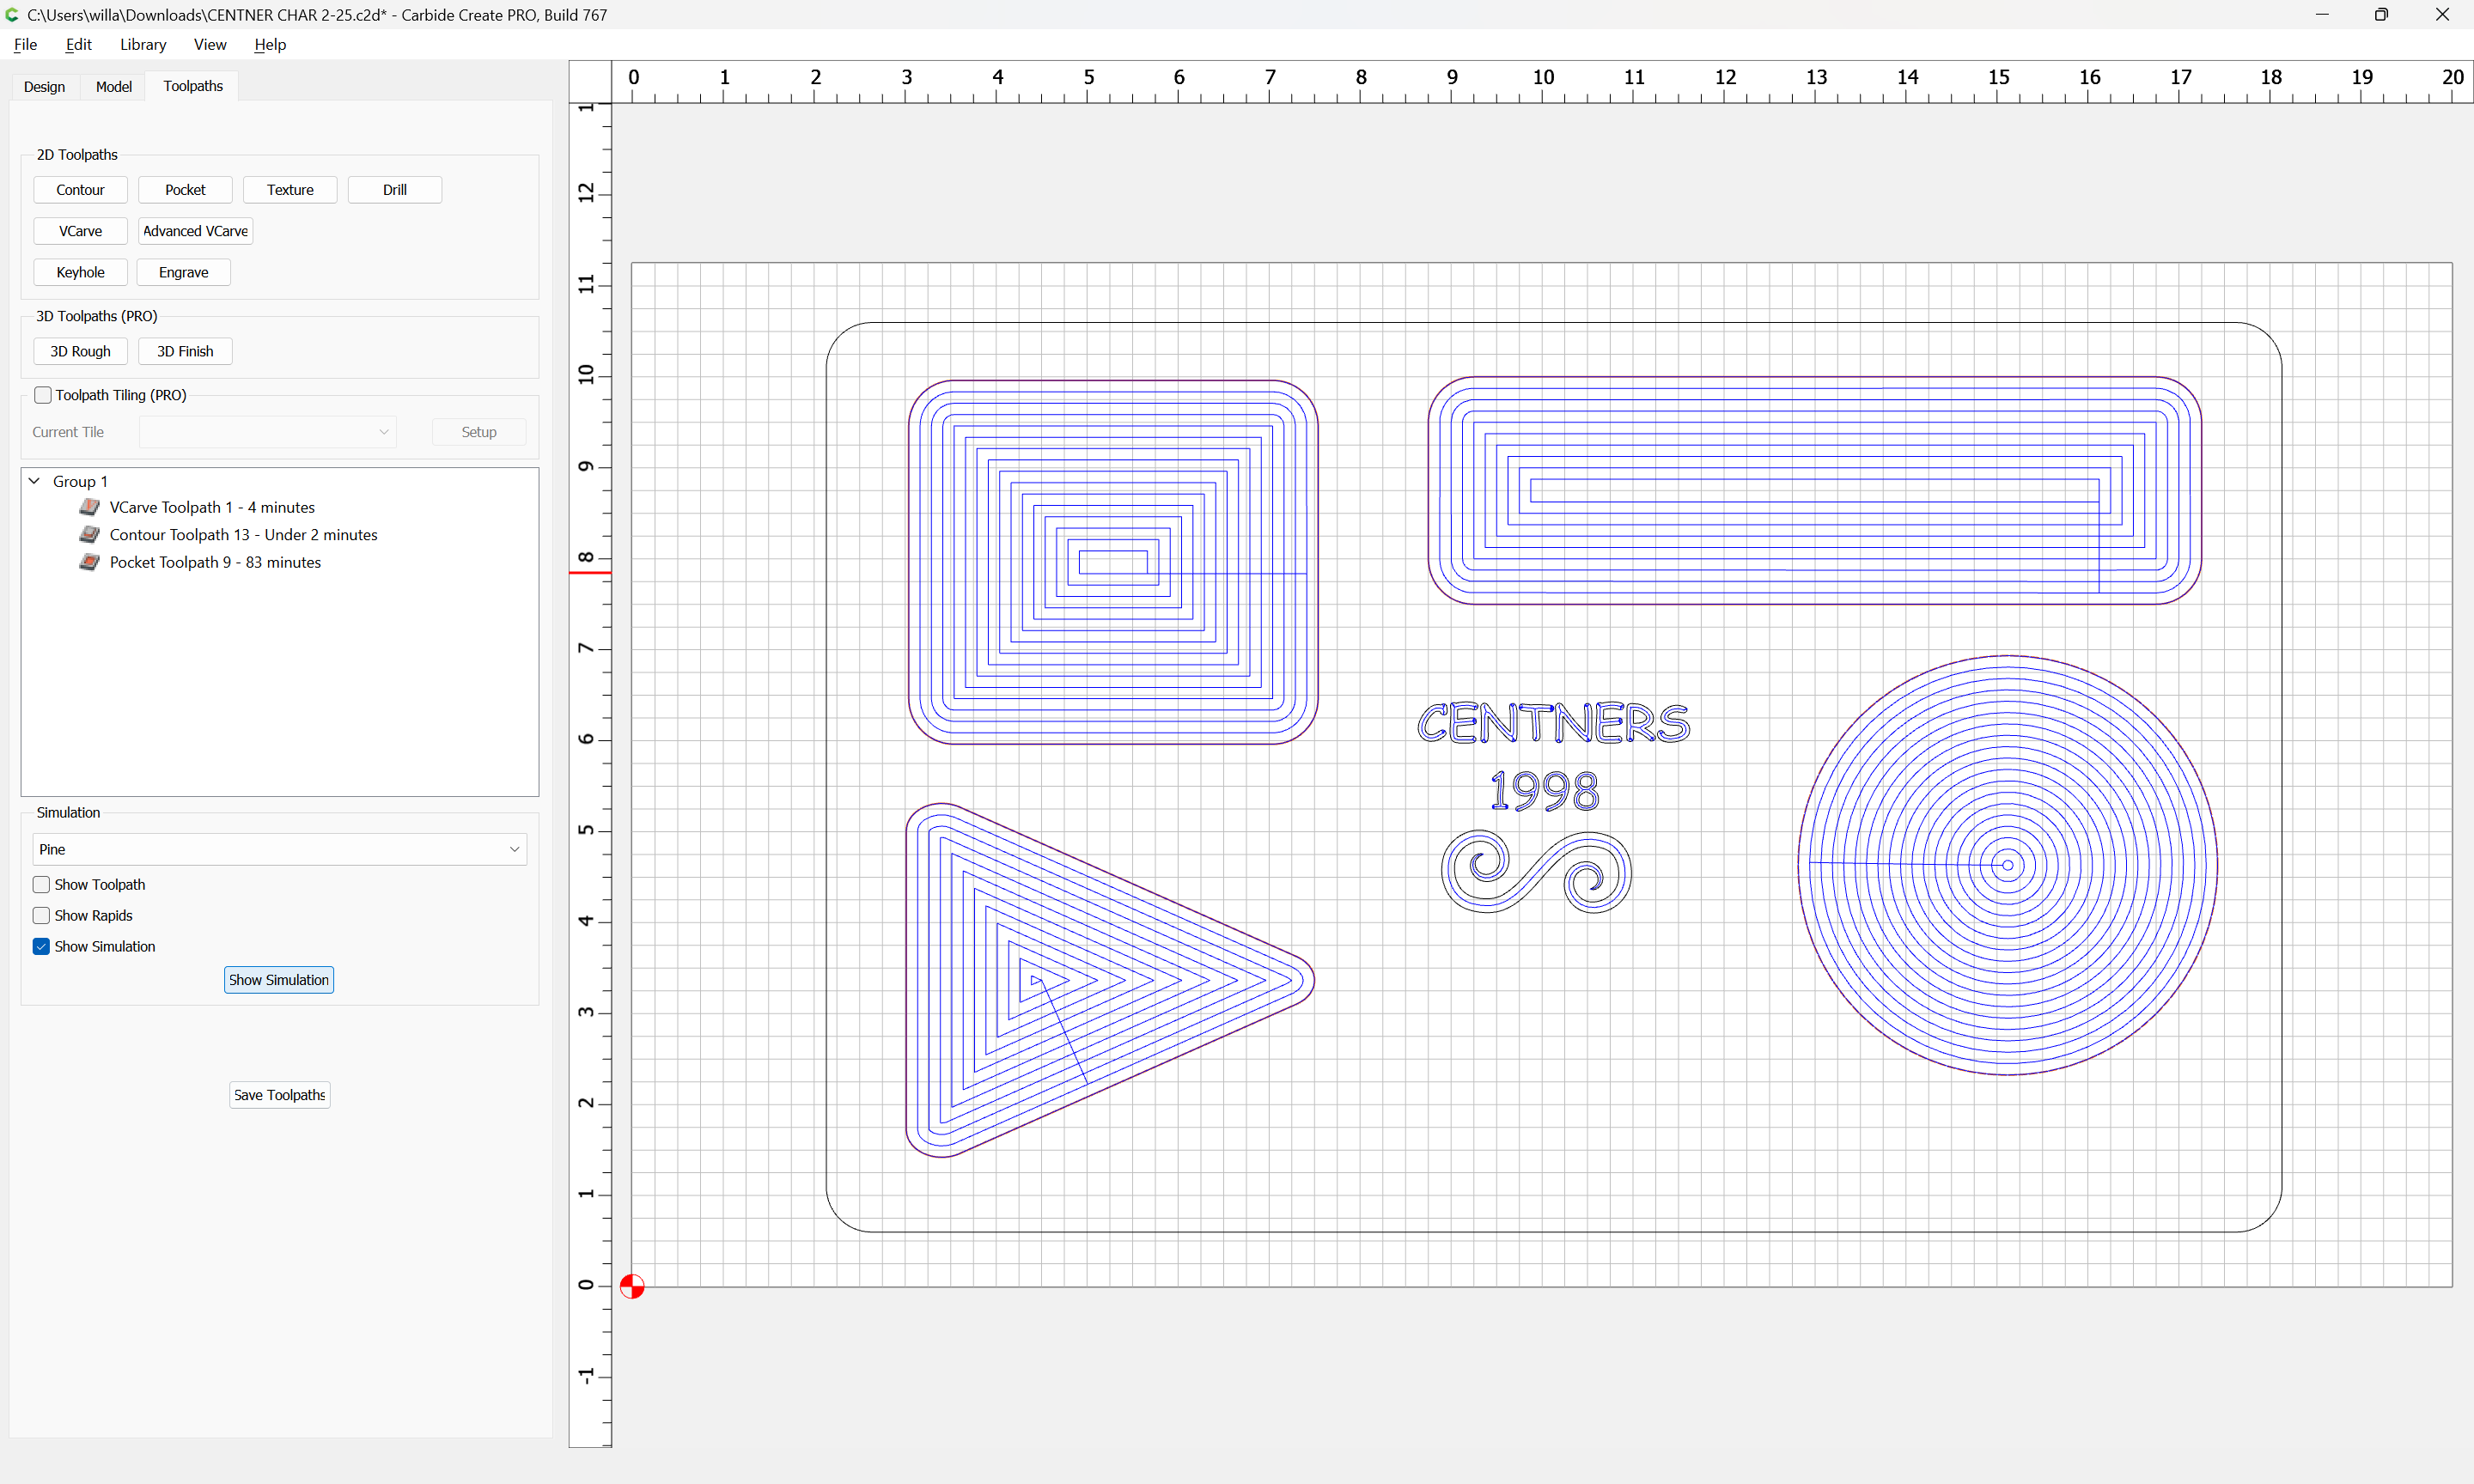
and adjust the toolpath settings as necessary.
Show Simulation
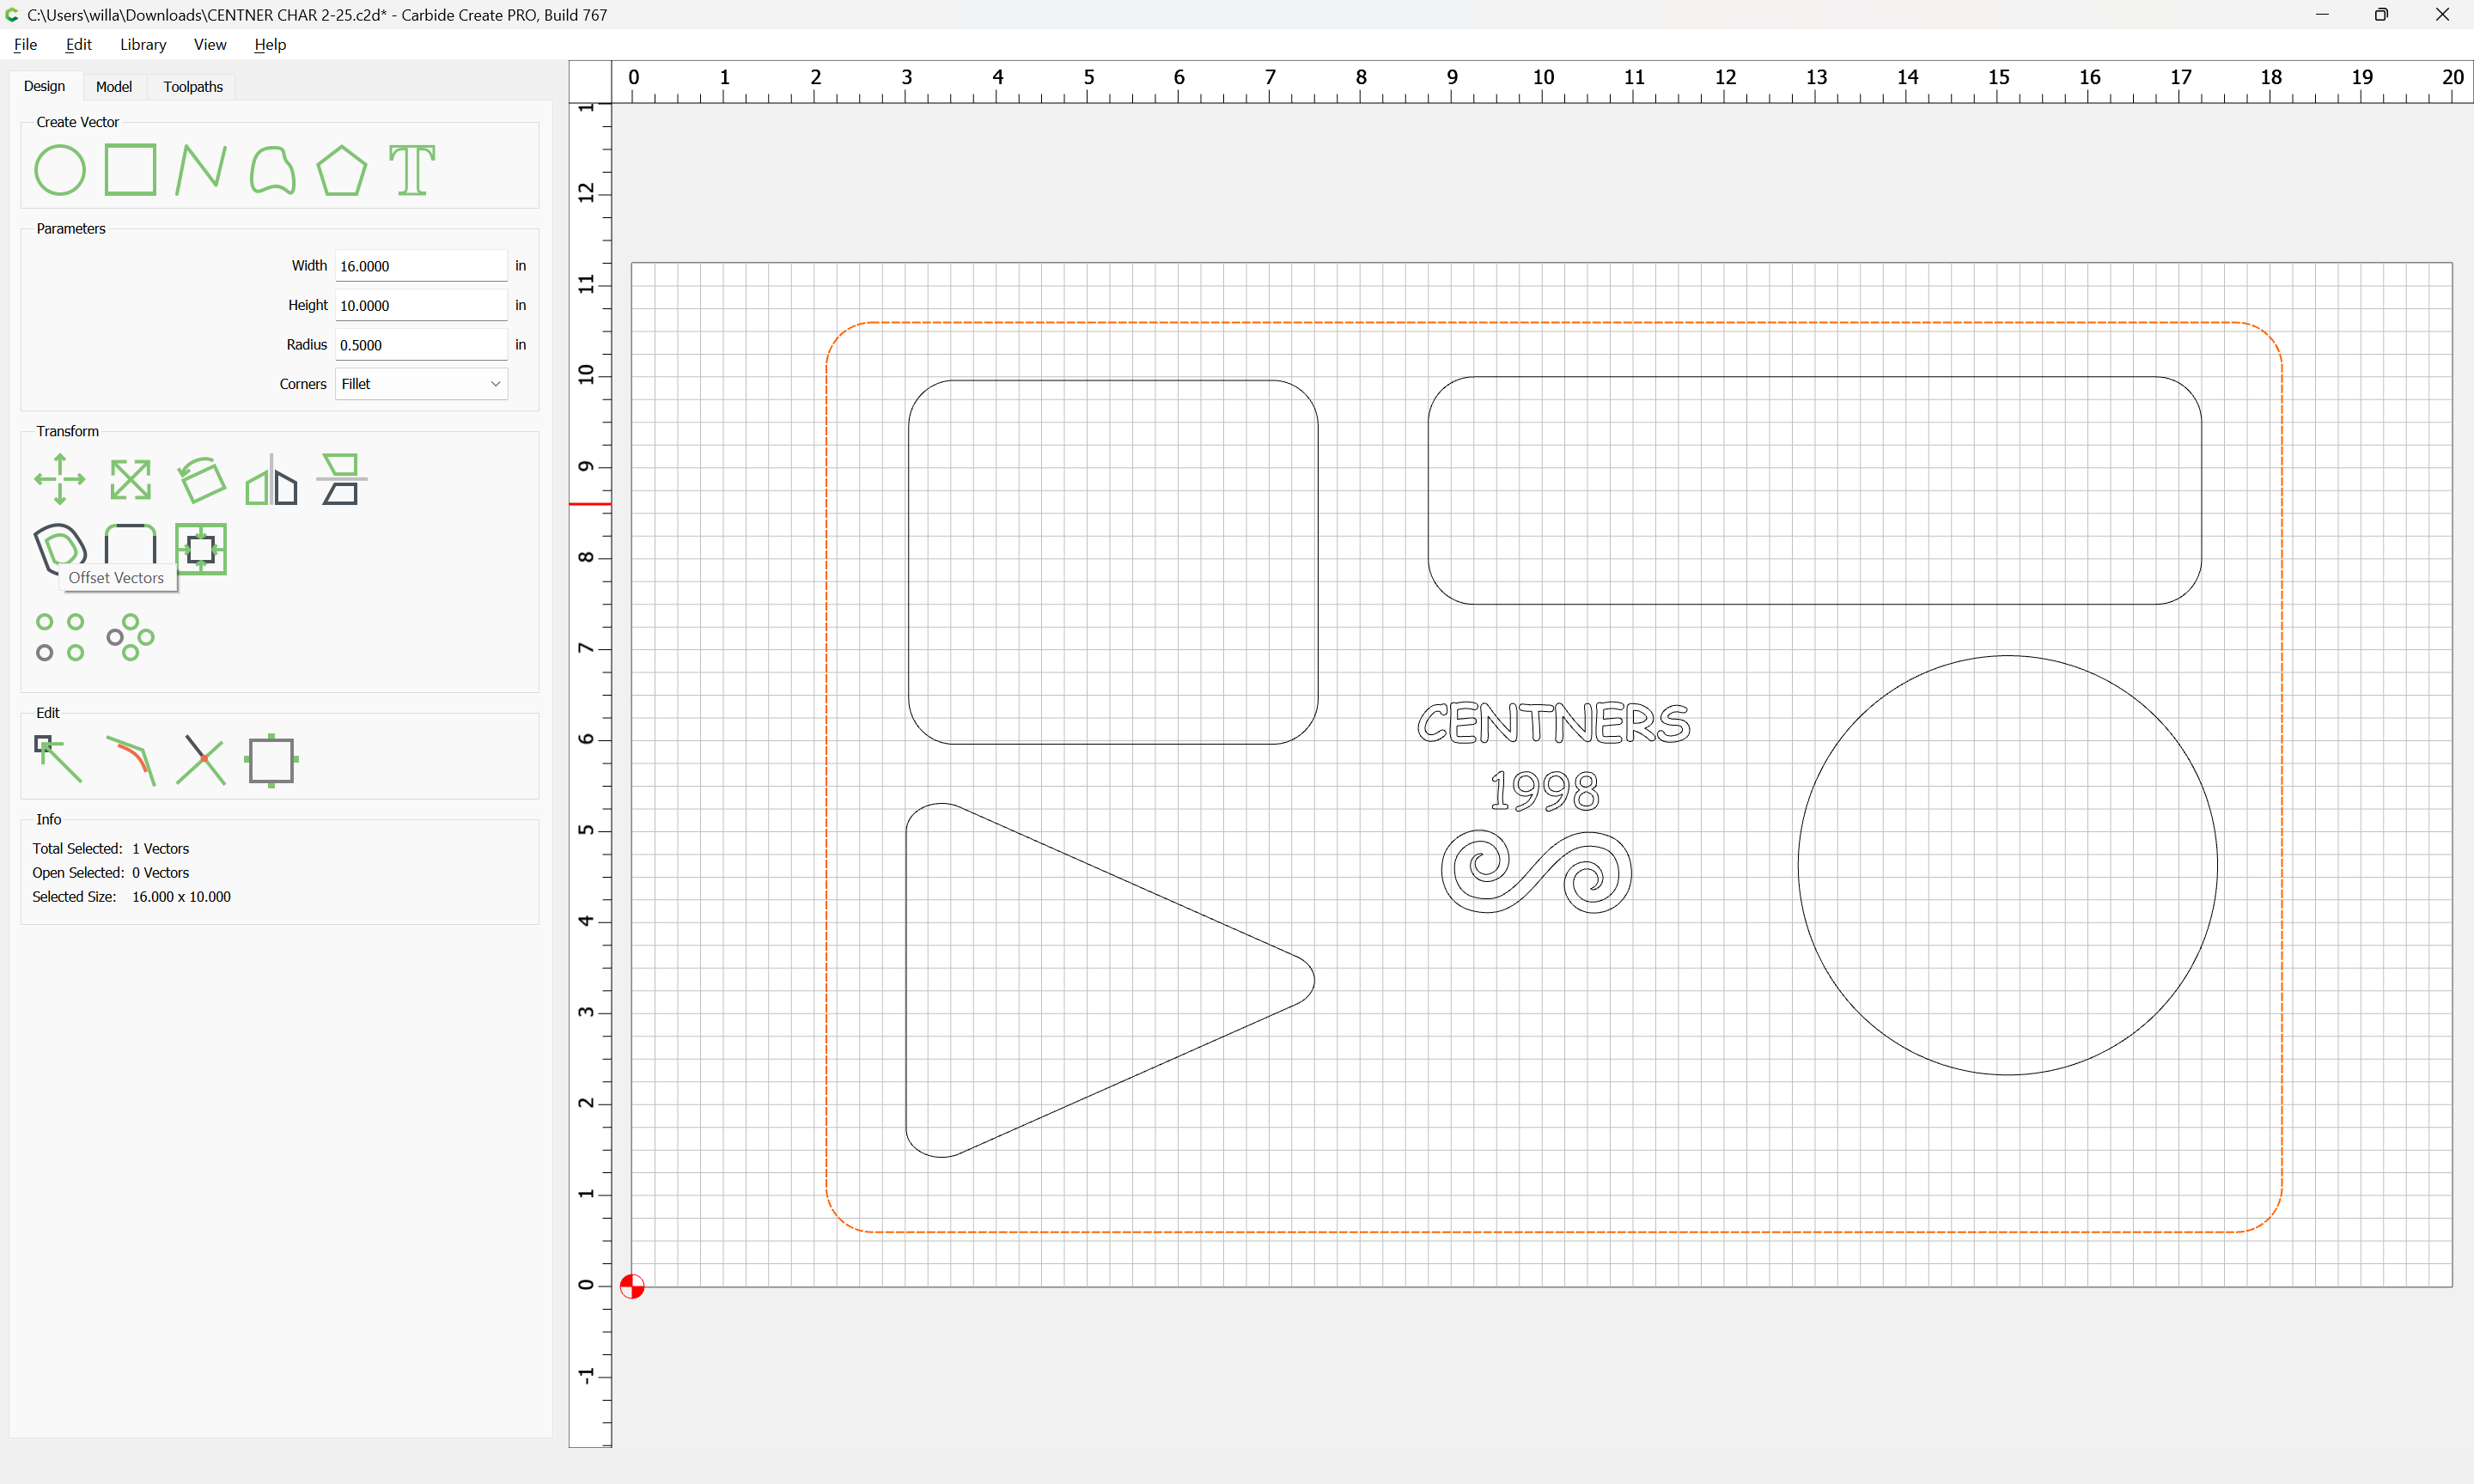
Lastly, the part needs to be cut free. Since the stock in question is only twice the thickness of the diameter of the tool which we are using (the 1/4" #201) we could probably get away with just an outside contour, but best practice is to go back to the Design tab, select the outer geometry:
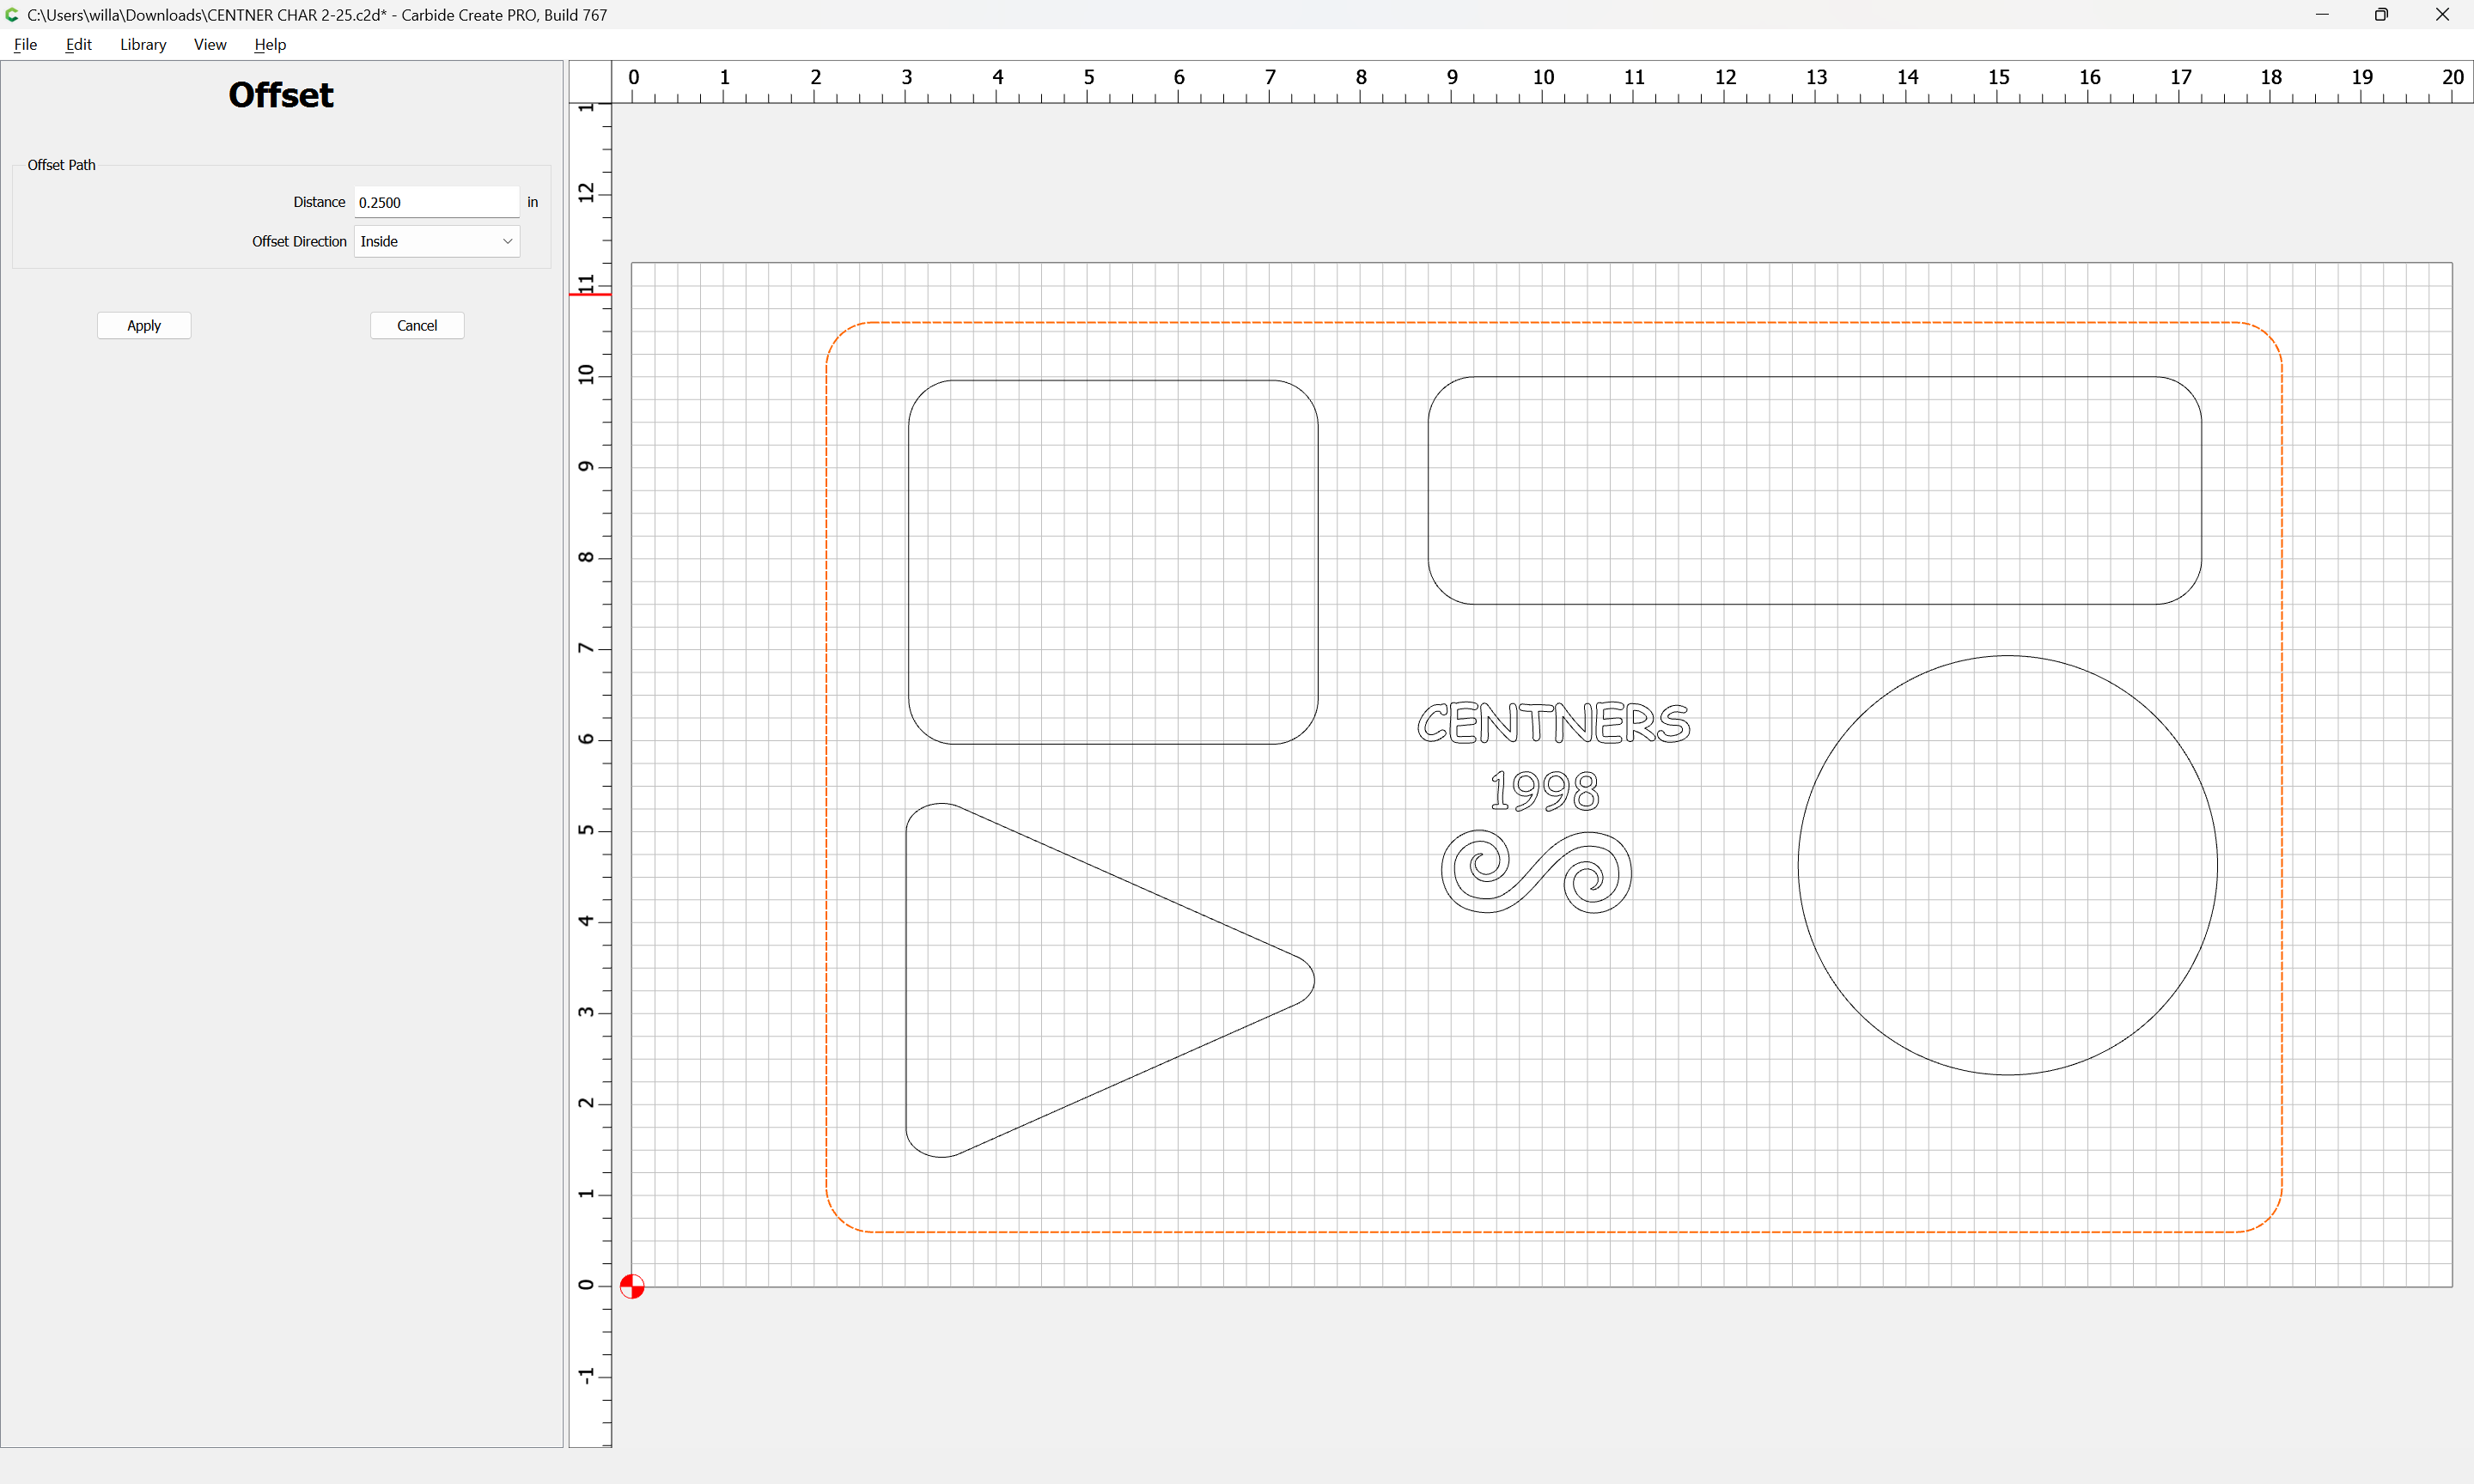
Offset Vectors
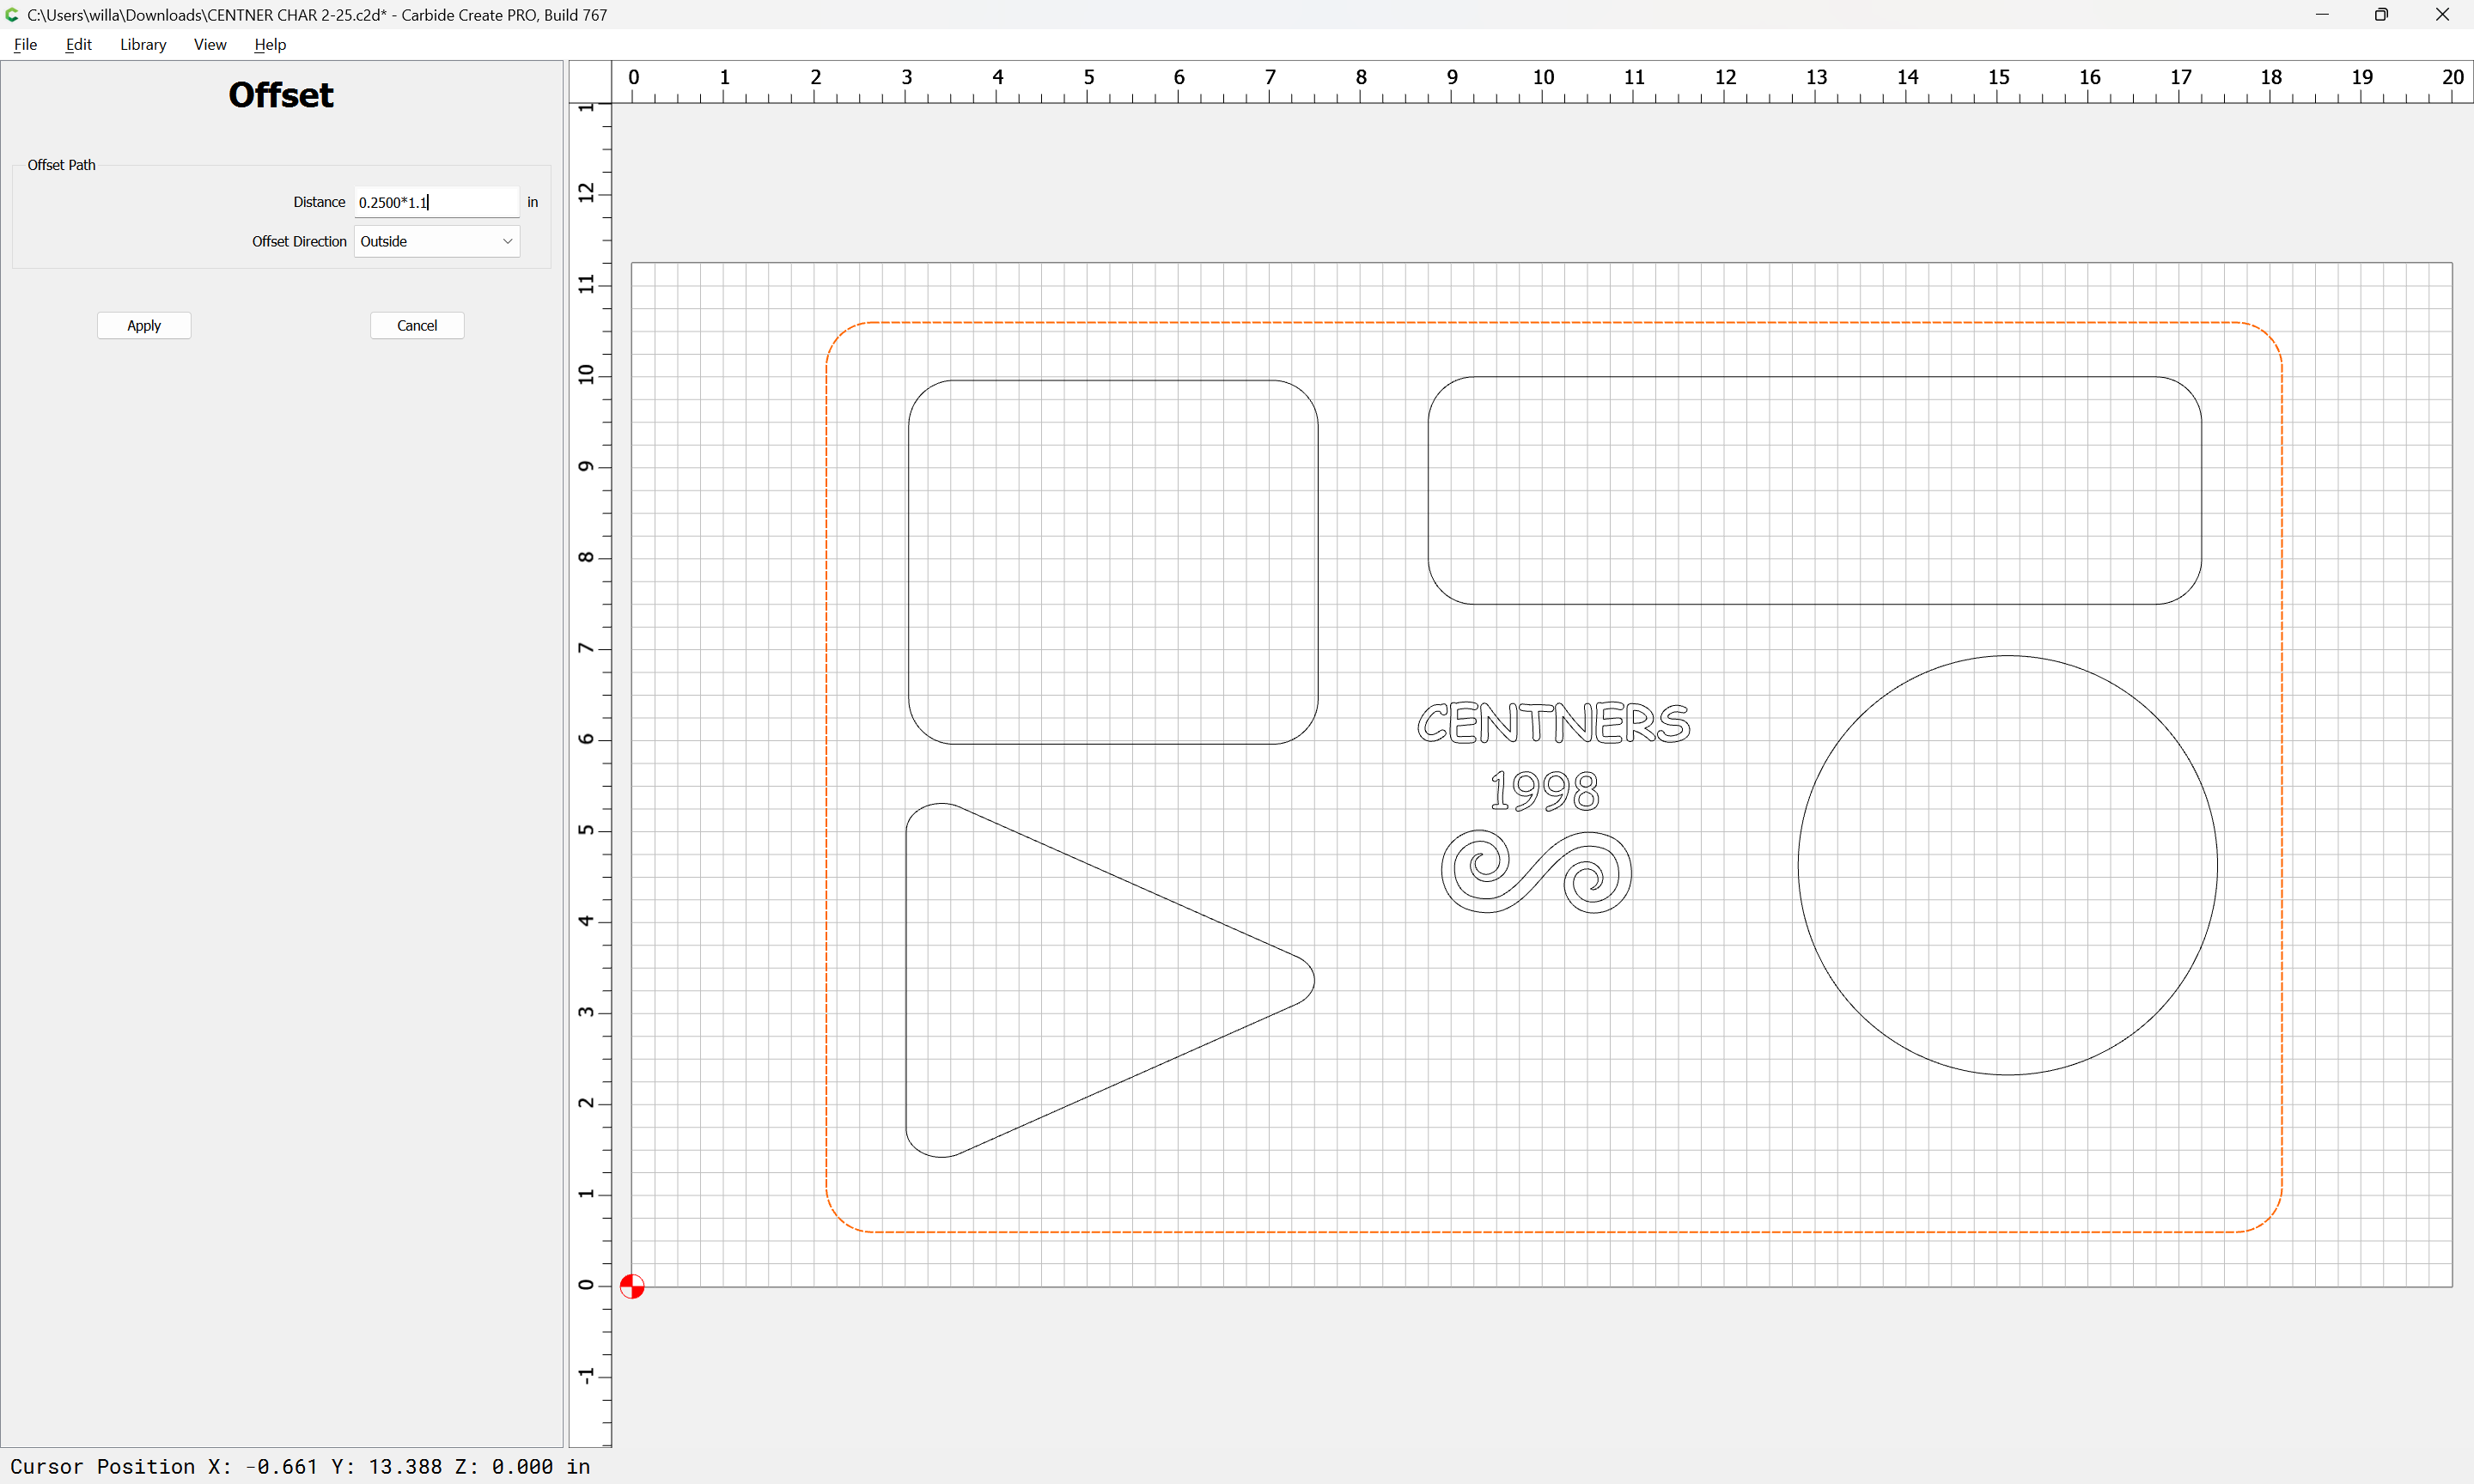
to the outside by tool diameter plus 10%:
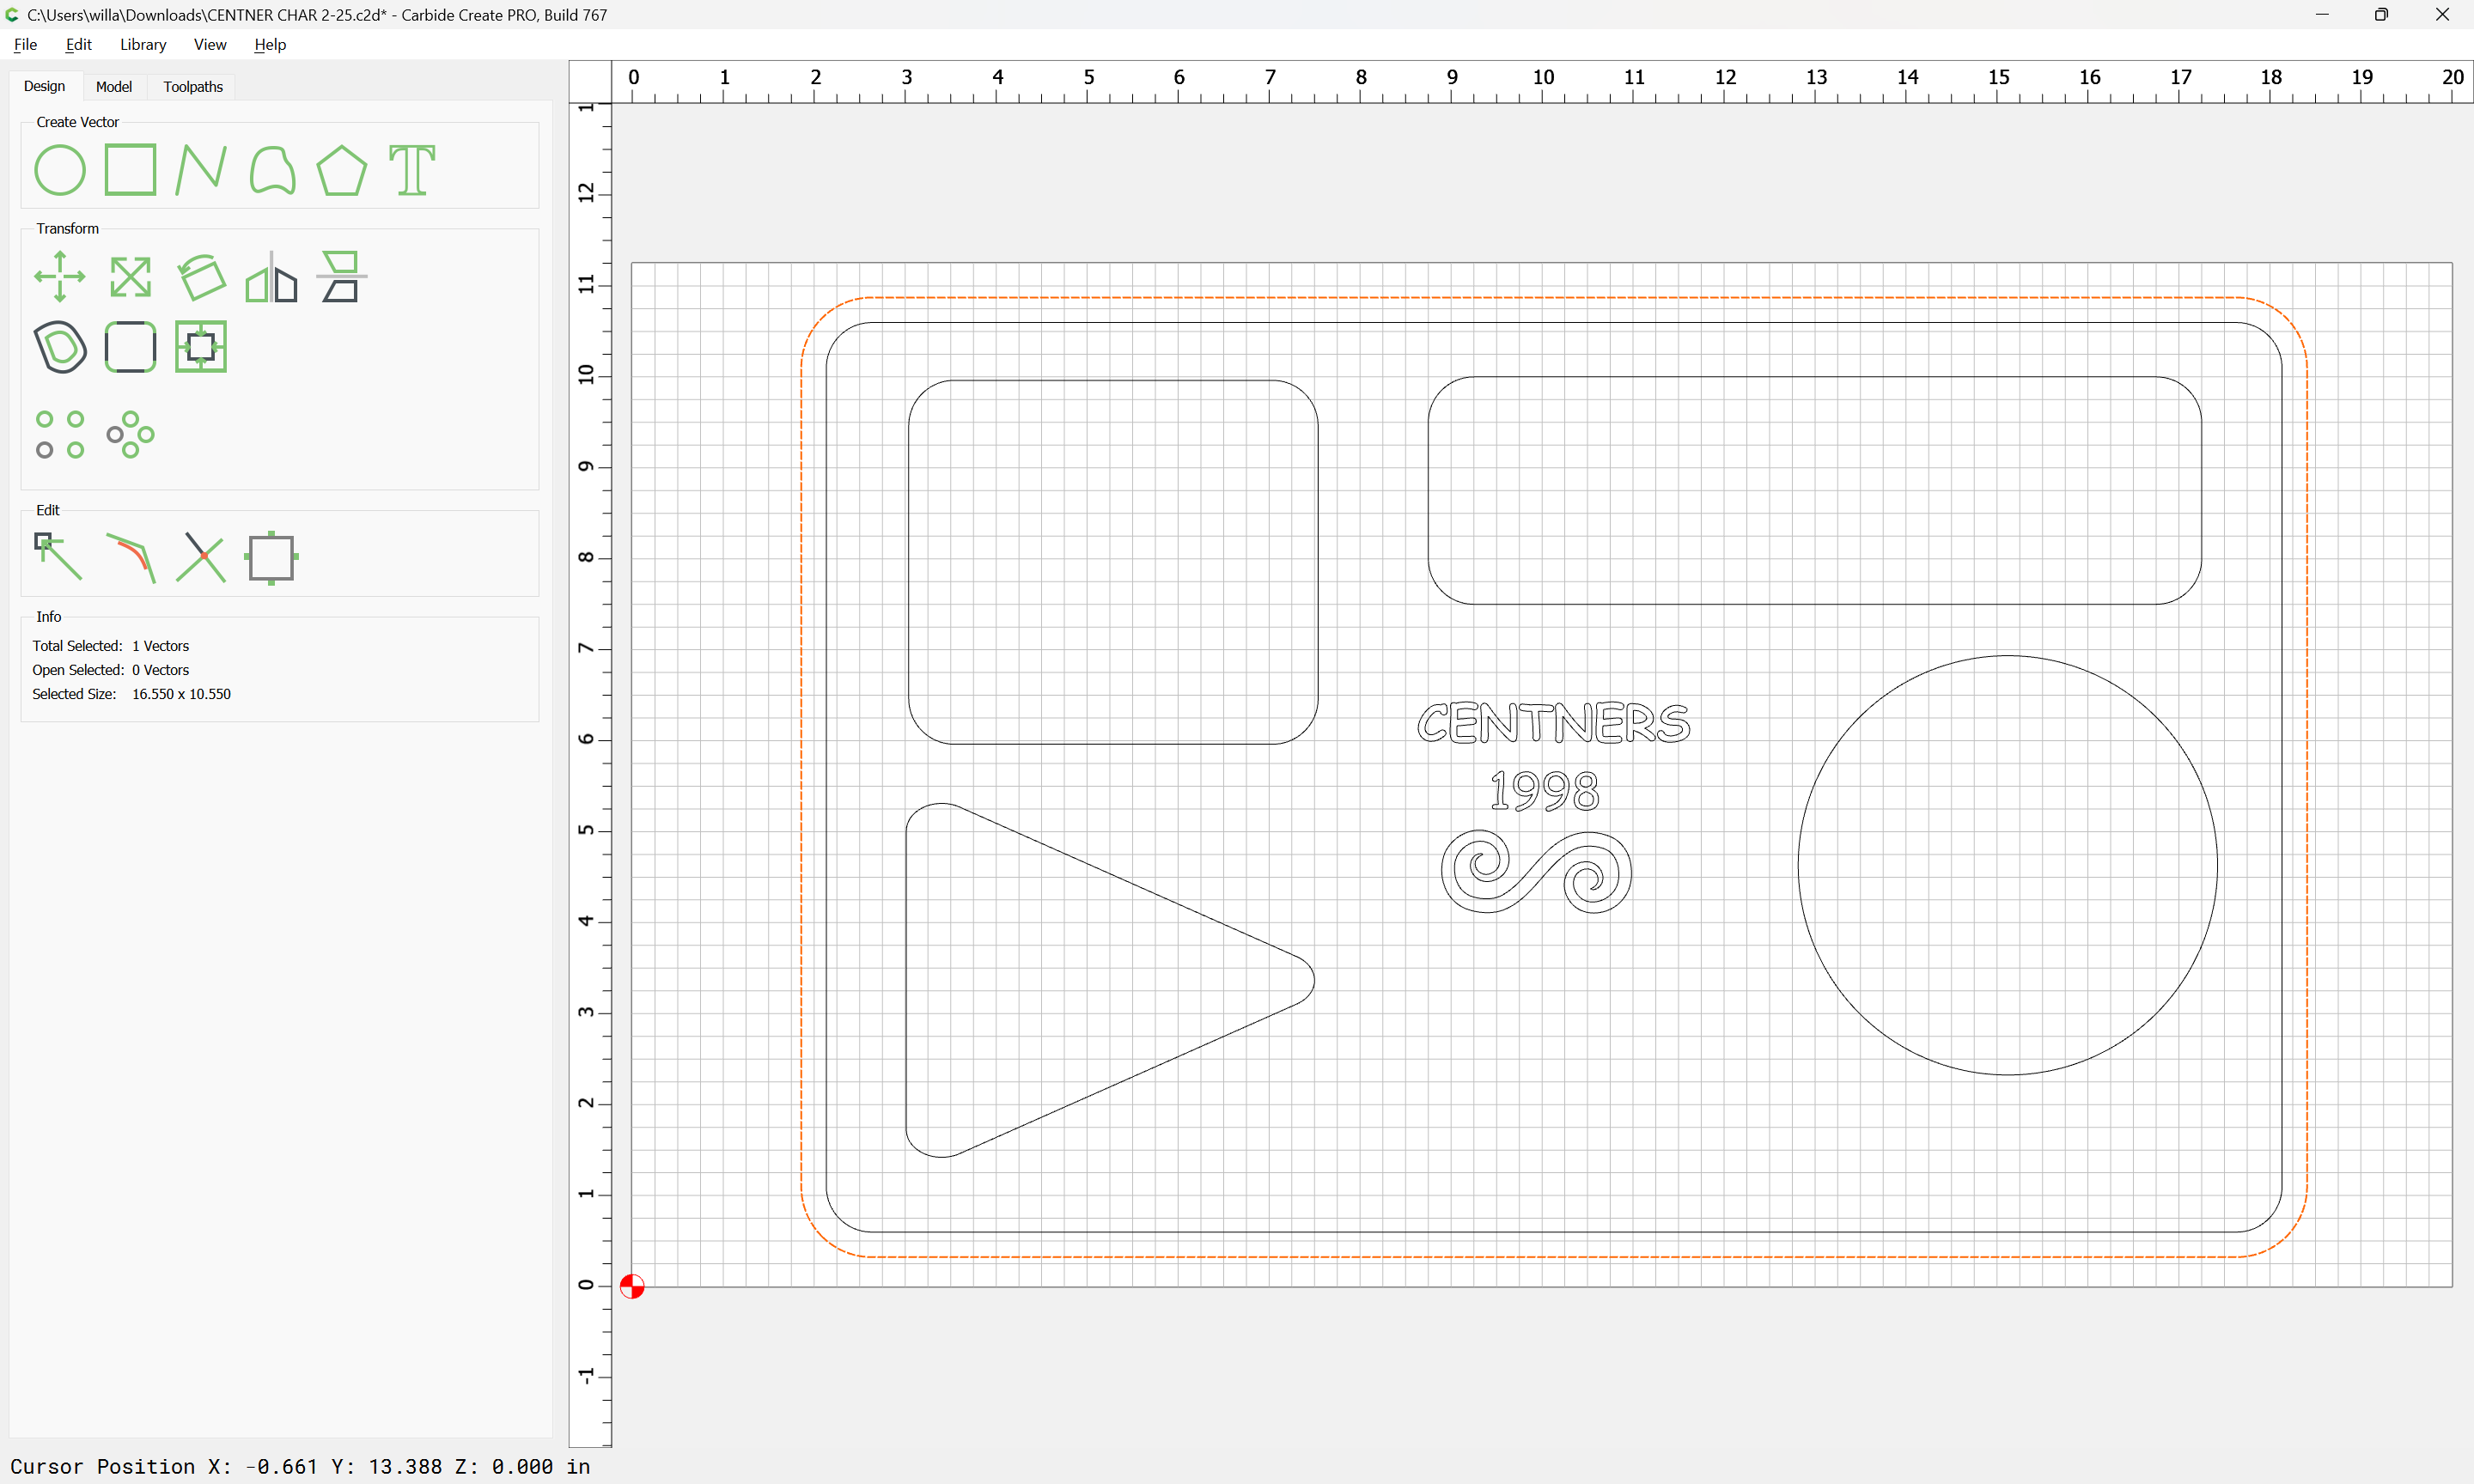
Apply
Select both the offset and original geometry:
and cut as a pocket, either down to tab height or the penultimate pass — we will assume tabs, so:
Pocket
Use Current Selection
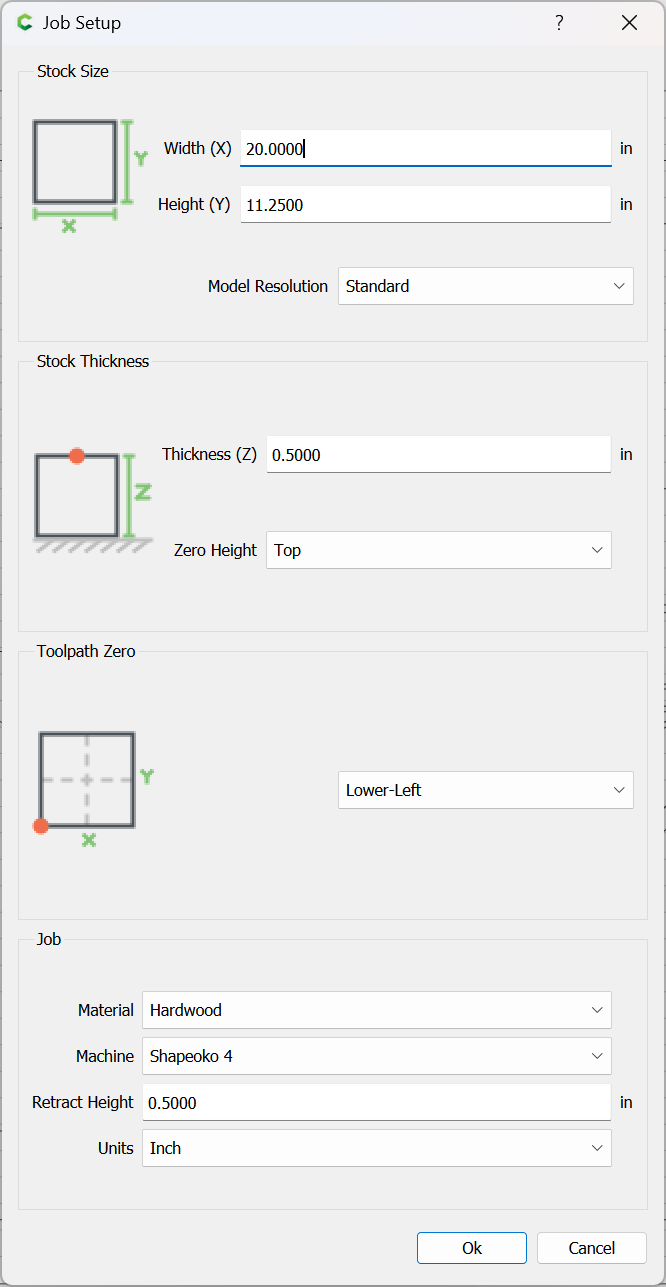
Note that the default tab height is 3mm, so we subtract that from the Stock Thickness of 0.5"
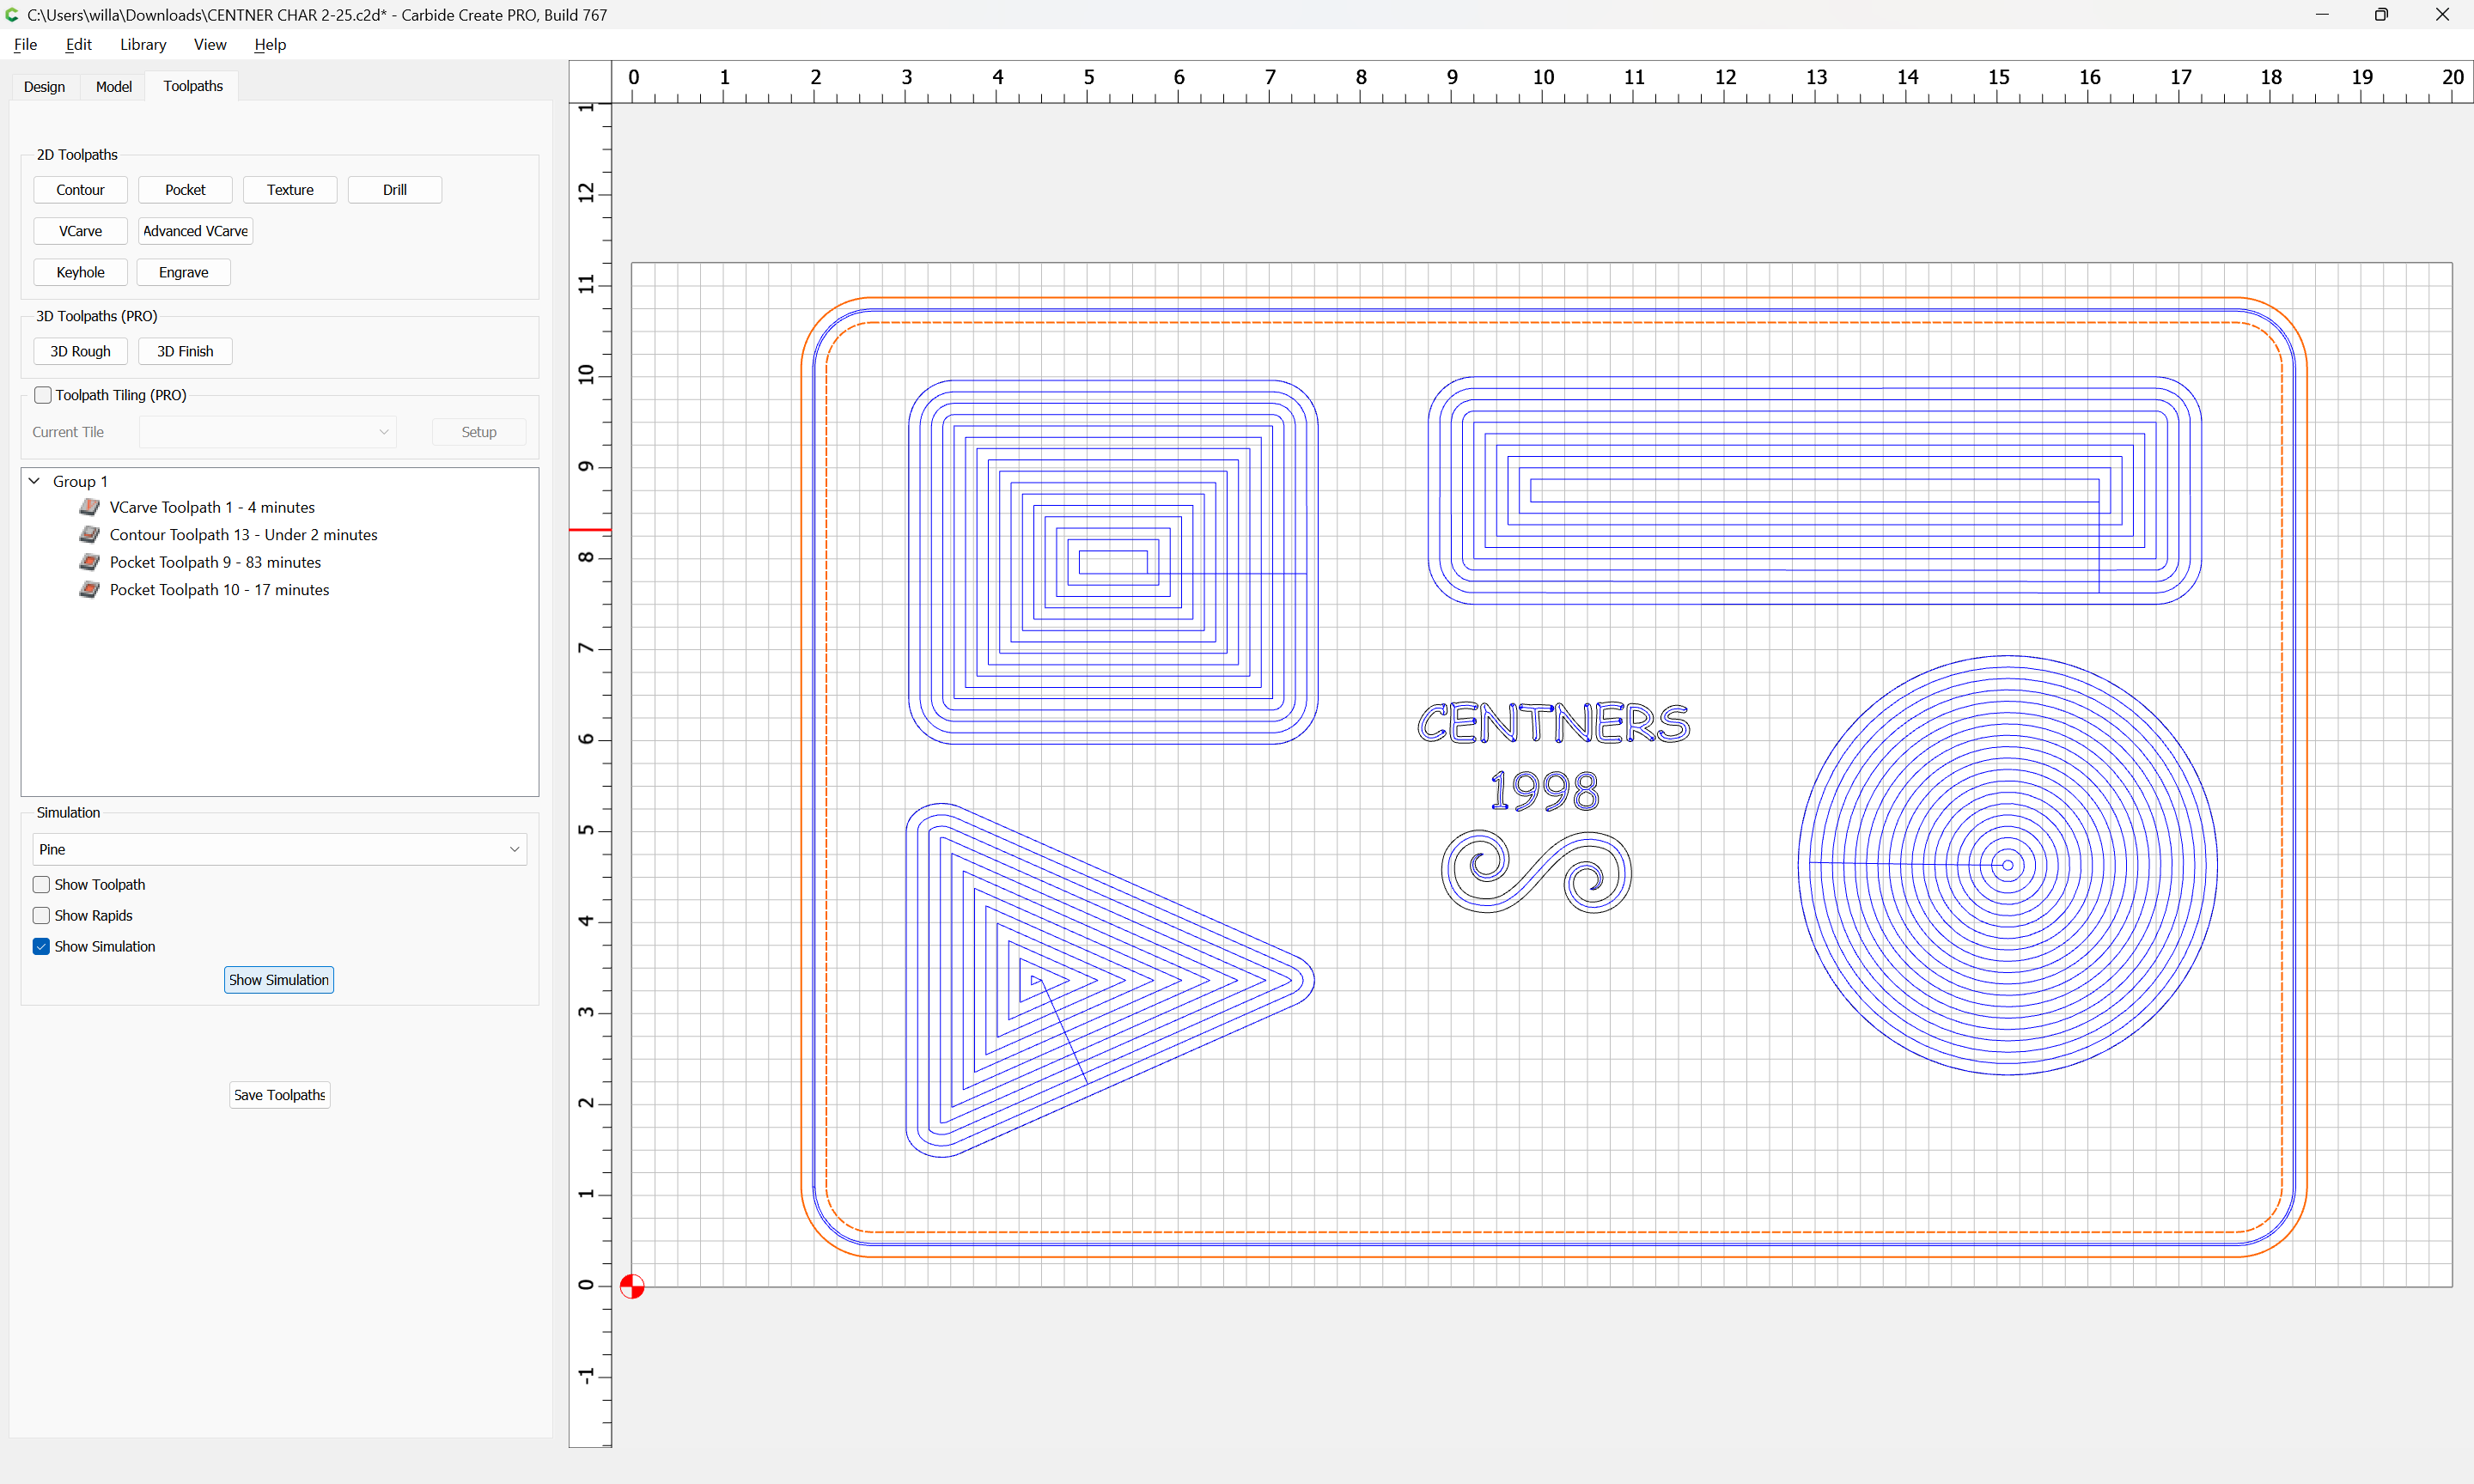
Ok
Show Simulation
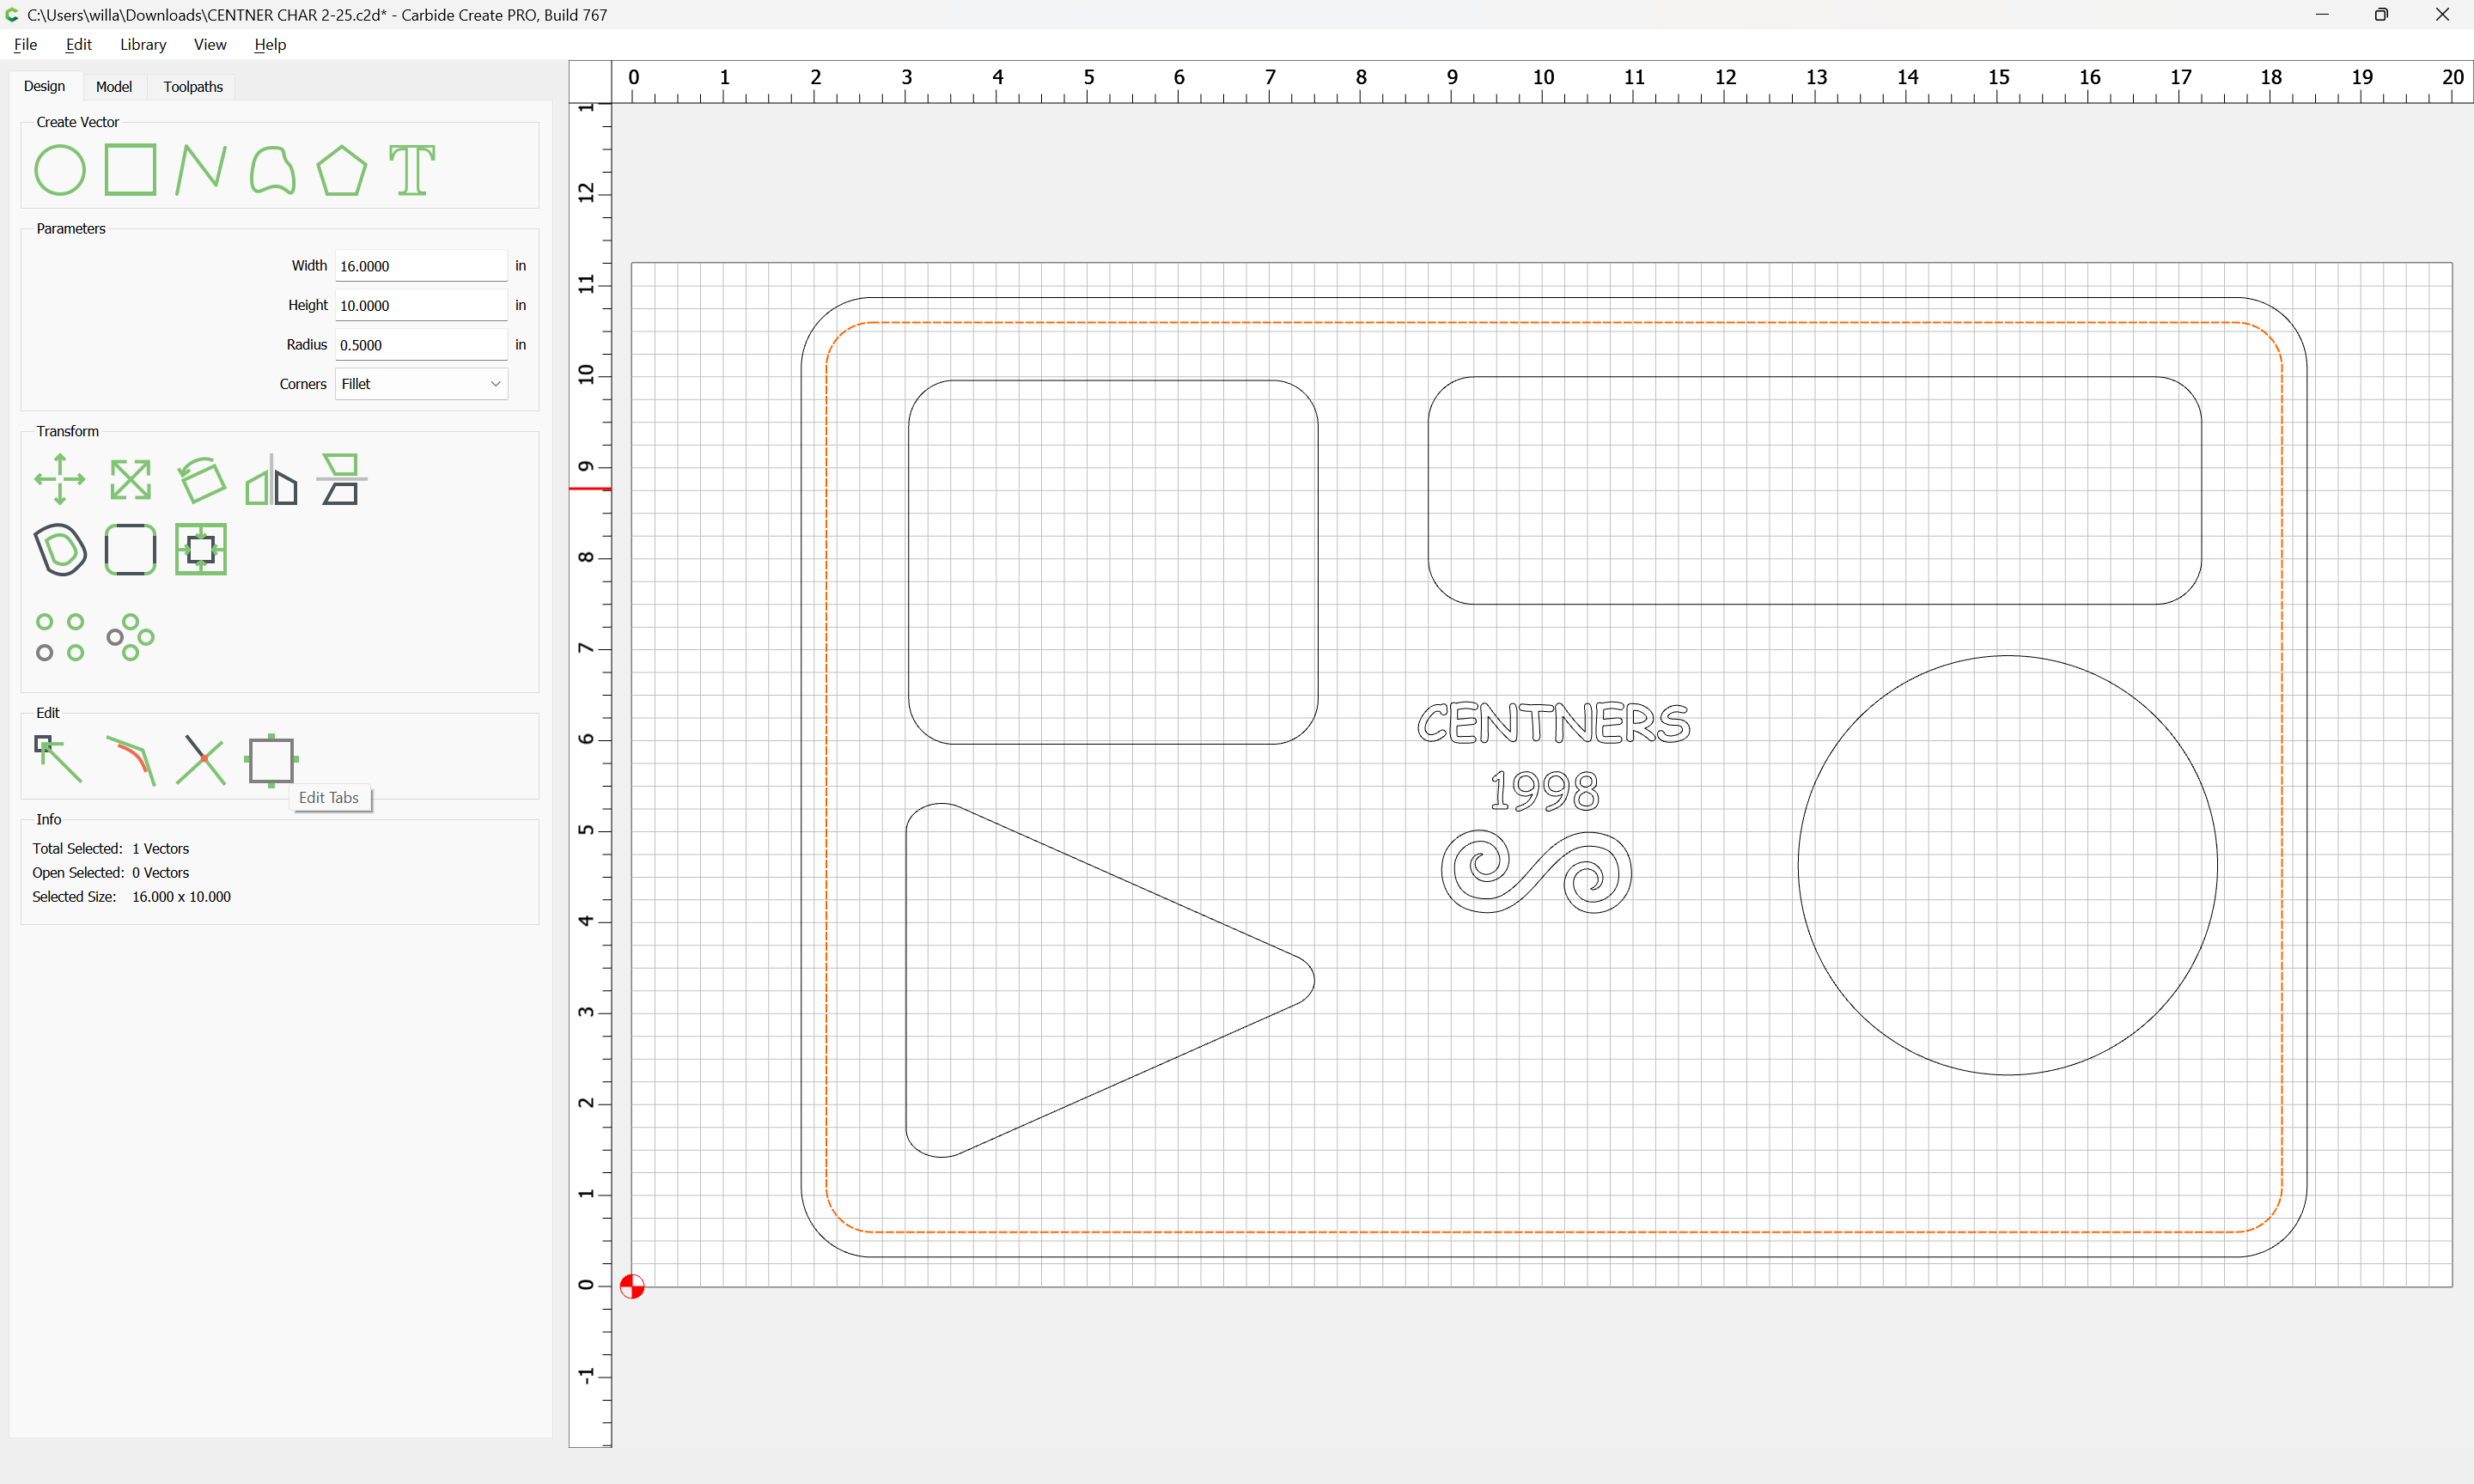
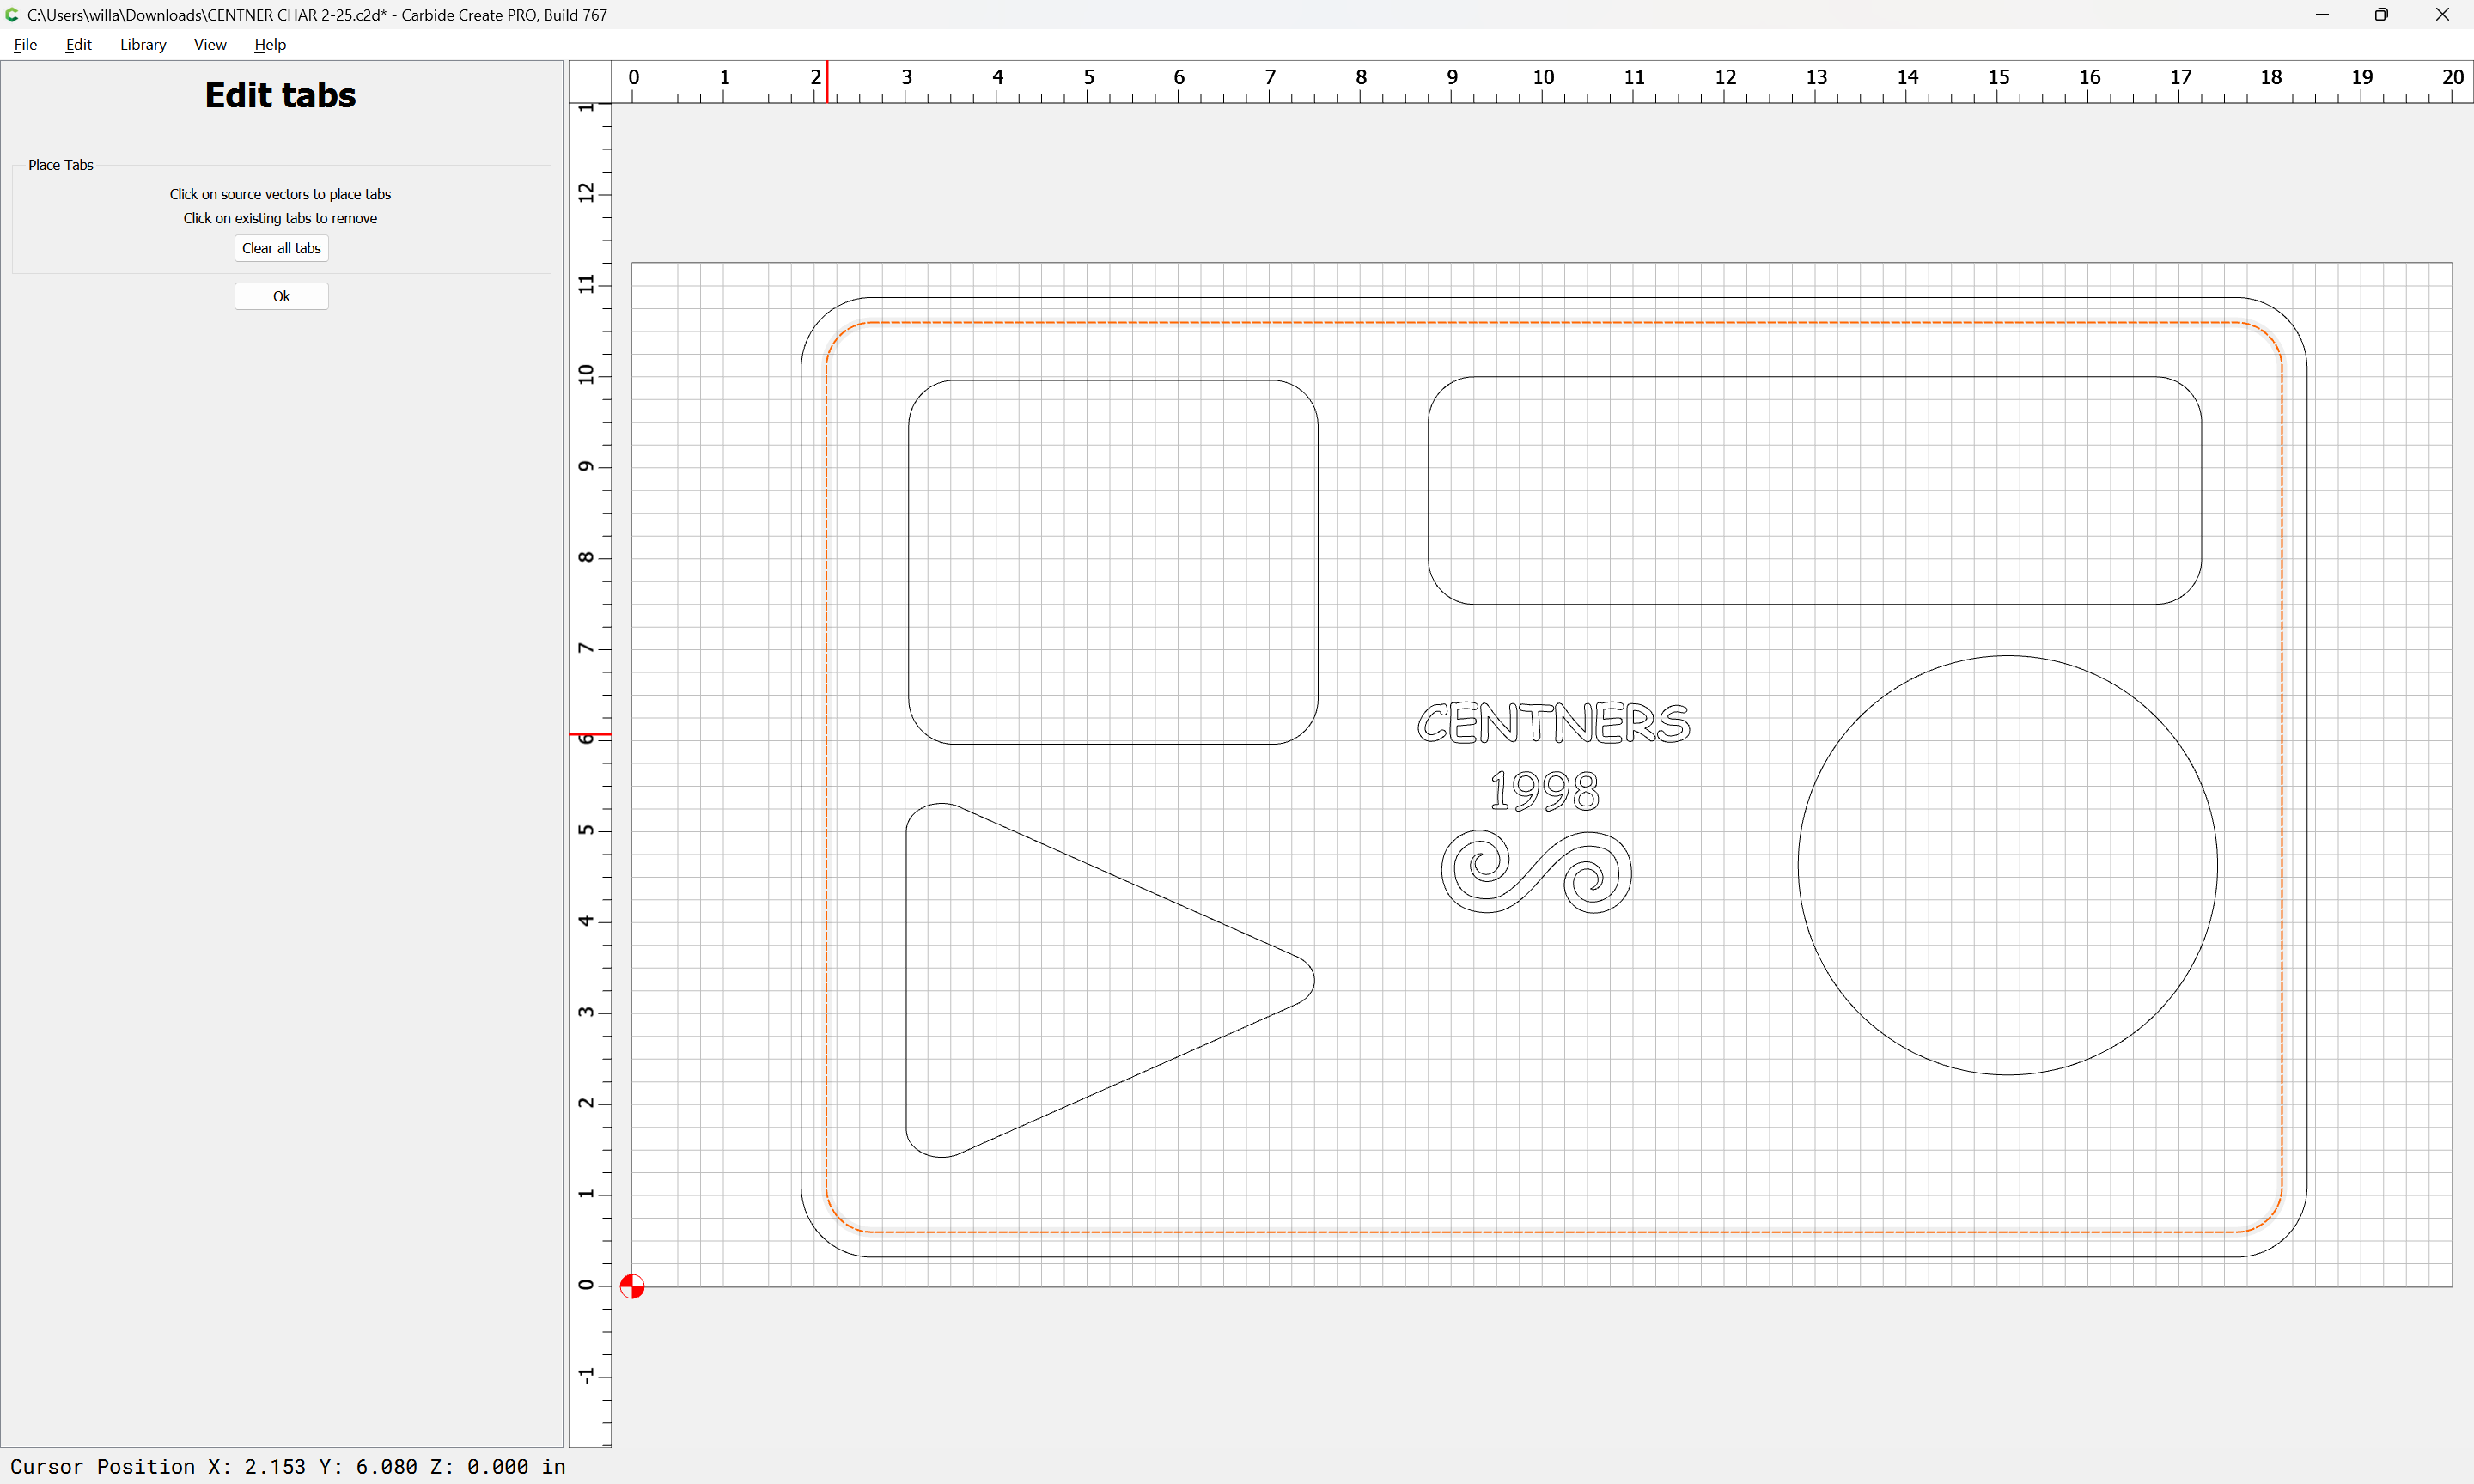
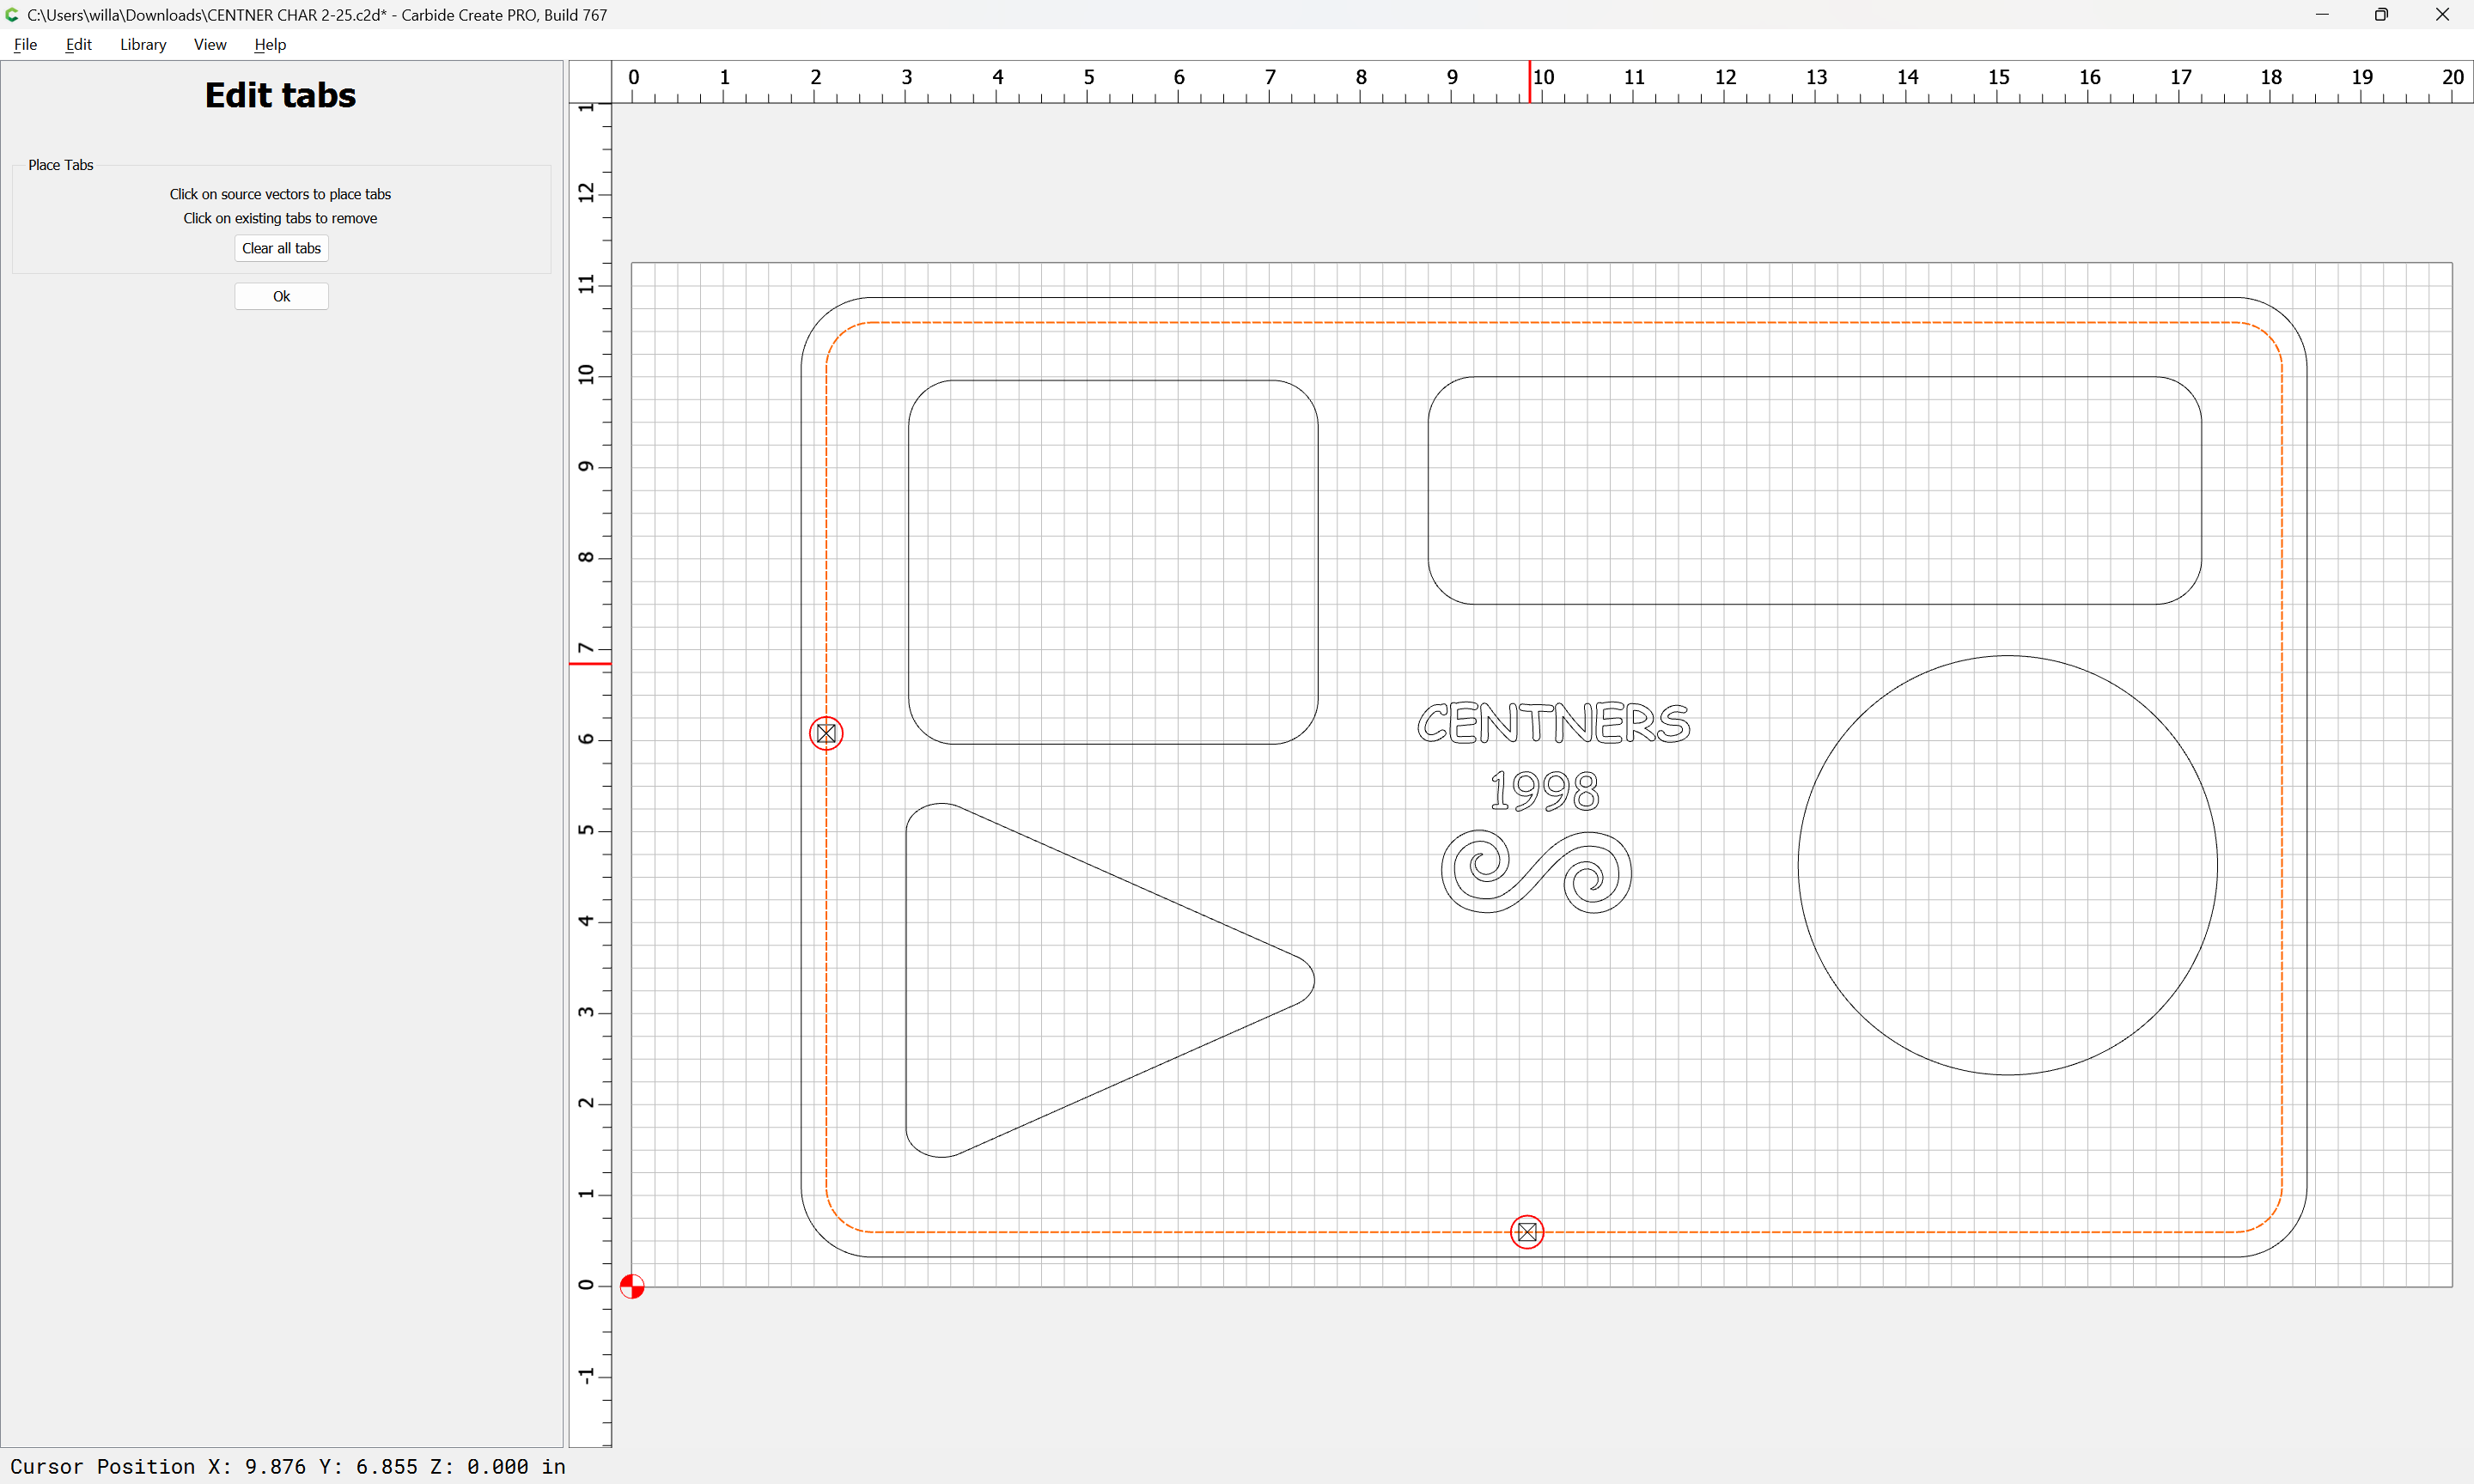
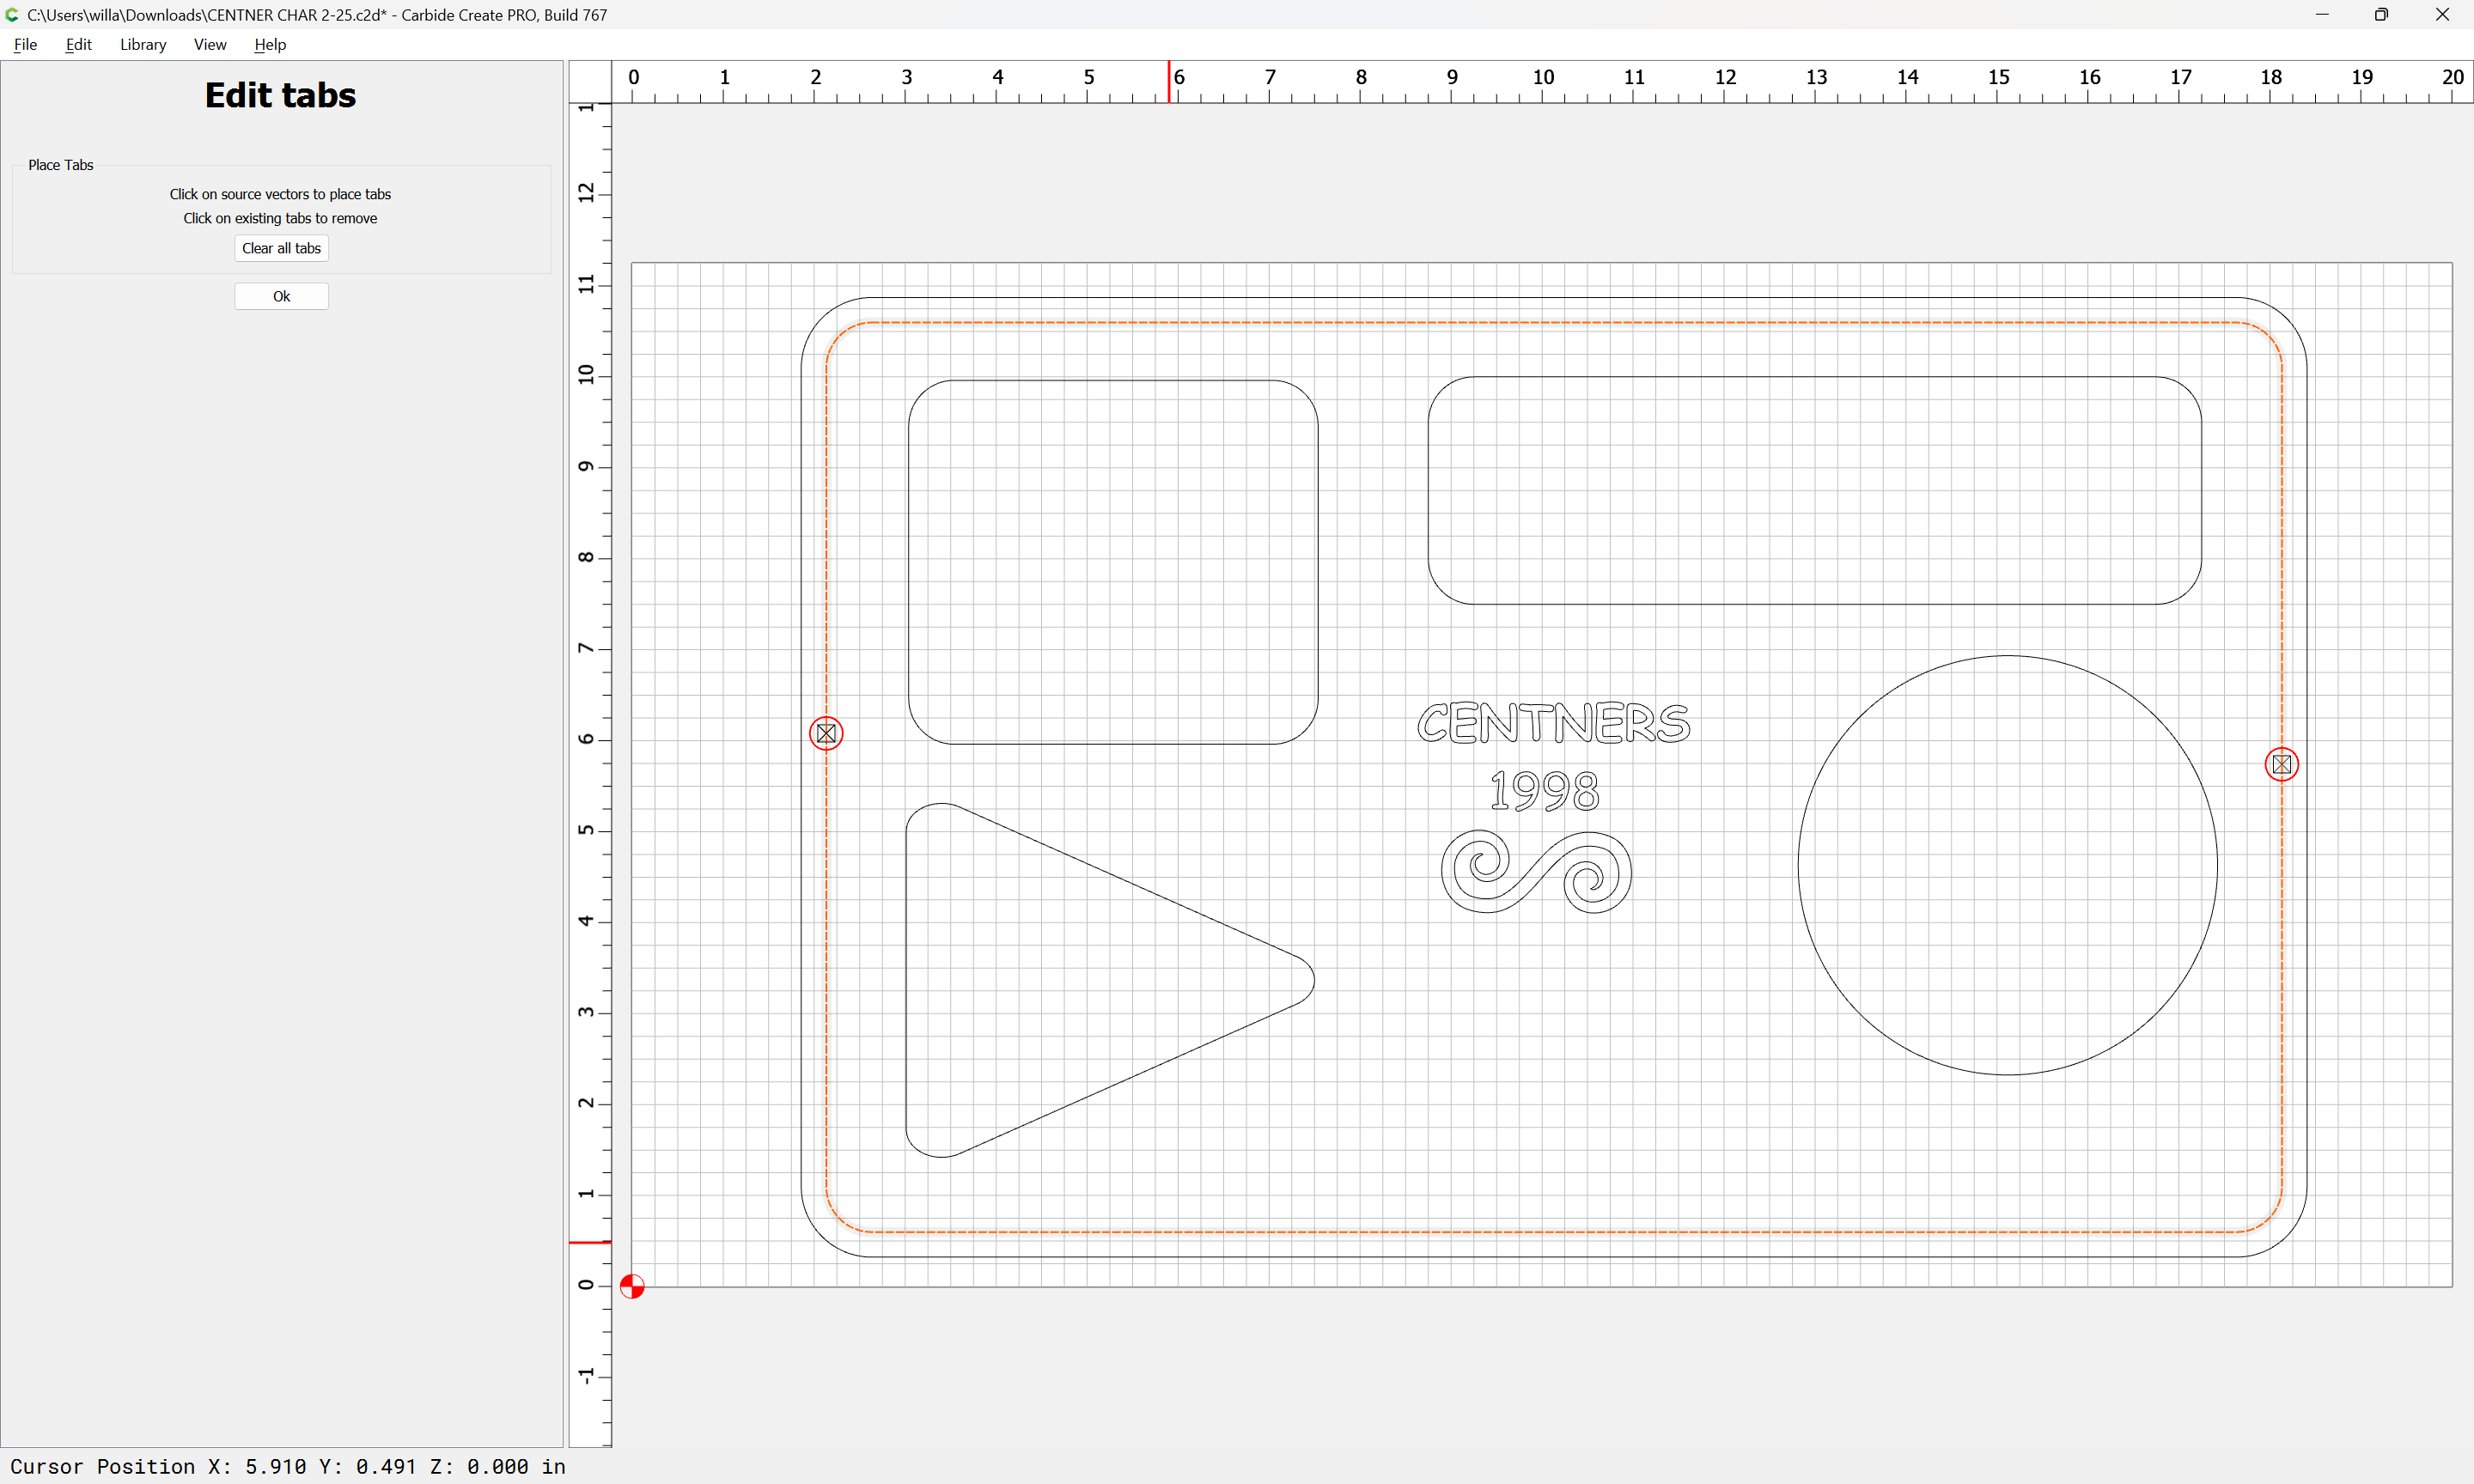
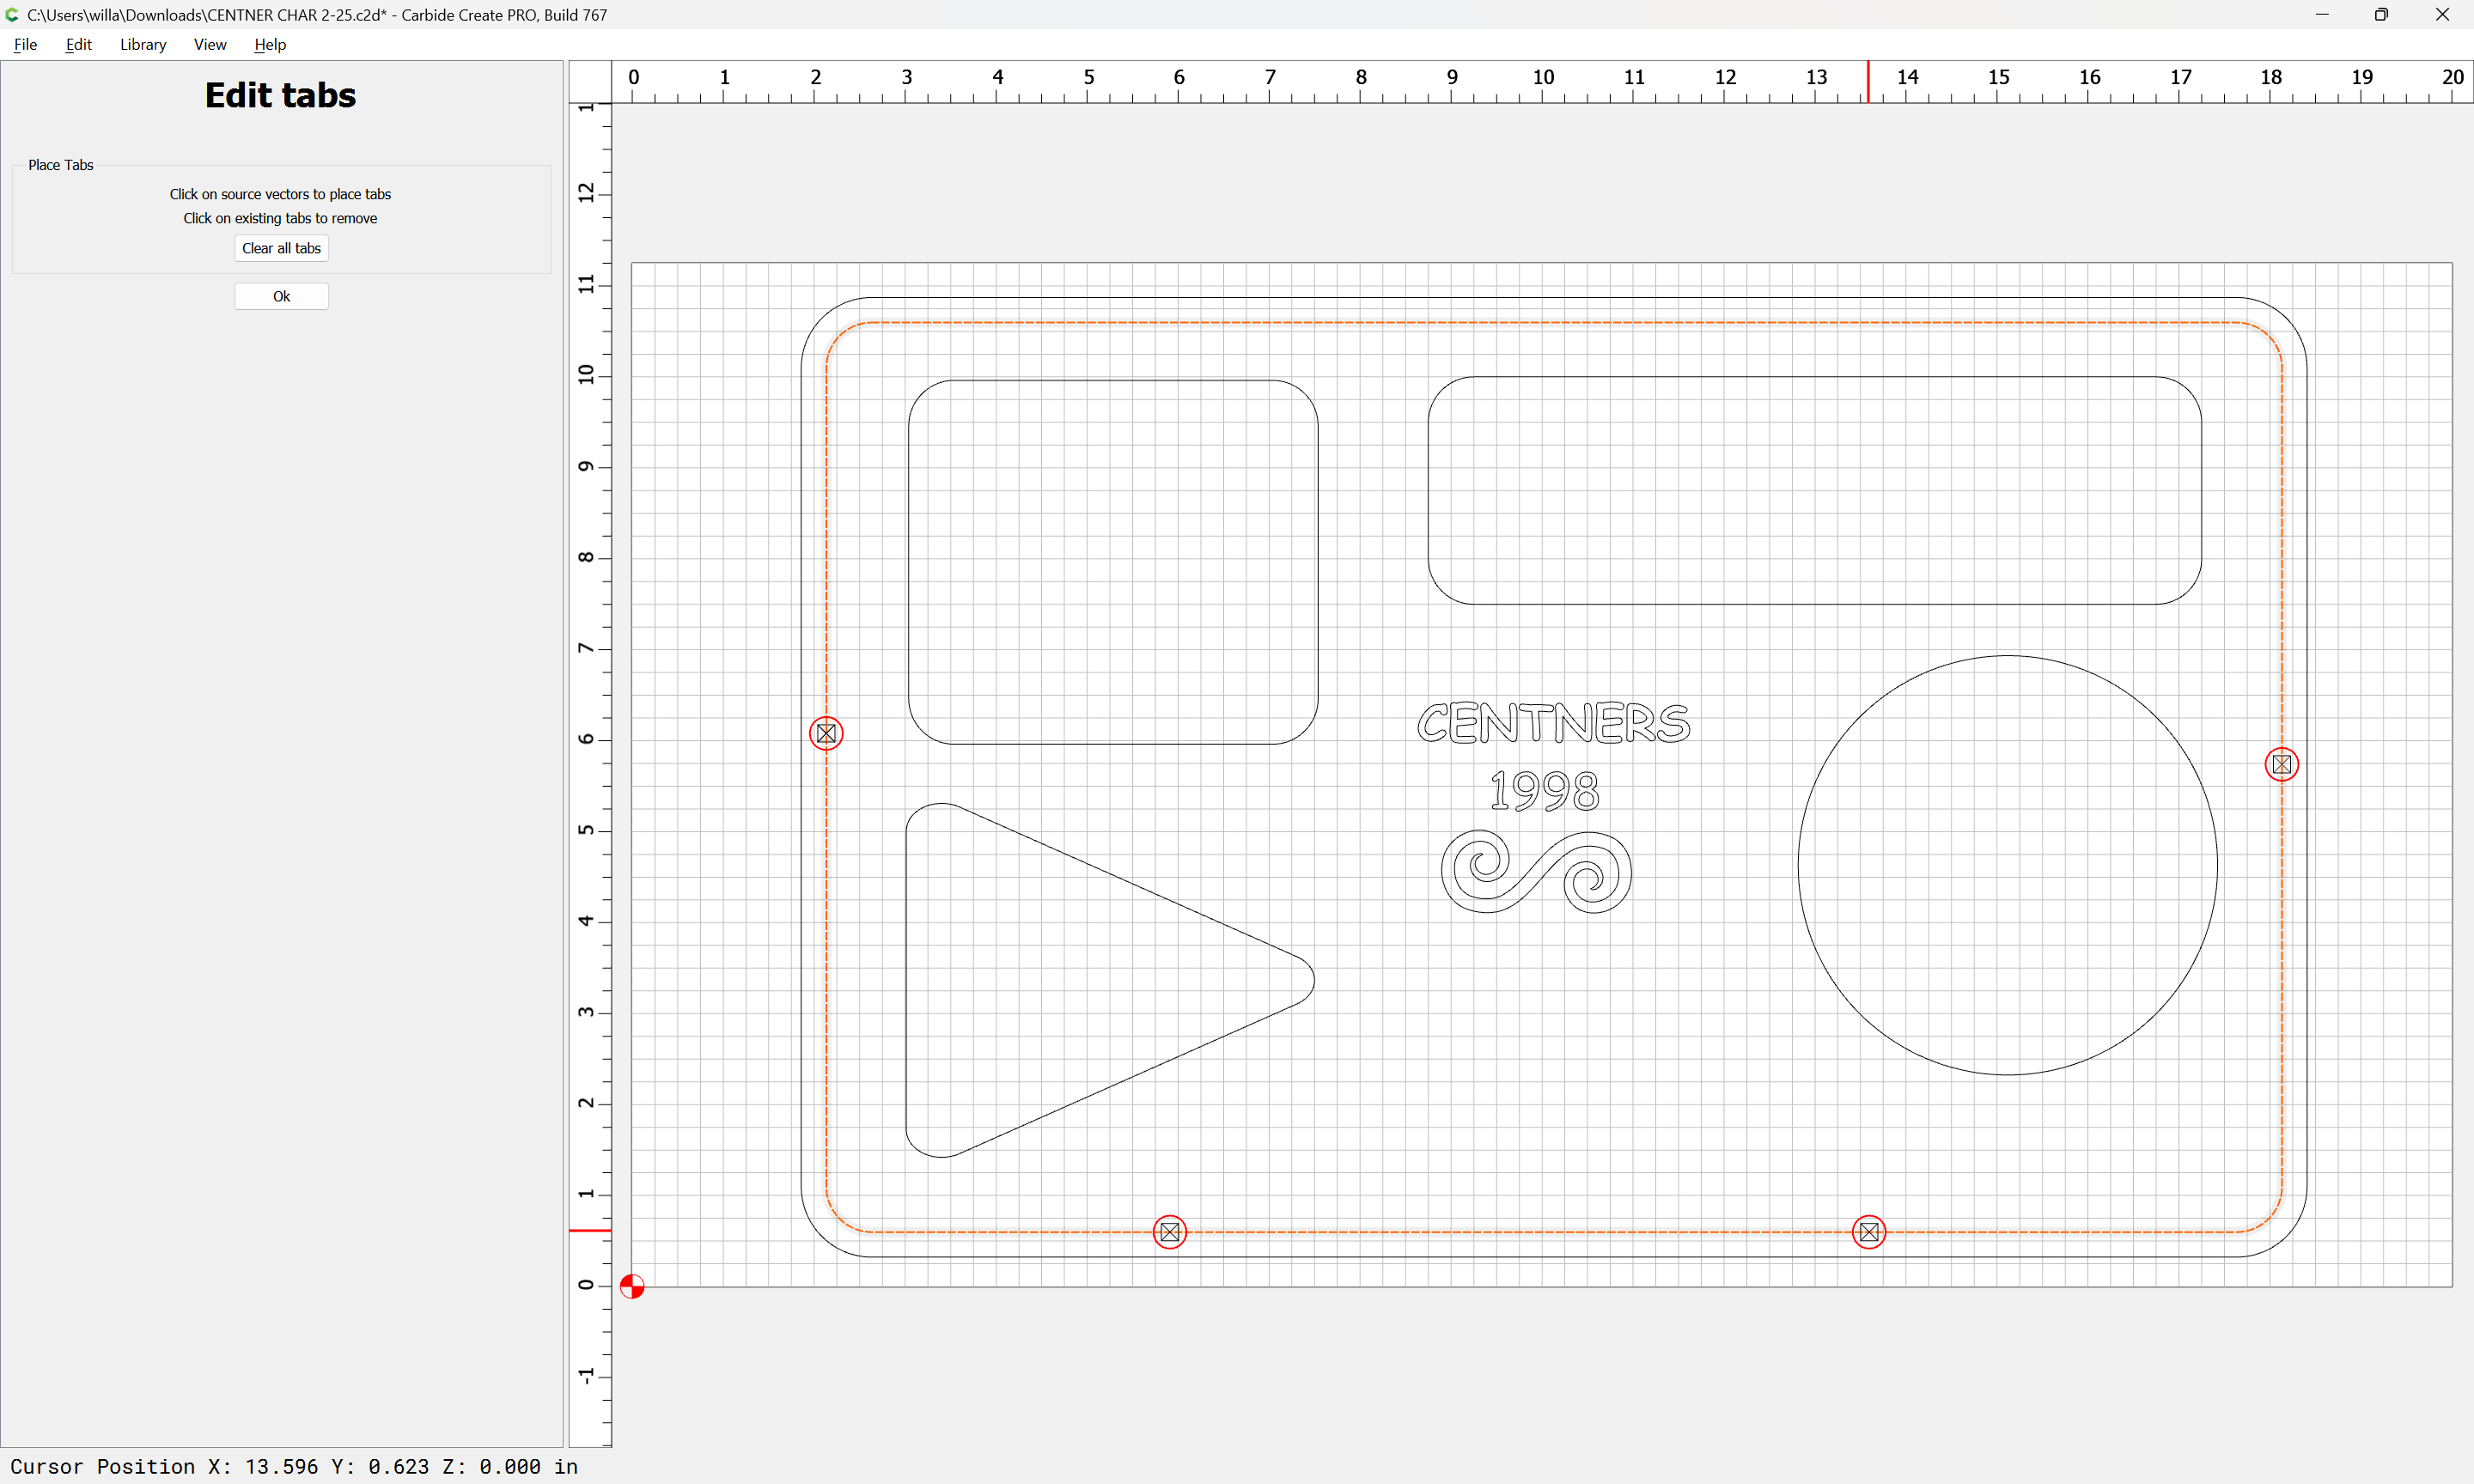
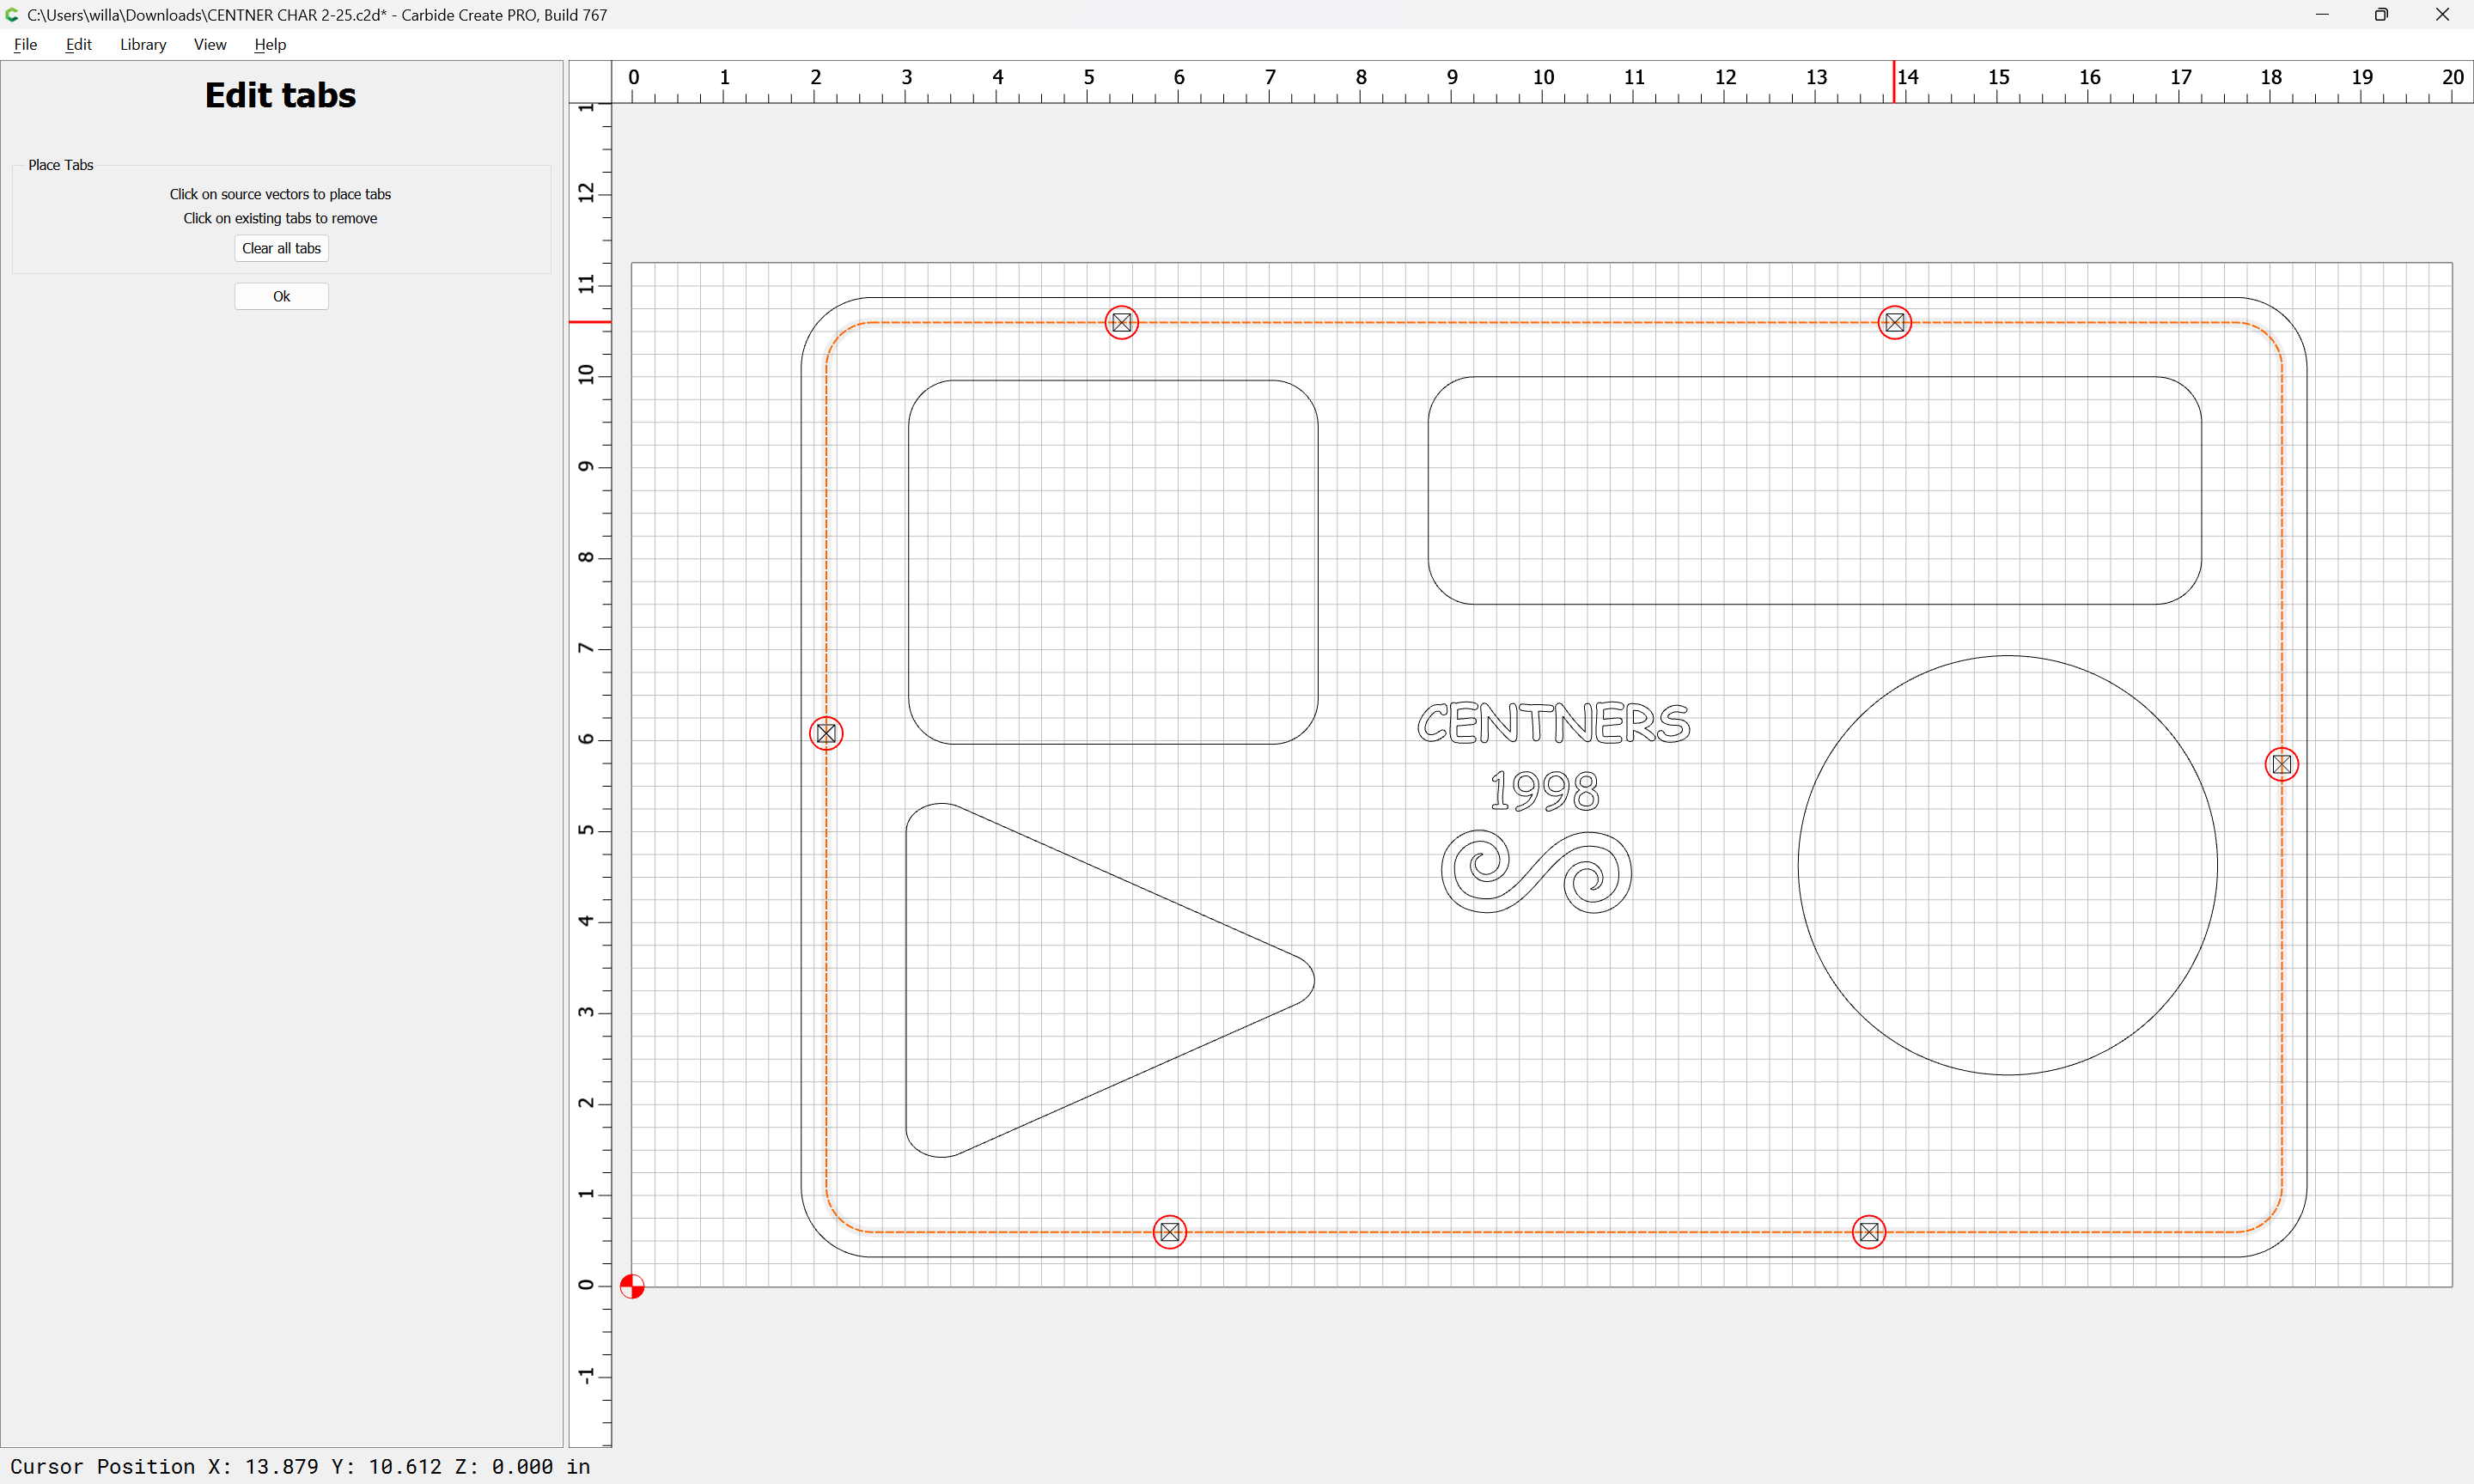
Lastly, we add tabs in the Design pane to the part geometry:
Edit Tabs
adjusting until we are satisfied with the placement.
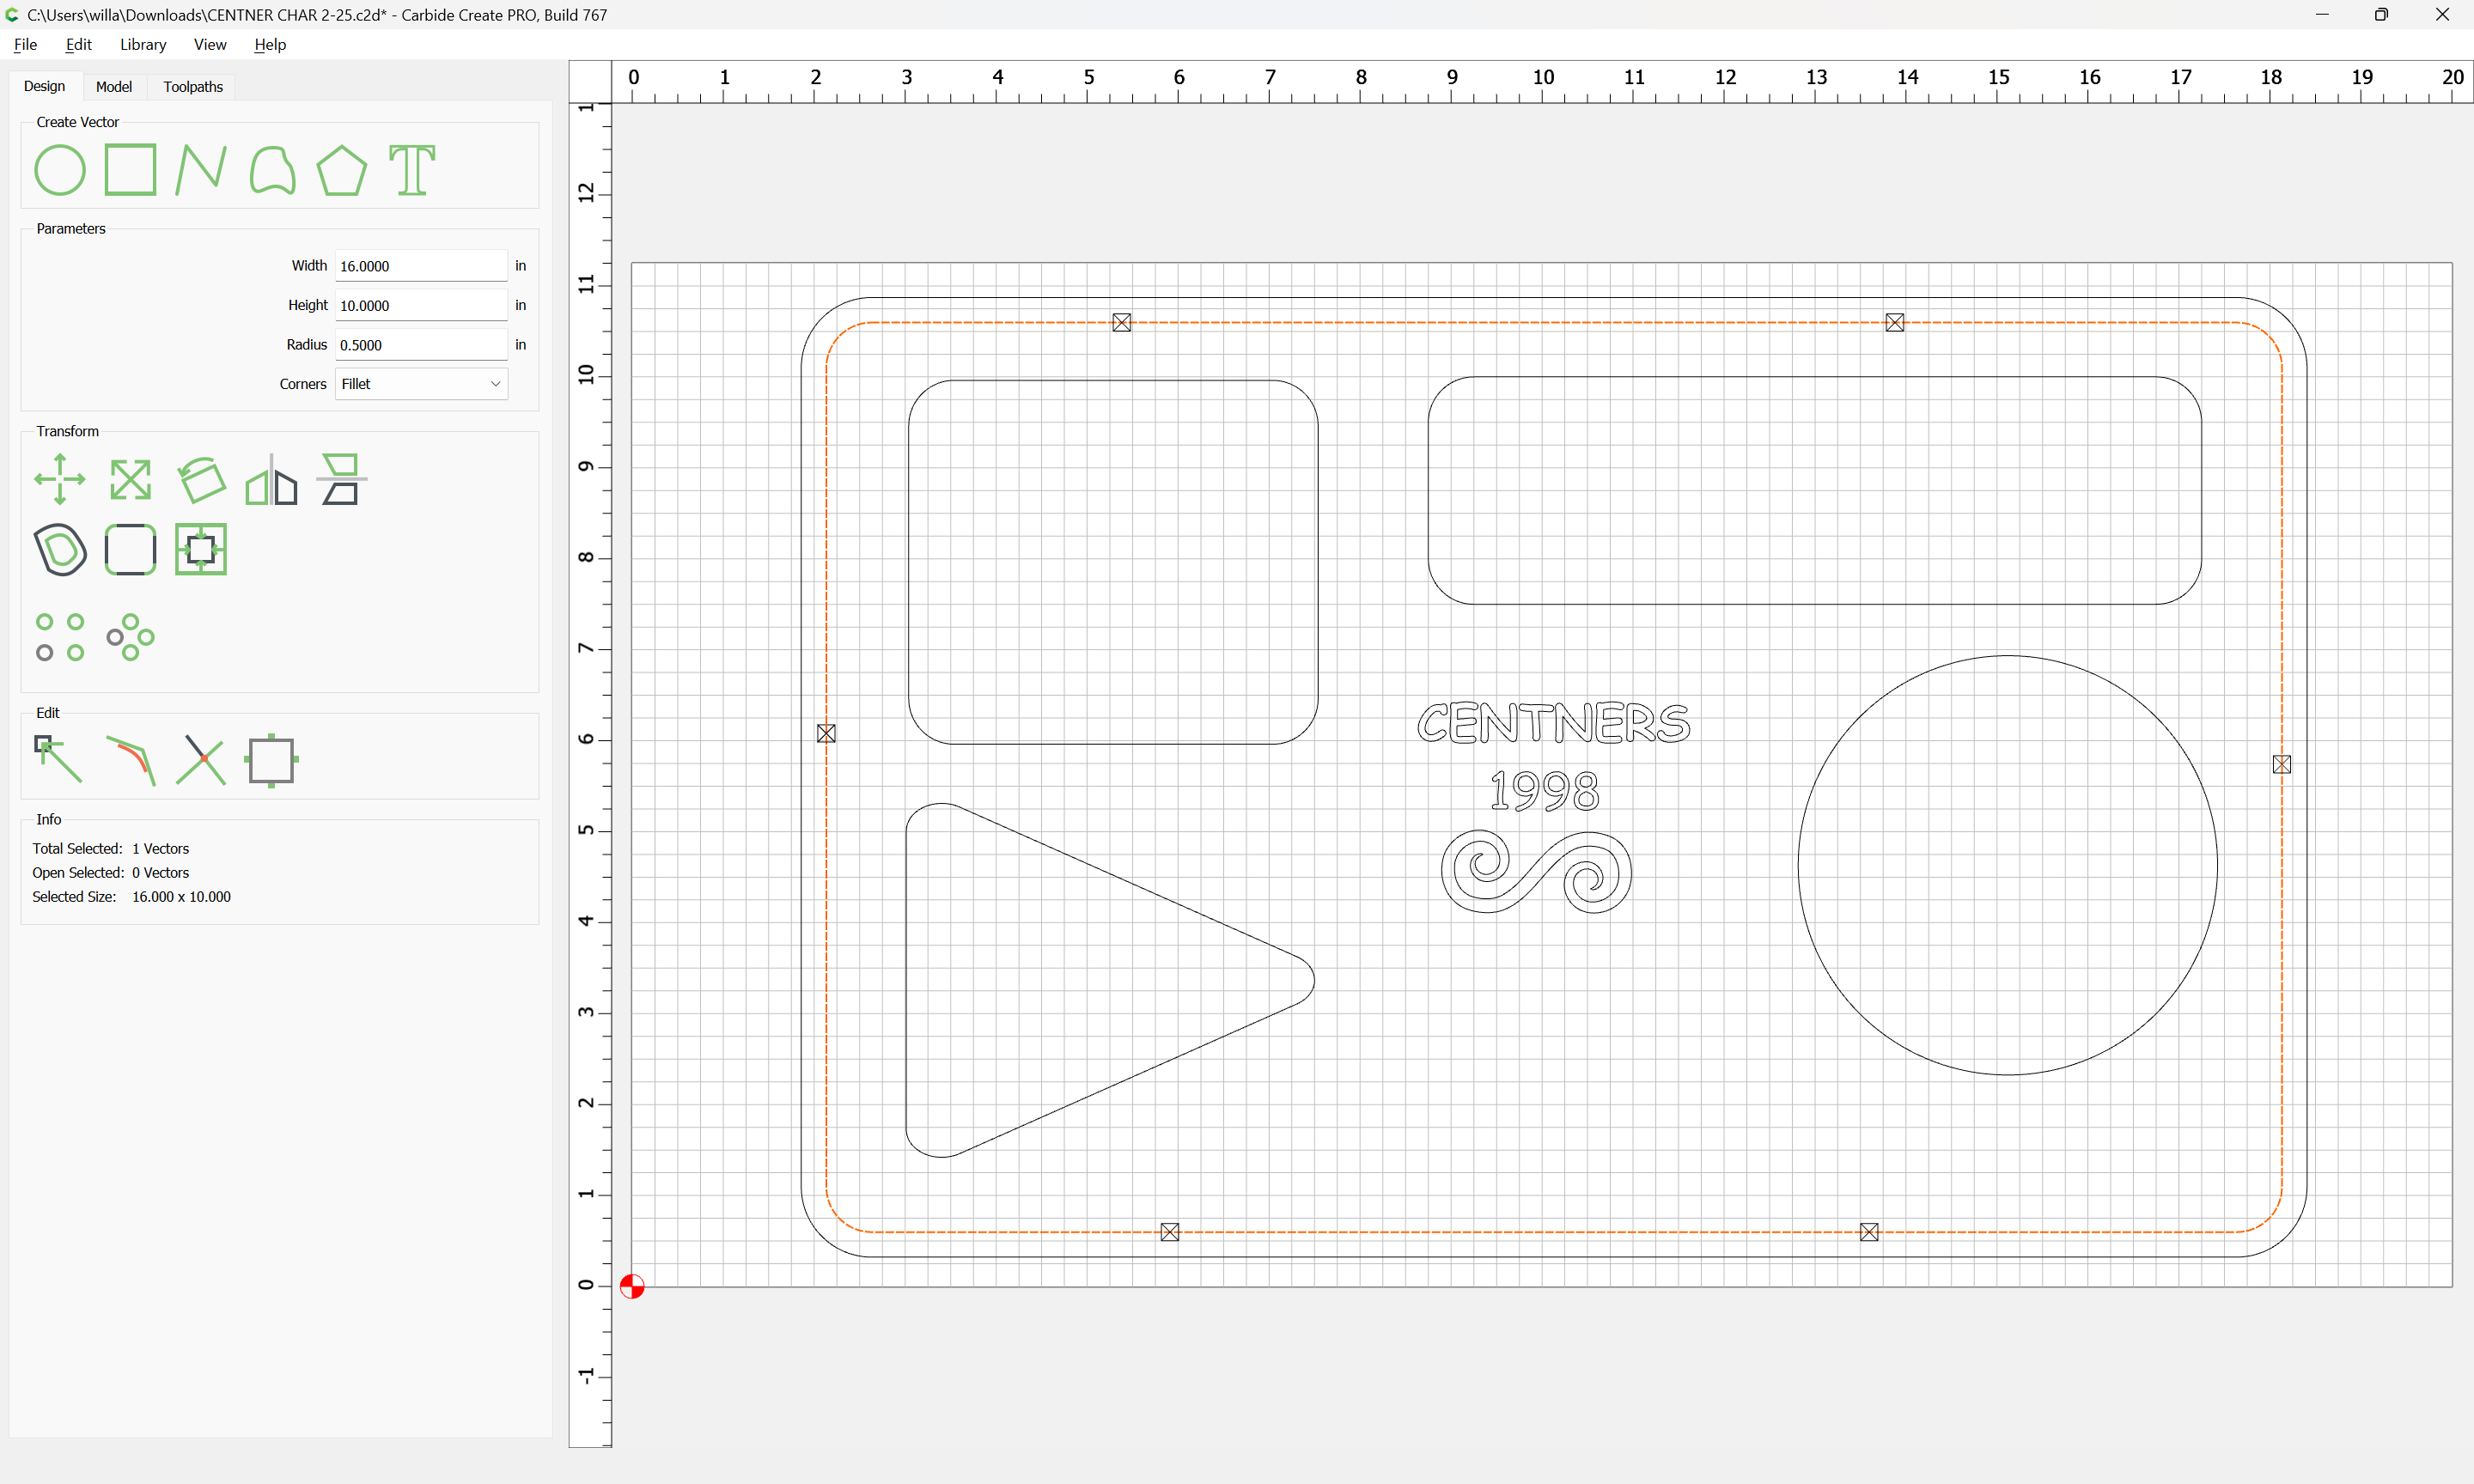
Ok
Create a Contour toolpath:
Use Current Selection
and adjust the settings as desired.
Note that one possible optimization would be to start the Contour at the bottom of the previous pocket.
Ok
Show simulation
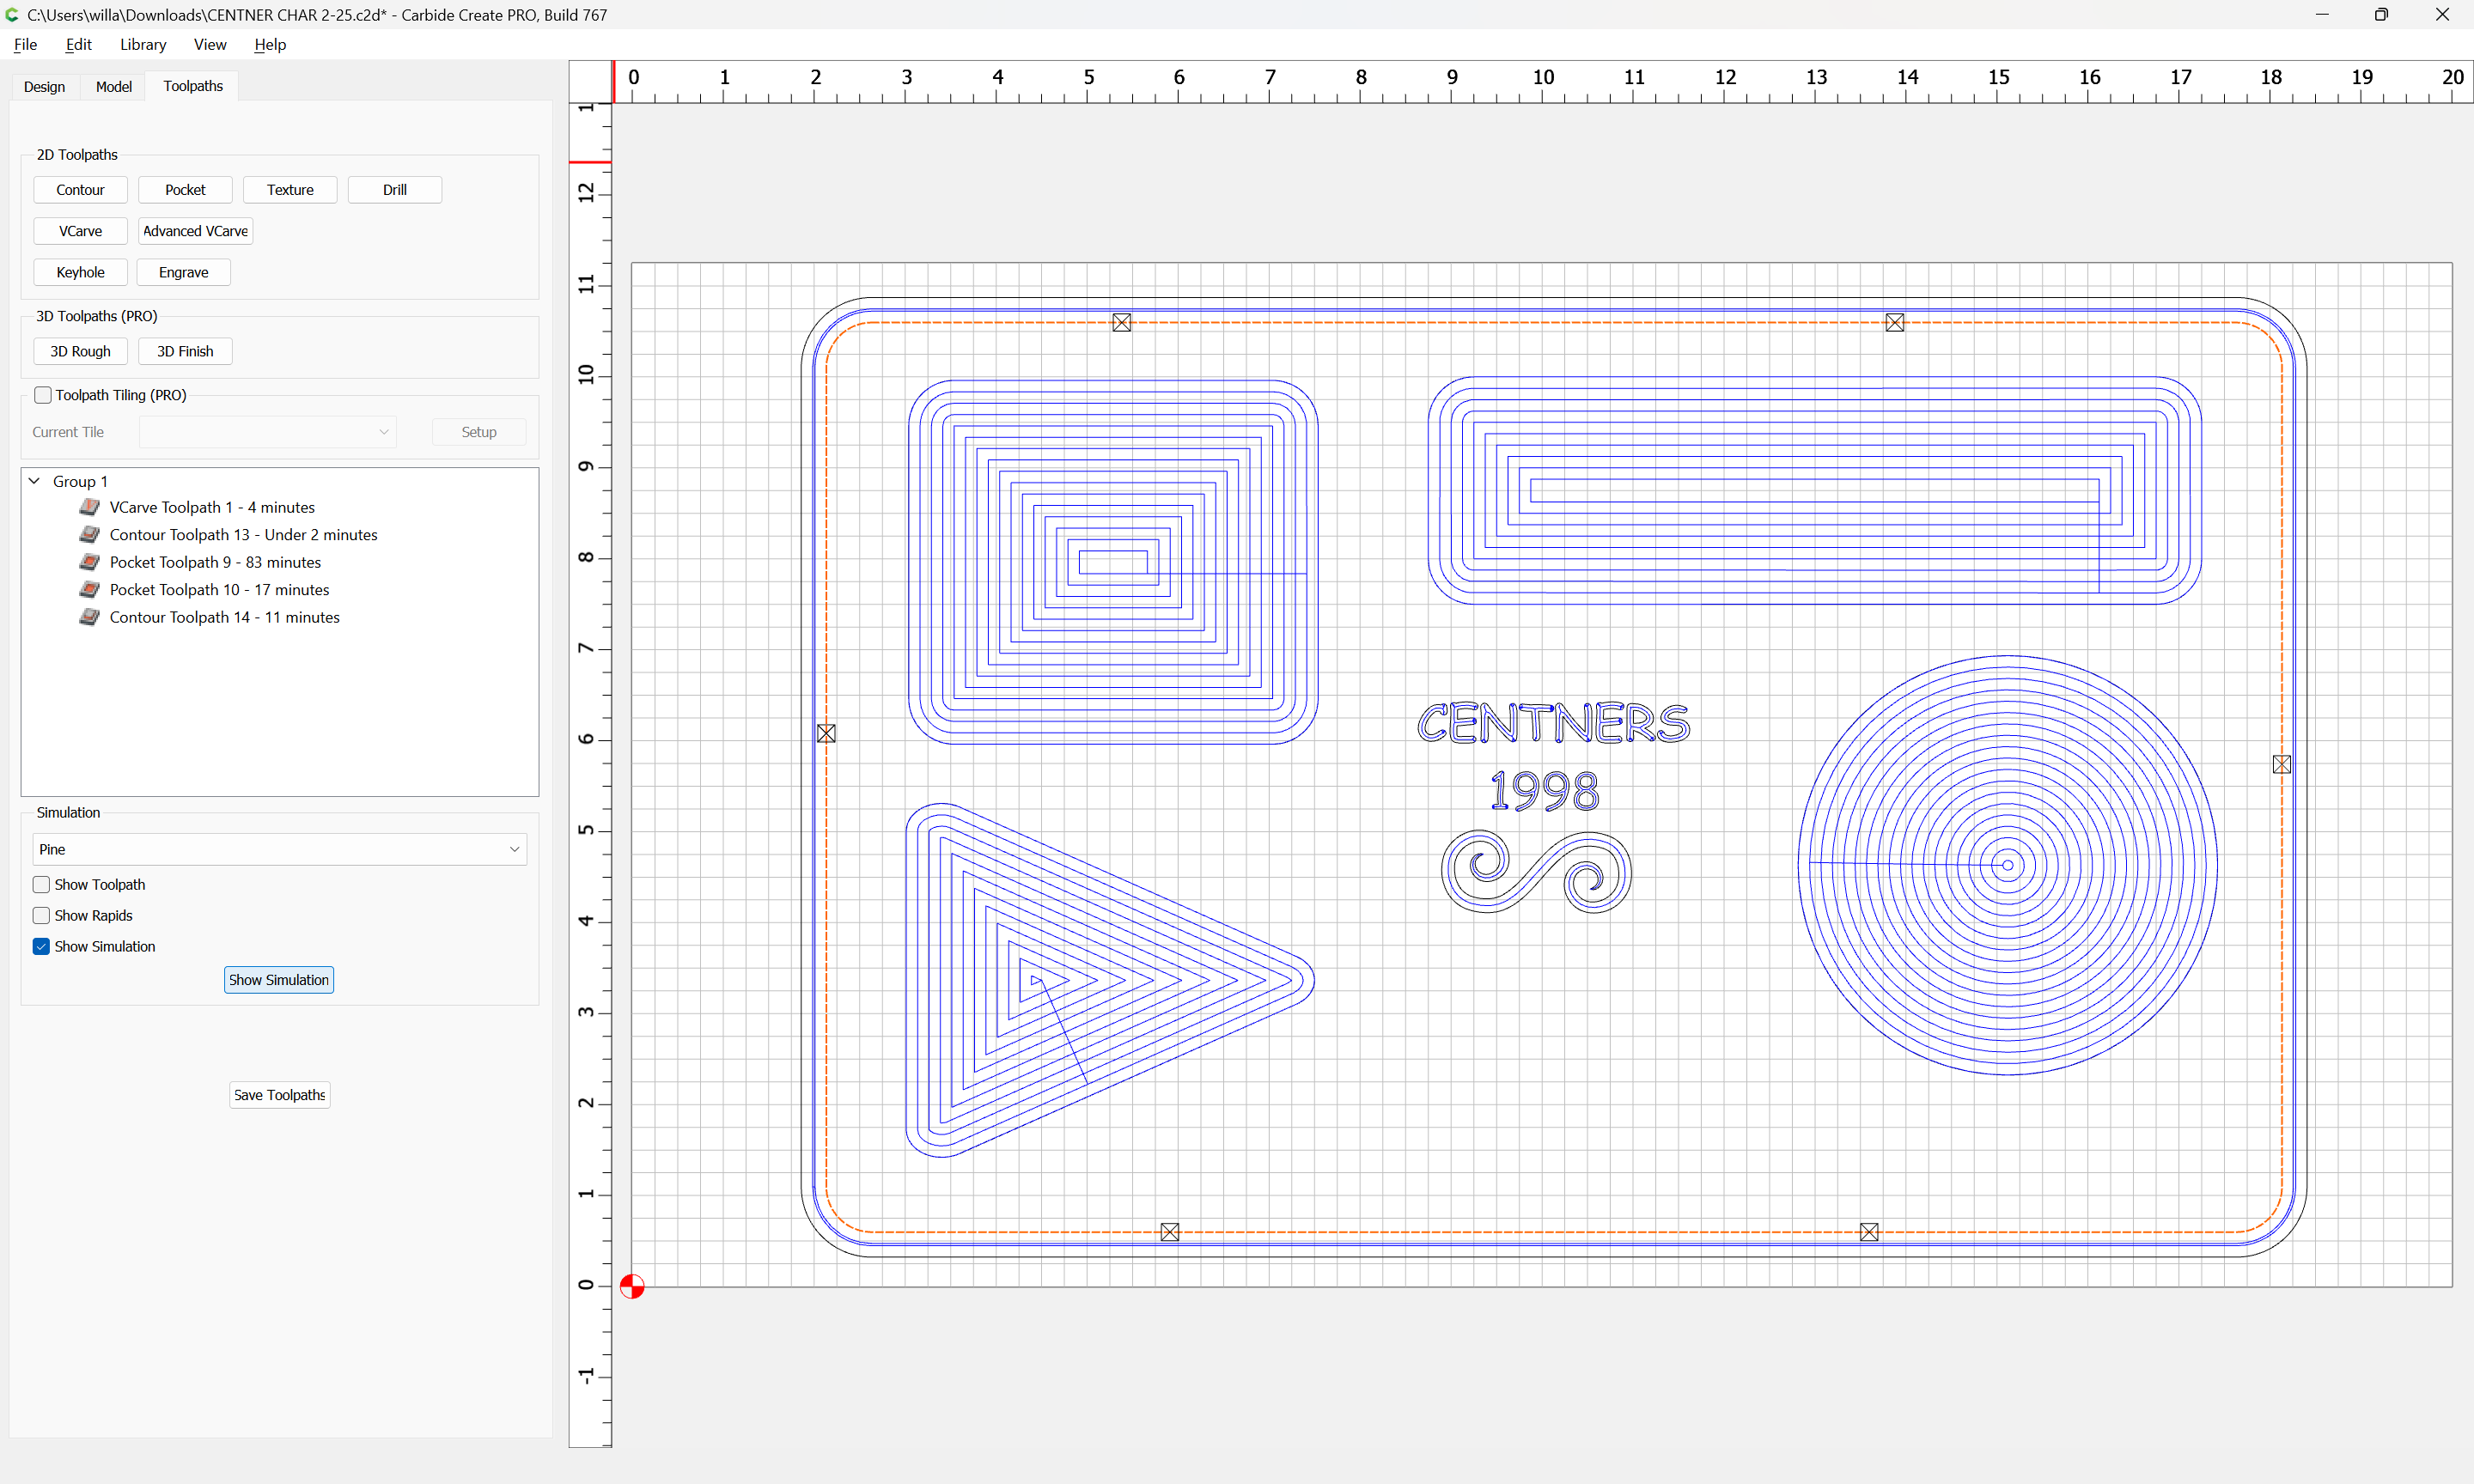
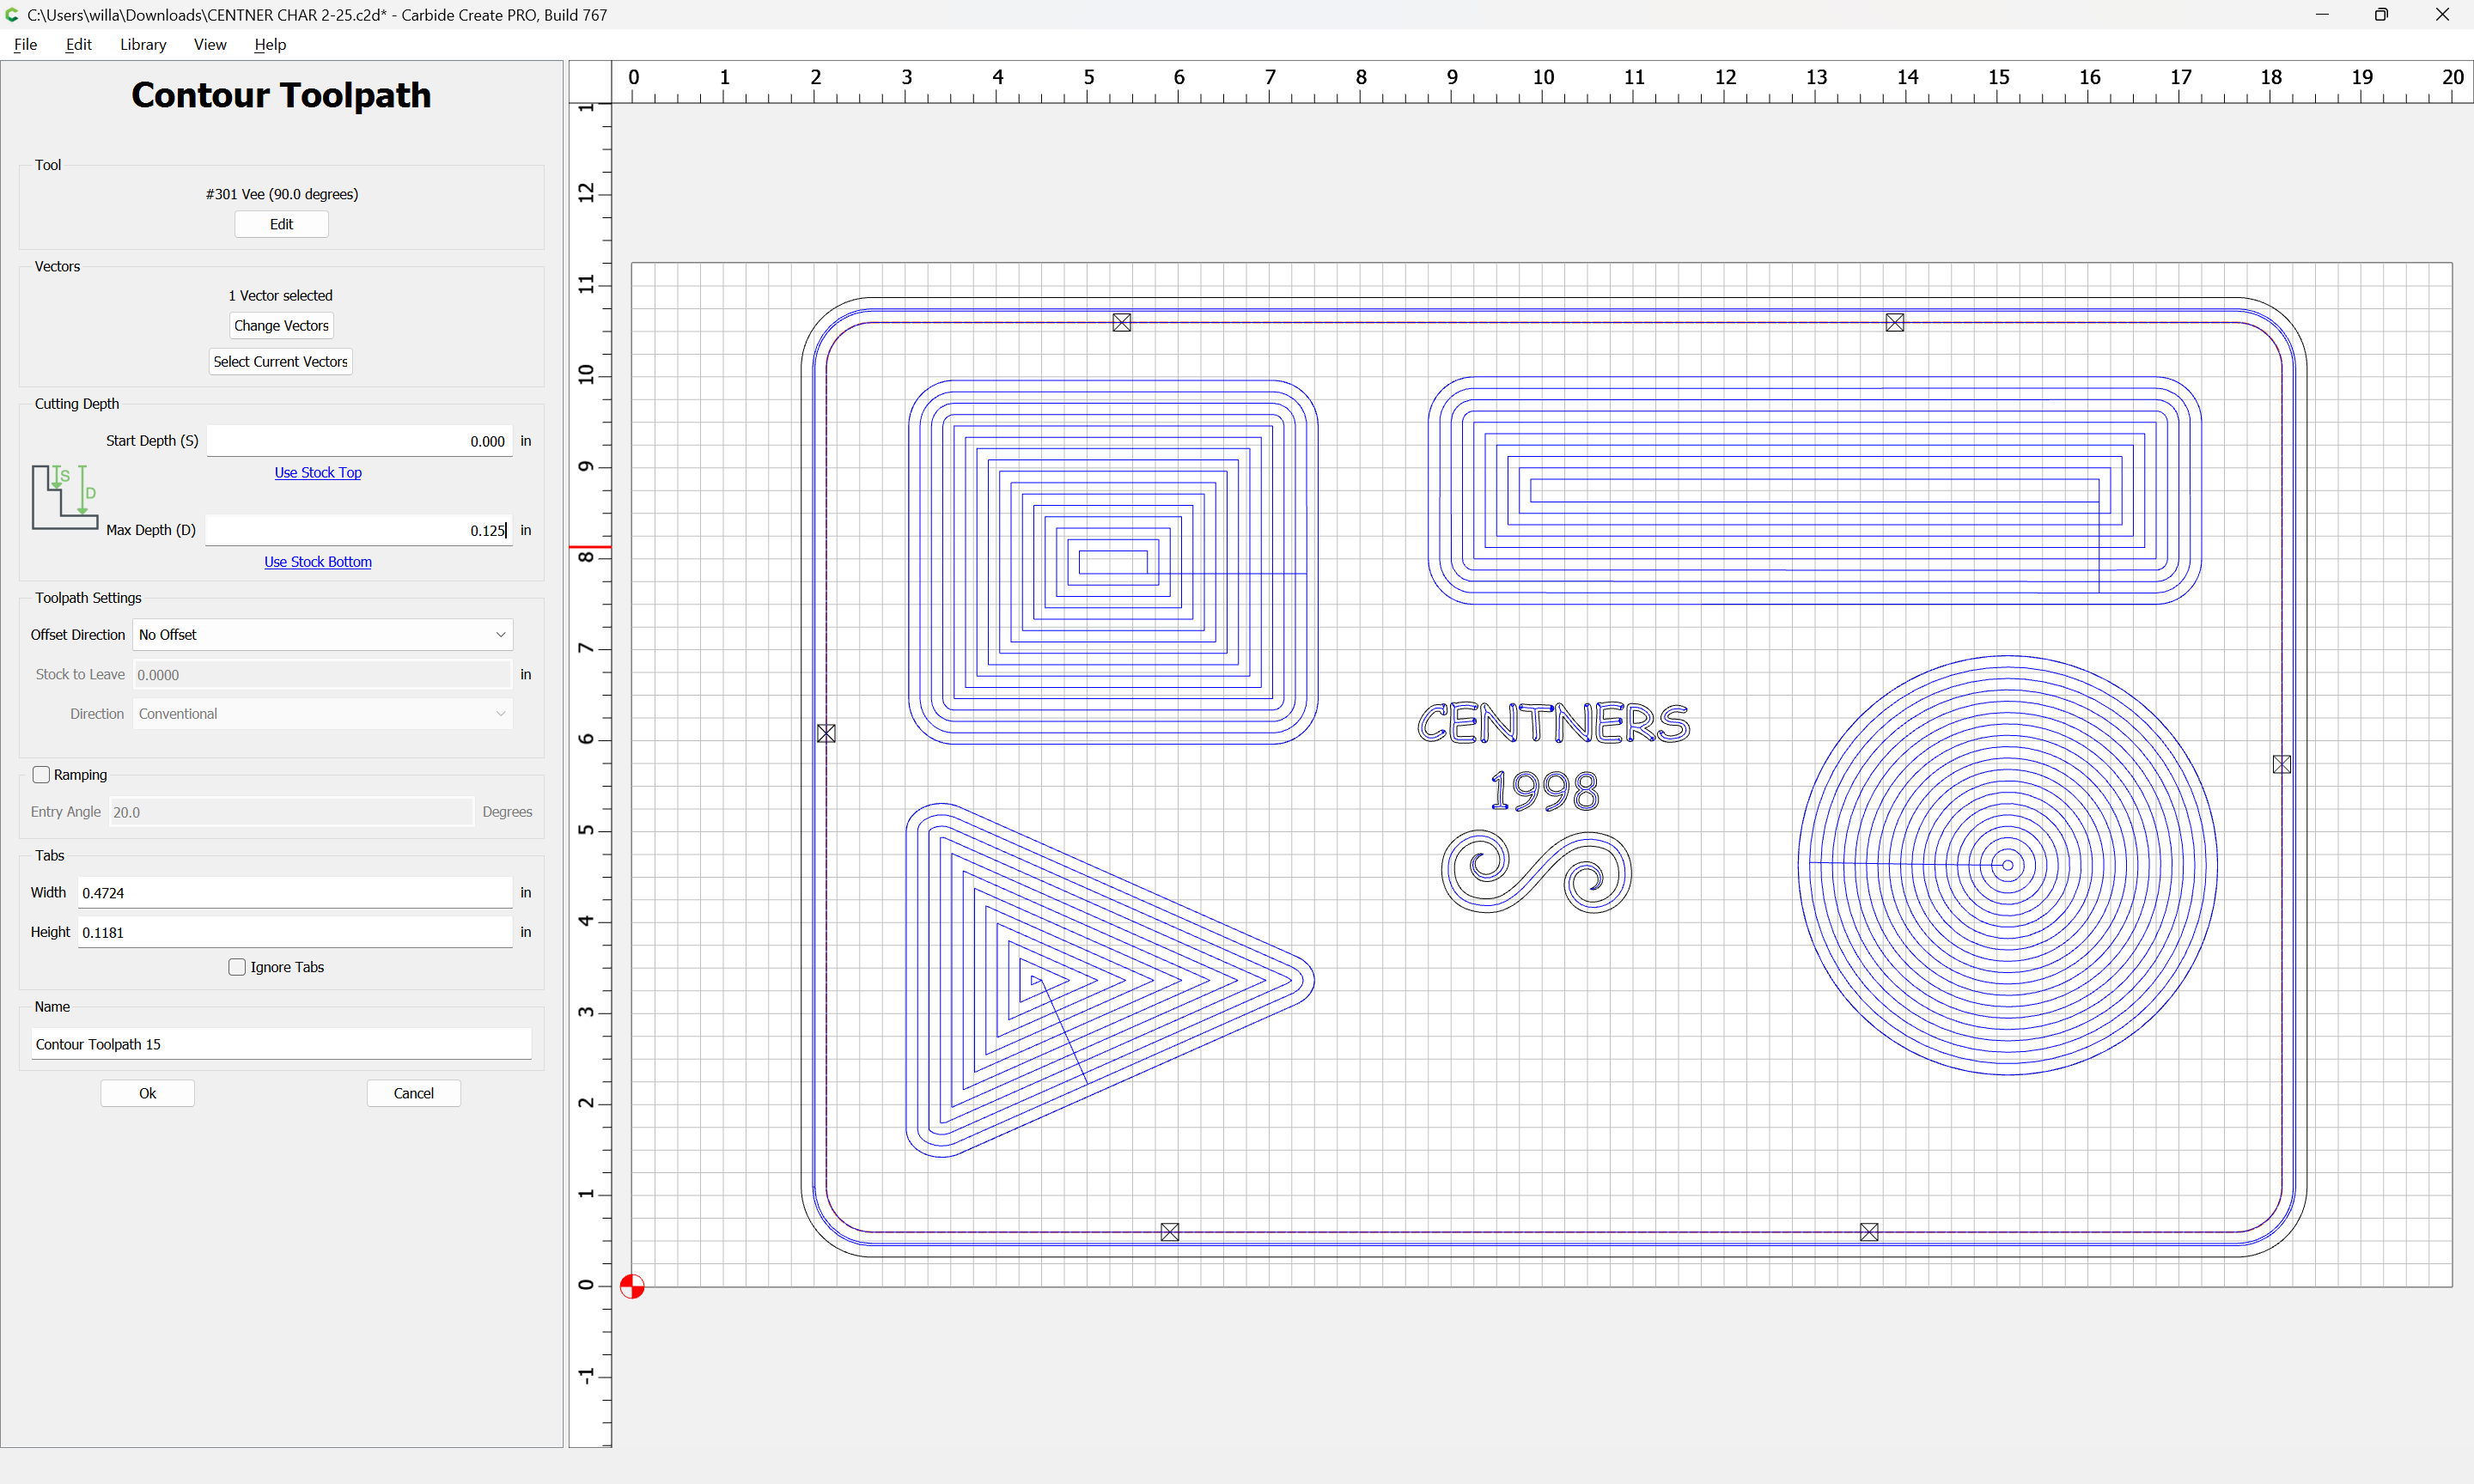
At this time, we see that the part is not chamfered along the outside edge — this would be a nice touch, so we add it as a Contour:
Use Current Selection
and adjust the settings as desired.
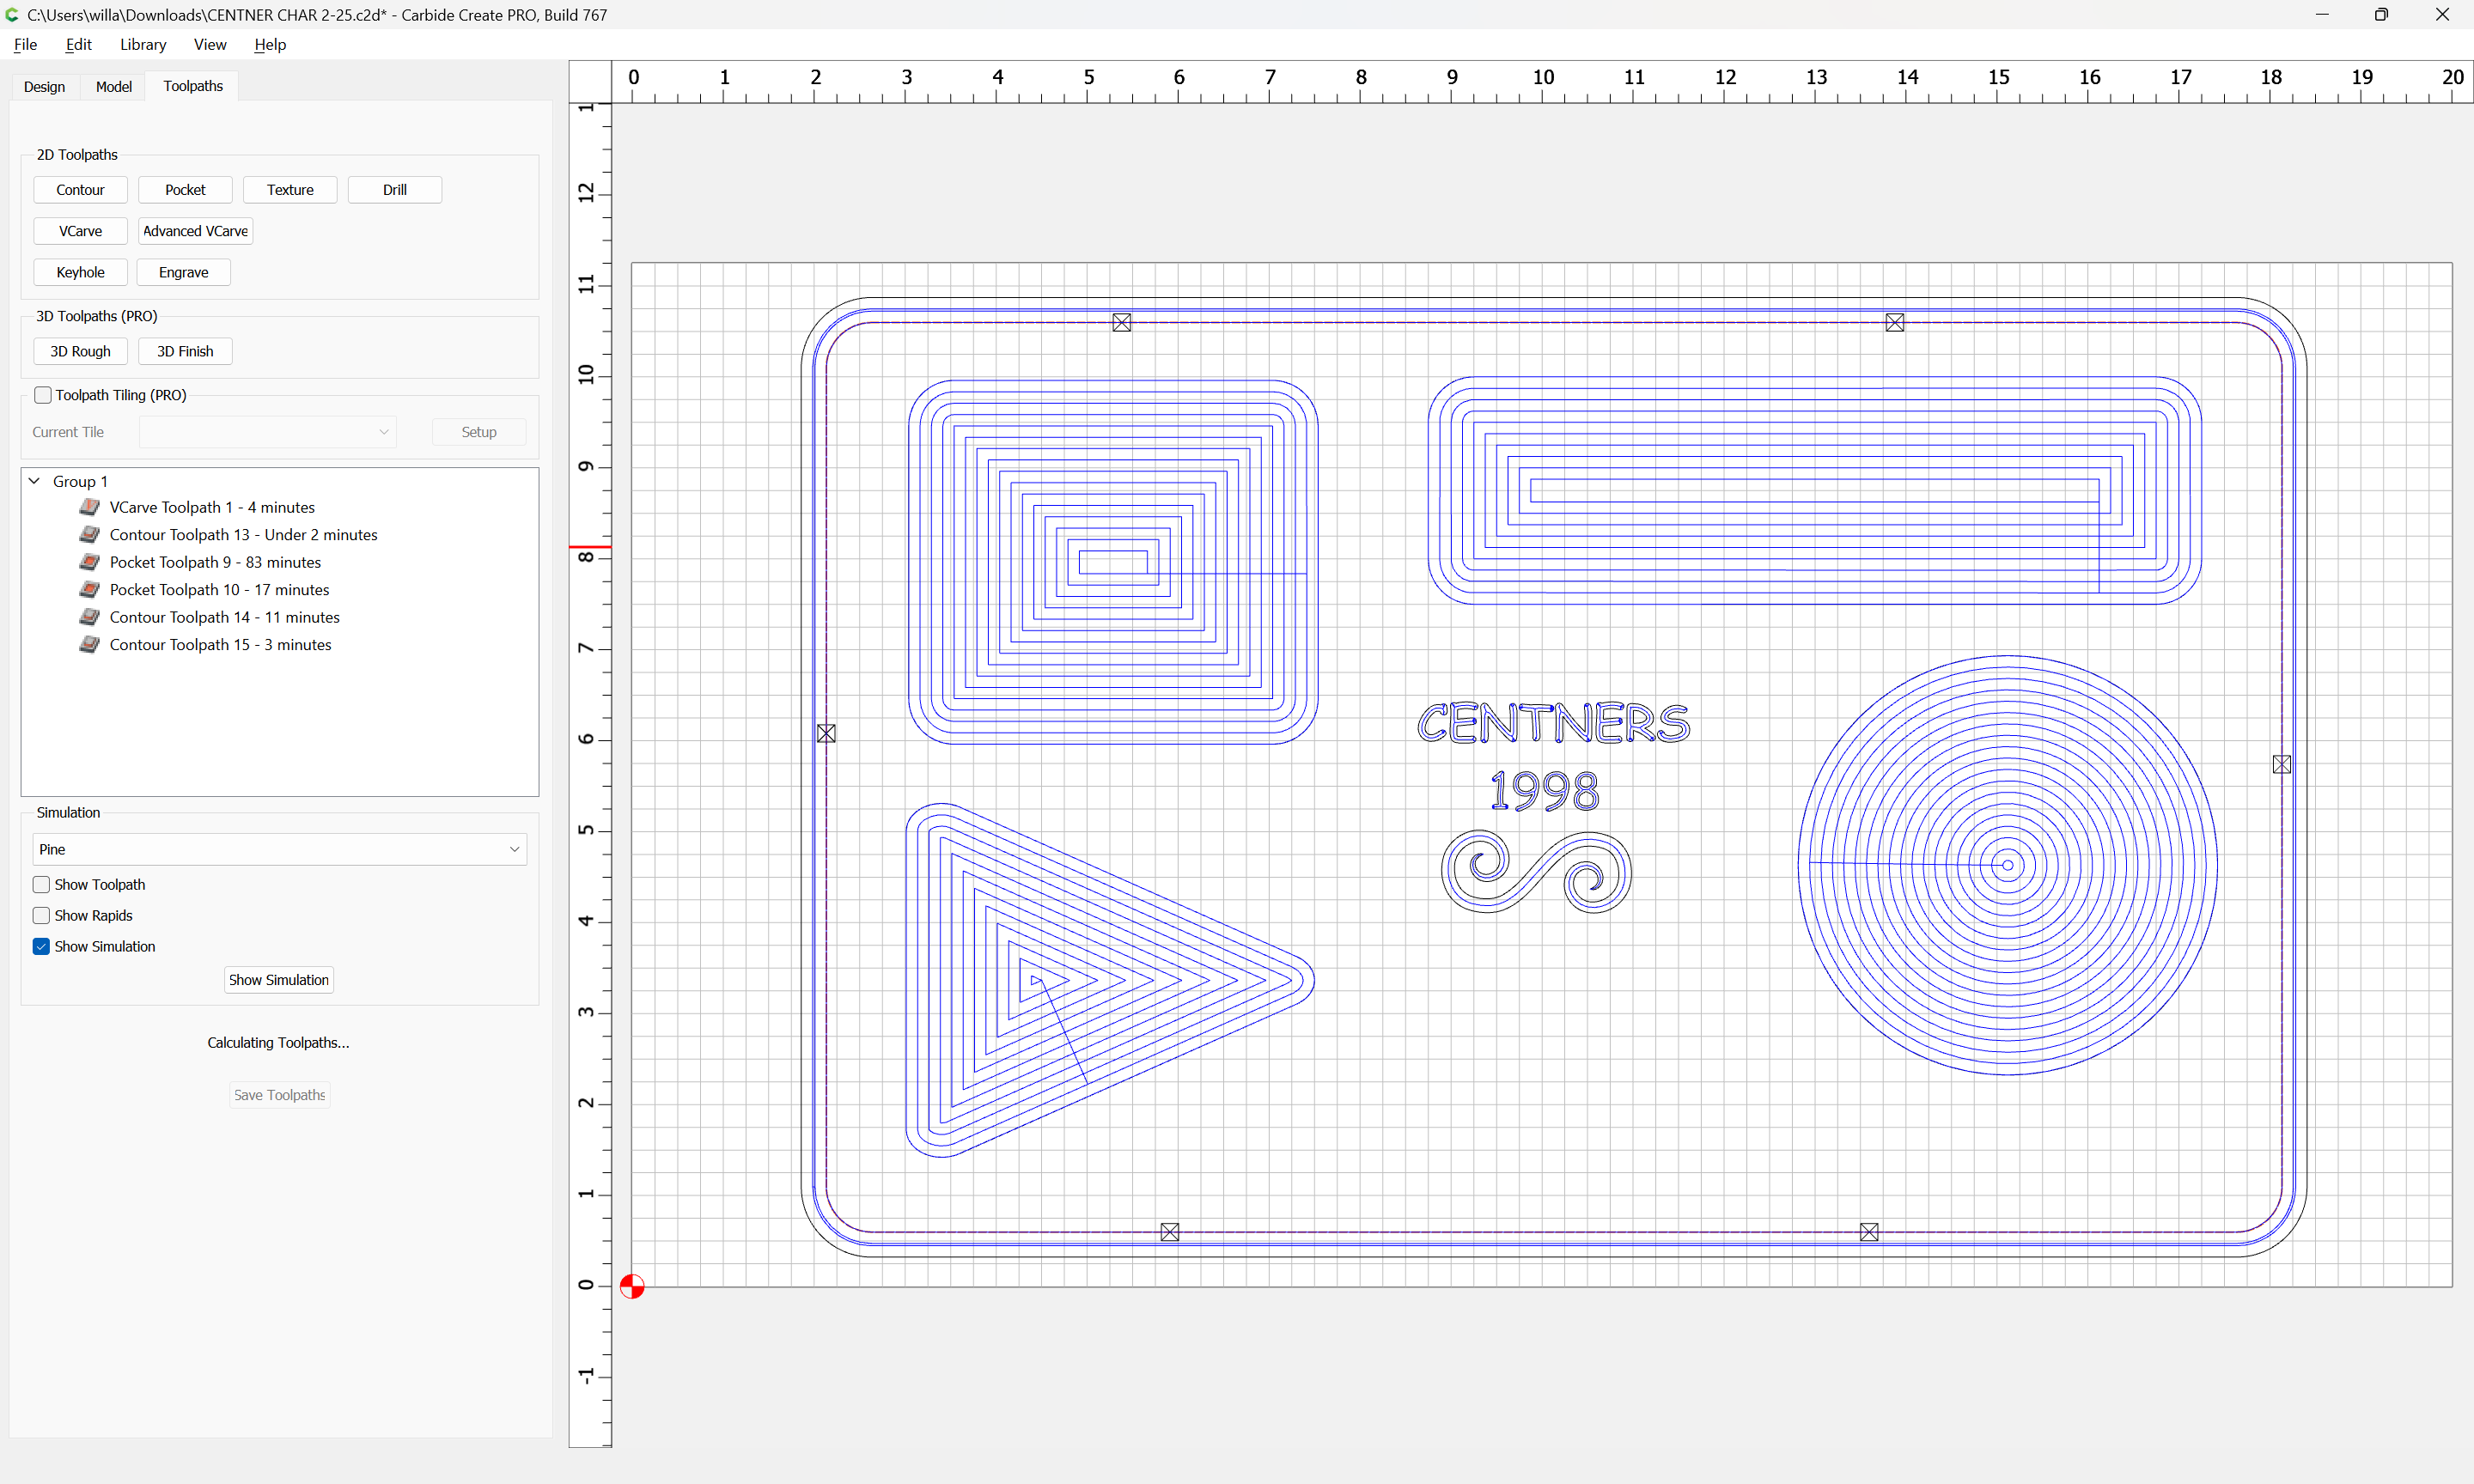
Ok
Since this operation uses a #301 V tool, and is further in than the latter operations (well, half of it is) we move it up in the Toolpath list by dragging:
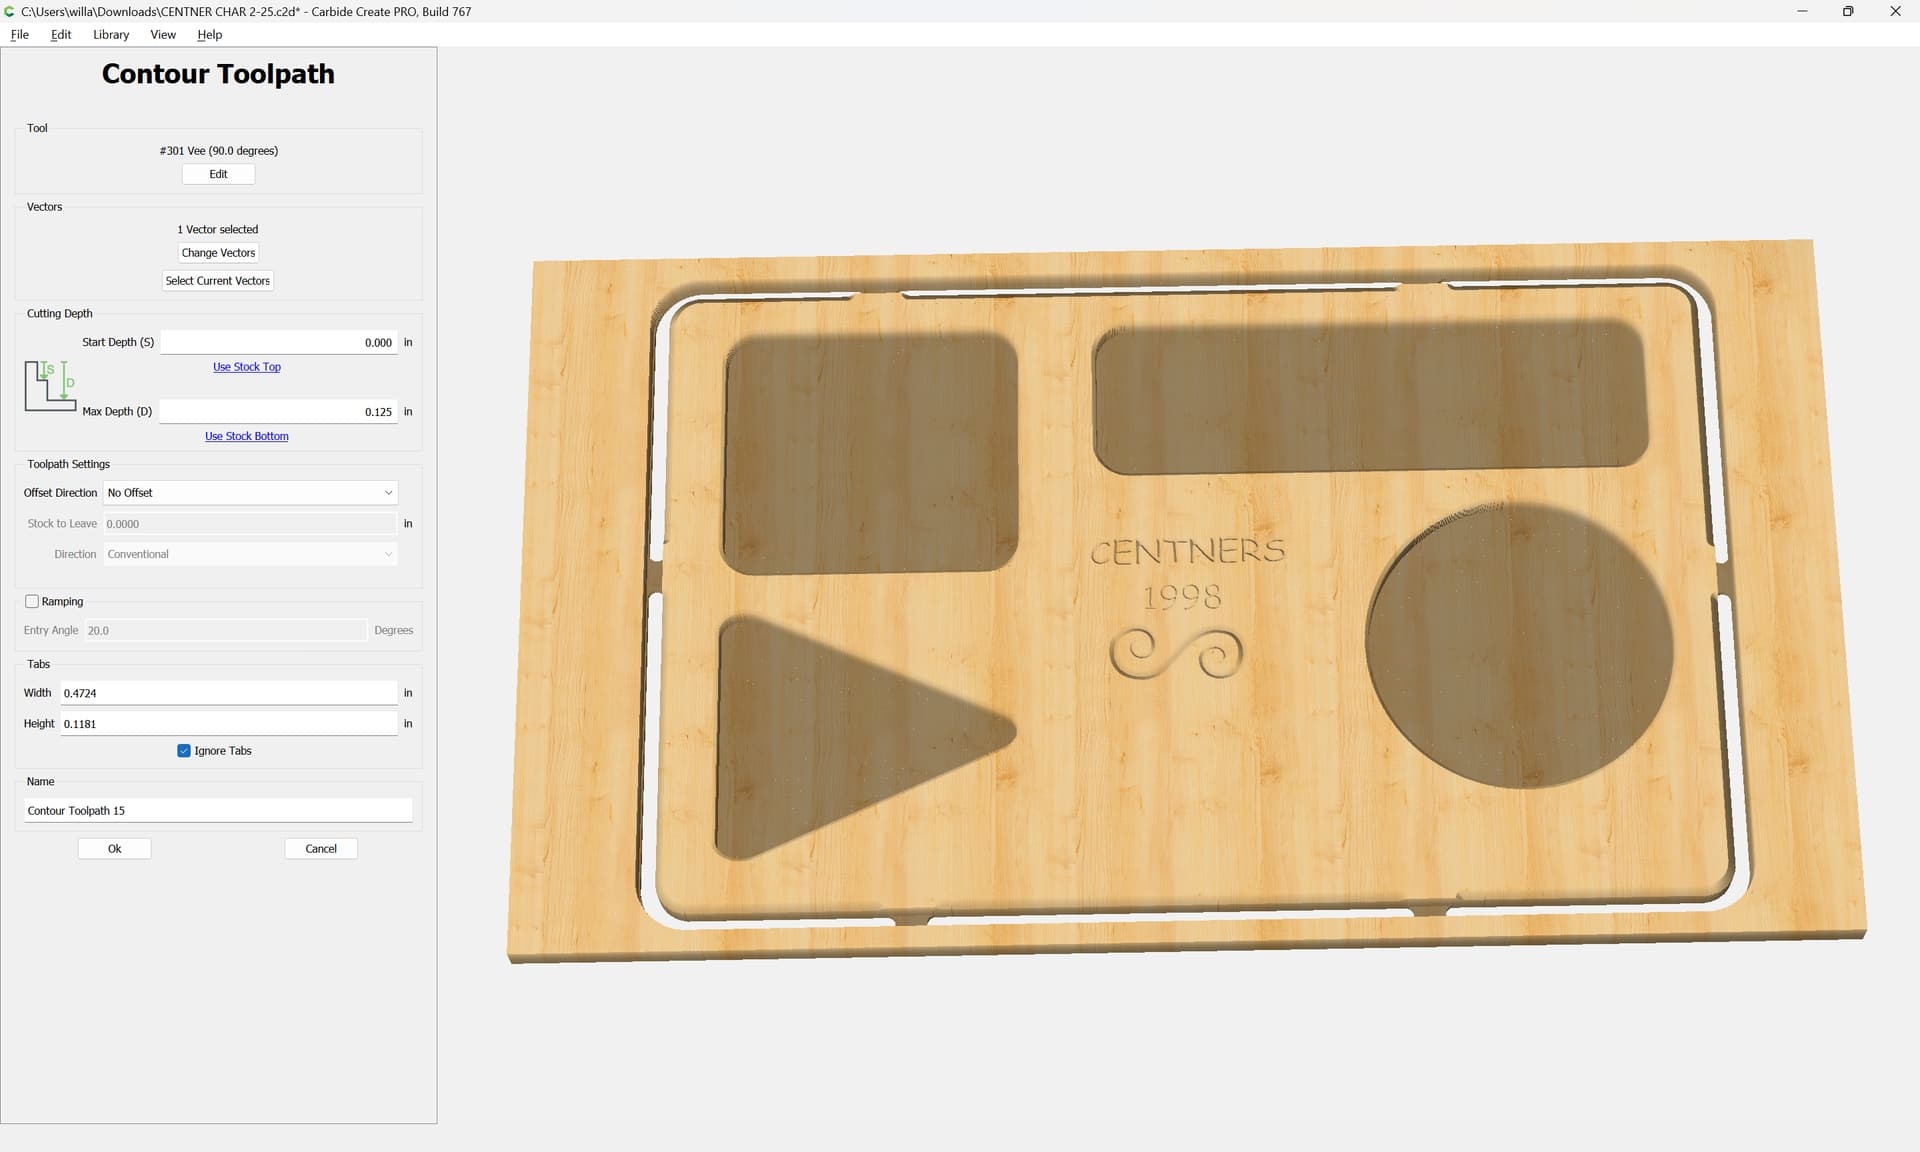
and then verify the 3D preview:
which reveals a problem — the tabs are included in this operation and should not be — edit the toolpath:
and check the “Ignore Tabs” button:
and then check the 3D preview again:
which seems suitable for at least a test cut.