Knapp Joint with CNC

Success! While it is not perfect and needs a bit of fine-tuning, I was able to produce a Knapp joint using VCarve Pro.

I had to add an allowance to the holes in the female portion so the pegs were not as tight but I did not have to modify the scallops when I used a 1/8 in endmill for the female portion. Please take note that I used some scrap wood to do the test and it reflects a bit on the quality.

To fix the issues, I have to decrease the allowance just a bit and I would increase the depth of cut for the male portion so the pegs fit flush or even stick out a bit.

4 Likes

Note that there is some interesting discussion of other designs for this sort of thing at:

c.f., https://makezine.com/2014/12/04/50-digital-wood-joints-poster/ and https://furniturefab2013.files.wordpress.com/2013/09/joints.pdf

1 Like

OK success! Today I was able to complete my test of the Knapp Joint using VCarve to create the toolpaths. The joints is almost perfect, I did not use any glue but after dry fitting the two parts together, It appears that it would be very difficult to take it apart.

My quick and easy vertical holding fixture also works very well.

9 Likes

Turns out one can toggle BlockSCAD from 3D to 2D:

Next up is a version of the program which will take advantage of that and allow one to easily get a DXF.

1 Like

Except, it seems the feature isn’t complete or something — I put in a ticket on GitHub — but if someone can show me how to do something other than place one of four shapes or text I’d be glad to know.

Okay, put the OpenSCAD file up at:

You should be able to d/l it, and run it. Enable the Customizer and you get:

If you toggle to DXF from the 3D Preview you get a 2D view which may be exported to a DXF:

knappjoints.dxf (77.3 KB)

4 Likes

This topic was automatically closed after 30 days. New replies are no longer allowed.

Needed to make a small box, so used the above OpenSCAD file to draw up a joint:

and export an SVG which I then used to draw up:

which should cut as:

and a file to cut the balance of the joinery:

1 Like

Re-worked this w/ the lid integrated w/ a hinge:

and the lid made to work using roundover tooling:

Needs a 15.5" long by 3.5" wide by 0.25" thick piece of stock.

Getting ready to cut now:

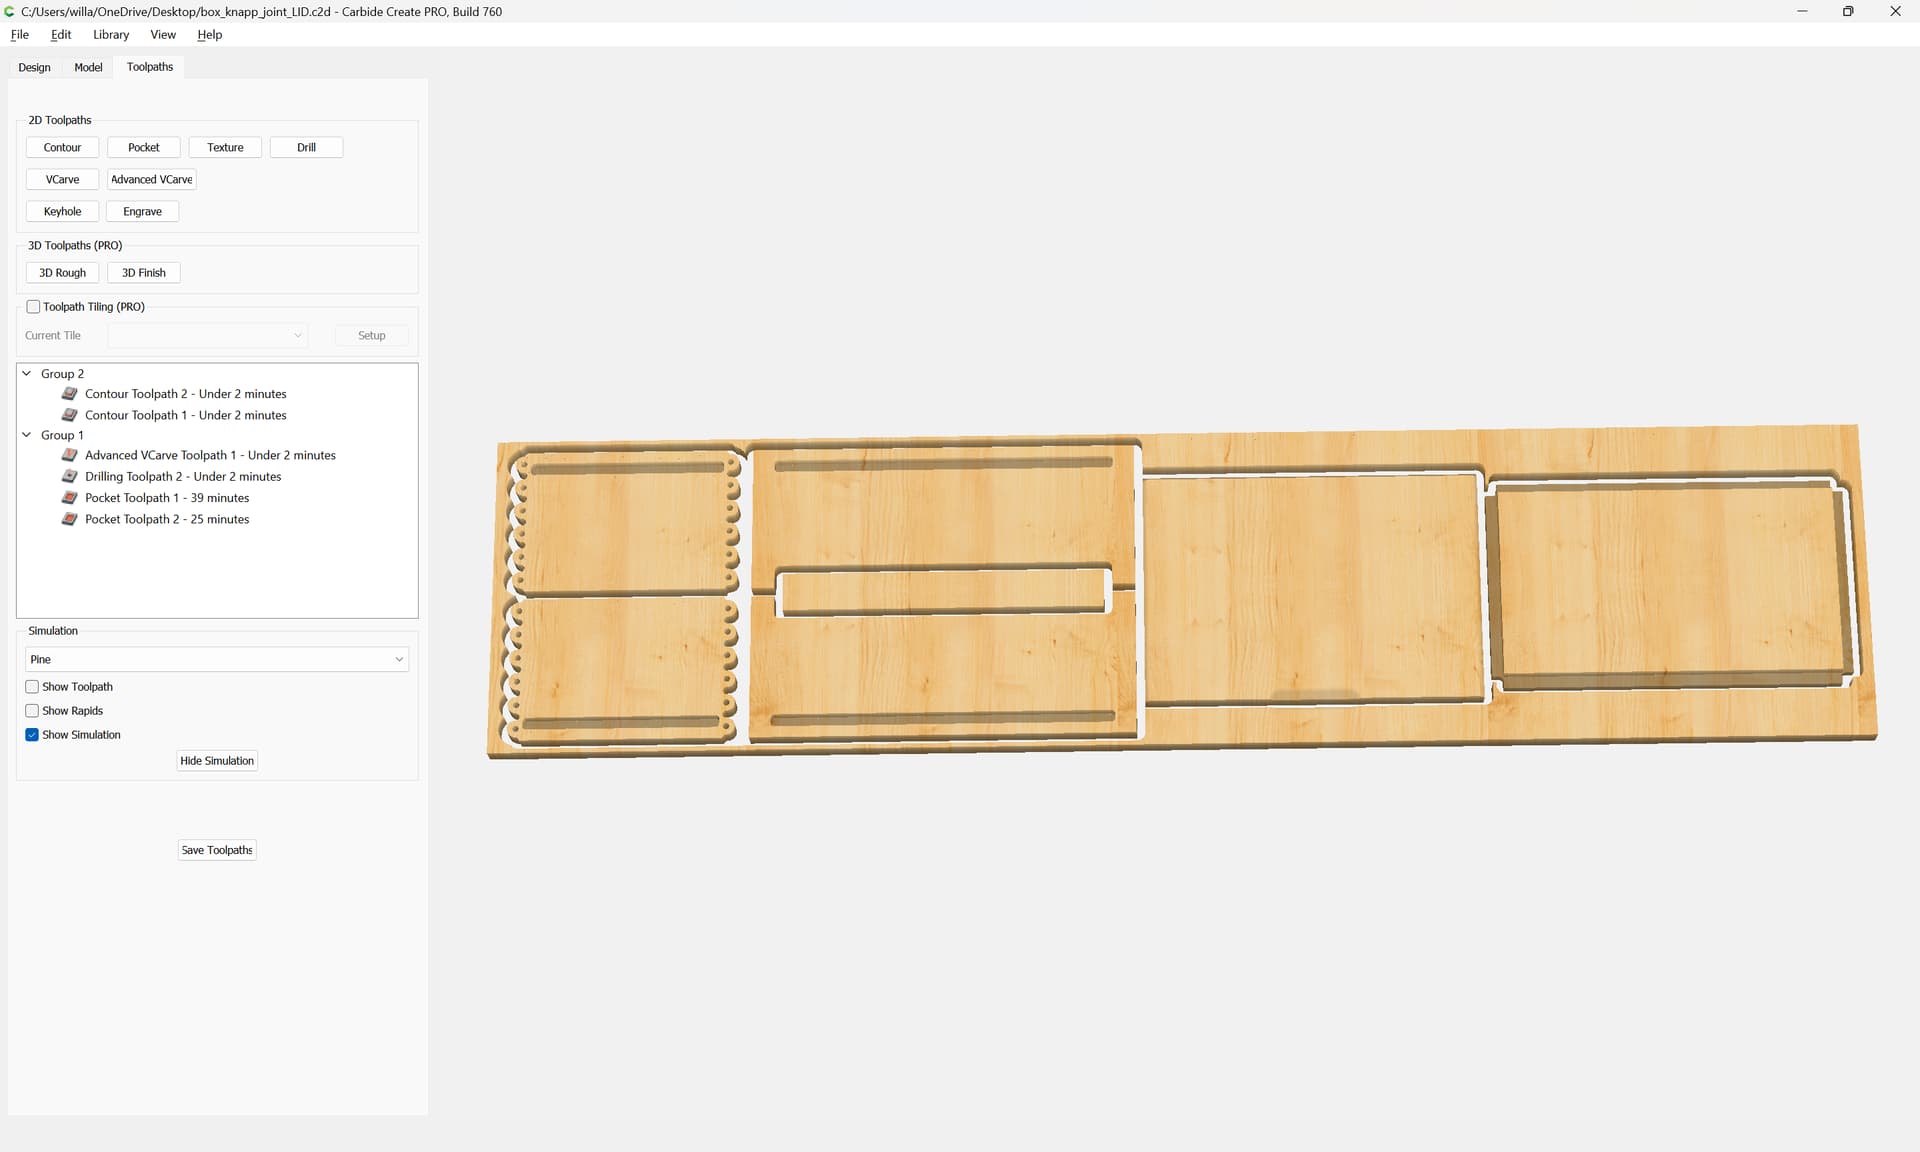
New version w/ pocket clearing first disabled so as to save on a tool change:

box_knapp_joint_LID.c2d (592 KB)

3 Likes

Cutting went well:

(but definitely should have clamped the center of the board)

1 Like

Rotating by 90 might also be a good option to get more consistent tape contact with the spoil board.

Yeah, I considered that, but the boards were just enough wider than the slats that it didn’t seem feasible.

Hey, its just a tiny bit of a tree … :smiley:

I’m glad to see you got it on wood!

and for the joinery itself, moved to center-left:

box_knapp_joints.c2d (396 KB)

If I’m out of line, my apologies, Admin. Just delete this.

FWIW I do these in VCarvePro. These pics are just test pieces in 3/4" MDF. I’ve done a few playing card boxes with the each of the suits on one corner.

3 Likes

Neat!

Managed to get the parts cut (interestingly, the same post broke off on all 4 parts, and the same corner broke off on both of the poplar cuts):

(and of course, when cutting the joinery, part orientation is key — I’ll only be getting one box out of the two sets of parts 'cause of that)

Next up ins cleaning up the cut parts and fitting them together, then I’ll have to drill and install the hinges.

3 Likes

You are mounting vertical to cut the posts correct?

Correct. One has to.

Did a fixture for this ages ago:

and success after a fashion:

6 Likes