Okay, put the OpenSCAD file up at:
You should be able to d/l it, and run it. Enable the Customizer and you get:

If you toggle to DXF from the 3D Preview you get a 2D view which may be exported to a DXF:

knappjoints.dxf (77.3 KB)
Okay, put the OpenSCAD file up at:
You should be able to d/l it, and run it. Enable the Customizer and you get:
If you toggle to DXF from the 3D Preview you get a 2D view which may be exported to a DXF:
knappjoints.dxf (77.3 KB)
This topic was automatically closed after 30 days. New replies are no longer allowed.
Needed to make a small box, so used the above OpenSCAD file to draw up a joint:
and export an SVG which I then used to draw up:
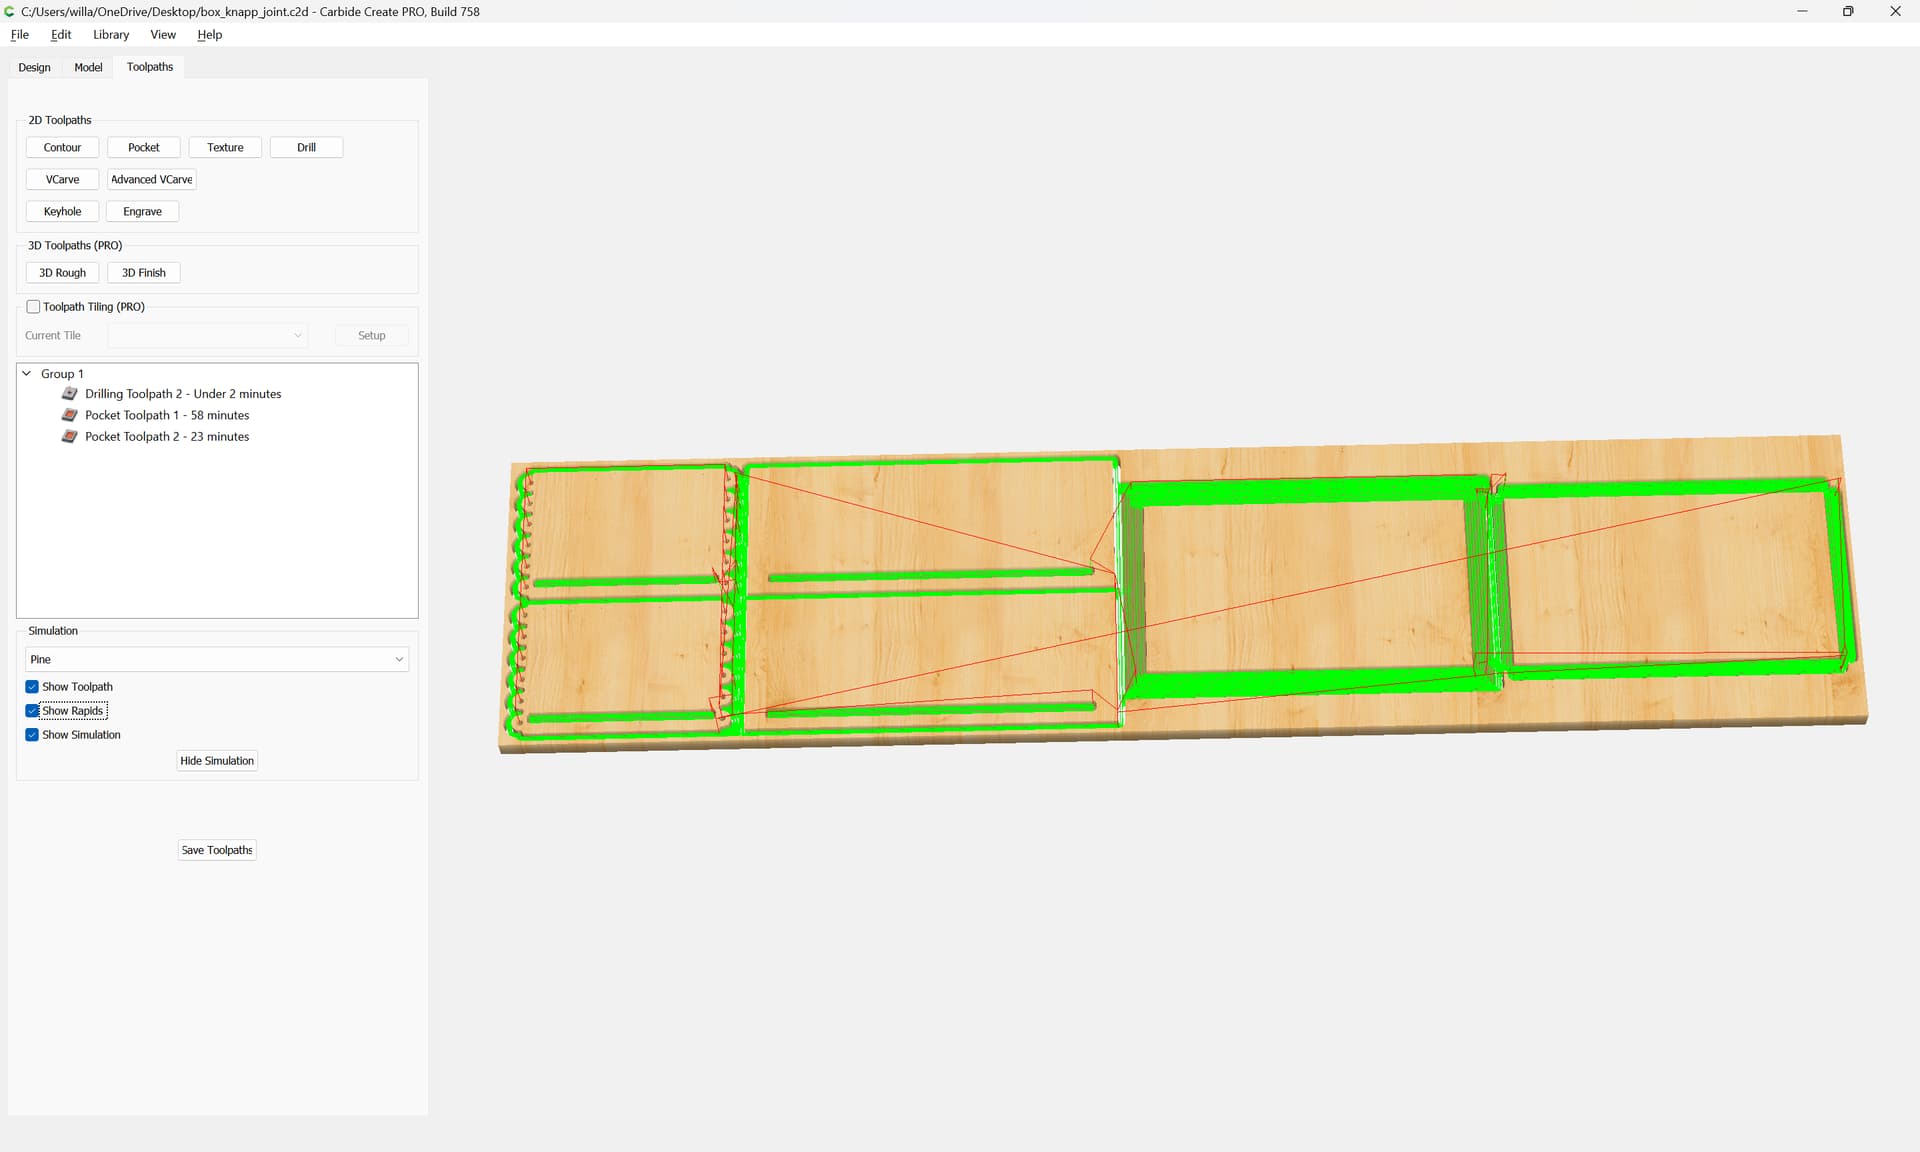
which should cut as:
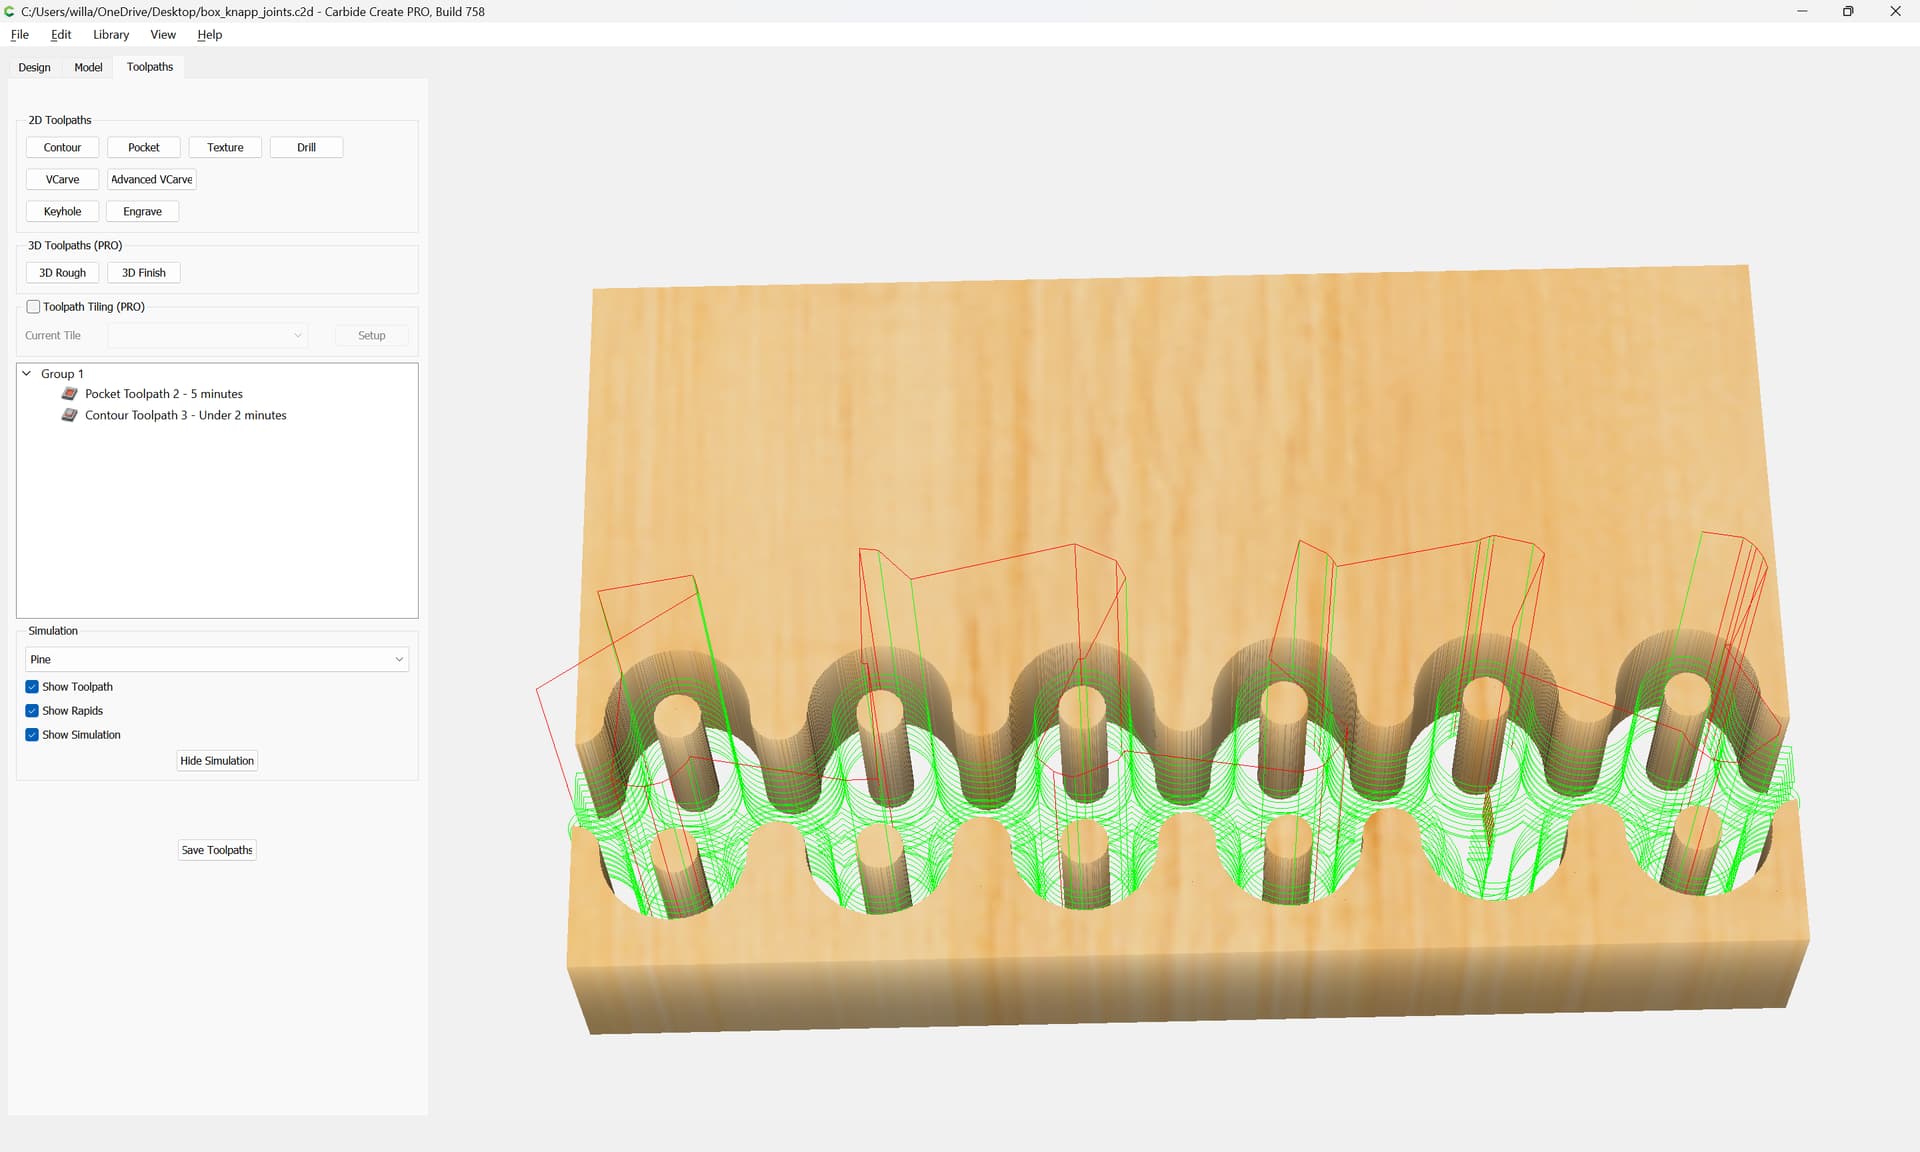
and a file to cut the balance of the joinery:
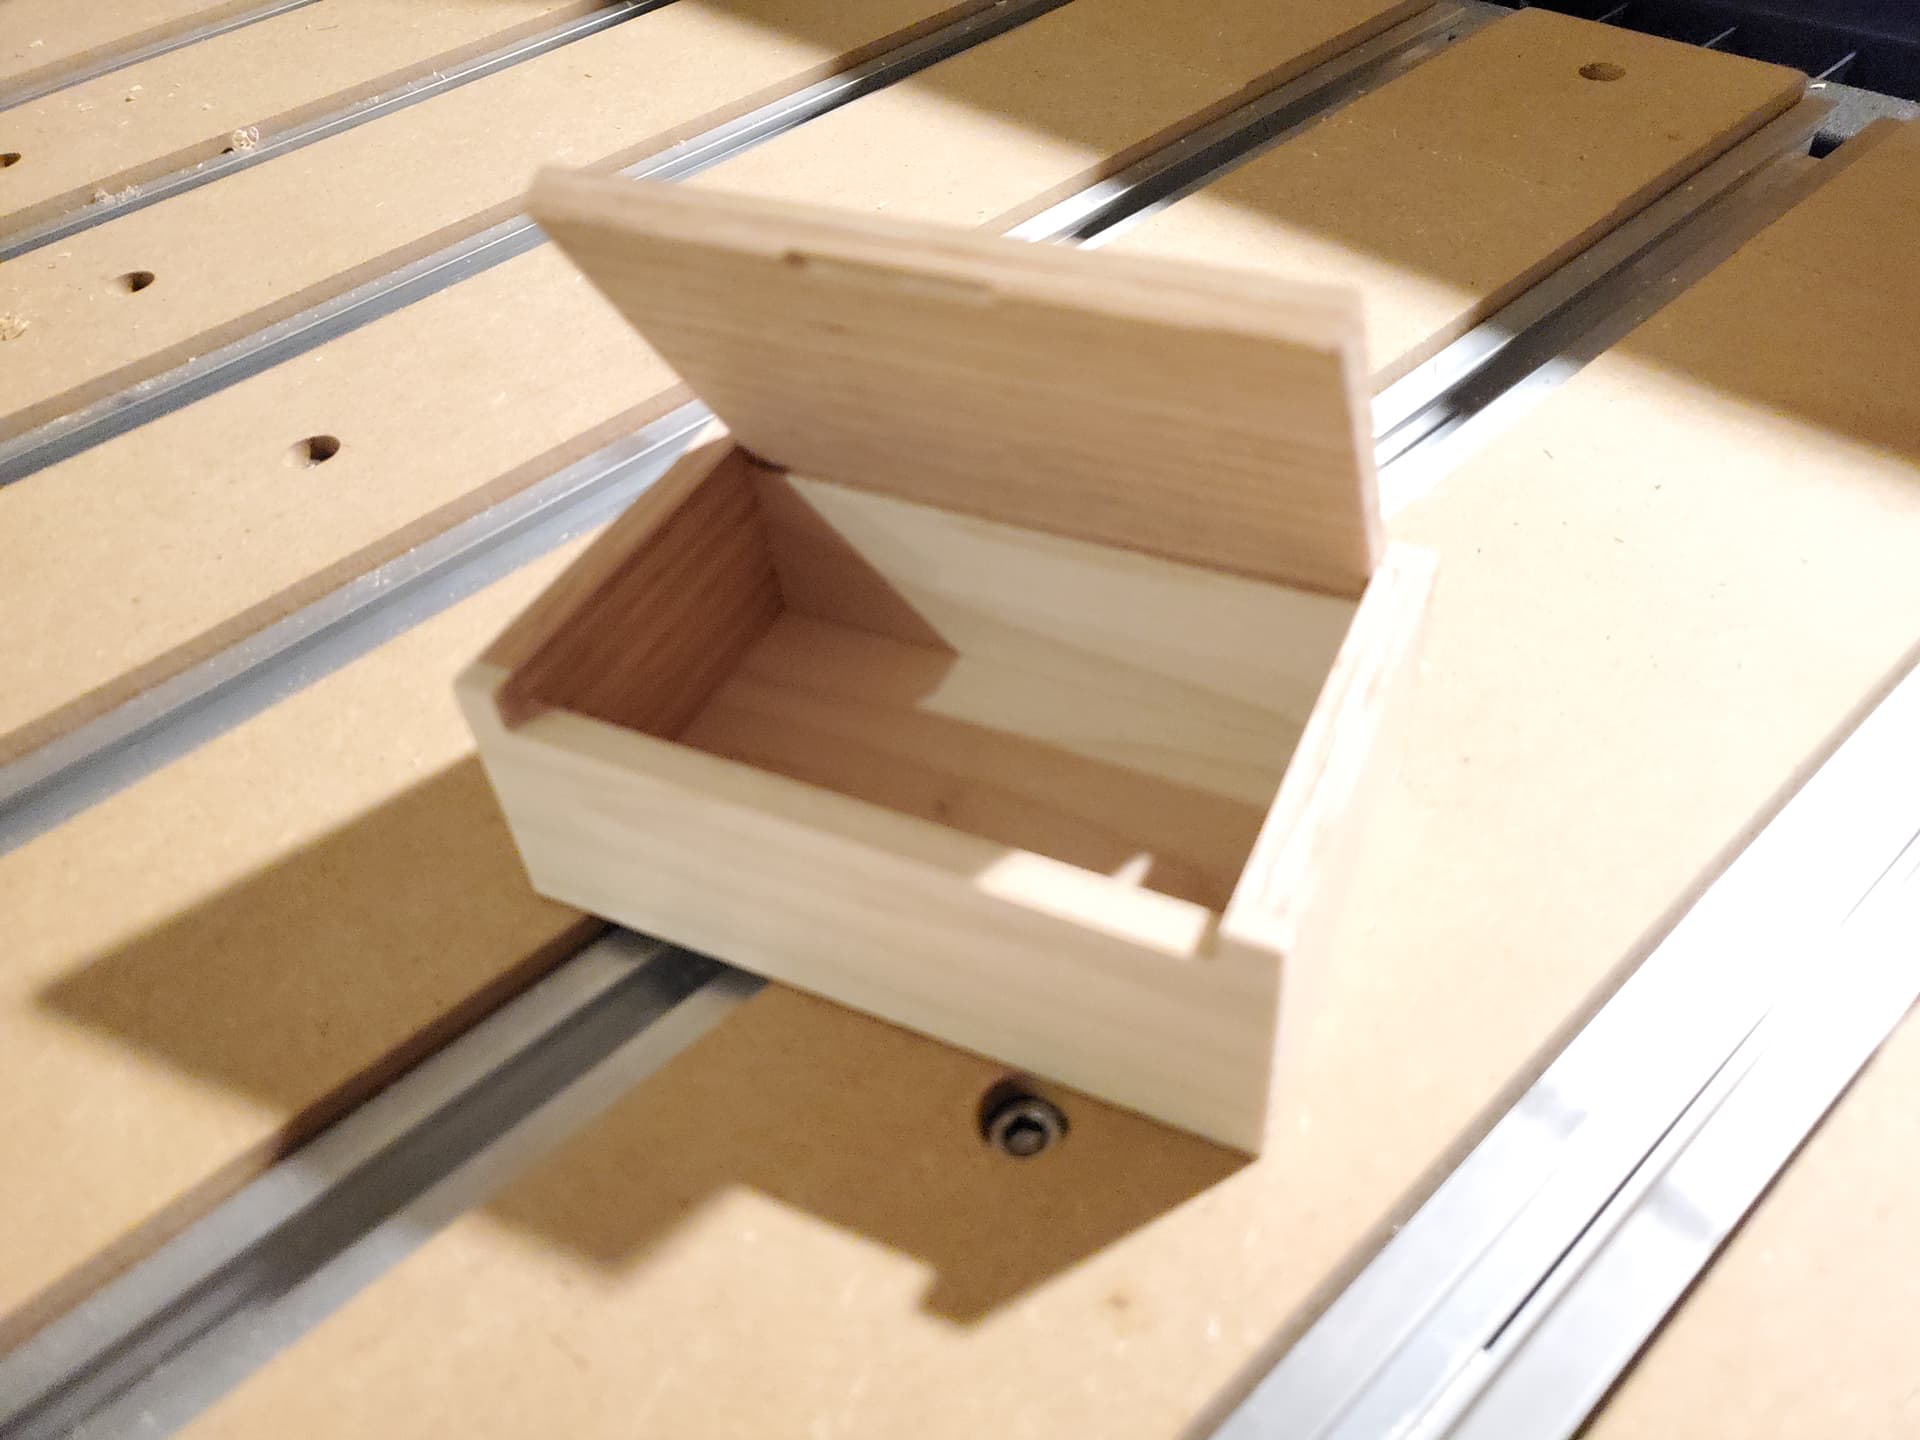
Re-worked this w/ the lid integrated w/ a hinge:
and the lid made to work using roundover tooling:
Needs a 15.5" long by 3.5" wide by 0.25" thick piece of stock.
Getting ready to cut now:
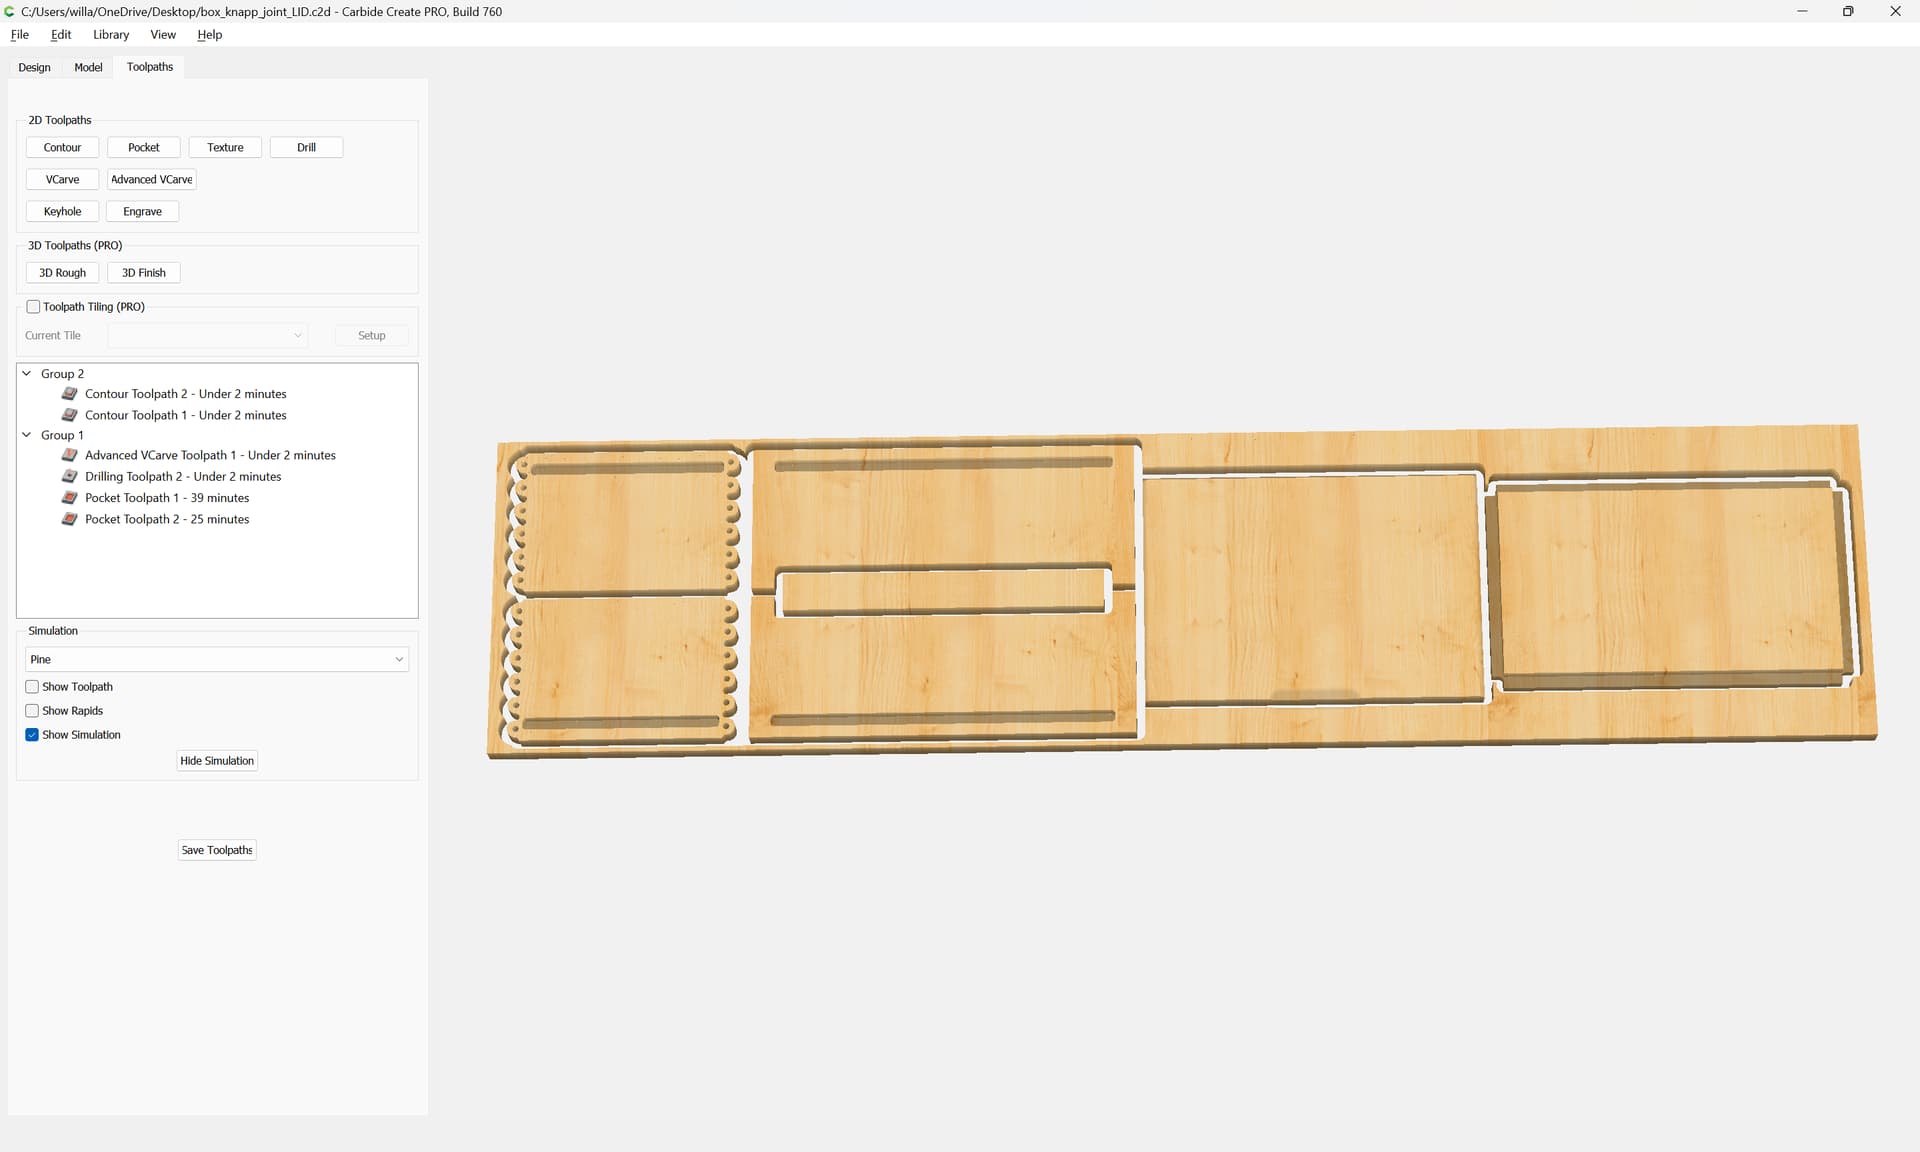
New version w/ pocket clearing first disabled so as to save on a tool change:
box_knapp_joint_LID.c2d (592 KB)
Rotating by 90 might also be a good option to get more consistent tape contact with the spoil board.
Yeah, I considered that, but the boards were just enough wider than the slats that it didn’t seem feasible.
Hey, its just a tiny bit of a tree … 
I’m glad to see you got it on wood!
If I’m out of line, my apologies, Admin. Just delete this.
FWIW I do these in VCarvePro. These pics are just test pieces in 3/4" MDF. I’ve done a few playing card boxes with the each of the suits on one corner.
Neat!
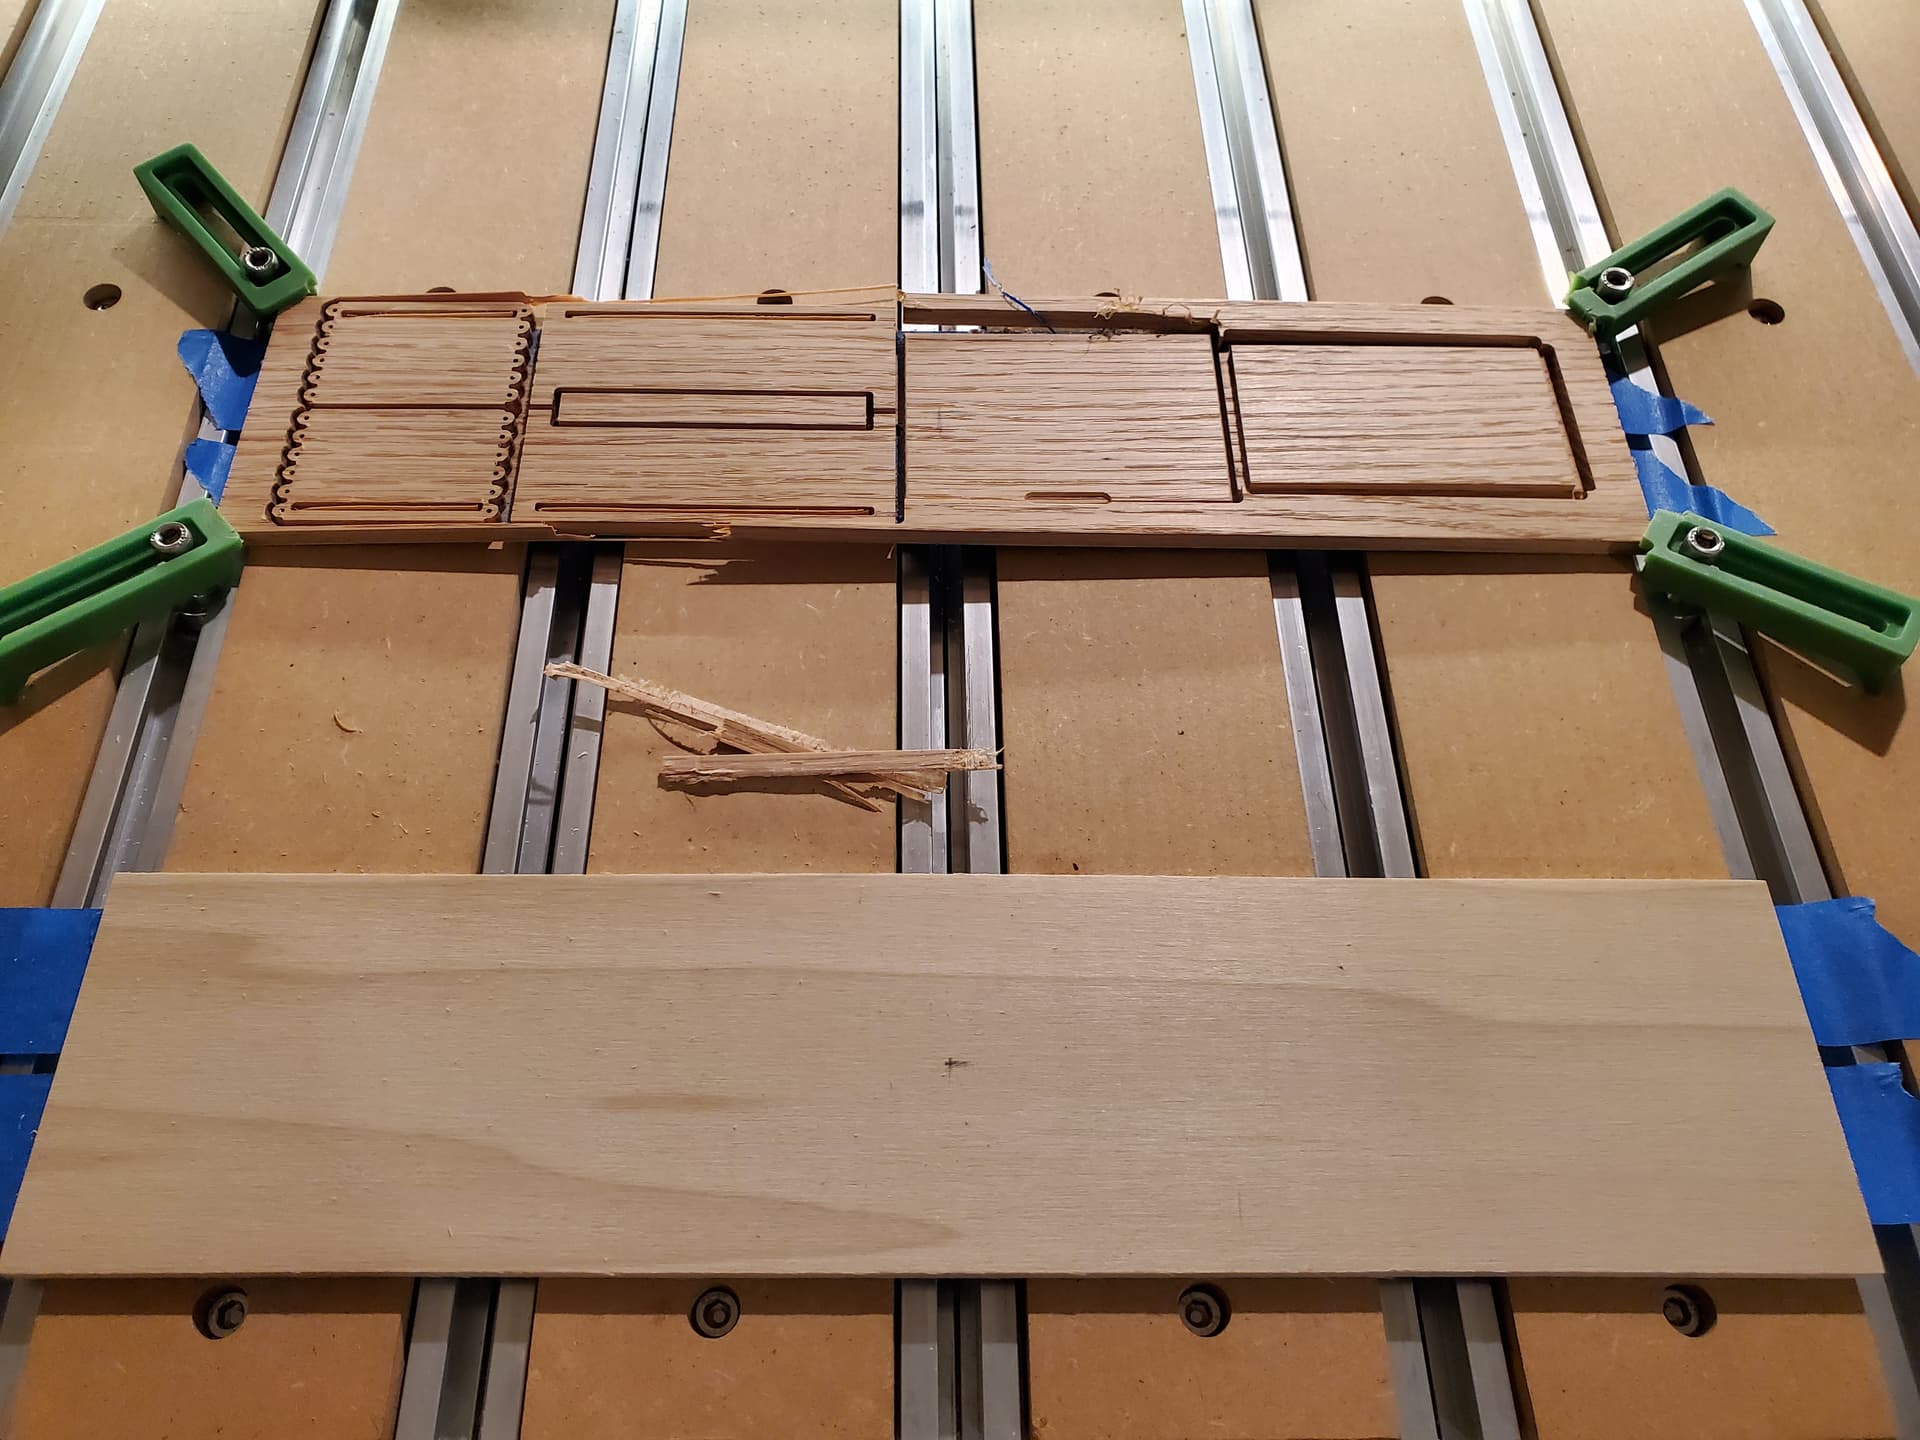
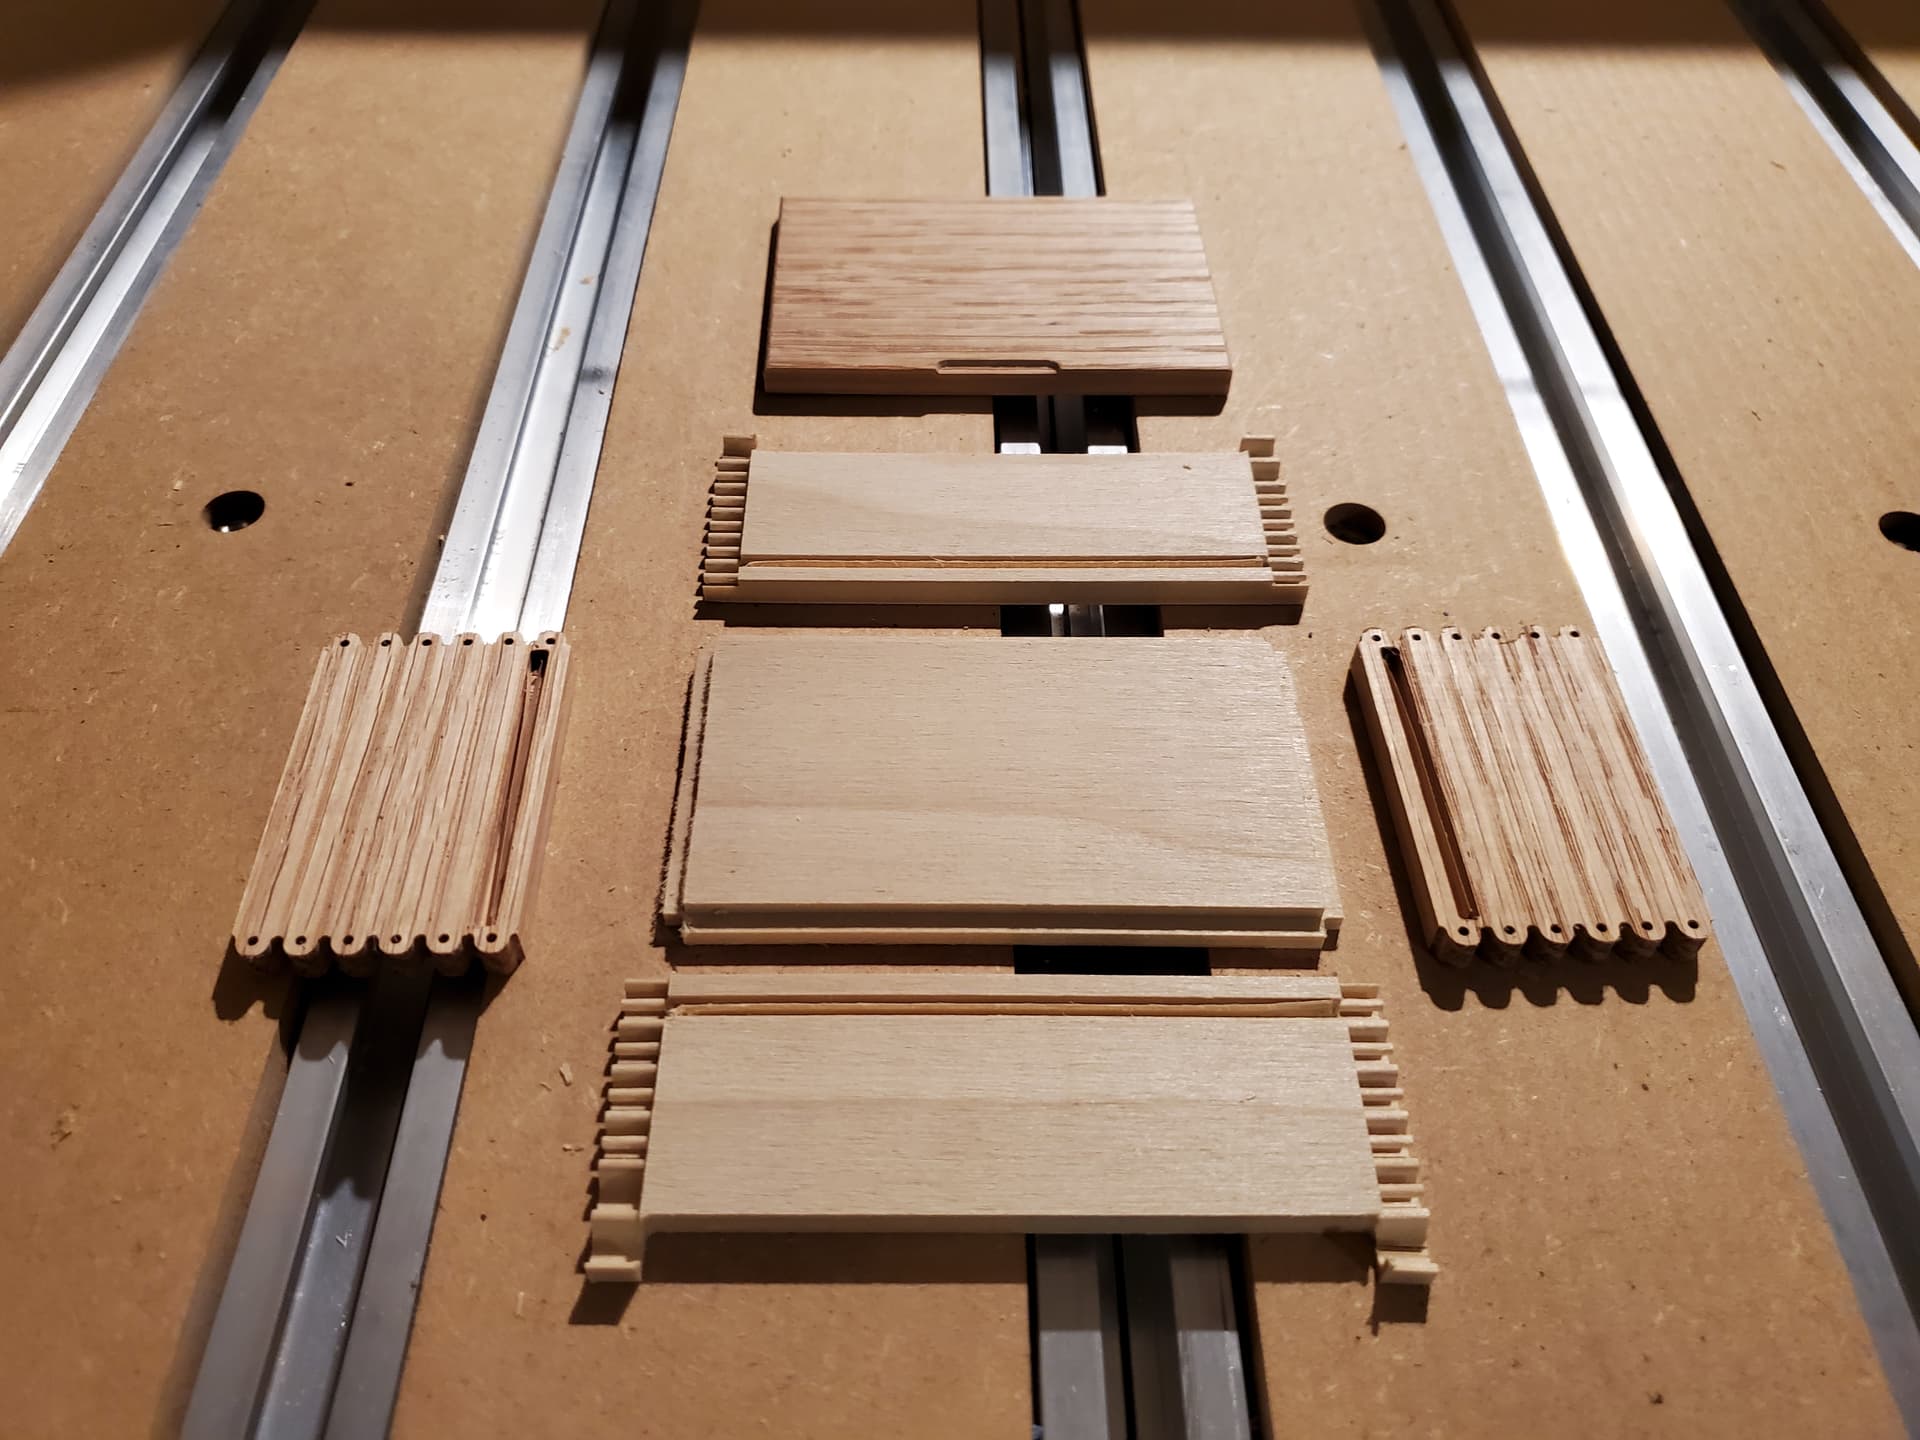
Managed to get the parts cut (interestingly, the same post broke off on all 4 parts, and the same corner broke off on both of the poplar cuts):
(and of course, when cutting the joinery, part orientation is key — I’ll only be getting one box out of the two sets of parts 'cause of that)
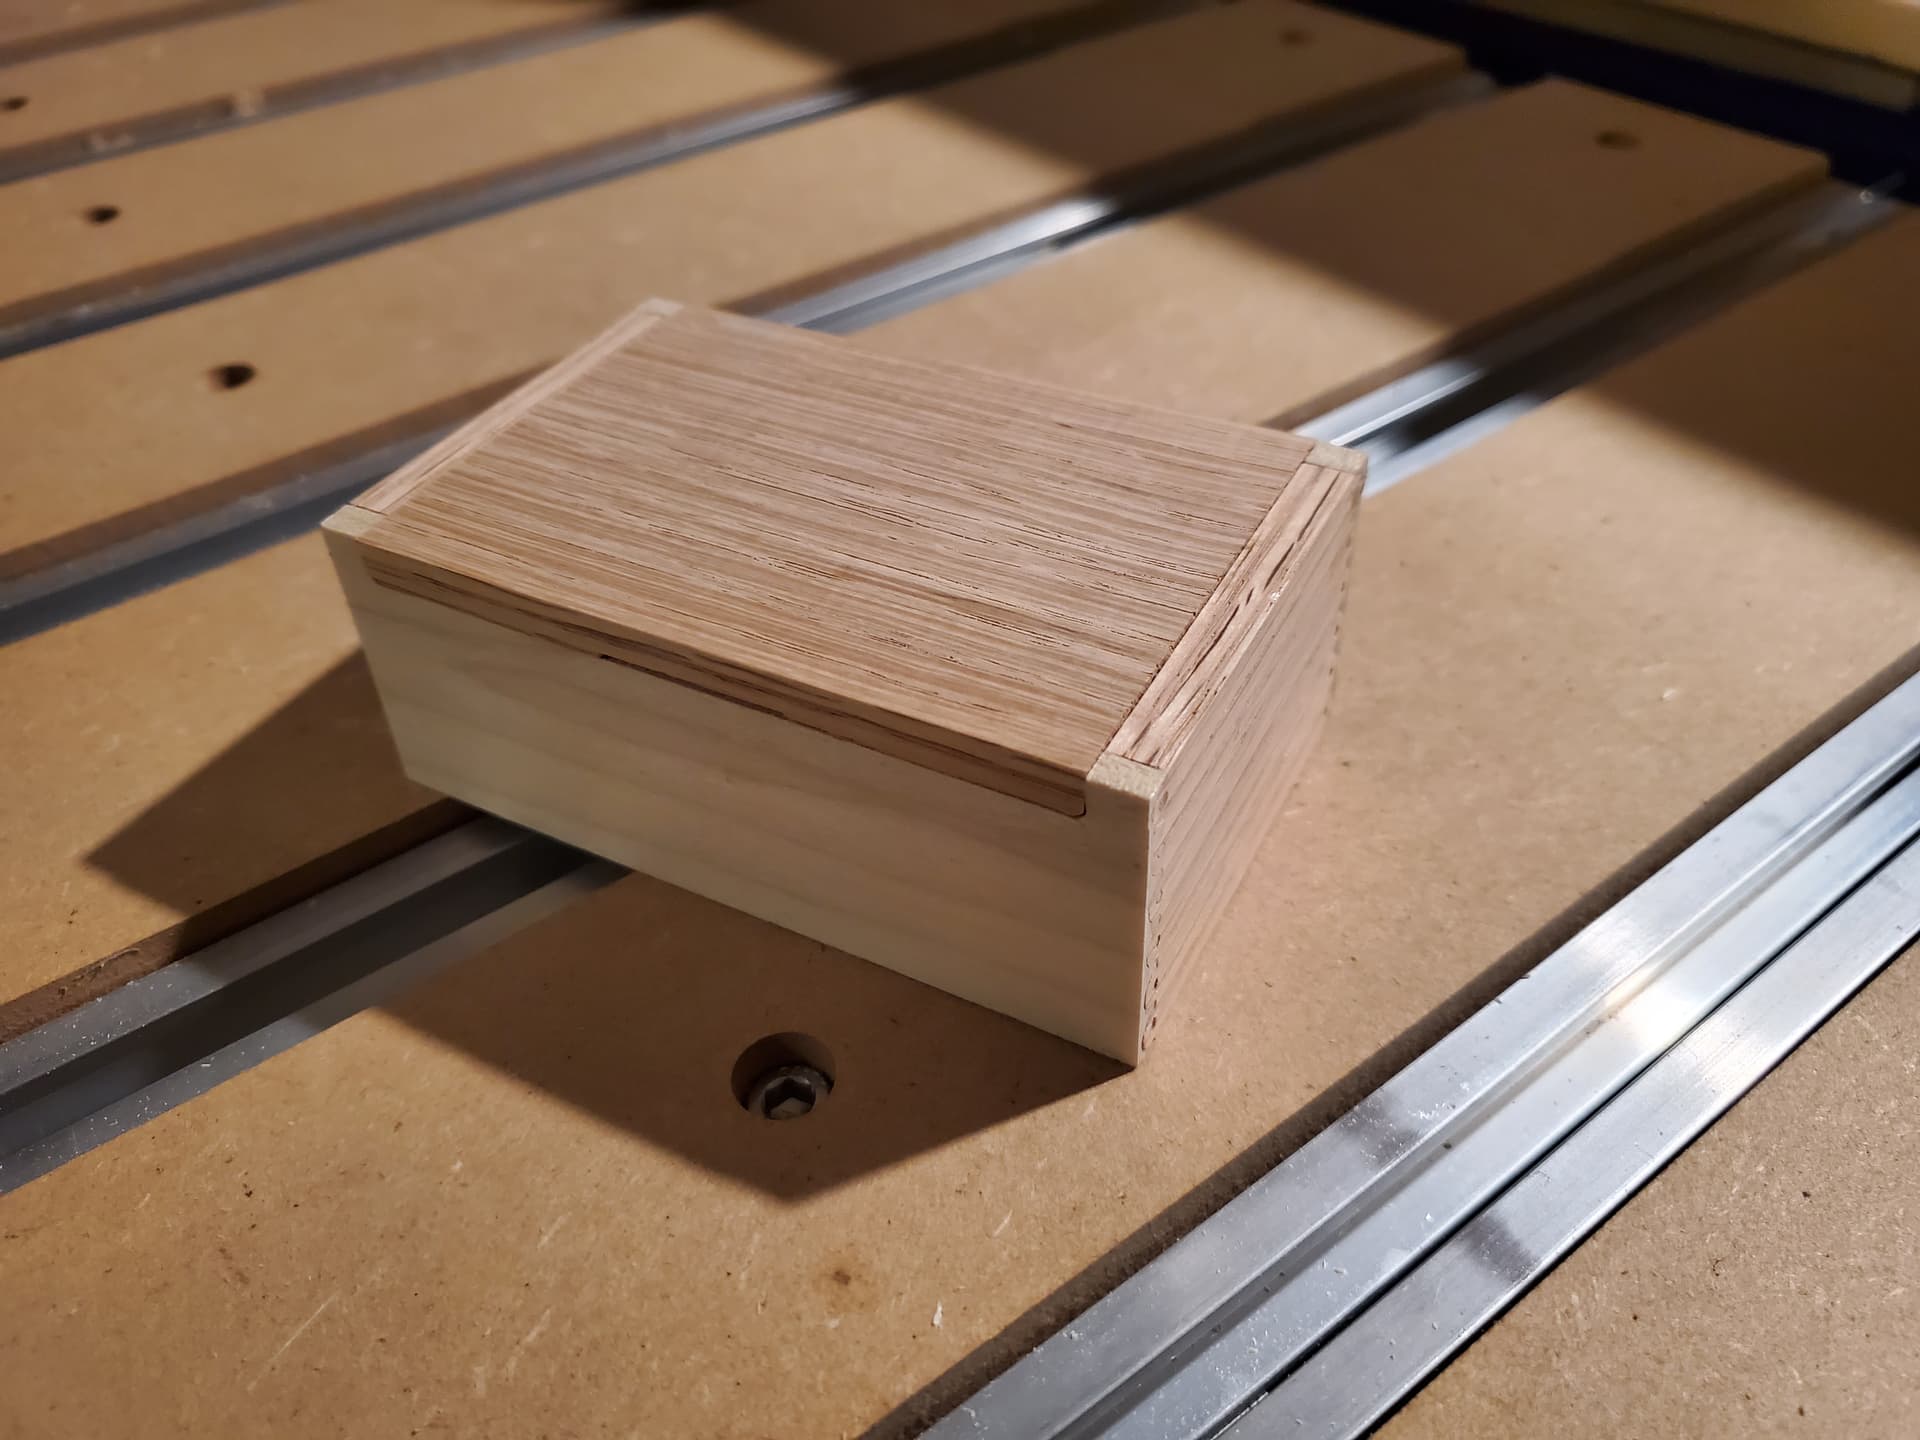
Next up ins cleaning up the cut parts and fitting them together, then I’ll have to drill and install the hinges.
You are mounting vertical to cut the posts correct?
Correct. One has to.
Did a fixture for this ages ago:
How are you getting the DXF / 2d view. OpenScad complains the “UI-ERROR: Current top level object is not a 2D object.” regardless of the ‘my 3DPrevieworDXF’ setting.
You have to use the projection() command.
I’ve been working on a tool for this which directly exports DXFs — if you’ll let me know the dimensions/parameters you wish to use, I could work that up as an example/template file.
That said, these days I pretty much just do full-blind box joints:
This topic was automatically closed 30 days after the last reply. New replies are no longer allowed.
Carbide 3D just released a Joinery Stop:
so it seemed a good time to revisit this.
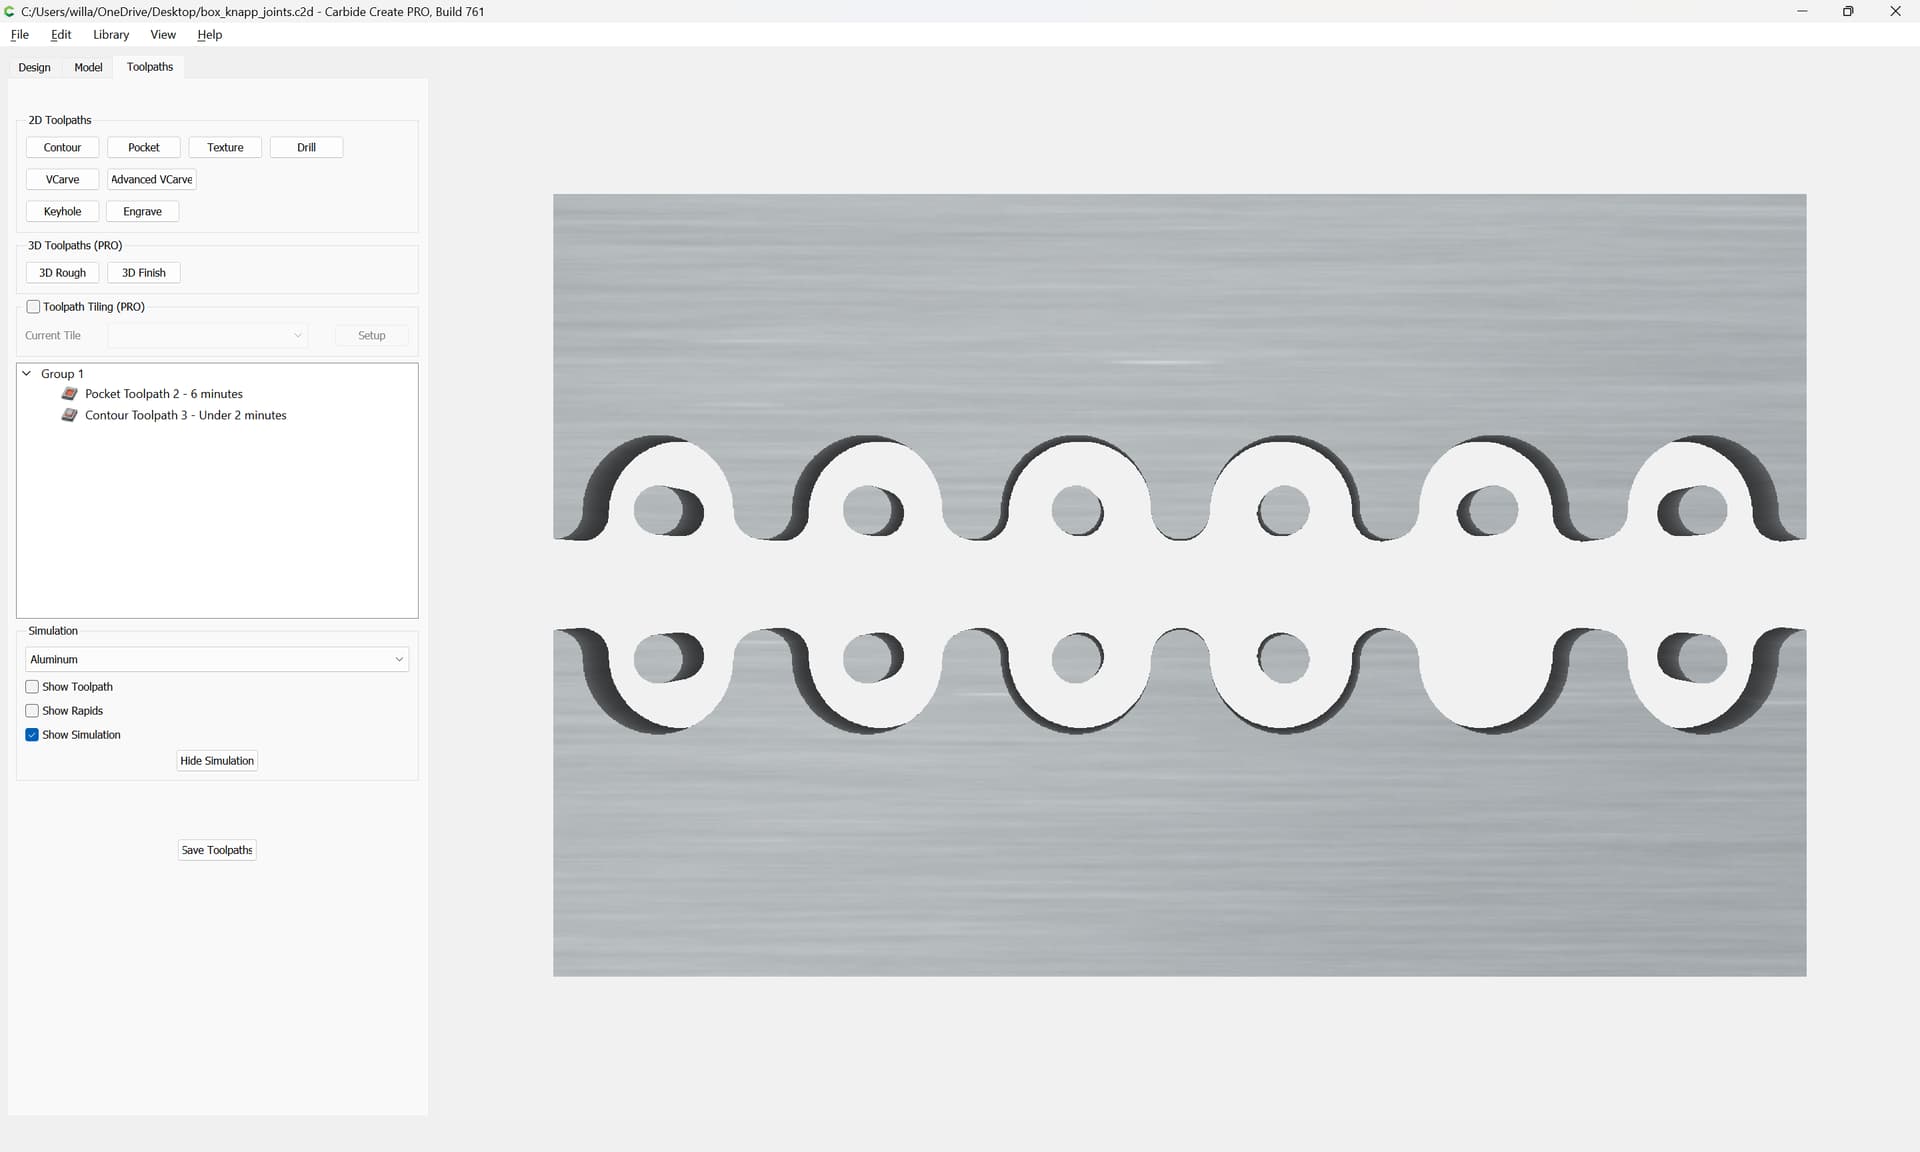
There are a couple of potential advantages of Knapp joints relative to other joinery techniques — simpler and only requiring a square endmill, and that it should be possible to cut them in 2 setups and a total of 3 or 4 operations:
We will revisit this here and see if new features in Carbide Create make it easier to lay them out, and if they are amenable to automation/programming.
The parameters of course are:
Ideally, the joint will be: