I am still wading through the messages in this thread to make sure I understand how to stack everything and assign toolpaths. It appears that I need to get a small 90 degree v-bit. I am not sure if the one I have meets the same requirements.
This is an awesome capability you created. There is a definite learning curve for me.
Will,
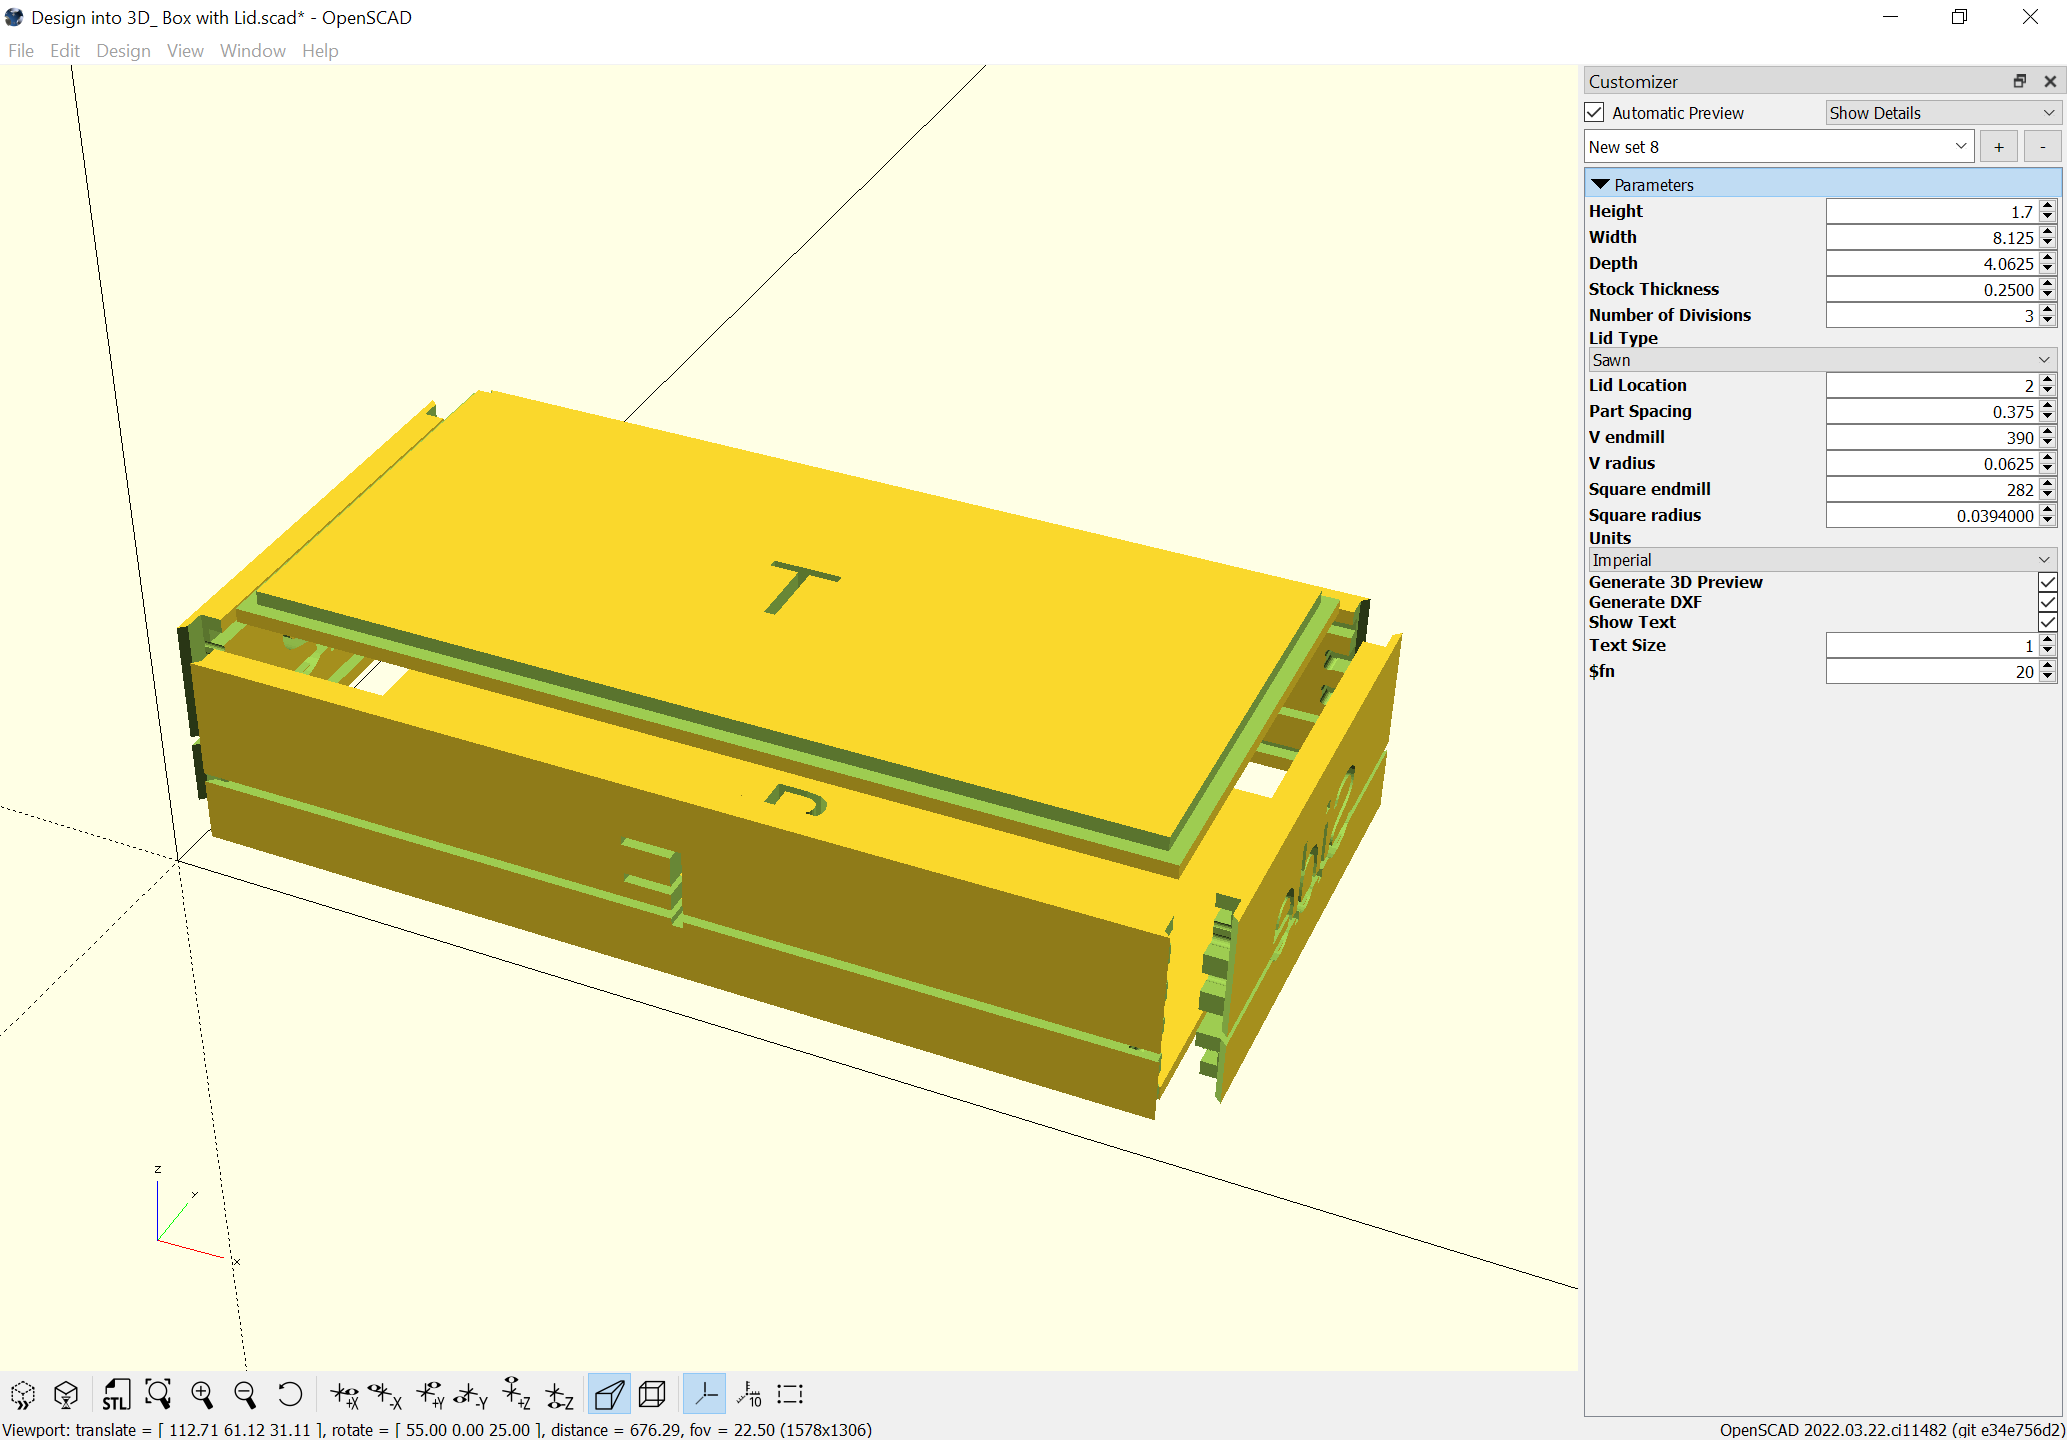
I have a couple questions. I finally got a chance to cut a box and the results were not what I was expecting. It turns out I didn’t follow the instructions closely. Still, I am a bit confused about what I should of done. Here are the two parts that confused me:
Select the joint geometry and assign toolpaths to a depth of stock thickness minus the height of the V endmill angle: (This is for the miters.)
(edit the no offset contour toolpath for the V endmill and move it to the bottom of the toolpath list and set its begin depth to that thickness)
I used the same v-bit that you recommended and Amana 45625 #390 in my tool database, the rest of the cuts uses a 1/16th bit.
For #1, On the Joints, I wanted to make sure that the output of the tool was giving me the correct depth for the pockets.
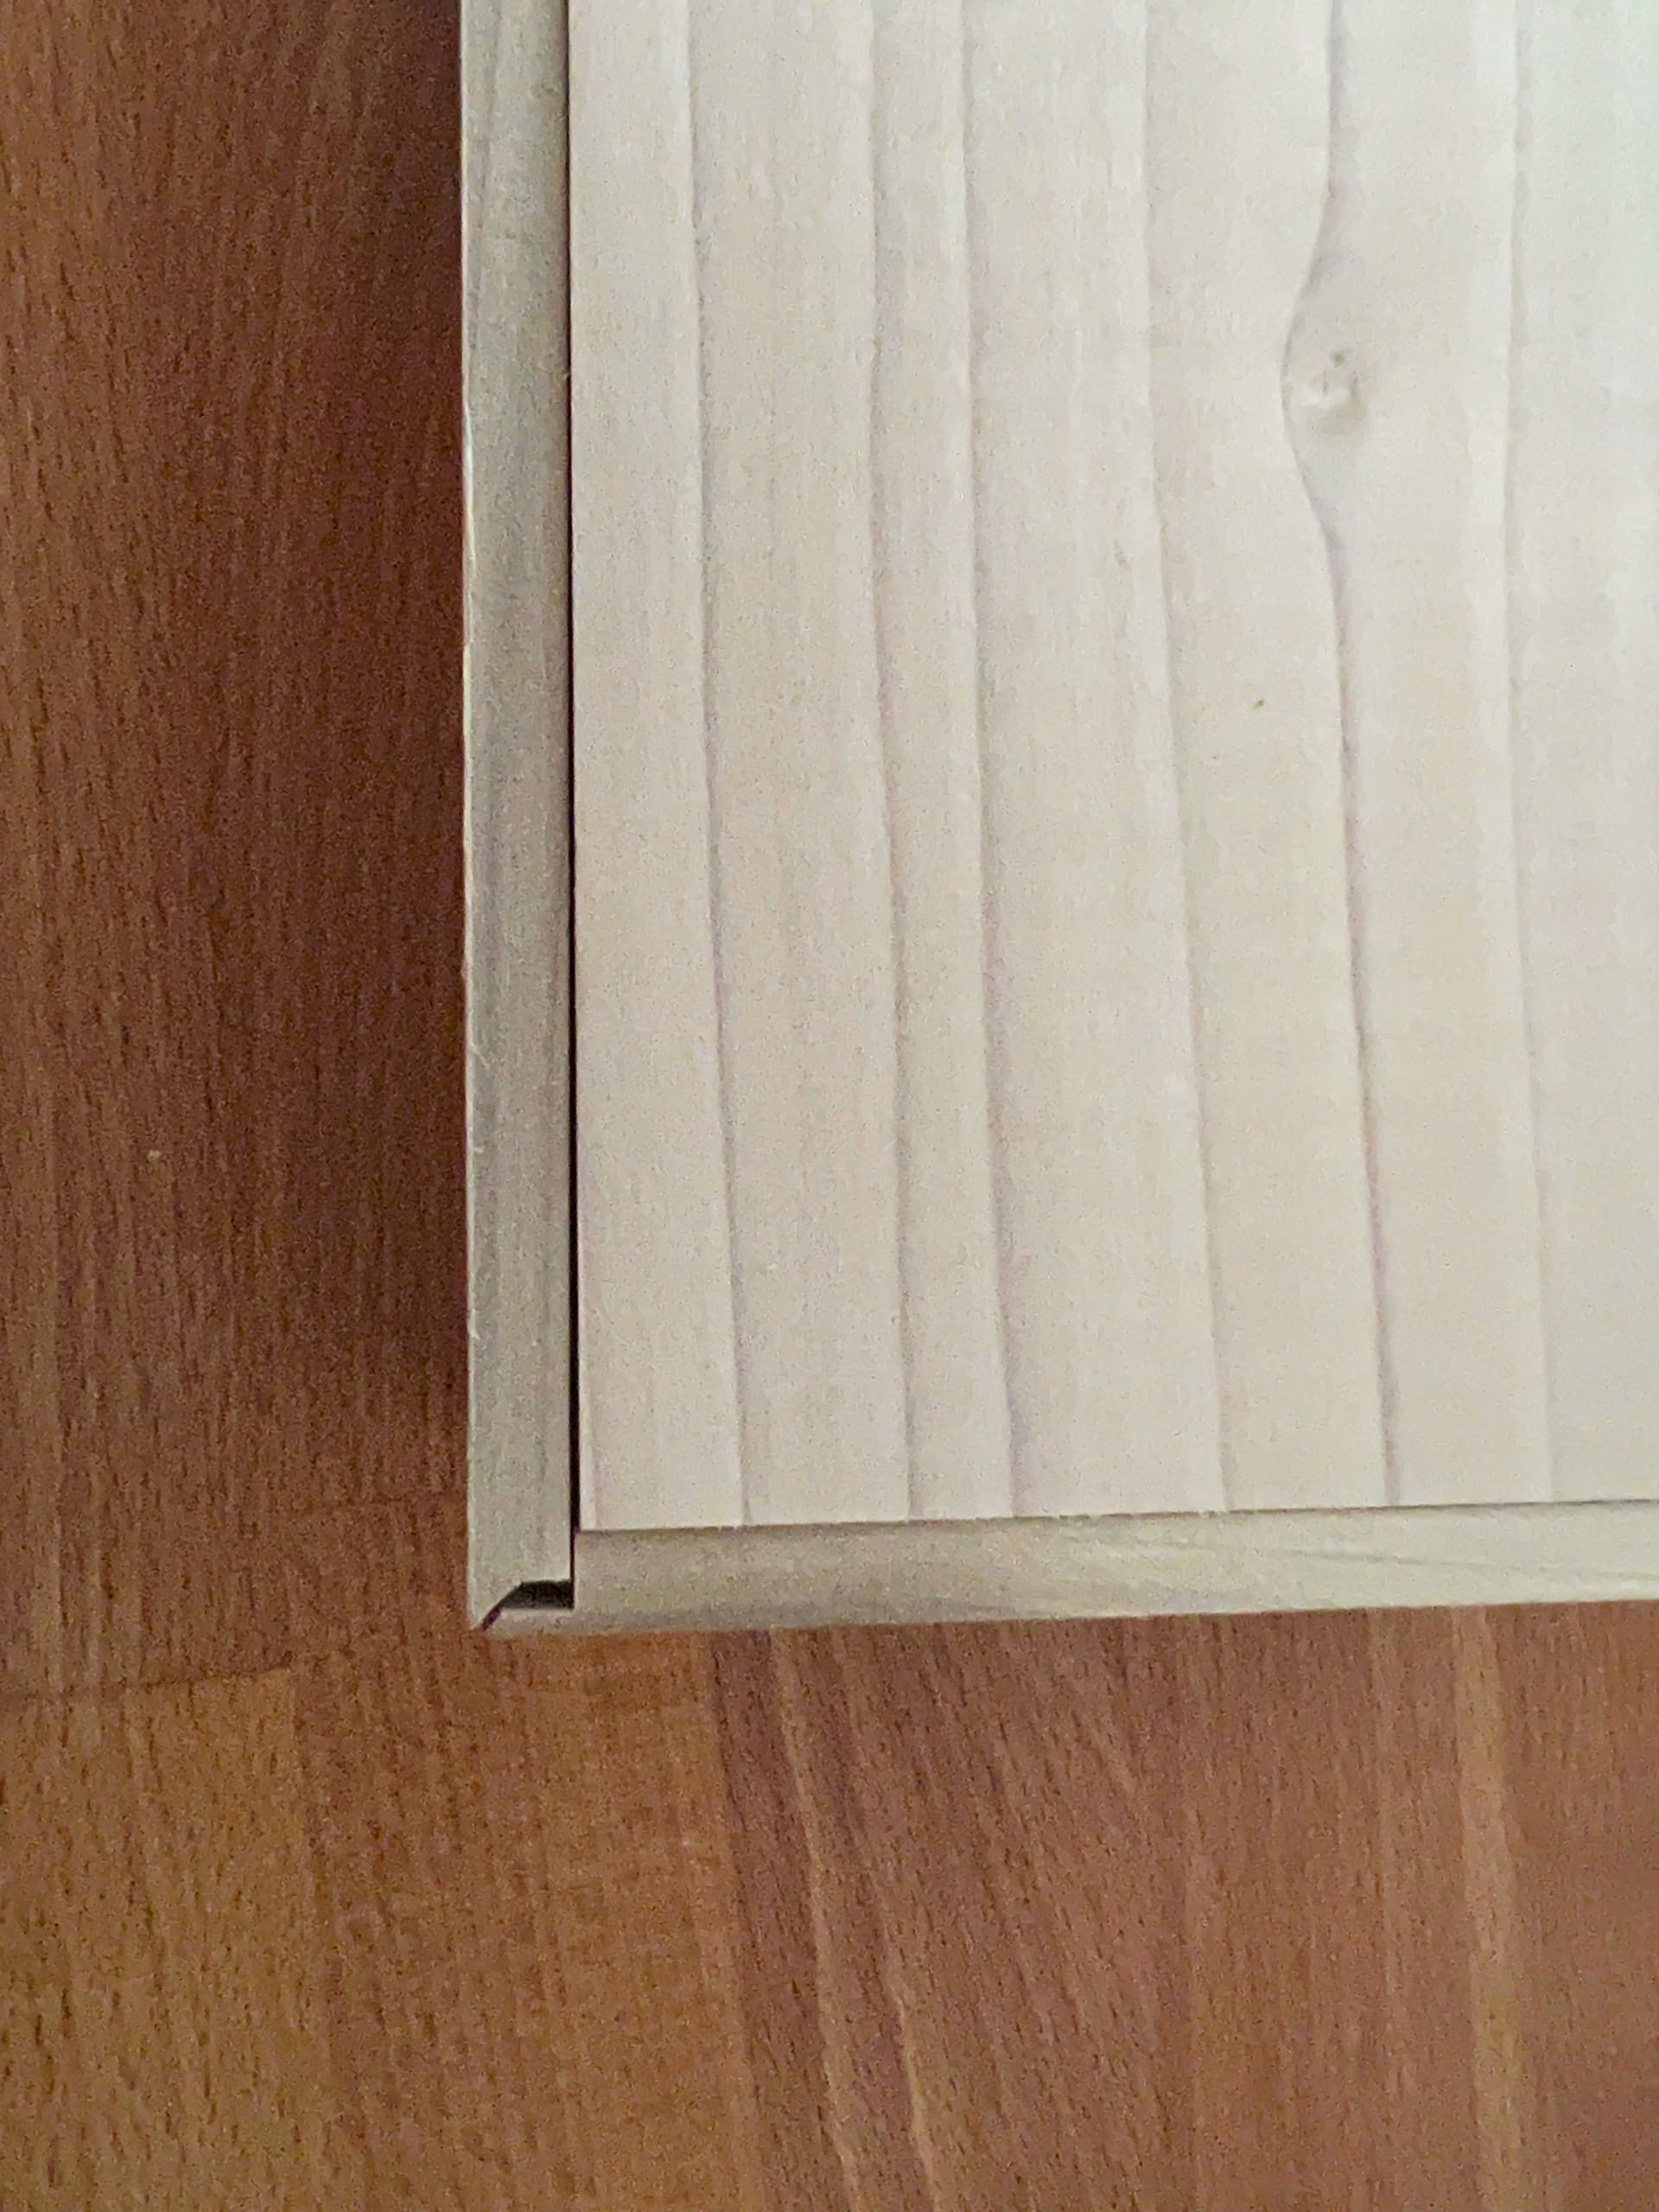
My mistake is that I carved the V-bit work first and I didn’t catch the not about setting the beginning depth. I ended up with a gap at the corners. That is everything fits together, but the corners have gaps and don’t meet.
Can you offer a suggestion or two about what I am doing wrong?
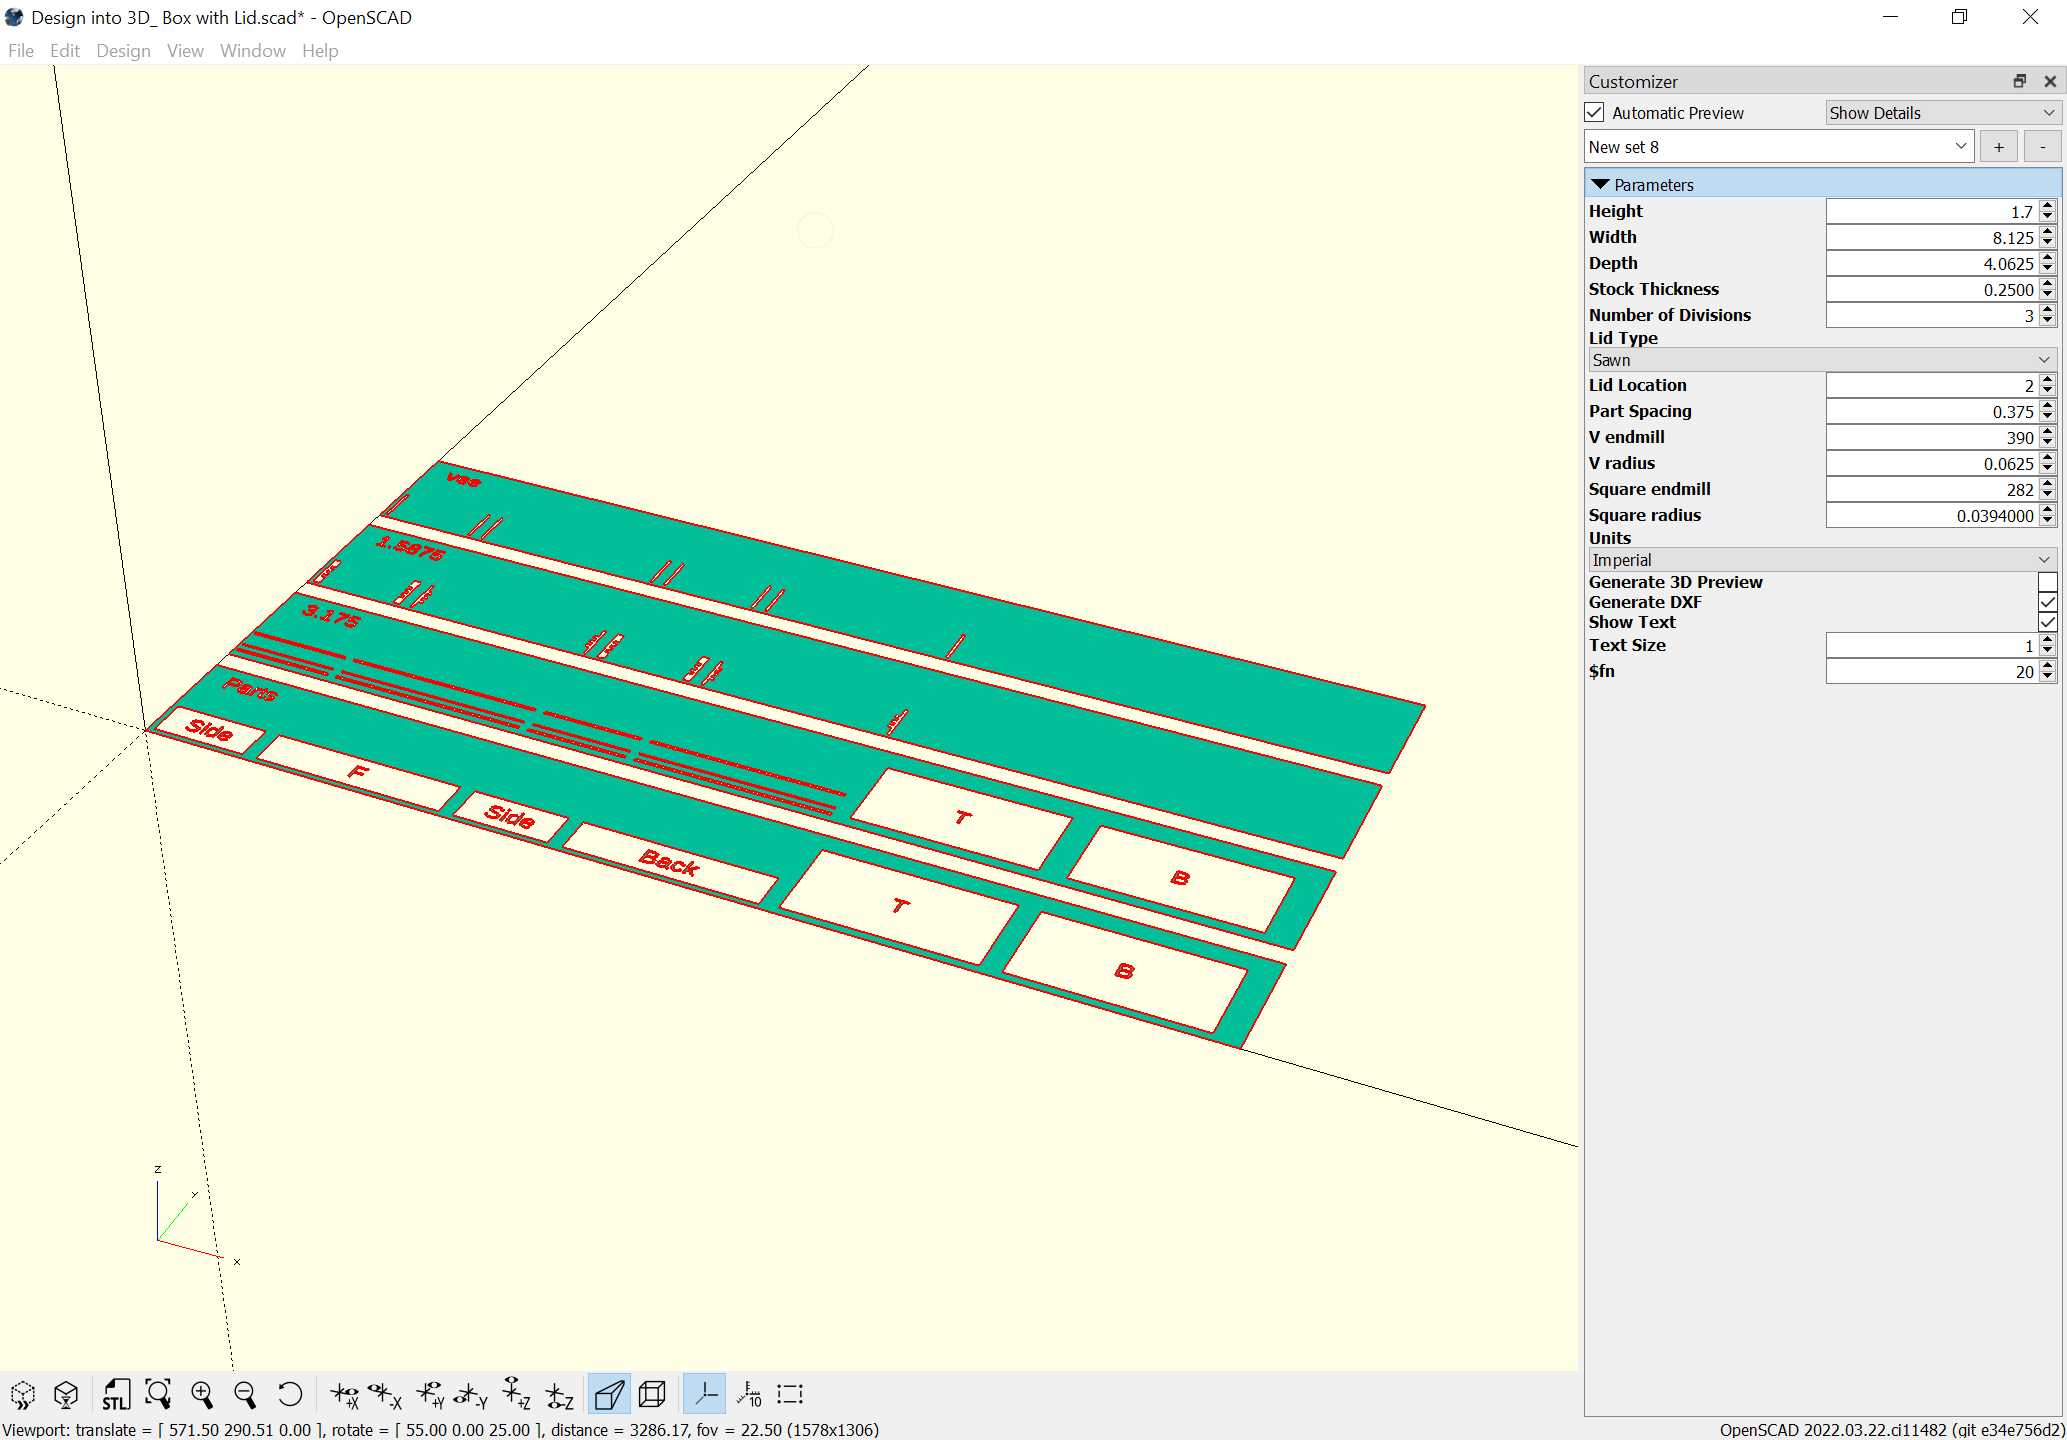
One thing I noticed is that the depth of the joint may be wrong. Of my two questions above, the first one sets the depth that the pocket will be for the joints.
According to the above, the stock is .25" the height of the end mill is .125" The difference is .125" = 3.175mm. I used1.5875mm, which seems a bit shallow.
Will,
Unfortunately, my saves in OpenSCAD didn’t preserve my setting changes. I guess I didn’t save it properly.
This might not help but here is my best recollection:
I know that I used a stock thickness of .25 and the default dimensions. I used the 390 v-bit and I recall using the #282 as it was. As it turns out, I used a 1/16" bit when I did the cuts though. I figured this wasn’t going to be an issue (I discovered this after the fact).
I believe the problem is the joinery depth (1.5875) is being given as the height from the bottom, but you interpreted it as depth from the top of the stock.
I’m hoping we’ll get a bit more control over SVG import which will ameliorate this sort of difficulty.
Will,
I seem to have issues with corners no matter what. This time I adjusted the depth of the cut for the joints to be the depth from the bottom of the stock. Here is what I am getting now. It’s confusing.
OK, That seems fair… I guess correction should be 50% of the gap width reducing the depth of the pocket (my cuts are relative to the top of the stock). It did help to use the v-bit after the cutting the pockets for the joints.