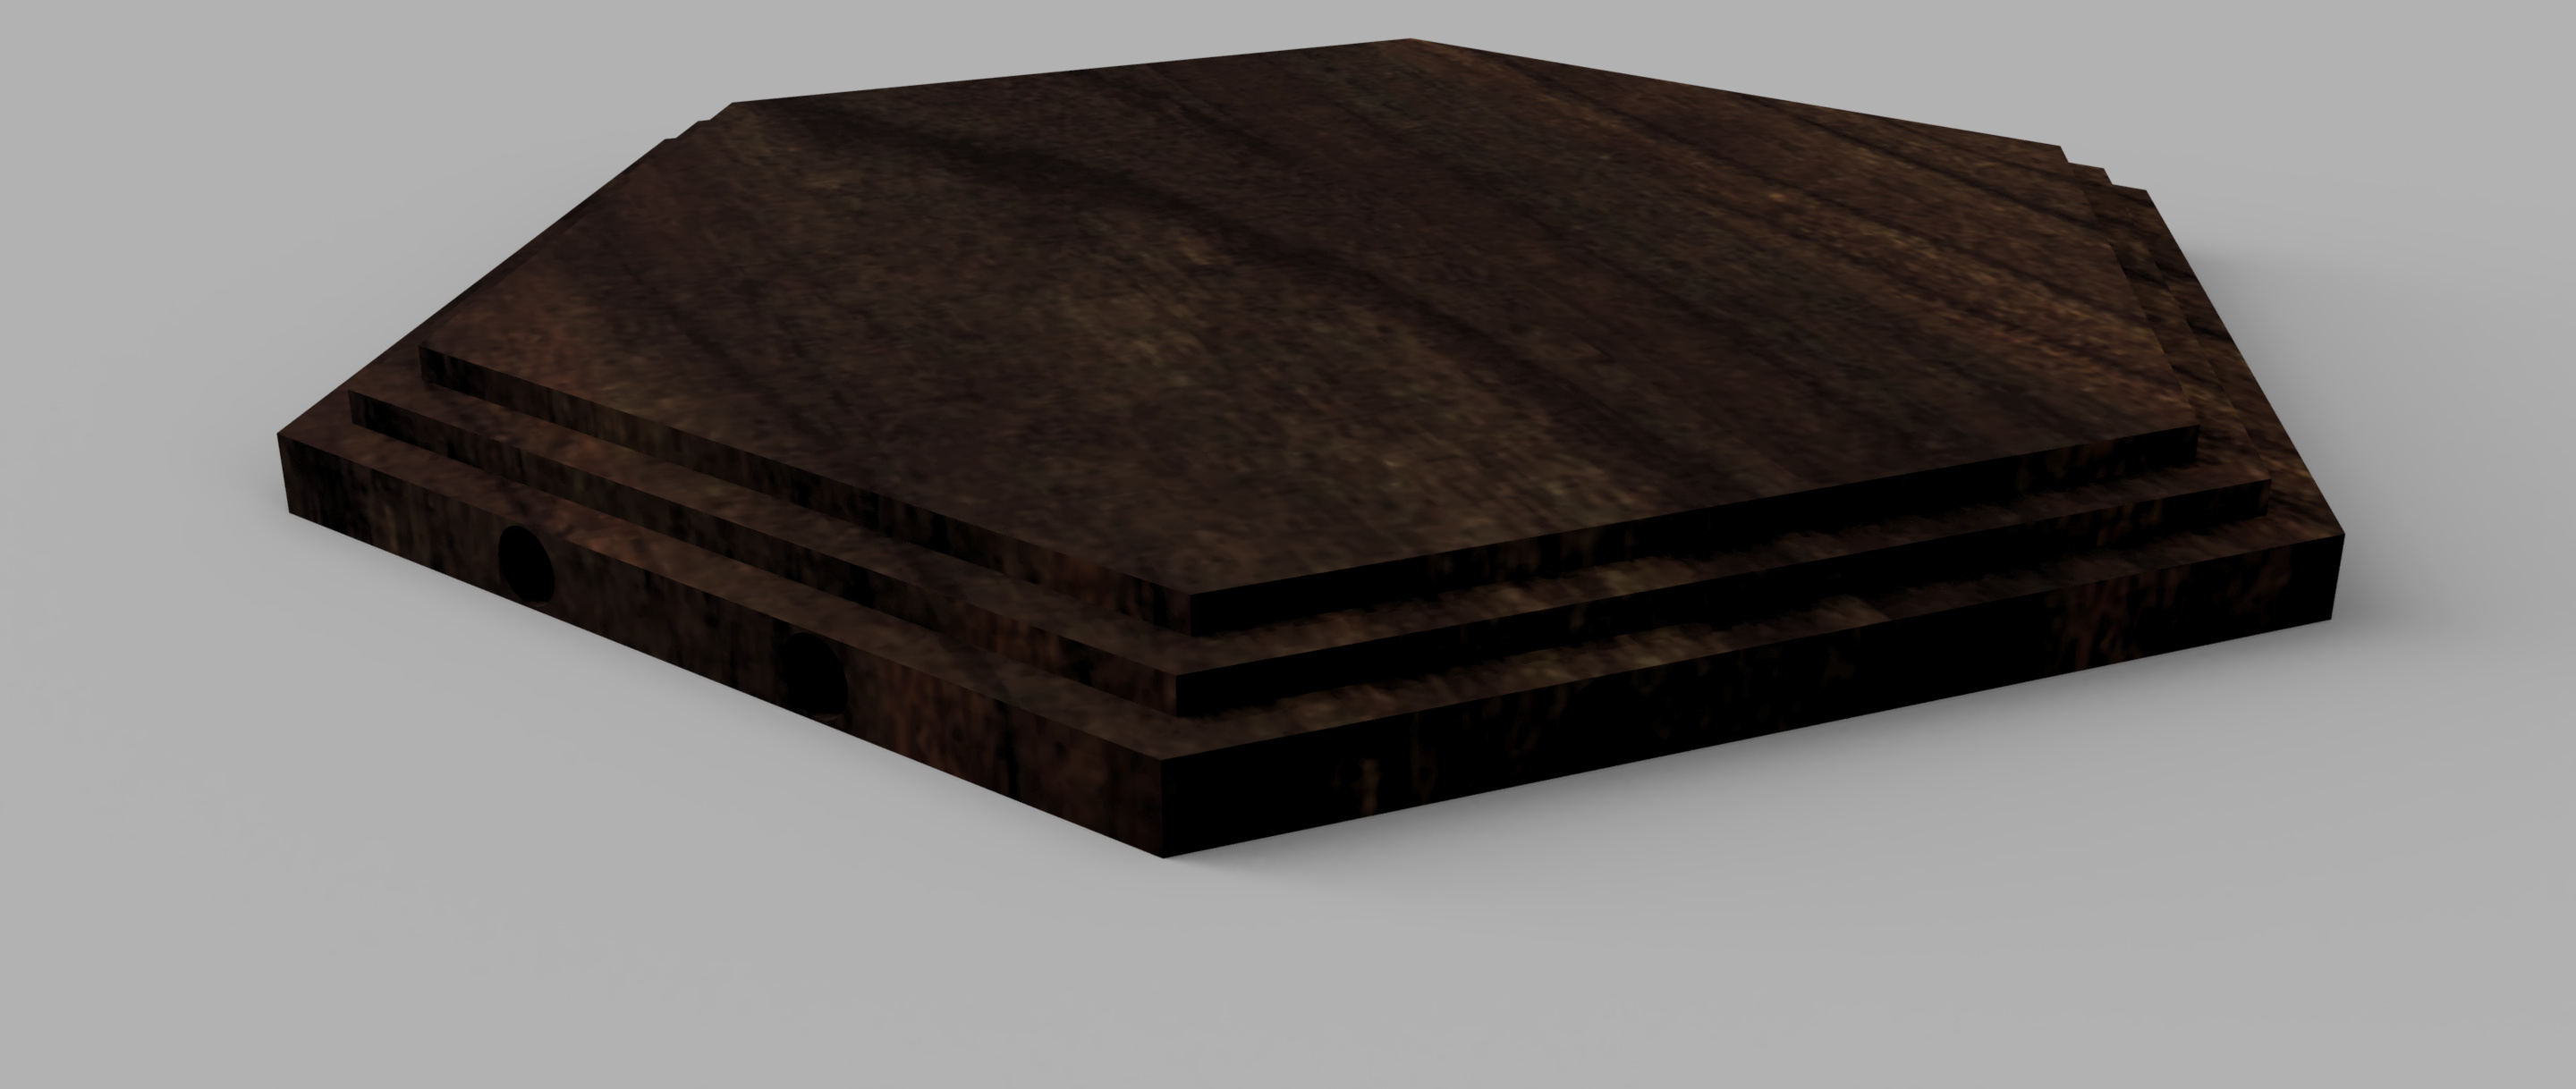
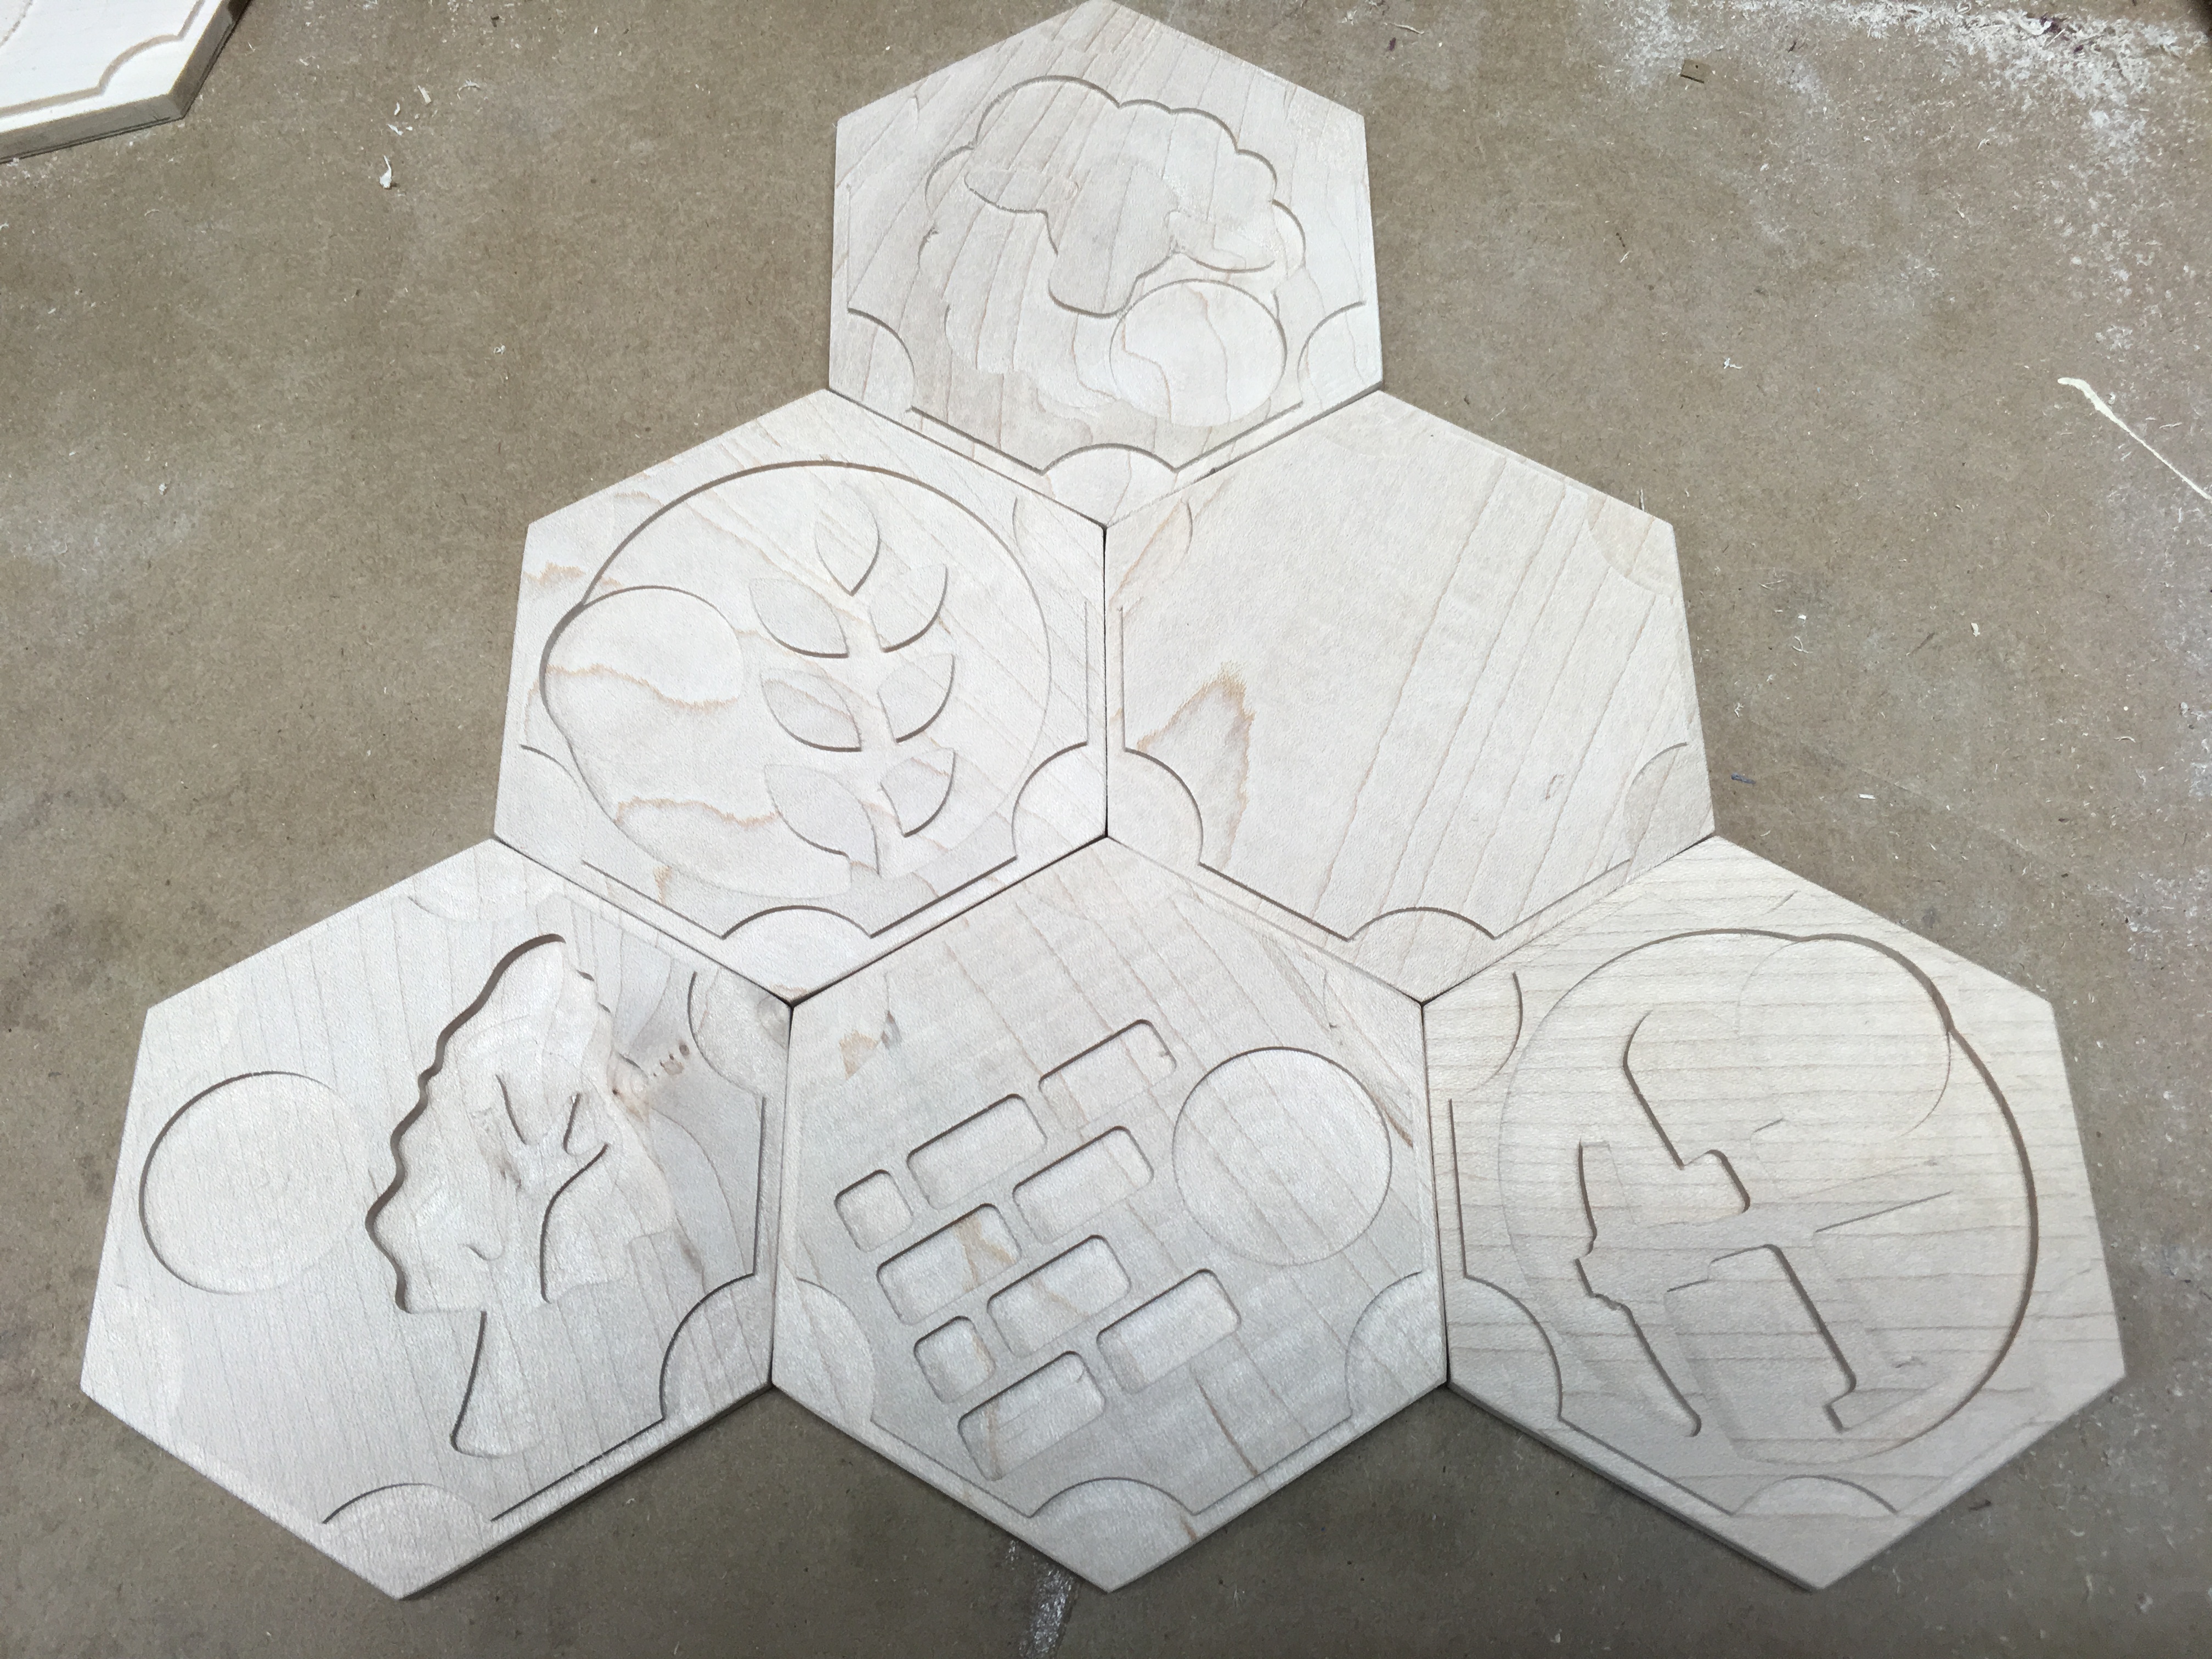
Here’s a game tile, for a game with some settlers, sheep and mountains. It’s intended as the base for a more specific tile, not for having the originals games tiles glued to it (though it’s parameterized such that you could if you were so inclined)
There are holes around the edges (intended to be drilled after milling) for 1/8" ball bearings and magnets. Into every other hole install a magnet and every other hole a ball bearing.
I had a similar need for drilling holes on edges of a piece after milling, to put magnets in them, and struggled get a good enough precision when drilling. Do you have any advice to share on how to drill these edge holes in a very repeatable/precise fashion ?
I have a super cheap Wen drill press - it’s nothing special. The “fence” is made up of a block of of wood and a clamp. The “stop” is likewise fancy…a block of wood and a clamp.
I would cut a drill jig that fits the tile. You only need to get the holes right once (on the guide) then the rest are easy. Best if it is dine in metal for durability, but a good hard wood does surprisingly well with a little care.
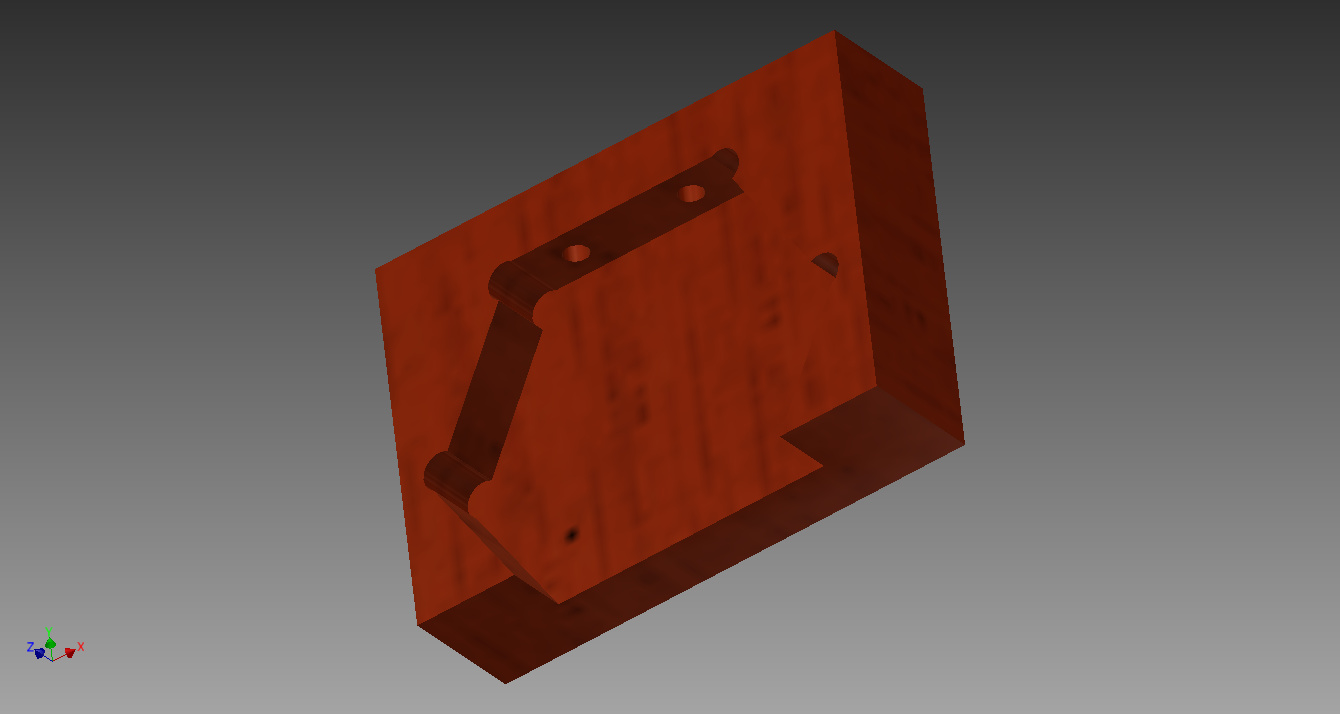
I might use a chunk of oak (I have a lot on hand) twice the tile thickness, machine a pocket for the tile in the face, such that the tile sits flush to the top and machine an edge of the guide parallel to an edge of the tile and about 10 to 15mm away. Drill the guide holes into the edge, using a square to align the drill bit. Then, drop a tile in and go to town. pop it out and reinsert rotated by 60 degrees and do it again.
I would cut the pocket so that the far edge of the tile hangs off the far side of the jig to make it easy it easy to remove. The corners in the pocket don’t need to be perfect, so overshoot one end of each edge (as a groove) to leave clearance for the tile corners. I would cut it with about 0.25mm oversize on the pocket. Close enough for wood, but loose enough to get the tile in and out easily
Edit: took 5 min and threw together an example in Inventor
I changed the way the spacing for cities and roads worked, and like this better. The new template is at the same place on grabcad. “GameTile Type2” has the new cutouts.