@robgrz has released the new Layers feature in beta, and experimentation has begun! @fenrus made a really nice tutorial (here) to show how to put objects onto the layers and how basic layering works.
I was thinking about how I would use layers - and resurrected an old project of mine where I really could have benefited from the layers functionality. I thought I’d share it here.
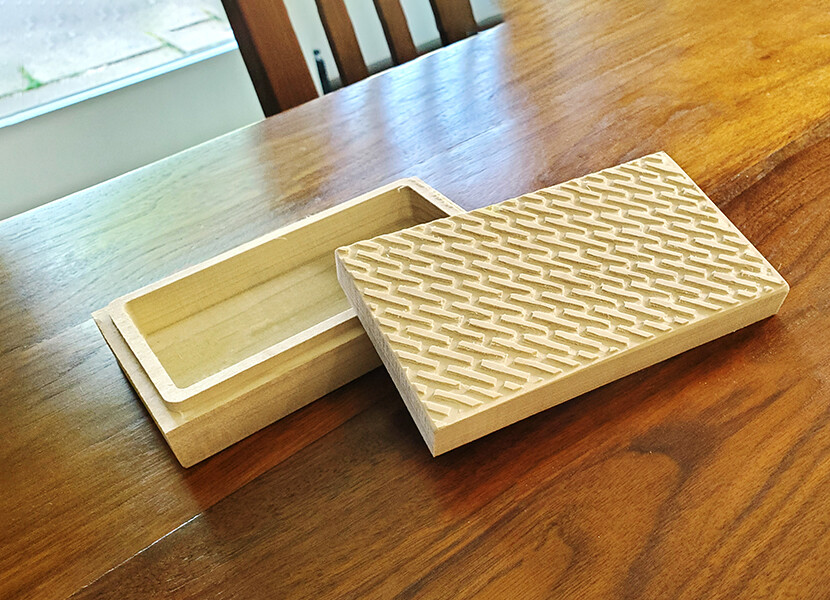
The project was a small box with a mating lid and a subway tiled etching on top.
When I created the box originally (without Layers), I wanted to have a single design file (a single c2d file) that shared a few common components…but when you go to create the toolpaths, it can be really difficult to identify which pieces belong to the top of the box, the bottom of the box or the etchings on the top of the top of the box! It was also difficult to make the selections accurately.
Original design all in one file:
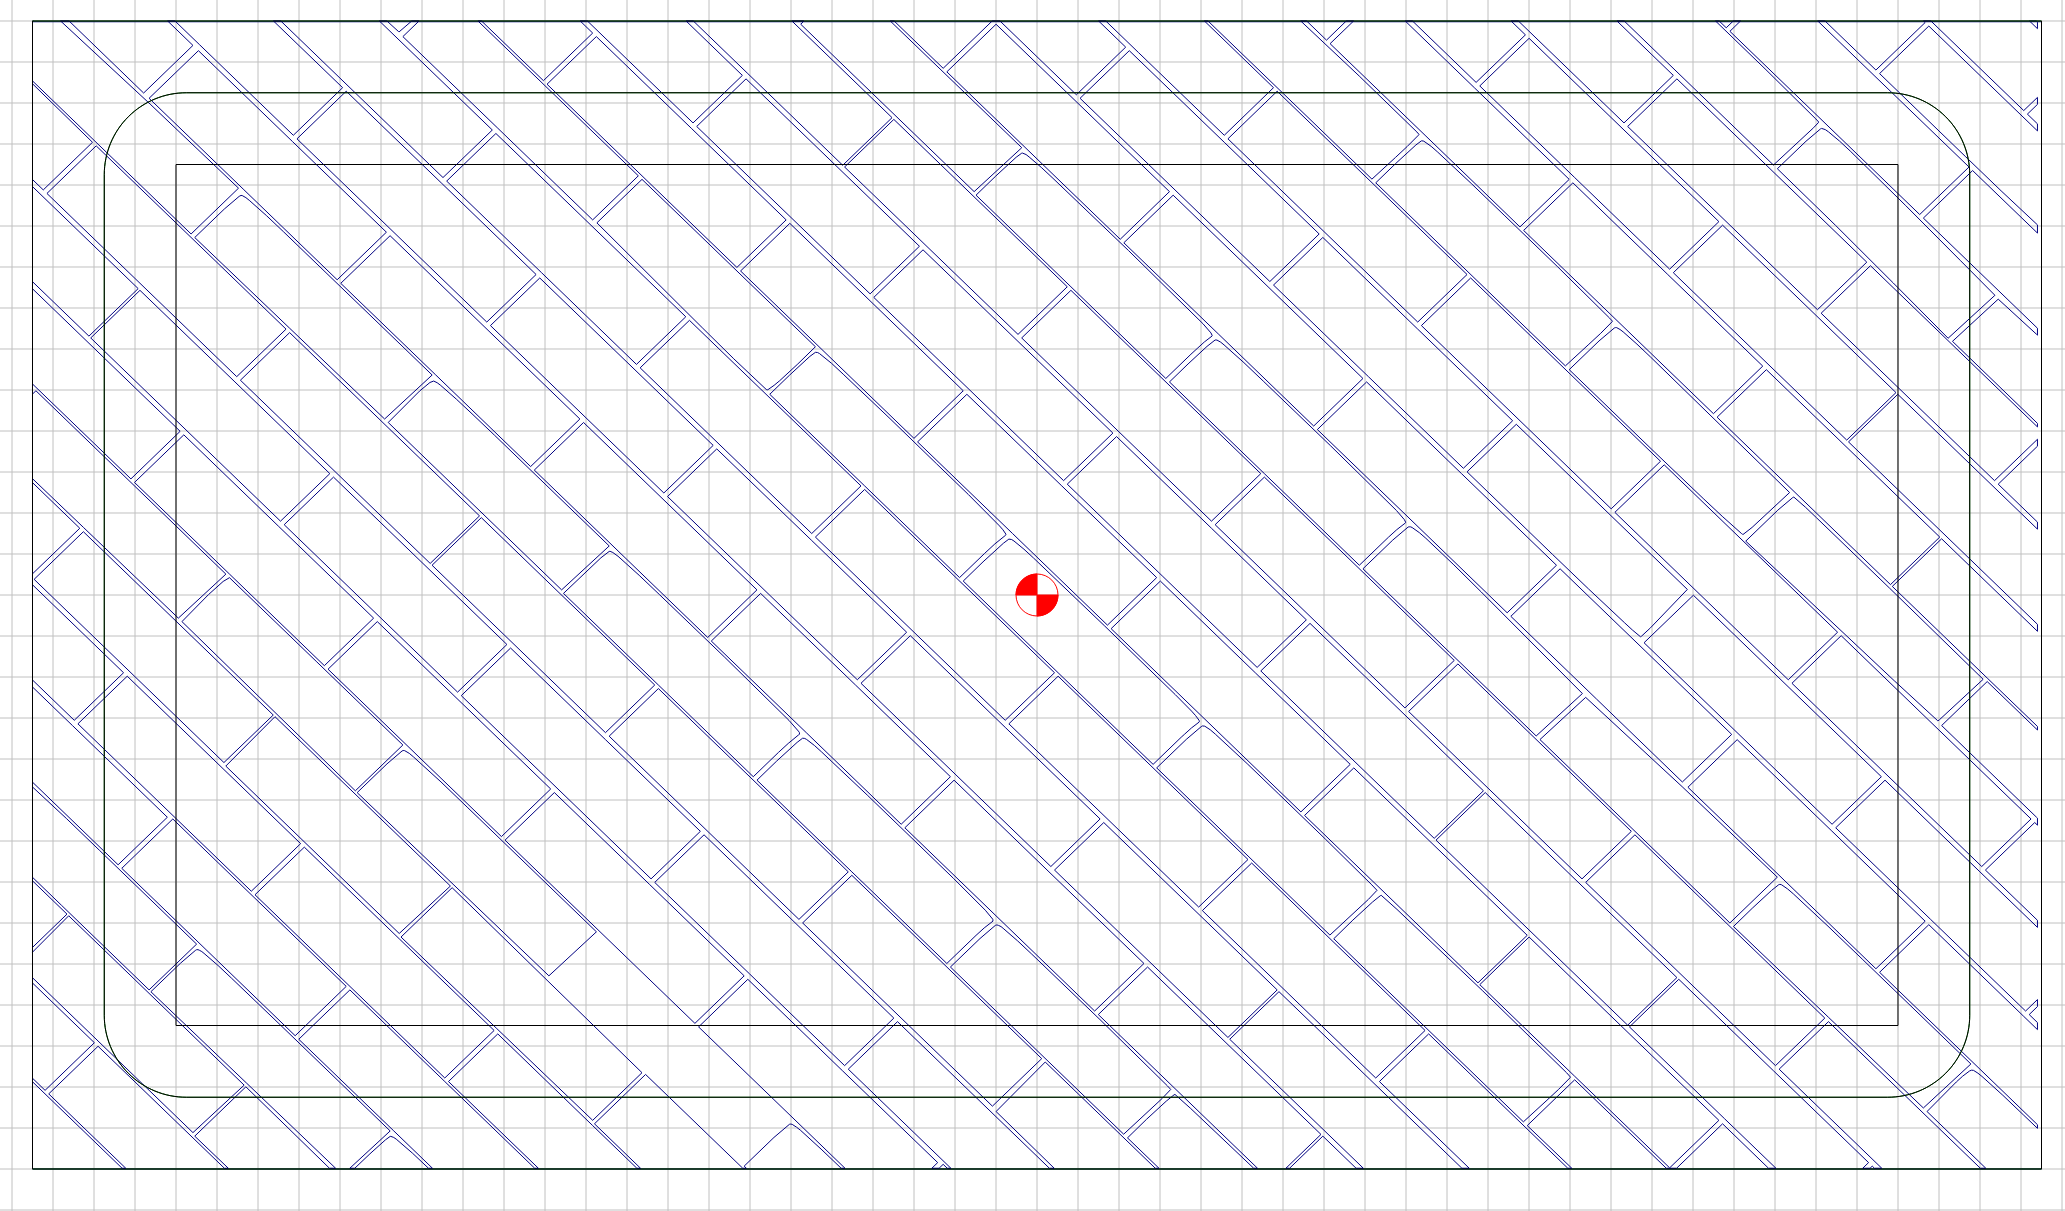
In order to create the toolpaths - with everything visible in the design, I had to visualize which lines belonged to which part.
Organizing this into layers really helps:
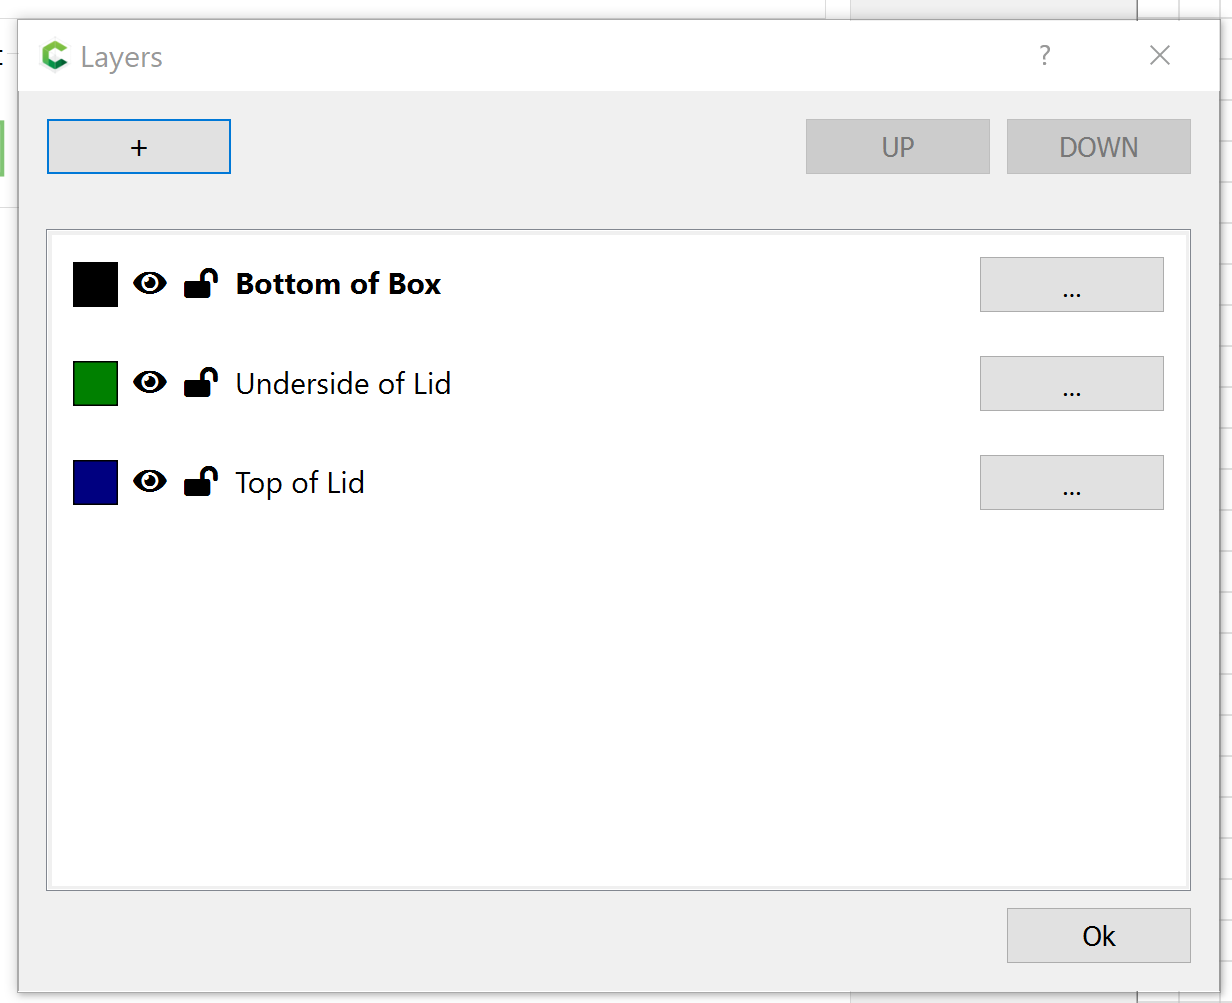
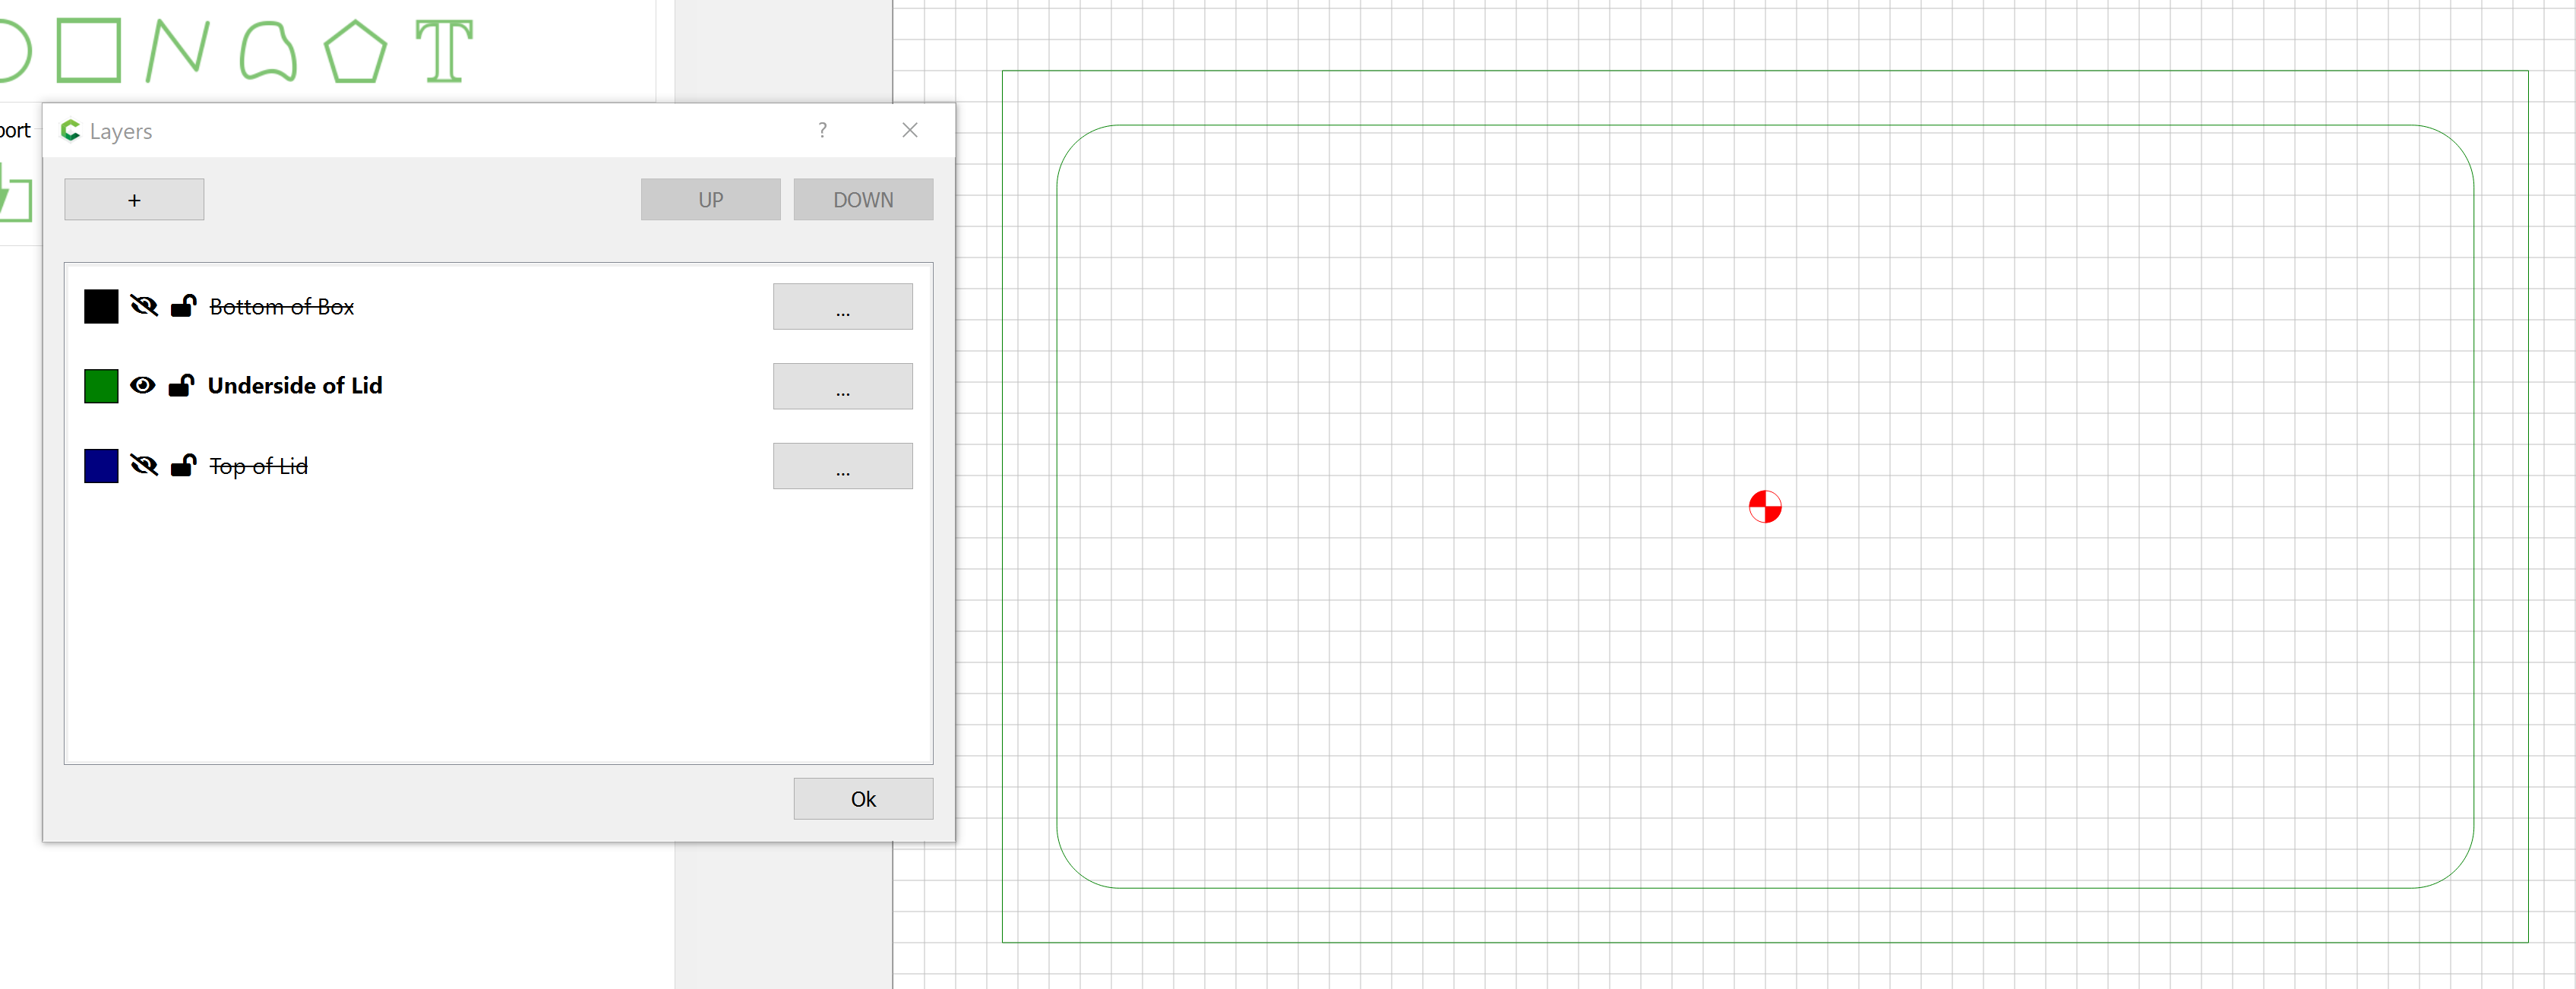
First, I created a layer for each part of the box which would require separate toolpaths:
Then, I placed the appropriate parts into each of the layers. NOTE: Since I was retrofitting an existing project, I had to select the objects and move them into the layer. Had I been designing this from scratch, I would have created them in the layer originally. Use @fenrus’s tutorial to learn about manipulation of objects.
Also note: You may have to copy some objects so that they can exist in more than one layer. This is a little kludgy - and I can see some maintenance issues if sizes need to be changed, etc. - so maybe we can come up with a better way of allowing an object to belong to more than one layer???
Box Bottom:
Underside of the Box Top:
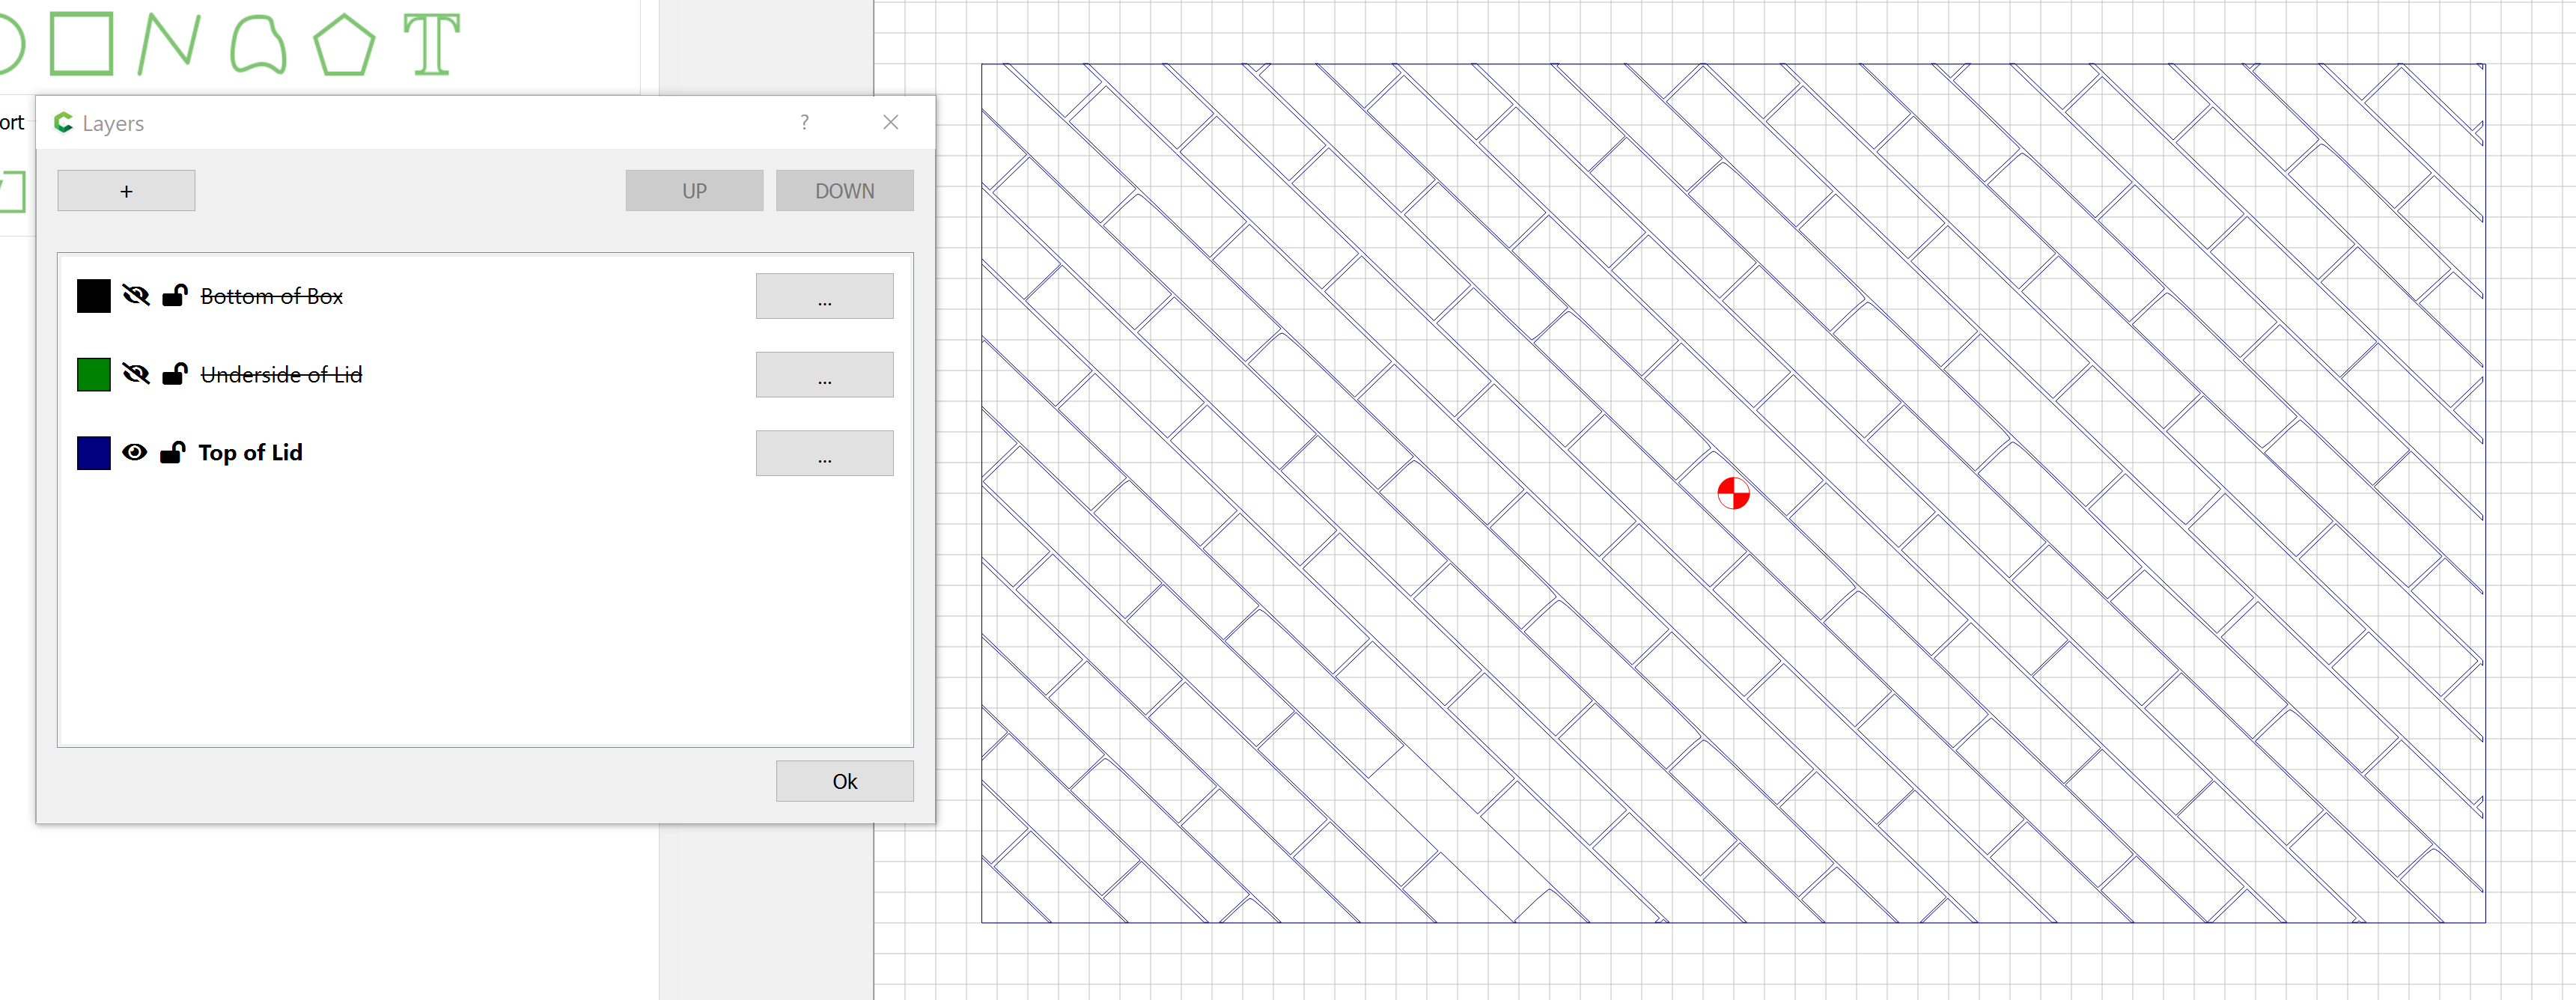
Top of the Box Top:
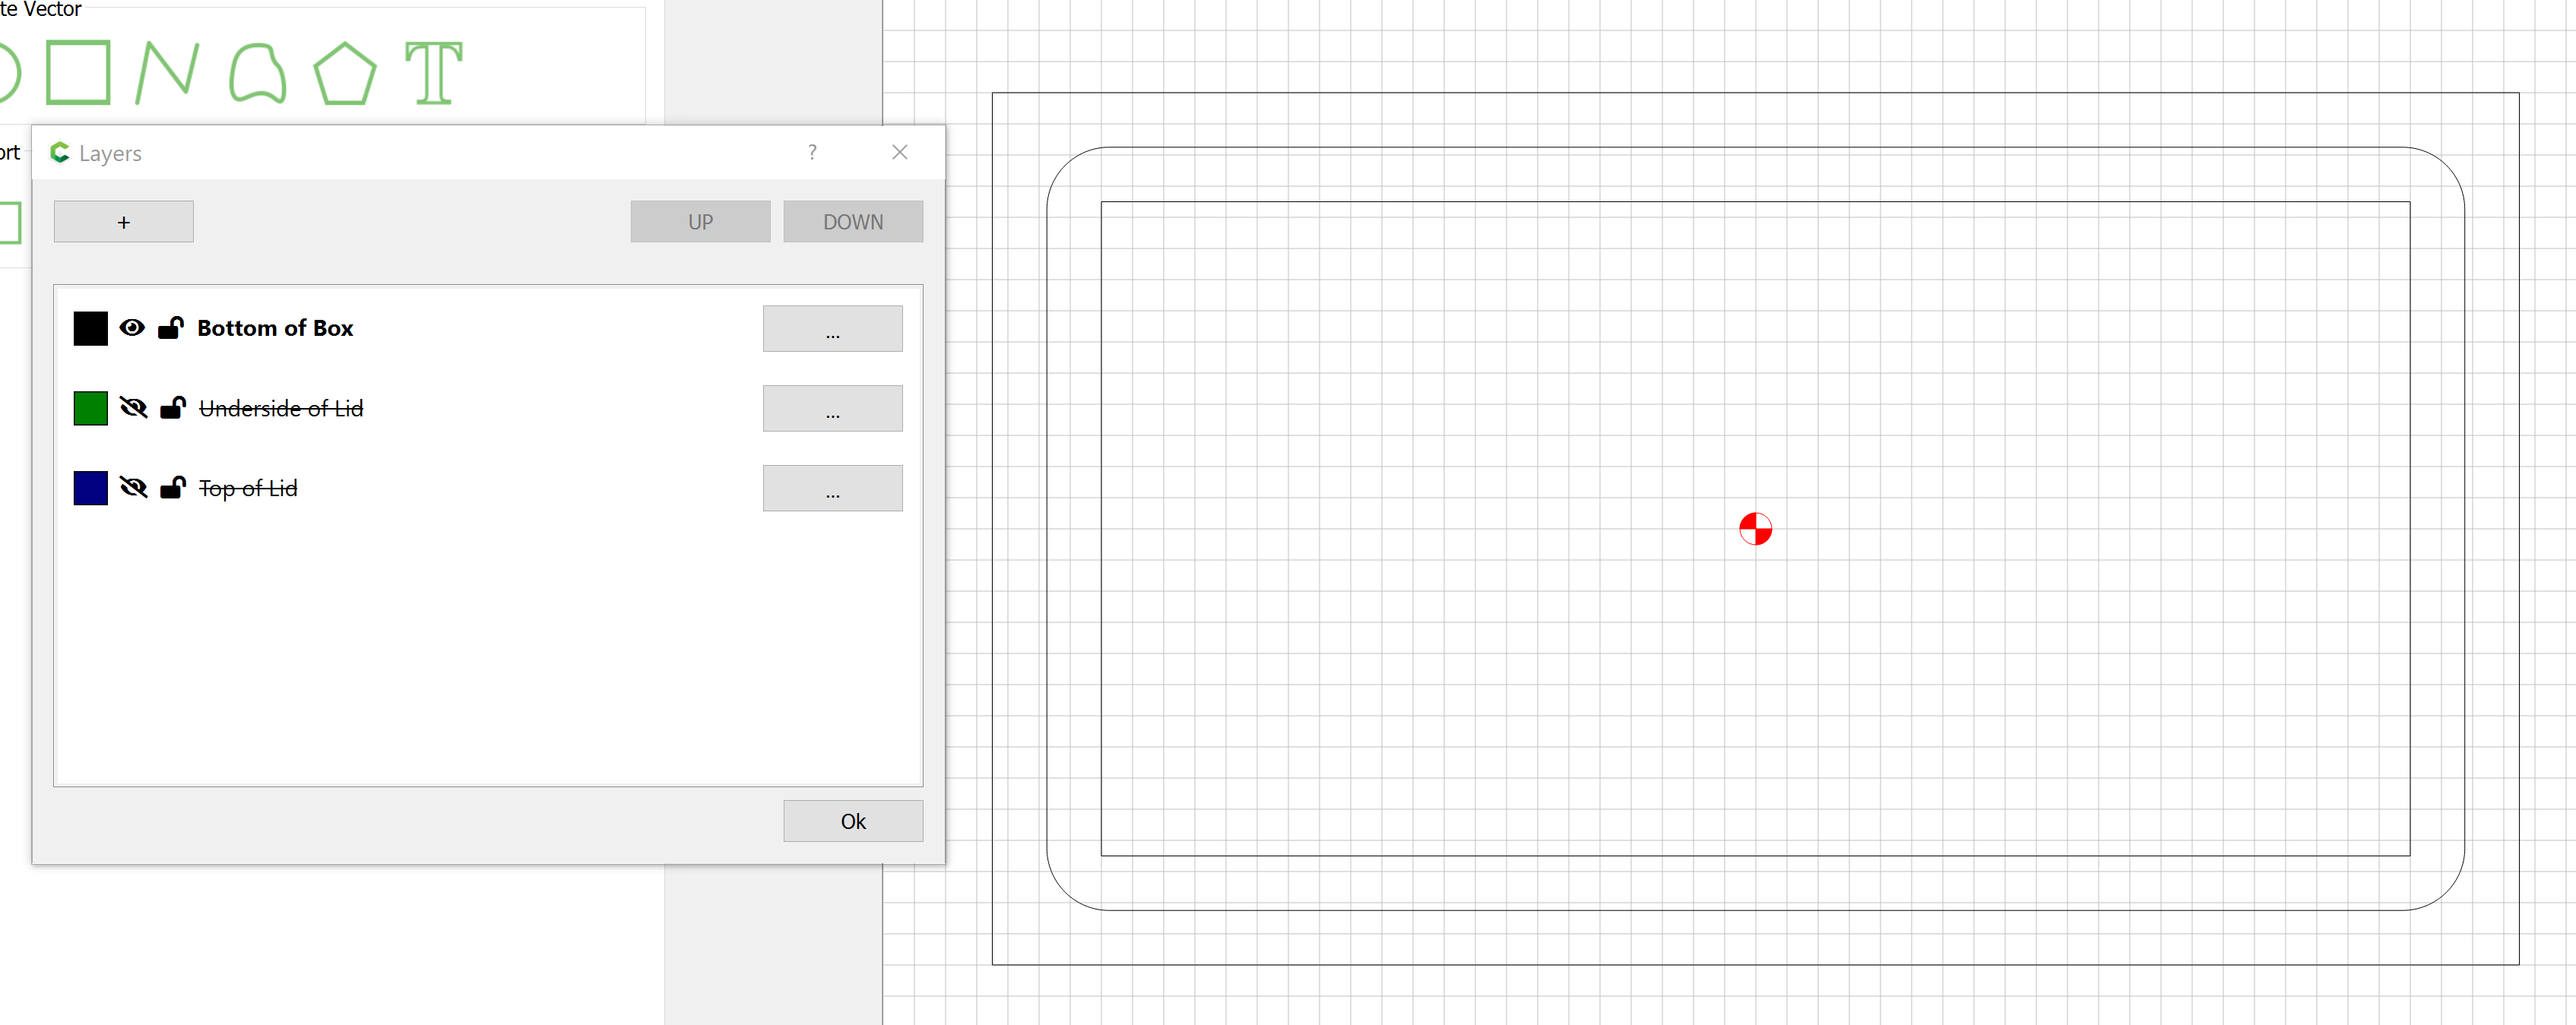
Then, it’s easy to only make one layer visible at a time and create the Toolpaths to cut them out!
Setting toolpaths for the underside of the lid:

This is really a nice feature that I can see will greatly improve the usability of the product! Hope this helps to clarify at least one usage!
- Gary