The deeper you go the bigger you have to make your feature because you are having to get your bit down there to do it and taper or vbit just get wider. So it’s a trade off. From my research in these guys this is a sweet spot. Everything can be adjusted based on your need or observations.
So far I have not found a need to give any more meat than this but now that I’ve said that…
Thoughts on if using VCarve Pro (unfamiliar software to me) would be easier than continuing down the F360 route… Everything is cooperating on the female side, but something is majorly wrong with the male side in the shared file…
If you wish to assist directly, Here is my coloring strategy. Each color is different type of wood.
While I use Fusion360 for 90% of my projects, for vcarve jobs I use VCarve (Desktop) because it cannot be easier and it handles complex vectors like a champ.
VCarve learning curve is pretty easy, an hour and you should be all set.
currently installing a windows VM. Thanks for the heads up of what’s coming. F360 correctly identified all the pockets/paths correctly after a few tweaks. Upsetting to see there still that much wrong with it. Did you use the SVG I posted with the colored animals or the original one?
Nevermind, I just noticed you properly created layers in the SVG, the overlaps go away/don’t matter if you plan to vcarve layer per layer.
There are a few node issues which I’m fixing right now (because why not), updated SVG upcoming
EDIT: VCarve vector validator is pretty picky, but that’s a good thing to end up with a perfect vcarve
I don’t see a way of controlling the starting depth-of-cut (DOC) in V-Carve when cutting the Plug/Positive side. Since I want .25” deep inlay that means plunging .23” with a pretty tiny tapered ballnose. That seems… Like a lot.
Since my plugs are all different species/color I don’t see a practical way of telling V-Carve that my setup-stock for the plug is not the same as the whole cutting boards (~19x18)…. my stocks for the animals are significantly smaller so as not to be wasteful. What is a workaround here apart from taping my stock for the male plug right on-top of where it’s “supposed” to go. (I doubt I have the Z clearance to do that anyway 2” board and .75” leaves very little room.
When cutting the negative i’m using an 8.2% stopover and 76.6% “clearance pass step over” I feel this is pretty aggressive and its still taking quite a while… Adding an additional 1/16” diameter endmill clearing operation after the .125” doesn’t really improve things much and adds an additional tool change (which is just another thing that can go wrong)…
For 2), there is indeed no way to declare multiple stock setups in a single project file, but you could copy/paste your individual male inlay elements into their own layer (VCarve “design layer”, not SVG layer), and position them all e.g. in the lower left corner of the larger 19x18 stock so that effectively it’s equivalent to having declared a custom stock of just the required size.
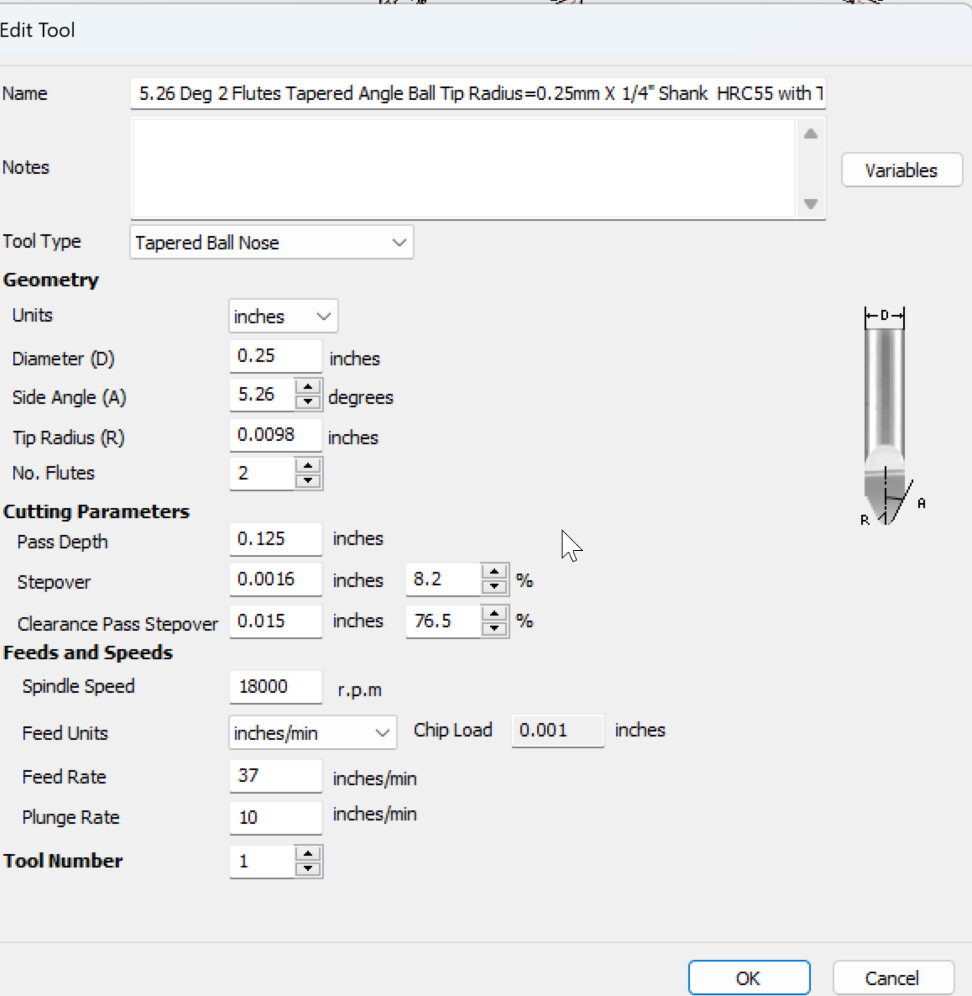
For 3), as far as I am concerned when using very small angle tapered endmills there is no great rule of thumb for feeds and speeds so I just experiment using test cuts and incrementally increase depth per pass/feed/plunge until it feels like I’m pushing too much. I suspect you could plunge faster than 10ipm, and it should matter since vcarve is plunge-intensive. You can also bump up RPM and feedrate by the same factor with no change in chipload, e.g. push RPM to 24.000 and feedrate to 37*24000/18000
I would have experimented with the file but I can’t seem to be able to open it
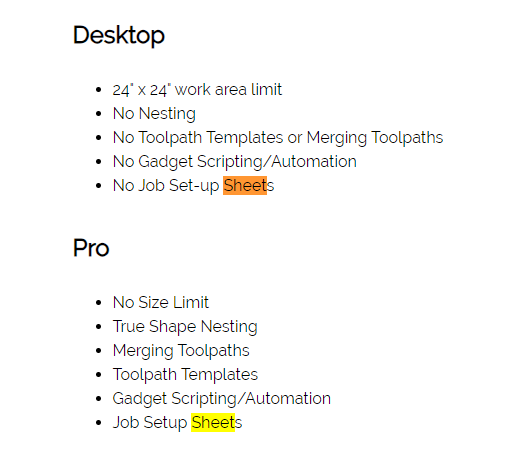
When I am doing multiple inlays I use “sheets” in V-Carve Pro. they make life a WHOLE lot easier. Each plug/pocket has its own sheet, with its own stock size. If you are not using them already, give them a go, you will not look back!
I did not think that sheets could be of a different stock size but thanks to your comment I see now that they can be when you right click / edit in the sheets list.
I was assuming that the primary stock size in the Job Setup panel set them all.
Thanks for pointing me in that direction. I recently did a project with 12 signs in it and 9 were all the same size and 3 were longer. I created 1 file for each size and had multiple sheets in each. I could have done them all in 1 file I guess
You are not the only one Cullen. I was in the same place as you until about a month ago, it used to get really confusing, not any more! I have also started using them for more run of the mill jobs as well. A great addition to the game.
I have Desktop only and Sheets are there. And very useful. At least in version 11.55.
The “Job Setup Sheets” refers to the ability to print out a sheet you take to your machine that lists specifics about the material, setup and toolpaths.
I have been watching a lot of videos from this this guy lately. He has some really useful tips including how to load more than one 3D model into V-Carve. Sure it’s kinda obvious that you can merge them externally but he shows a good way to manipulate them individually once imported. Also some handy tips on text manipulation.
12 is supposed to be out this month. I wonder if the upgrade to 11.5 would be cheaper than 12. If so then you would get 12 for free since it is within a short timeframe when it comes out if I understand their pricing model.
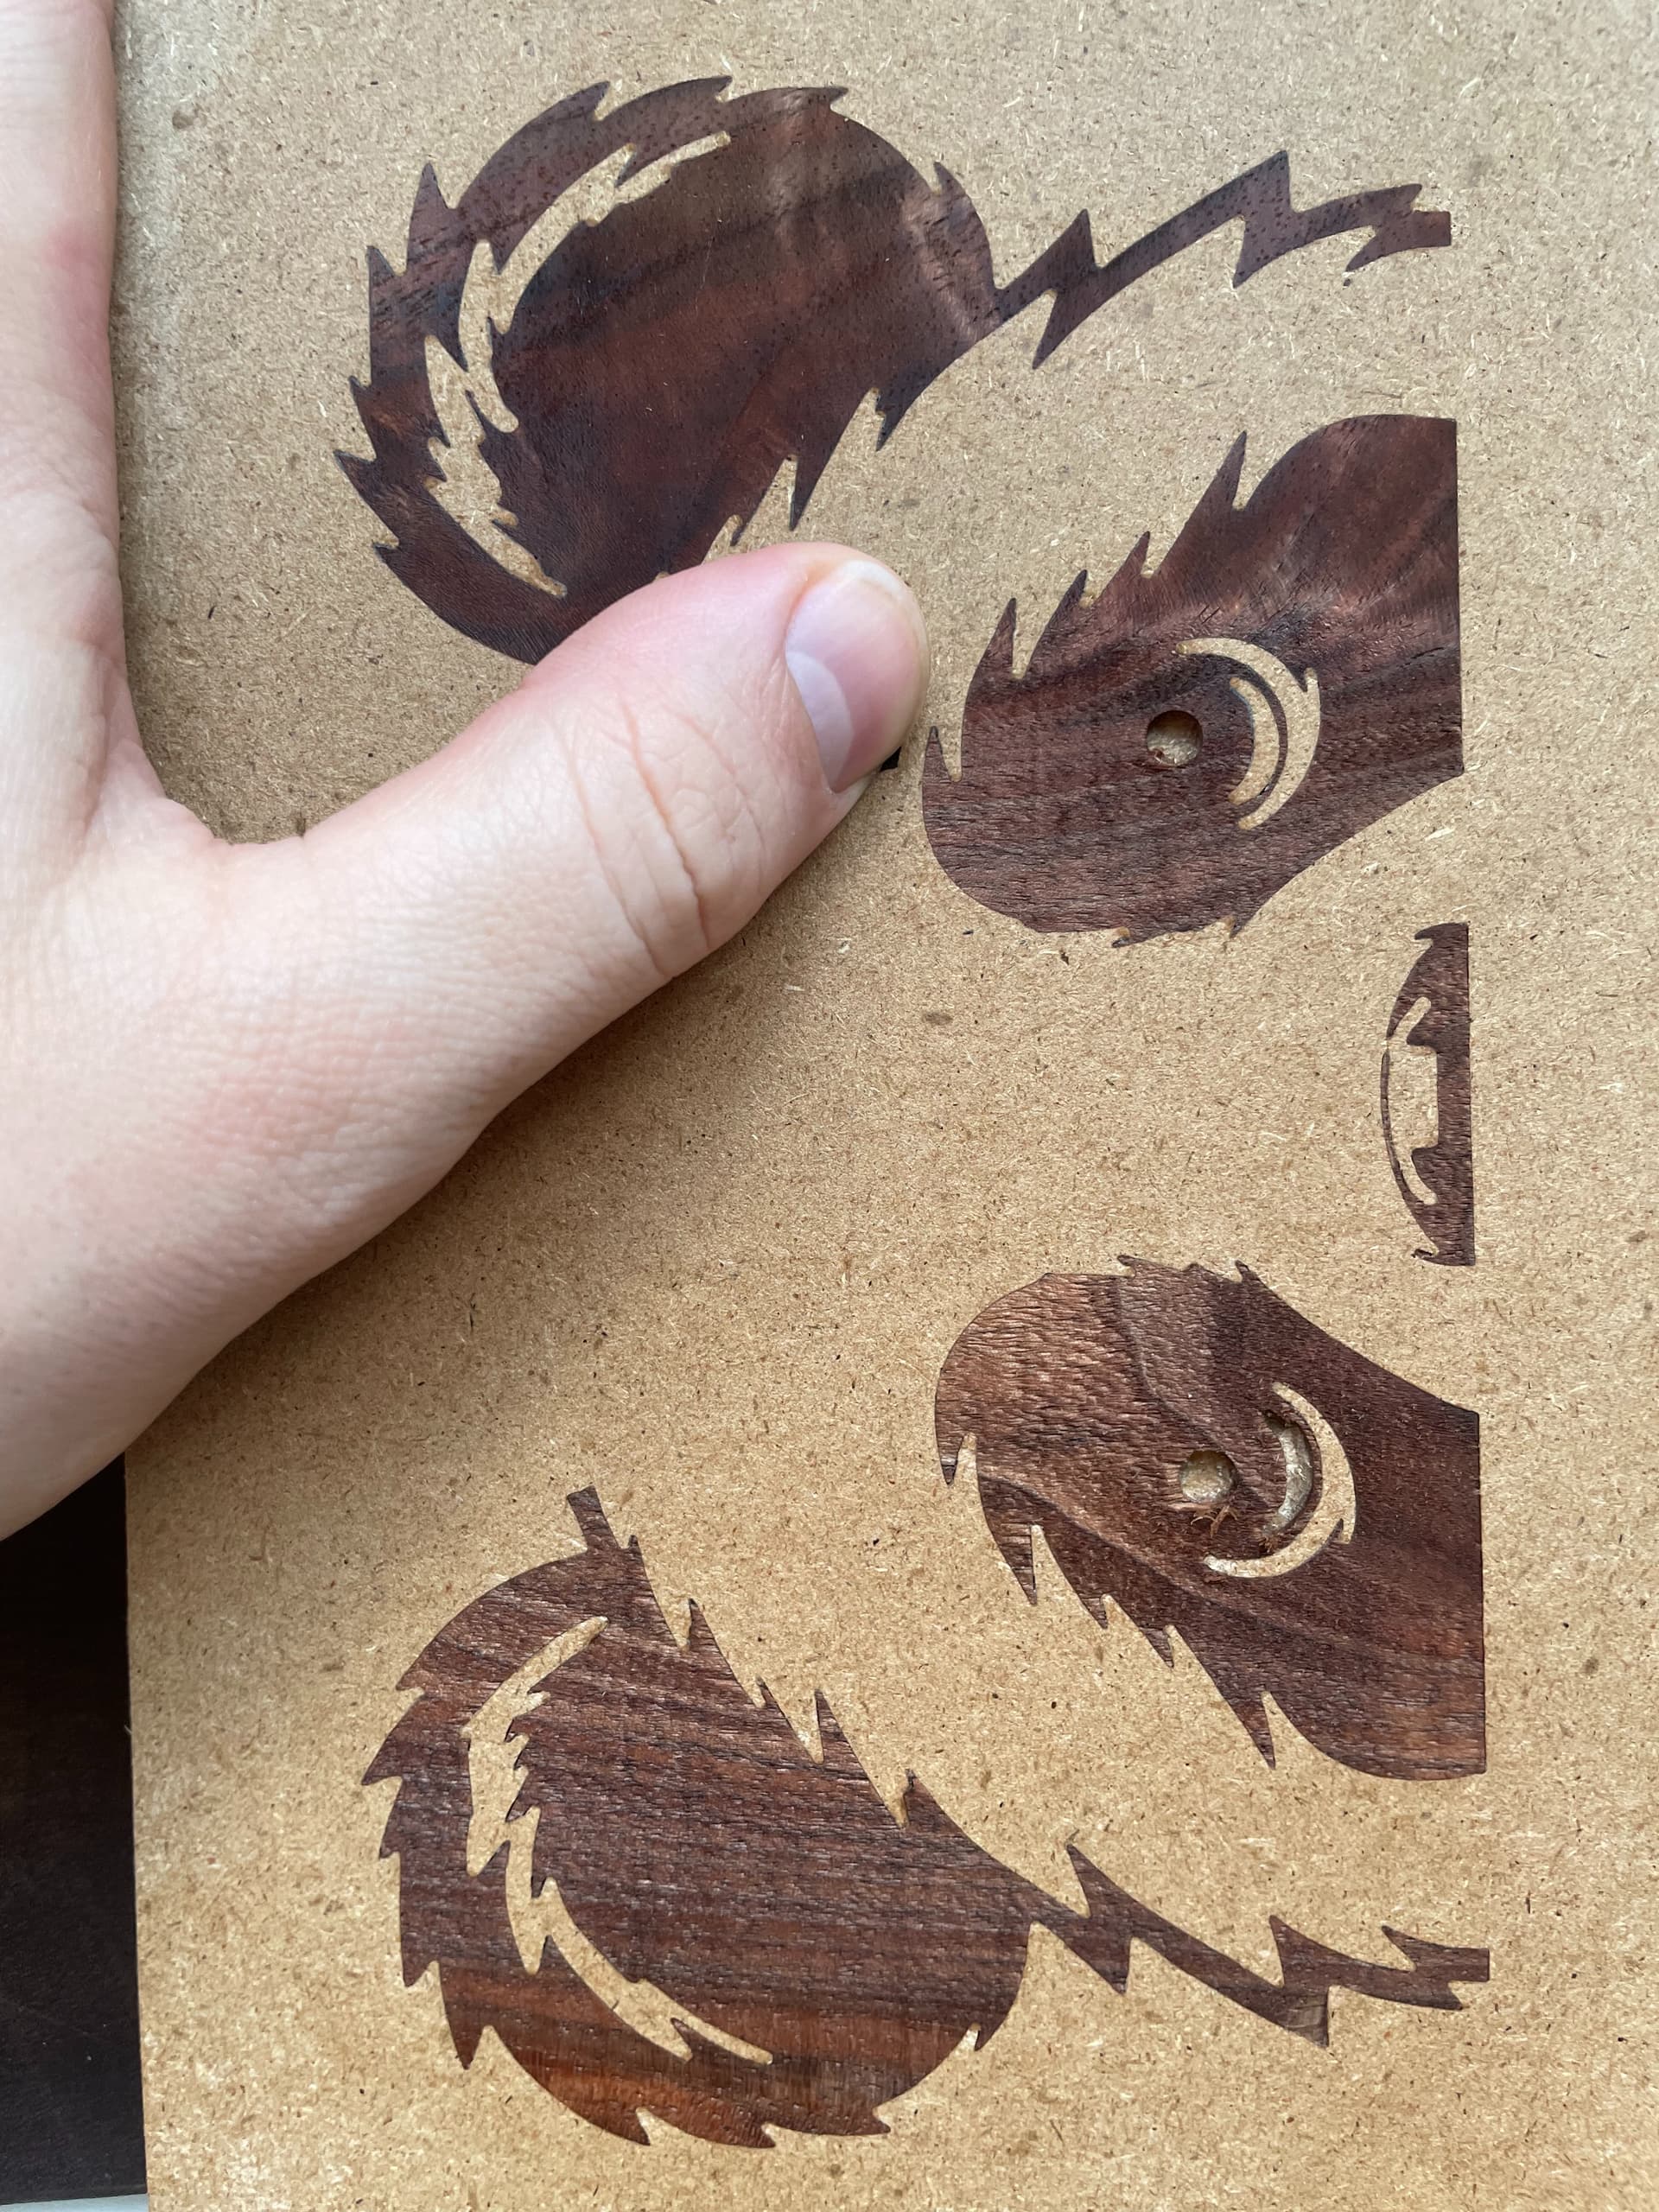
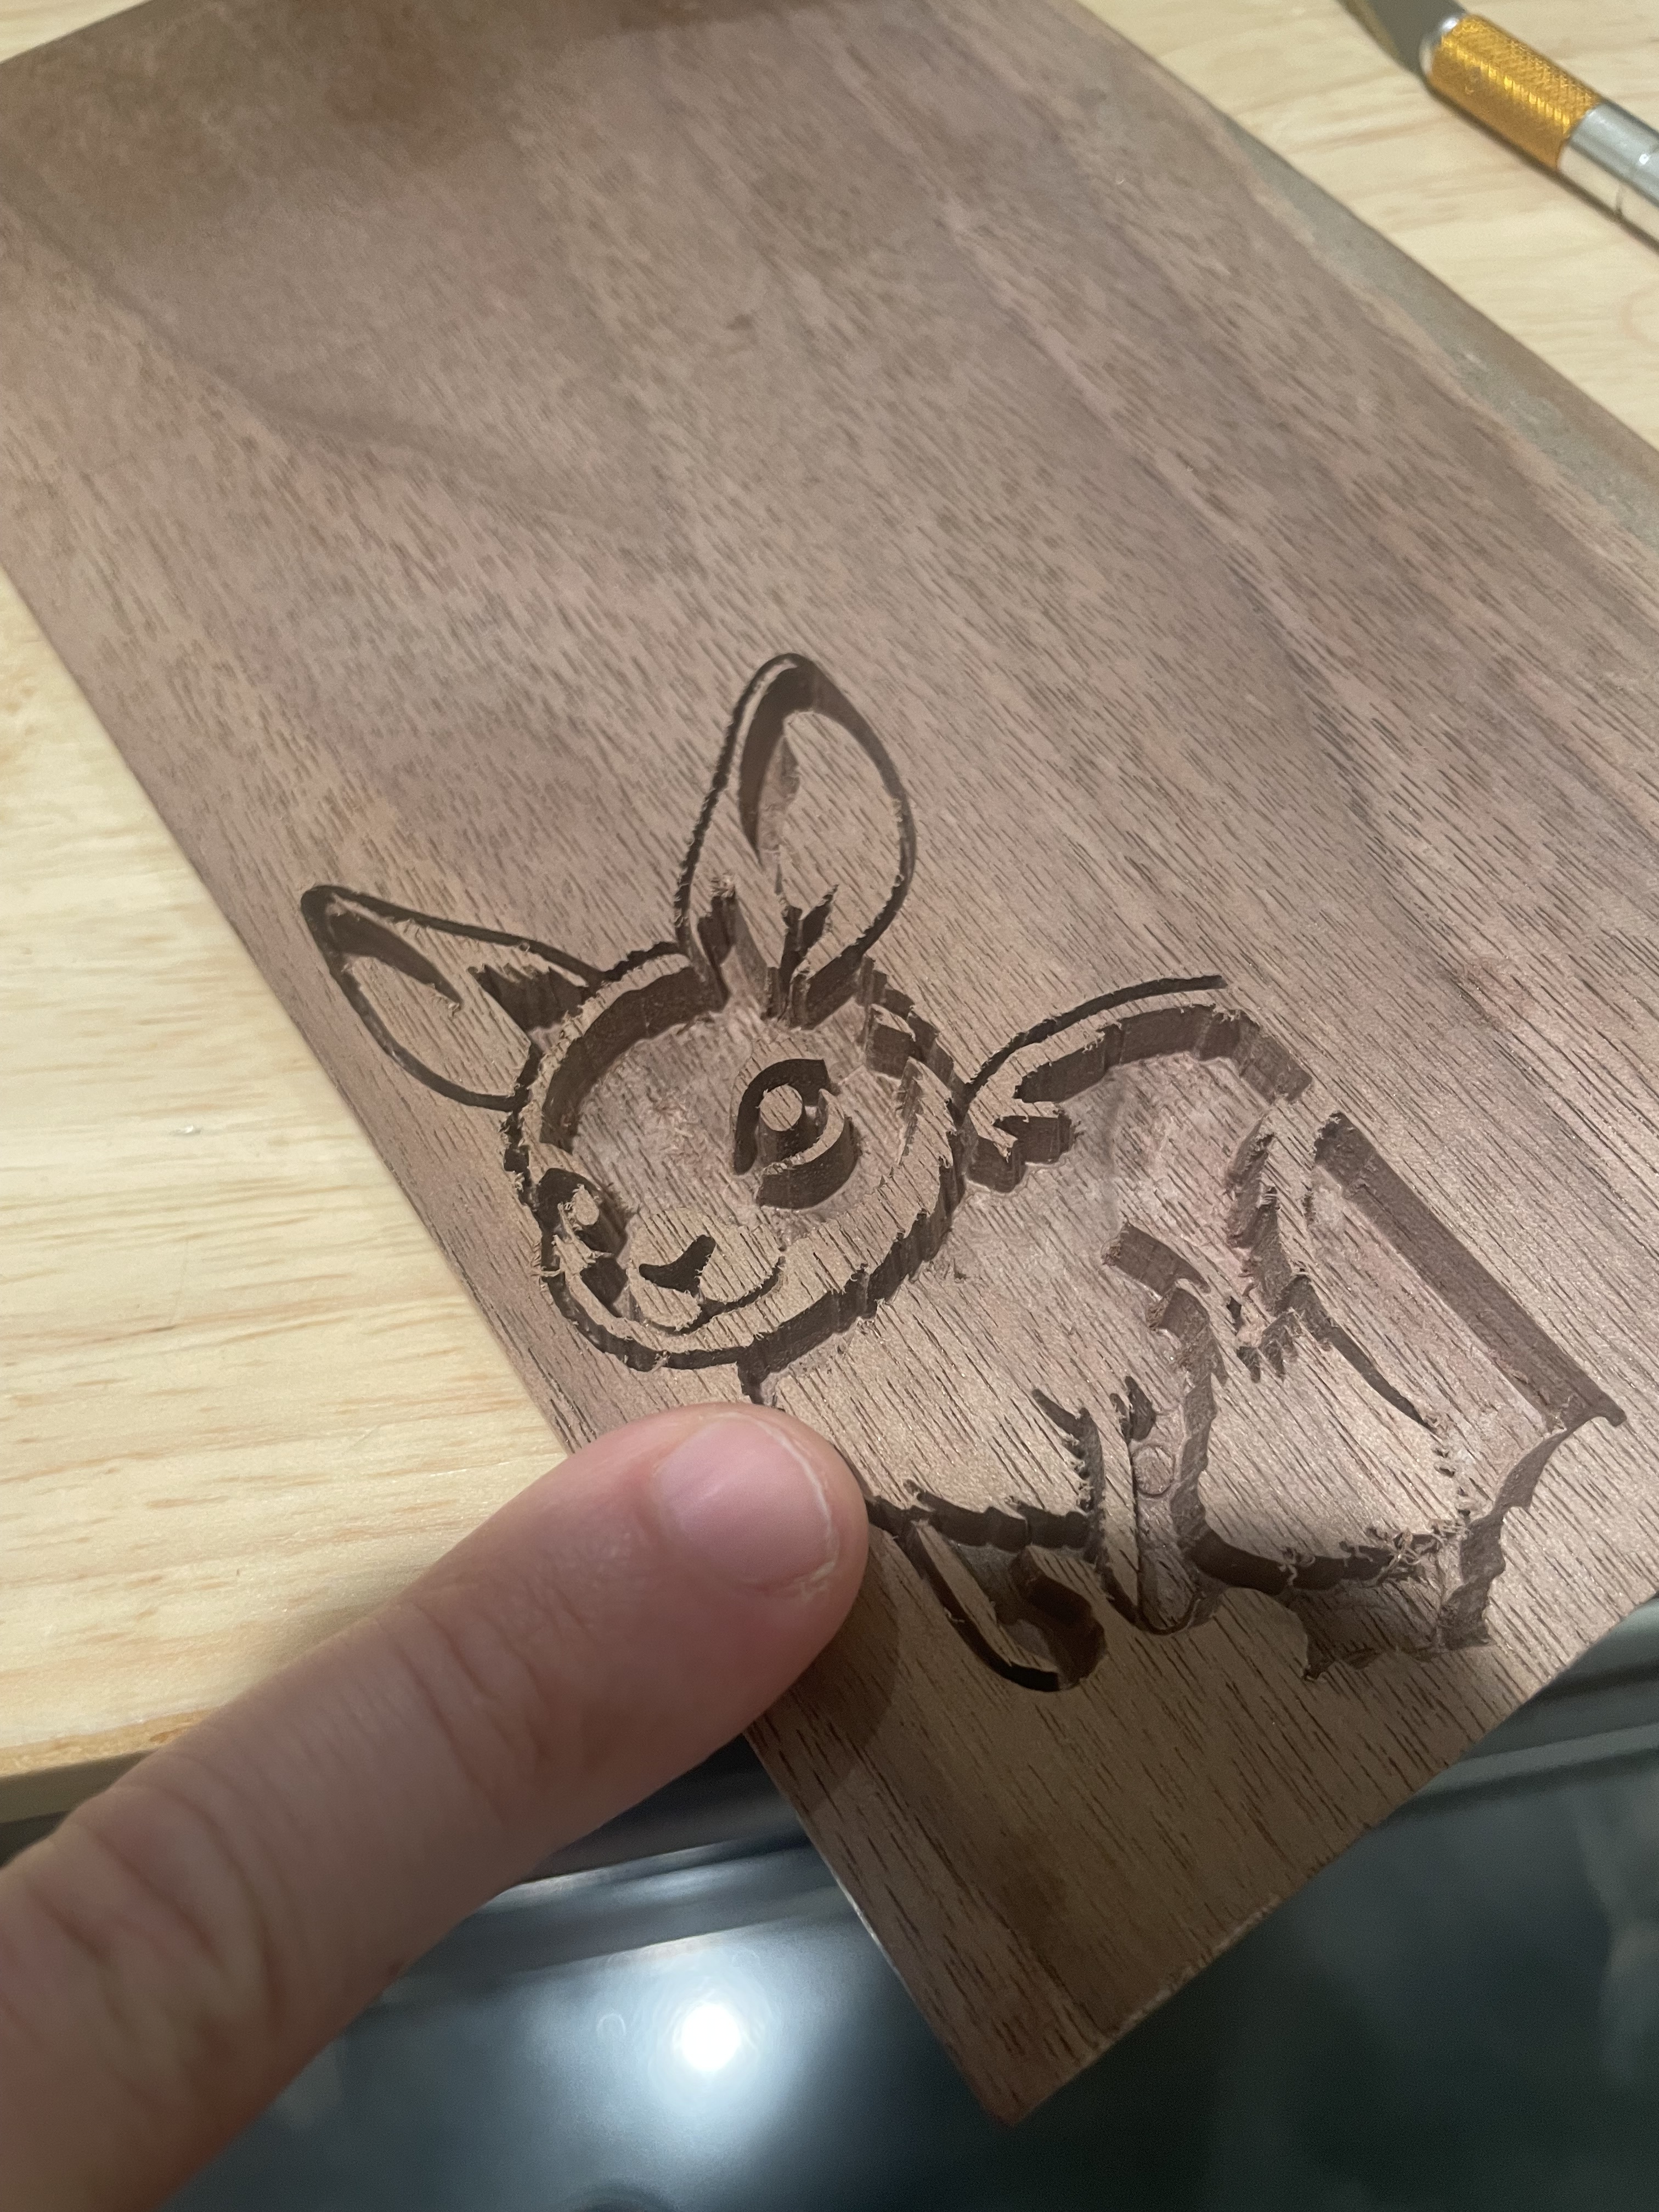
What I’m experiencing is the halves go together reasonably well with just the weight of me pressing down. But once I’m toward the bottom of the pocket the force of god standing his big toe couldnt force it down…
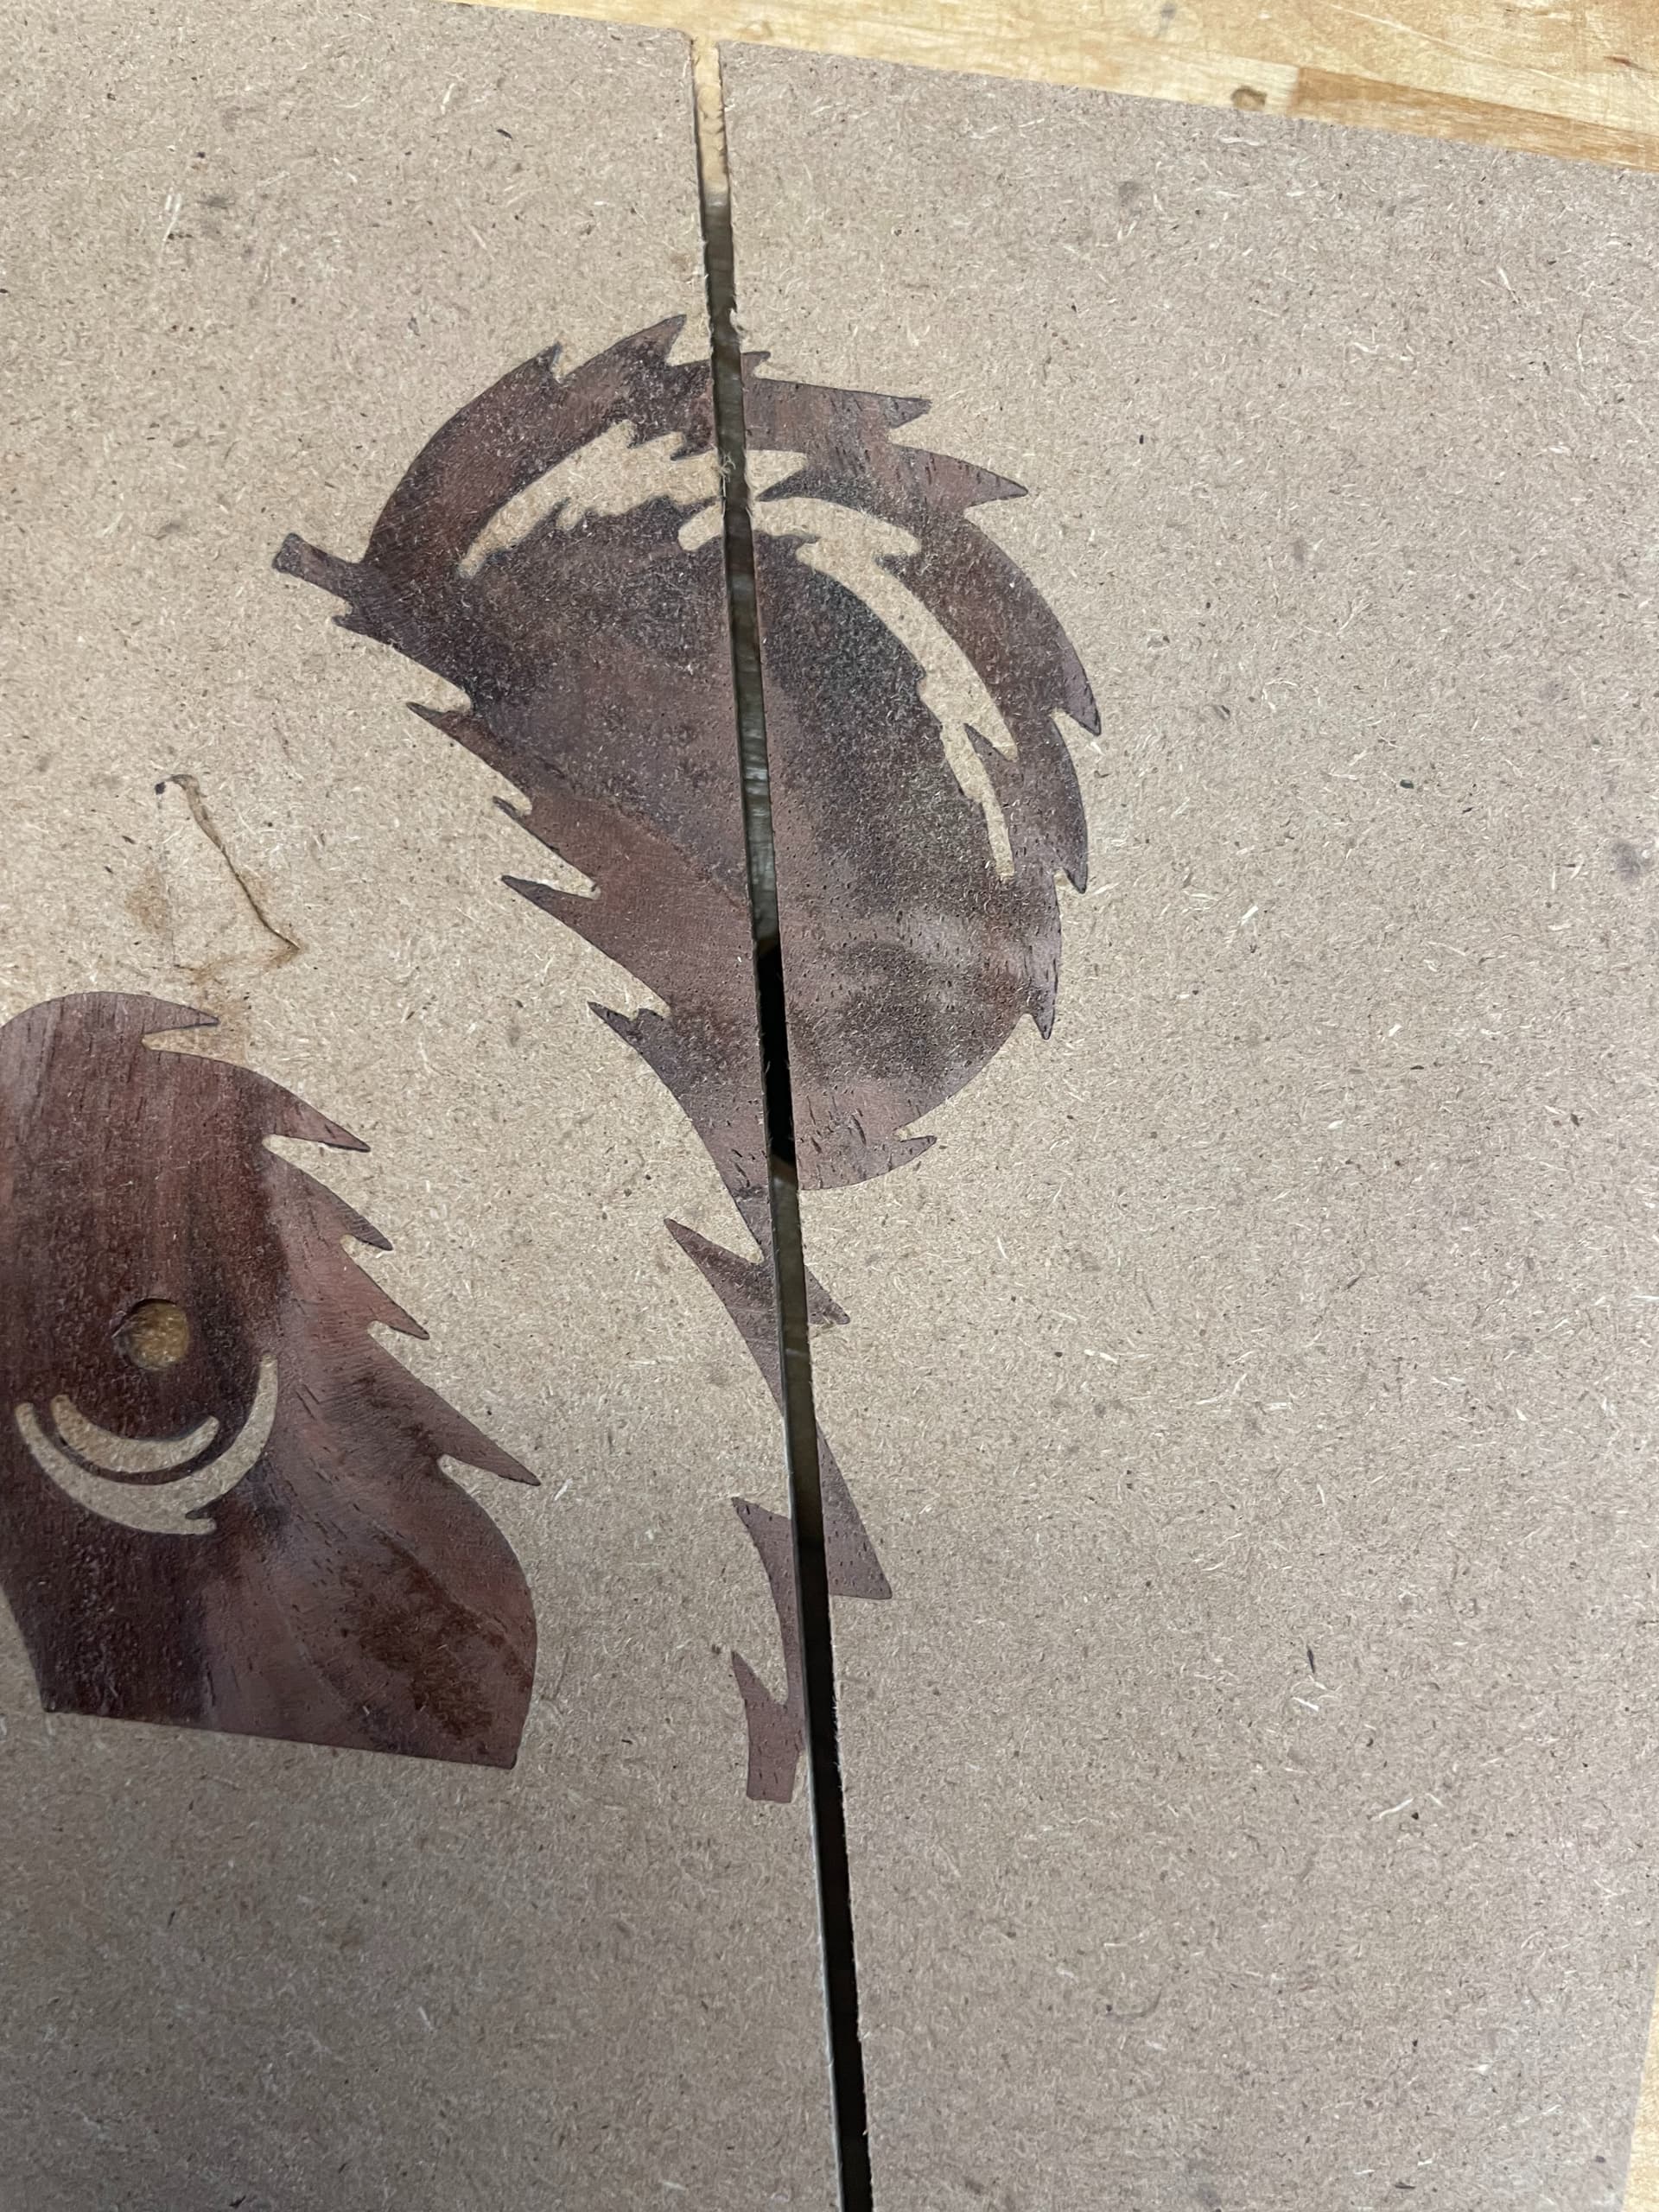
I think this failure is down to using two very different materials. Walnut (face grain) and MDF. I’m going to try trying exact same tool path strategy using walnut and walnut for female and male sides and see if I have the same issue.
If that fails whelp… I’m not sure maybe time to do some diamond circle square tests and hunt for accuracy that way.
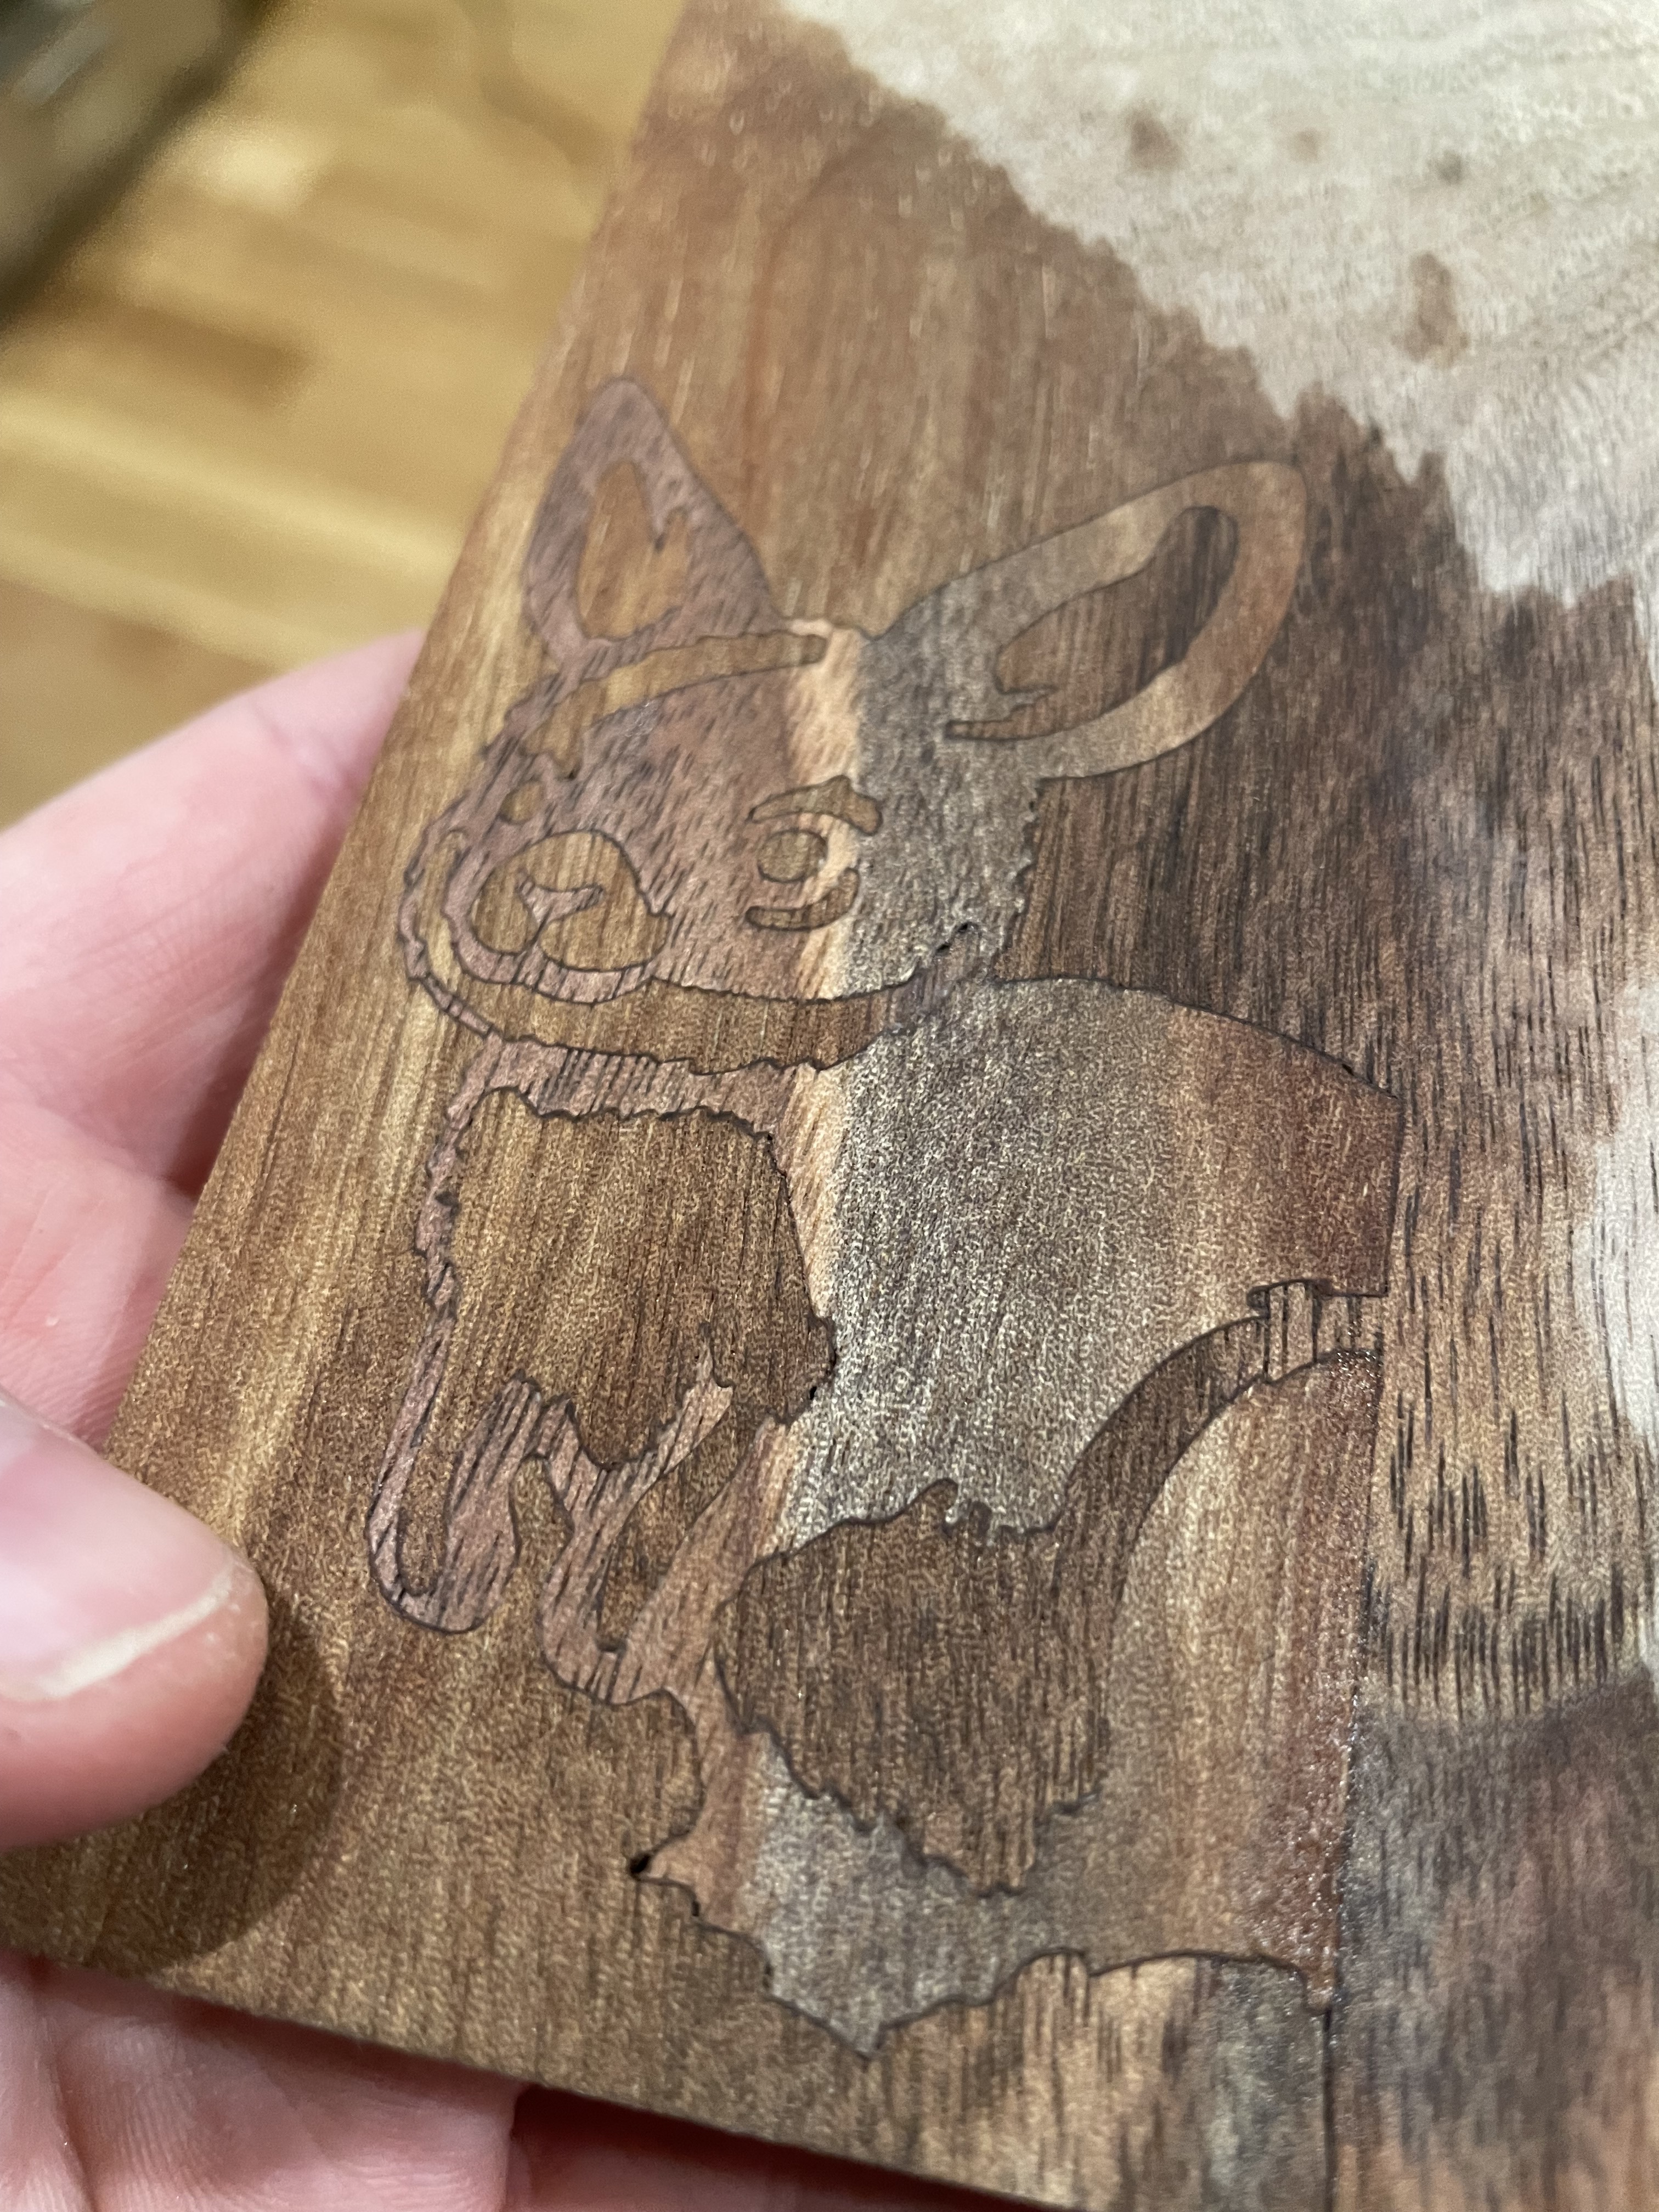
I had better results using the same material for both sides, but it still took quite a bit of hammering to get the male side to seat down… and it actually split the wood in the process (face grain-face grain)