Sigh. About .0625" from the bottom when it should be ~.01-.02. Not sure what to blame at this point. Gonna turn in for the night.
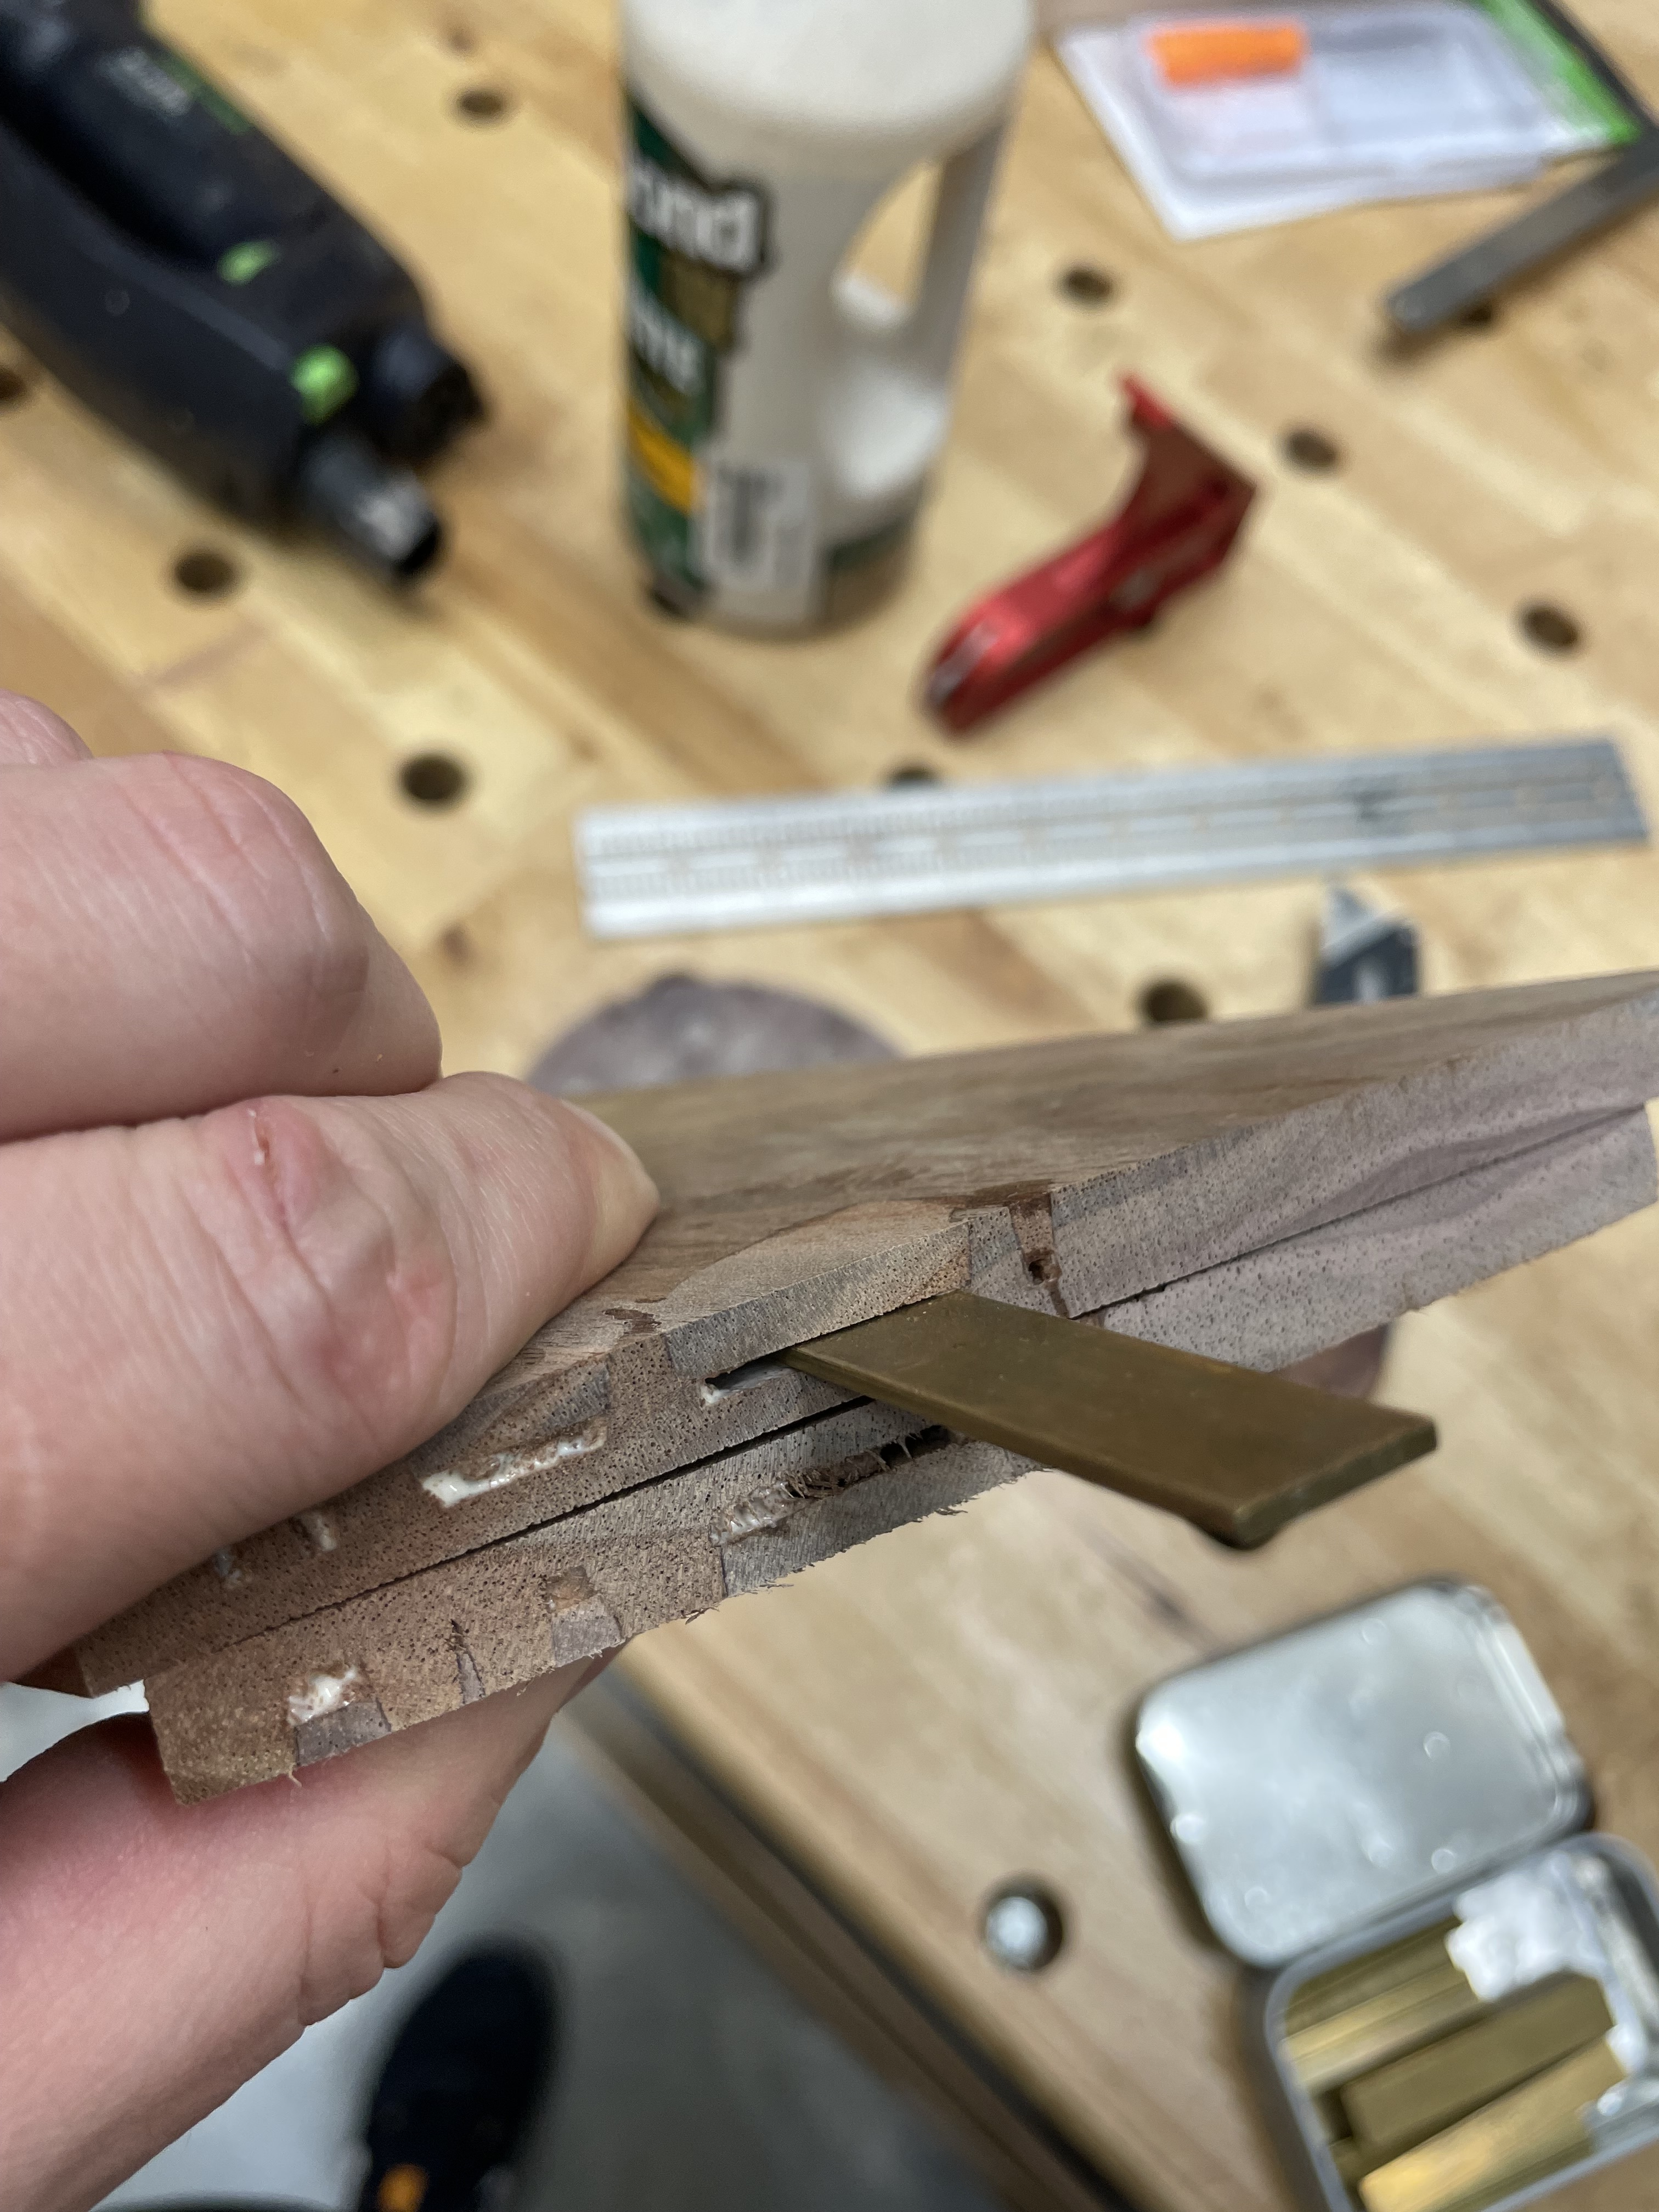
I noticed when cutting finger joints I had to leave about 0.010" gap in the design to get them to fit snug. Just tighter than “slip fit”.
Assuming your machine is perfectly square, adjusting the male “Glue Gap / Bottom Gap” setting to control the height at which the vector gets traced & subsequently allowing the male to sit in the pocket a bit deeper, I think would be a good strategy.
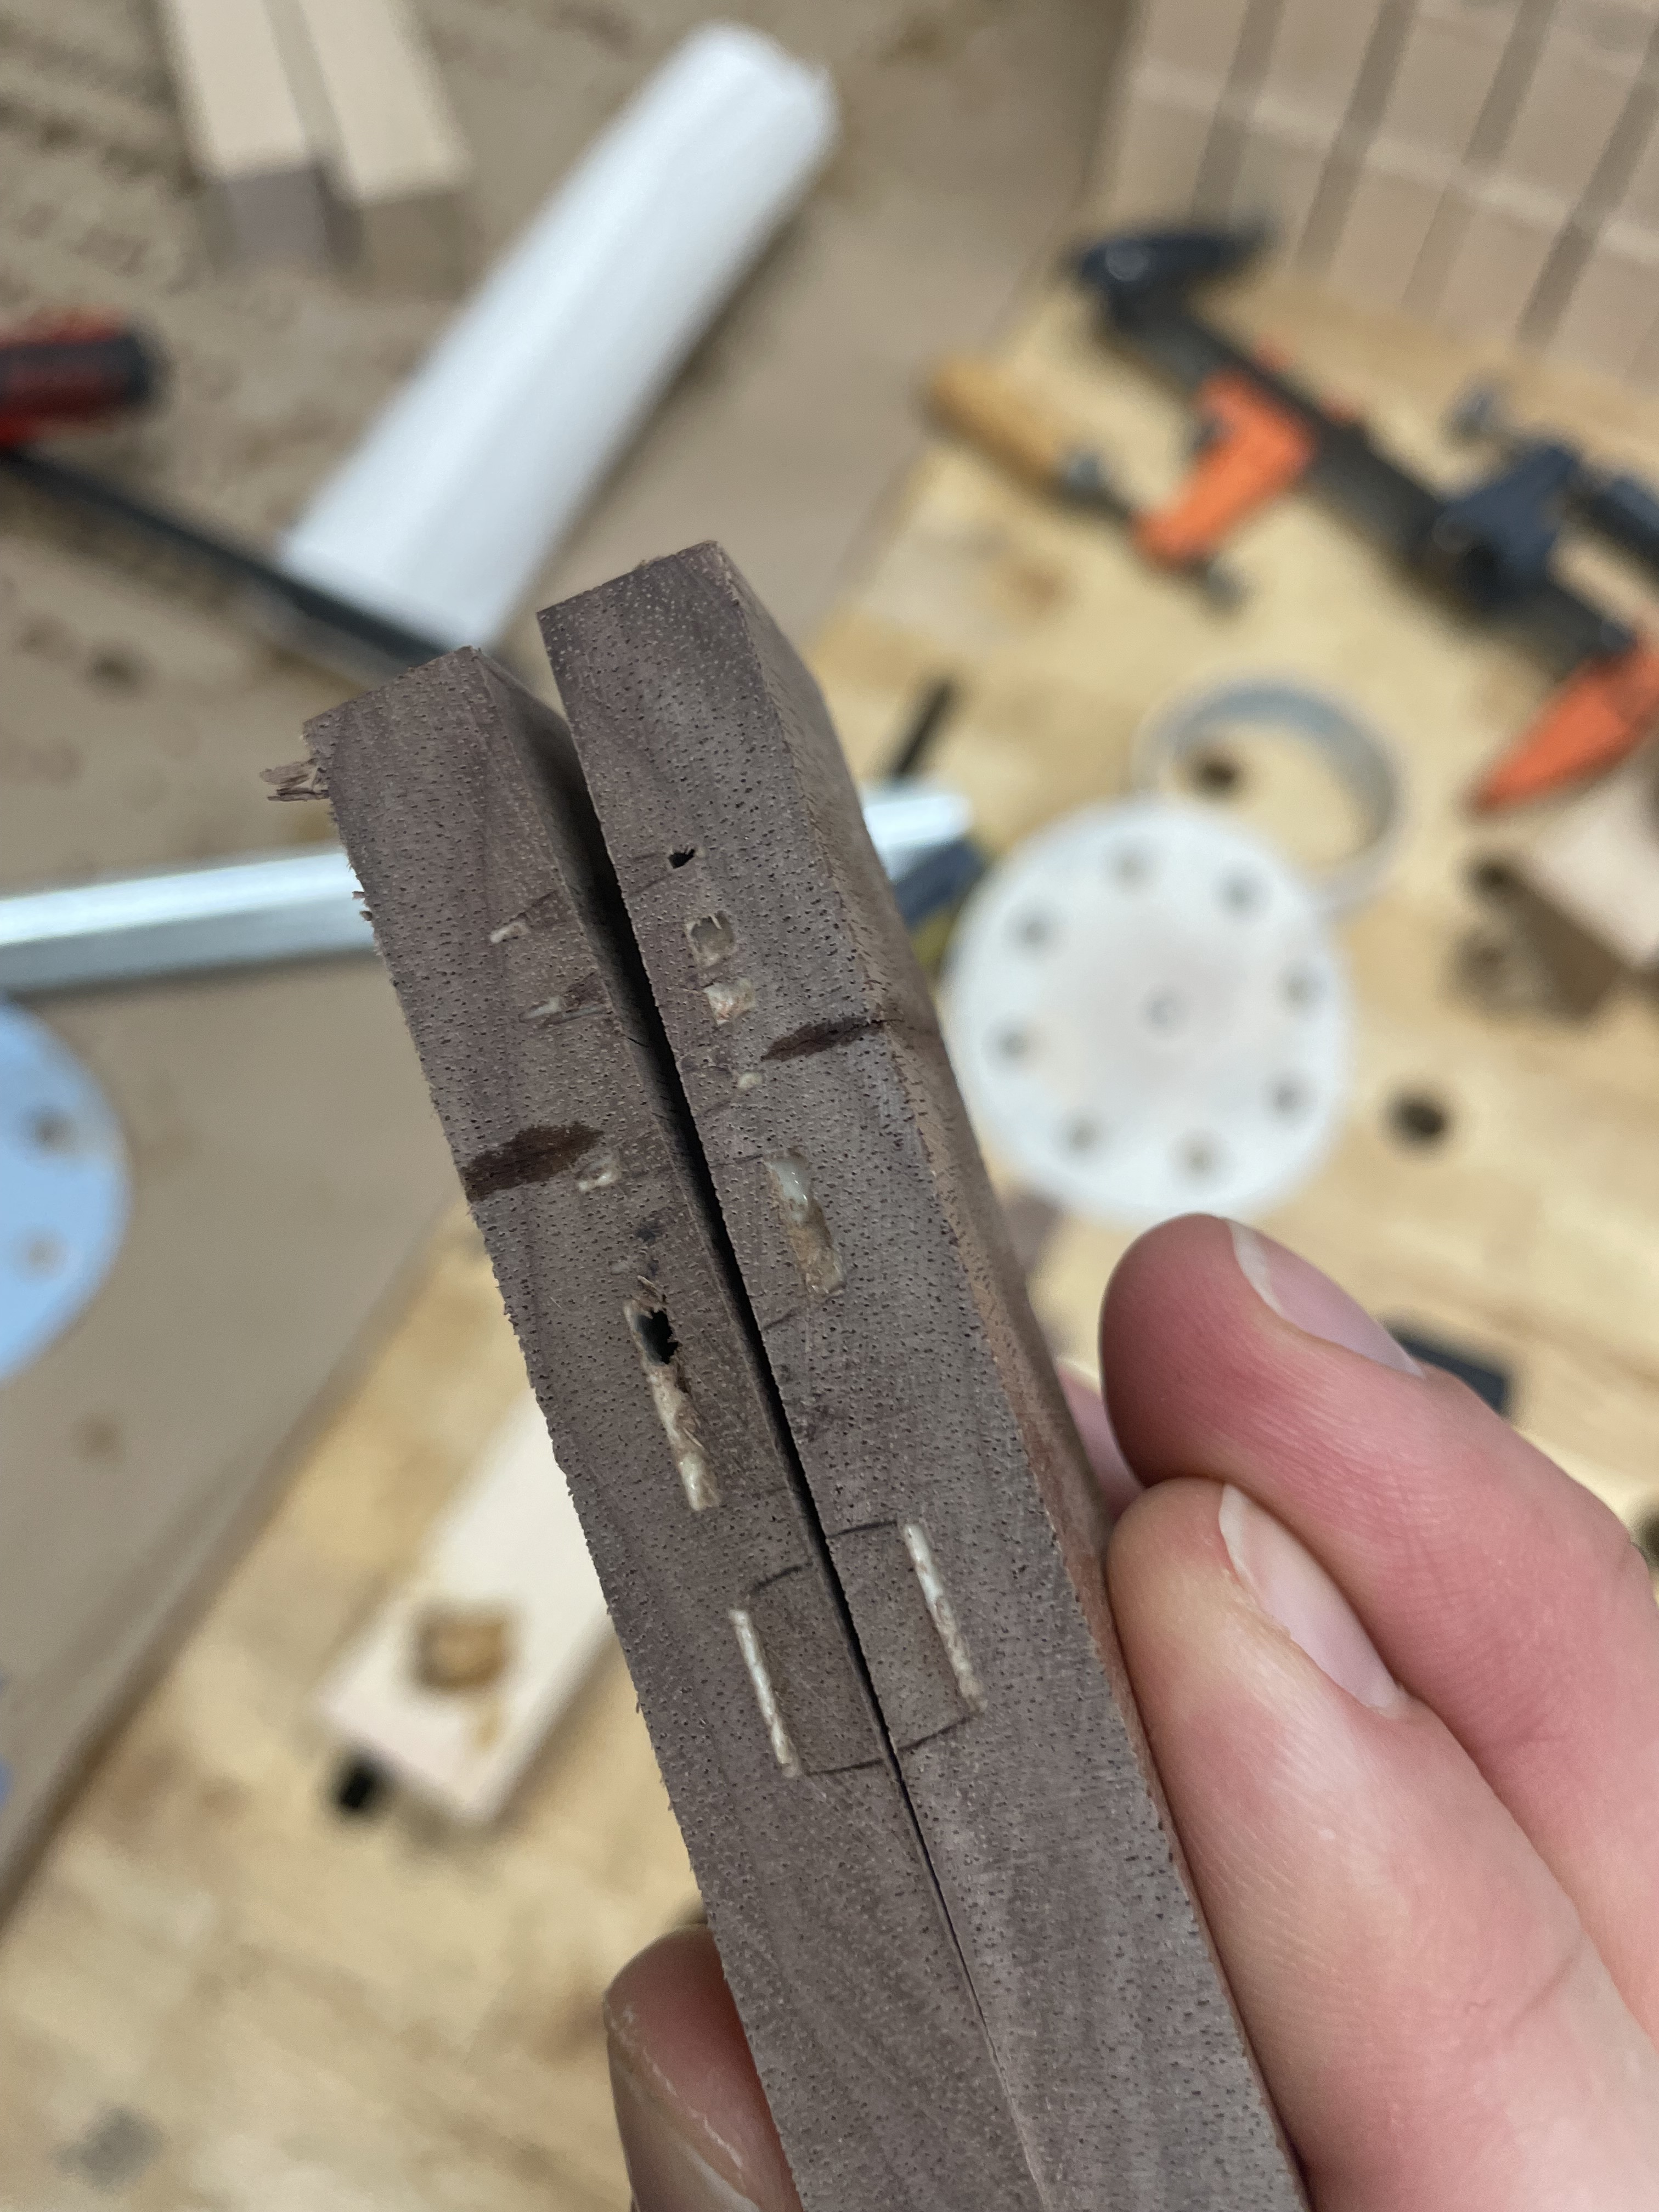
In test parts I had the design overlap the edge of the wood so I didn’t have to cut it in half to see the results. Perhaps adding a design feature that crosses the edge, then fitting the female to the male, measuring the gap, adjusting the male toolpath & recutting until it fits just right… ???
There will always be a little bit of compression pressing 2 angled surfaces together. But I don’t think you want to be beating on it to get it to fit. Weight or clamp pressure should be sufficient if the cuts are right.
3 Likes
I finally had a better result… the difference for me was decreasing my start and flat depth from .27 and .01 to .22 and .01 on .20 deep negative pocket.
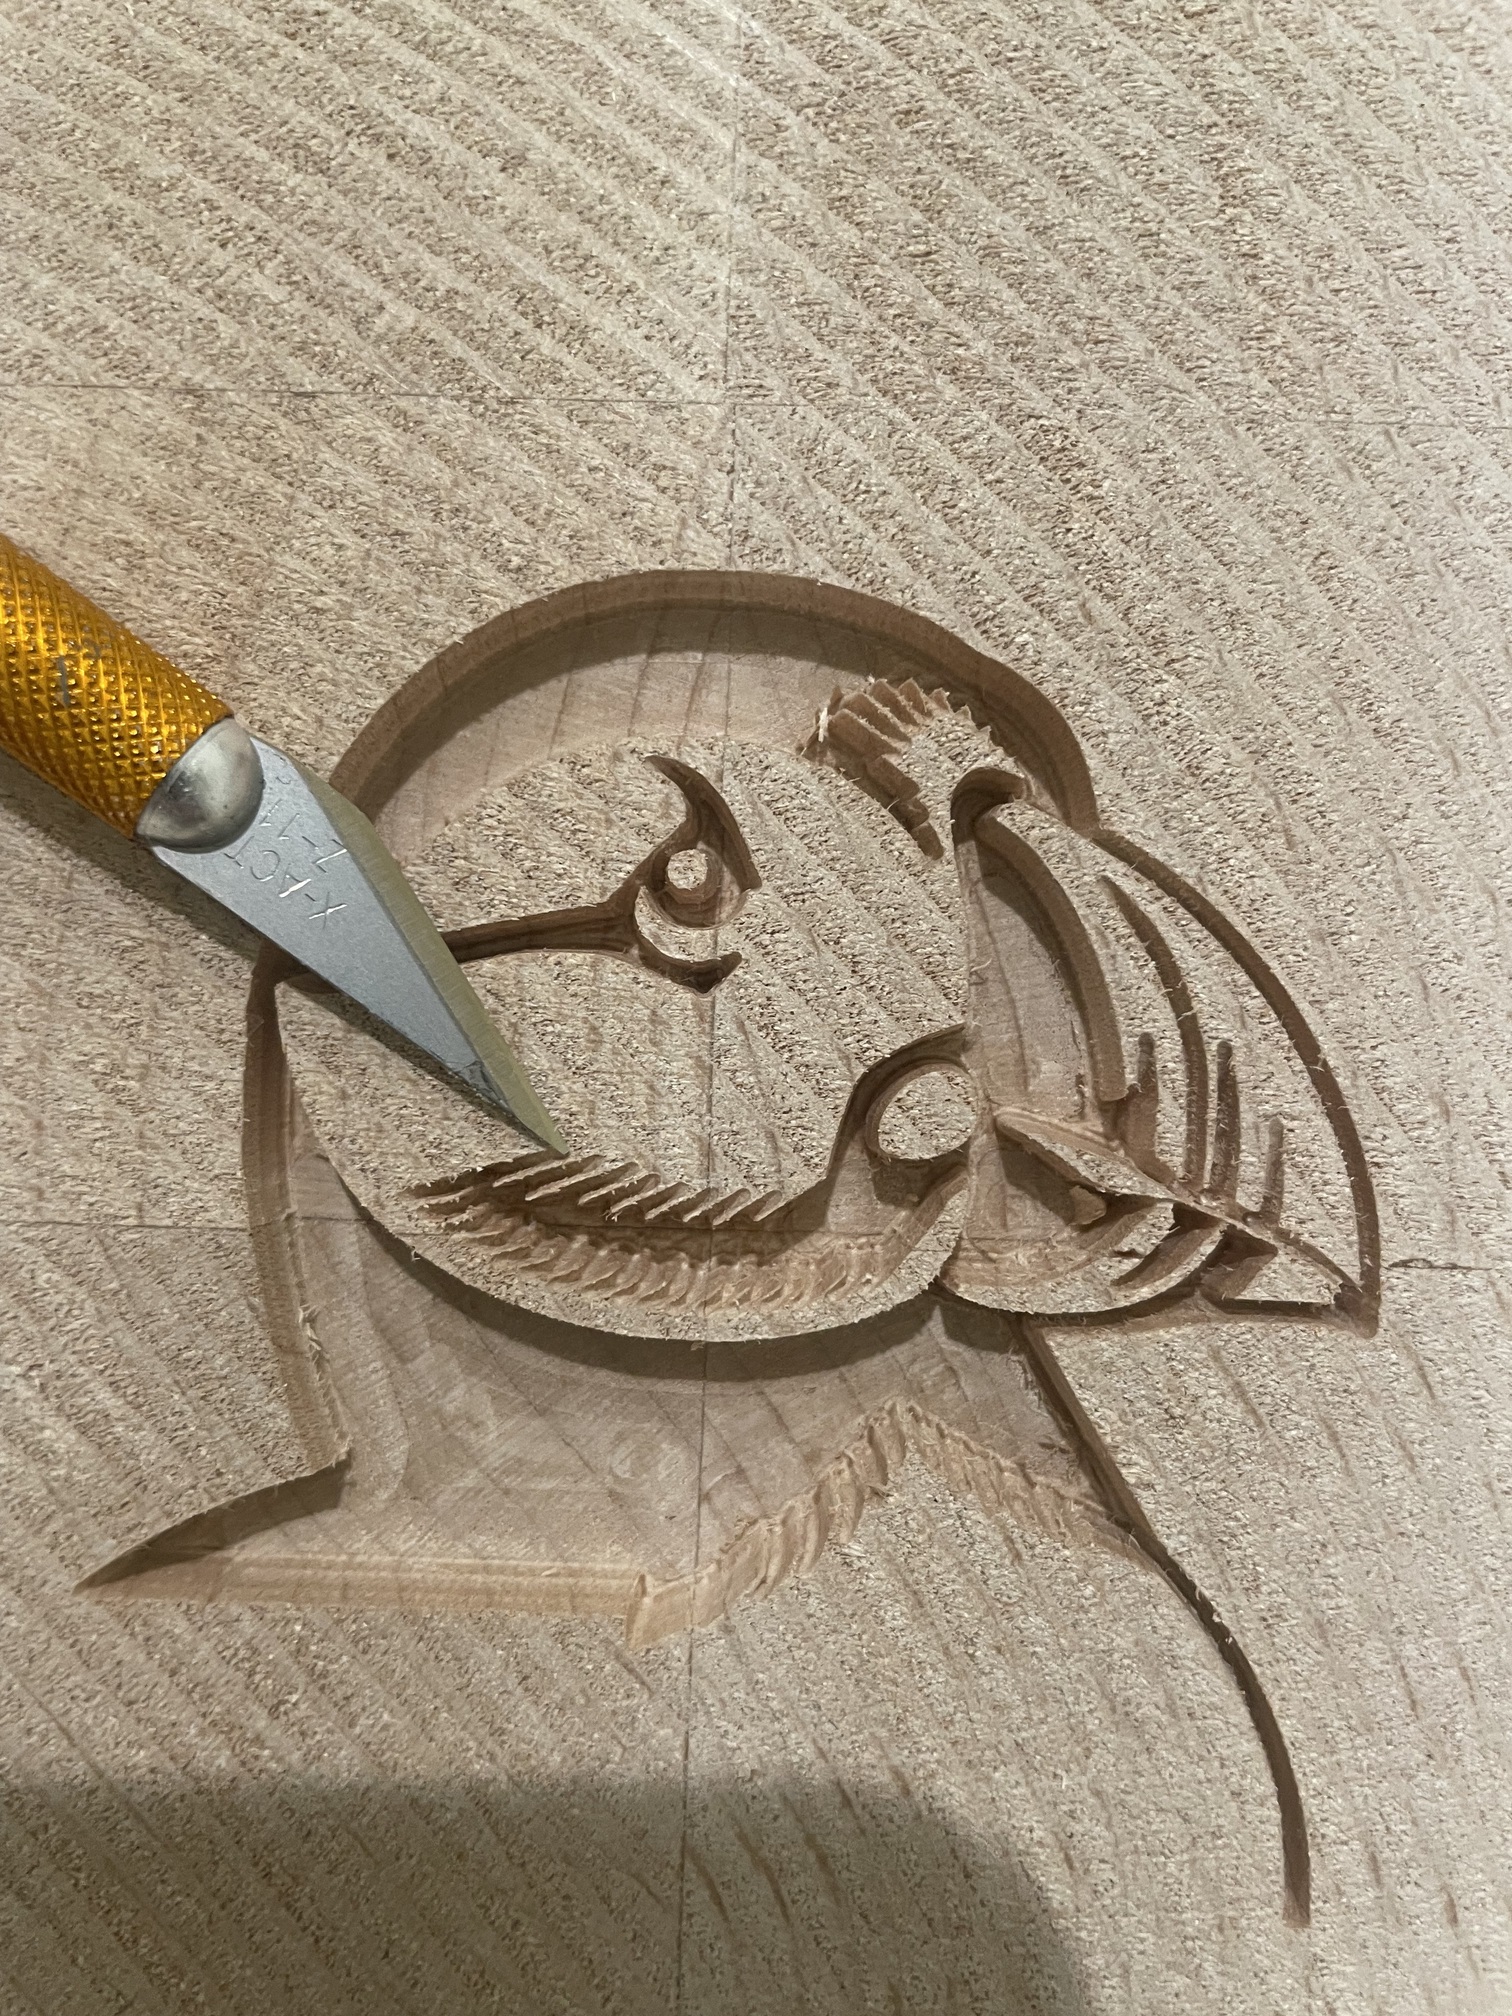
Conclusion there is just TOO much bit deflection on a very tiny and detailed inlay using a very tiny tapered ball nose to make a plunge of .28" work. If the features were less detailed you could probably make it work. But not in something the size of this wallaby/rabbit.
Things should only get better from here going into end grain. So I’m ready to do it live.

3 Likes
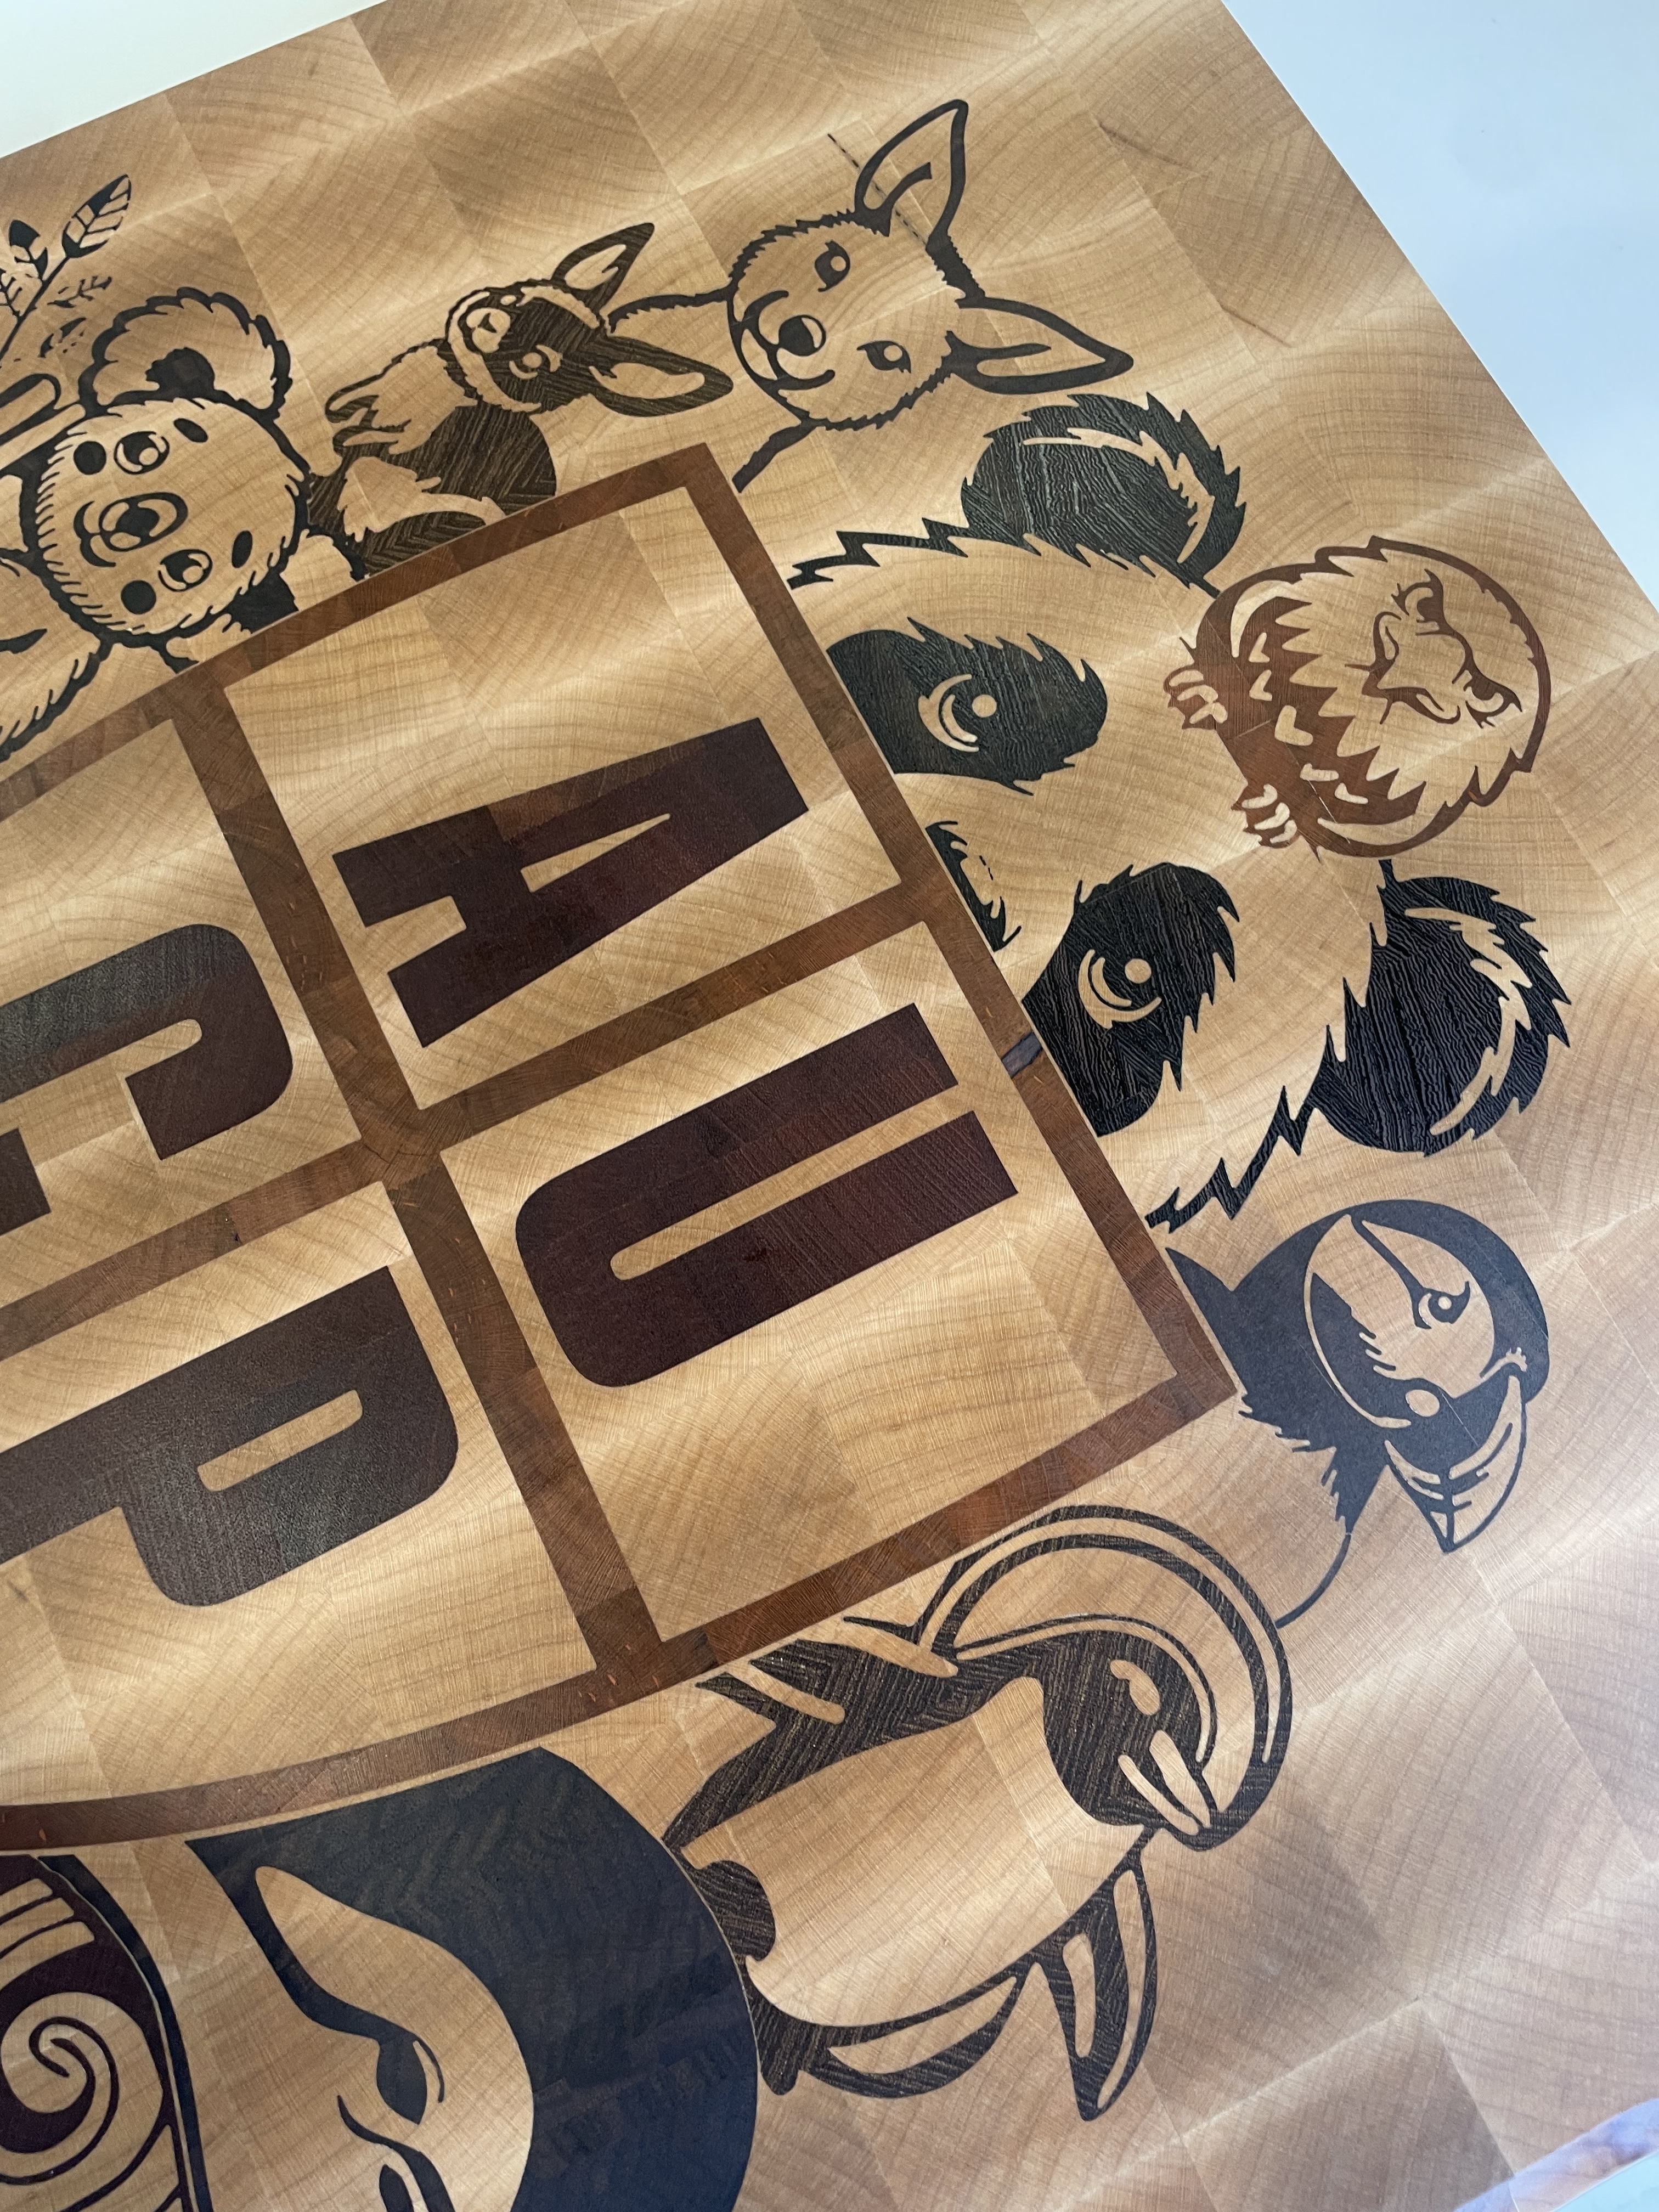
Holy moly the resolution difference of doing this in endgrain (vs face-grain for all of my test pieces) is like watching HD tv for the first time.
12 Likes

I guess I need to glue up some boards to make some end grain blanks.
1 Like
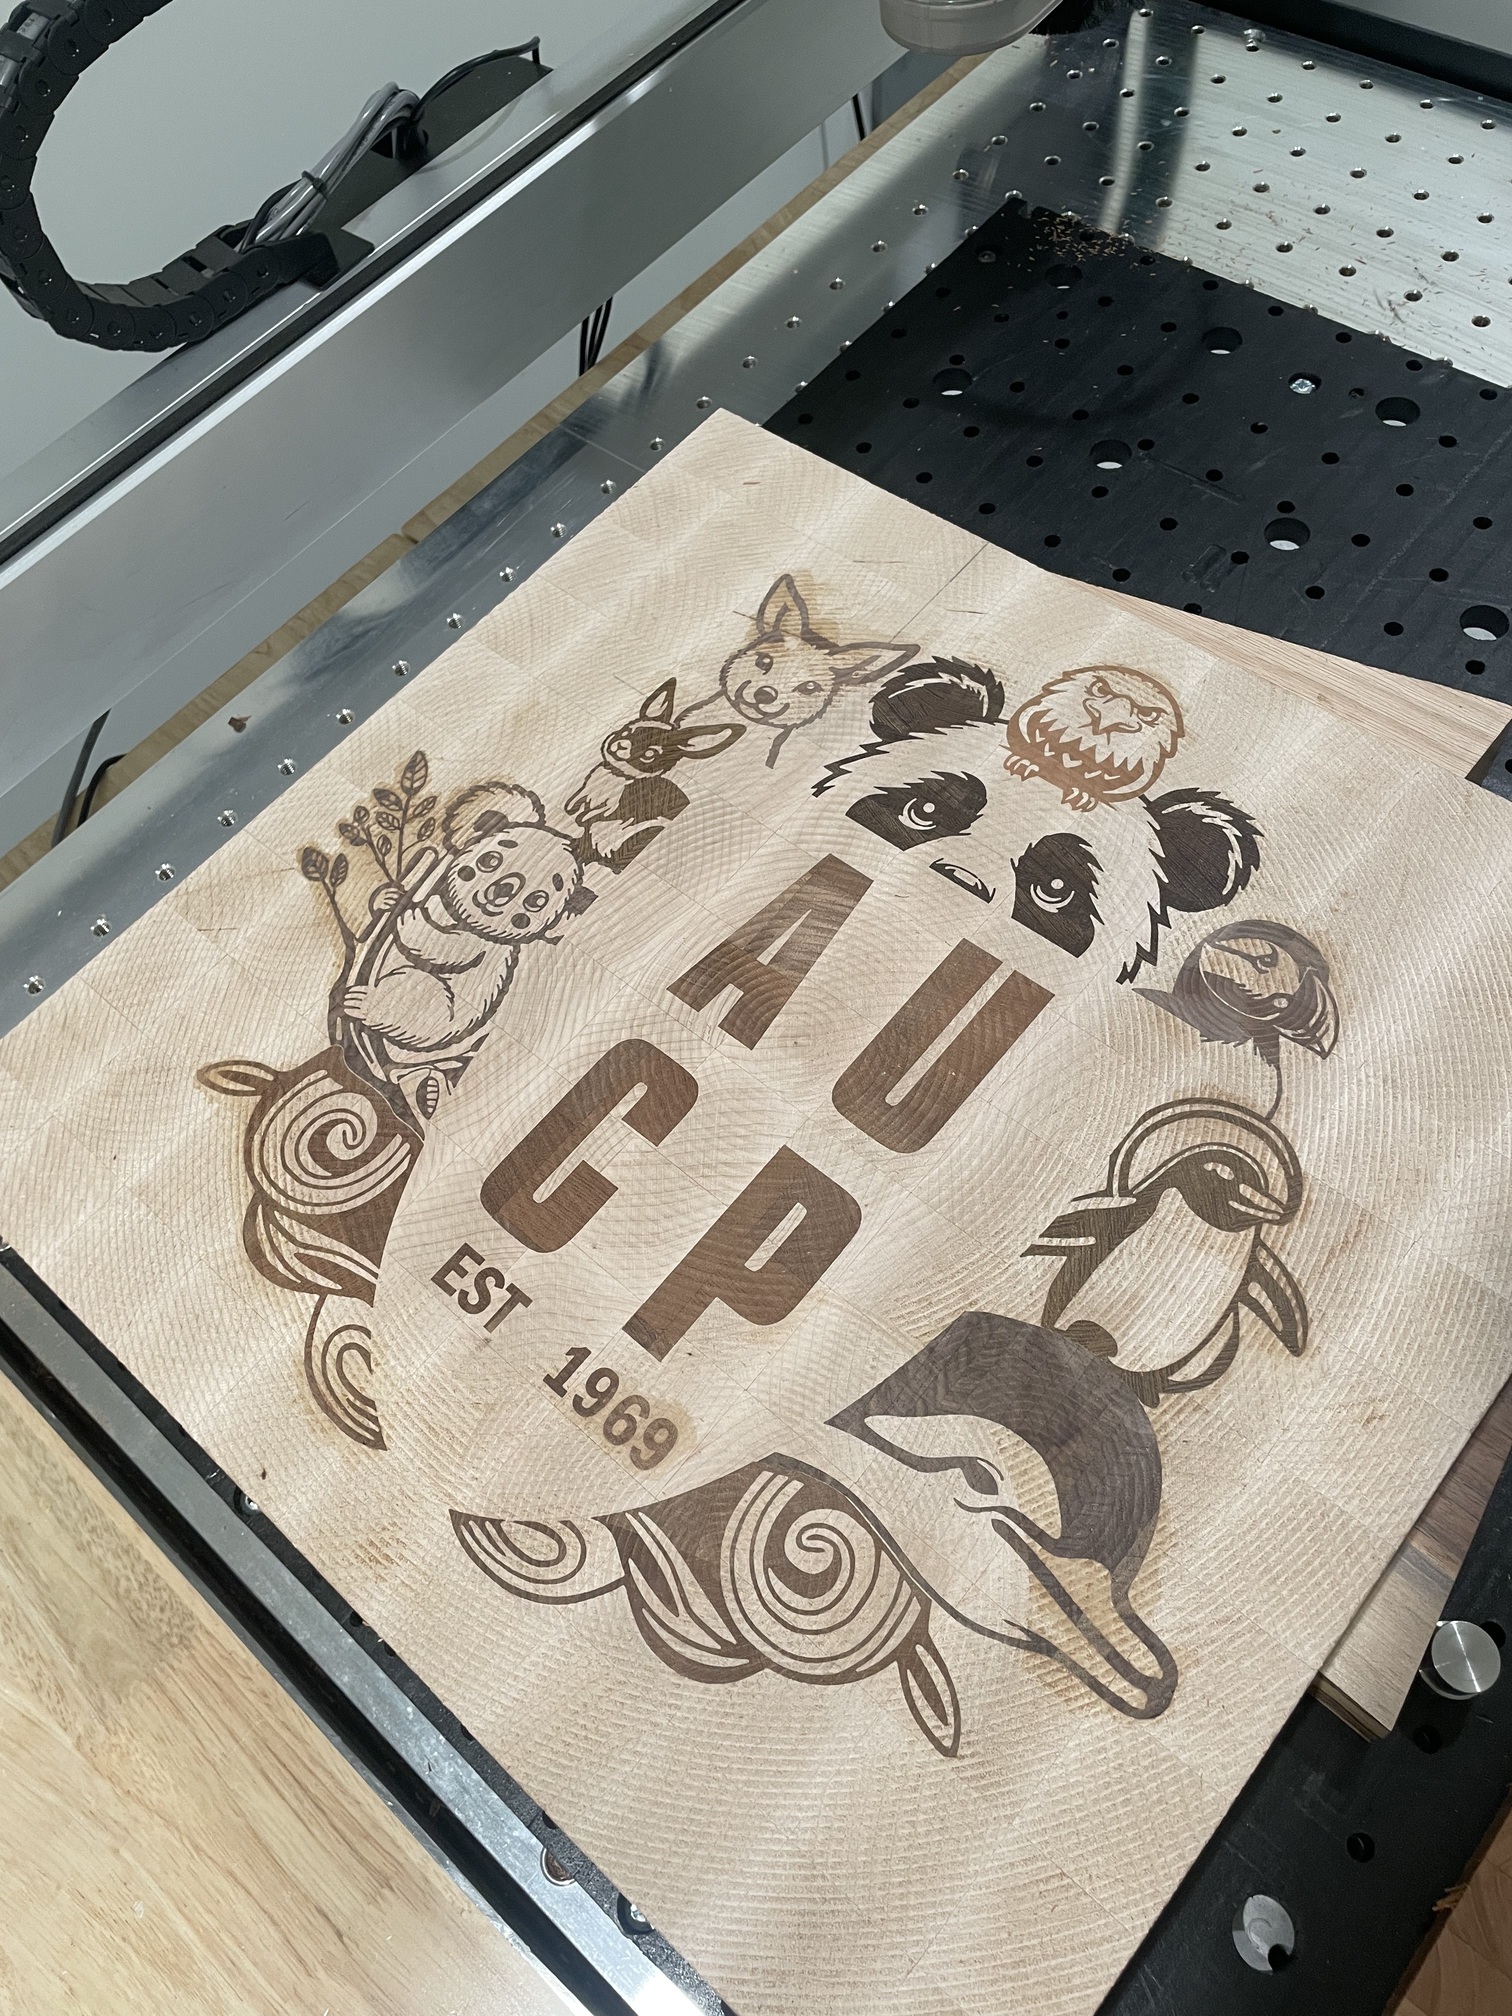
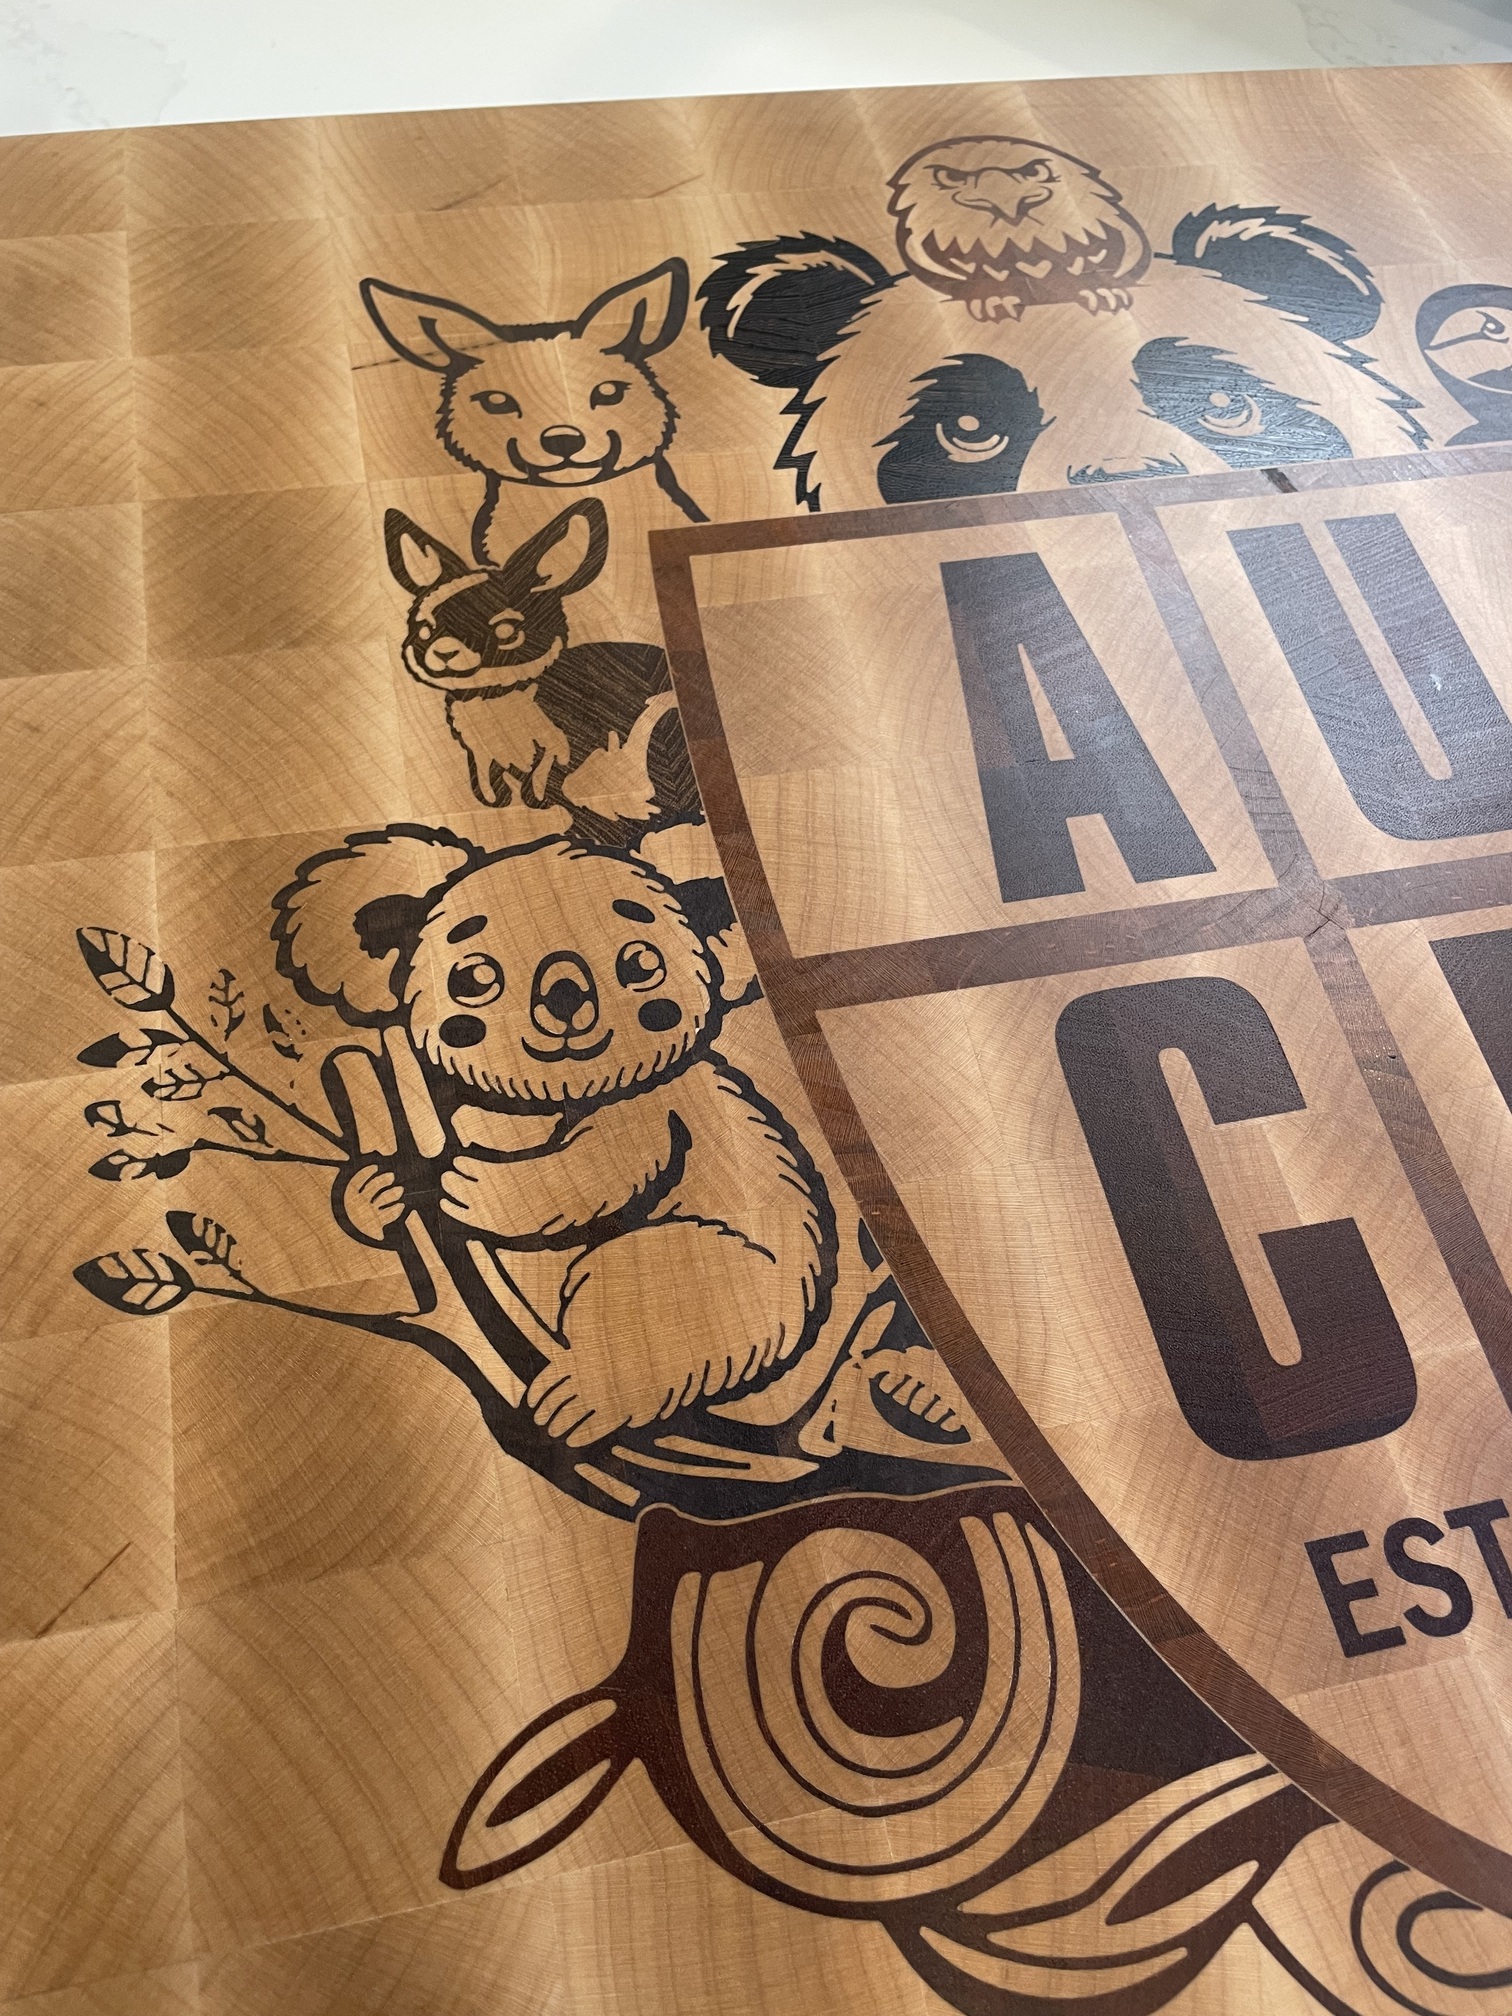
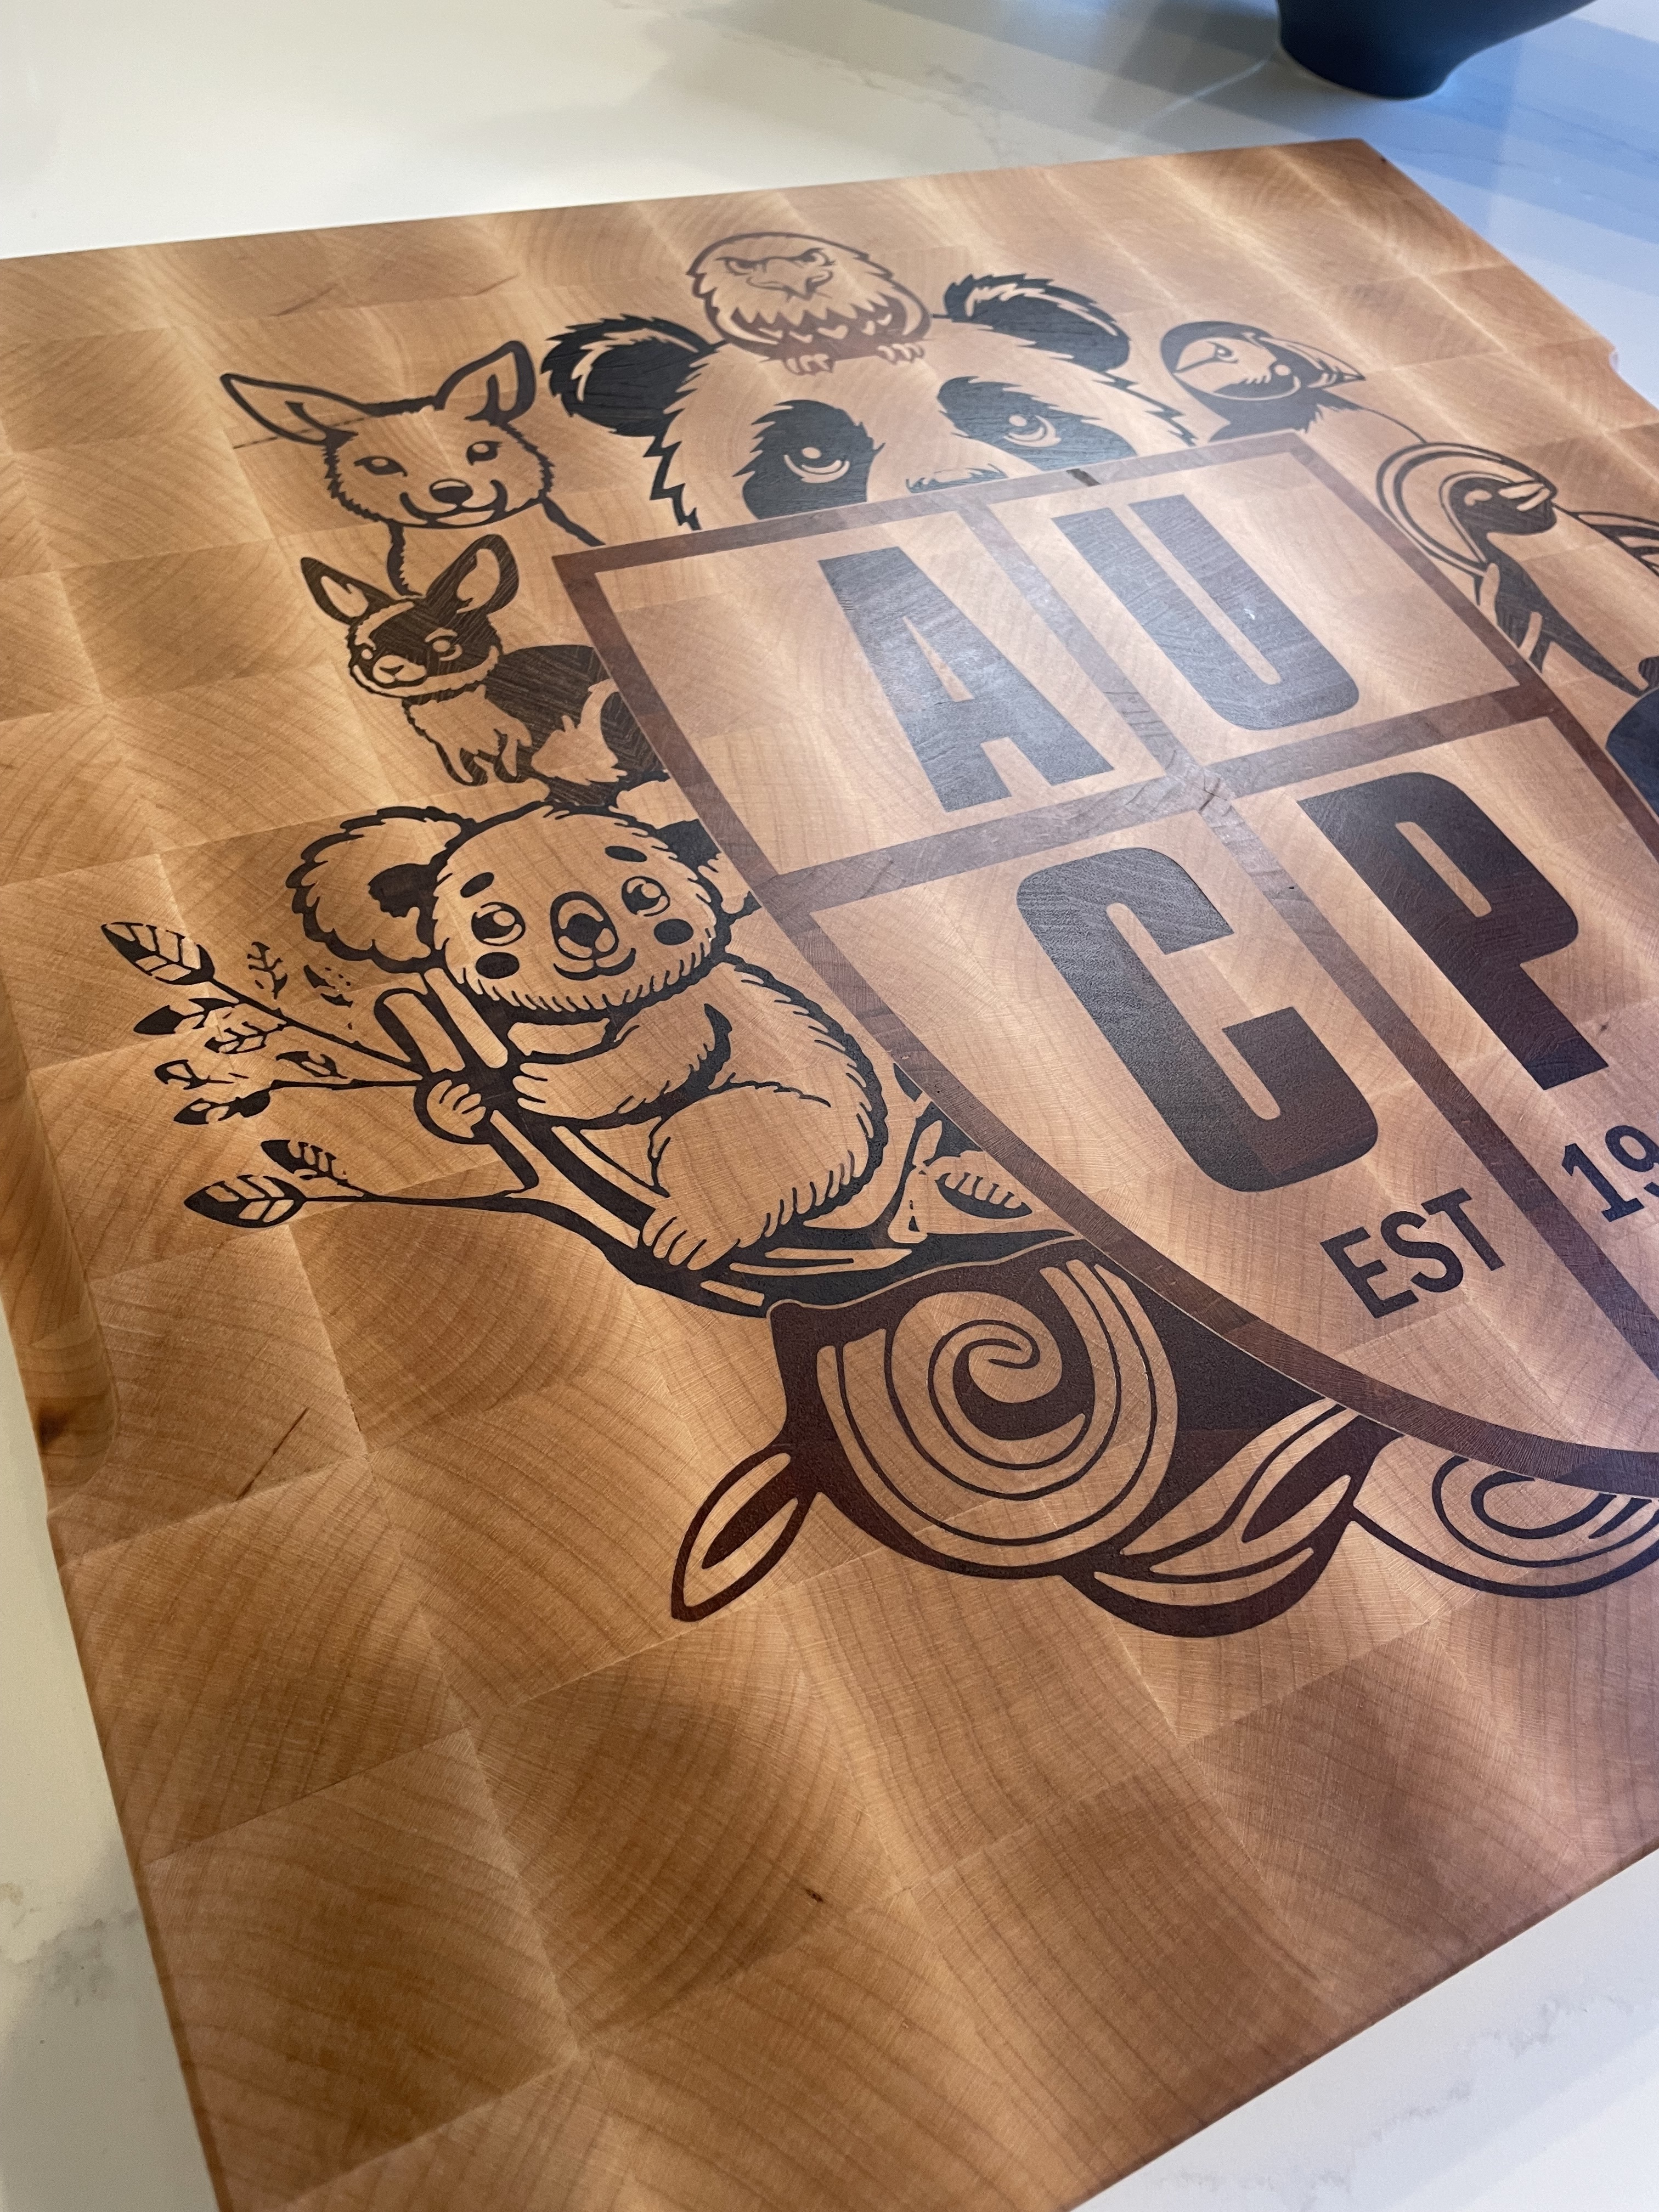
And if you’ve made it this far here’s the money shot!
Lots of lesson were learned, but overall not the most difficult thing to do if your machine is tuned up well.
re: my previous conclusions on deeper inlays and tool deflection. While I think that’s a part of the difficulty; I now think the larger issue is vectors which terminate in points rather than arcs. Aka you need to spend ALOT of time redrawing a complicated vector so that it only arcs vice points. And further the termination of that arch needs to be comfortably larger than your bit diameter (.5mm in my case).


15 Likes
Here’s Mark tackling an ambitious multi-part inlay like it’s nothing much ![]()
It looks fantastic, let us know how the charity goes.
Those leaves were mission impossible though
Anyway, this got me motivated to purchase a 6.2deg tapered endmill to do an endgrain cutting board of my own.
3 Likes
Auction was last night… let’s just say you can’t put a price on the learning experience.
The leaves looked great until final surfacing, at that point I lost about 5 thousands between high and low spots on the board and the leaves were just inlayed too shallow in their narrowest parts.
GOOD LUCK!
1 Like
Points vs arcs is a good catch. You can get a point on a male side but getting an inset point on the female is almost impossible. Same reason why we use dog bones.
You’ve done great work here though and it was a great education. In the long run you just start to figure out how much time you want to vest in tiny detail work vs making something a little thicker/a little easier. The time value proposition gets really slippery.
Man I’m glad you made your deadline! ![]()
This topic was automatically closed after 30 days. New replies are no longer allowed.