I’m going to be attempting an ambitious v-carve inlay for a charity project and I’m trying to save myself a bit of headache. Last time I tried to do this I utilized a method that @neilferreri pioneered/figured out in Fusion360… I found my post from 2020 about it here: Link
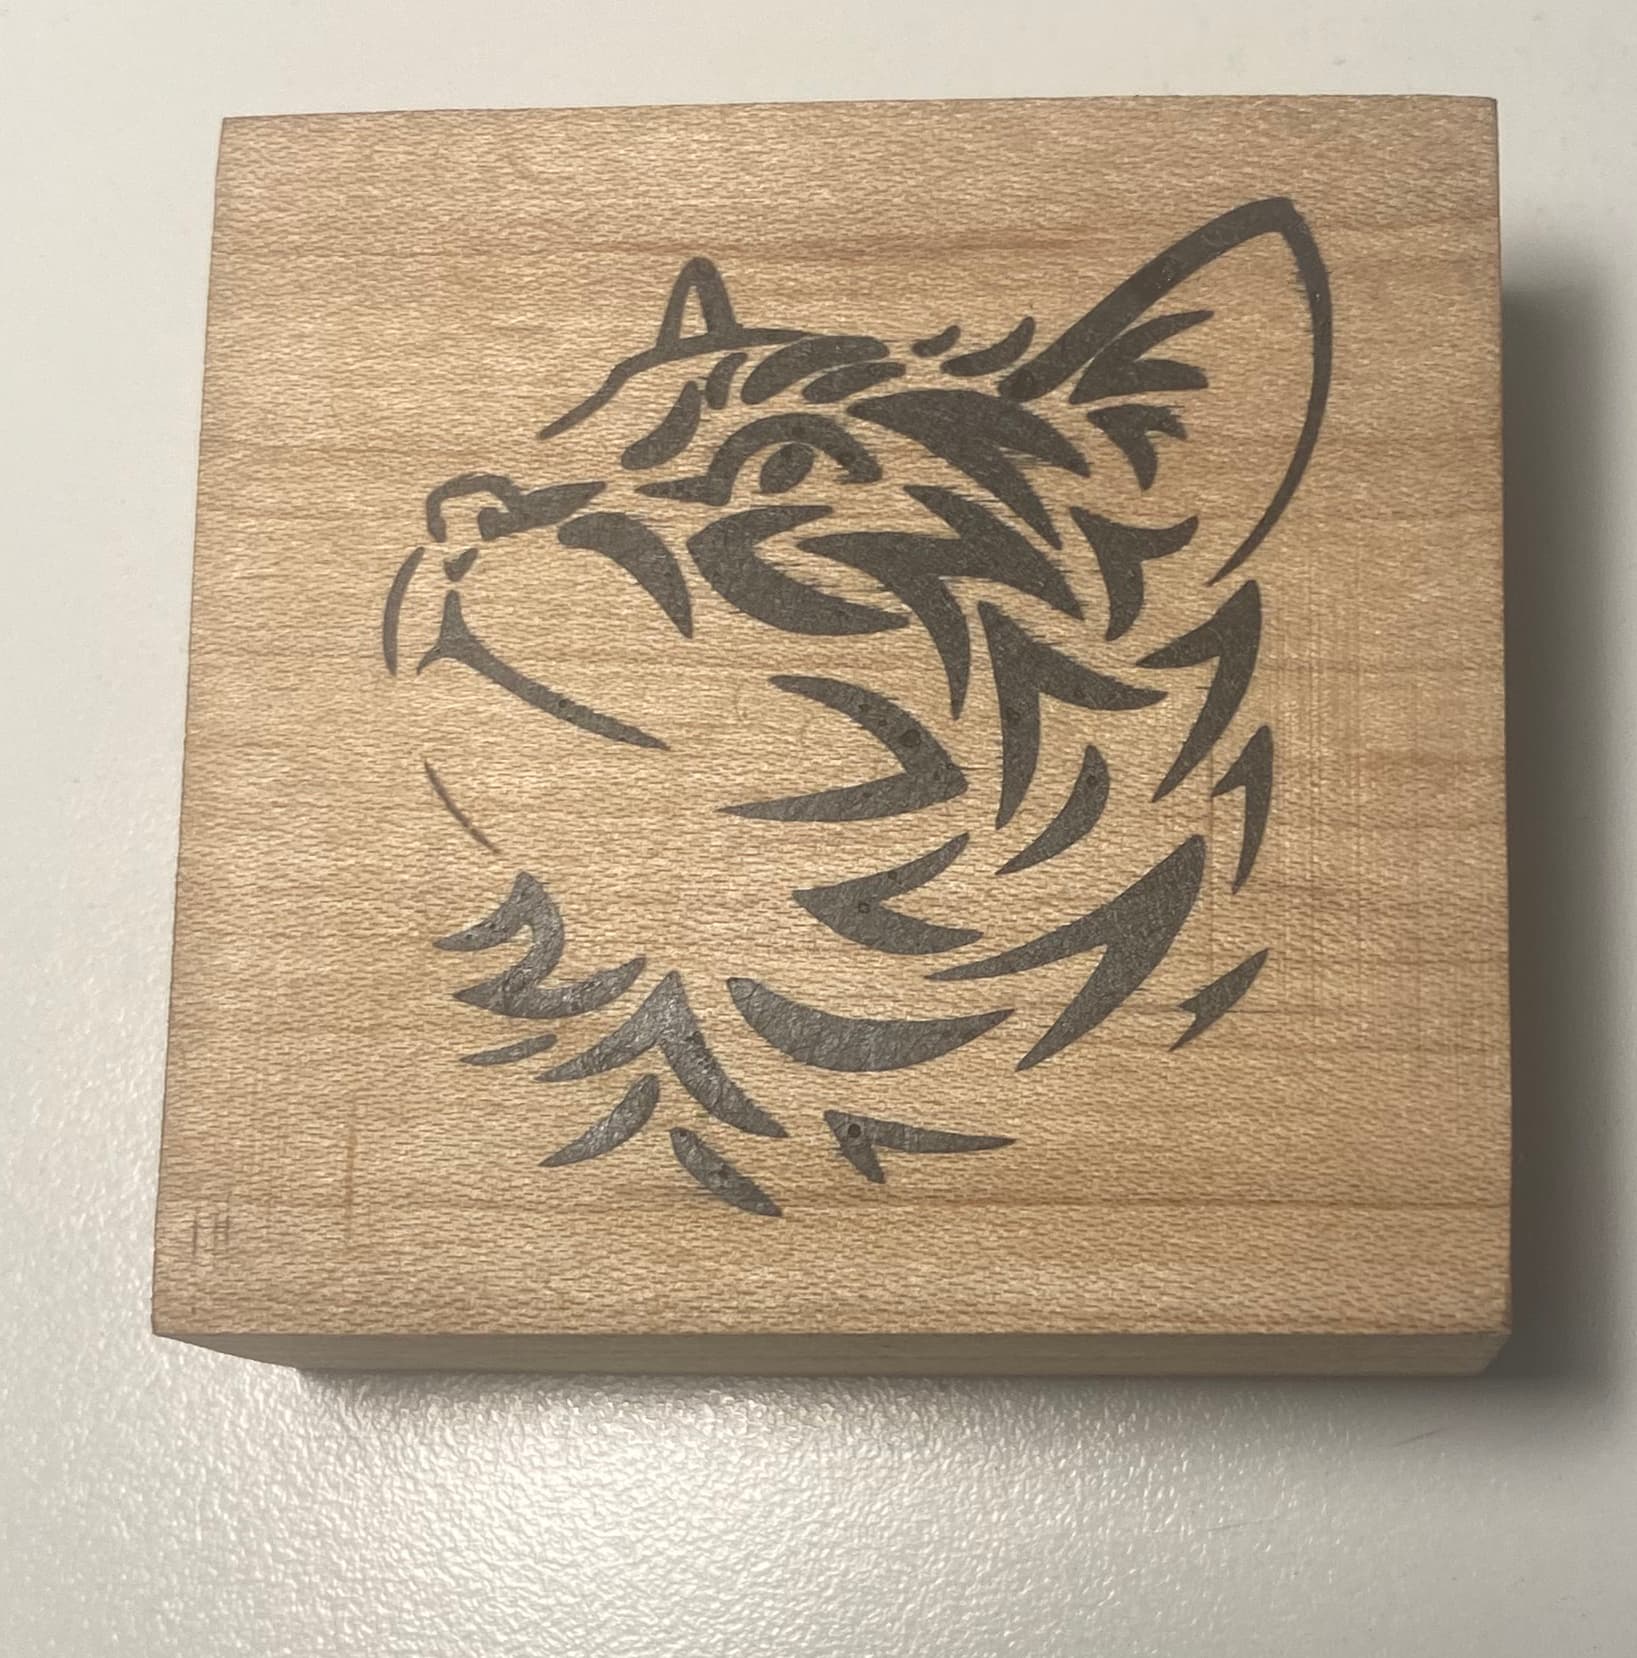
Given it was ~4 years ago, I forgot more than I remember and I have little room/time for error with a charity auction happening in about 8 days. One thing I do remember is that using F360 to do this was a bit like trying to force a square peg into a round hole. Moreover, my design this time around is going to be significantly more detailed… I’m still working on the vector art but the style will look something like this:
Seem like all the youTubers are using Vetric Vcarve Pro for the fancy inlay work (like this guy: https://youtube.com/shorts/i-8YhchgCzM?si=PTQV2WHiDdYDLQ13), but I’m hesitant to try and learn the nuances of a new software/toolpaths on such a complicated inlay. Can anyone offer a good detailed tutorial or some other advice (or best yet an EASY button) that has popped up in the last 4-years since my last try at this?
Thinking about my epoxy suggestion, I wondered if I could (at home) infuse/impregnate the wood with epoxy prior to carving using heat or vacuum. I did a search, and low & behold I wasn’t the first ‘genius’ to think of it… (feature that!!)
This would drastically reduce chipping and fraying, and hopefully give you a super clean fit.
I would start with a large “Bottom Gap” setting if using CC, and then reduce it until I get the fit I want.
Wow you’re going full-Broinwood on this one, ambitious indeed, can’t wait to see the result!
I suspect you will have to spend a fair amount of time on the vector art itself, to clean-up the tiniest details that will not lend themselves to v-carving. Like the fur on the small bear in this example.
If you look closely at Broinwood designs, smallest details are not that tiny, there’s gotta a size limit that is workable (and durable for a chopping board).
I wonder if one solution (to an extremely challenging design already) couldn’t be to do the large and medium details with v-carving, and then laser the finest details on top of that. It would not make sense for a cutting board, but if you are making a decorative piece…
One thing I learned from watching so many Broinwood videos, is that it’s better to fragment the male inlay into many pieces.
If I had 8 days, I would pick a 15° vbit, do the female vcarve, and black-epoxy it (but that would be less of a challenge then! And certainly less colourful than inlaying multiple types of wood)
One potential alternative method is to use the coloured powder paints that are used for powder coating. I have had some success with powder coating paint that you can heat gently with a heat gun. It takes about 10 minutes to set the paint with a moderate heat from a heat gun about one metre away. Pro-Tec Powder paints have a range with variable pricing and it is usually sold in 2 gram pots for £12 - £16. In my opinion Pro-Tec have a very good product but it is far too costly. Not many suppliers outside the USA. Optifish in the Netherlands are agents but can be very expensive for a 2 gram pot.
I have had some samples from Electrostatic magic and they sell reasonable amounts (0.5kg) for £10.99 so about 9 times less than Pro-Tec.They do a great range of colours (about 92 I think) and all of their paint powders are electrostatic and polyester. This was my first experiment so it looks a little rough and has not been finished appropriately.
It is primarily a powder coating for metals. The electrostatic properties mean that you can spray it at a piece of metal and it will stick to the metal while you place the item in an oven. The paint then bake solid with a beautifully smooth finish because the electrostatic characteristic holds the paint powder against the metal to be coated.
My tests have shown me that you can sprinkle the paint into carved patterns and heat it with a heat gun. It sets quickly with none of the toxic byproducts of epoxy resin. I wear a P3 mask to avoid inhaling the paint but that is just common sense.
I like the idea of using a heat gun to set the powder coat paint. I haven’t tried it myself, but that seems to be one way to get a laser to add coloring to a design. Just pour the powder coat on the piece and run laser over it. It works best with a CO2 laser compared to a diode laser.
I have successfully filled 2mm but that would not really be necessary in my view… transparency is not an option.
Do you heat it and then sand the surface to clean? I assume when you sprinkle it you have some spillage.
Yep, exactly that. Any powder spillage, I just scrape with a sharp wallpaper scraper and scrape it back into the container. Then I can proceed with the heat gun.
hmmm… I had not considered that. I will run some tests after my machine is back online. I expect the lead time for my spindle arrival to take until the end of April or just eat into May.
I just finished making the vector… let me know what you all think in-term of size / if there is too many small machining challenges left? Cutting board is ~19x19 so I’ve sized this for ~17x17.
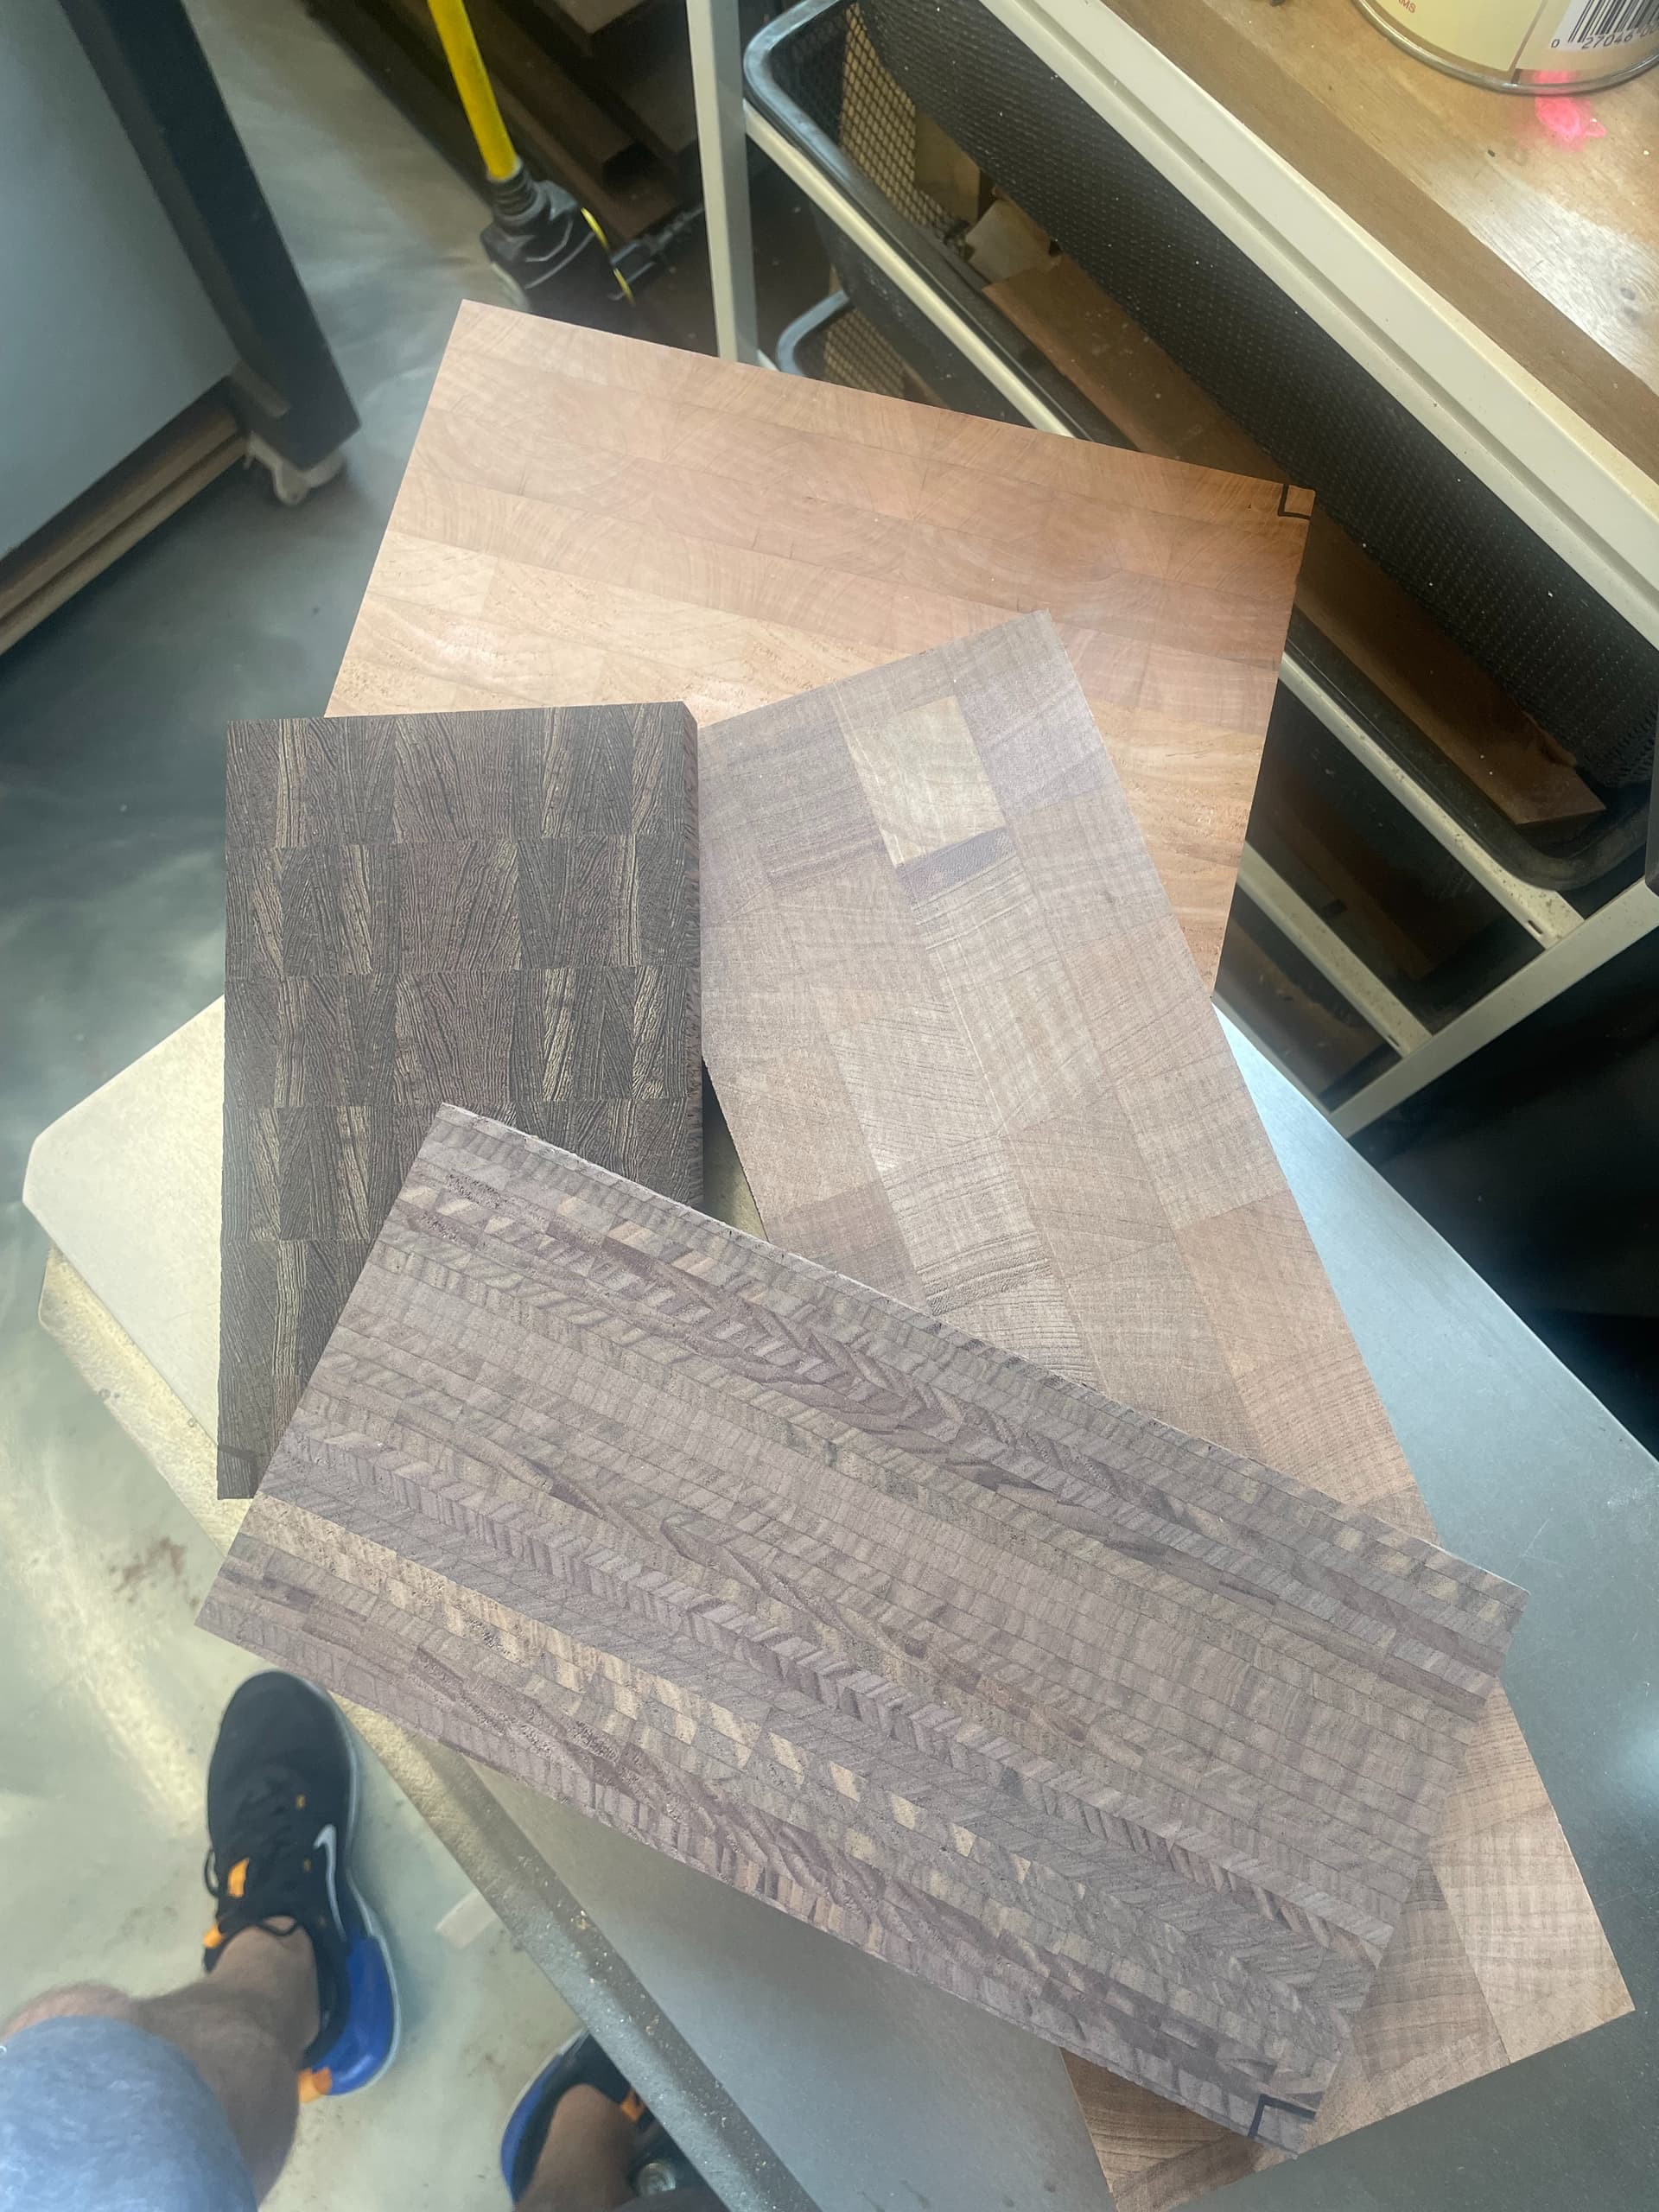
Cherry, Mahogany, Walnut, Wenge, and I’ve even got some real Teak from the 70s still glueing up.
Pretty cool (and clean) vector. I would only be concerned about the outline of the koala bear, it’s very narrow and squiggly so it may turn out to be hard to fit the male and female parts unless you break it down into segments ? and the inlay may turn out to be very shallow too, with no much glue gap, so possibly a weakness ? Maybe thicken that outline, similar to that of the upper left fox(?)
I’ve learned to shellac the wood prior to carving, or Epoxy a thin coat over the material to lock in the grain.
Pablo Requena a great guitar builder uses epoxy as a sealing coat on his guitars. So if it’s good enough for Rosewood, Mahogany etc., it’s good enough for inlay work.
Broinwood has a guy make his designs. His designs are quite large and thick. It’s hard to get a feel for that in a video but when you see the size of board he’s making the more detail the larger the board. So, if your feature size is too small it will never hold up to being cut or inversely being inlayed. This was my early headache. You need your features to be no less than 2-3mm. This is using a tapered bit of 4-5’ as well.
I studied a lot of broinwoods videos and he has a few acolytes out there that have further shared tips. I typed up for another woodworking group all I learned and have been eating my own dogfood as well.
Given your time scale, I would v-carve the big details and engrave the rest. Then spray paint the whole design with a clear coat followed with 2-3 coats of black. Then sand it all till the design is revealed.