Optical Illusion are puzzles for the mind… and I’ve been wanting an excuse to try out @neilferreri 's F360 inlay technique from community challenge #5 for a while now… Albeit I wanted to give it some steroids.
Next, I wanted to find a less time consuming way of making optical illusion cutting boards such as these: https://www.youtube.com/watch?v=gliOZyHkdps&t=588s (careful this video will make your head hurt if you really think about the how)
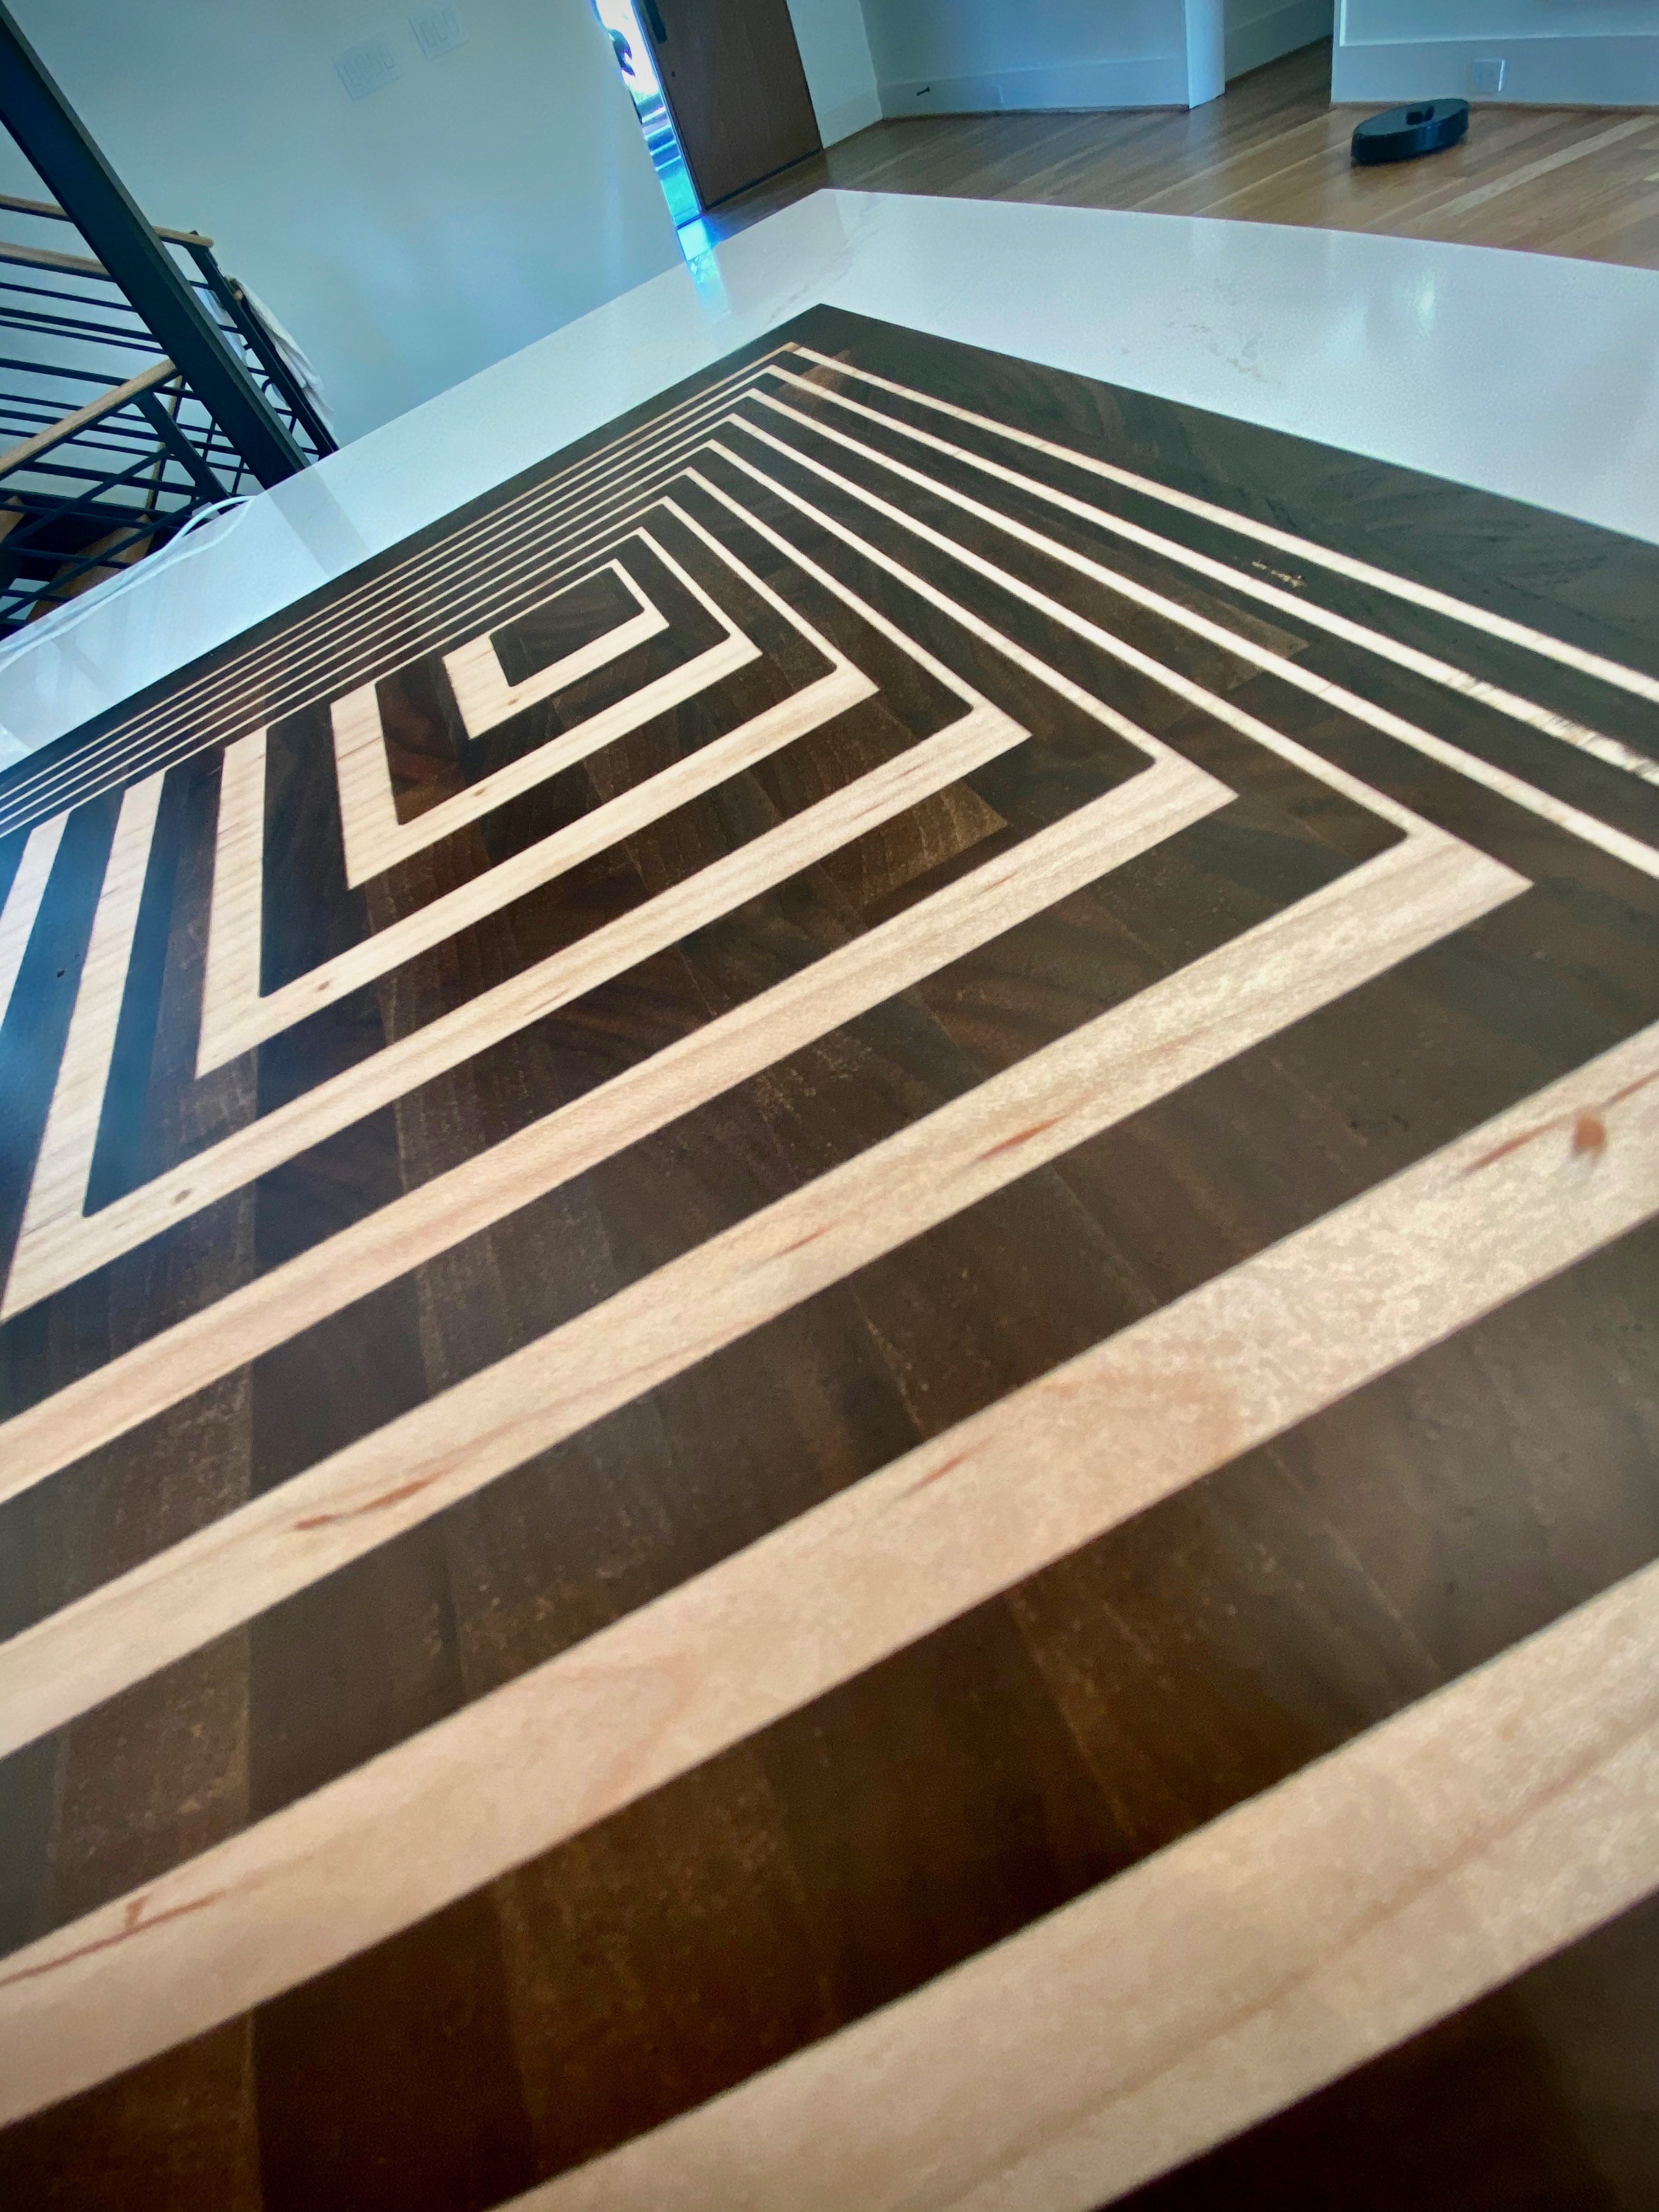
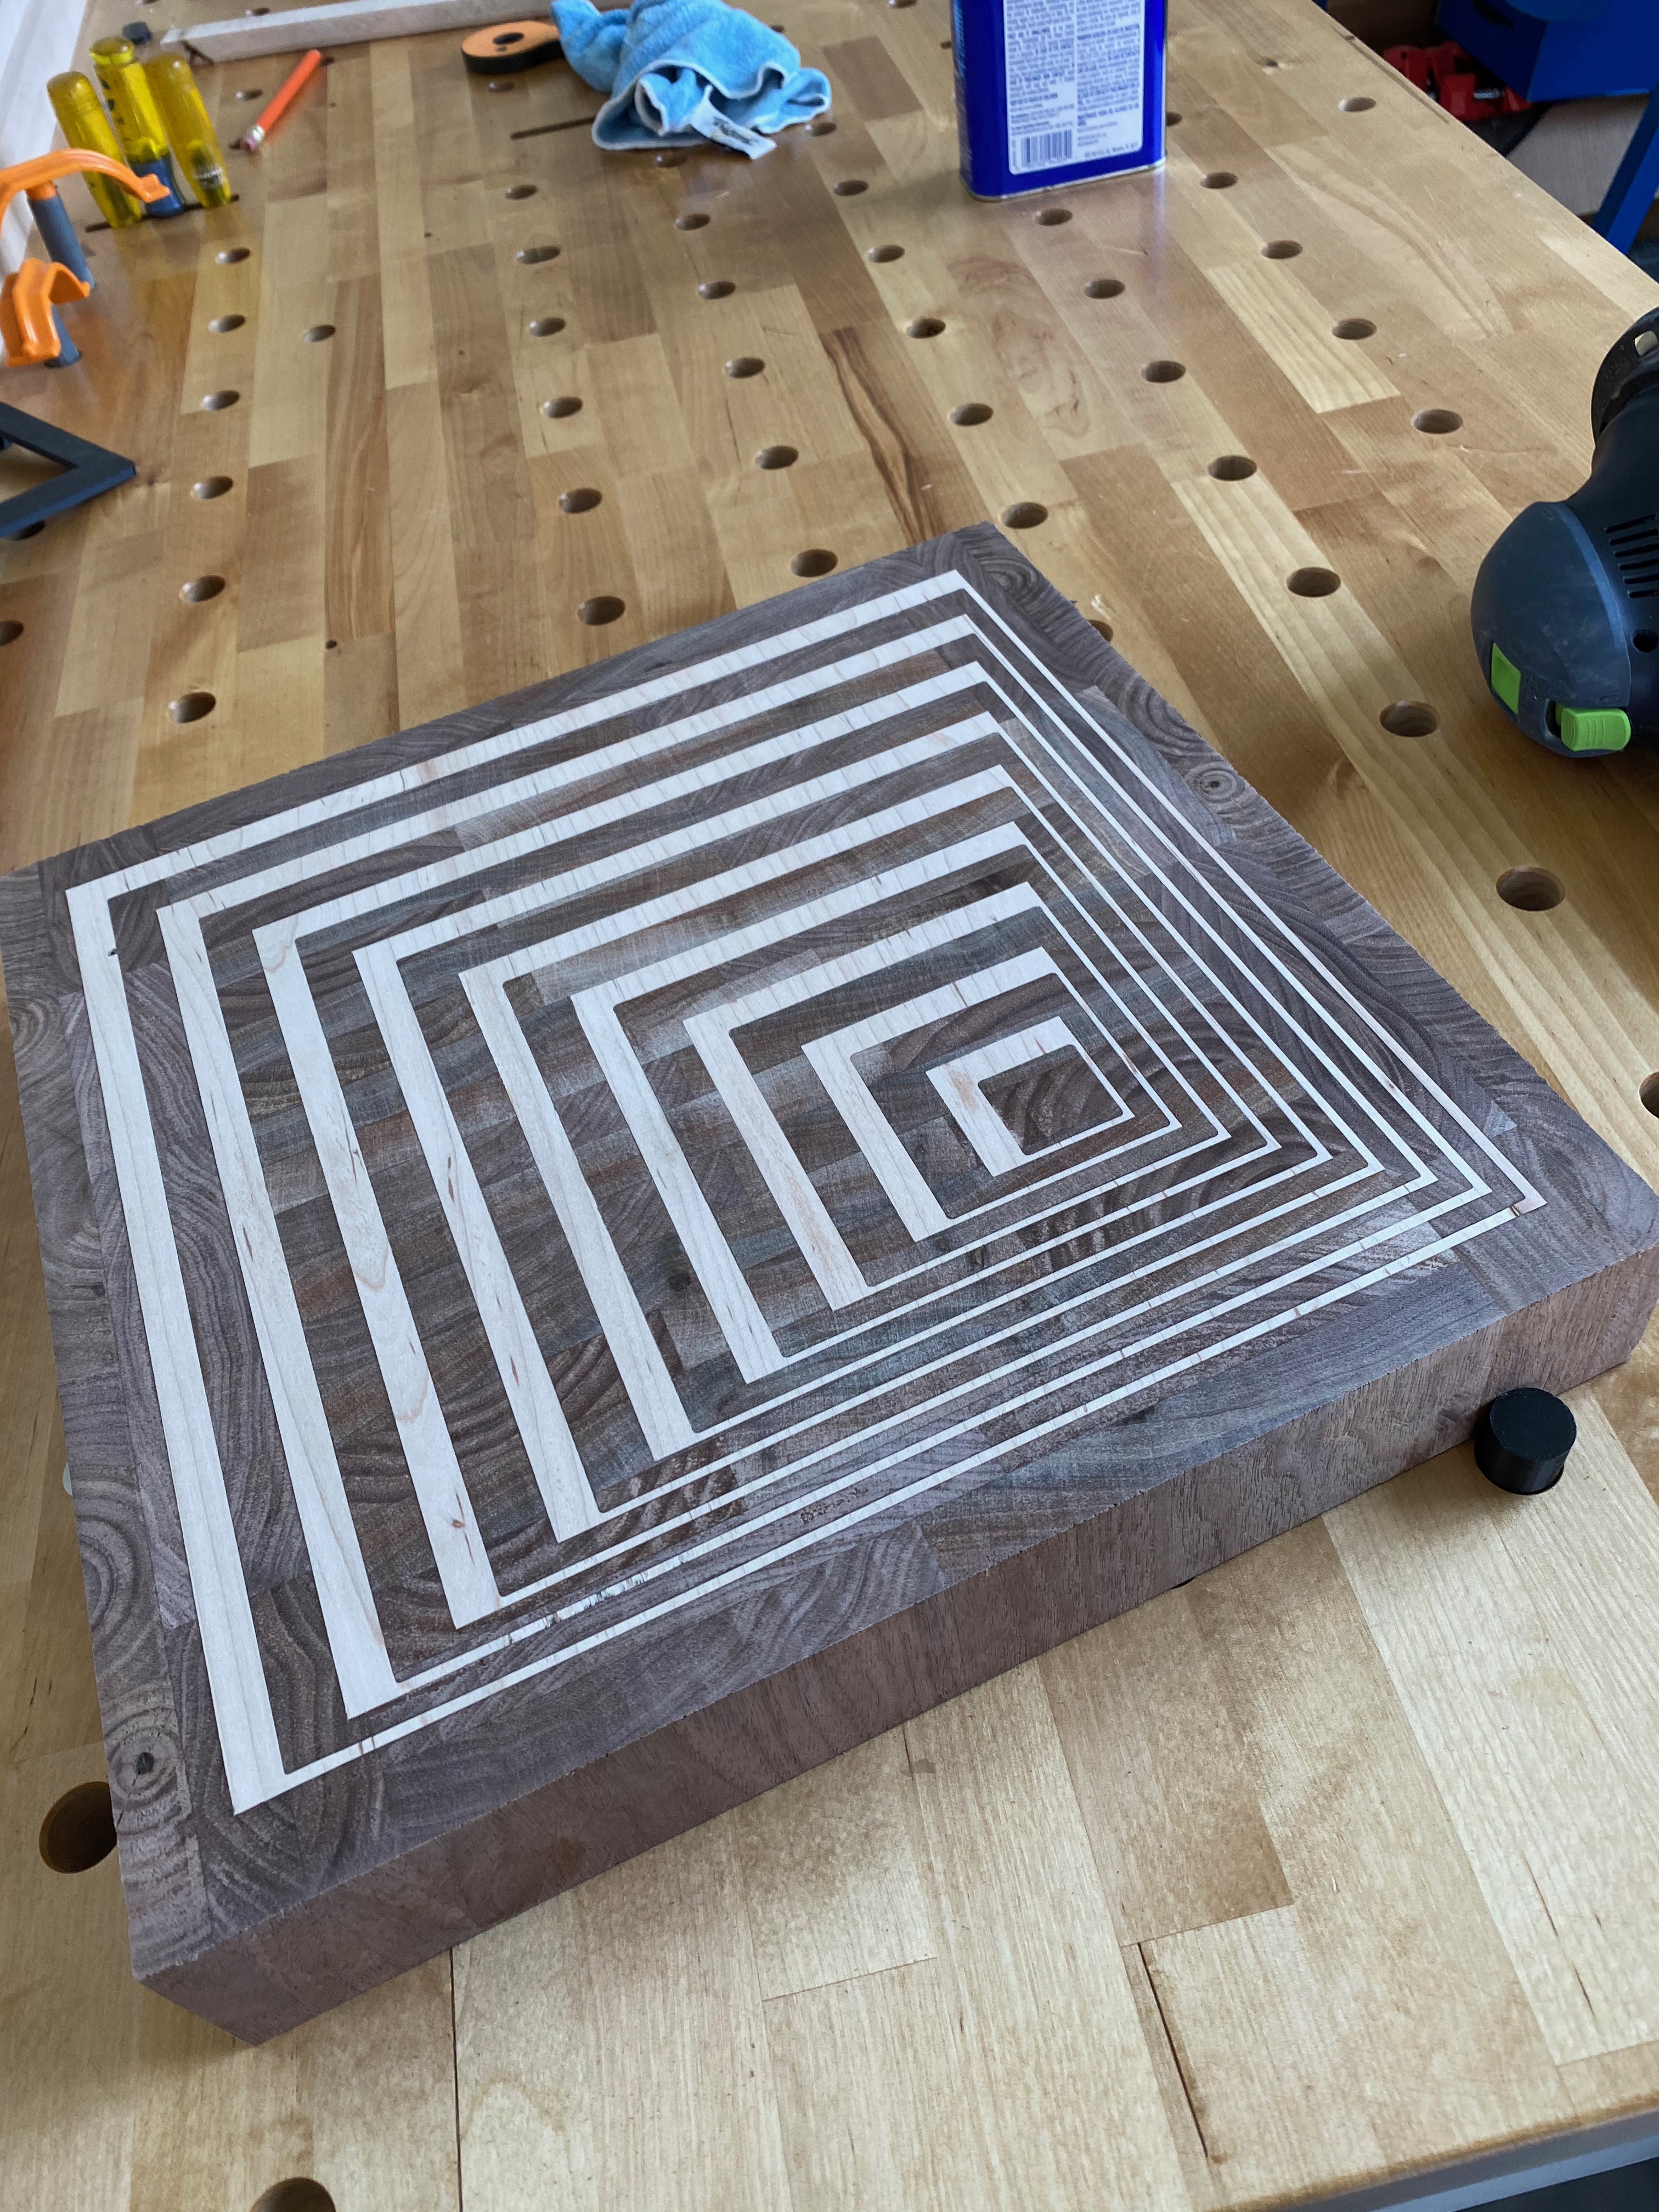
End Product, End-grain Optical Illusion Cutting Board:
Valley?
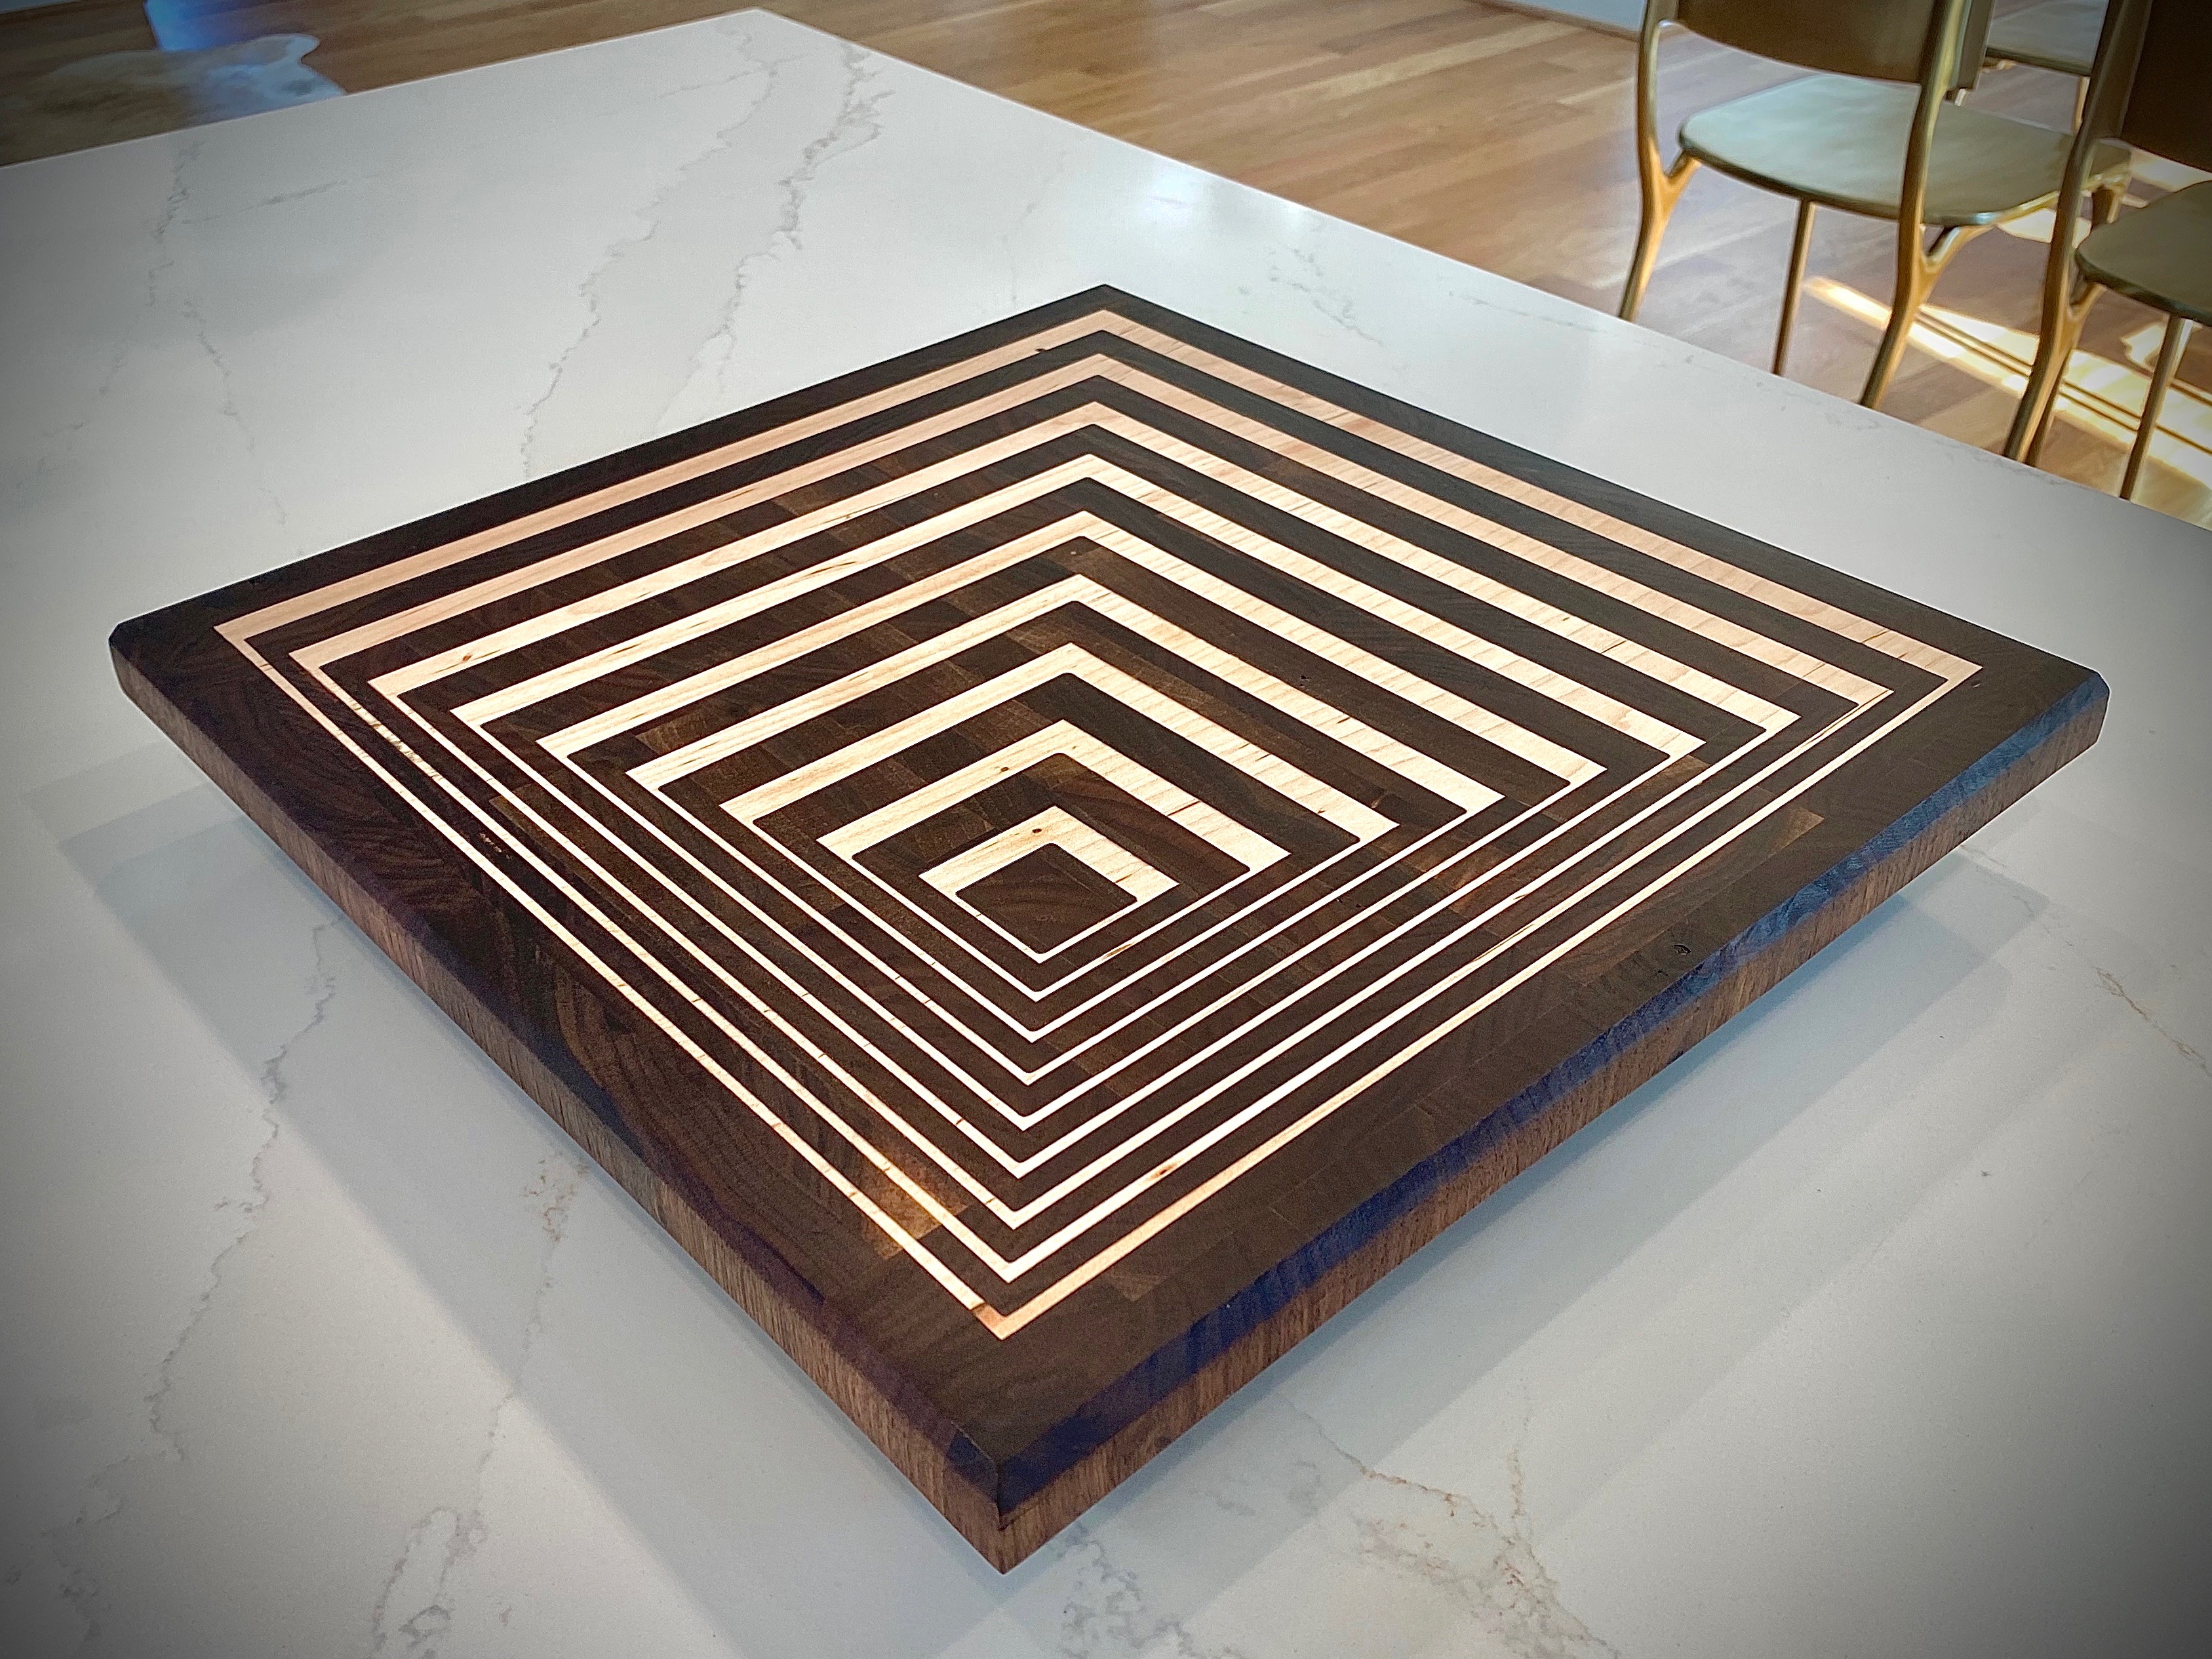
Mountain?
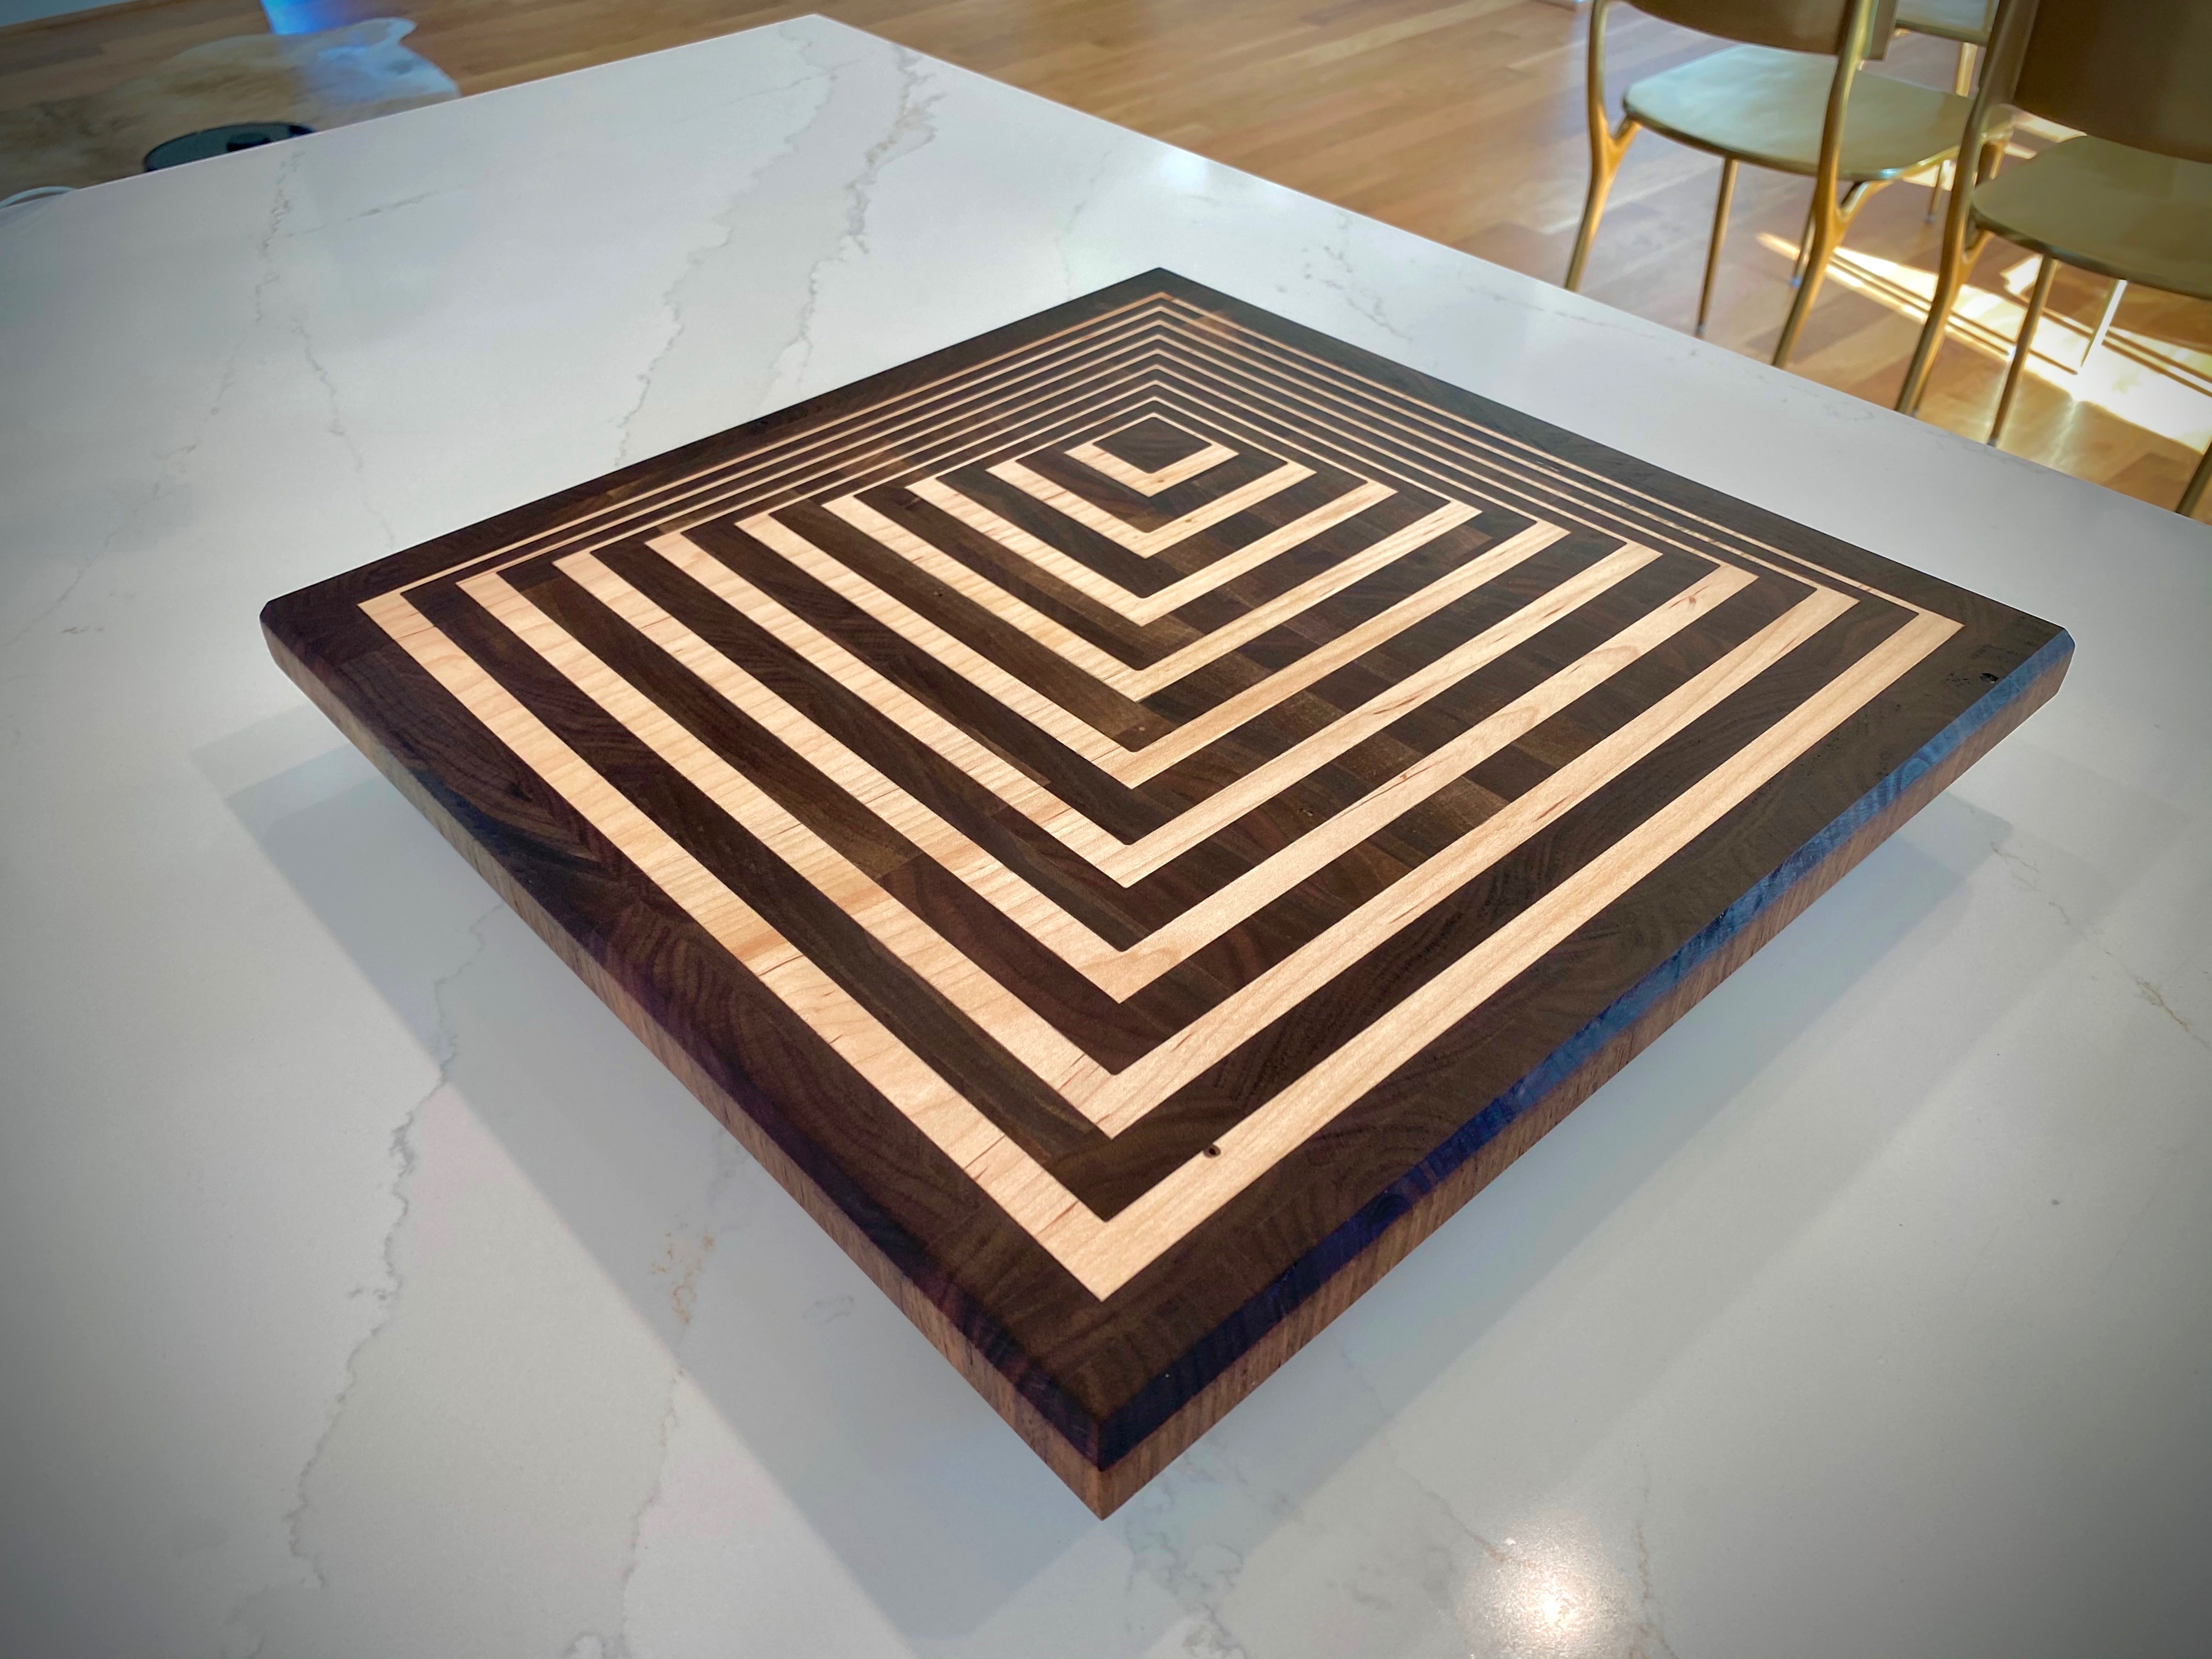
Nah, just flat:
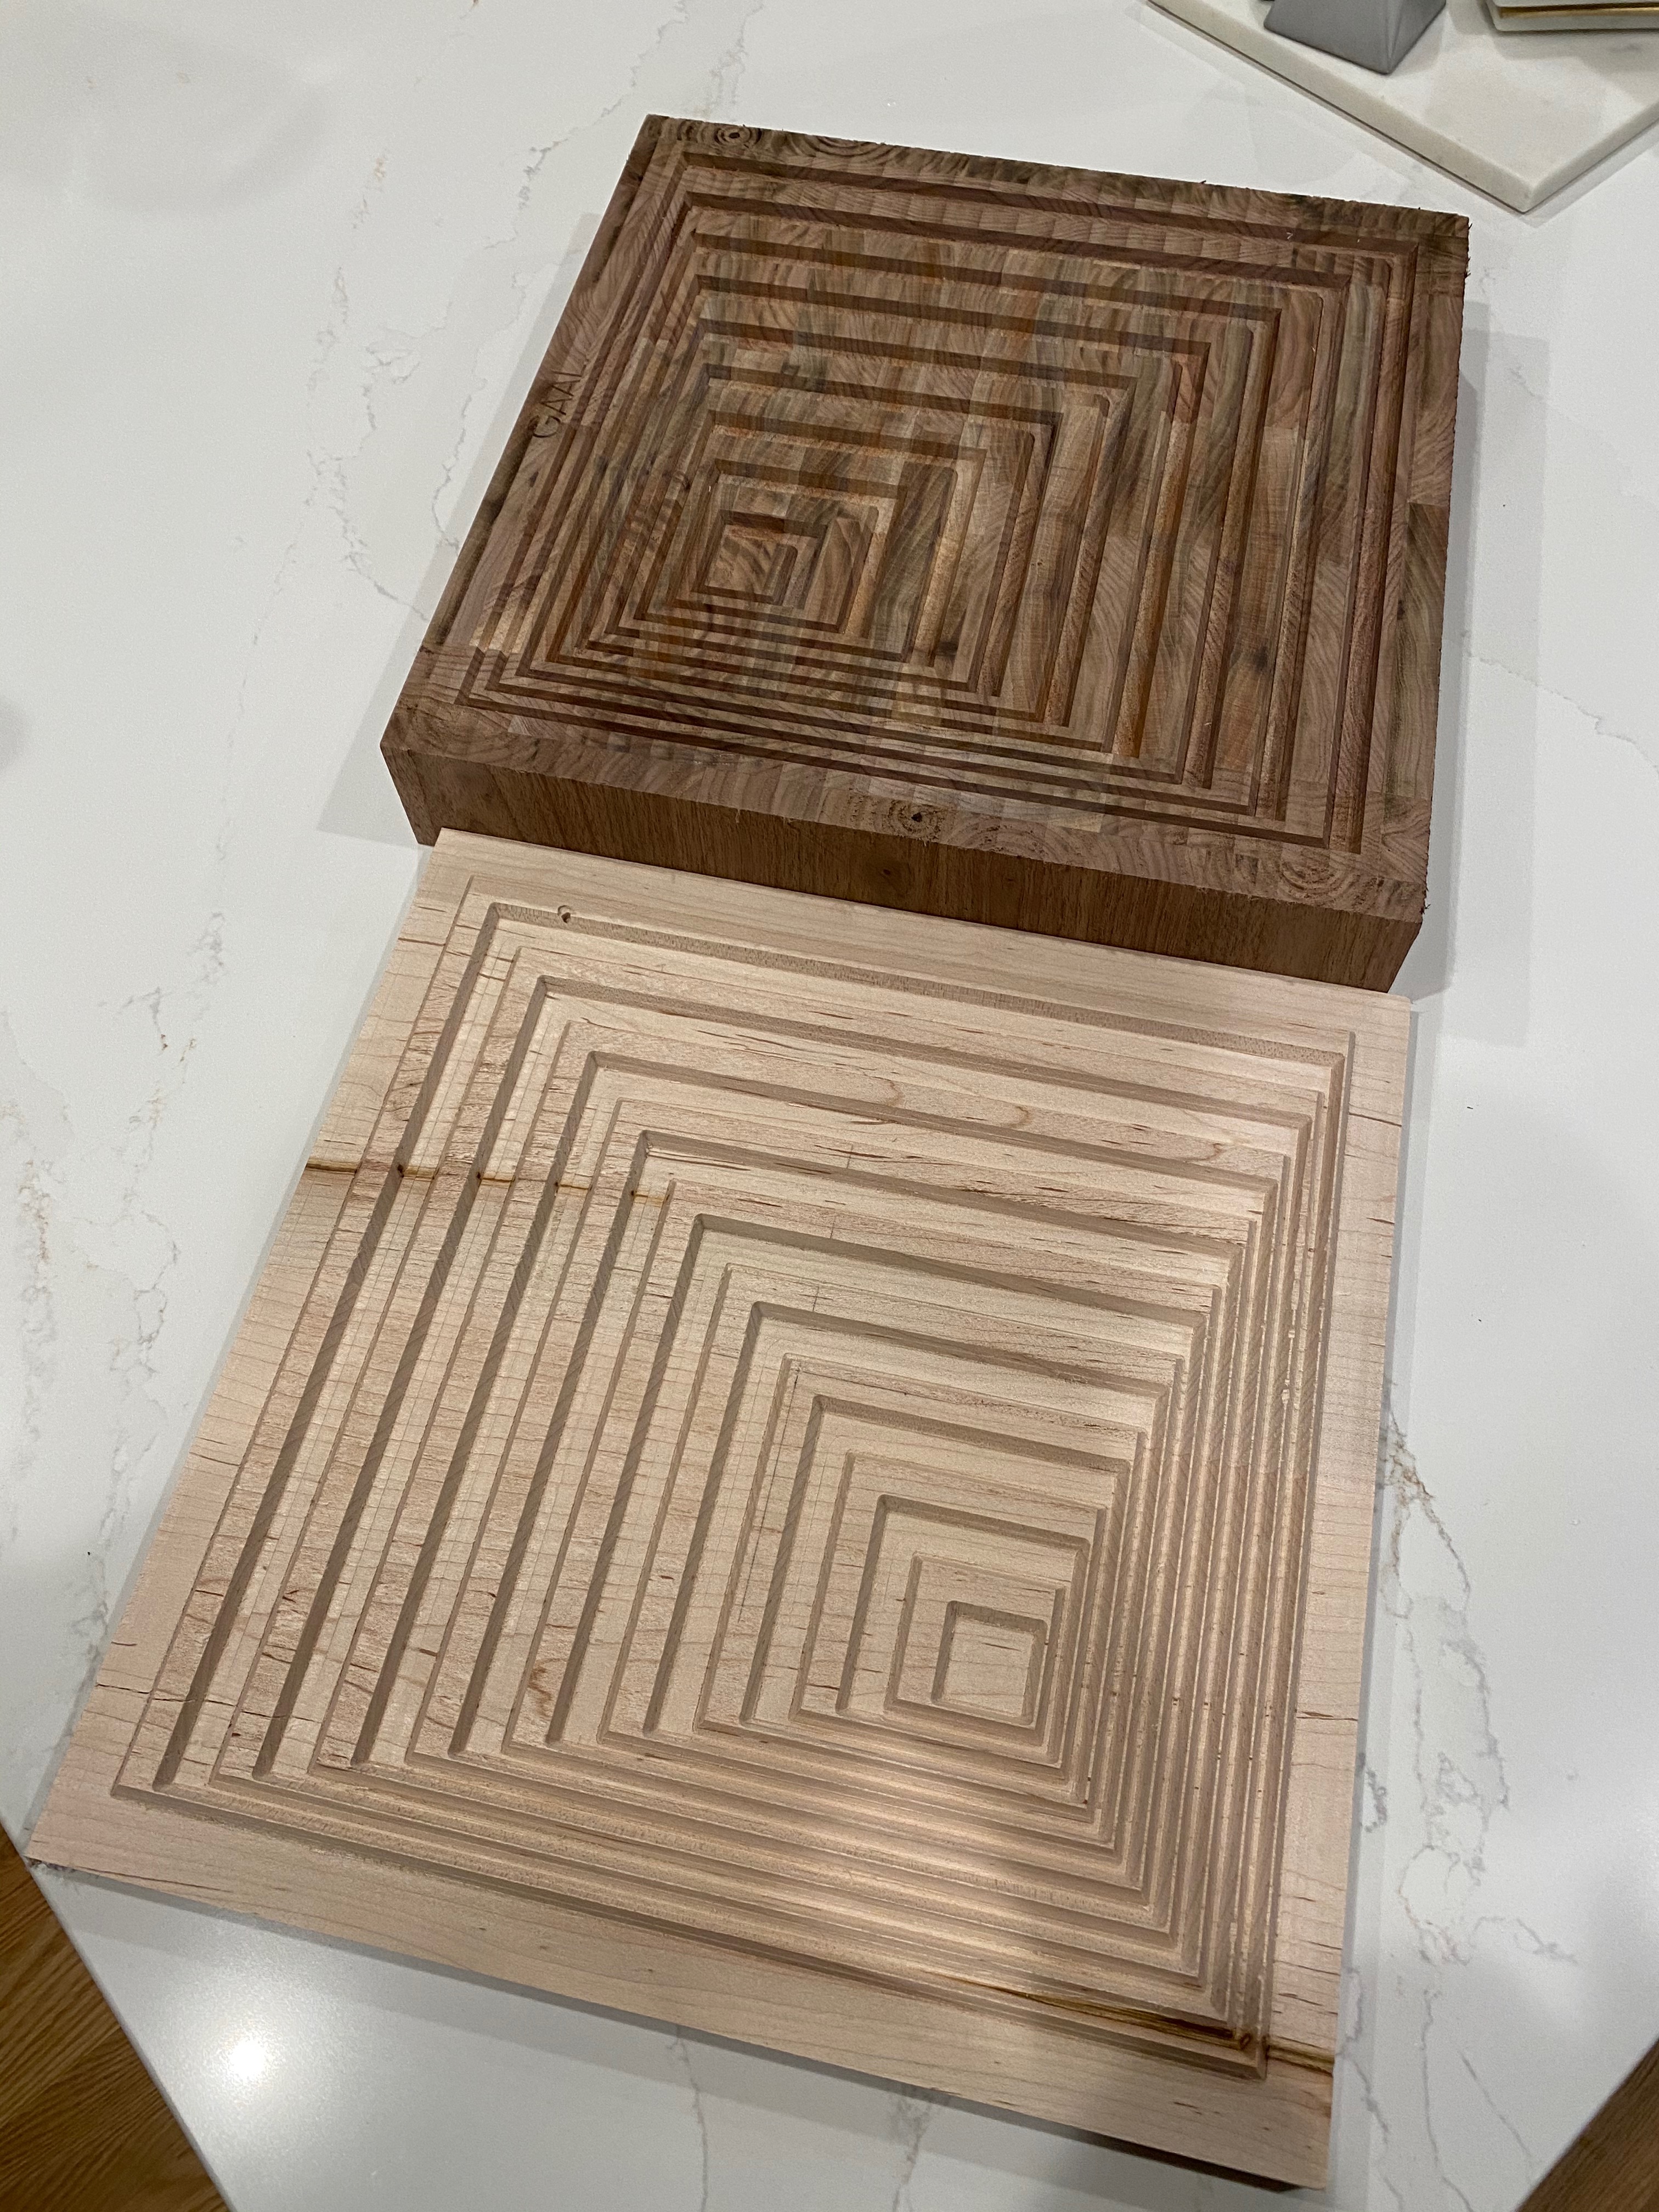
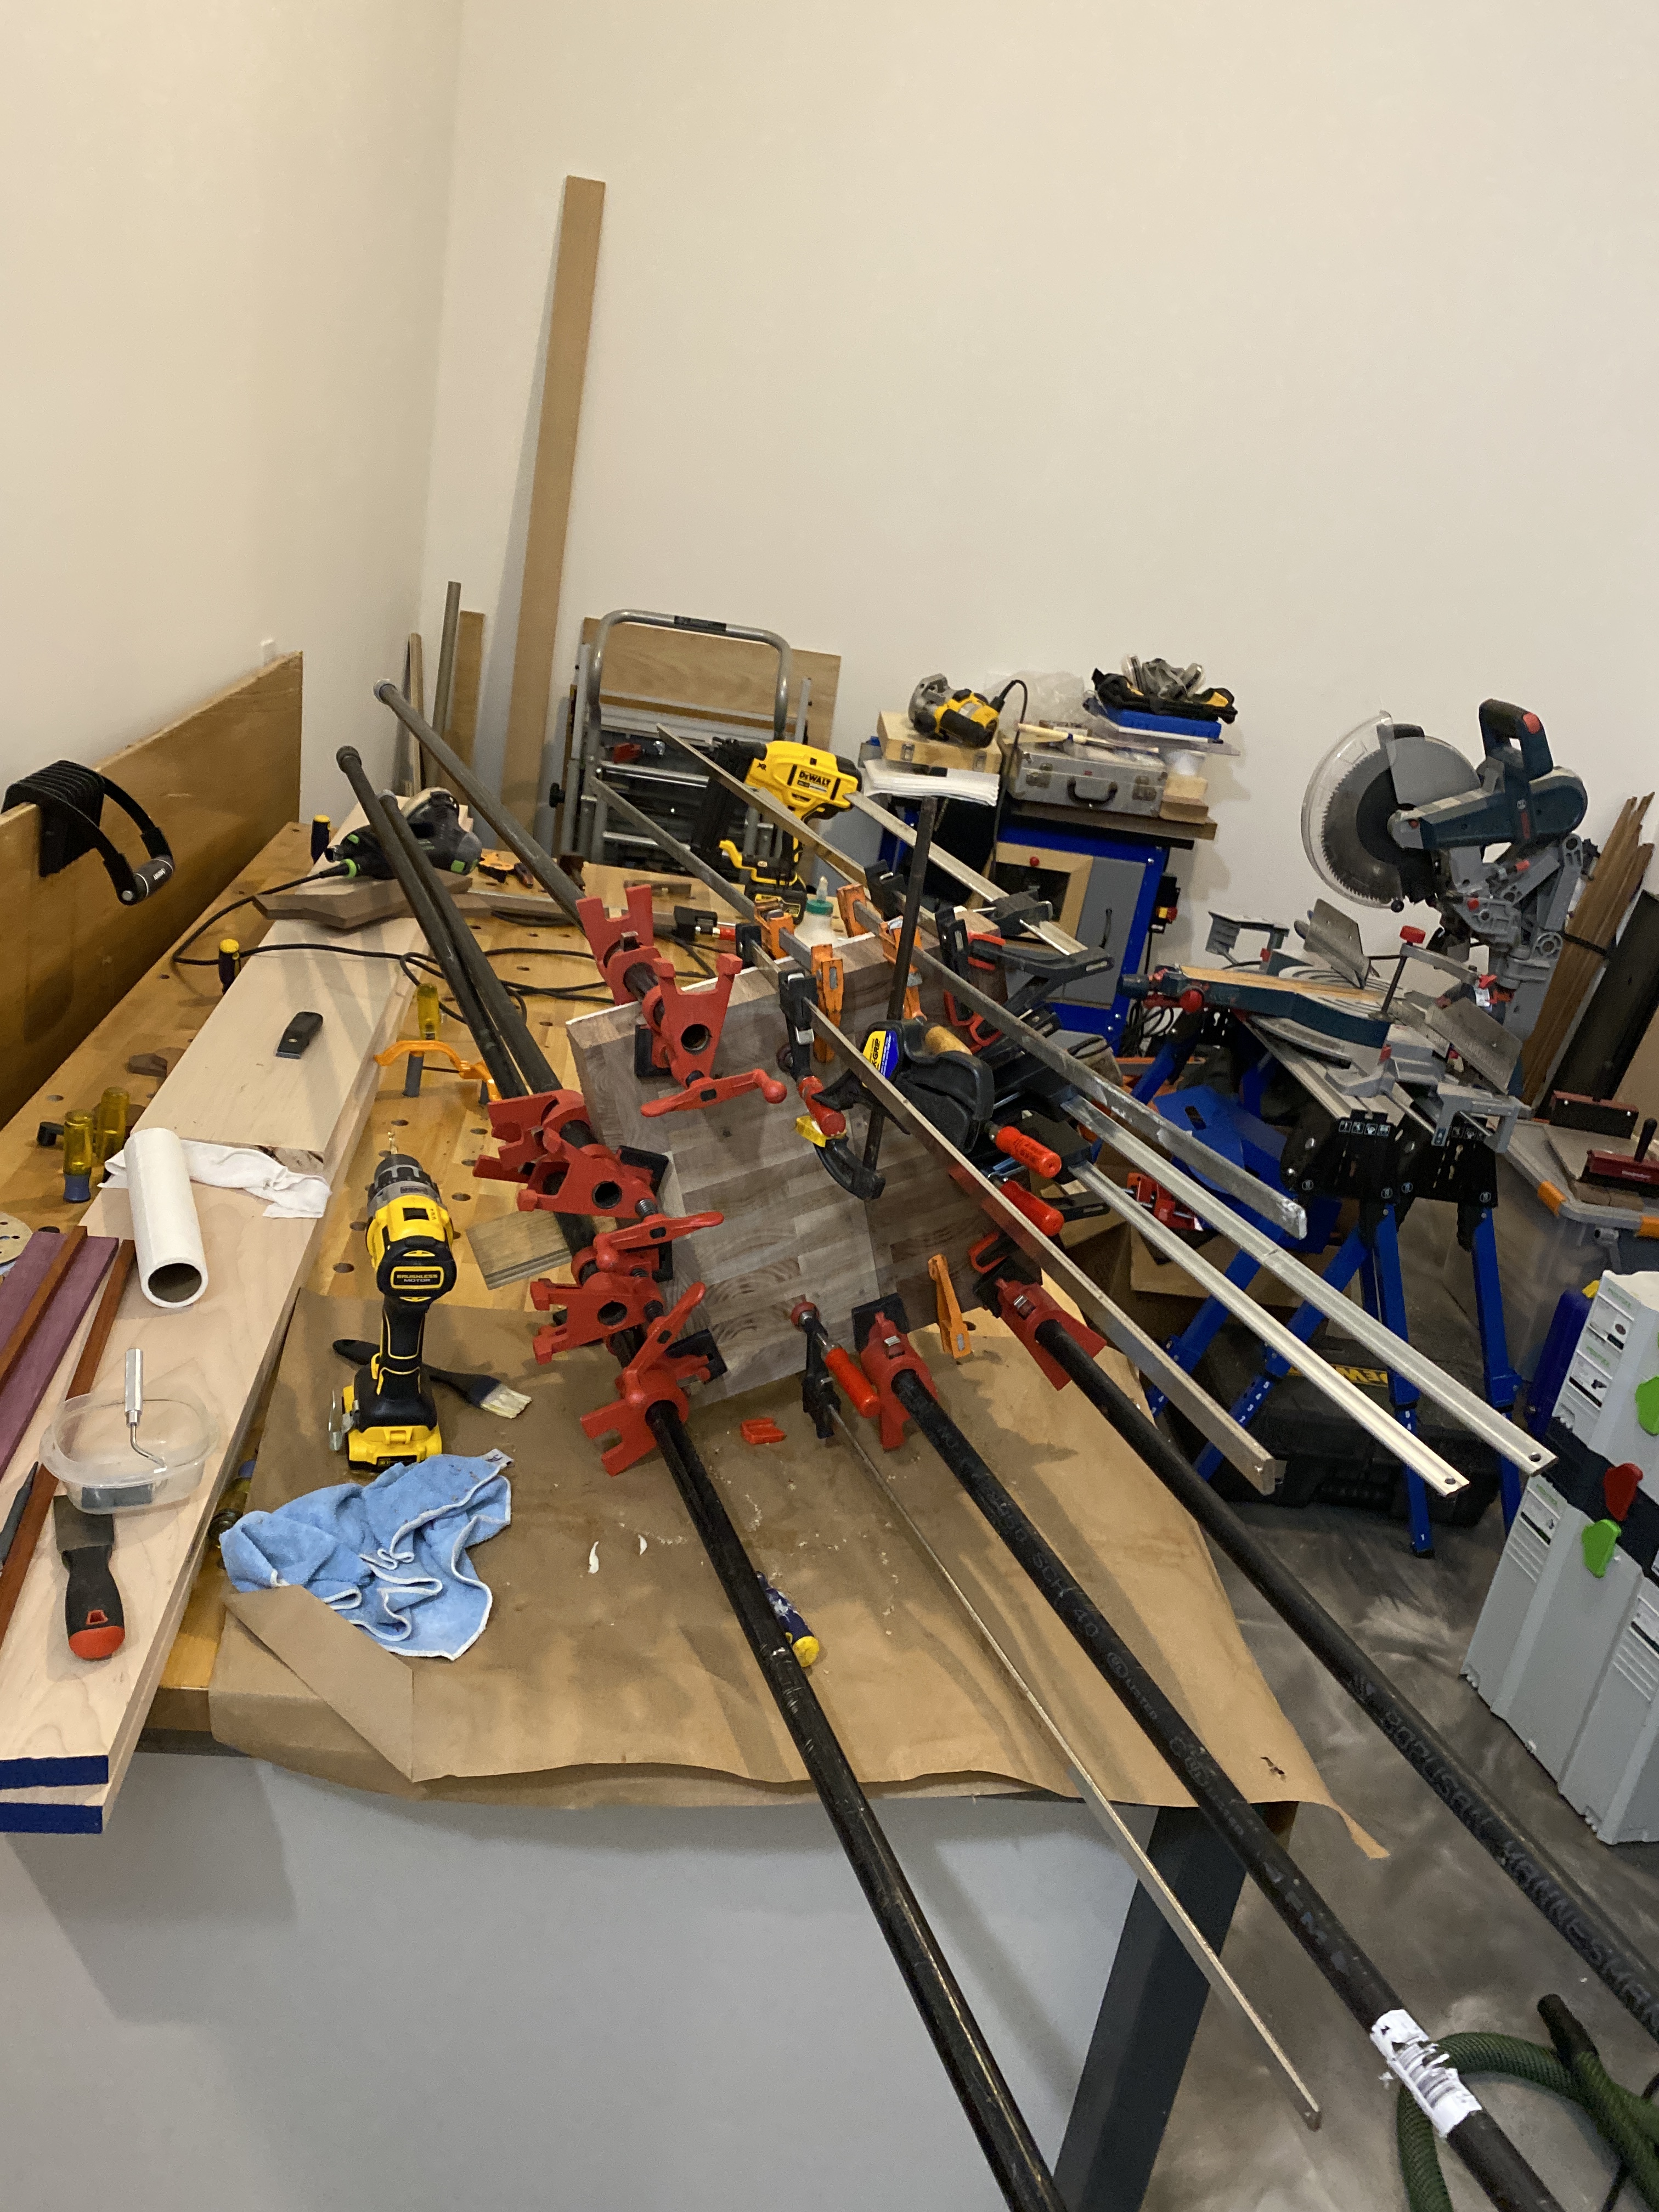
Process:
Identical to Neil’s tutorial with the exception of having to use 1/16" tooling because my .125" bits would not fit in between the sketch contours with the 30deg wall taper on the roughing/clearance steps.
Toolpaths / F360 file:
https://a360.co/32y4Z1b
Biggest Lesson Learned… Do the male side second. Whenever your remove the bulk of material from one-side of a piece of wood but not the other you introduce stresses that warp your piece. I did the male side first because I was afraid of messing up the engrain walnut block… but by the time I got to the female side the male side had warped such that it took the clamping force of a small car to get everything to chinch down (yes, there are “cauls” on the other side).
PS Public thank you to @neilferreri for hand holding me through several moments of “this can’t possibly work”.