Hi folks,
I had been wanting to try metal inlays for a while, so this was my week-end project. A few weeks ago someone posted “Keep Calm and Machine On” (sorry, I can’t seem to find that post now for proper credit), and while I am not British, this sounded like a great idea for a custom sign that I could put above my machine.
I found a “Keep Calm” font that seemed to match the look of the original one, and figured I would use the C3D logo instead of the crown (The Queen probably disapproves of this choice!)
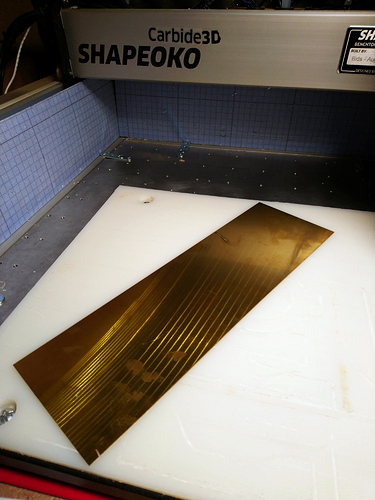
This was the opportunity to put that 0.035" brass sheet I had to good use:
While I could have gone for simple pockets and matching letter cutouts, to allow for a larger tolerance I thought I would V-carve the letters, like I would do for a regular wood inlay (see cool CC tutorial here), minus the extra base/cutout depth.
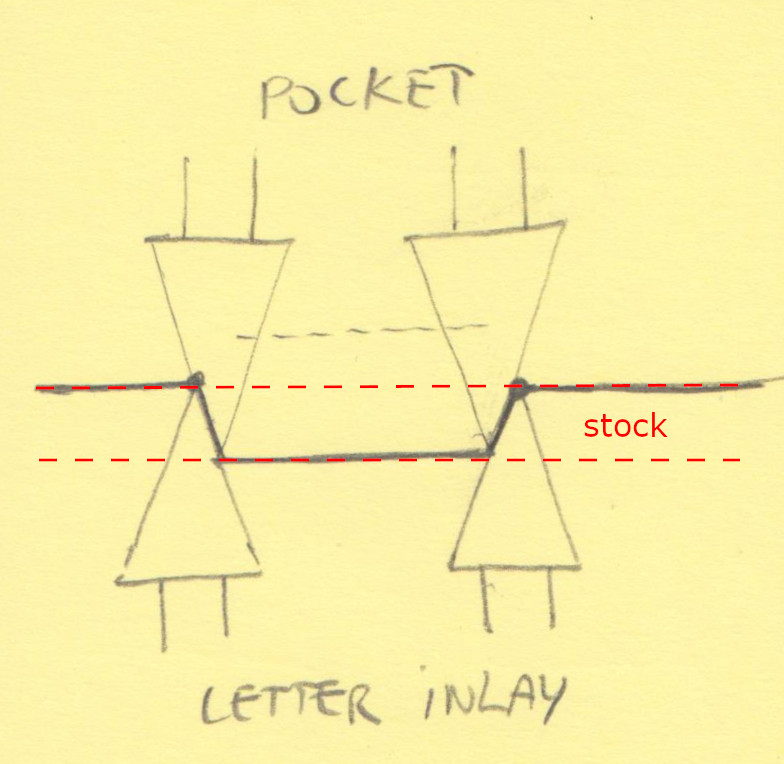
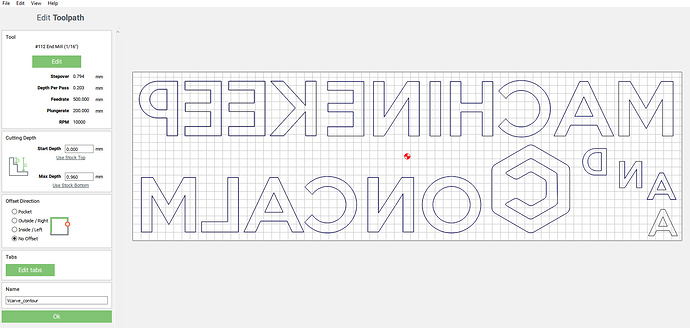
To minimize the amount of metal cutting I would have to do with my V-bit (which was a first…), I decided to v-carve the letters by just telling CC to do a “No offset” Contour toolpath on the letter outlines, down to the full thickness of the brass stock. I tried to illustrate that in the sketch below: whatever the angle of the V-bit is, doing a contour cut on the outline (where the two dots are in this example) from one side, complements the V-carve action on the same selection, from the other side:
Why does it have to be so difficult to explain anything when V-carving is involved…anyway.
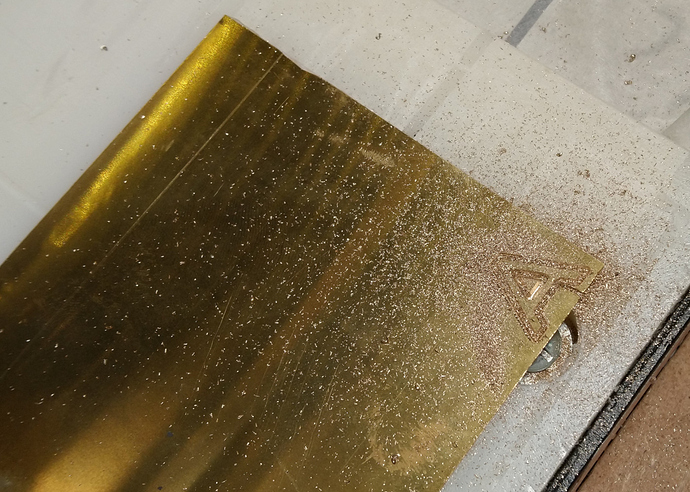
I had never tried using my trusty #302 60deg Vbit in metal, so I first wondered about feeds and speeds, because I still don’t have a robust strategy for computing values for V-bits. They’re intrinsically weird, with their diameter varying with depth, and their tip having almost zero speed. I chose to be lazy (of course) and took values that @wmoy recommended for #112 in brass, as a 1/16" endmill seemed like an adequate reference for a 60deg V-bit cutting 0.035" deep. Or not, but I needed somewhere to start. So, I ran a sample cut in an unused corner of the stock, at 10.000RPM, 500mm/min feedrate (20ipm), 200mm/min plunge (8ipm), 0.2mm depth per pass (0.008"):
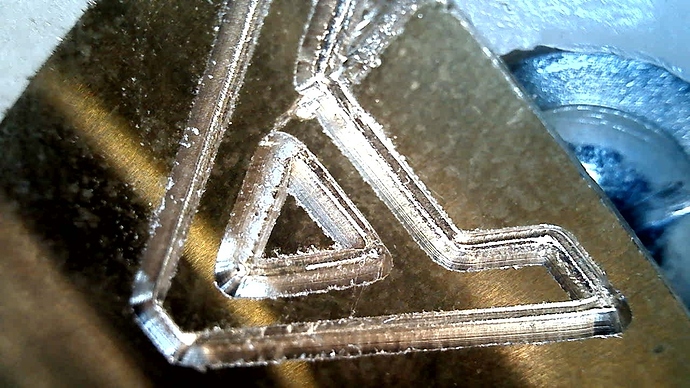
Nice little chips, and a half-decent cut. USB microscrope close-up of the 0.7" wide sample letter:
Since this wasn’t an experiment in finding the optimal cut settings anyway, I decided to call it good enough and proceeded to create the real toopath in CC. The main pitfall with inlays is to forget to flip the design for the male parts, and somehow I managed to not make that mistake this time:
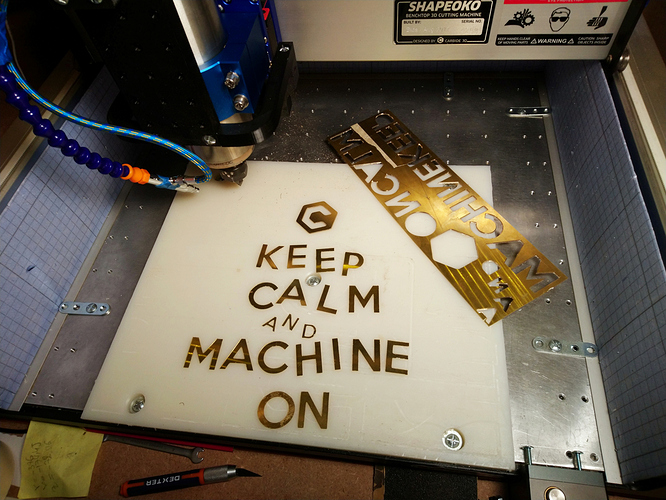
I ran that, which got me more nice little brass chips (aren’t they beautiful?),
And relatively clean v-cut letters:
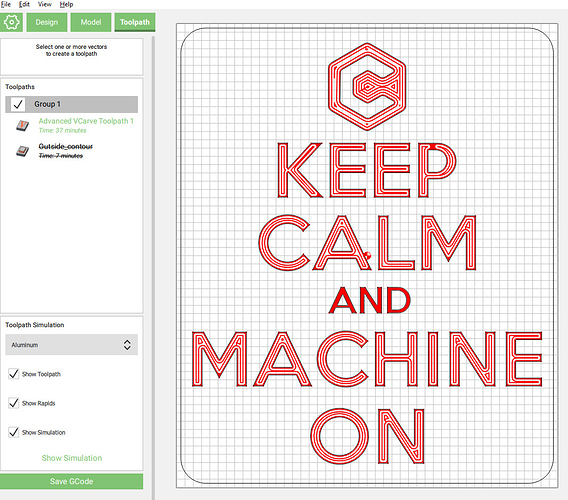
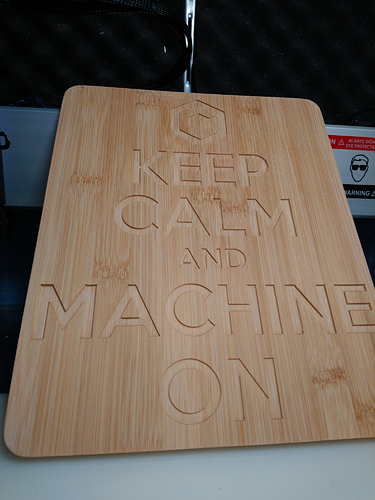
I proceeded to cut the base for the inlays, which was a breeze thanks to CC’s Advanced V-carve toolpath:
- clearing with a 1/8" endmill
- then V-carving with the 60deg #302 and limiting depth to the brass stock depth:
Side note: I used a downcut endmill for clearing, on such a shallow cut chip evac is not a problem, and got zero tearout even though most of the cutting action occurred along the grain.
I chose a cheap bamboo cutting board as my base, which was the only real mistake in this project, because it was a bit uneven and I did not realize it, and since I was careless enough to not run a surfacing pass…well I ended up with subtle depth variation in pocket depth between the left and the right sides of the board. Nothing too bad though, so I got this:
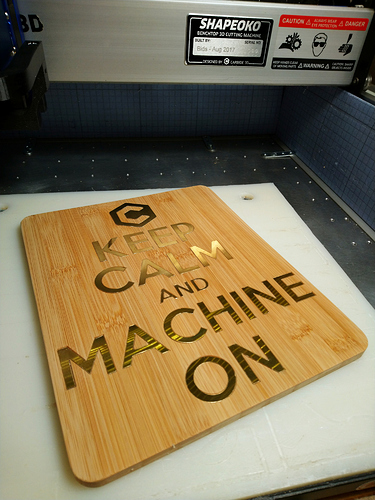
My initial plan was to glue the inlays, then sand the whole piece (base+inlays) back to mirror finish. But I realized that this would take forever, and that the brass letter were still shiny, they only needed a little deburring, so I did that instead, glued them on the base, and called it done:
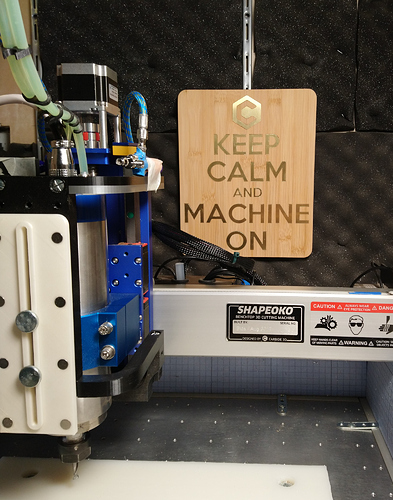
Now I’ll have this right in front of me in the back of my enclosure, as moral support during my next mistake:
I already liked bamboo, but I really like bamboo+brass, I guess I will have to explore that path further.
