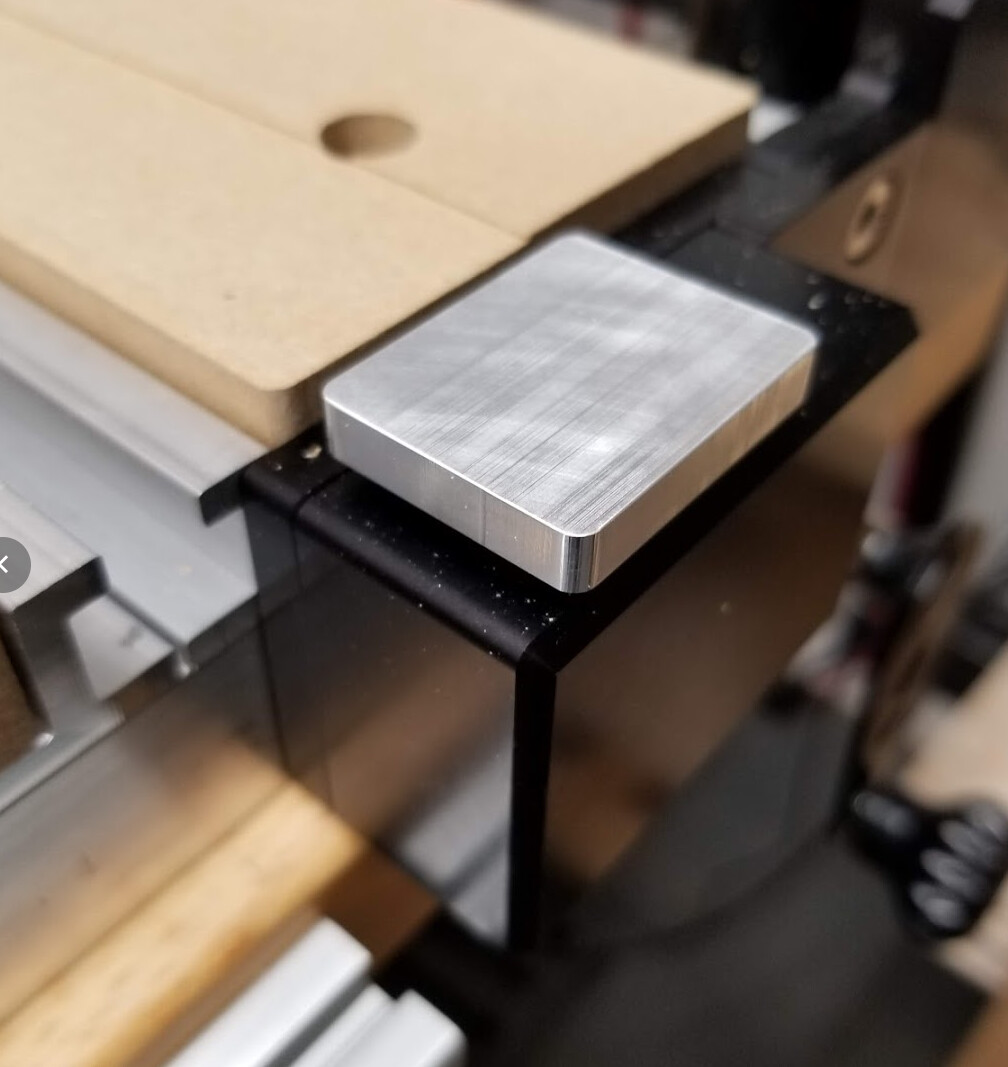
My surfacing bit misses the button included with the BitSetter. I could not get the screws loose to disassembly and look at a complete button replacement, so I milled one that is a tight press fit over the existing button and catches my surfacing bit.
The clear acrylic that helps see the LED protrudes, hence the 2 dimples. However, I’ve noticed that you can just pull that acrylic piece out, which I haven’t done yet since I know I’ll lose it, but as this covers the LED, perhaps I should just do it.
In the end, I’m trying to remember if I even did the 2 setups, one of which was just to face off one side. Most of the work done with a 1/4" 2 flute, with the smaller holes with an 1/8" 2 flute. Finished the edges with a chamfer bit. Longest op was the contour at 1400mm/min, feed per tooth 0.04mm (1.5thou)
I did get caught doing the smaller holes with the feedrate  ( YOUR FEEDRATE IS WRONG! – Haas Automation Tip of the Day - YouTube ) So those two are at 600mm/min.