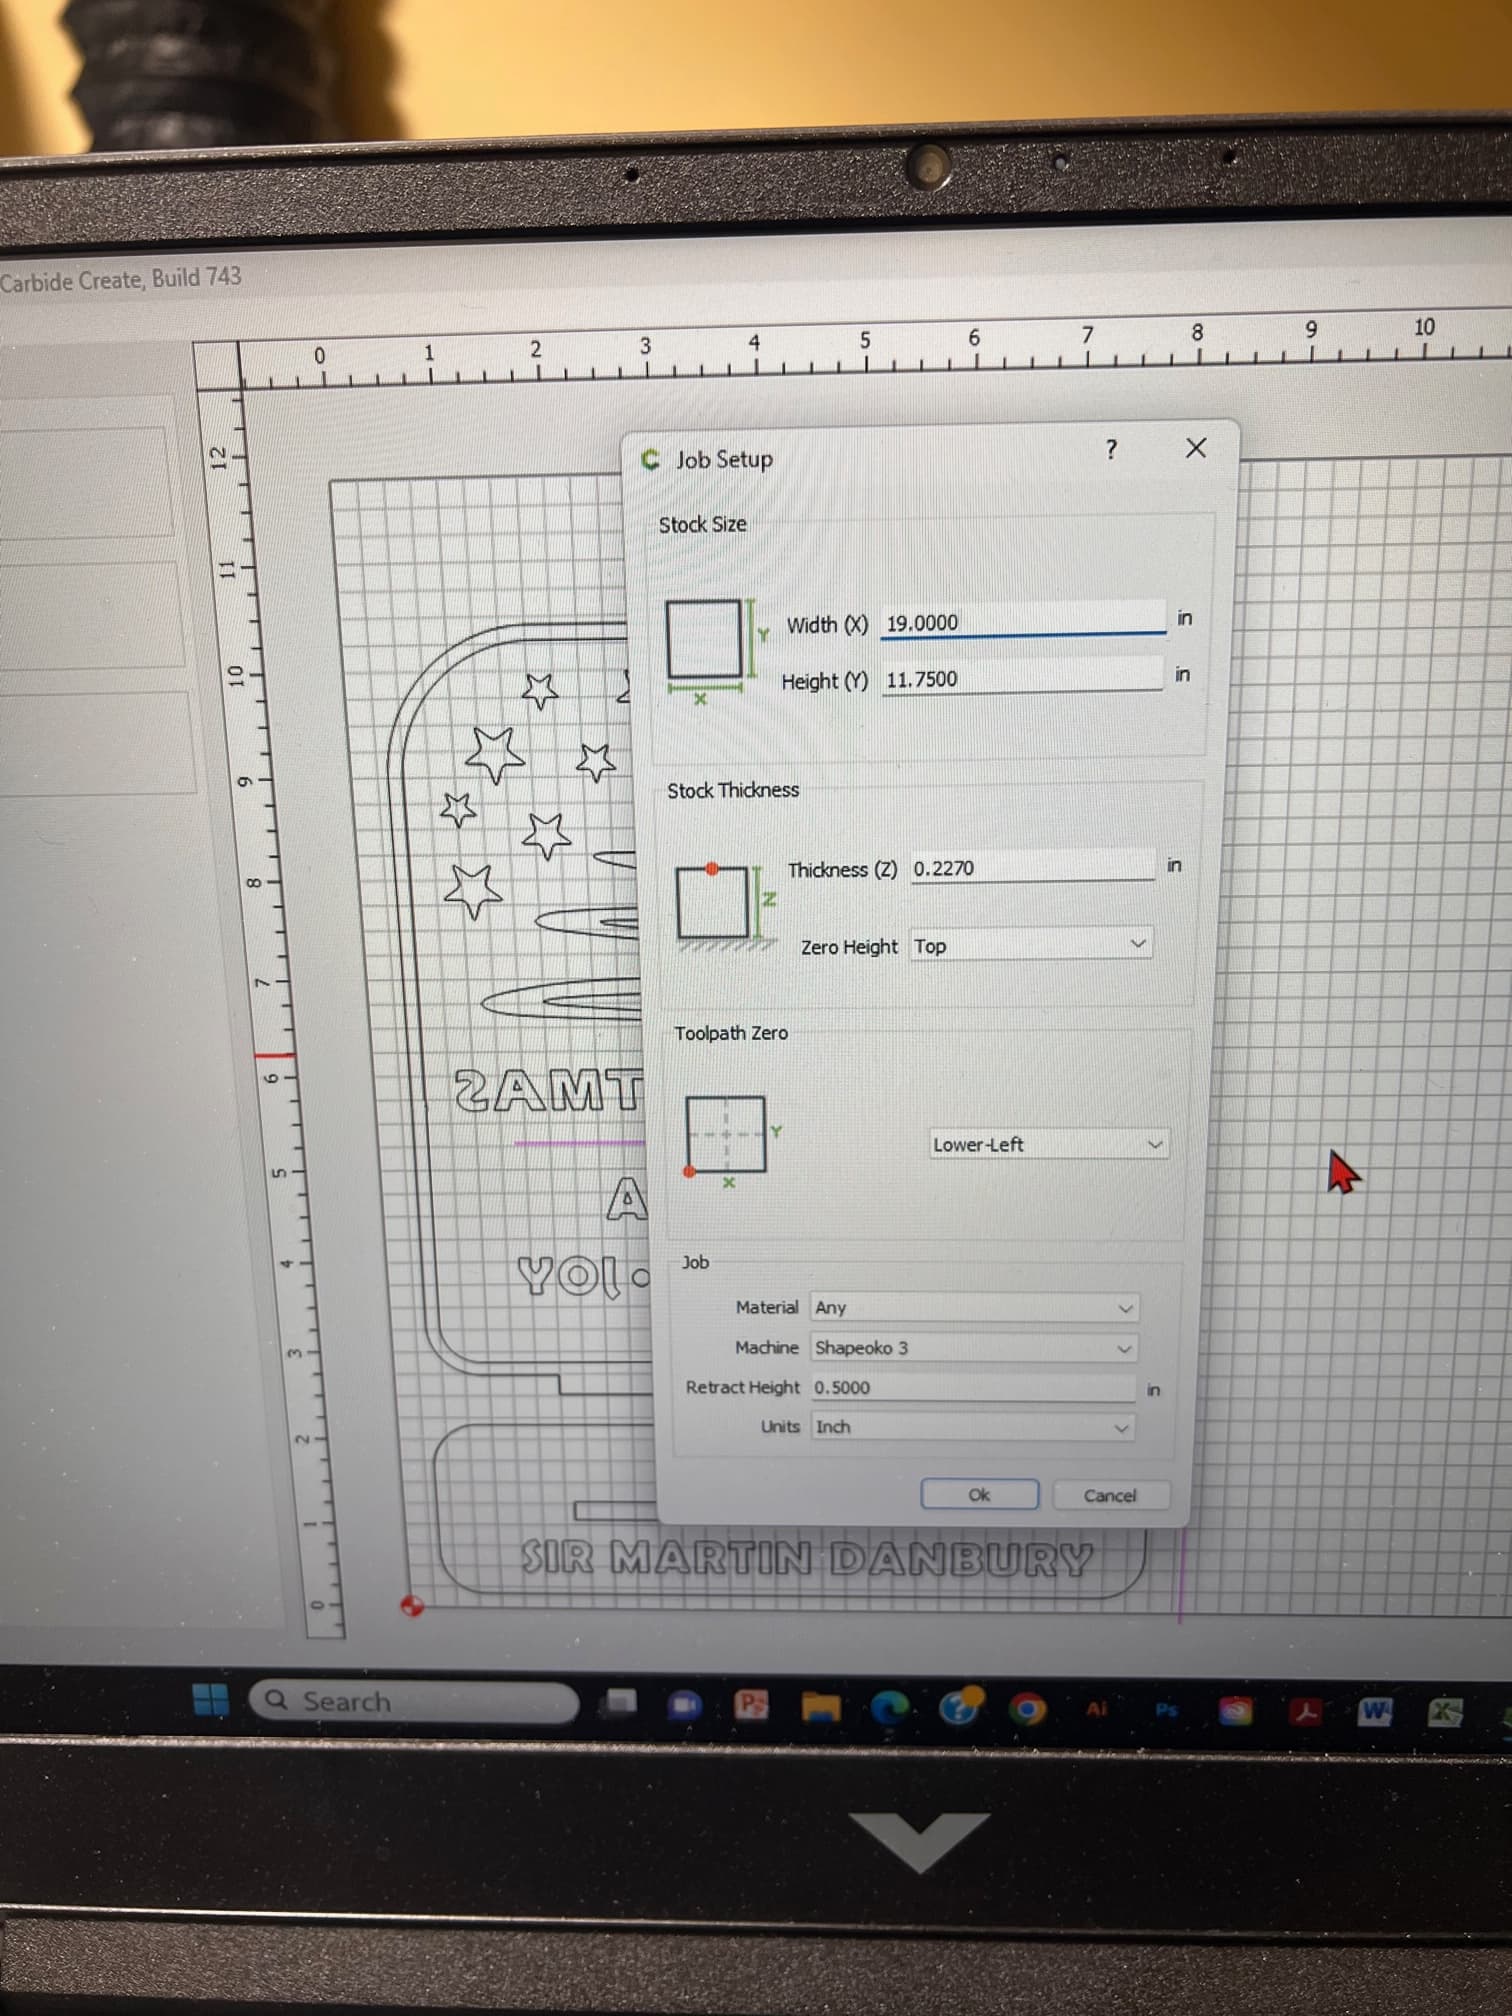
Just so I am understanding it correctly. I run the BitZero-V2, select the box with the two red lines indicating the corners of the box (this really needs to be updated showing the Z too) an then start PROBE. It probes and finish finding the two X-Y edges and then the top Z-axis. That works.
Q: What do I do after that? Do I set the on screen X-Y-Z menu boxes to SET ALL ZERO or just leave the X-Y-Z as shown?
Just a note for improvement: Please do better detailed instructions/videos on all the products. You do just 80% of the steps of what is really needed for someone to fully understand how-to setup a product correctly, we need full step-by-step. Remember you already have done it, we have not.
Thanks. That all works for me but after I do all that … Do I now set on the JOG screen page SET CURRENT POSITION screen to set to ZERO ALL … or do I just leave it as is and run my program?
So what I understand in the video he does the BitZero of the two corners (X & Y) and then the probe moves to the top of the BitZero. I assume when it moved to the top of the BitZero it was setting the Z axis, but it really is not setting the Z axis or ZERO of the work piece, correct?
One still has to do the separate Z axis probe on the BitZero for setting the work piece top height, correct?
Yes, You first need to probe the X & Y and then probe the Z when the unit is on top of the stock. While it looks like the Z is being probed during the X / Y probe it apparently is not.
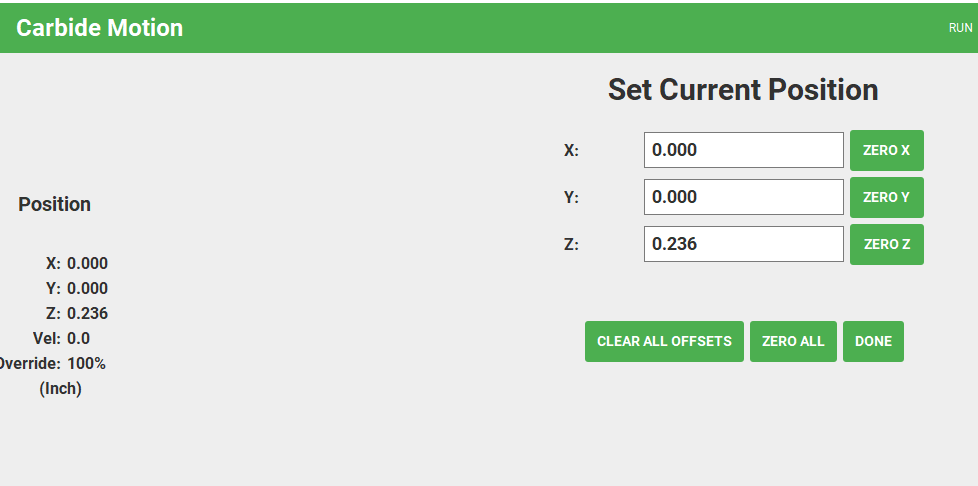
I what it to be at the top of the work piece, not 6mm (.236") above it. At 6mm (.236") the tool would be cutting air correct?
So would the ZERO setting look like in the screen shot above?
I’m a relative noob, but have a Pro5 with the bit zero. My process is to do a corner probe, it does x, y, and then z in succession. It sets the zero for you though it doesn’t look like it does in the software. Once the probe is done just go to run and you’re set, no manually setting 0 or anything. That has worked for me so far.
The method prescribed by Carbide is to probe both. (also pointed out in the third party video referenced) The reason is probably to gain the zero in a more central piece of the work versus the corner.
I have the V1, not the V2 but I have always only used the corner probe option which does say XYZ in the popup window.
Perhaps setting Z separately in the center would give greater accuracy at the center but if the bird isn’t flat you would just have issues somewhere else.
In the video the guy says it is not registering. Does he expect it to show zero on the screen? It won’t since the top of the BirZero is above the work surface and the code knows to subtract the thickness of the BitZero right? So when done with the operation Z would show 0 + thickness of BitZero + retract height.
@WillAdams always suggests moving to Z + 6mm in the jog menu and seeing if it is correct.
Yes it is just as it shows in my screen shot. If you rapid to Z+6mm its correct but it does not reset the zero on the JOG menu screen as shown, it stays as .236 inches. The only way to set the Z zero is to do the Z axis probe after the X-Y axis corner probe.
I think you need to try a BitZero with a Shapeoko Pro5 and see what it does. Maybe a software code error?
I am fine with doing the X-Y axis and then doing the Z axis separately.
Placing the probe in the BitZero hole, why does the BitZero software sense the X-Y then moves up out of the hole and senses the top of the BitZero for the Z axis but does not zero out the Z on the screen, only the X-Y gets zero out?
If you jog down to the surface of the stock you should see that the Z-axis will show zero at the surface — it doesn’t show as being zeroed if it is 0.236" (6mm) above the stock.
Still somewhat confused.
My understanding is that the corner probe should also set Z to the correct material height by subtracting the thickness of the BitZero from height probed.
Correct?
I have never done an additional Z probe unless I used the paper method for some reason.
Thanks for the confirmation. I guess part of the confusion is the image for the corner posted above shows only red lines for X and Y even though the popup clearly says XYZ.
I thought that the image on mine showed a red line on Z but I can’t say for sure. Will check the next time I am out there.