Here is how I check out the functionality of the machine/BitZero:
- first check that you have sent the correct Z-axis configuration
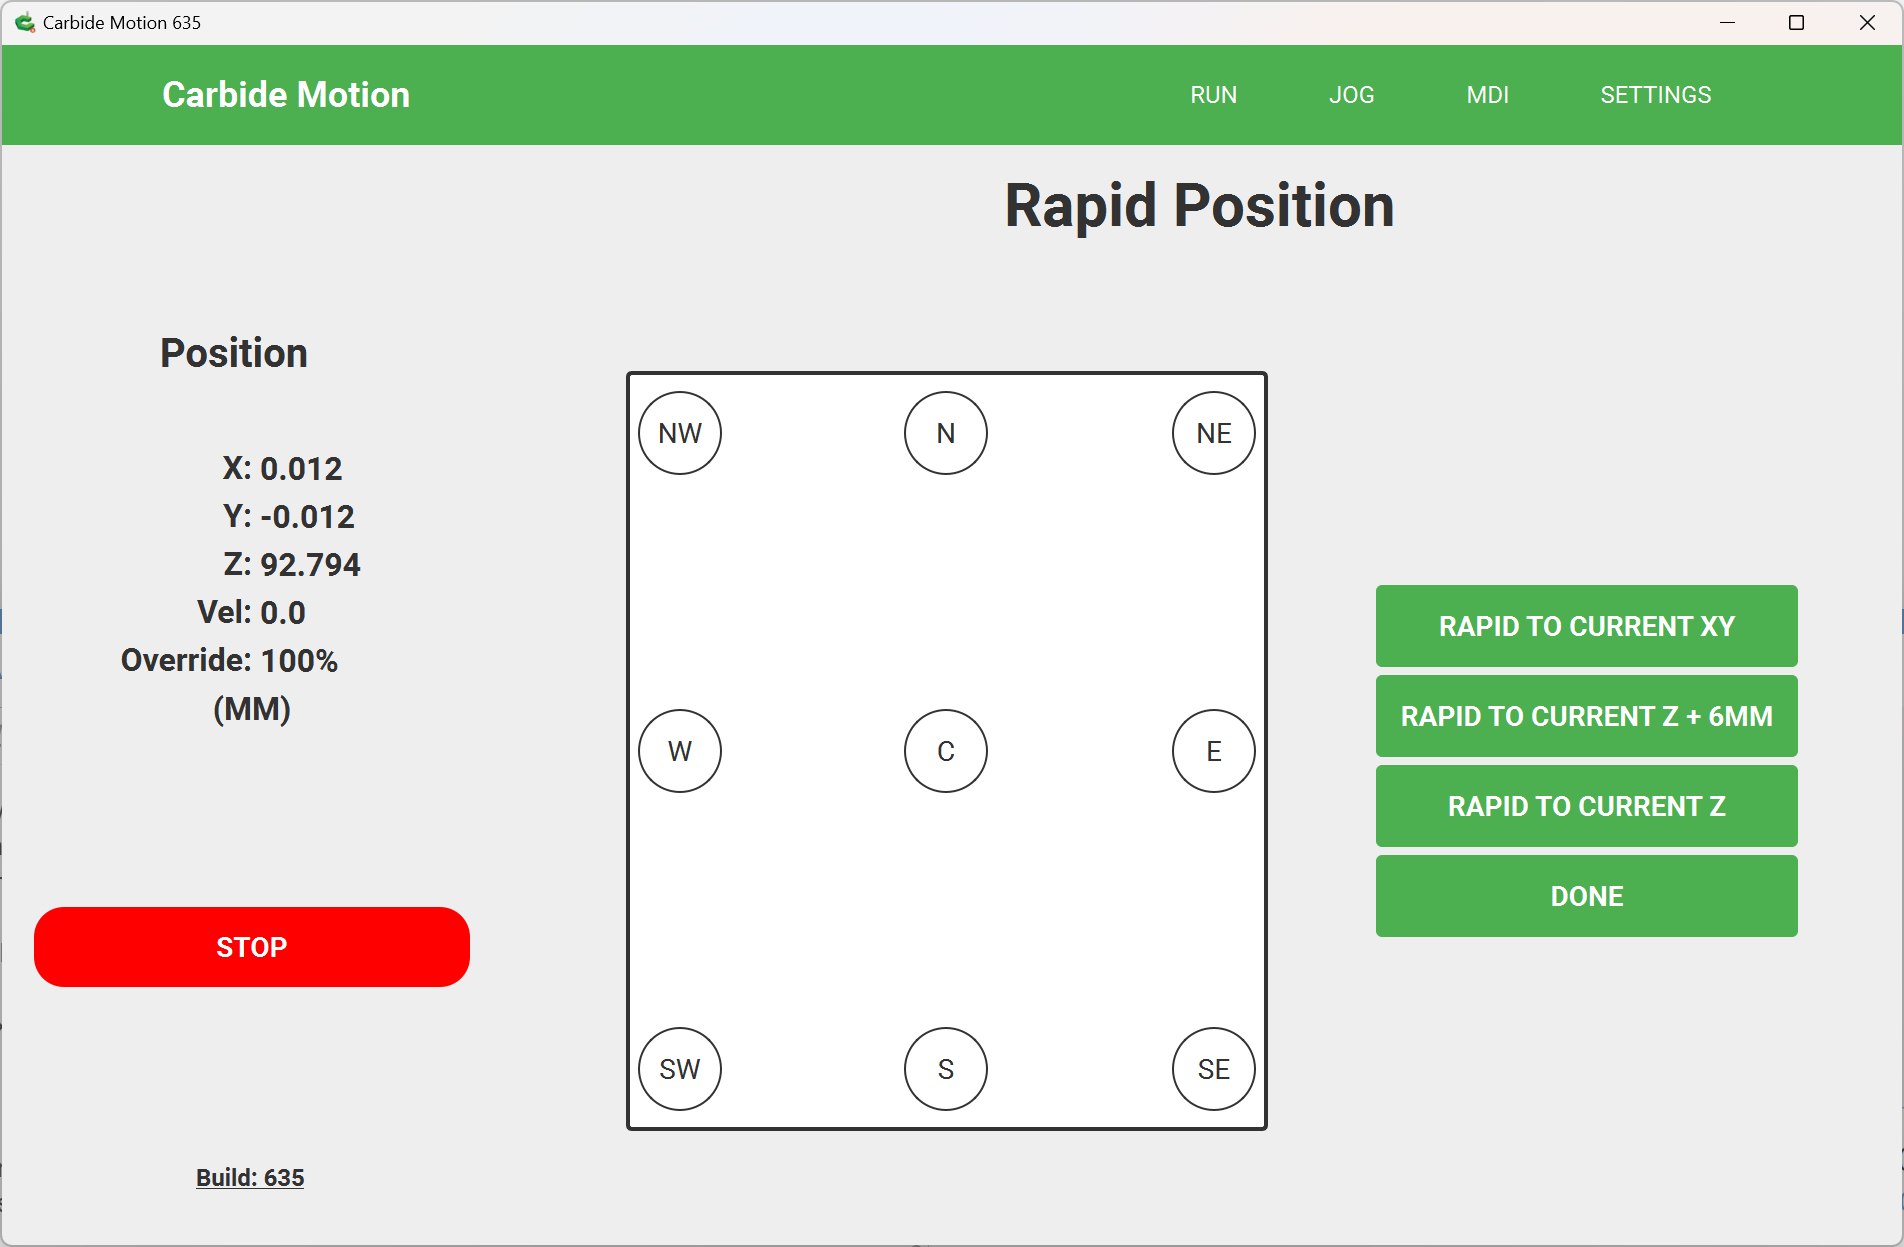
This can be easily done by jogging down to the wasteboard surface, setting zero, then using the Rapid Position command to lift 6mm above the current zero — measure how much the machine moved — if it’s wrong:
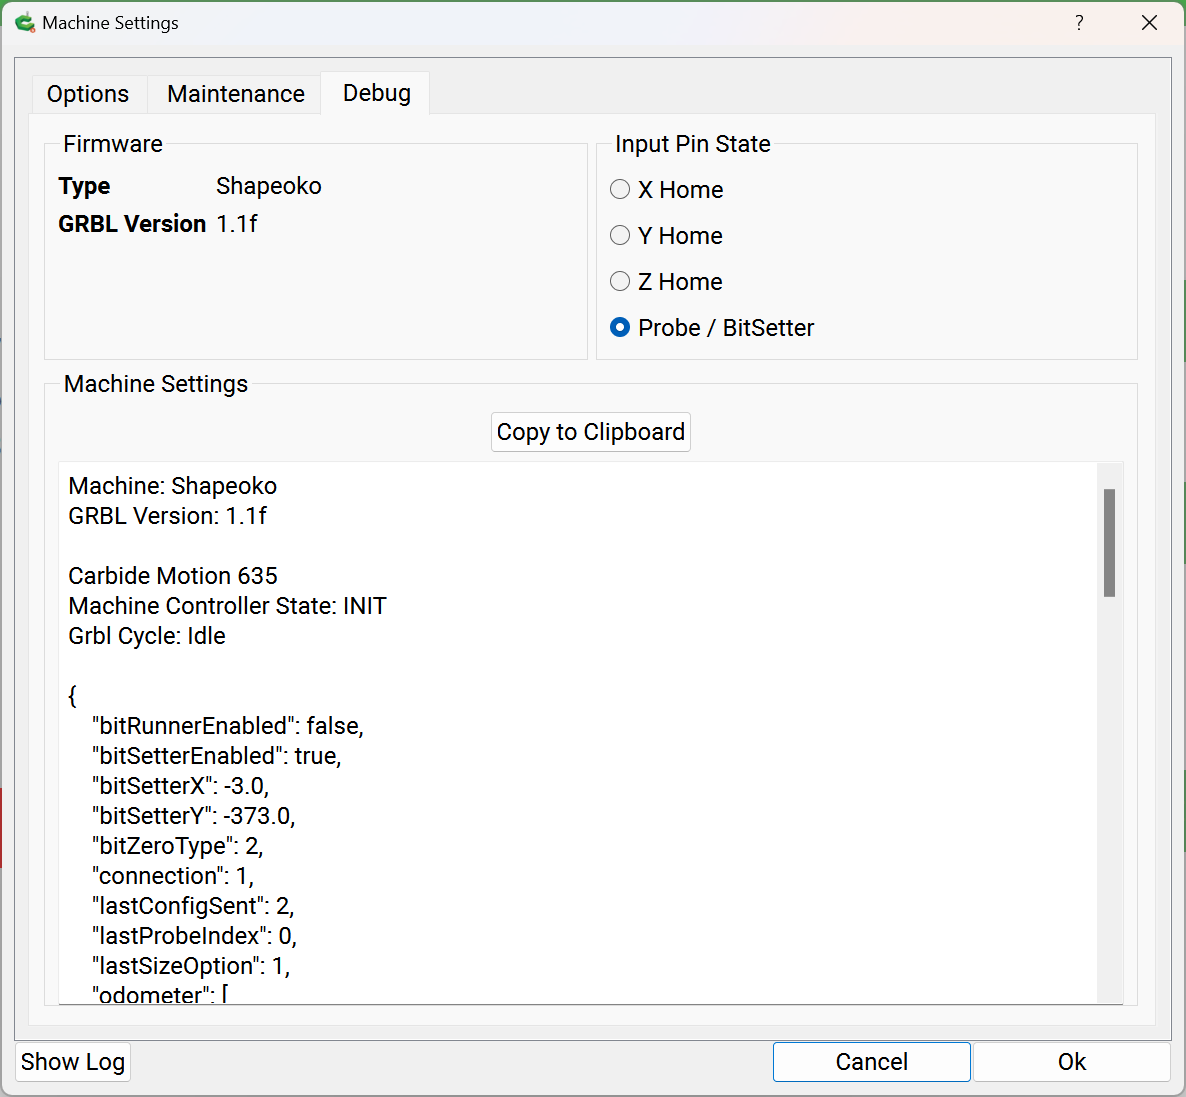
- open the Log Window
- go to the MDI (EDIT: Note that it will need to be enabled in options in current versions) and send $$ and check that the Z-axis steps/mm match your machine setup:
- Belt-drive: 40
- Z-Plus: 200
- HDZ: 320
c.f.,
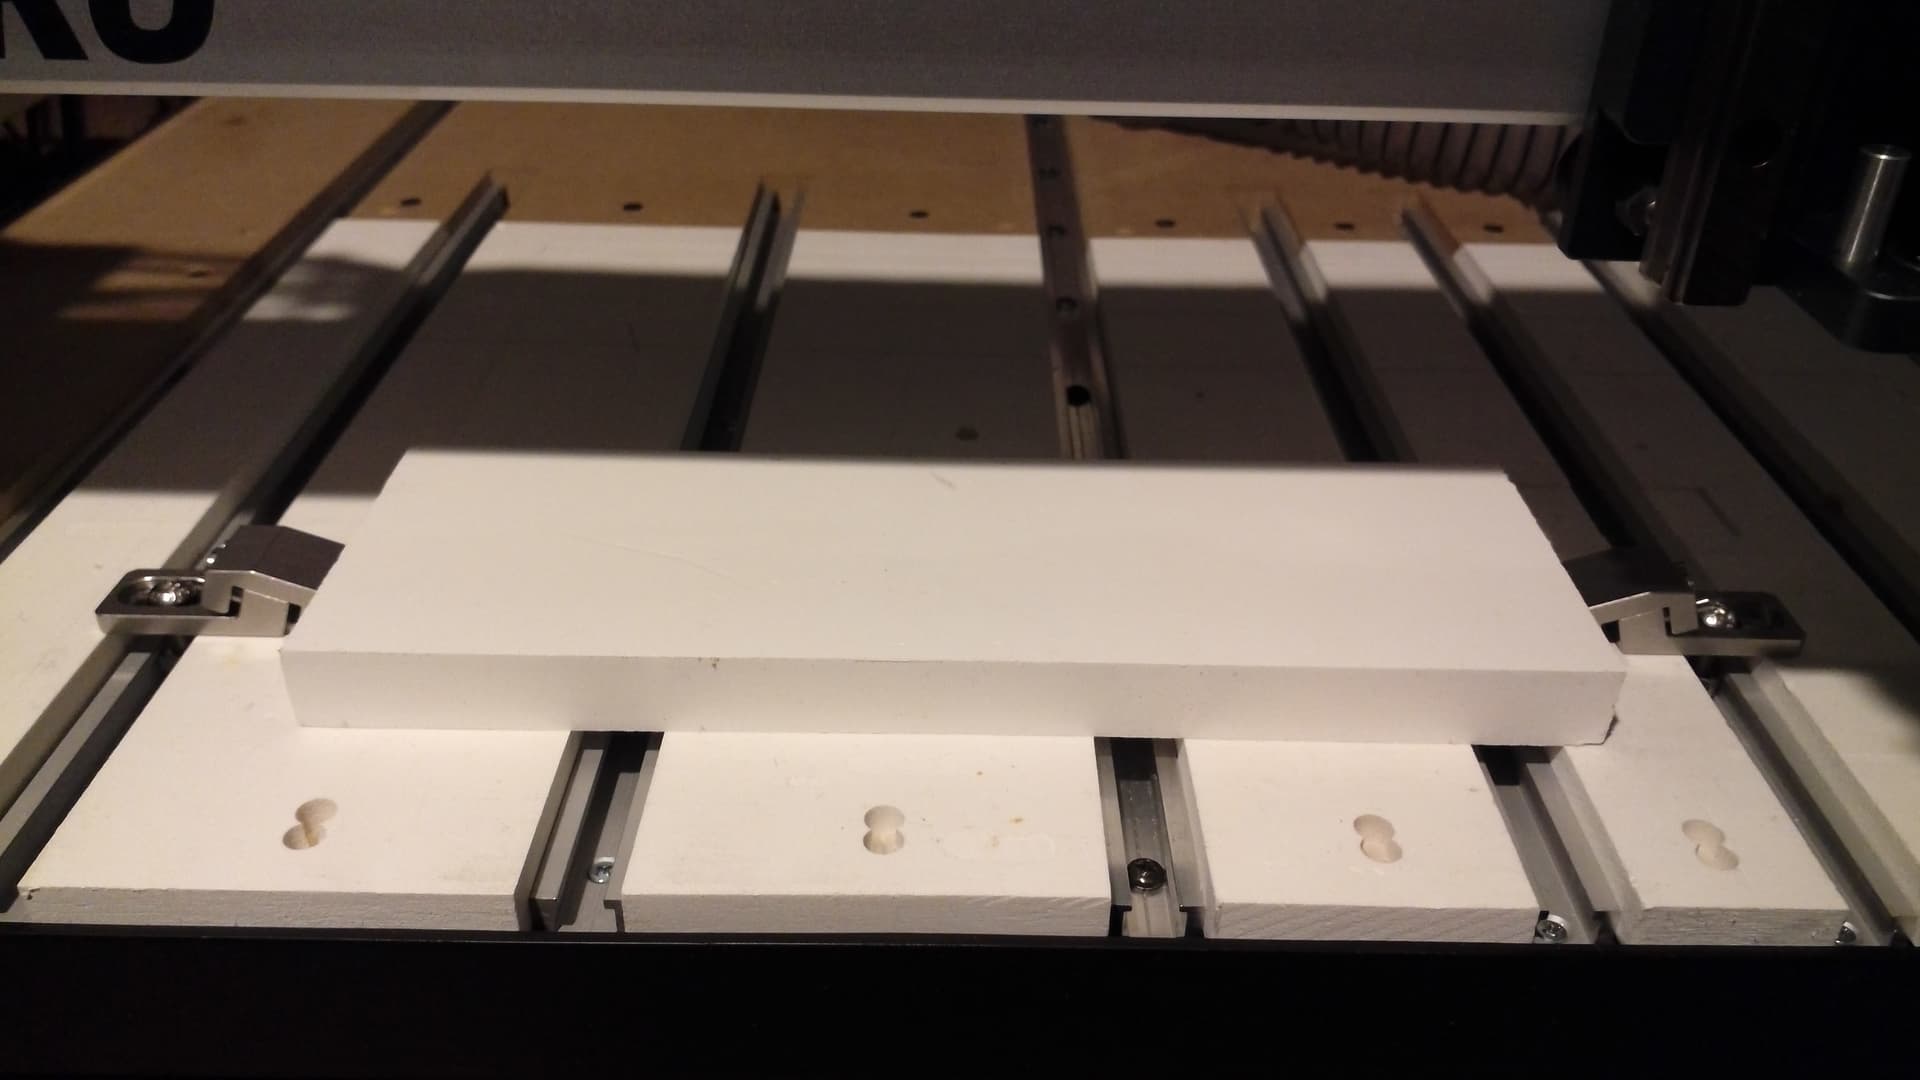
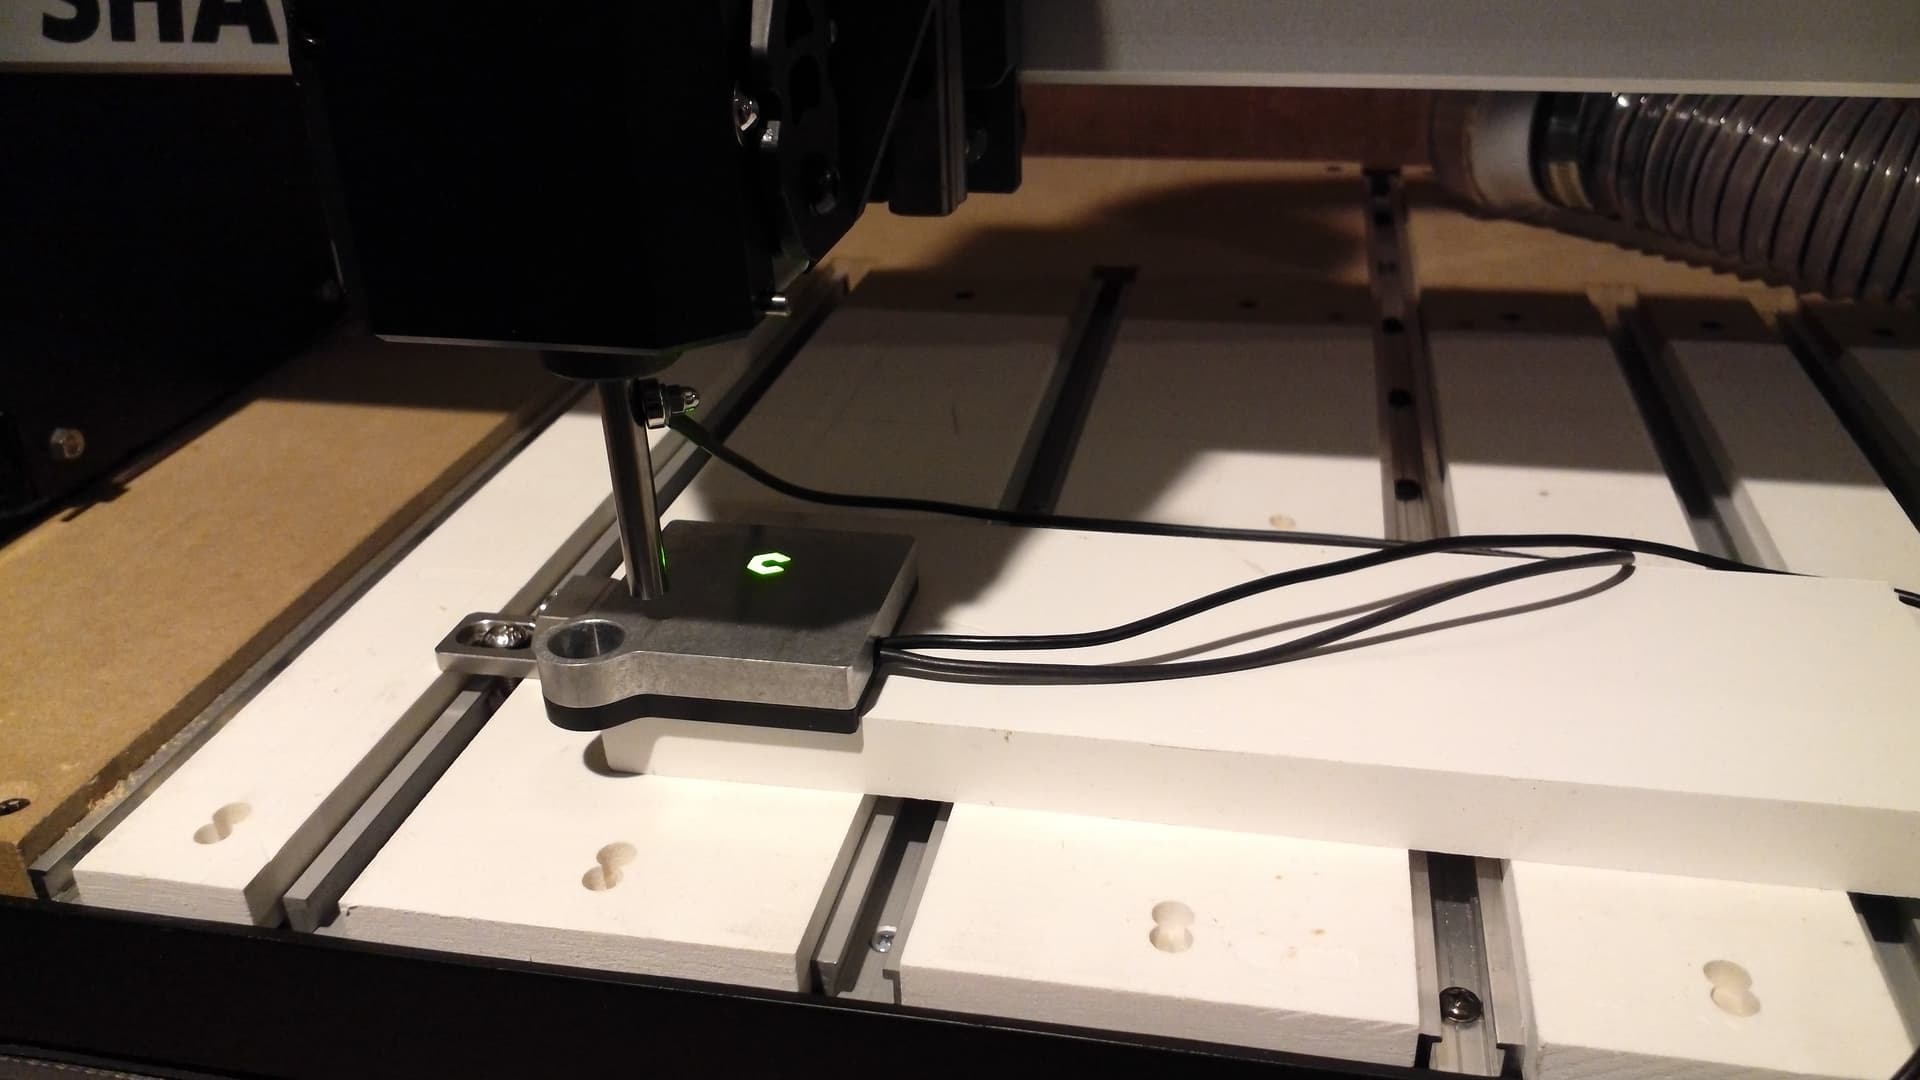
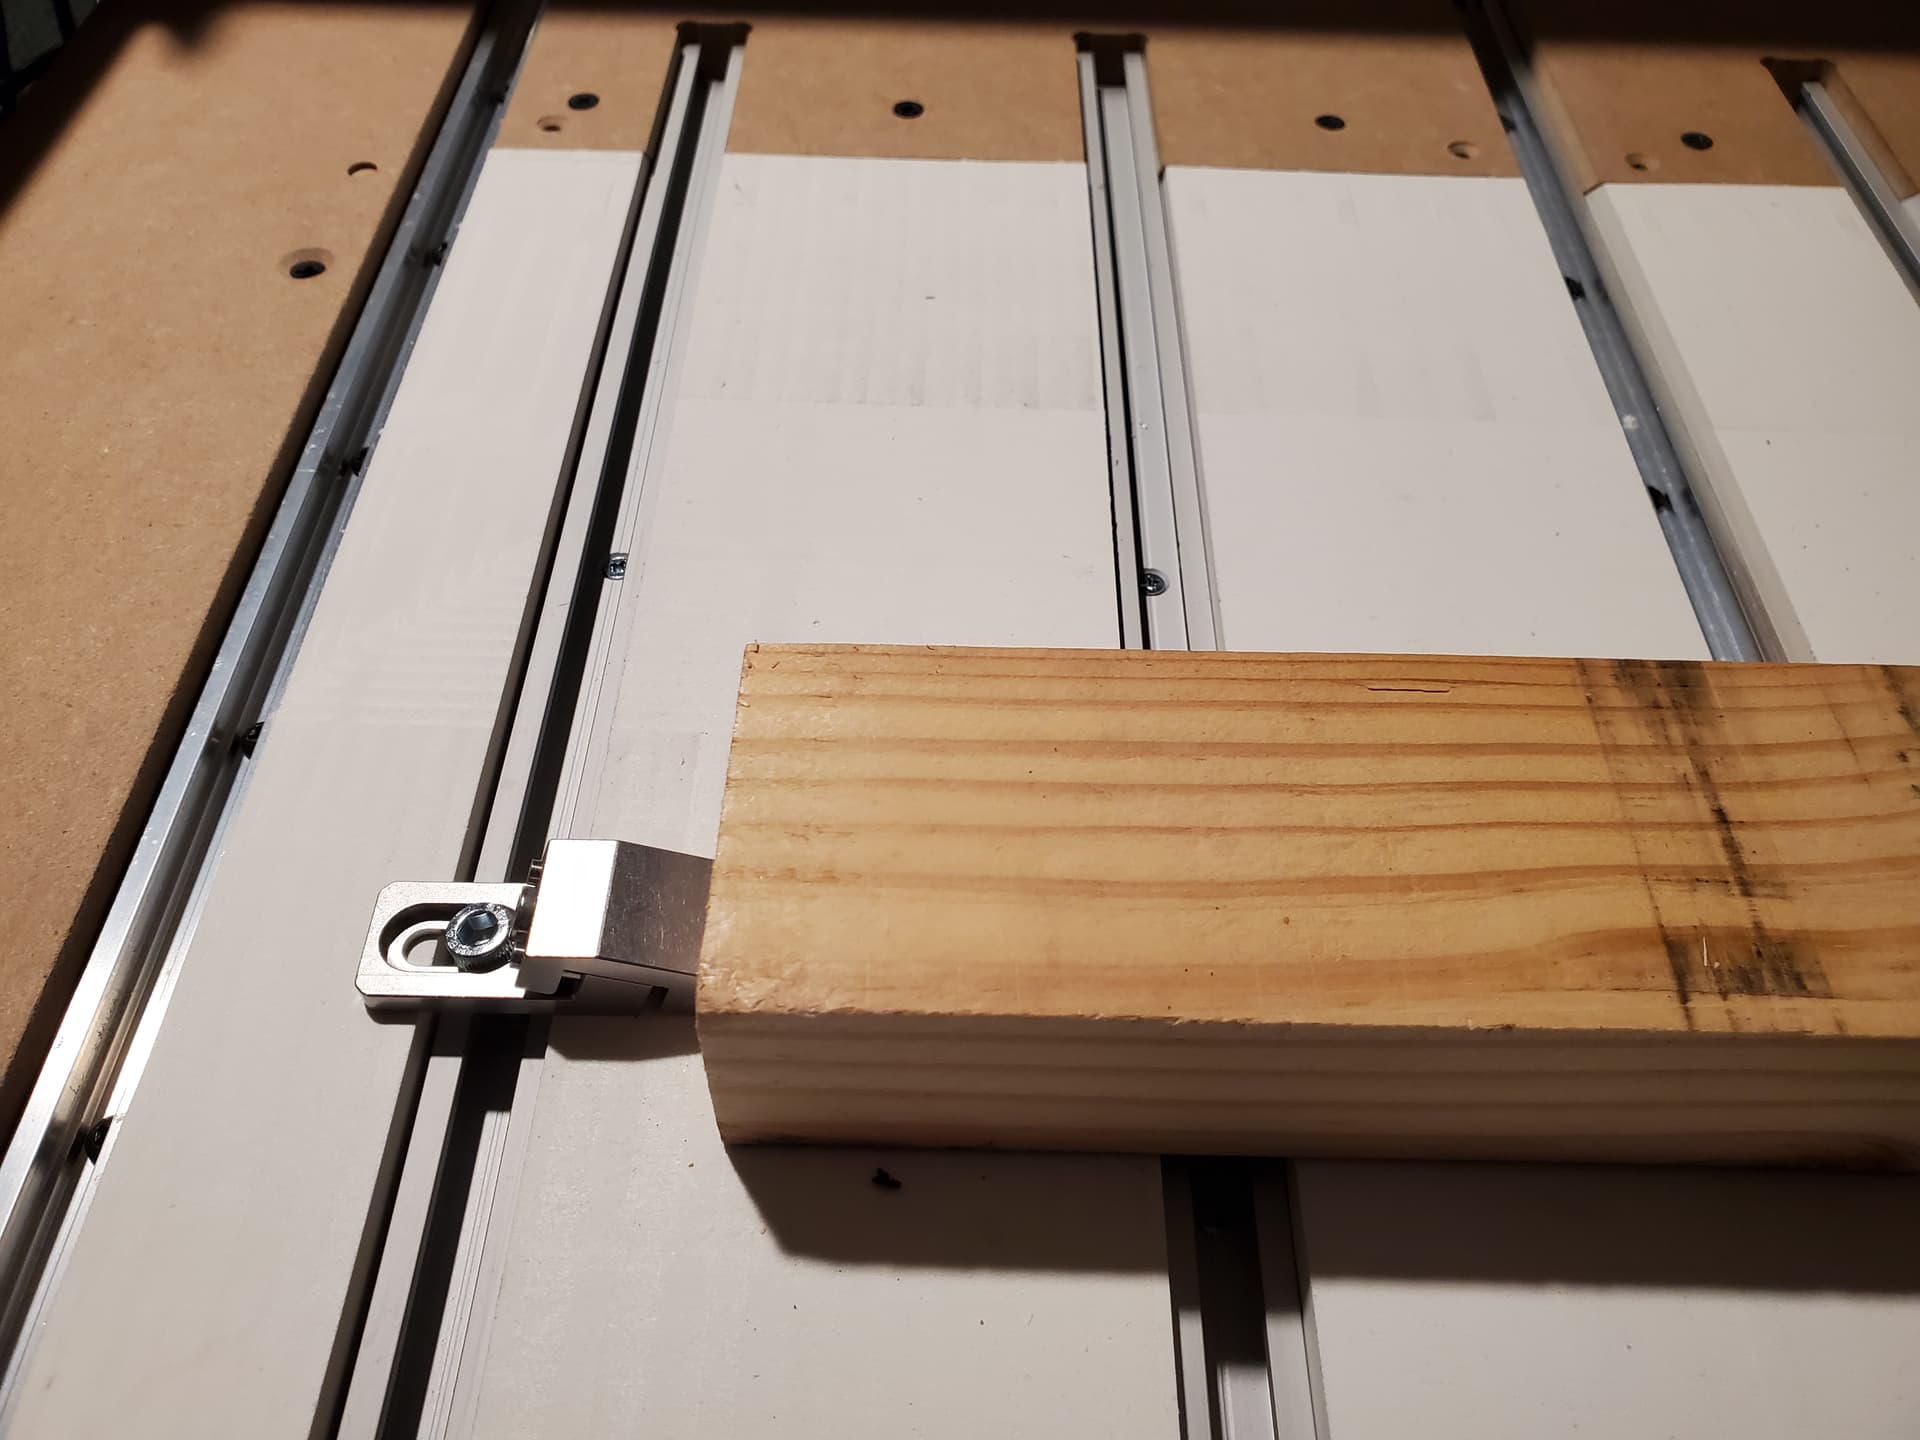
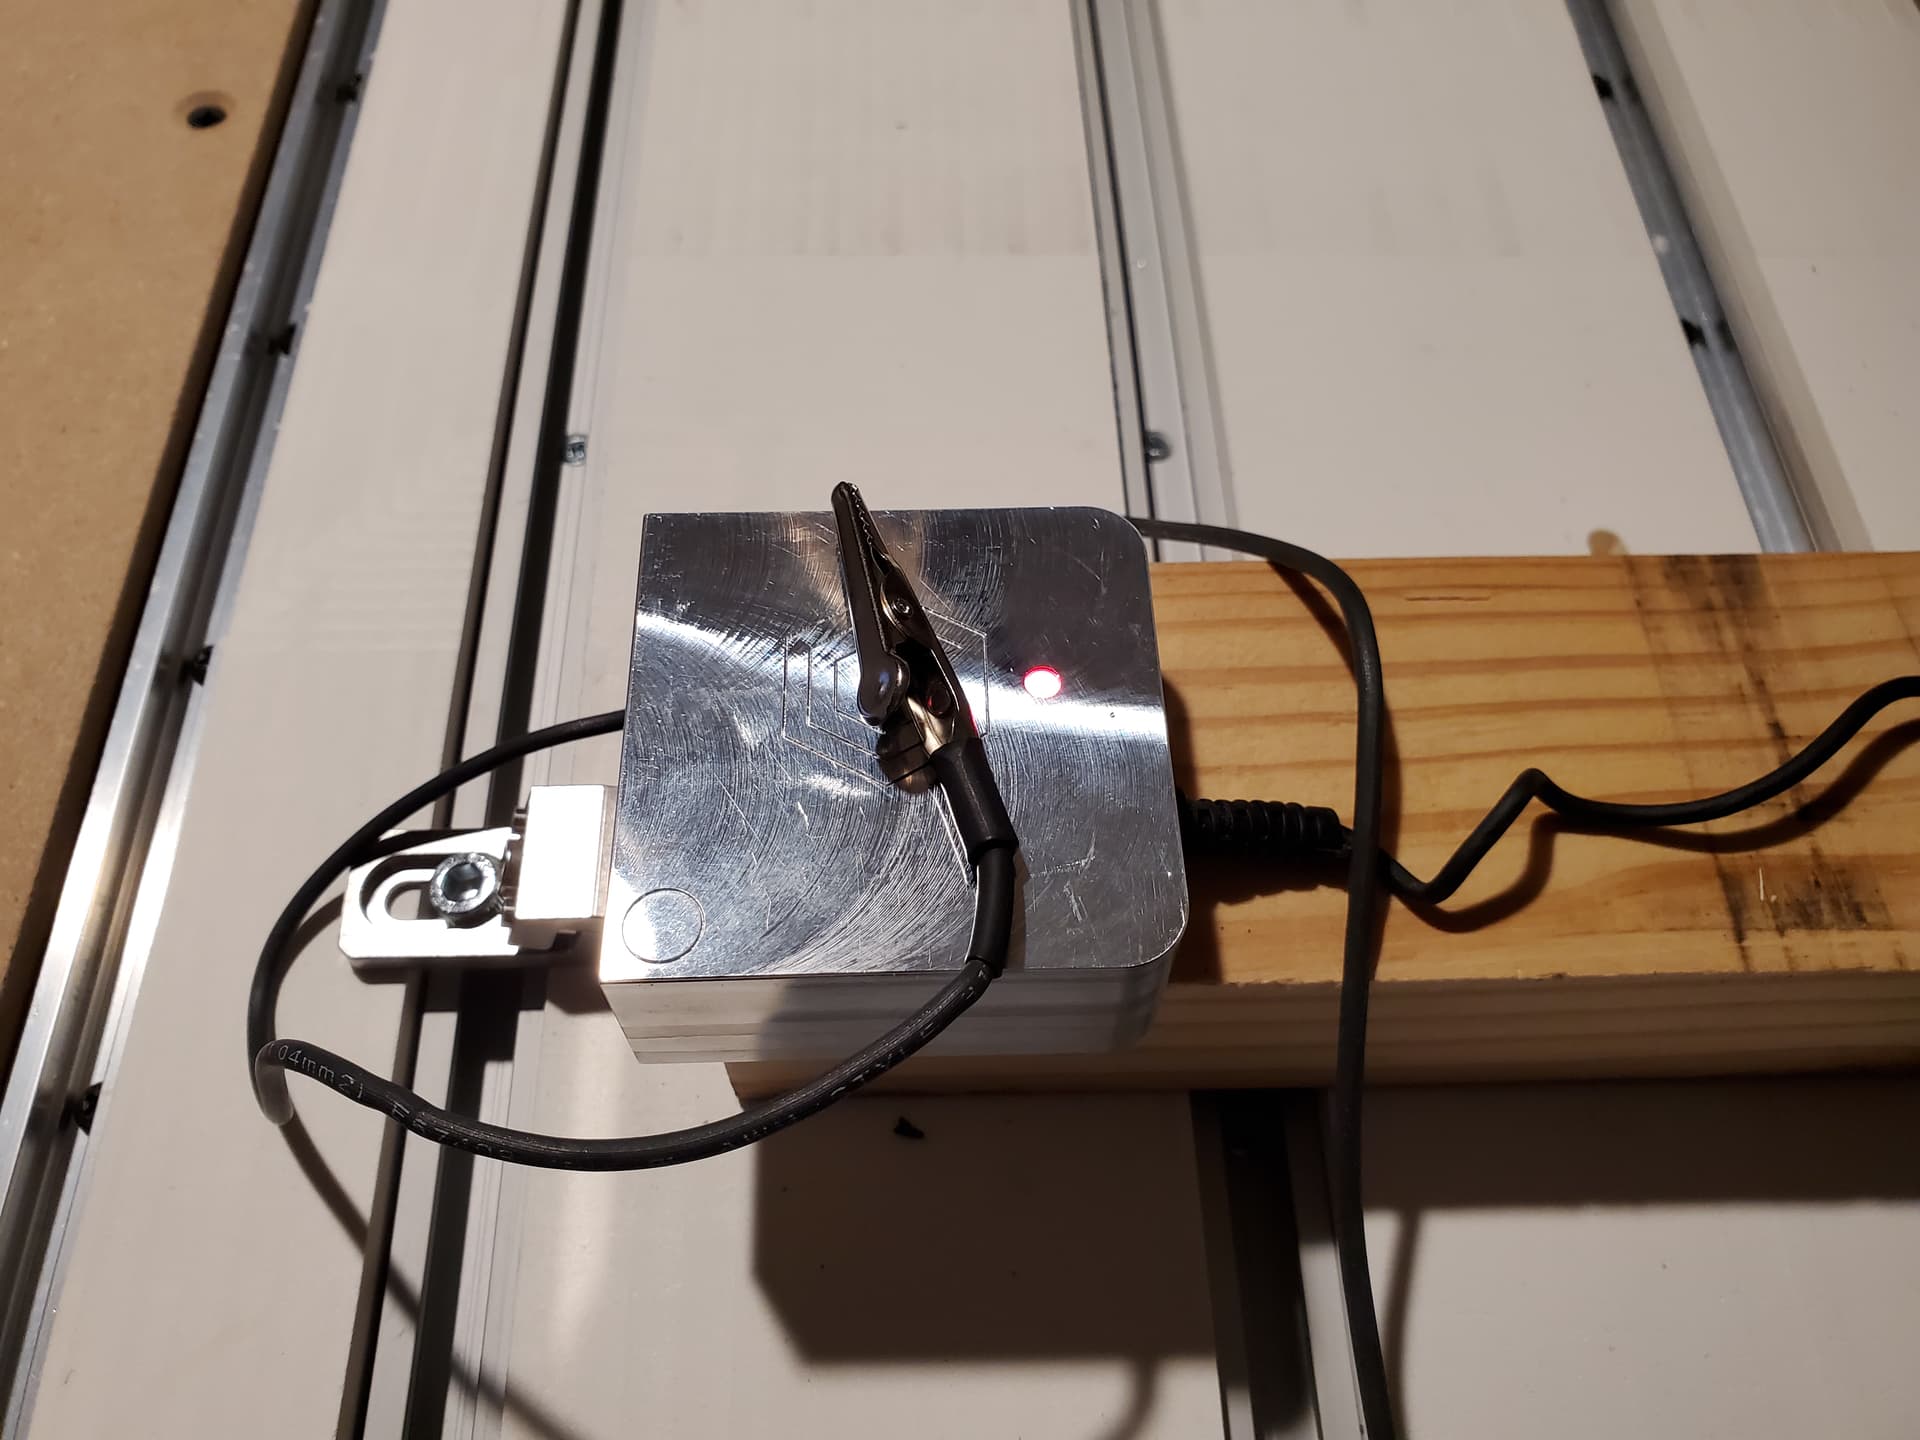
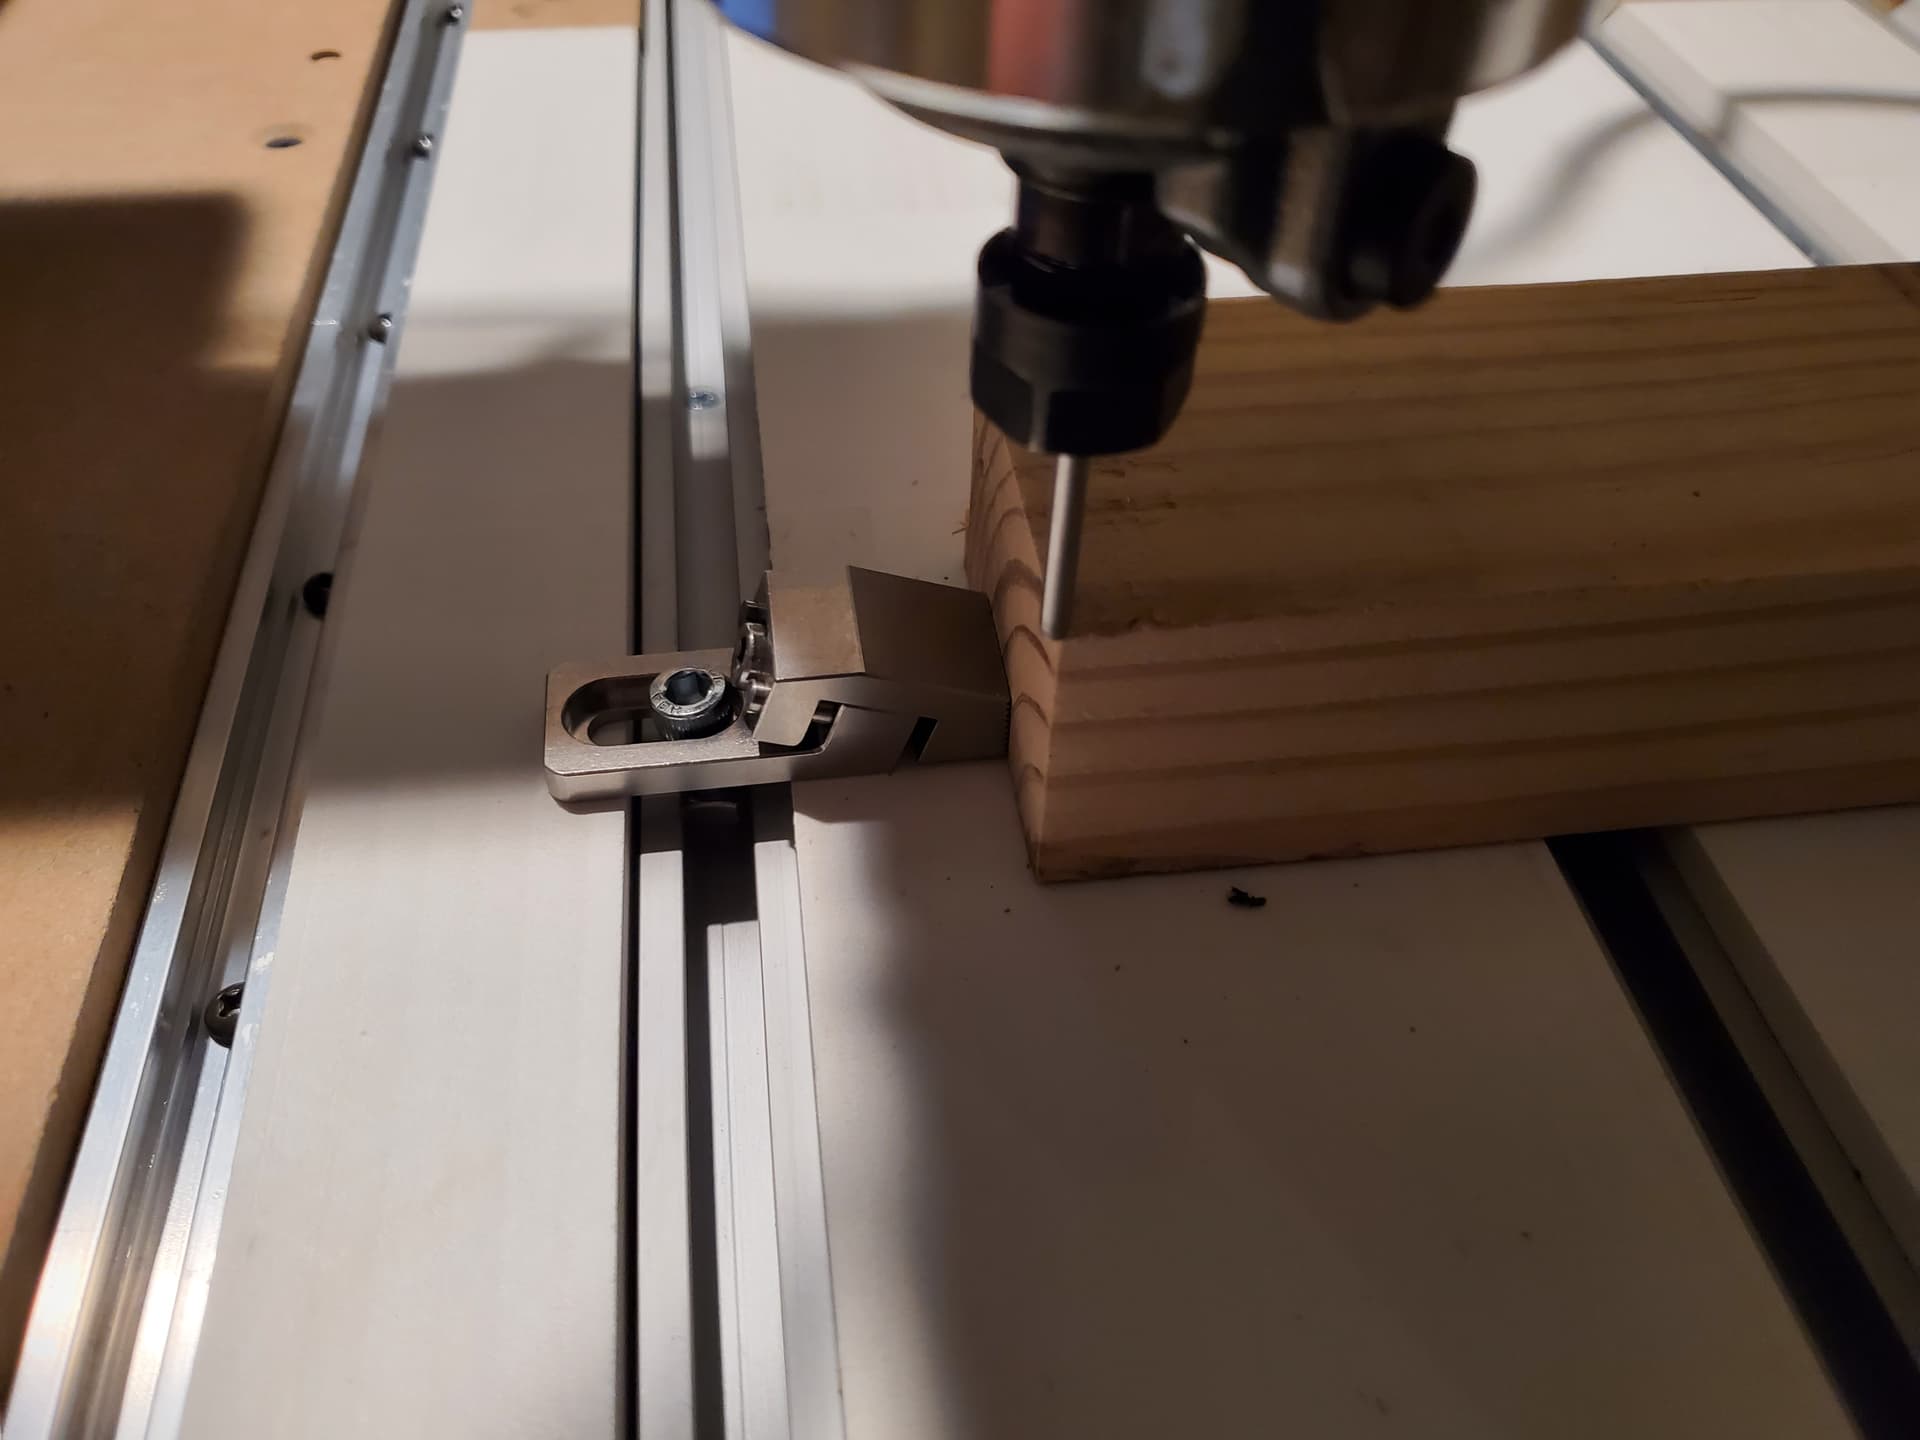
Then, clamp a suitably stable piece of stock to the machine:
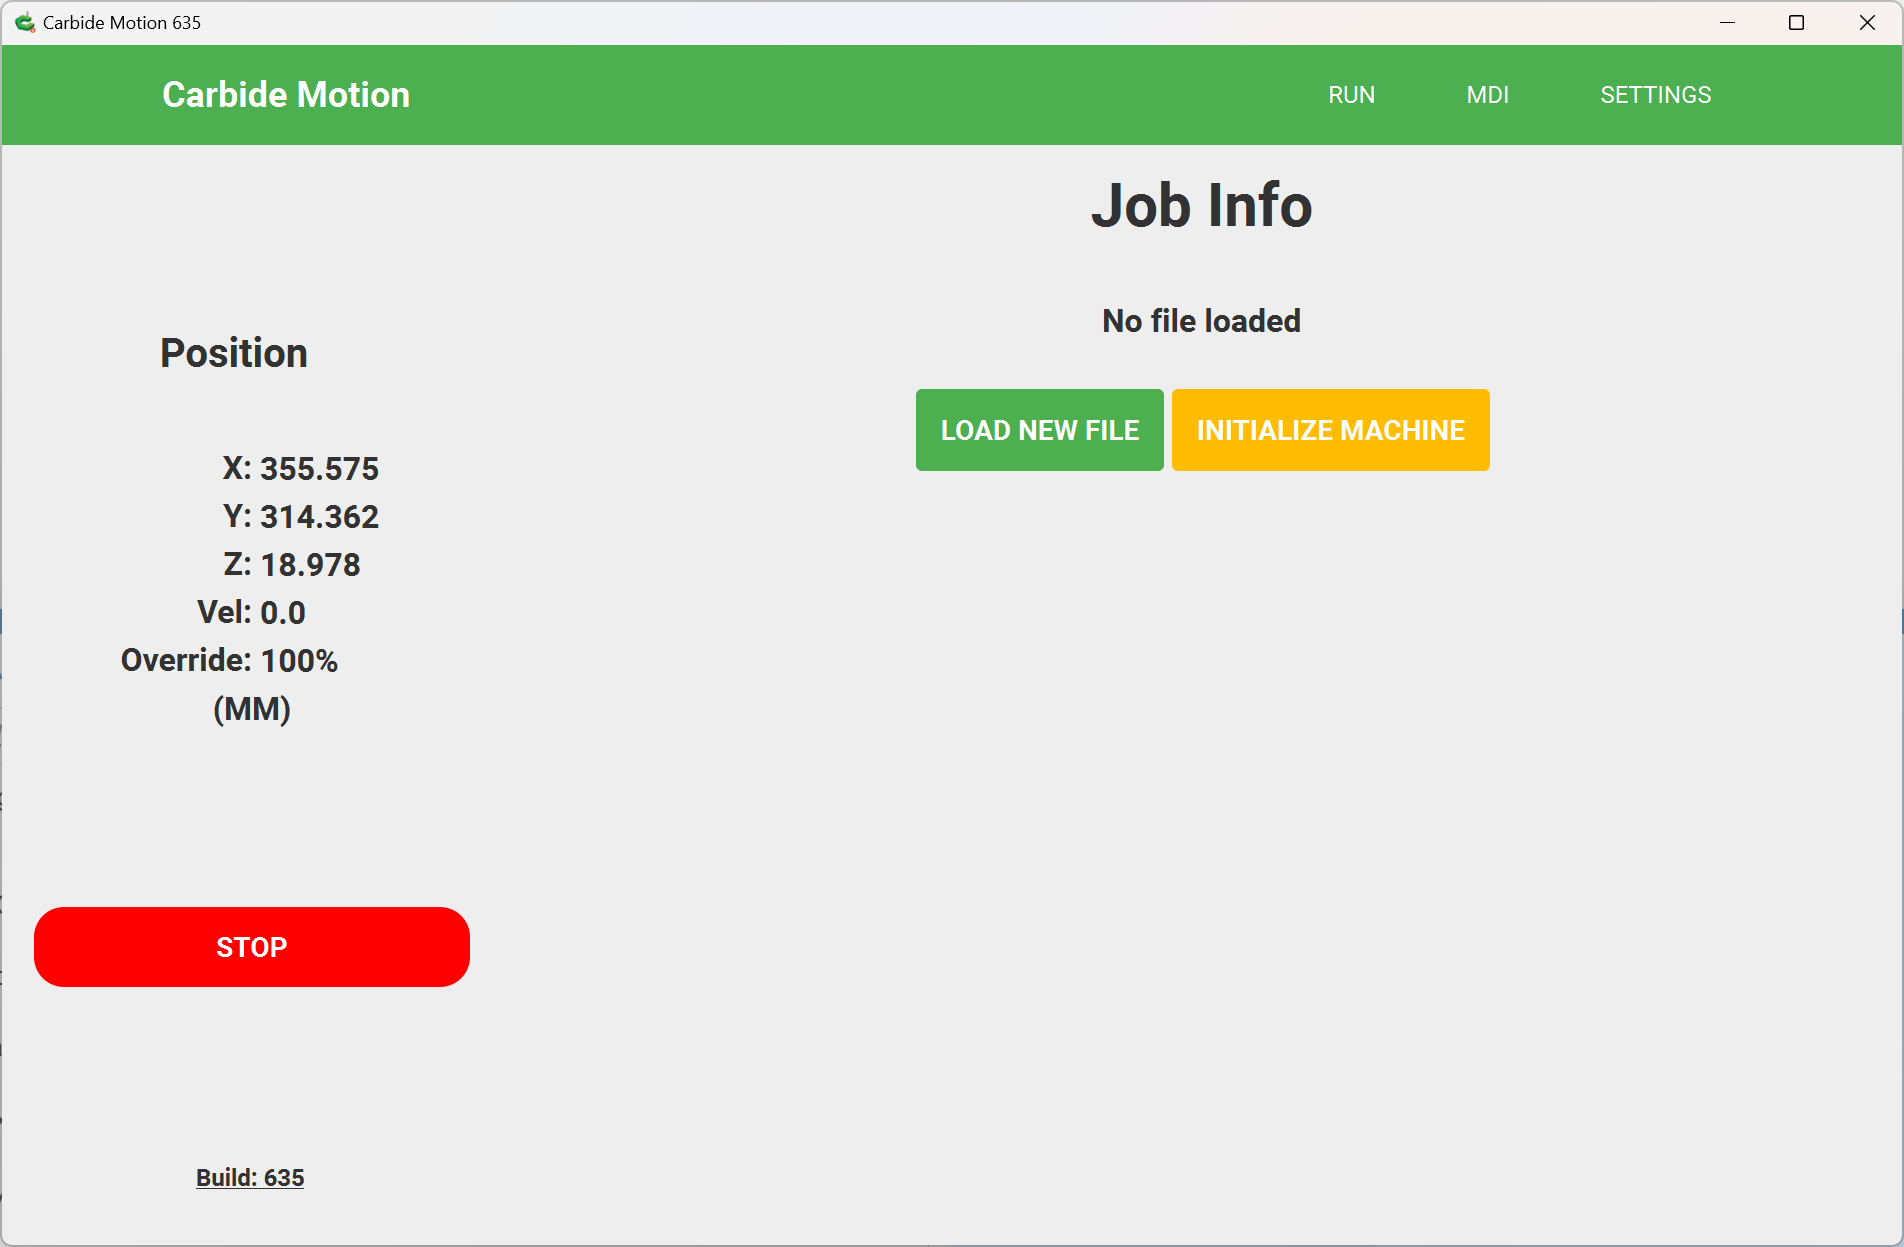
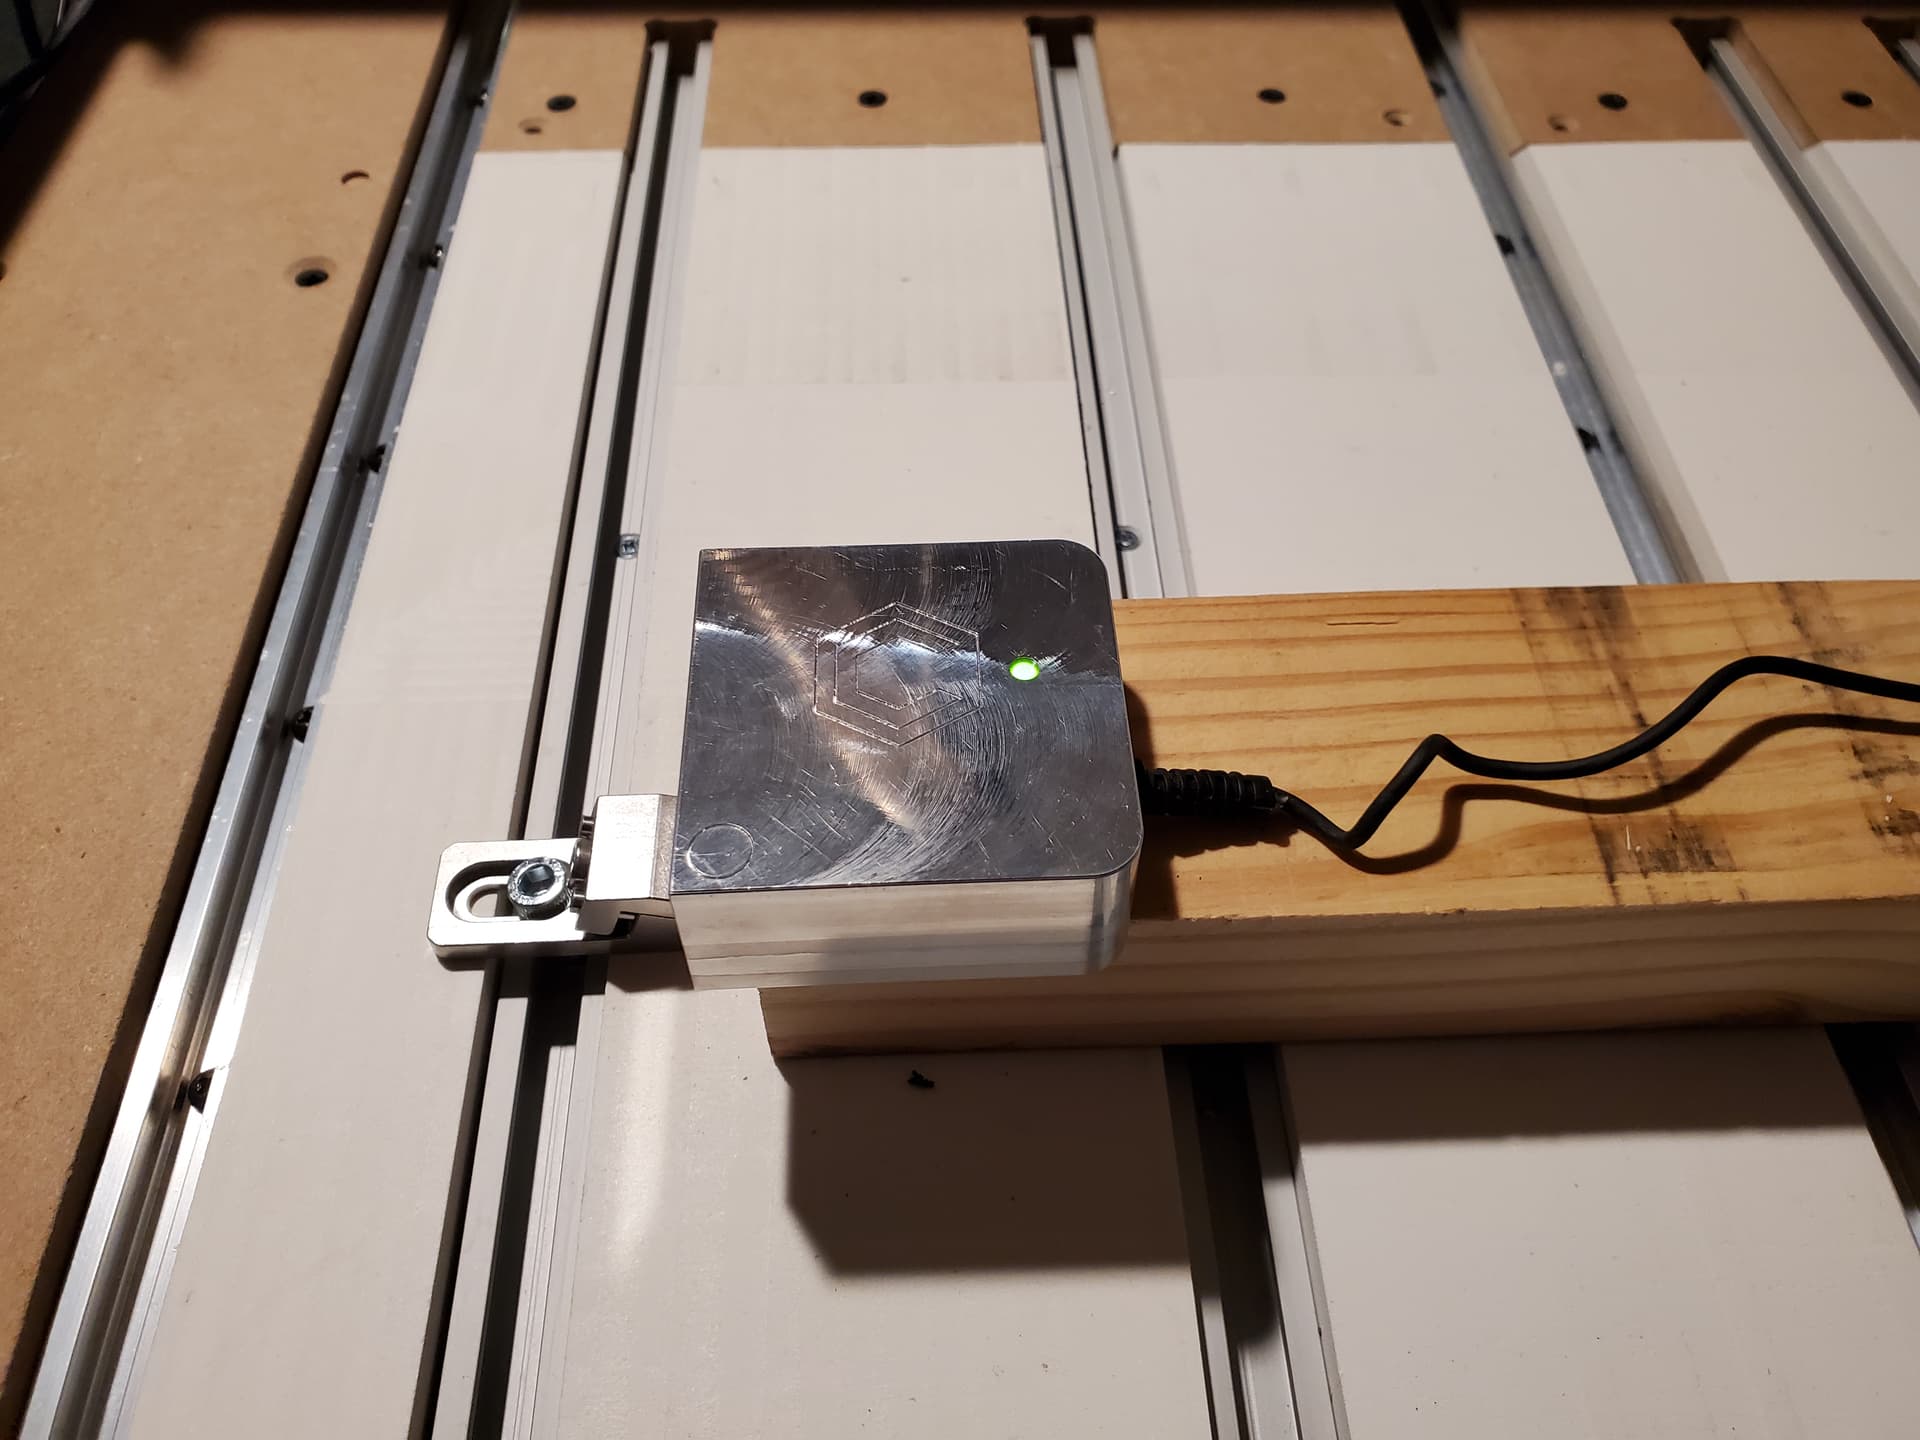
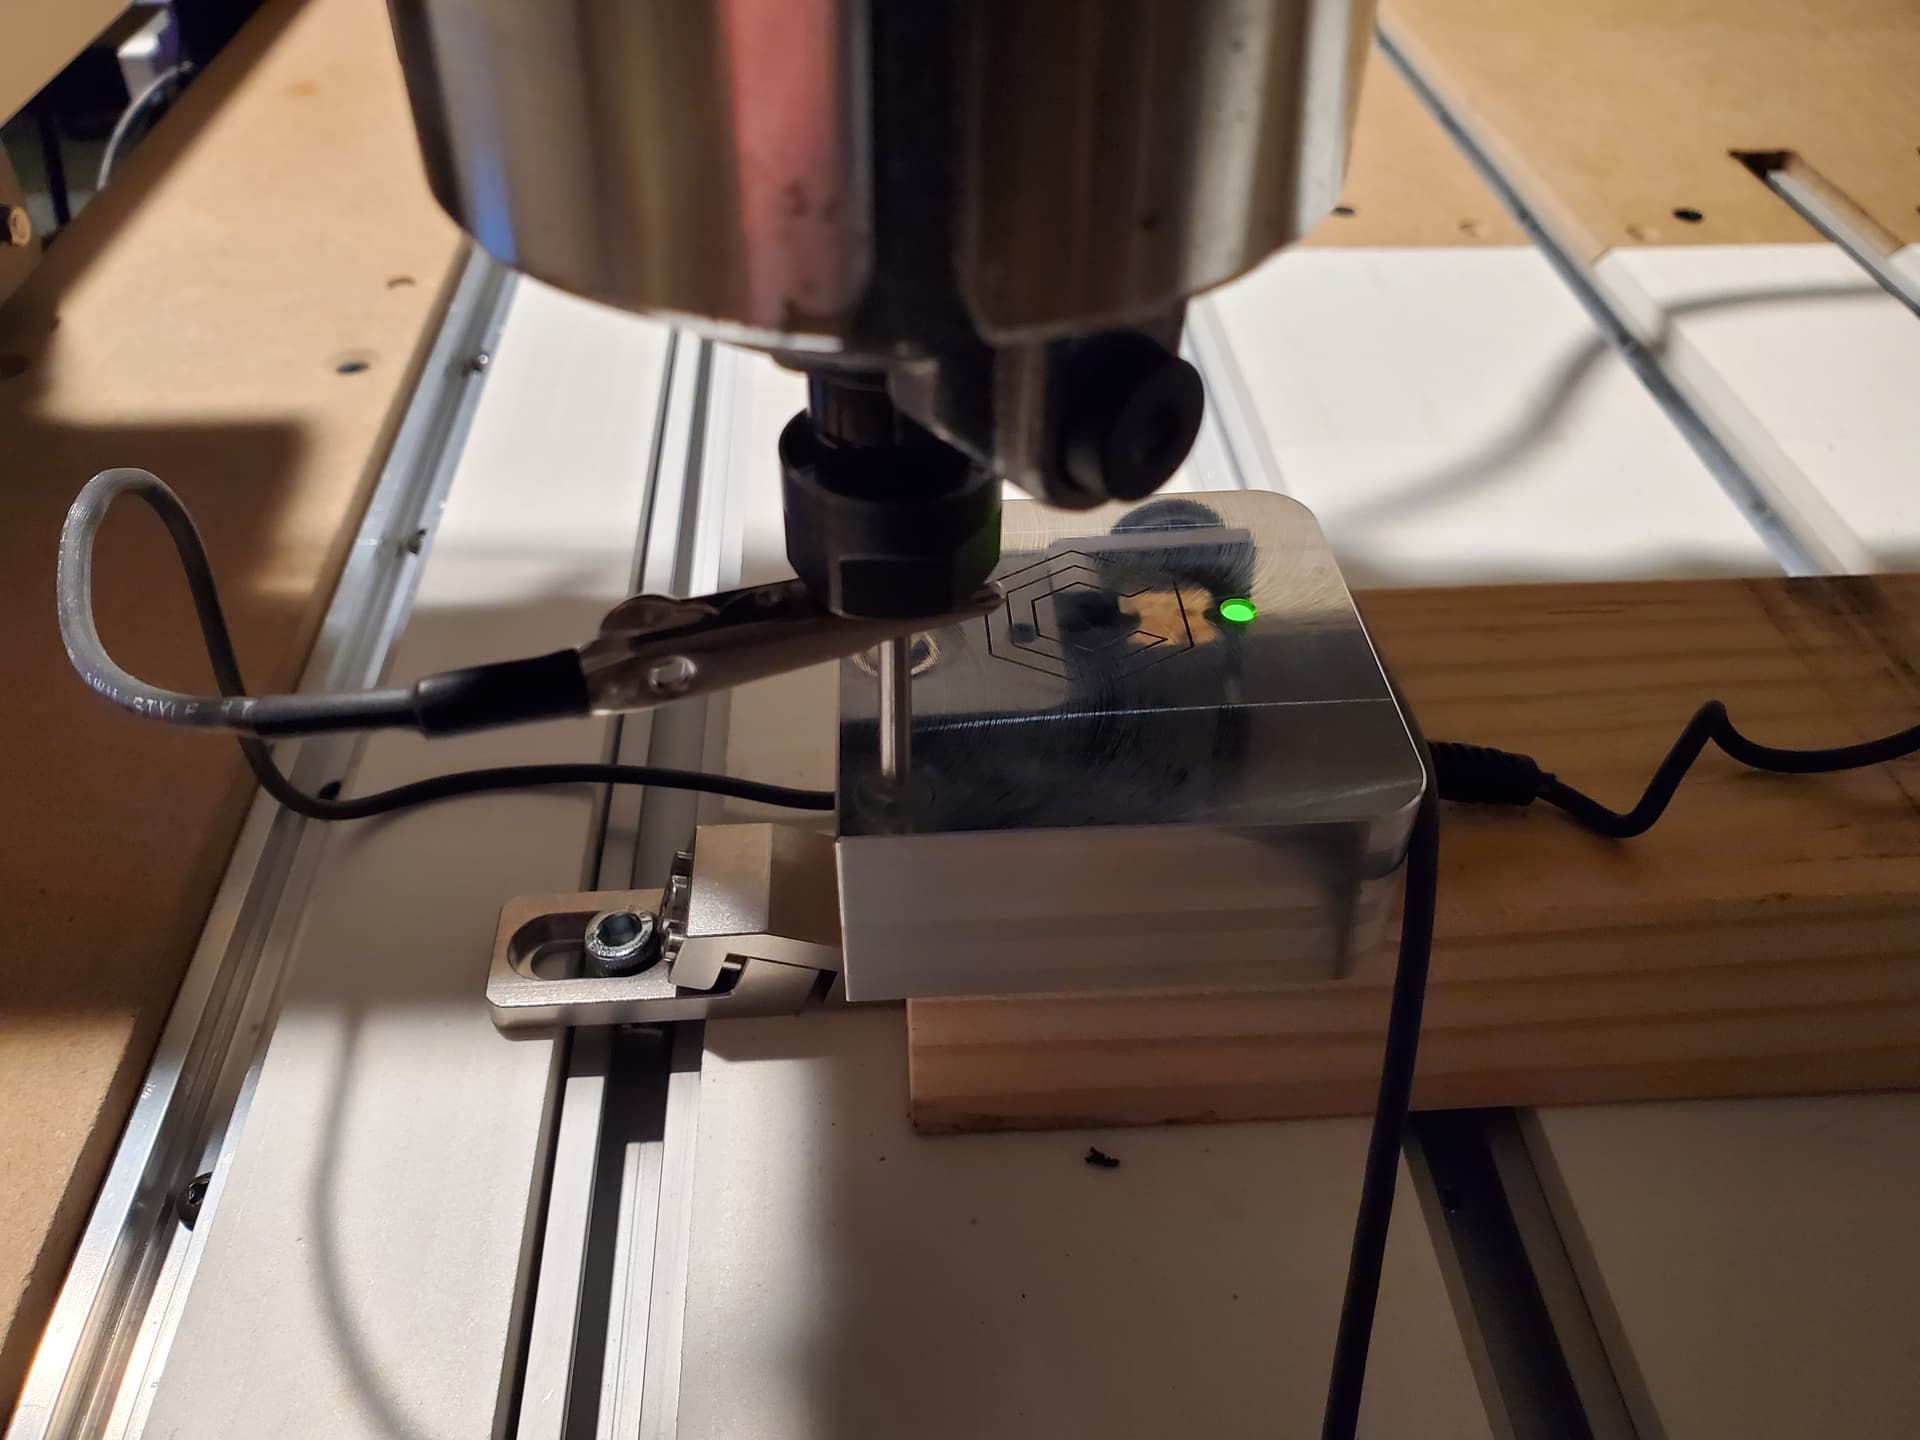
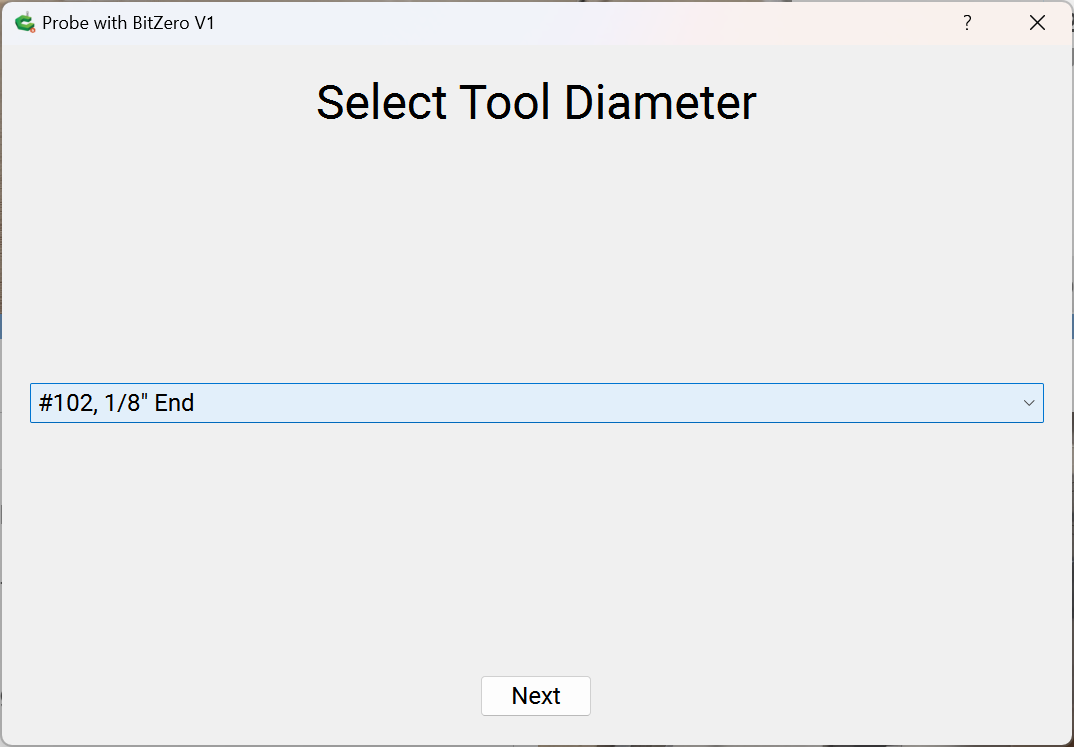
Initialize the machine, loading a suitable probing pin, allow Carbide Motion to measure the tool if a BiSetter is enabled, and position the BitZero, and jog the machine into position relative to it and attach the ground lead:

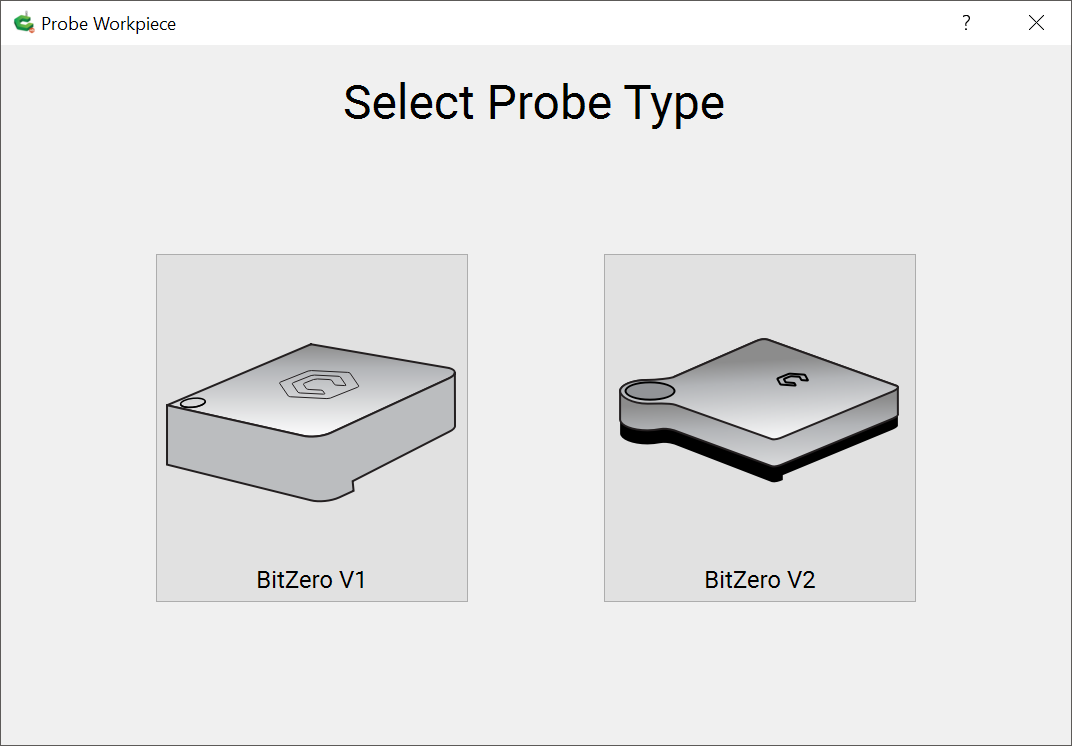
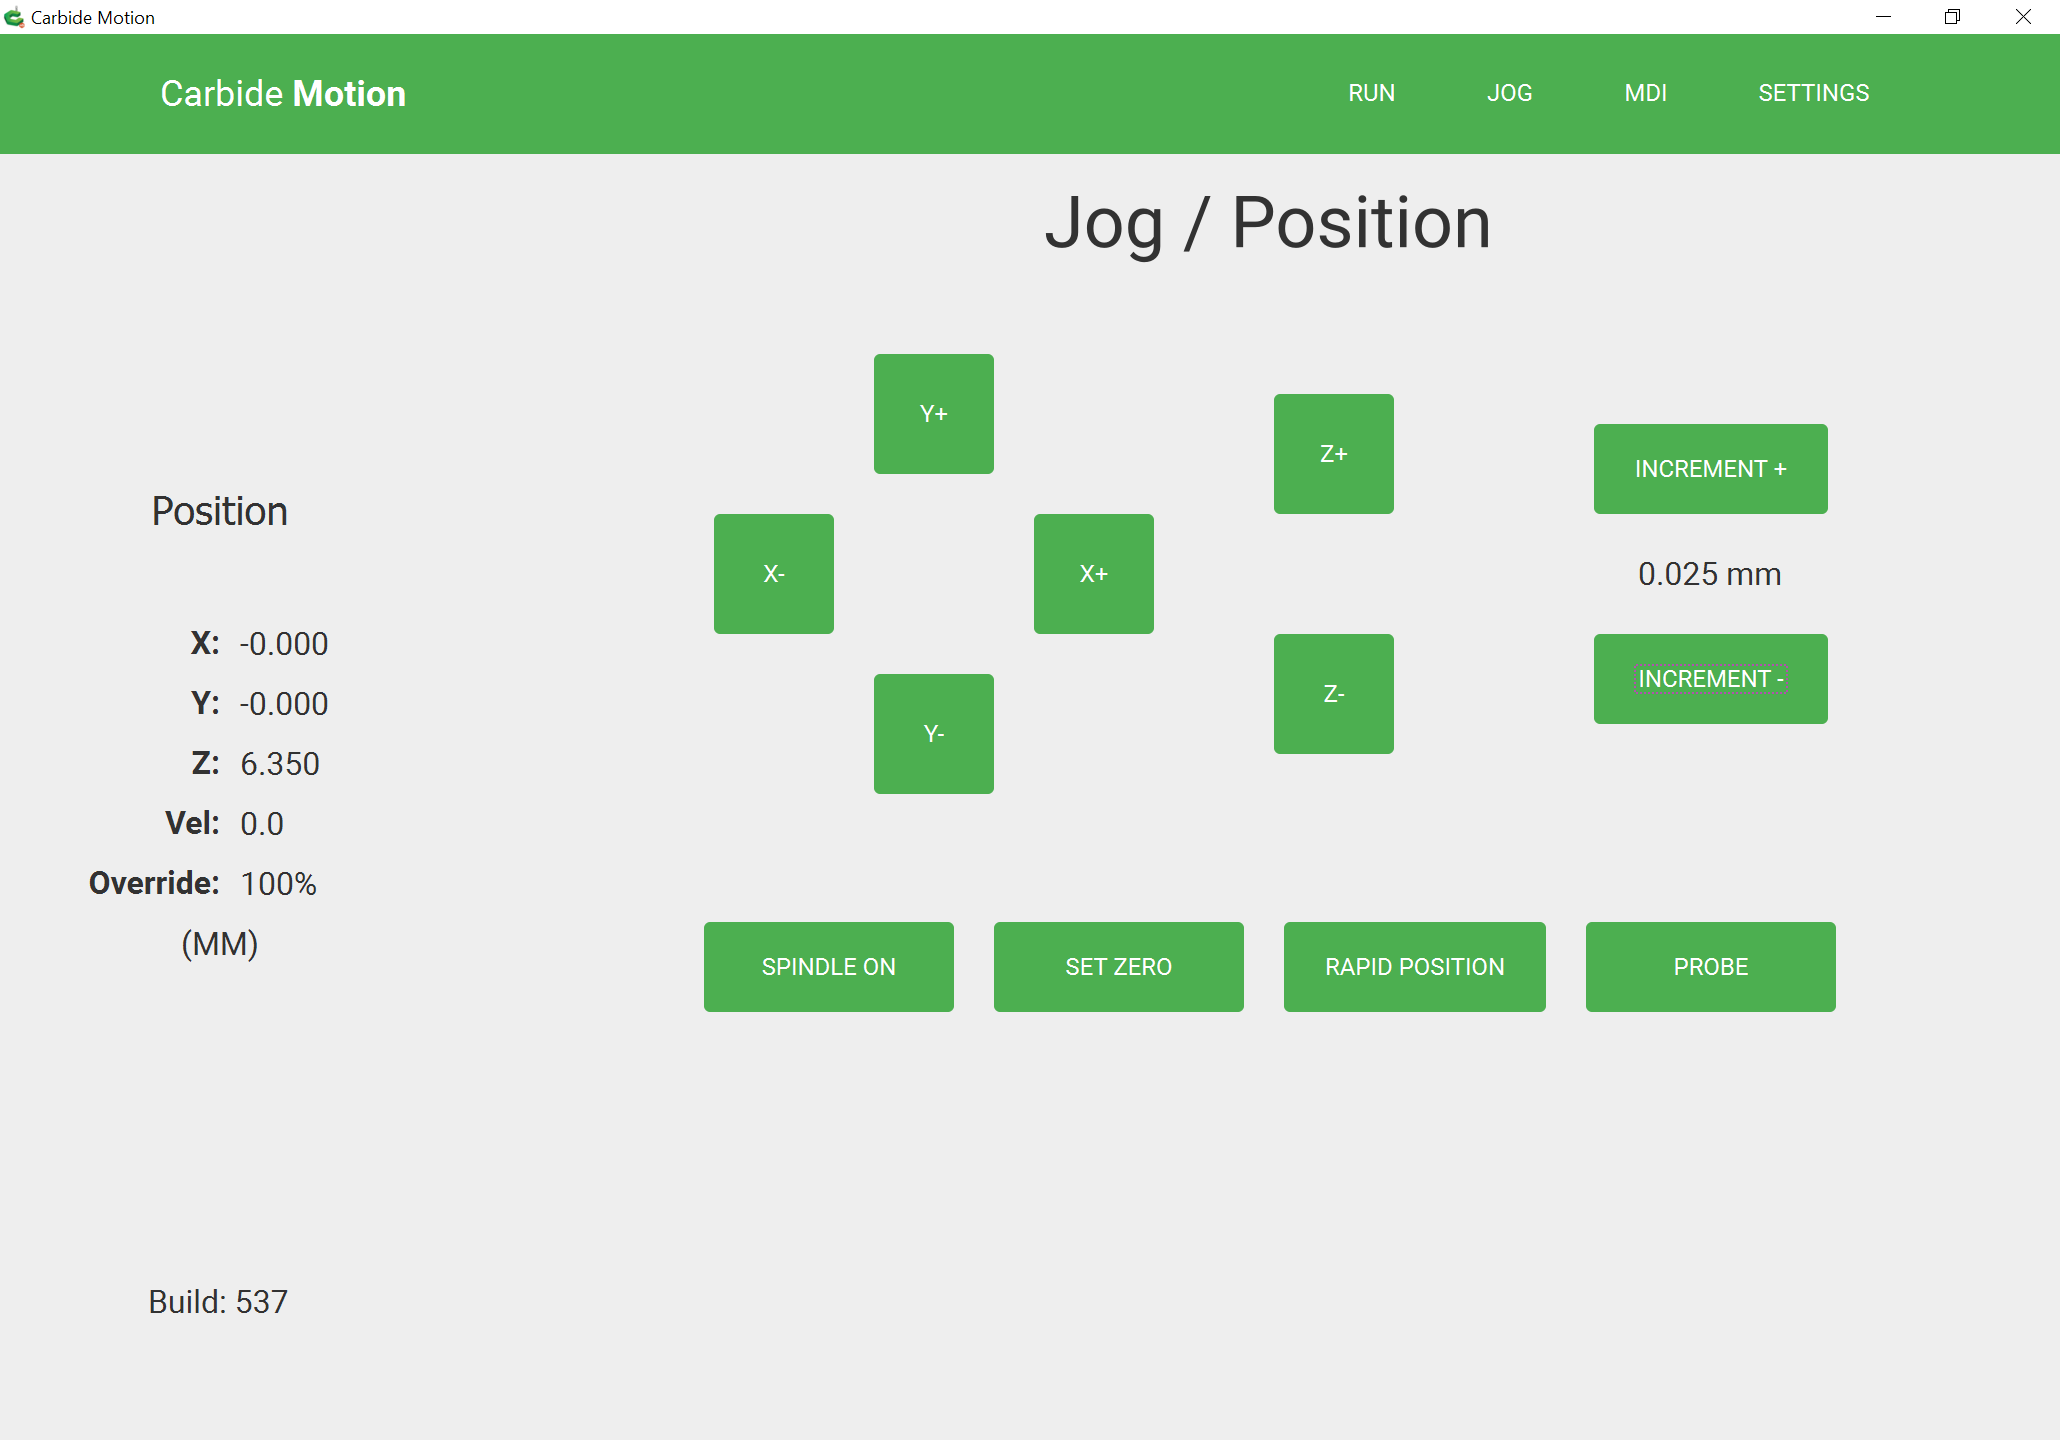
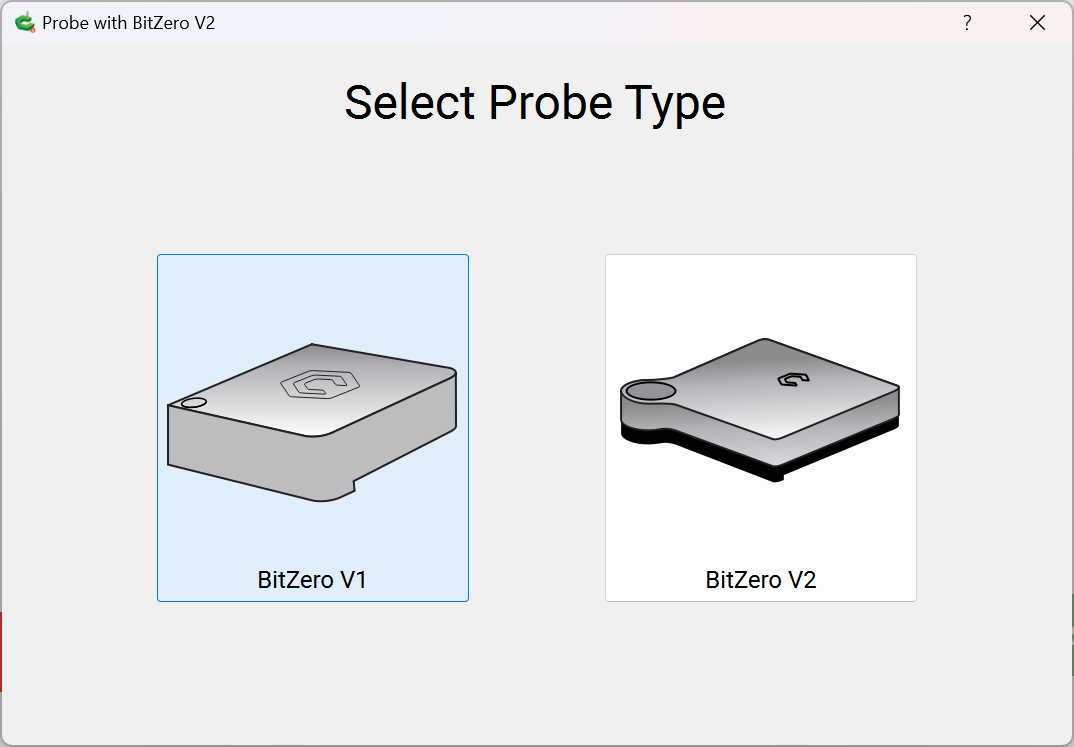
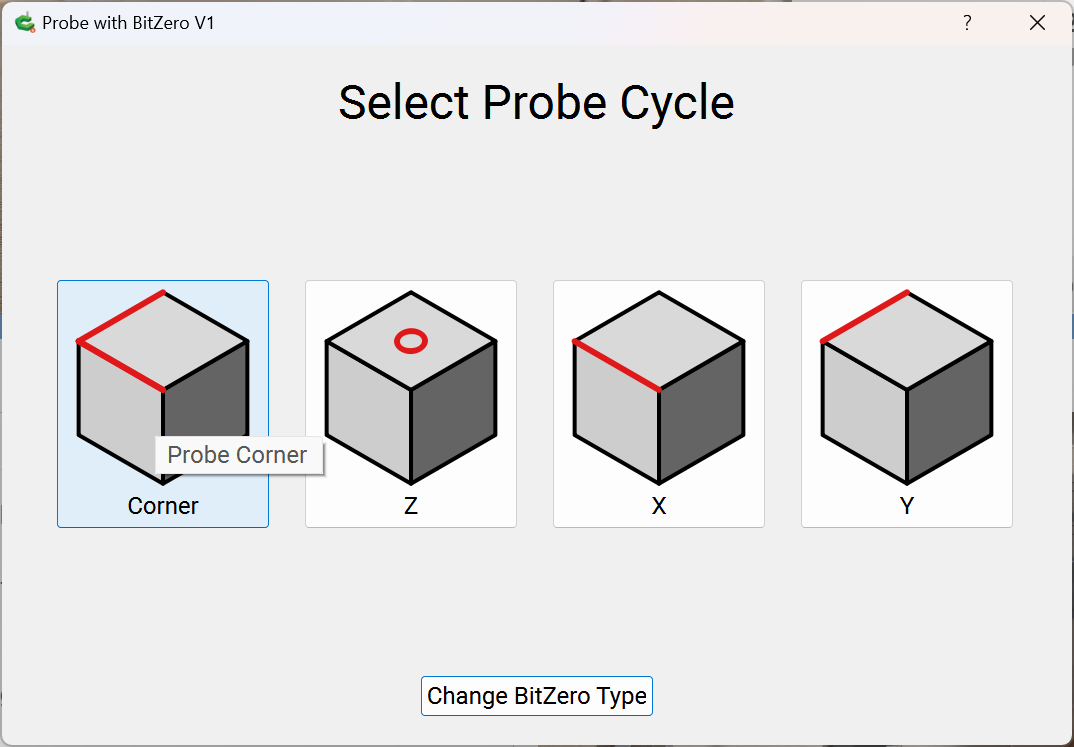
click on the “Probe” button in the Jogging pane, select the appropriate BitZero type (if using a version of CM which queries that):
Select the desired probing cycle:
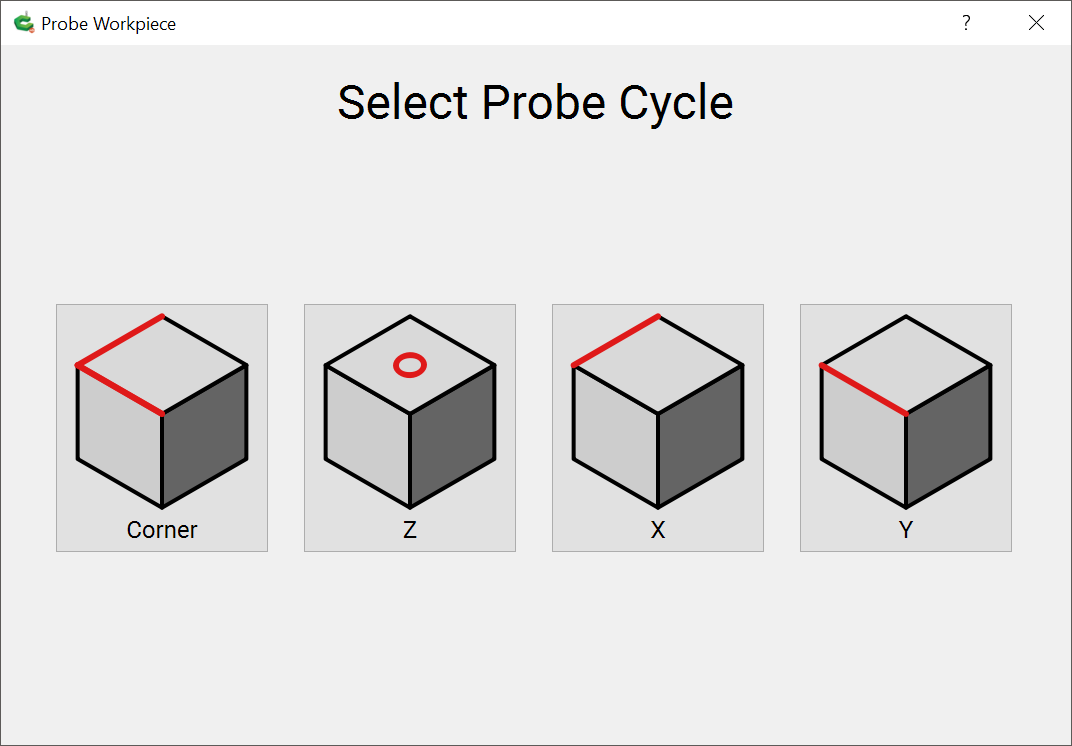
(we will use “Corner”)
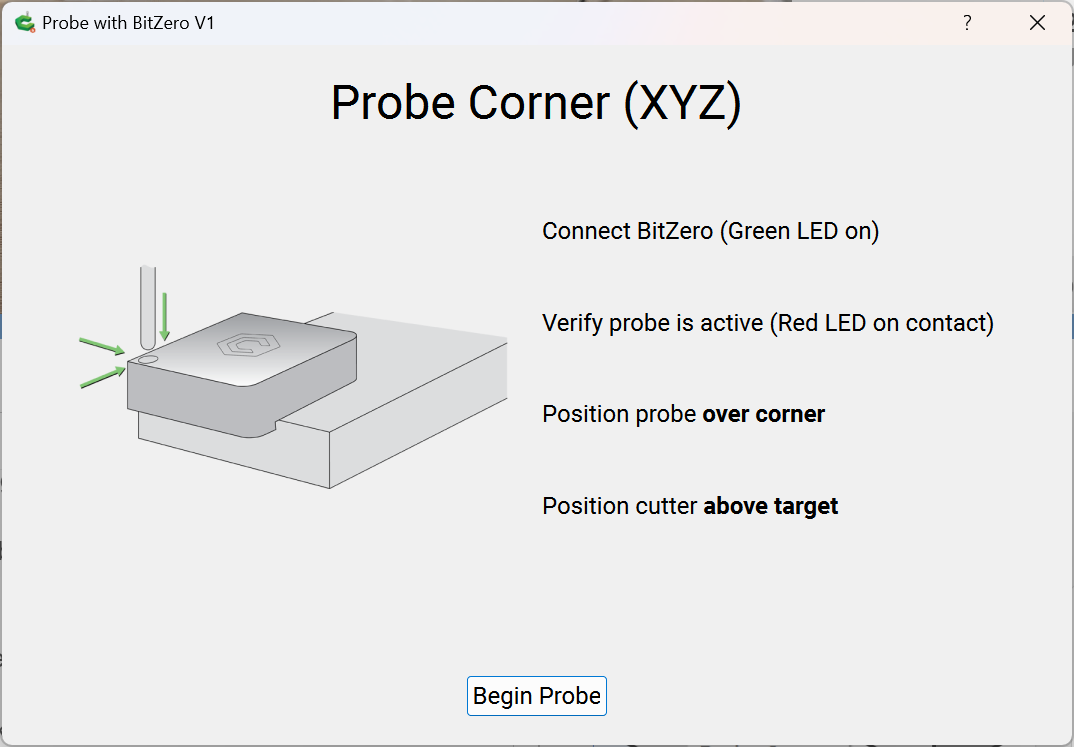
Follow the prompts:
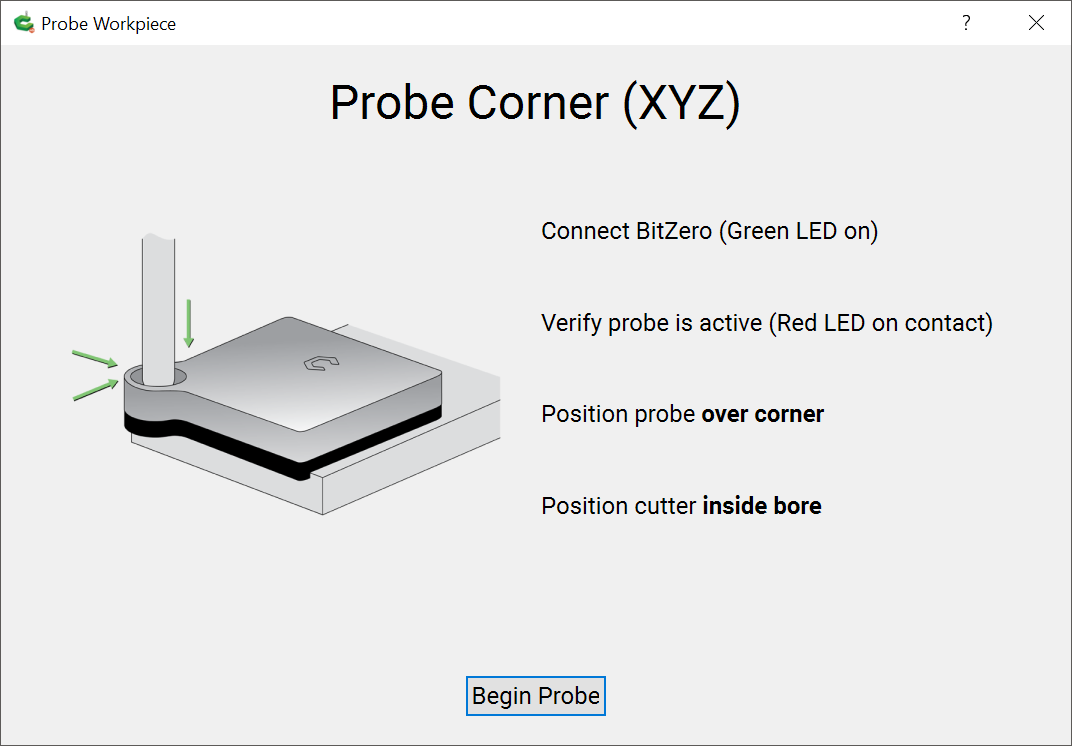
“Begin Probe”
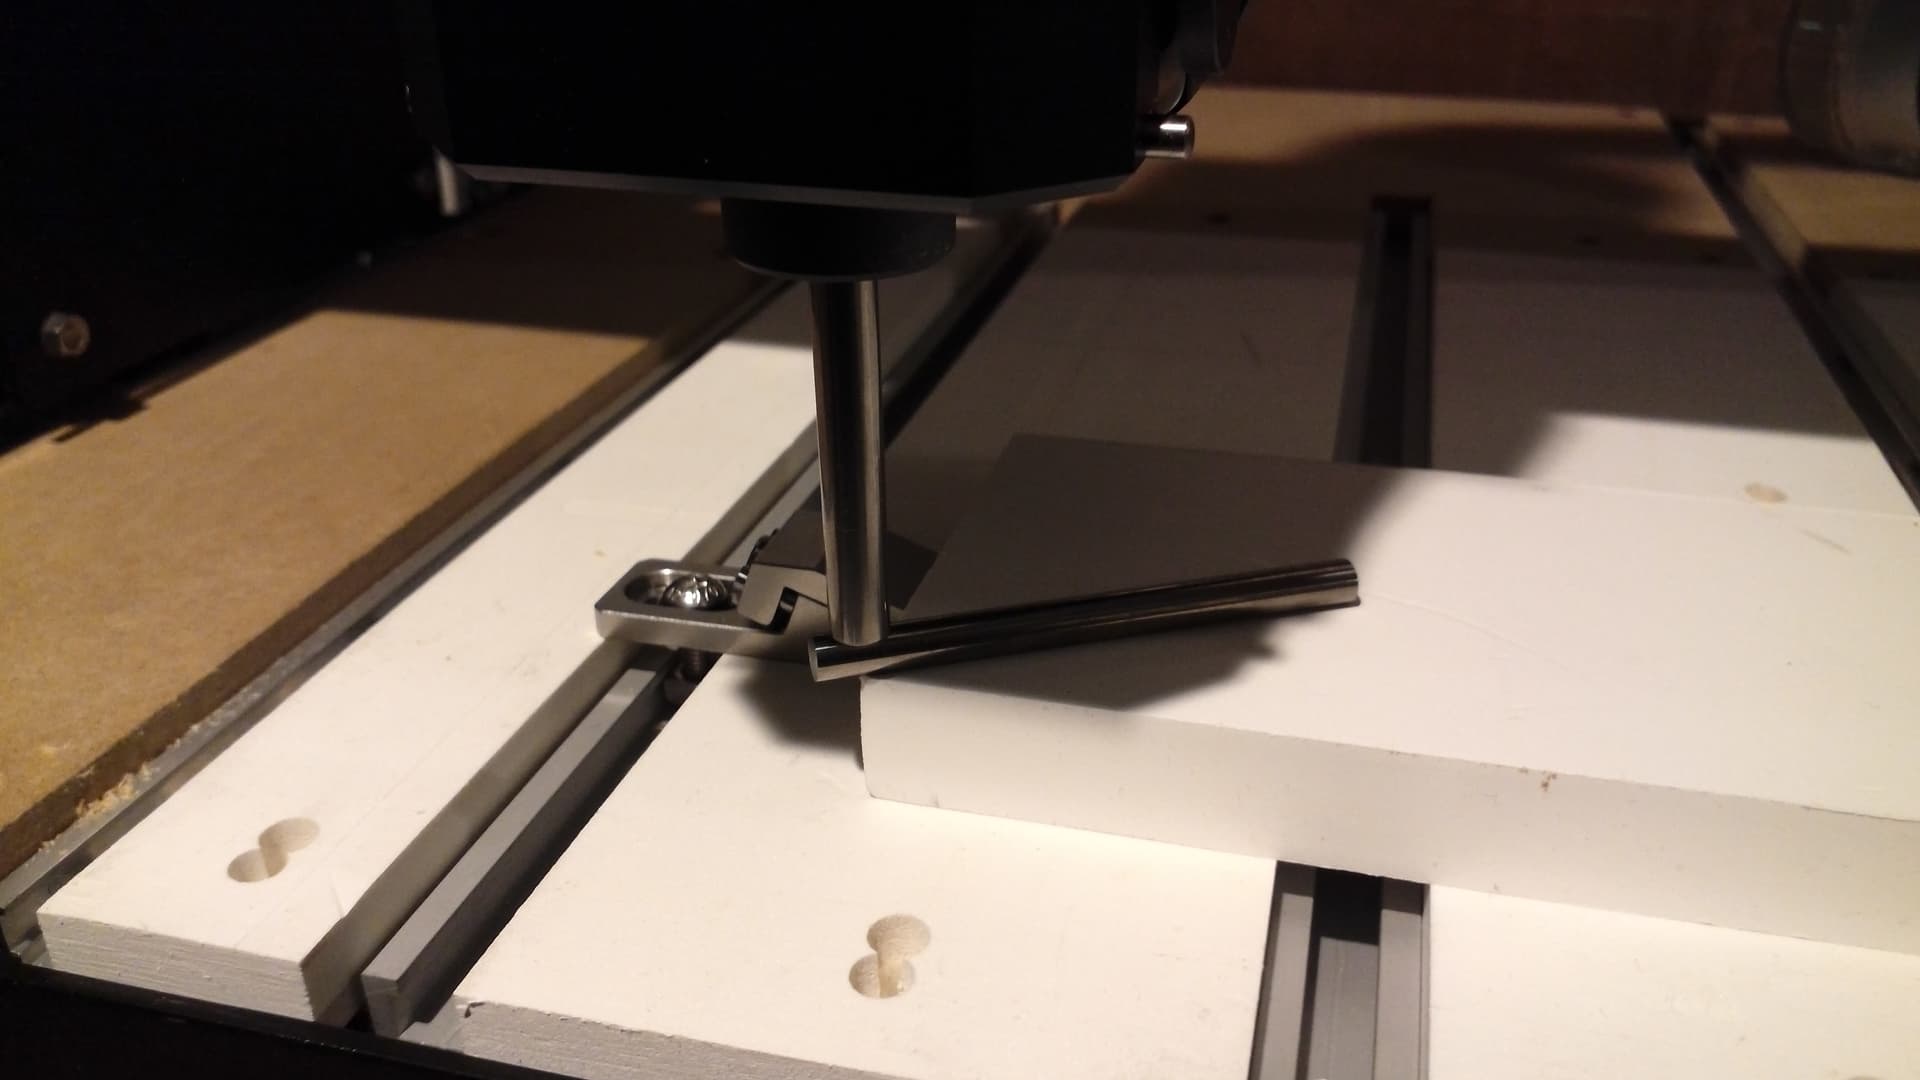
Ensure that the BitZero unit does not move while probing — if it does, repeat:
Remove the BitZero and ground lead and jog to verify the positioning — the Rapid Position Pane has buttons suited for this:
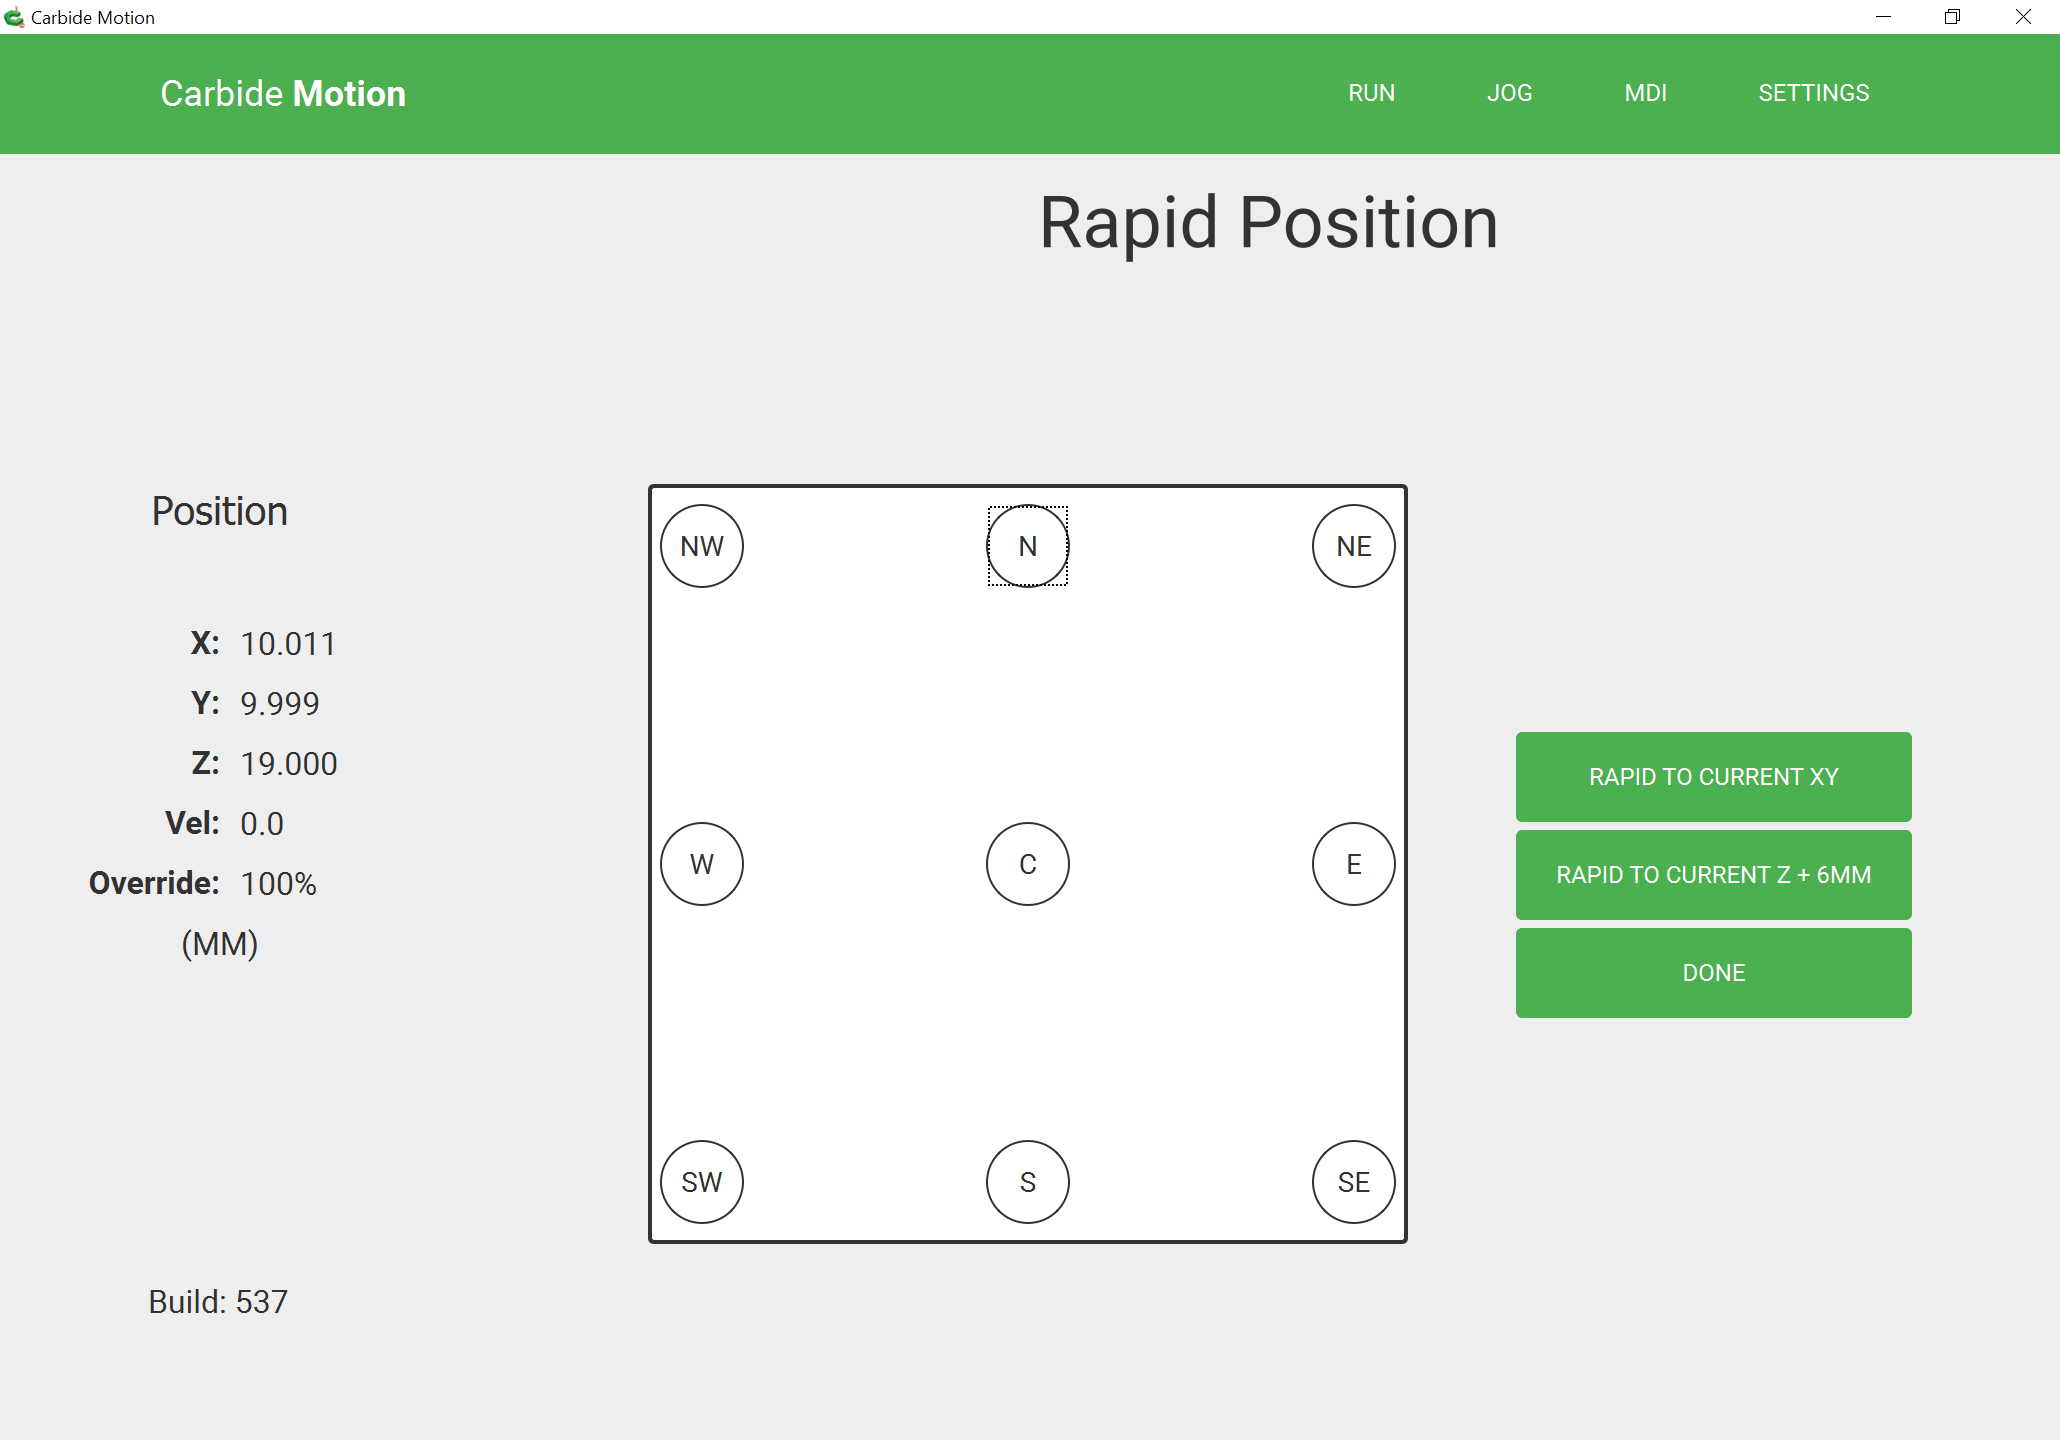
Rapid to current XY
Rapid to Current Z+6mm

If one has a 6mm dowel it can be used to verify Z, or jog up by 0.35mm and check w/ the shaft of an endmill or a precision rod:
To further verify, one could load a V endmill which makes check XY easier — loading a suitable endmill and facing off the material and repeating will allow measuring the Z.


")