WillAdams
August 20, 2026, 10:42pm
1
as requested on support…
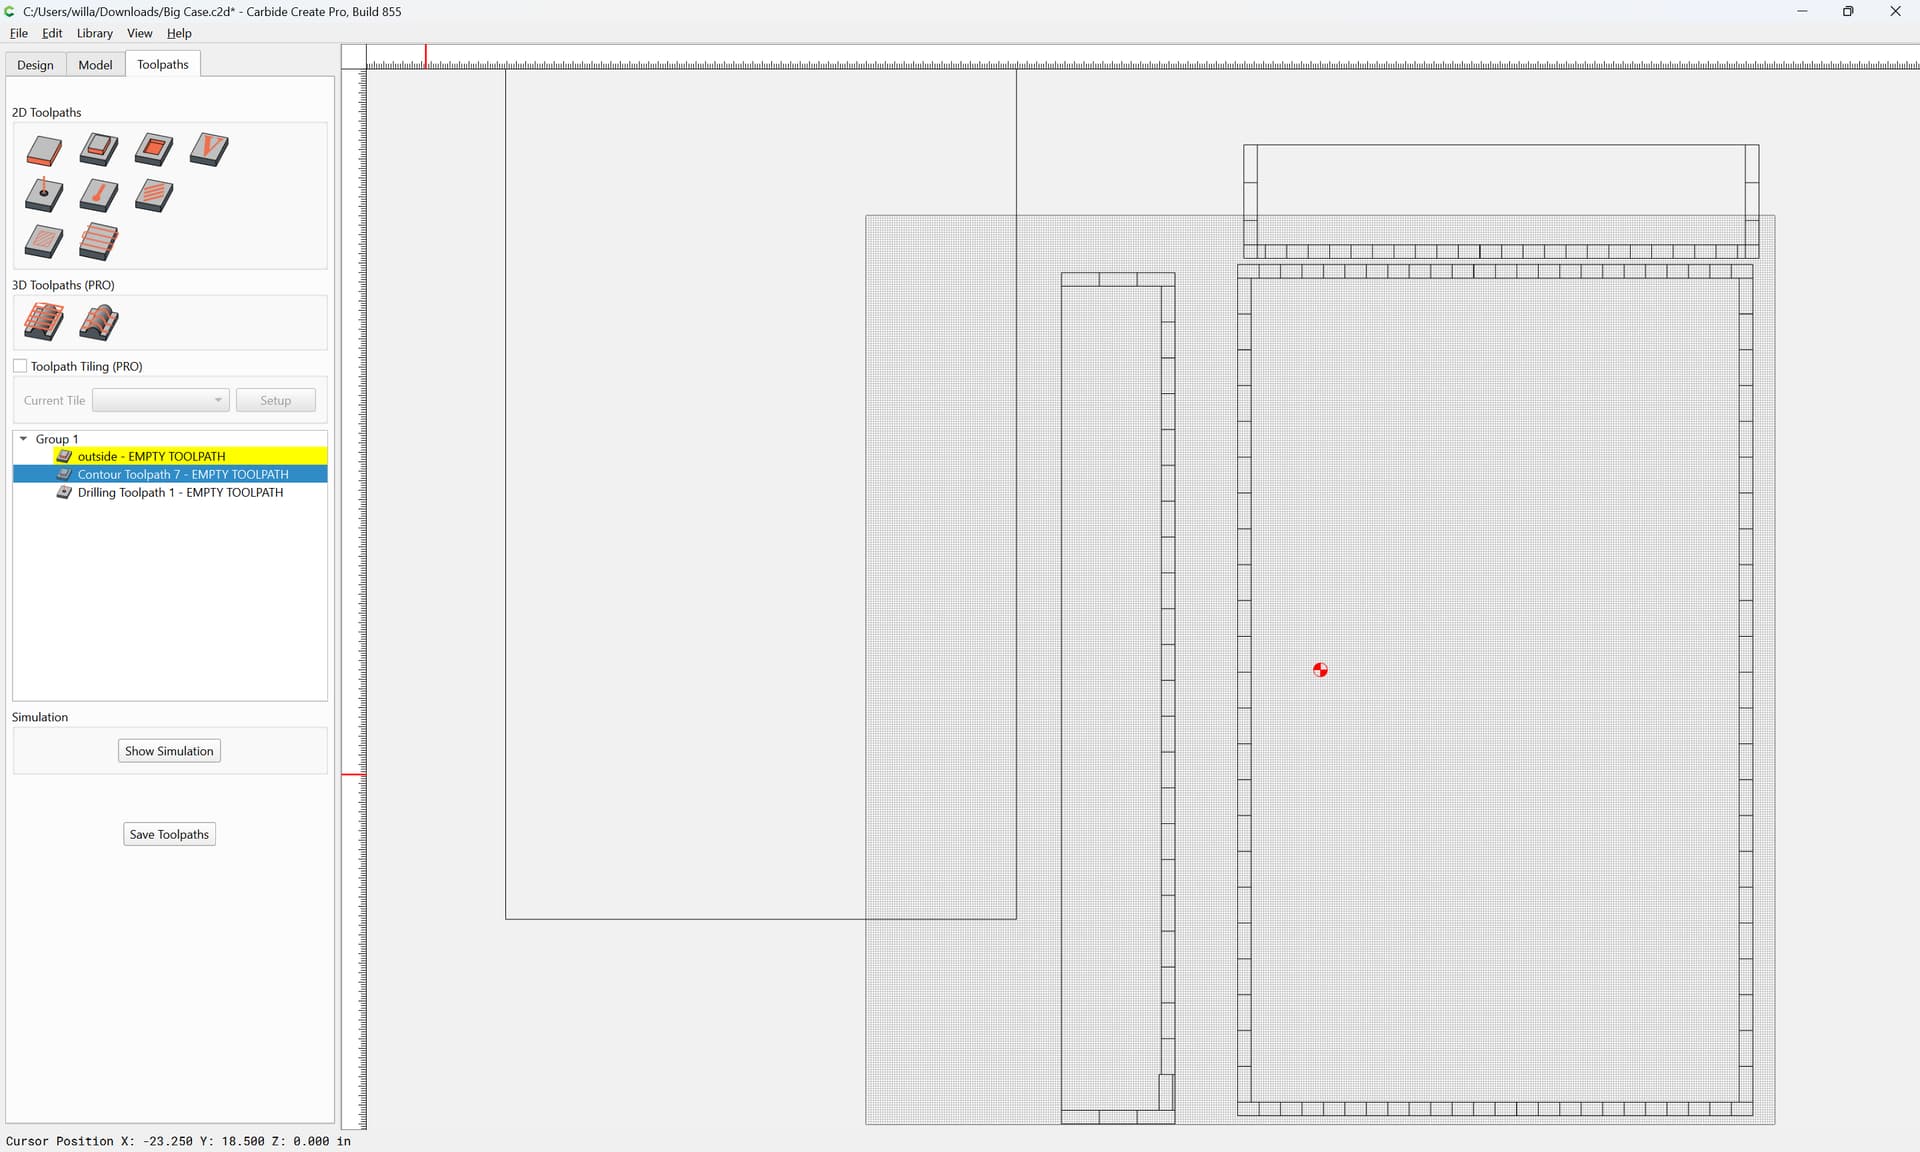
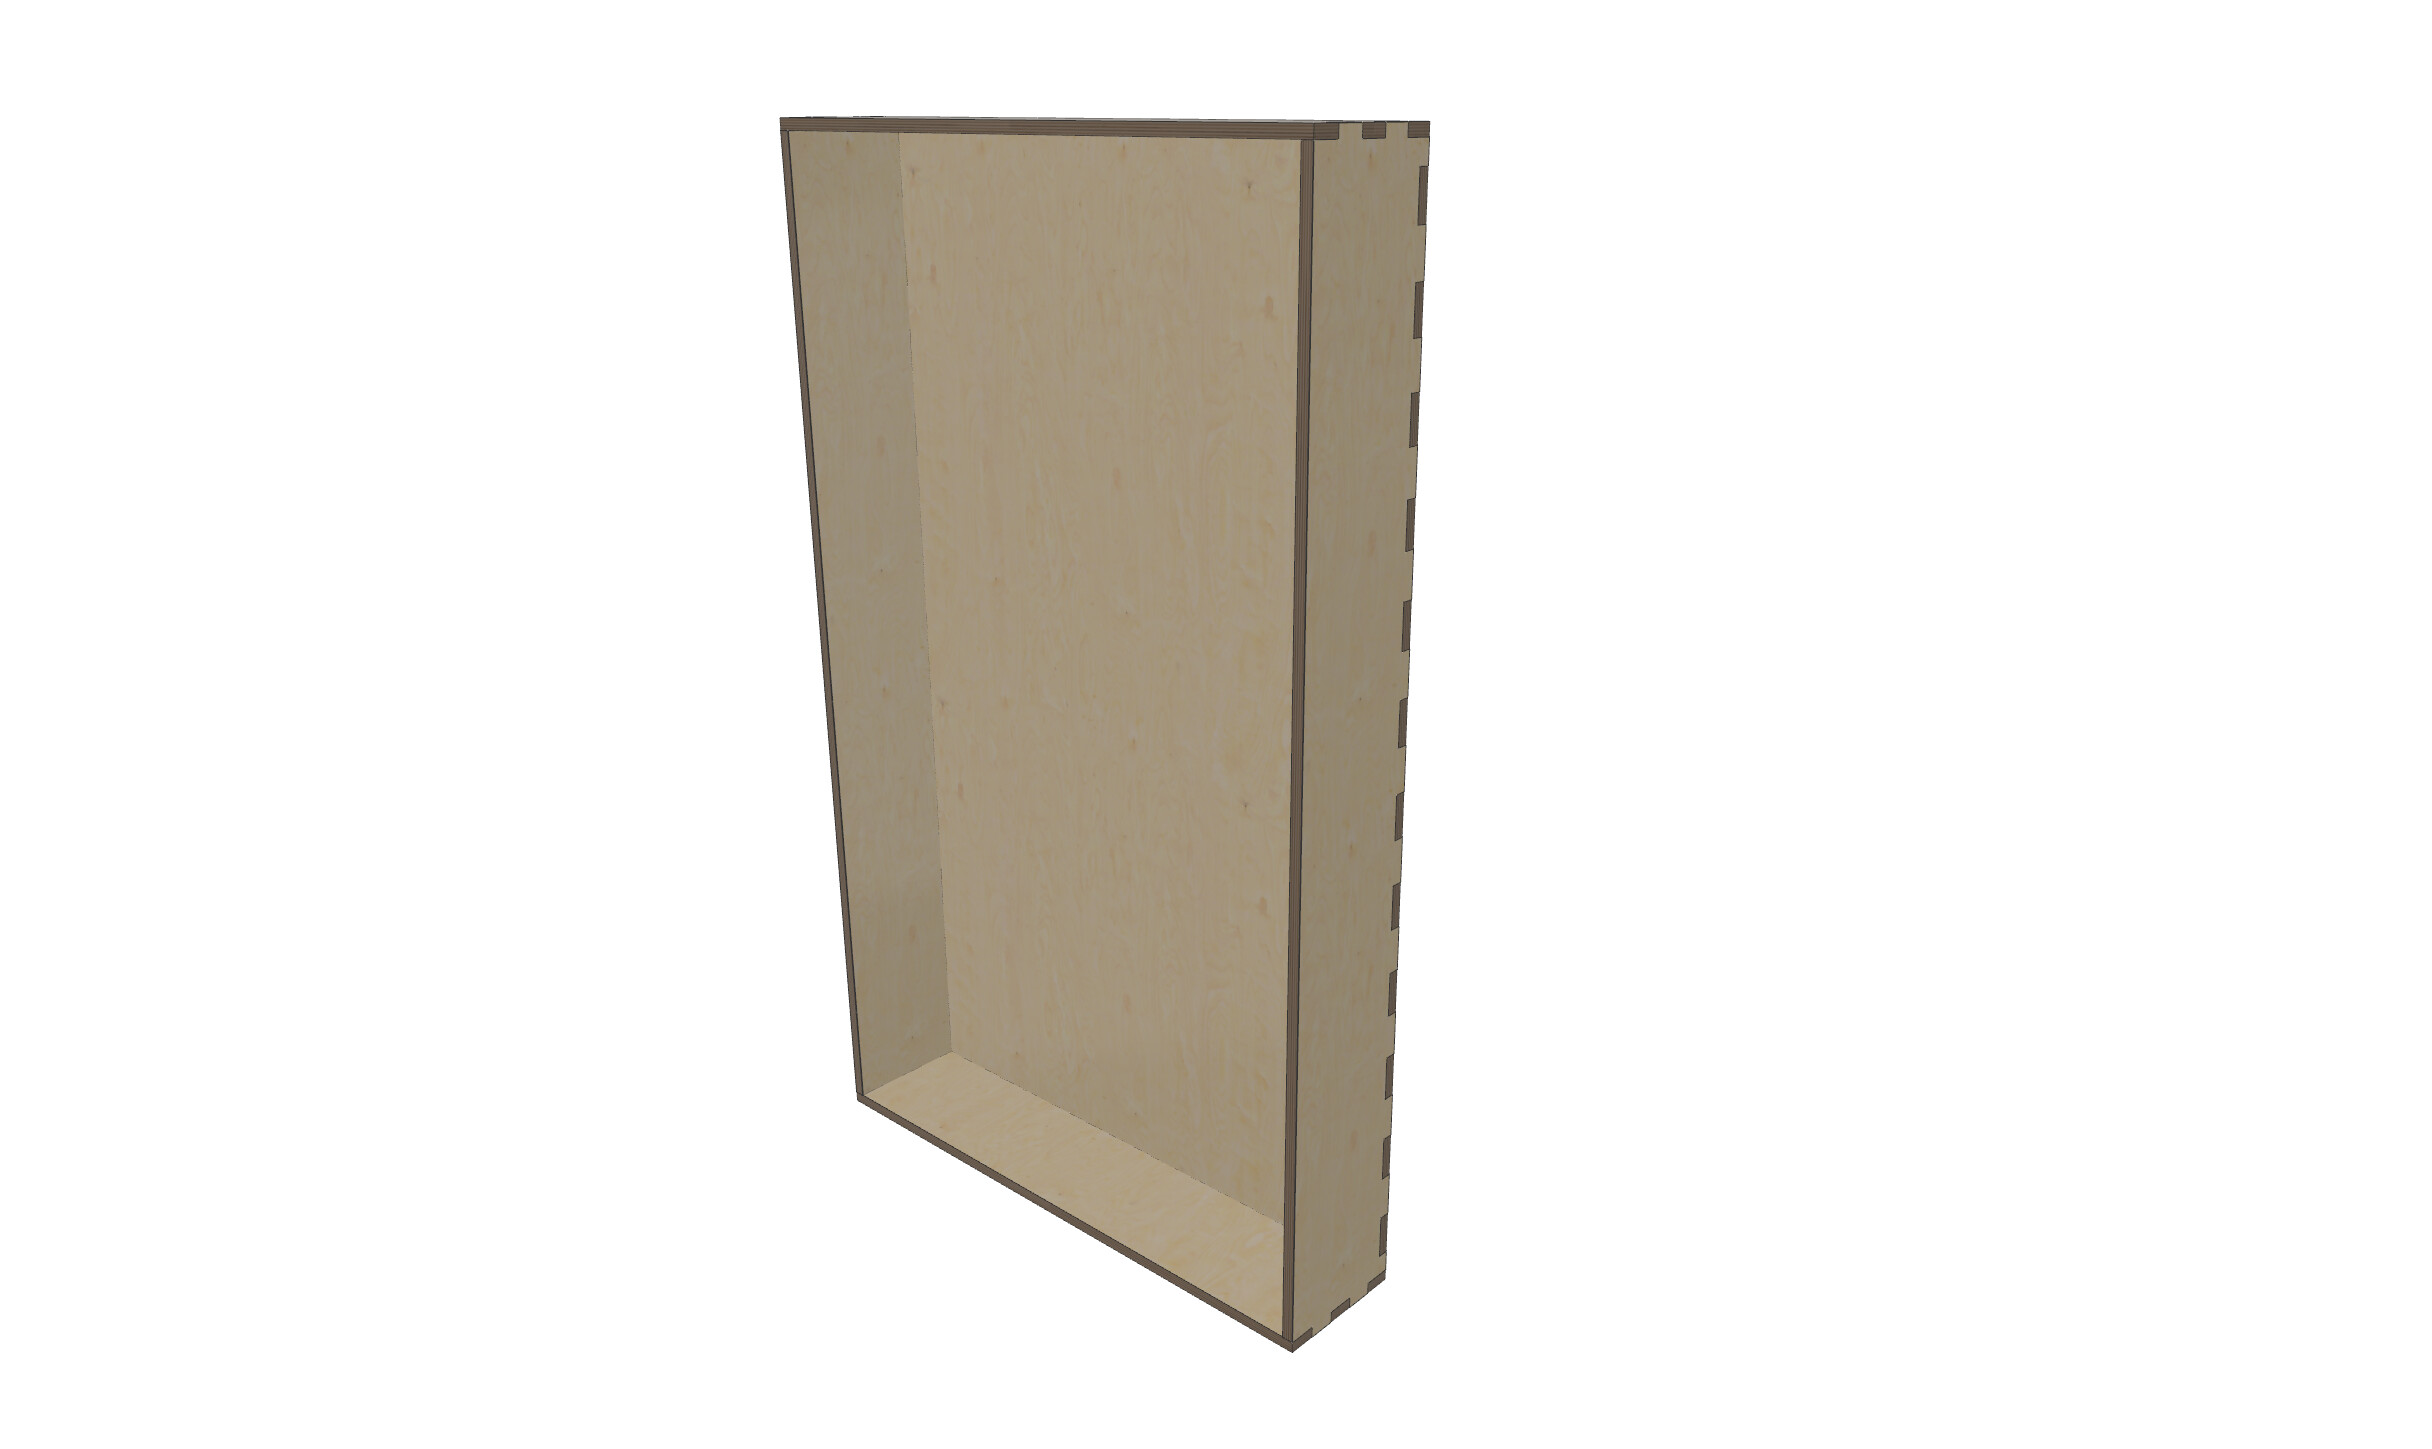
I’m trying to make a box that has the sides fit together (like dove tail but straight) interlocking
where the dimensions are:
open-front case which is ~27.25" wide, 45" tall, and 6" deep using stock just a bit less than 3/4" (0.718) thick
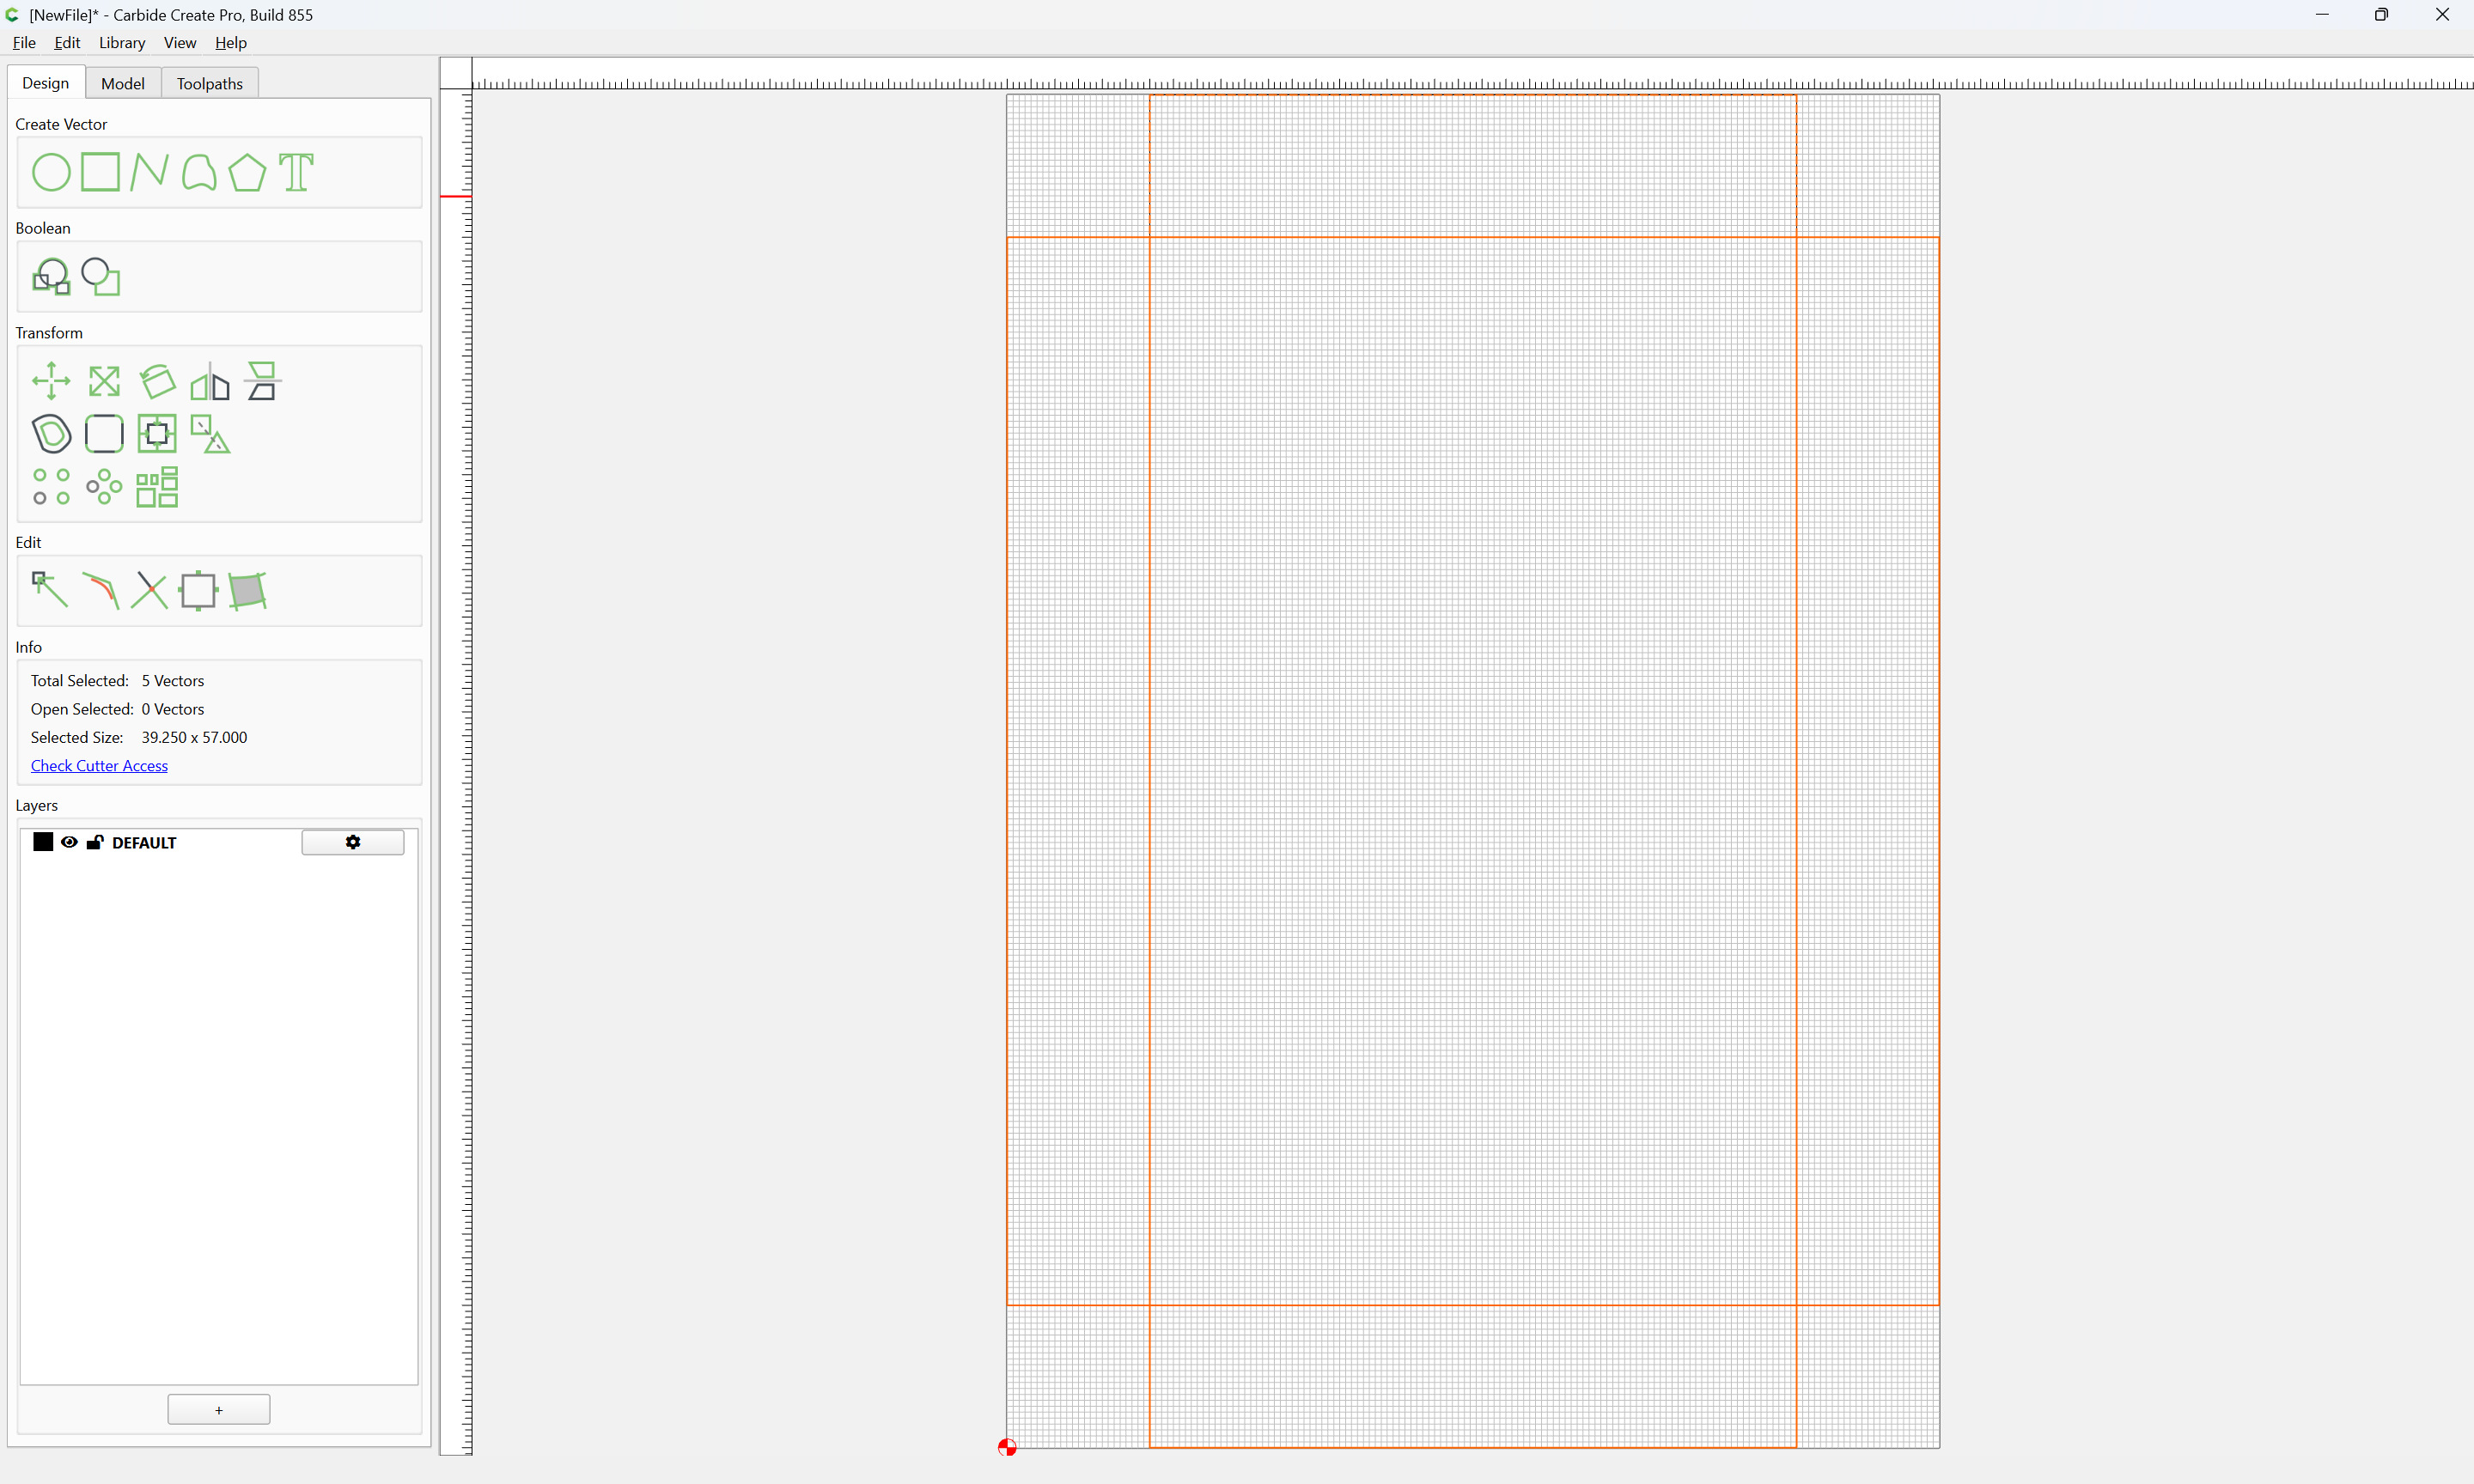
and the file’s initial state is:
WillAdams
August 20, 2026, 11:26pm
2
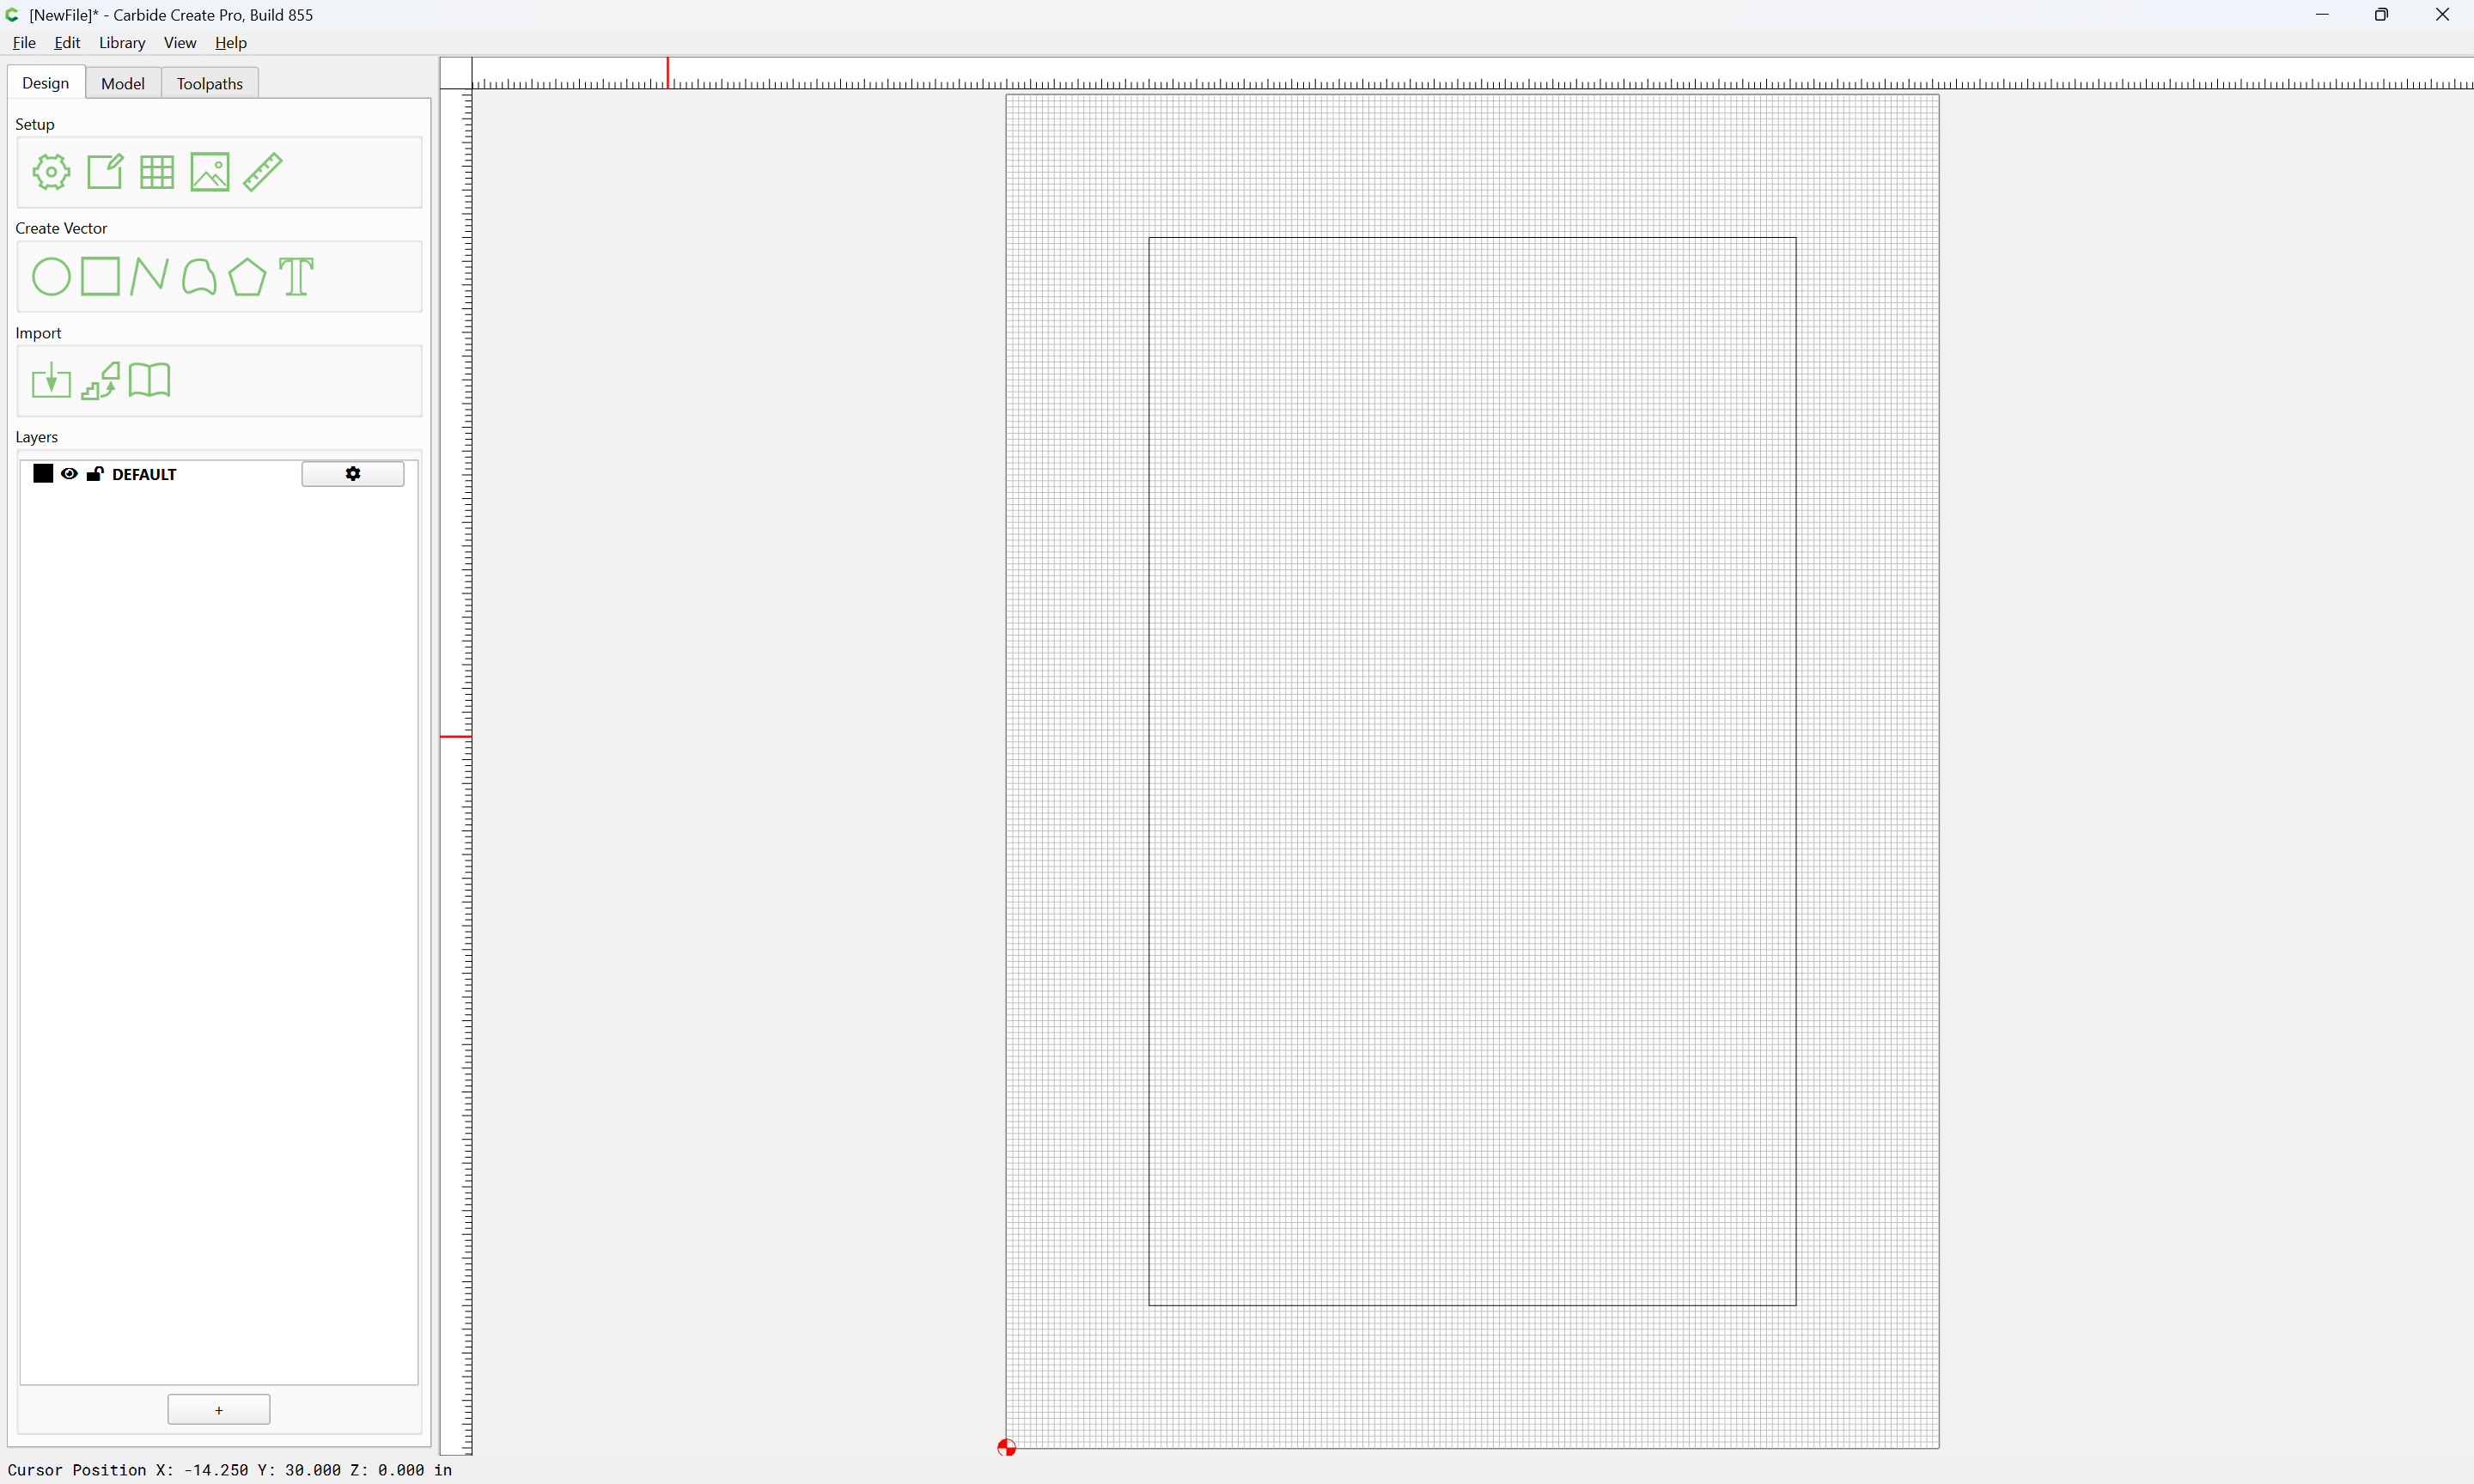
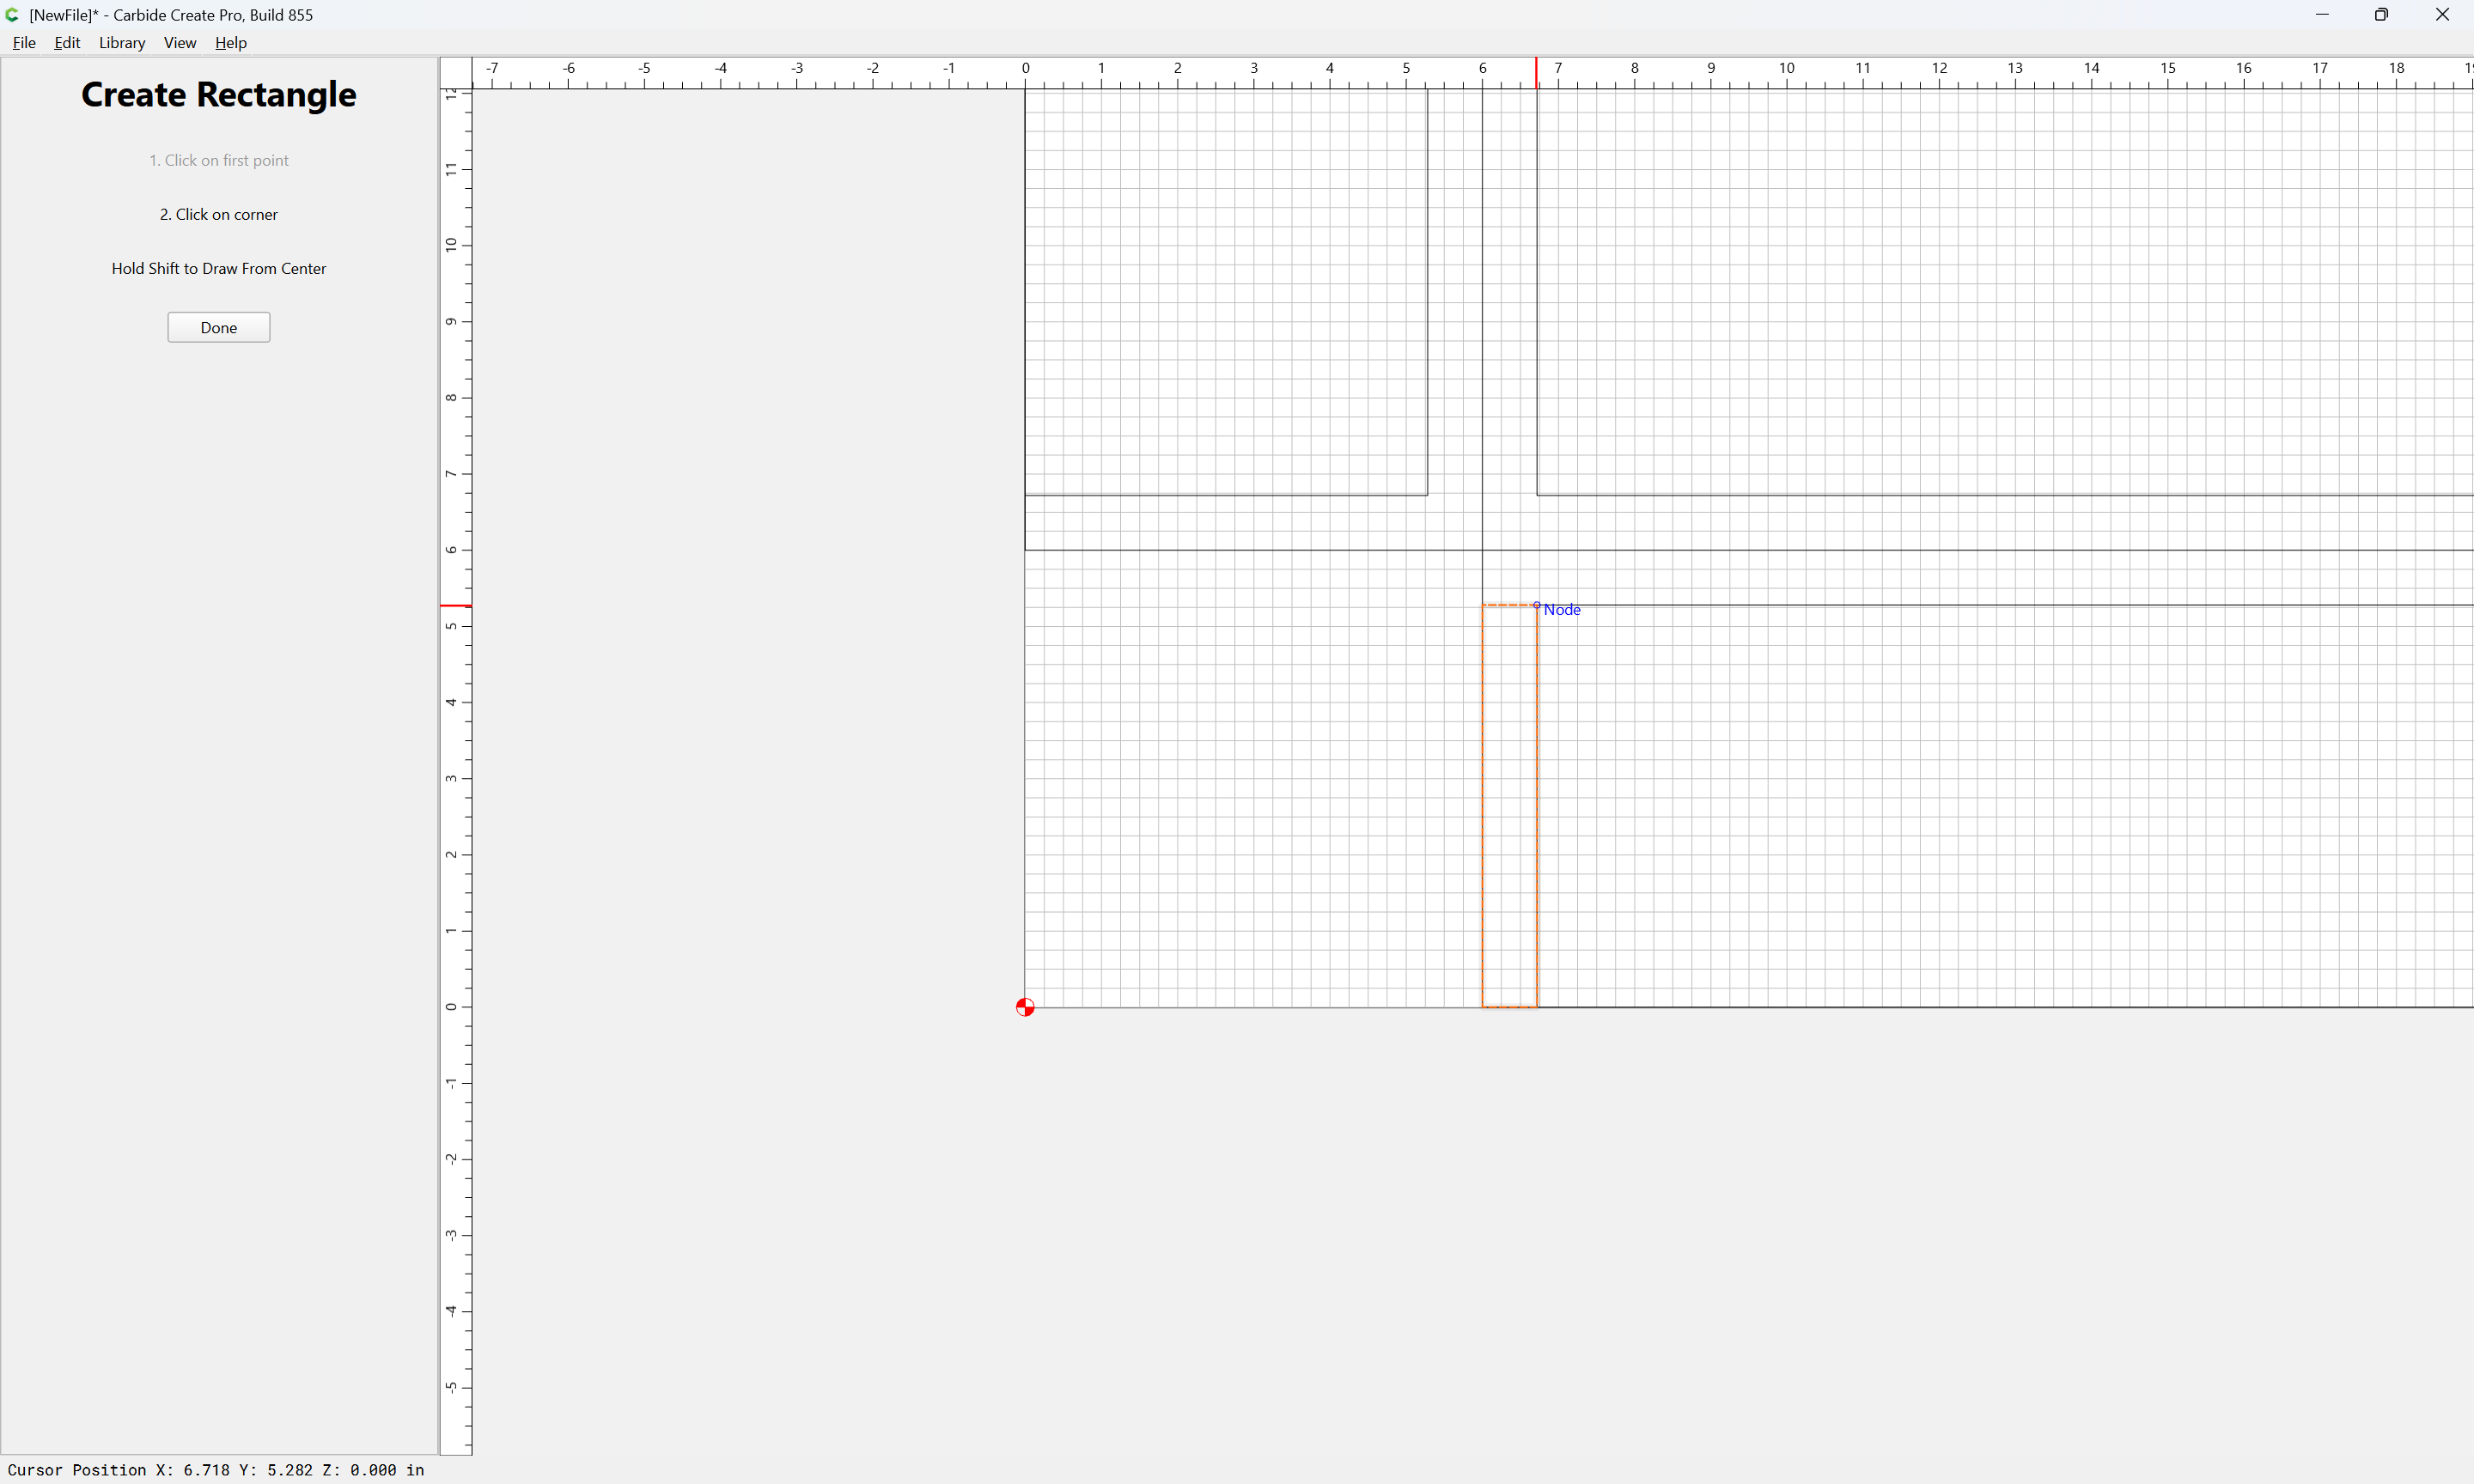
First we draw the back of the case:
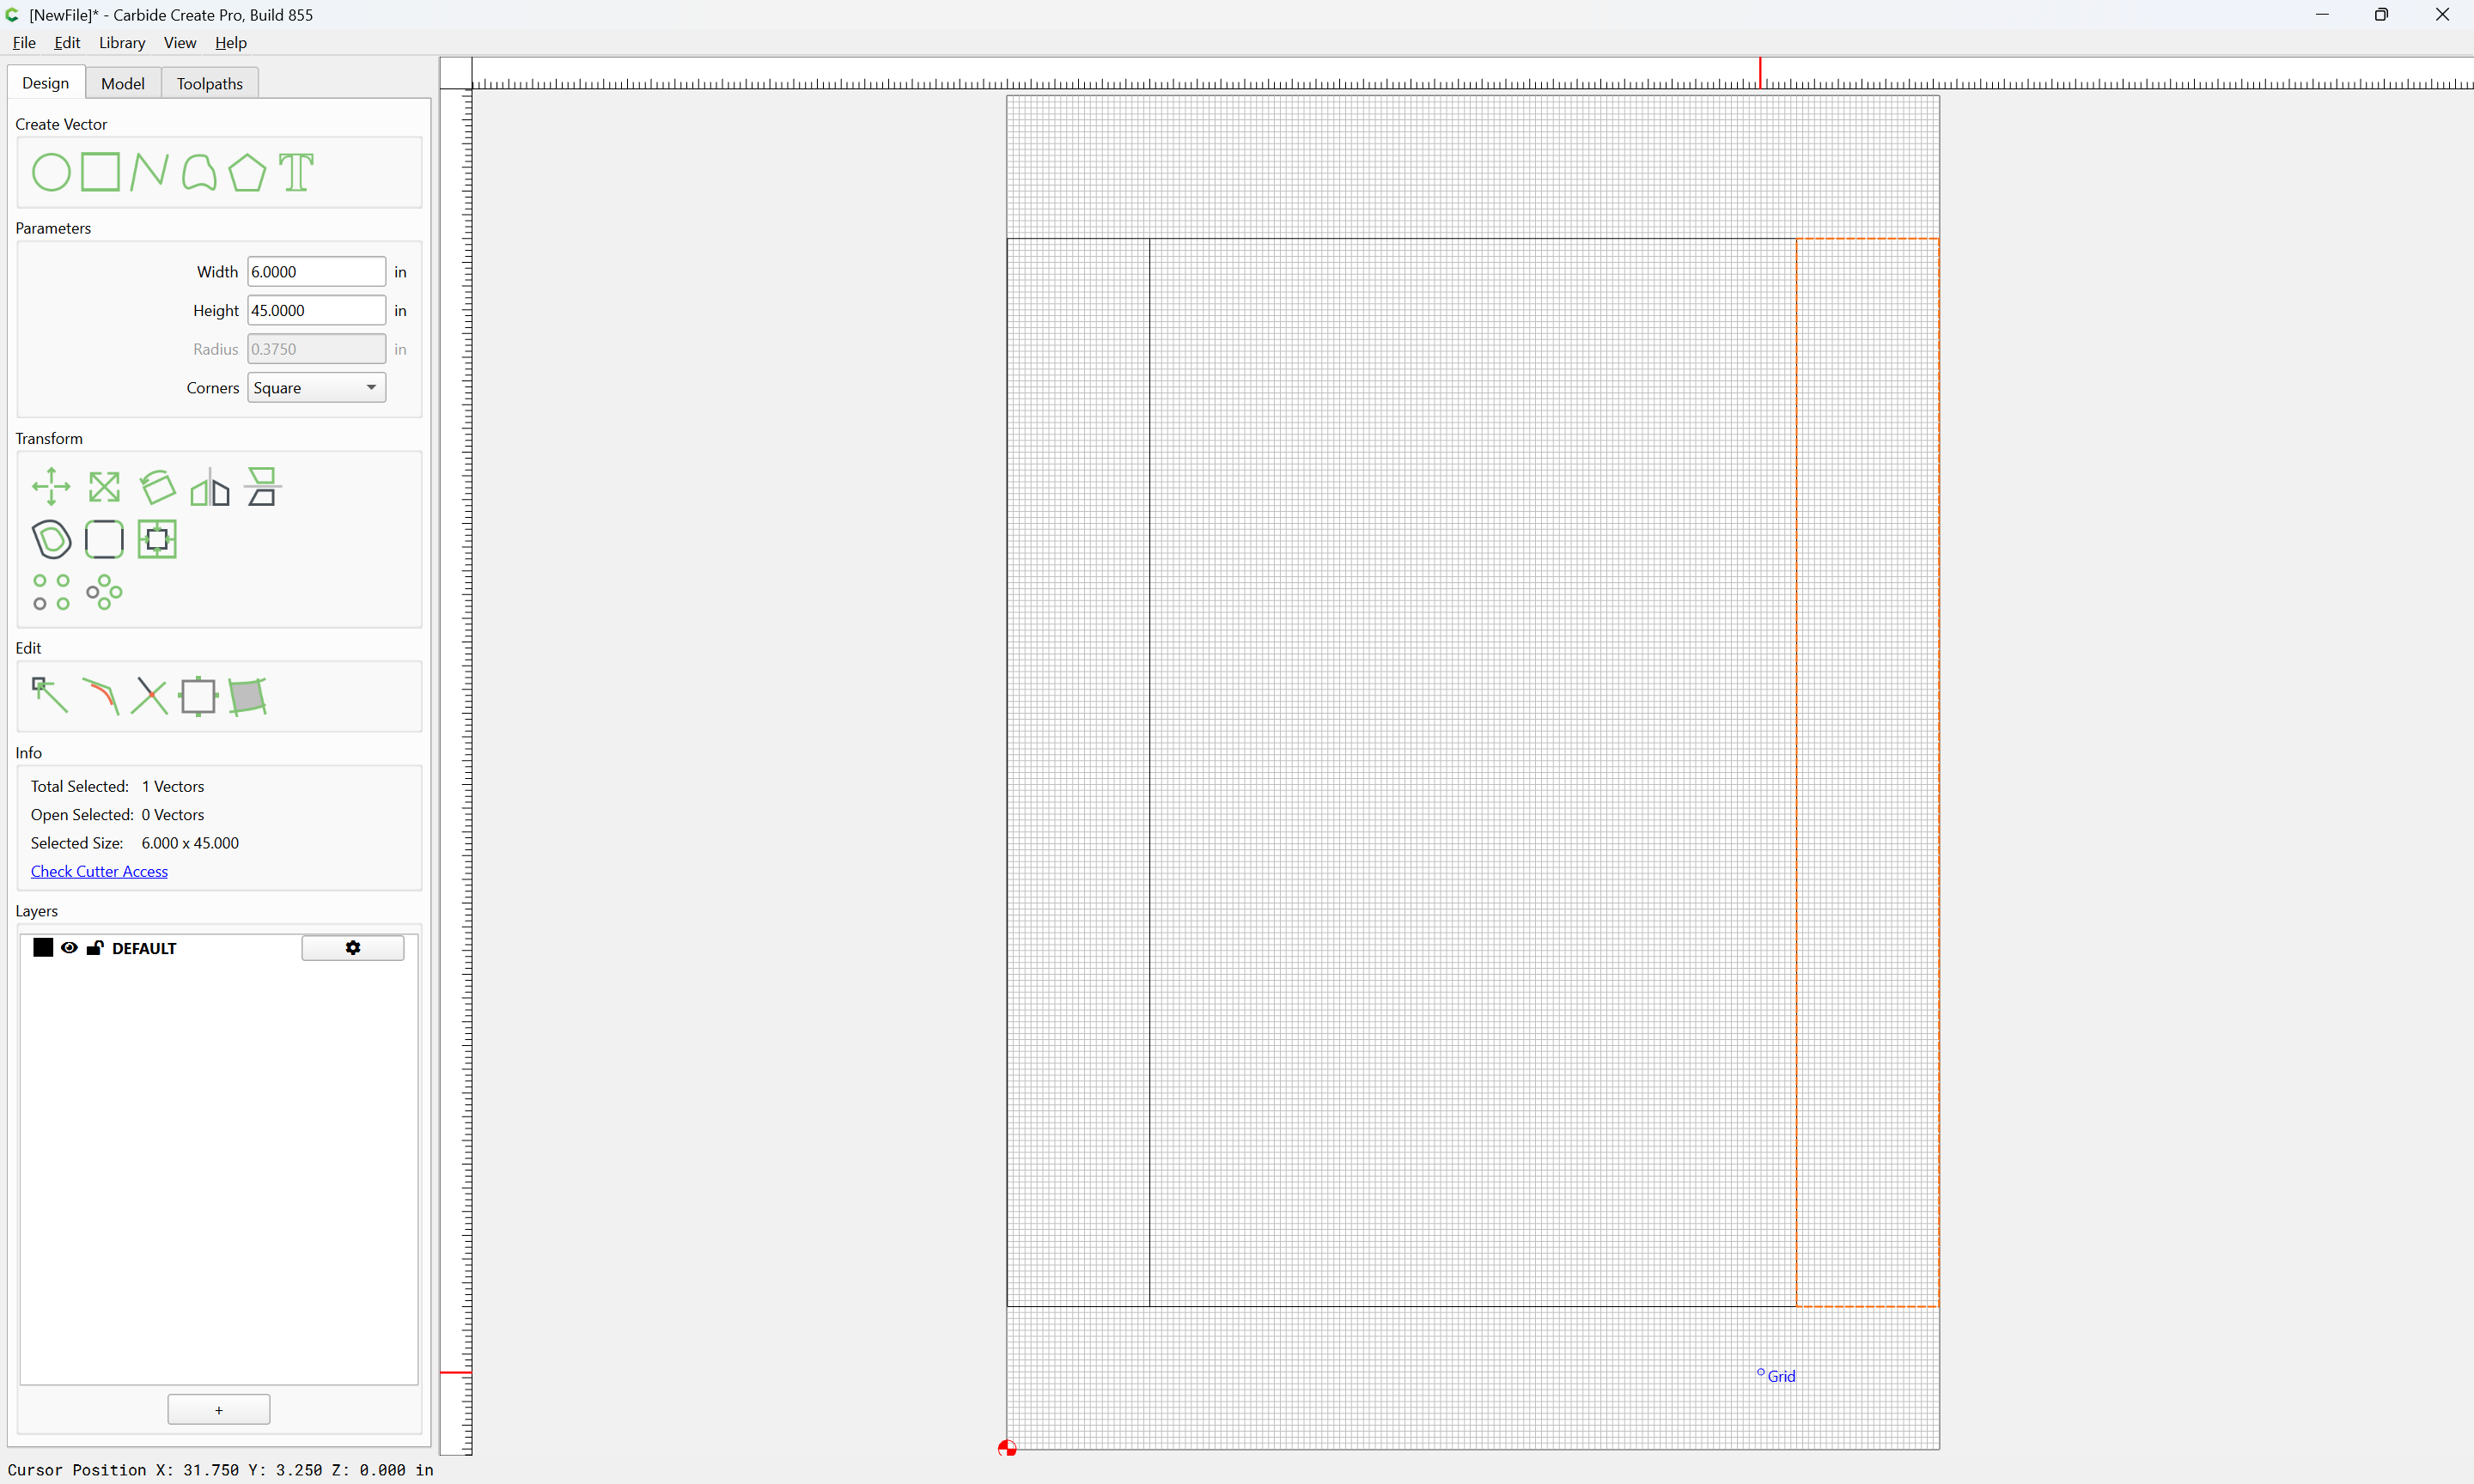
as well as the sides:
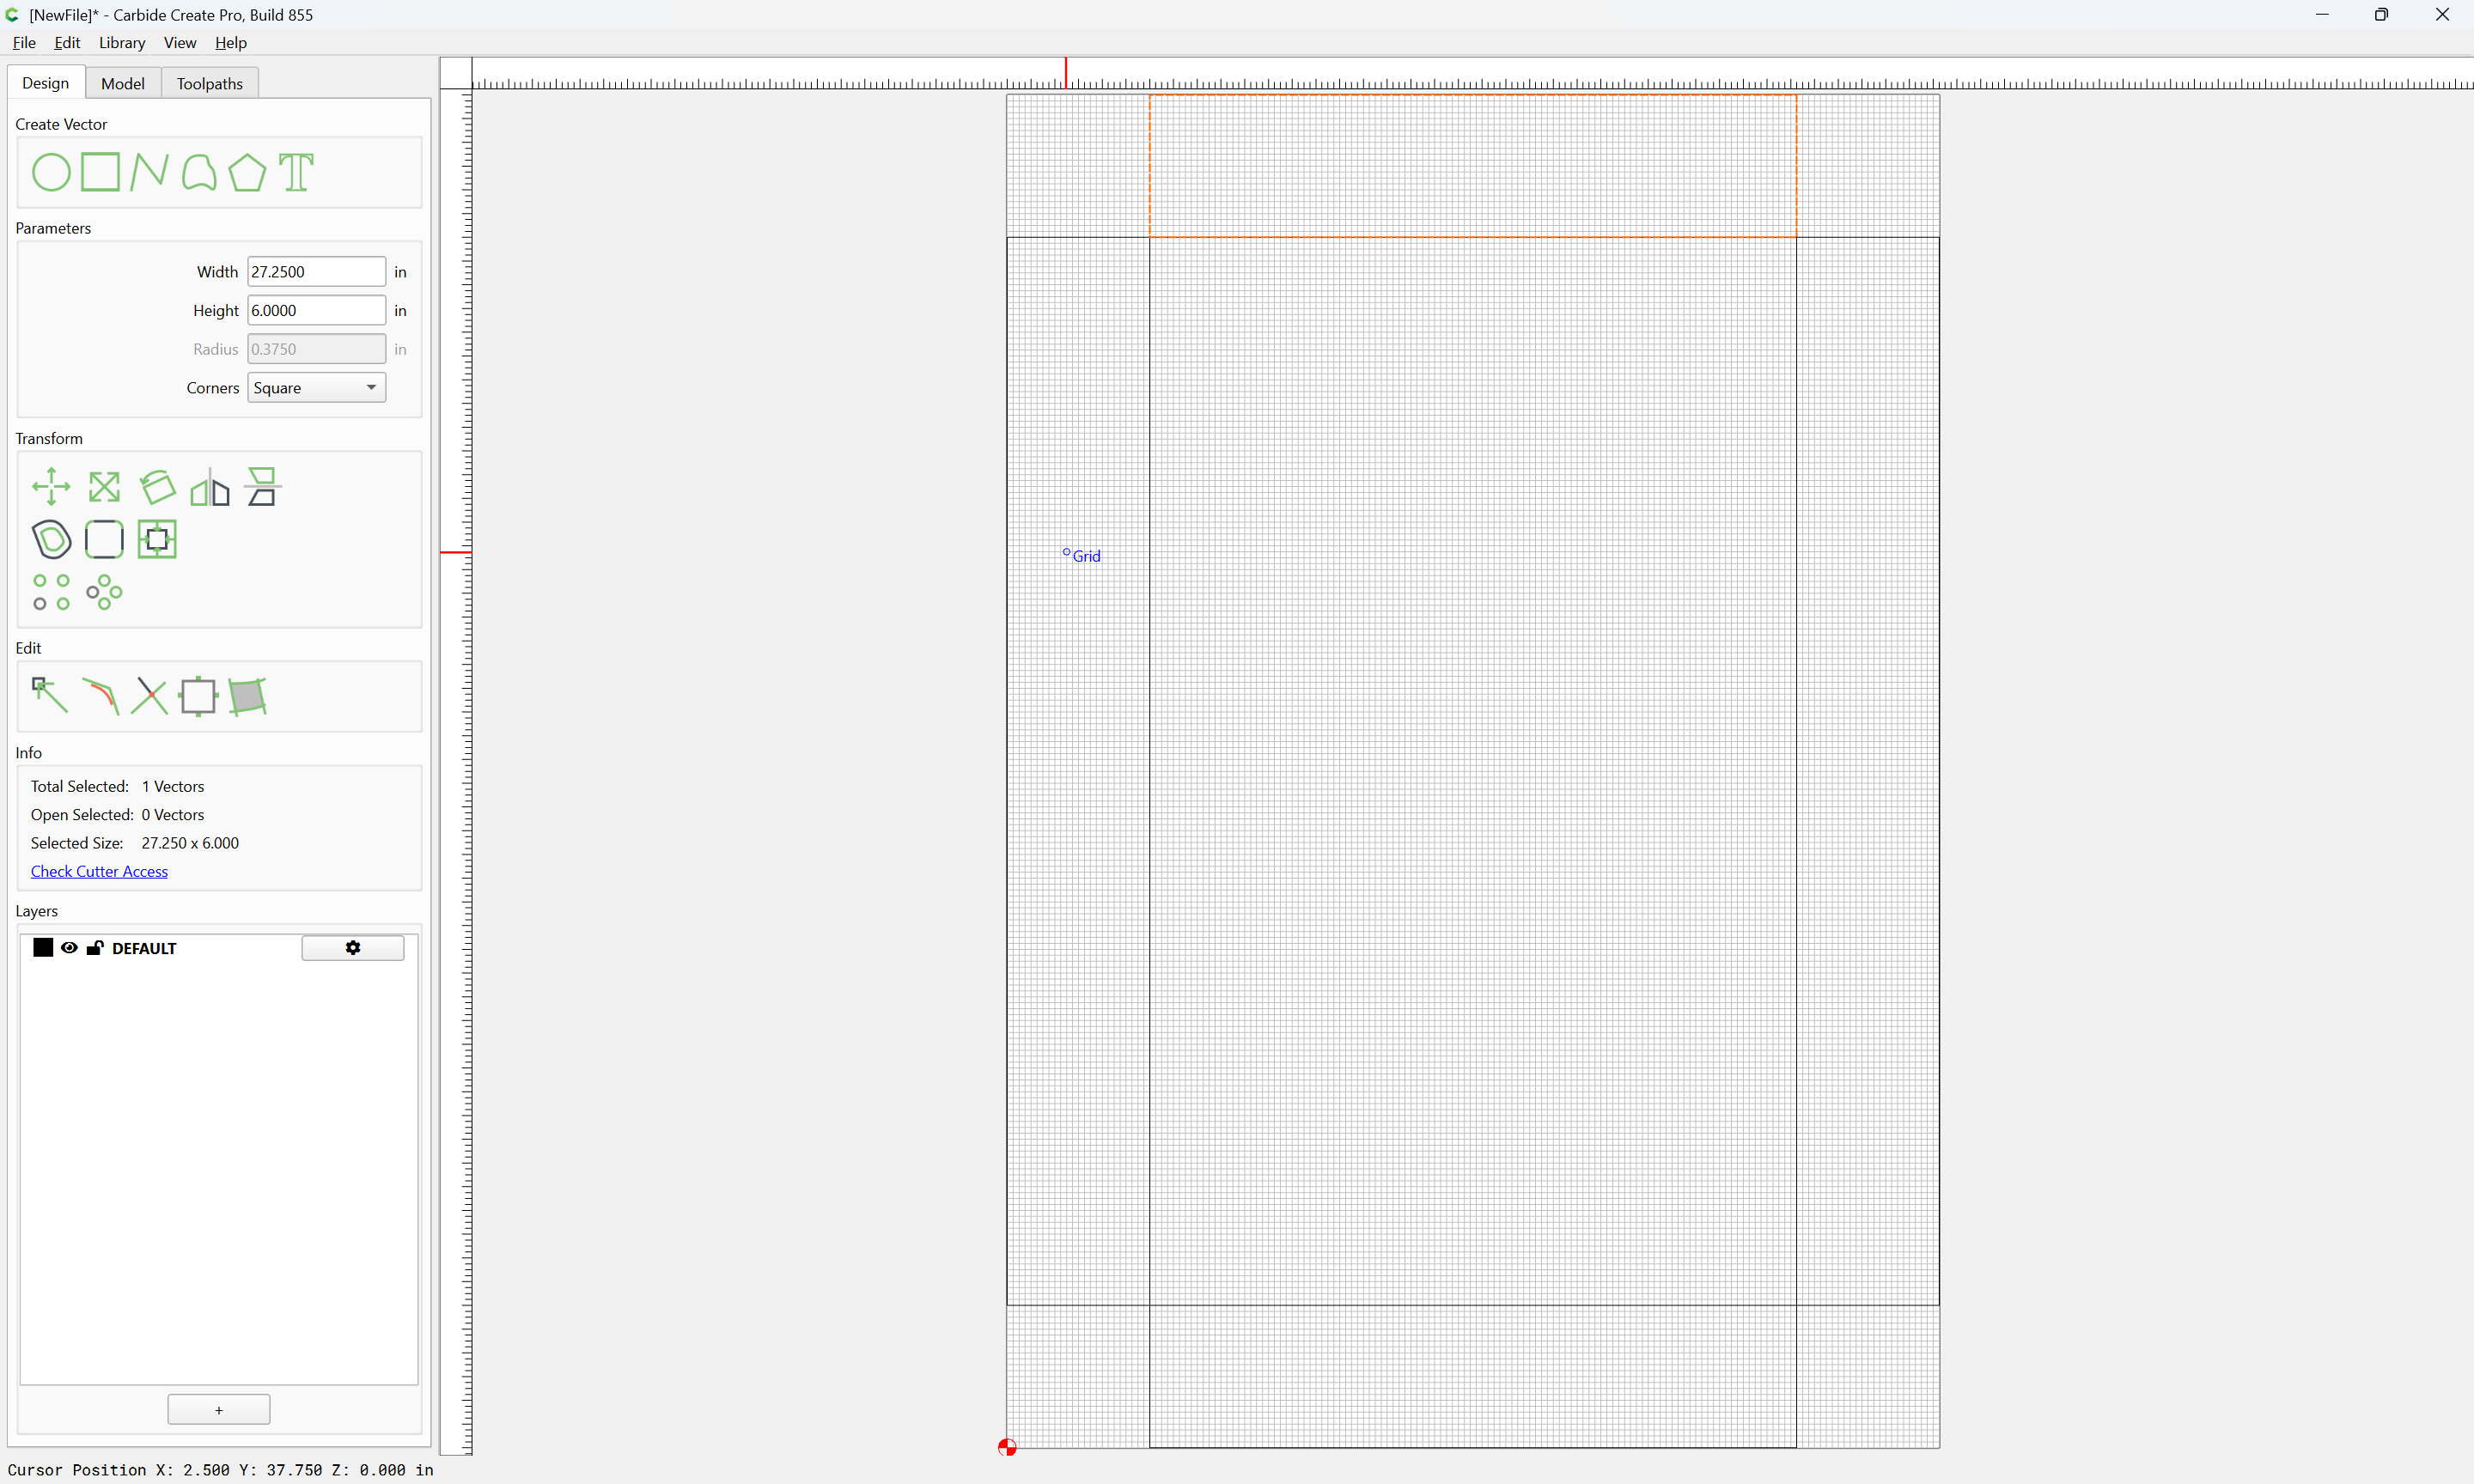
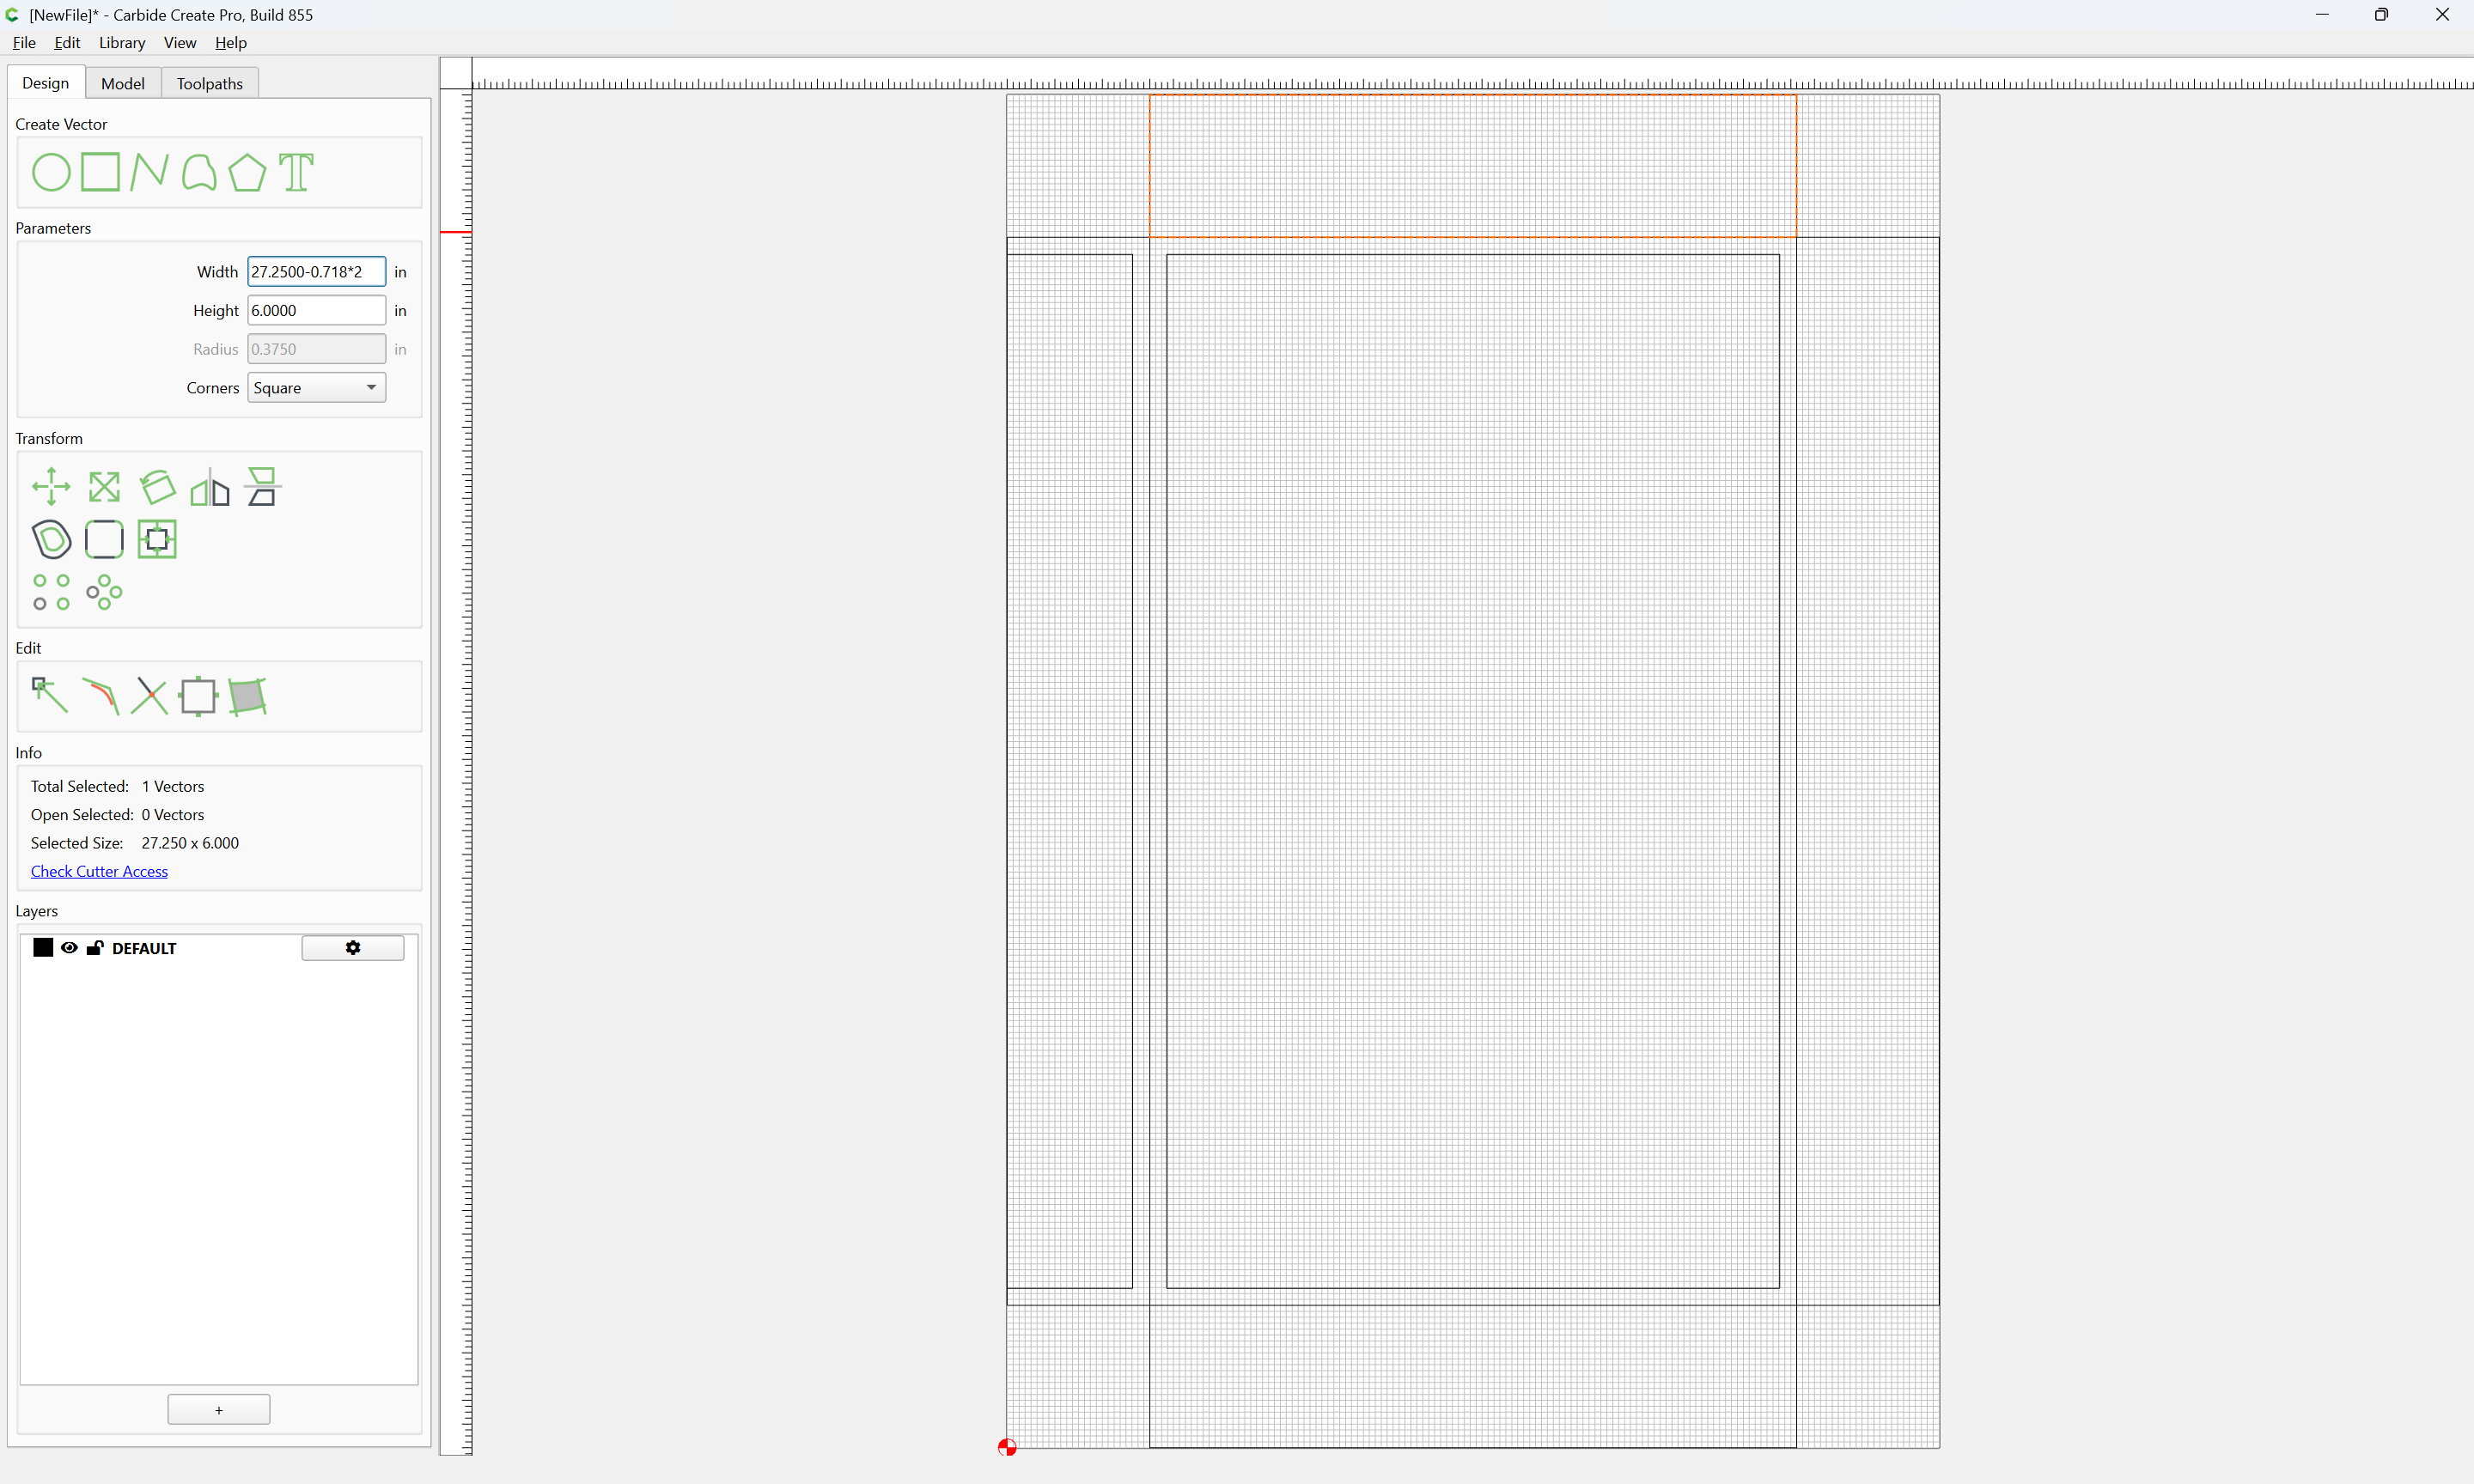
and the top and bottom:
Duplicate everything in place:
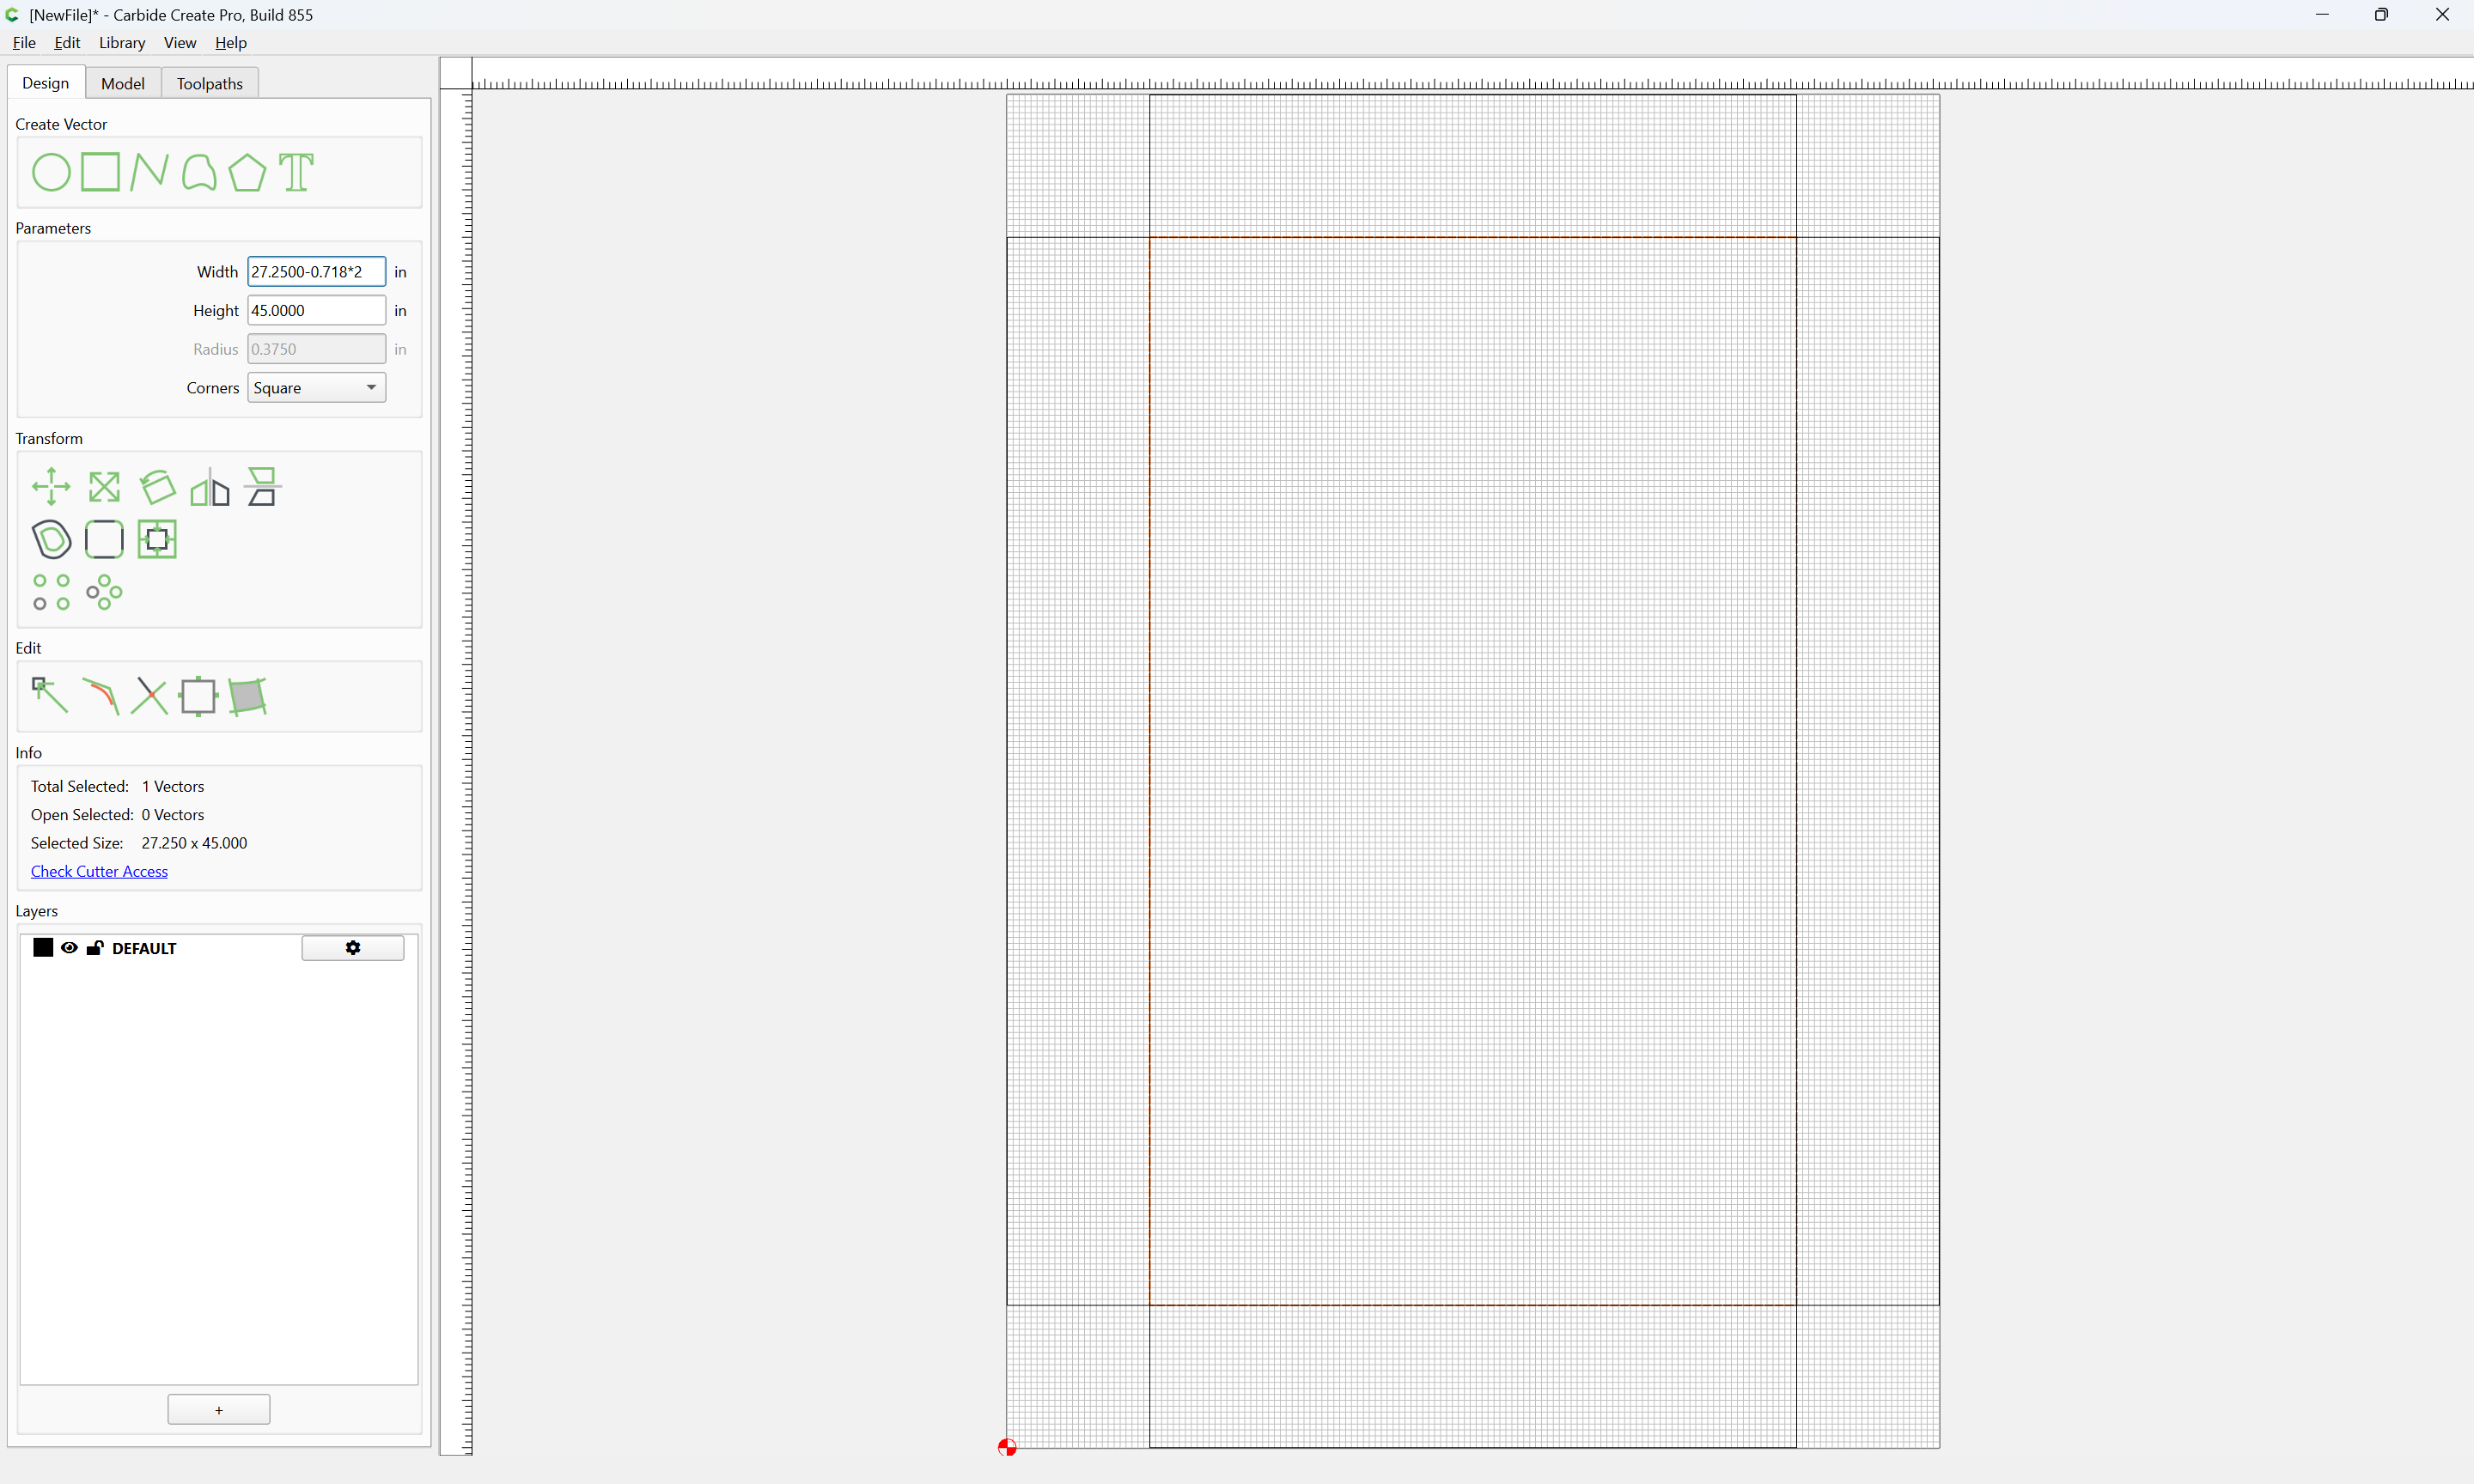
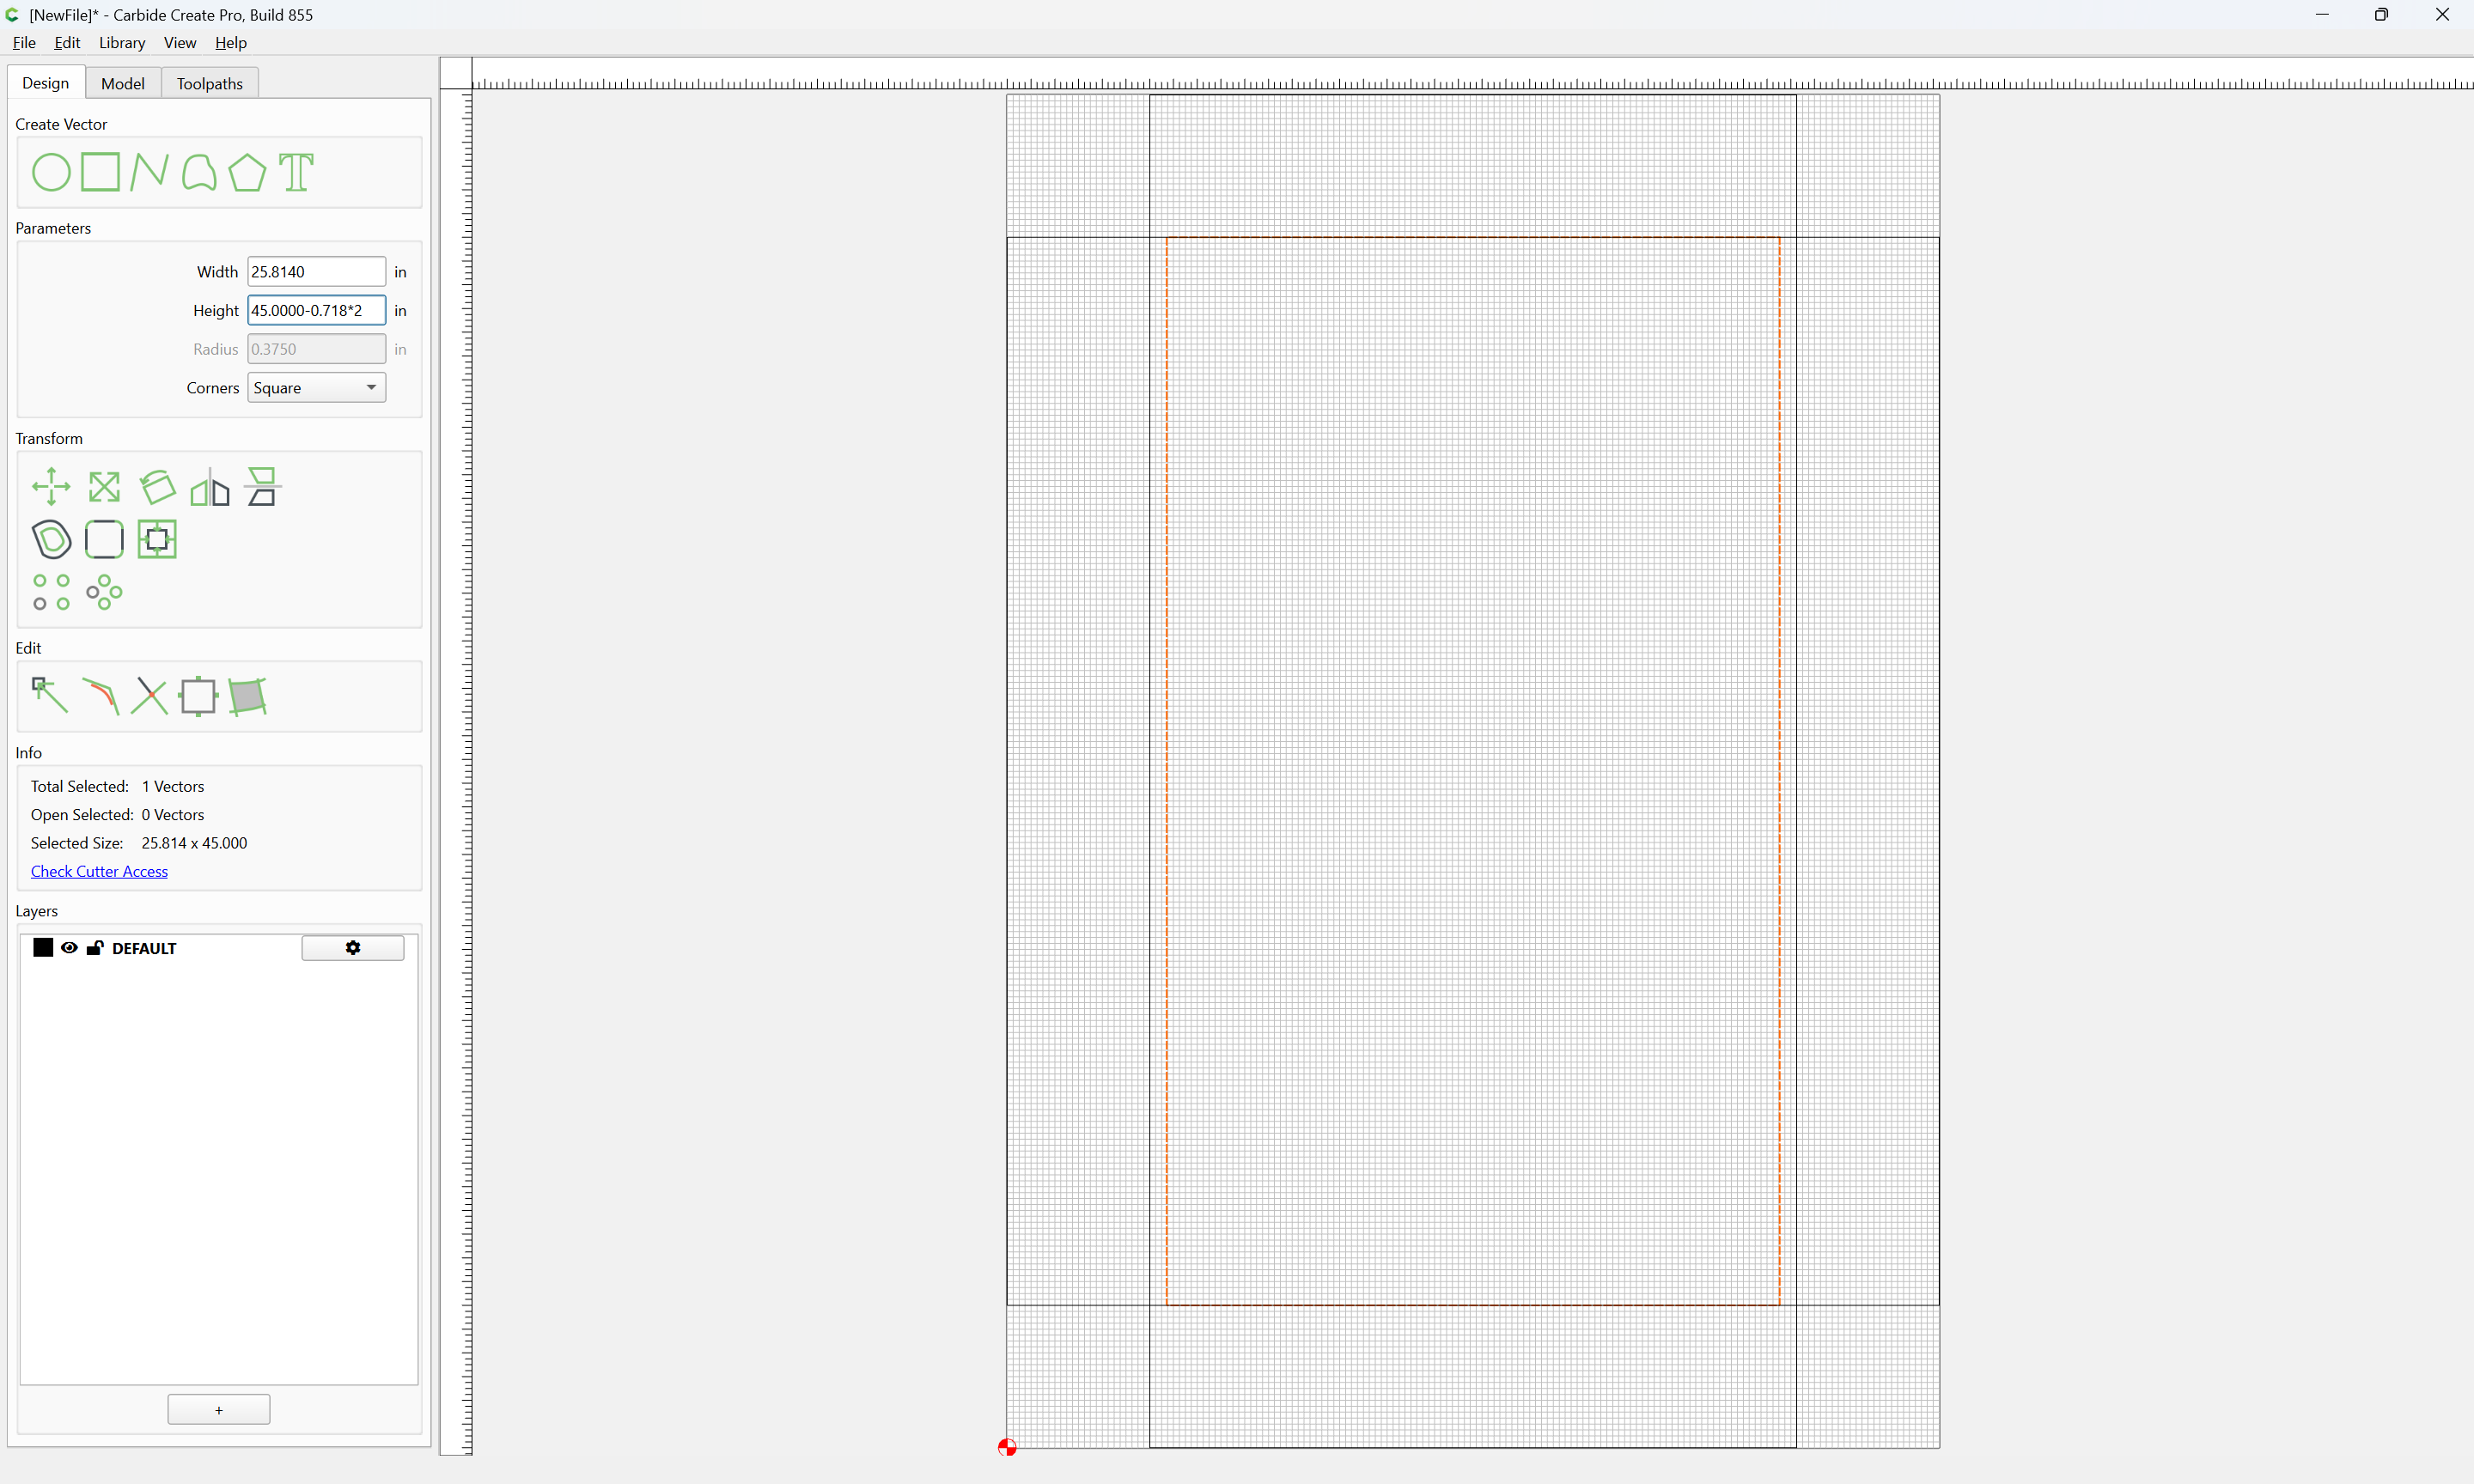
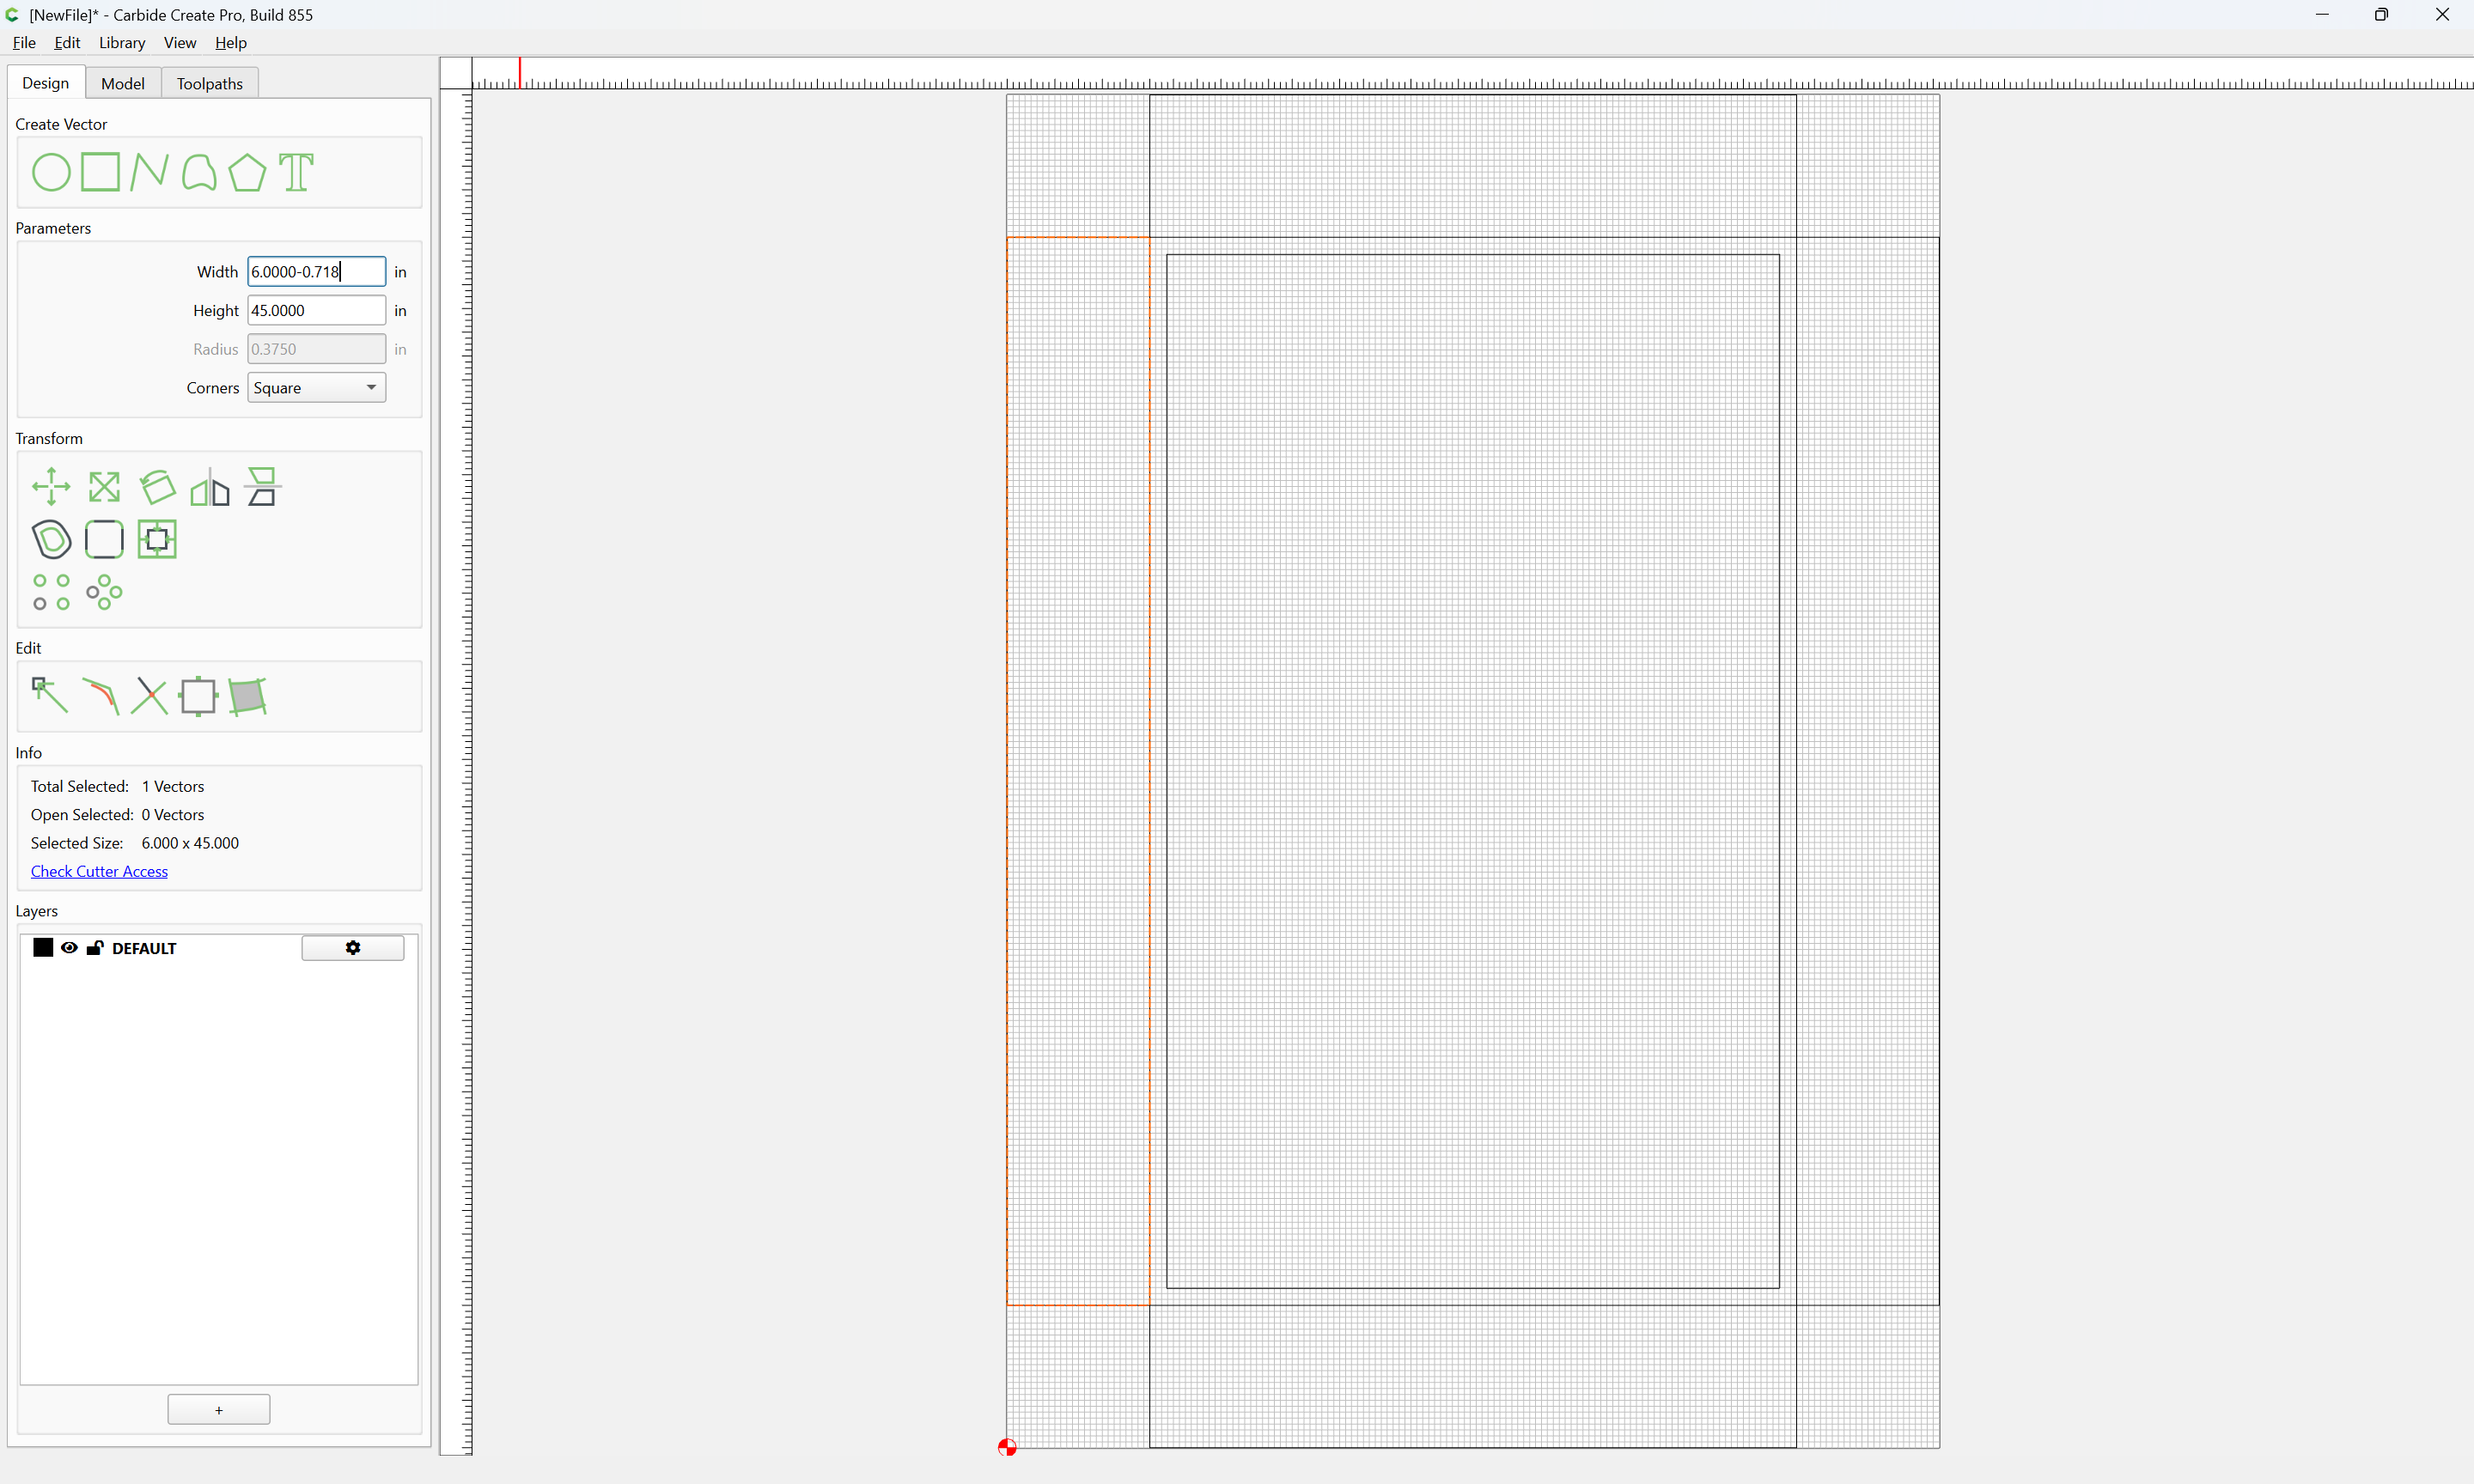
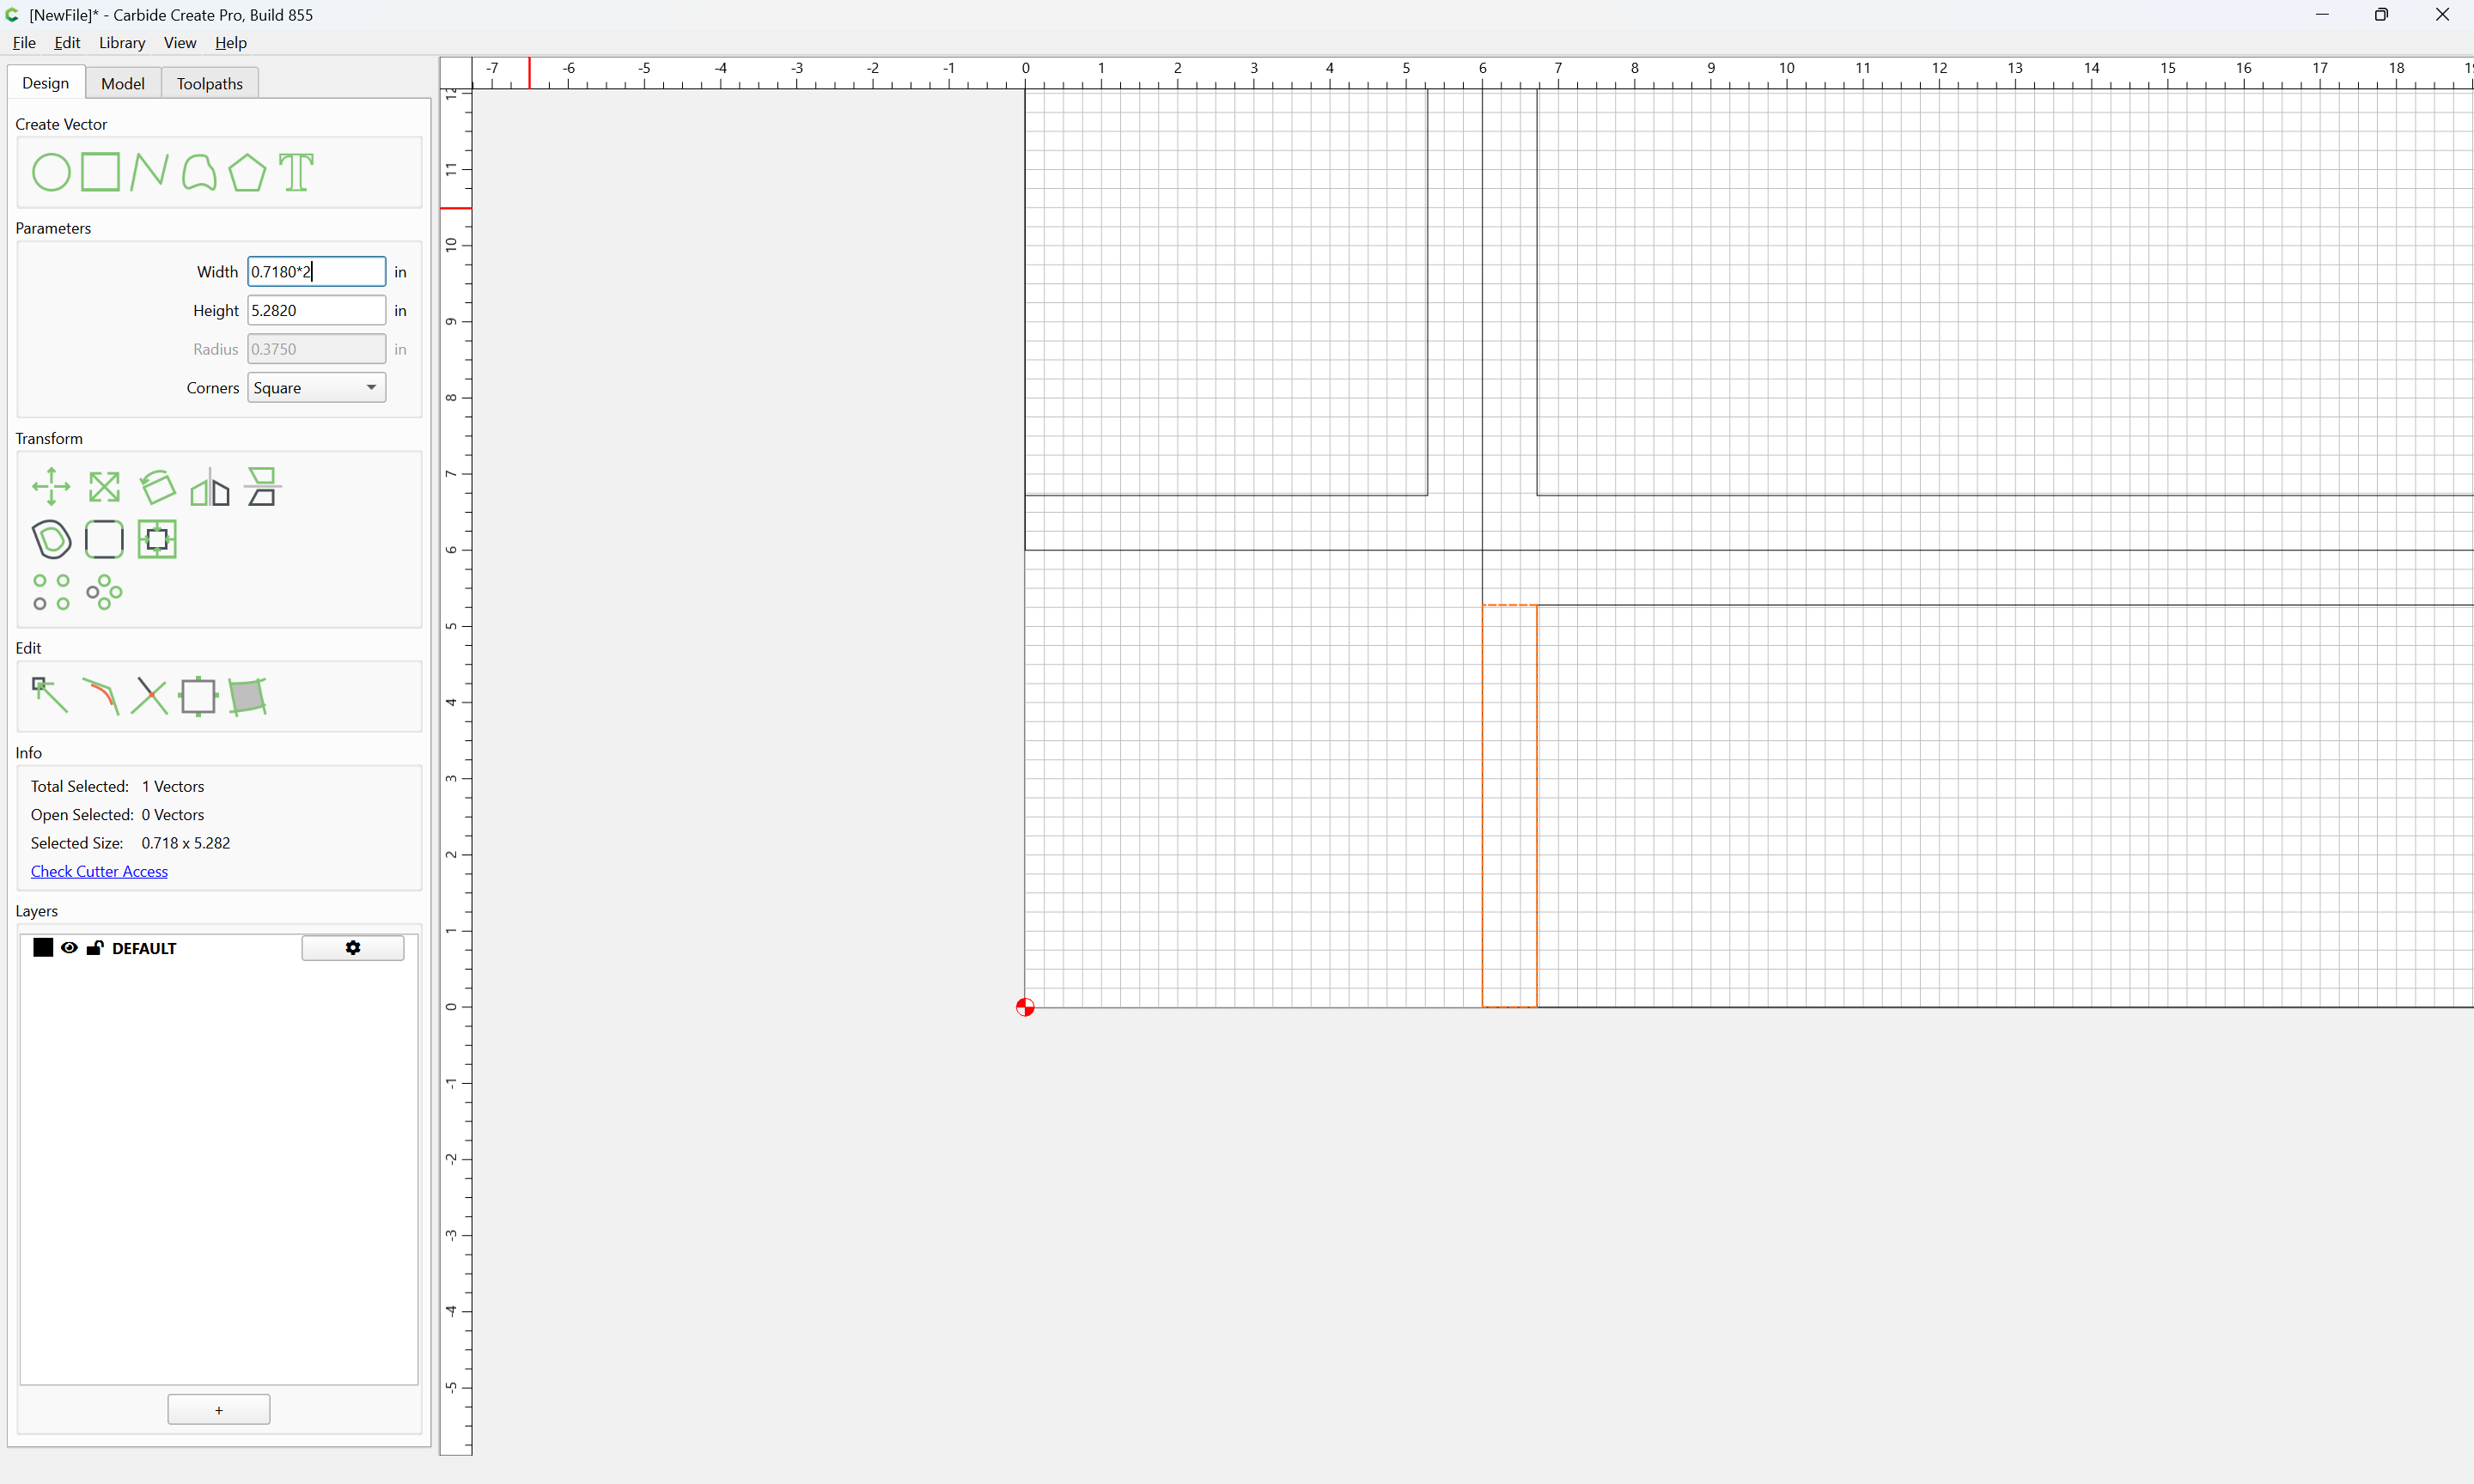
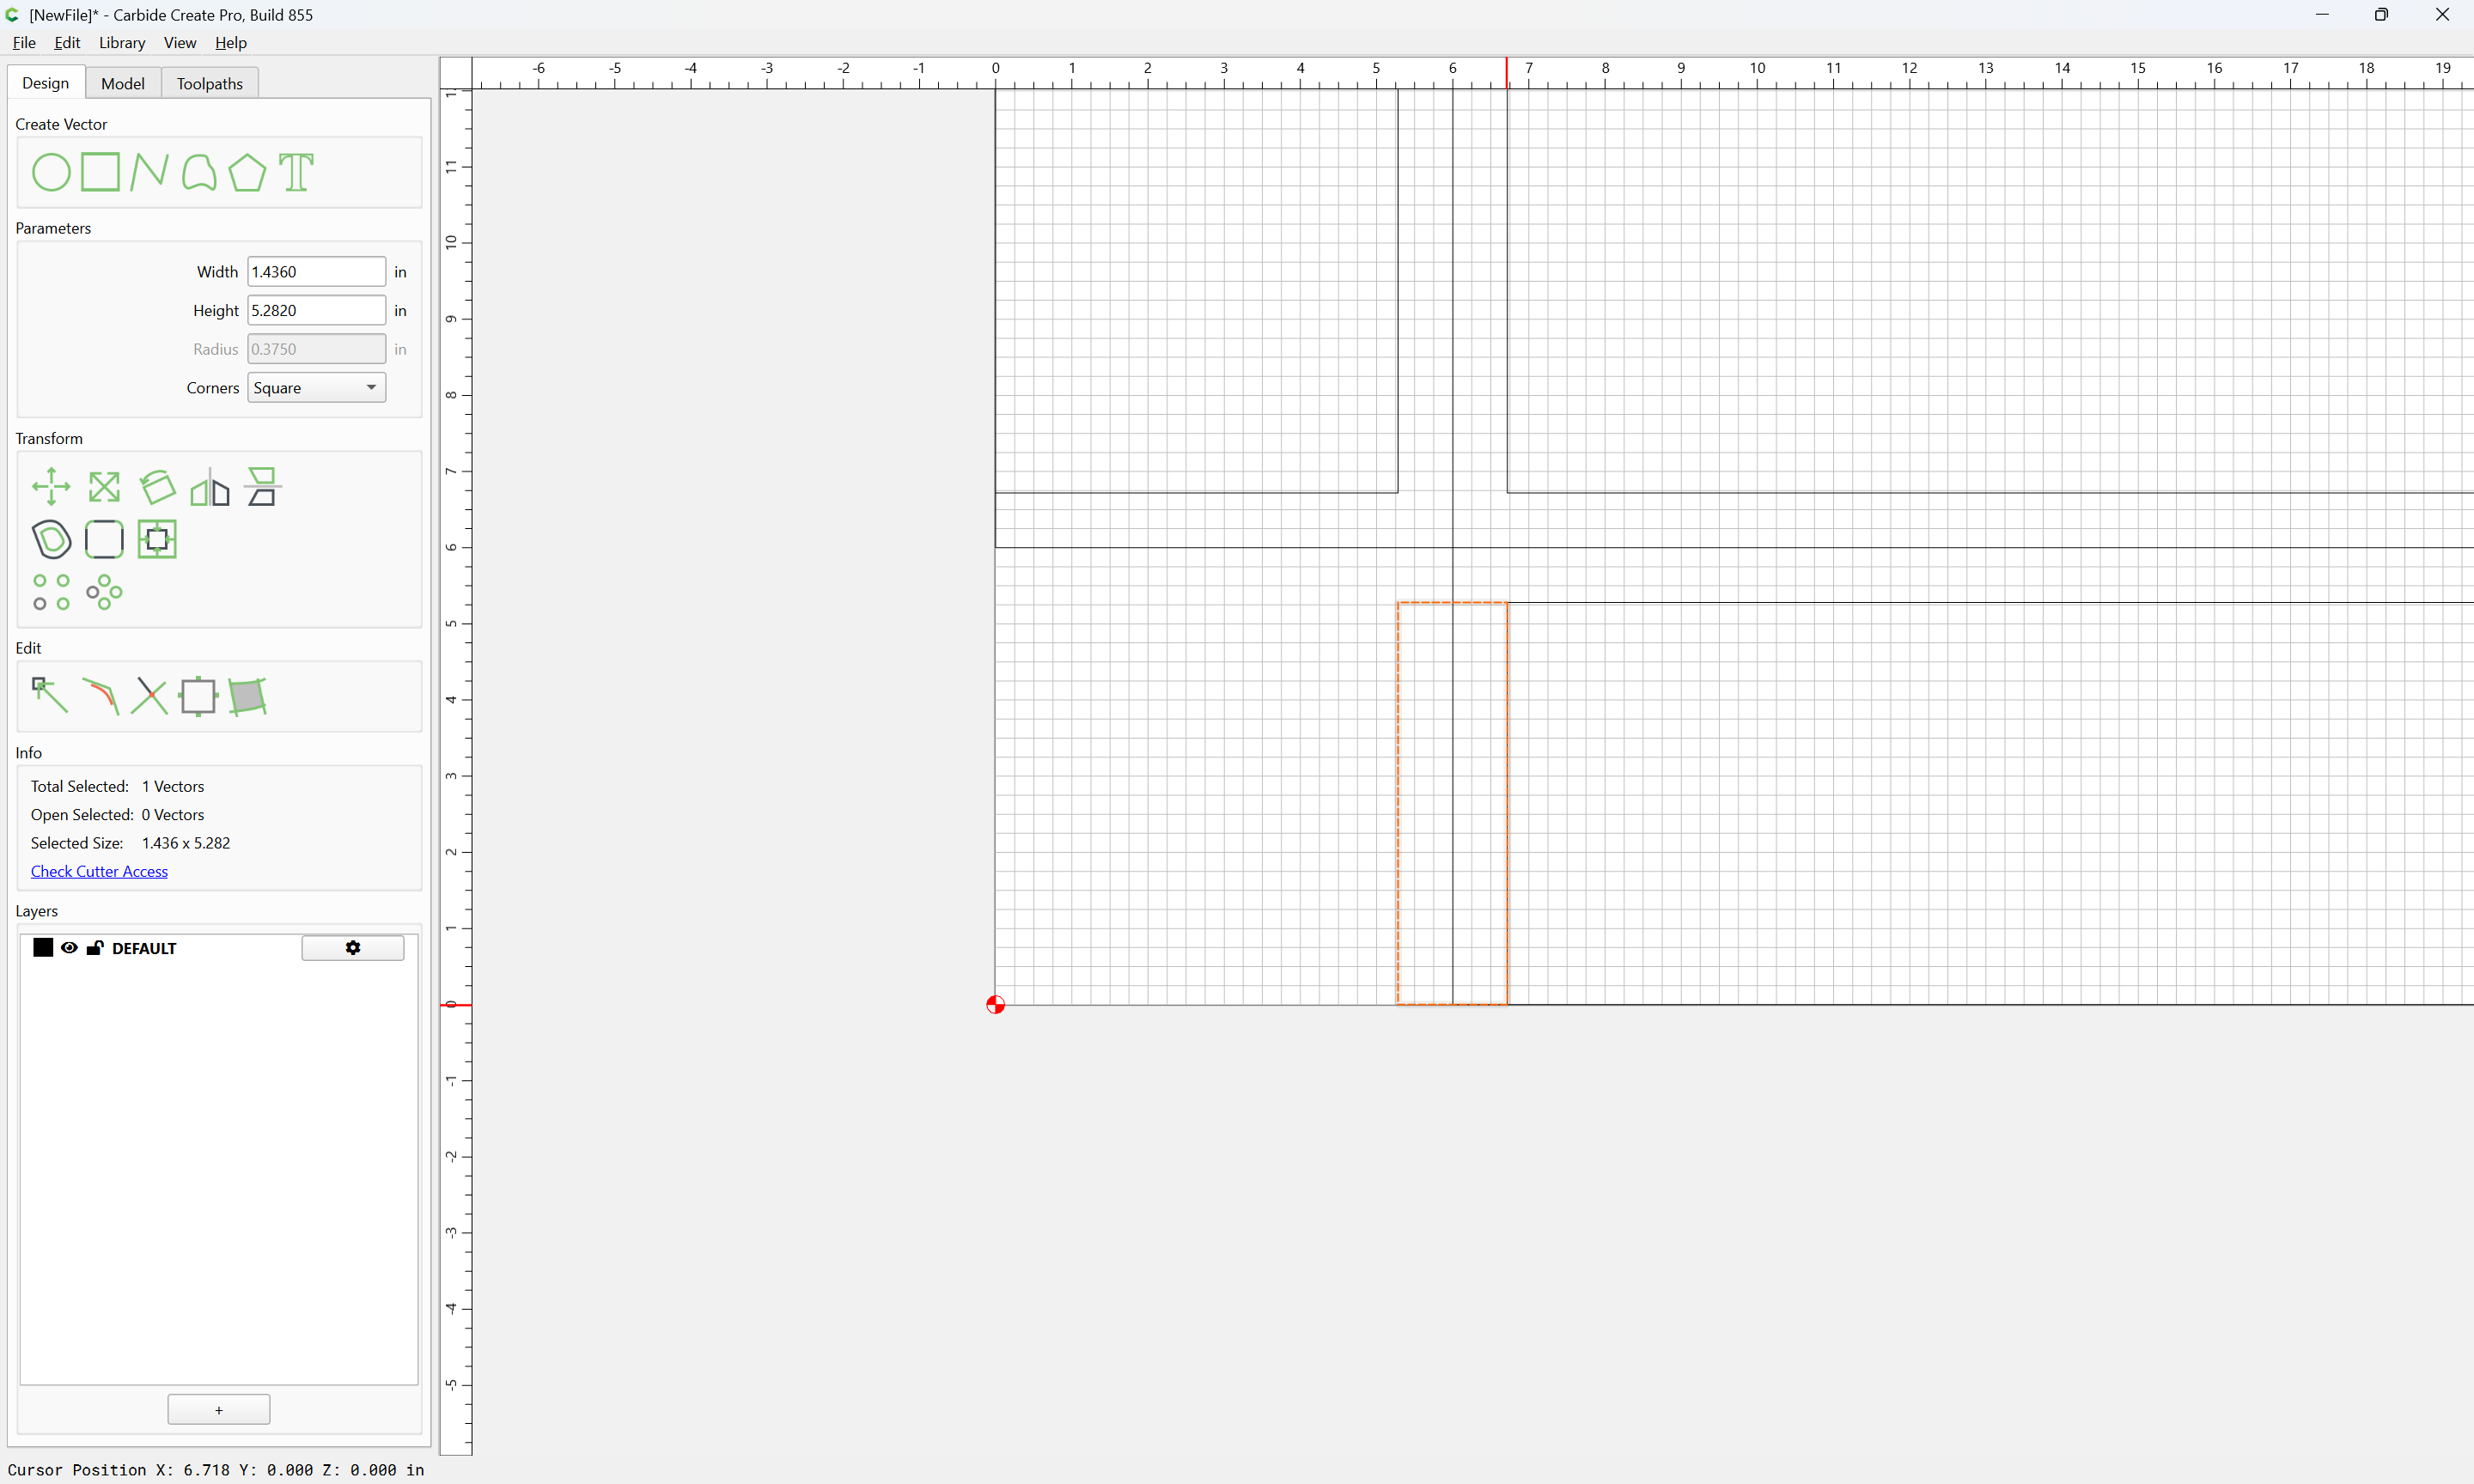
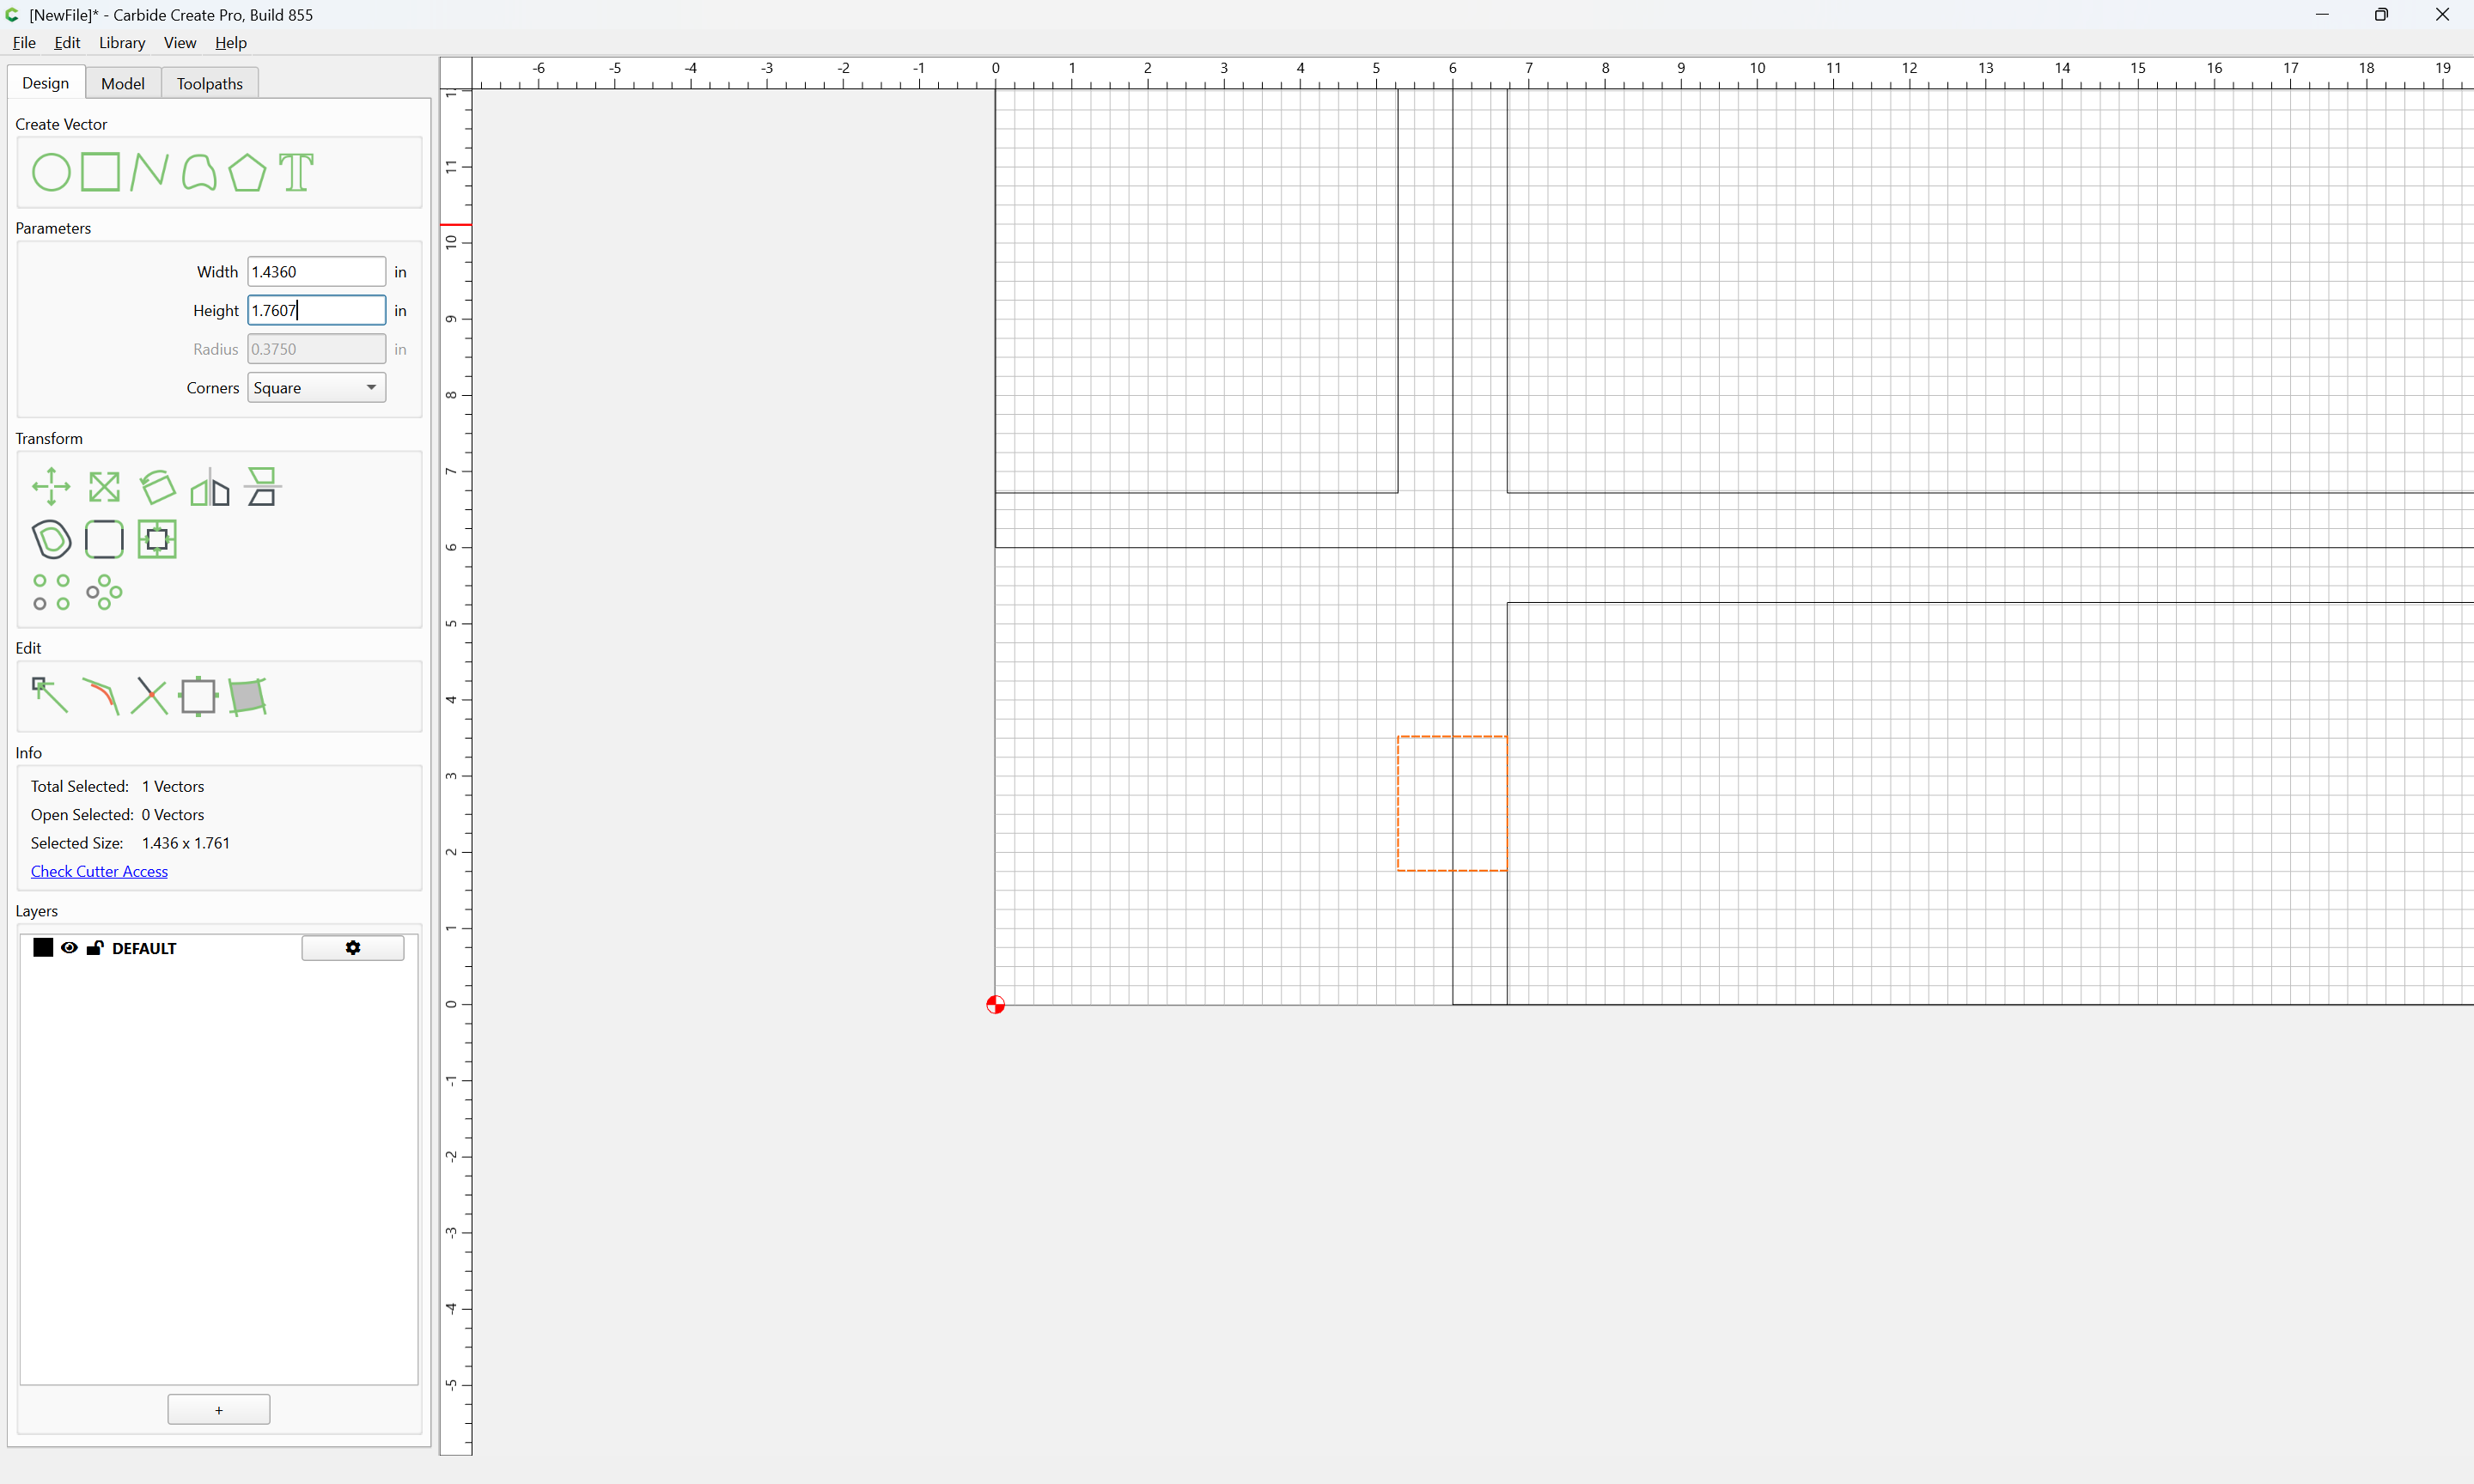
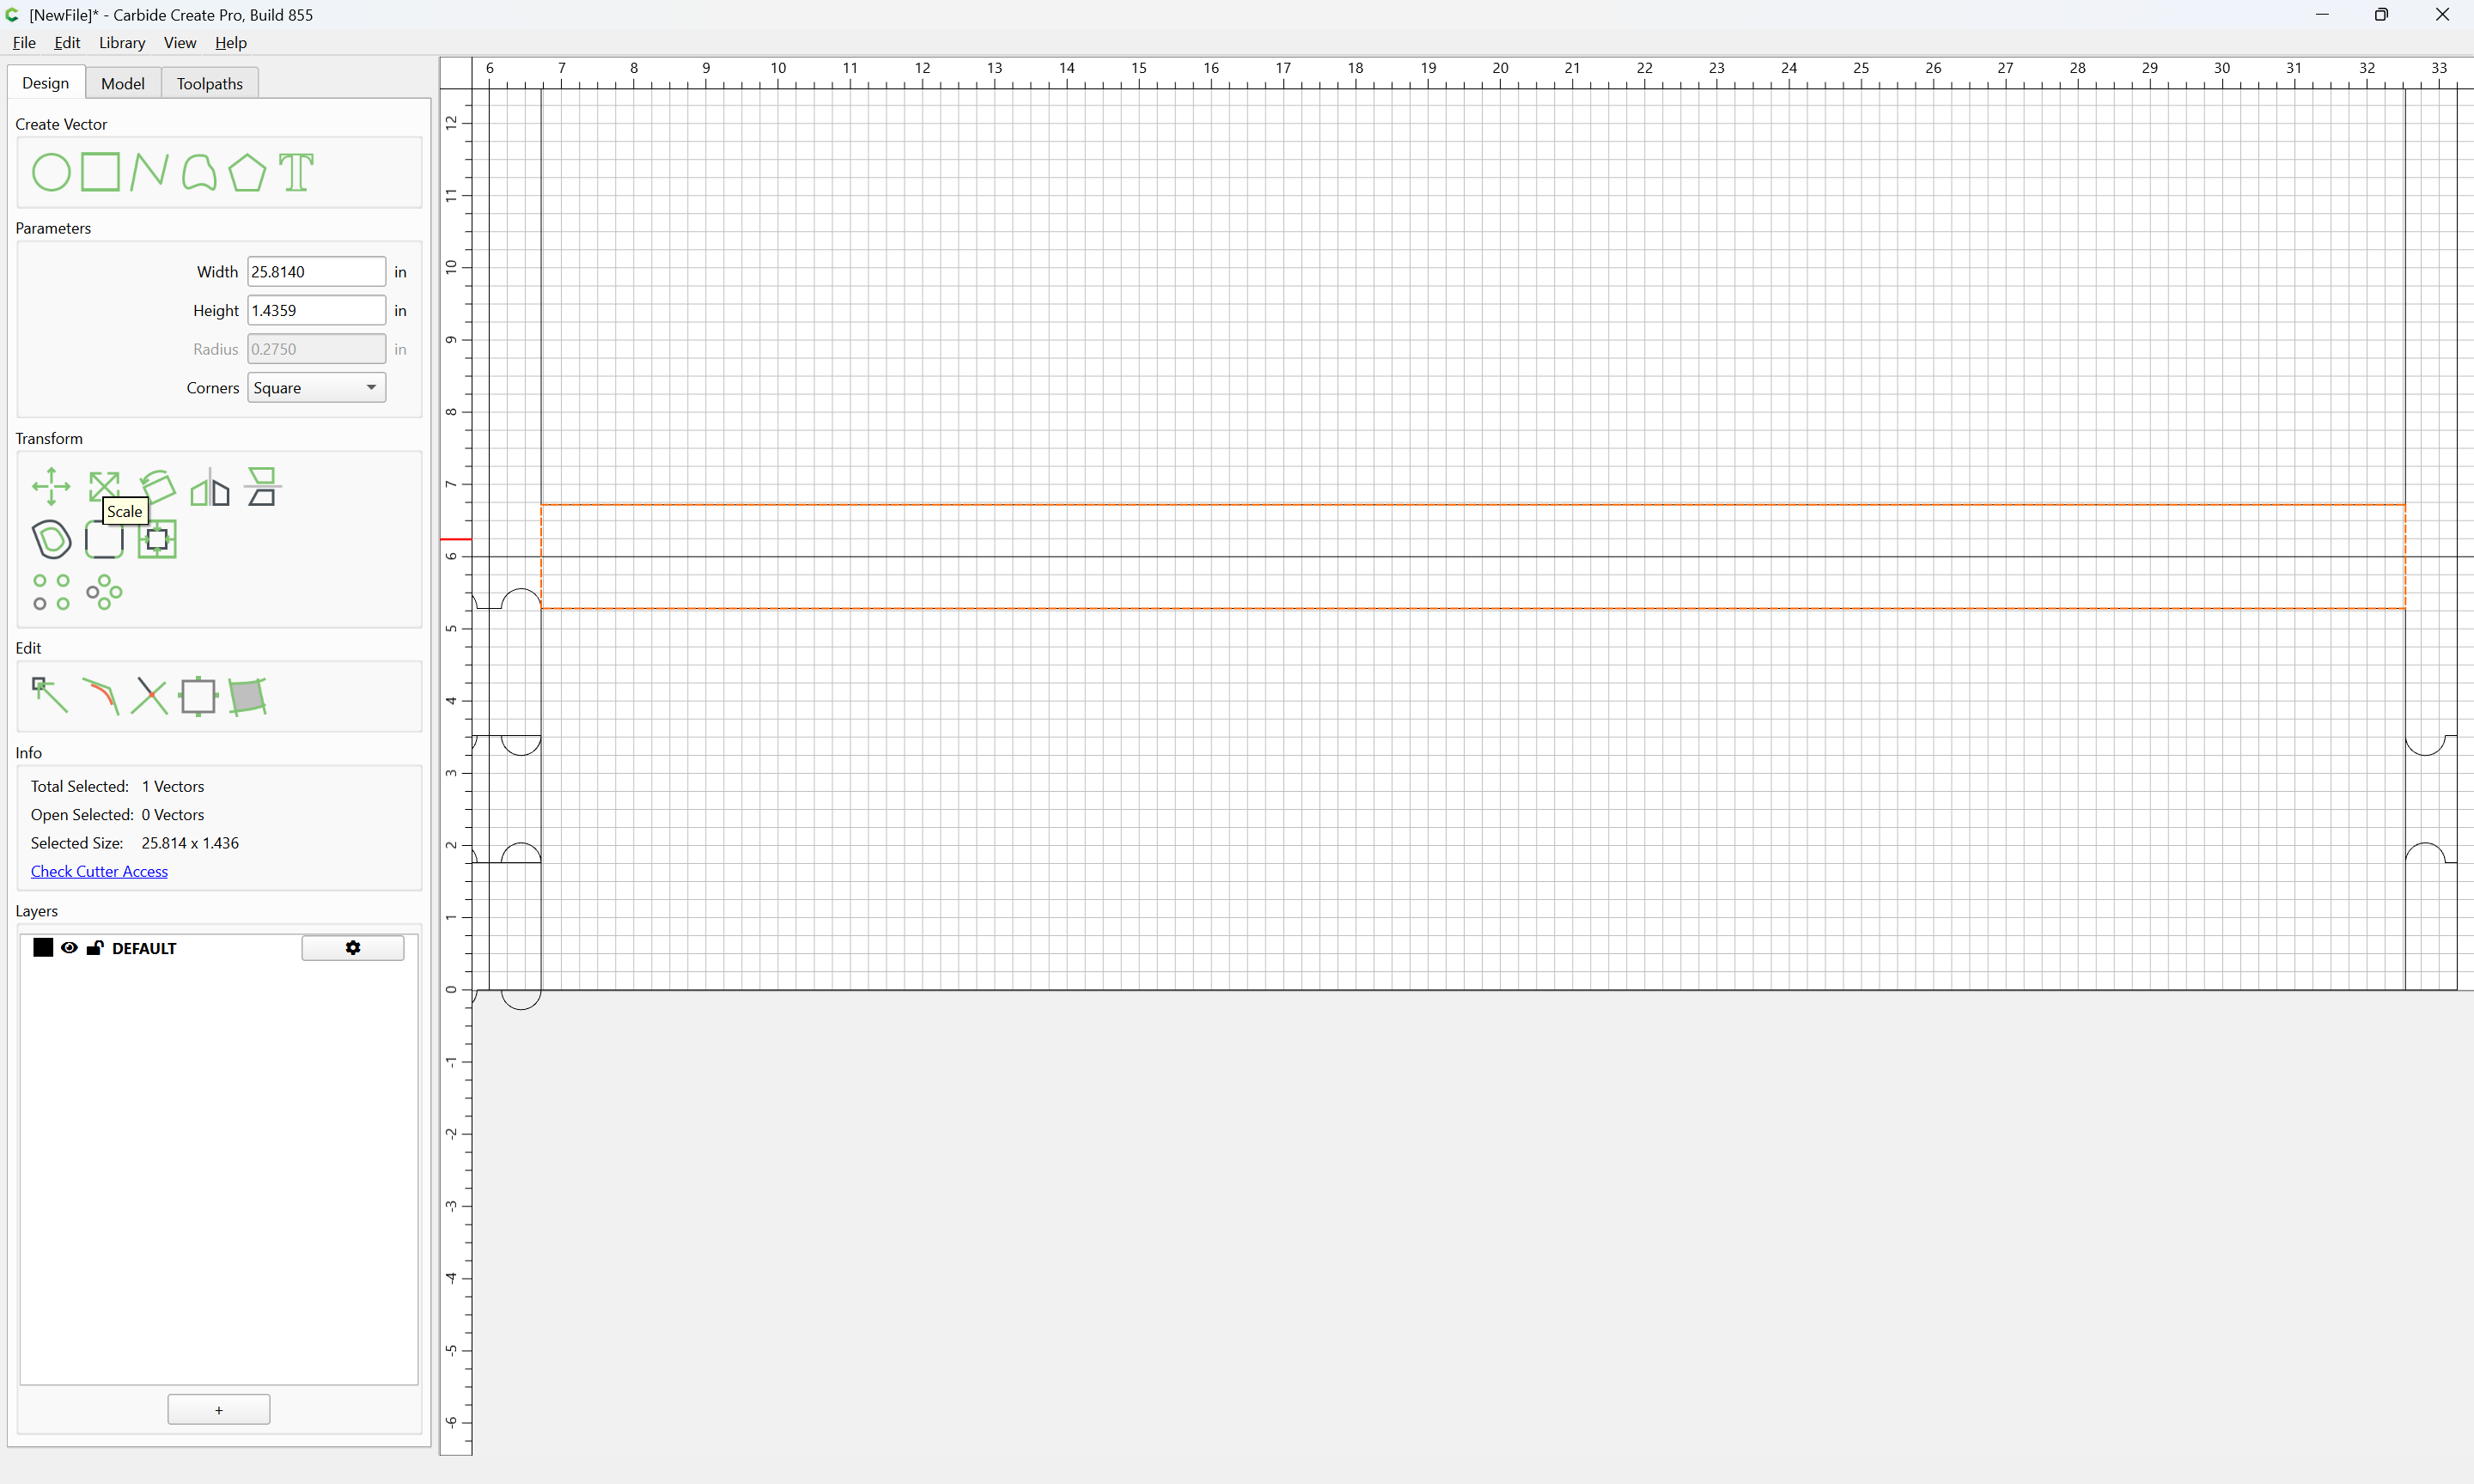
Select each duplicate in turn and edit the dimensions:
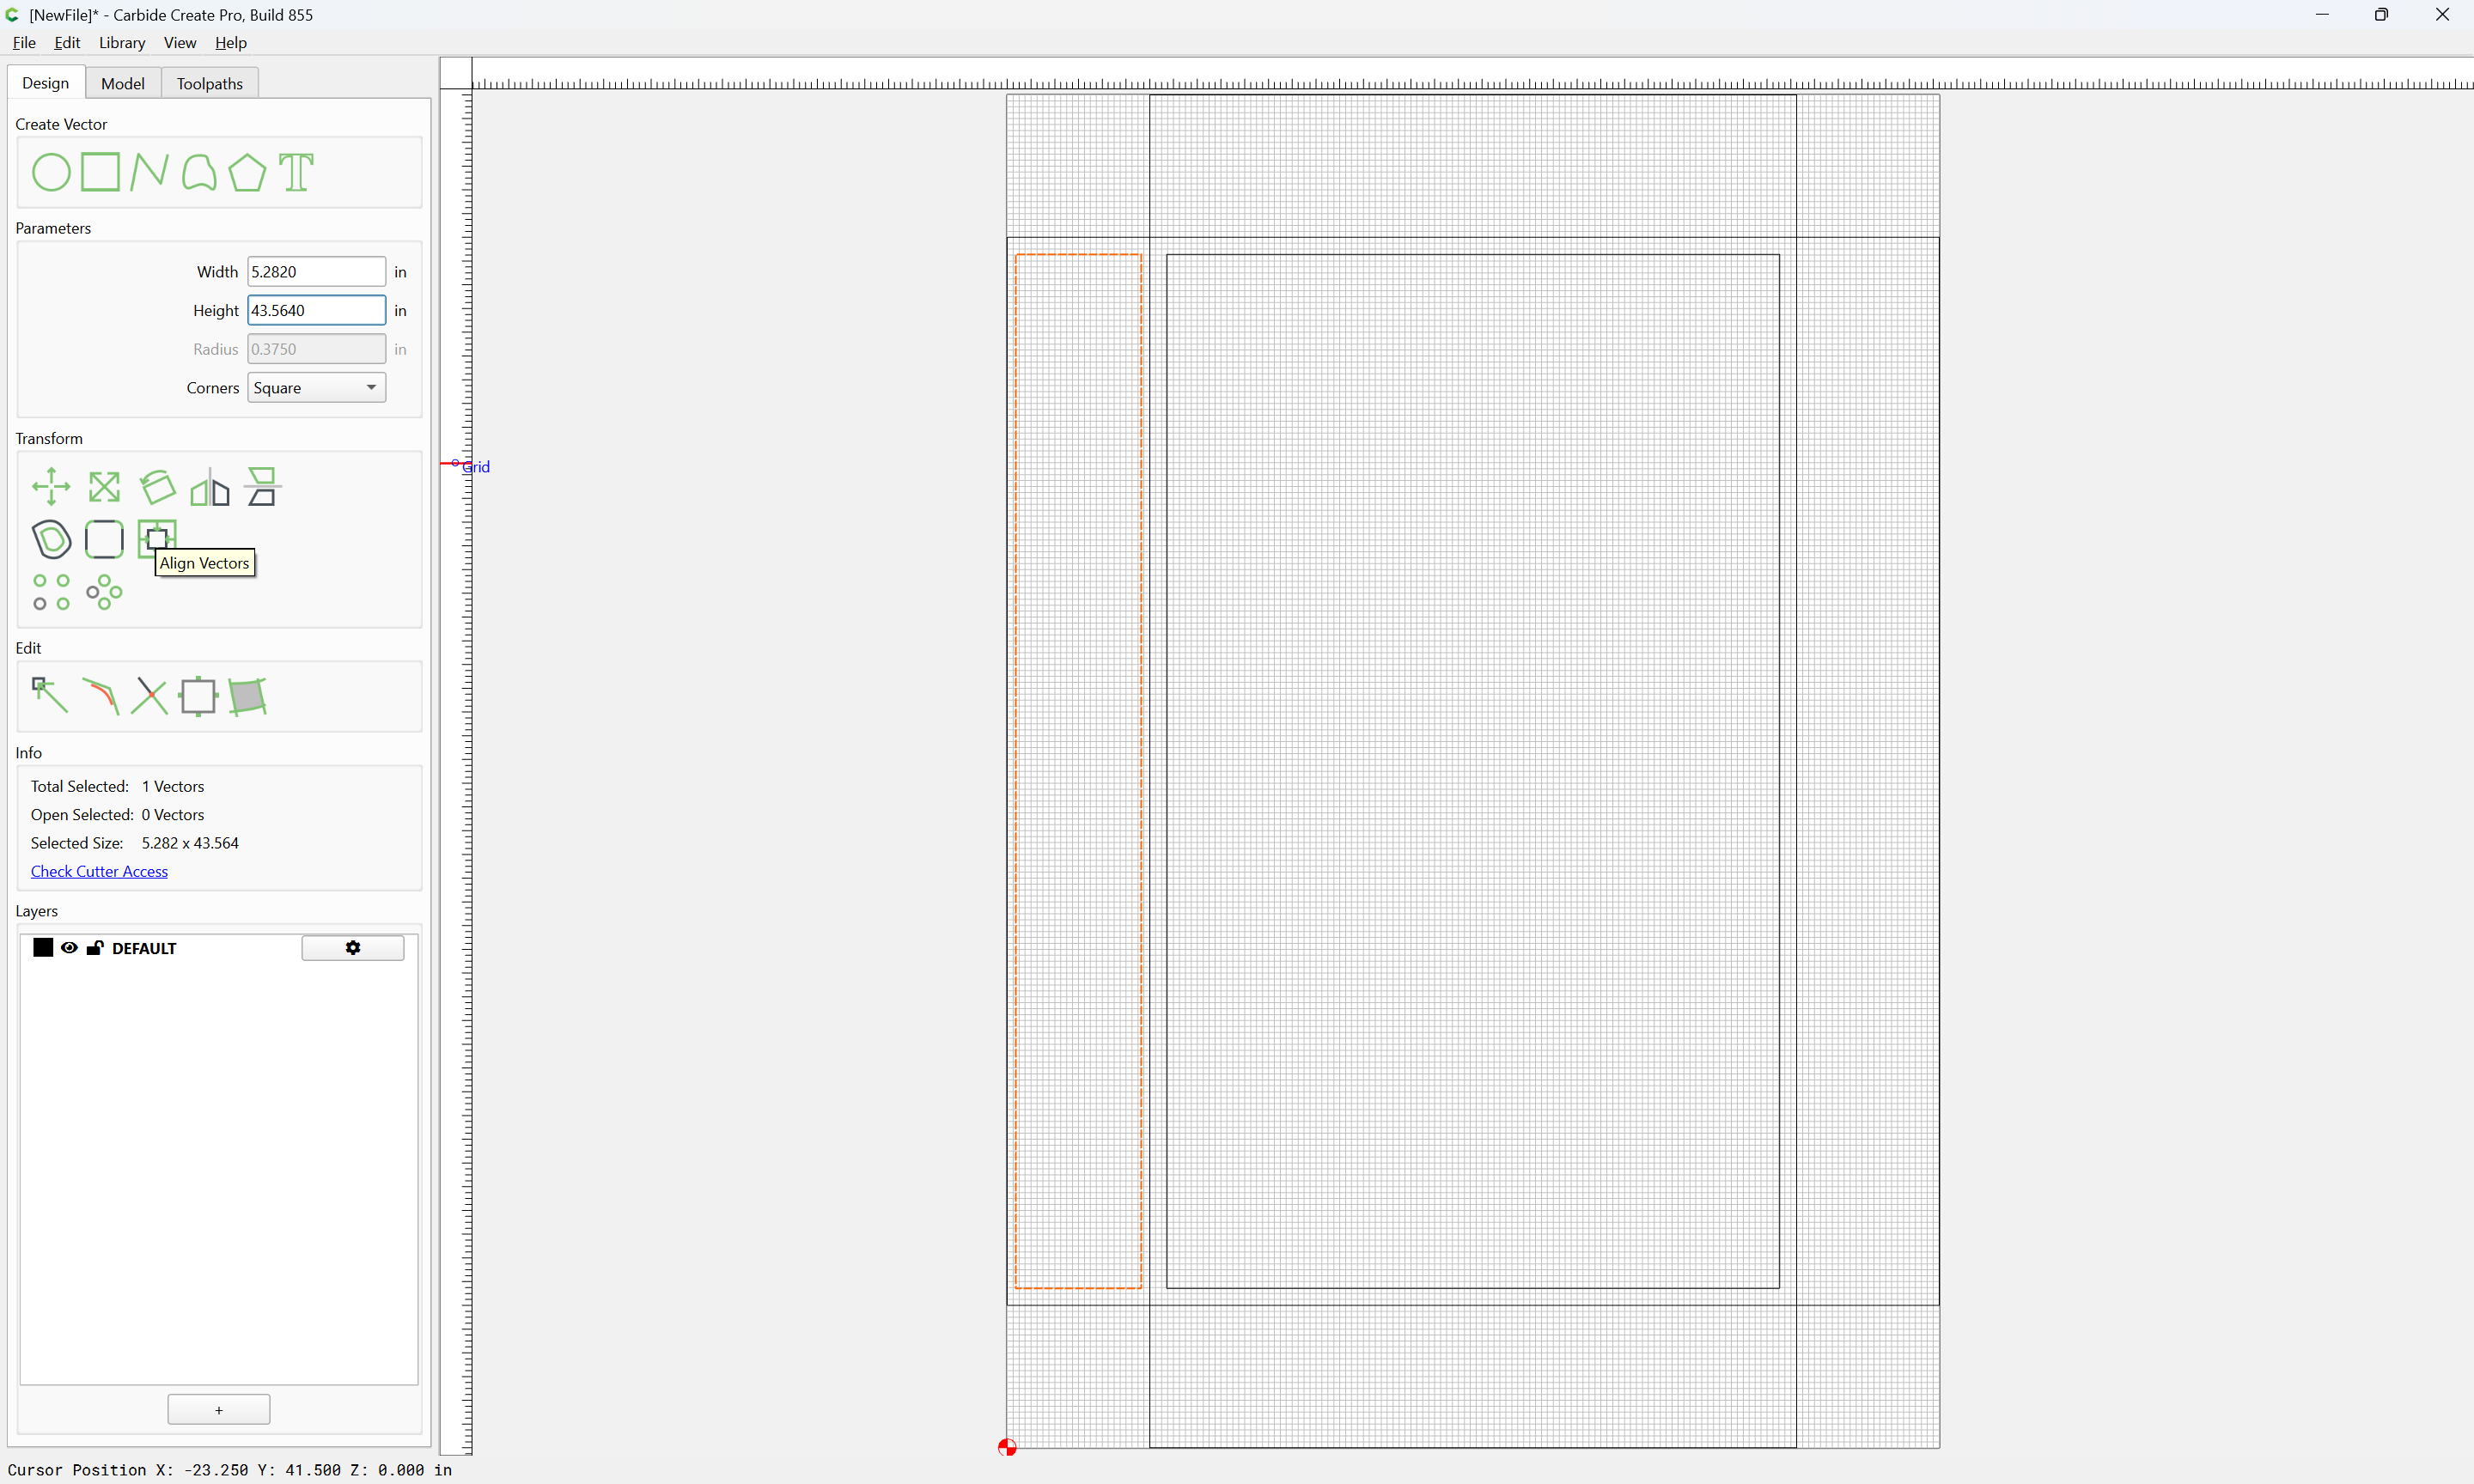
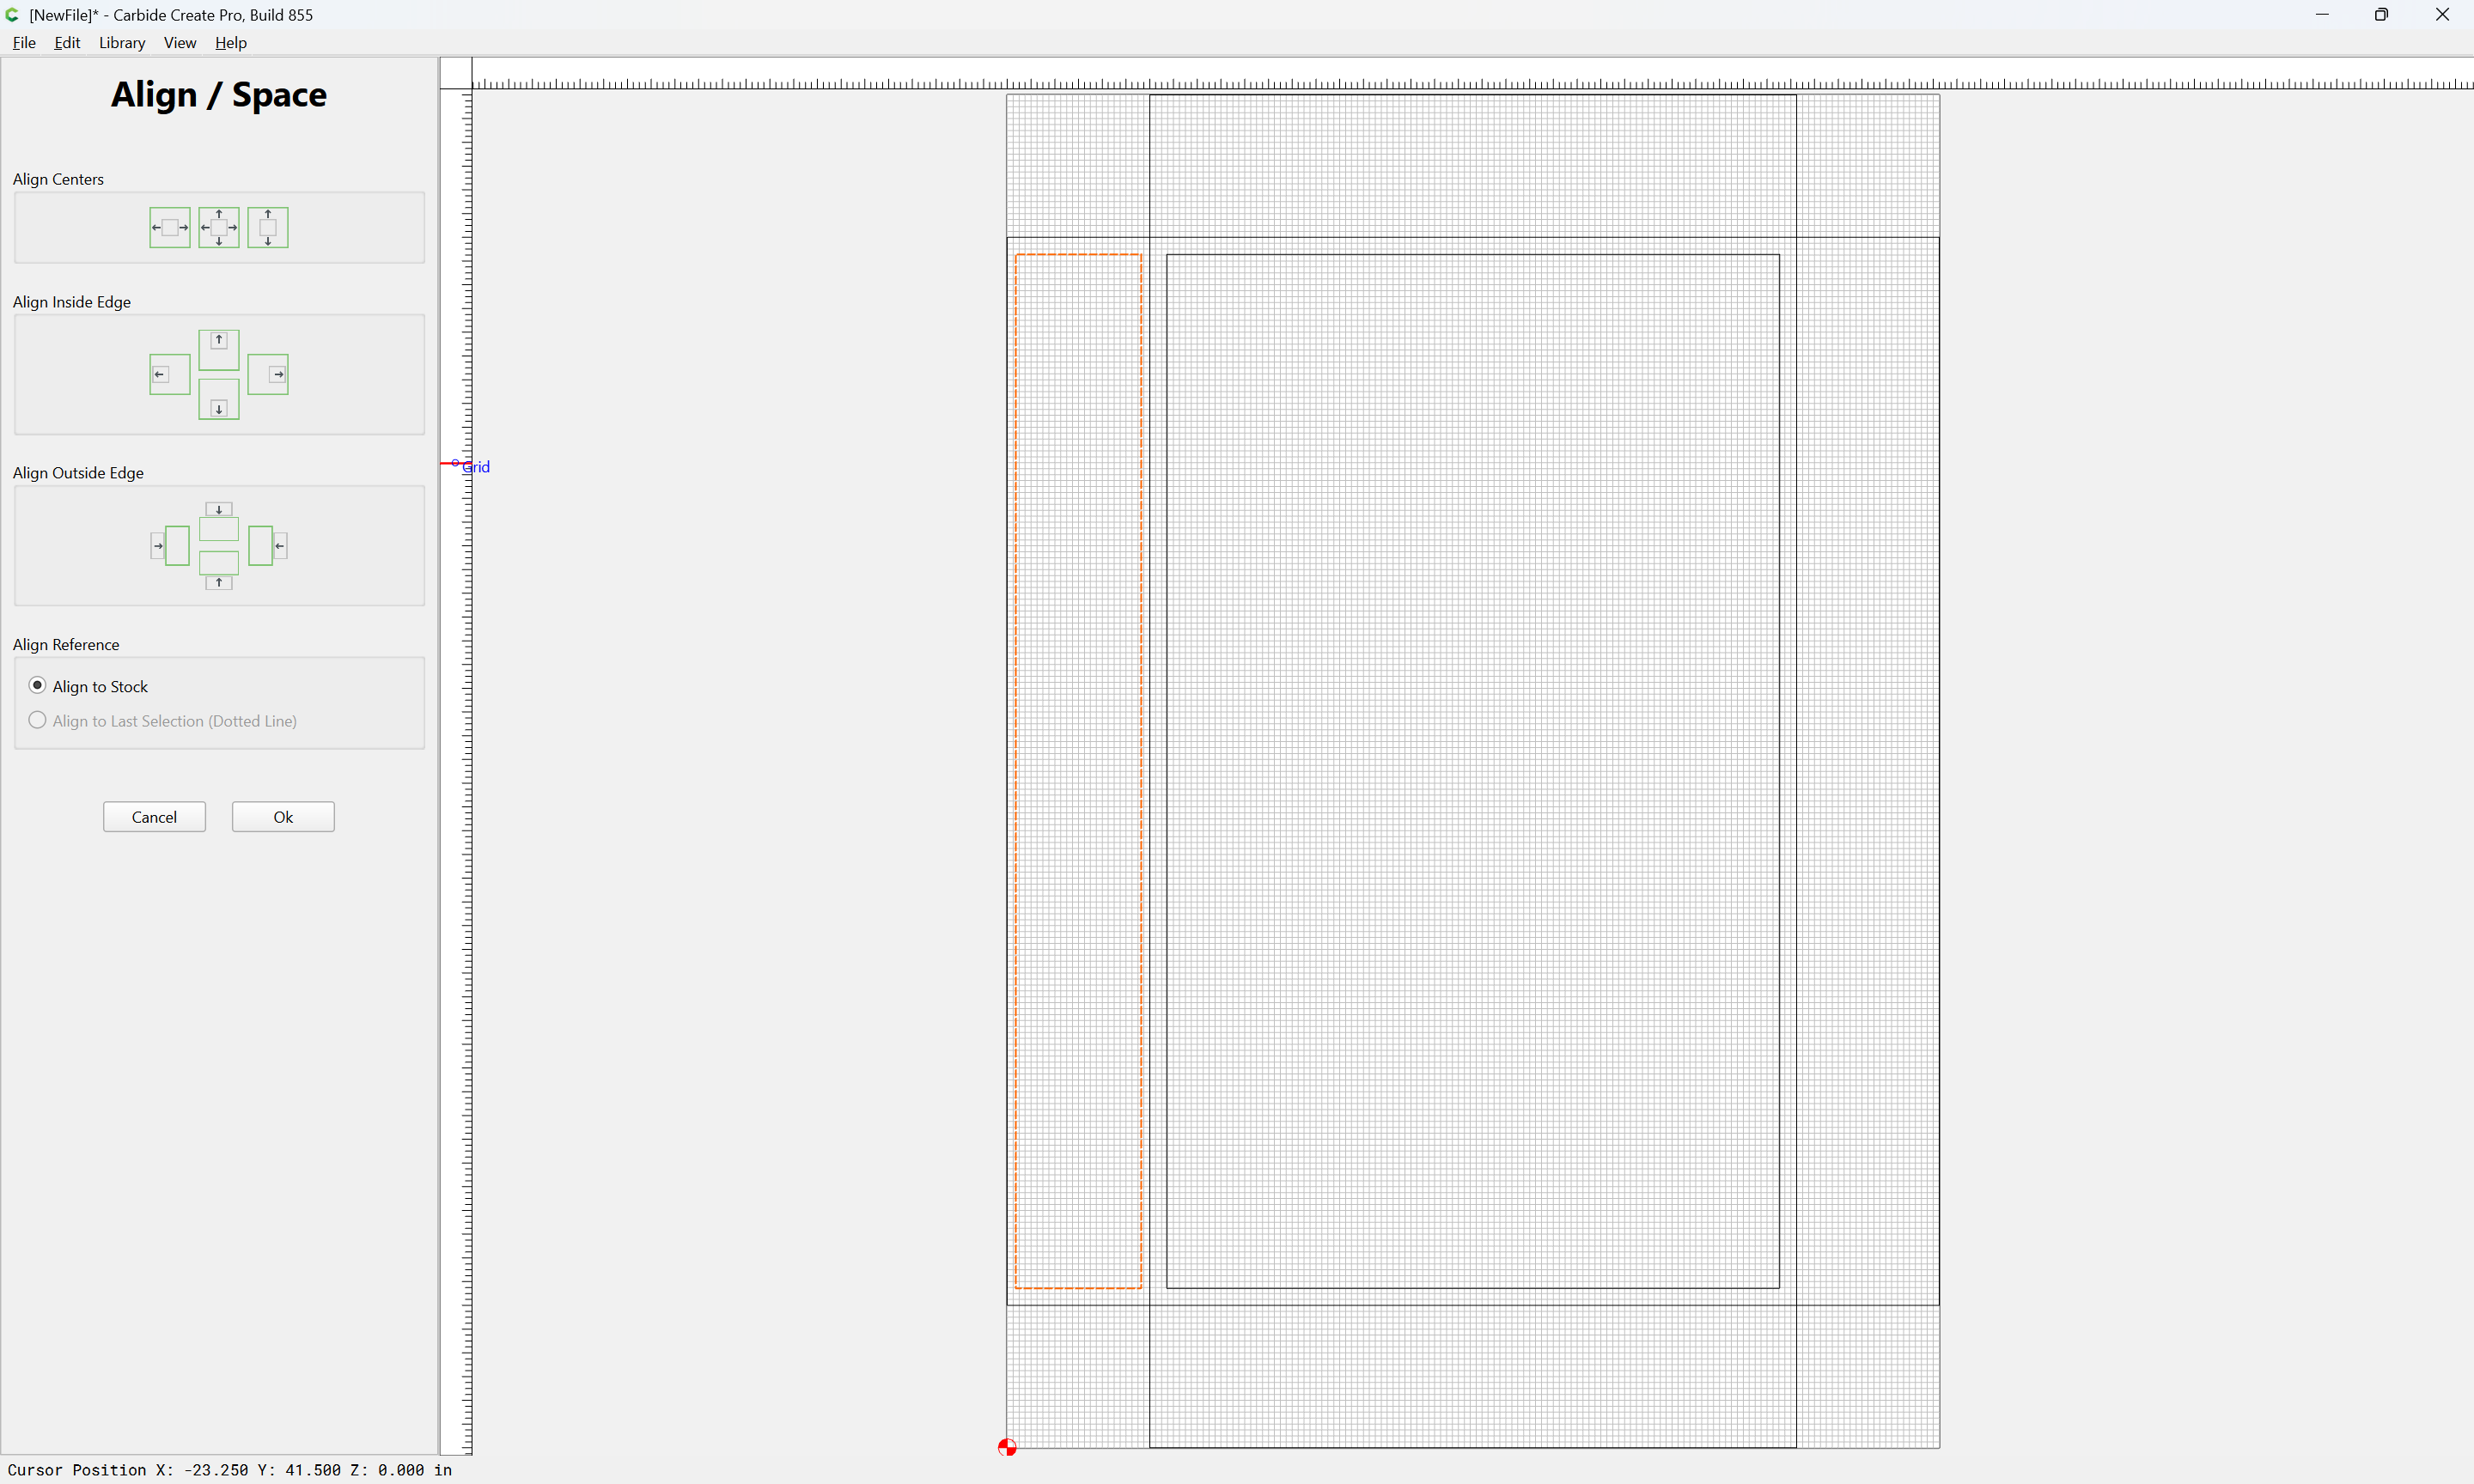
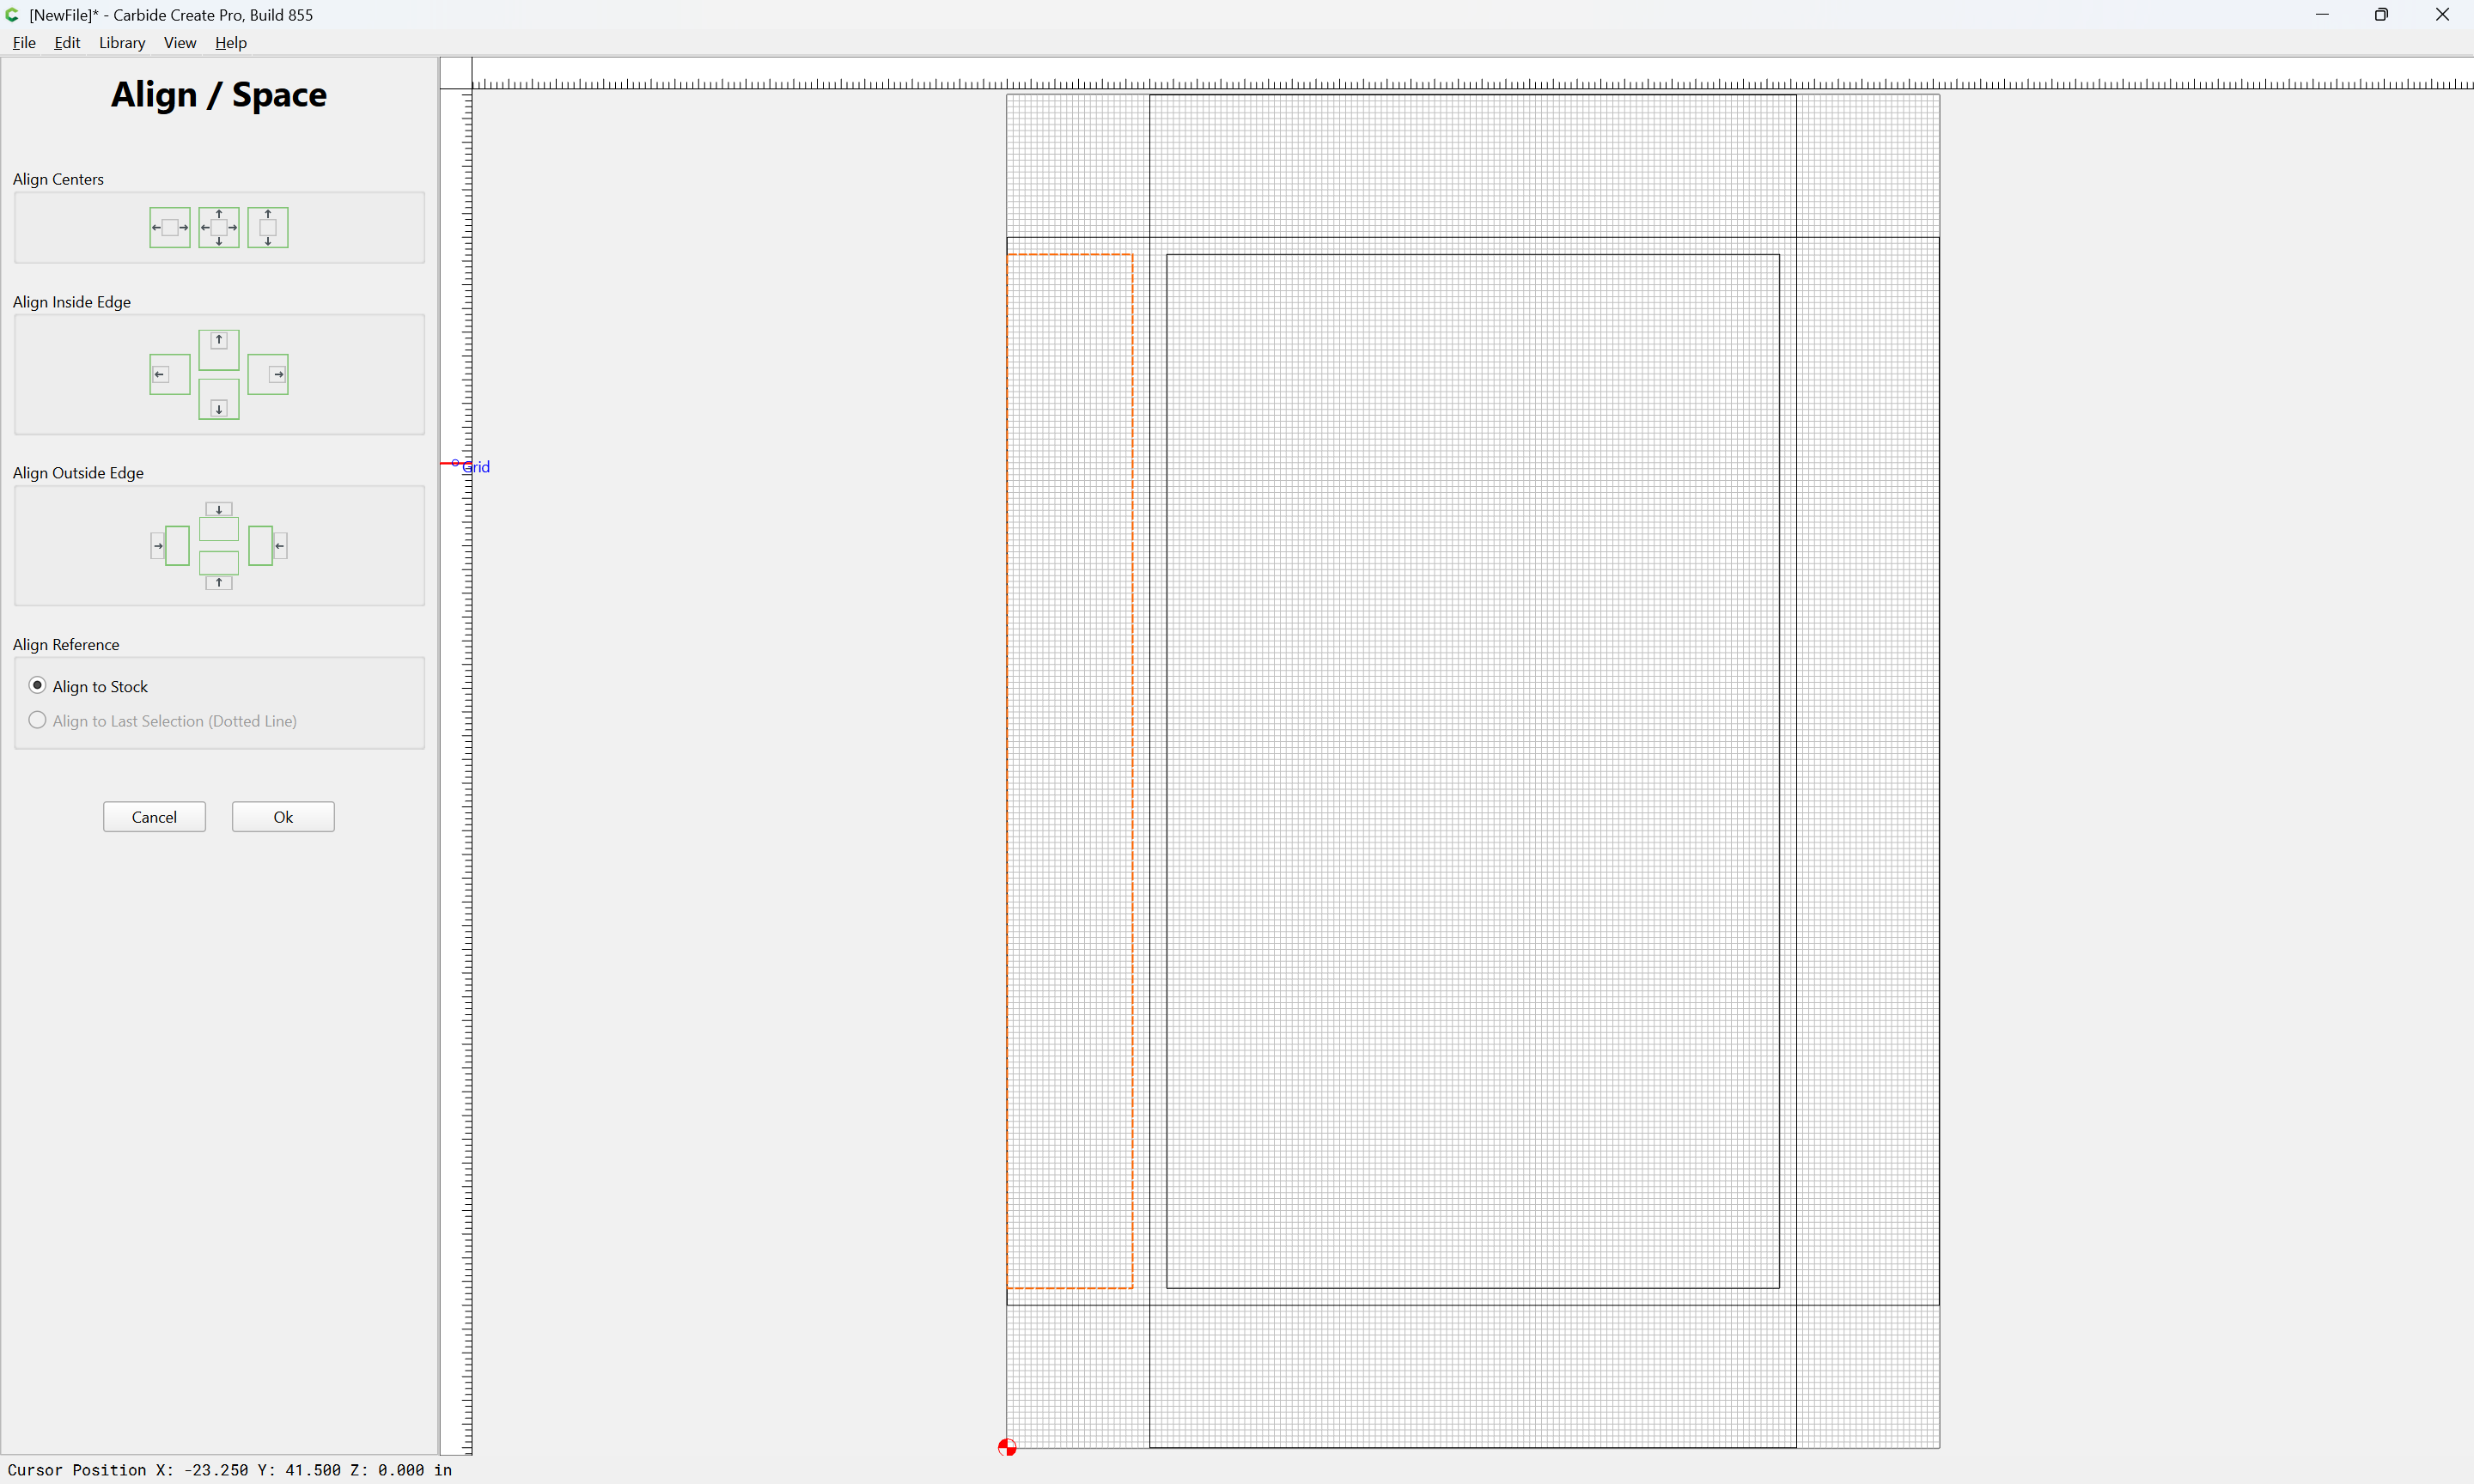
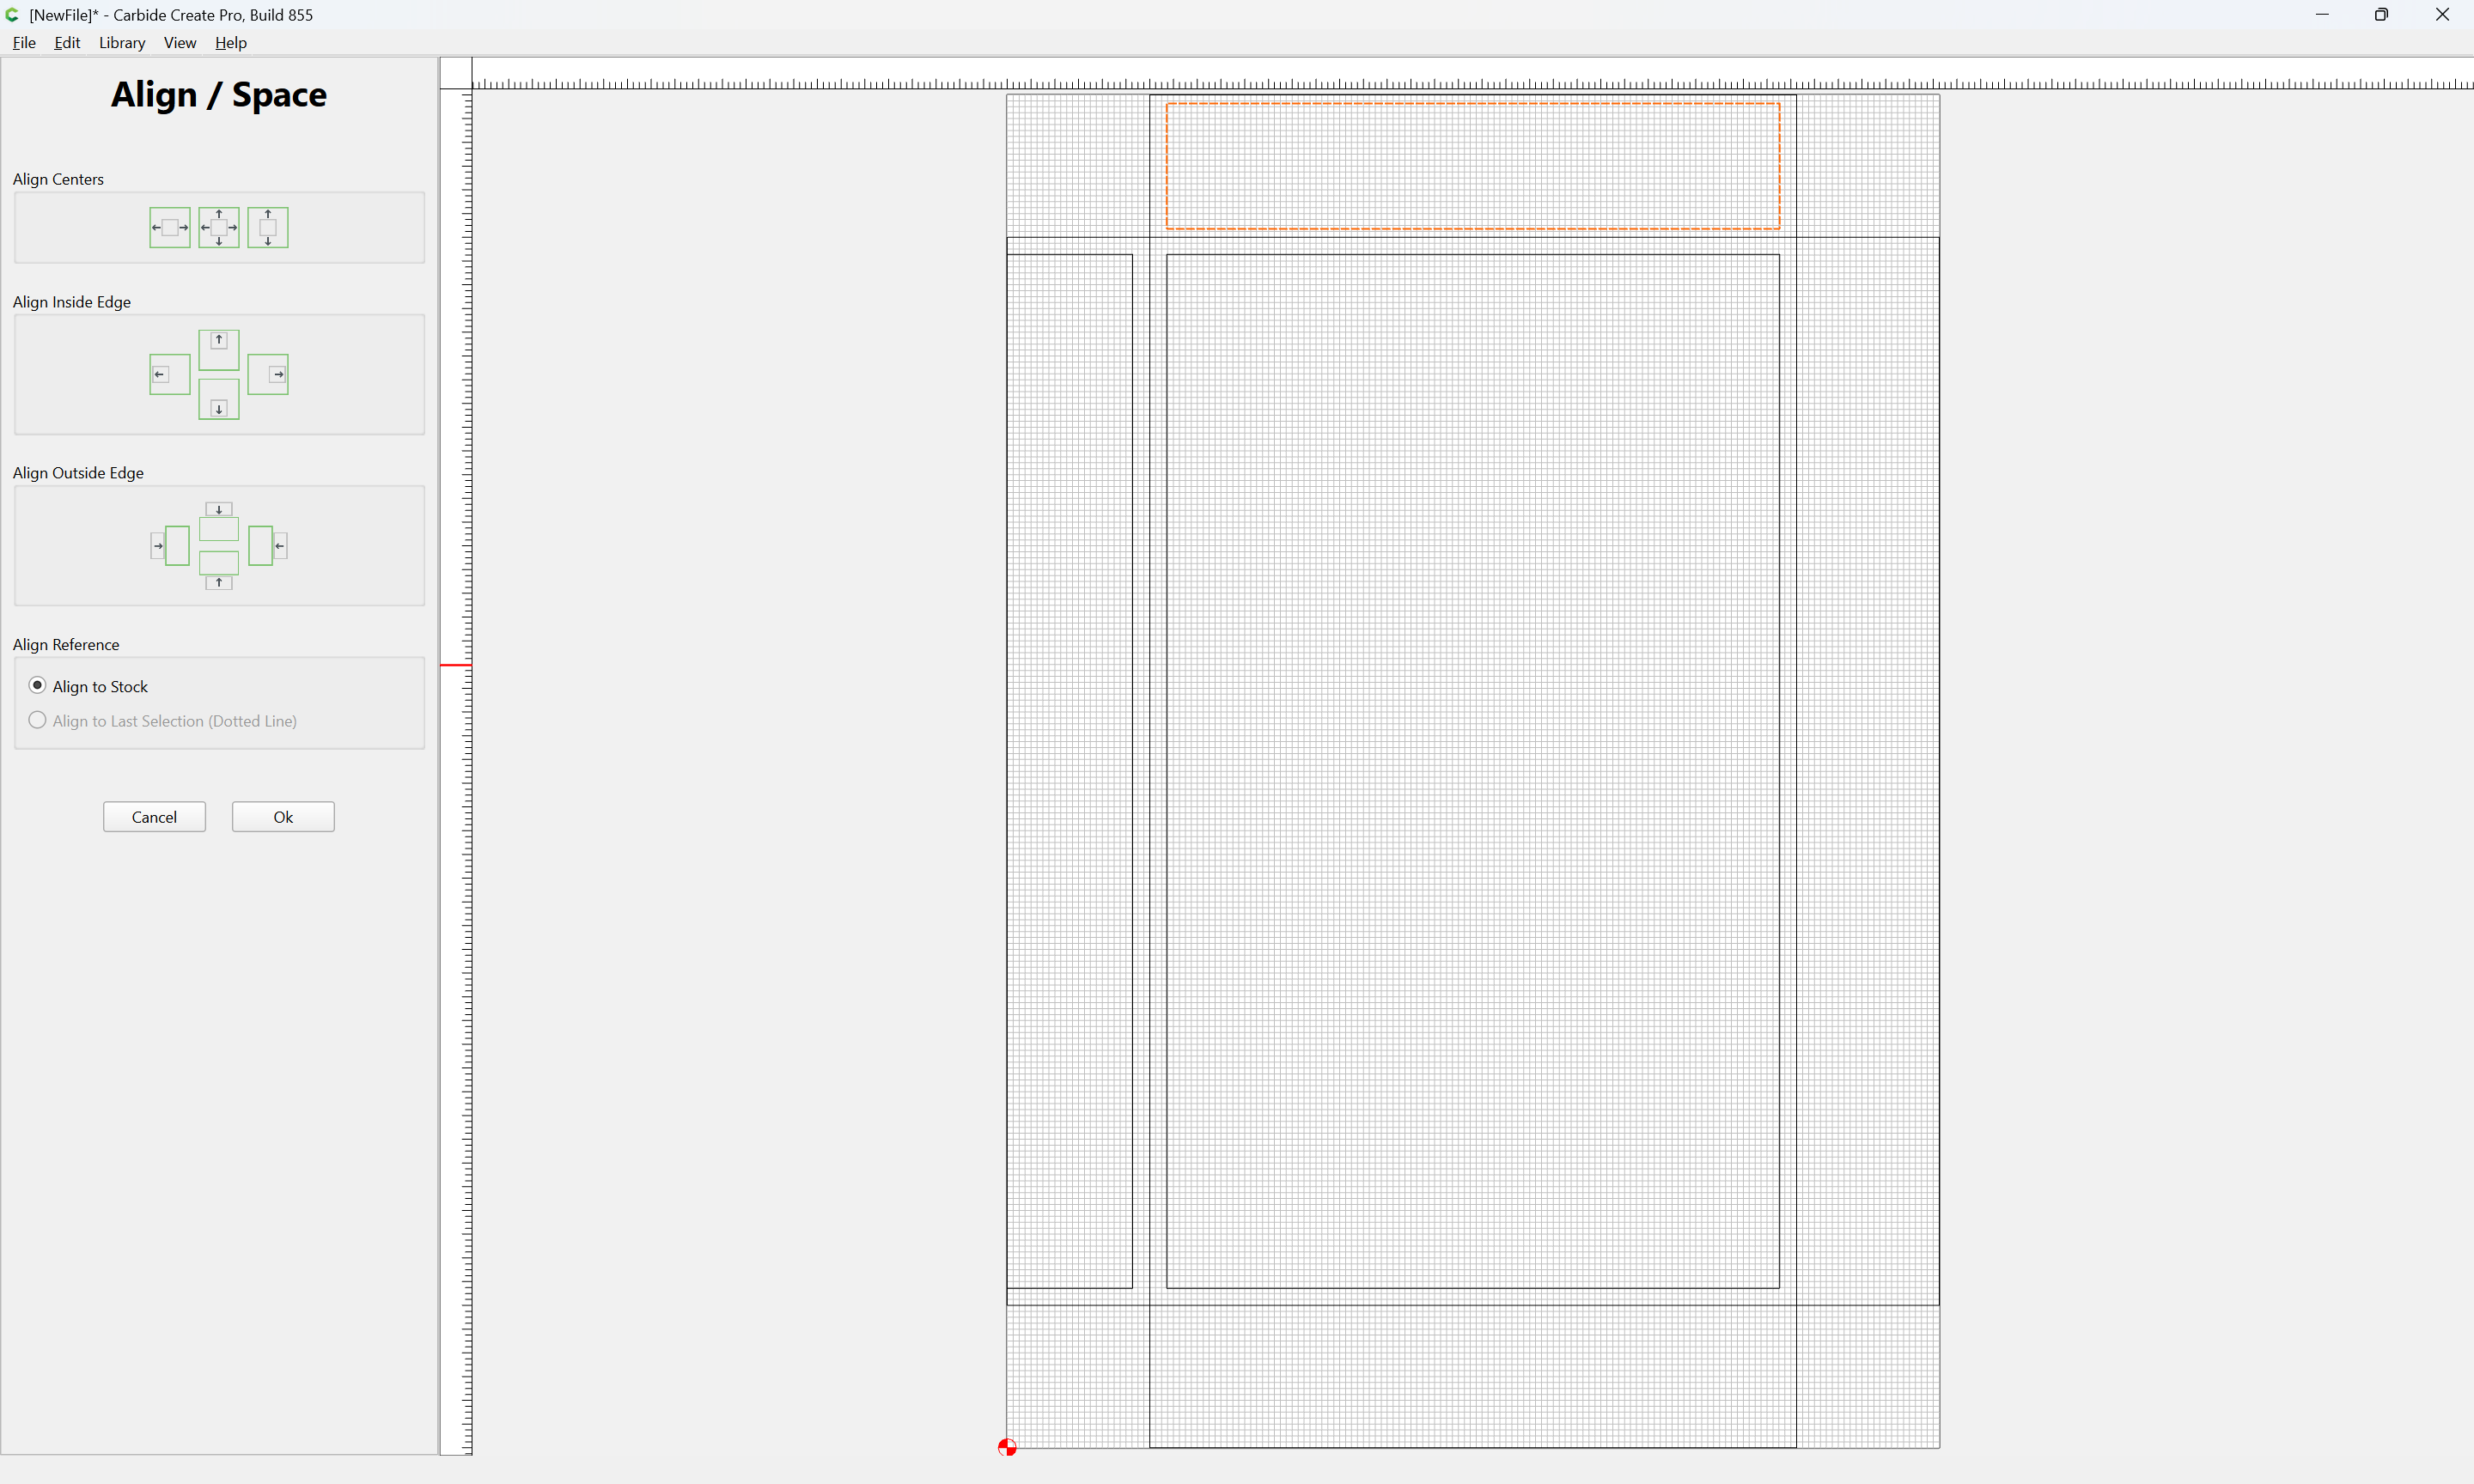
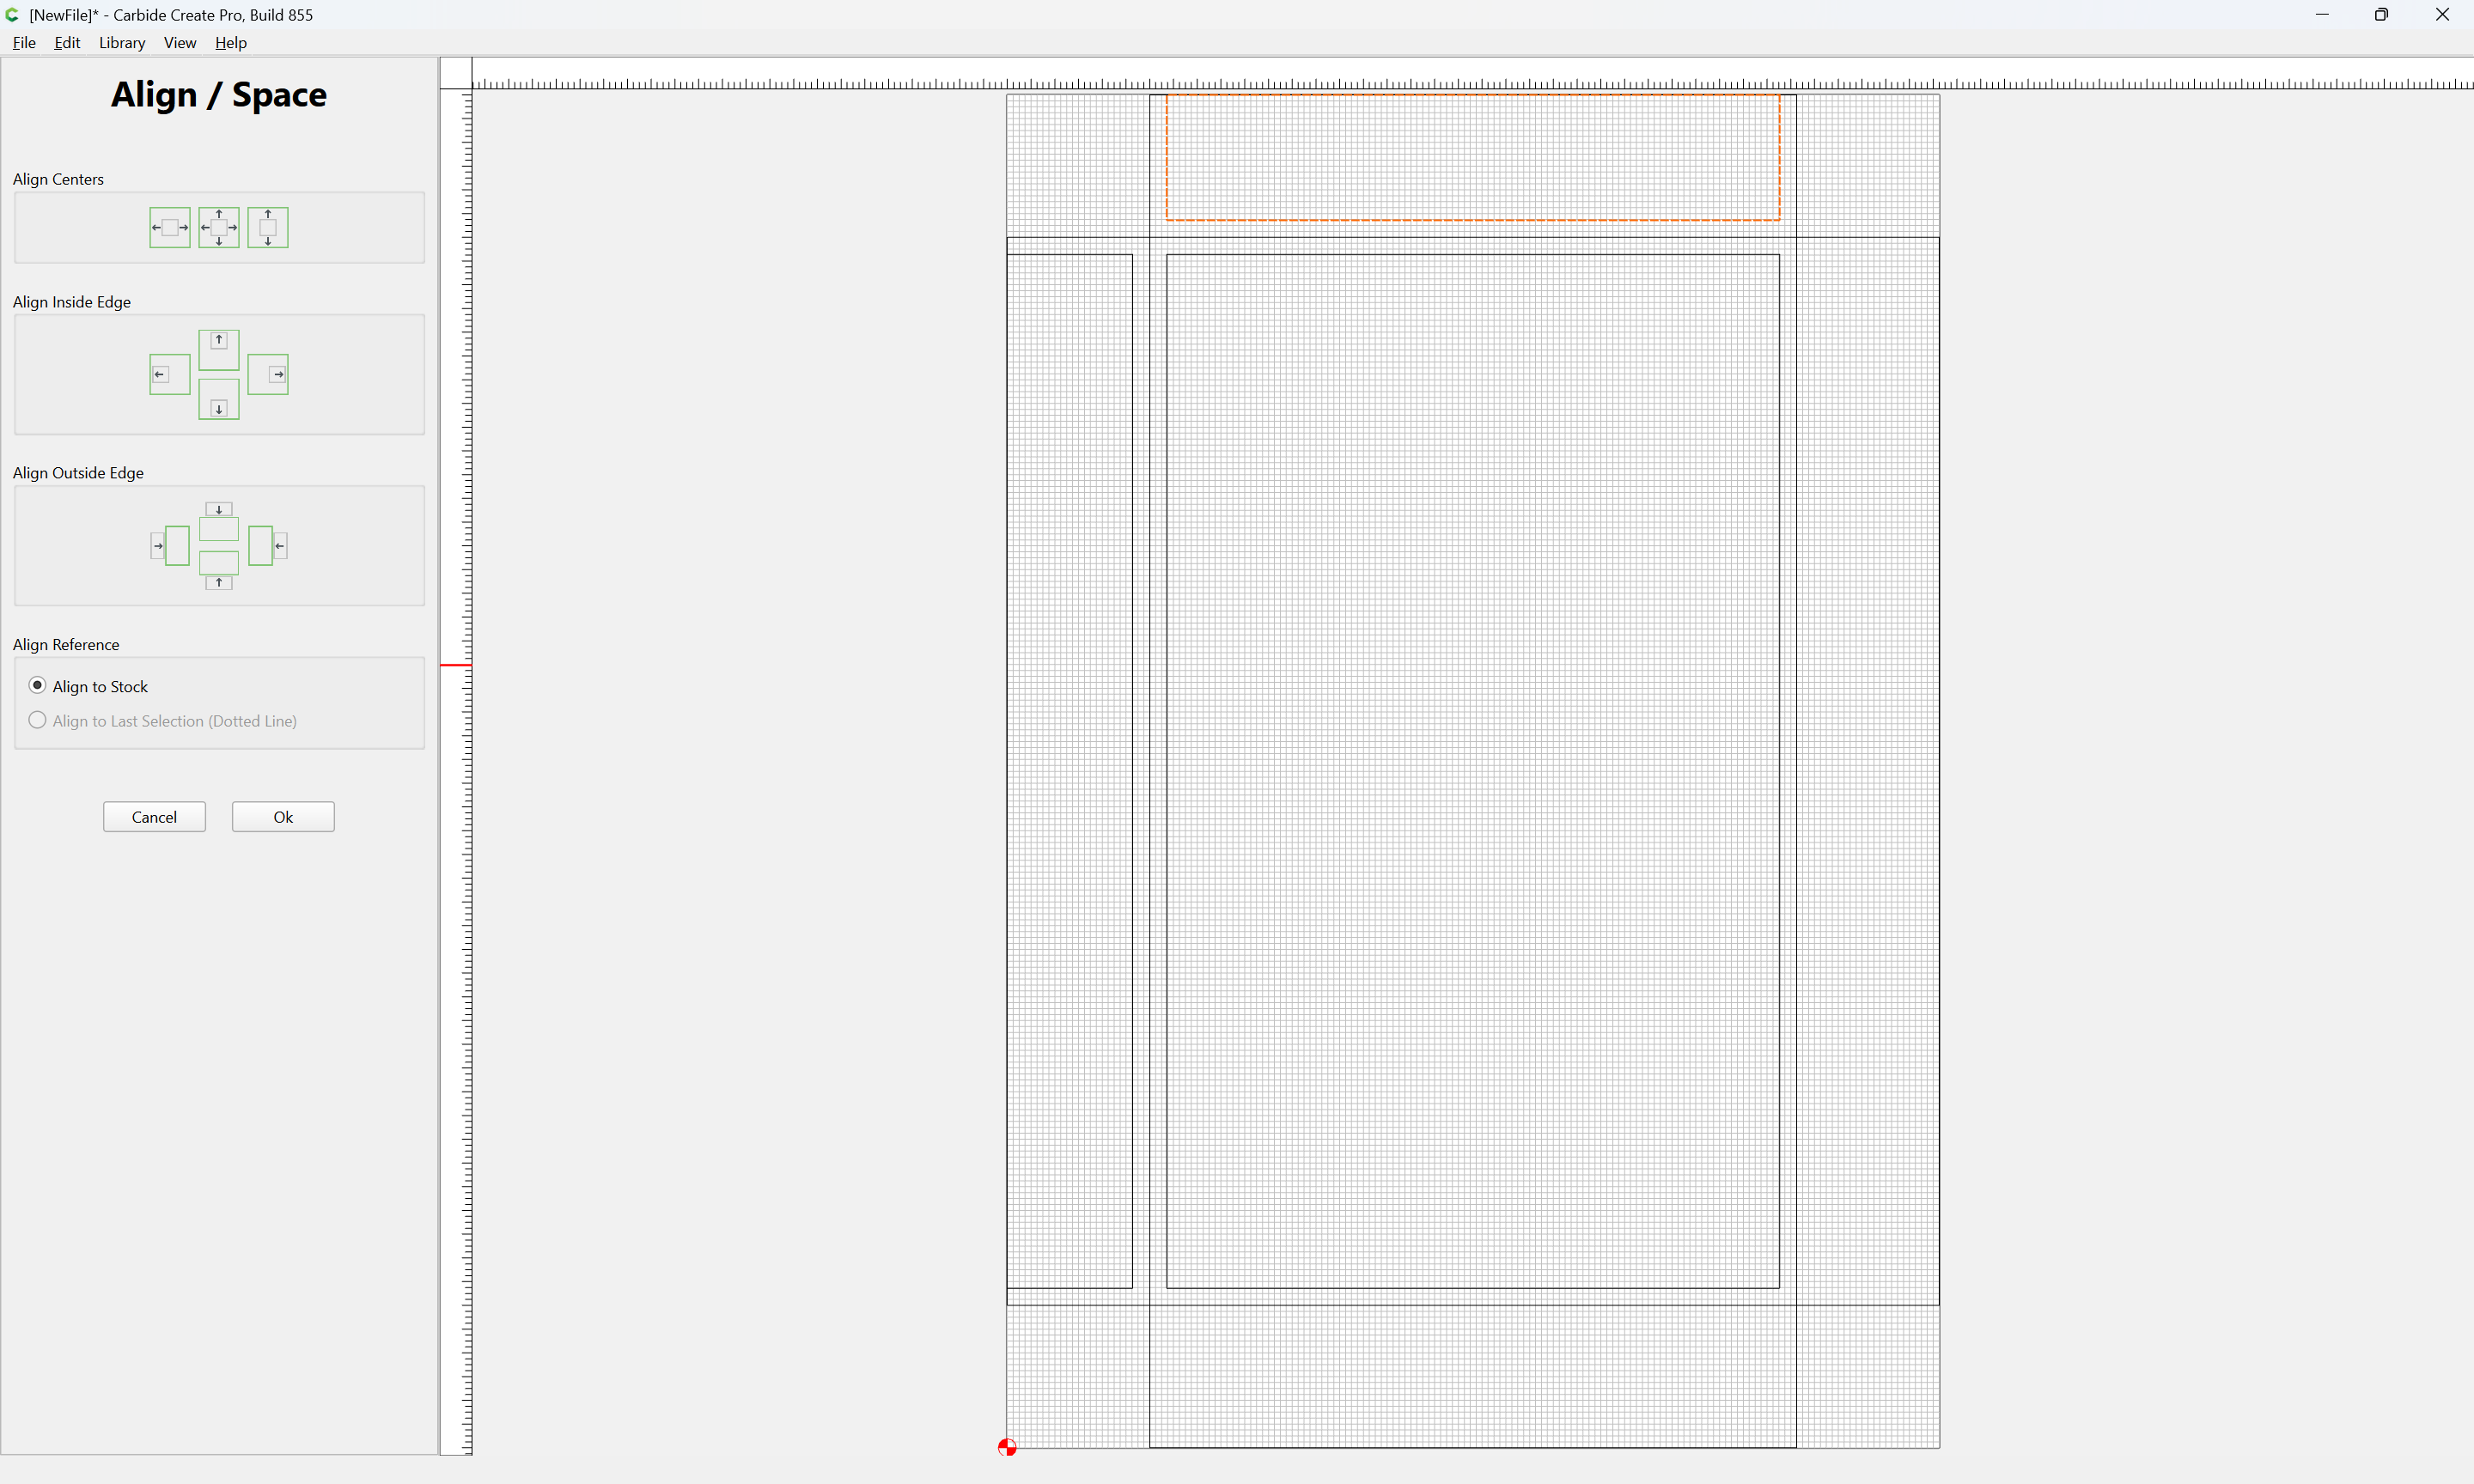
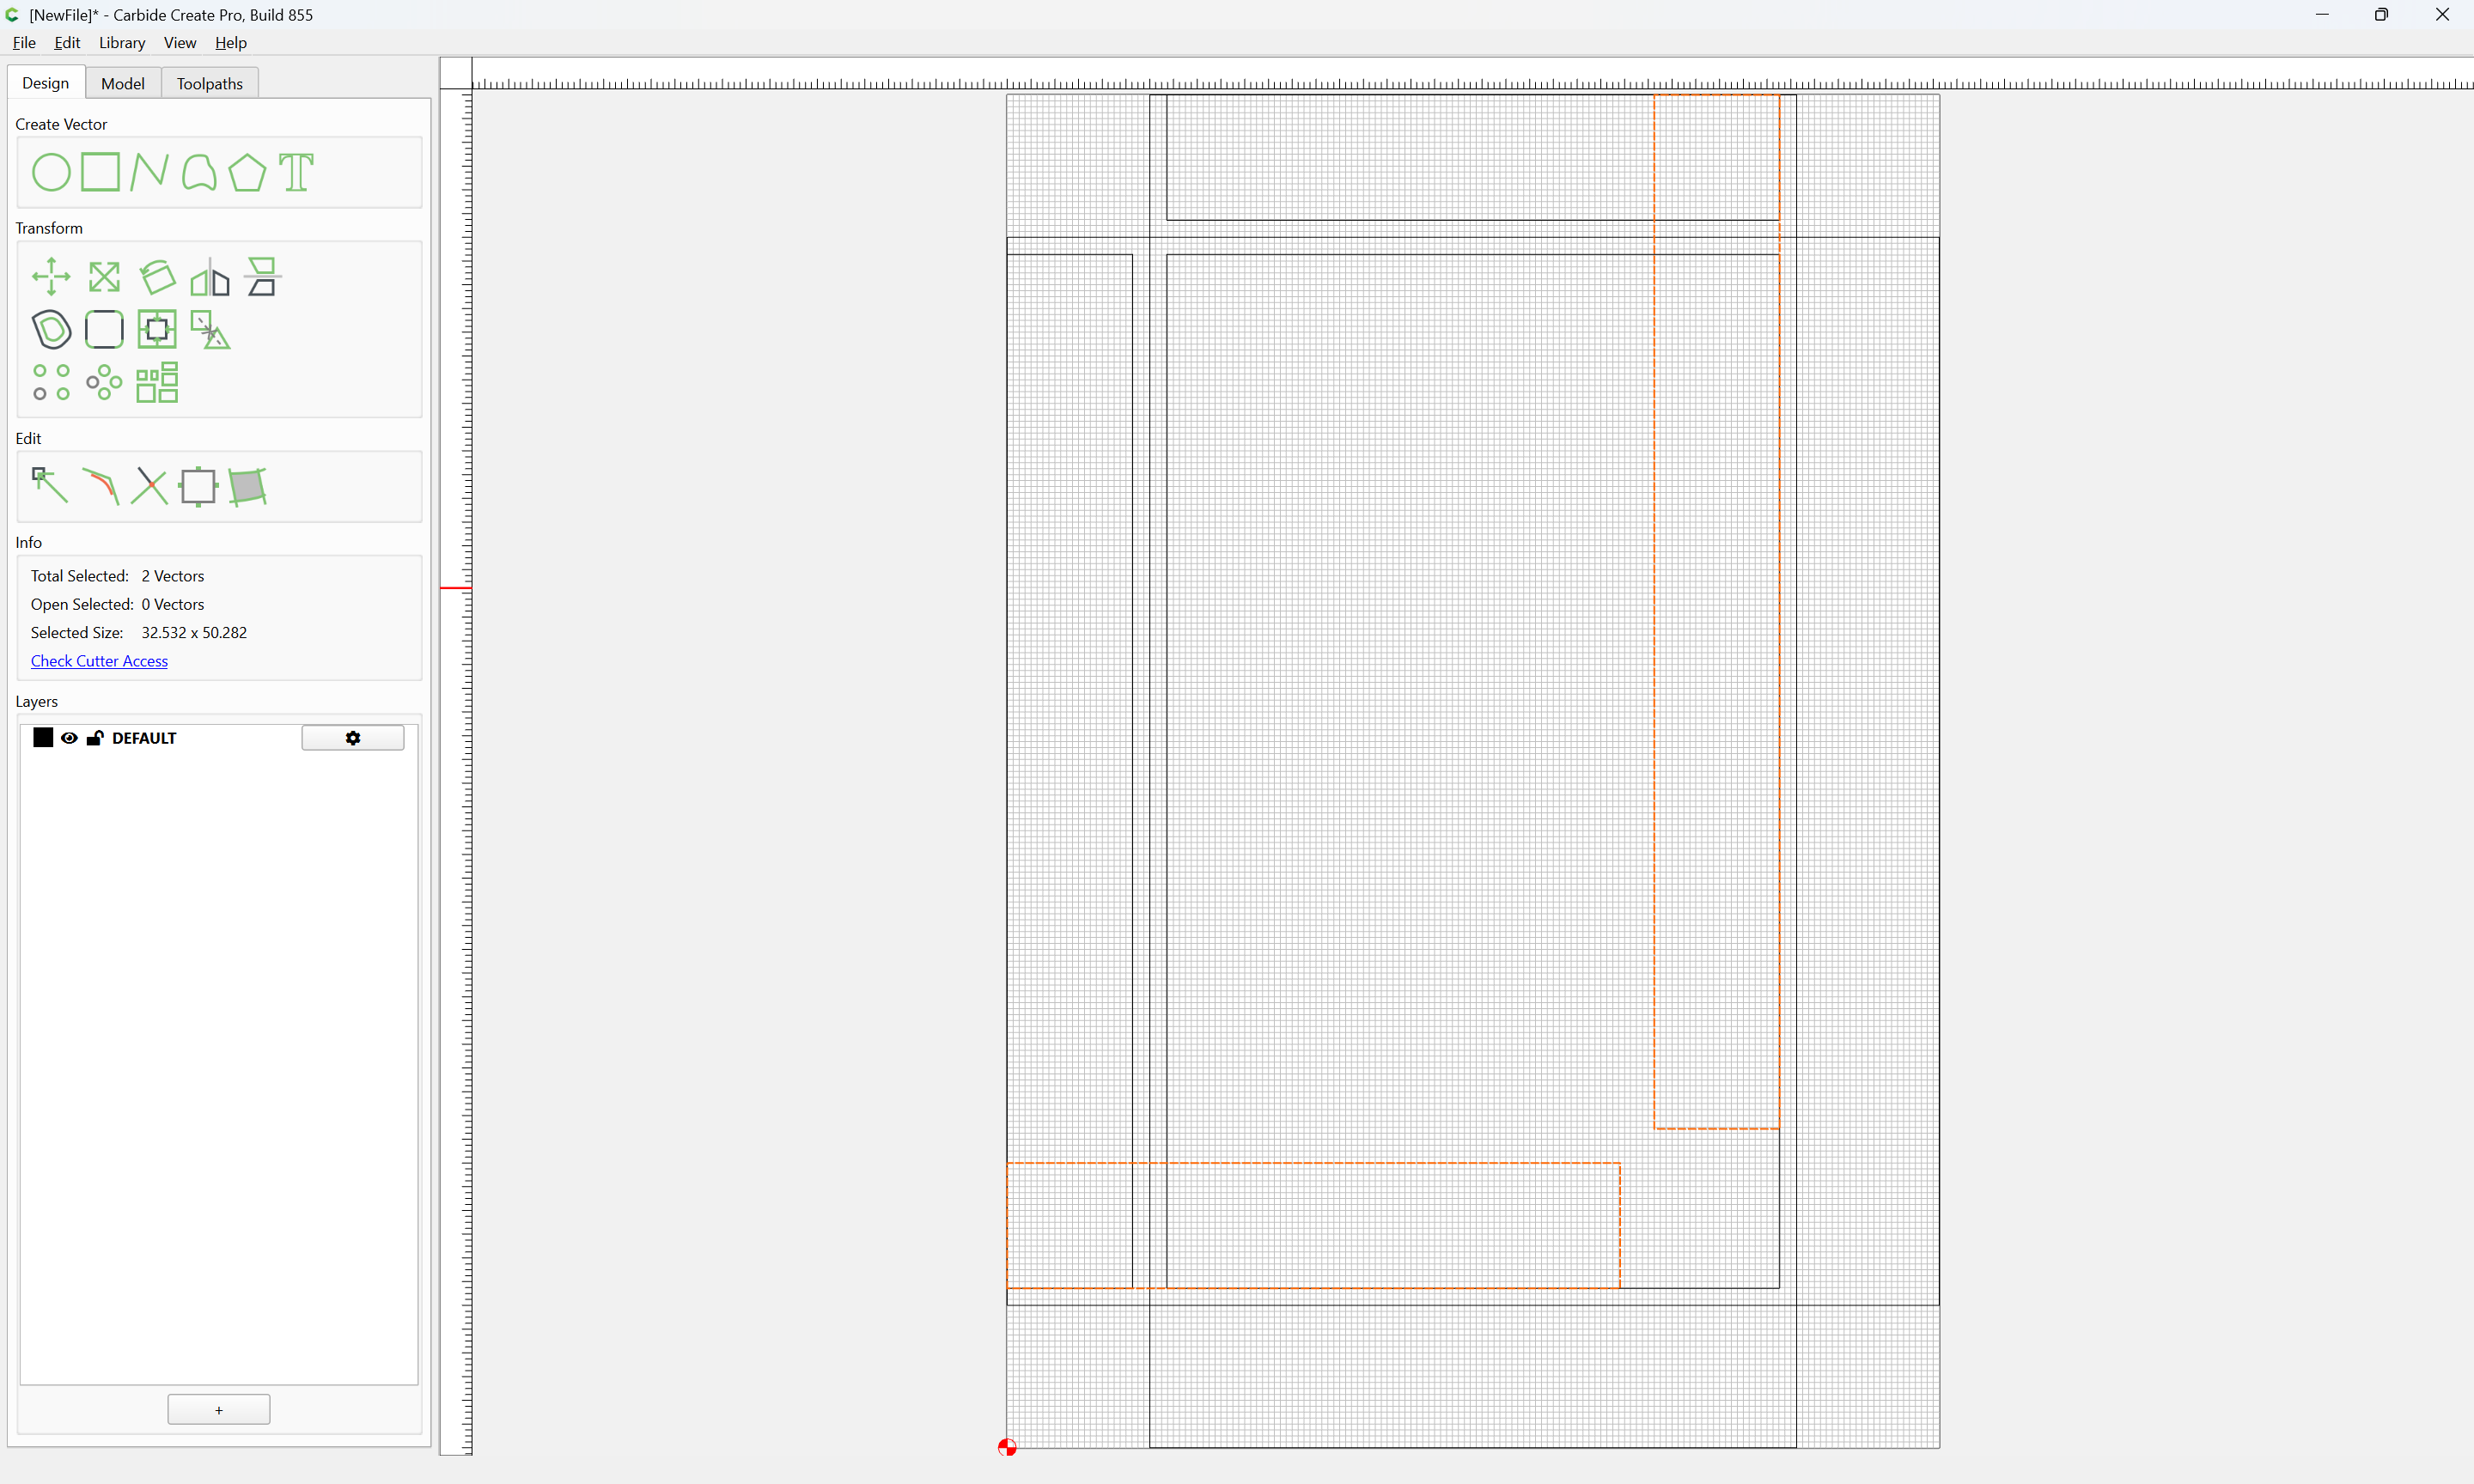
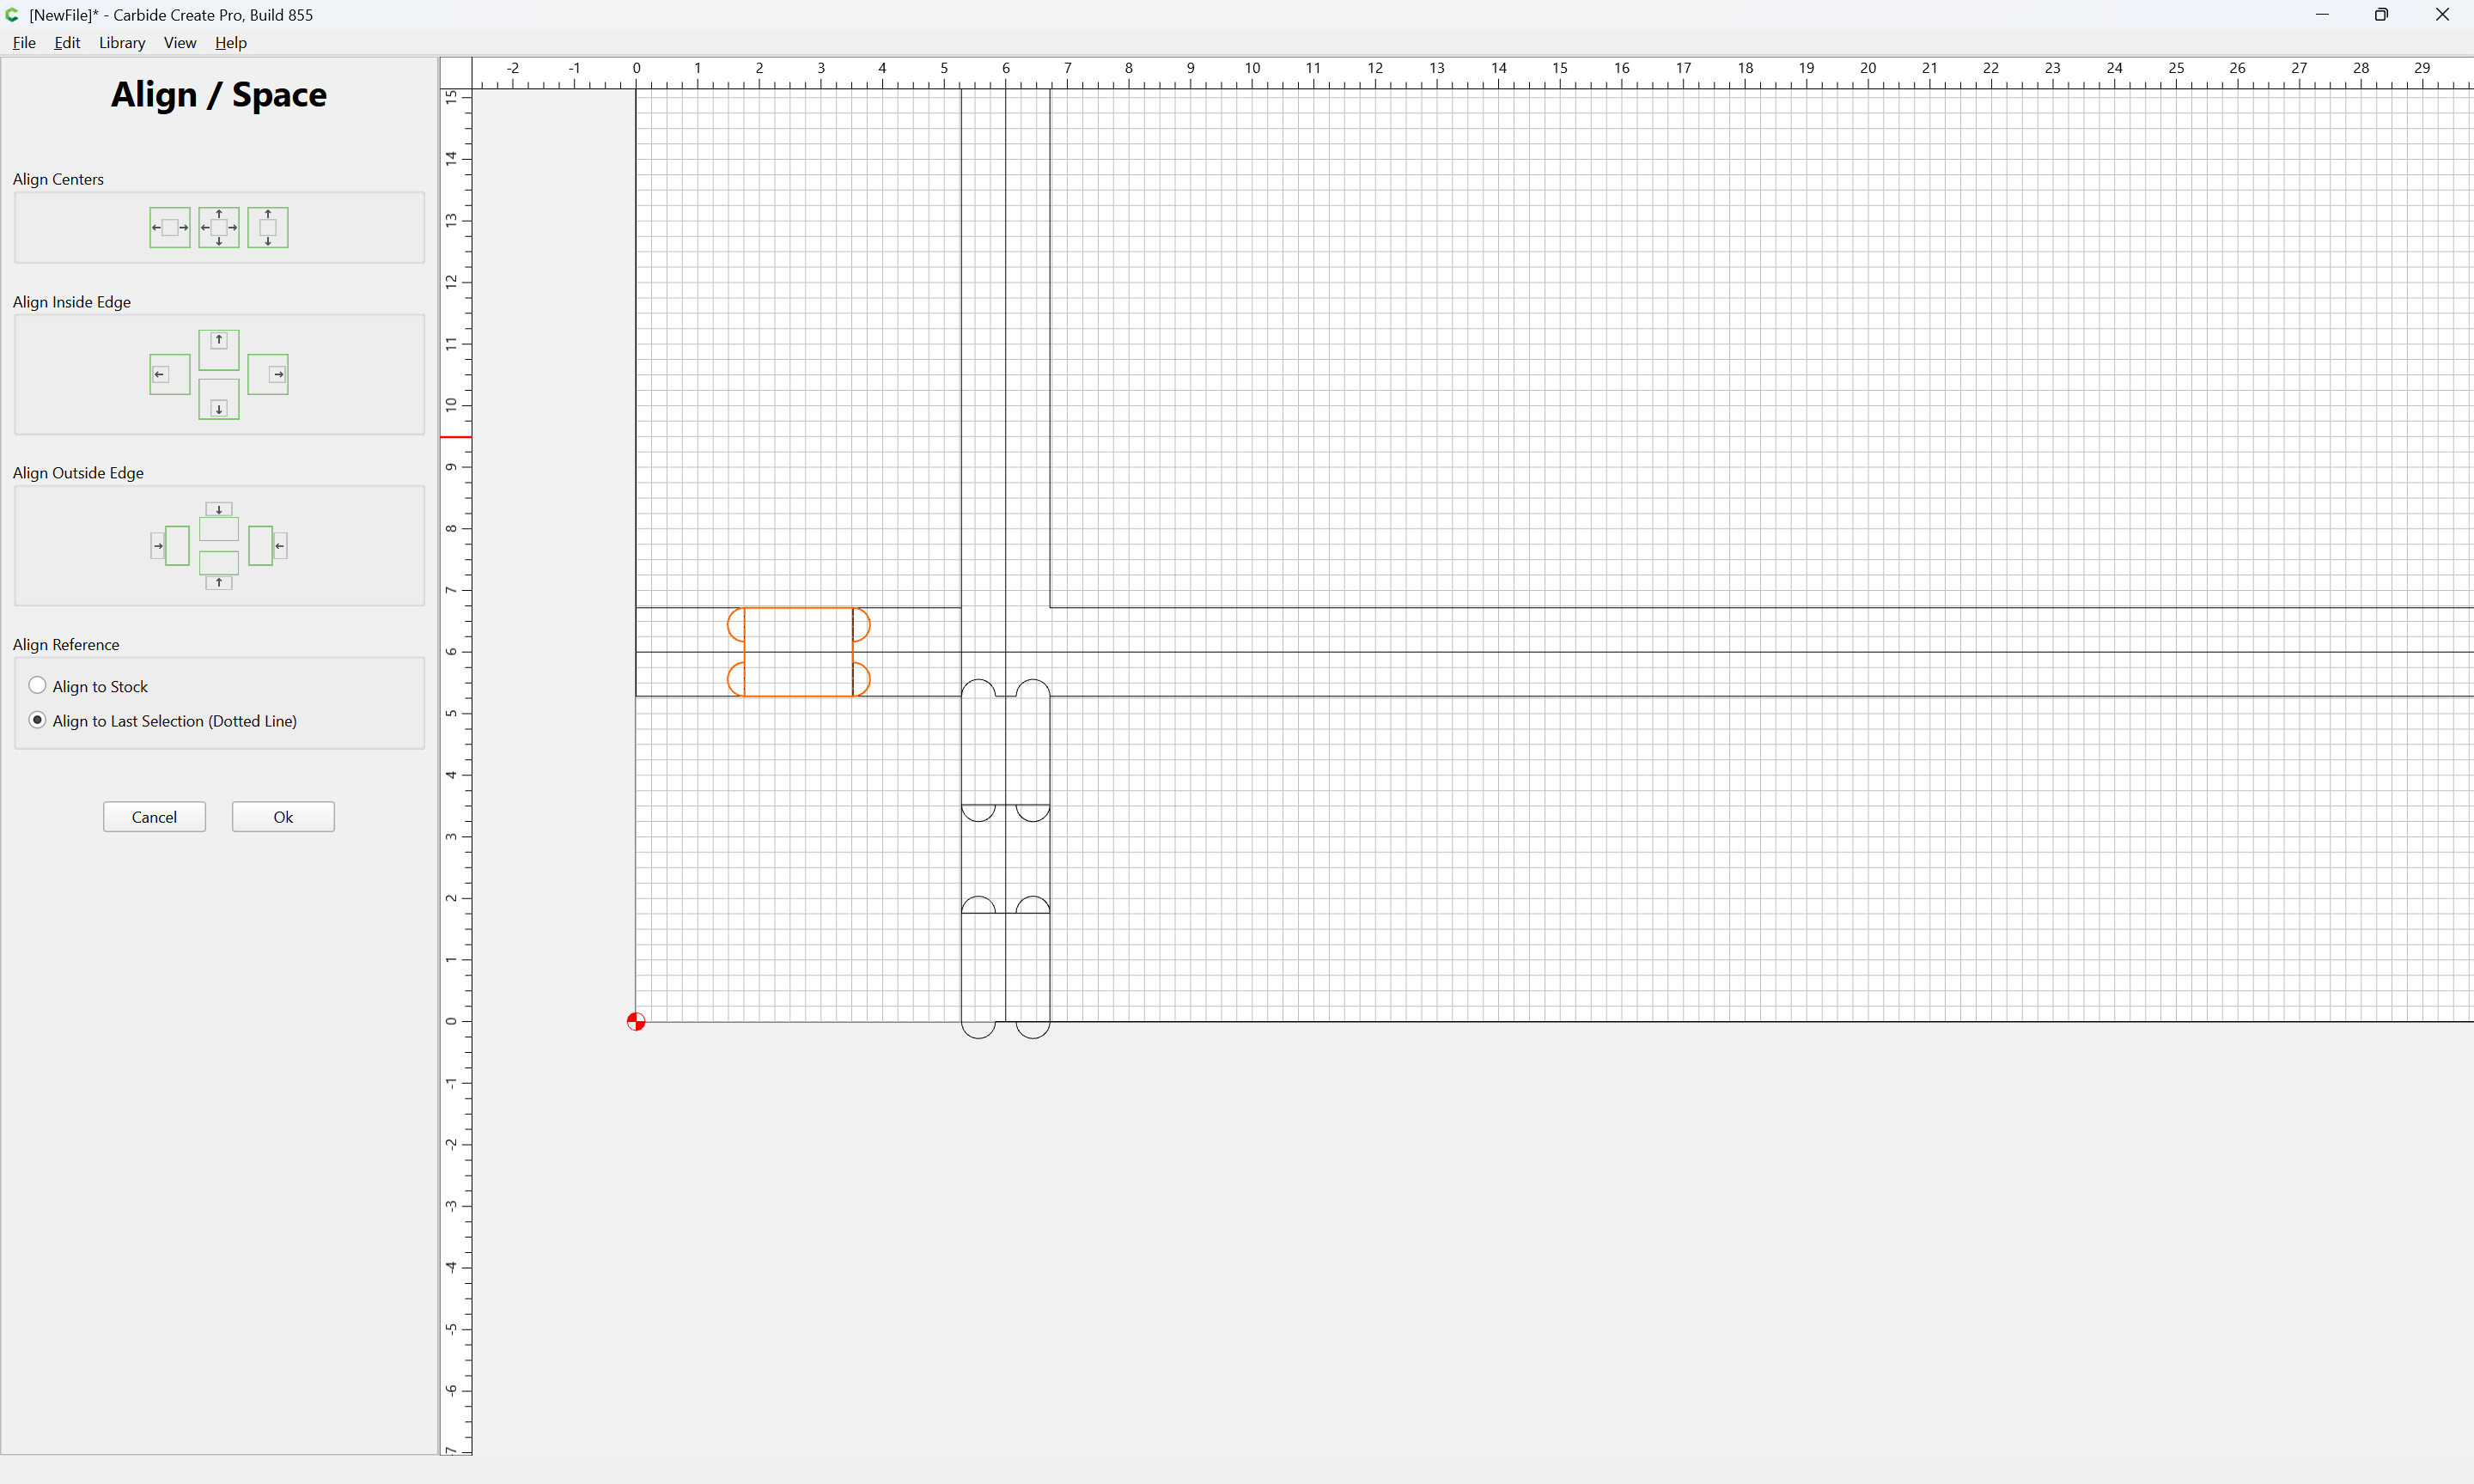
and align at the edge:
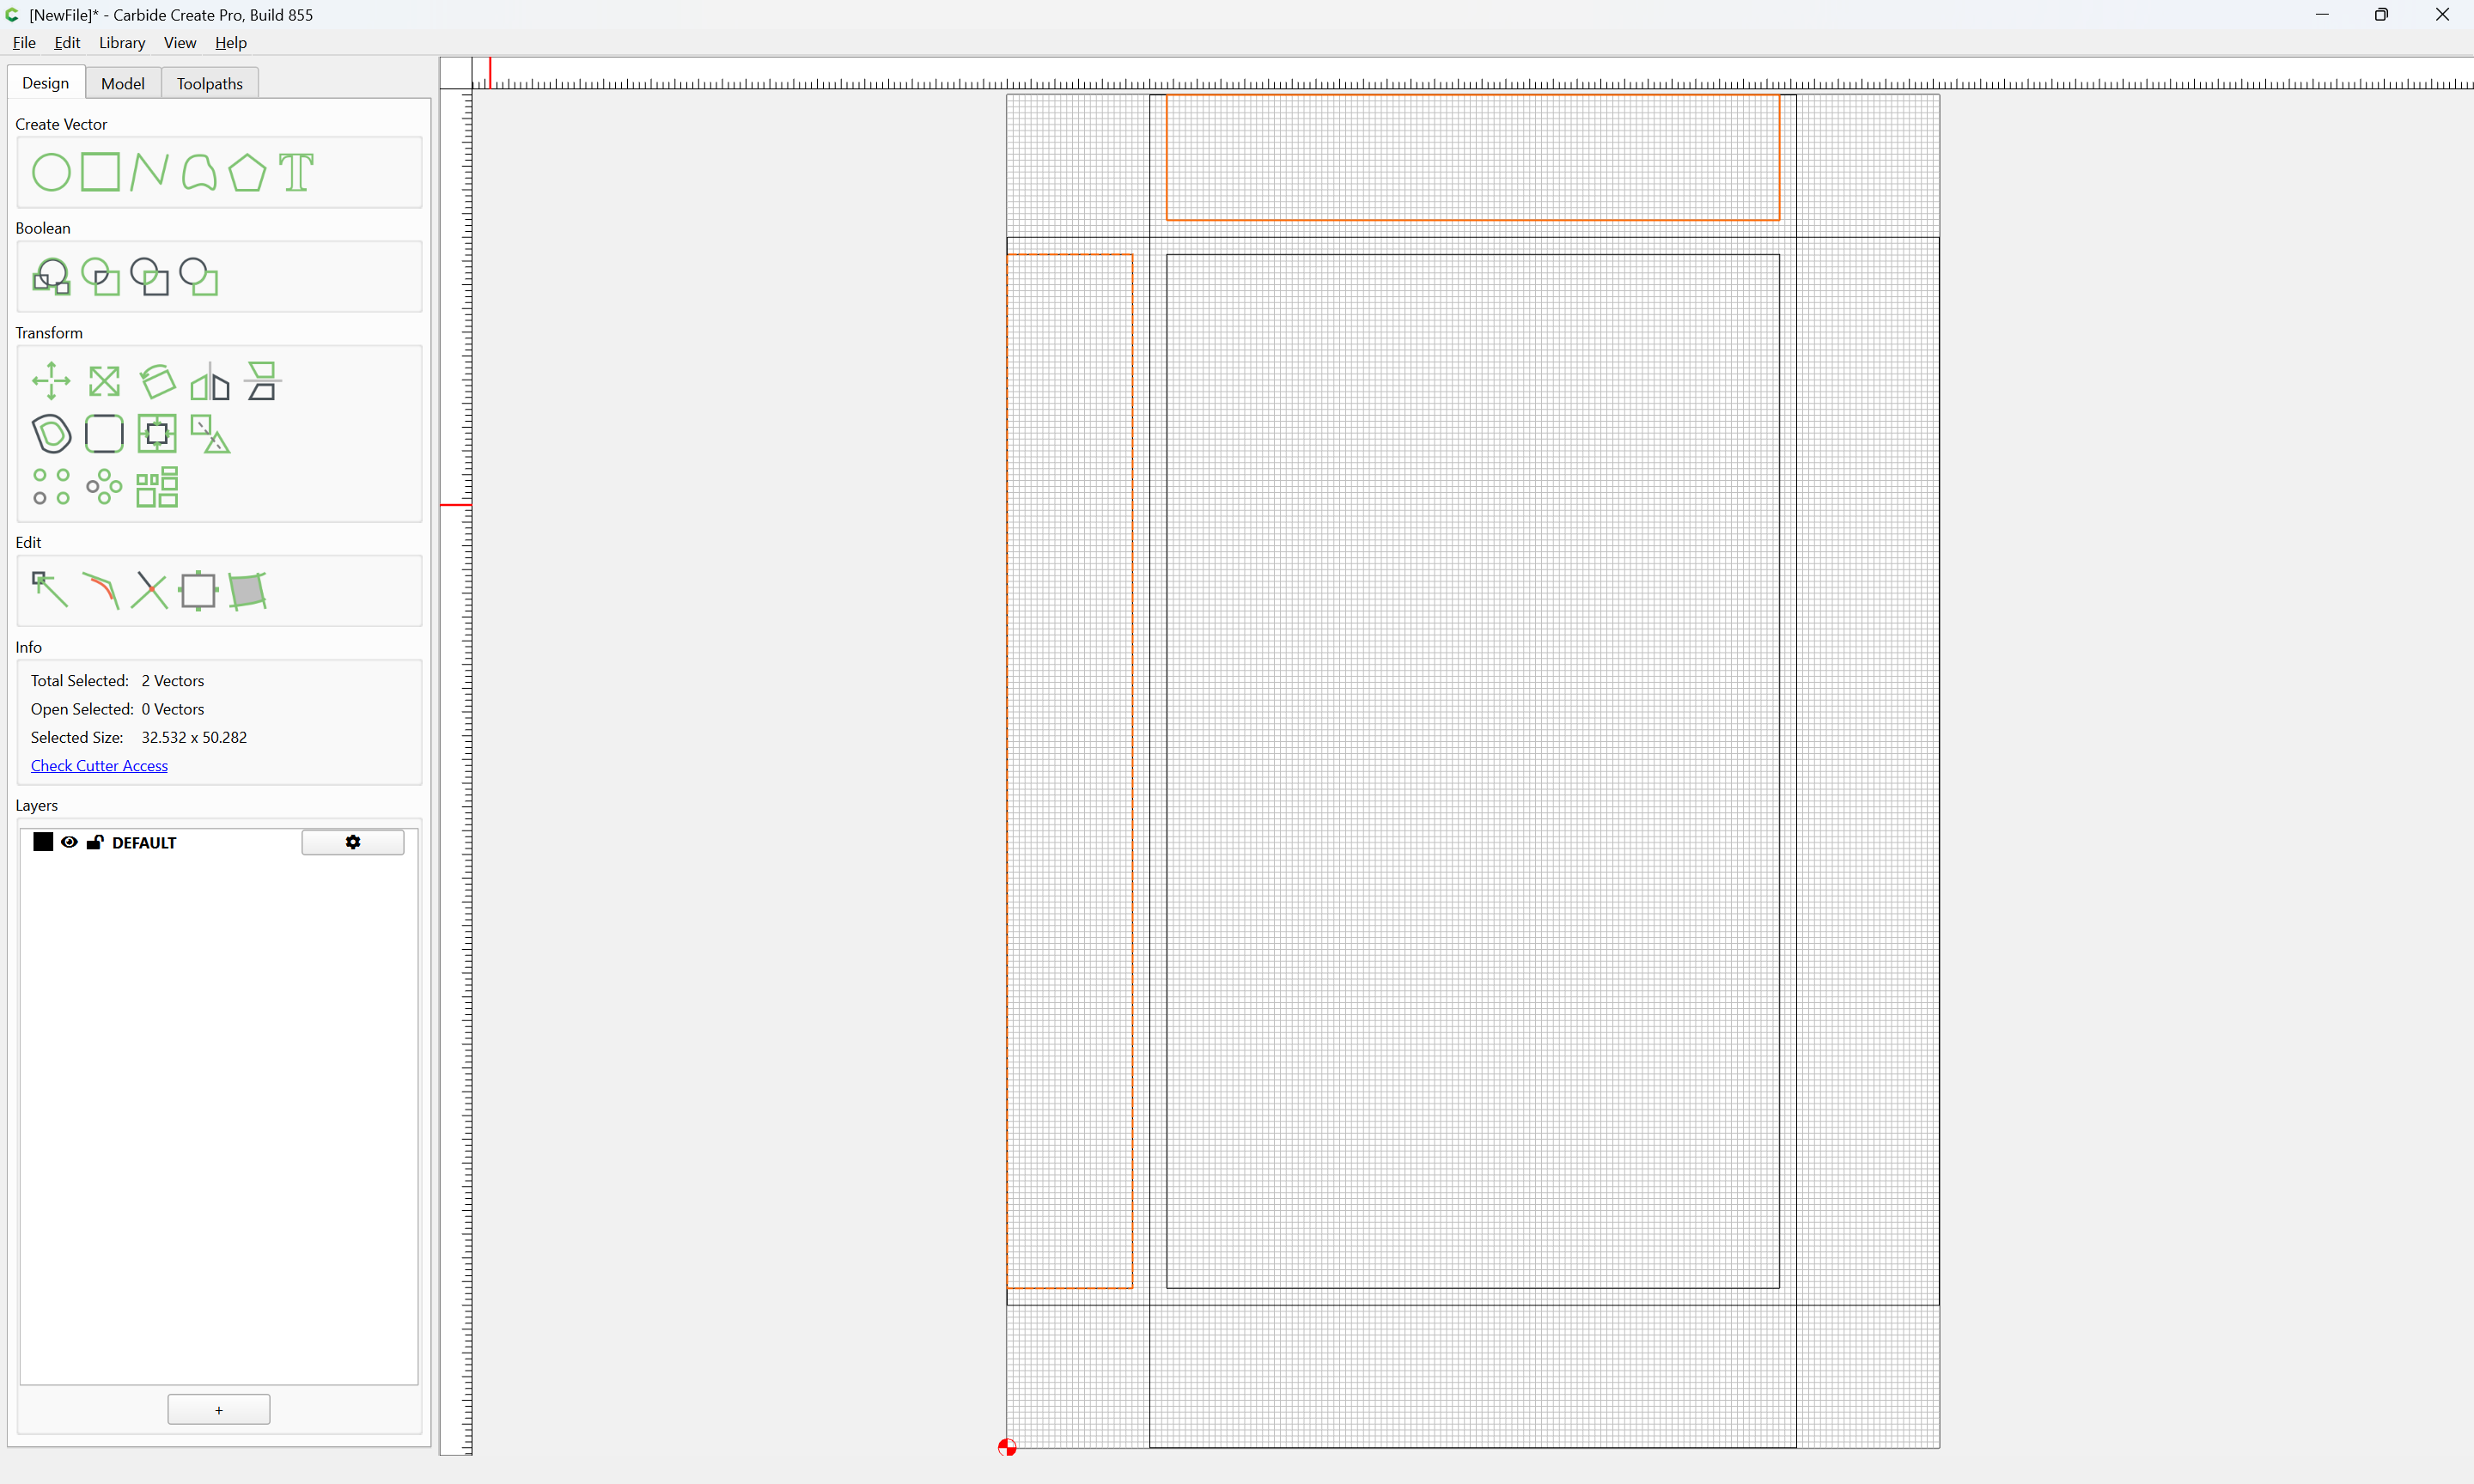
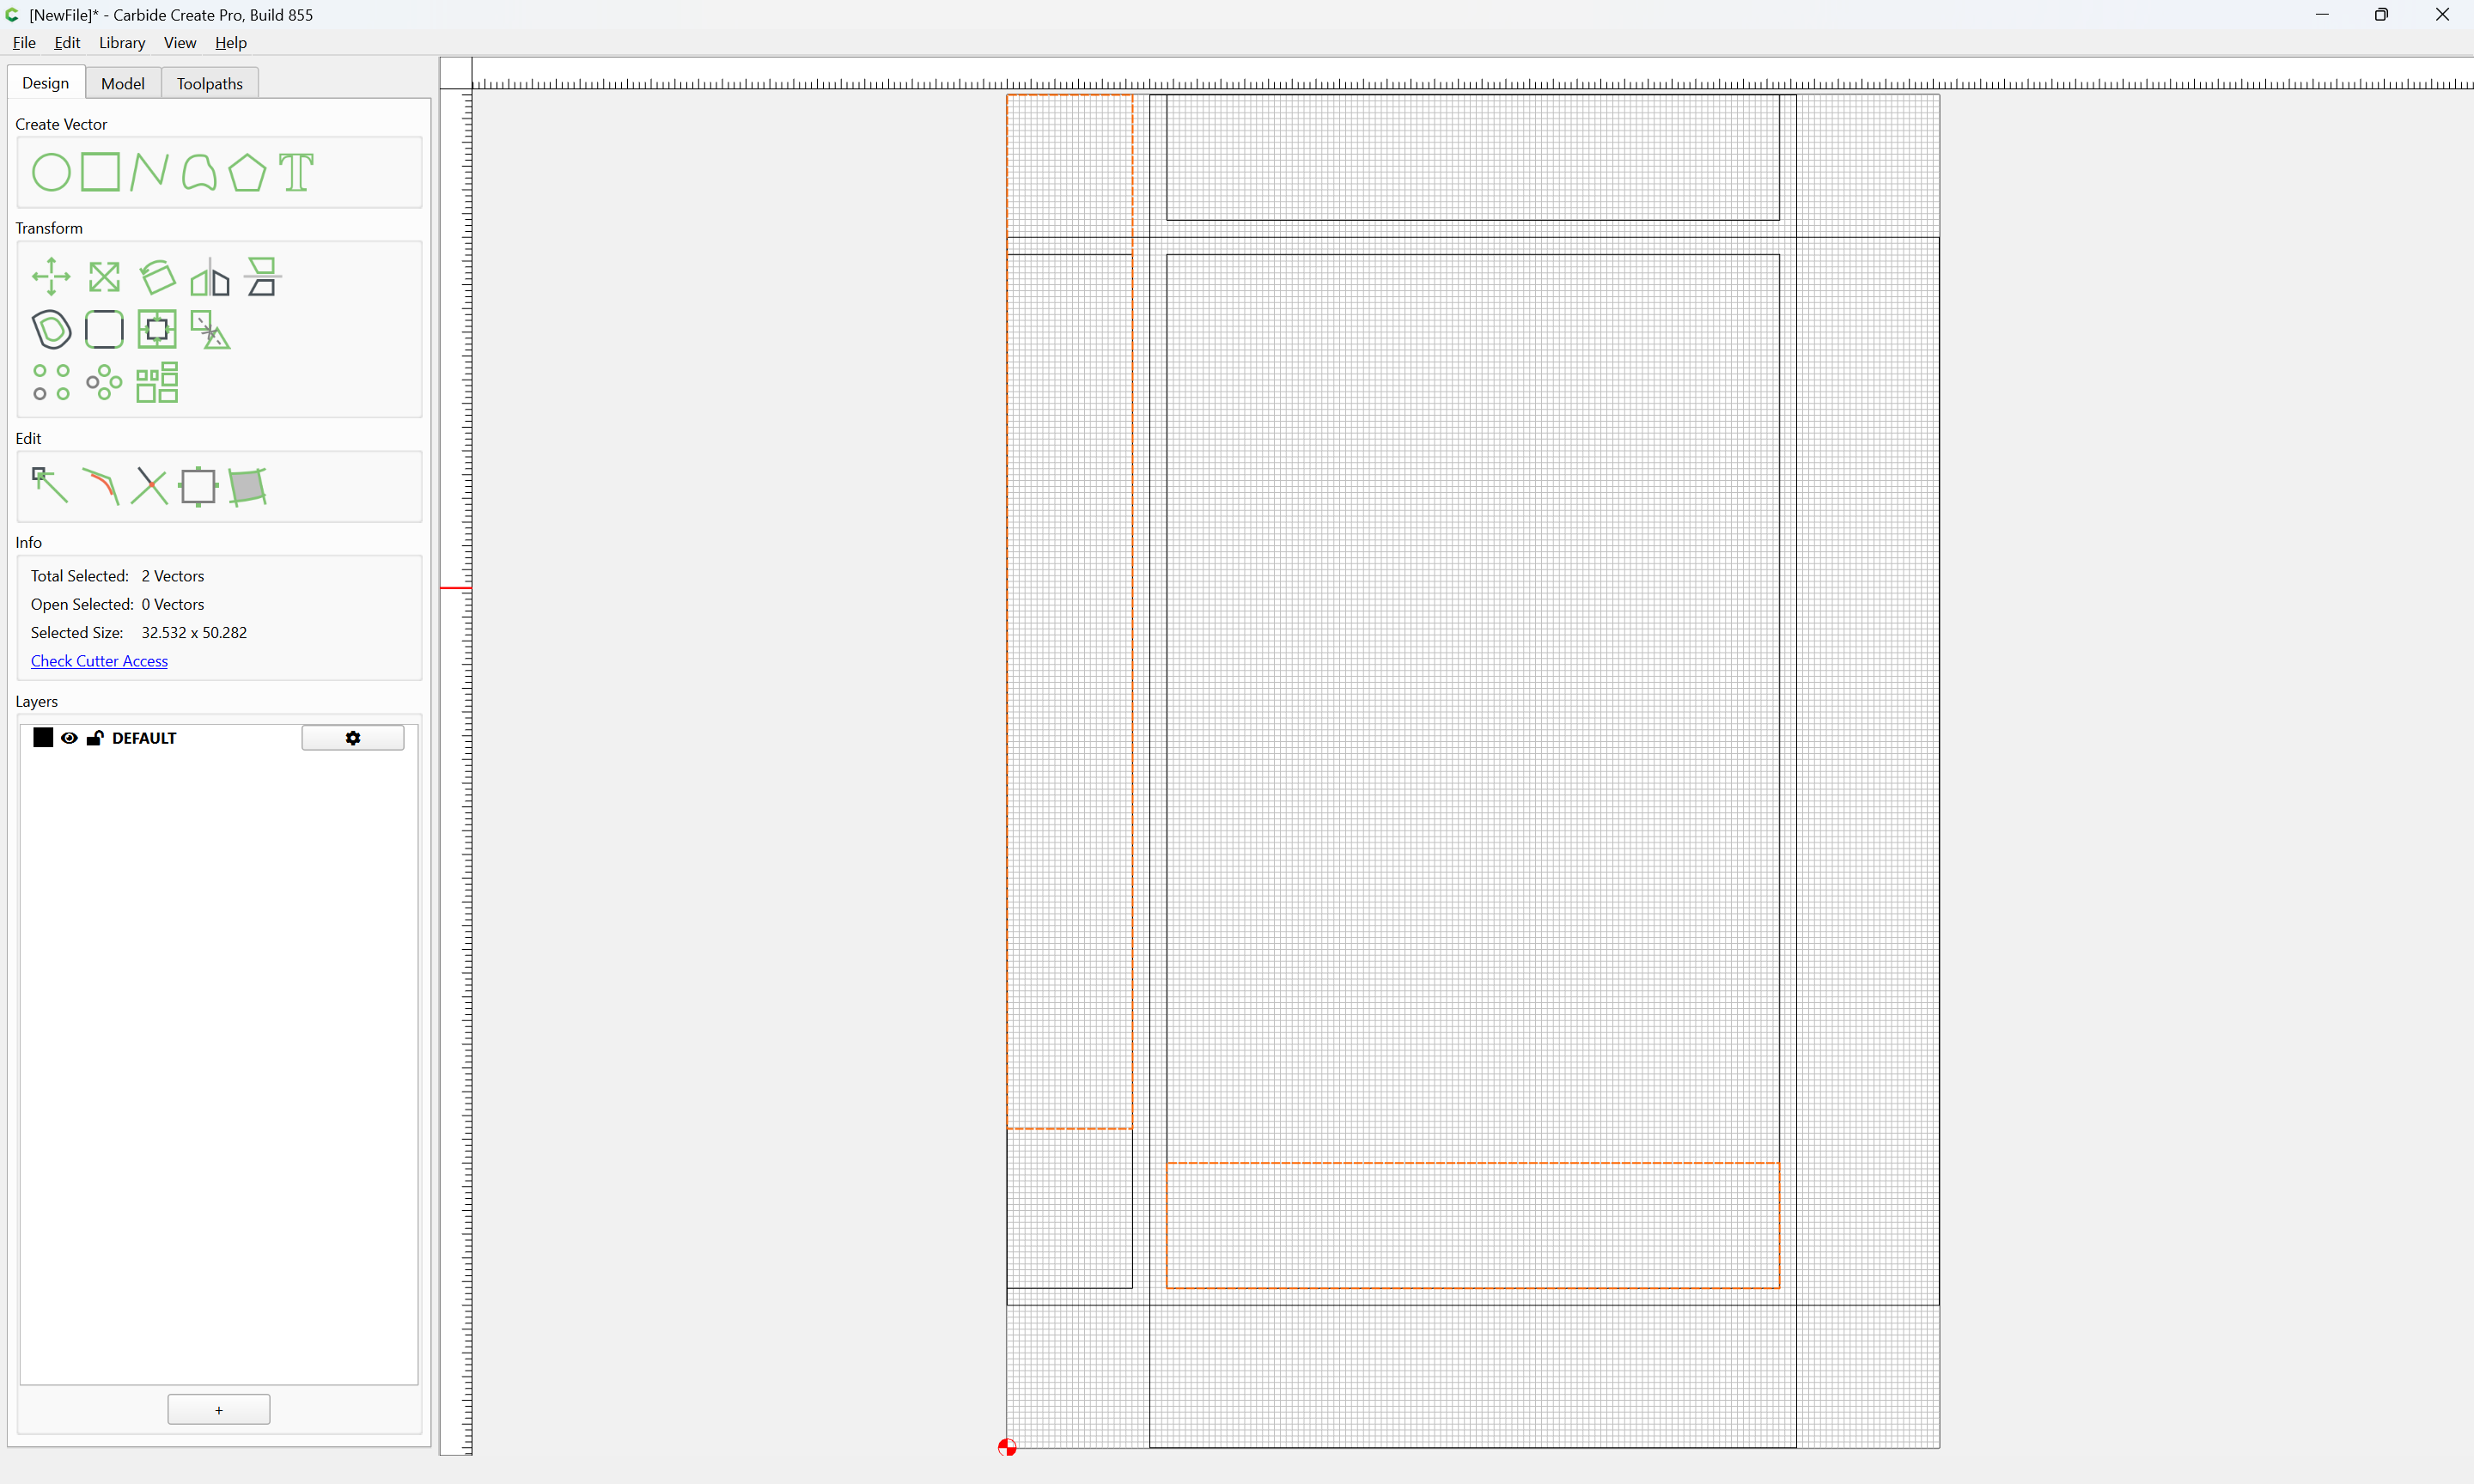
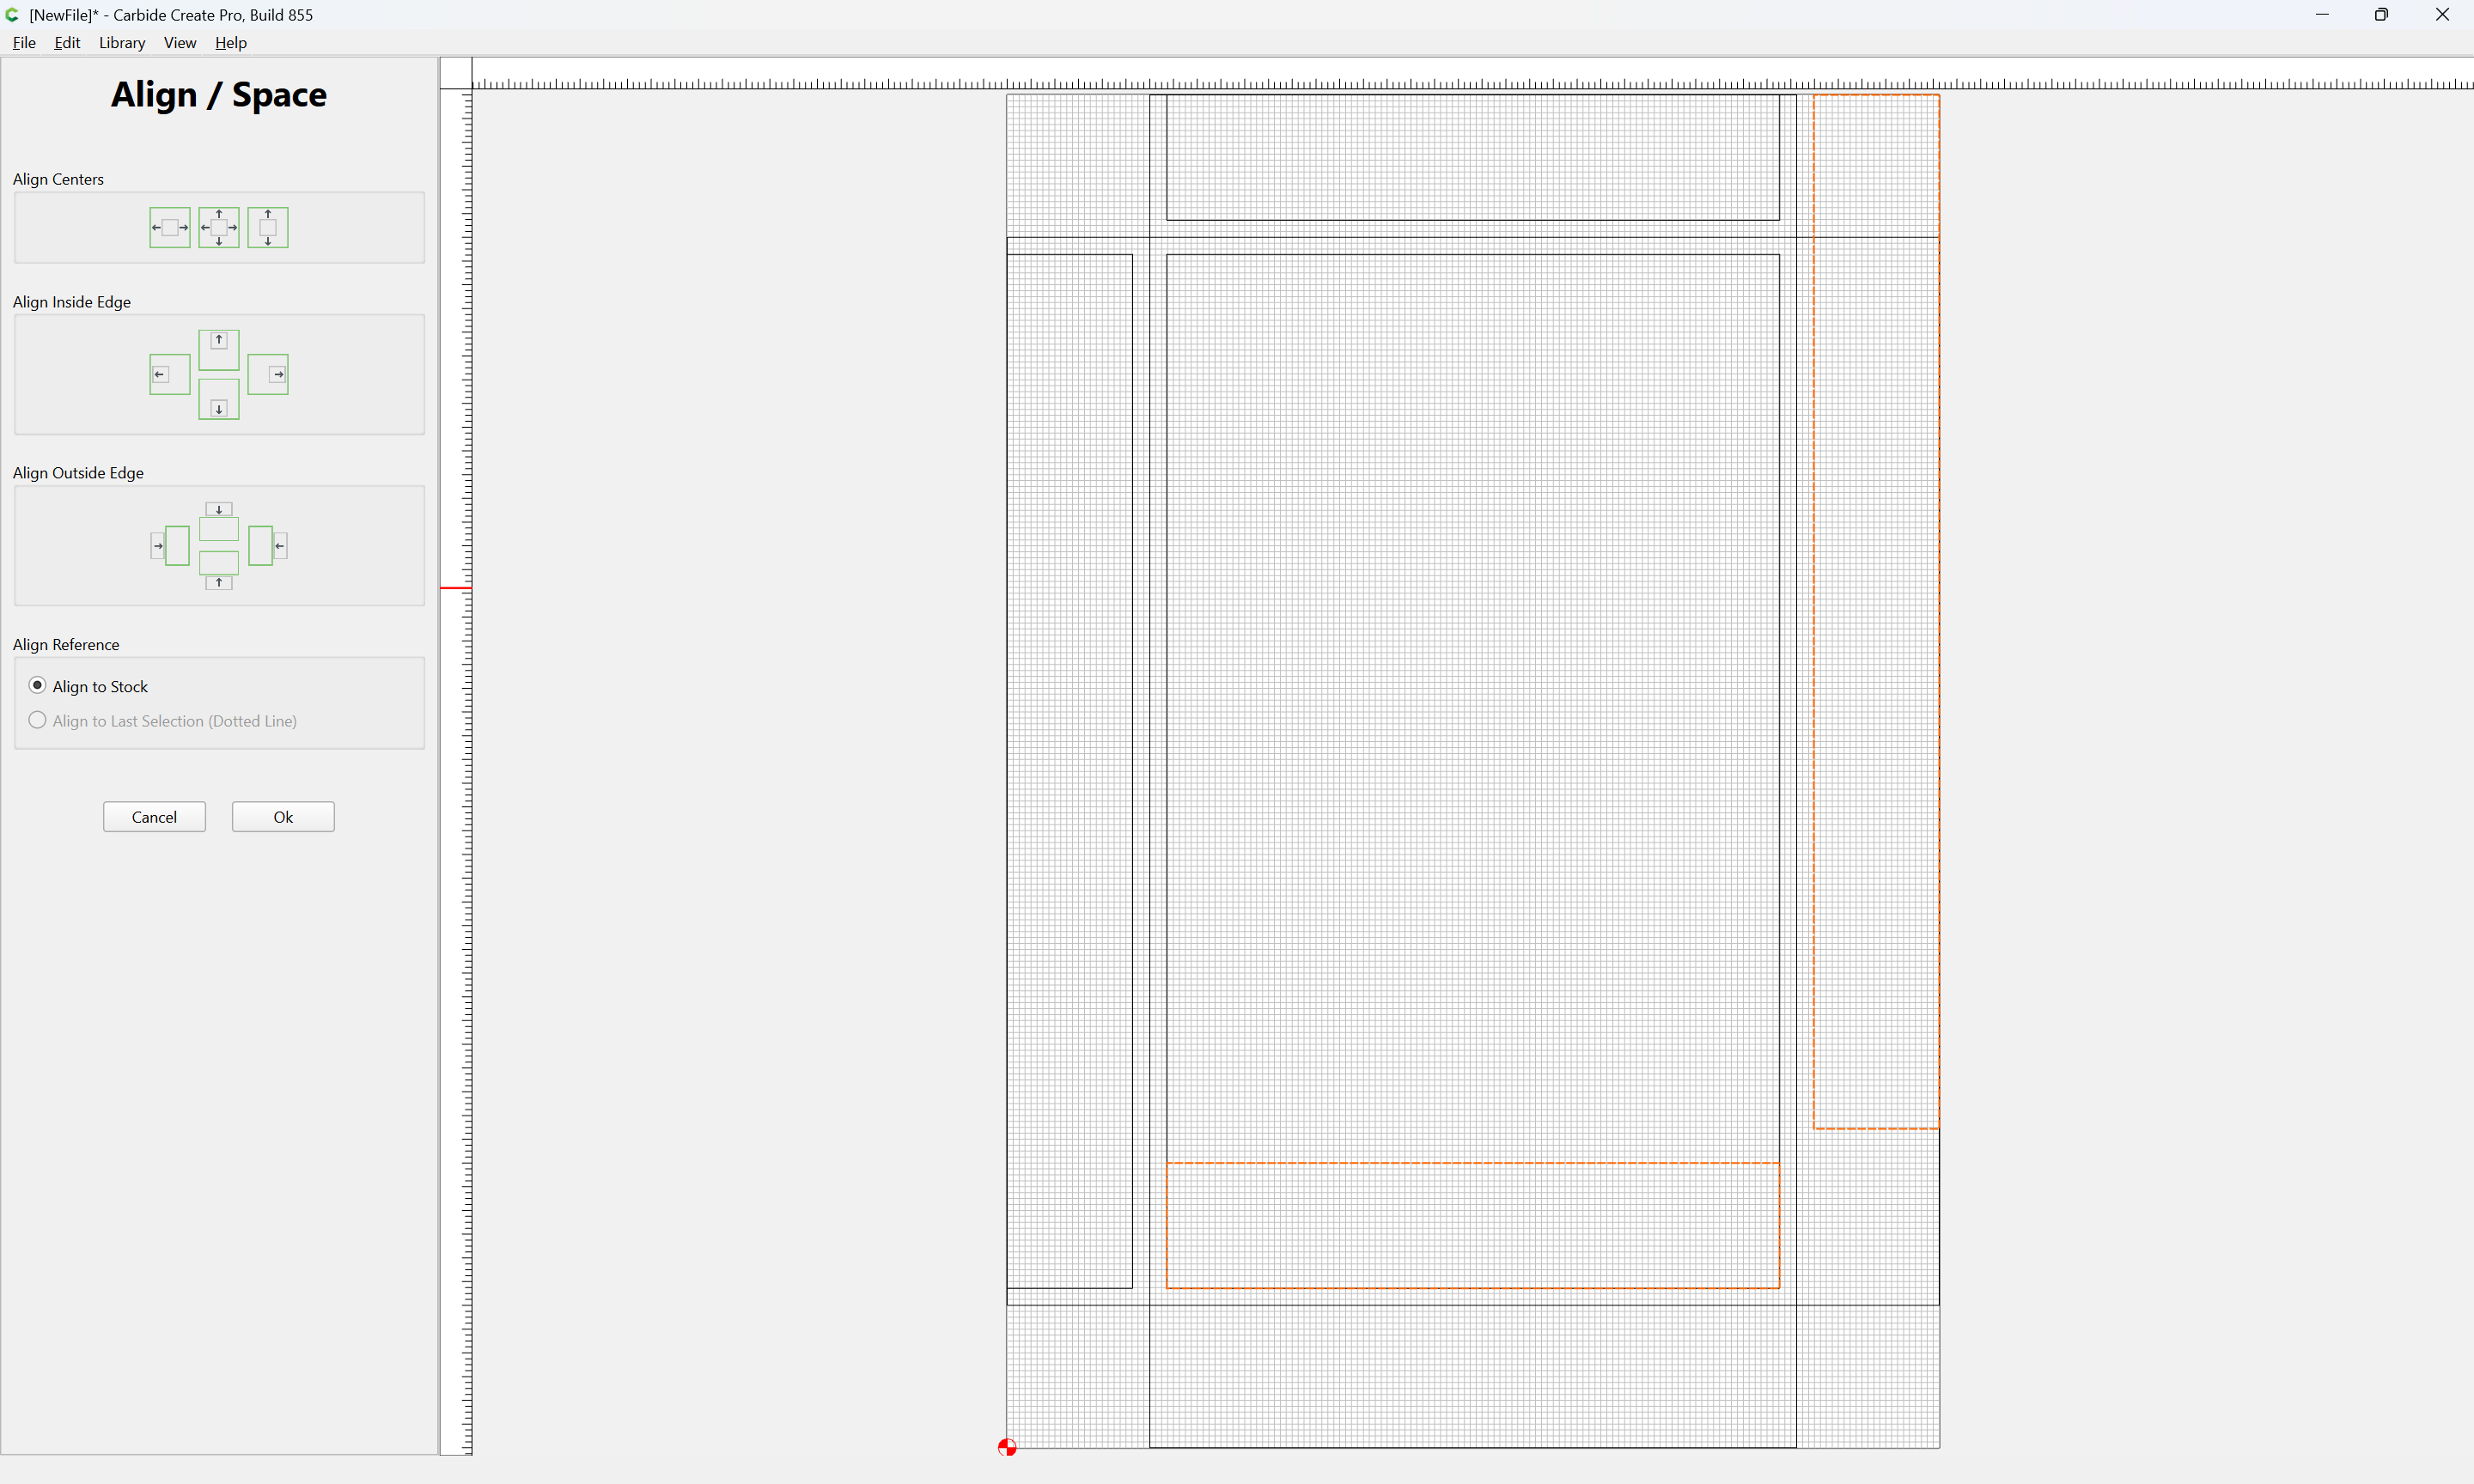
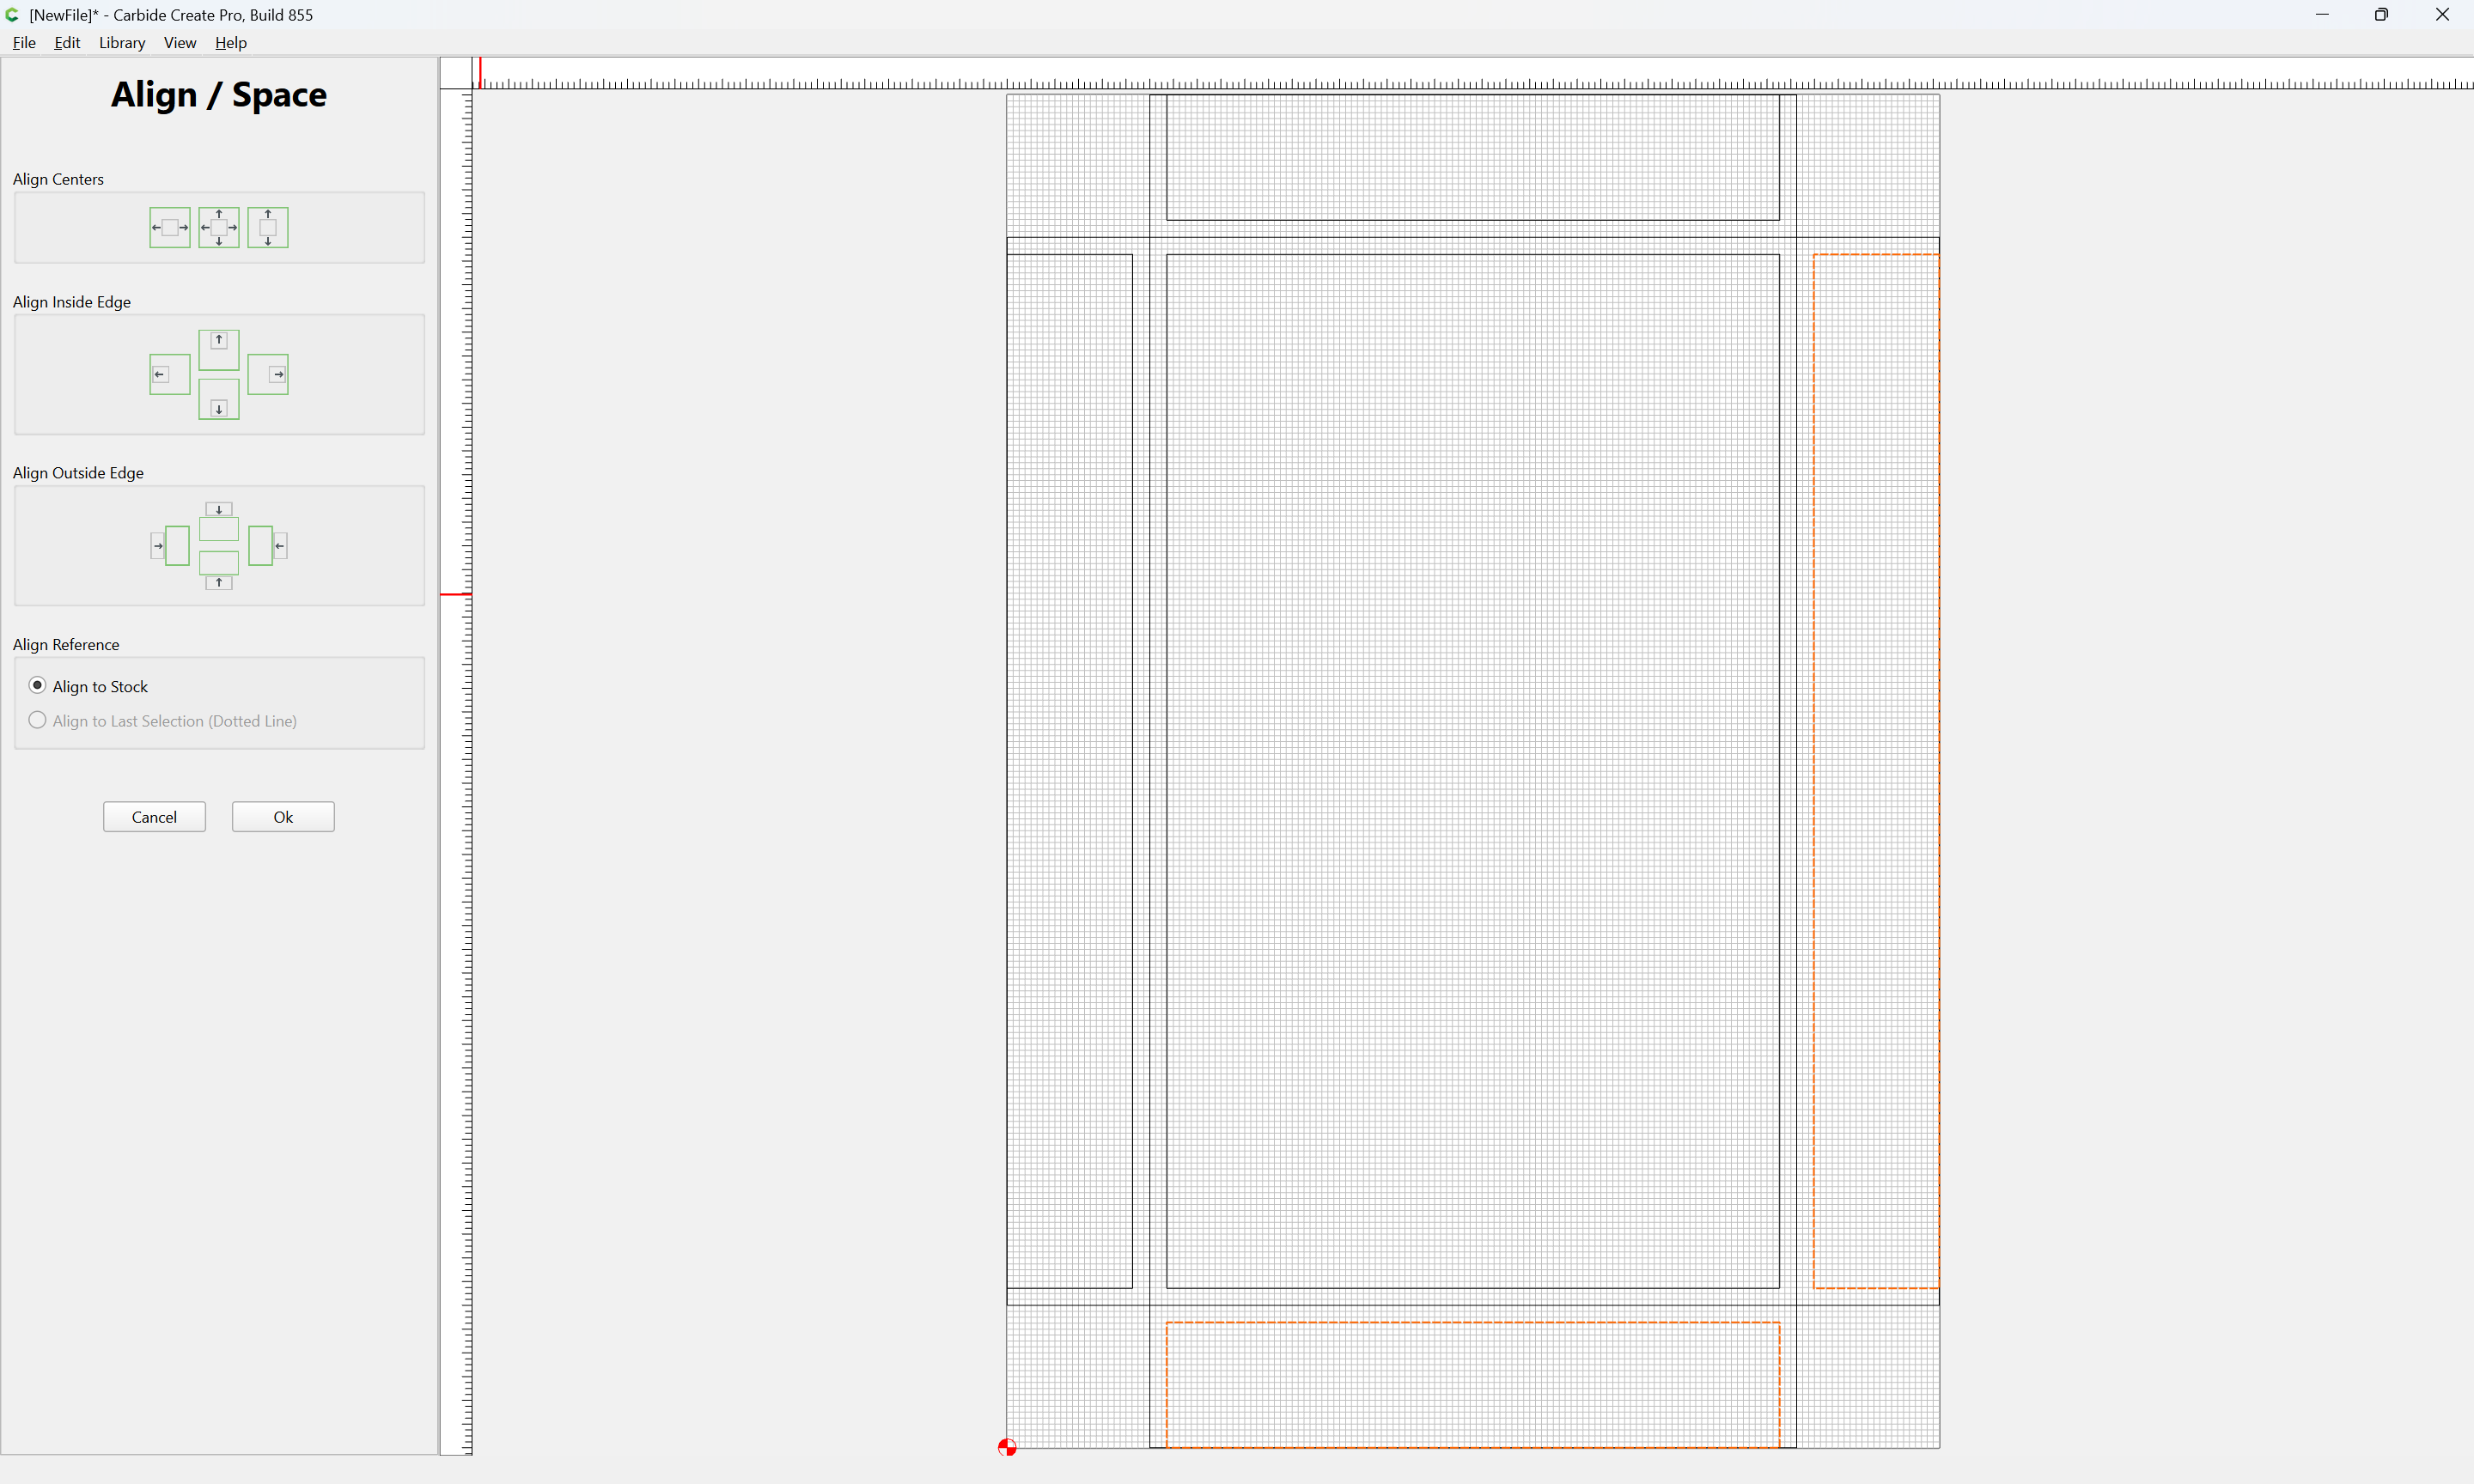
Then duplicate and align the duplicates:
and mirror:
WillAdams
August 21, 2026, 1:03am
3
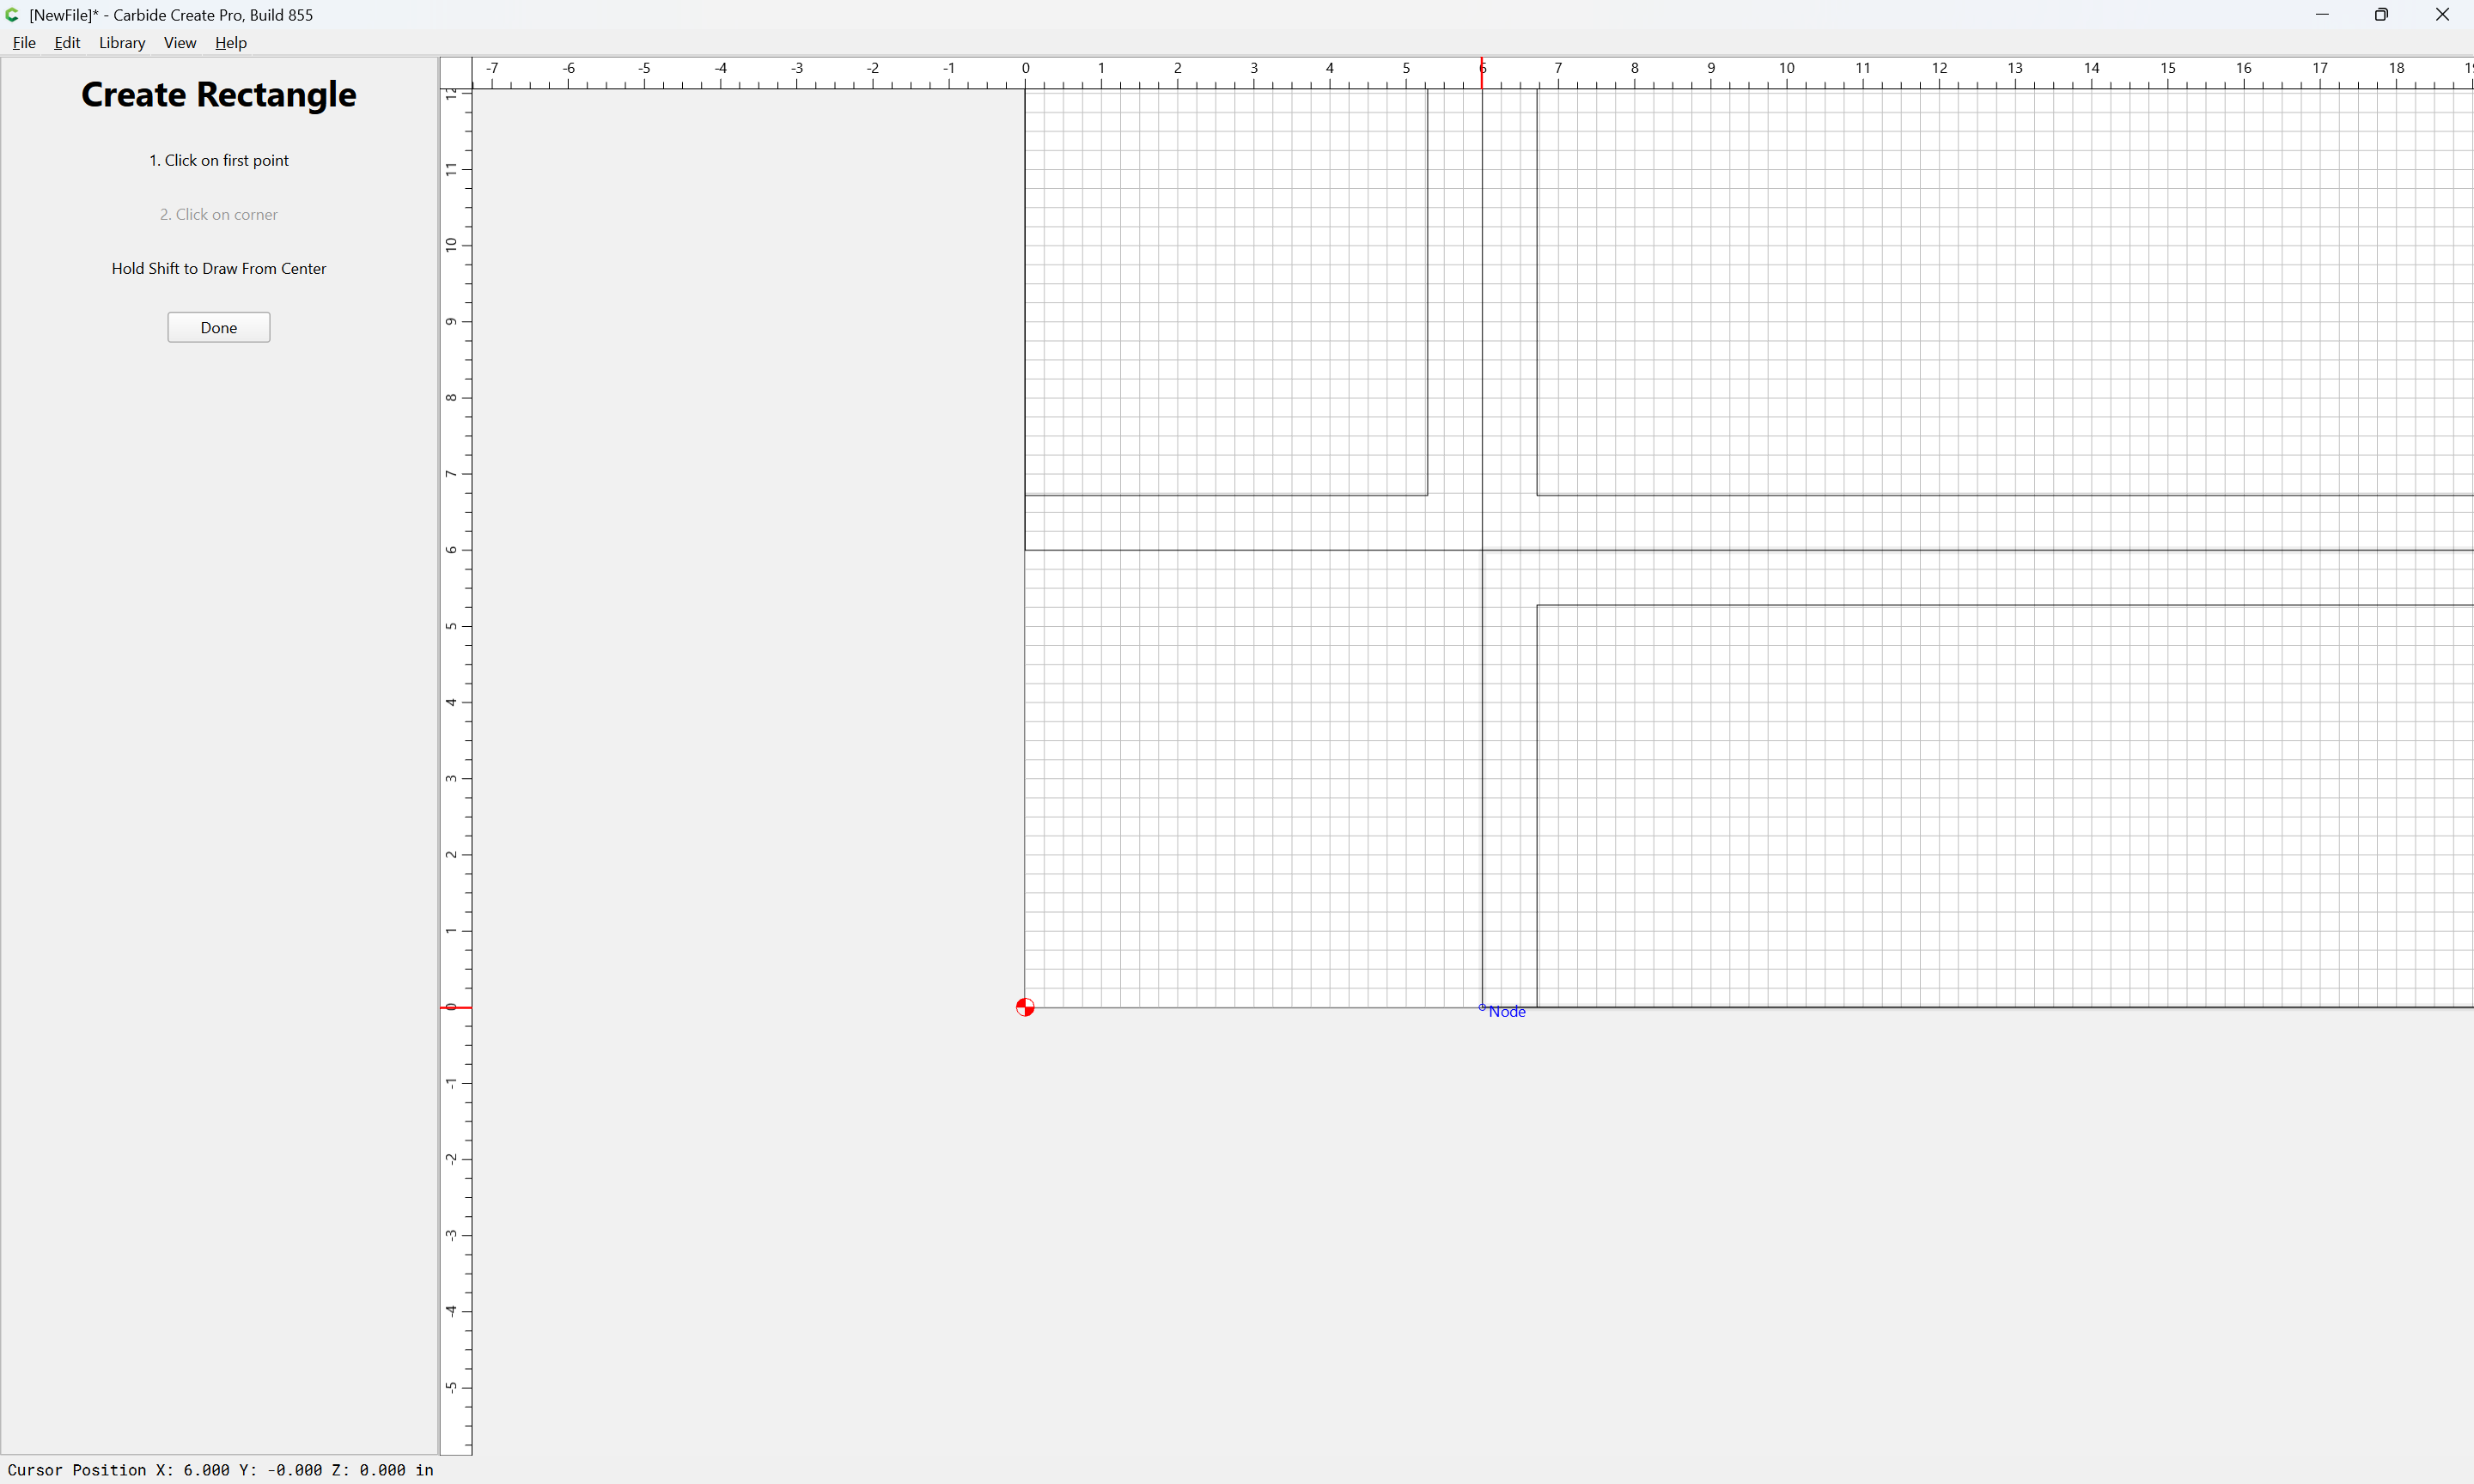
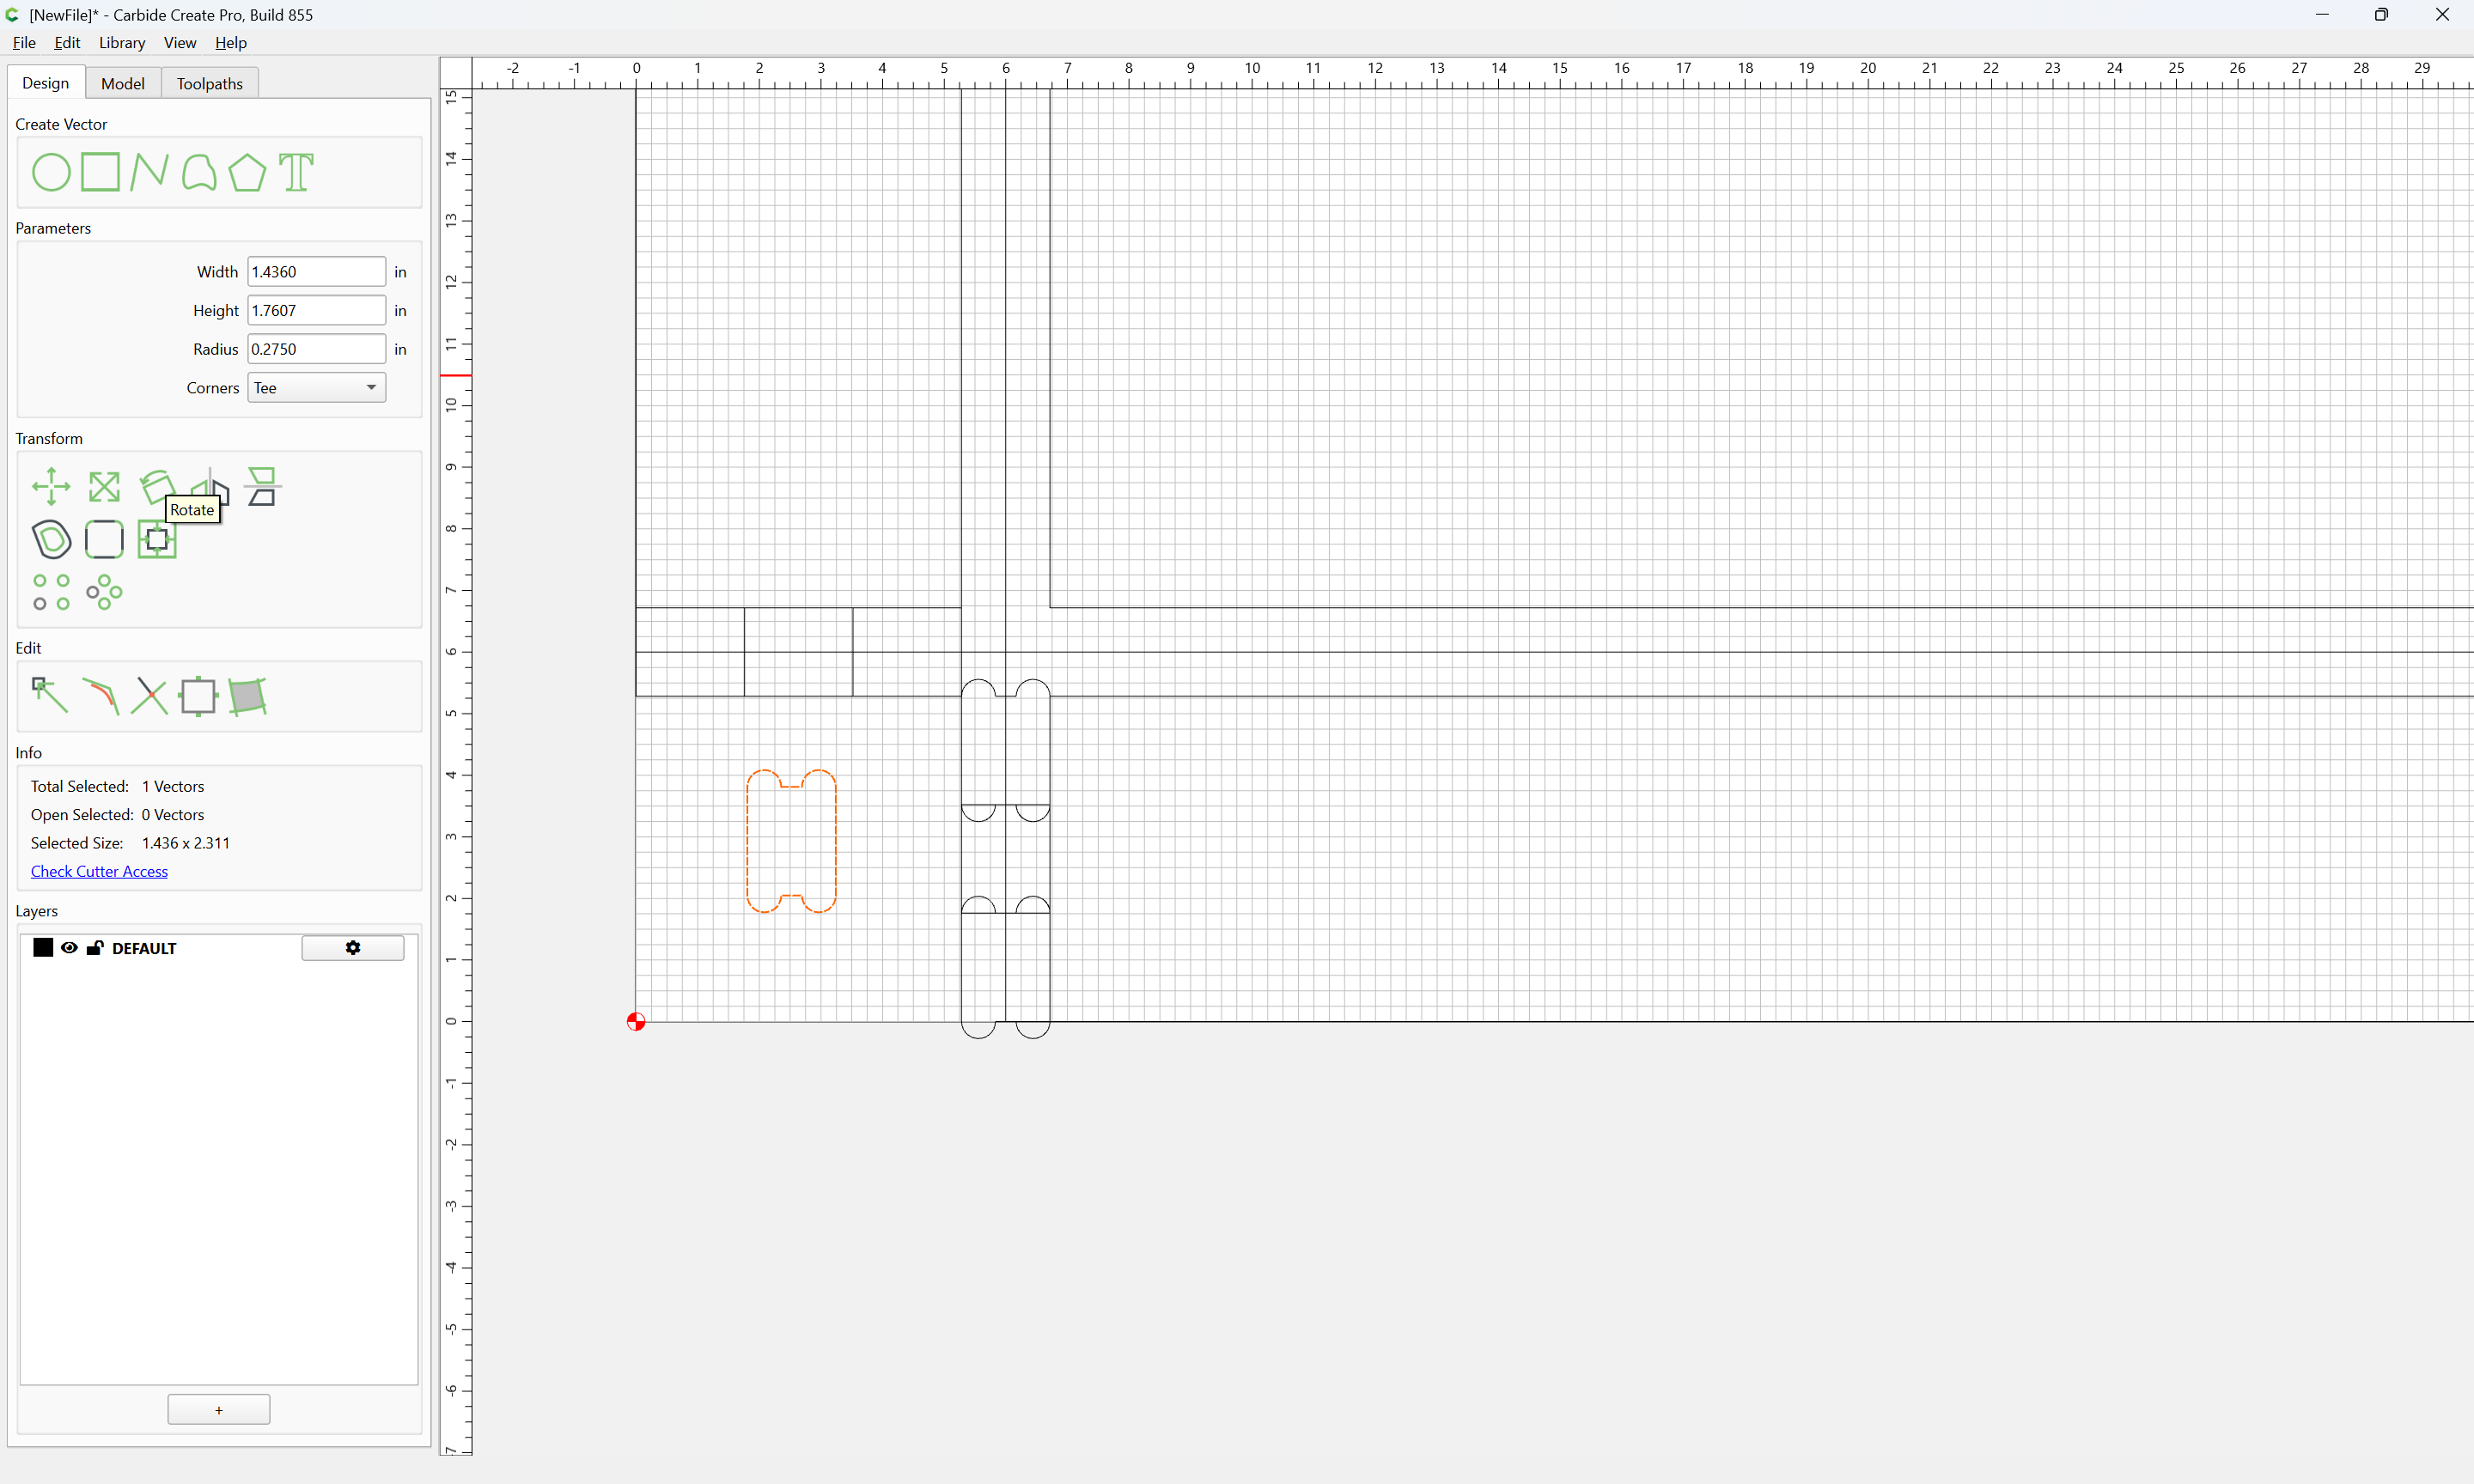
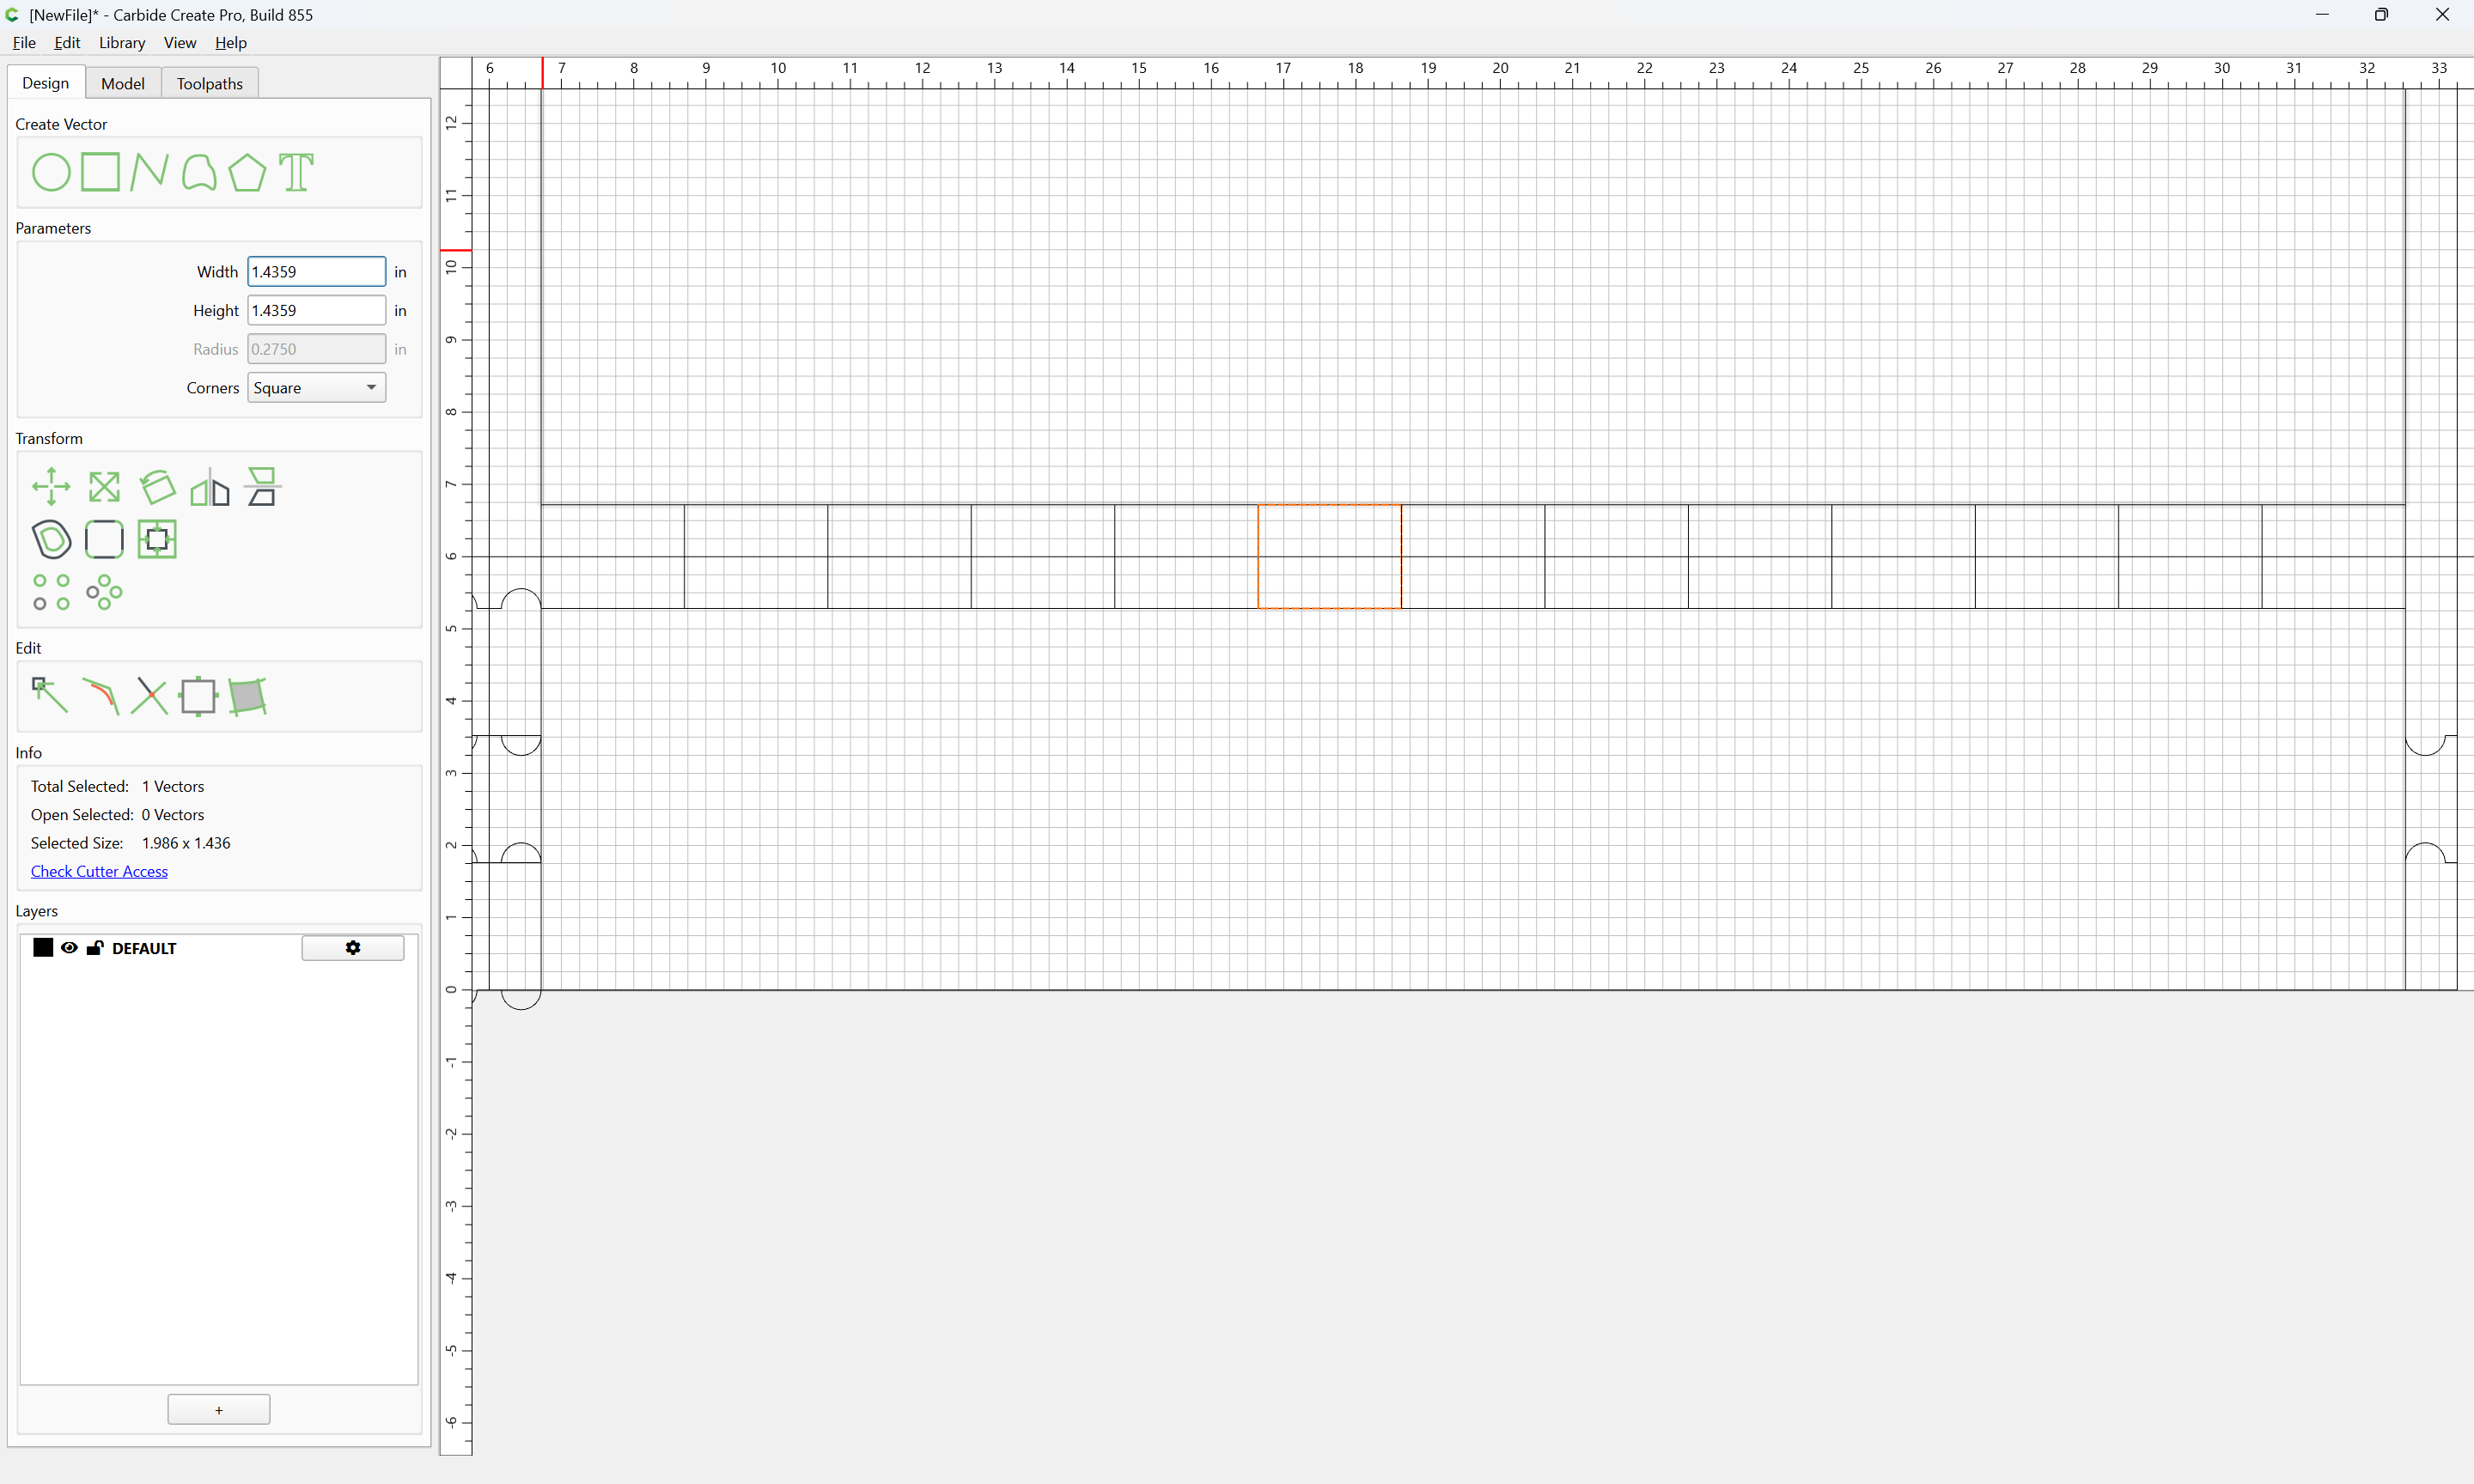
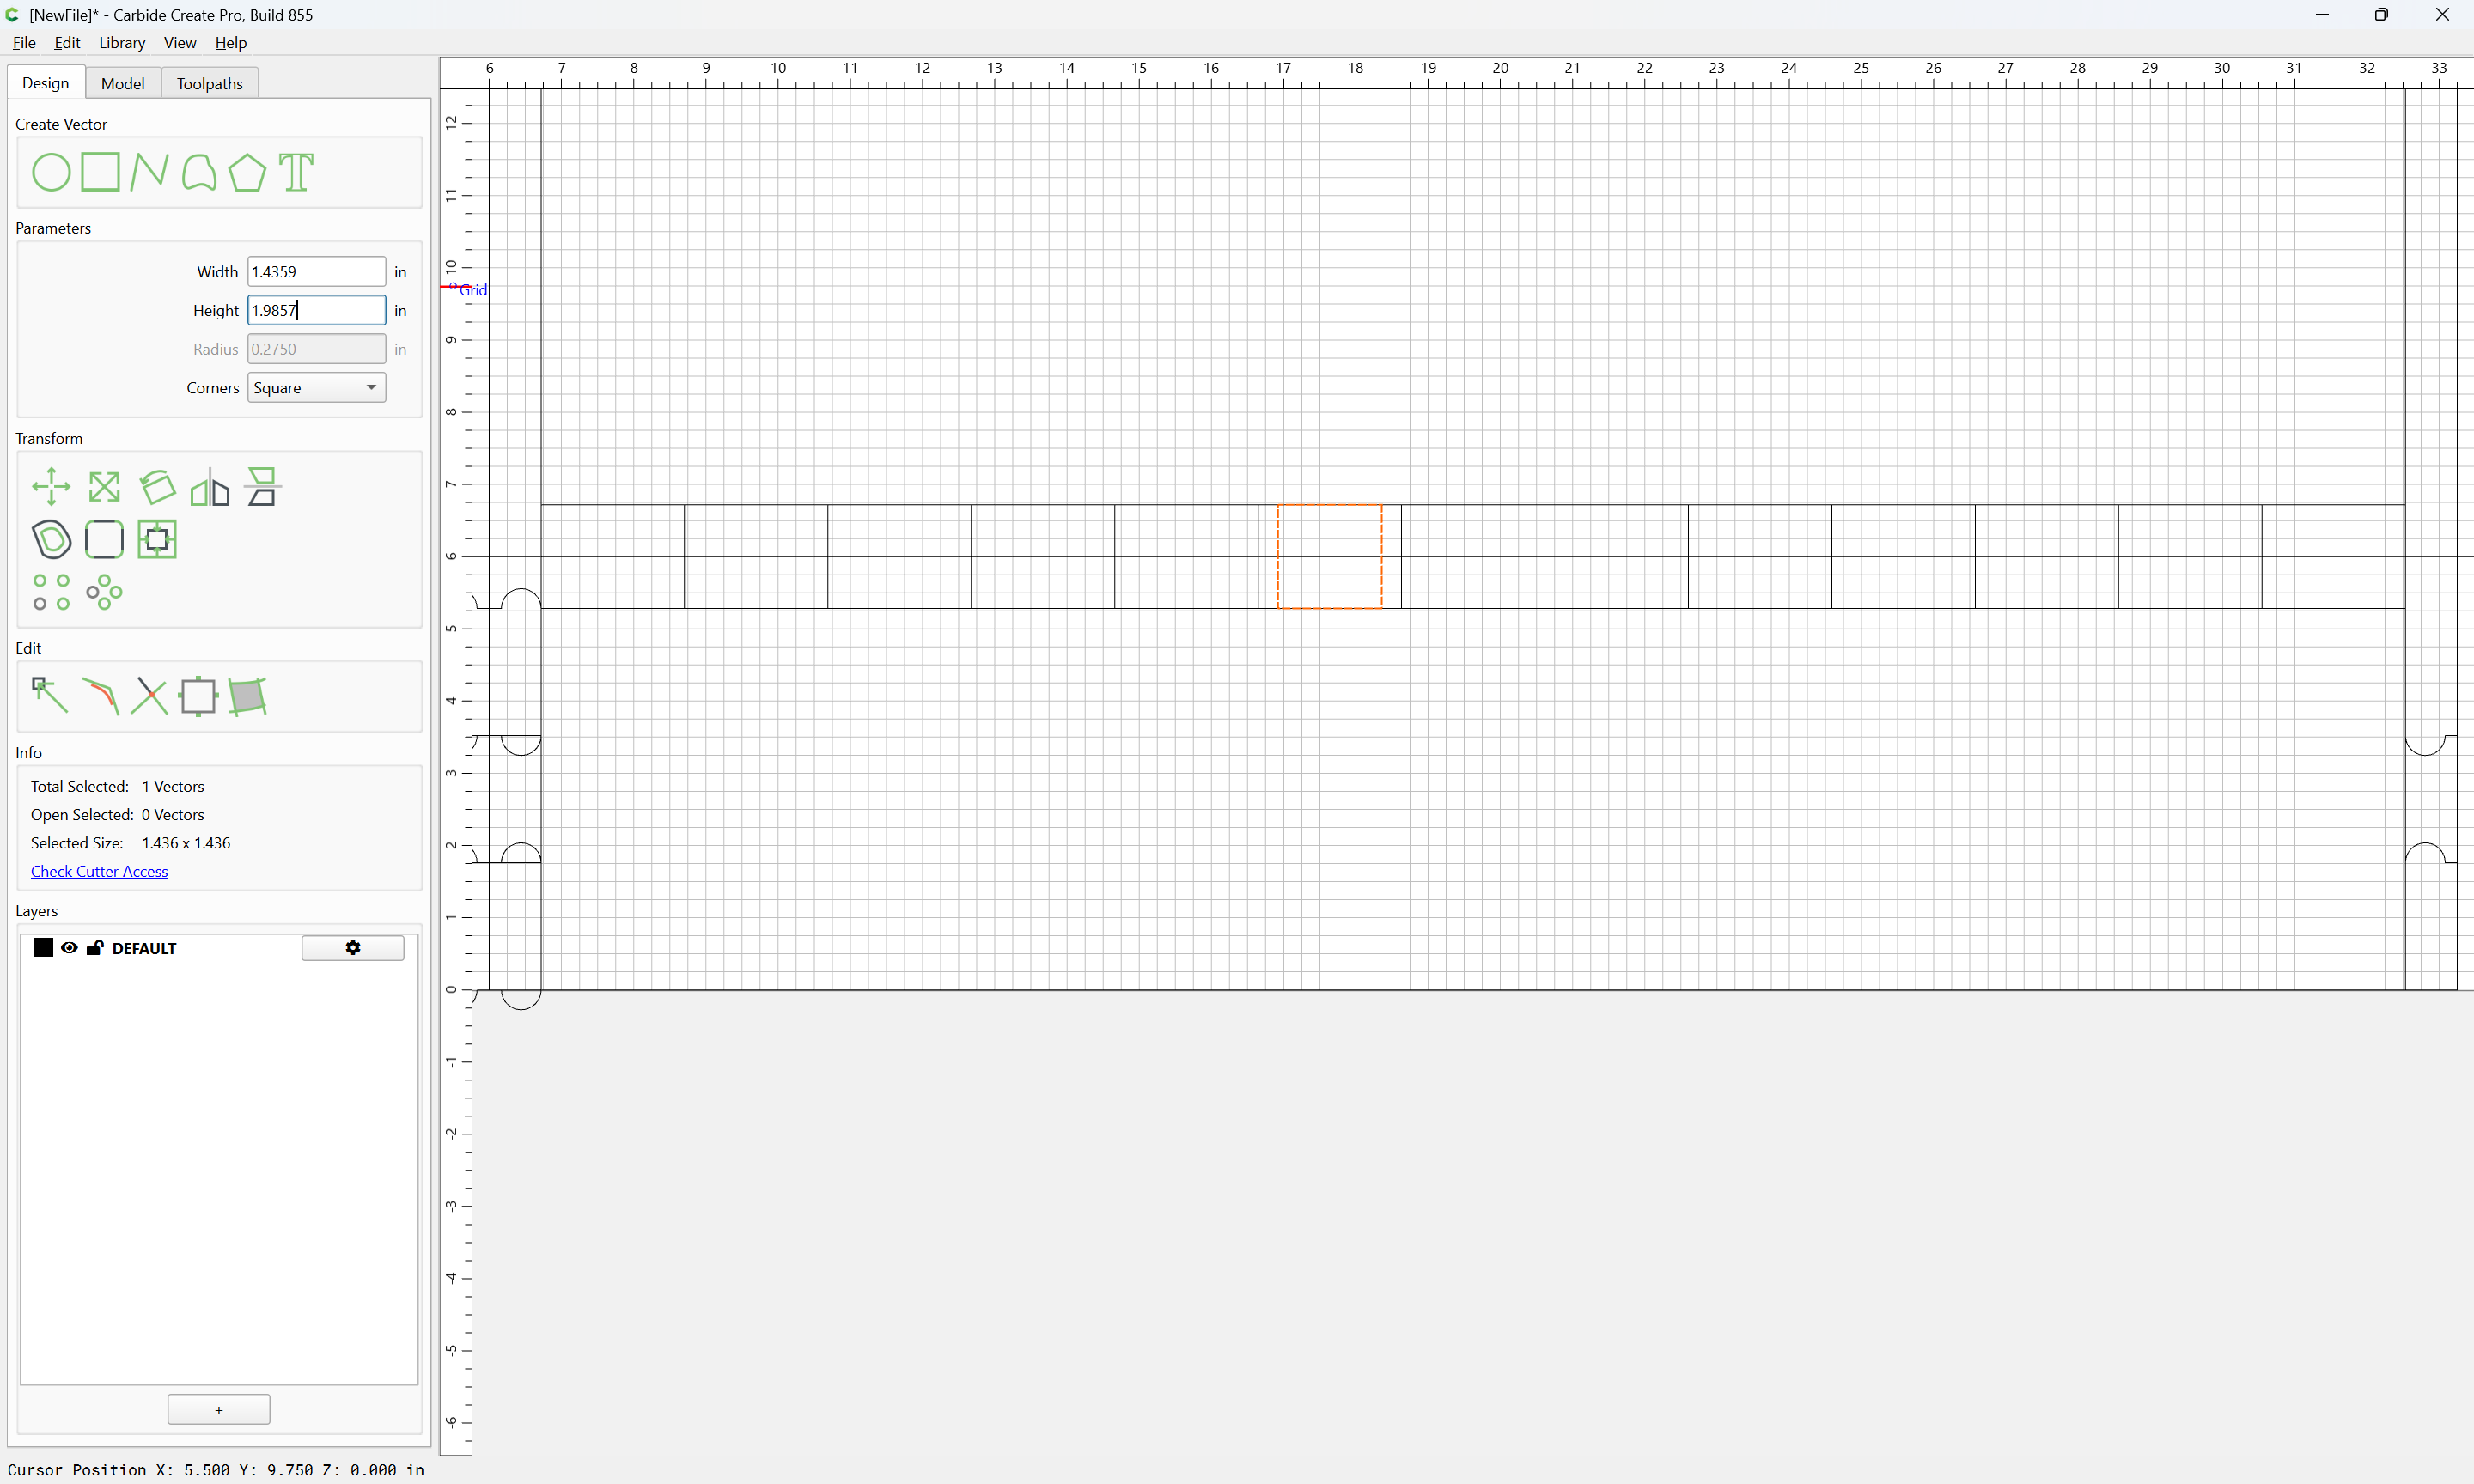
For each set of box joints will will be necessary to draw and position and format geometry to match:
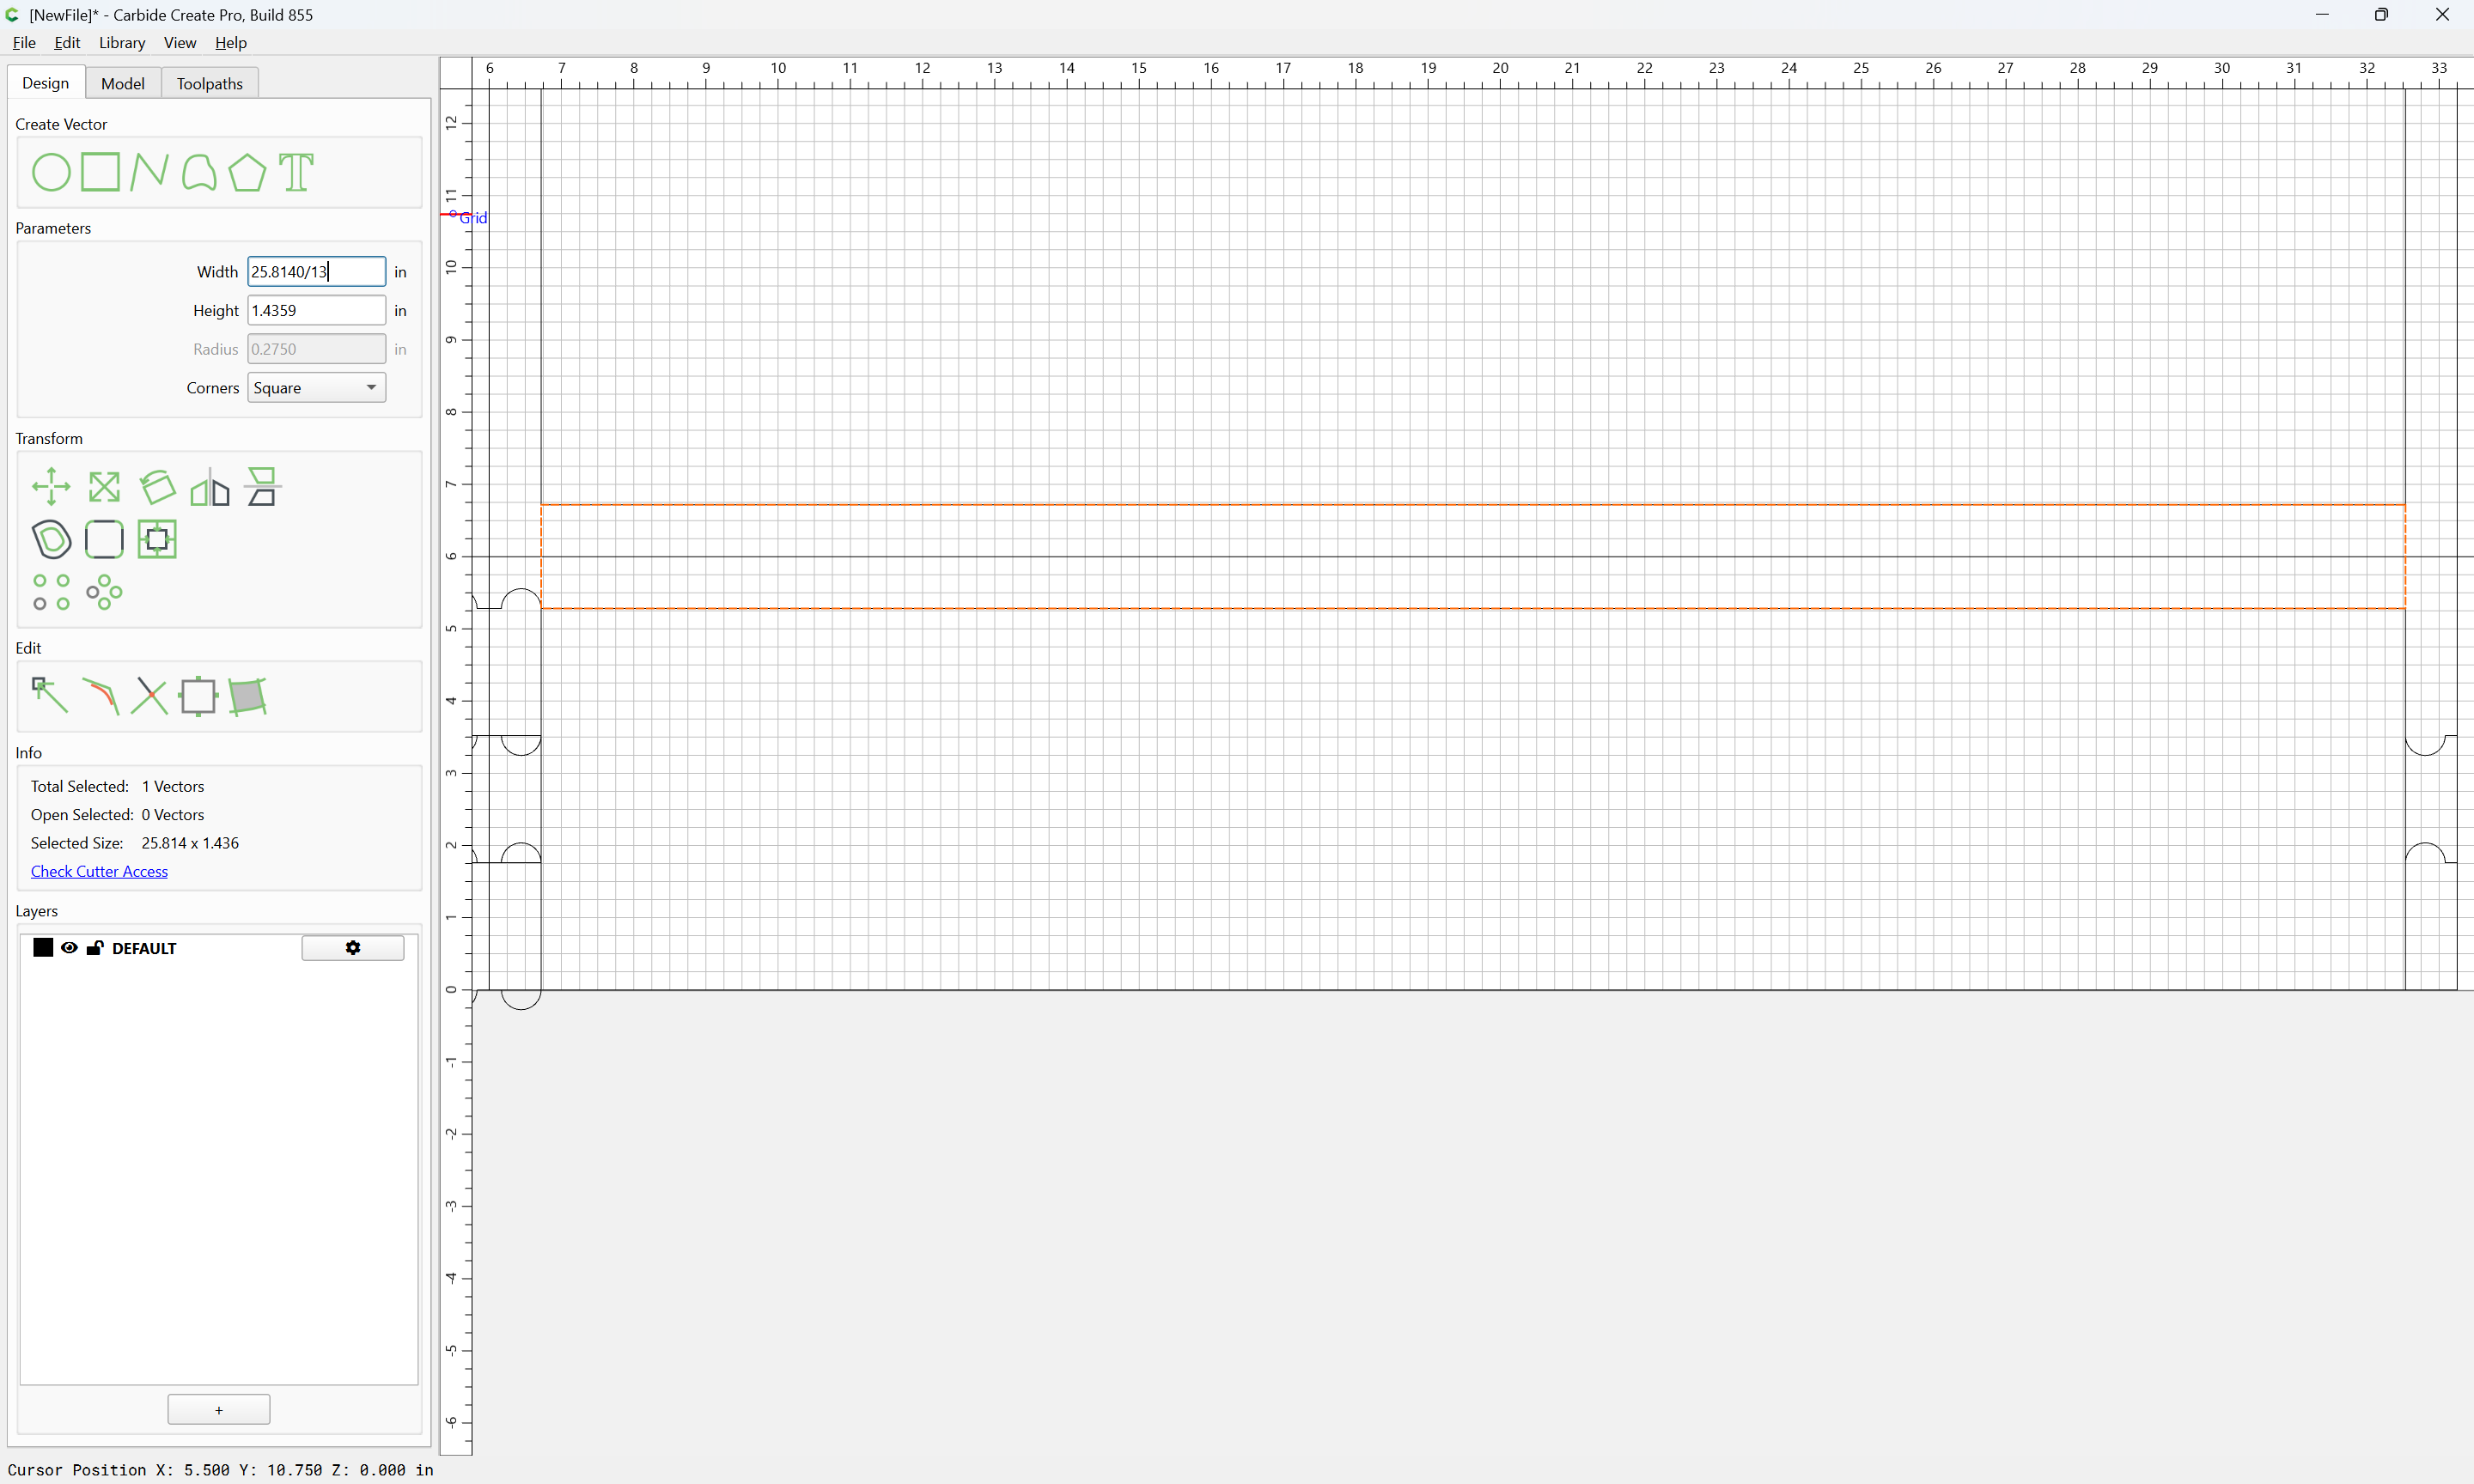
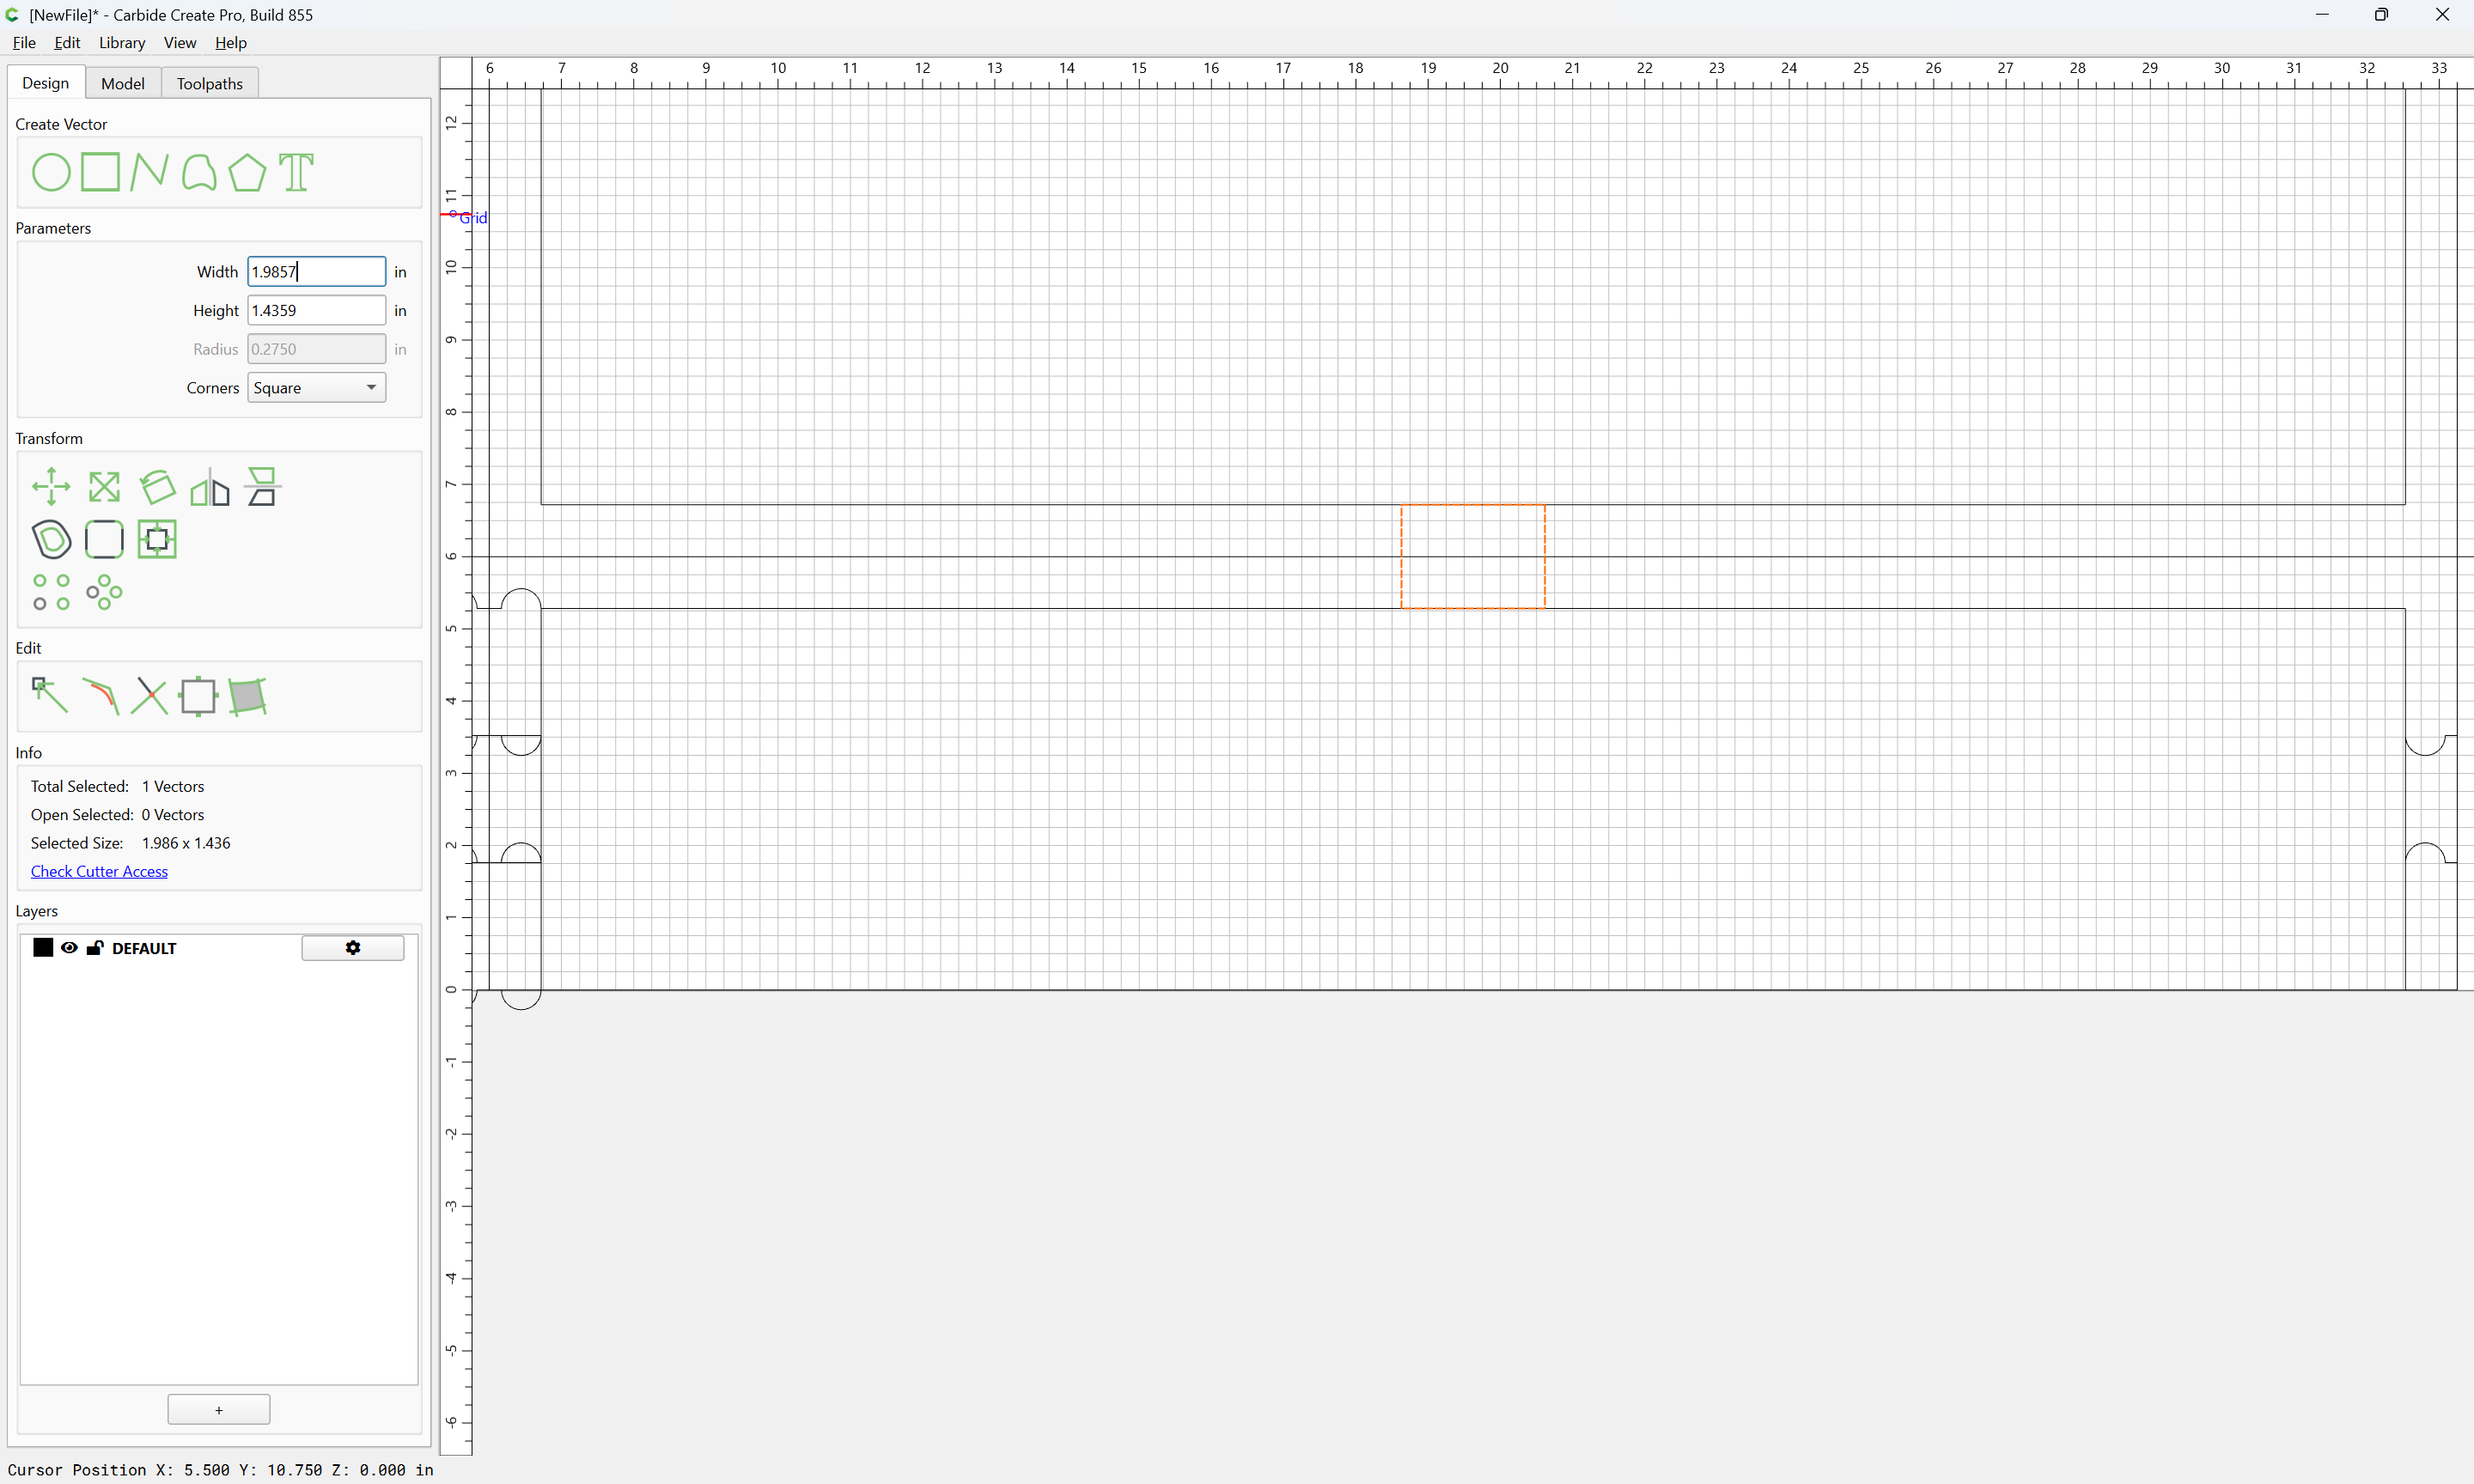
Dividing by the desired number of joint elements:
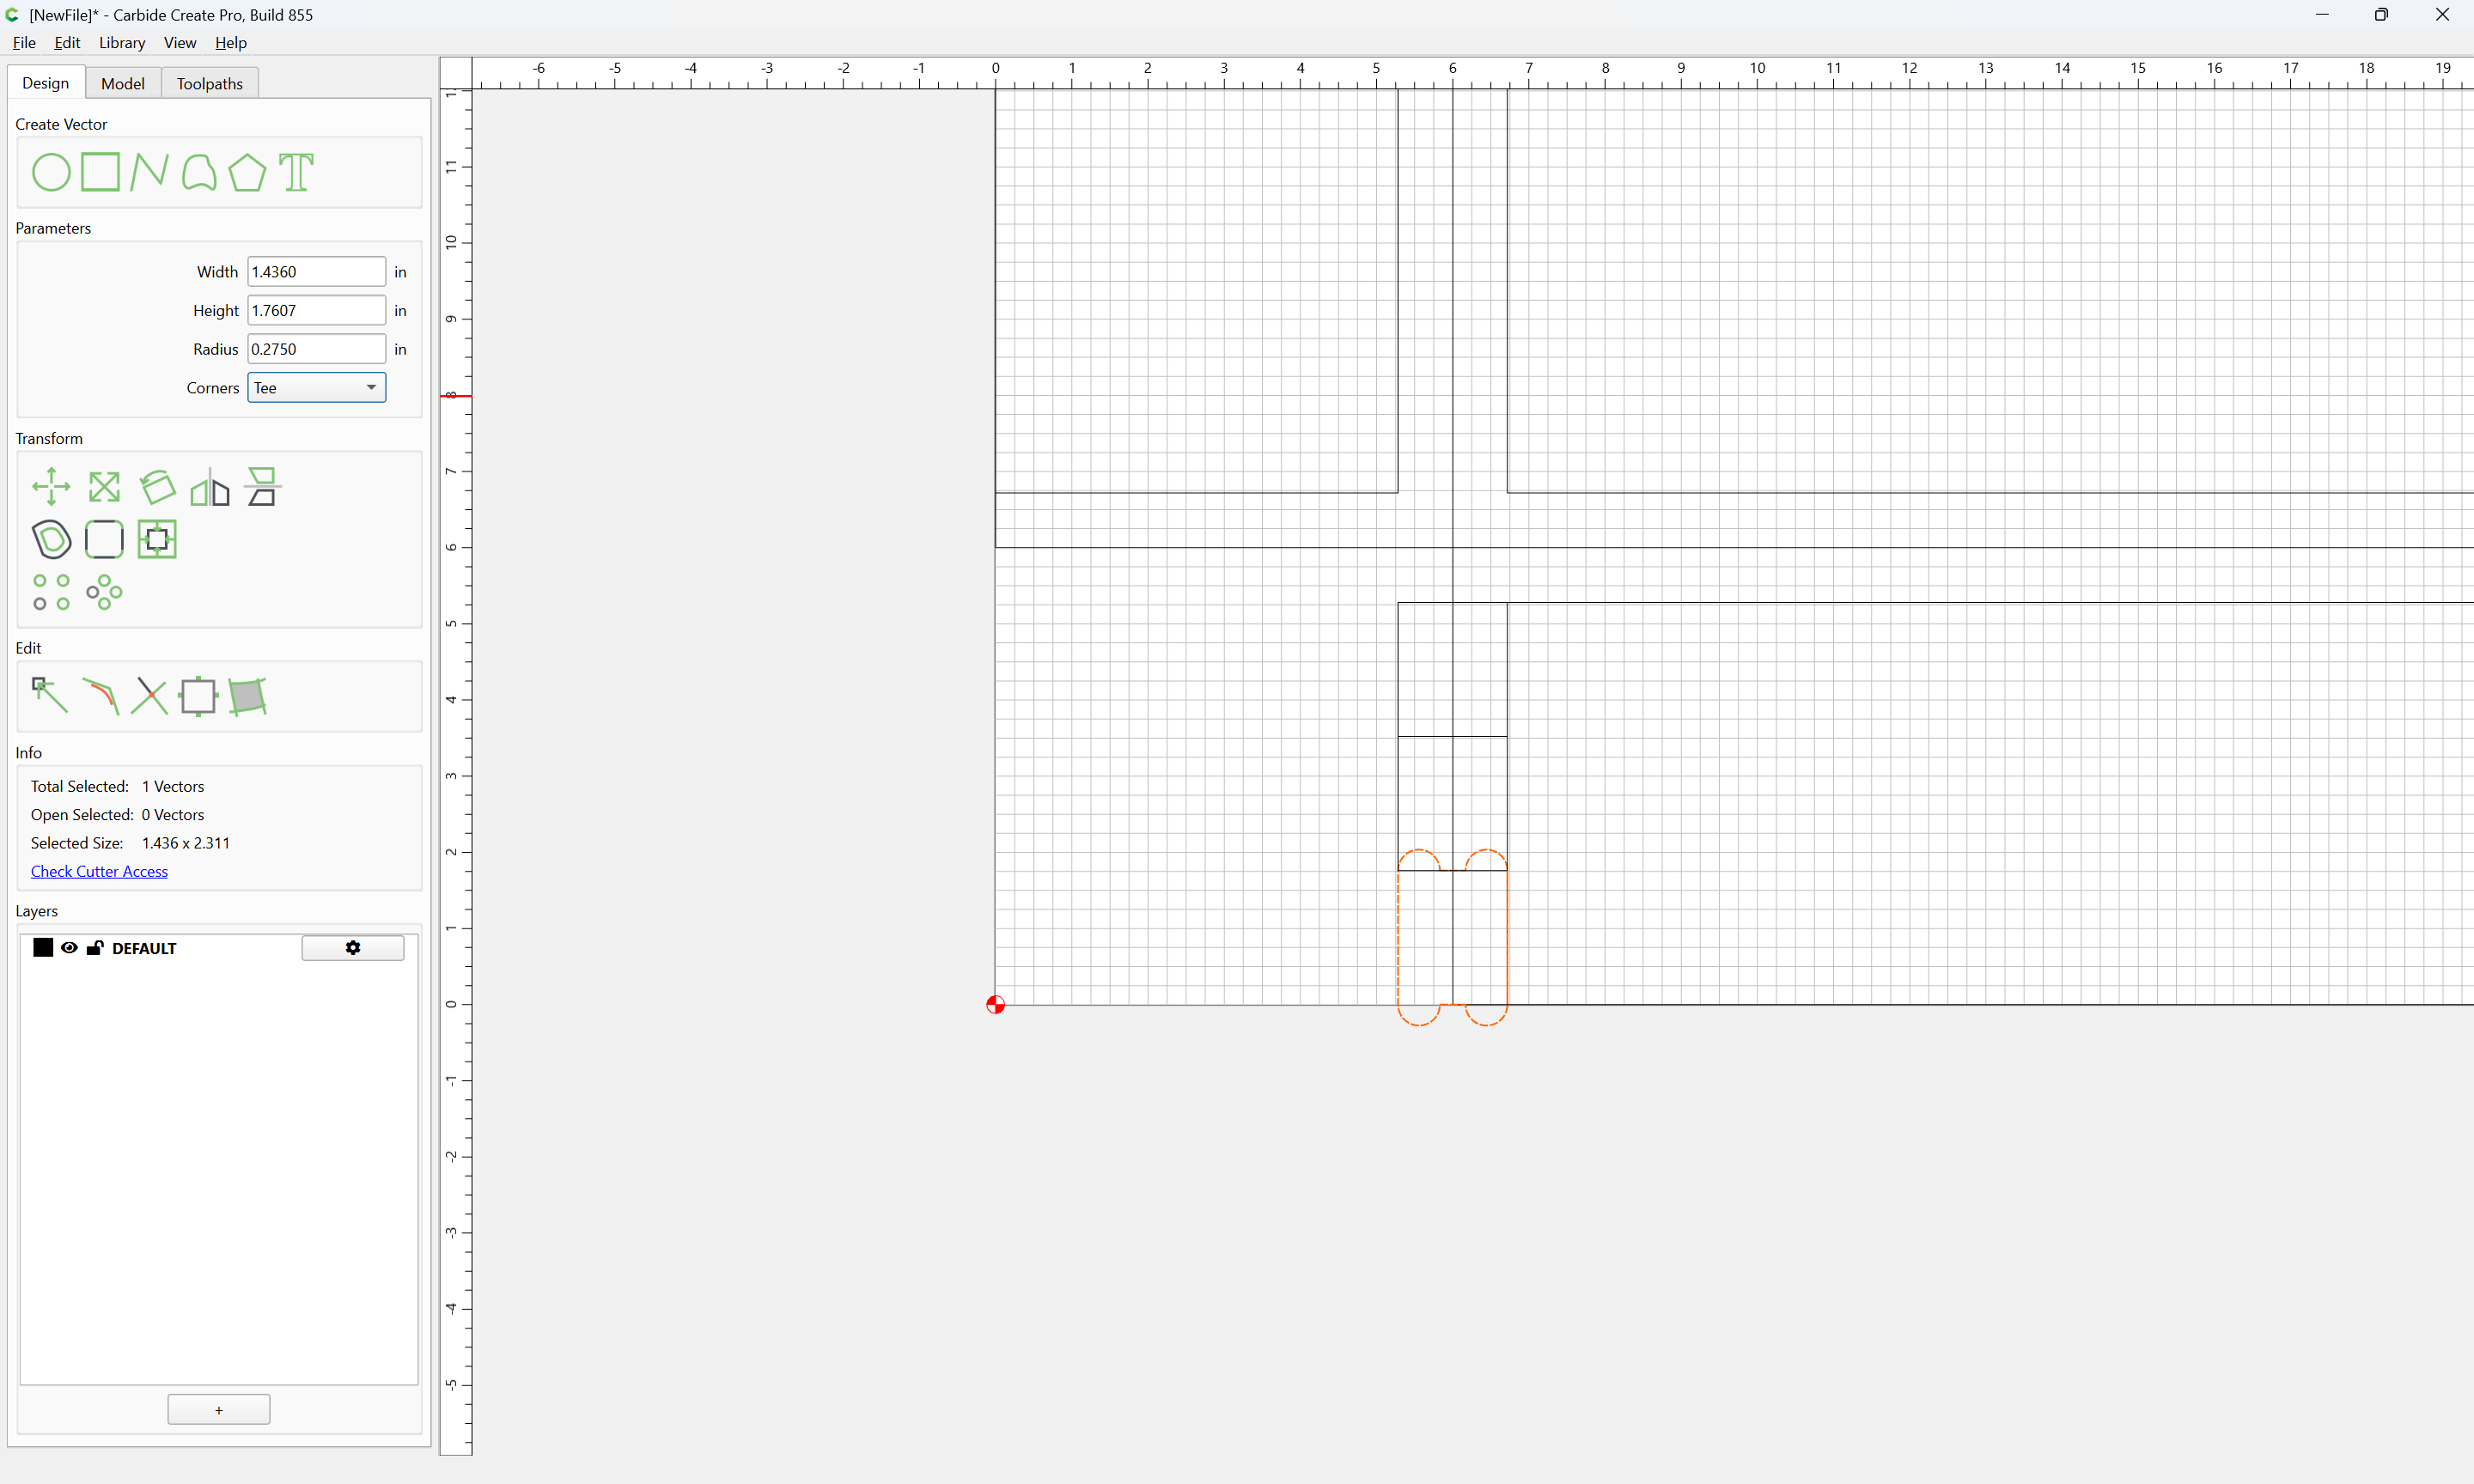
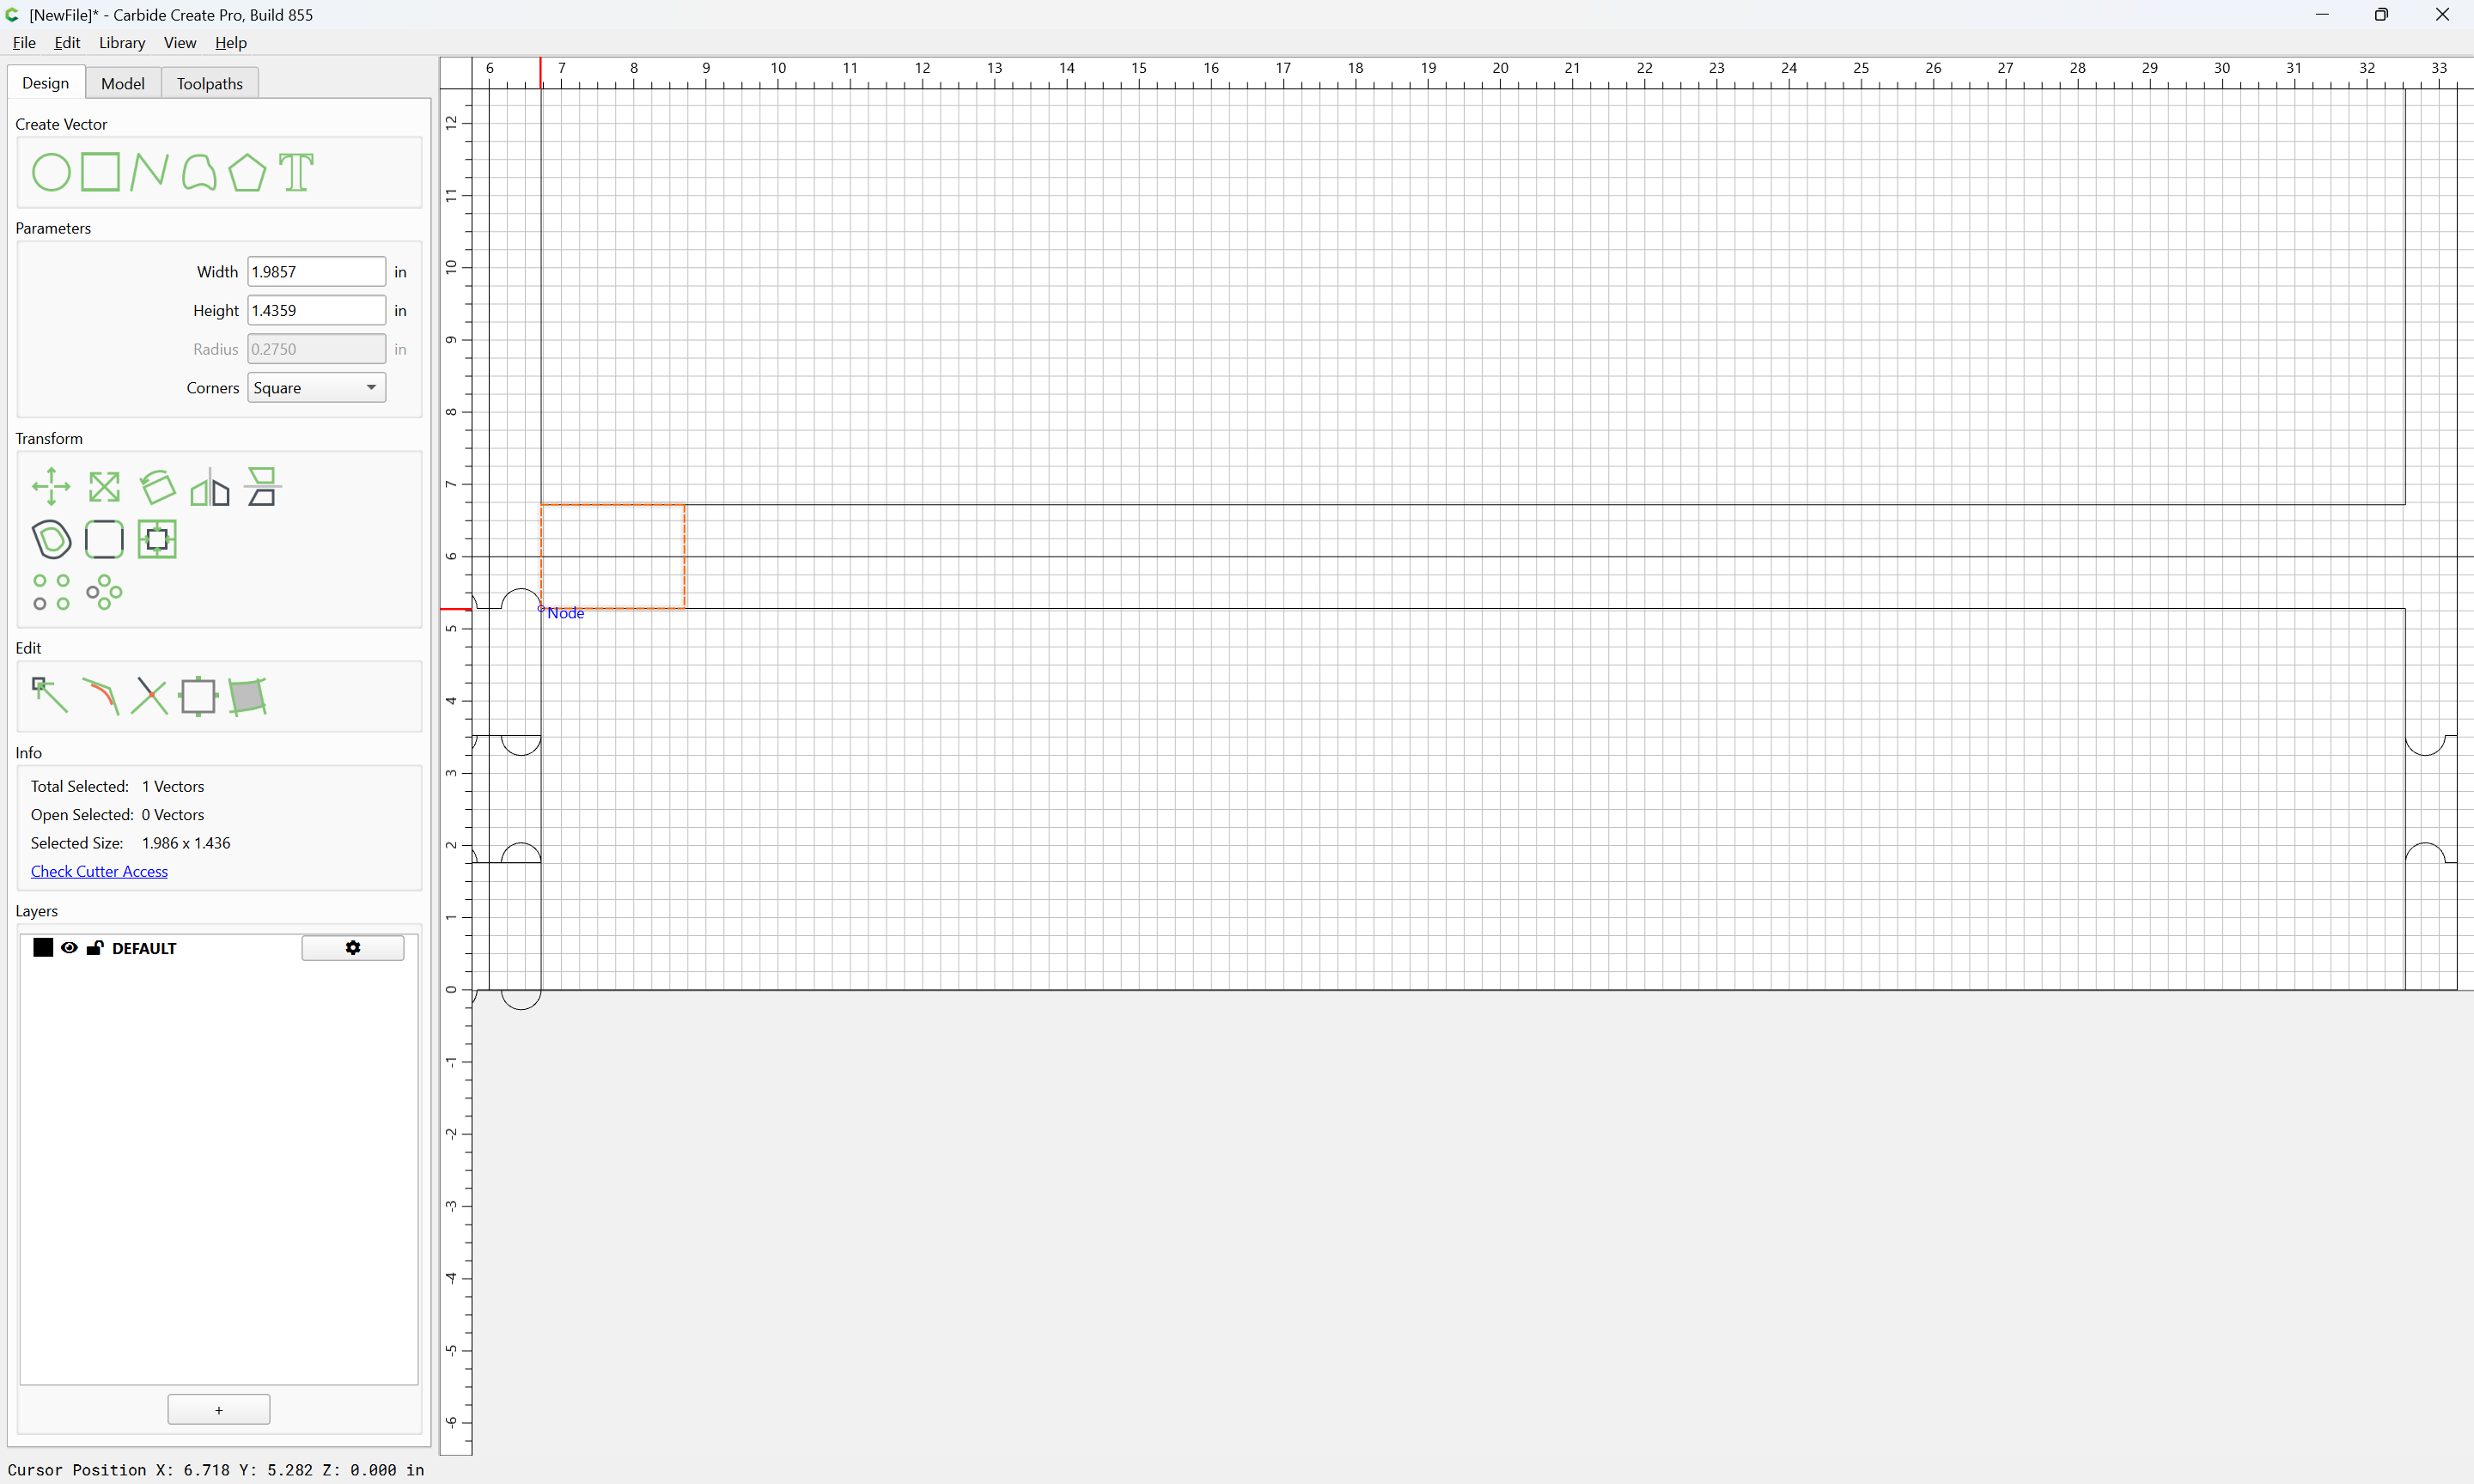
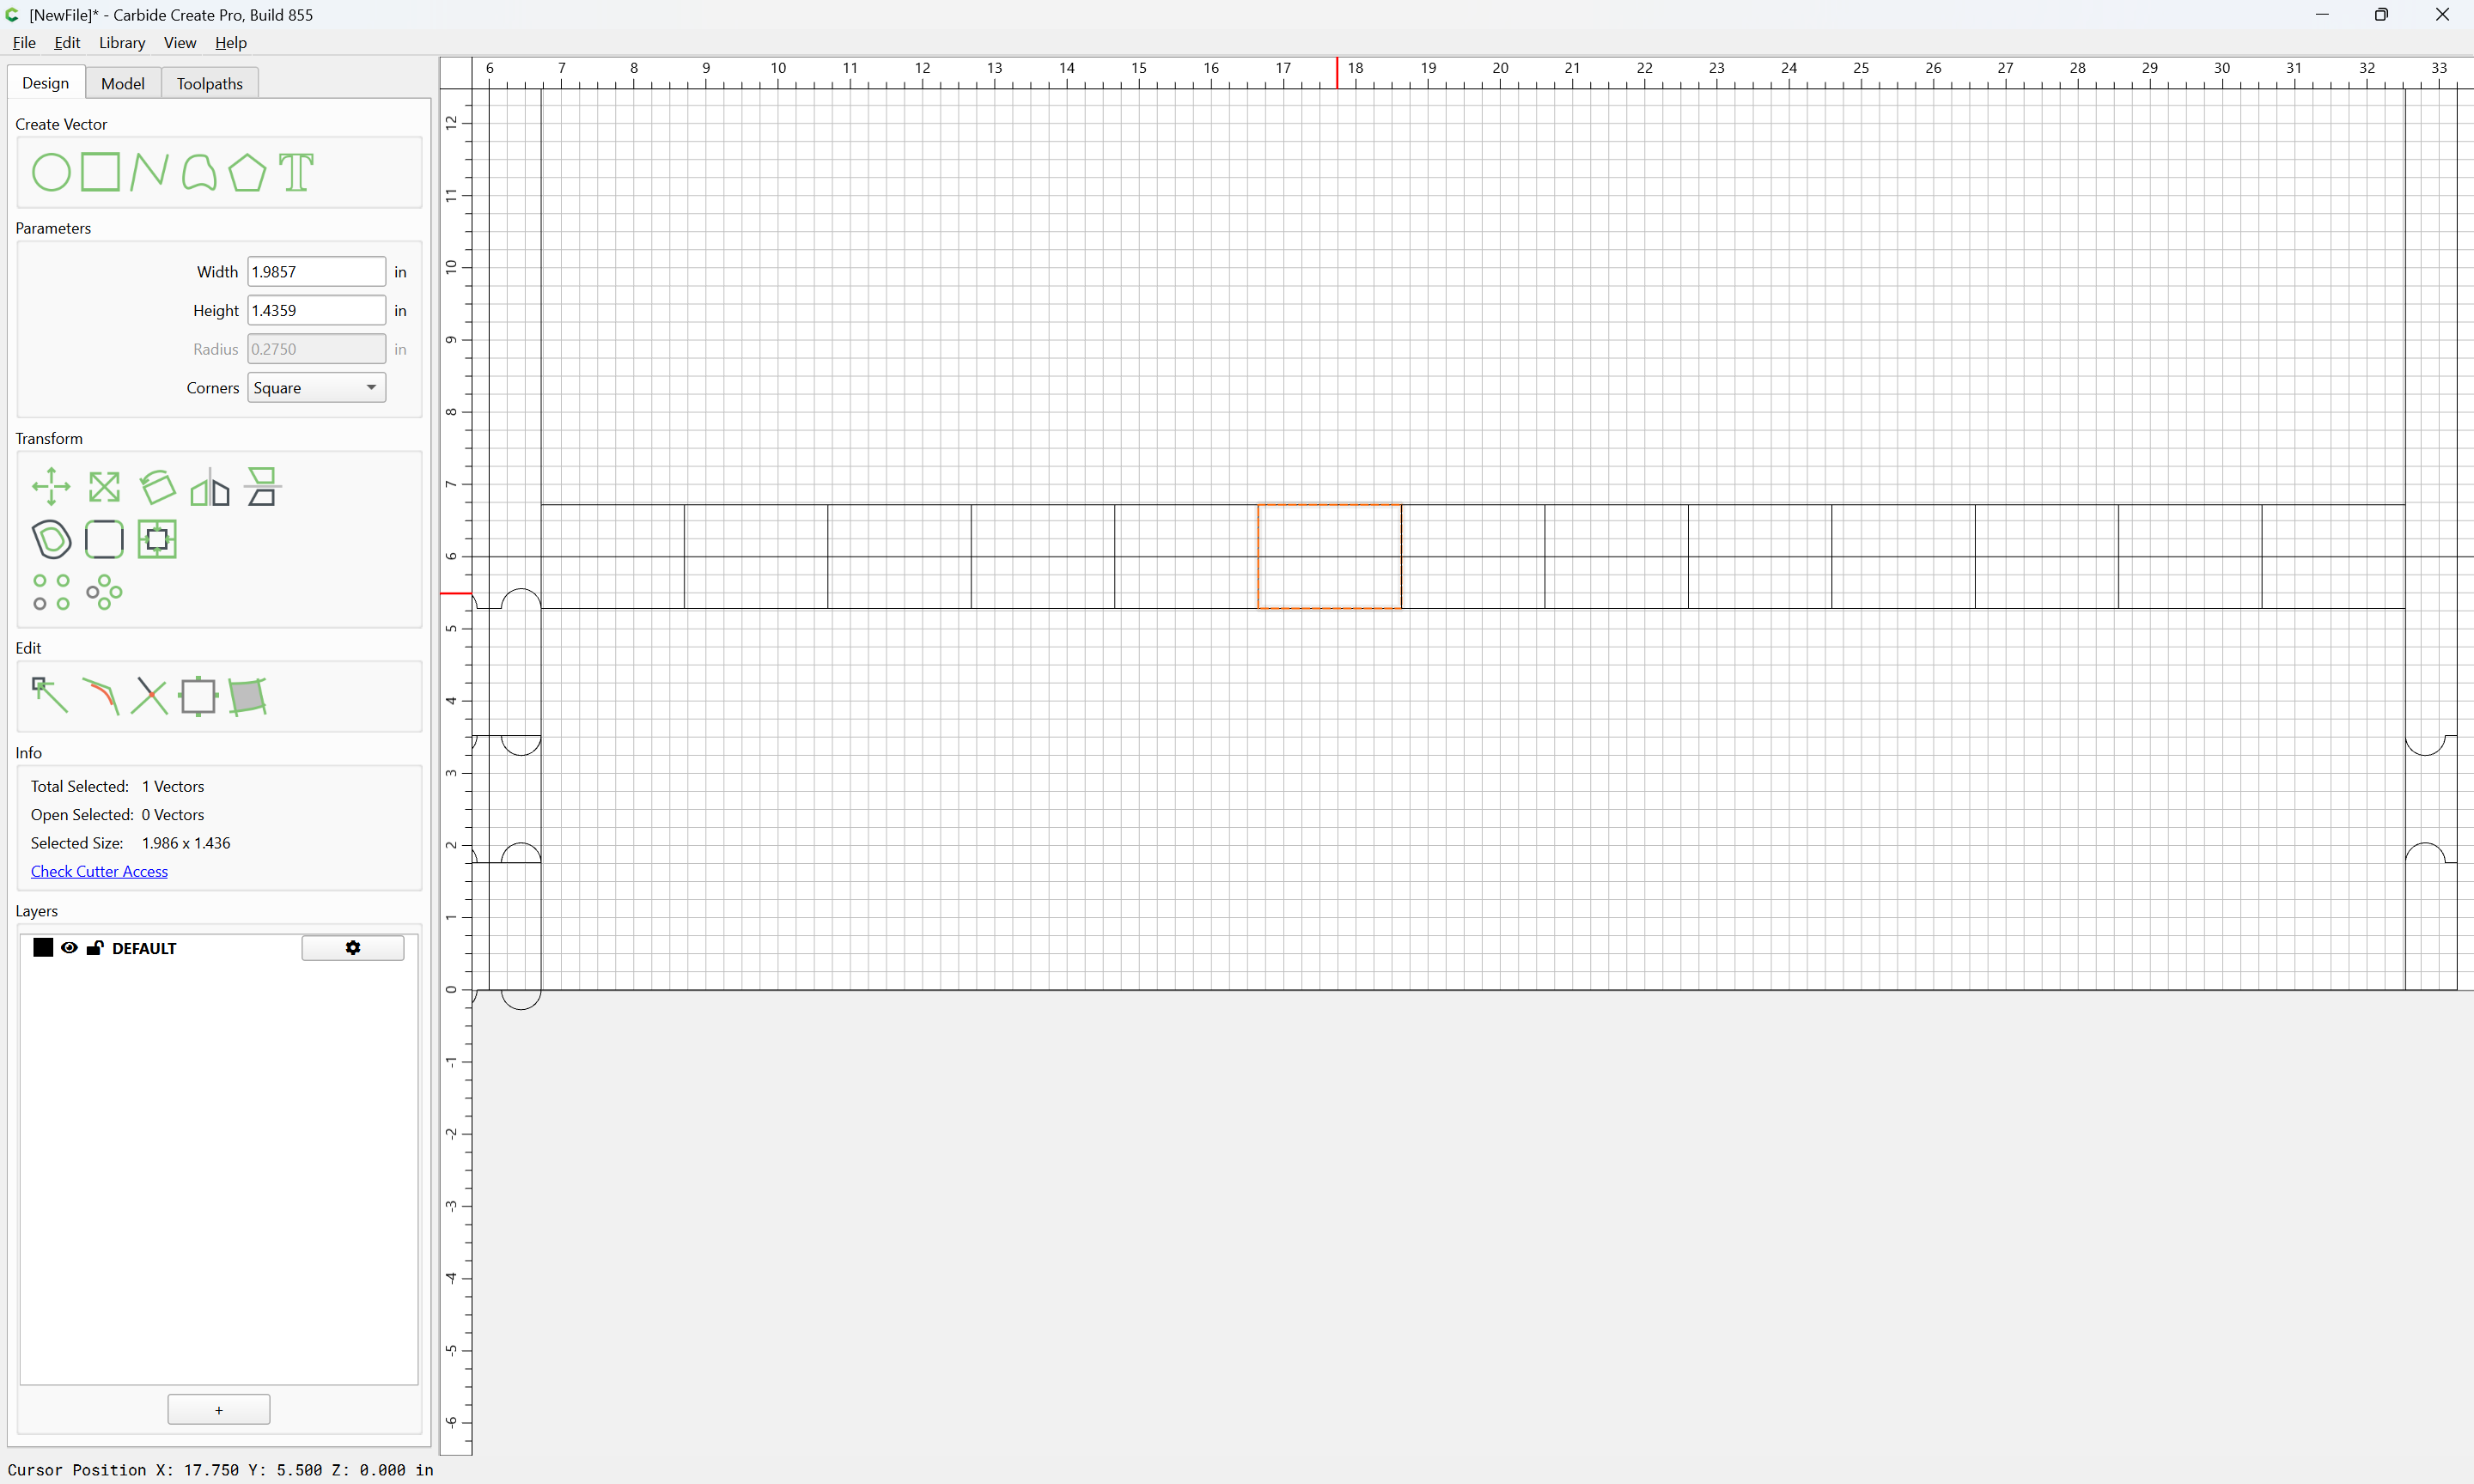
Once one has a piece of geometry of the desired size:
which is in the correct position:
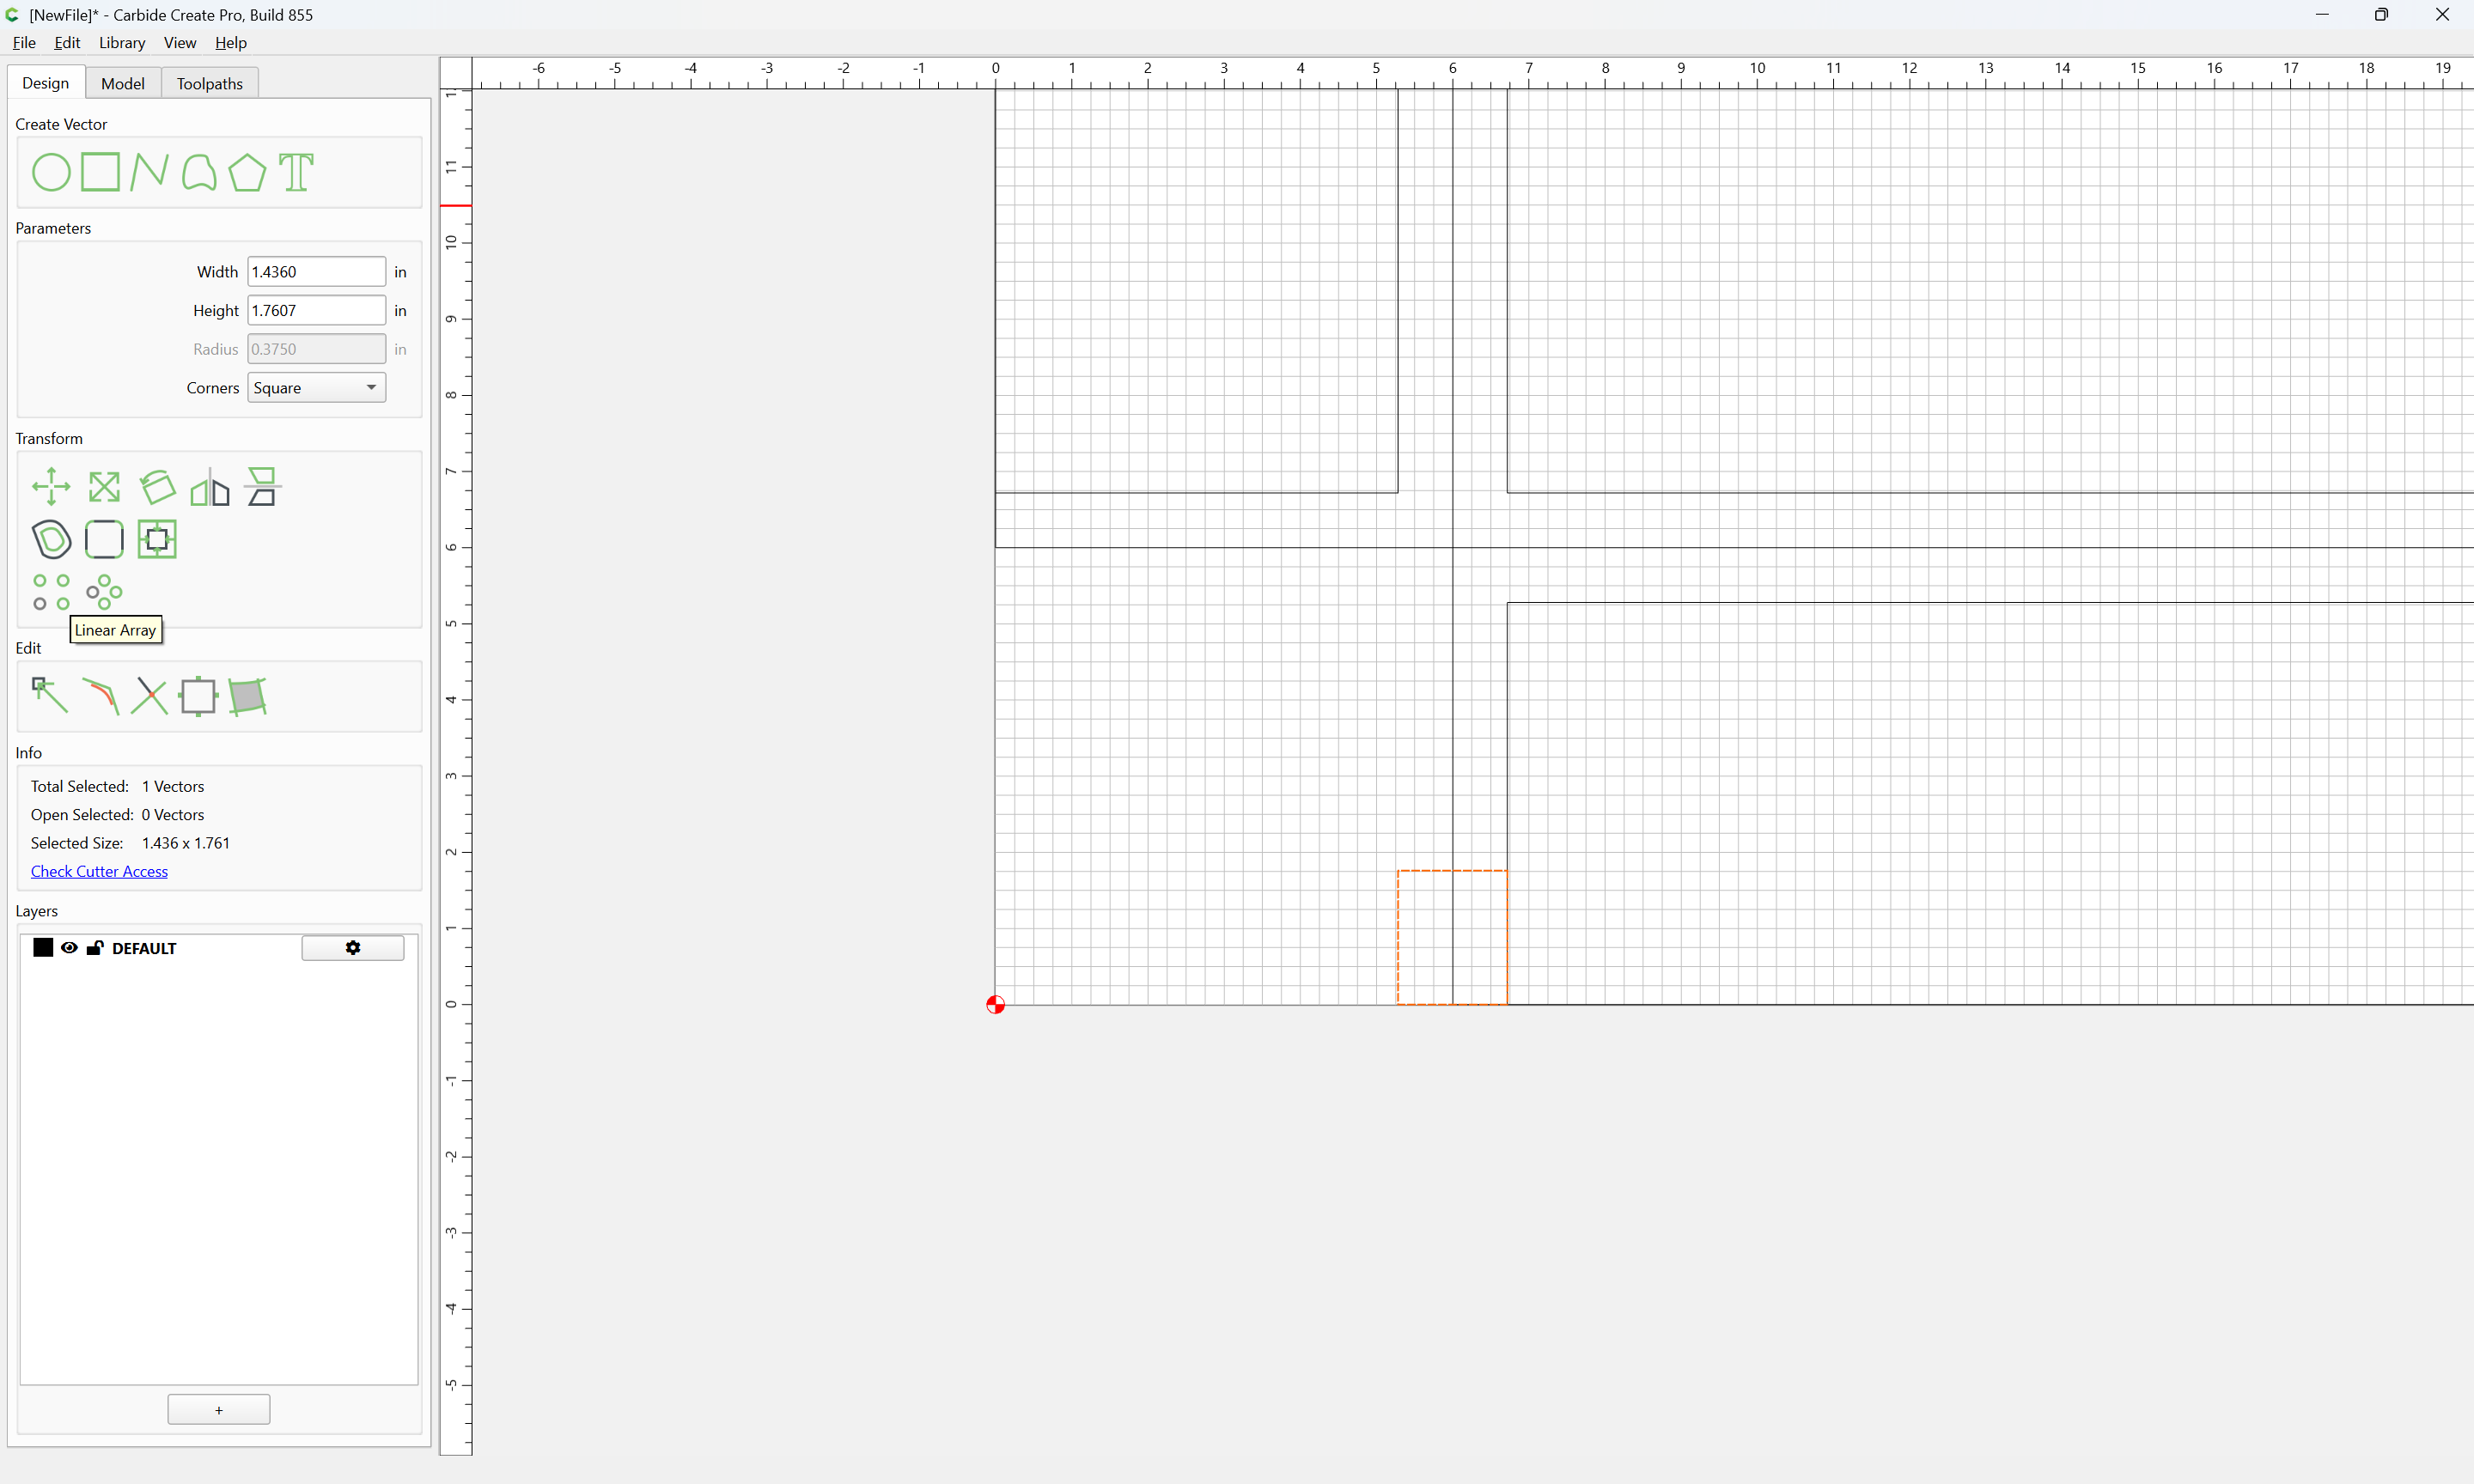
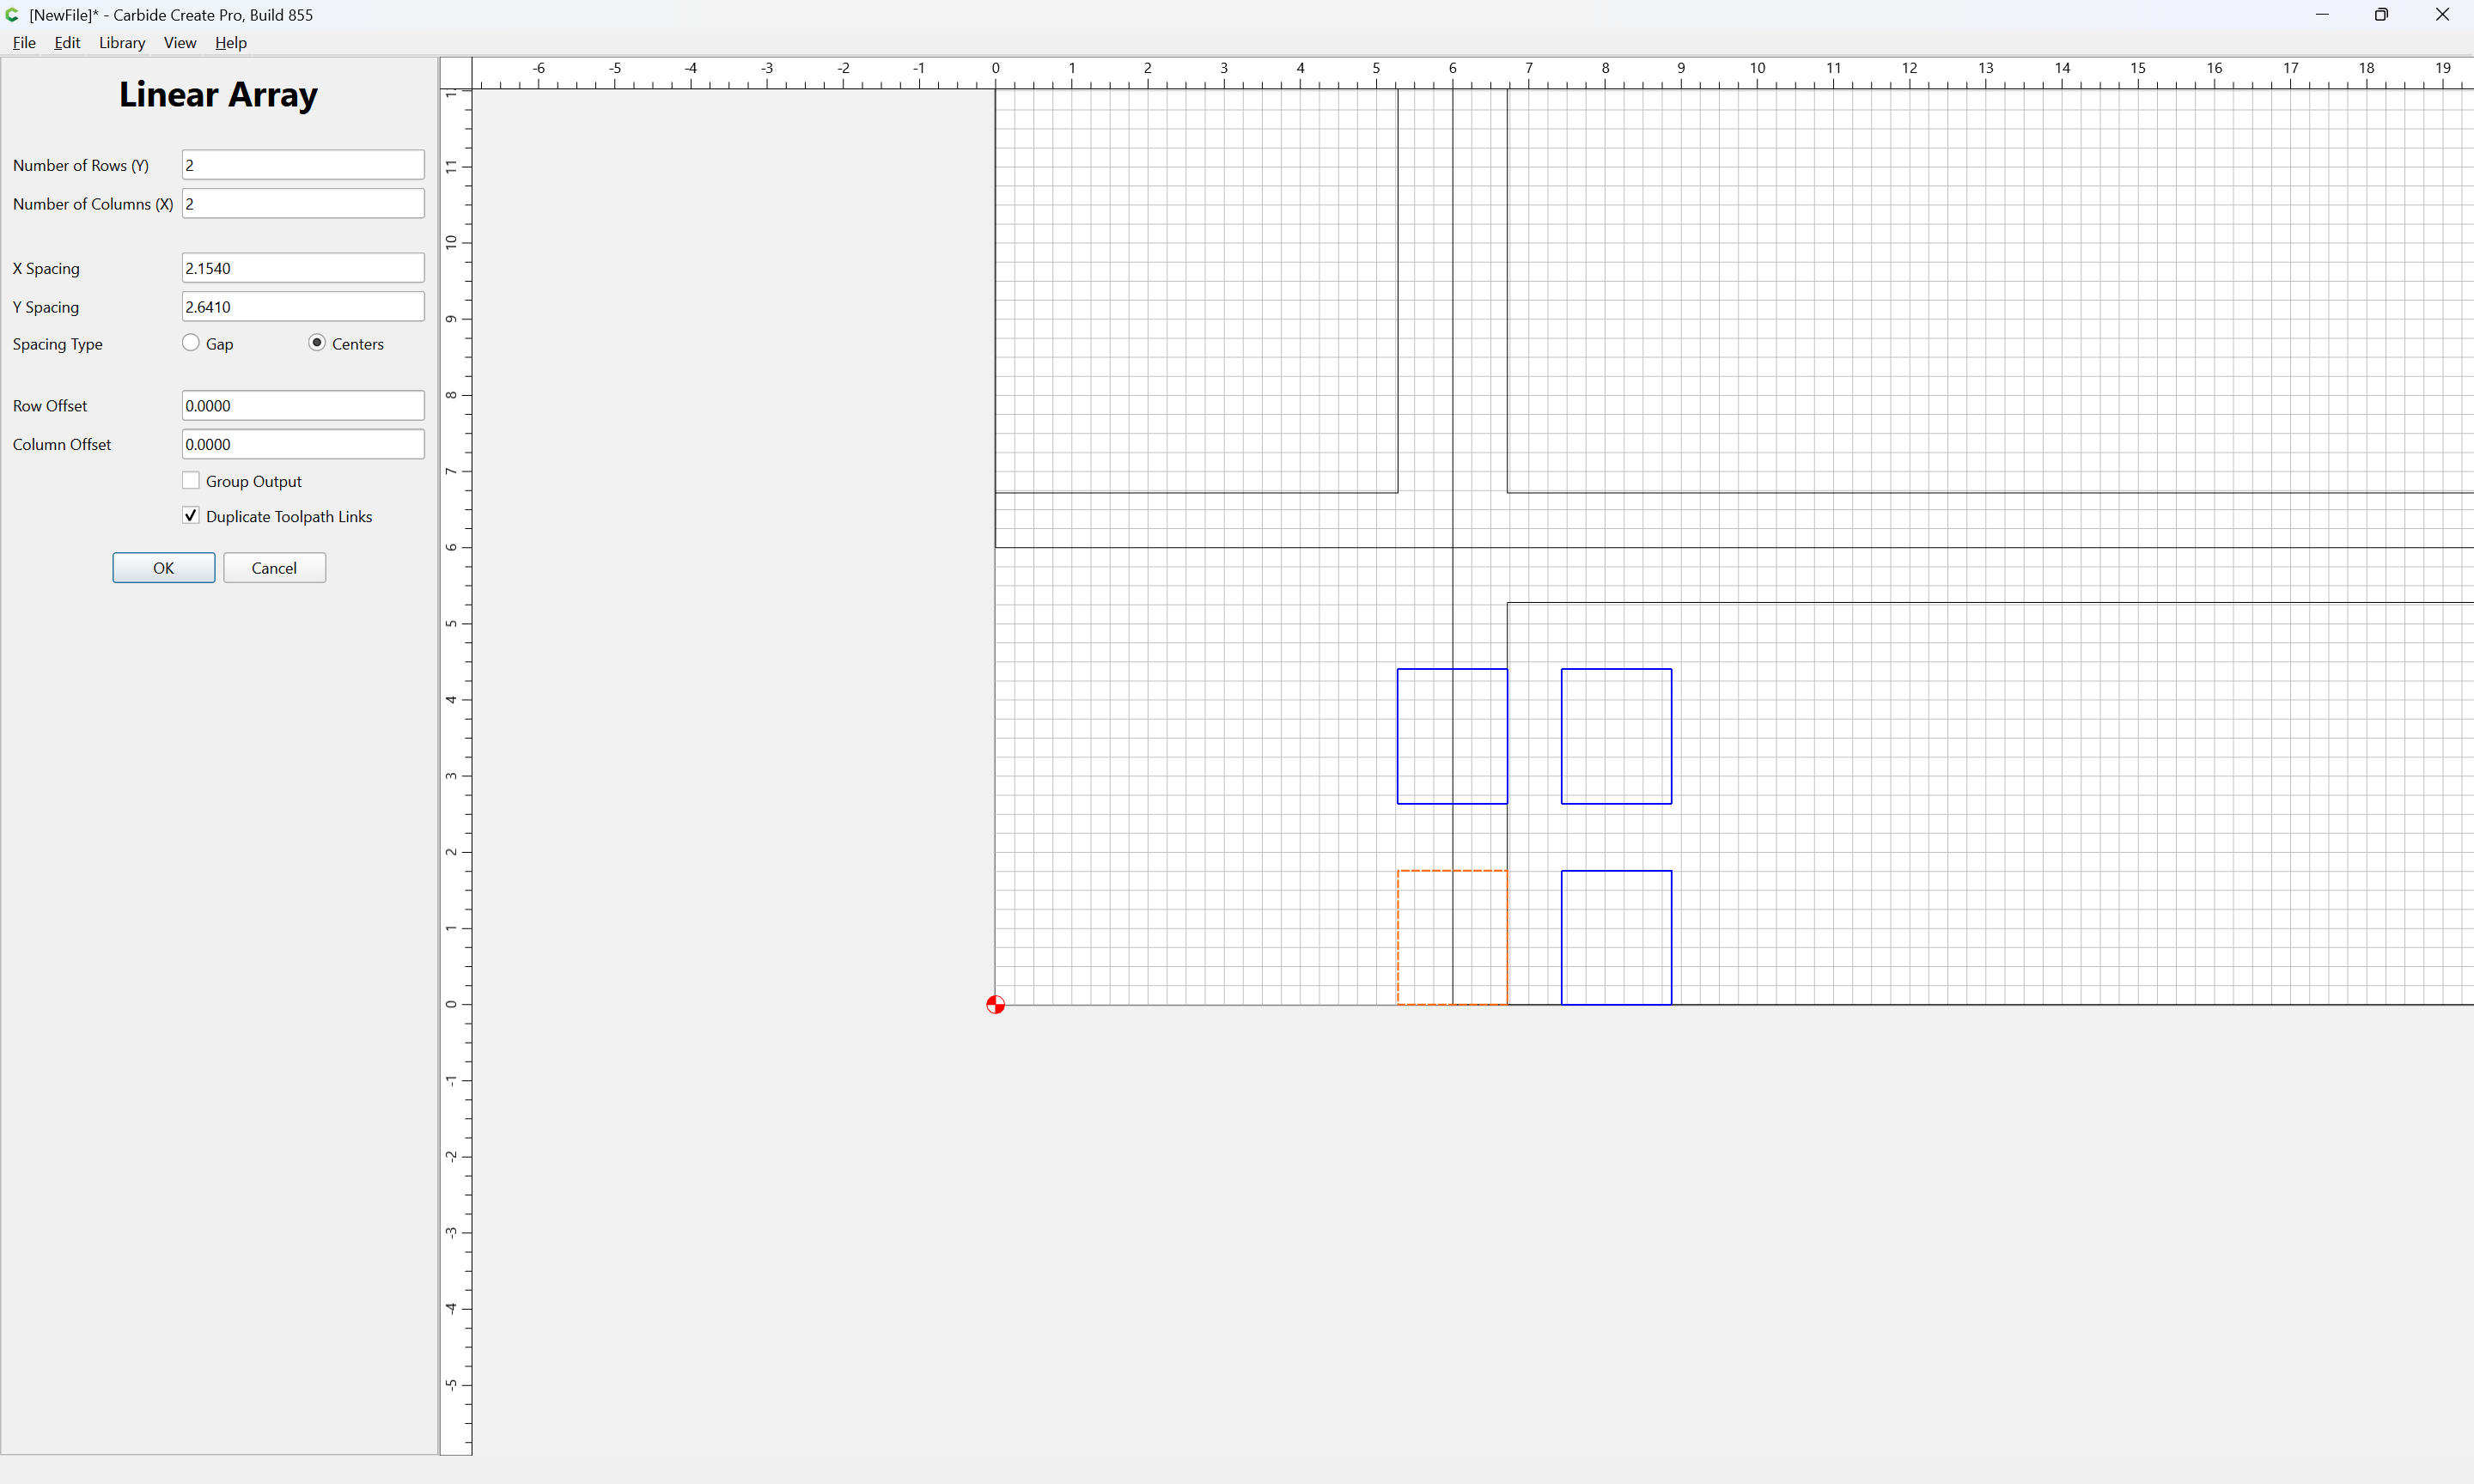
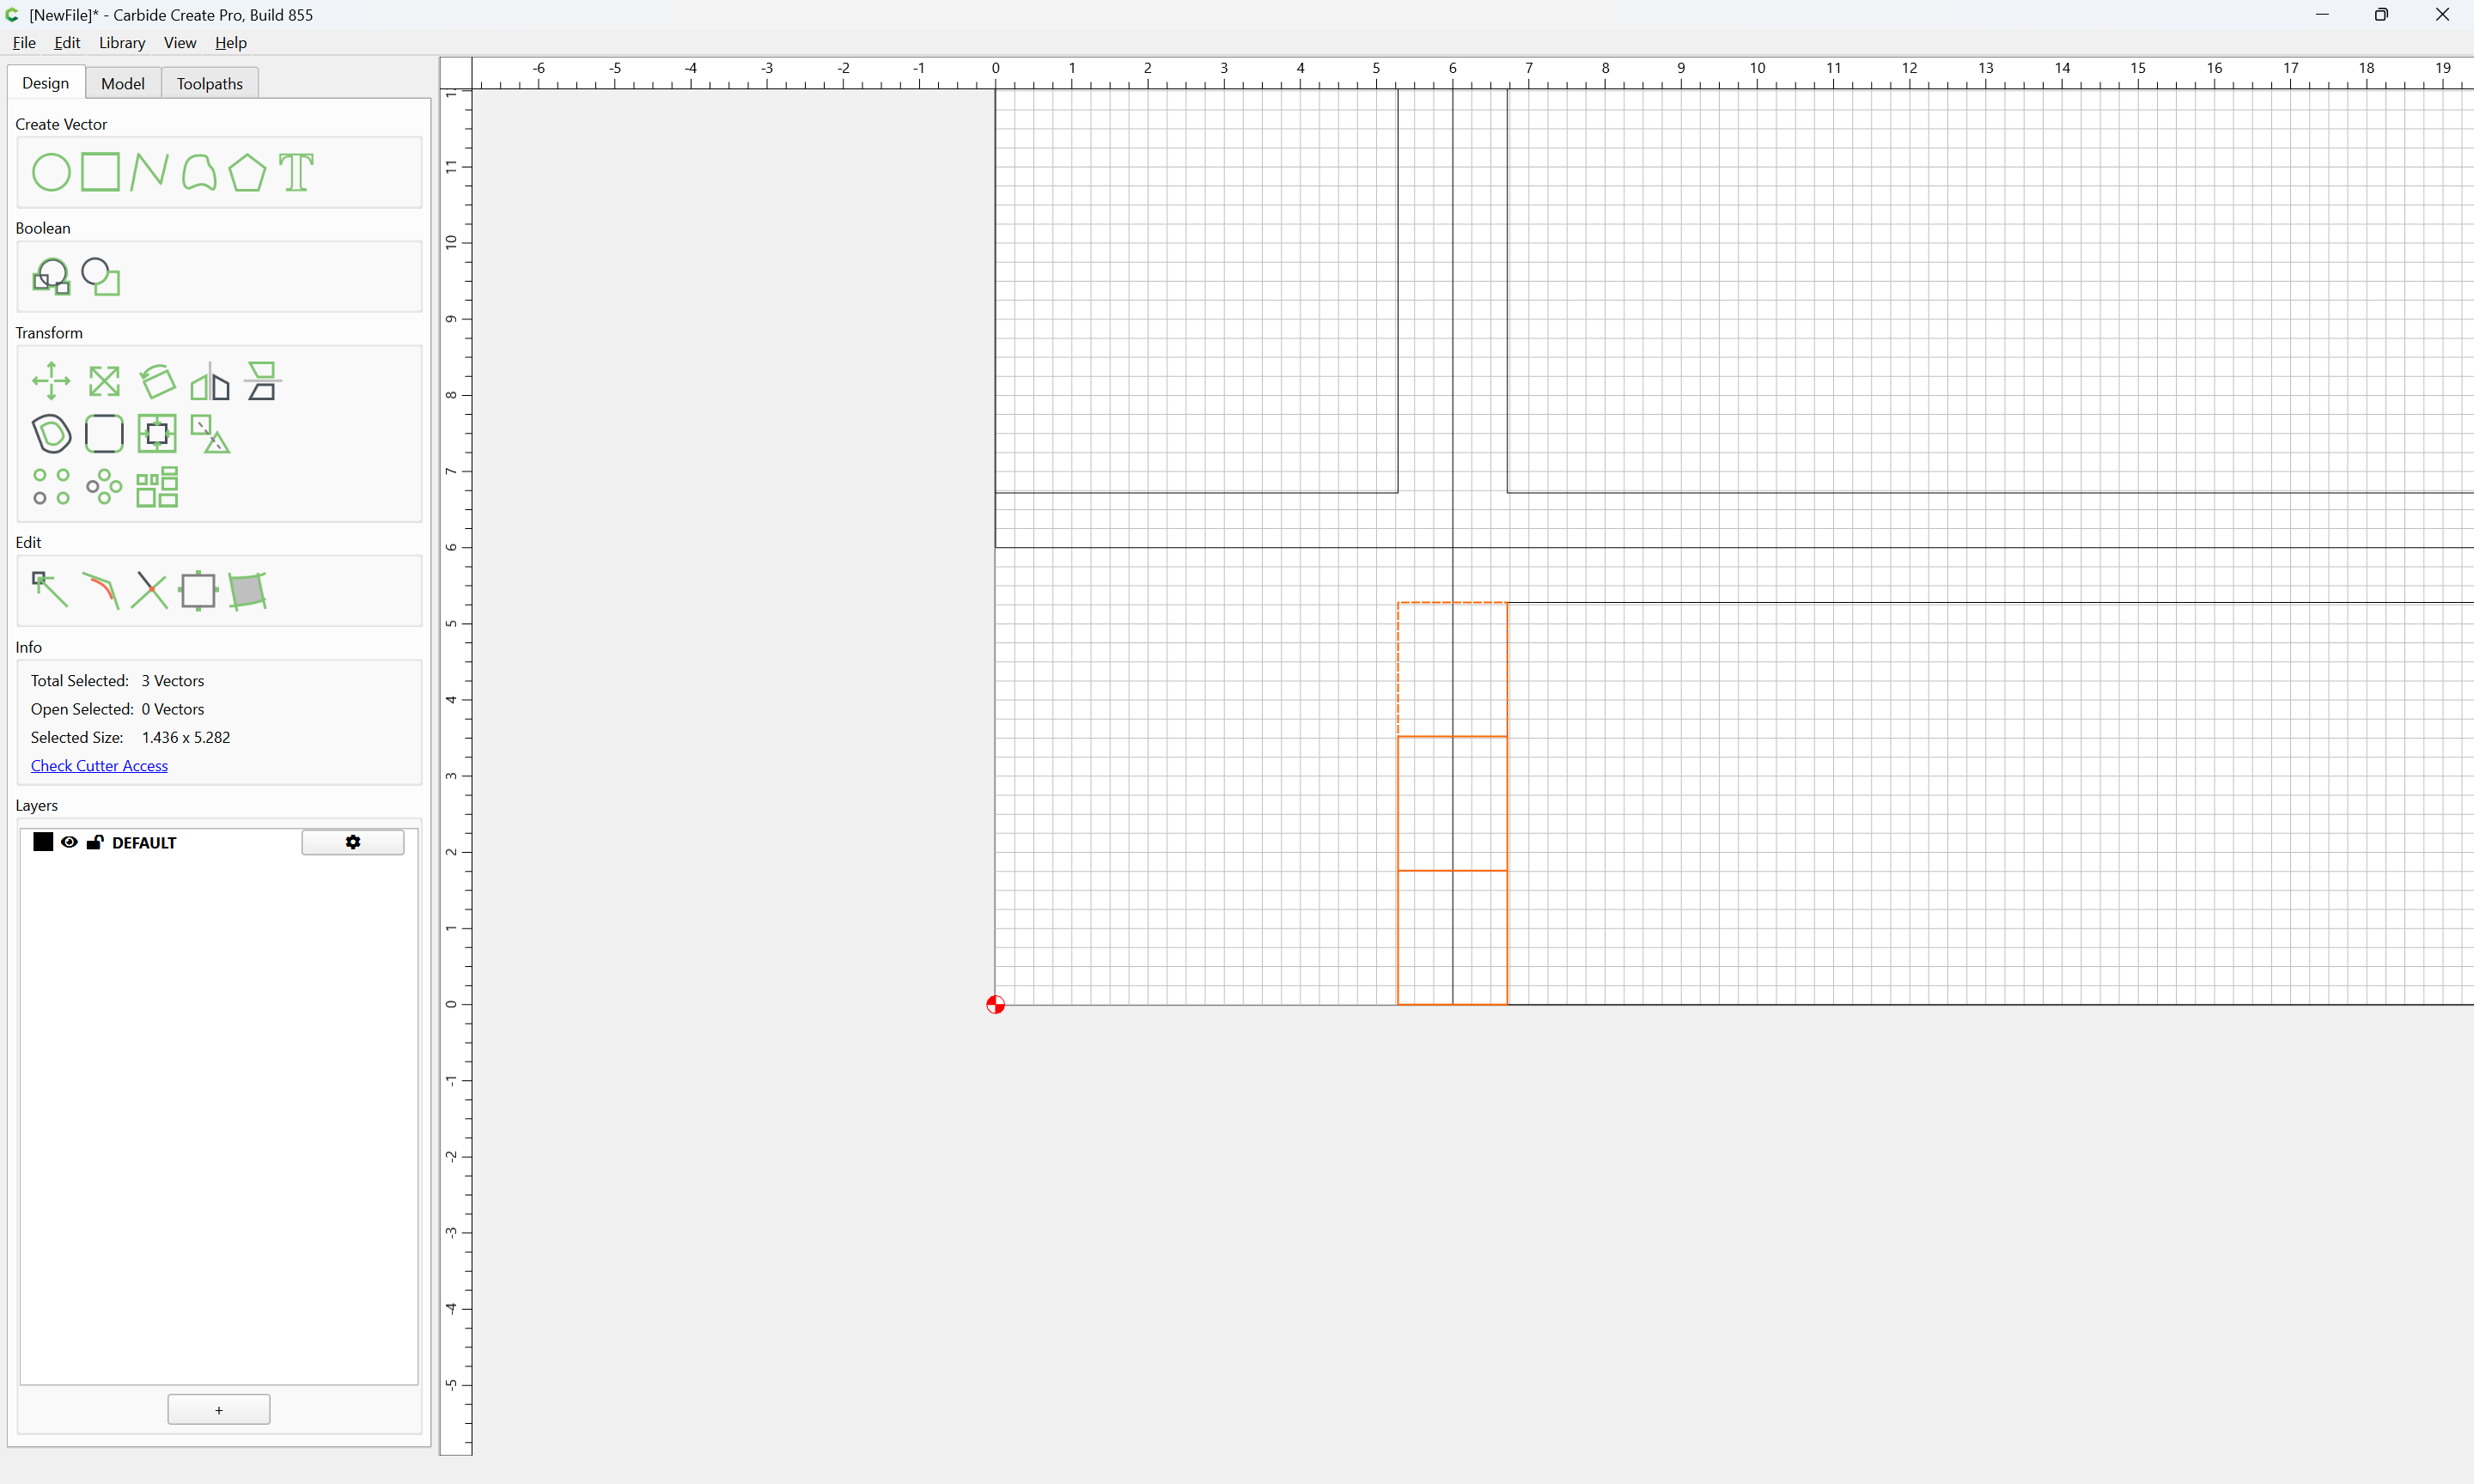
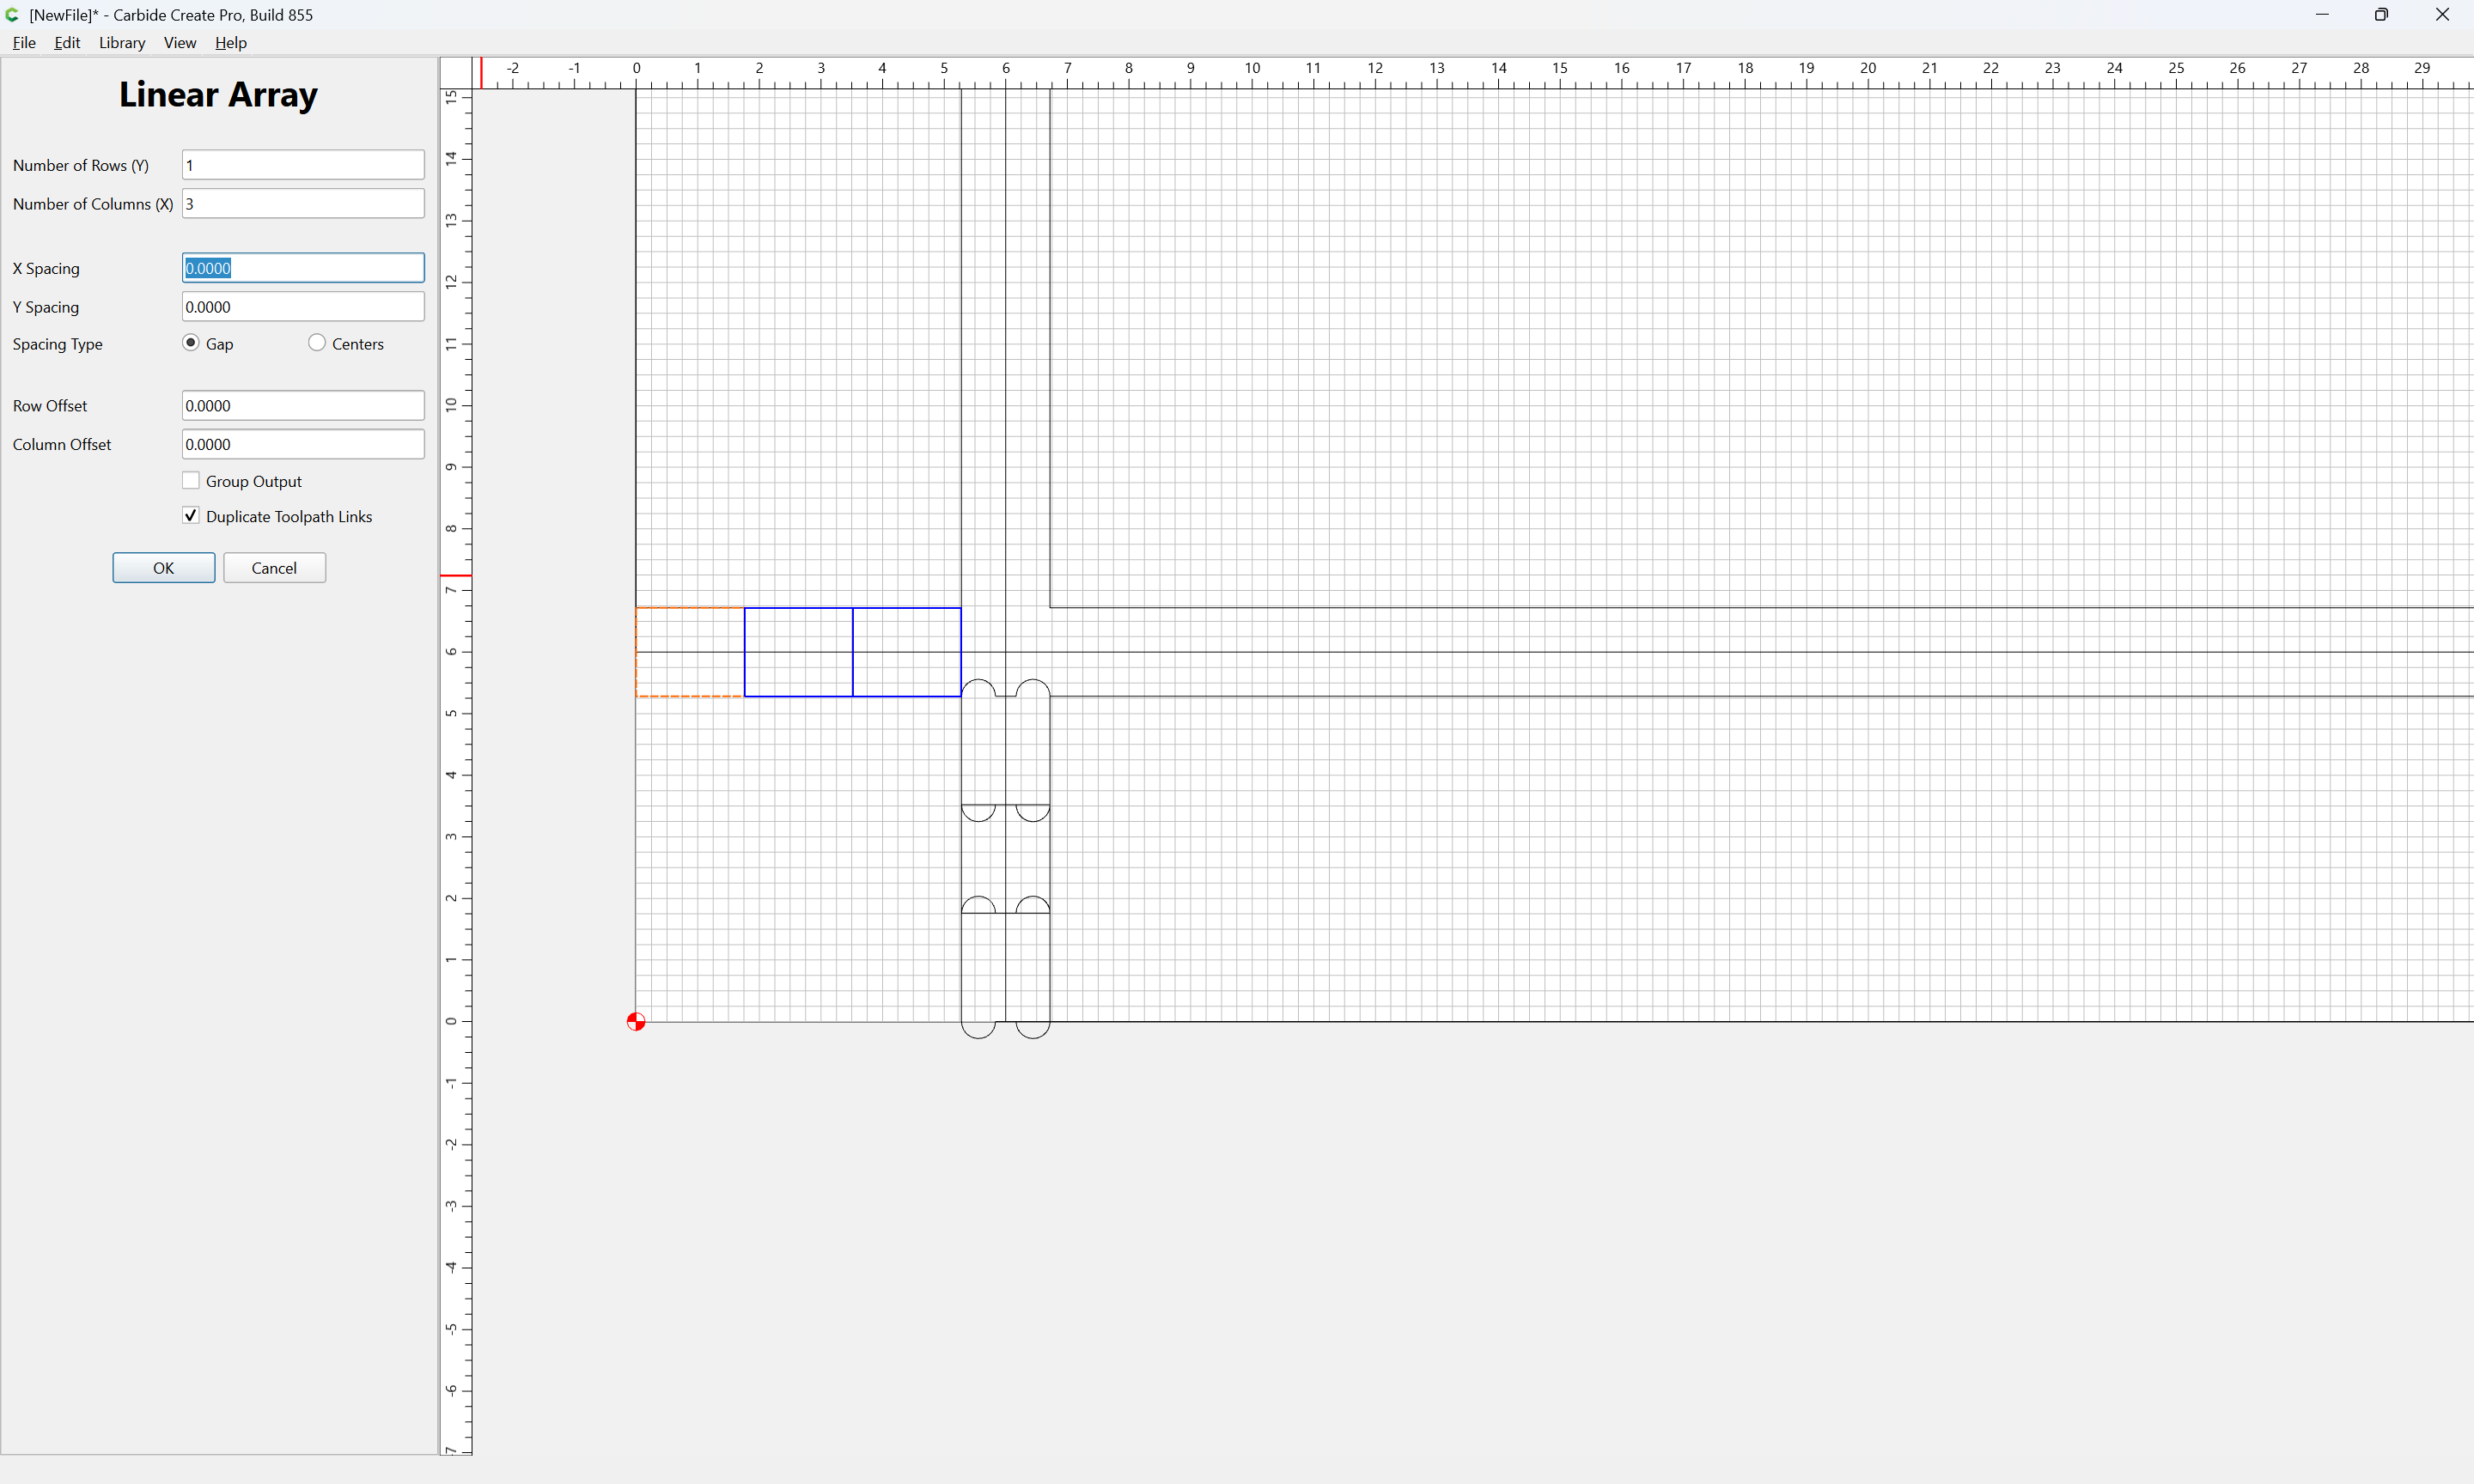
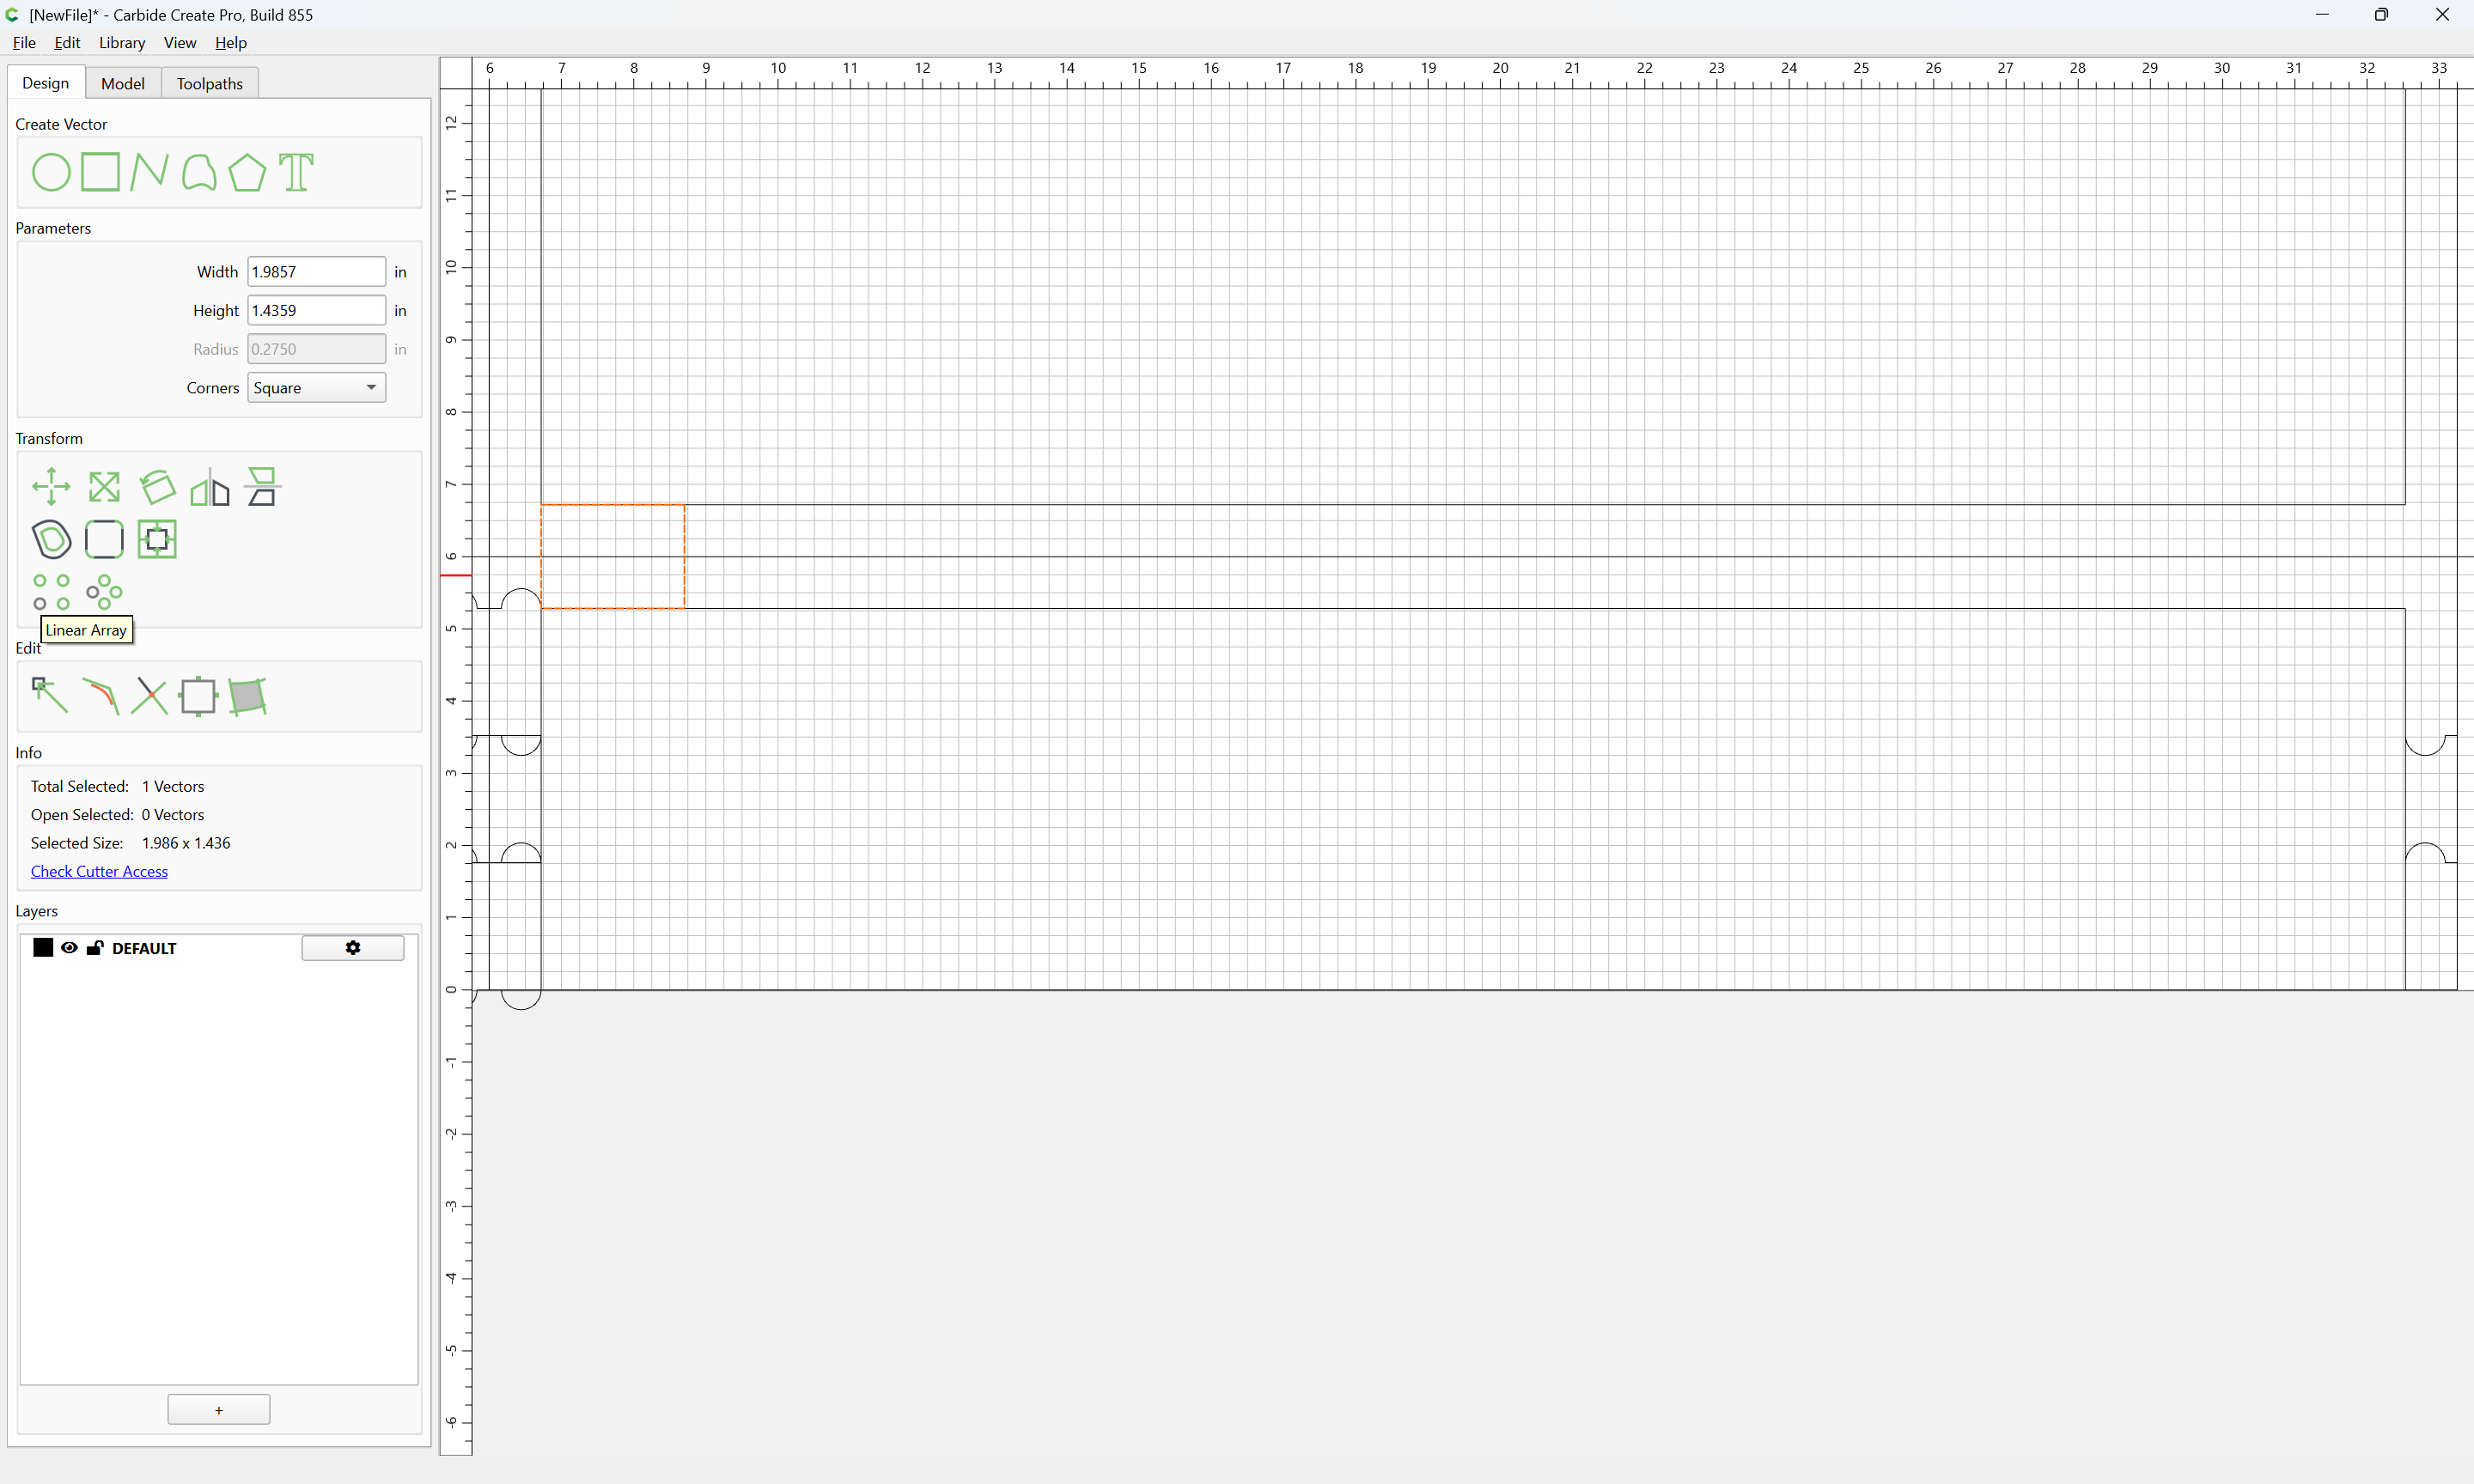
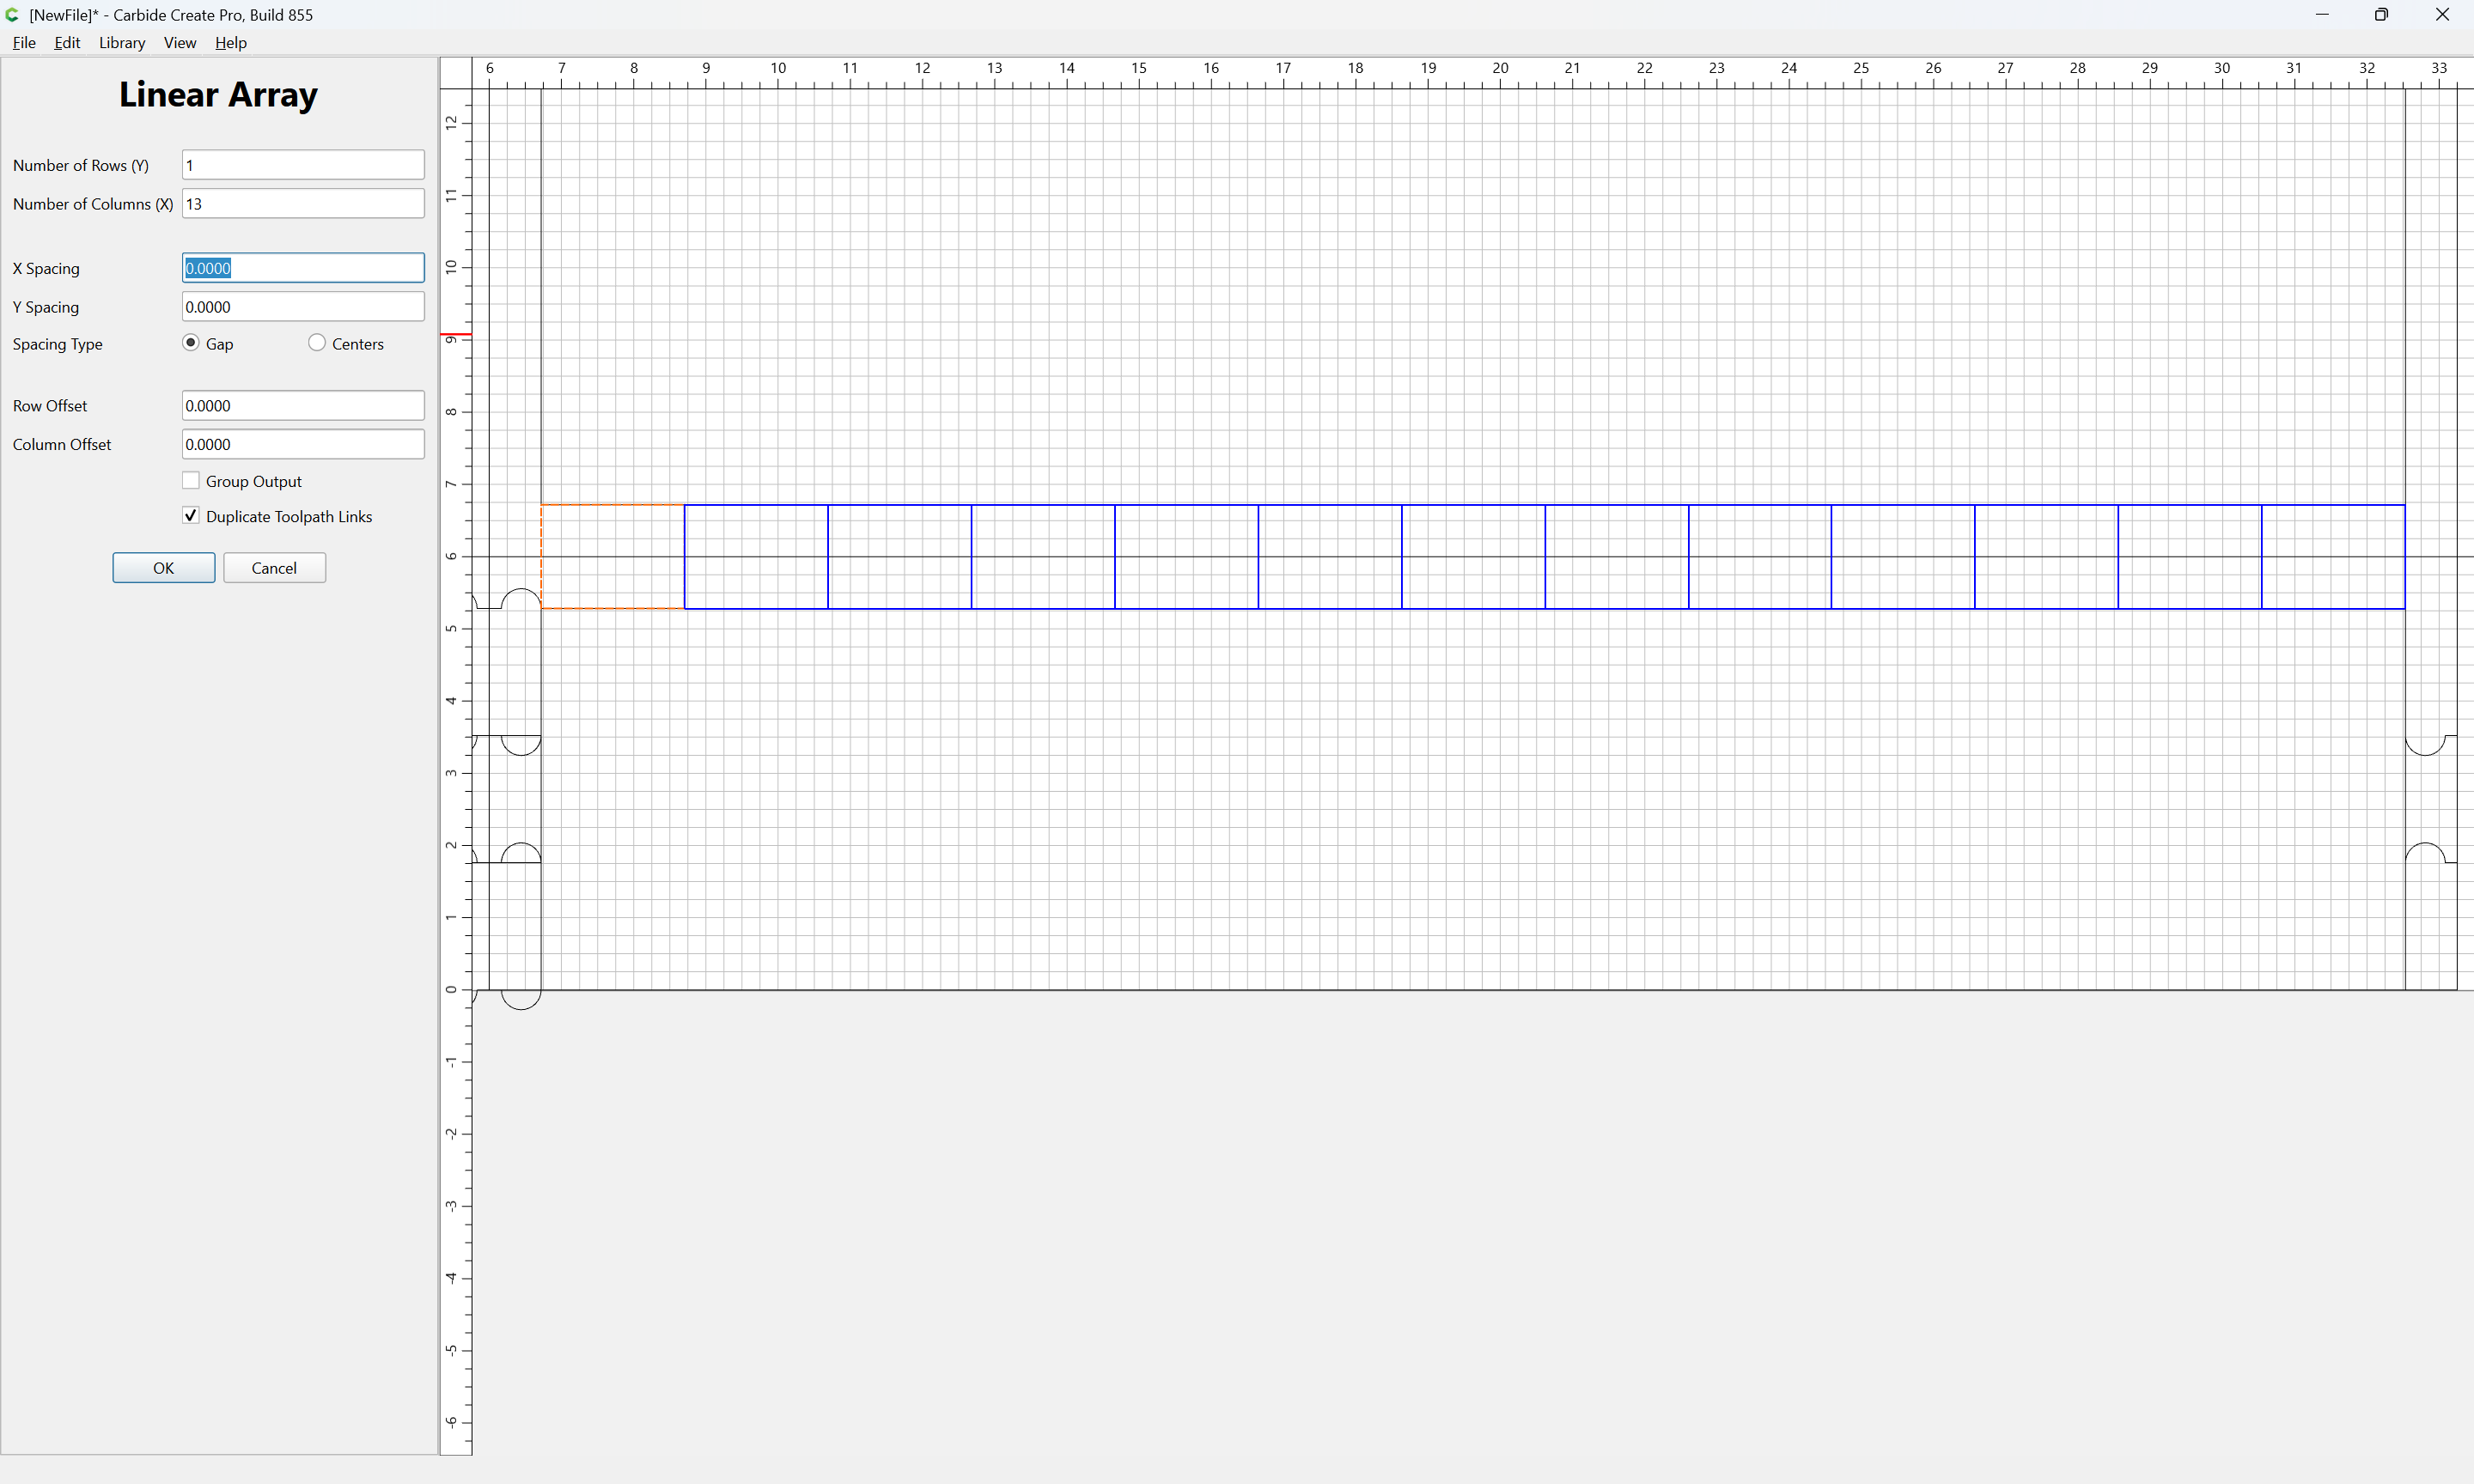
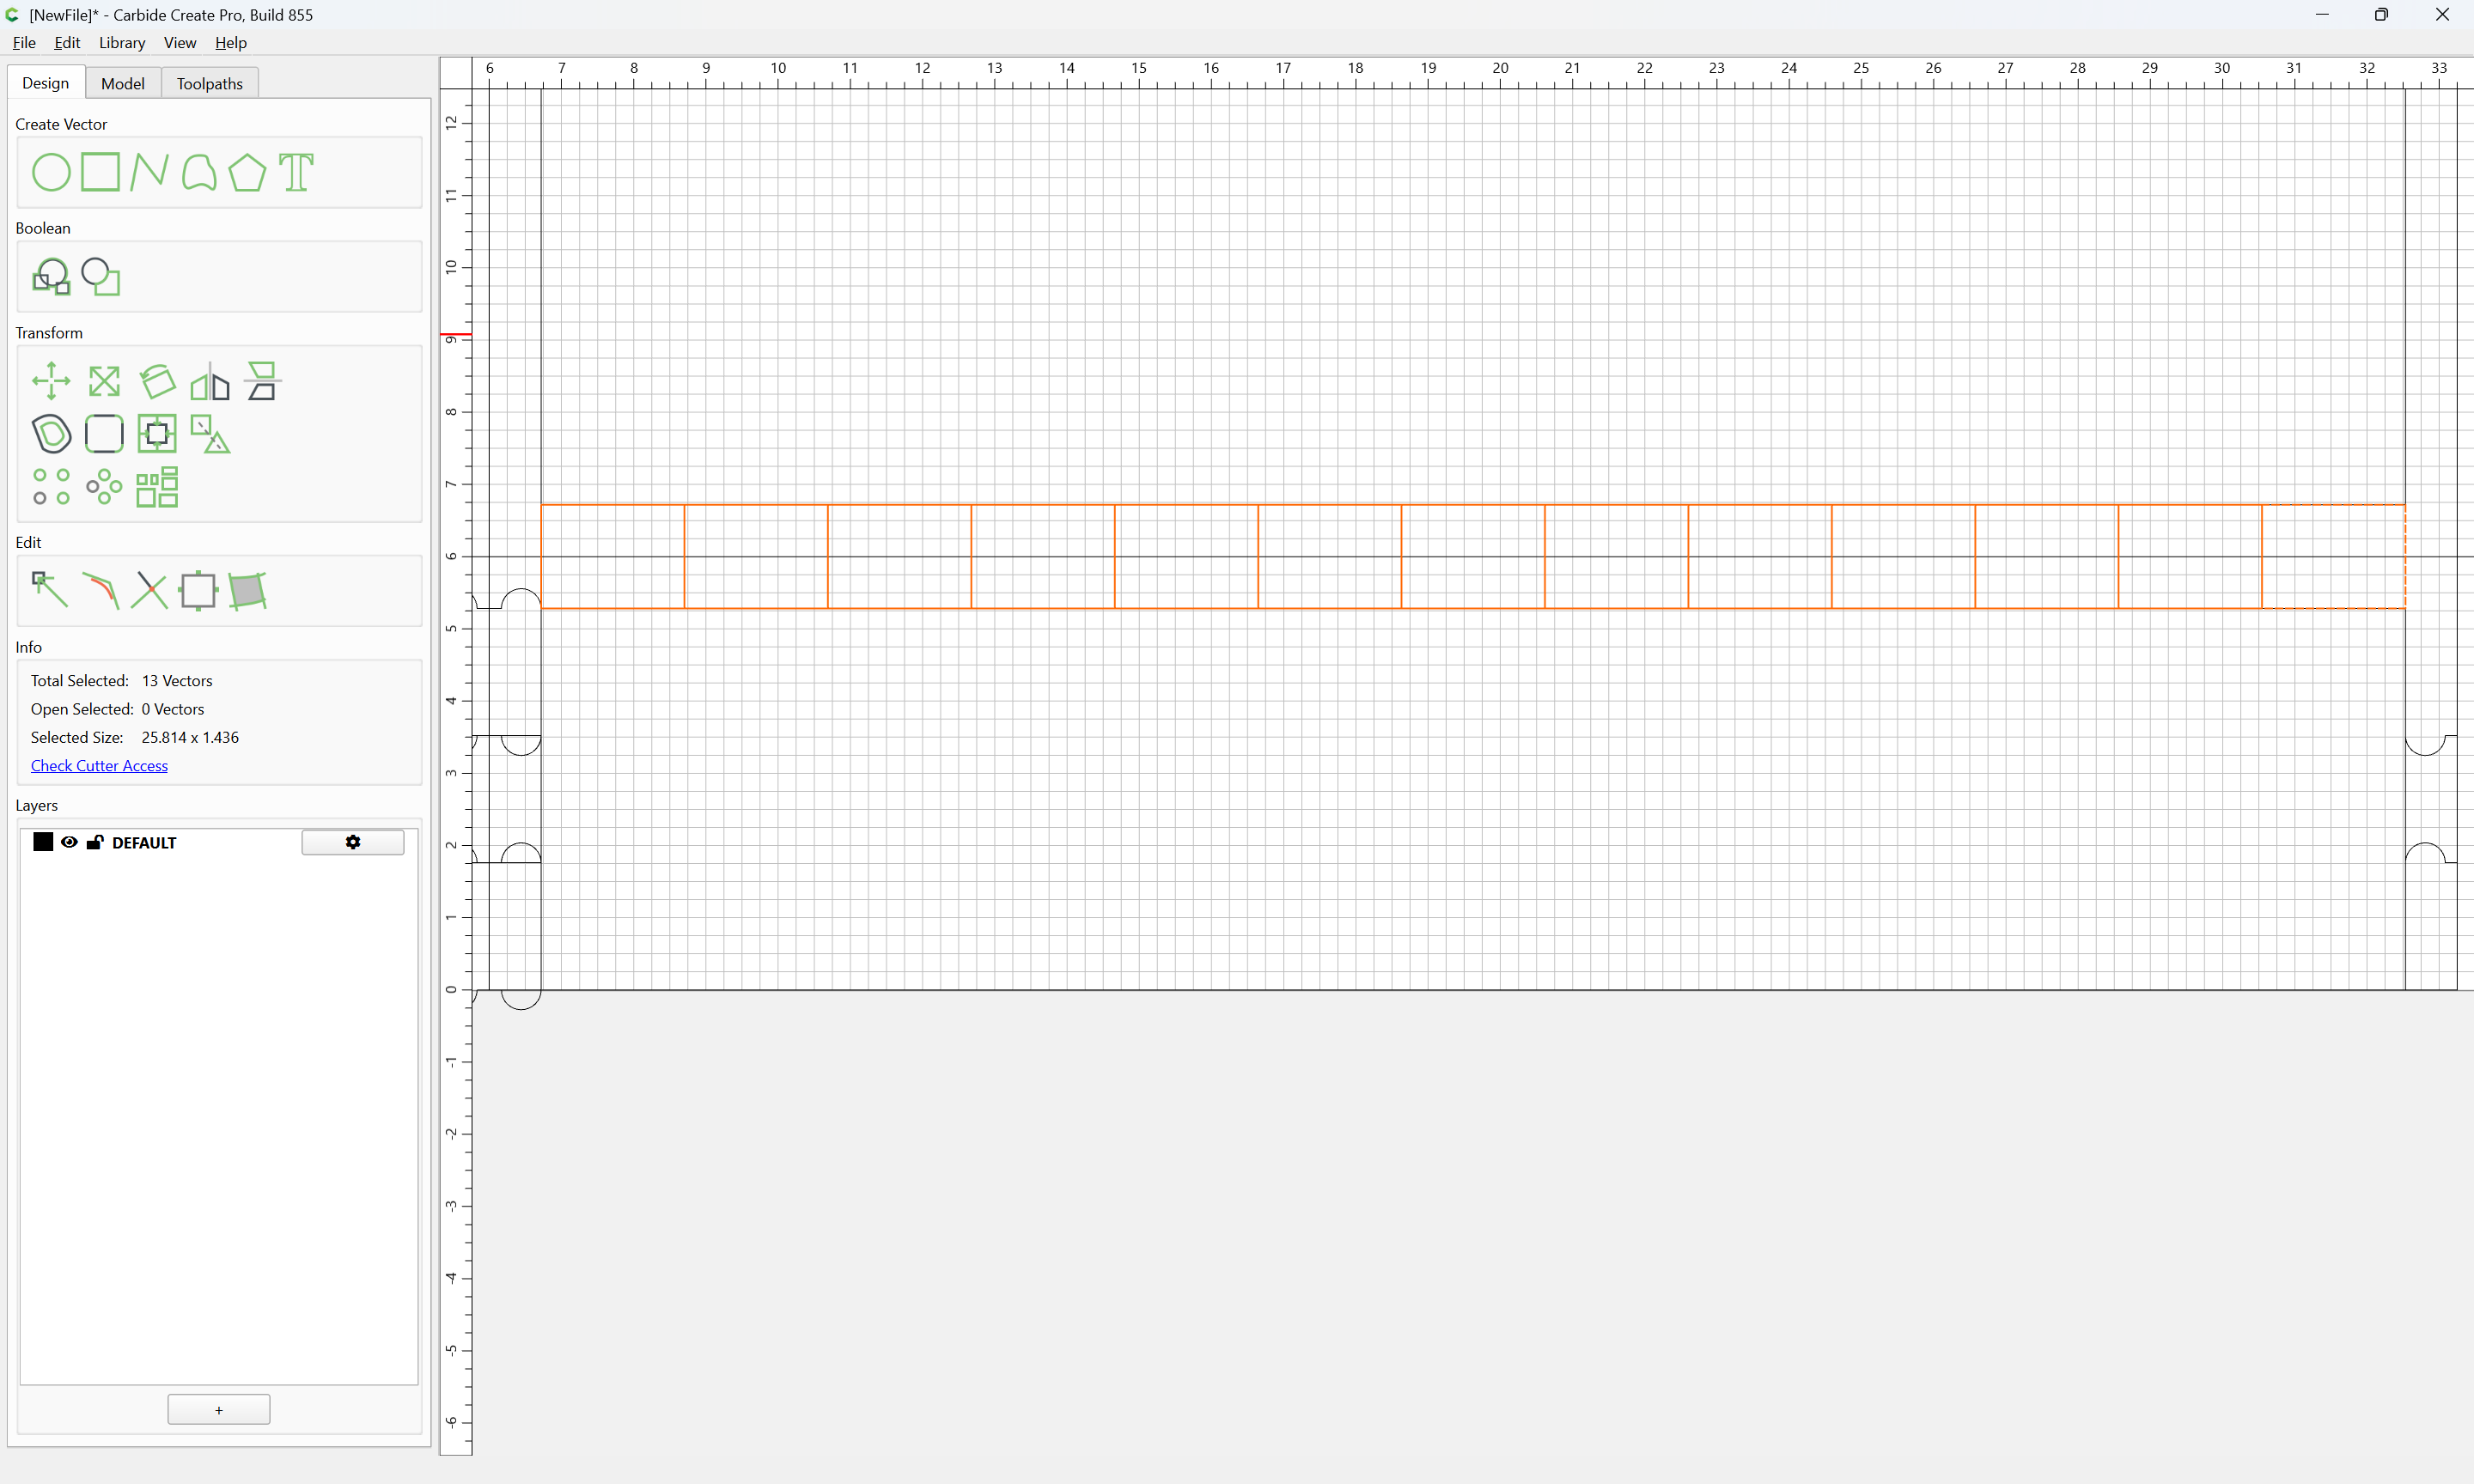
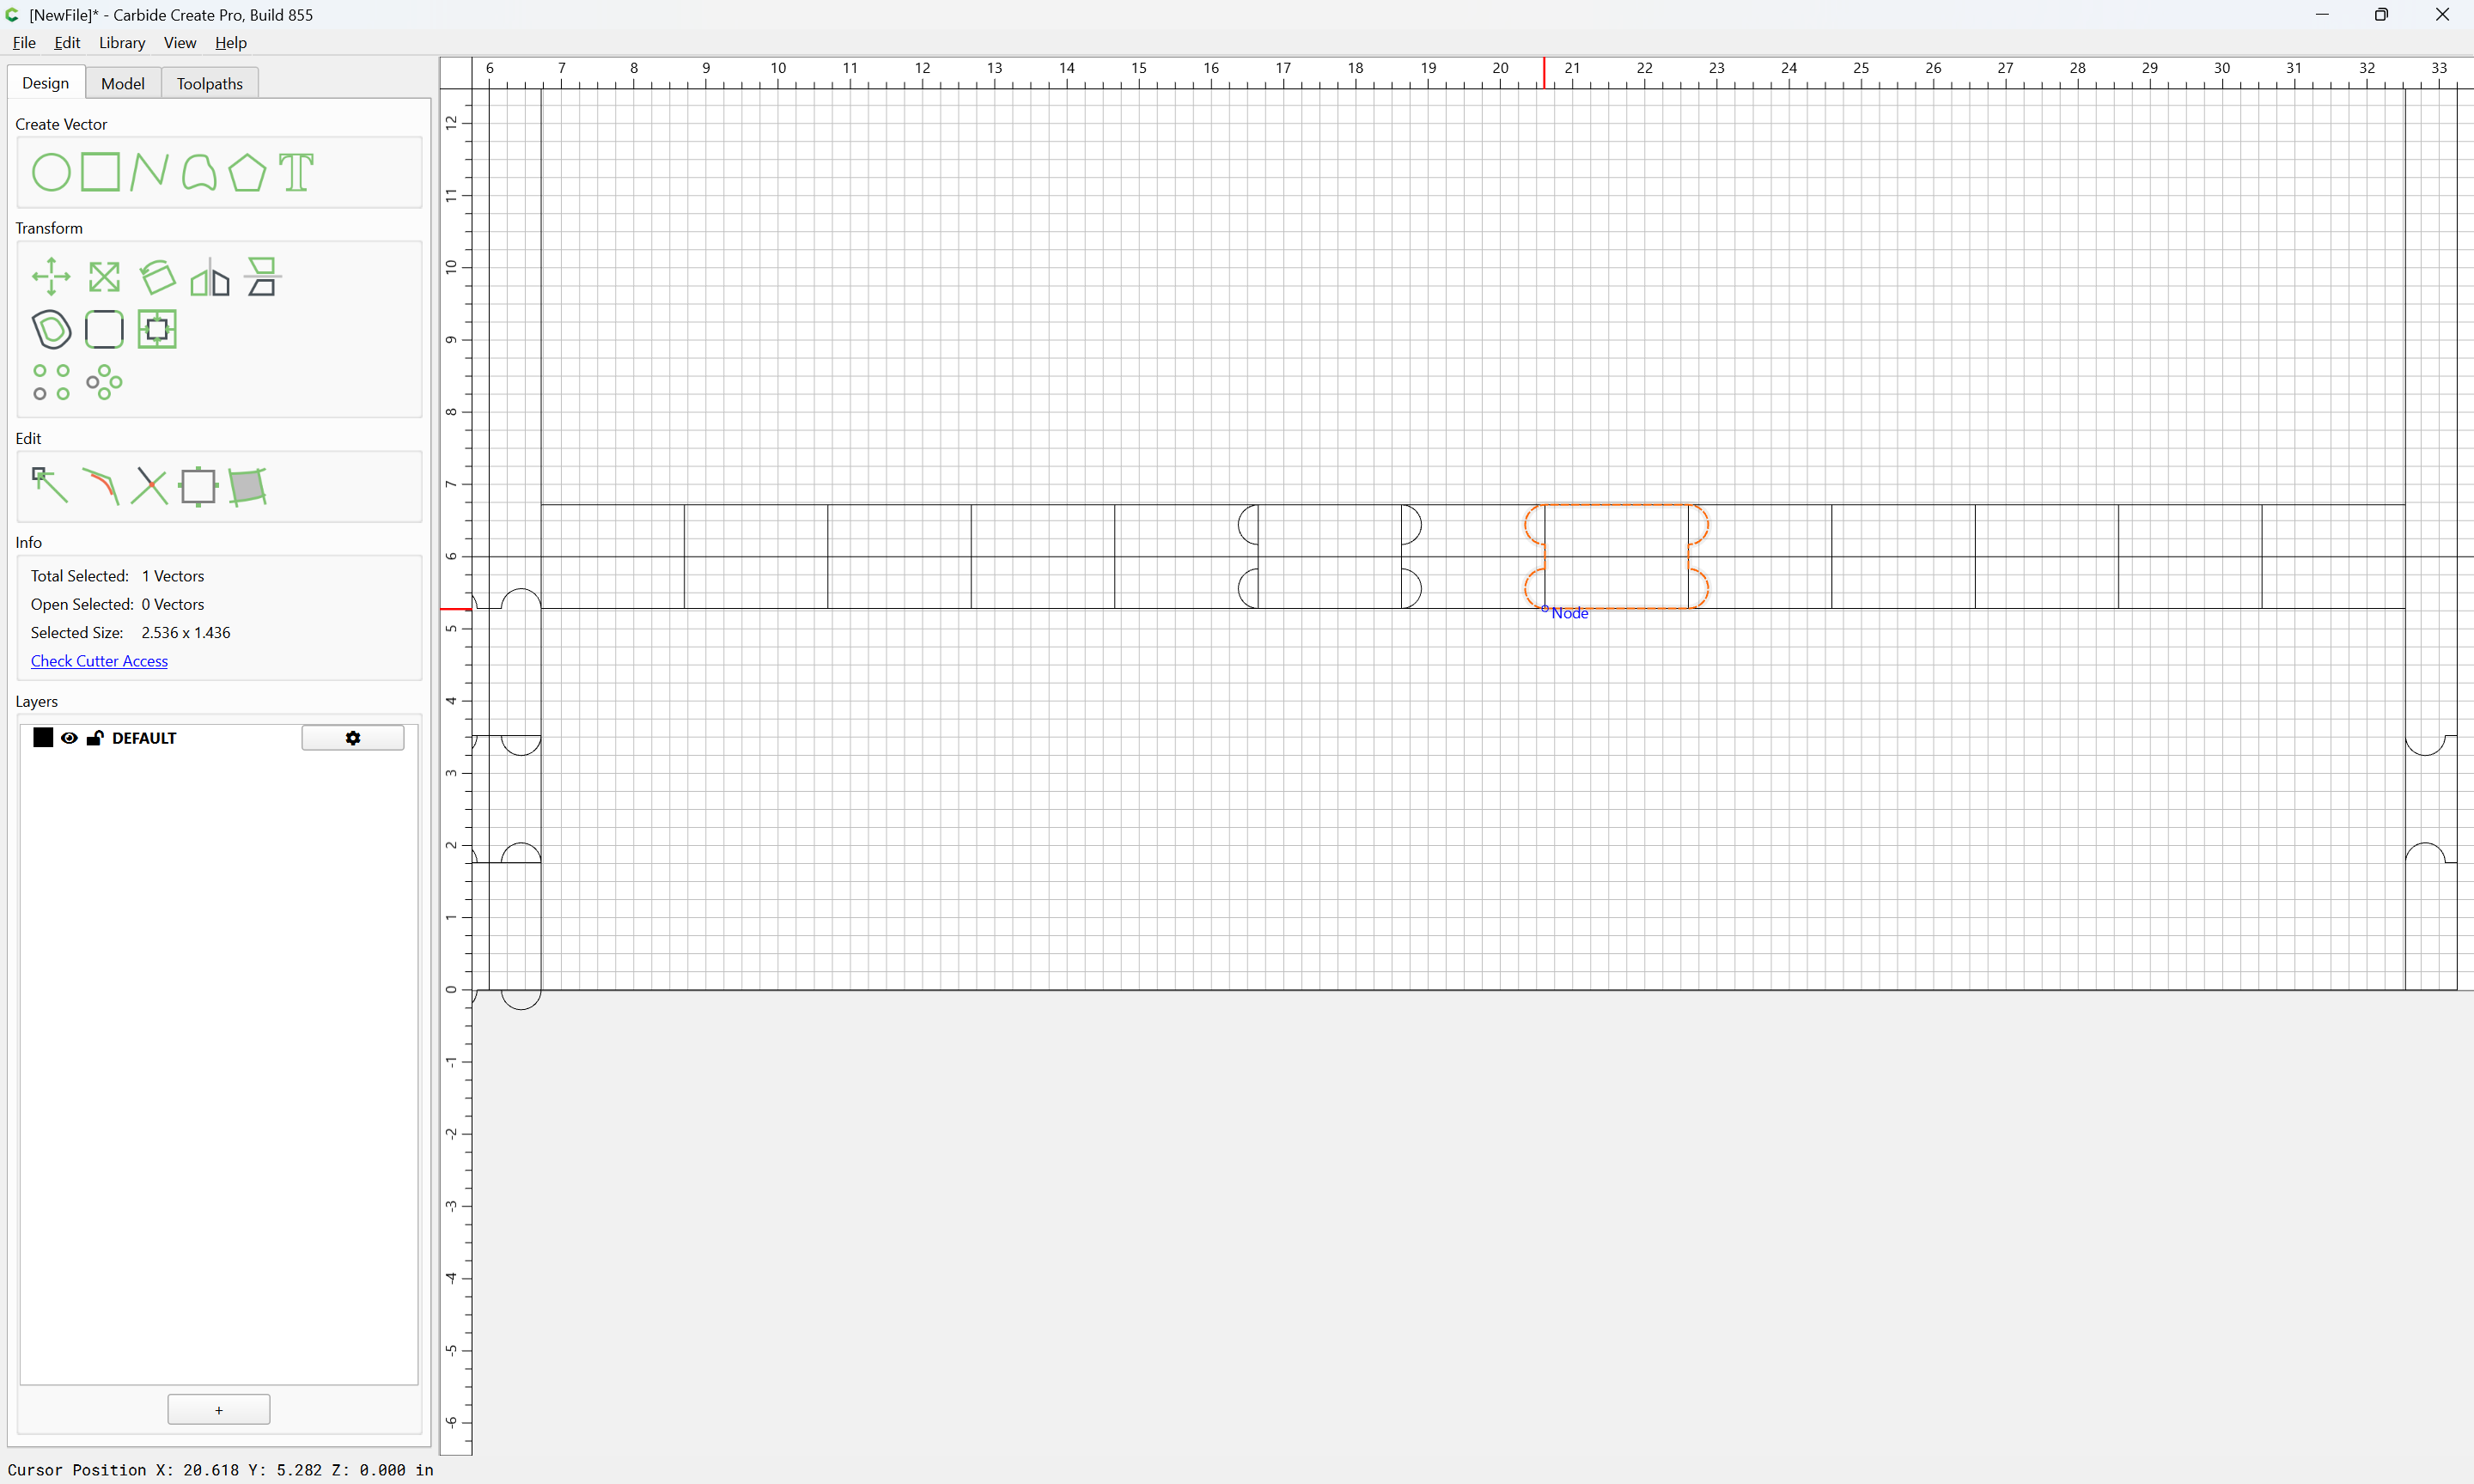
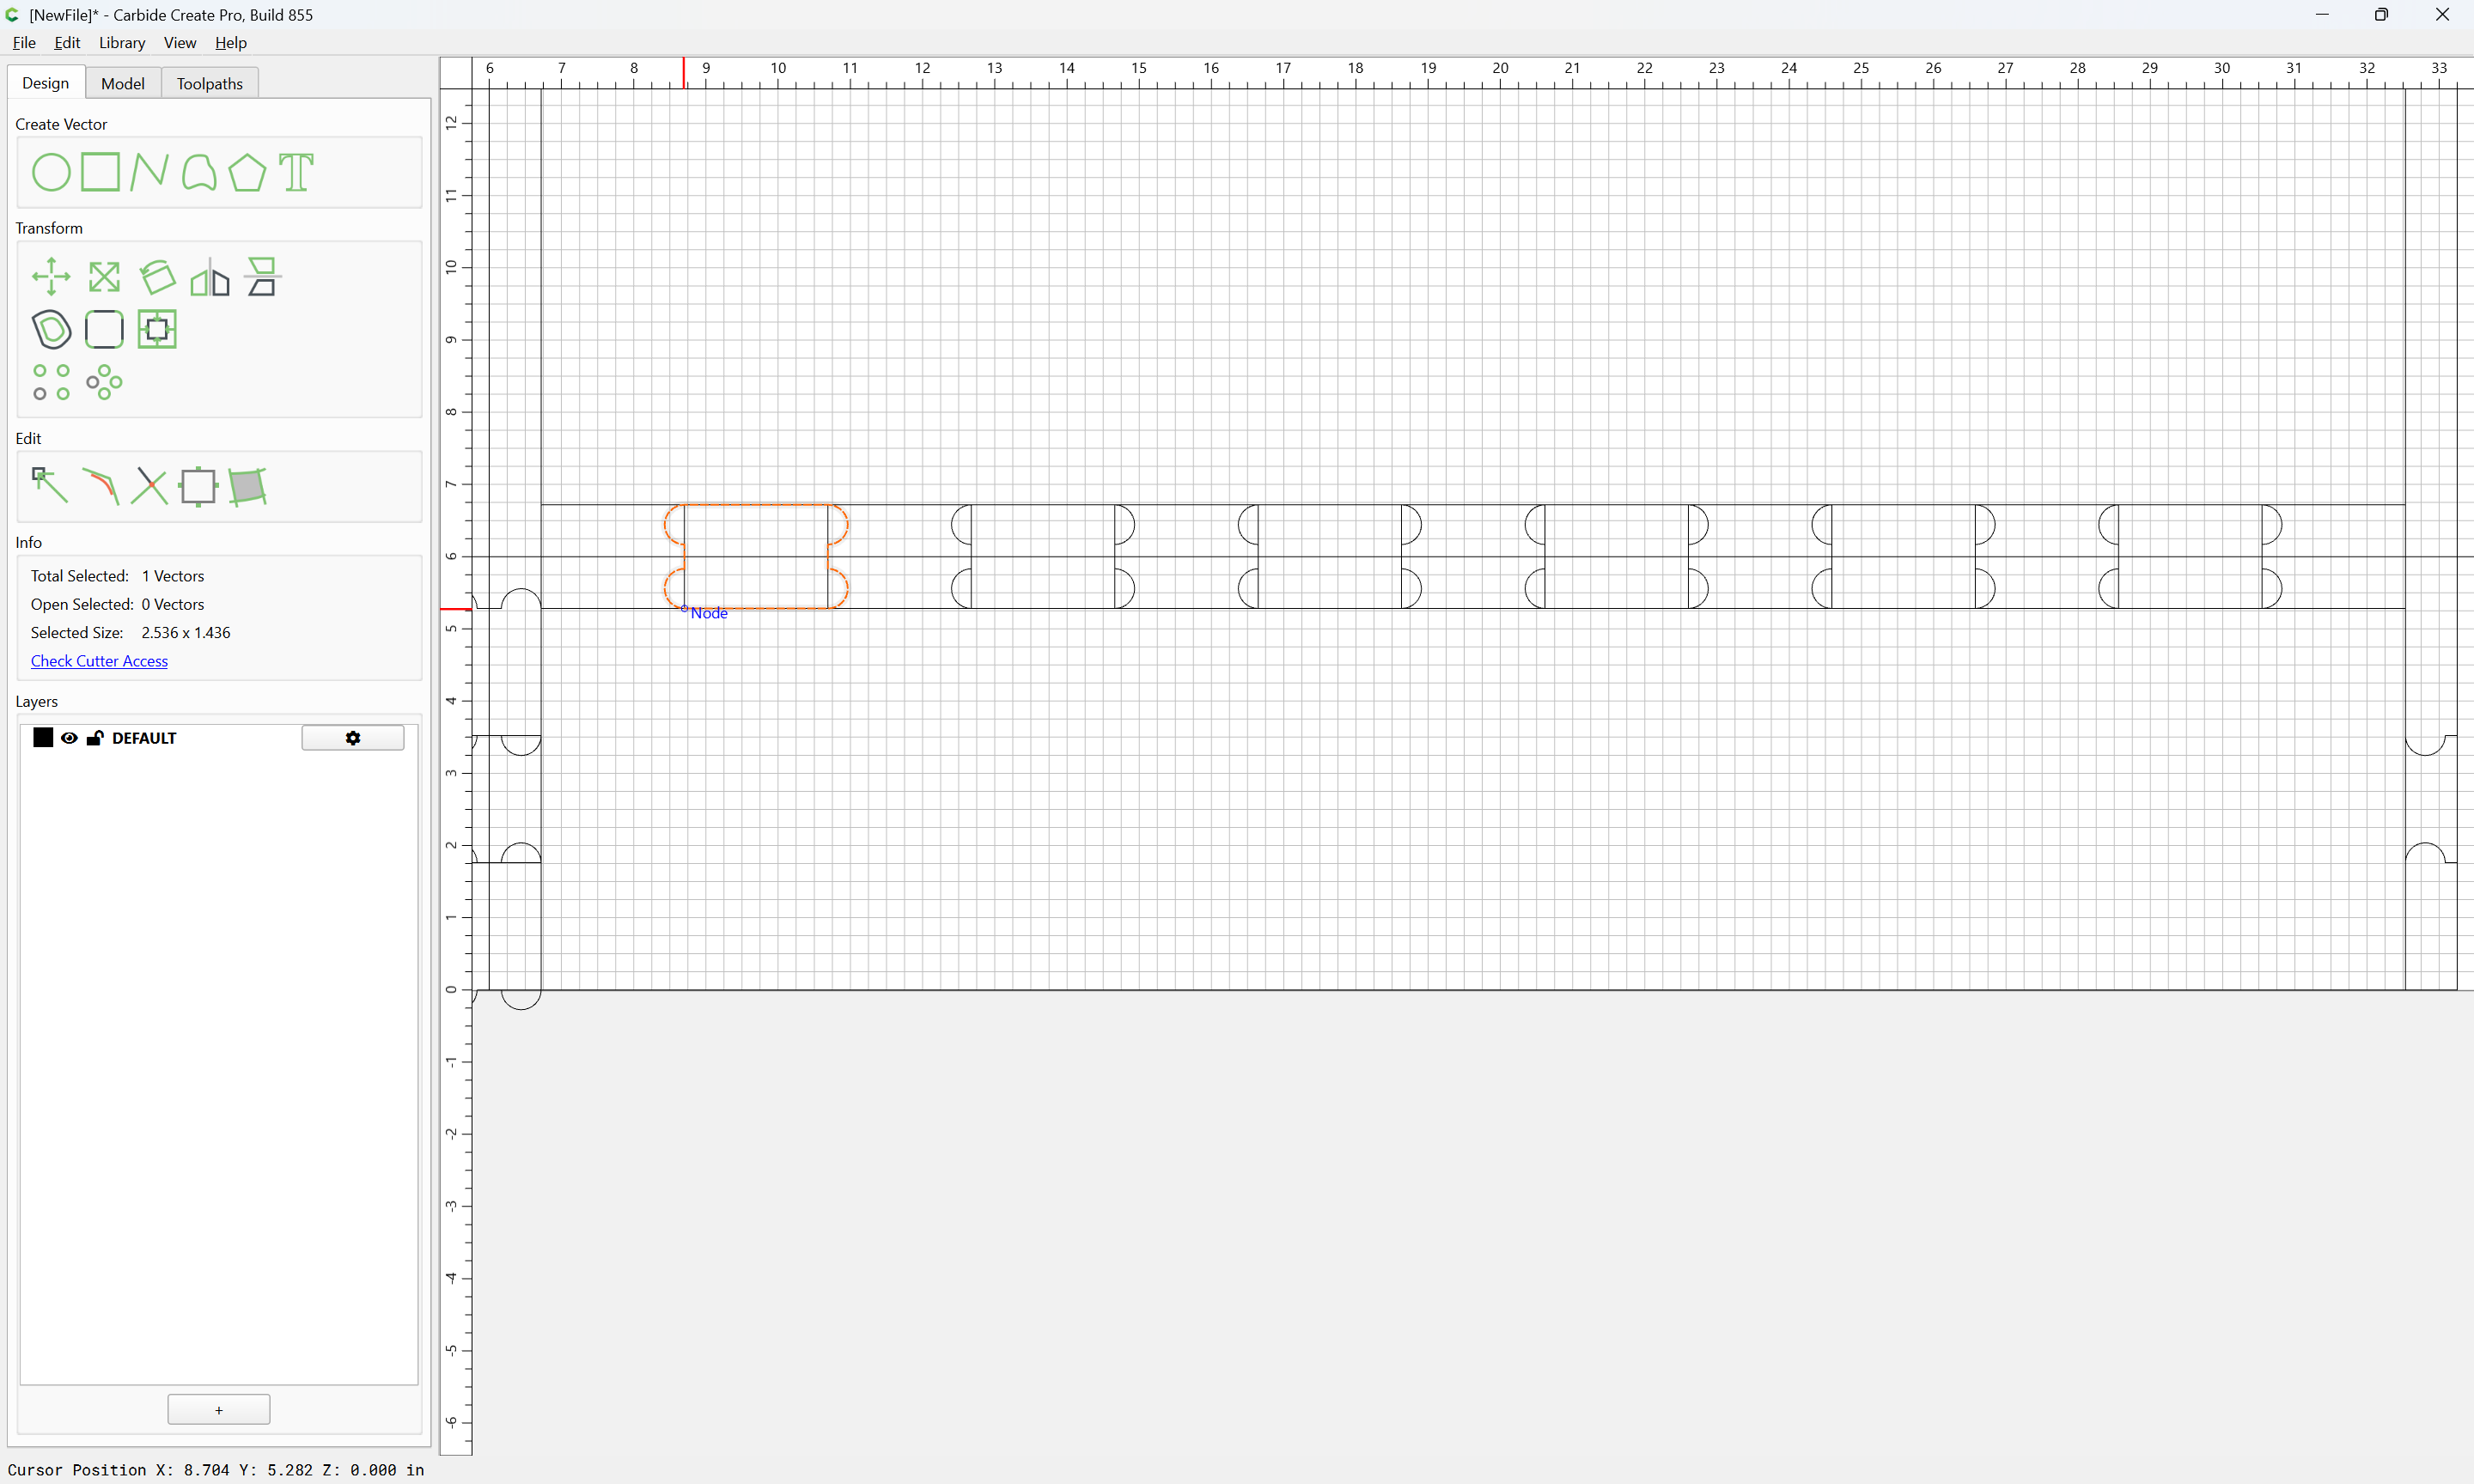
It may be duplicated as necessary using a Linear Array:
OK
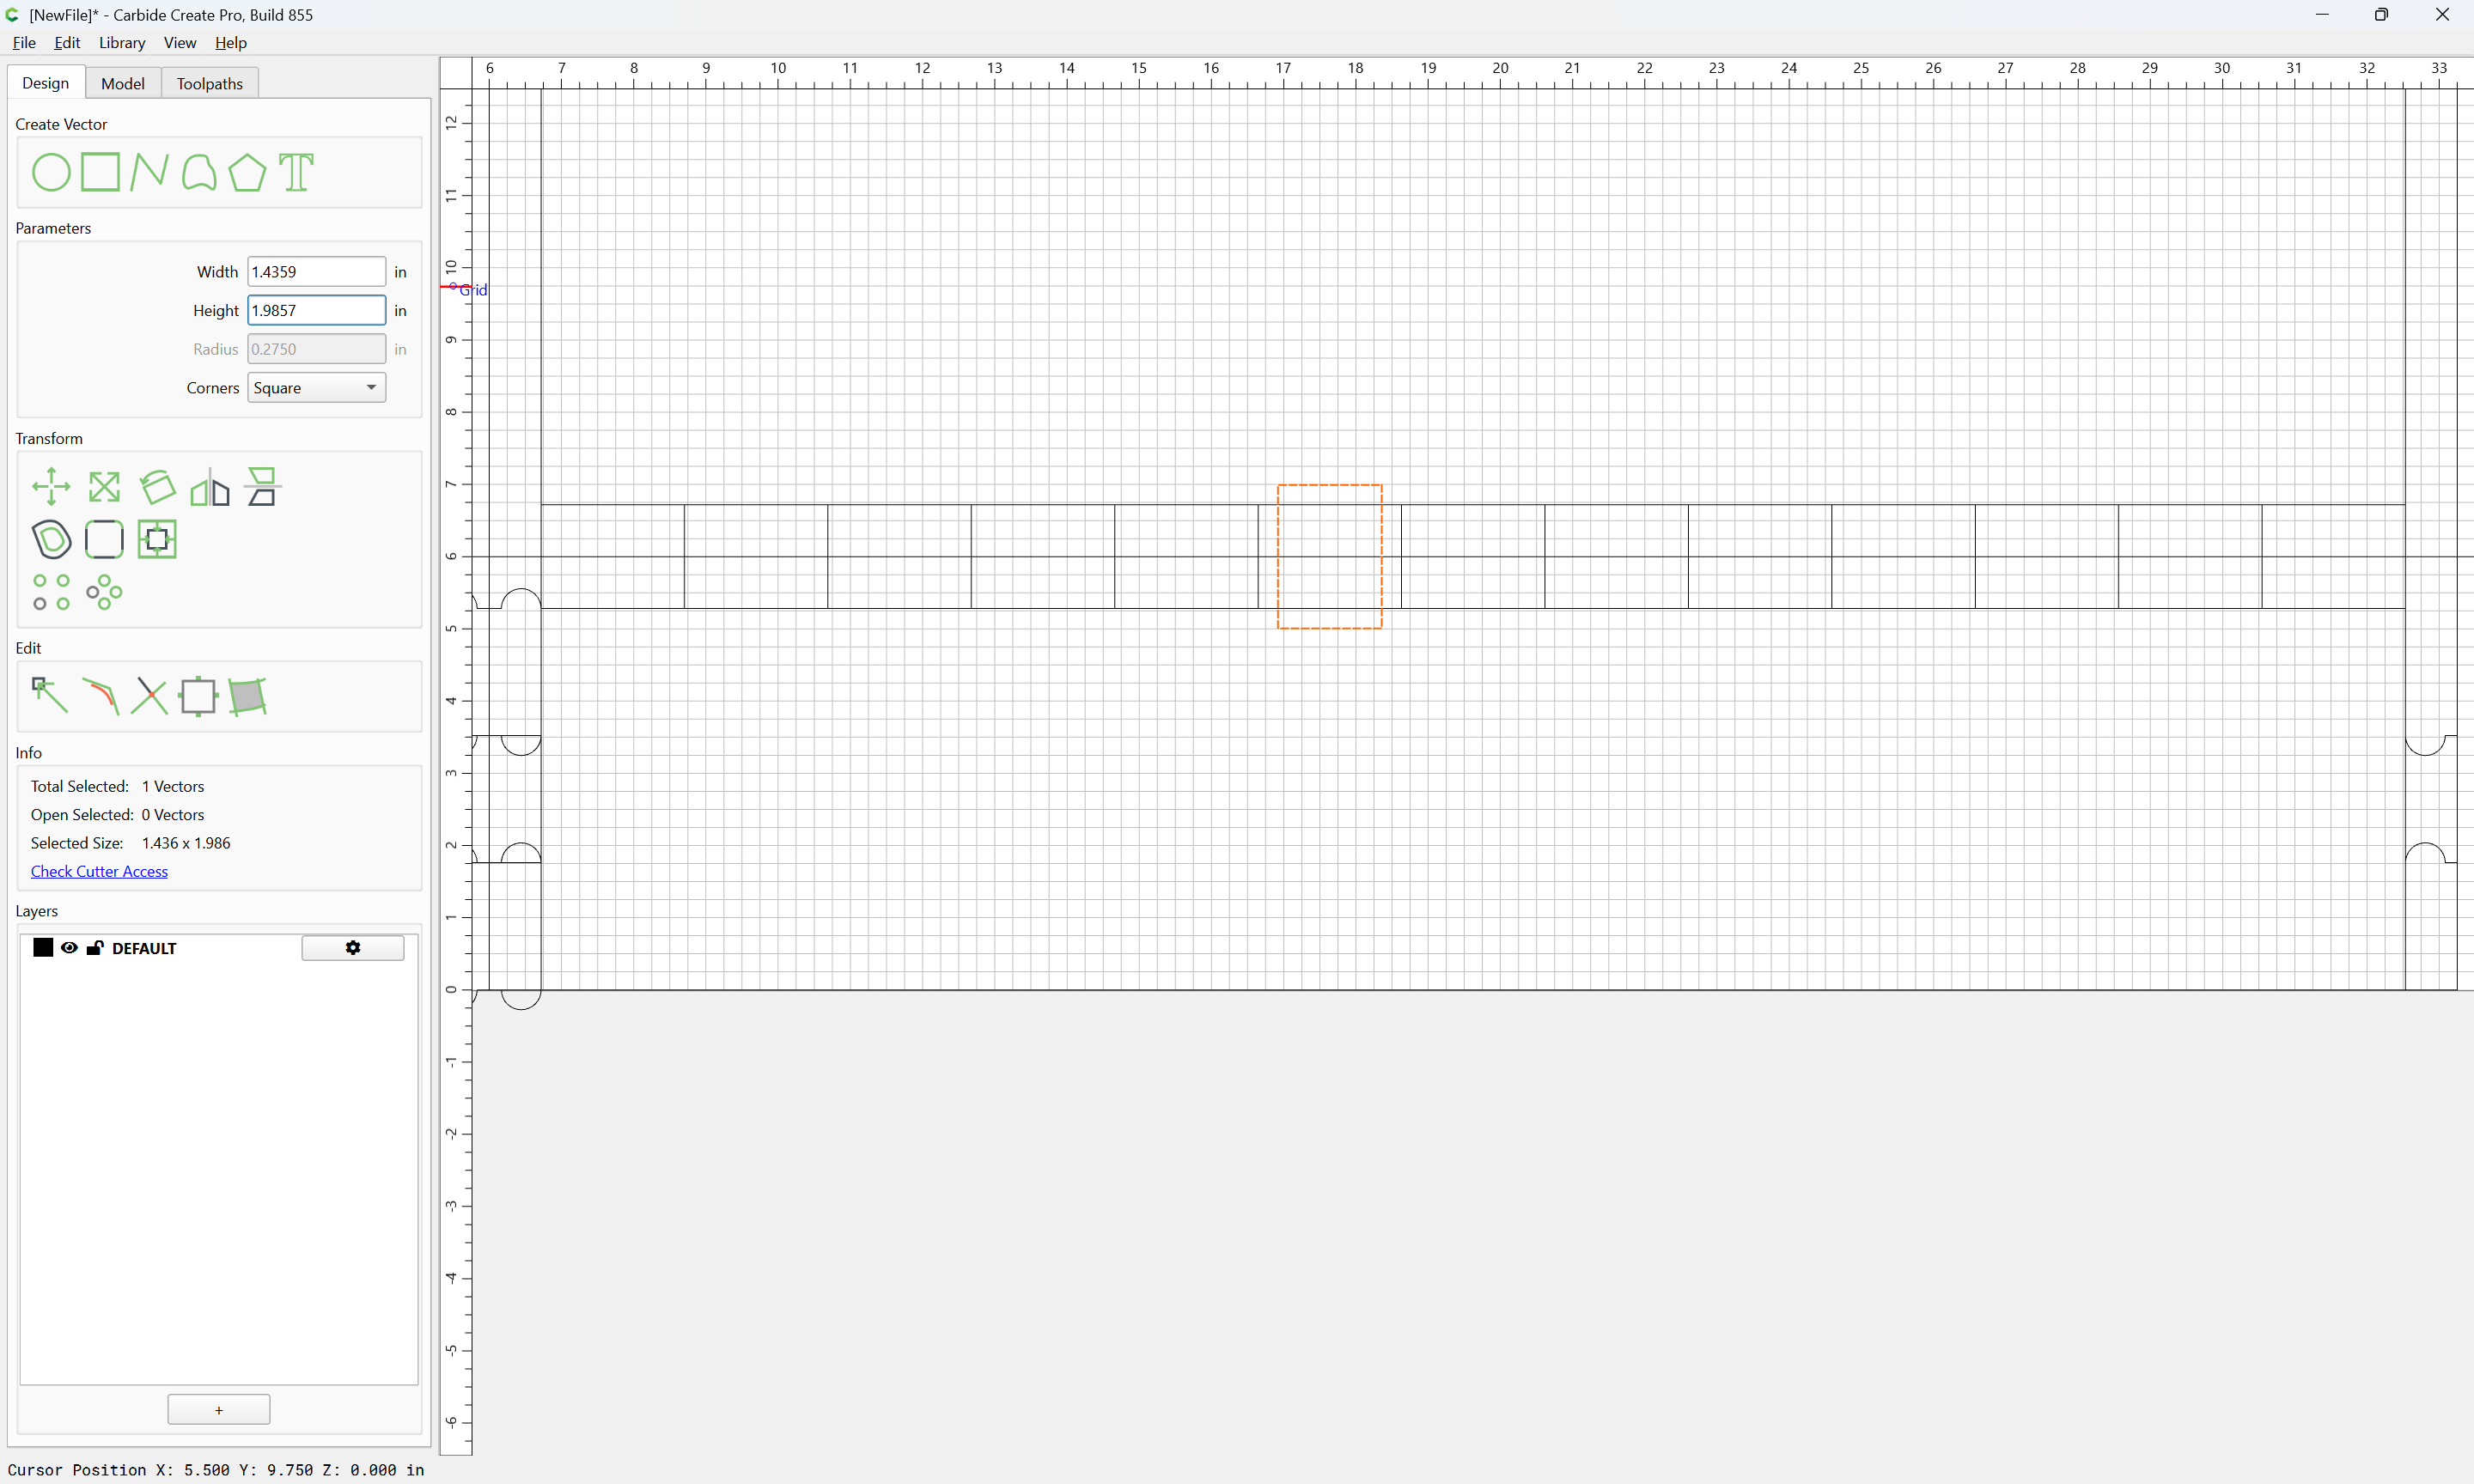
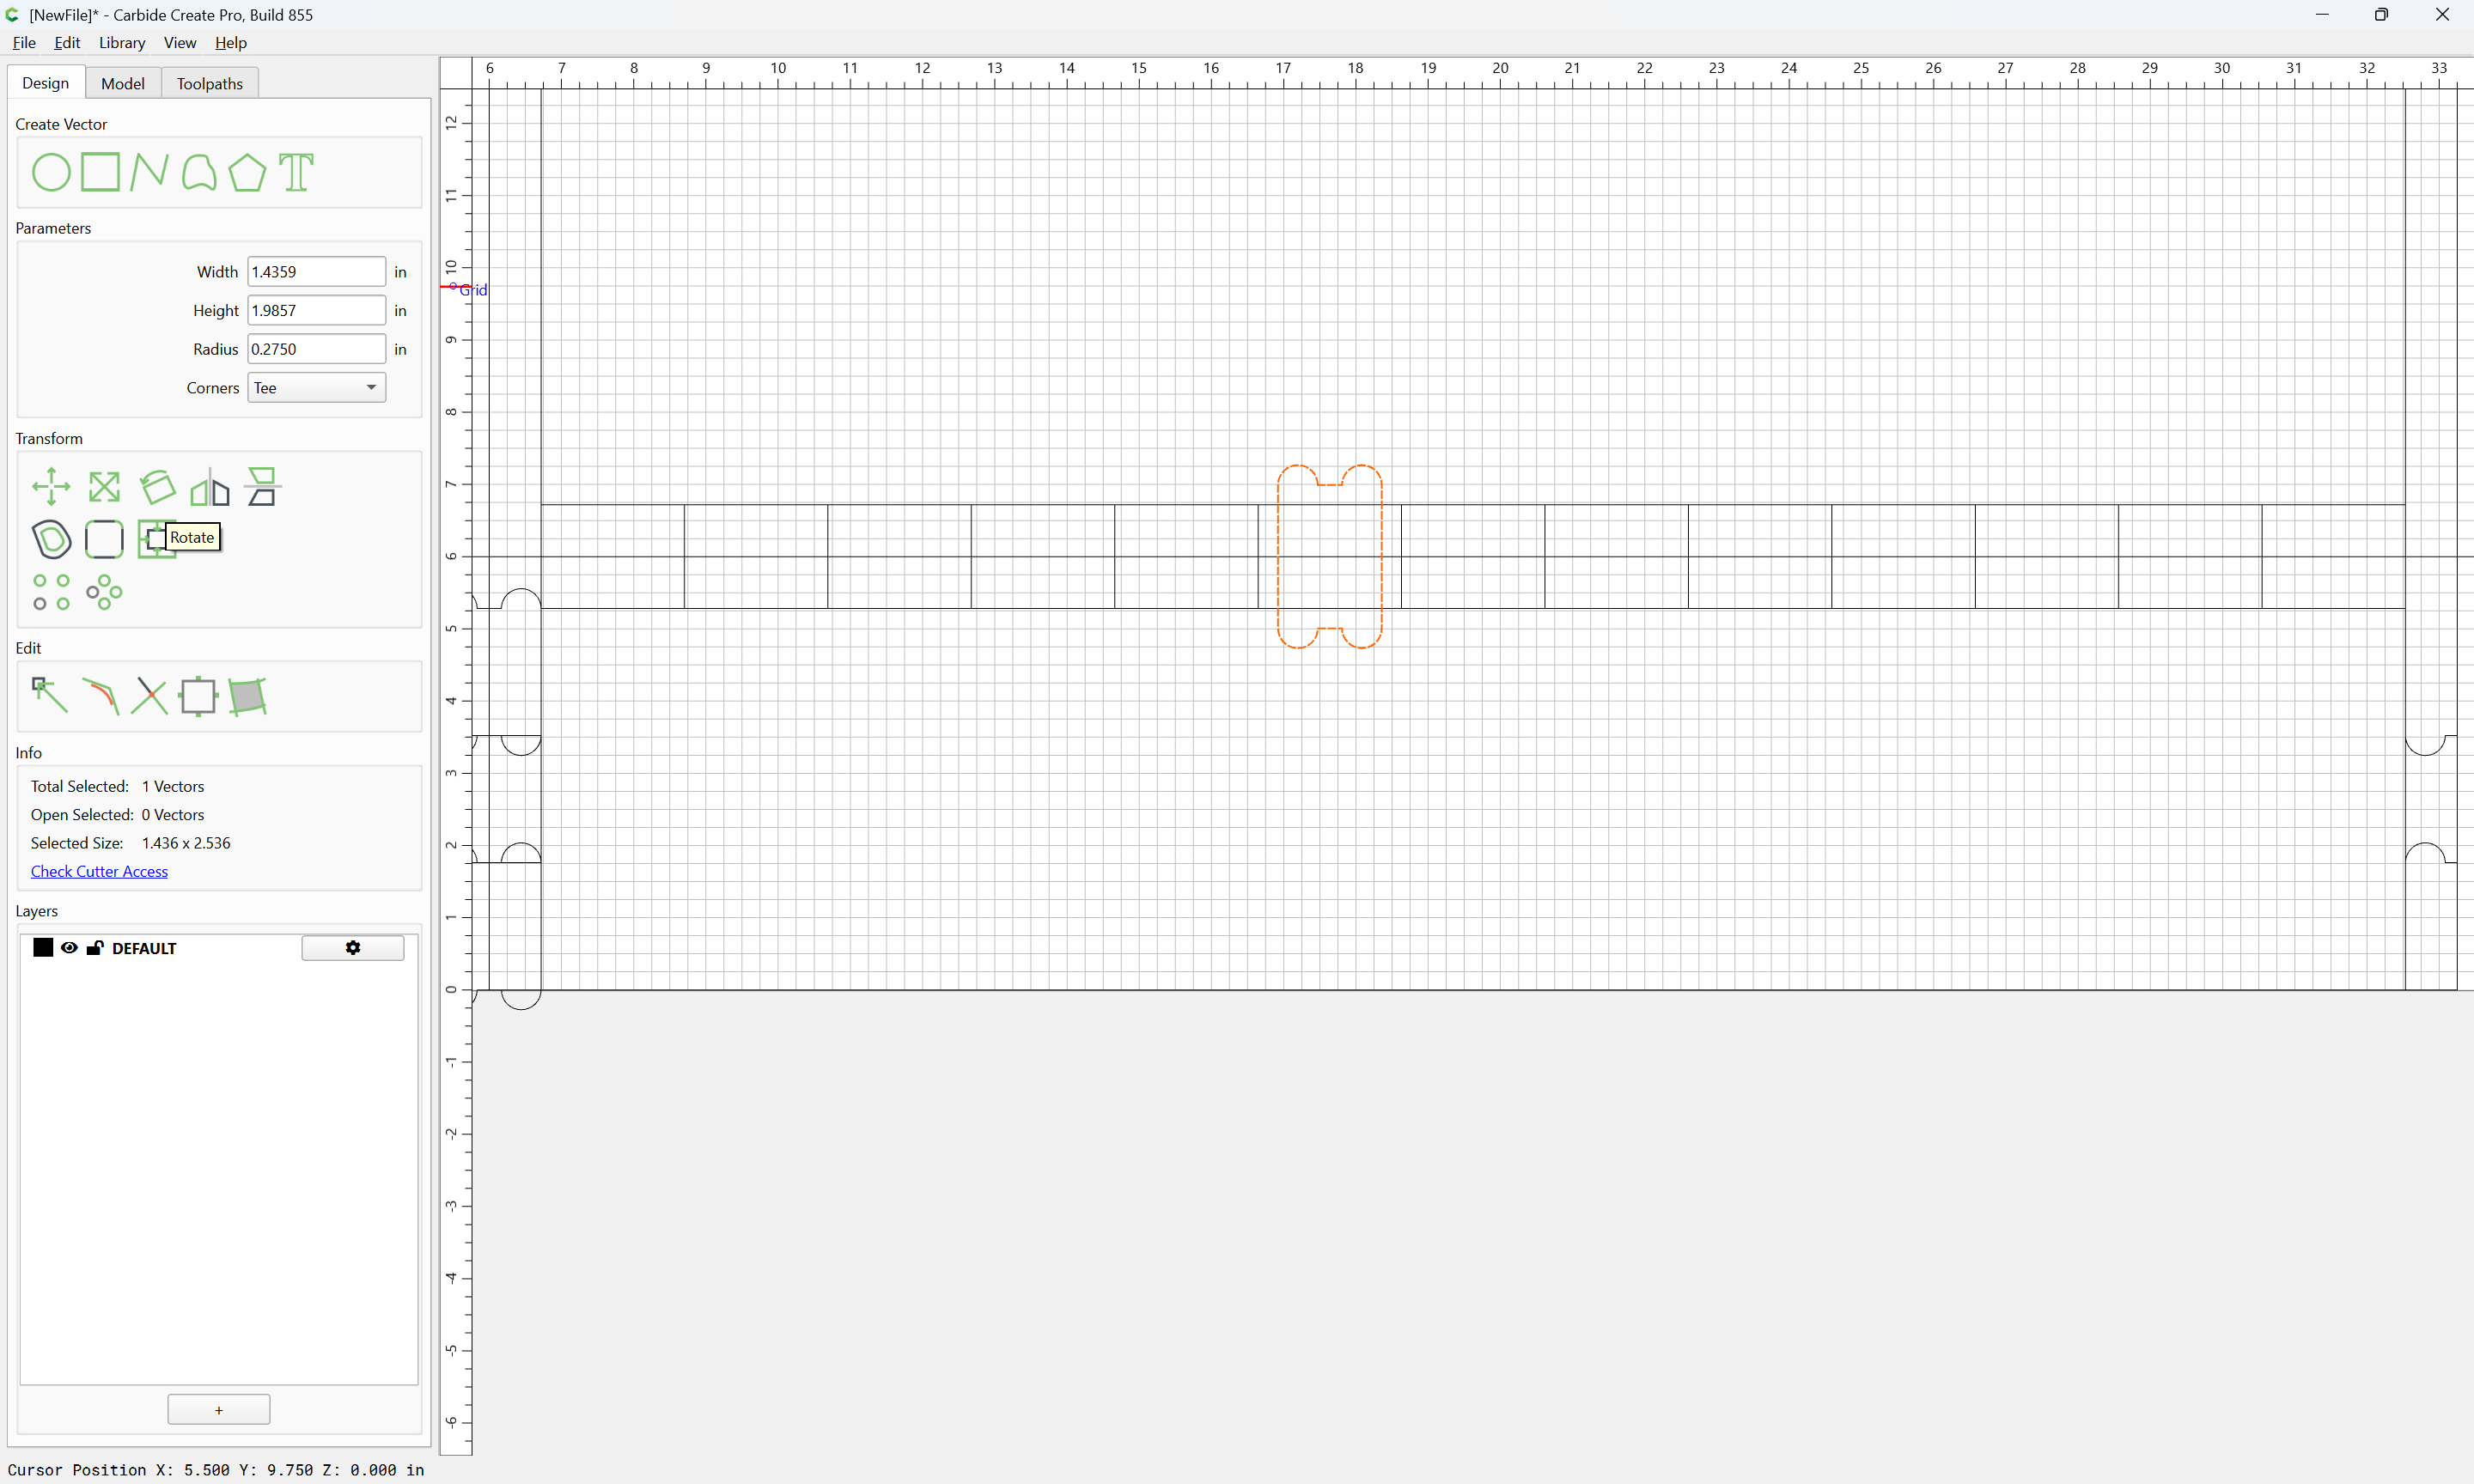
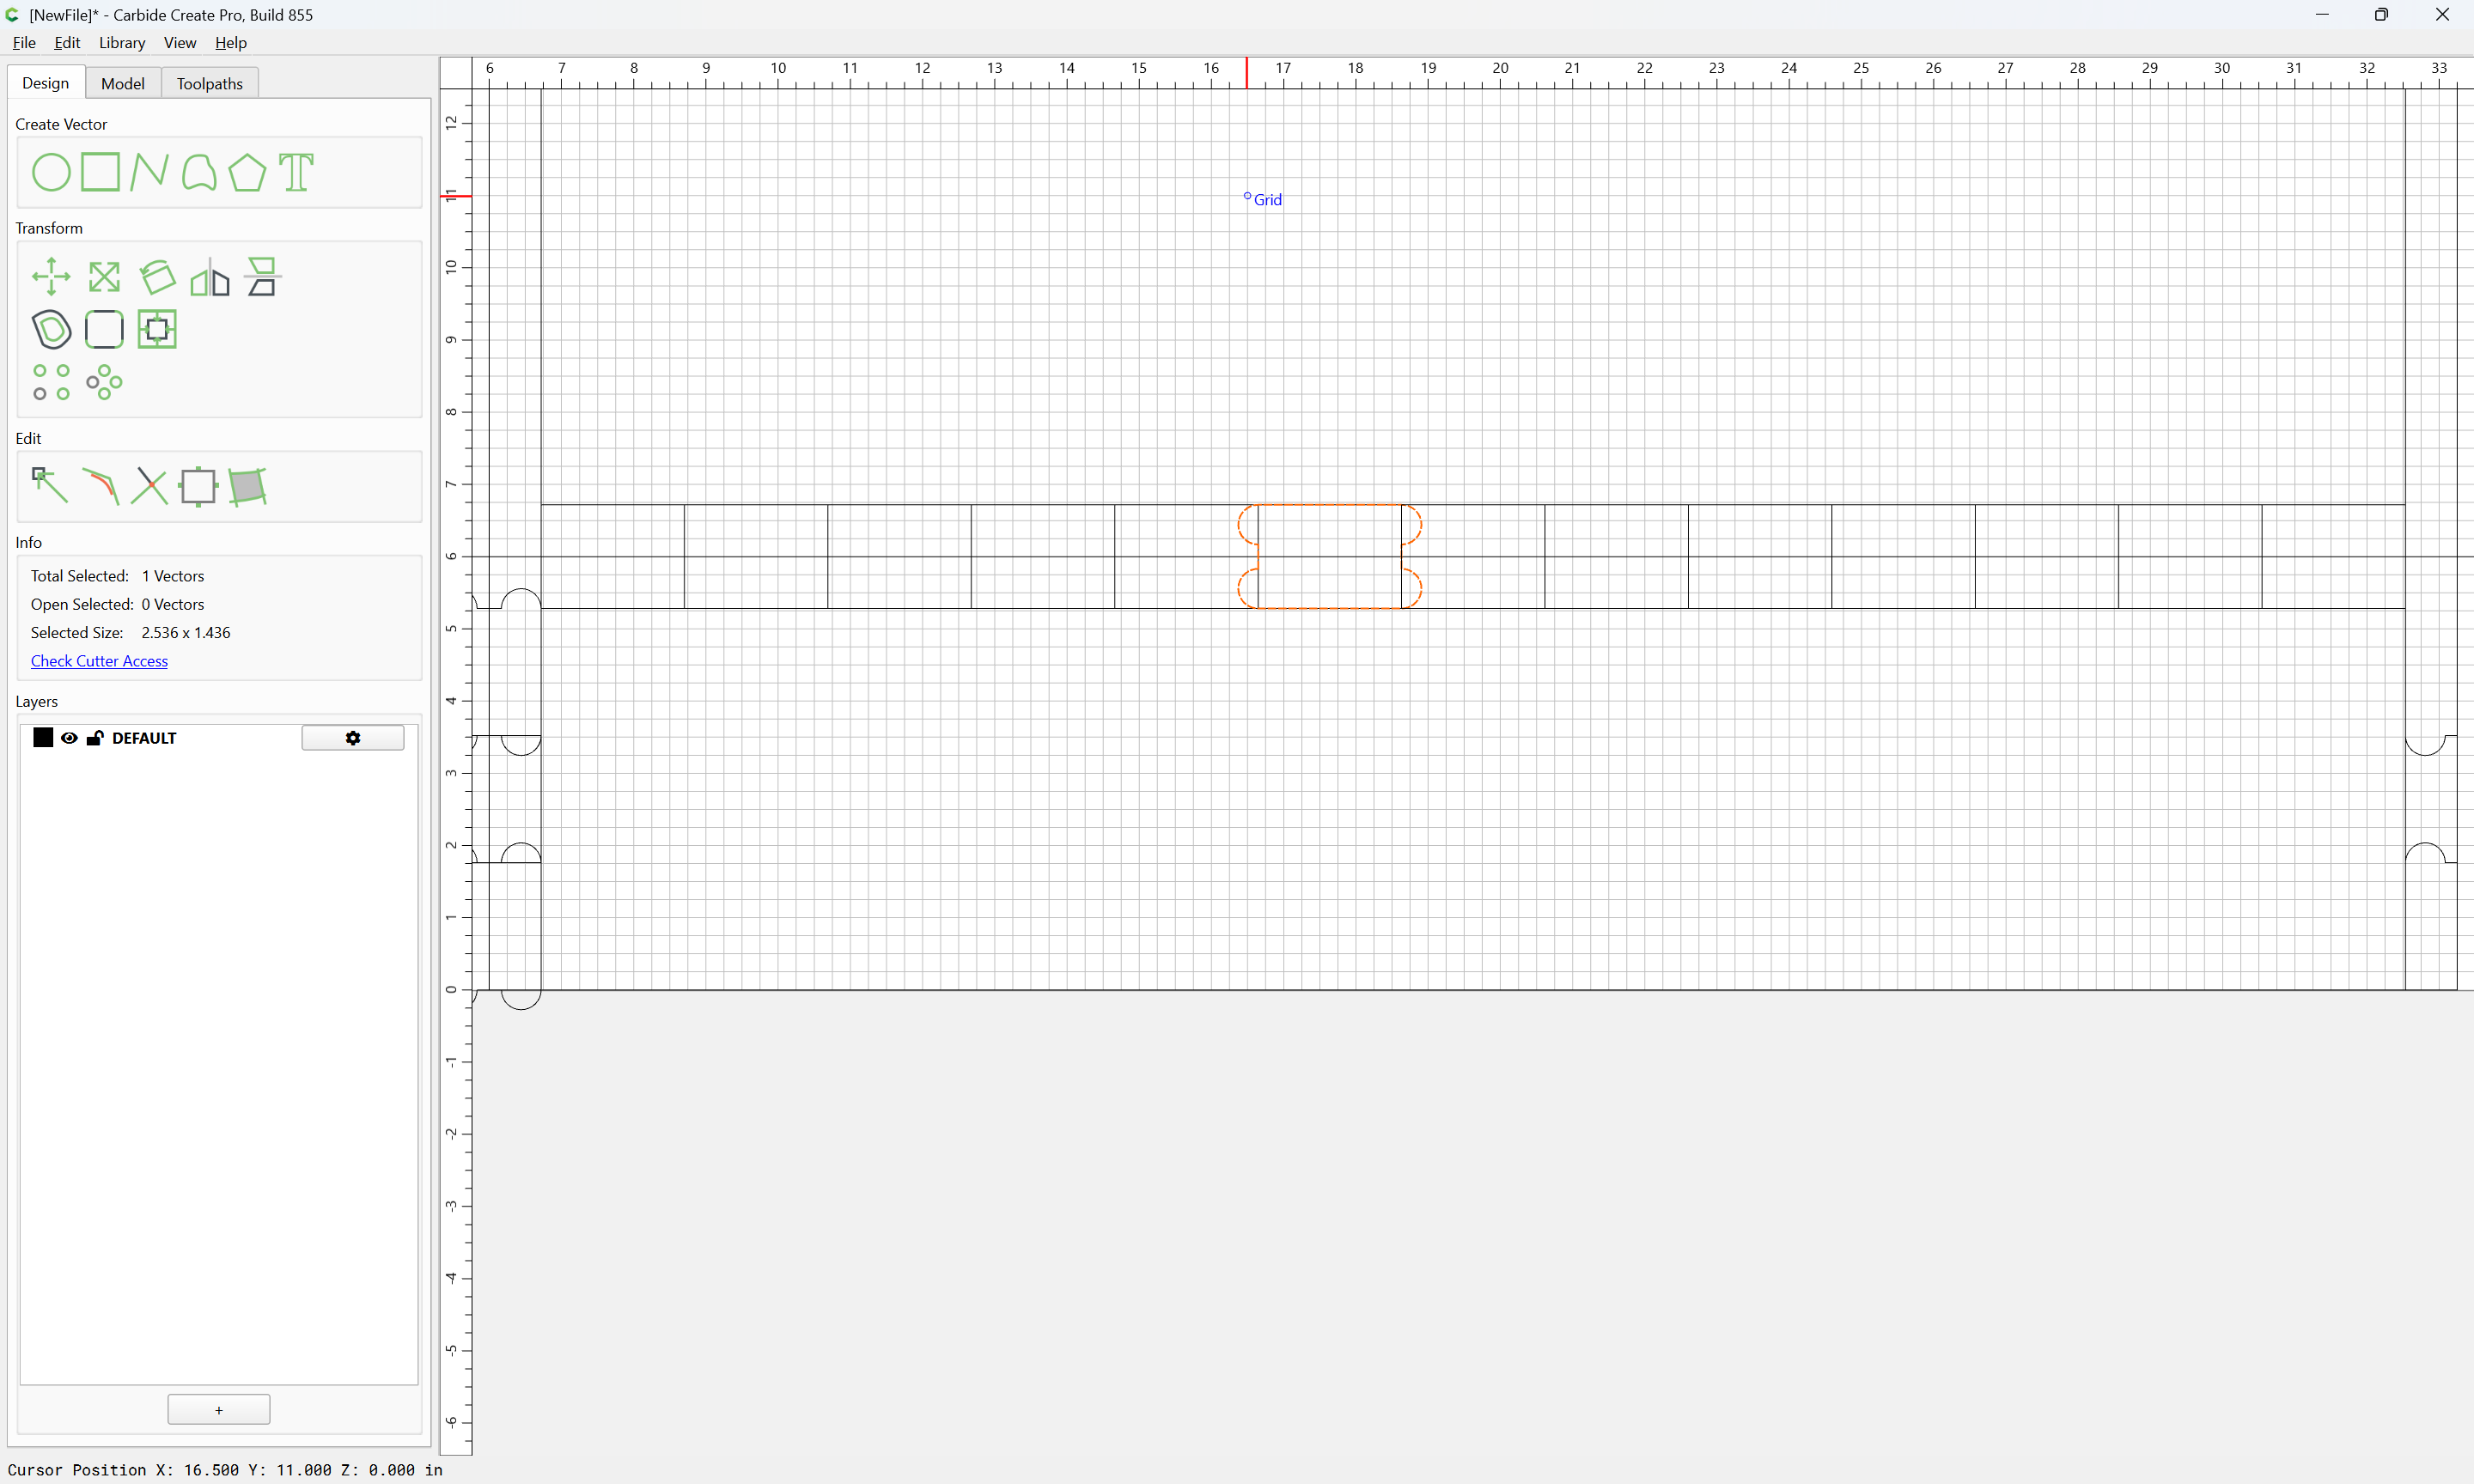
and then T-bones (or dogbones) added where appropriate:
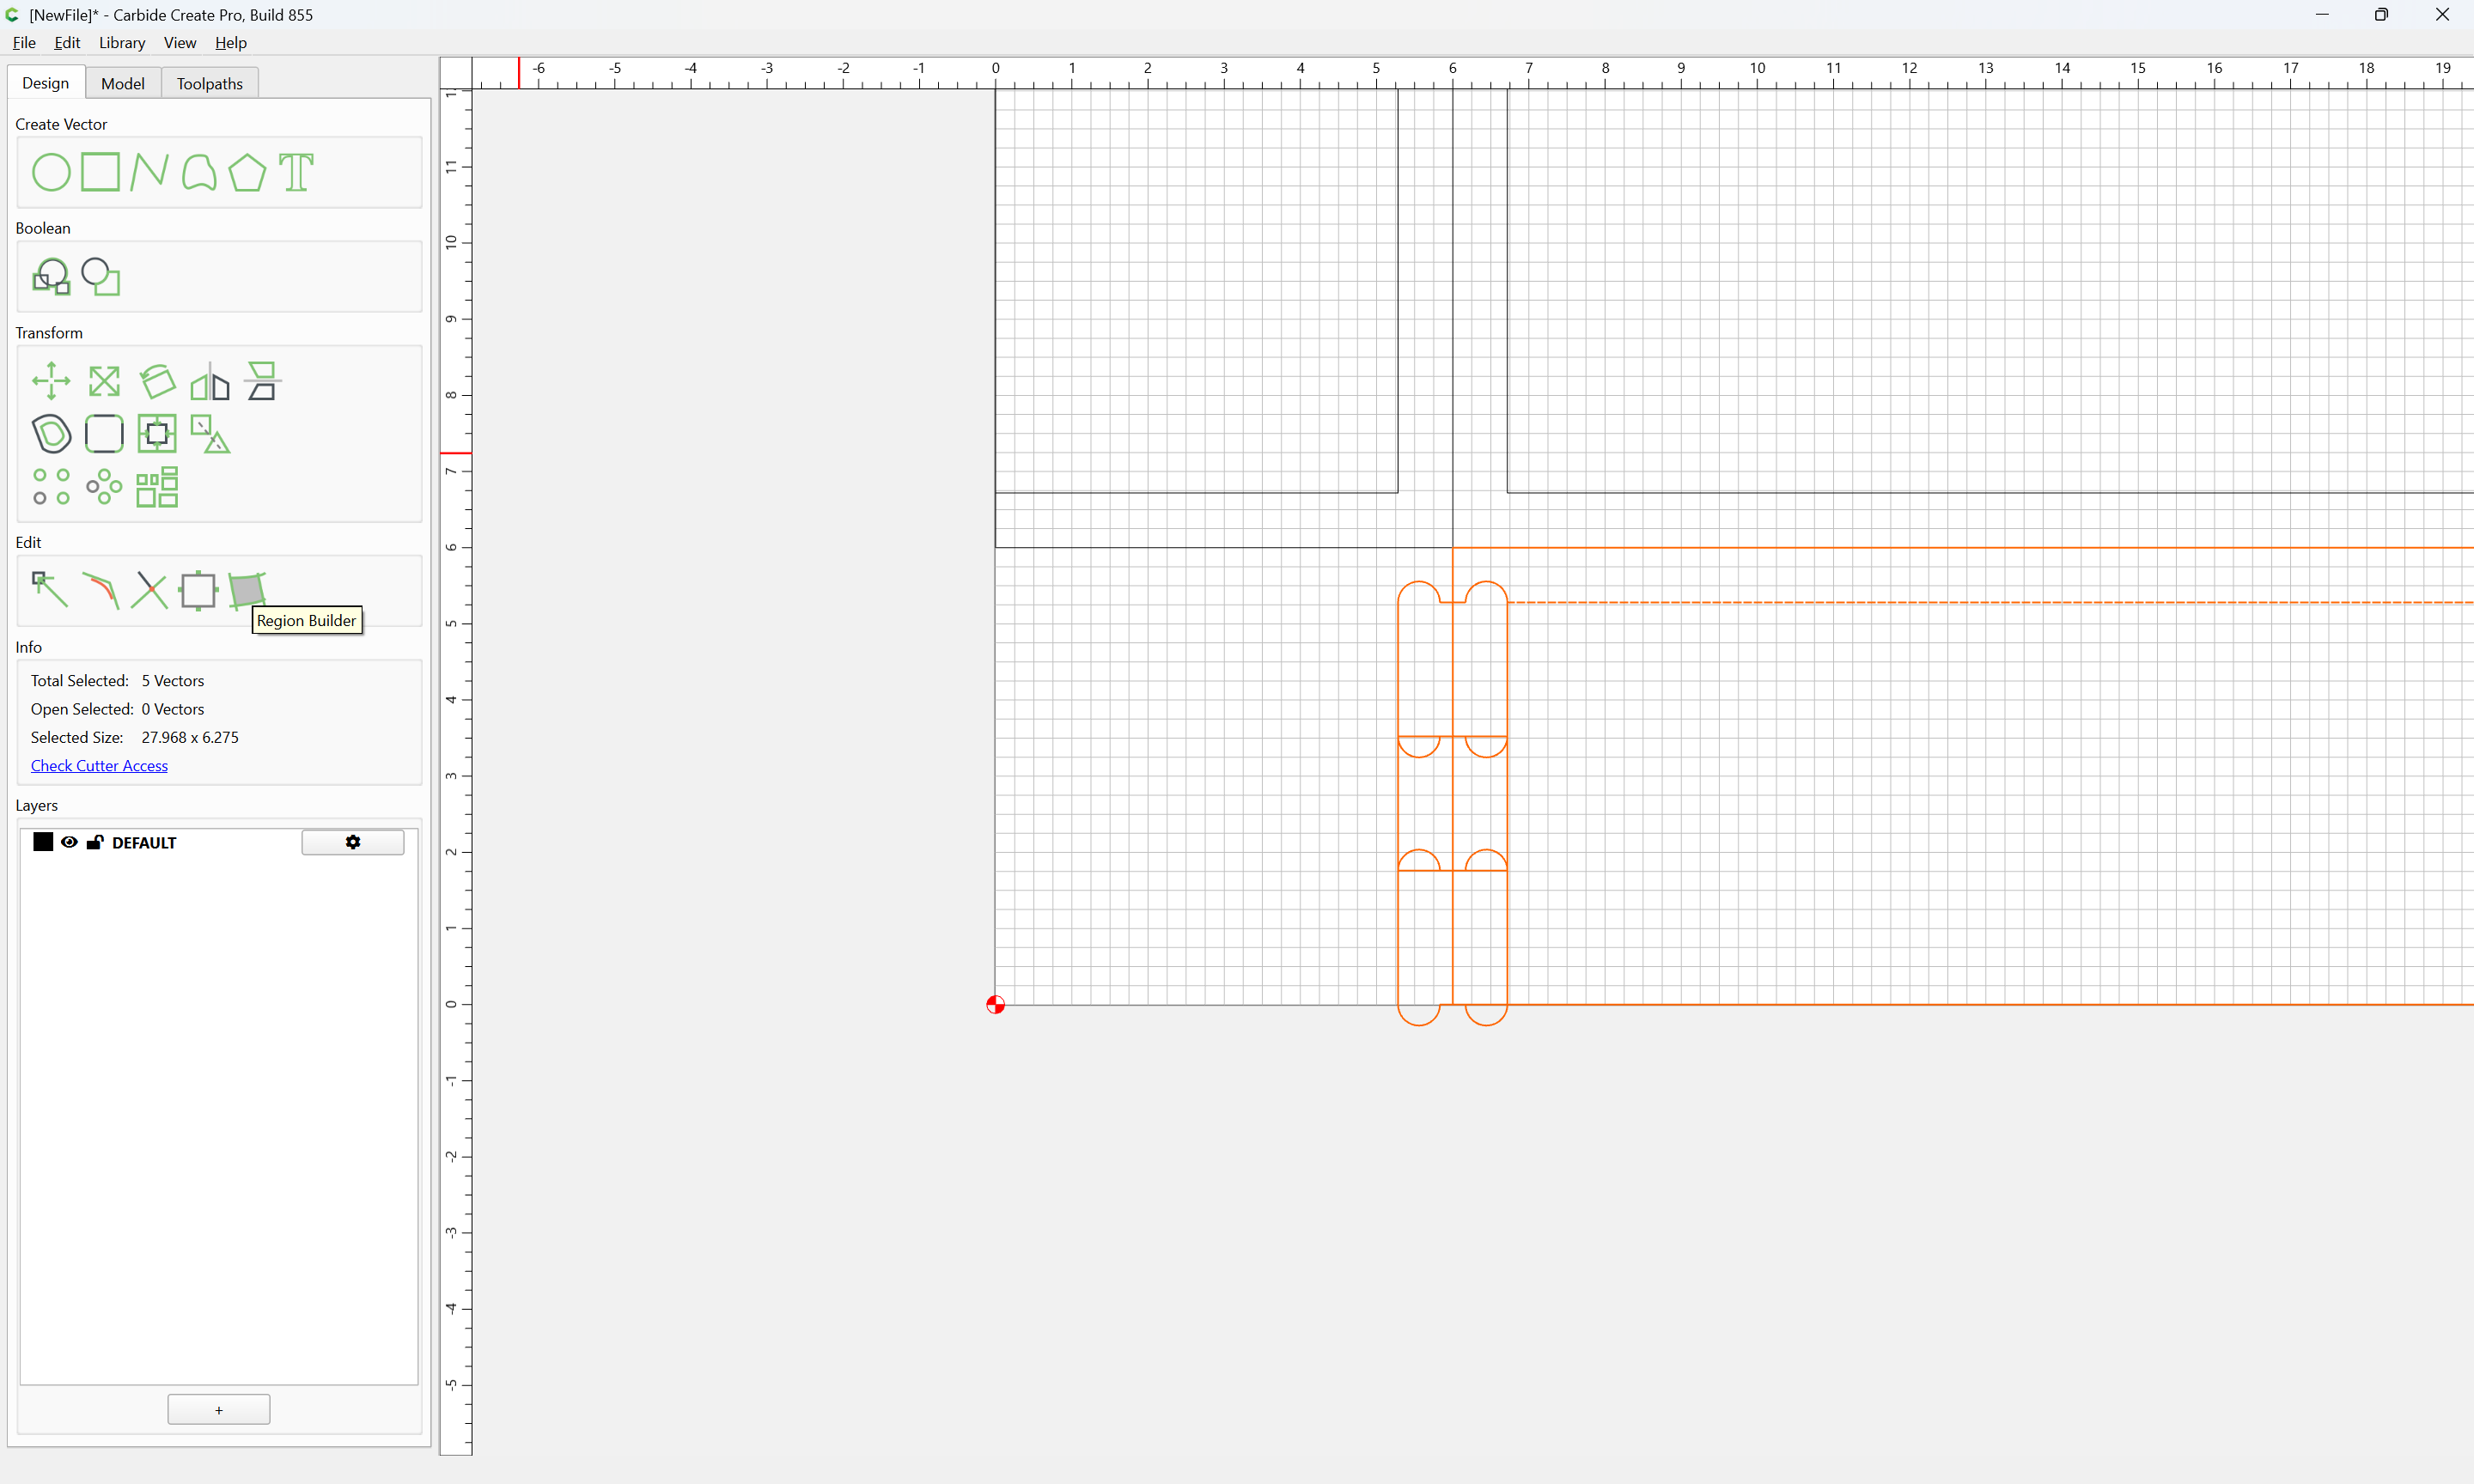
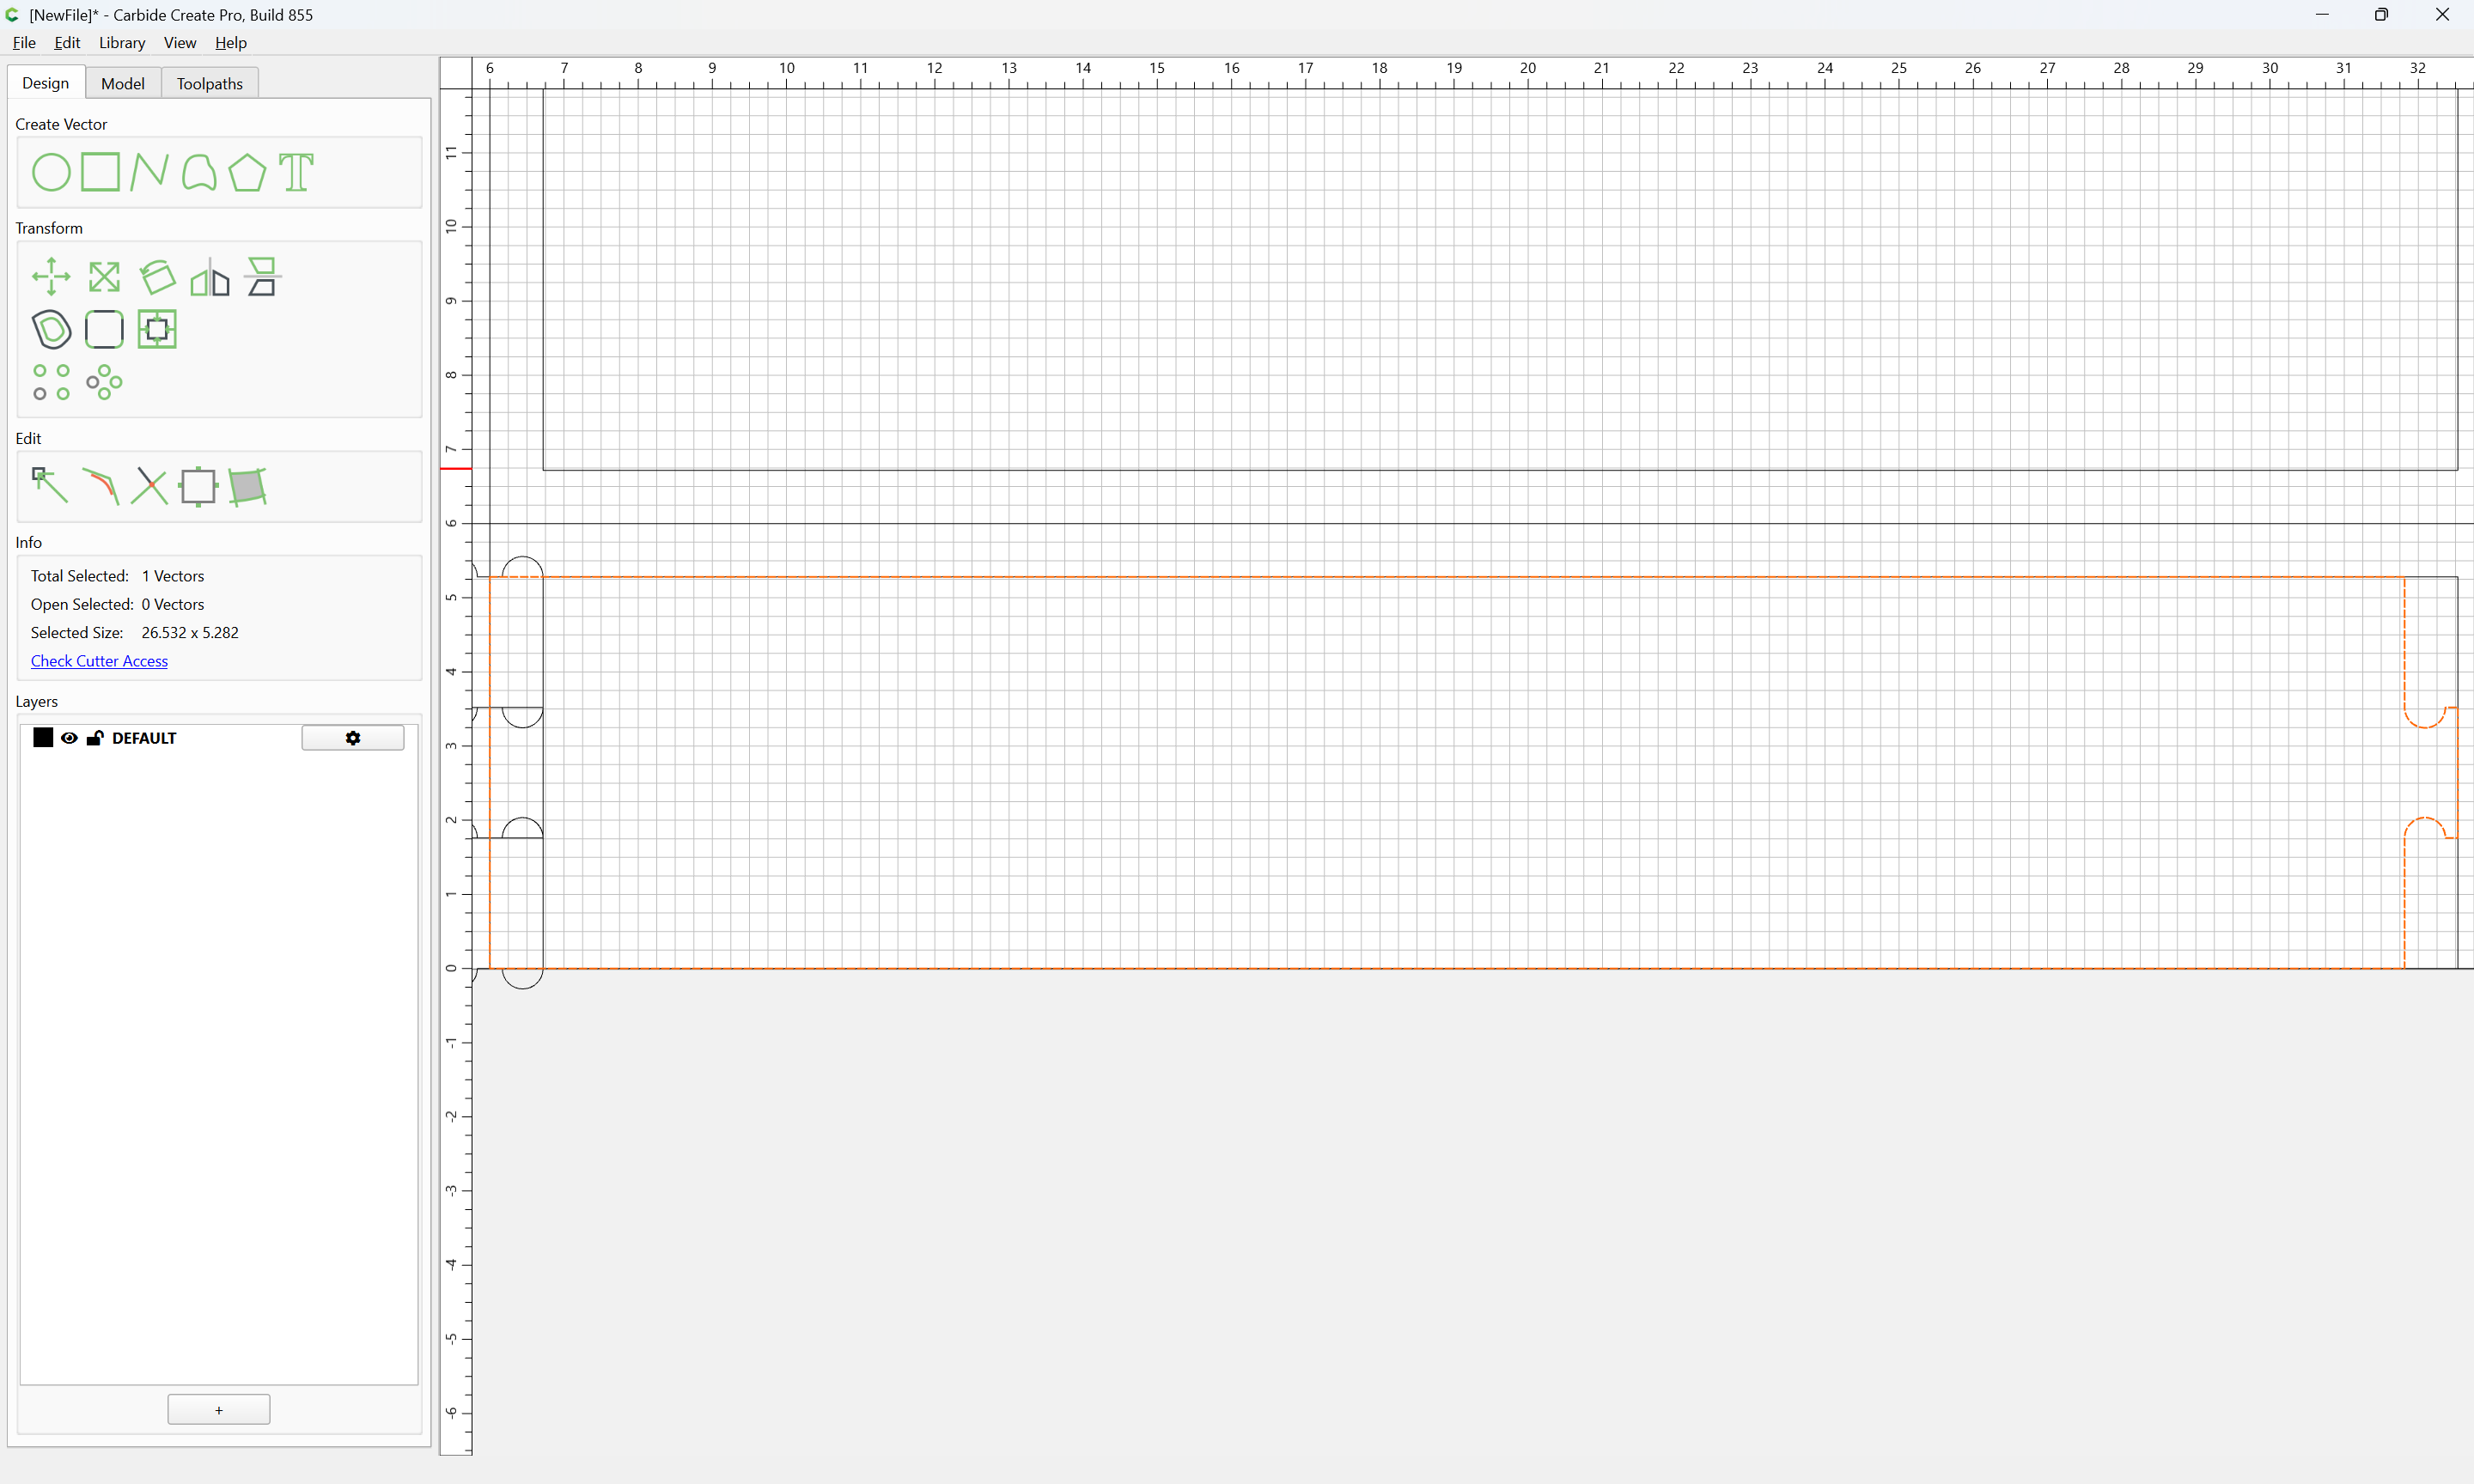
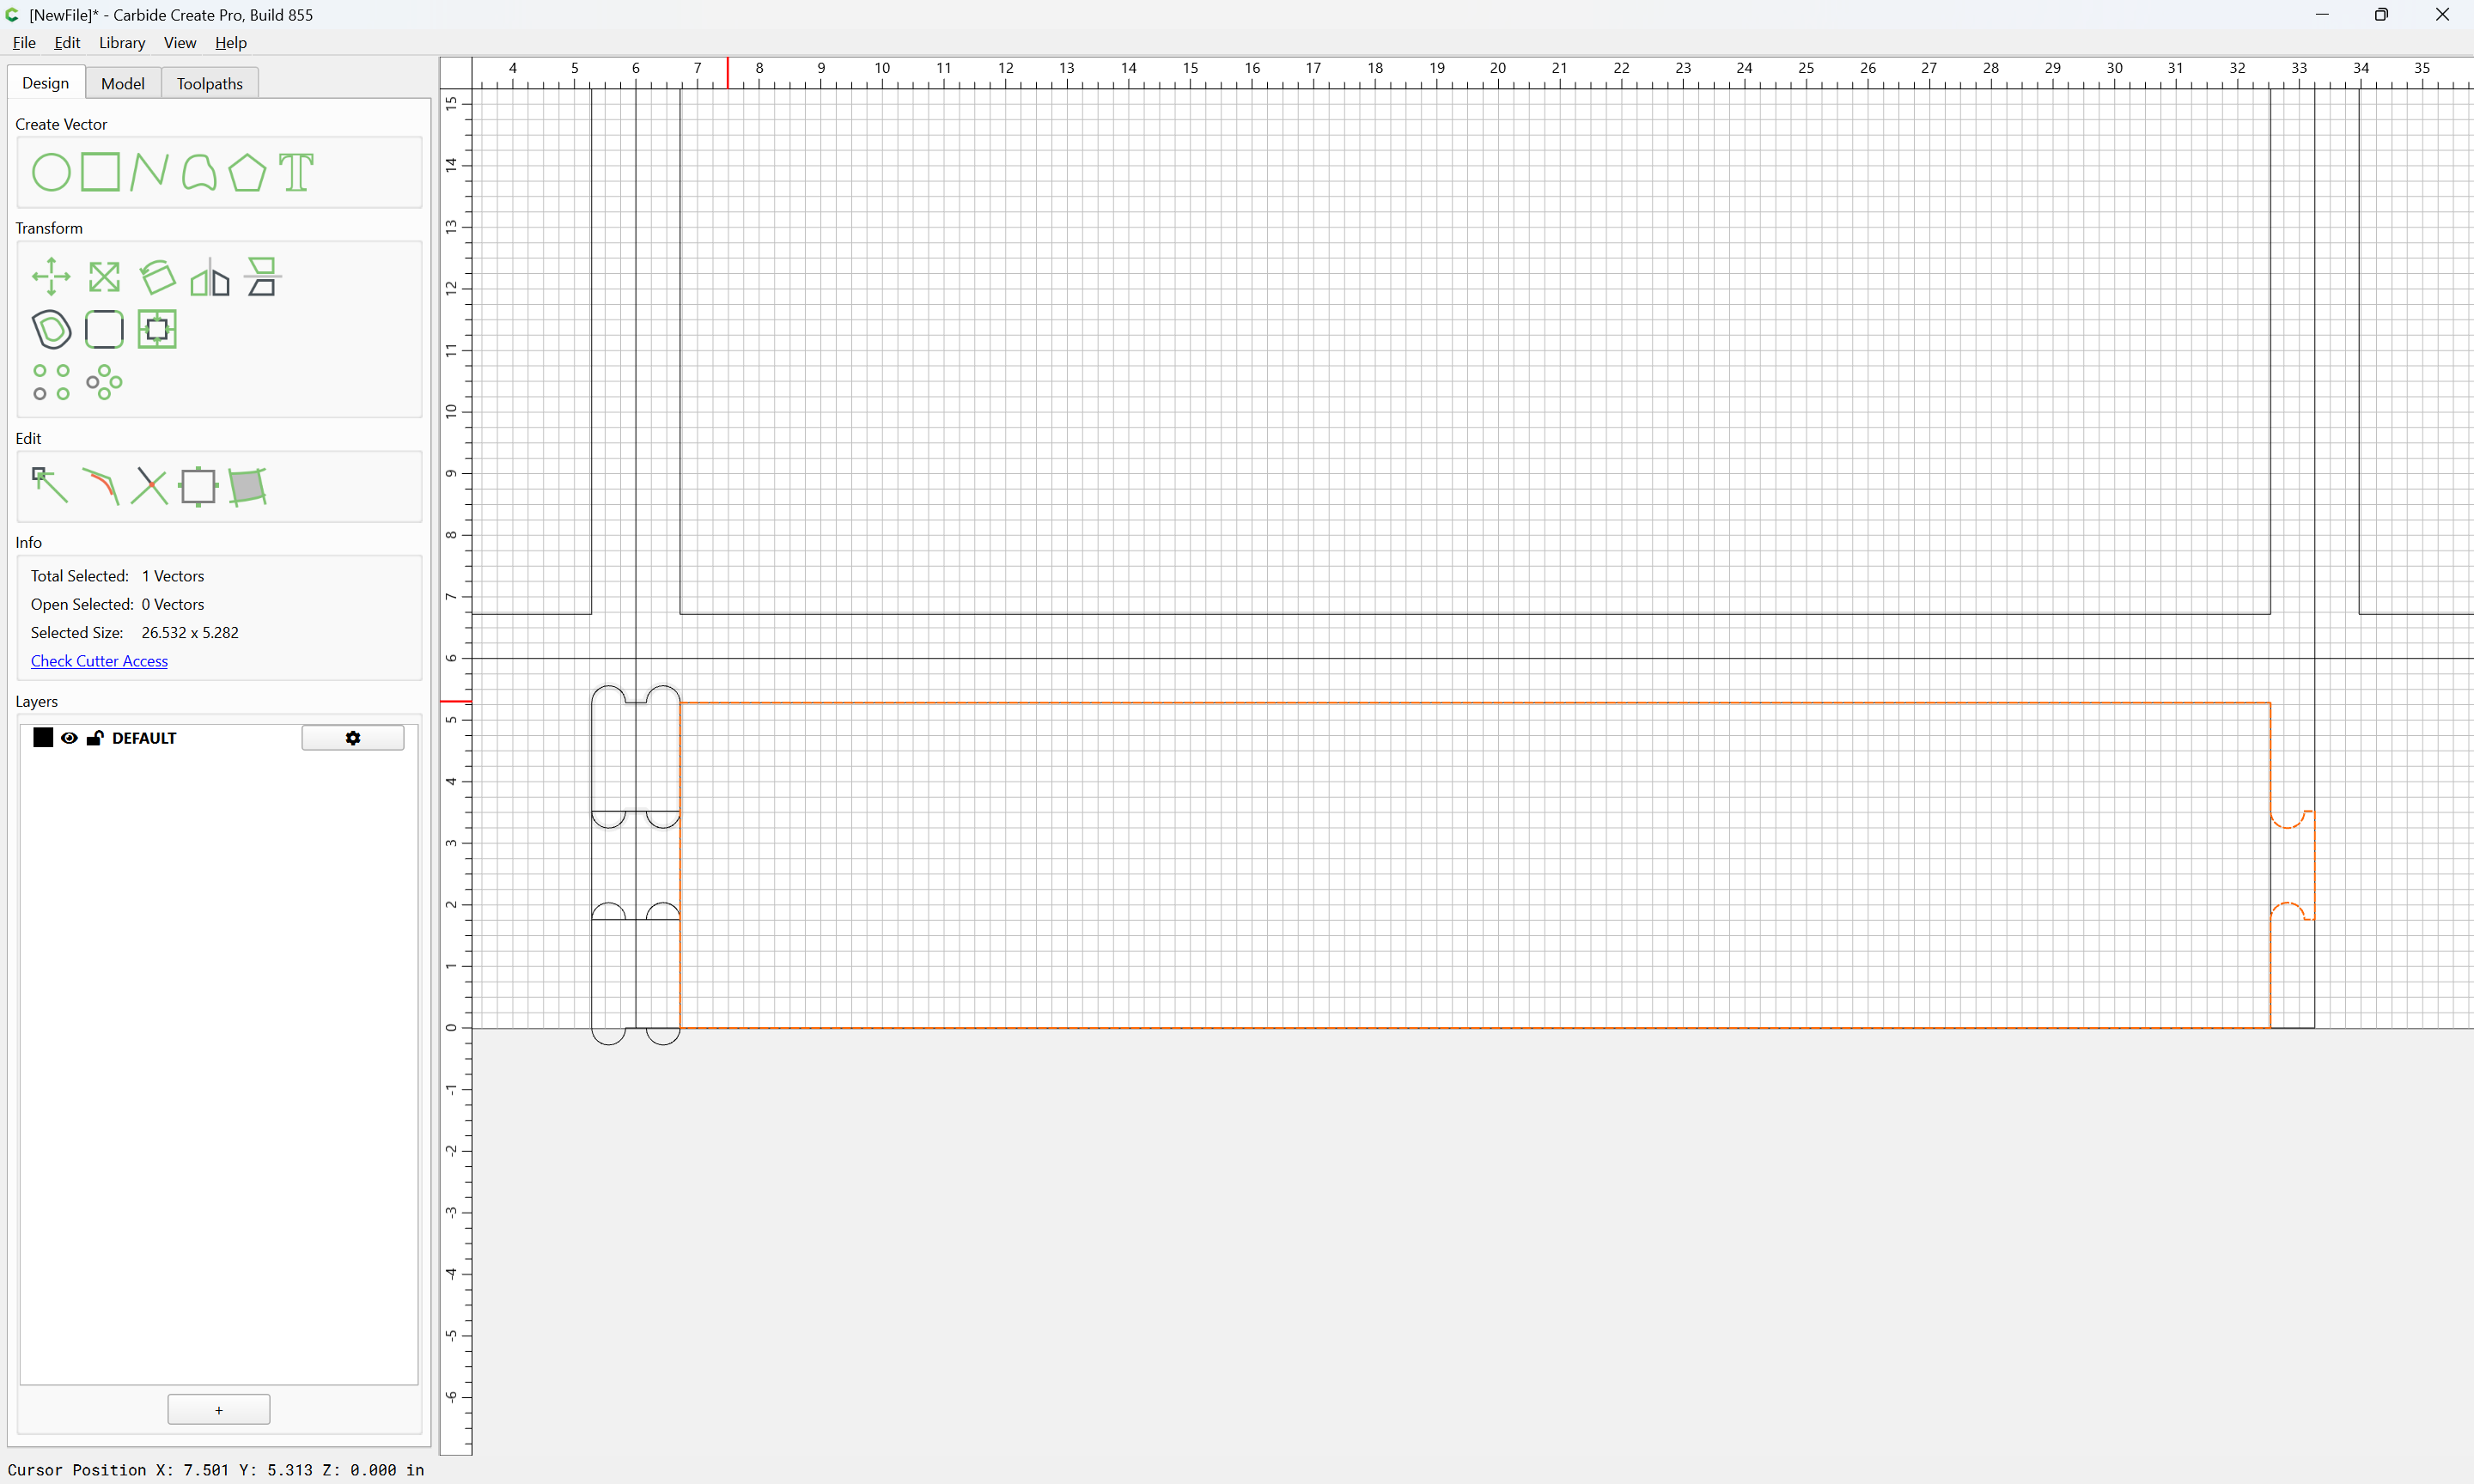
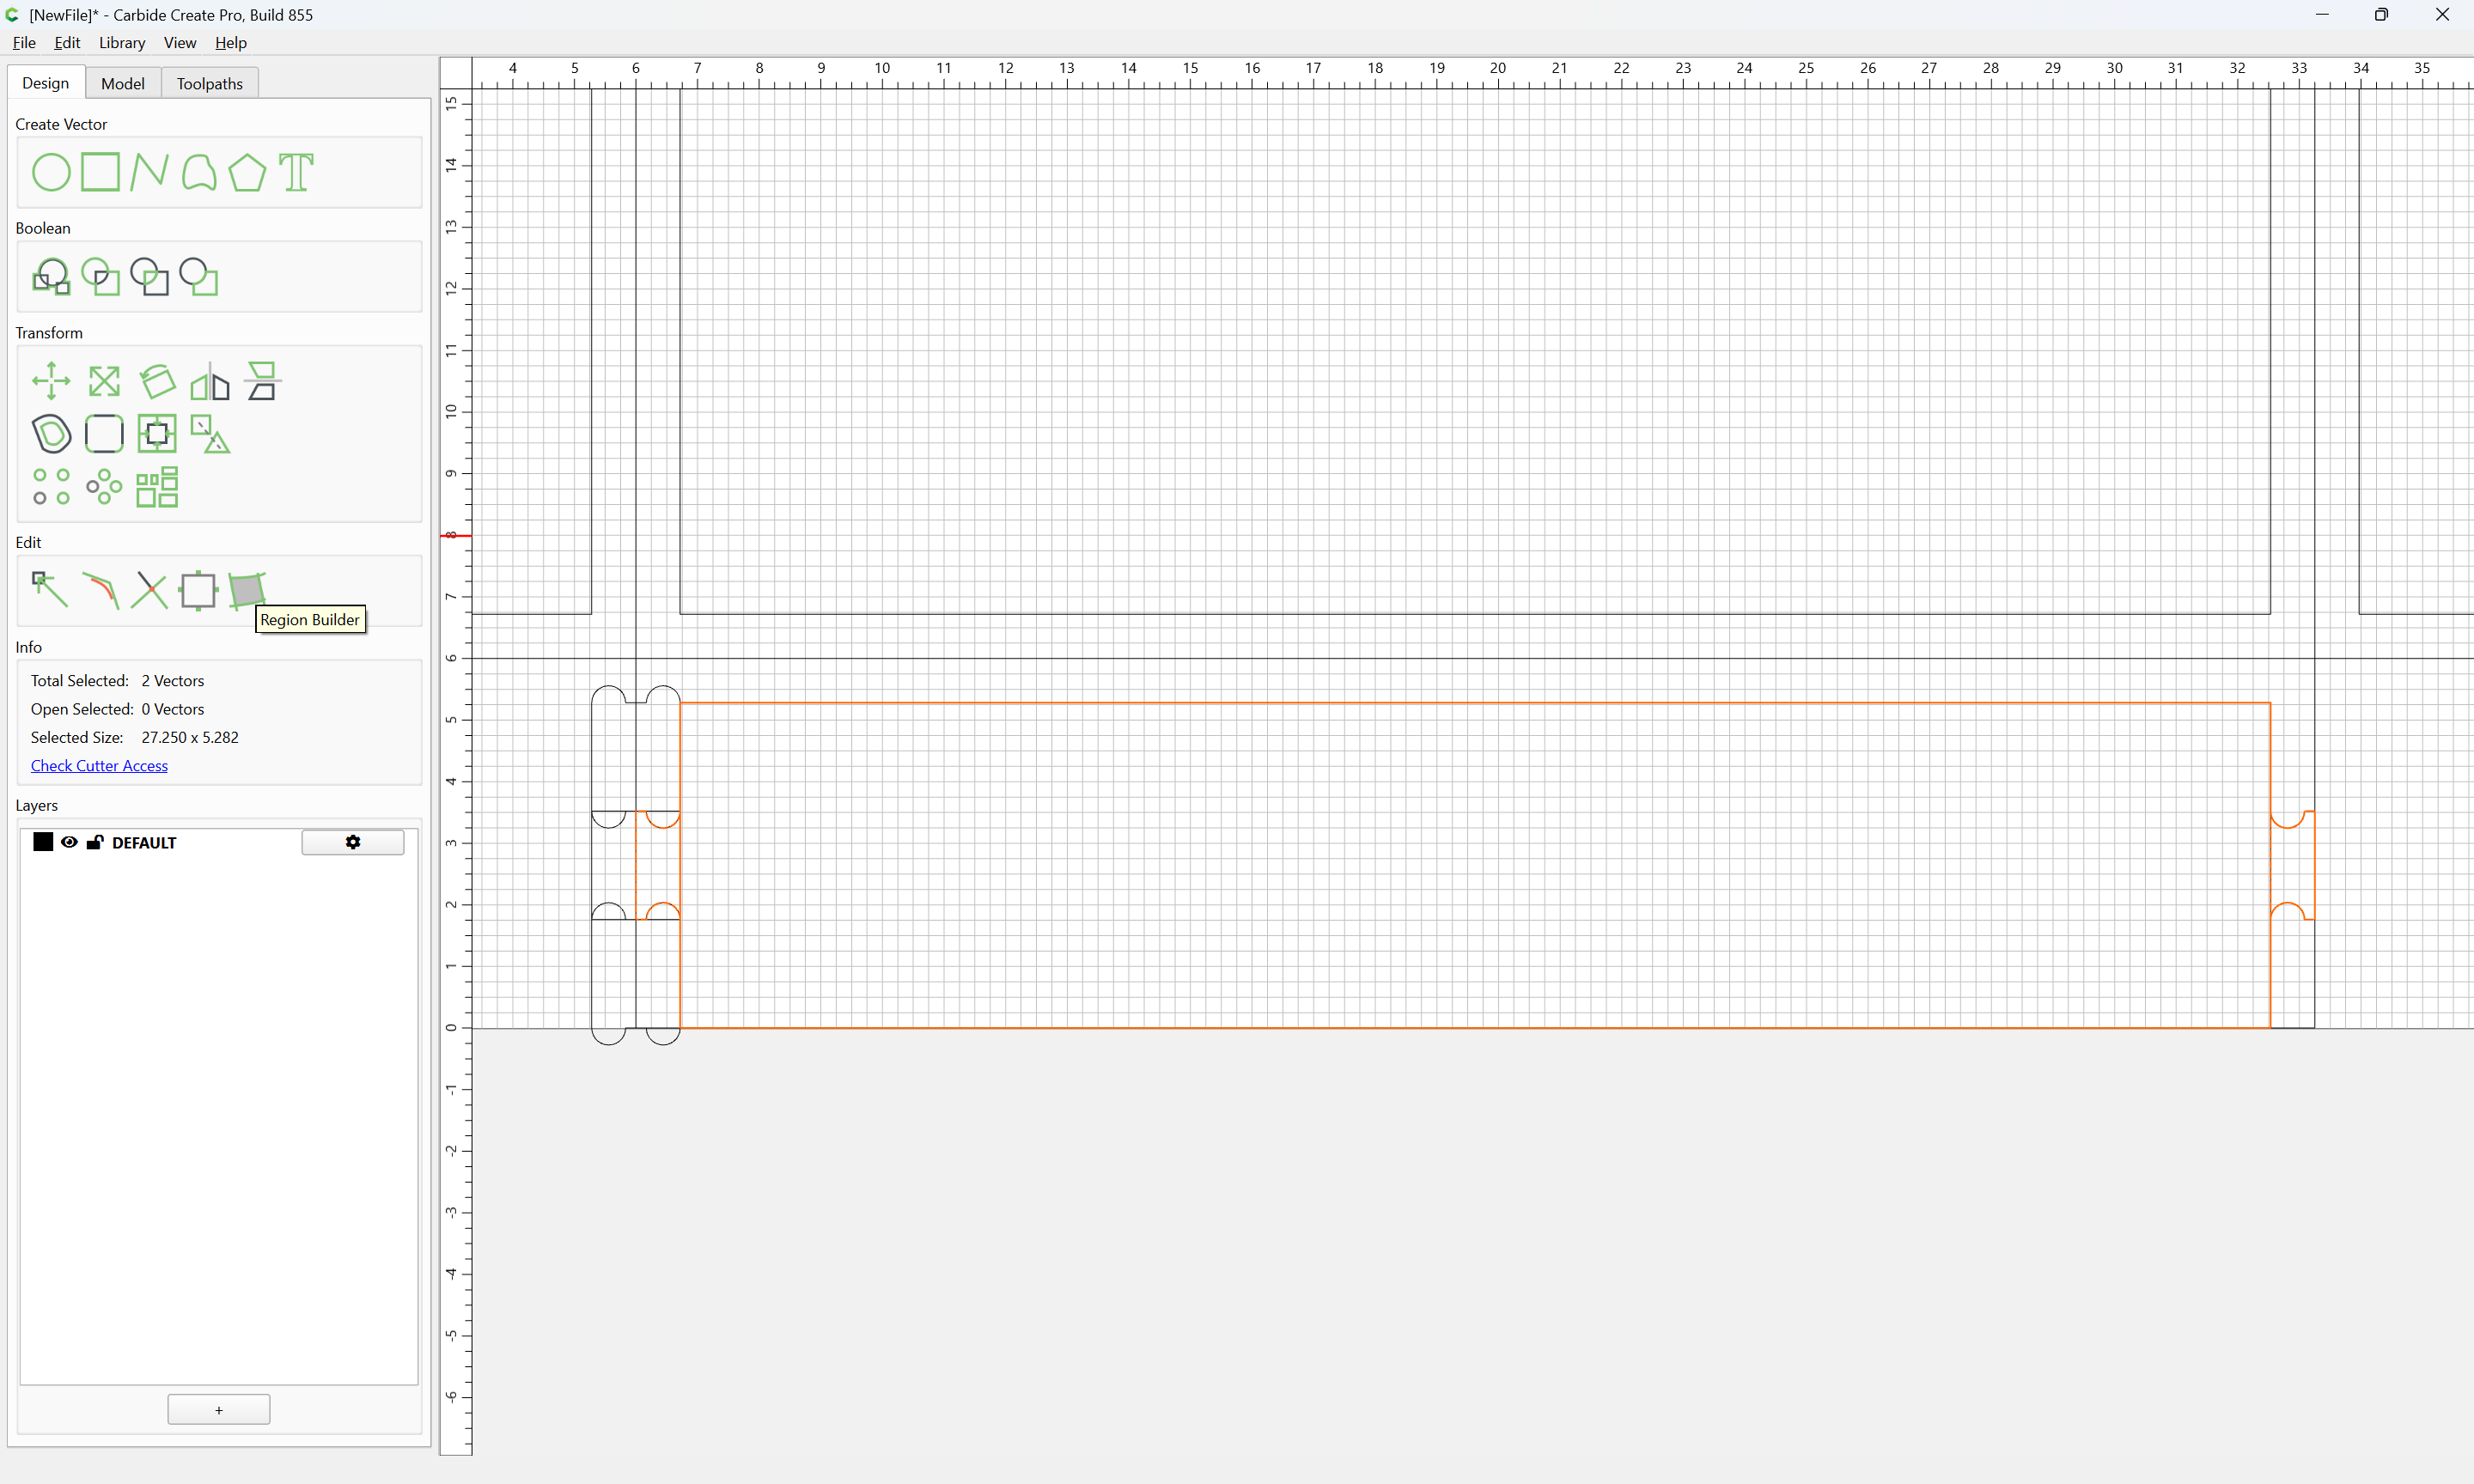
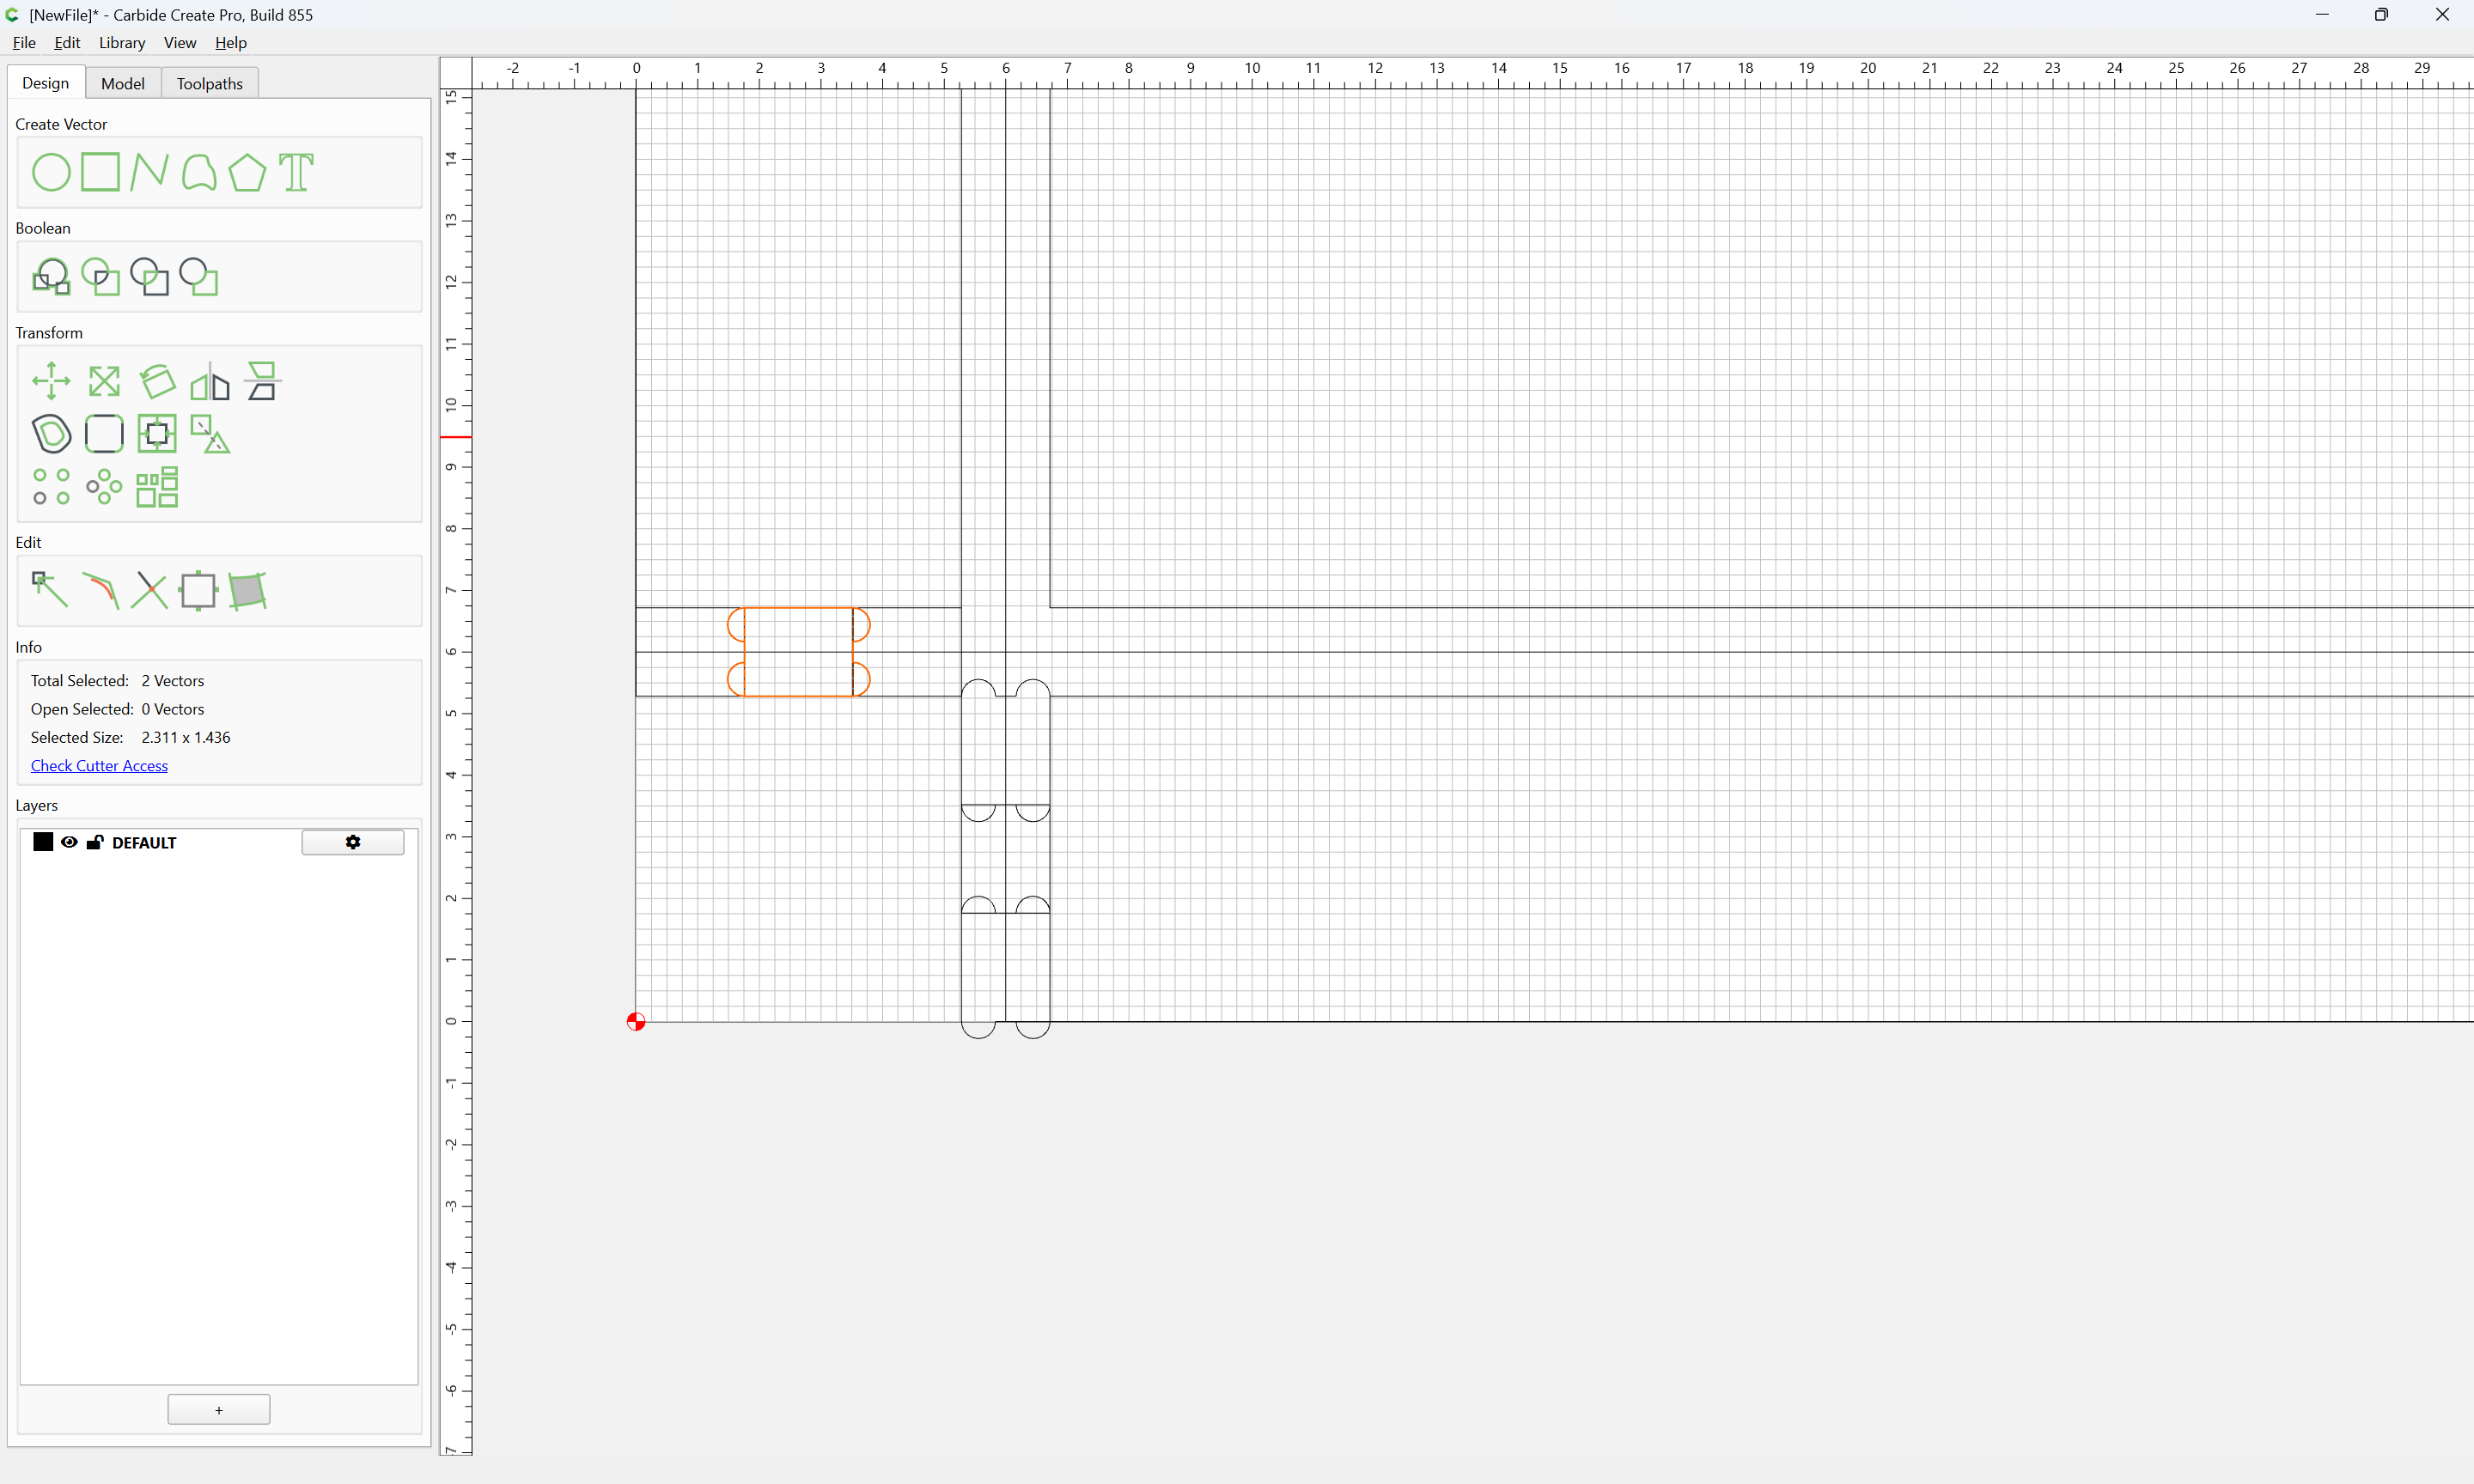
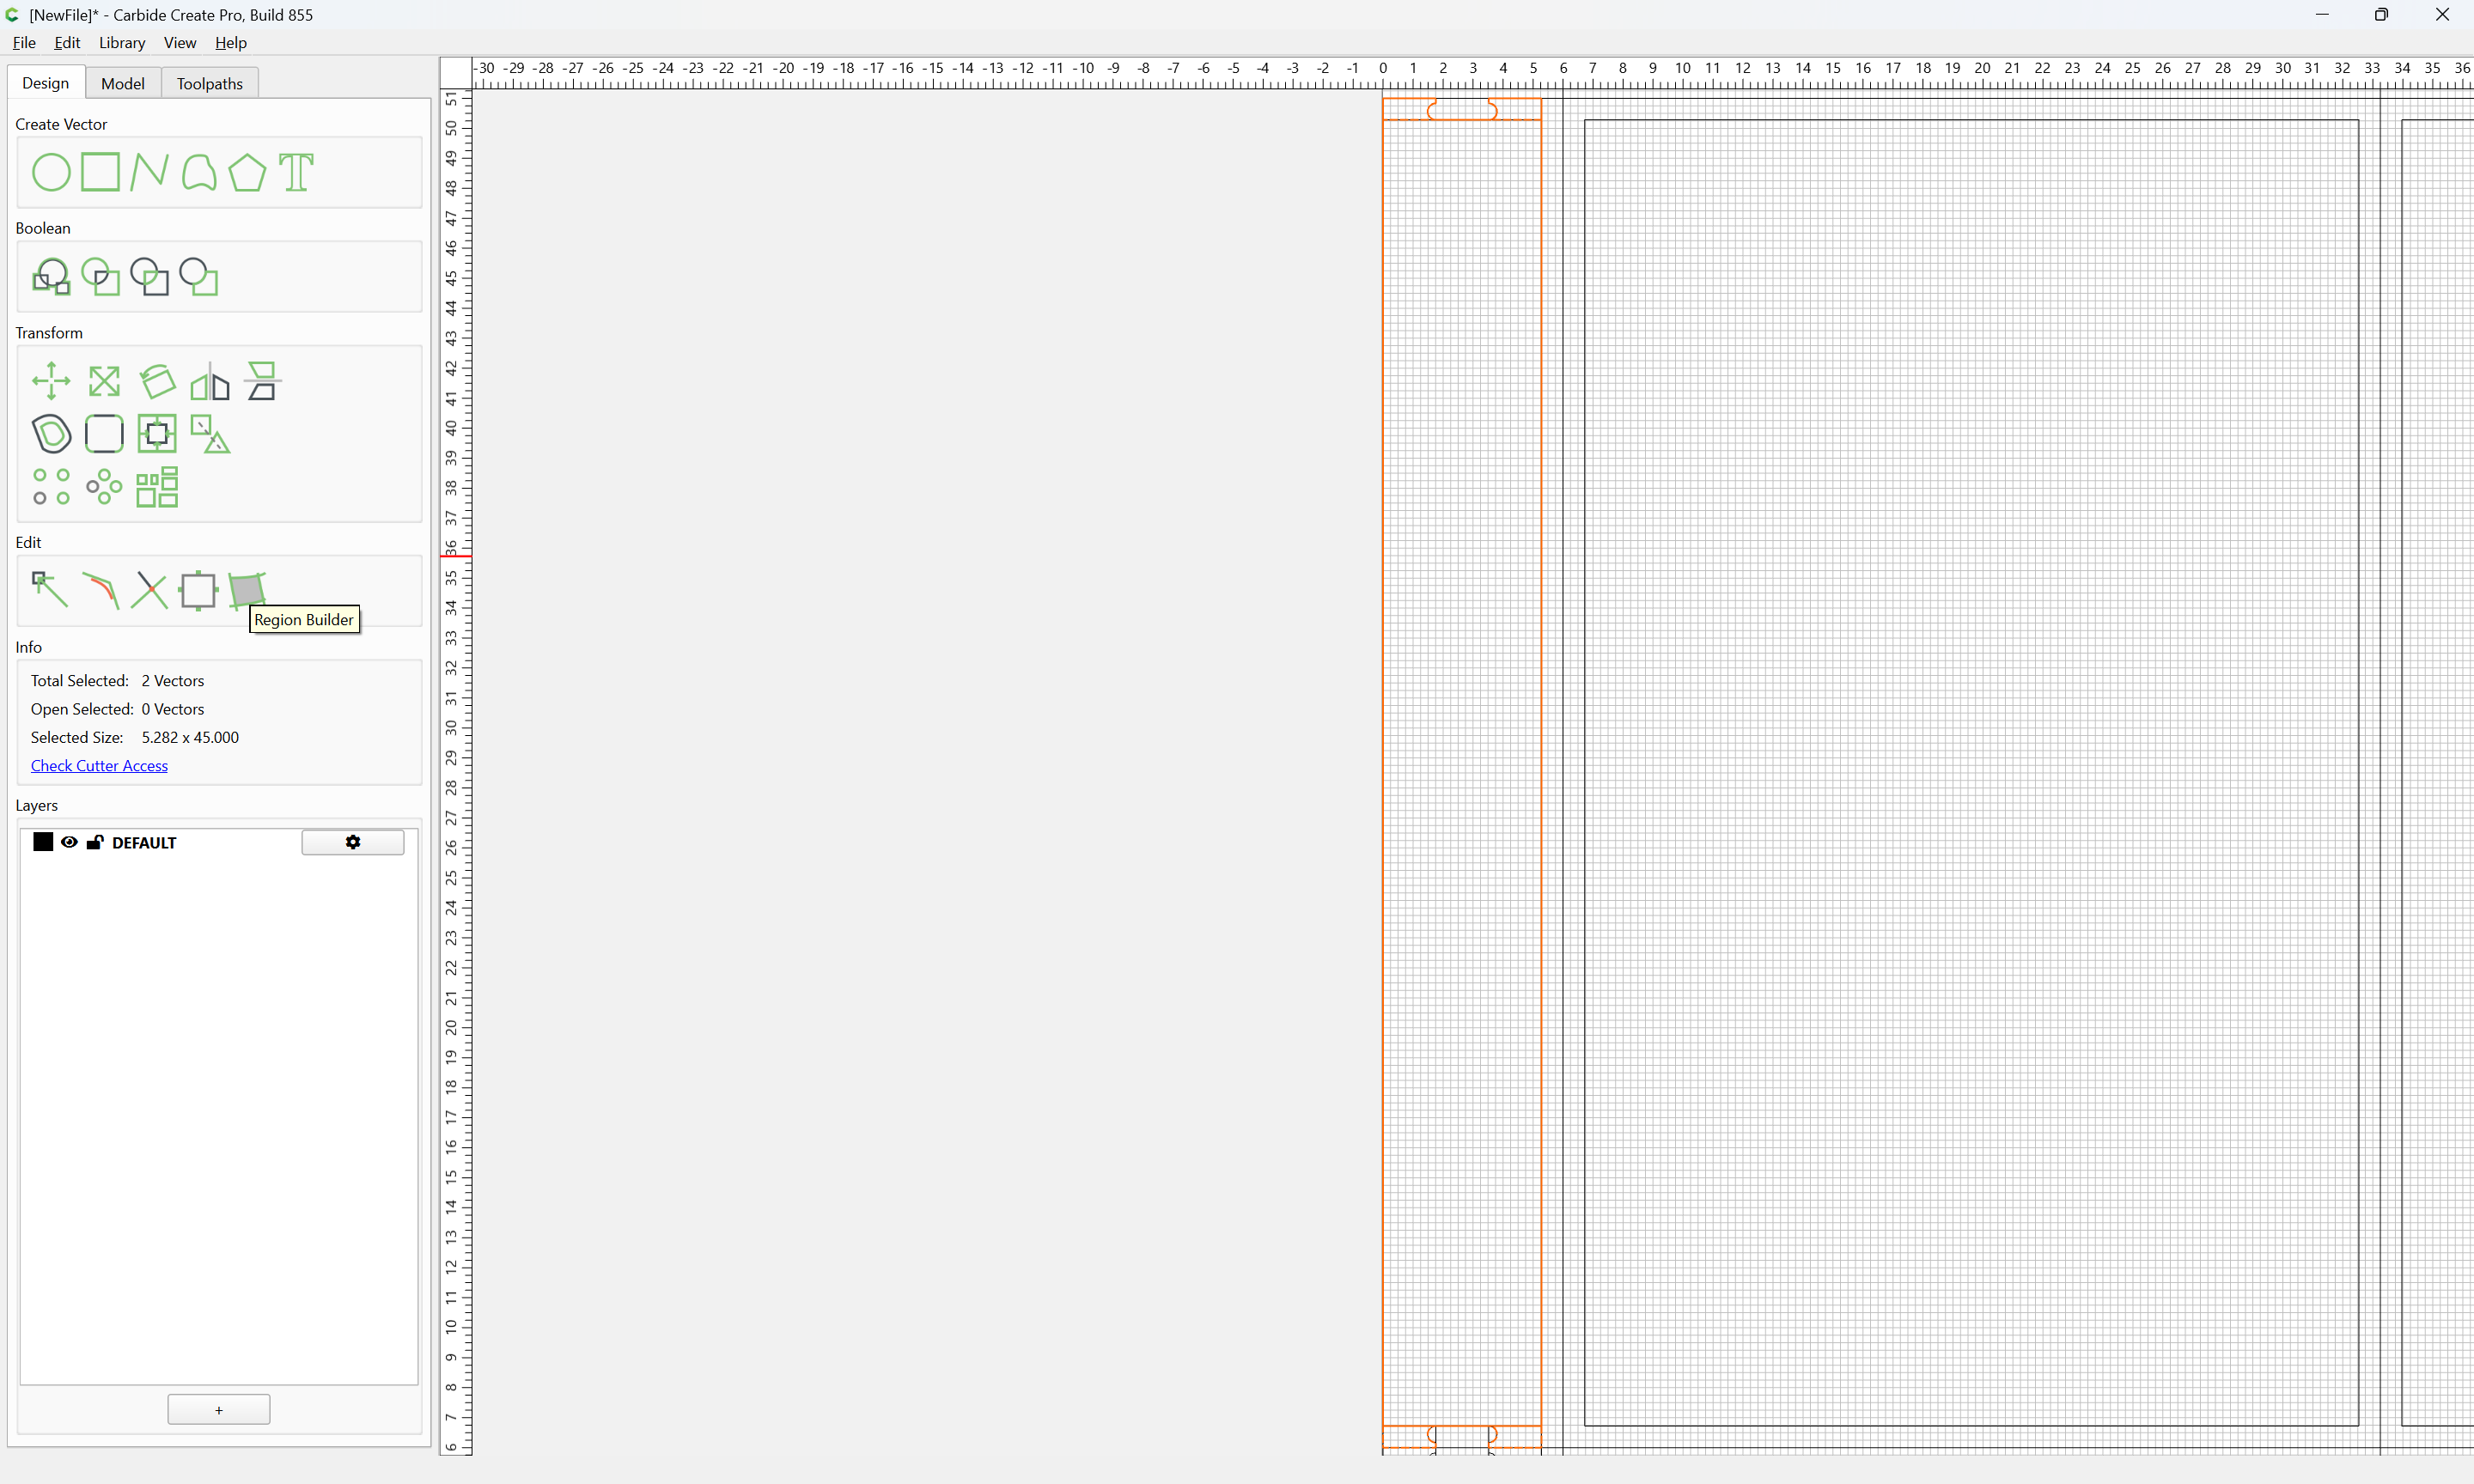
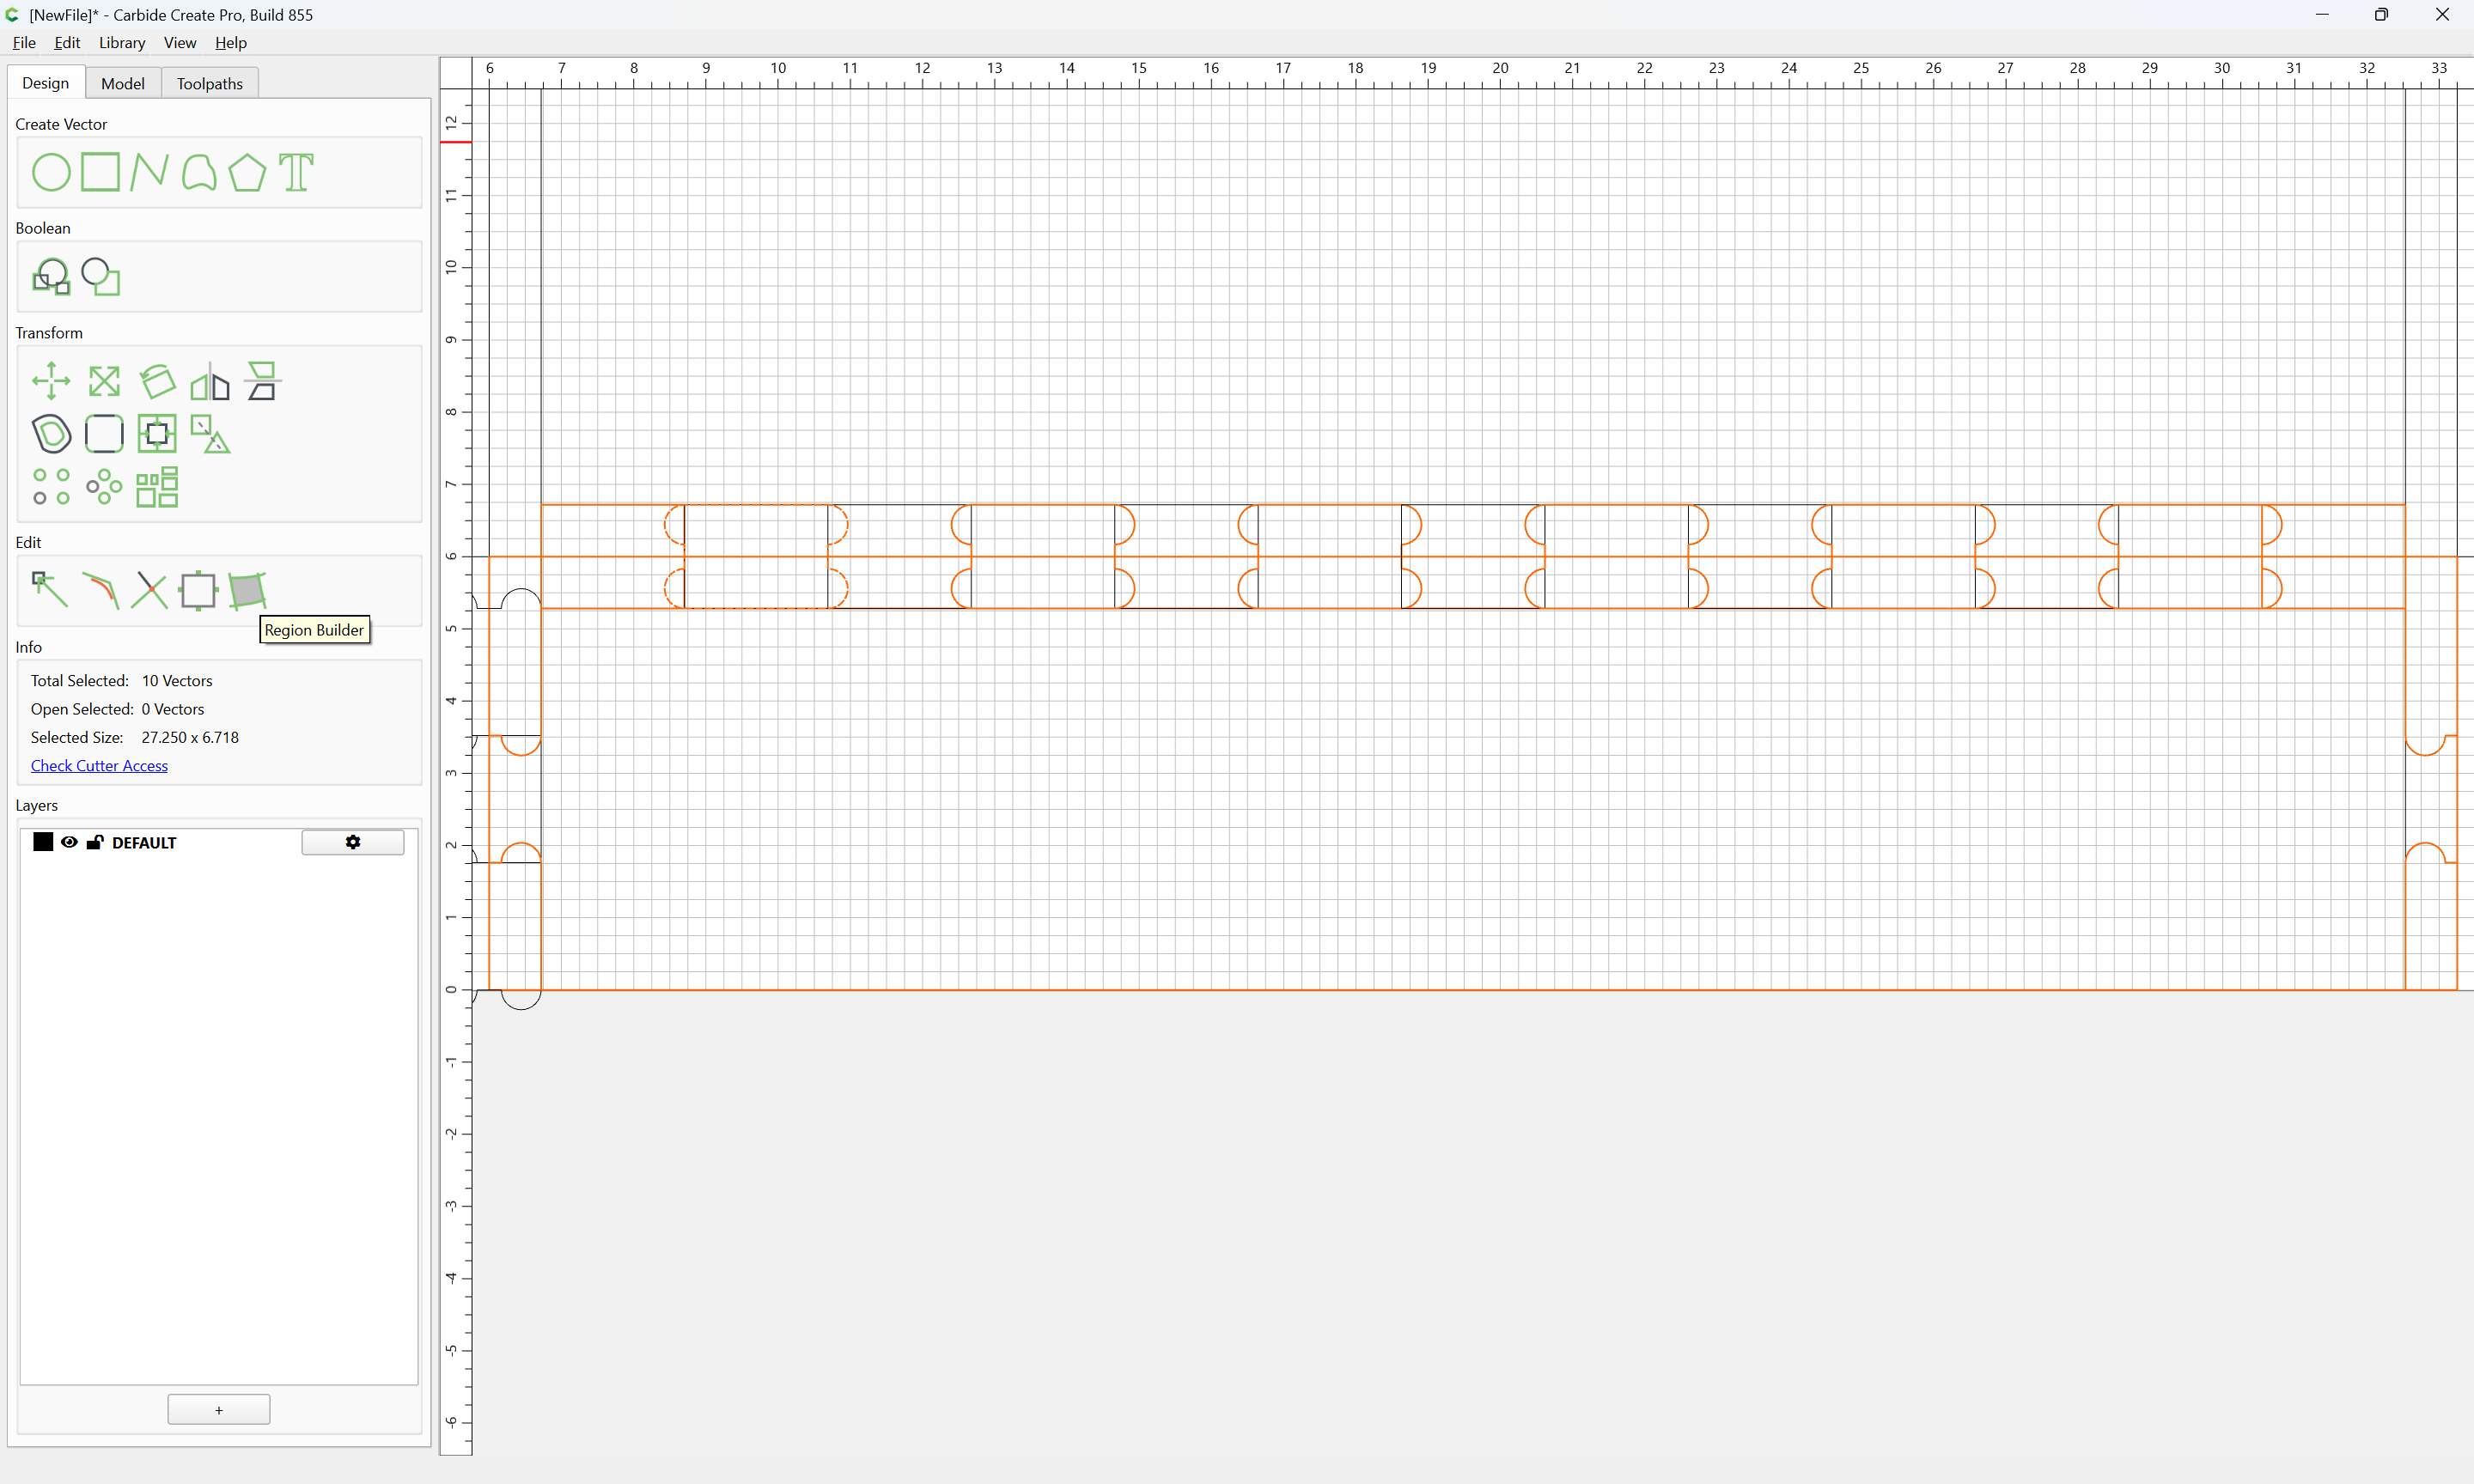
then select everything:
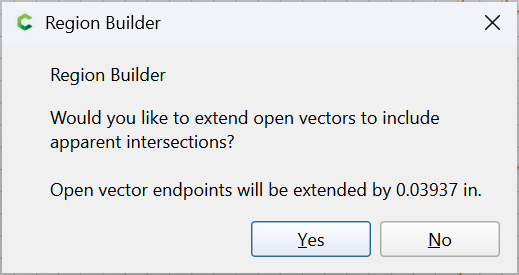
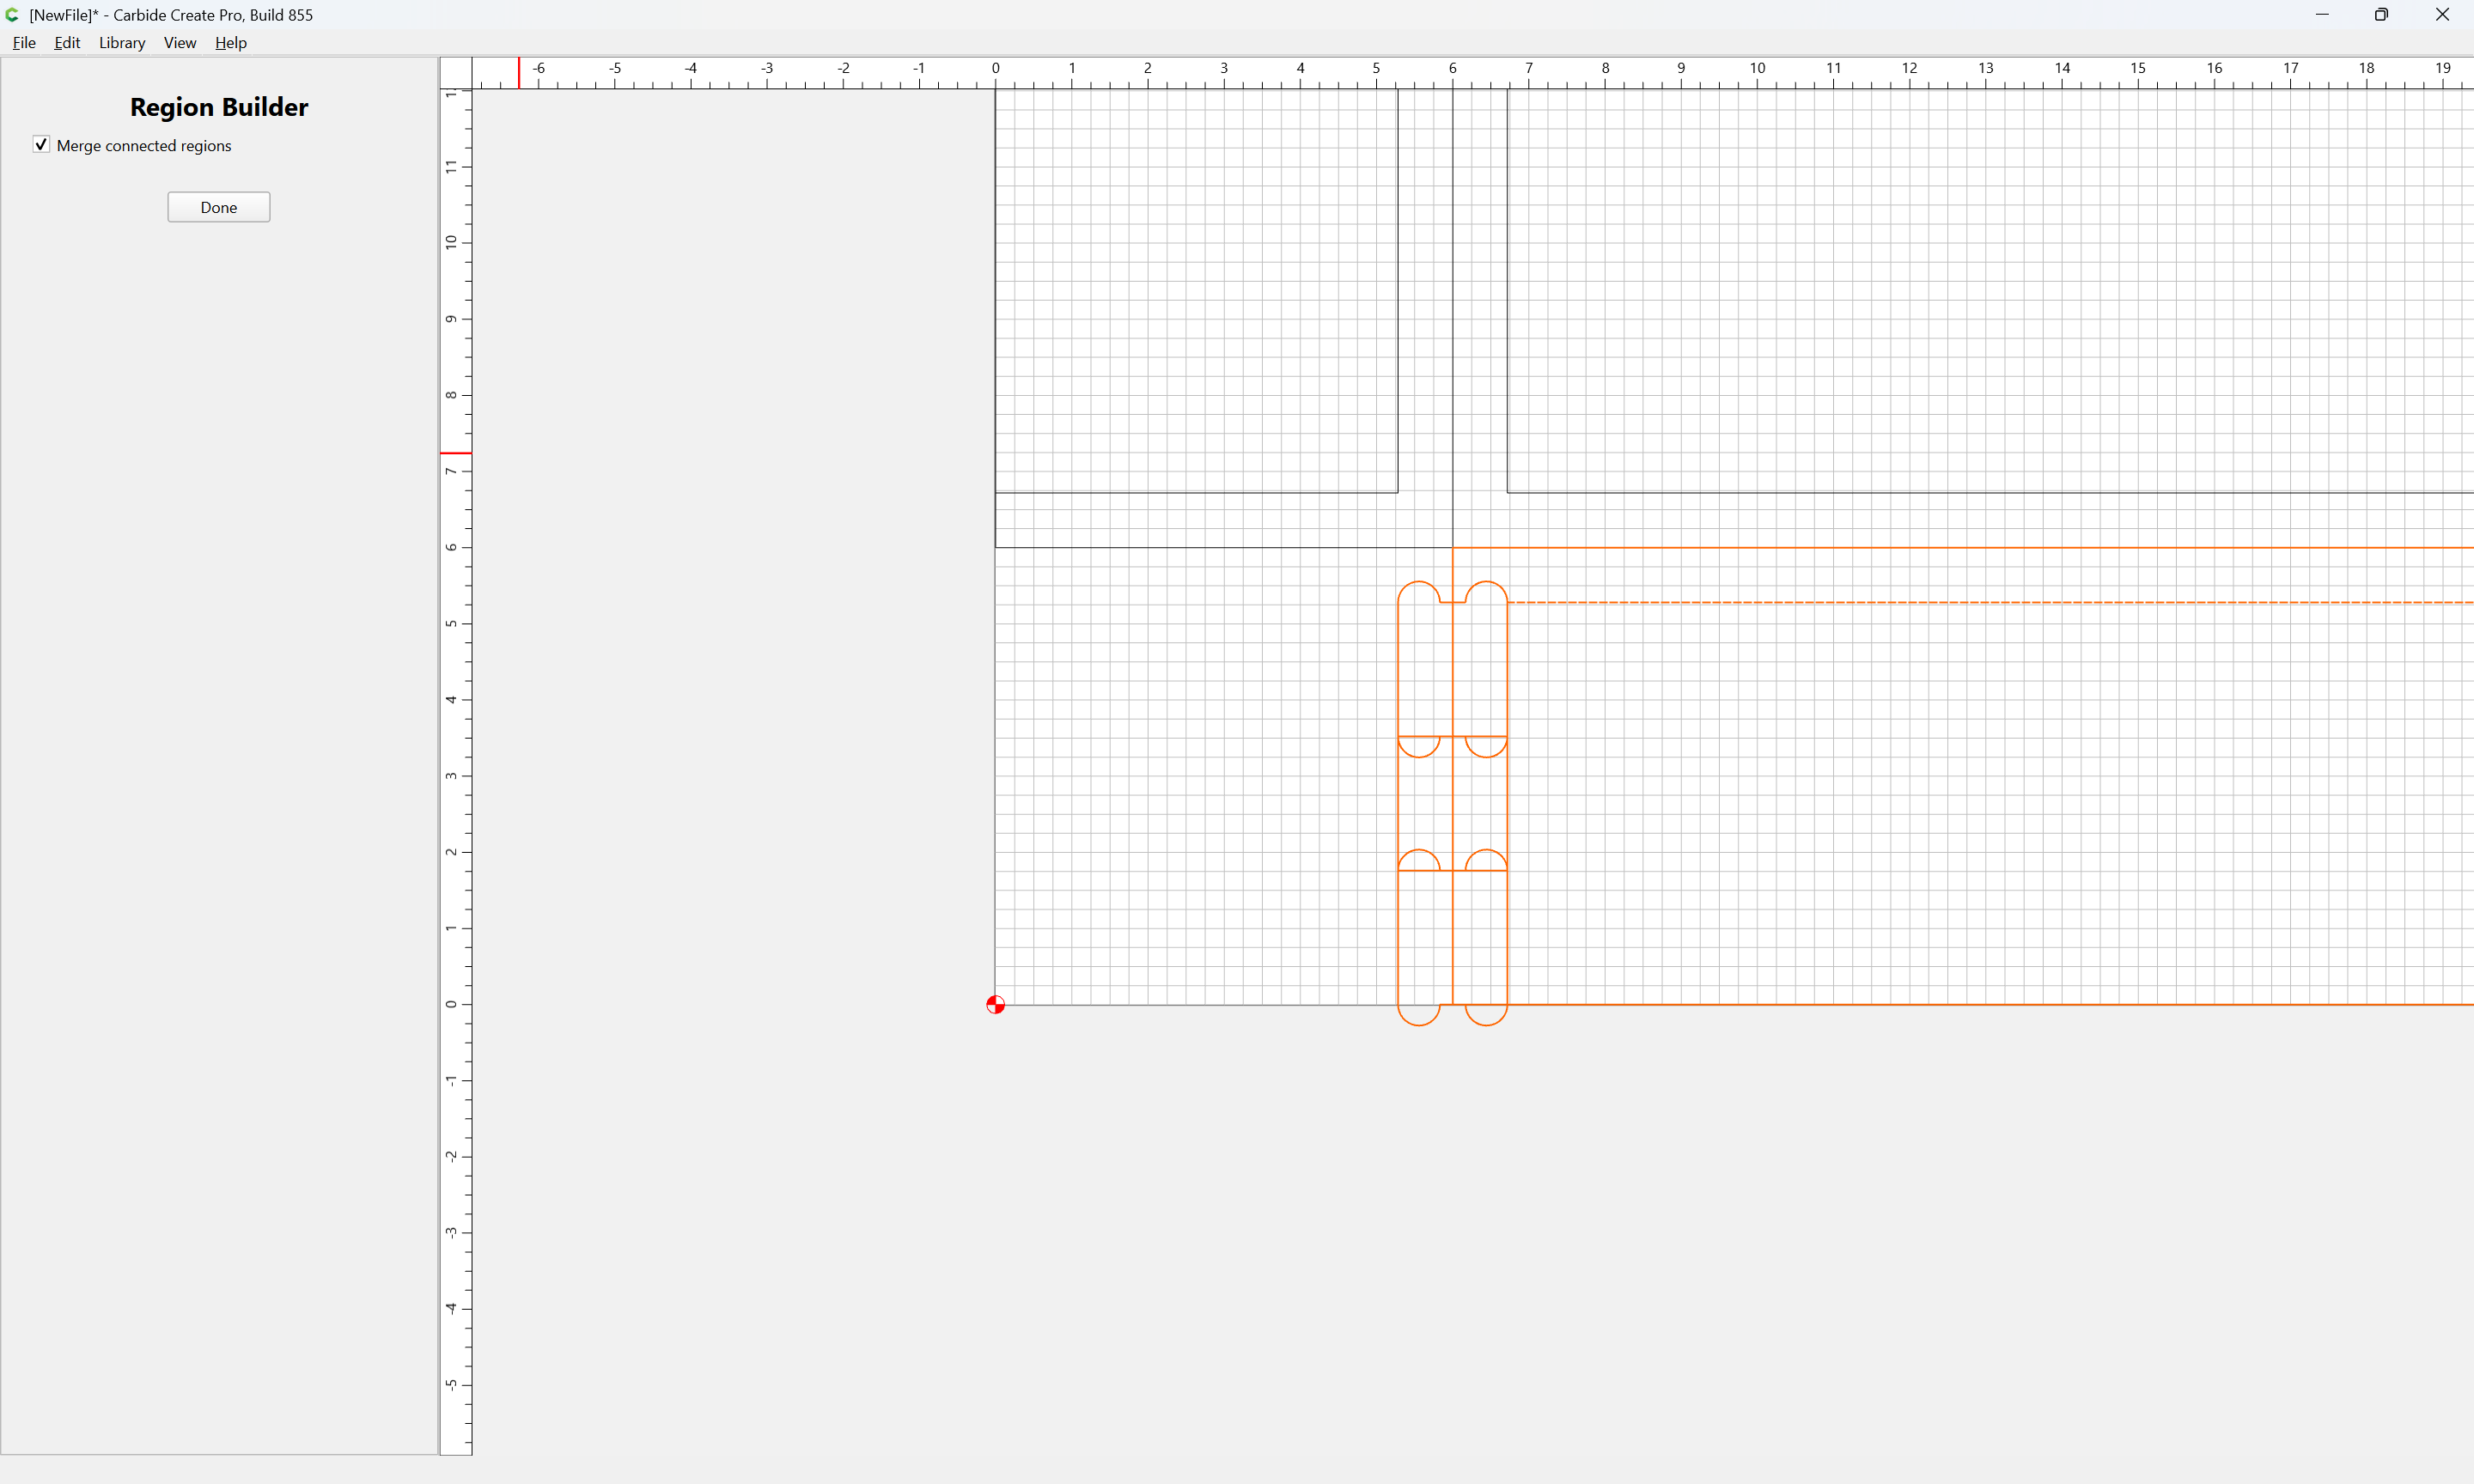
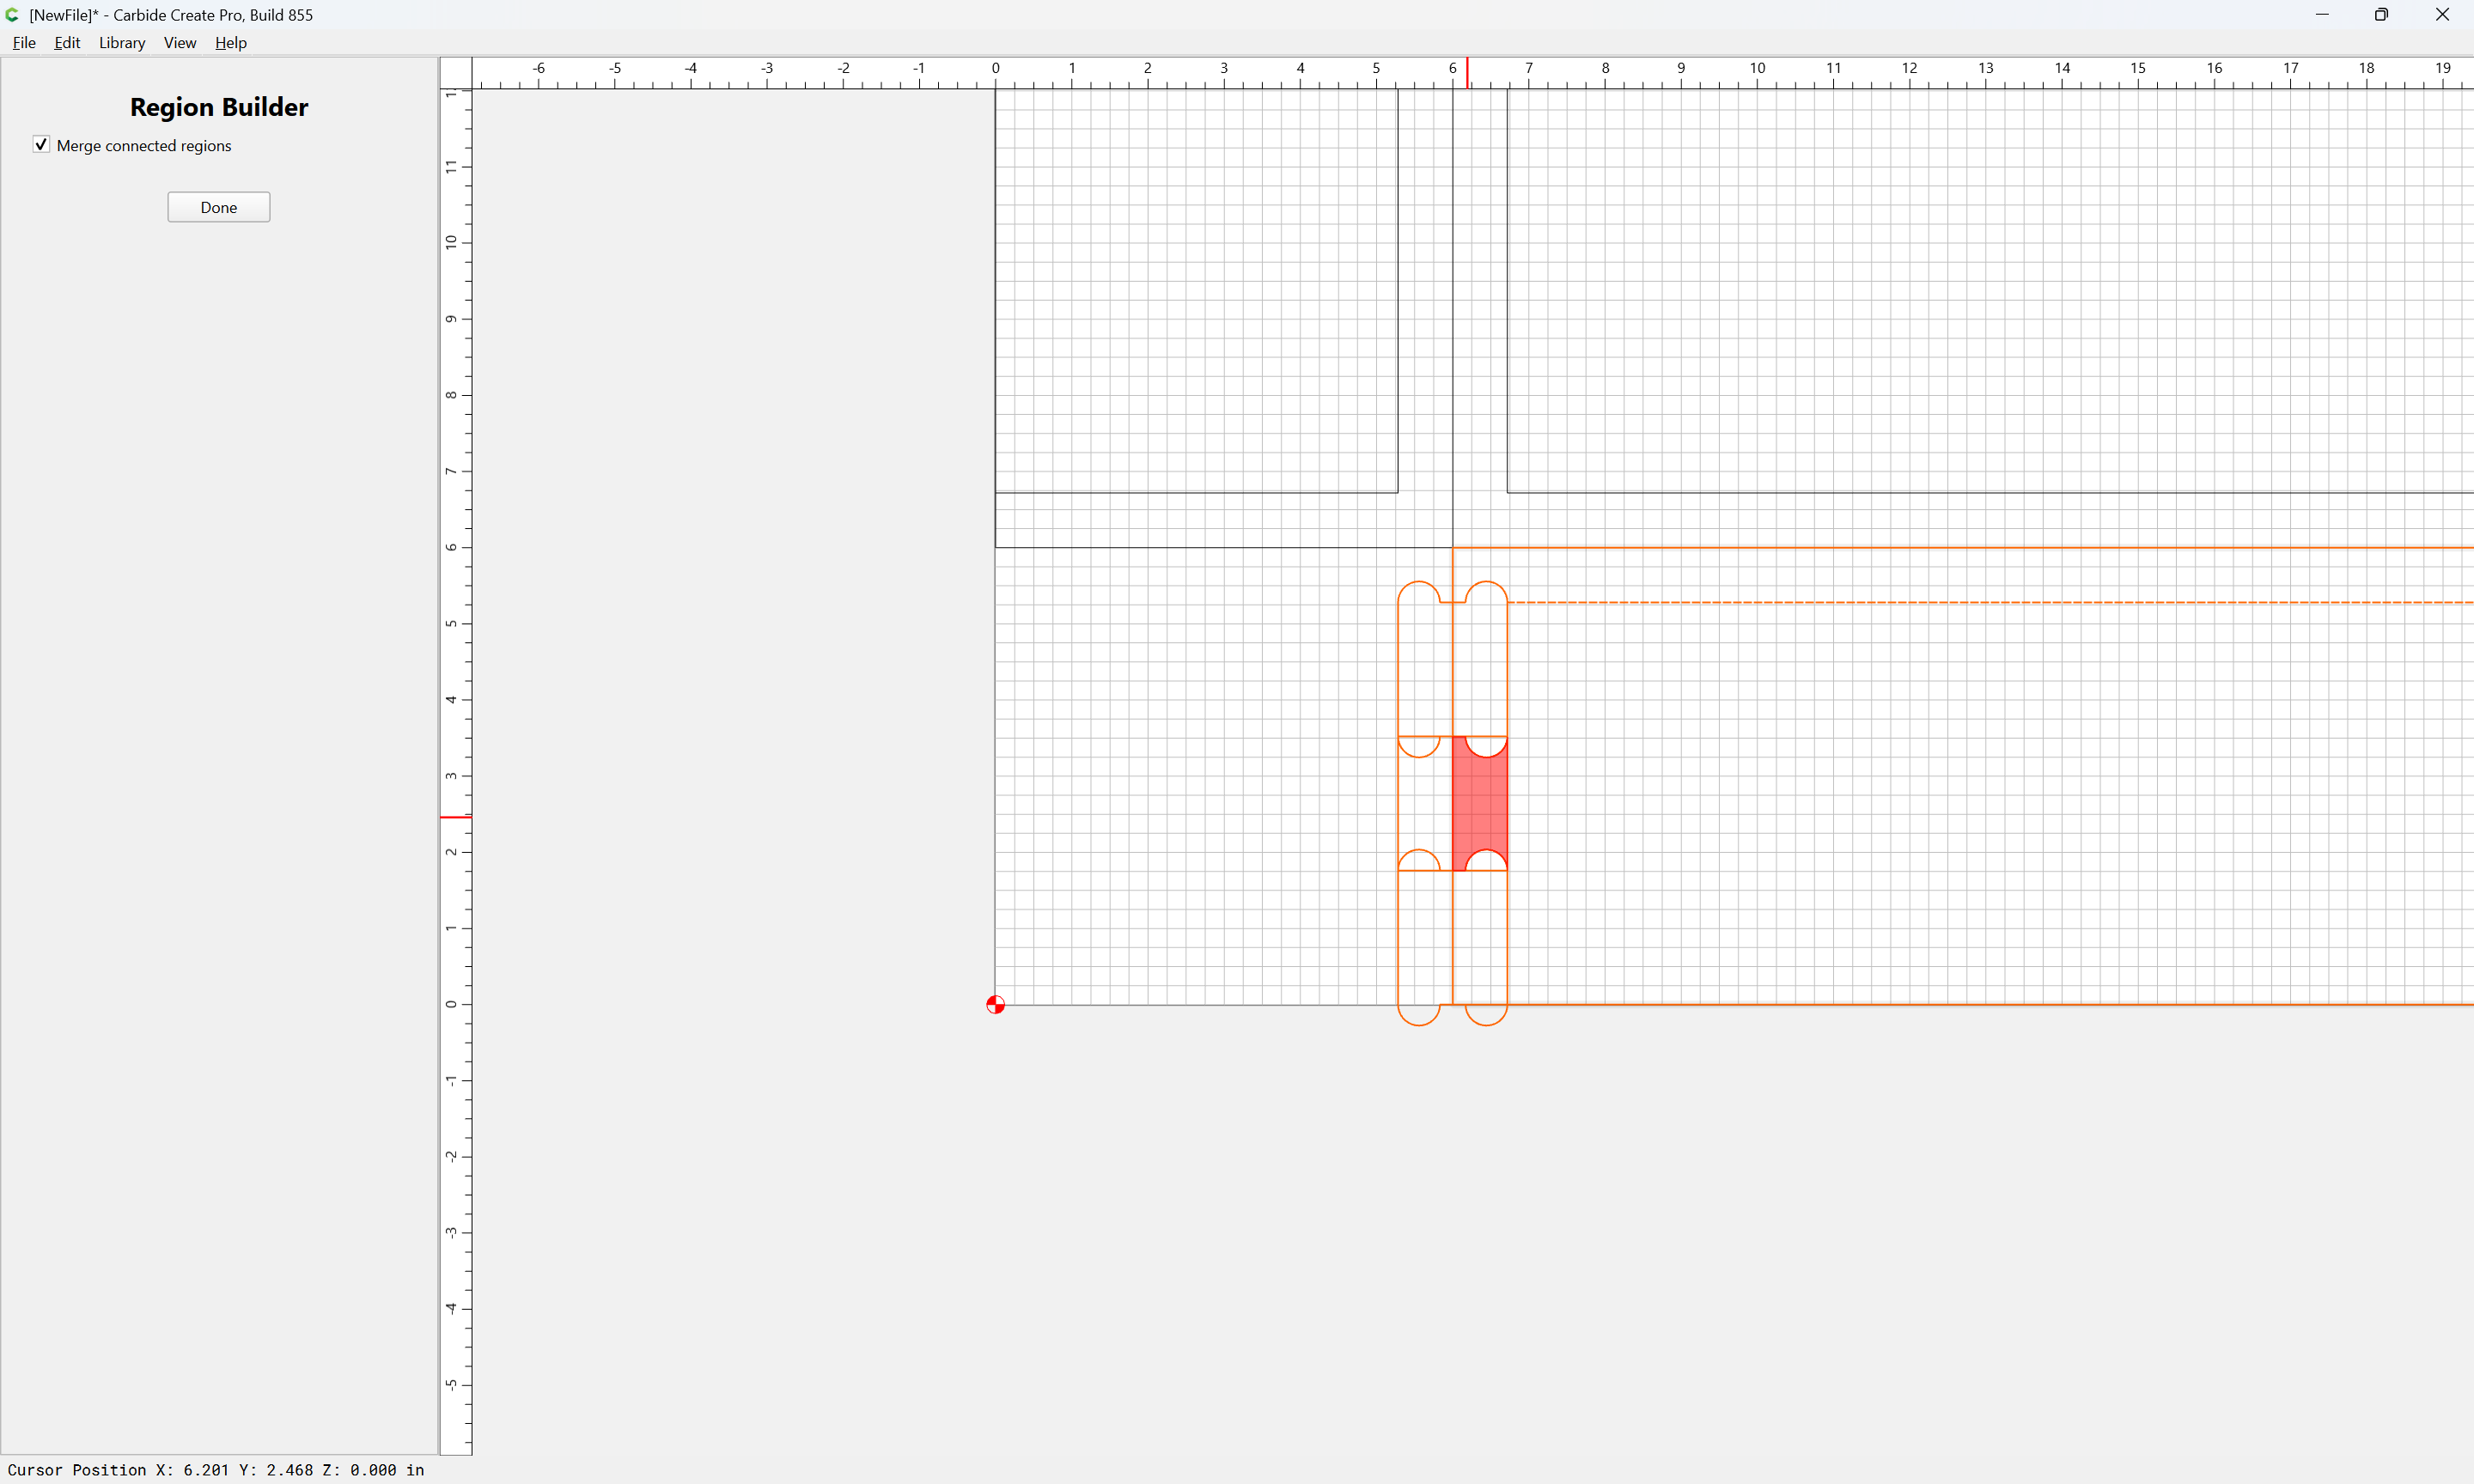
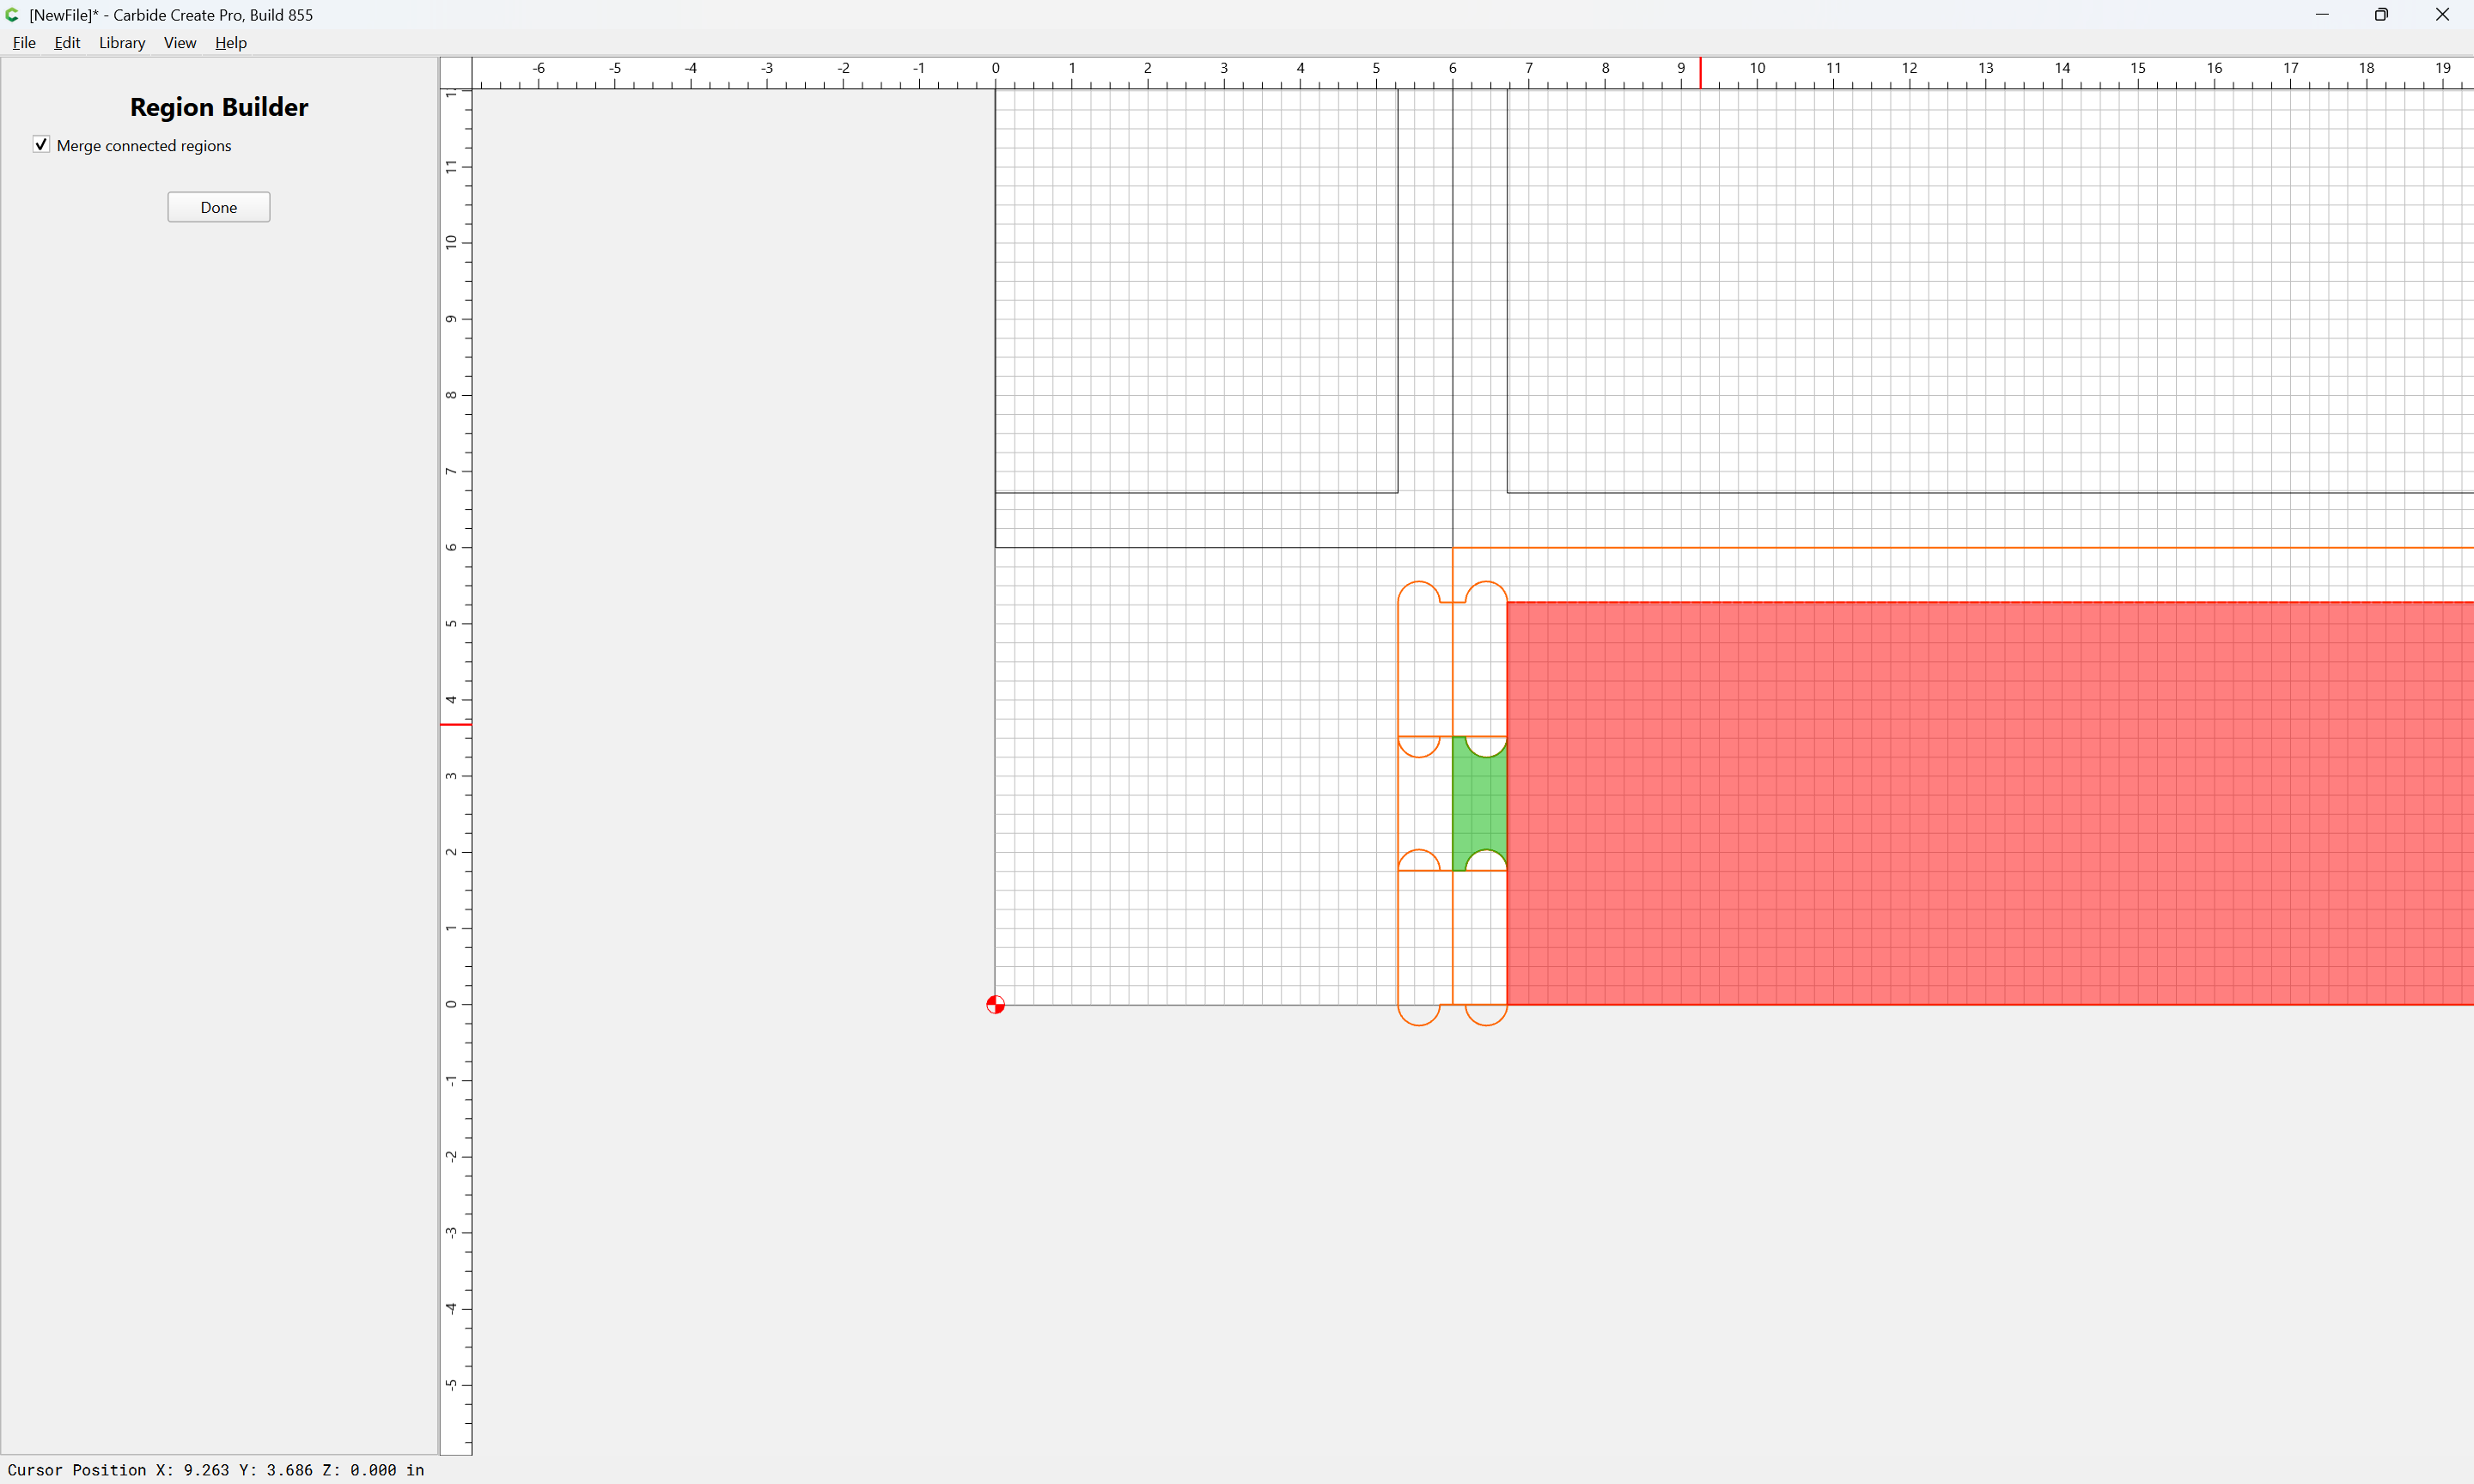
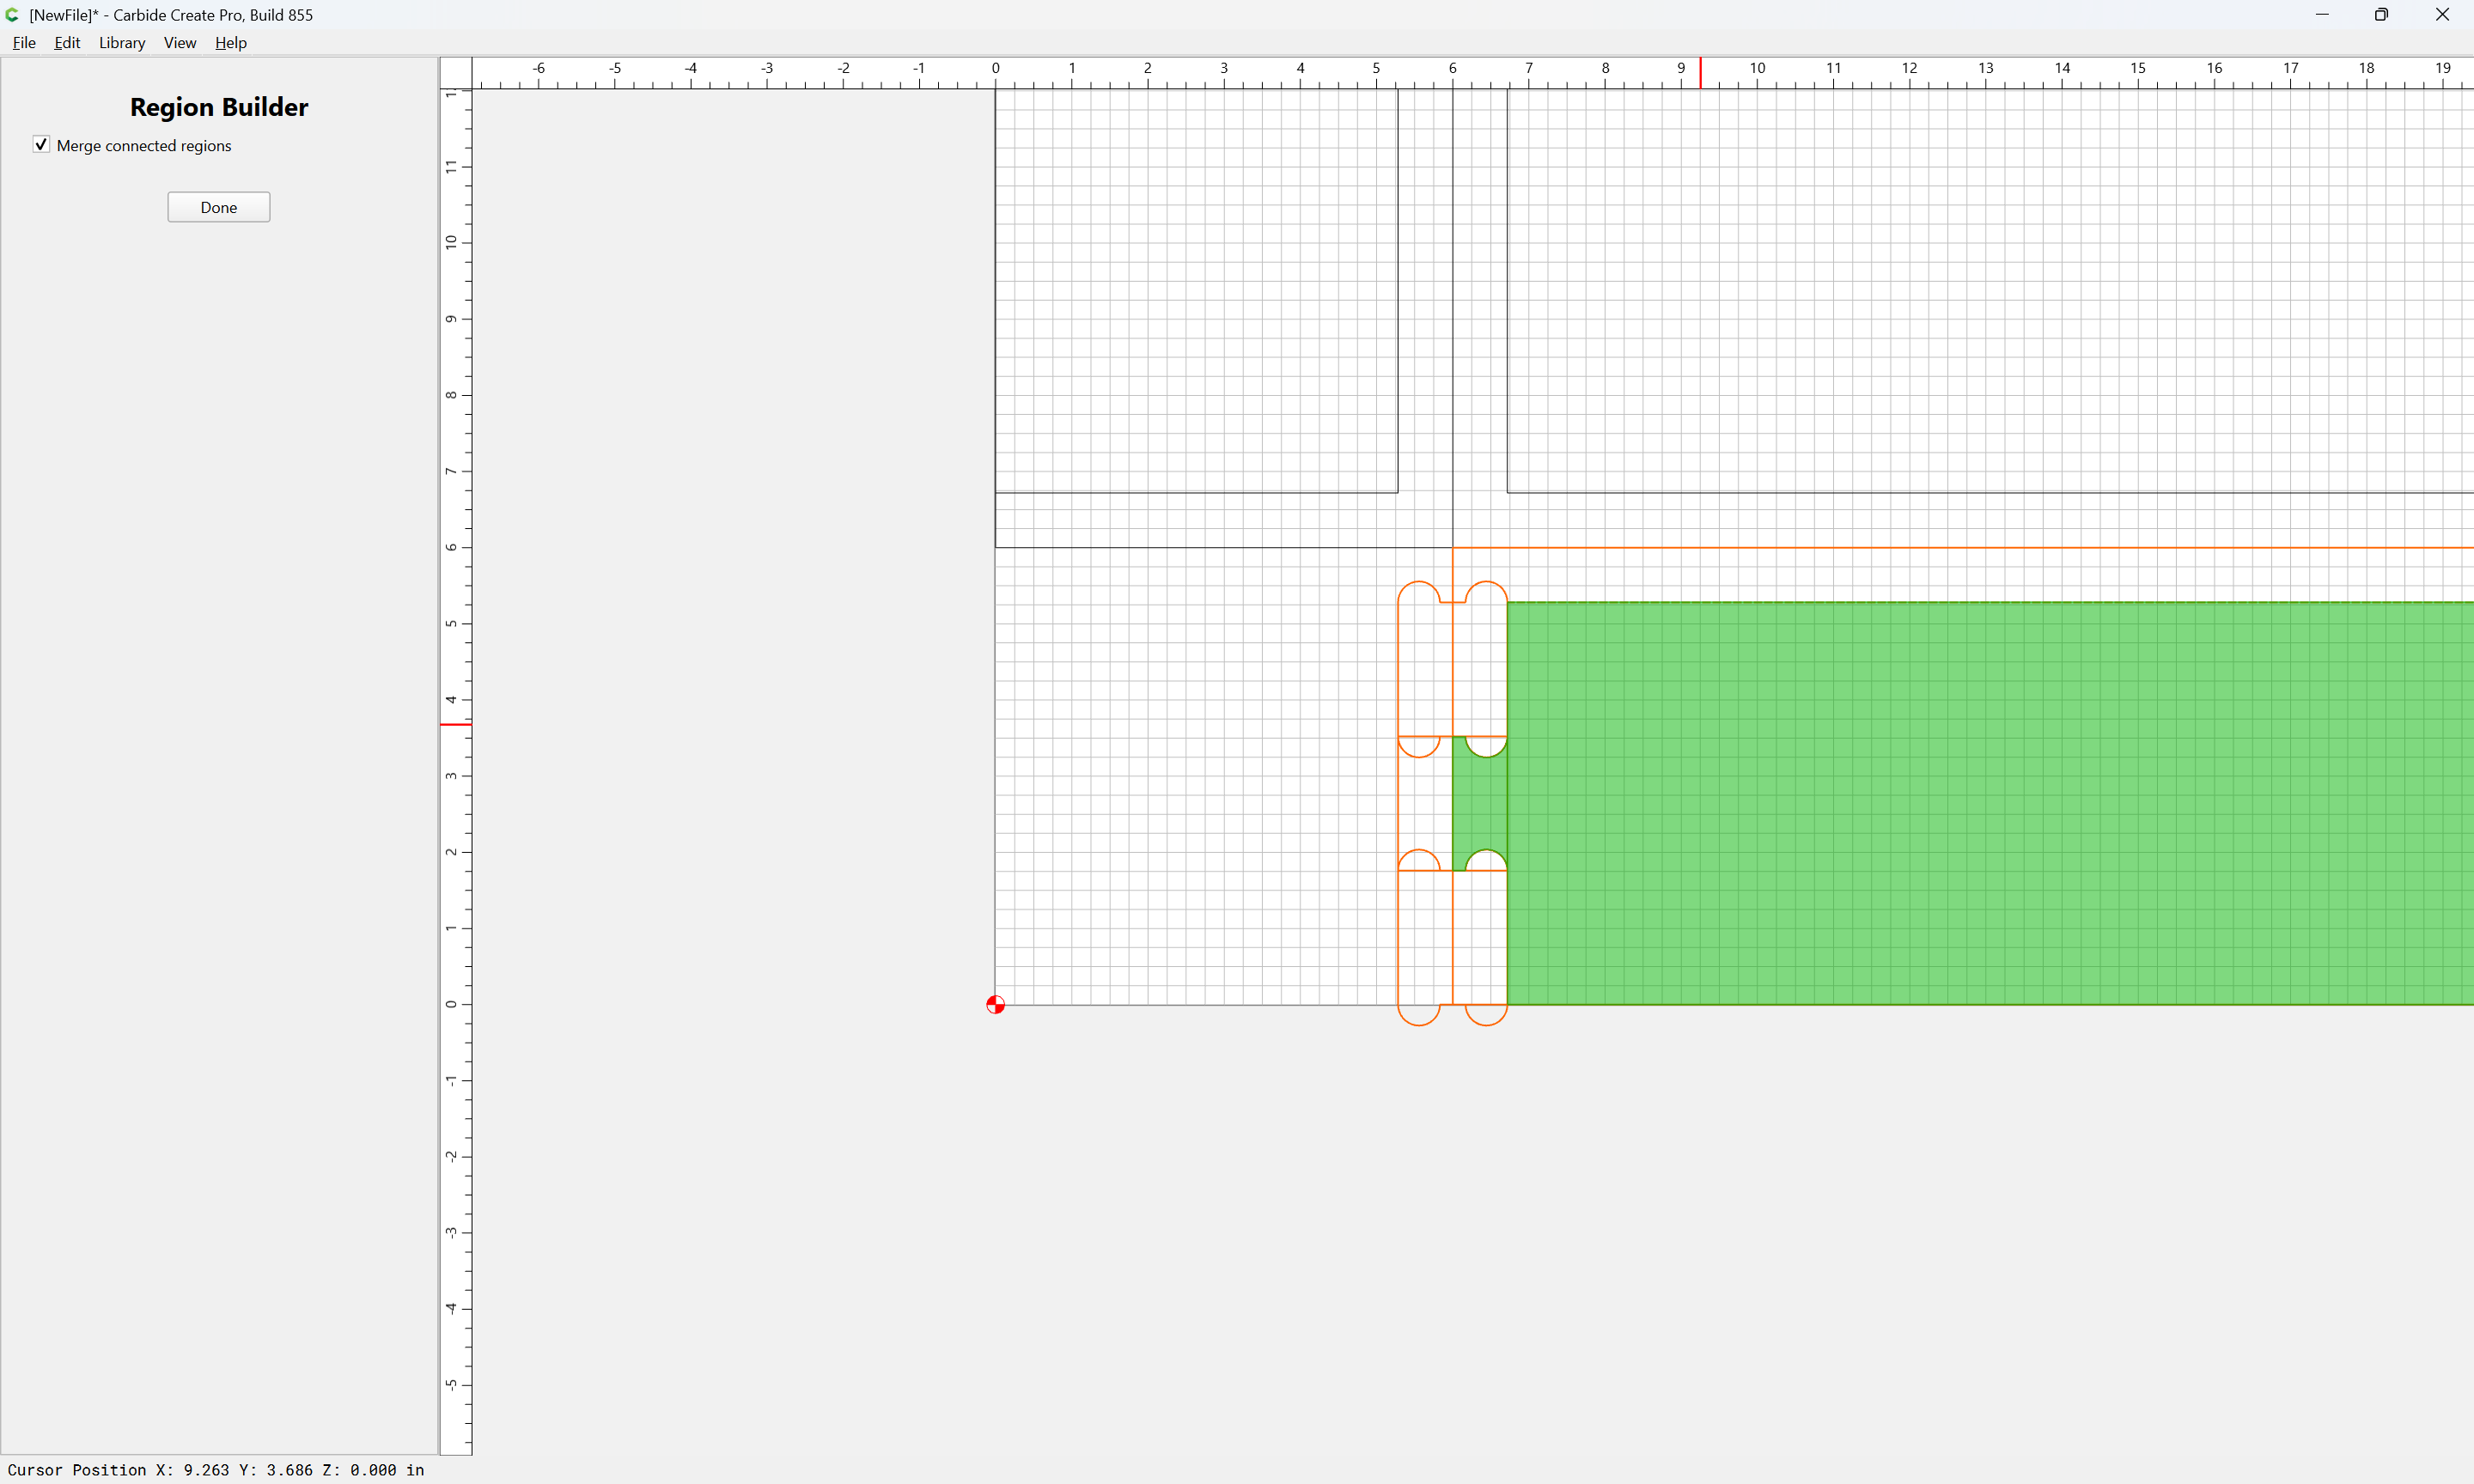
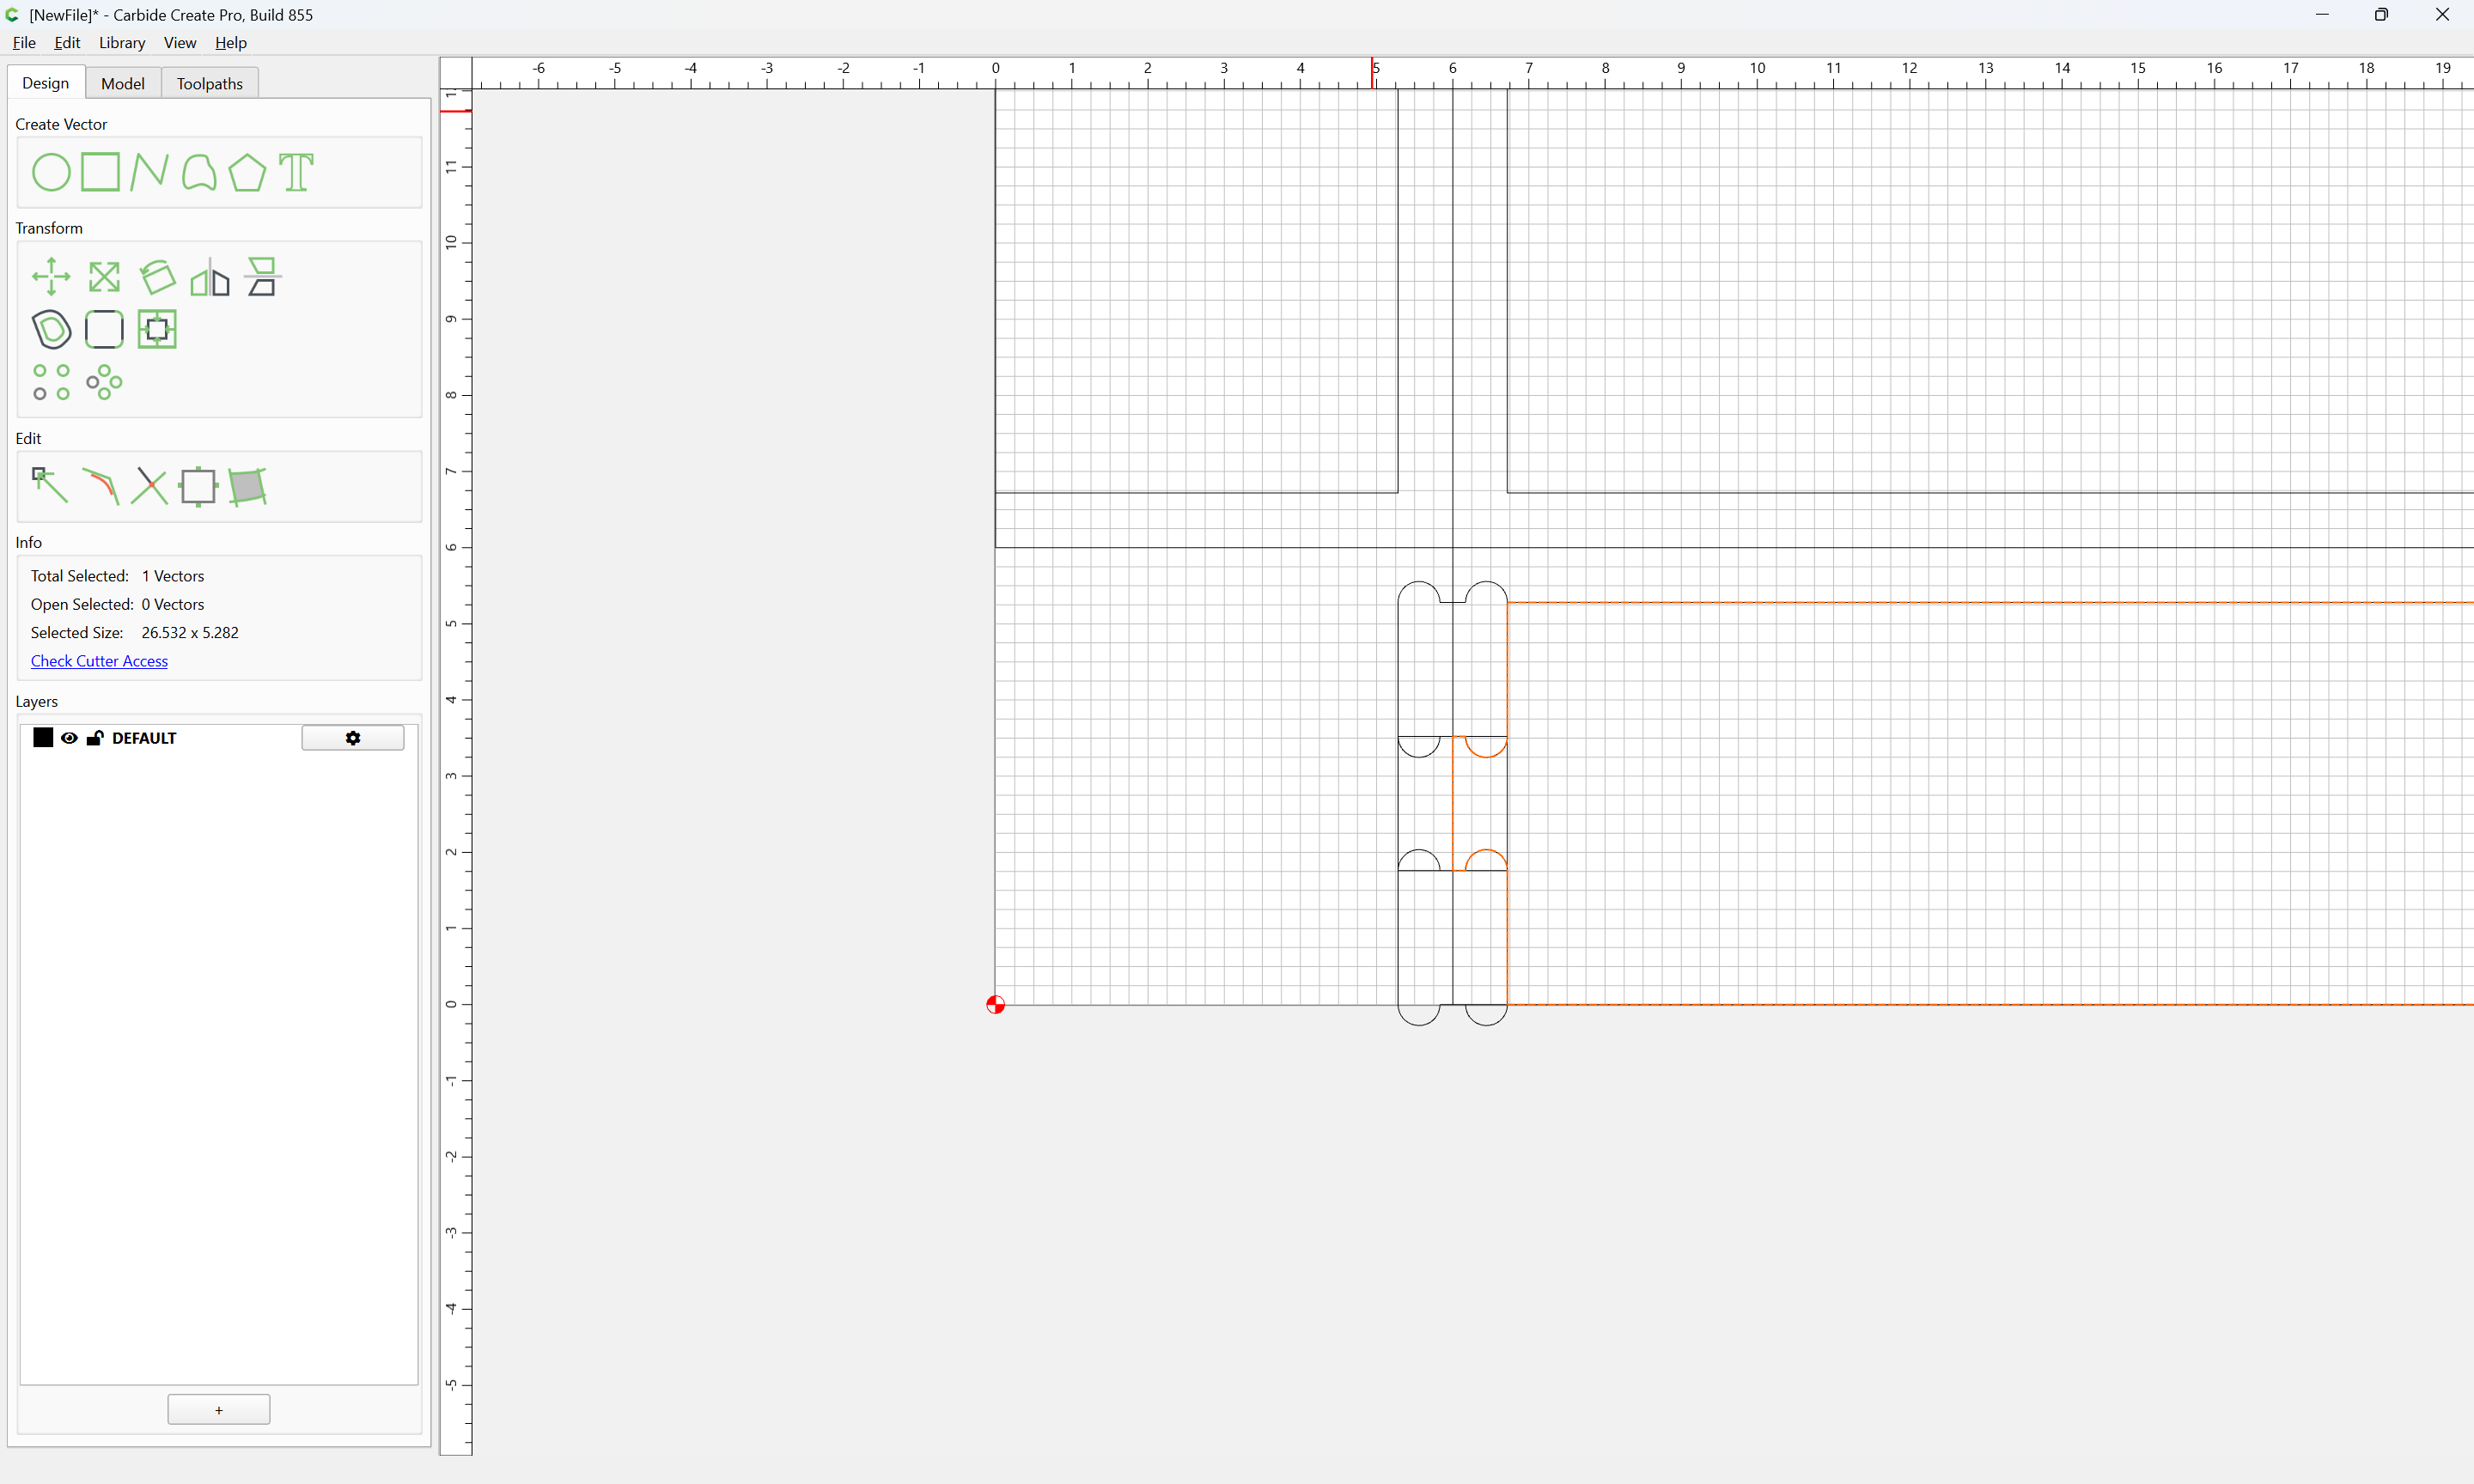
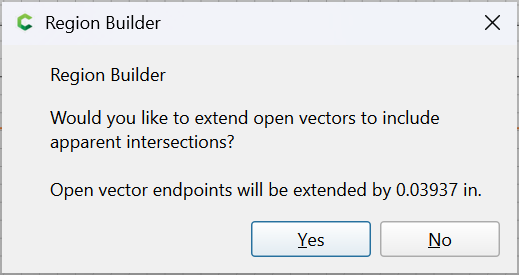
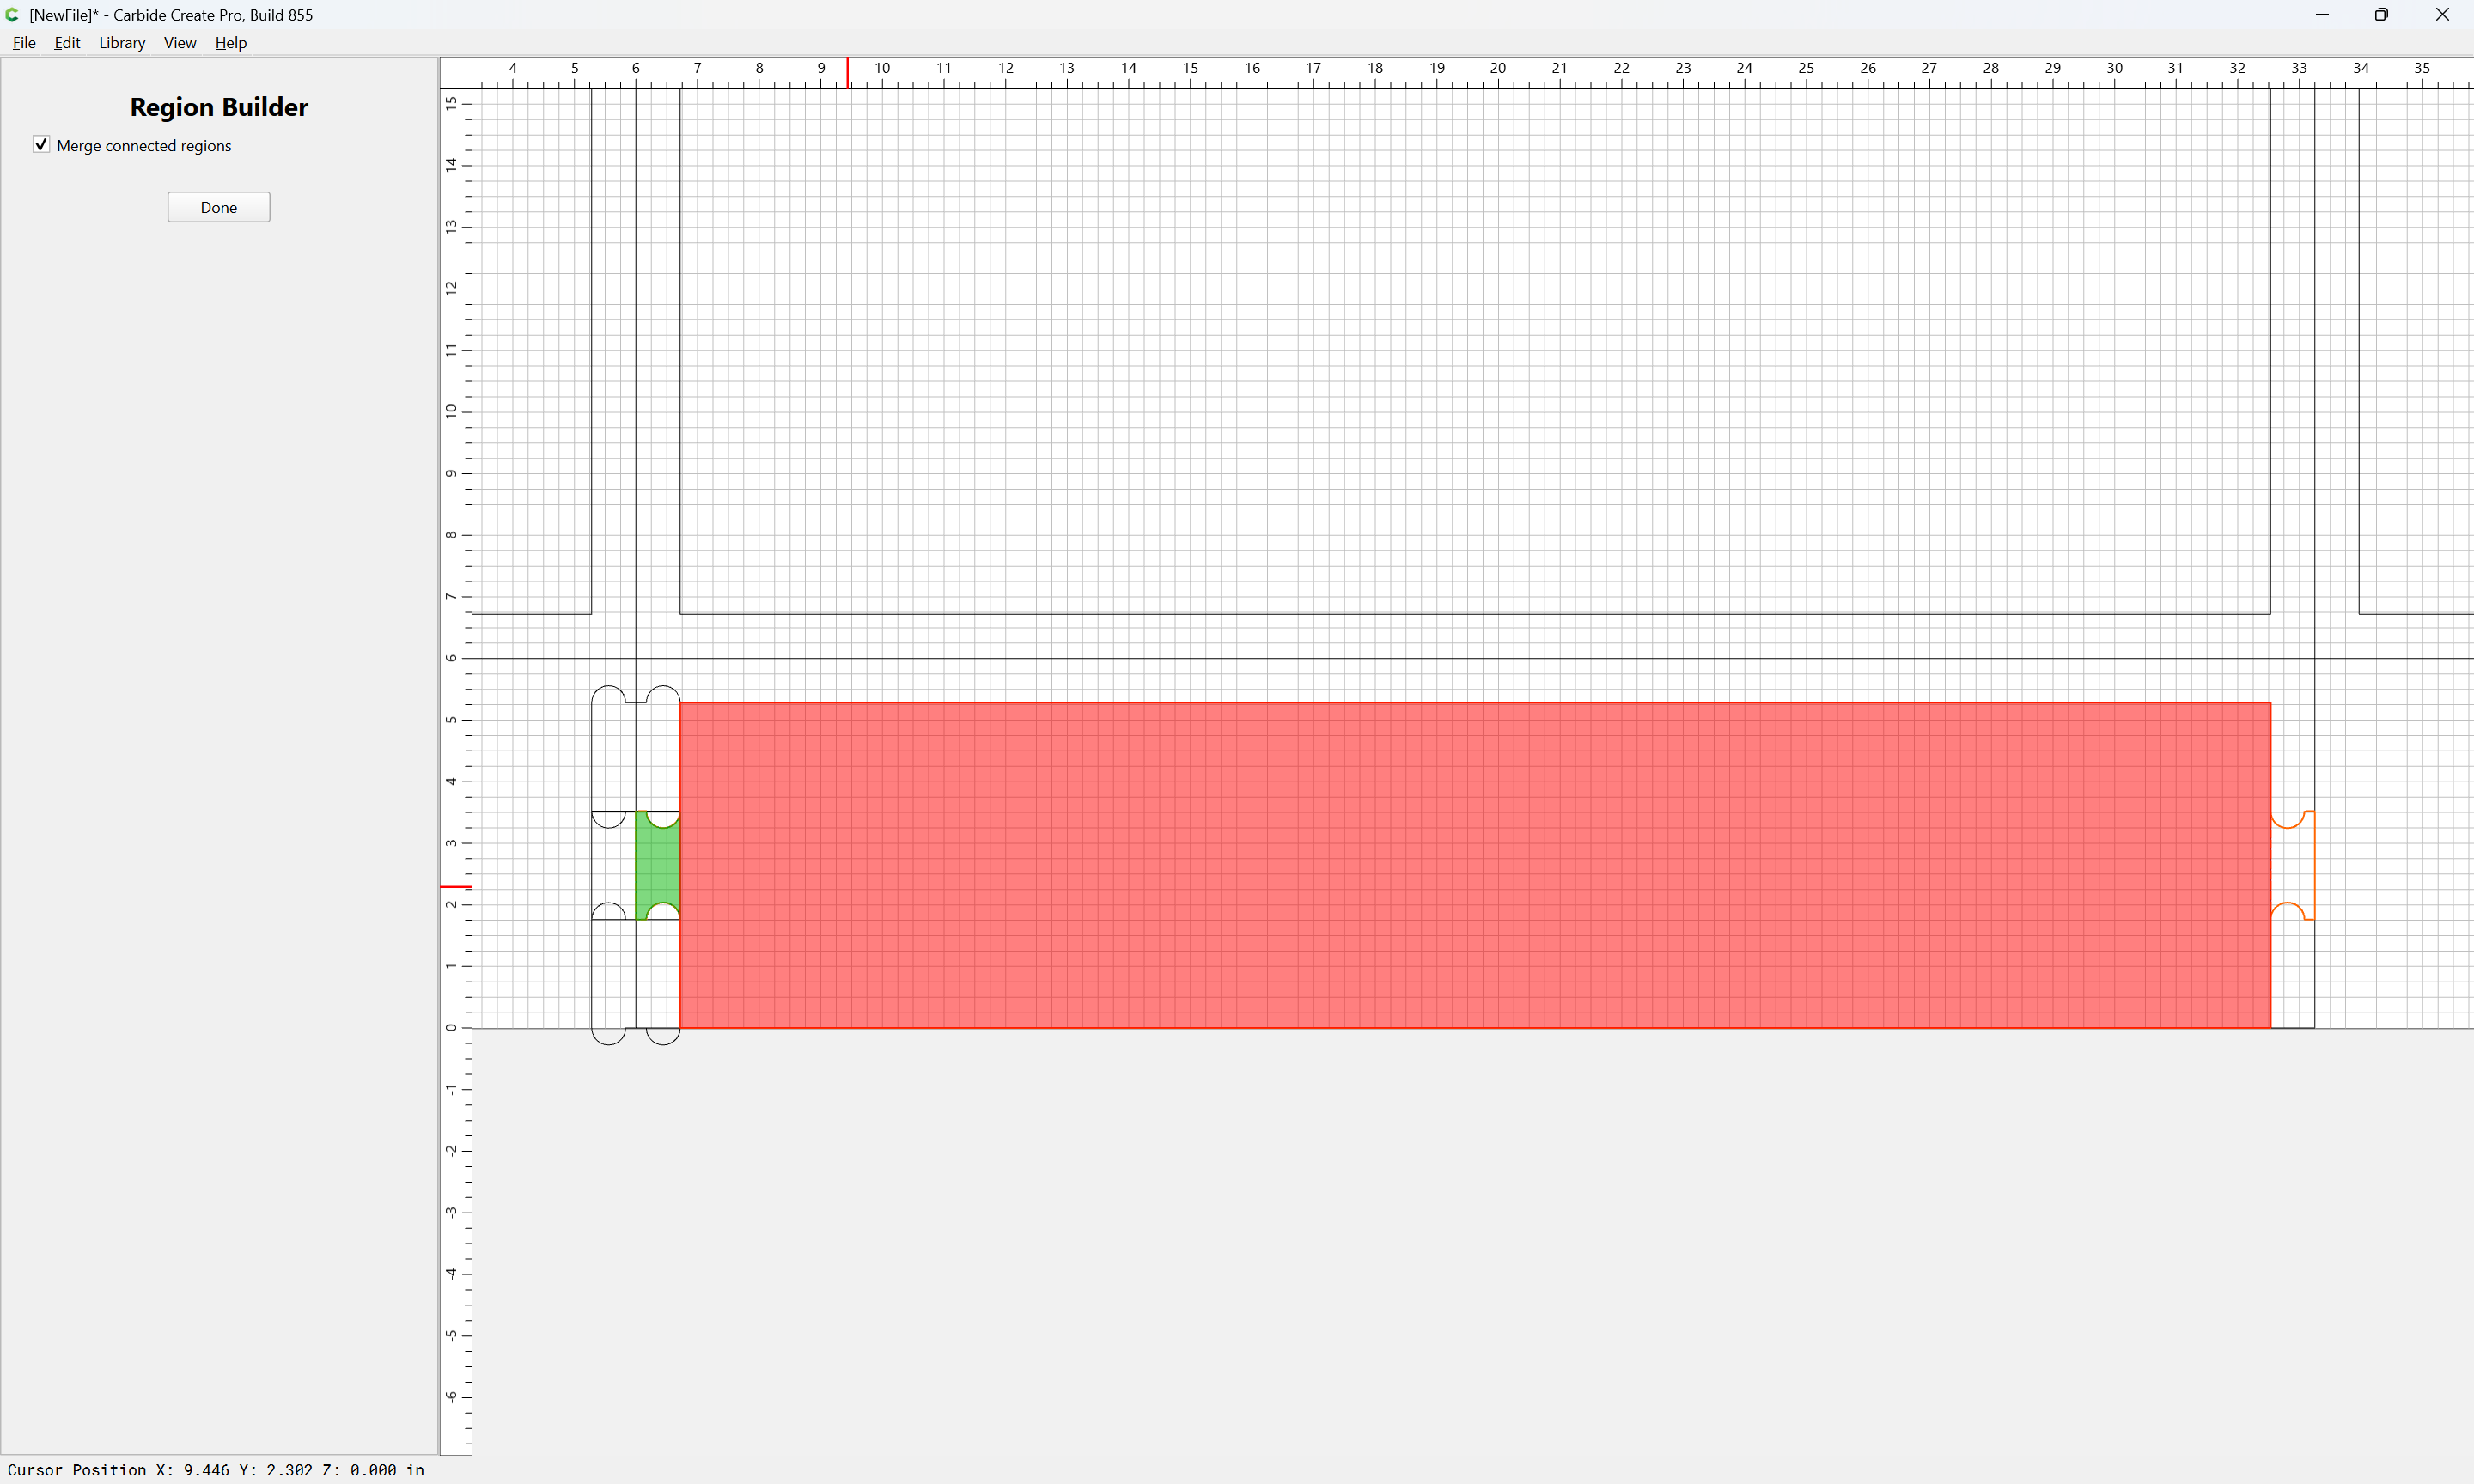
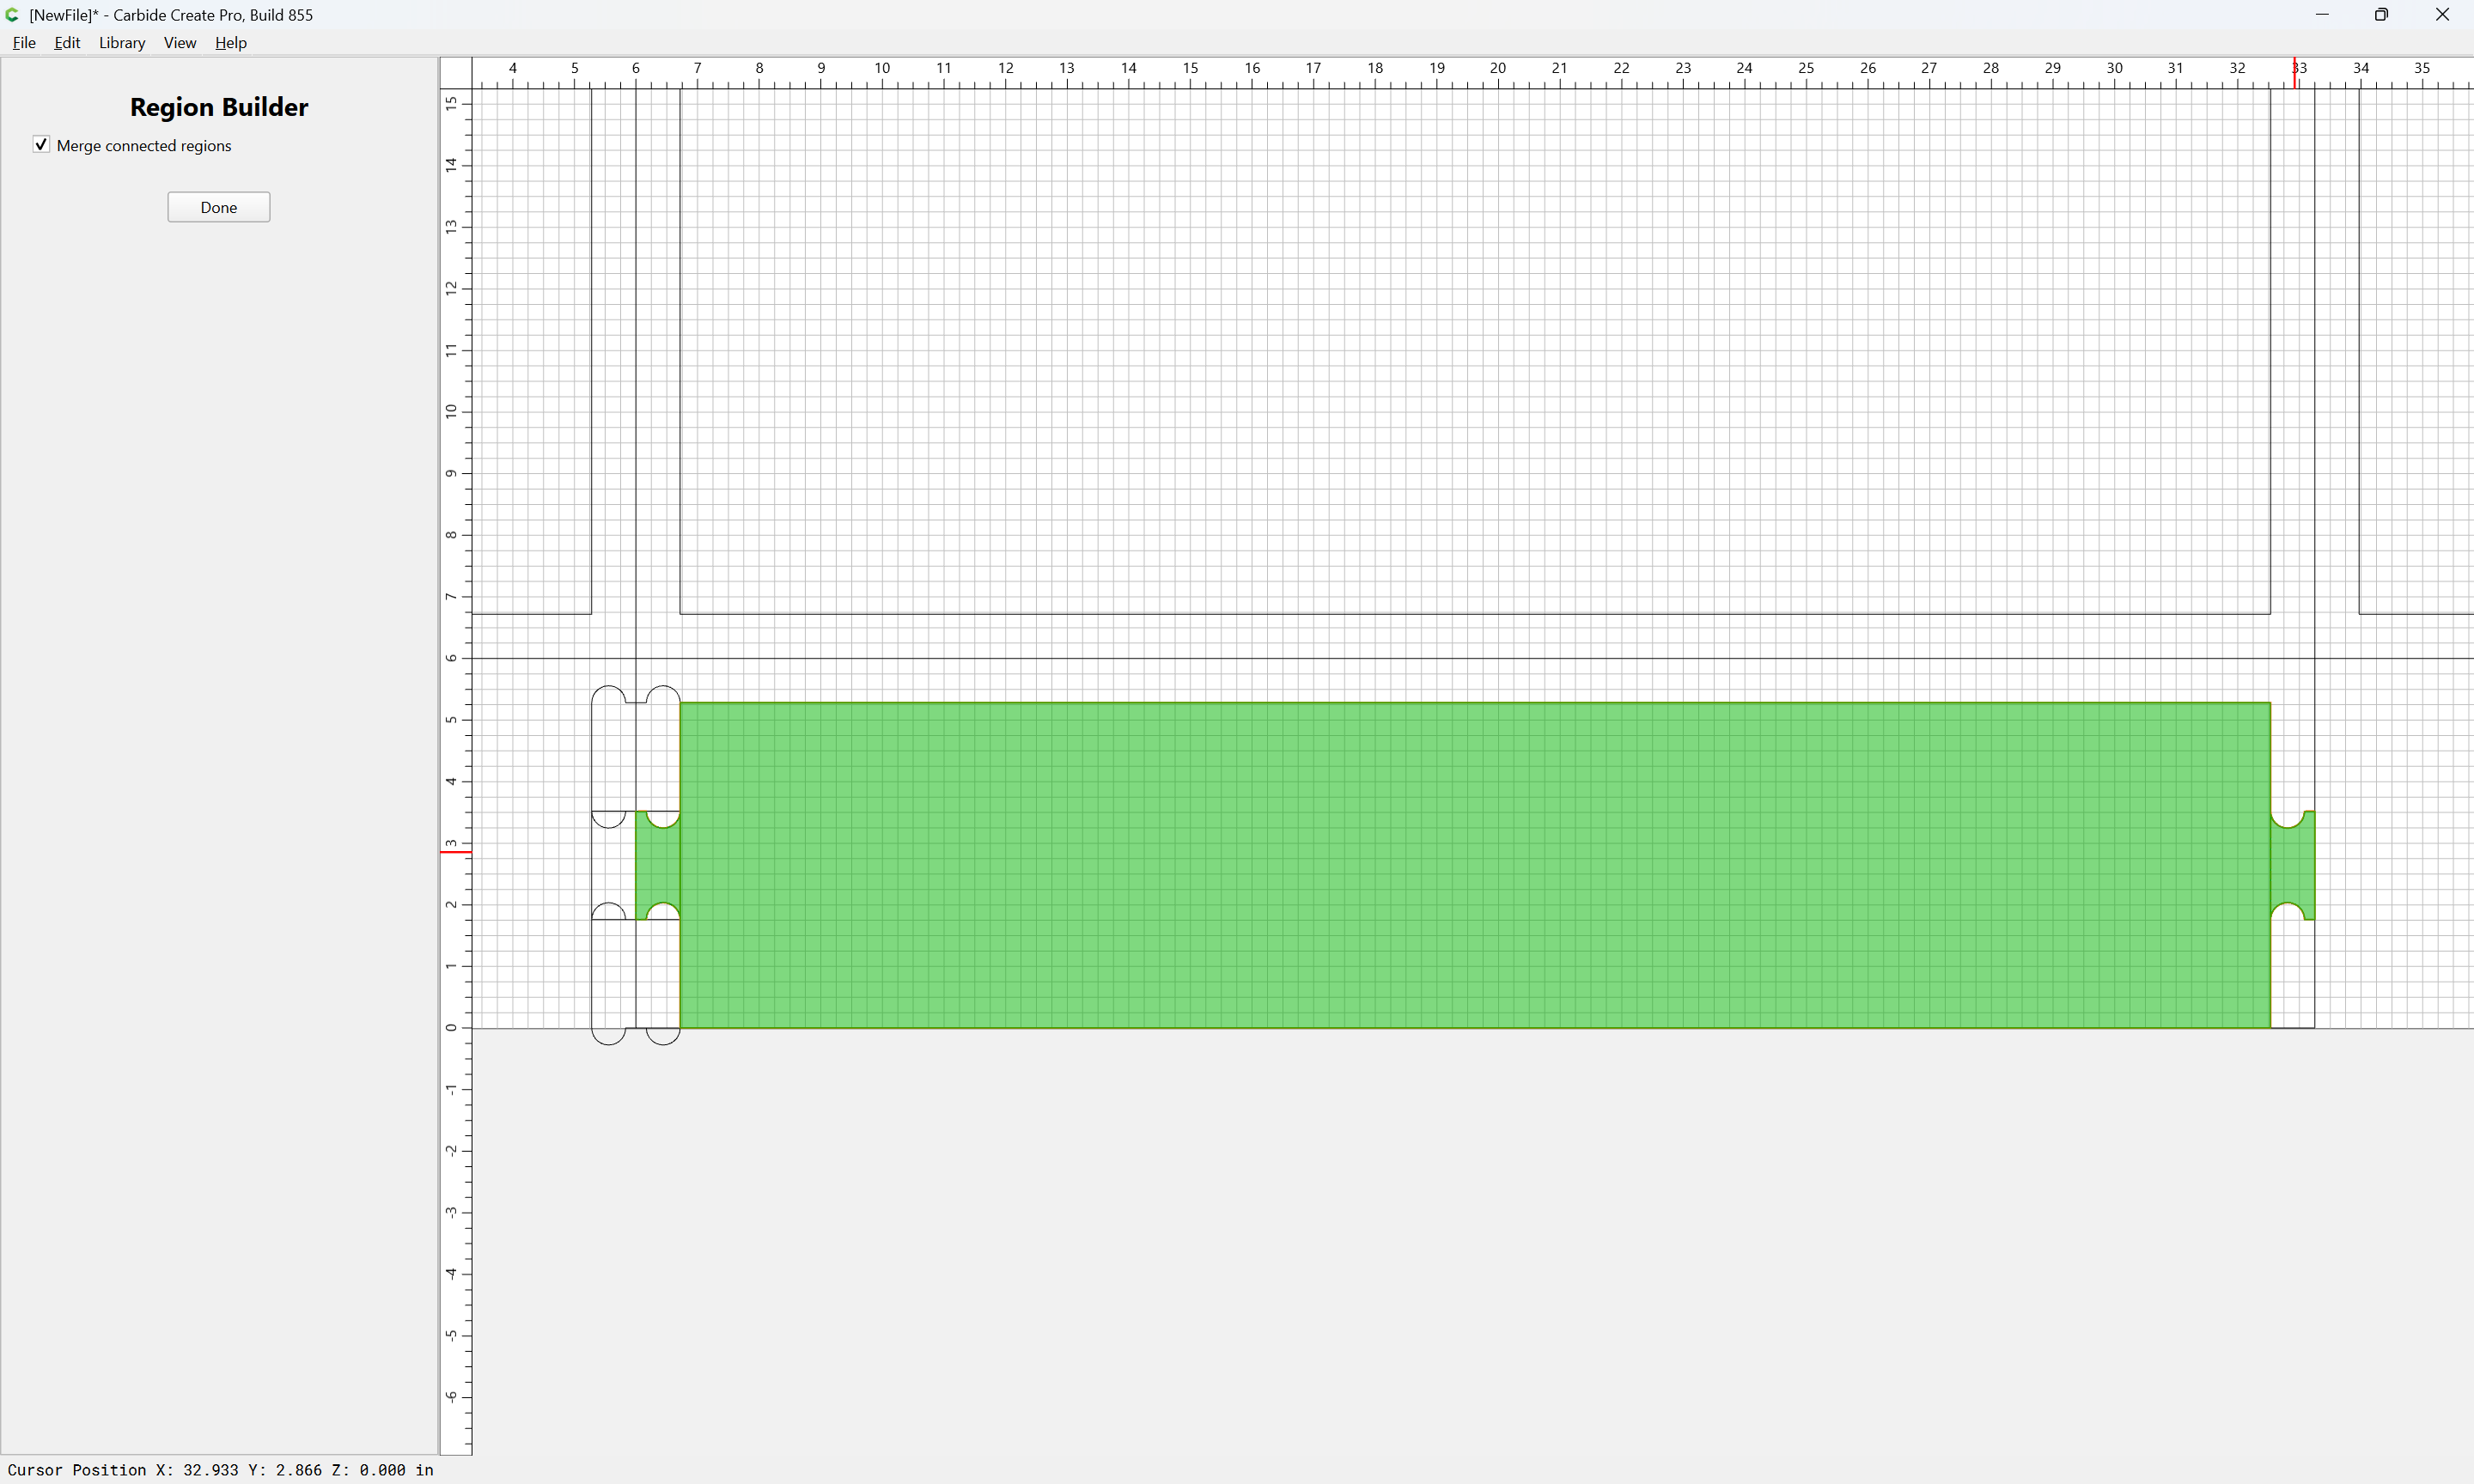
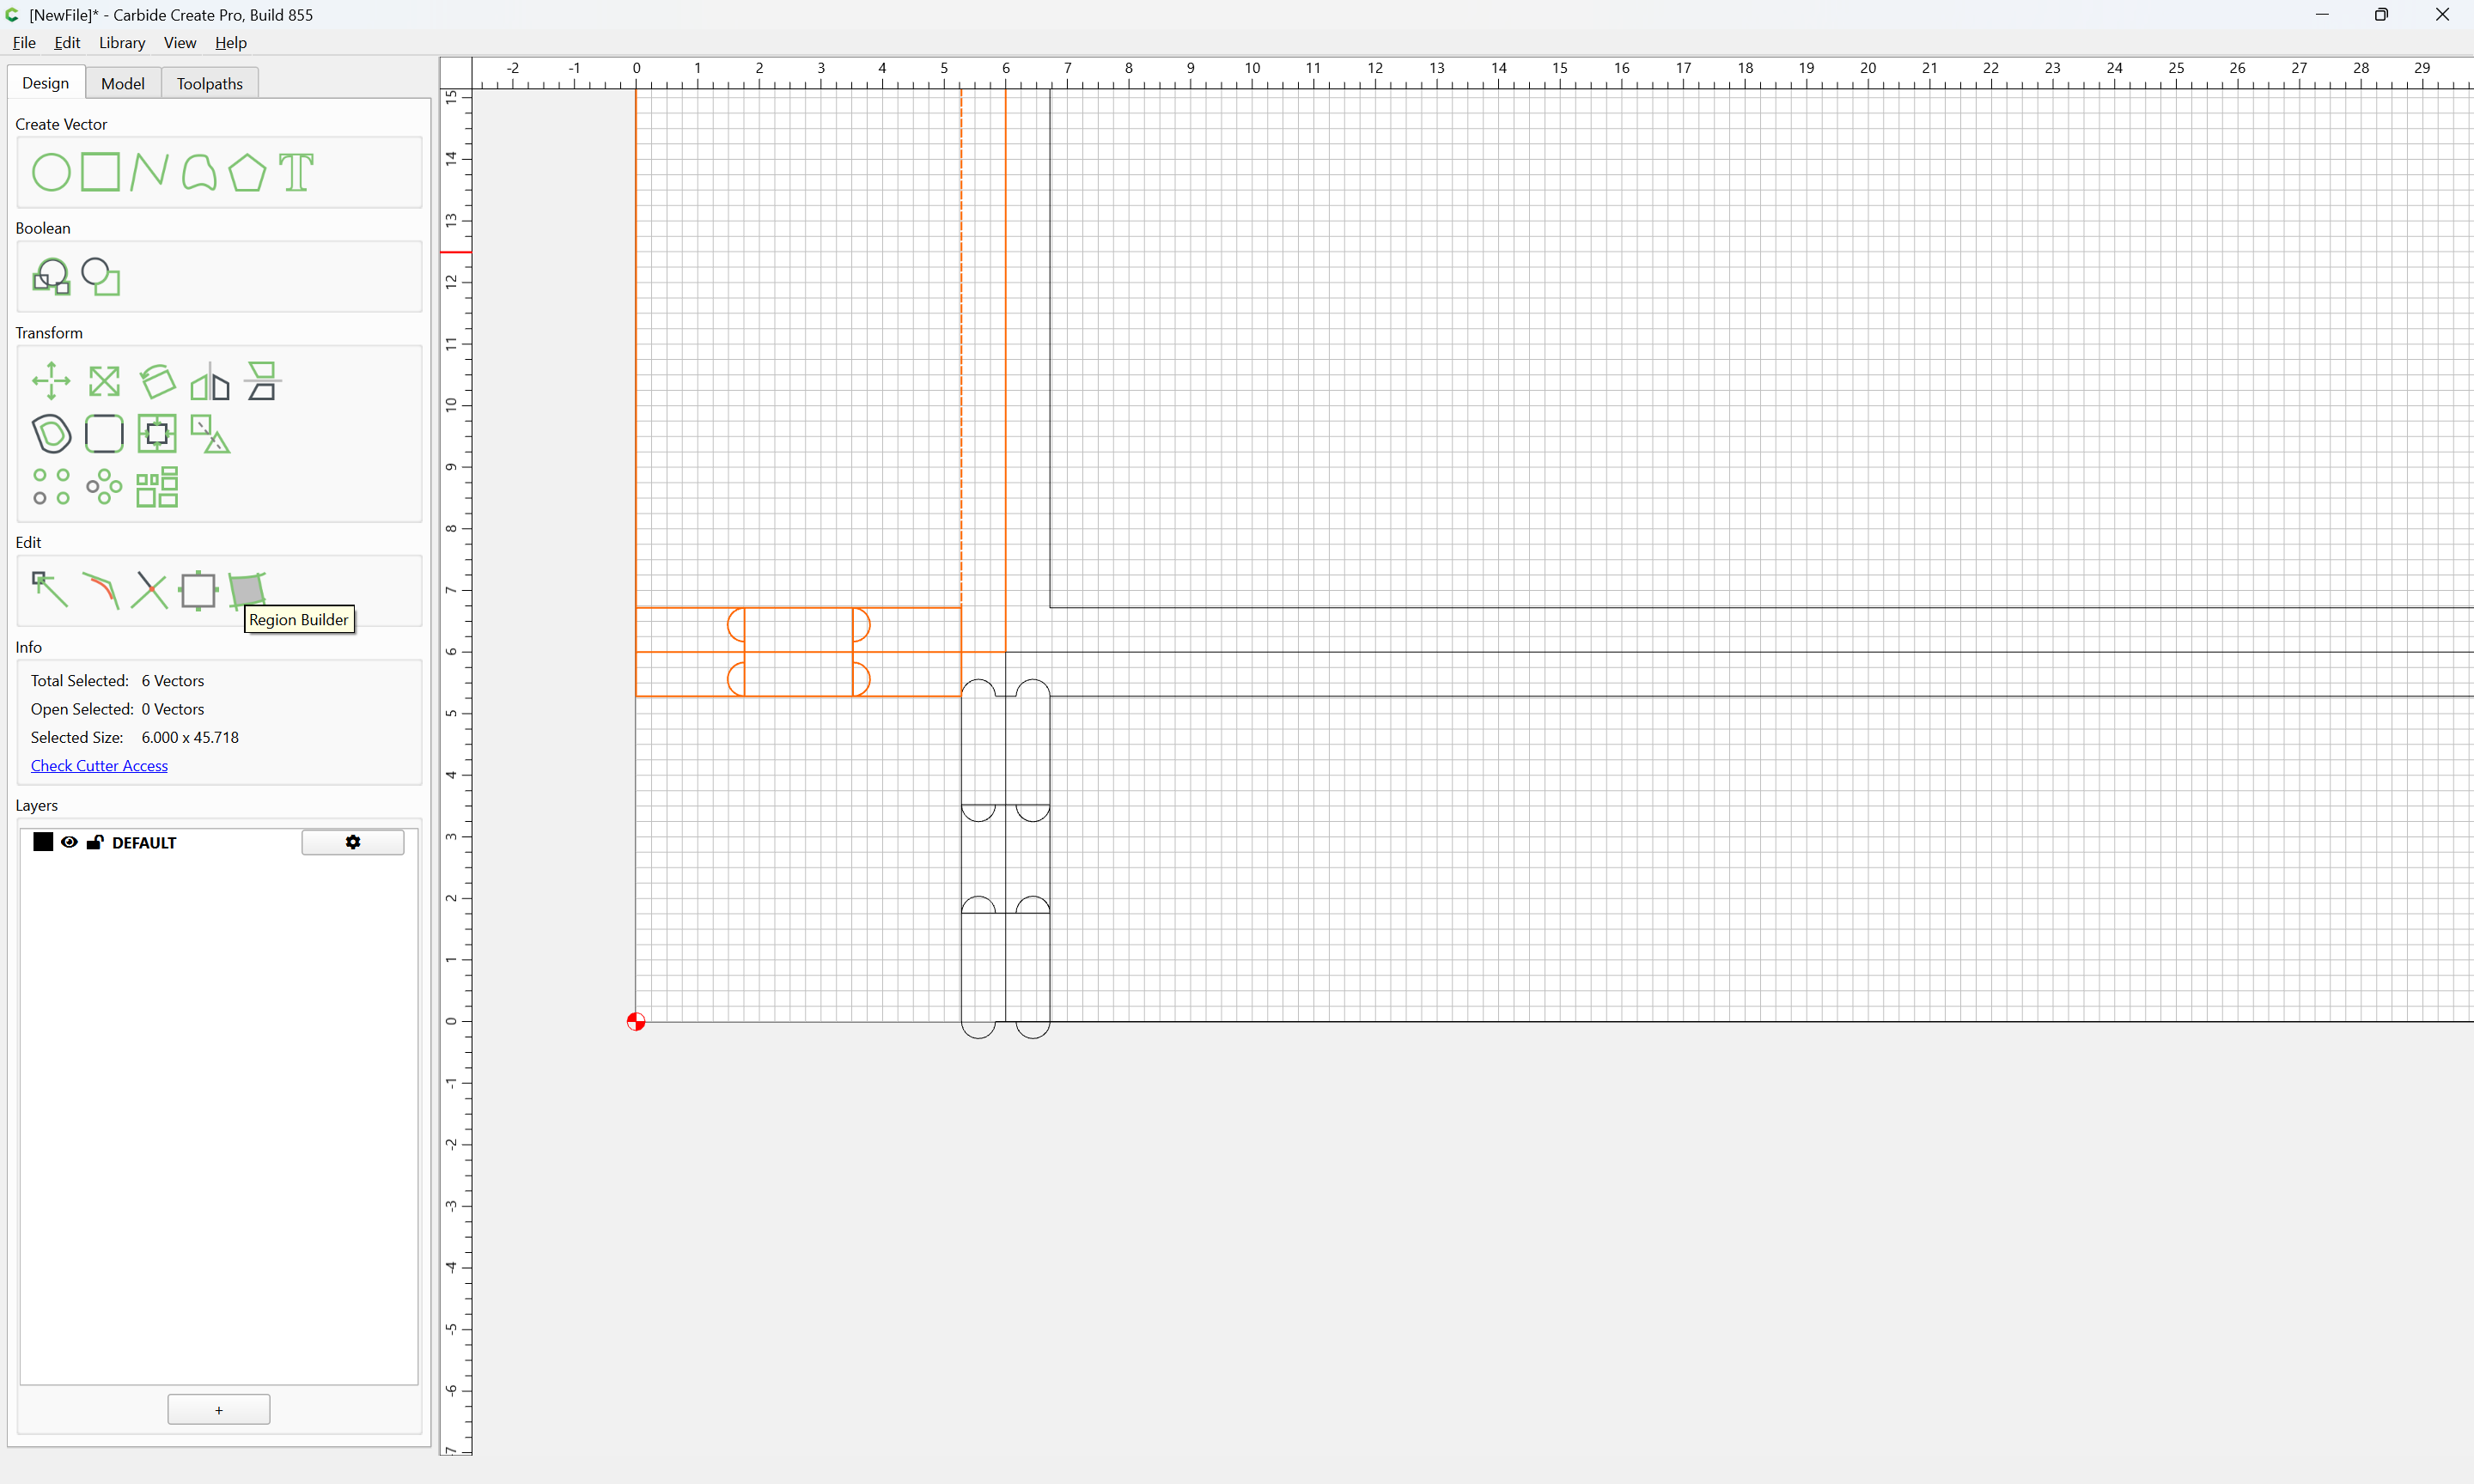
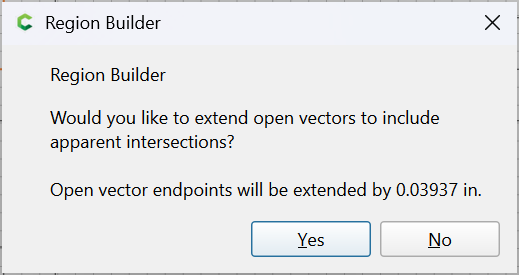
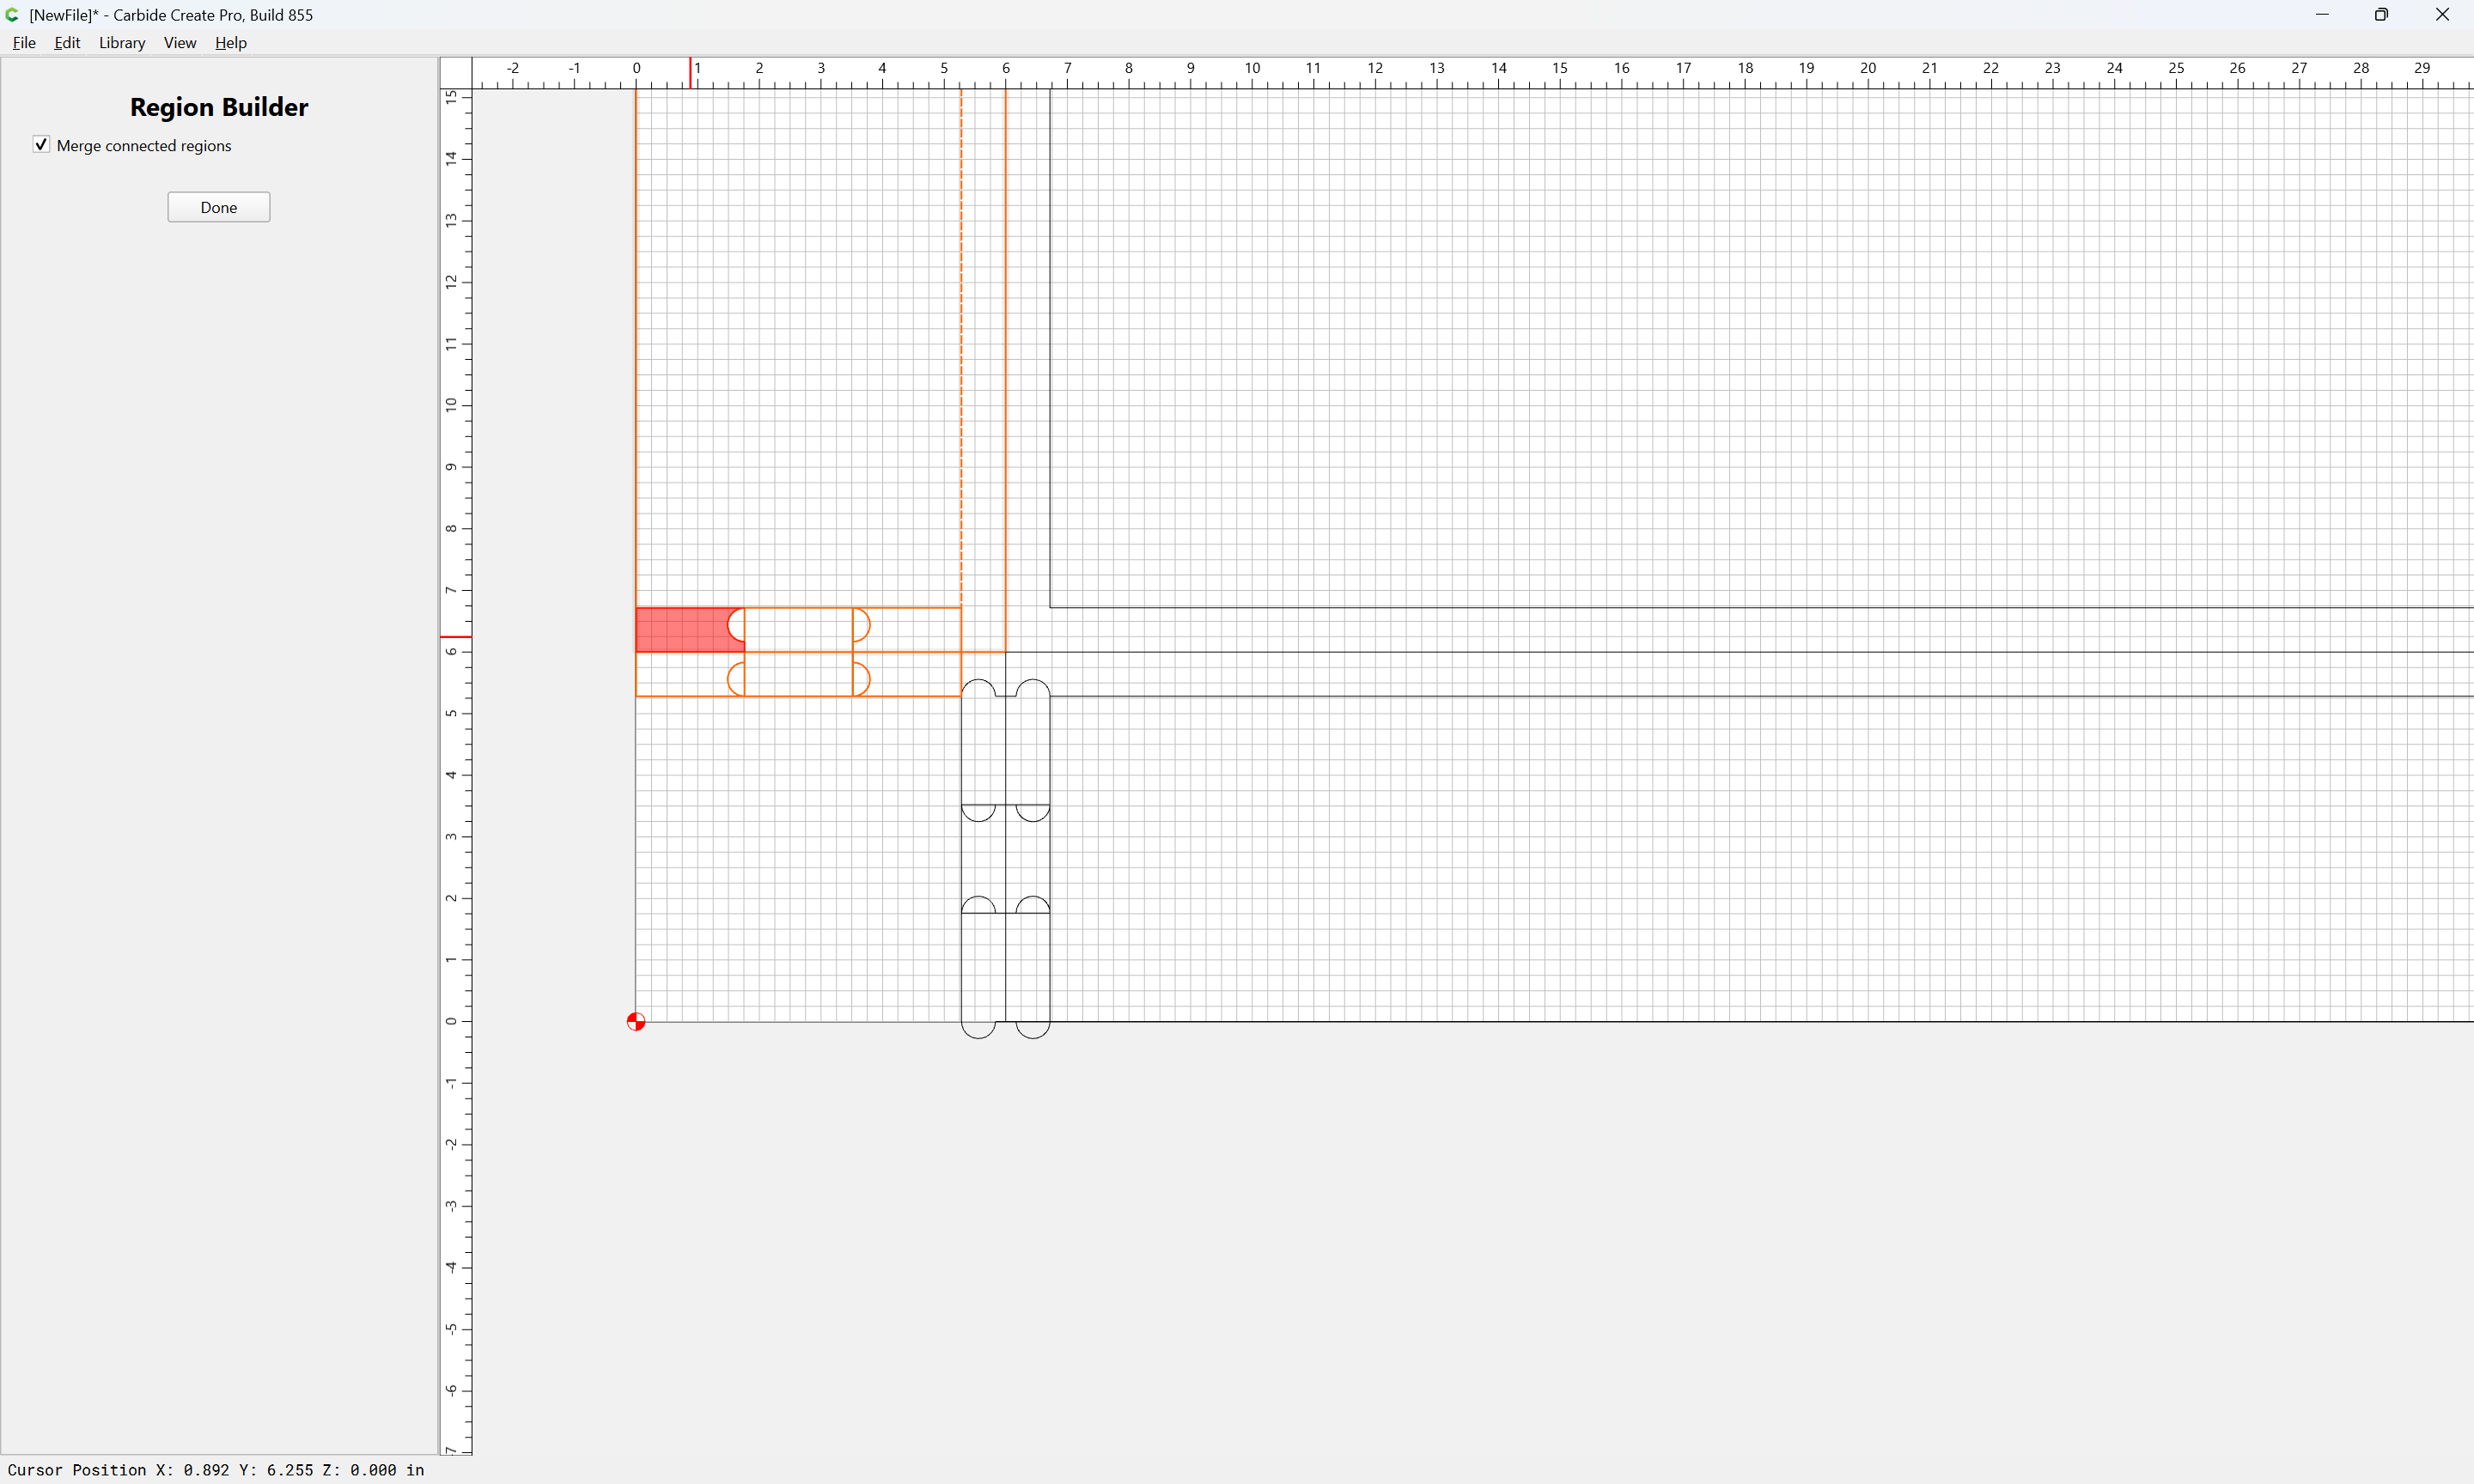
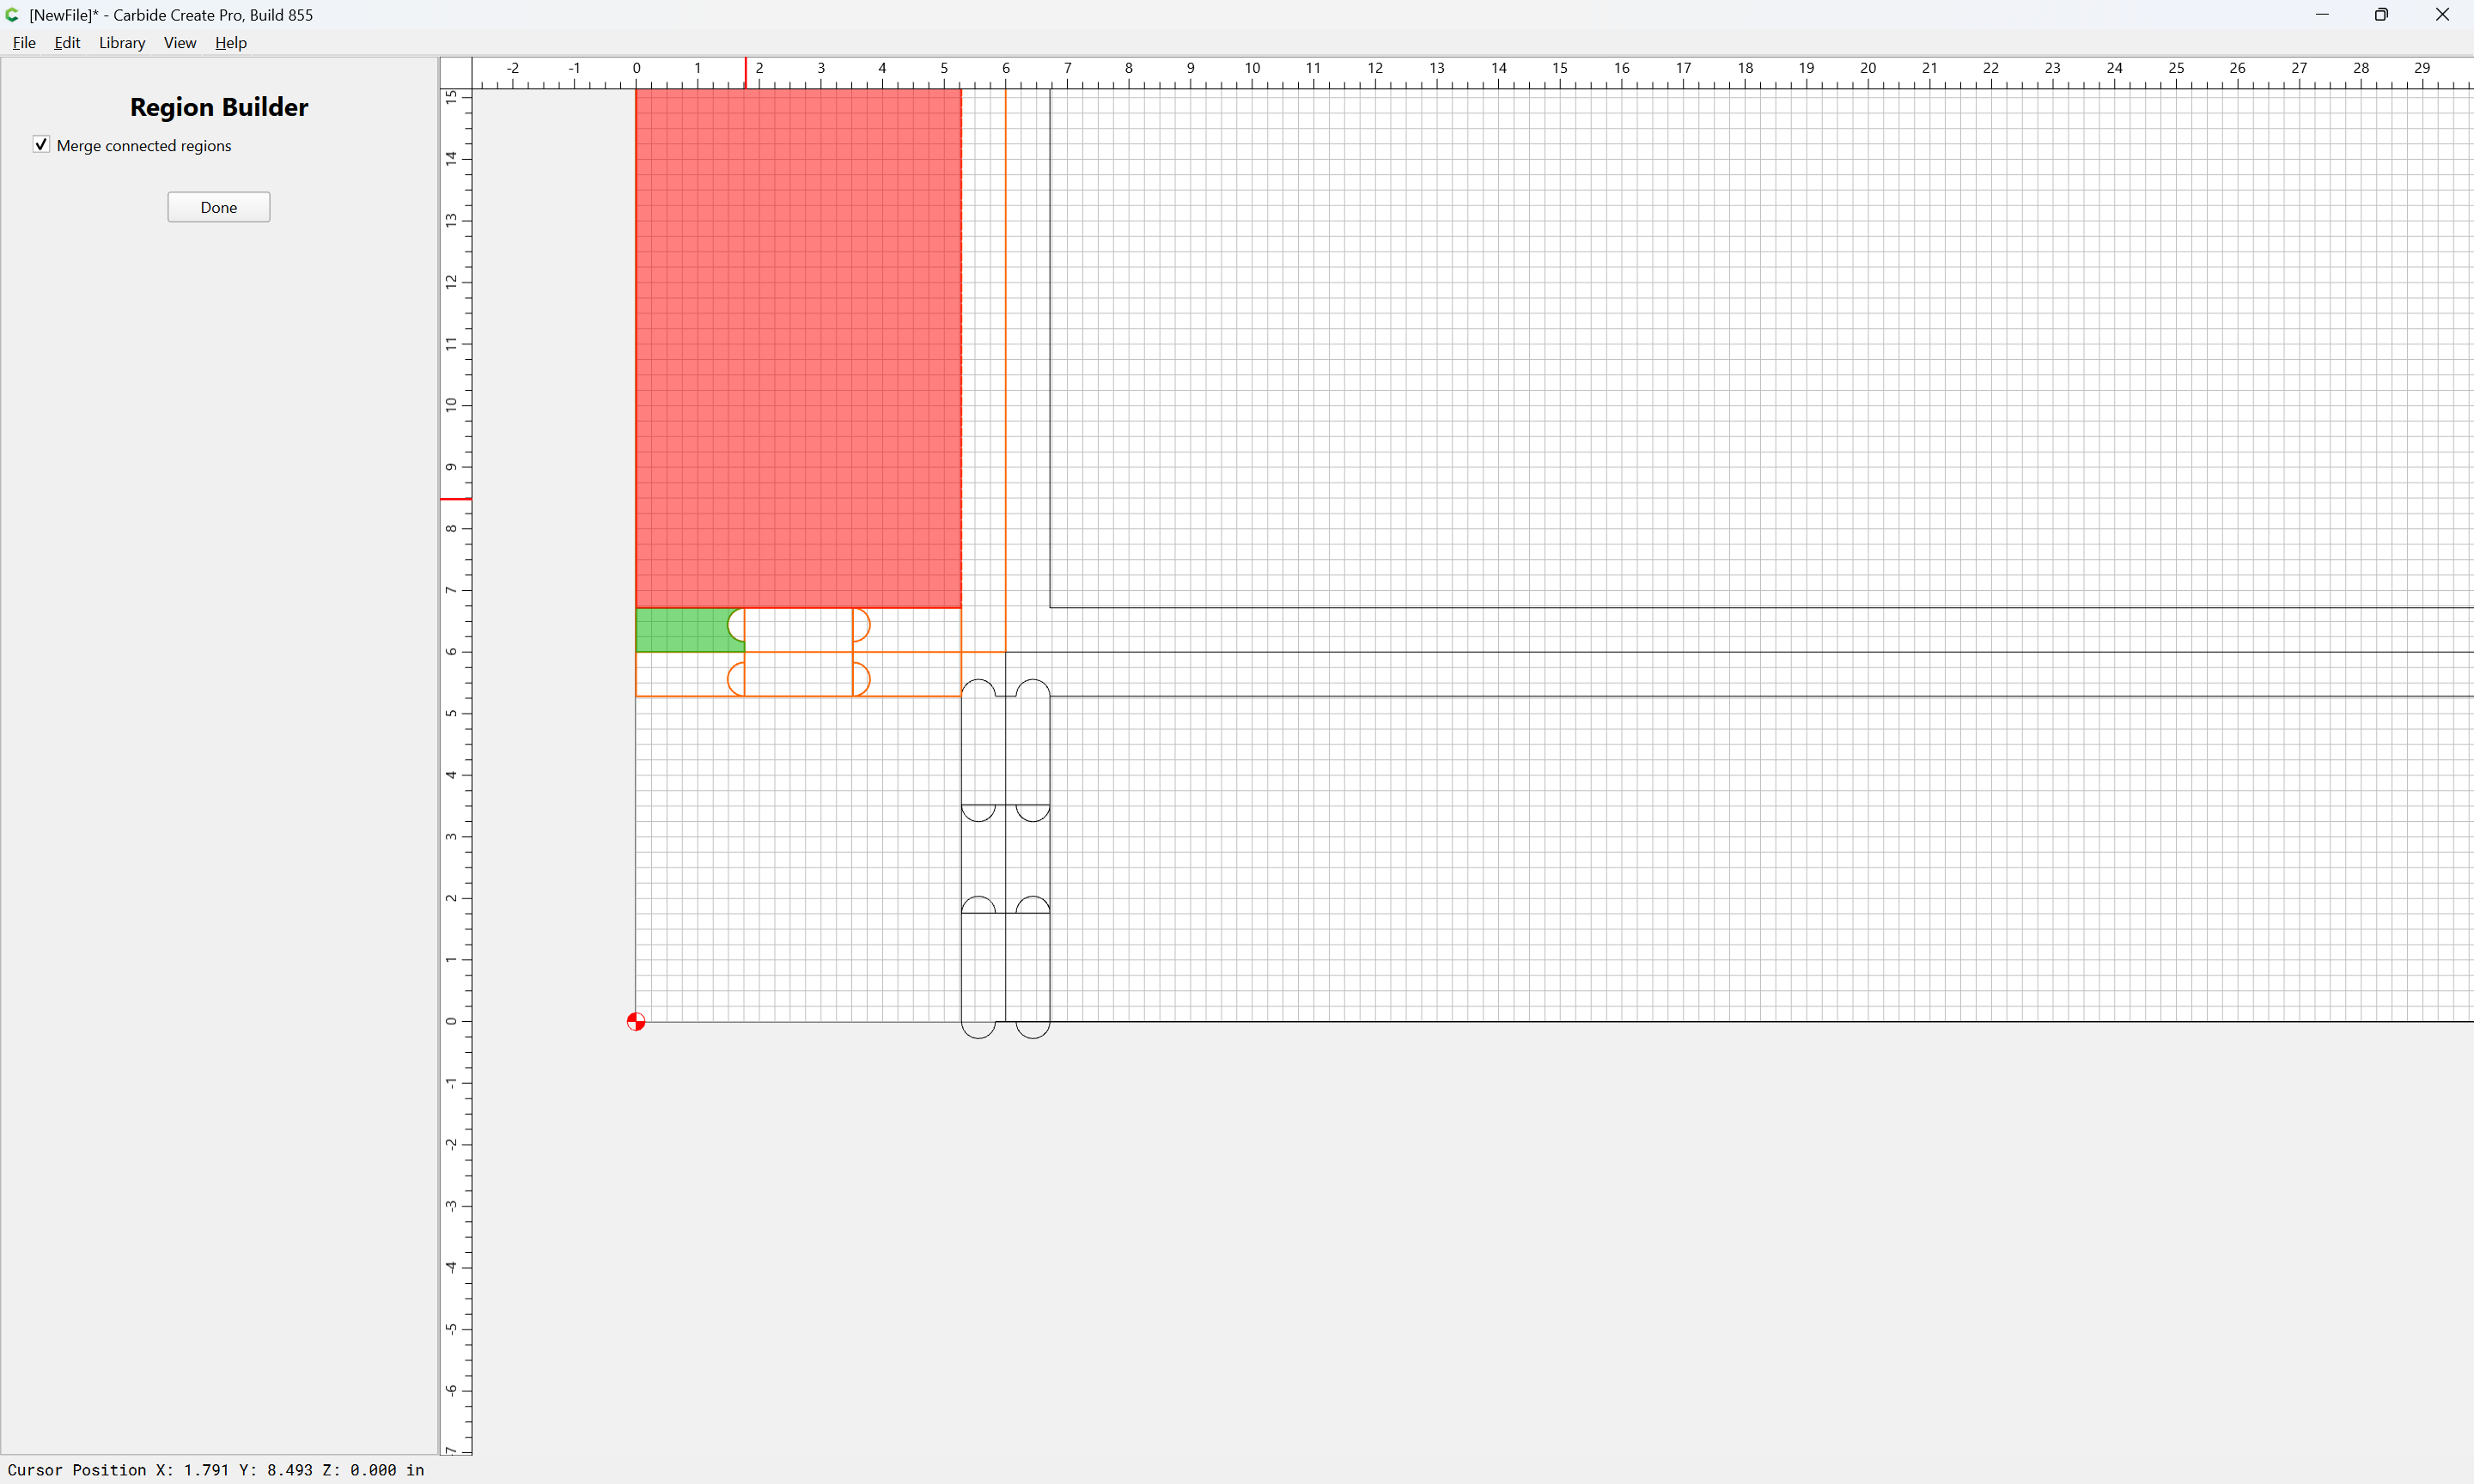
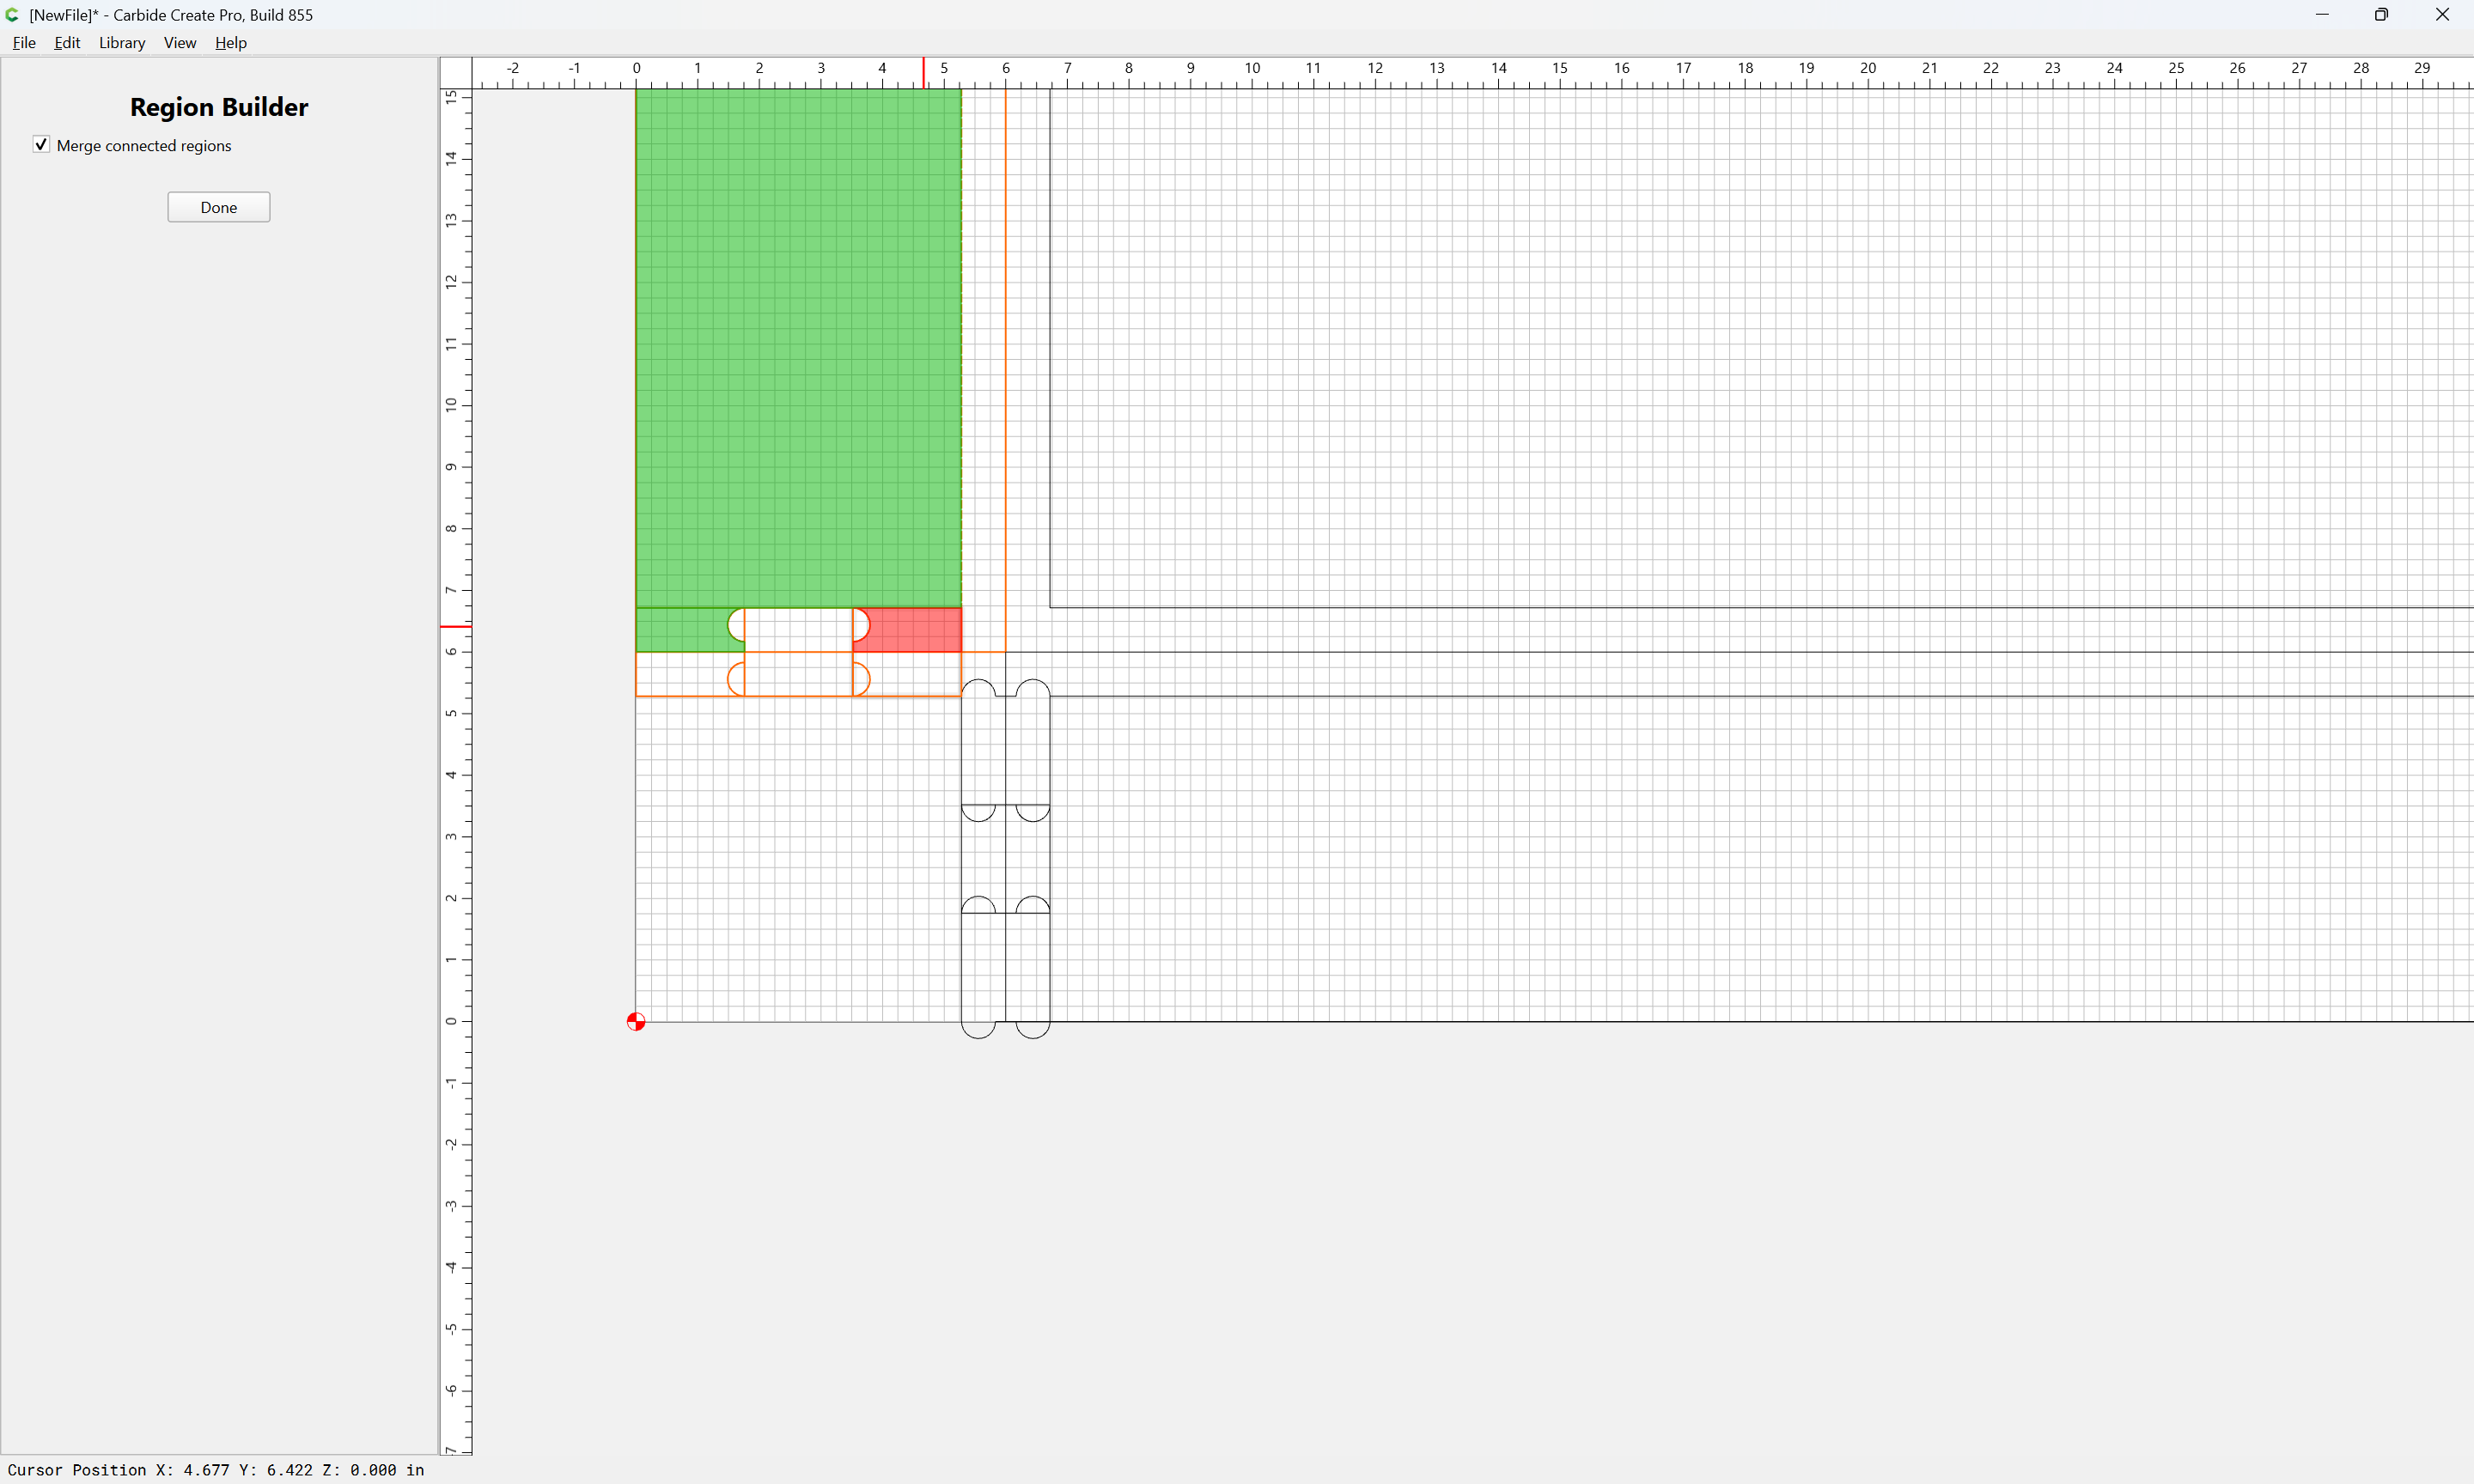
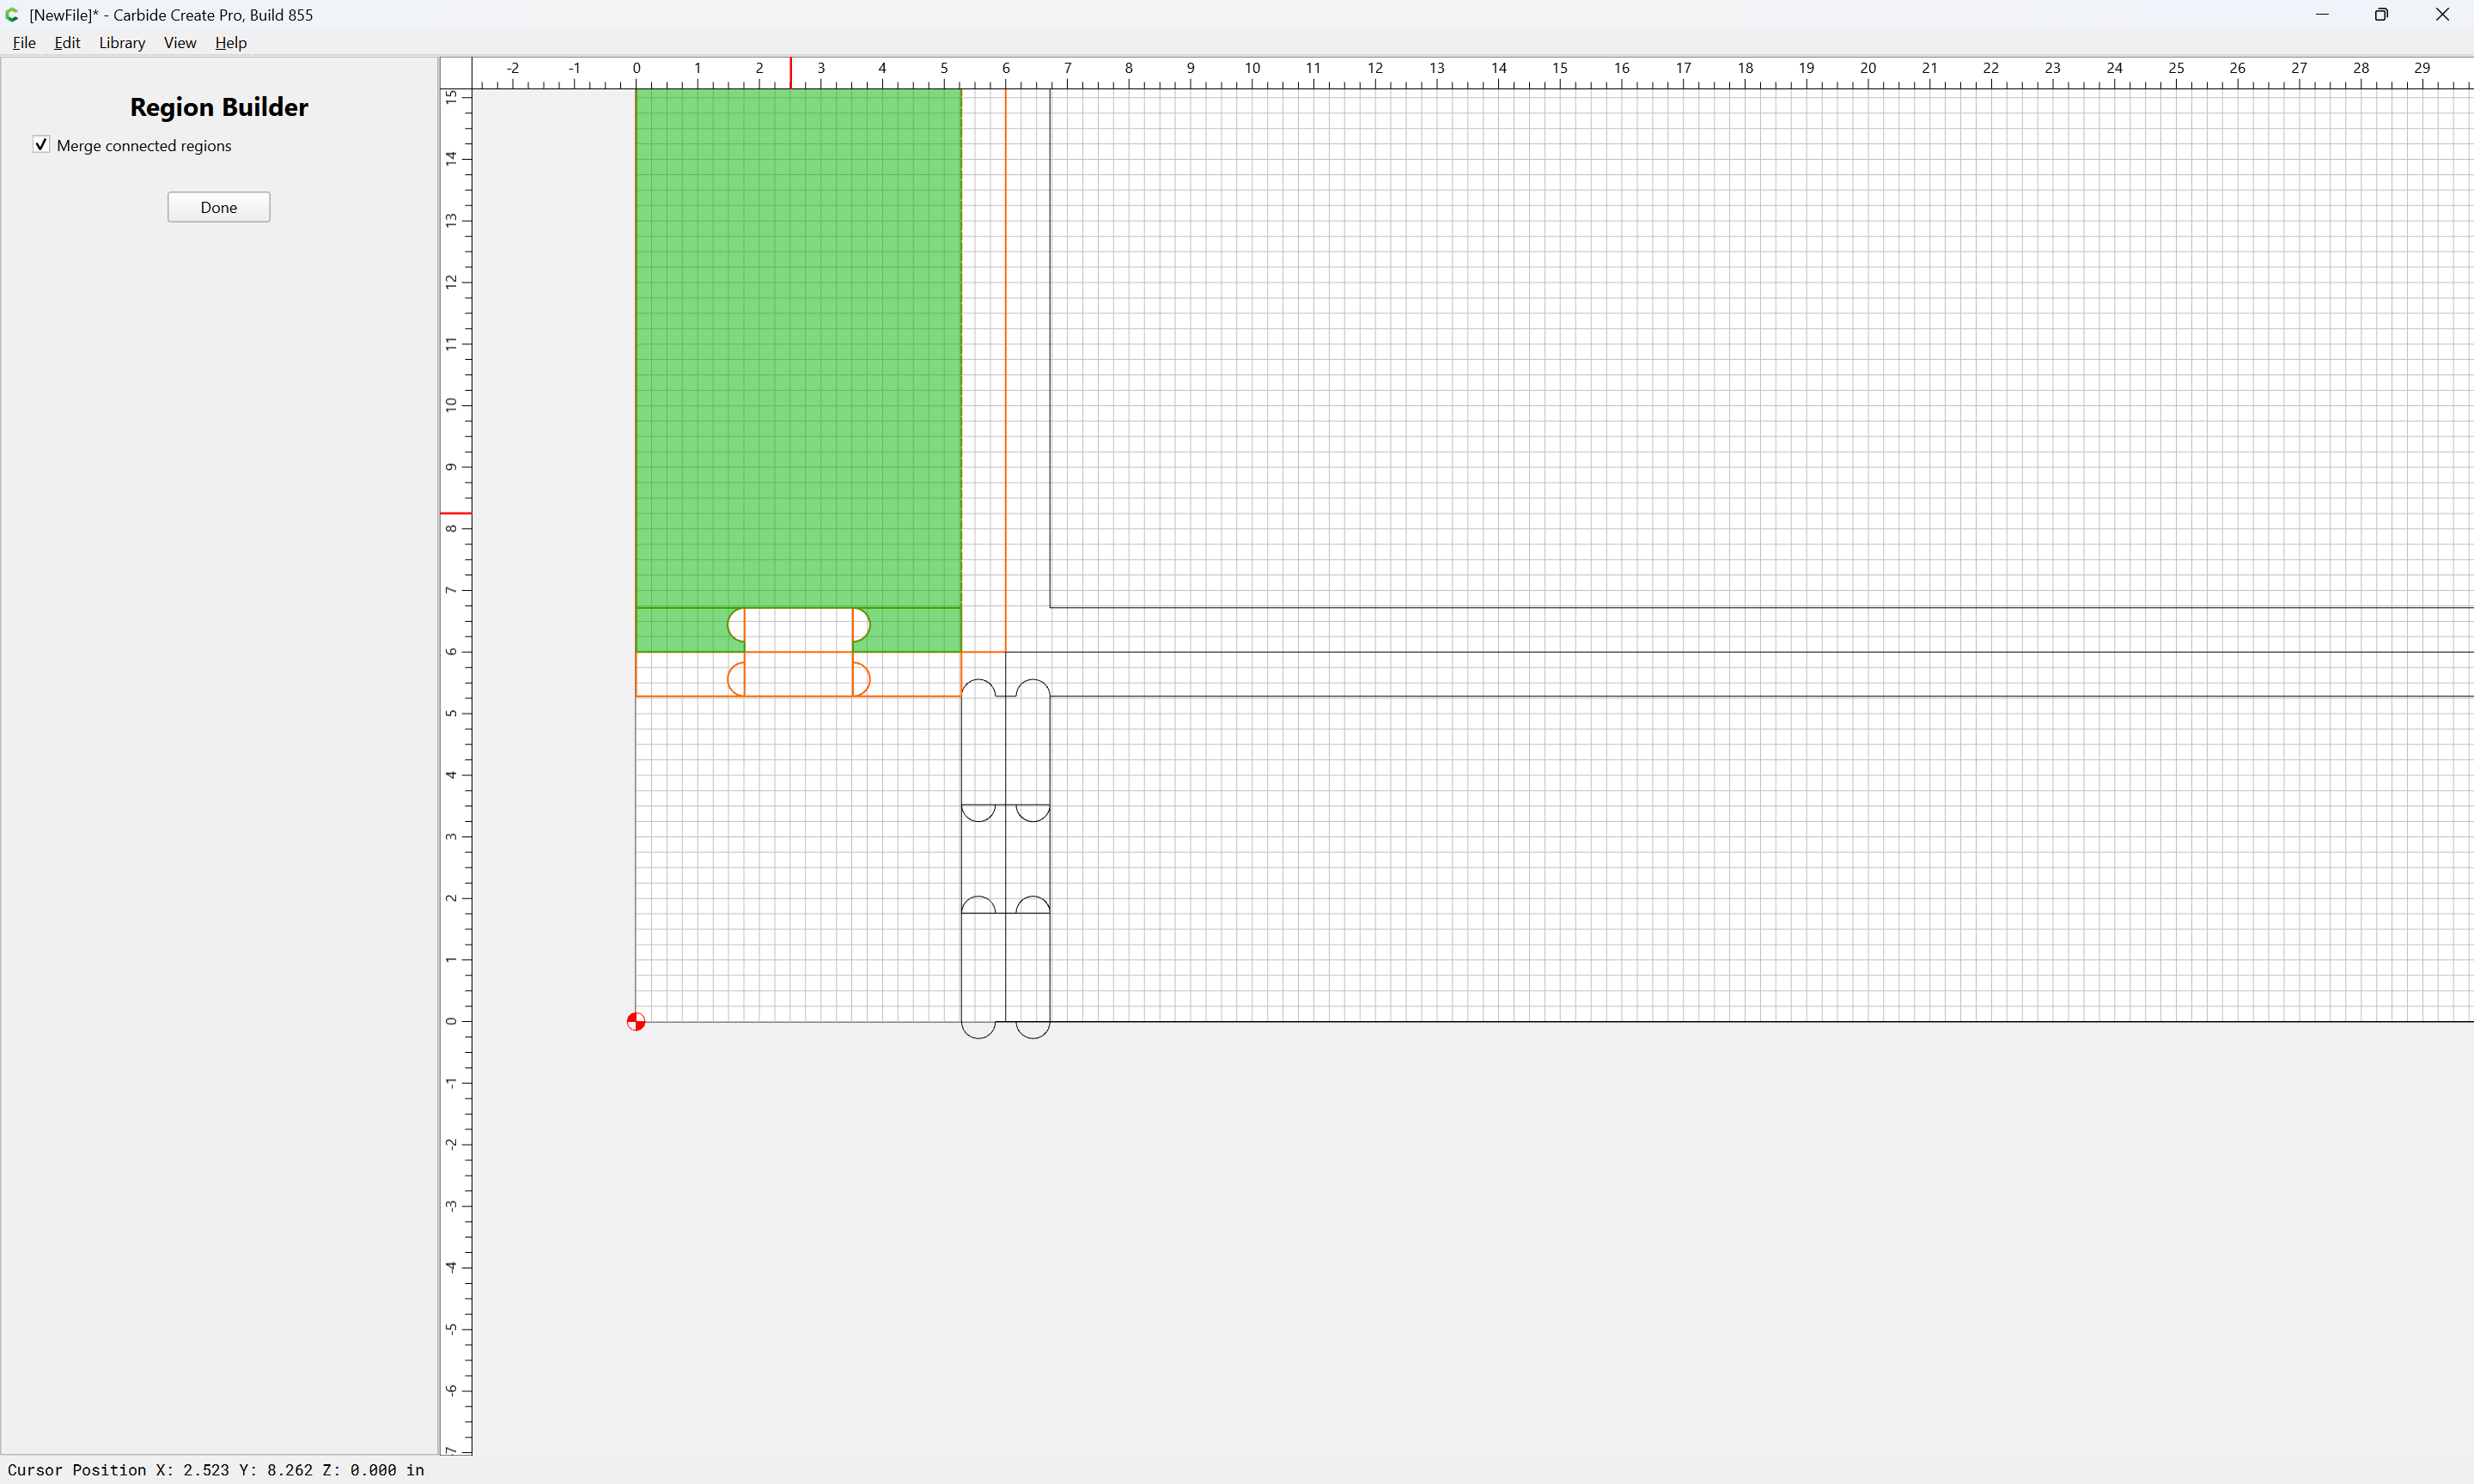
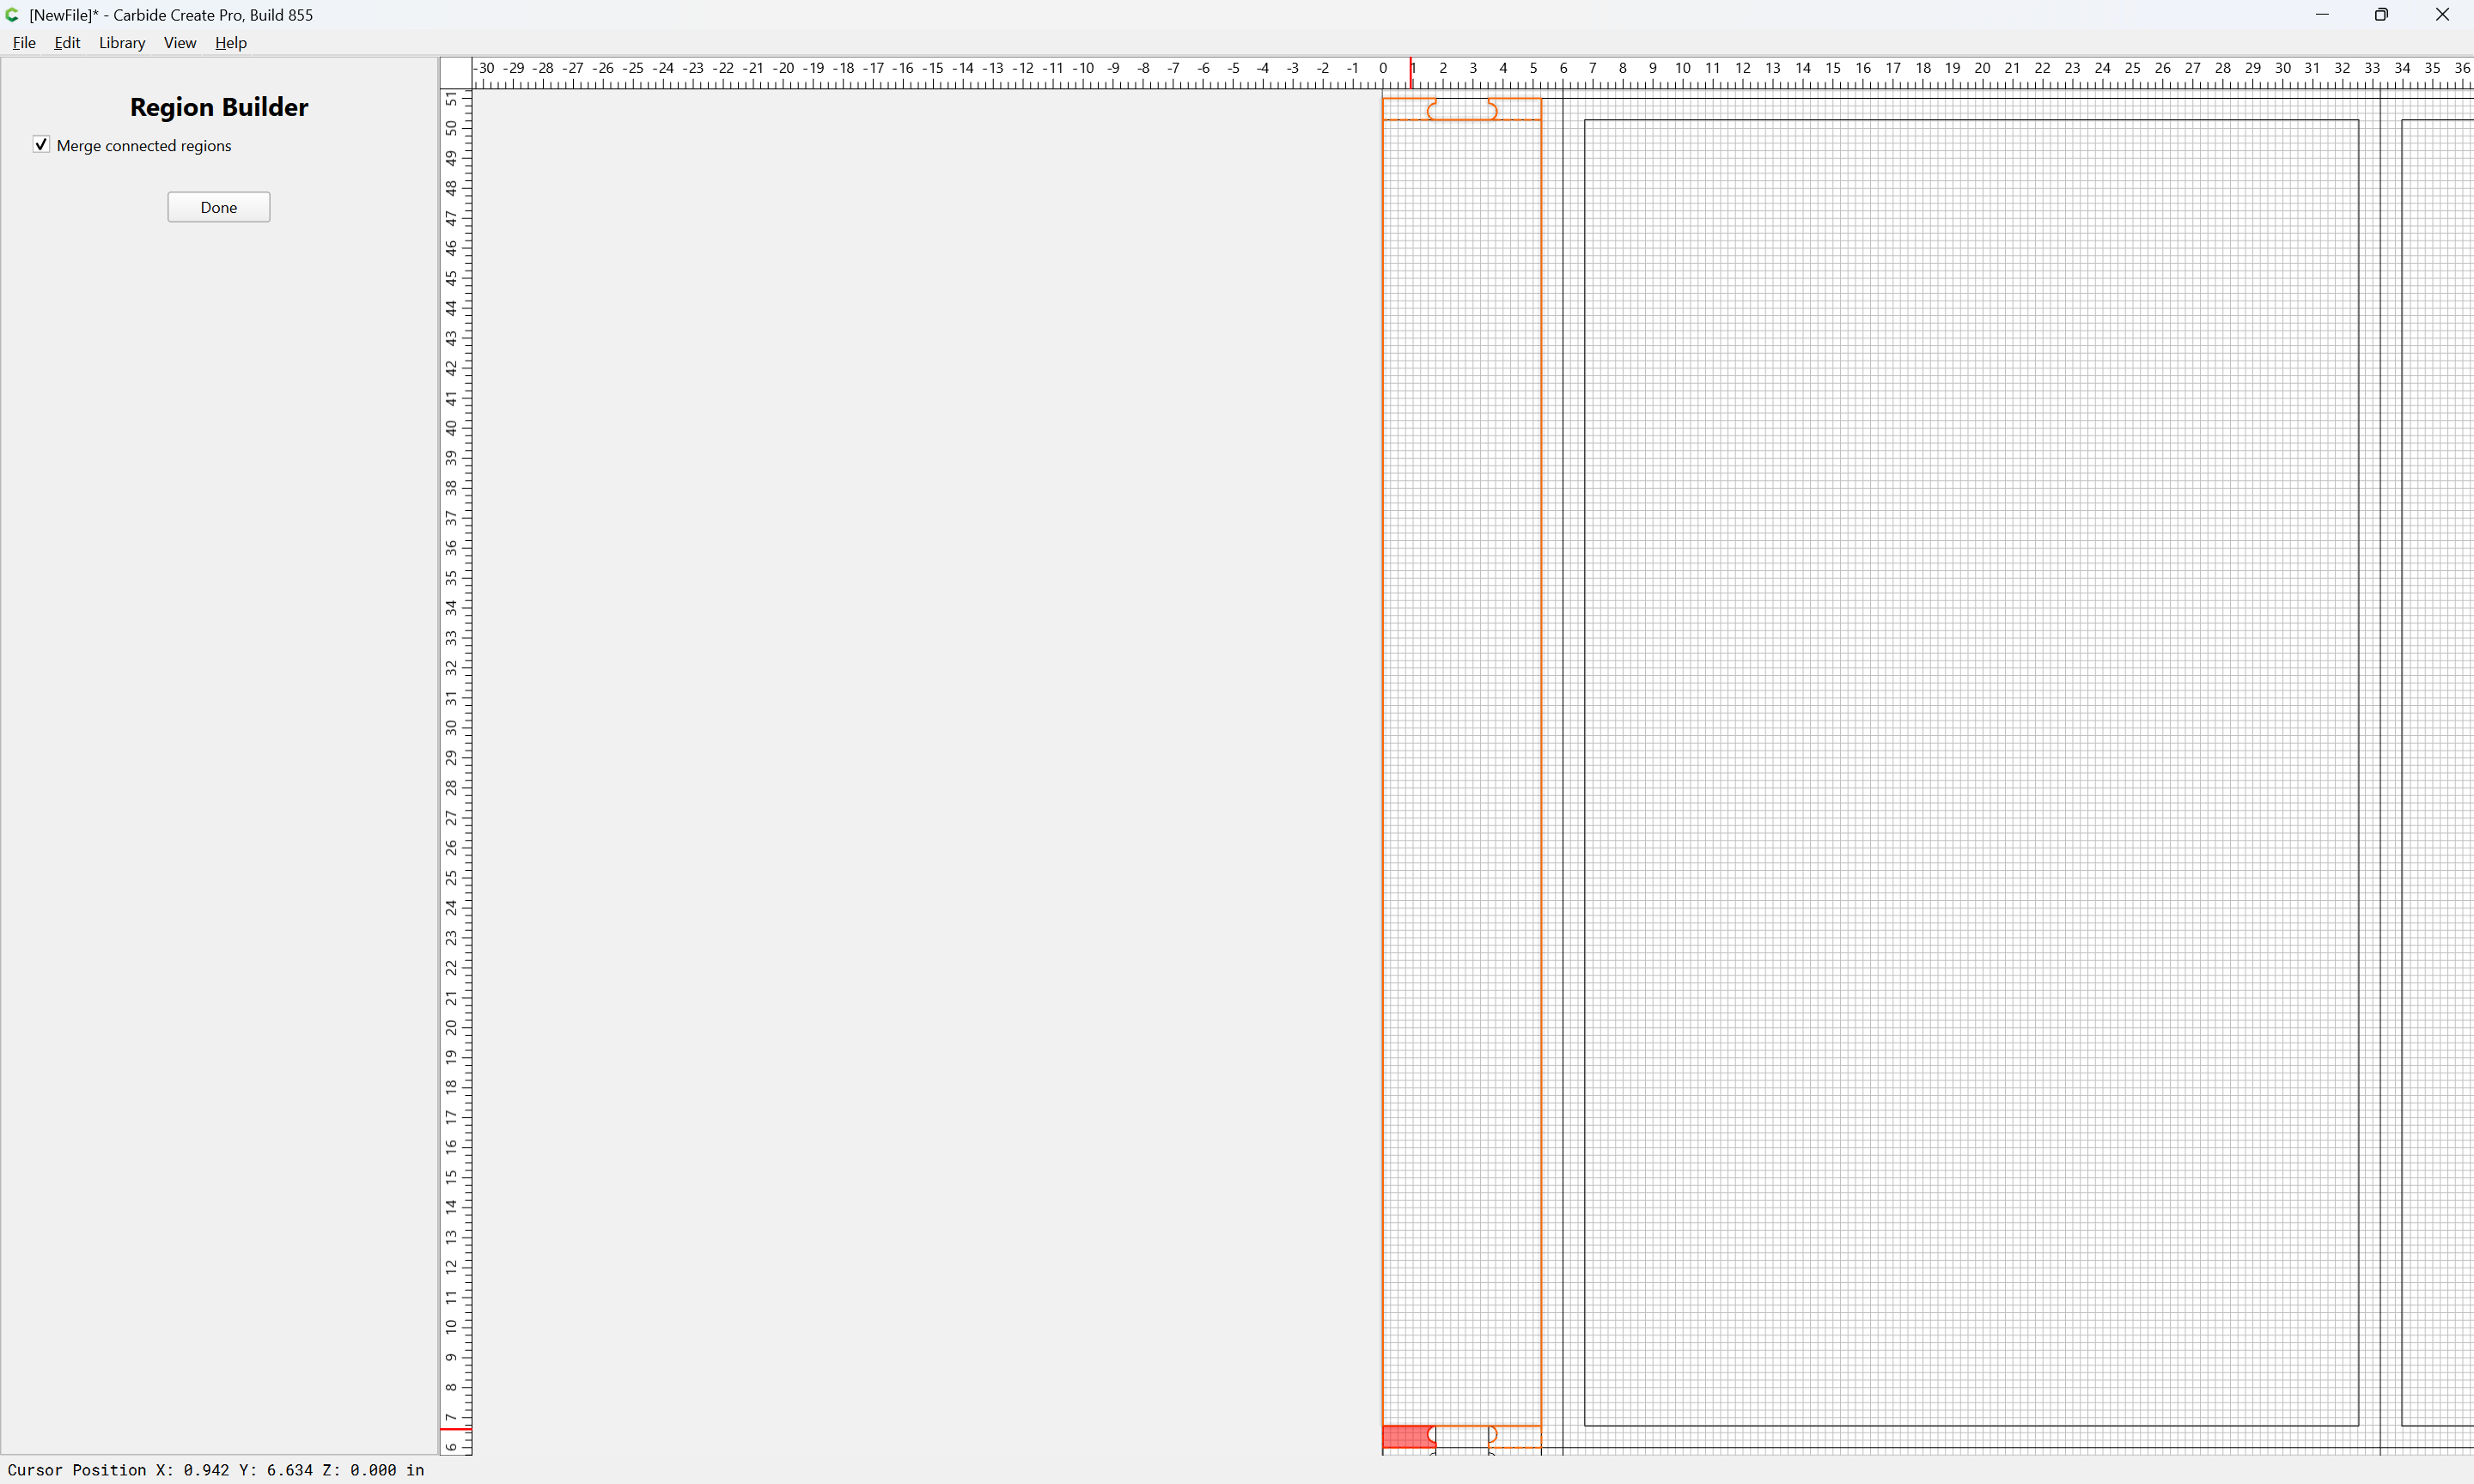
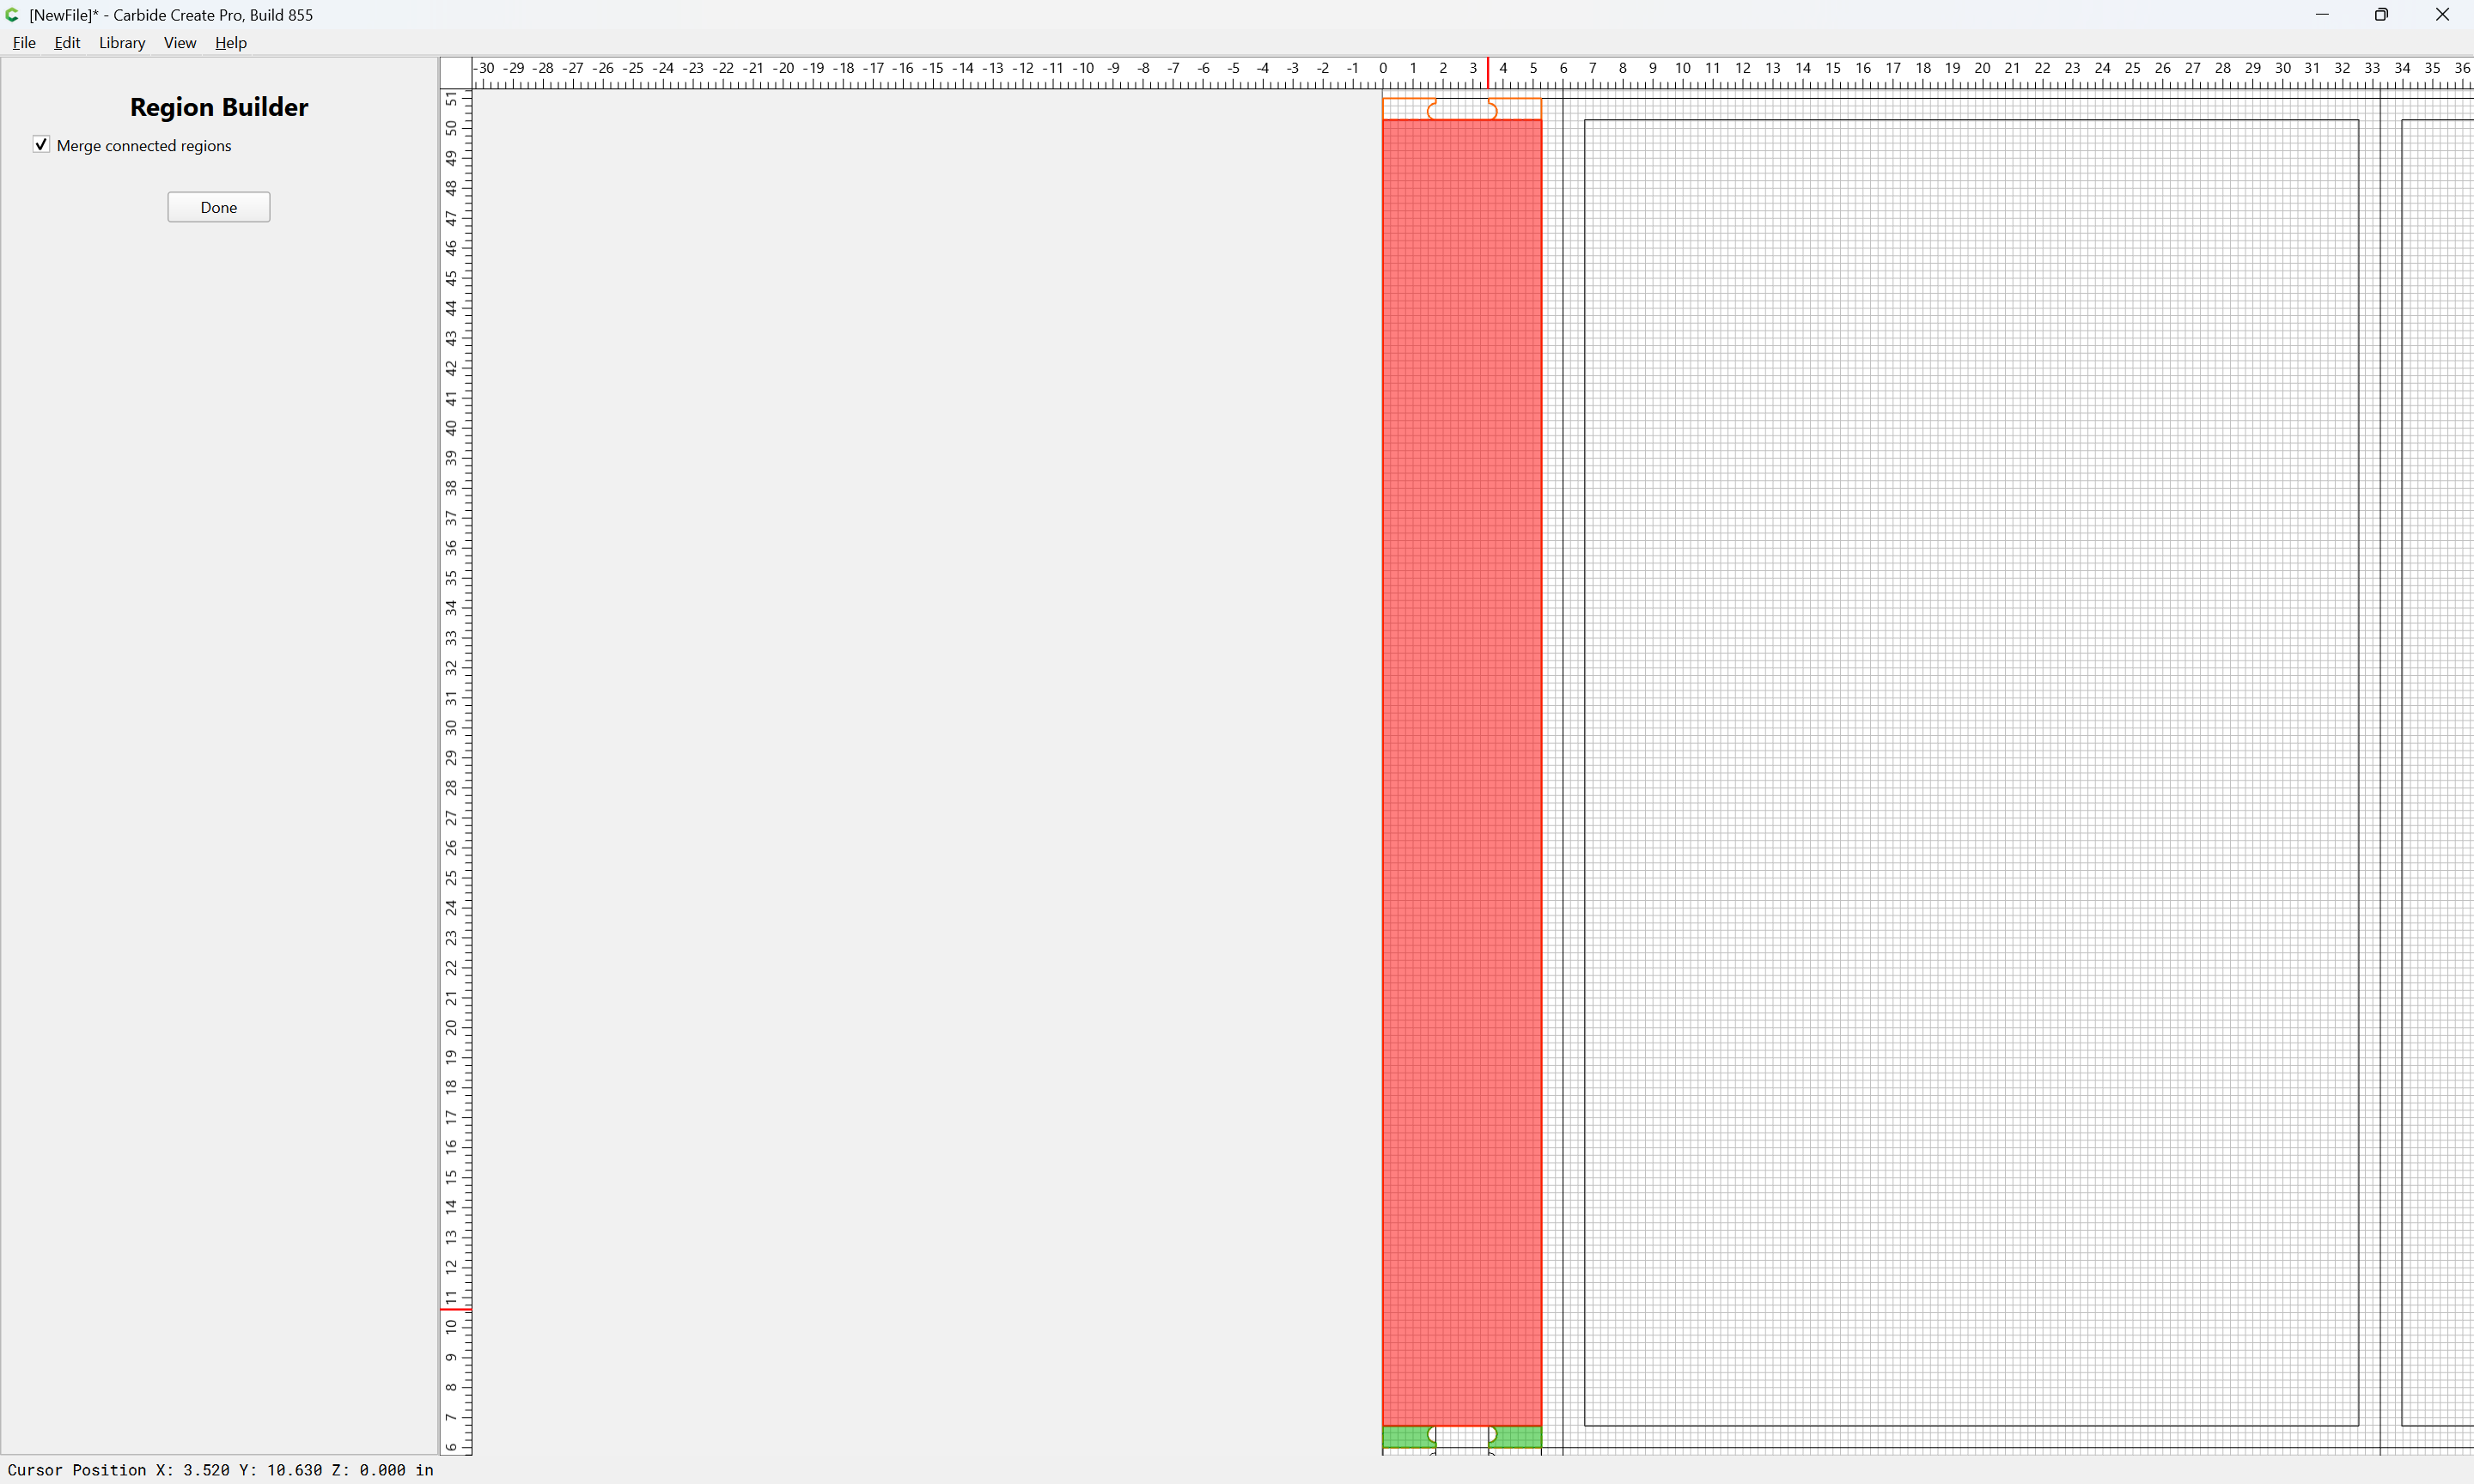
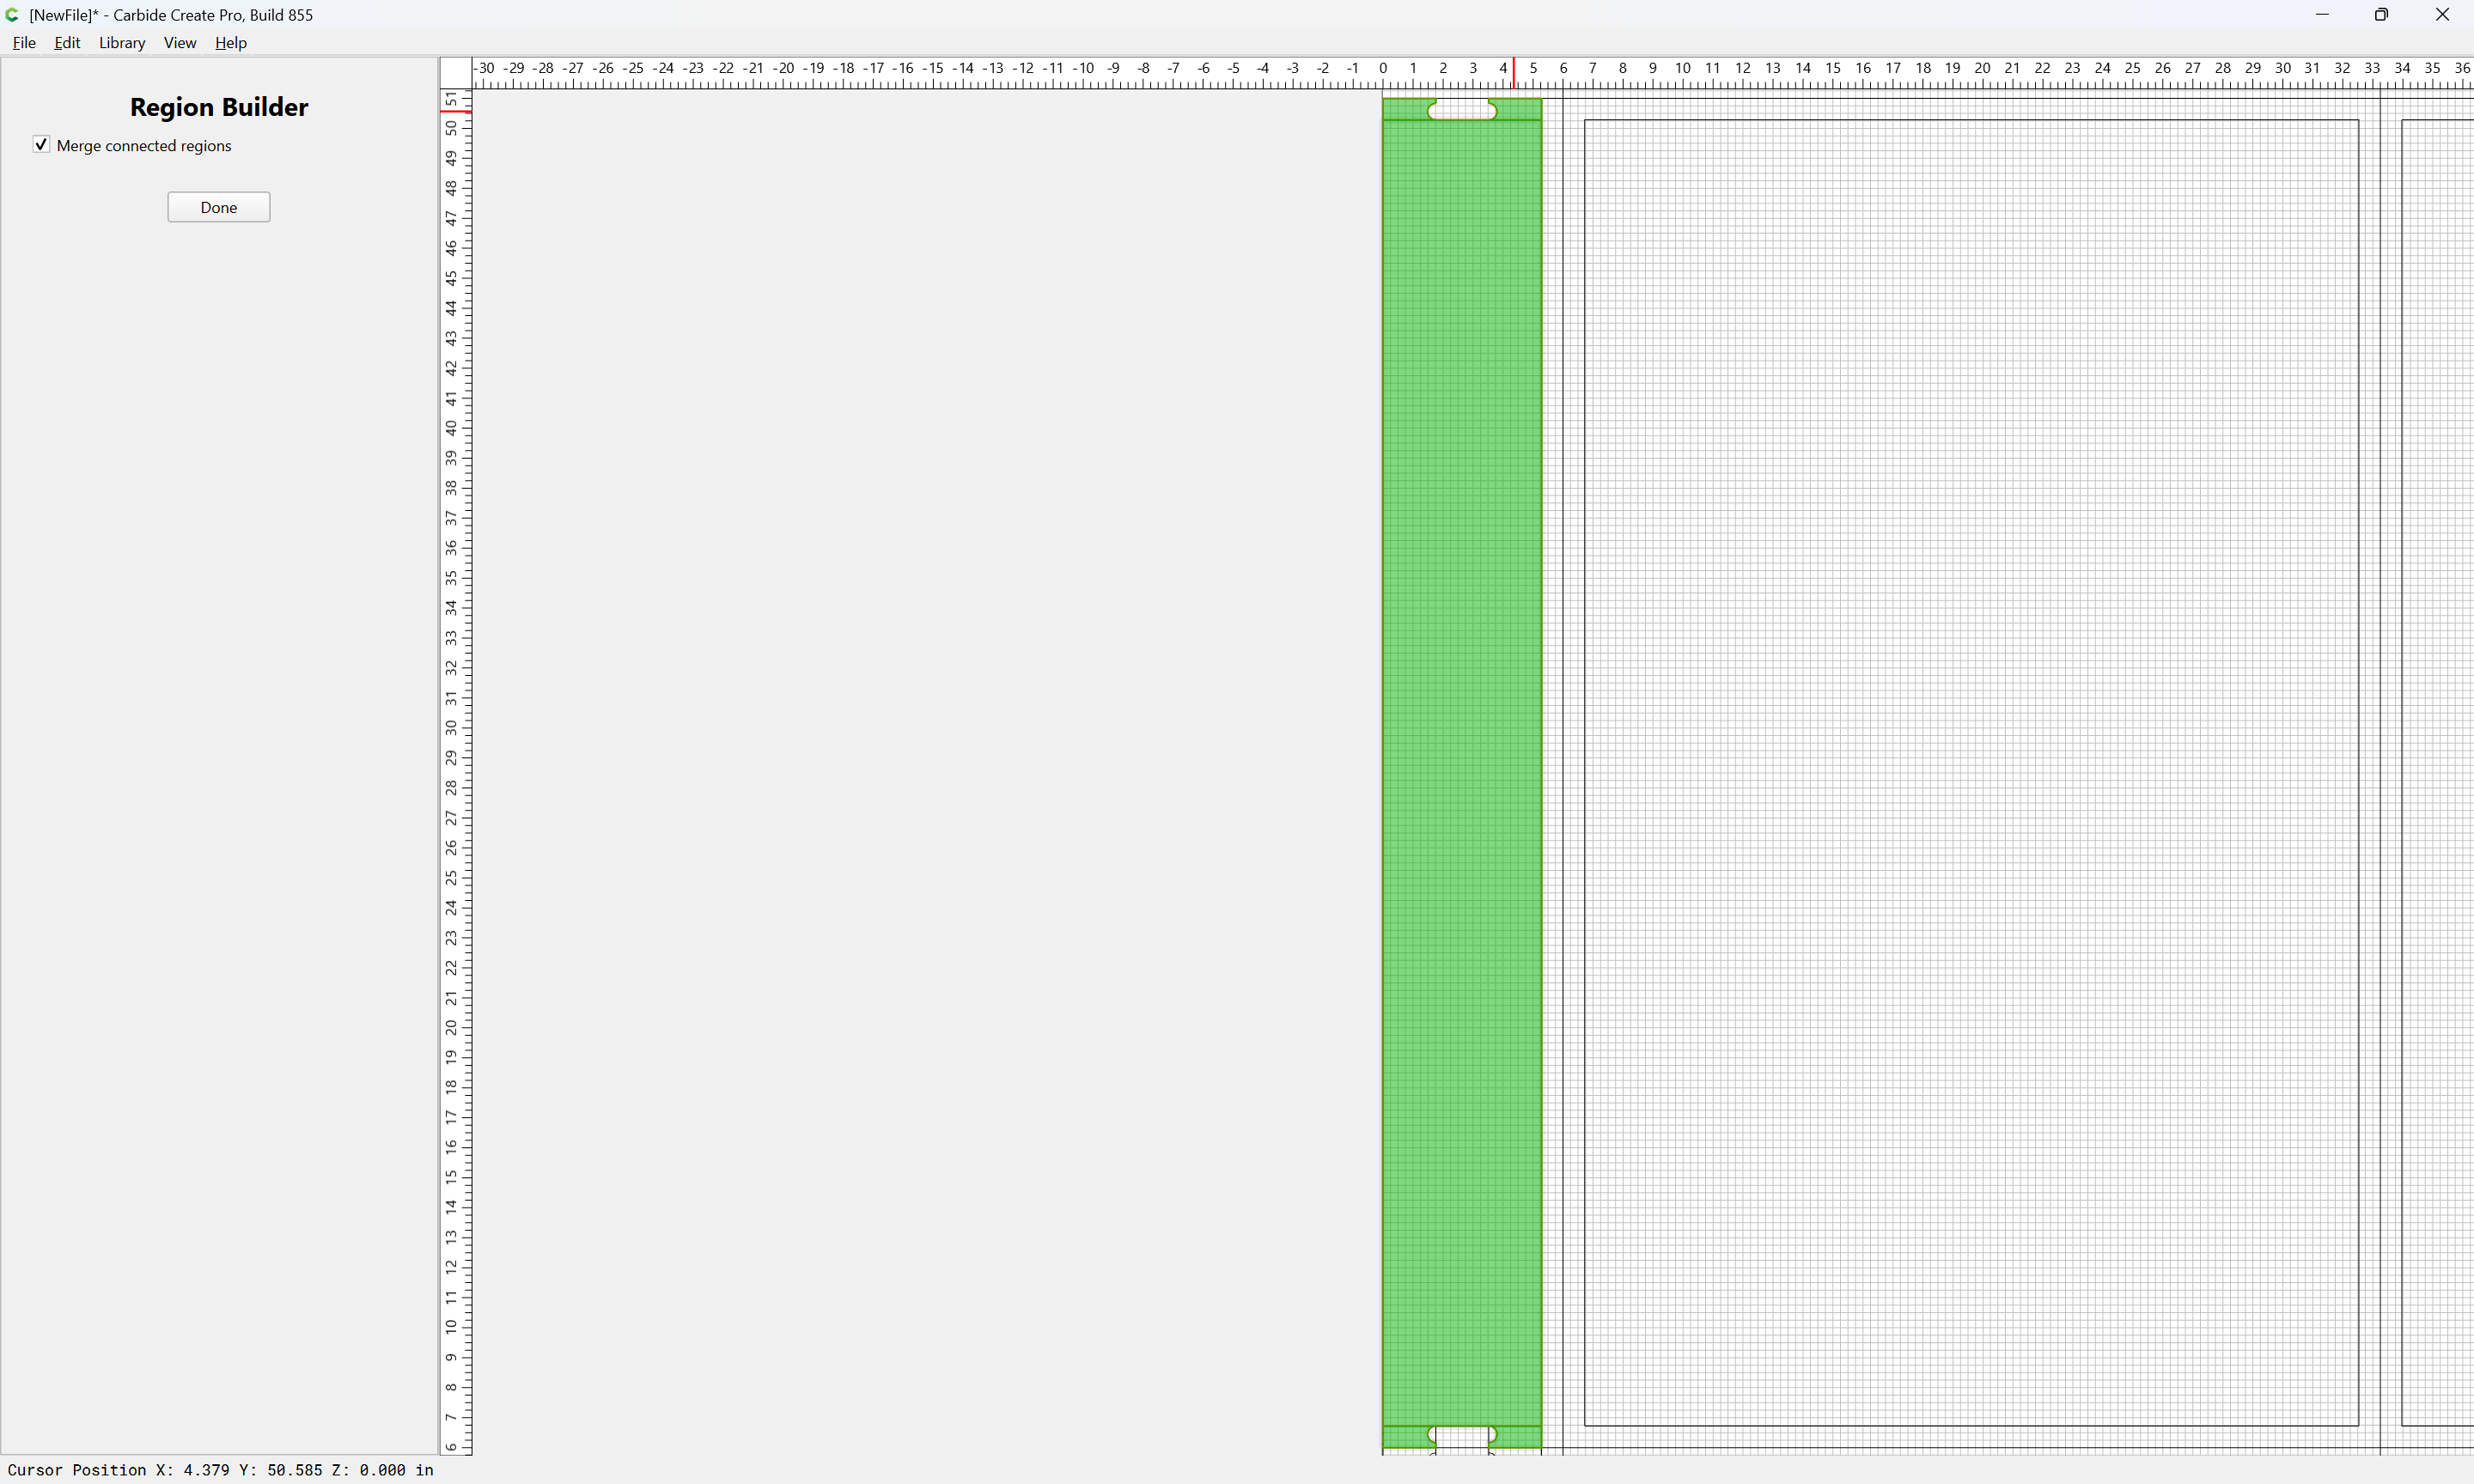
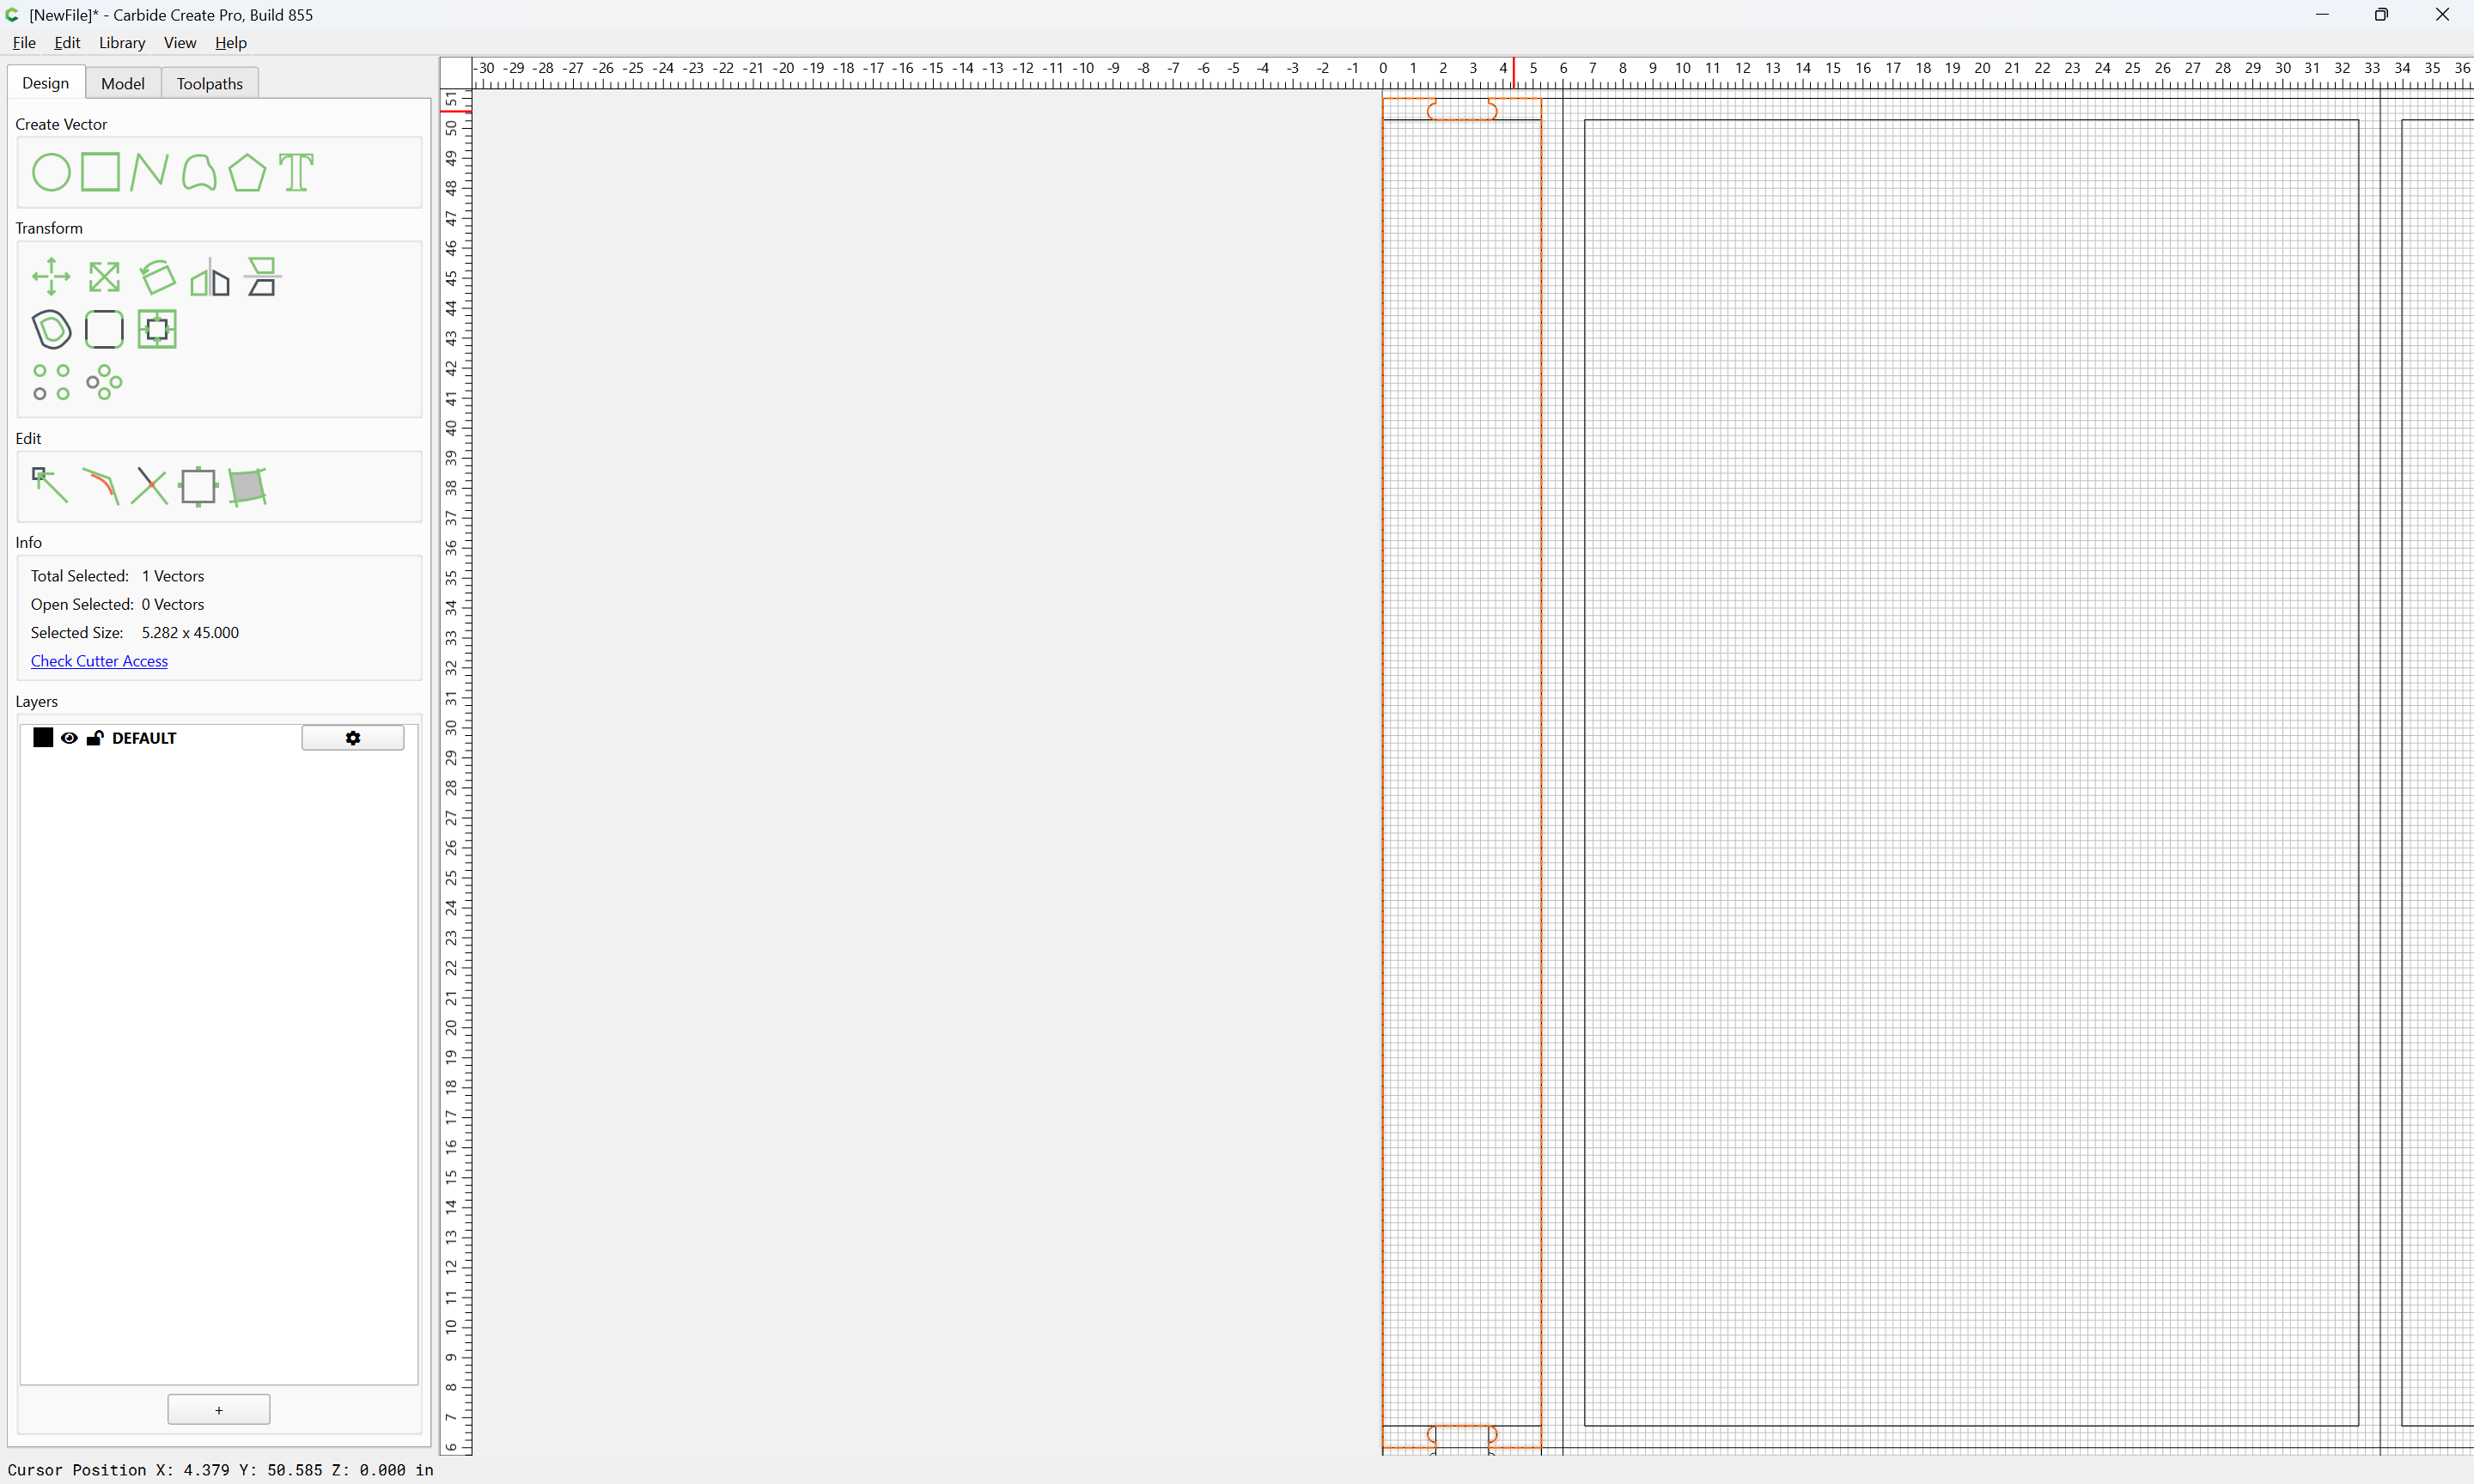
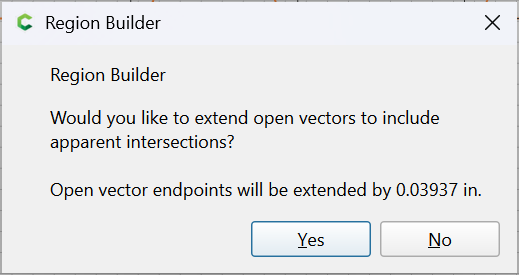
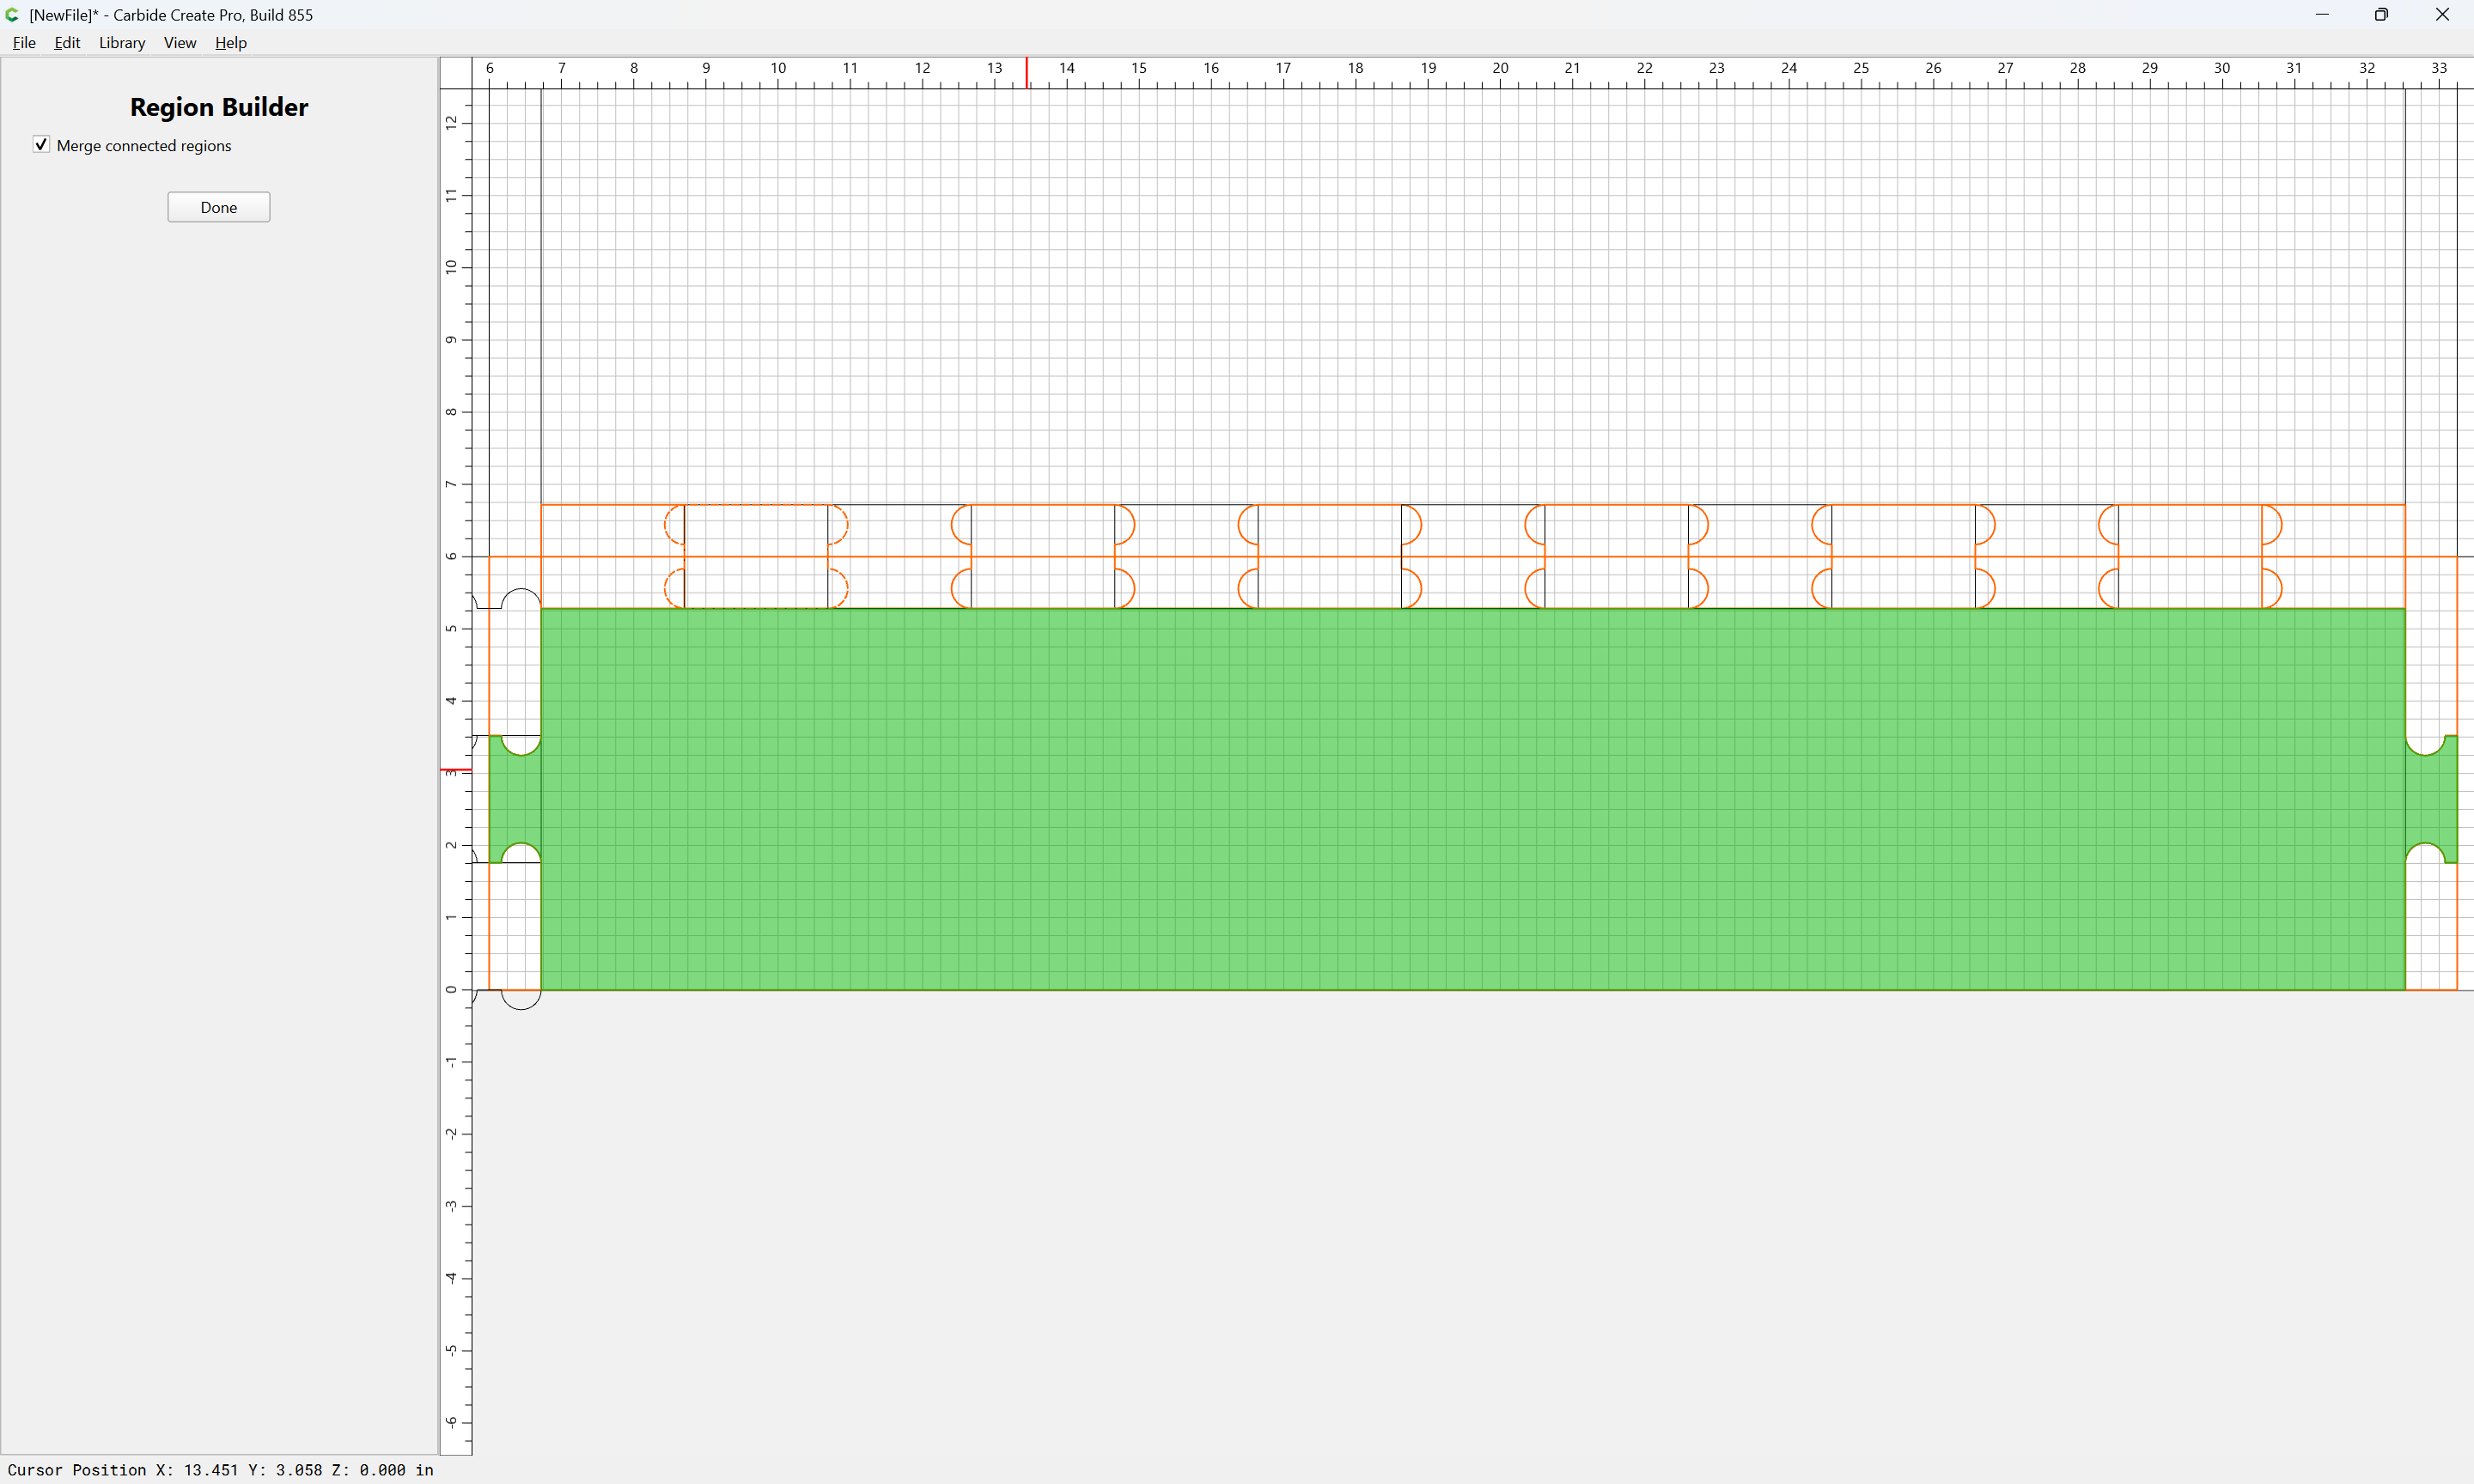
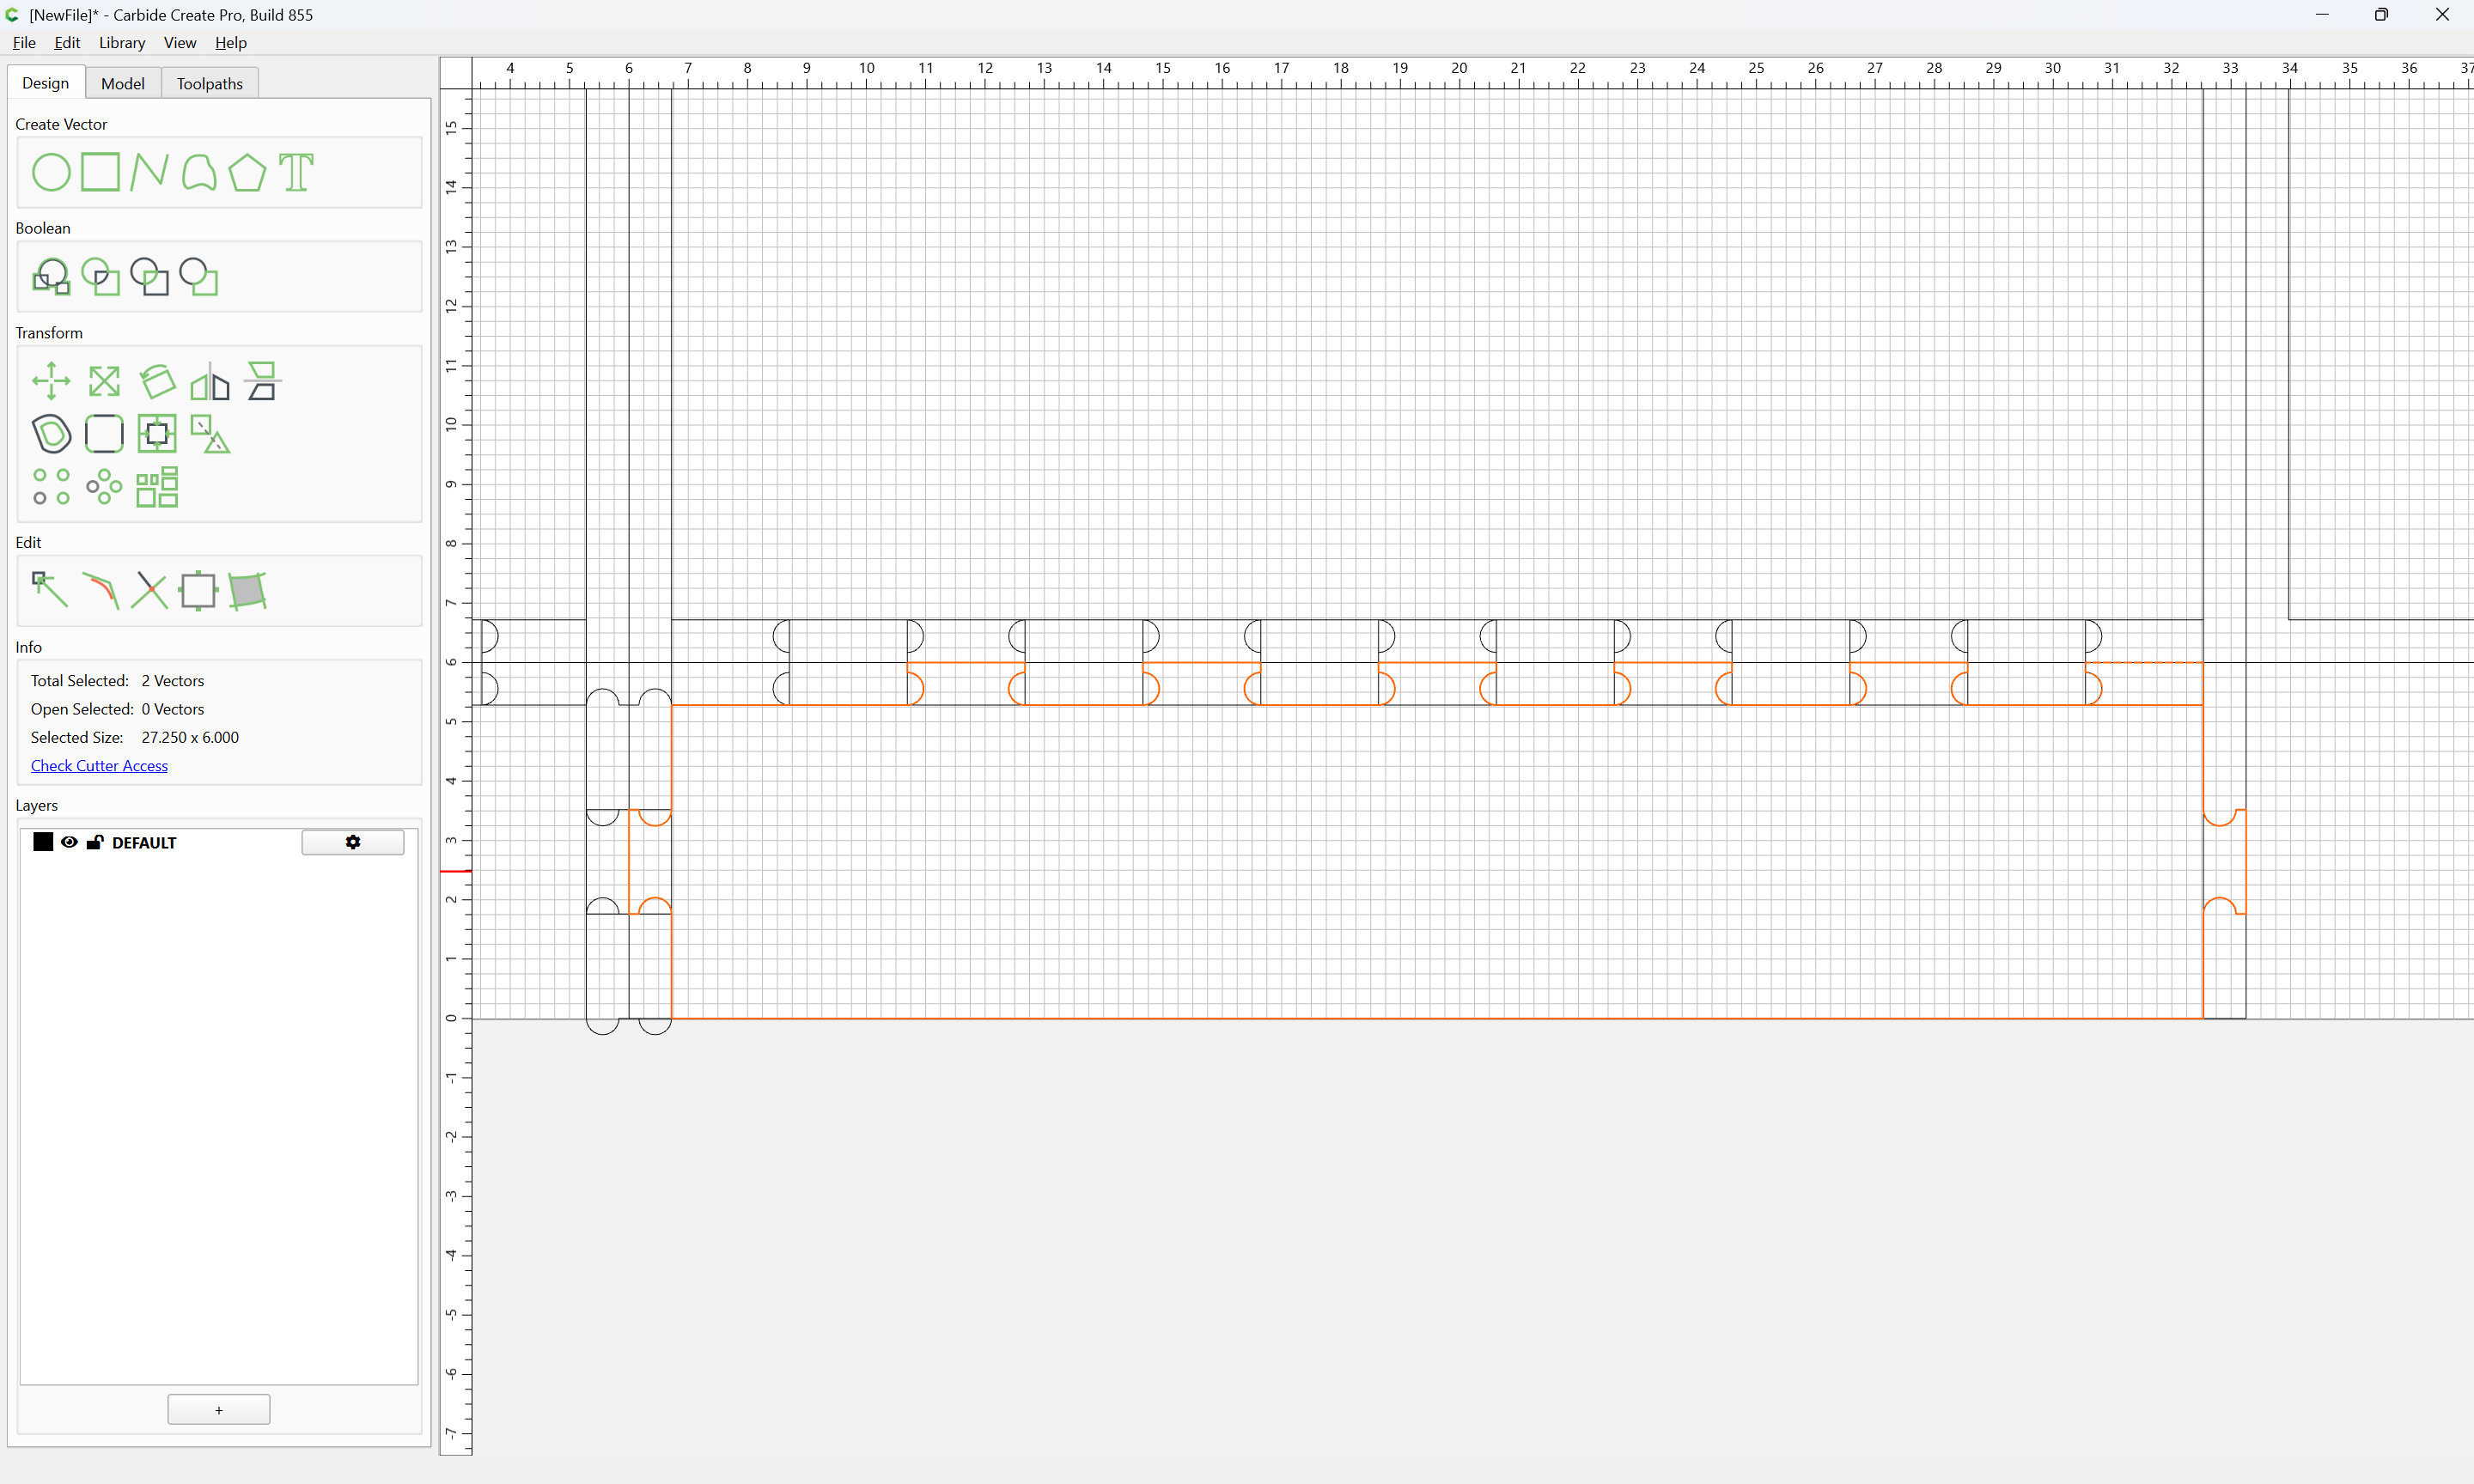
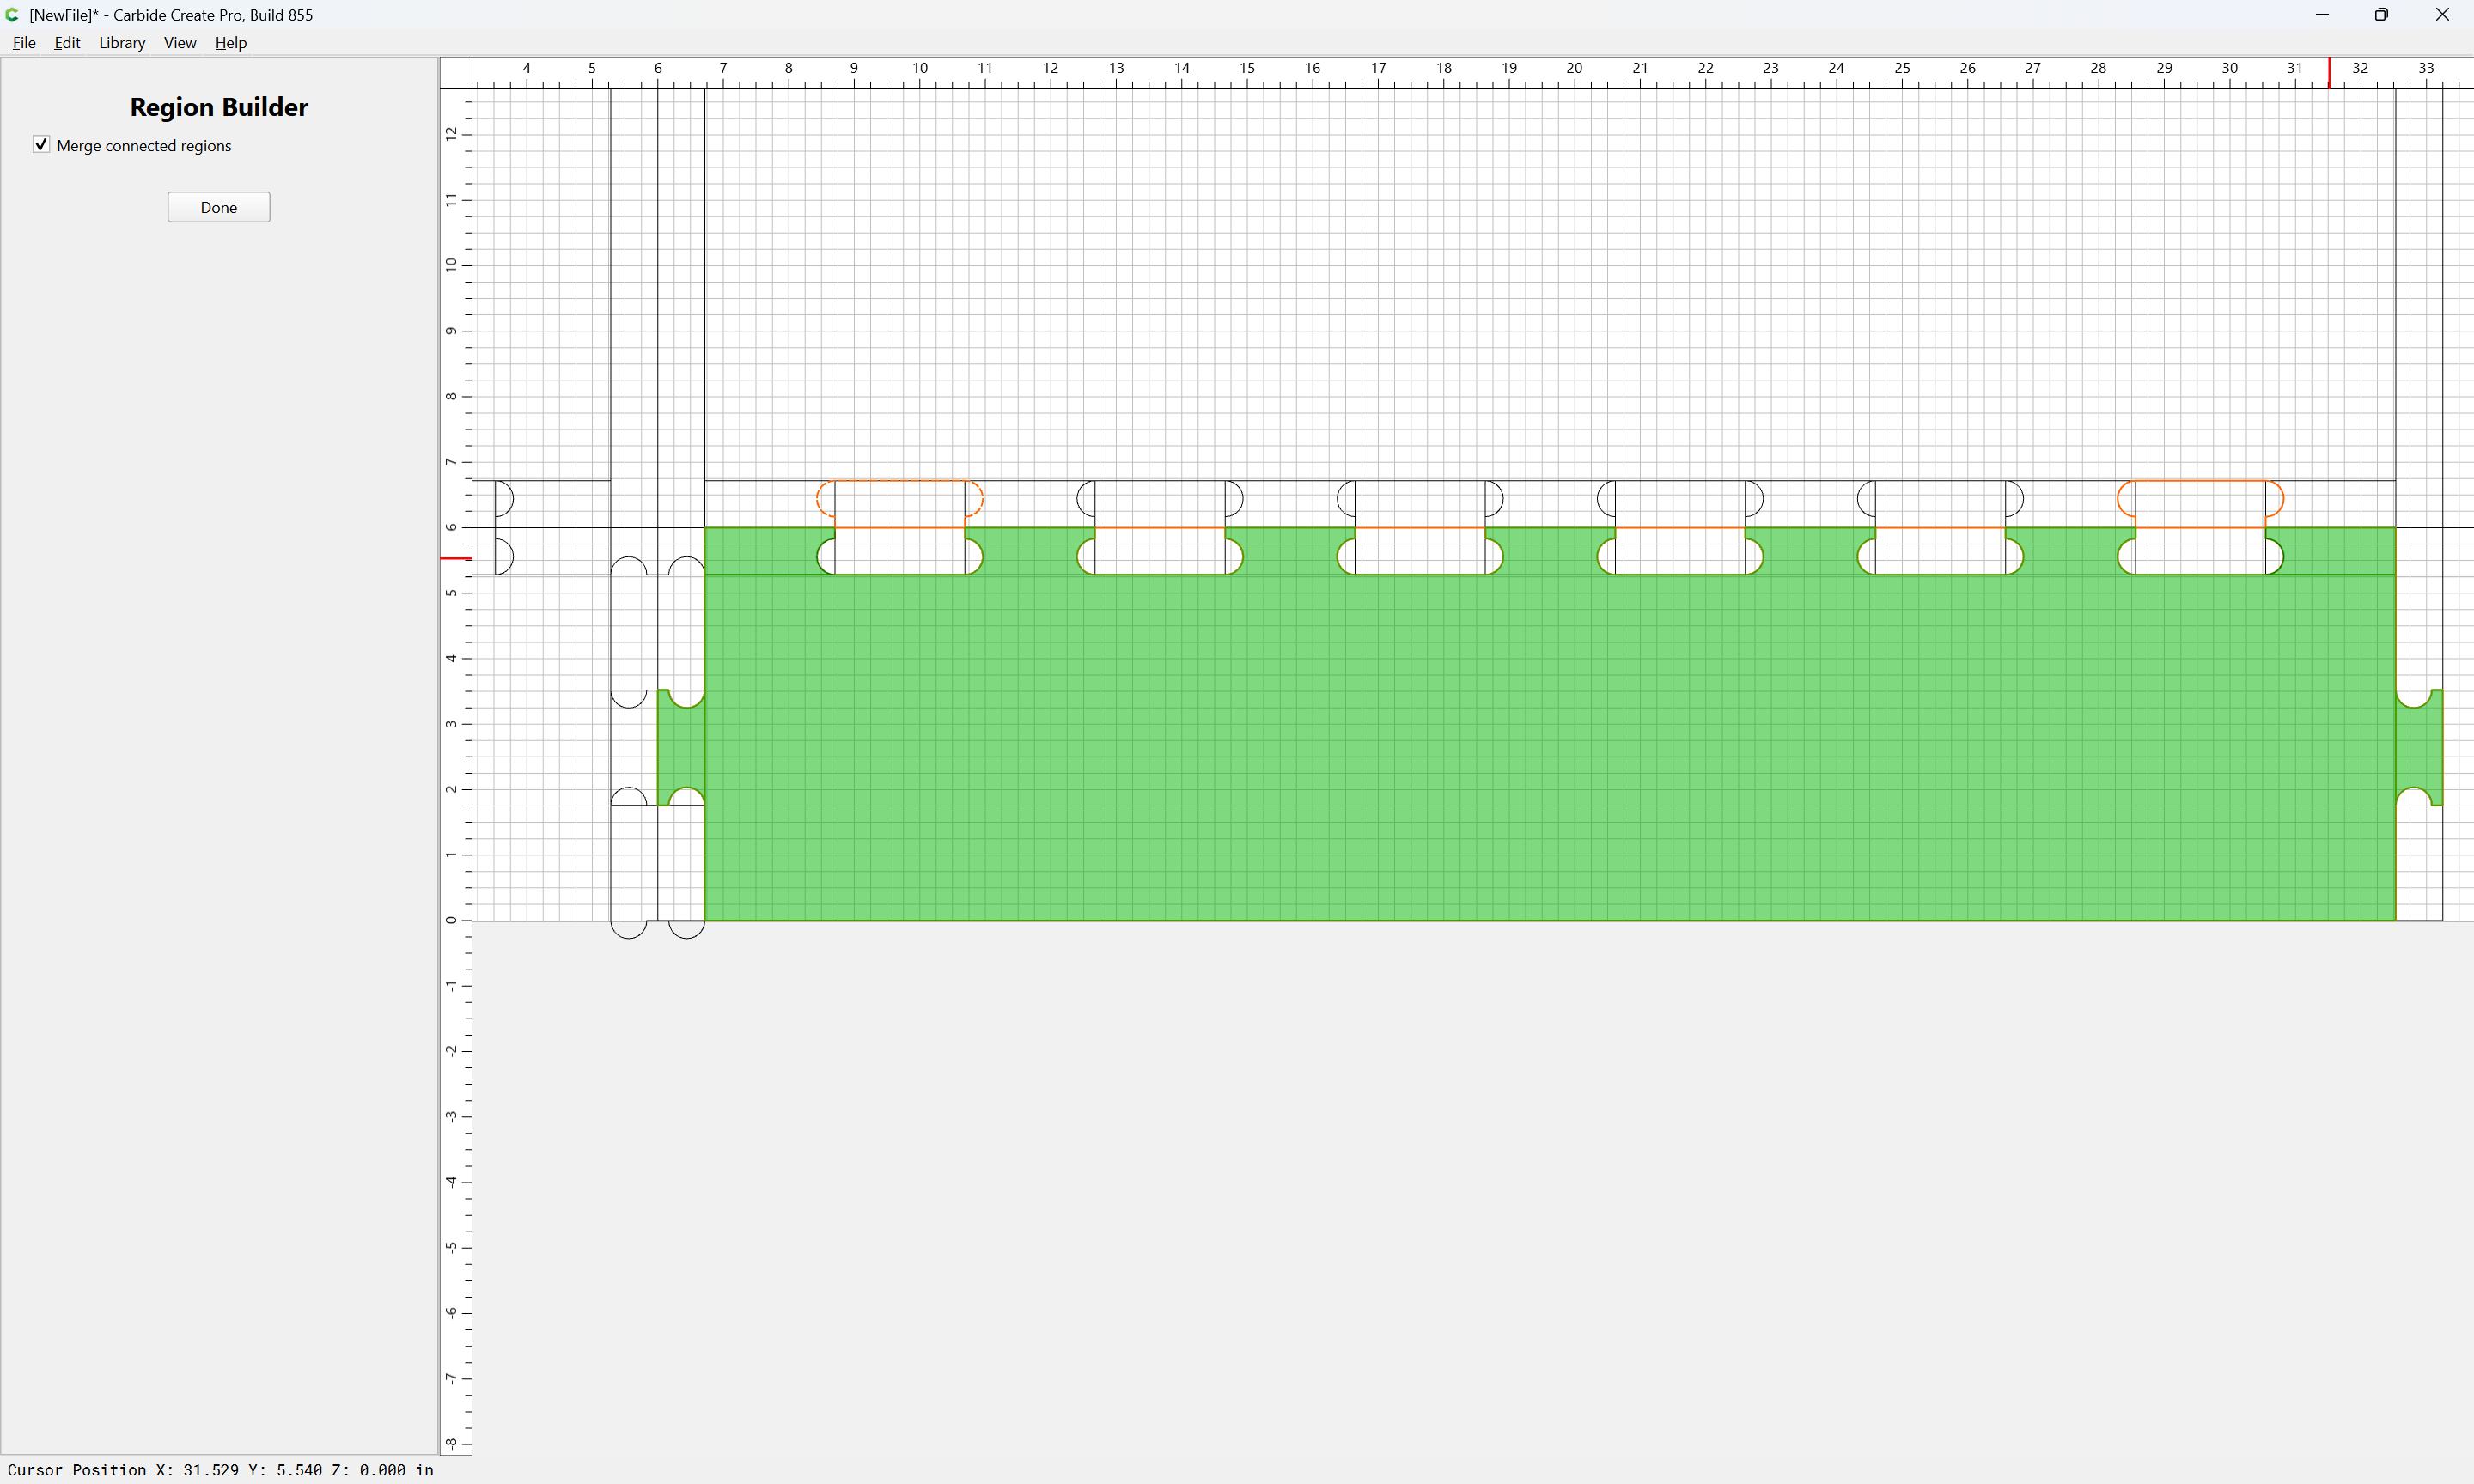
and use Region Builder to build up the desired geometry:
Done
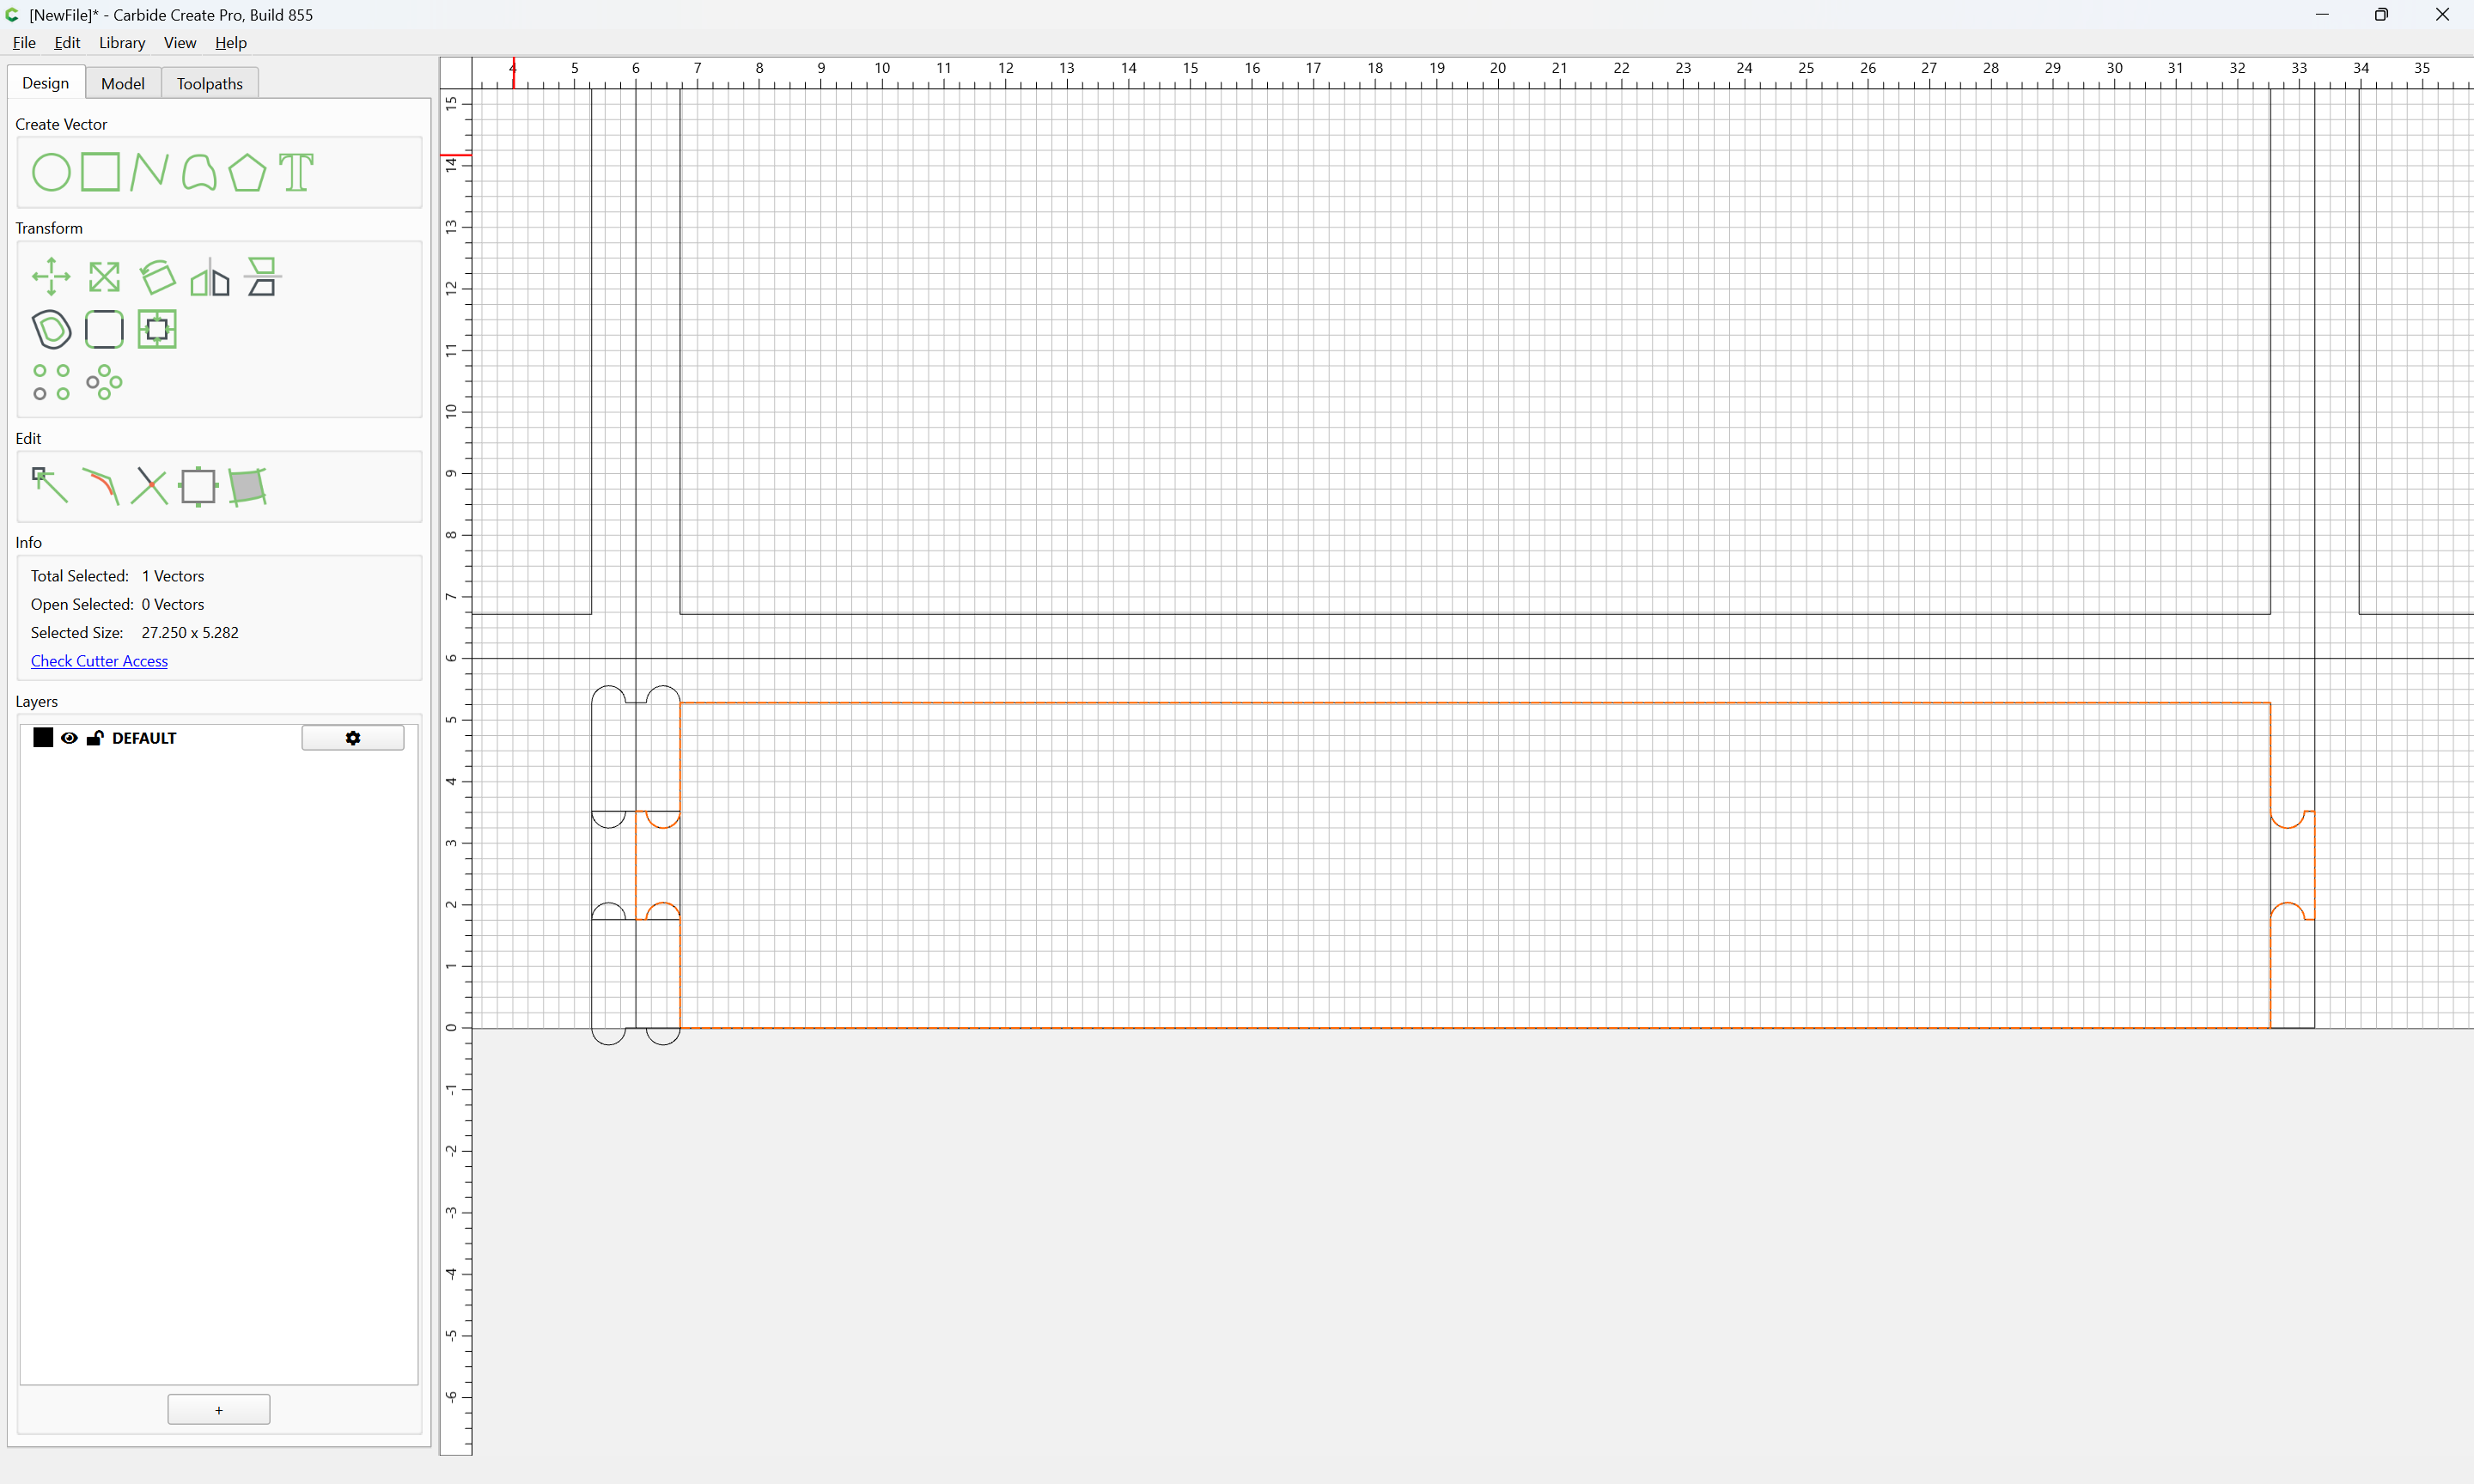
Mirror and repeat as necessary:
Yes
Done
For the sides, recreate the geometry:
Done
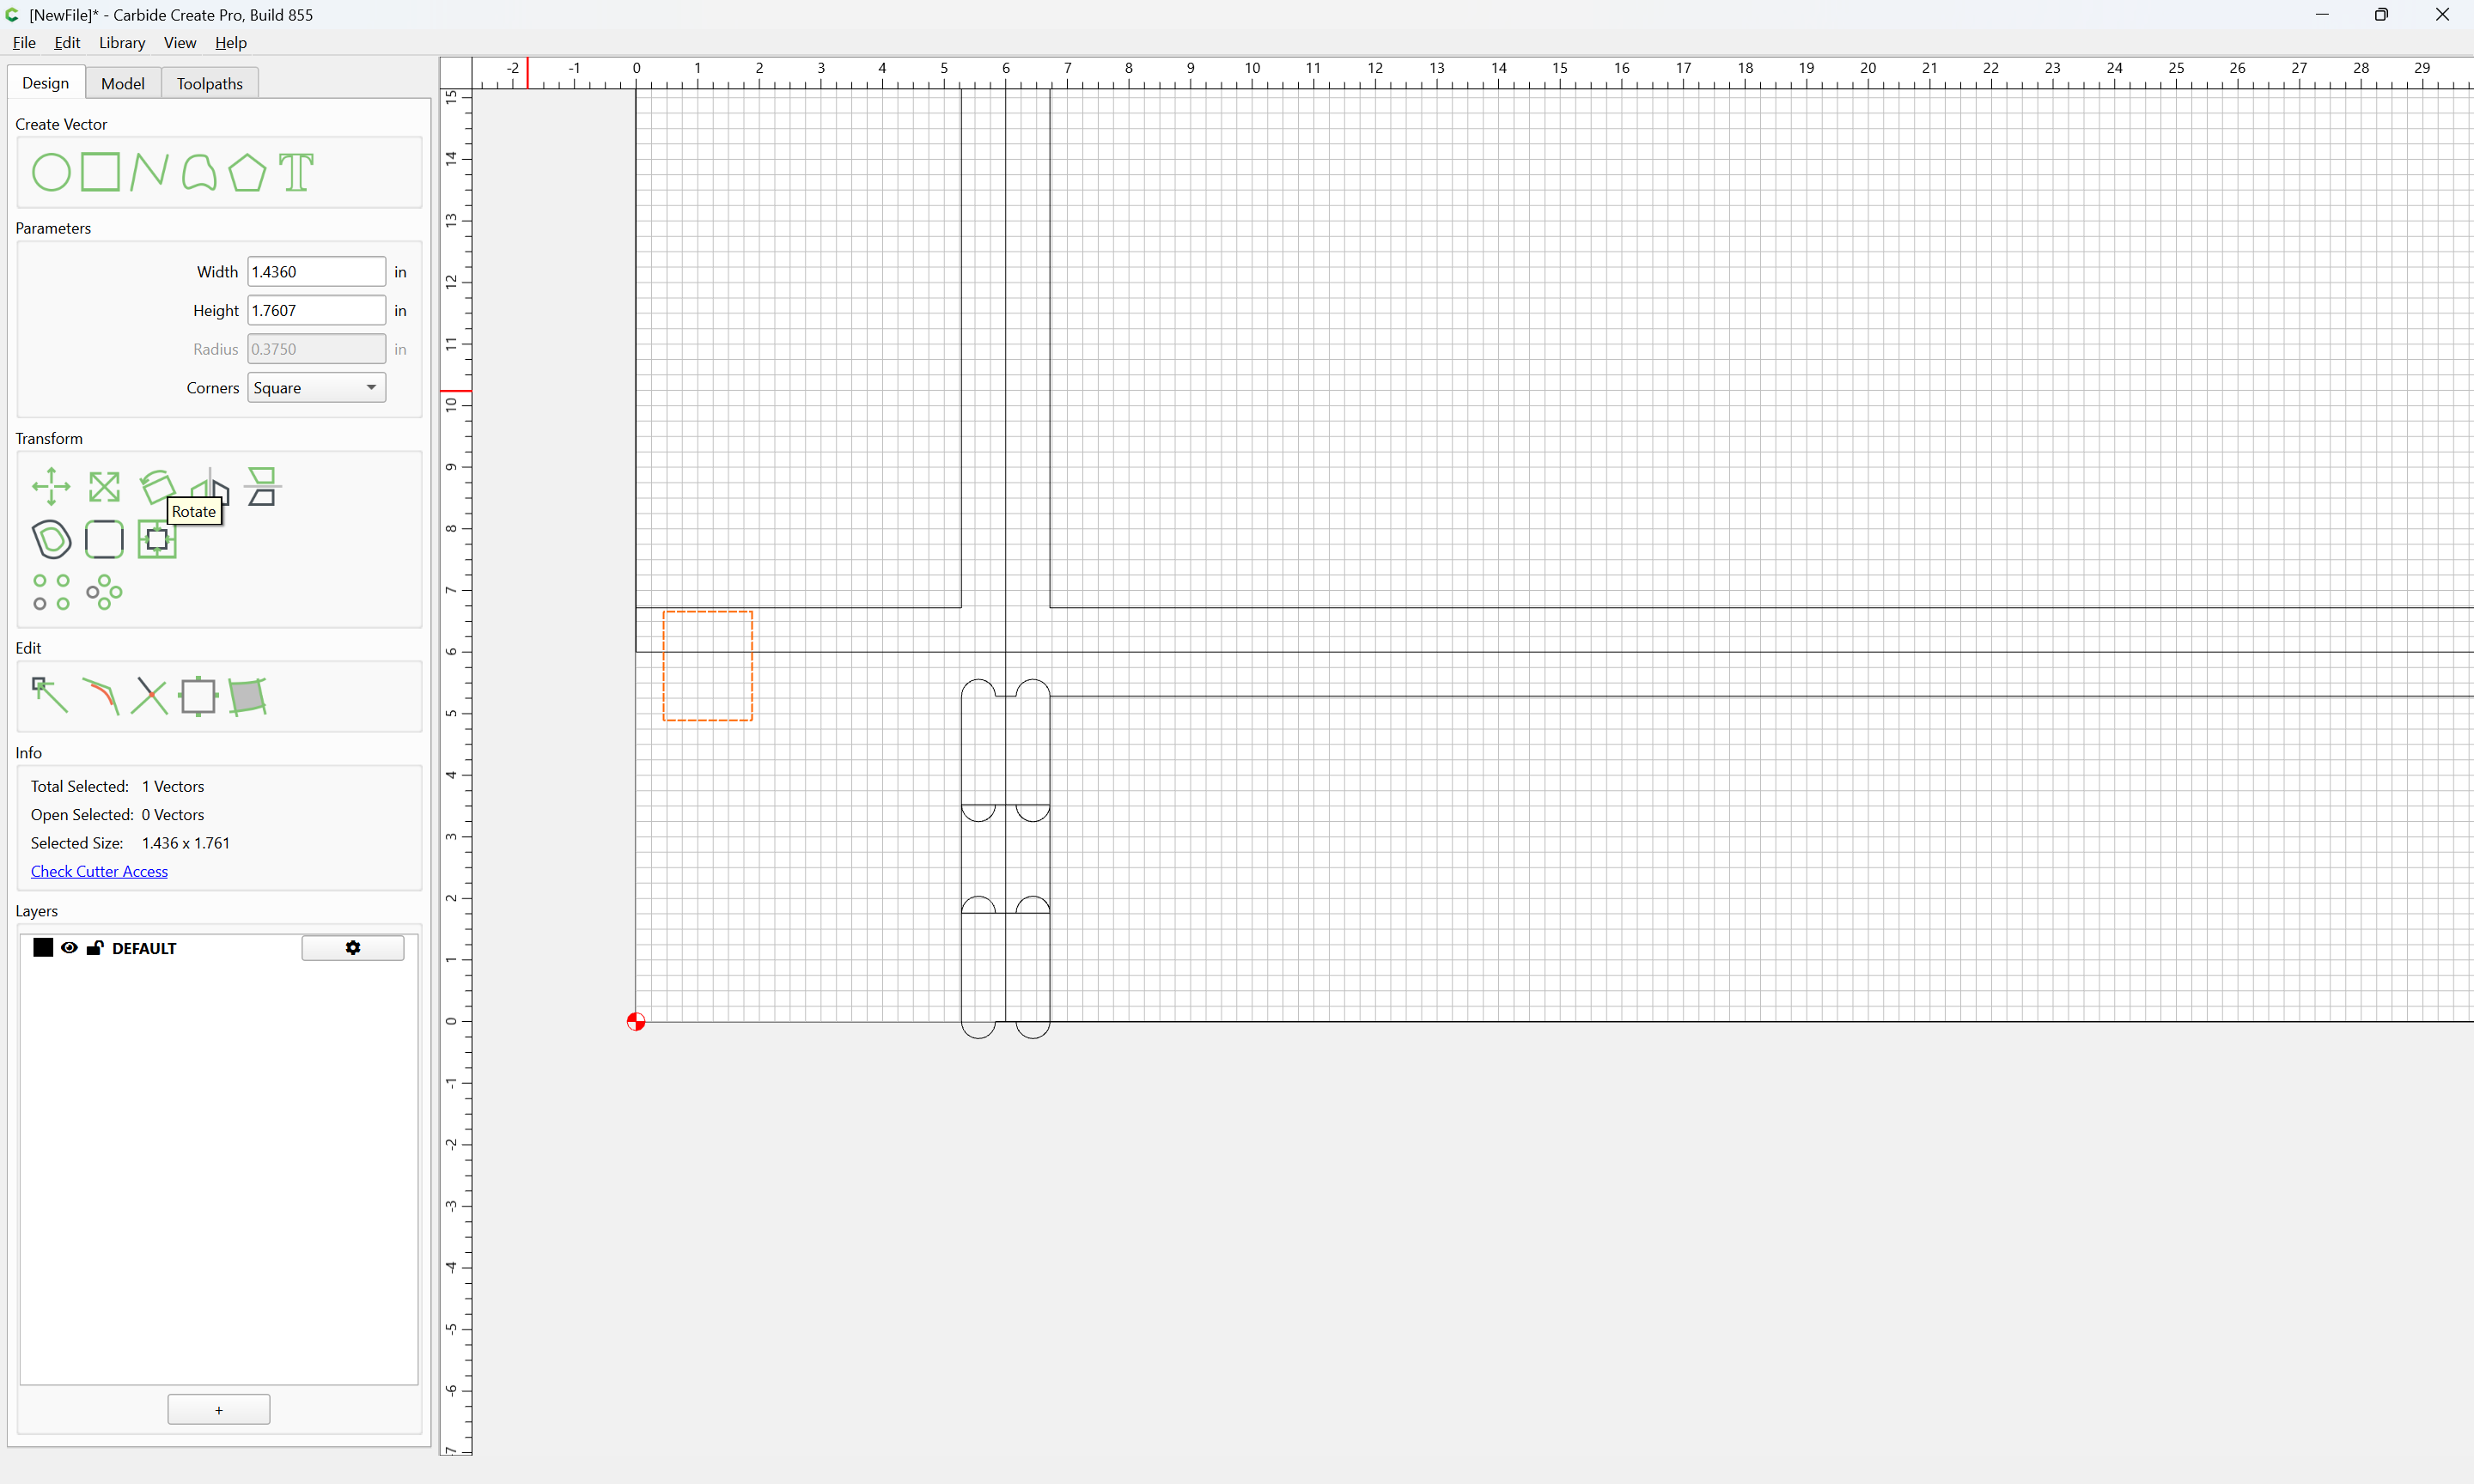
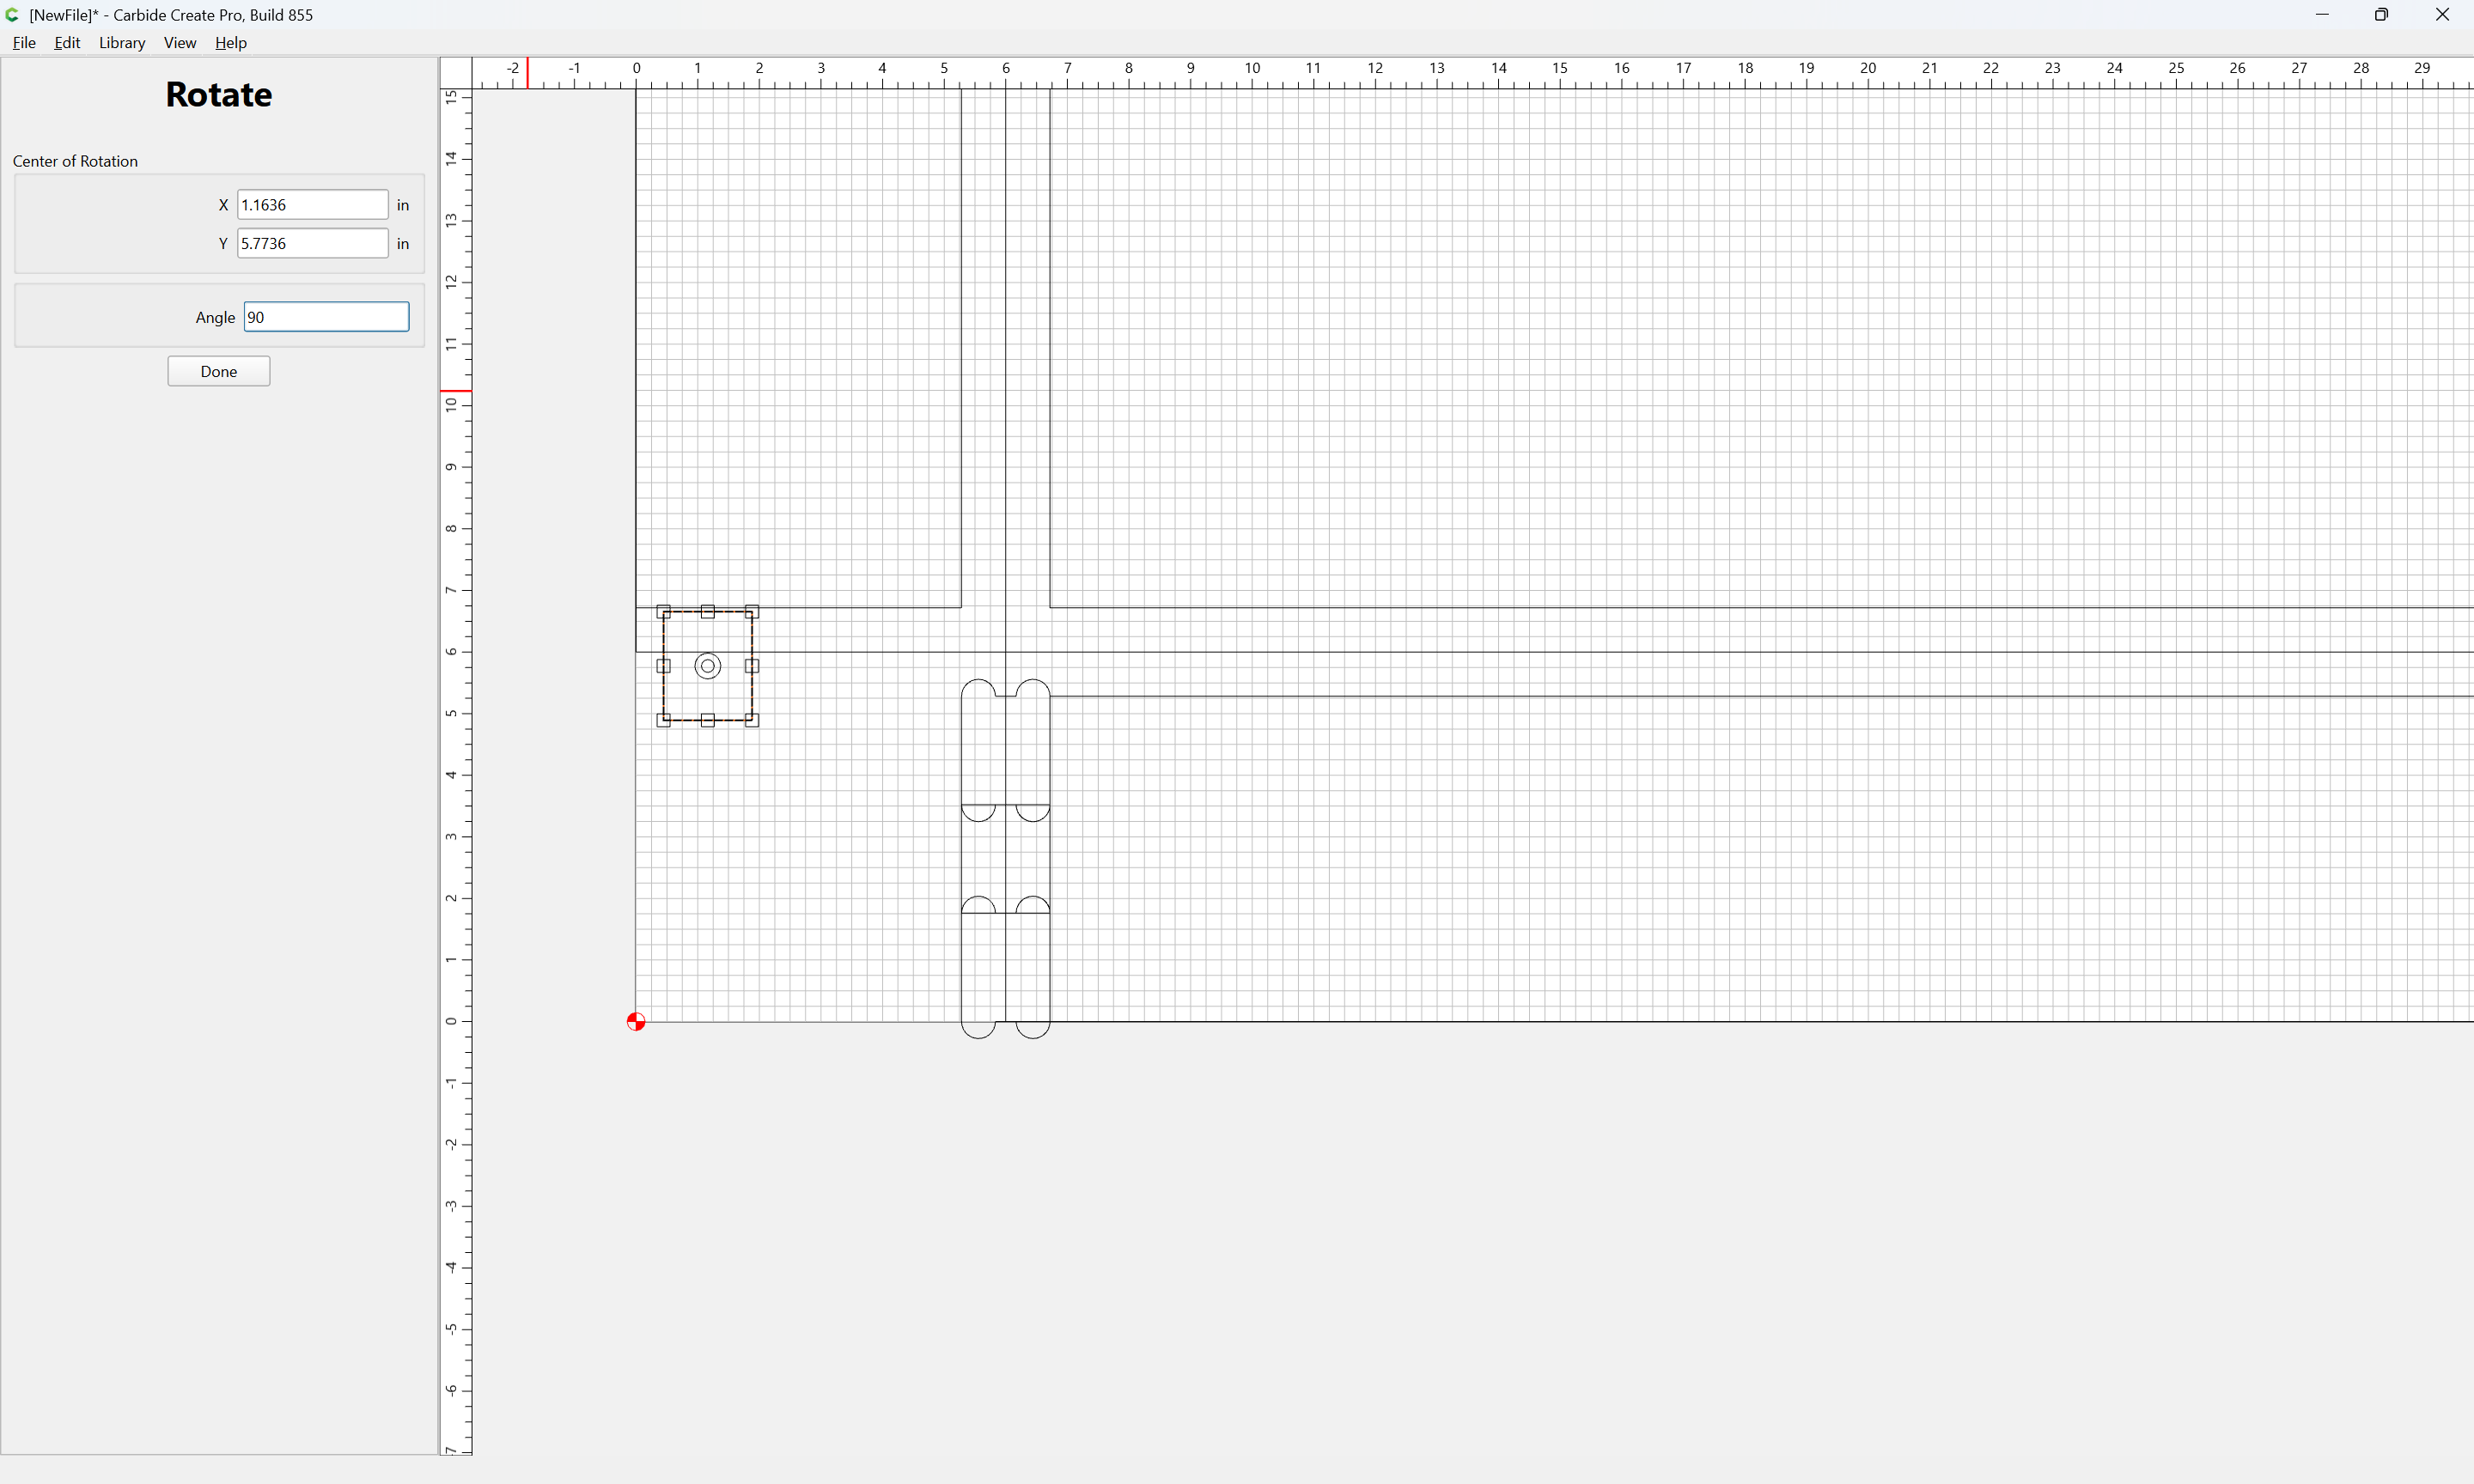
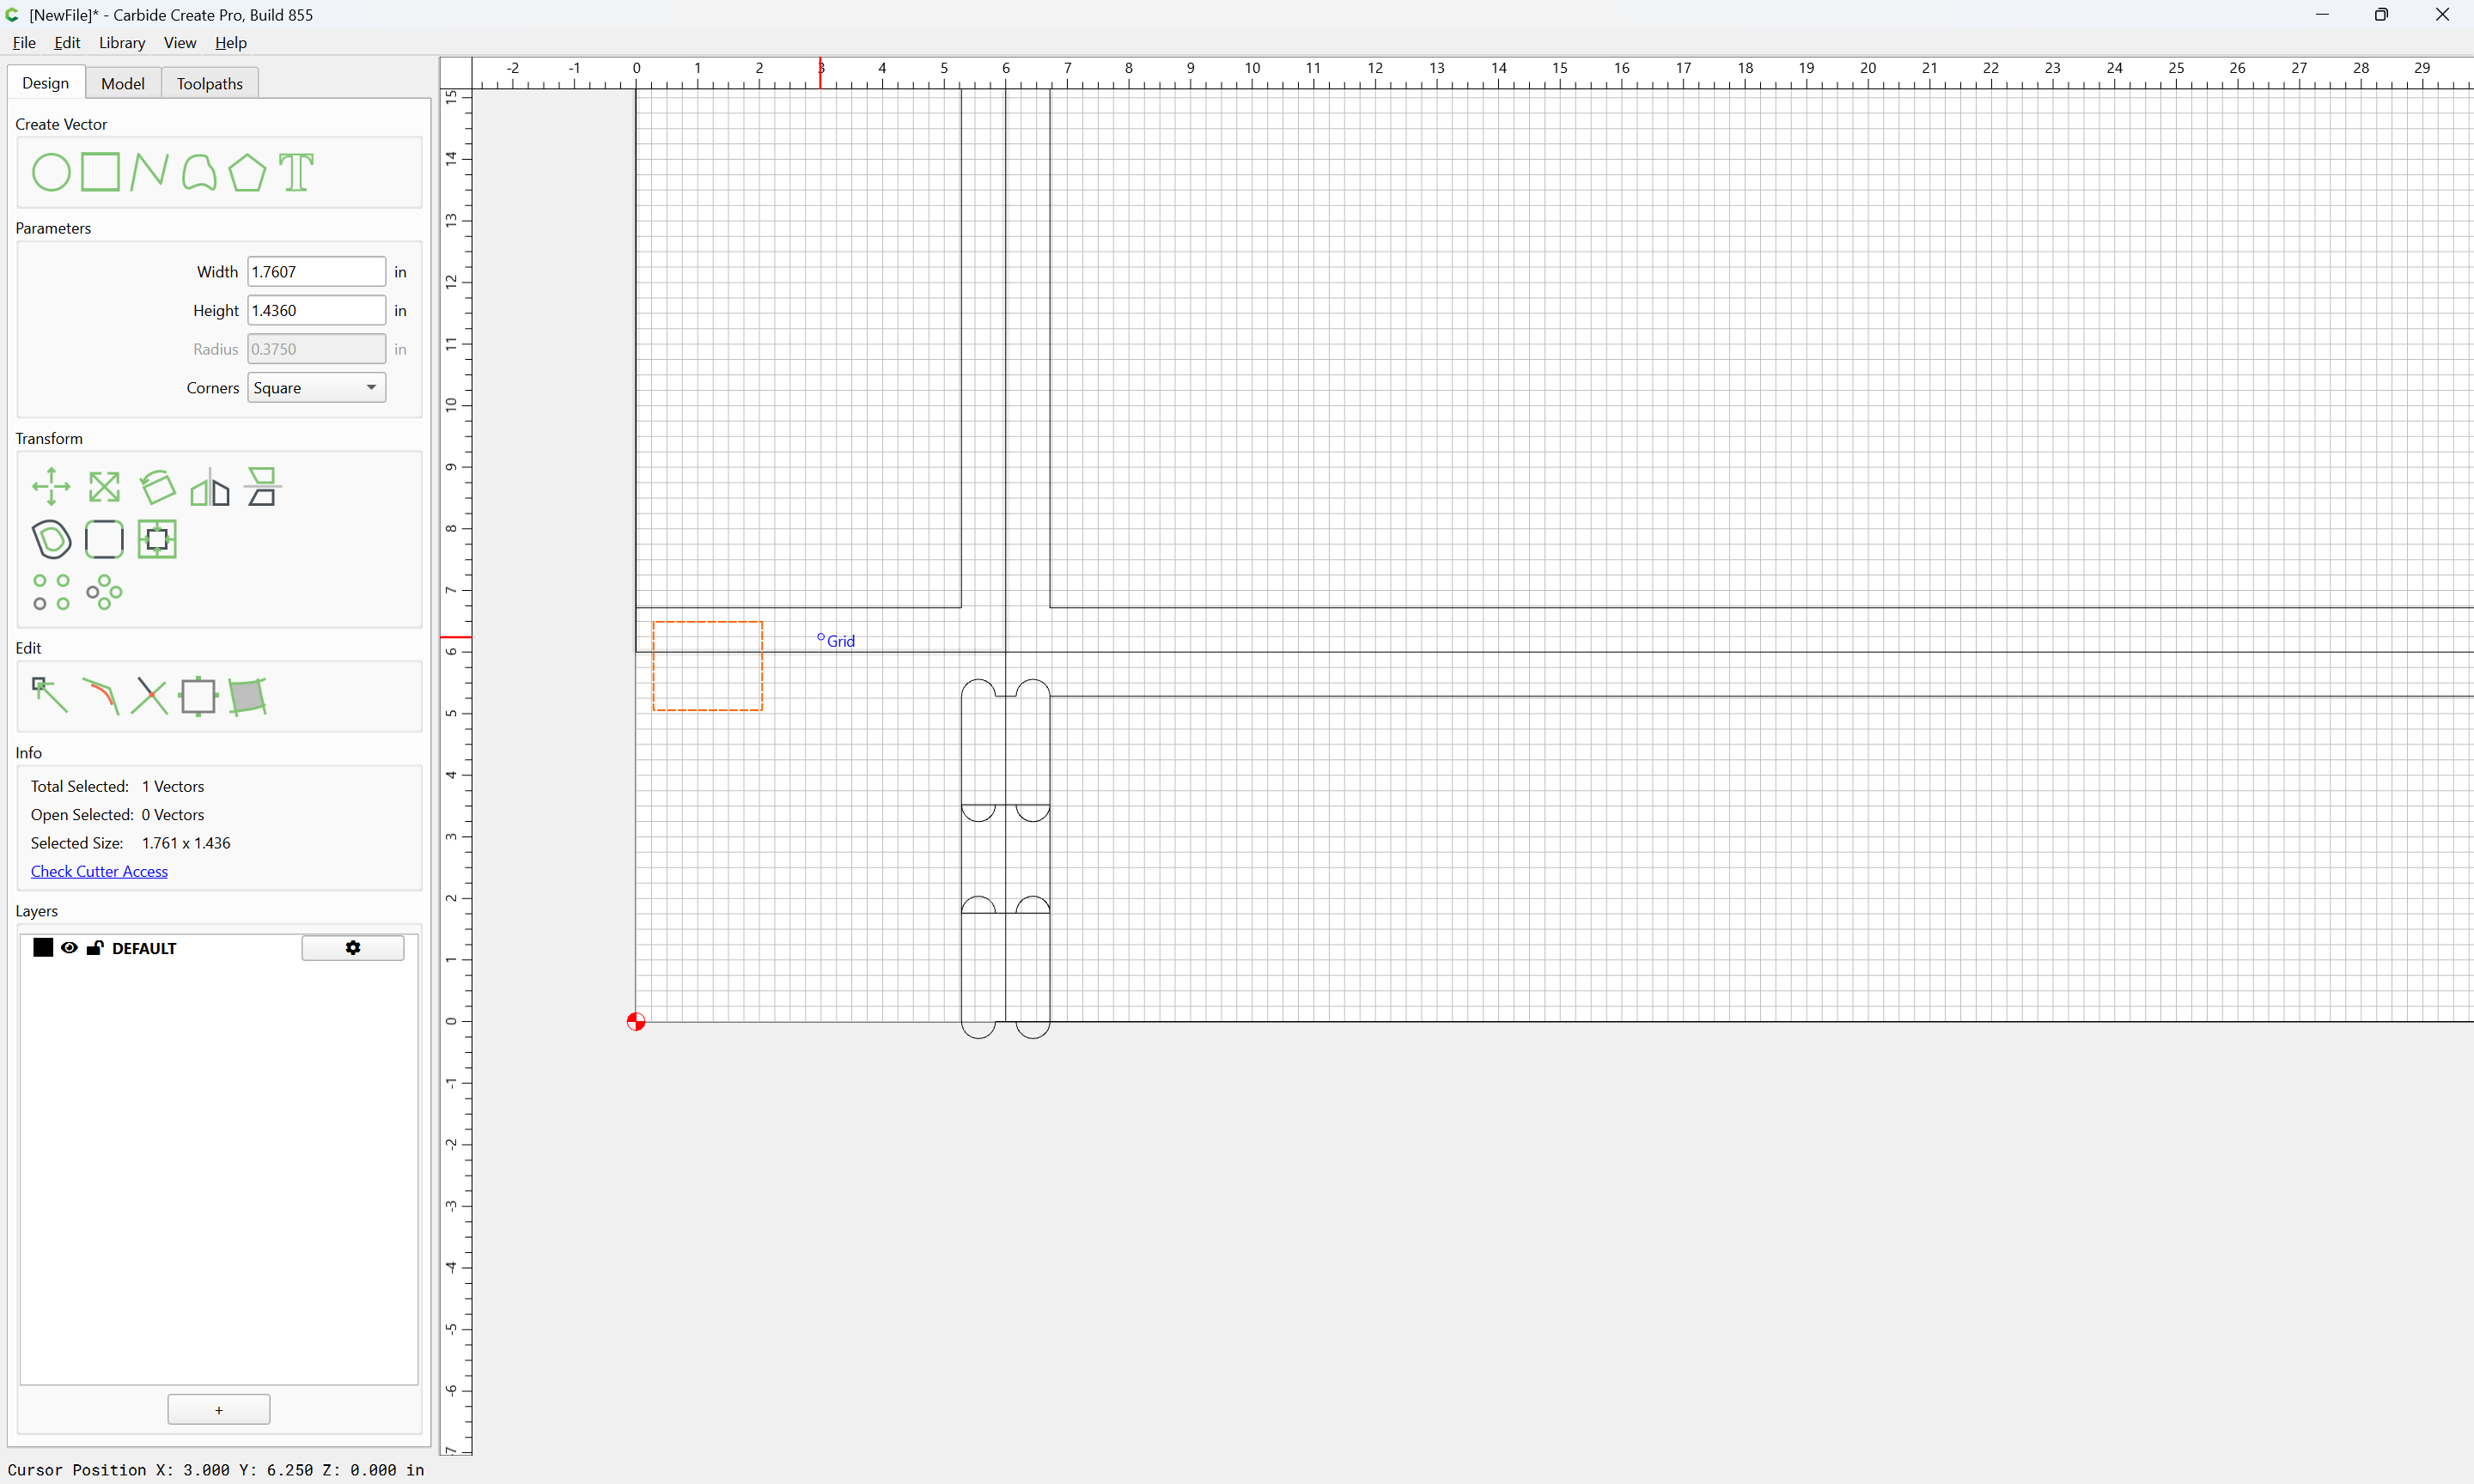
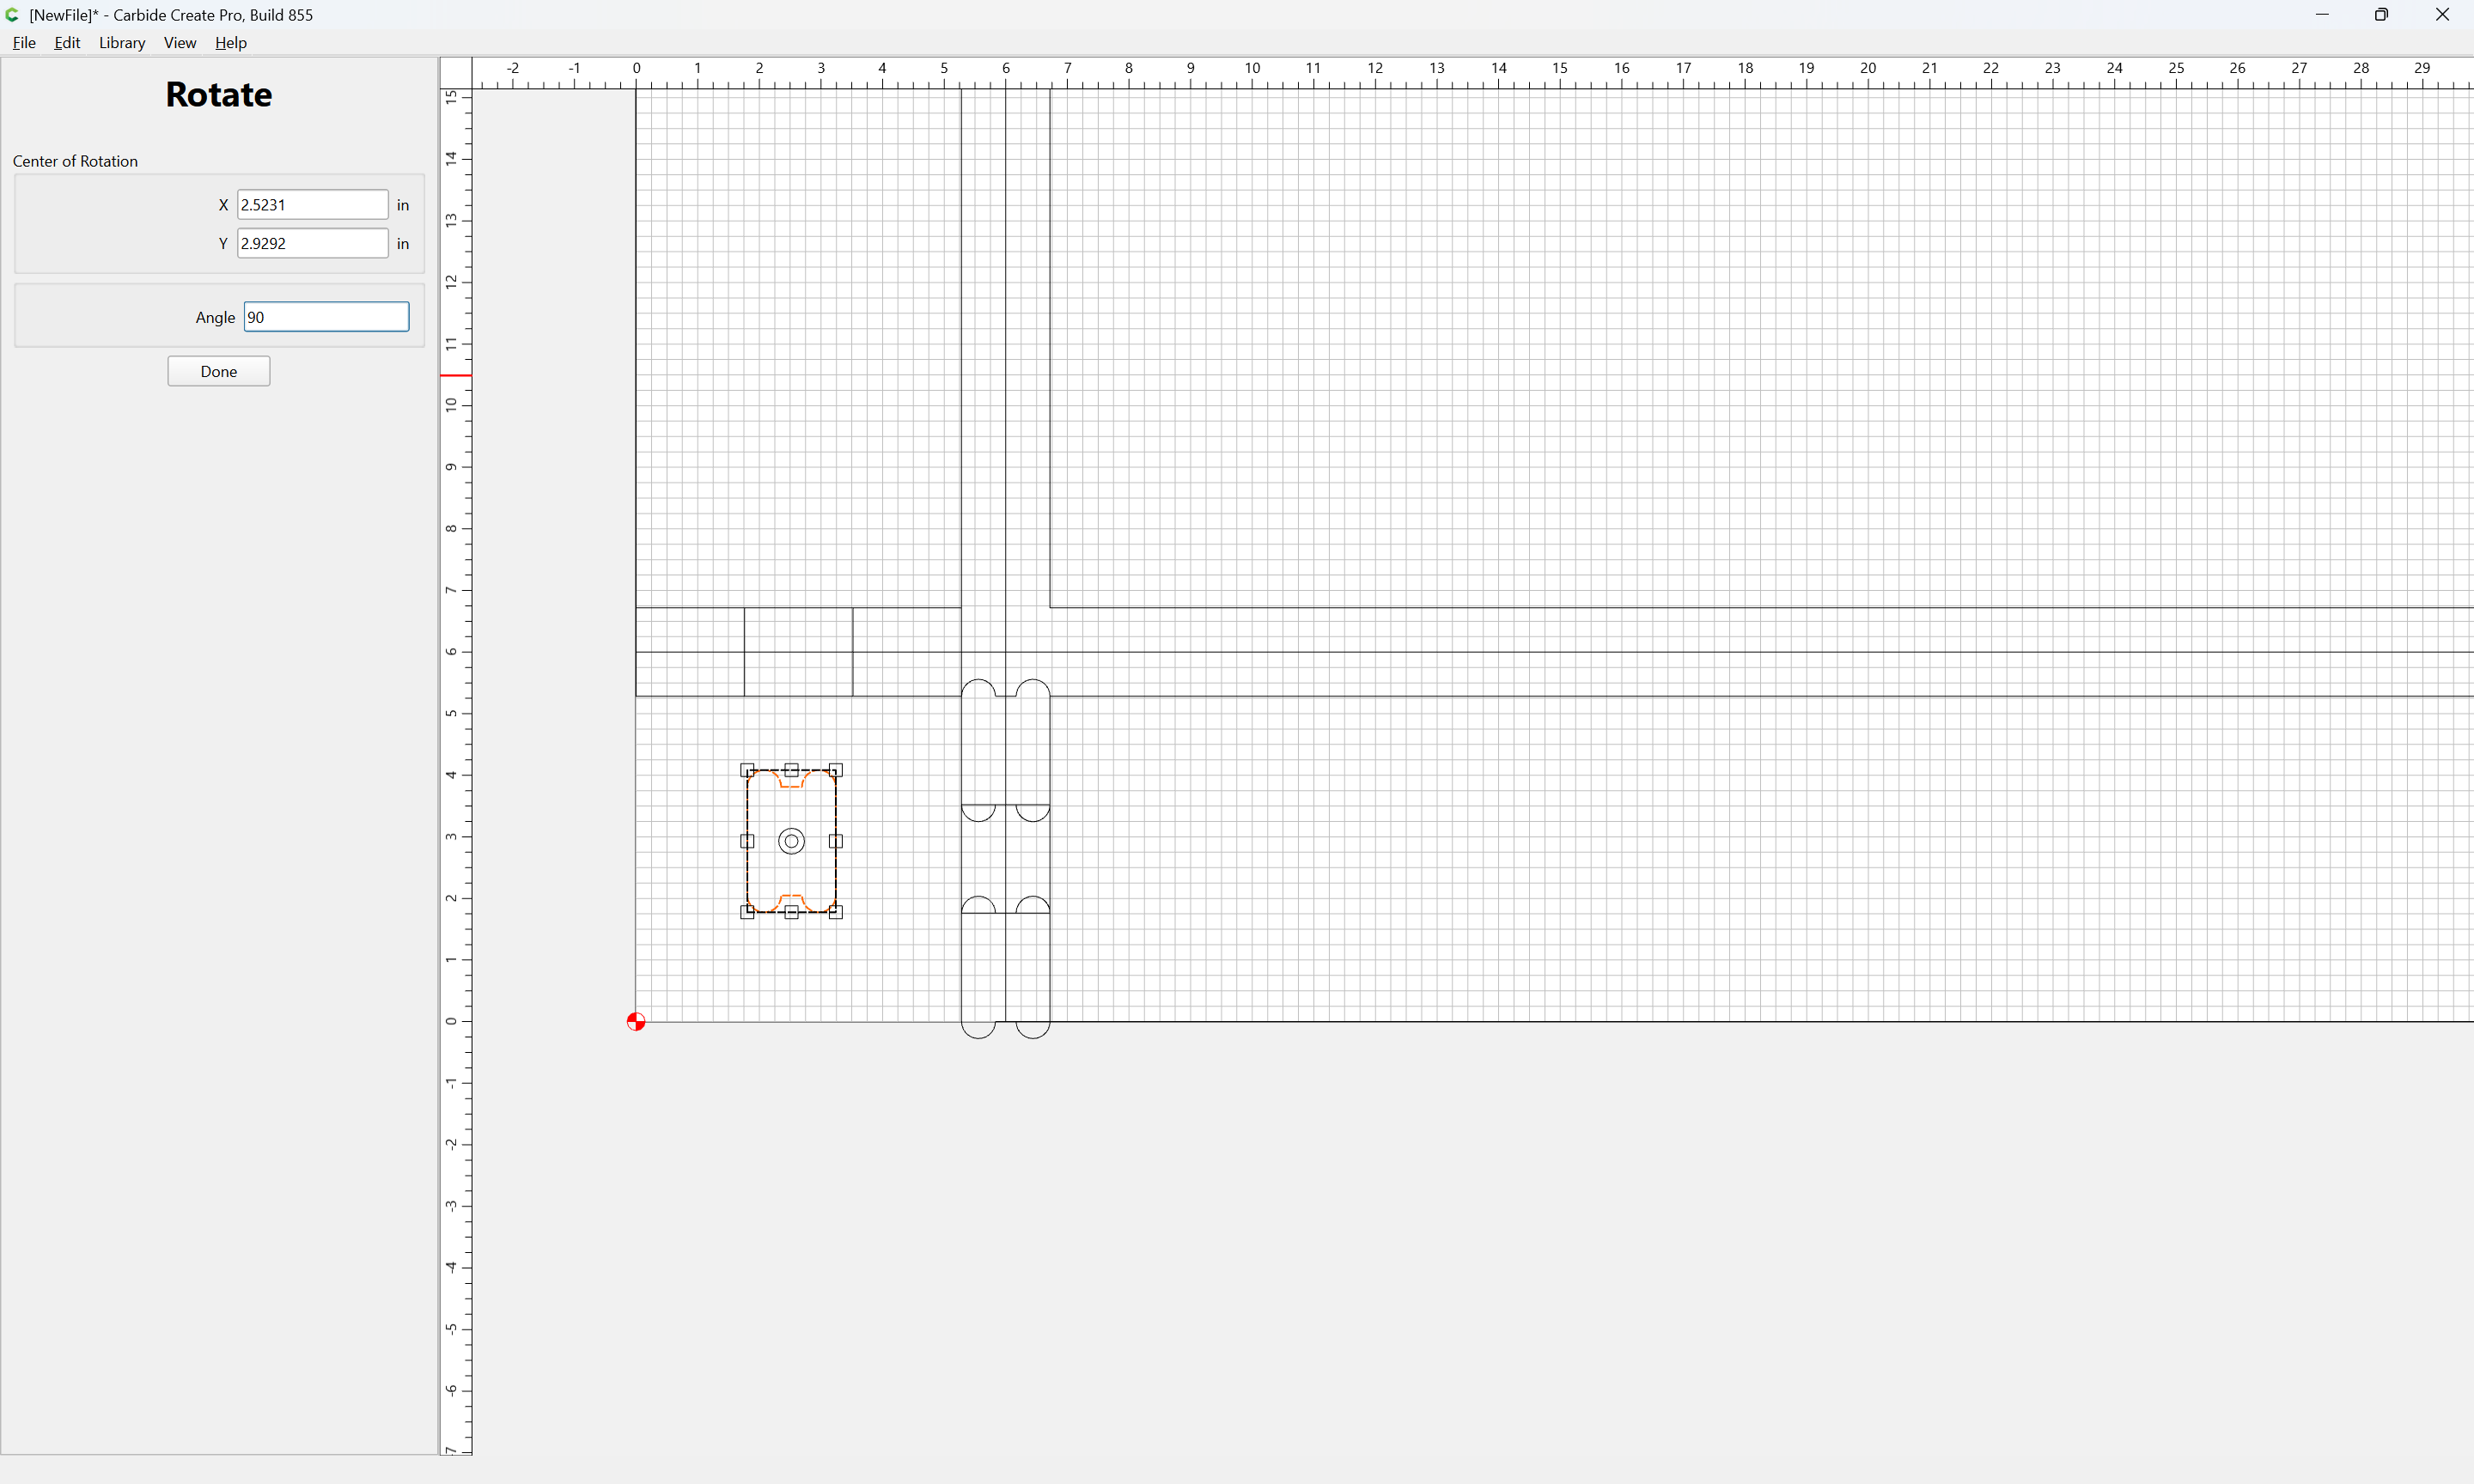
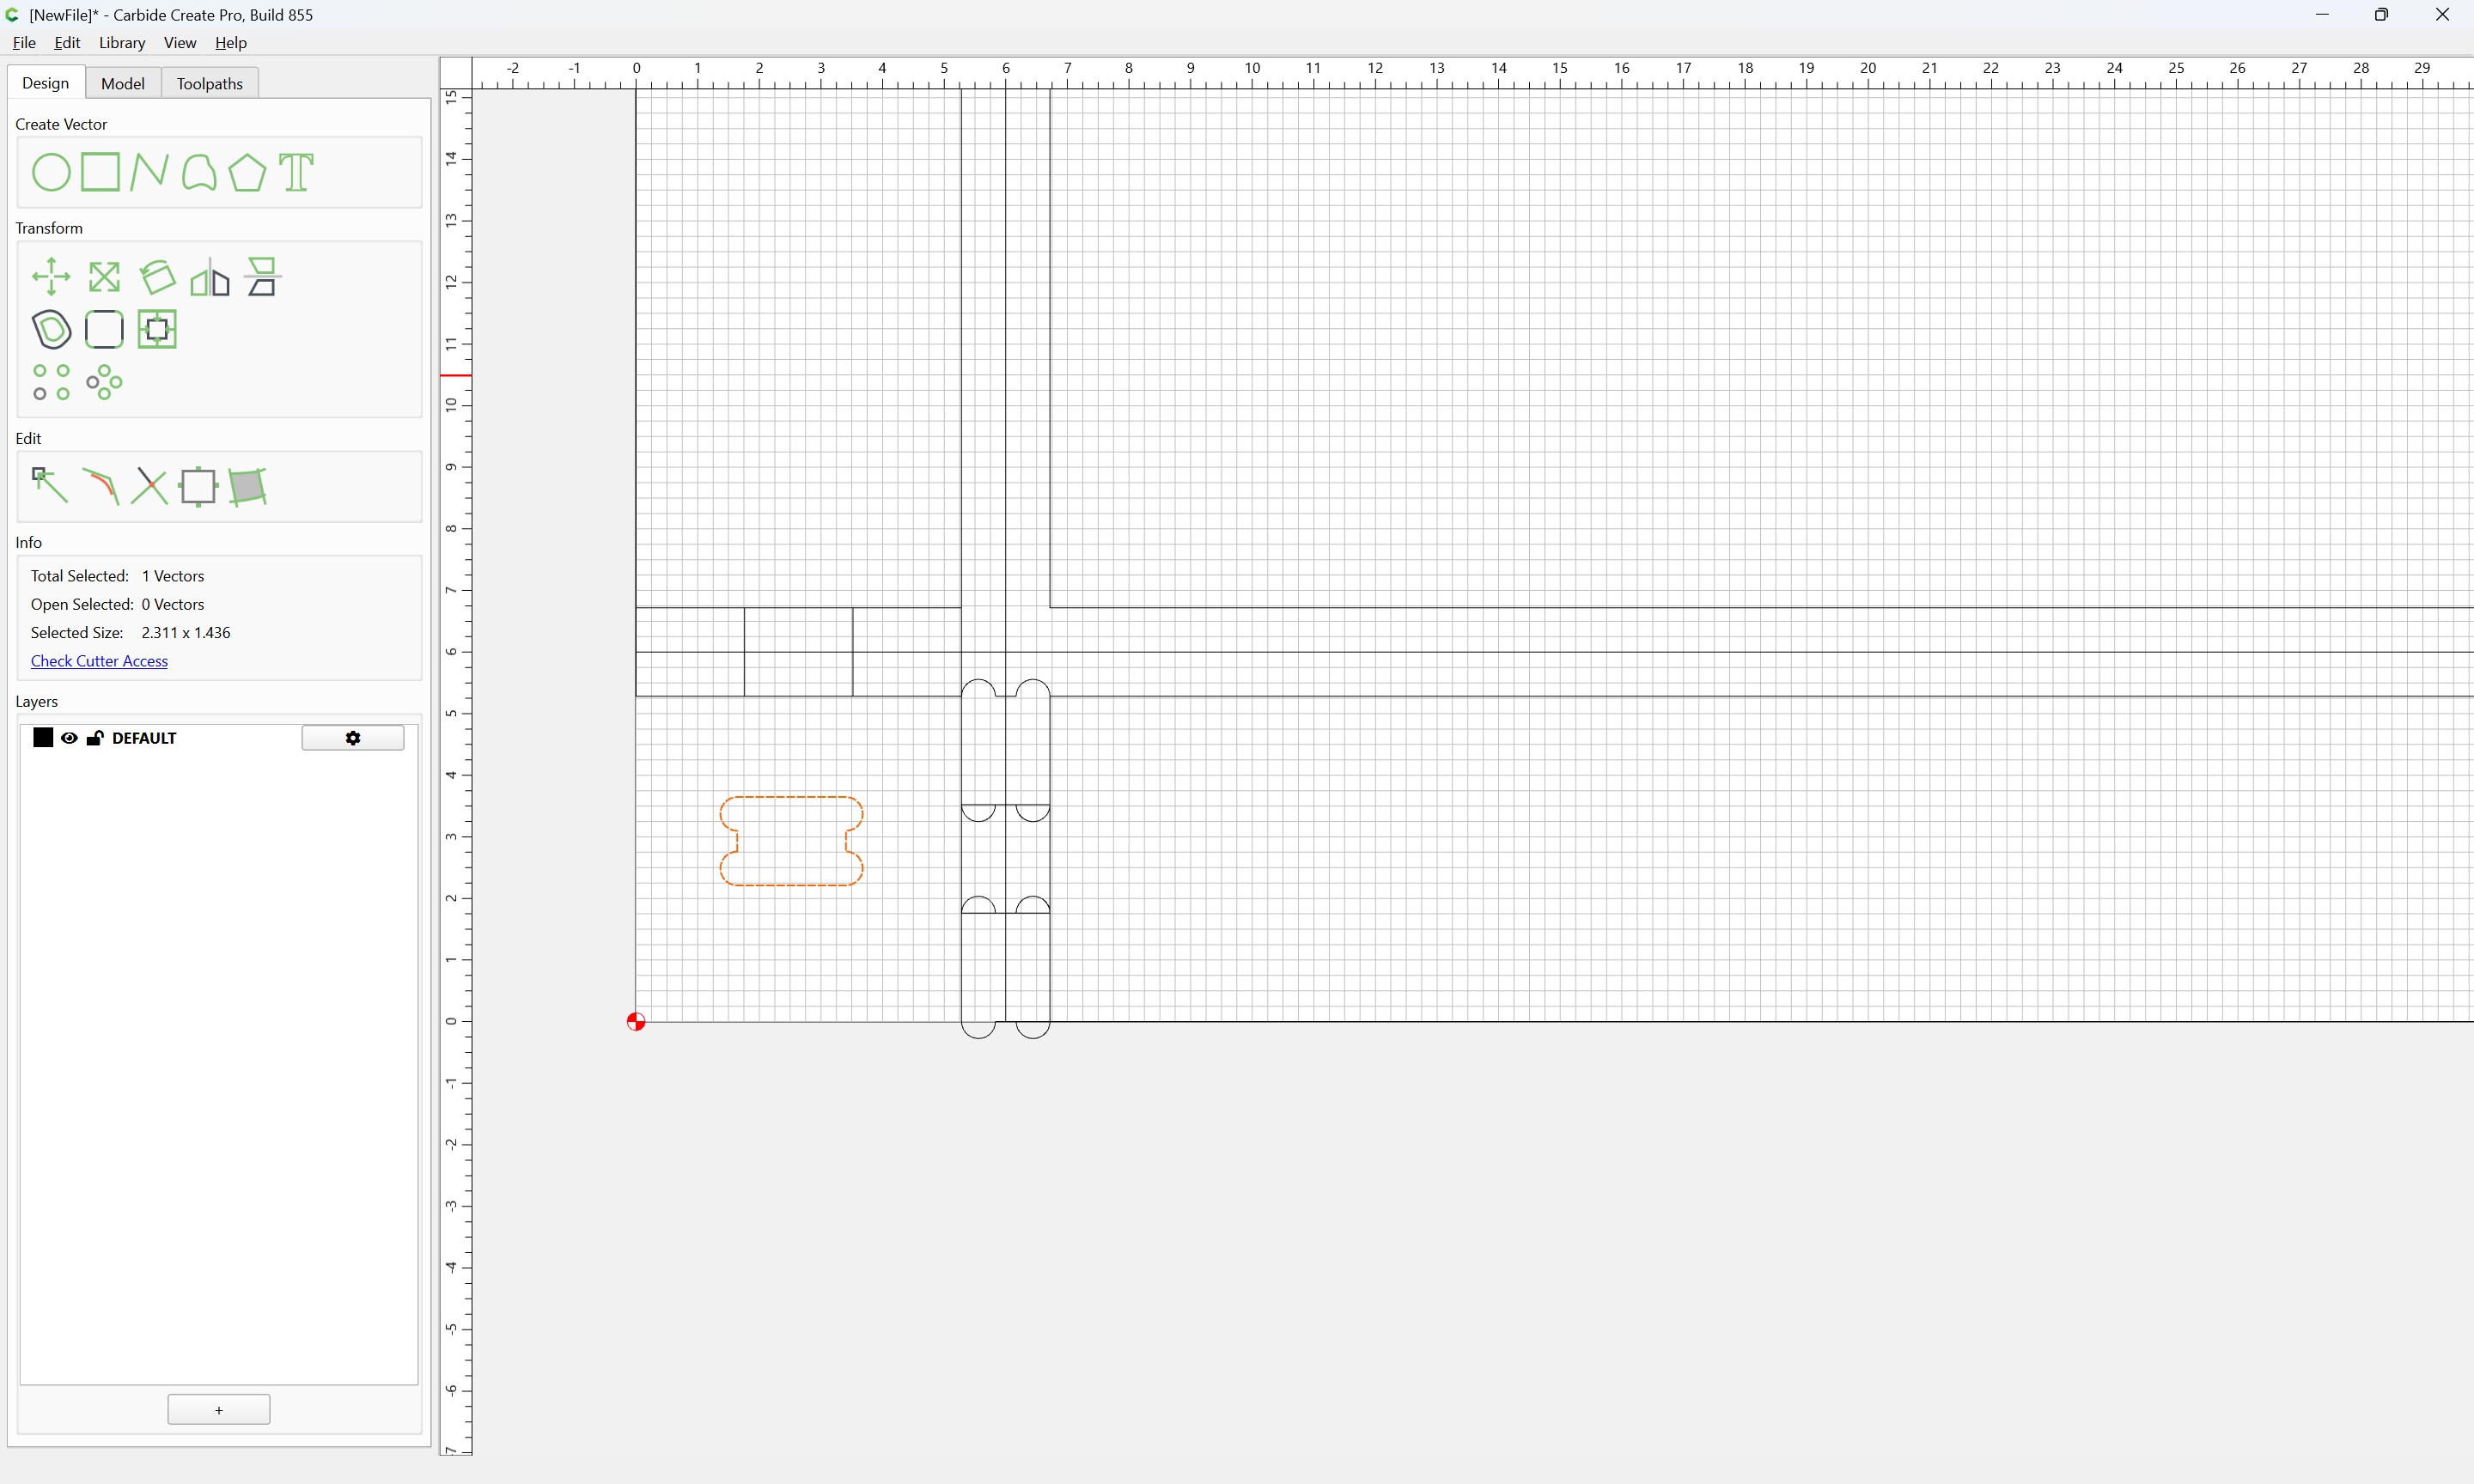
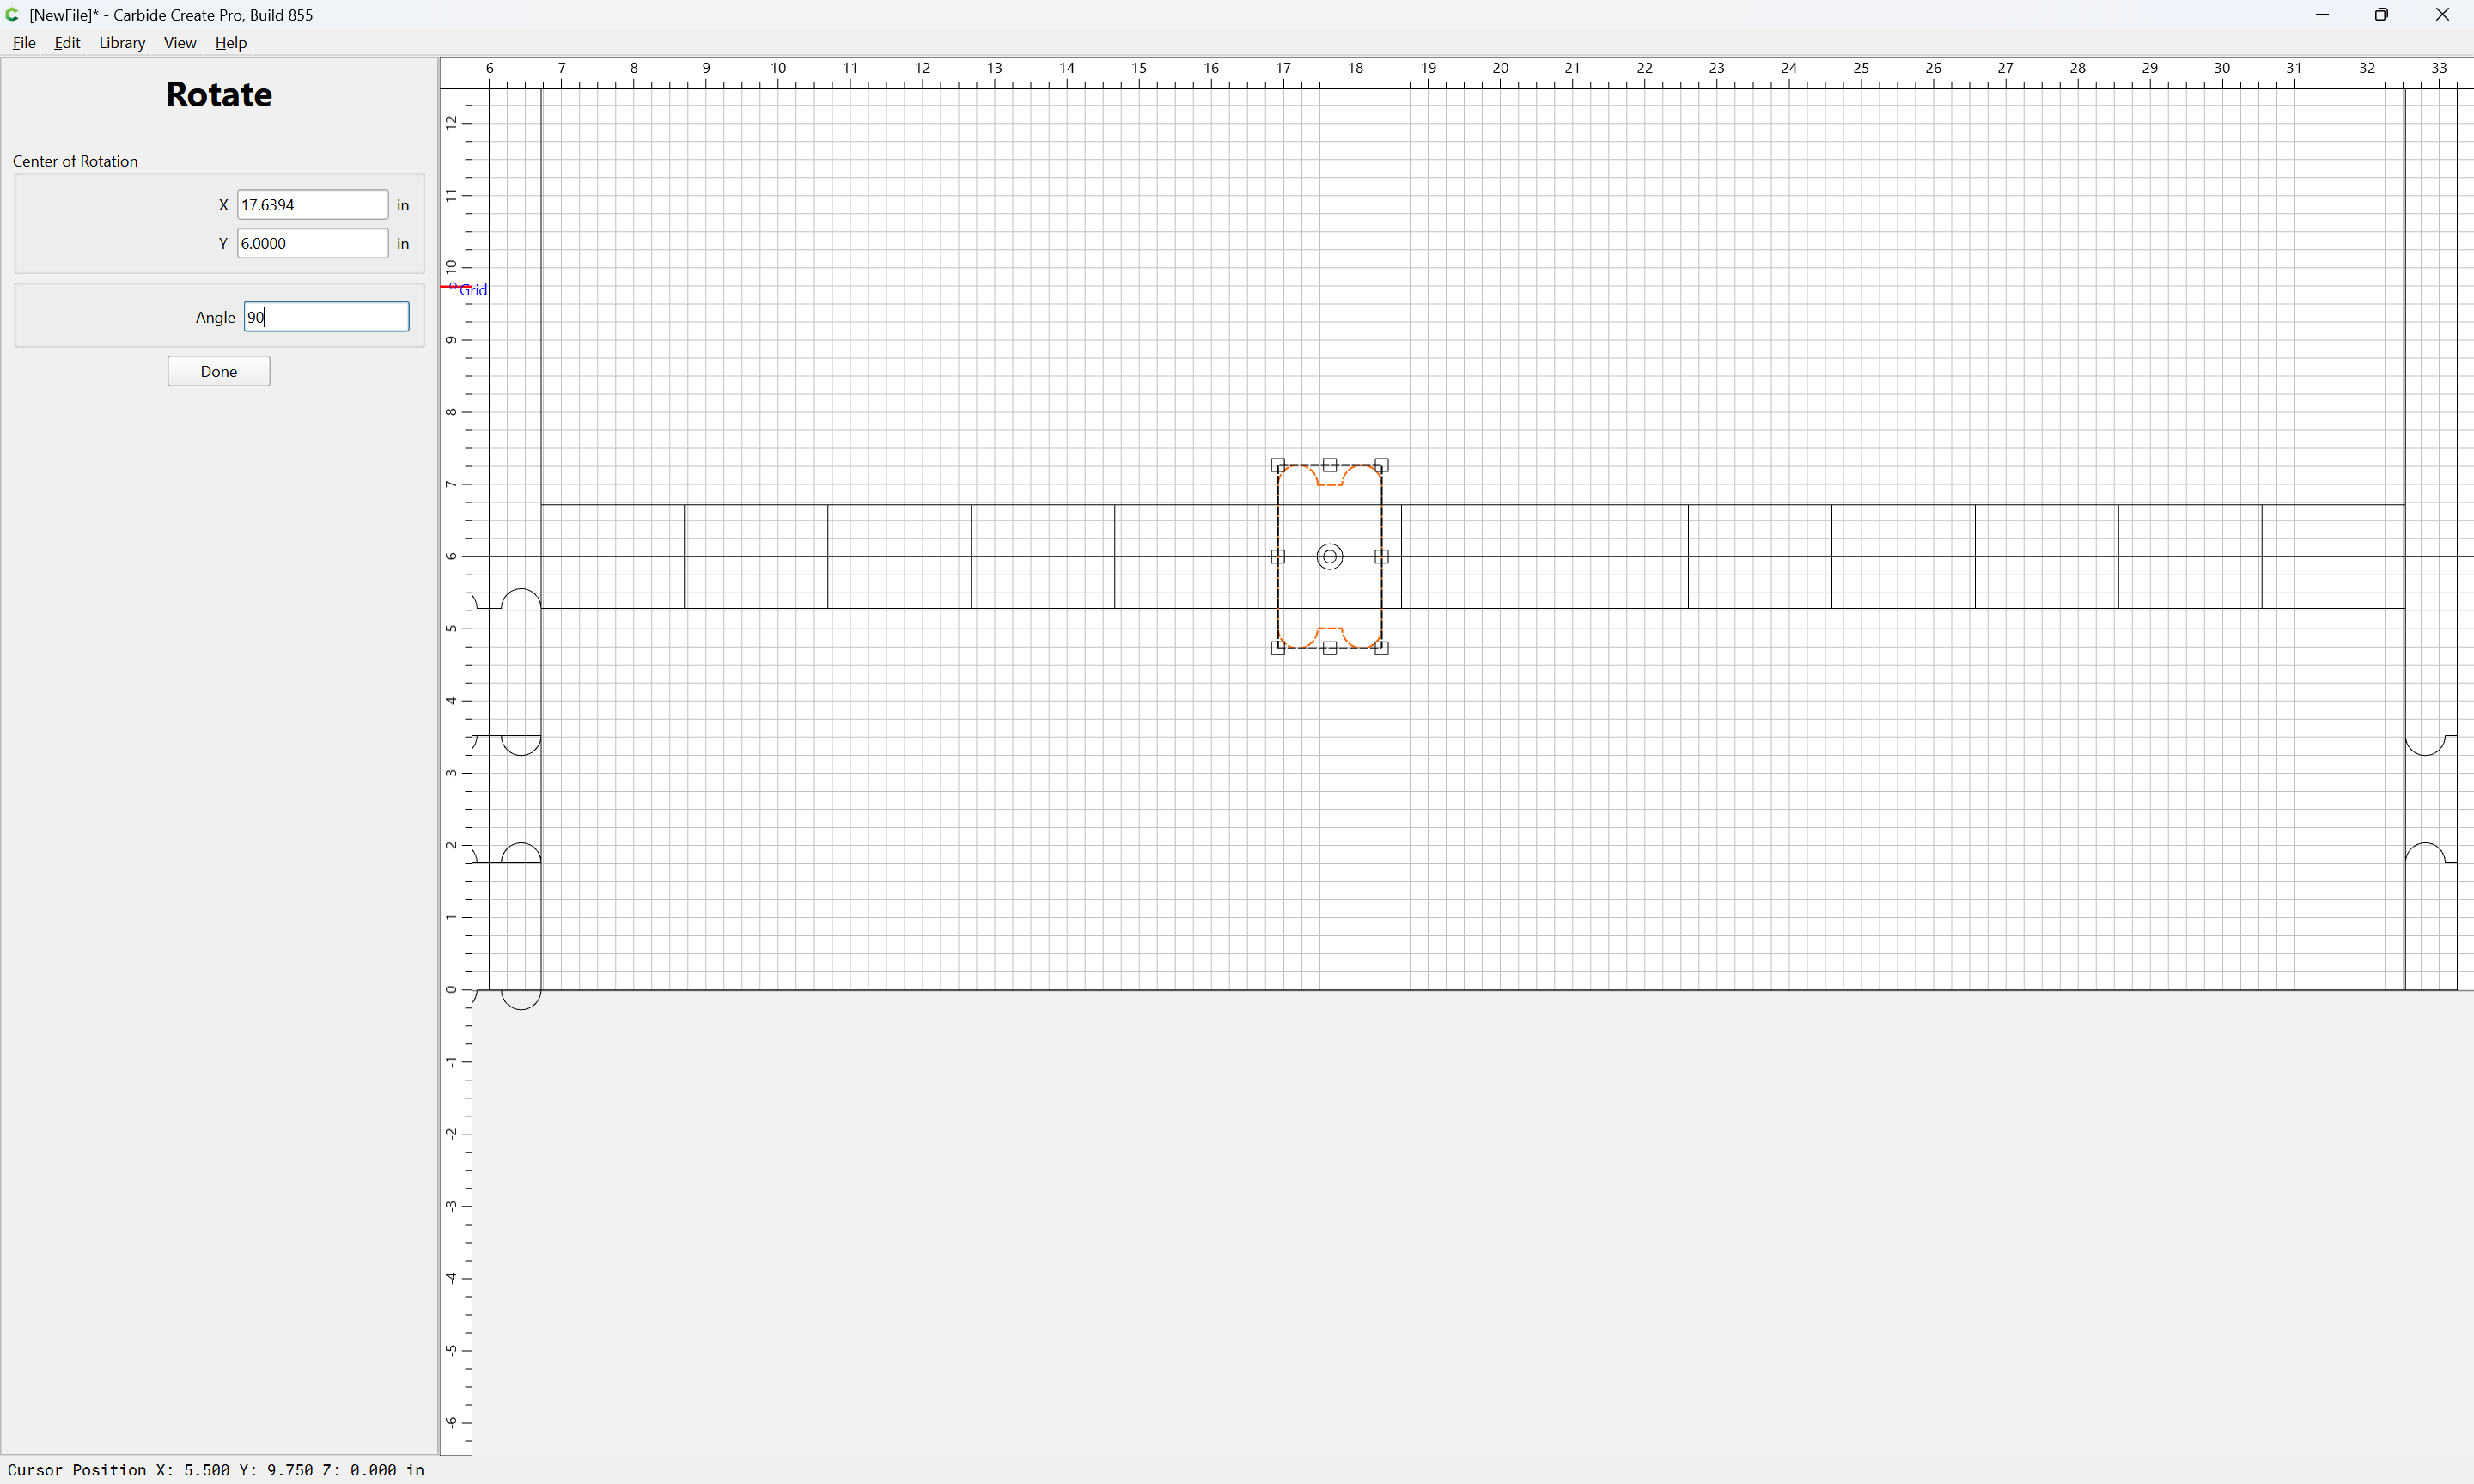
To get the horizontal version of the _T_s it will be necessary to copy-paste and rotate:
Done
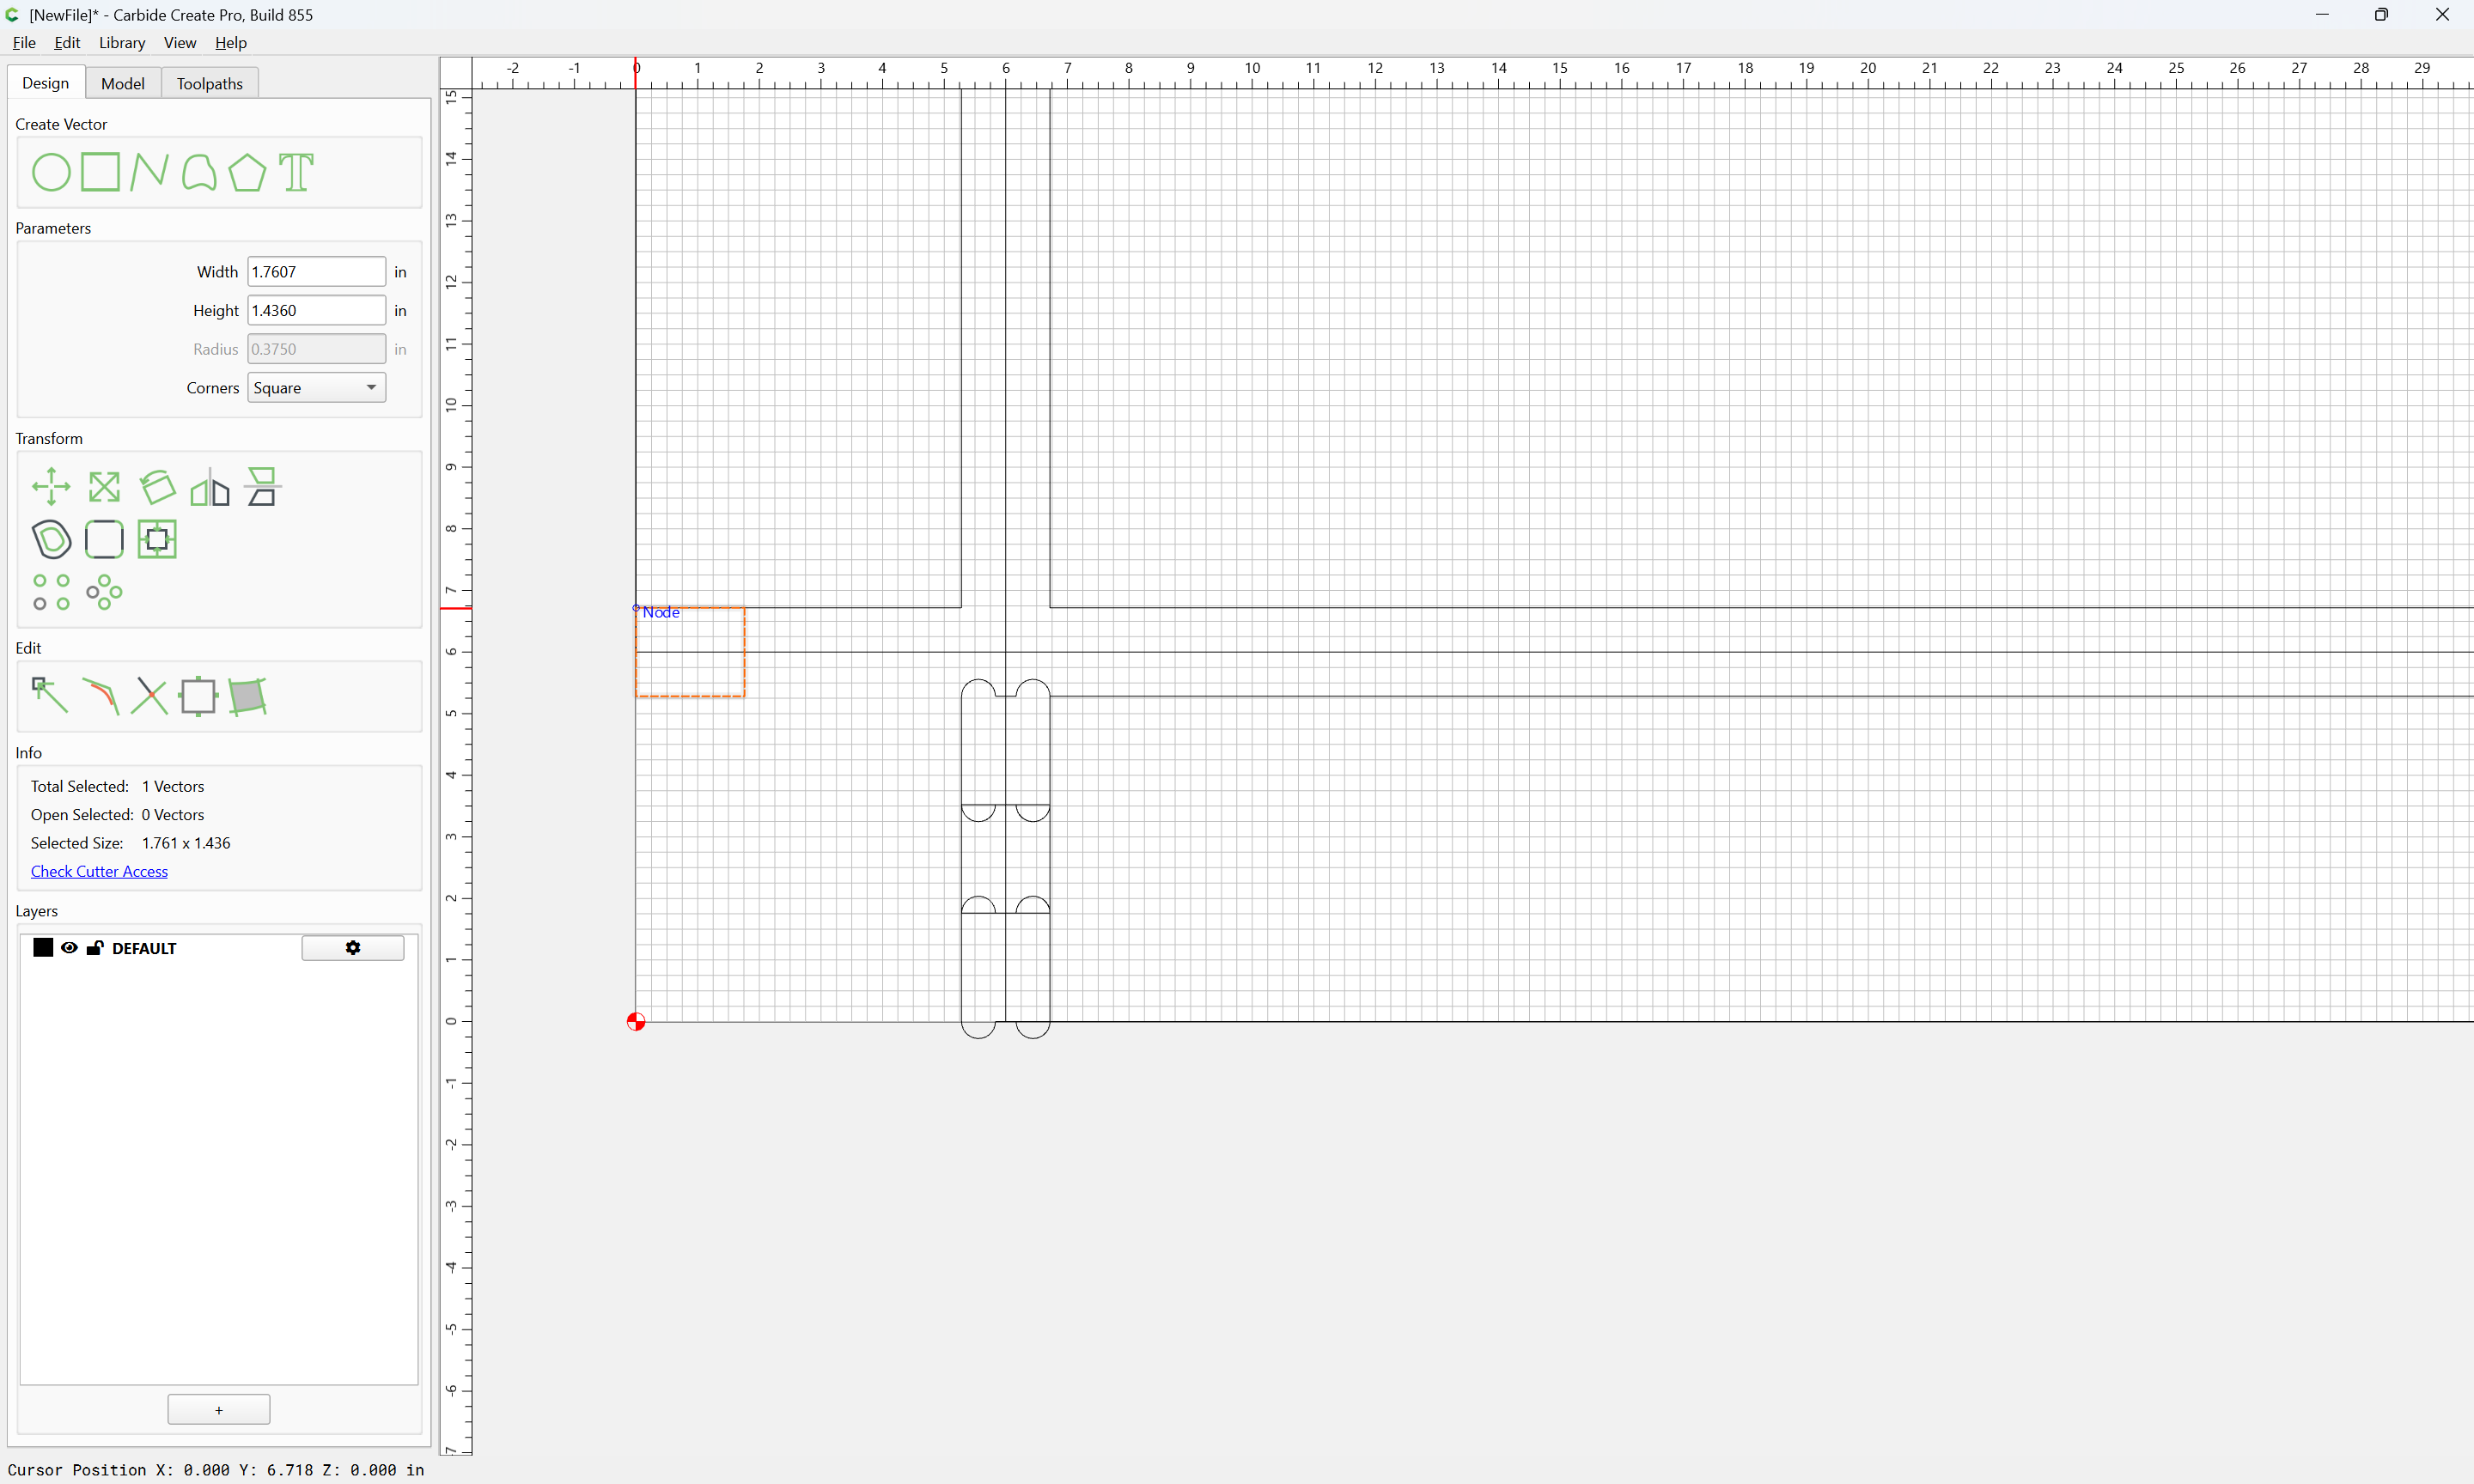
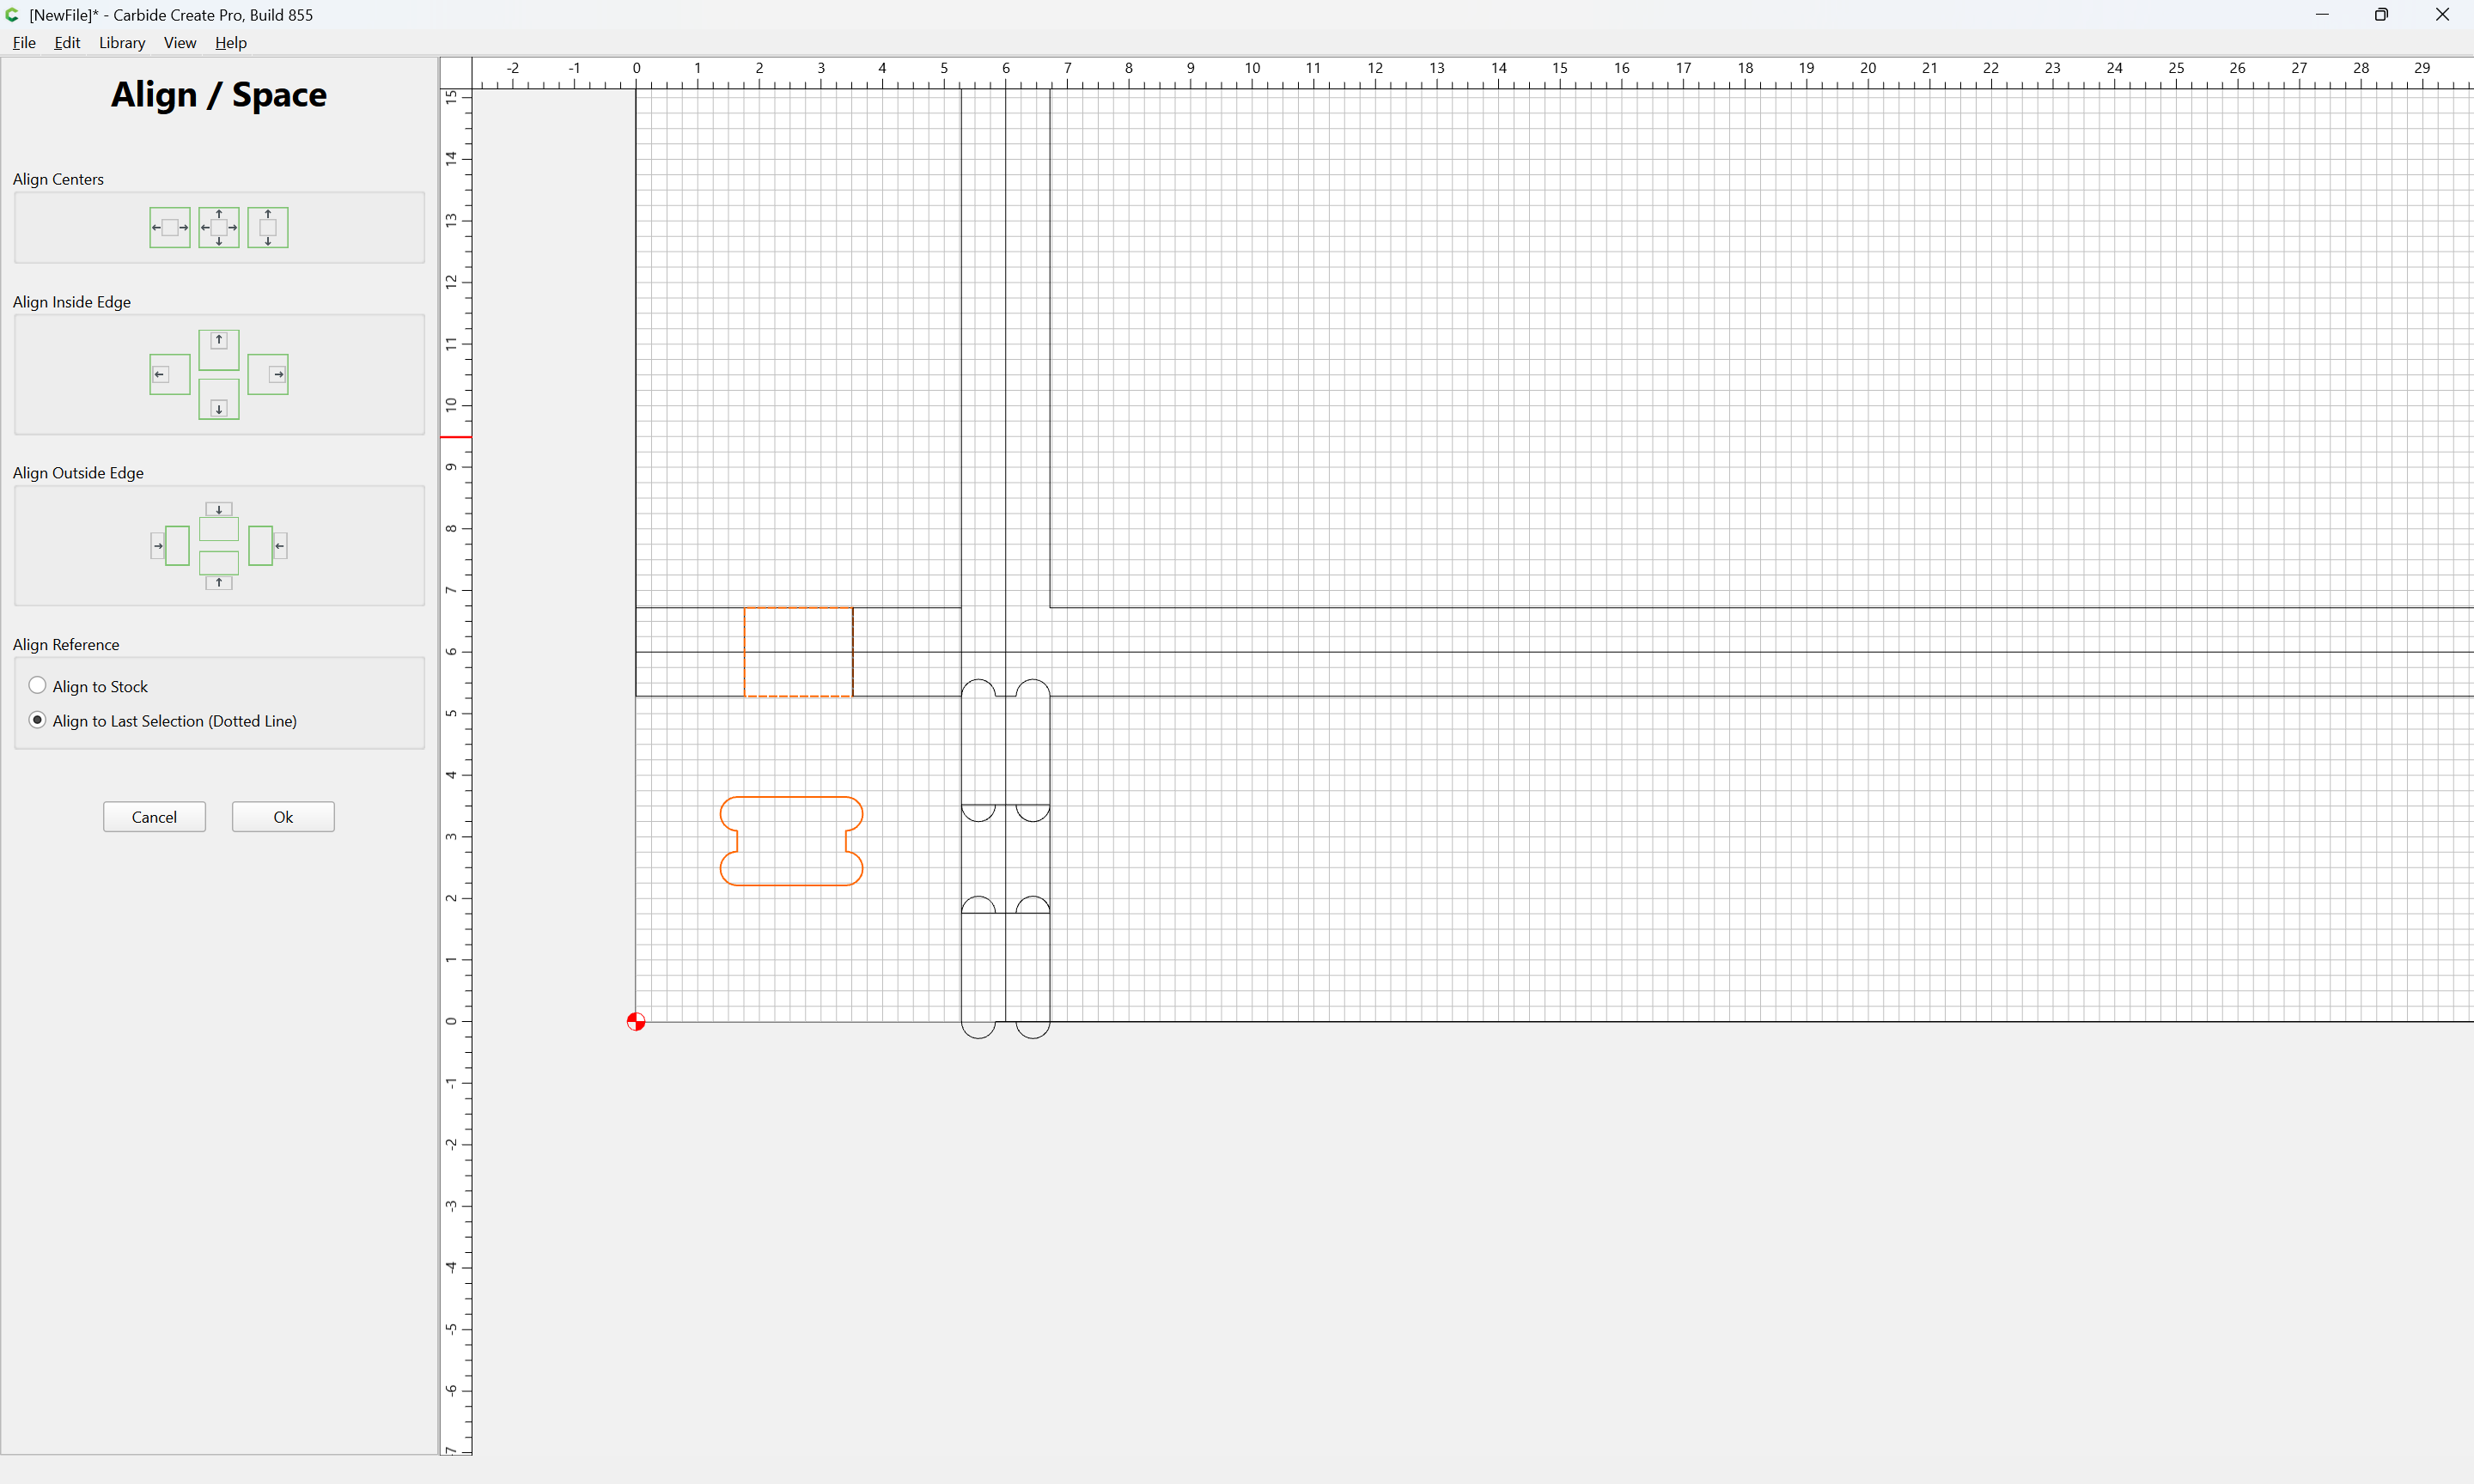
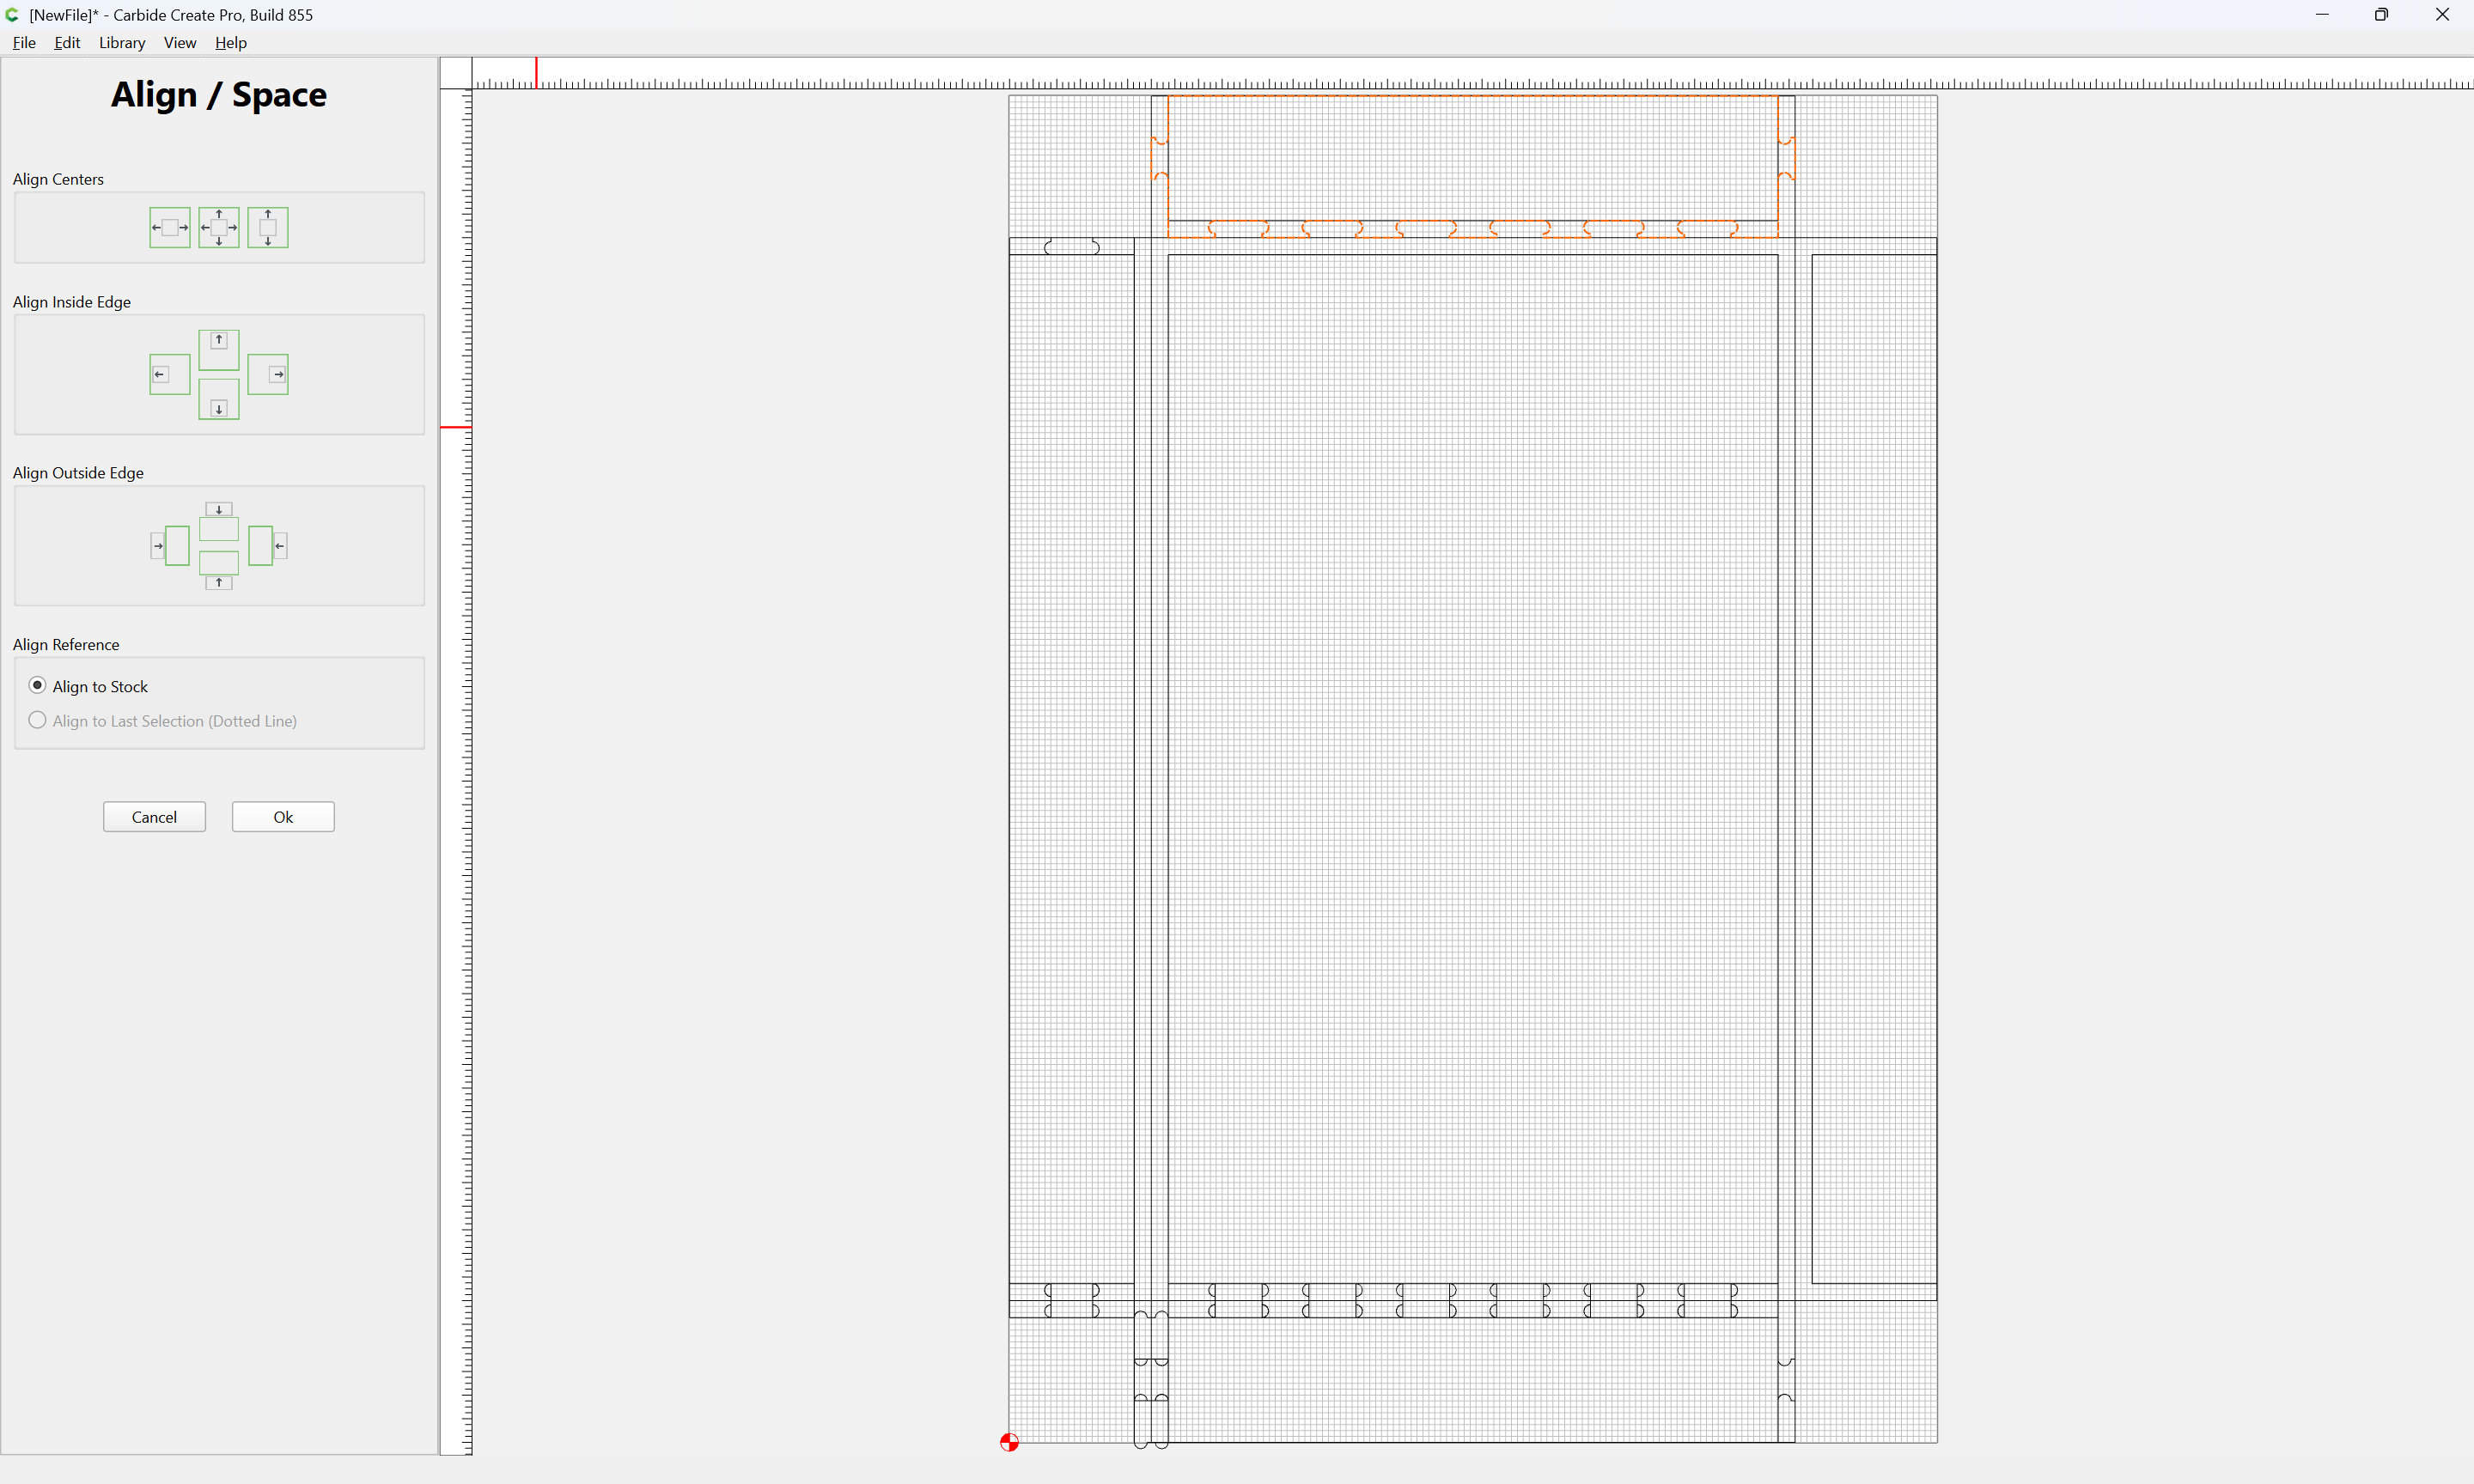
Then align:
Ok
As before, select:
and use Region Builder:
Yes
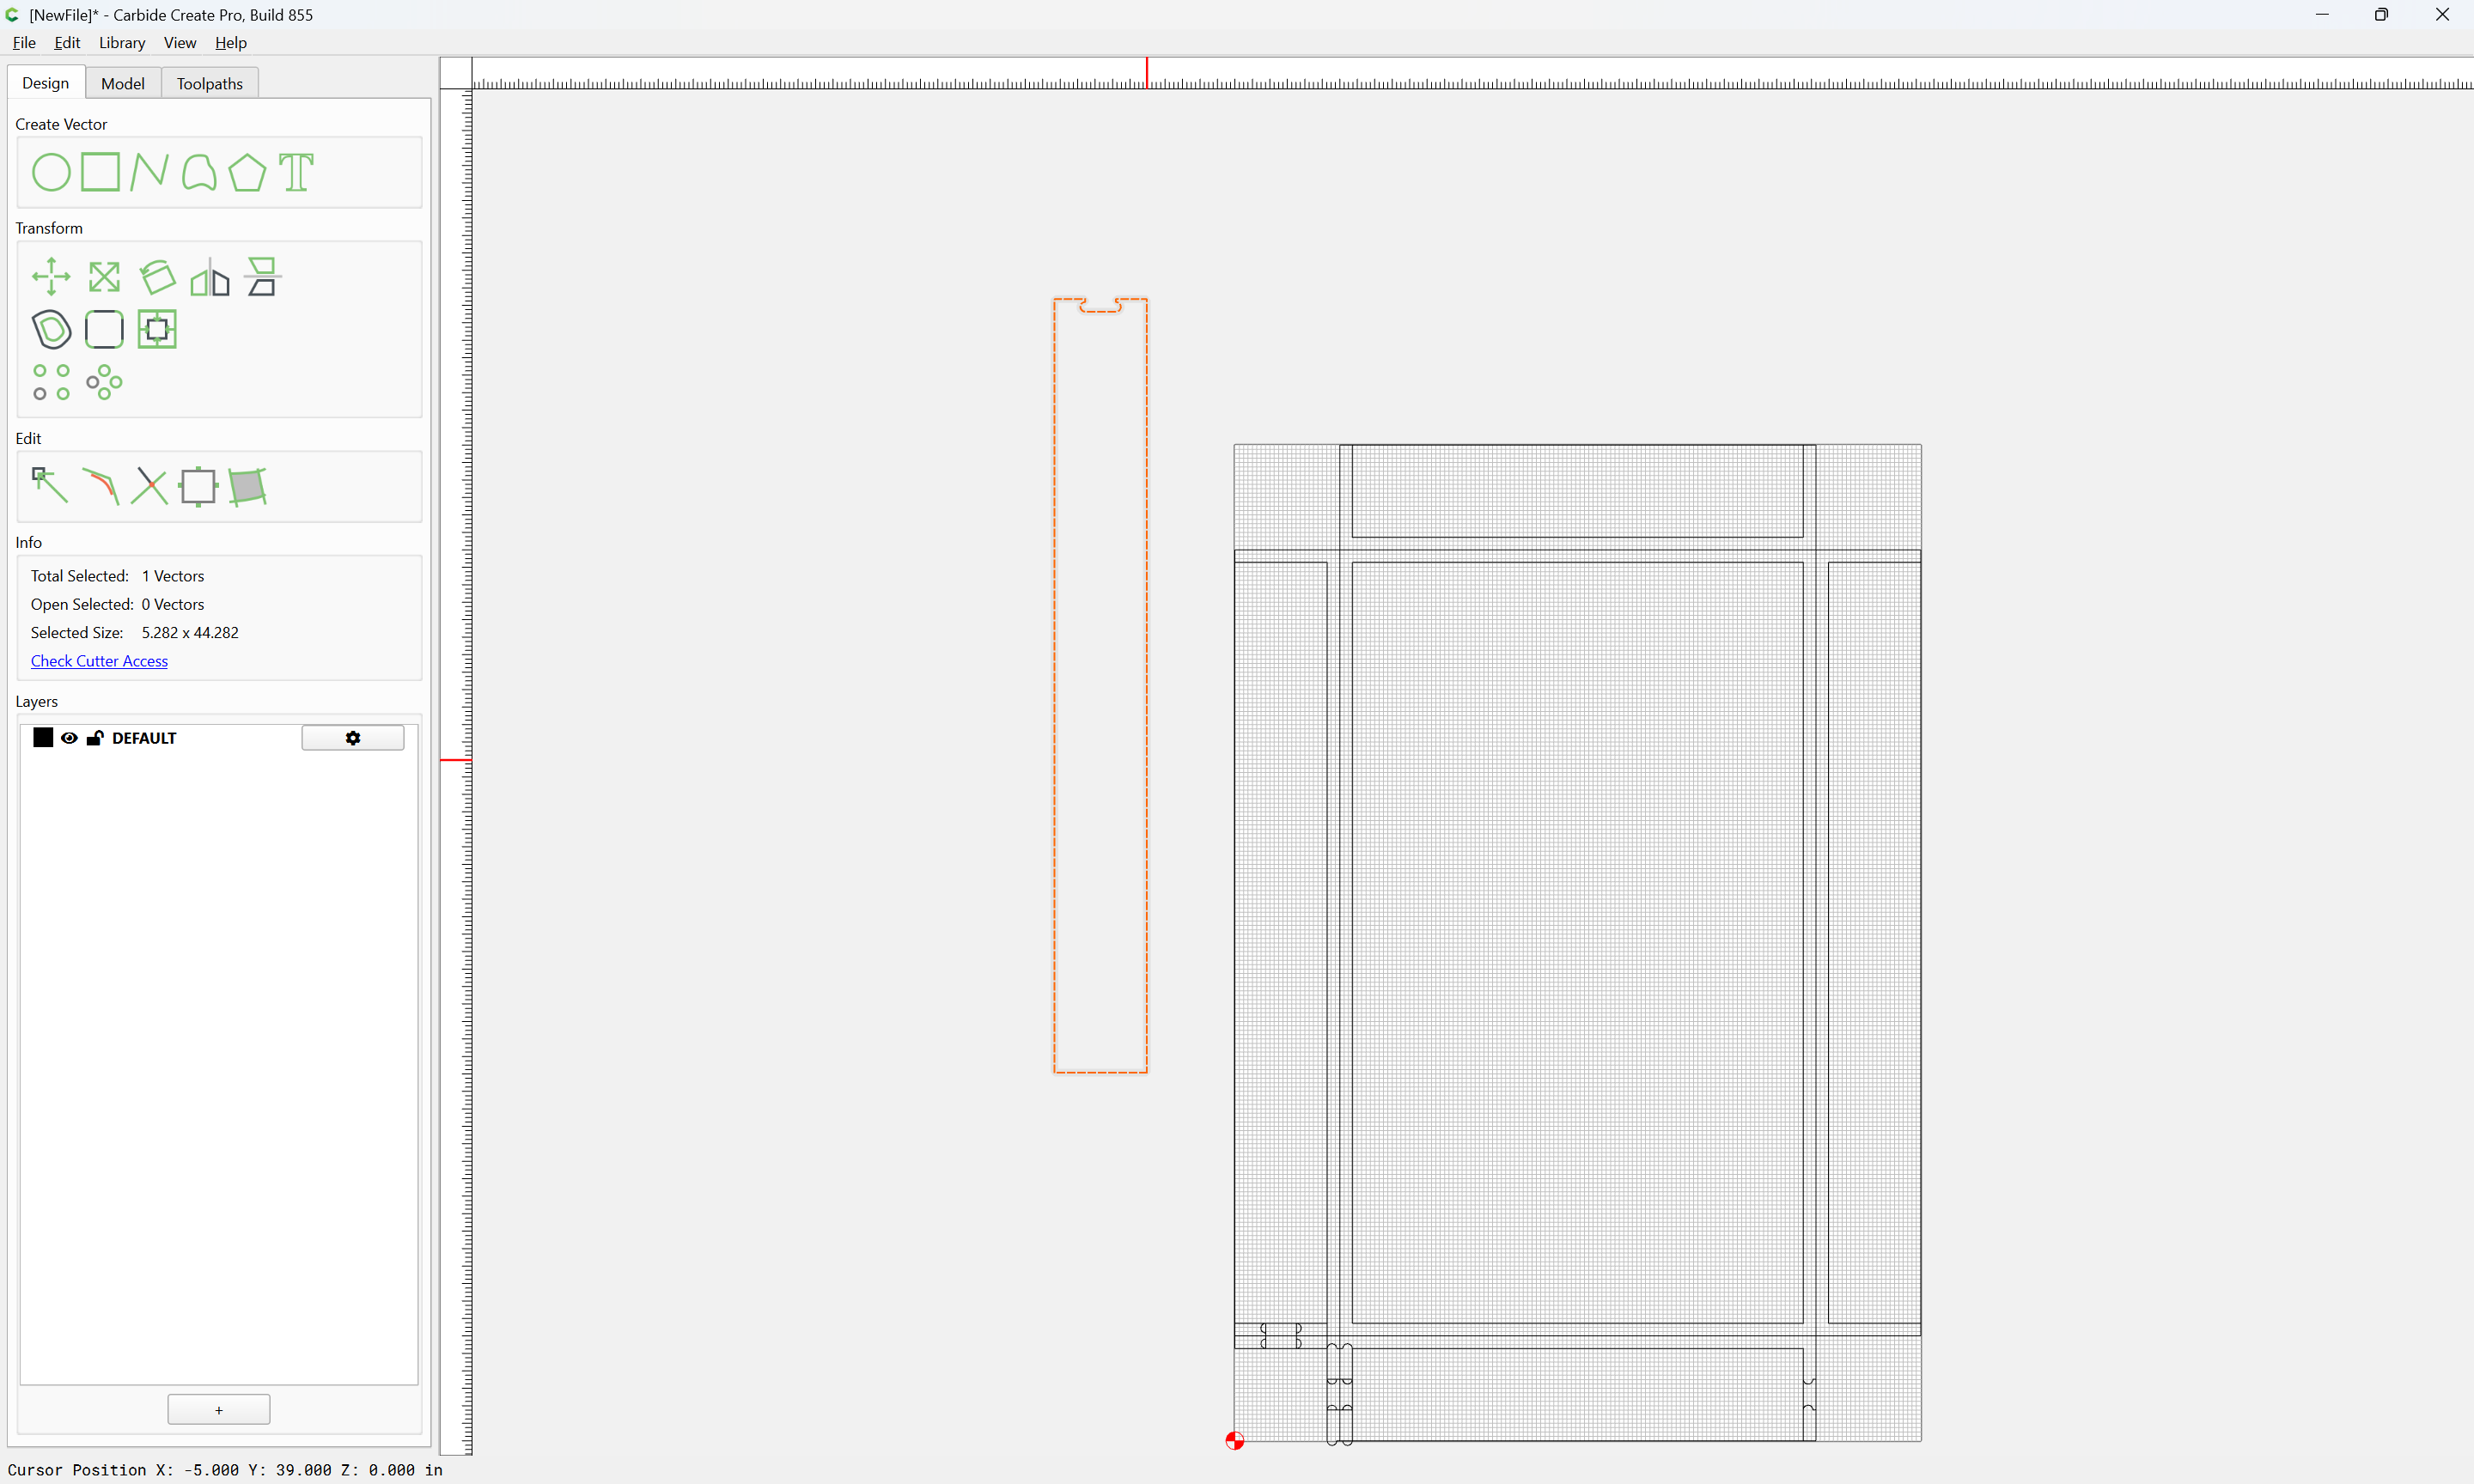
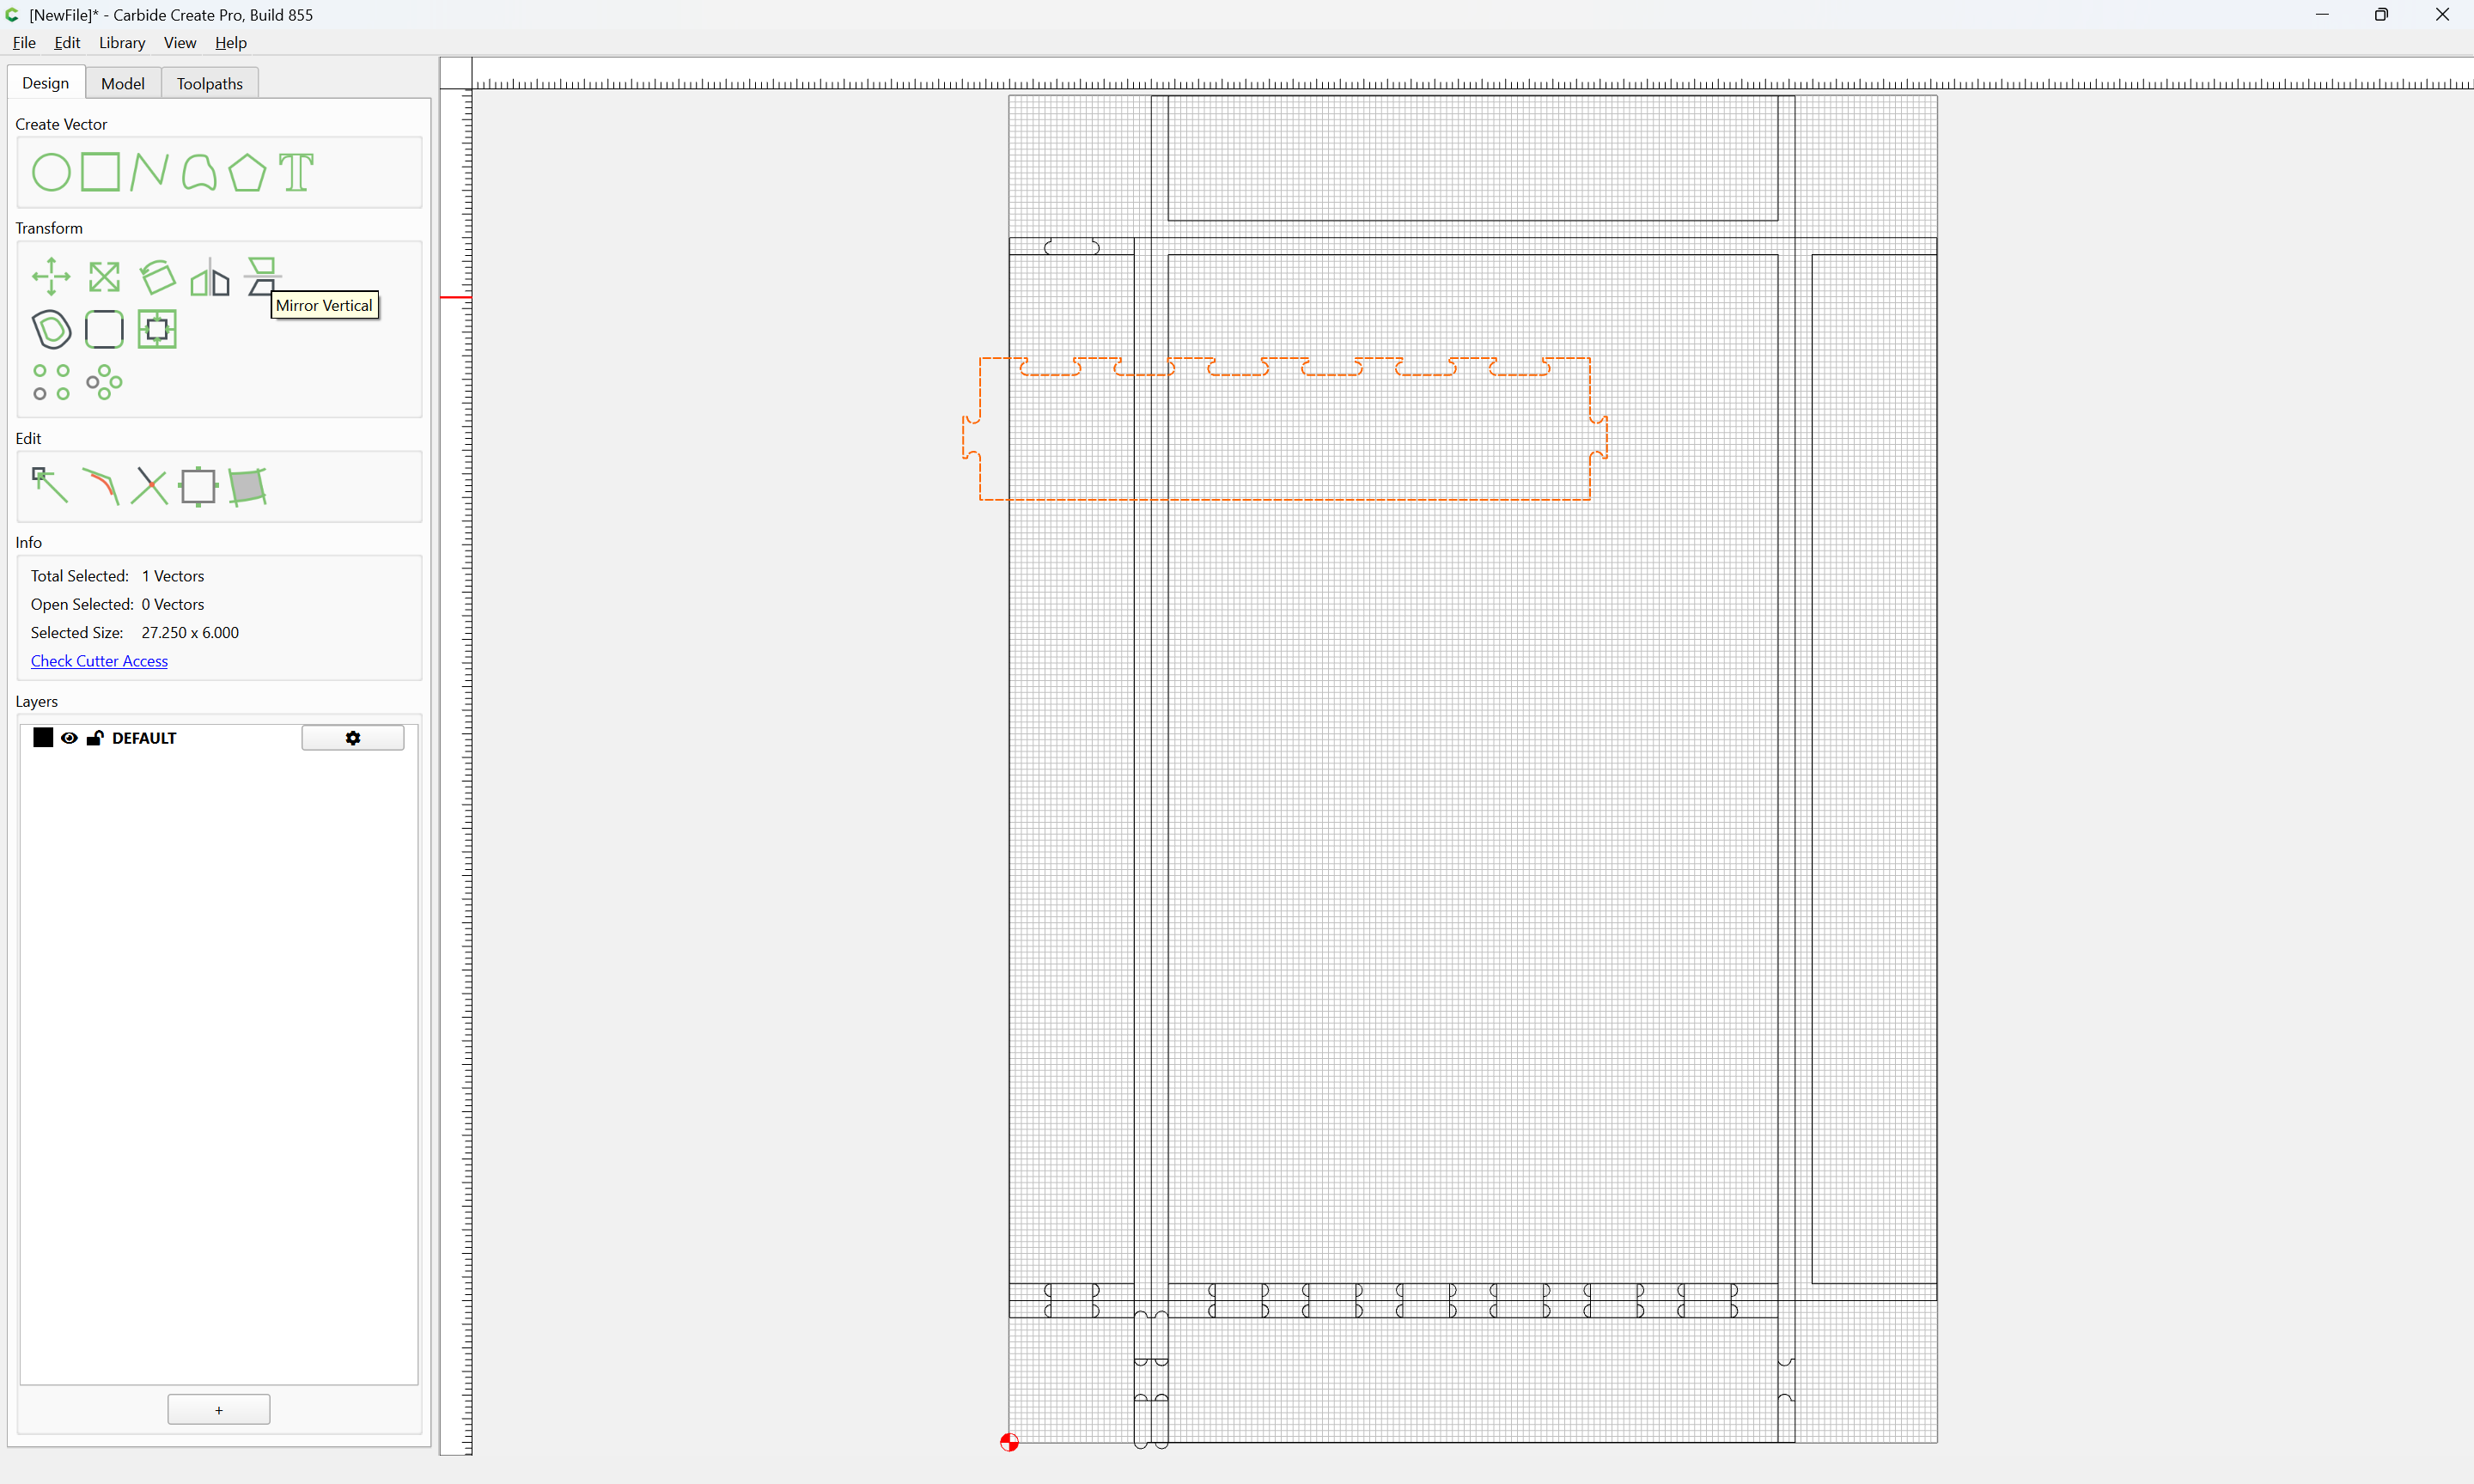
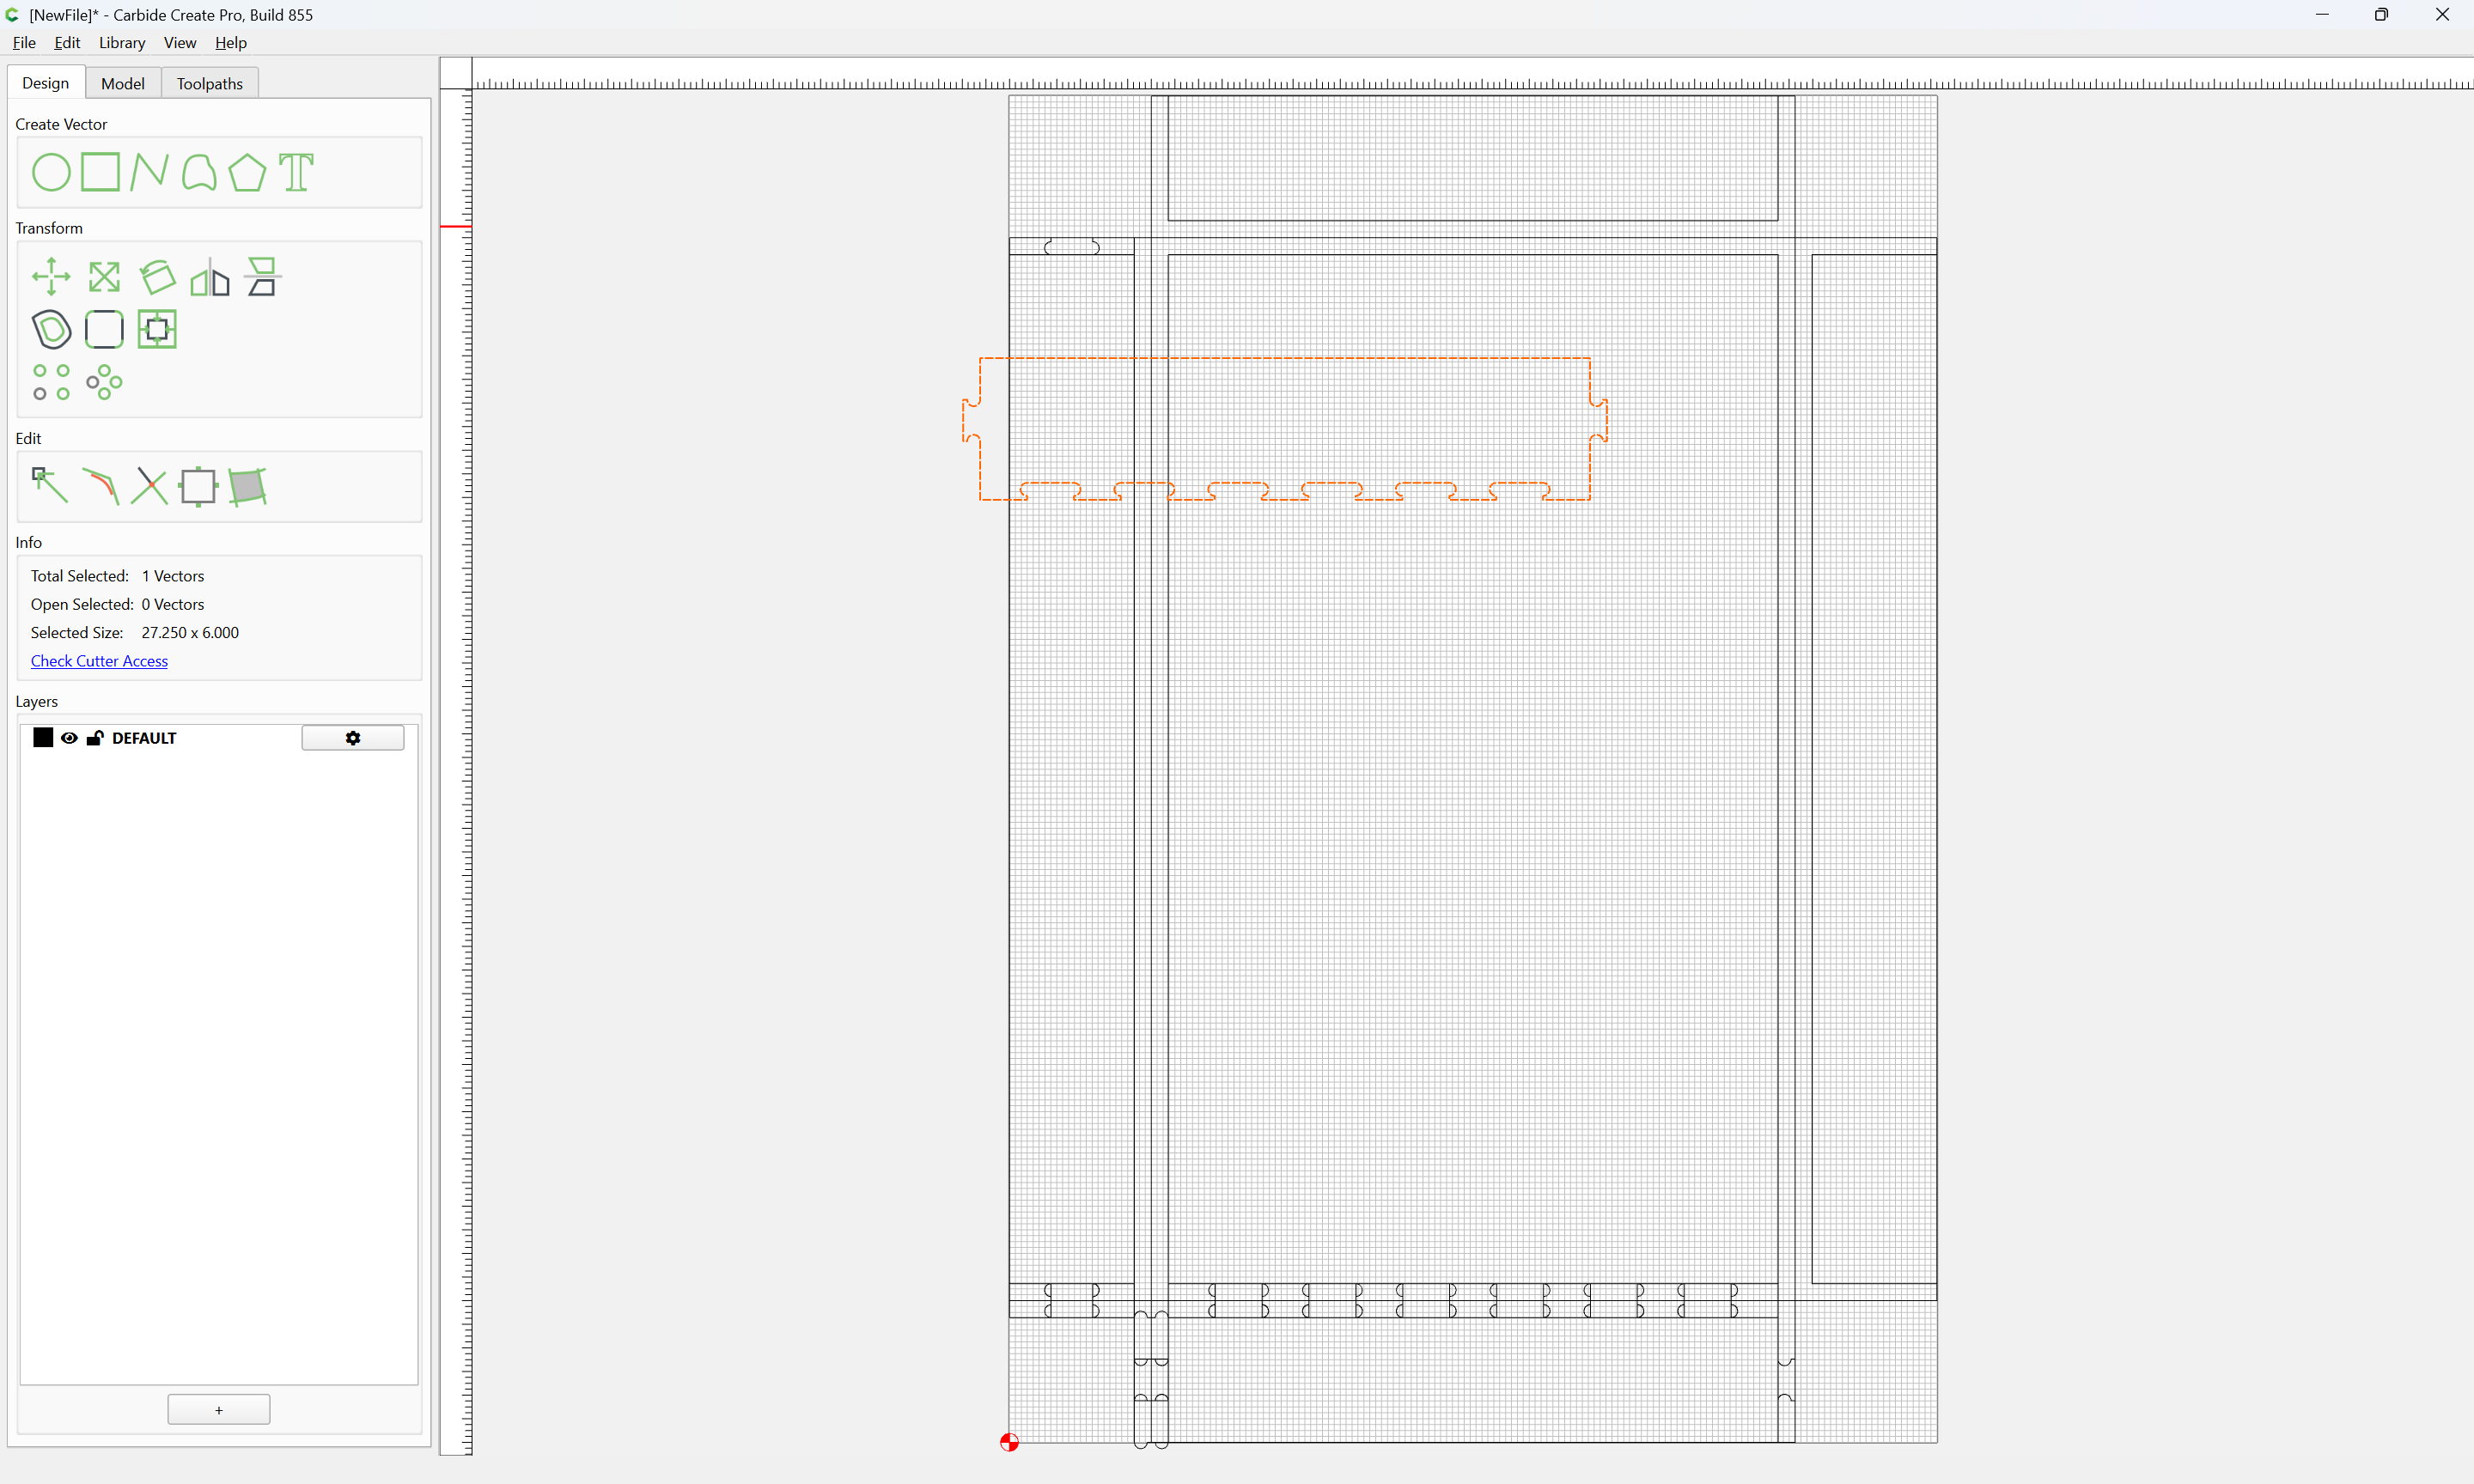
Duplicate:
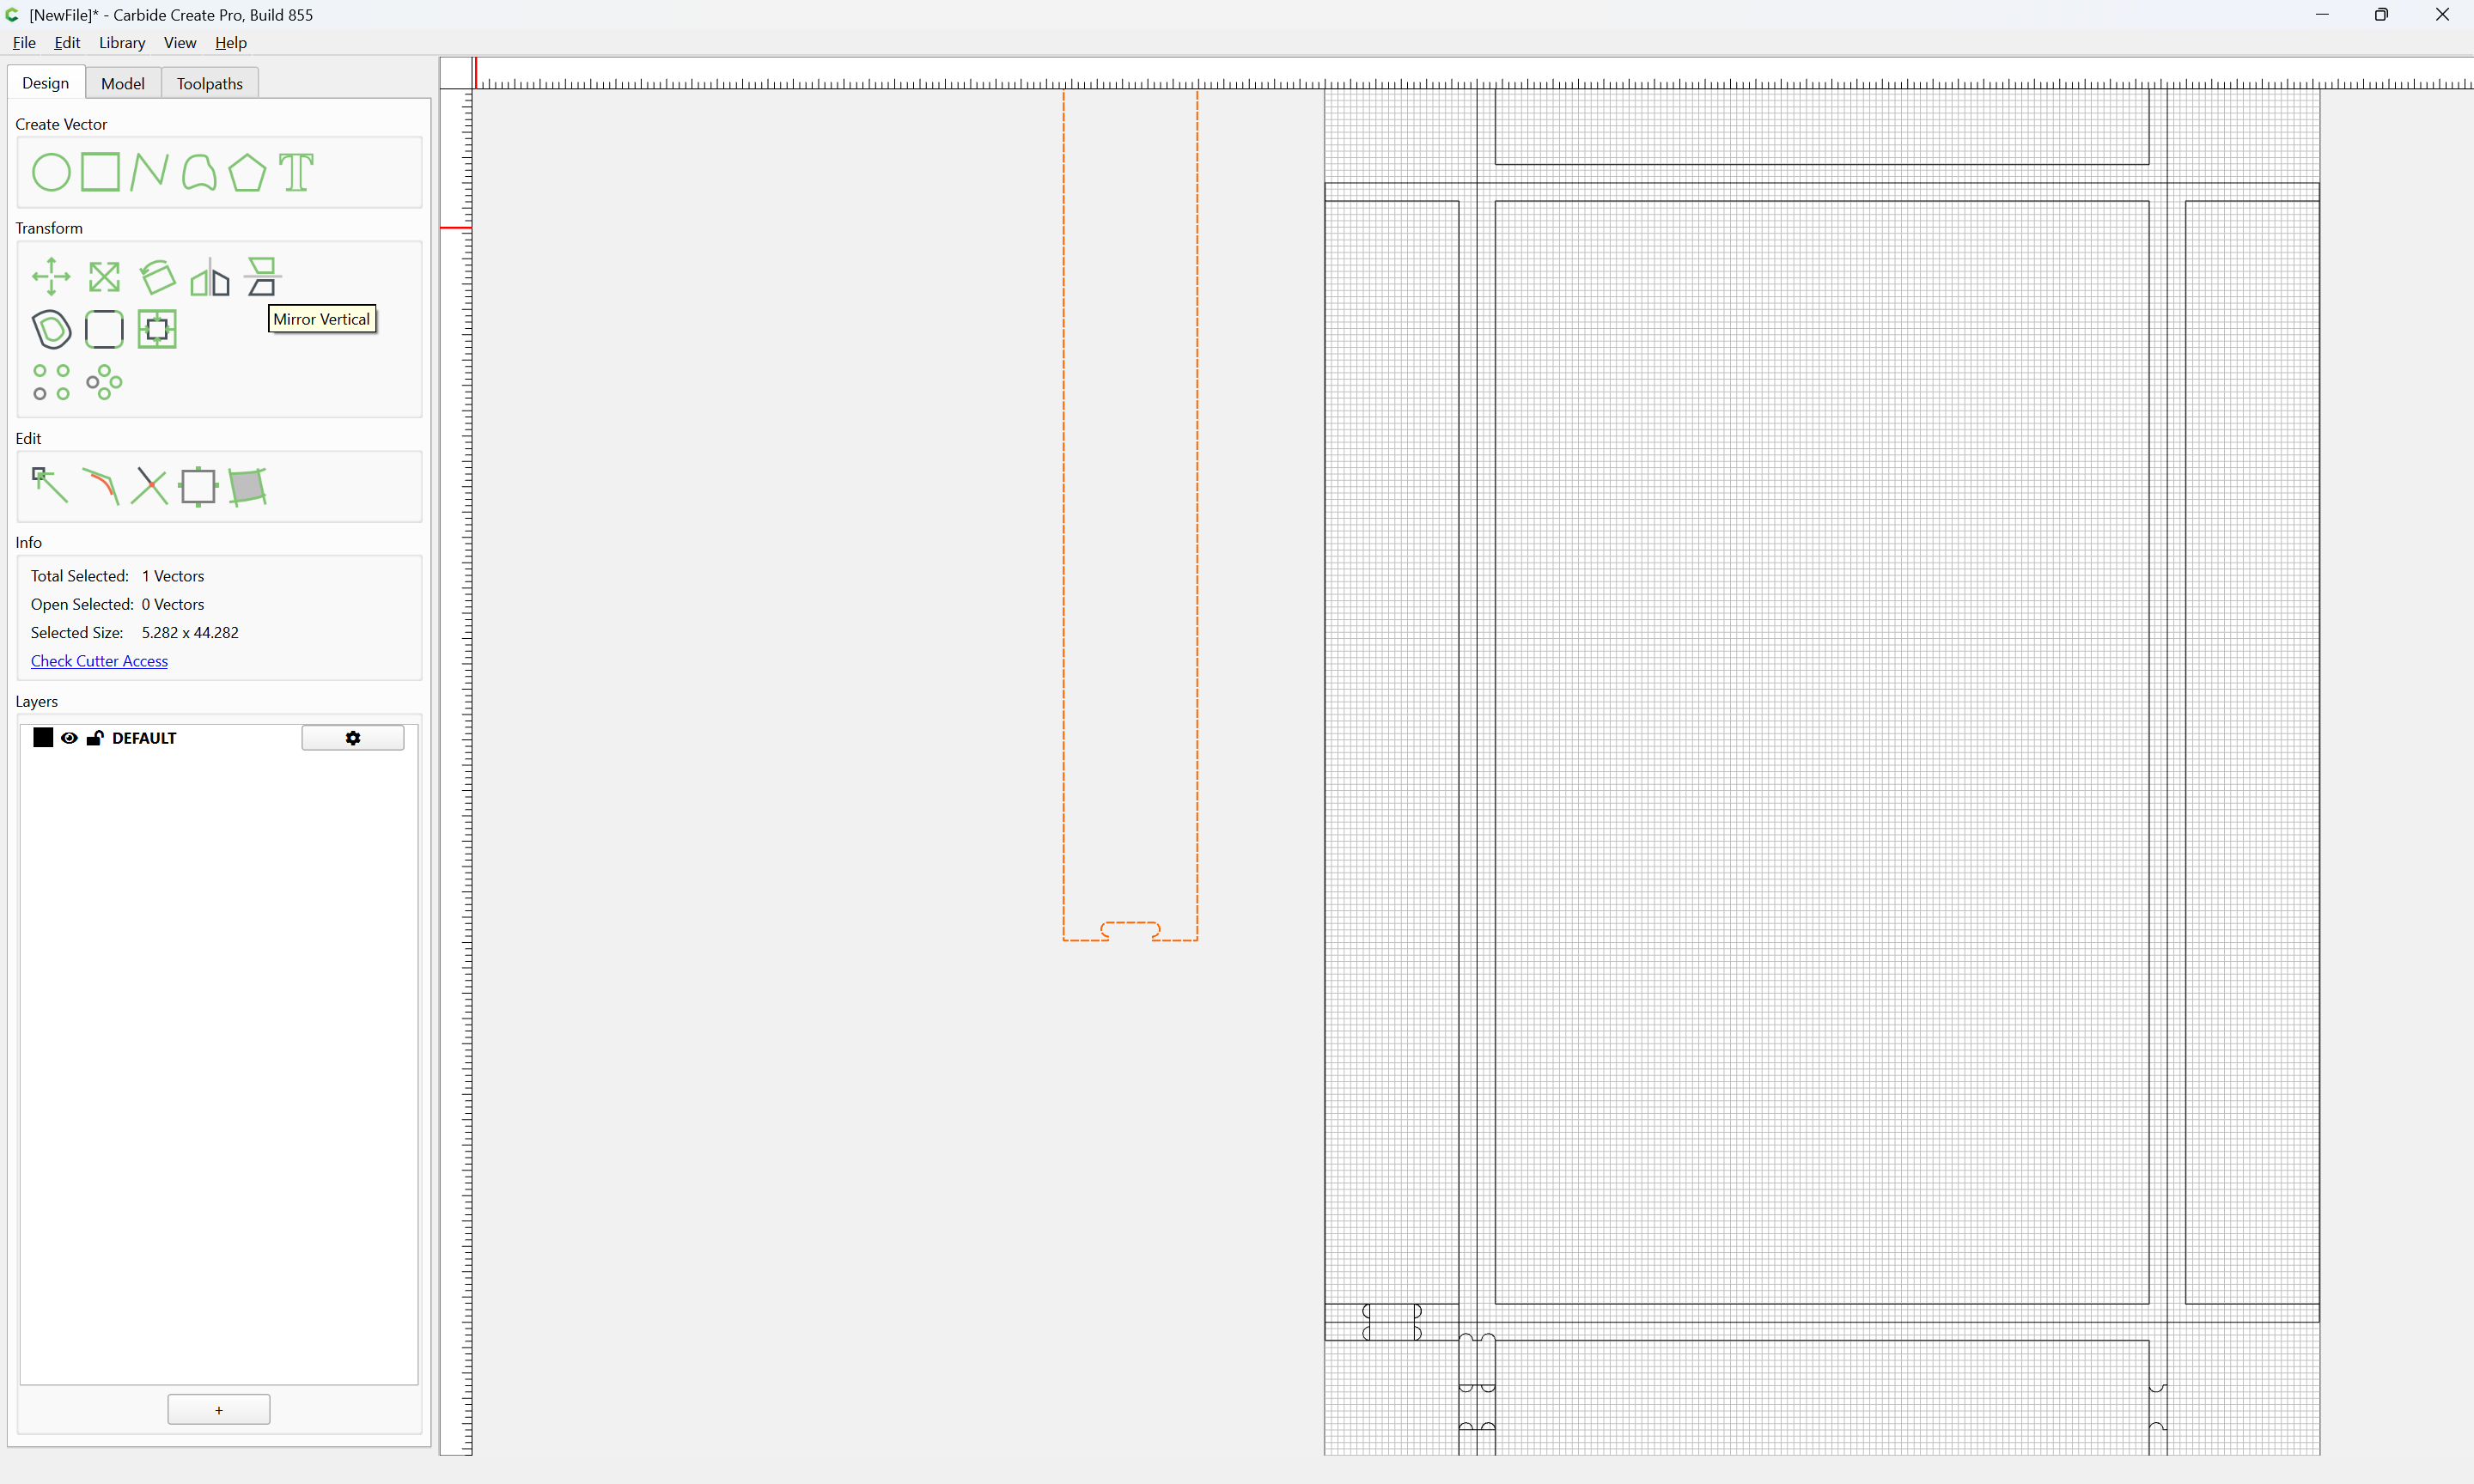
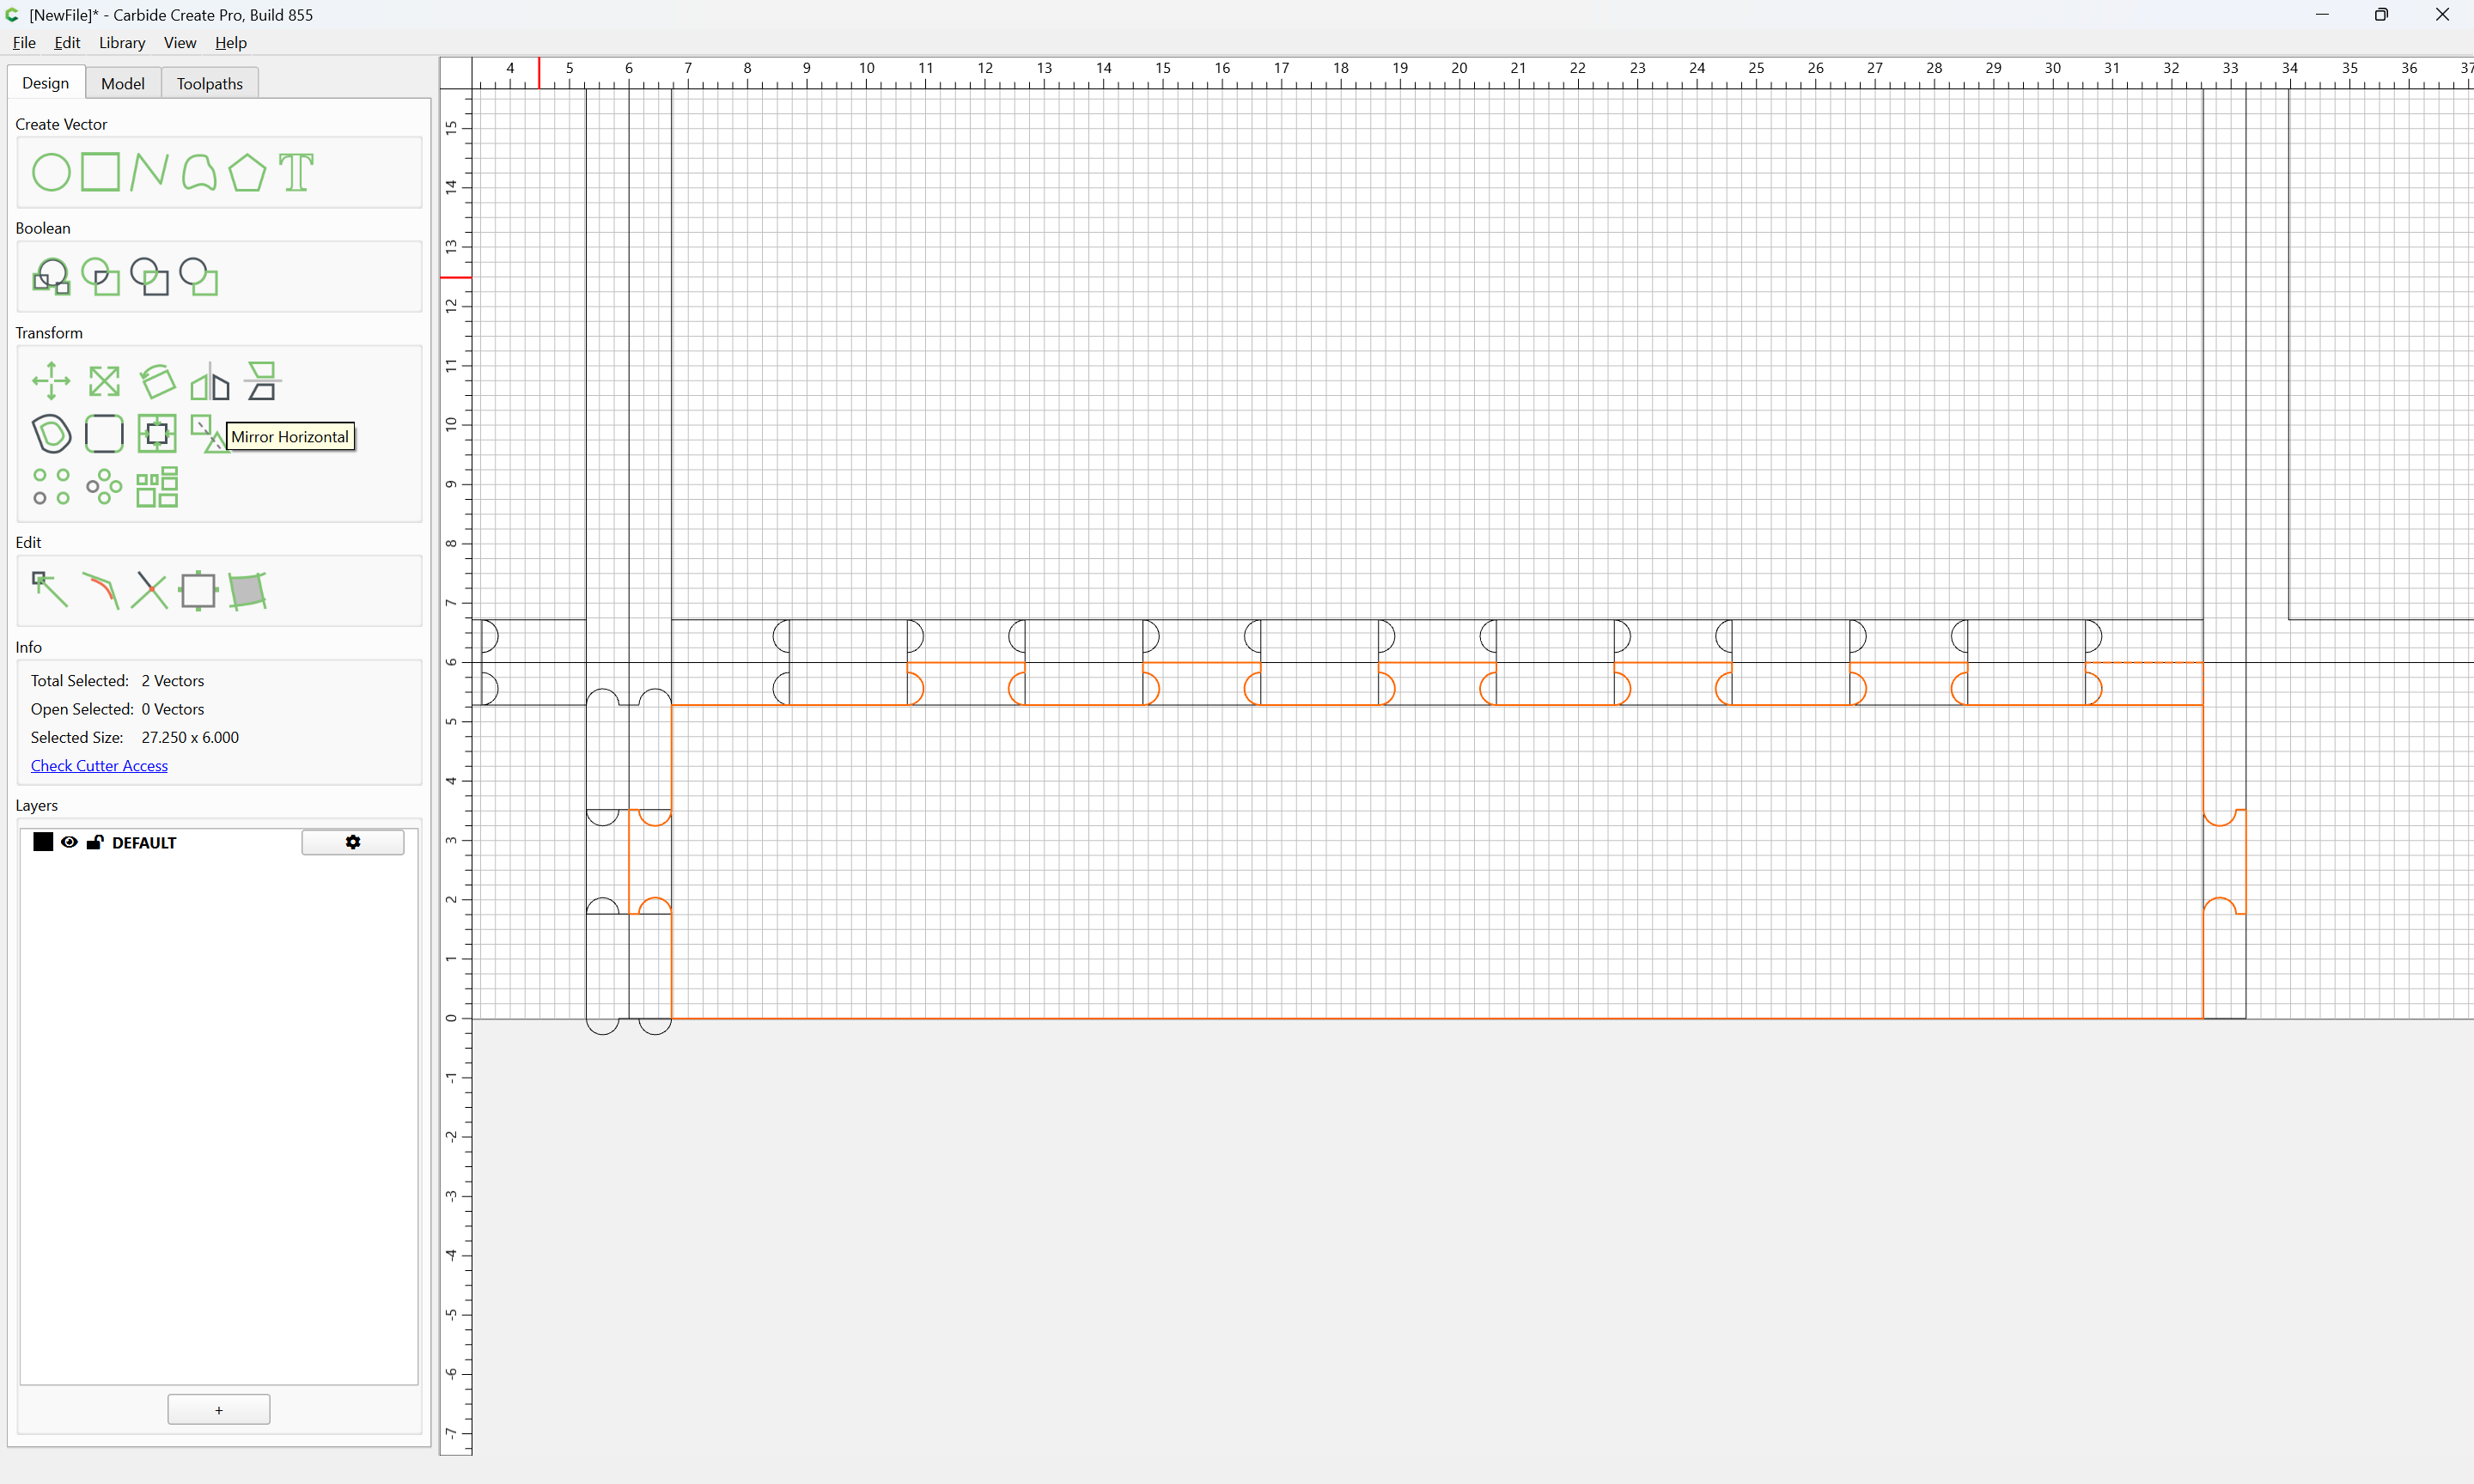
Mirror Vertical:
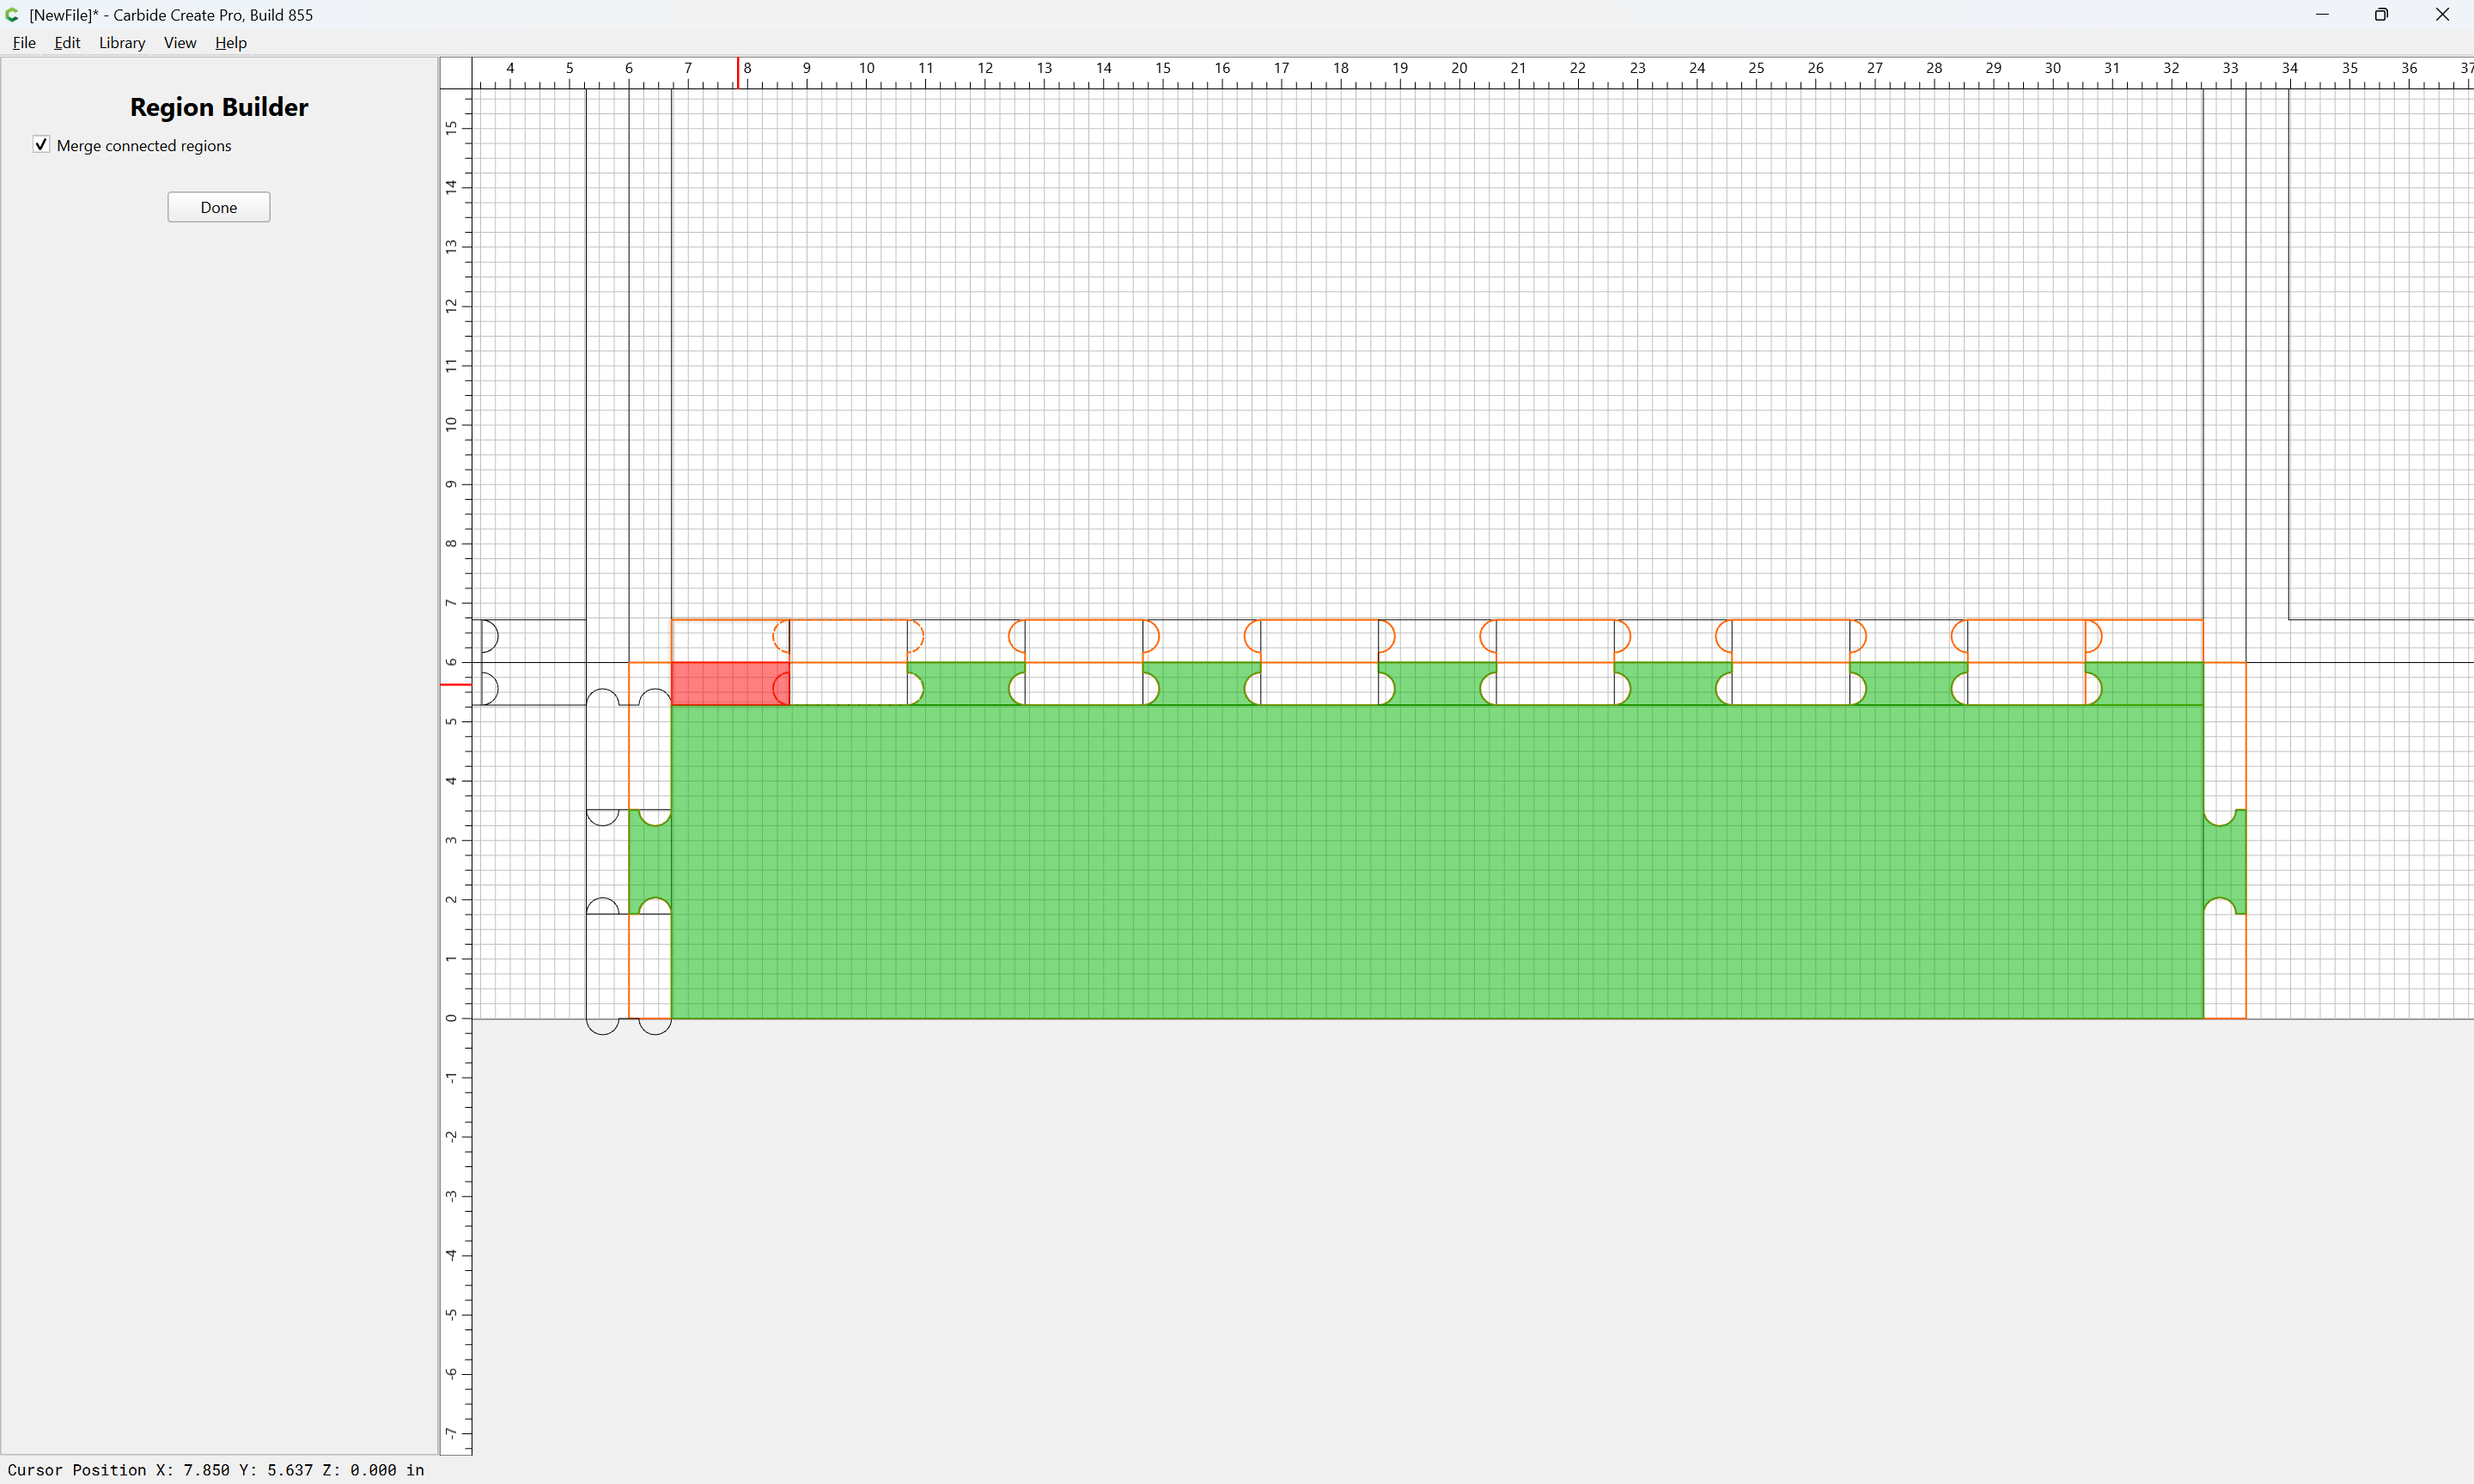
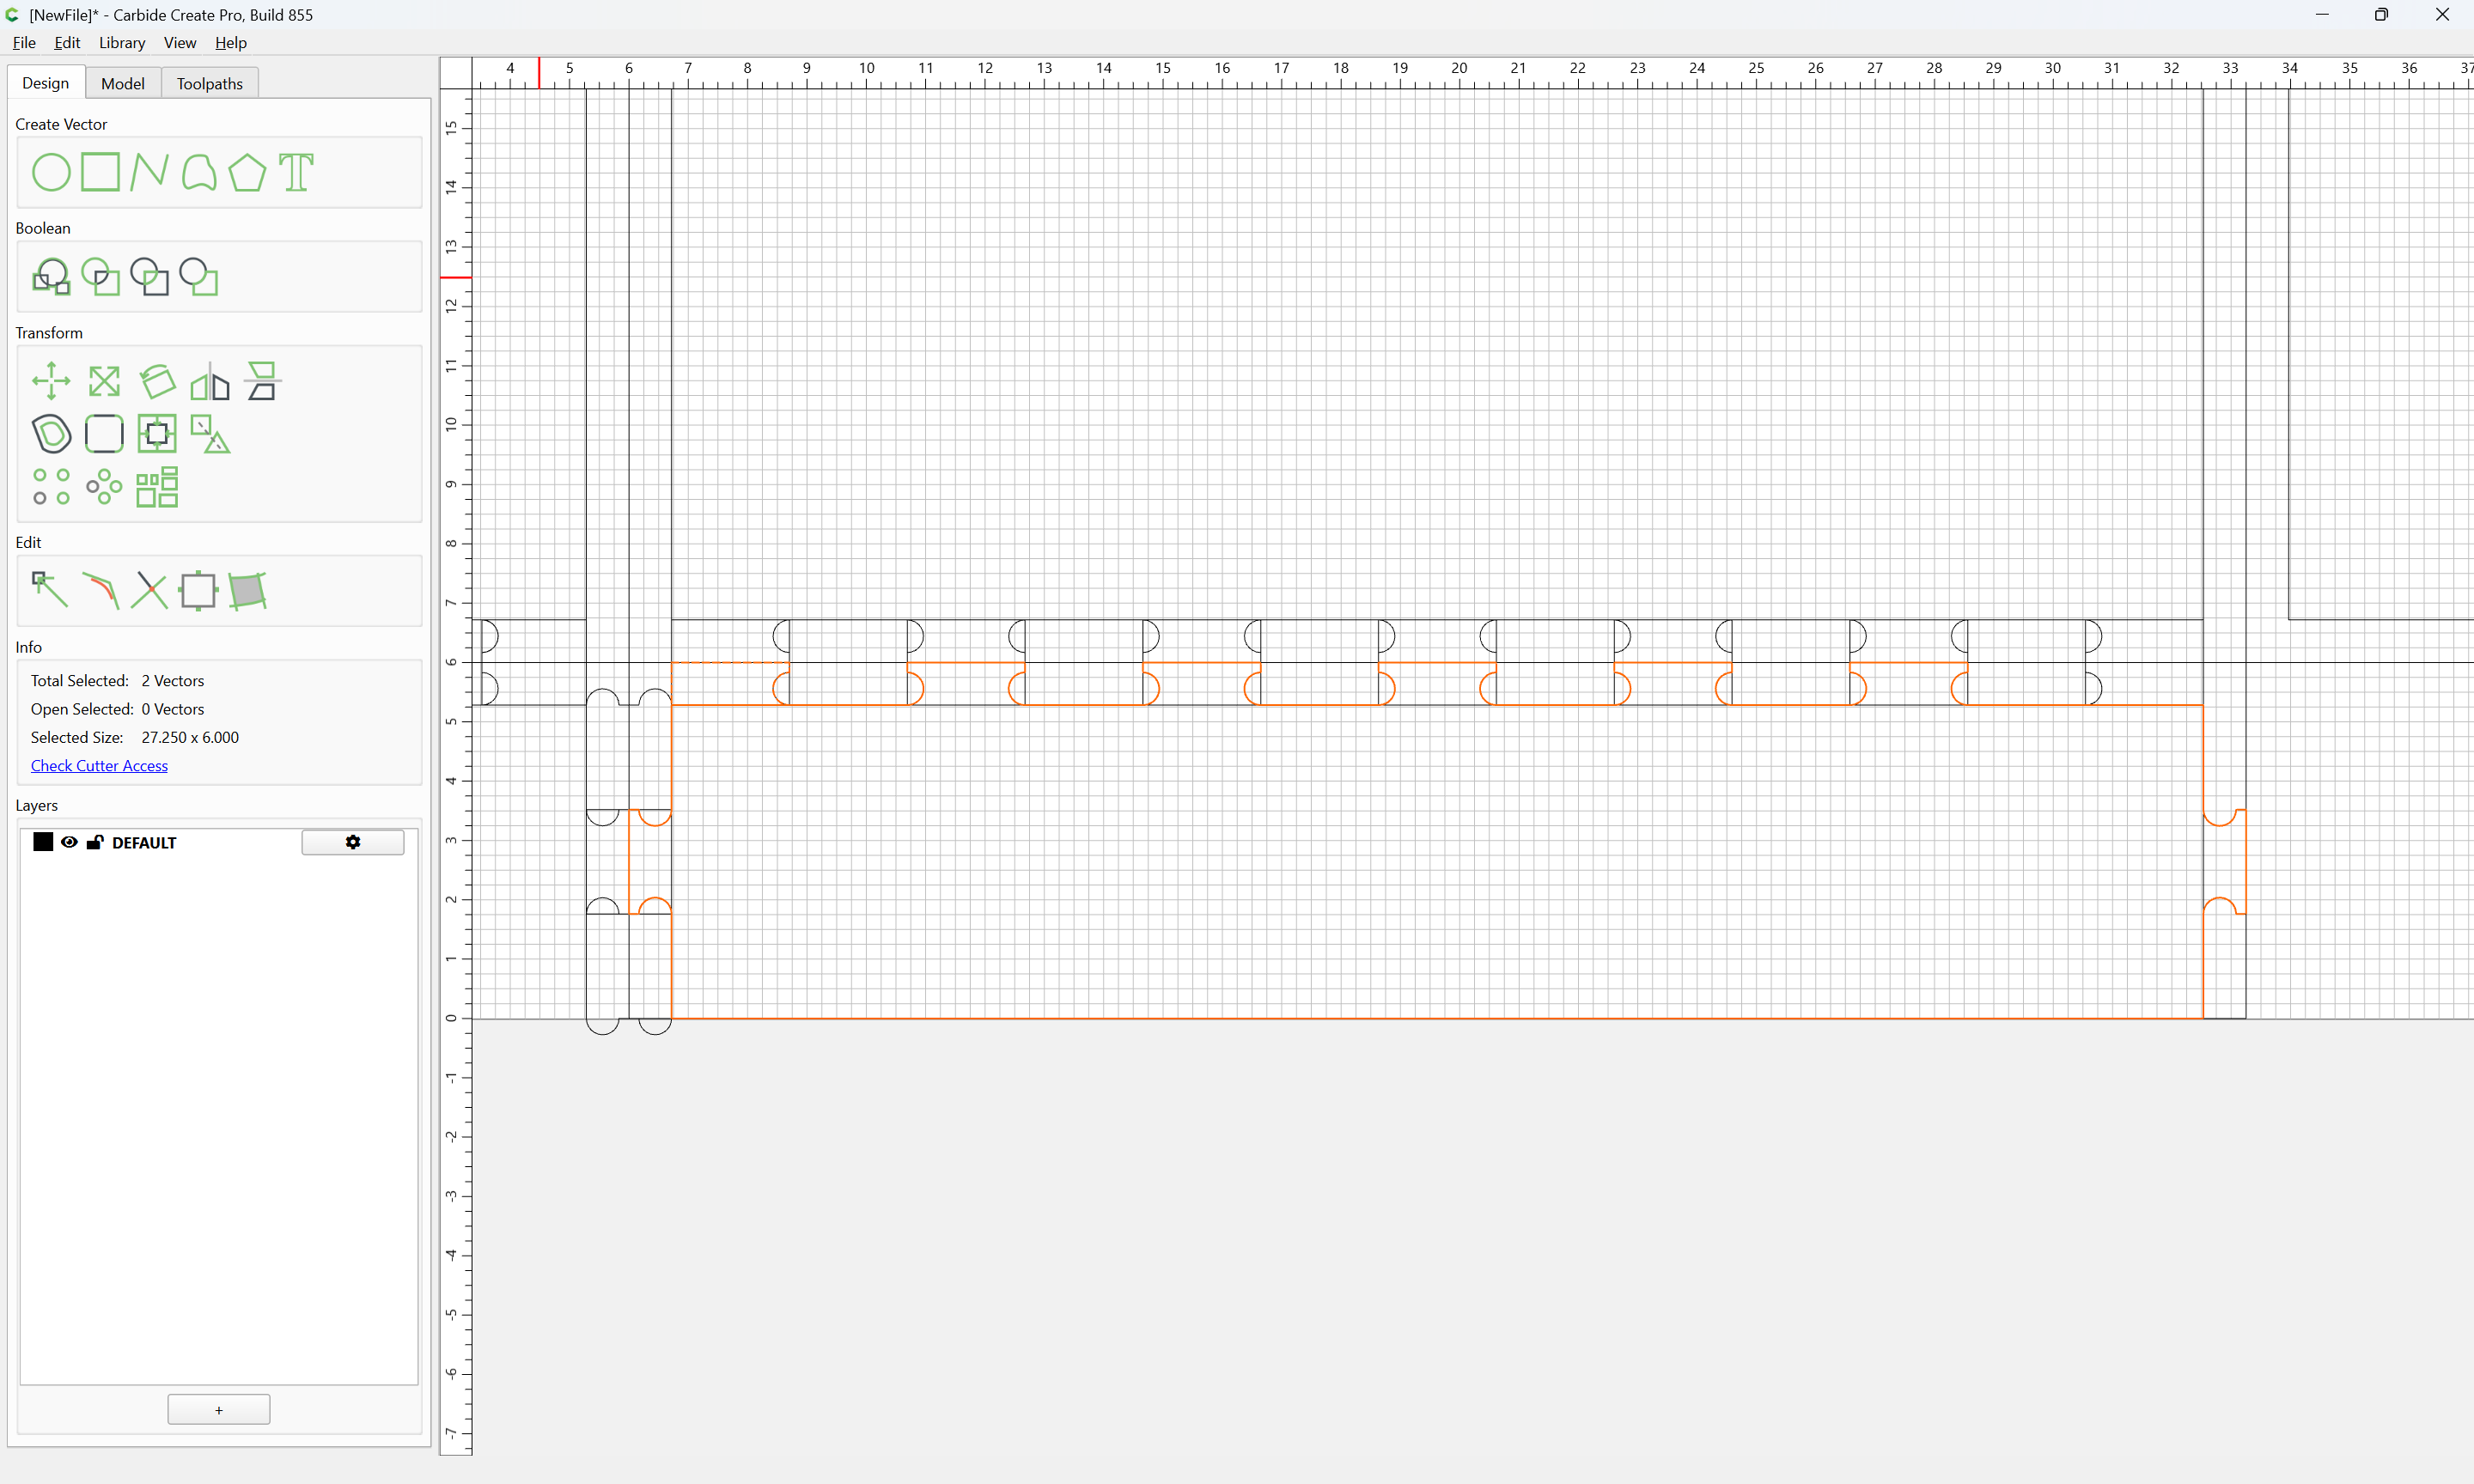
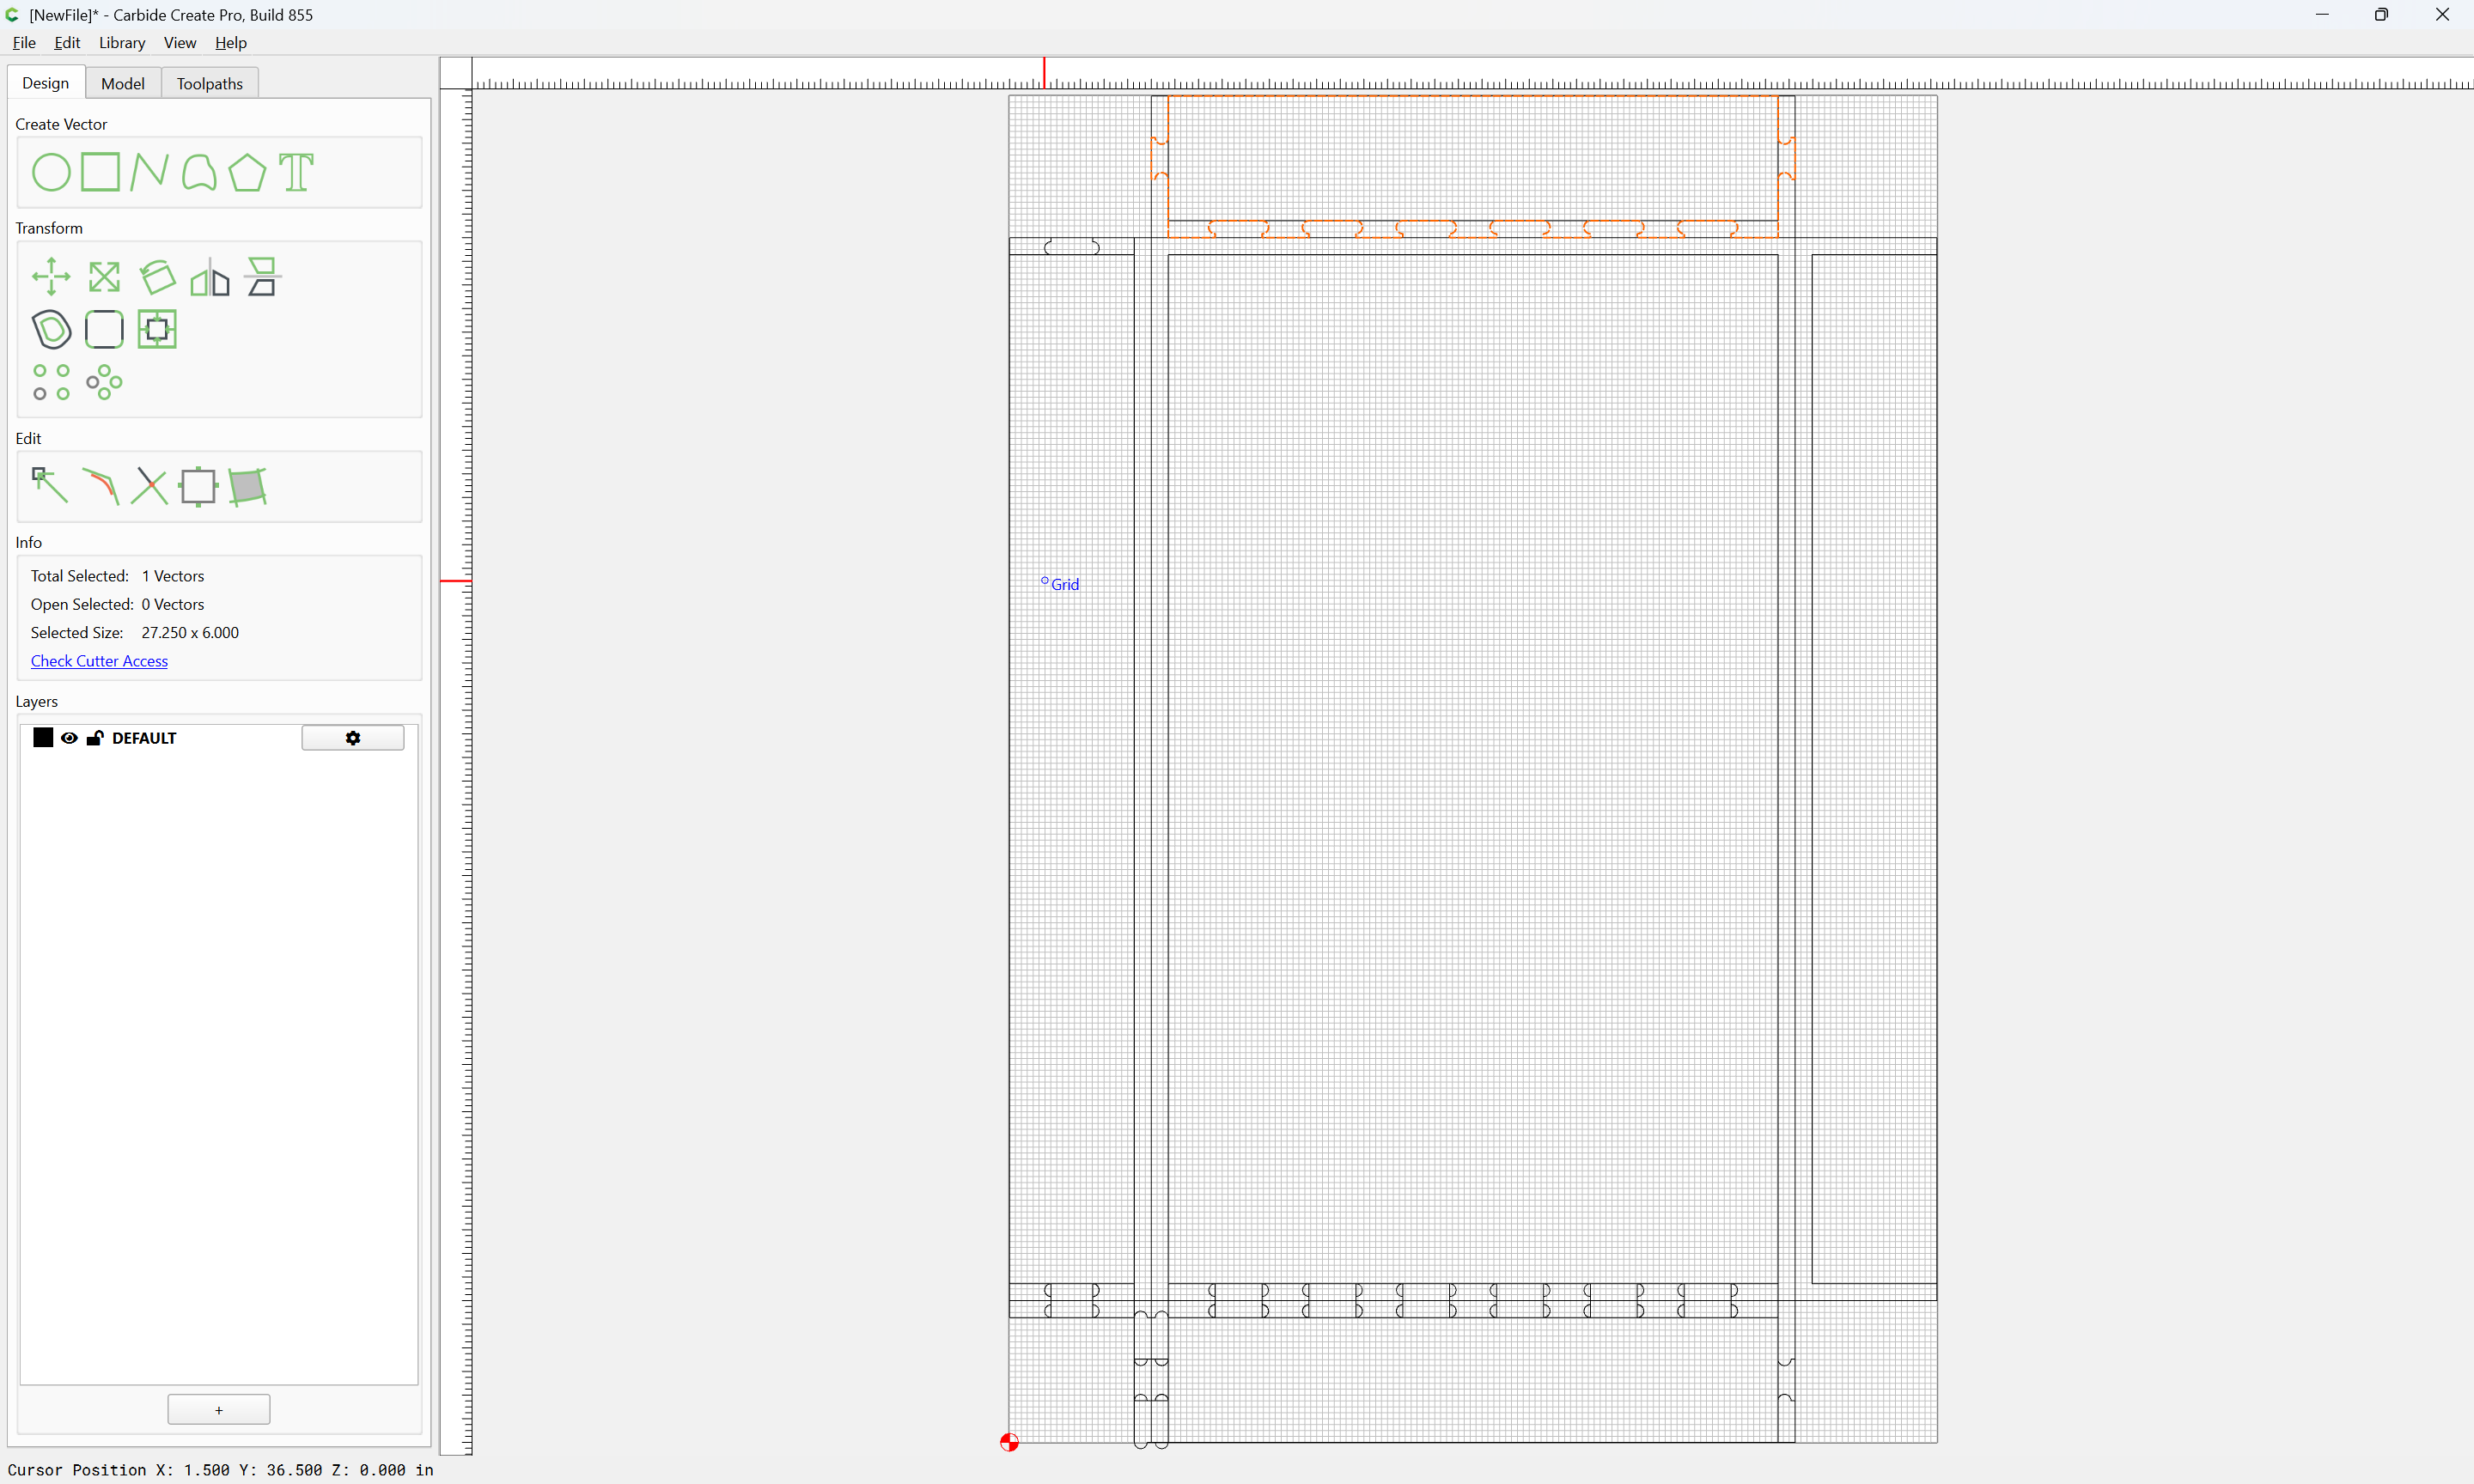
and drag into alignment and then use Region Builder:
Yes
Done
Repeat for the other edges using appropriate divisions.
1 Like
WillAdams
August 21, 2026, 1:33am
4
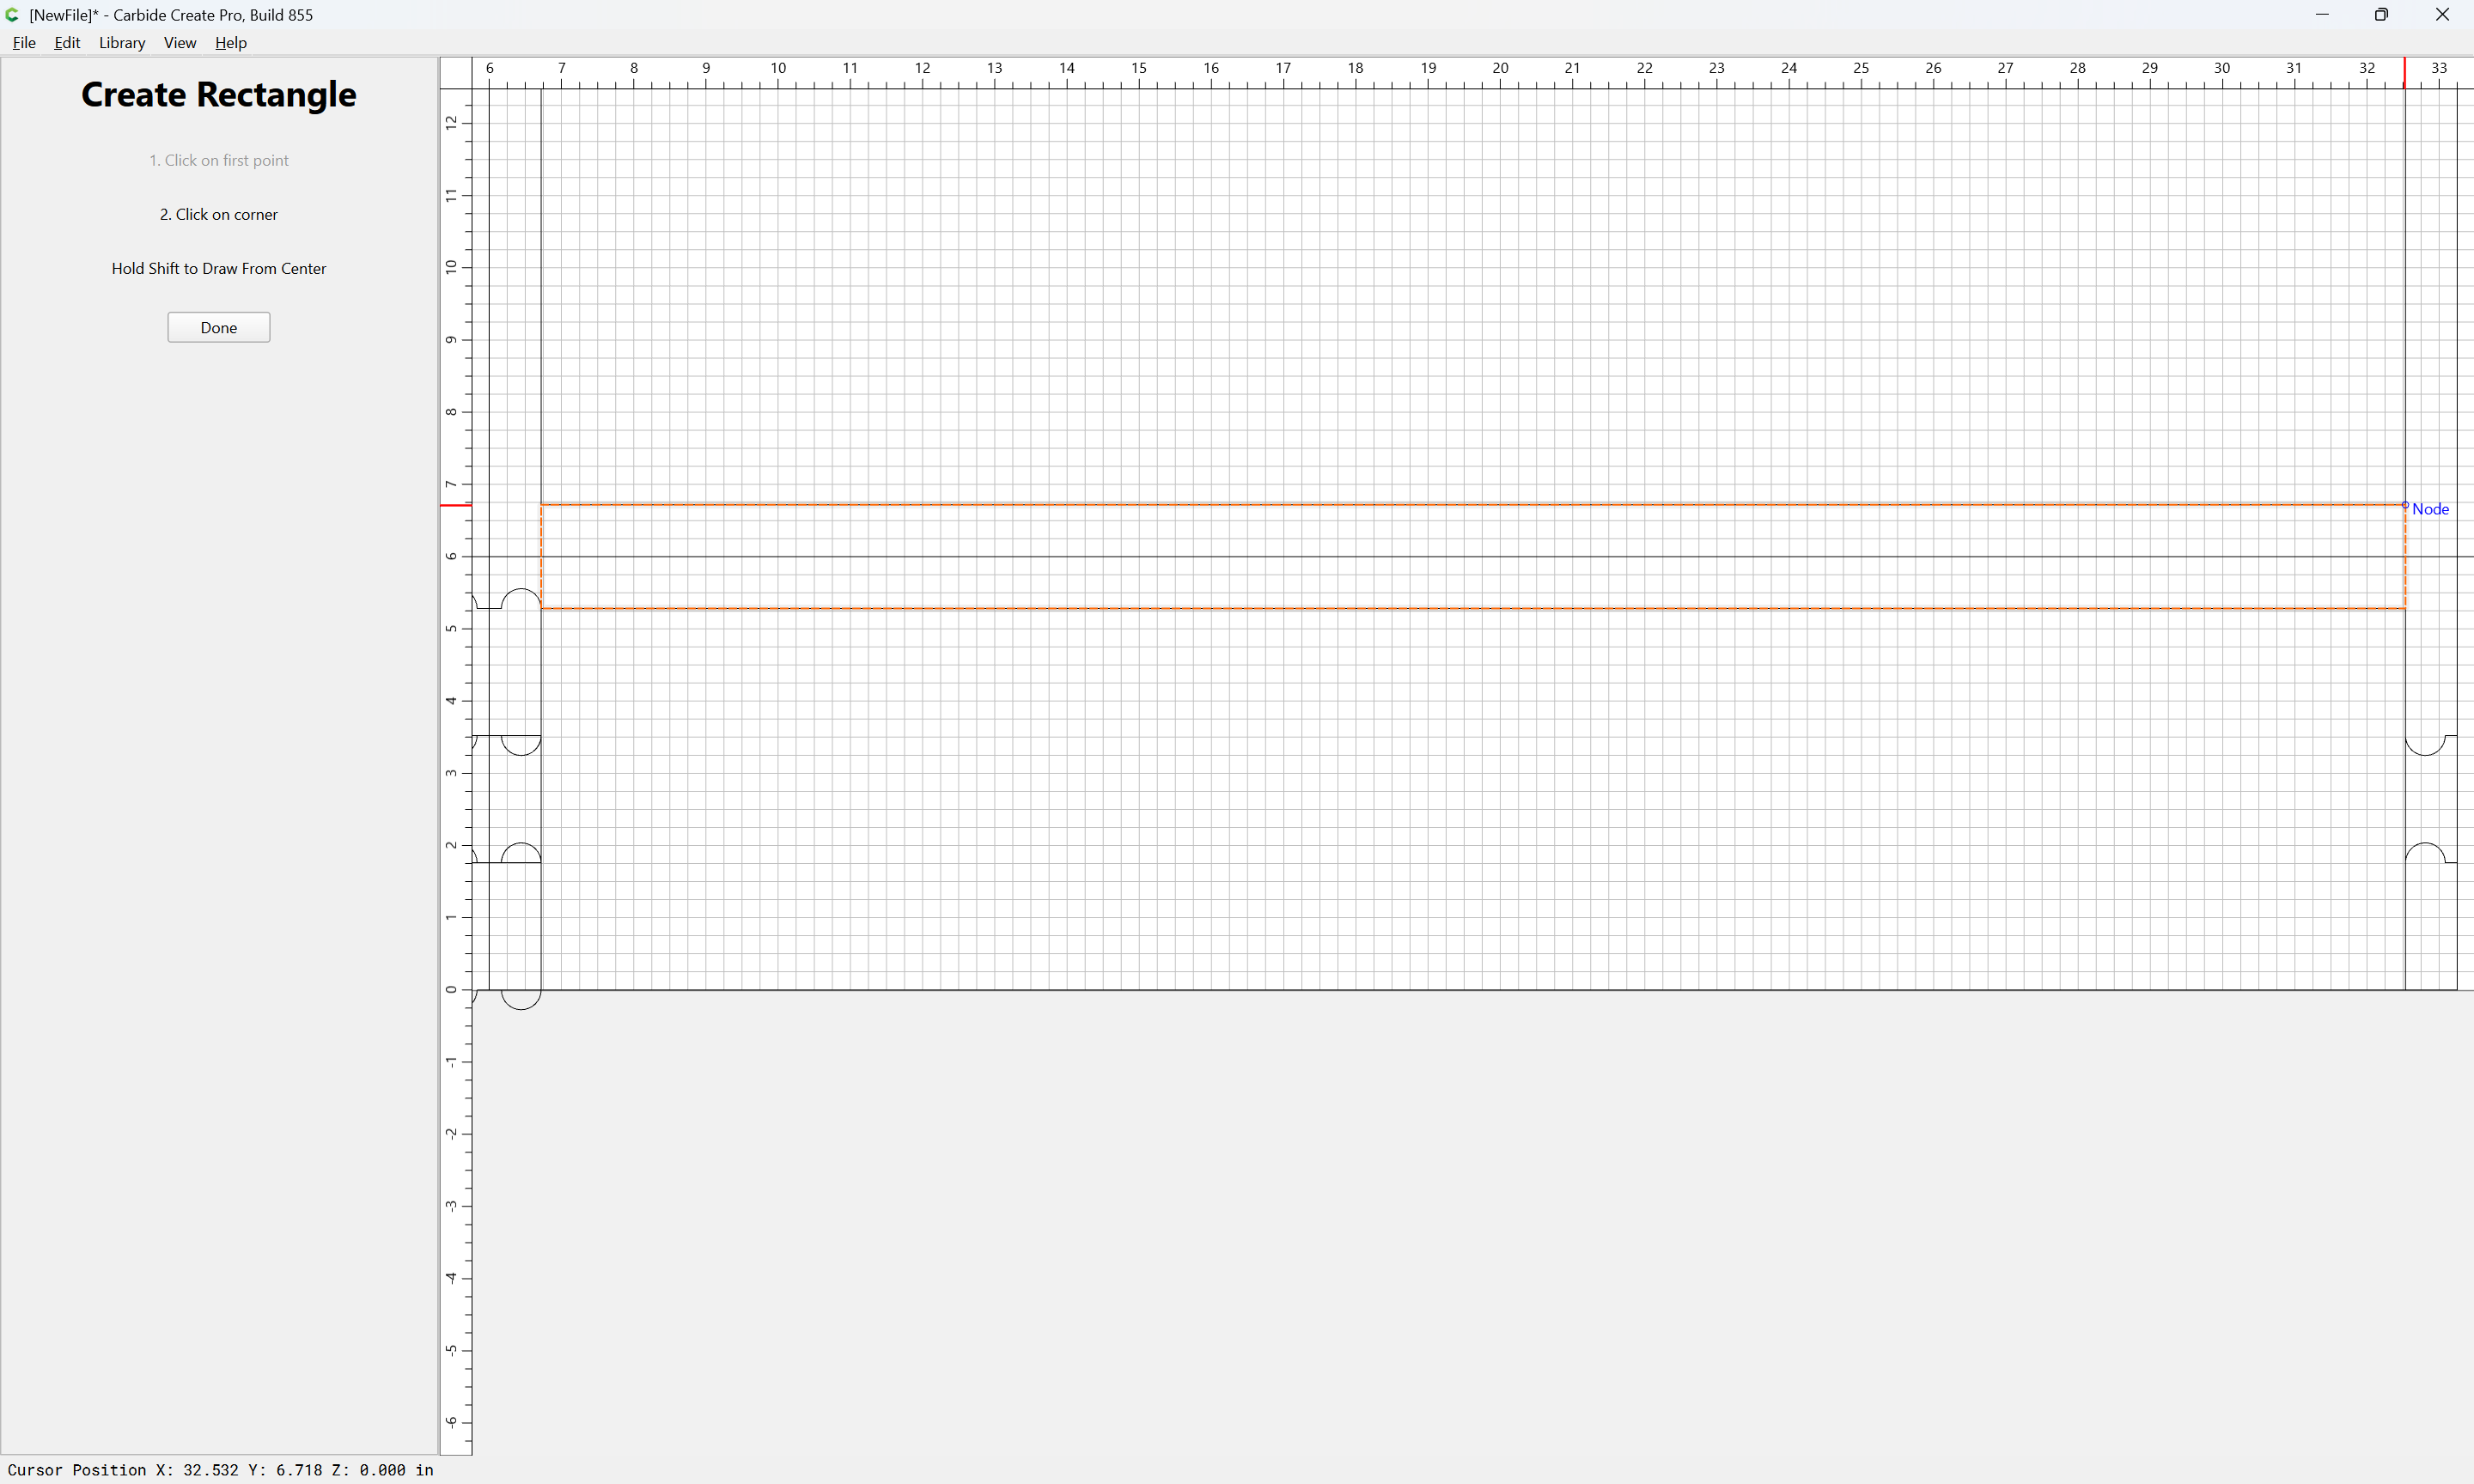
Draw geometry which describes the region which one wishes to fill with joinery:
and then divide by the desired number of joinery units:
and drag into alignment:
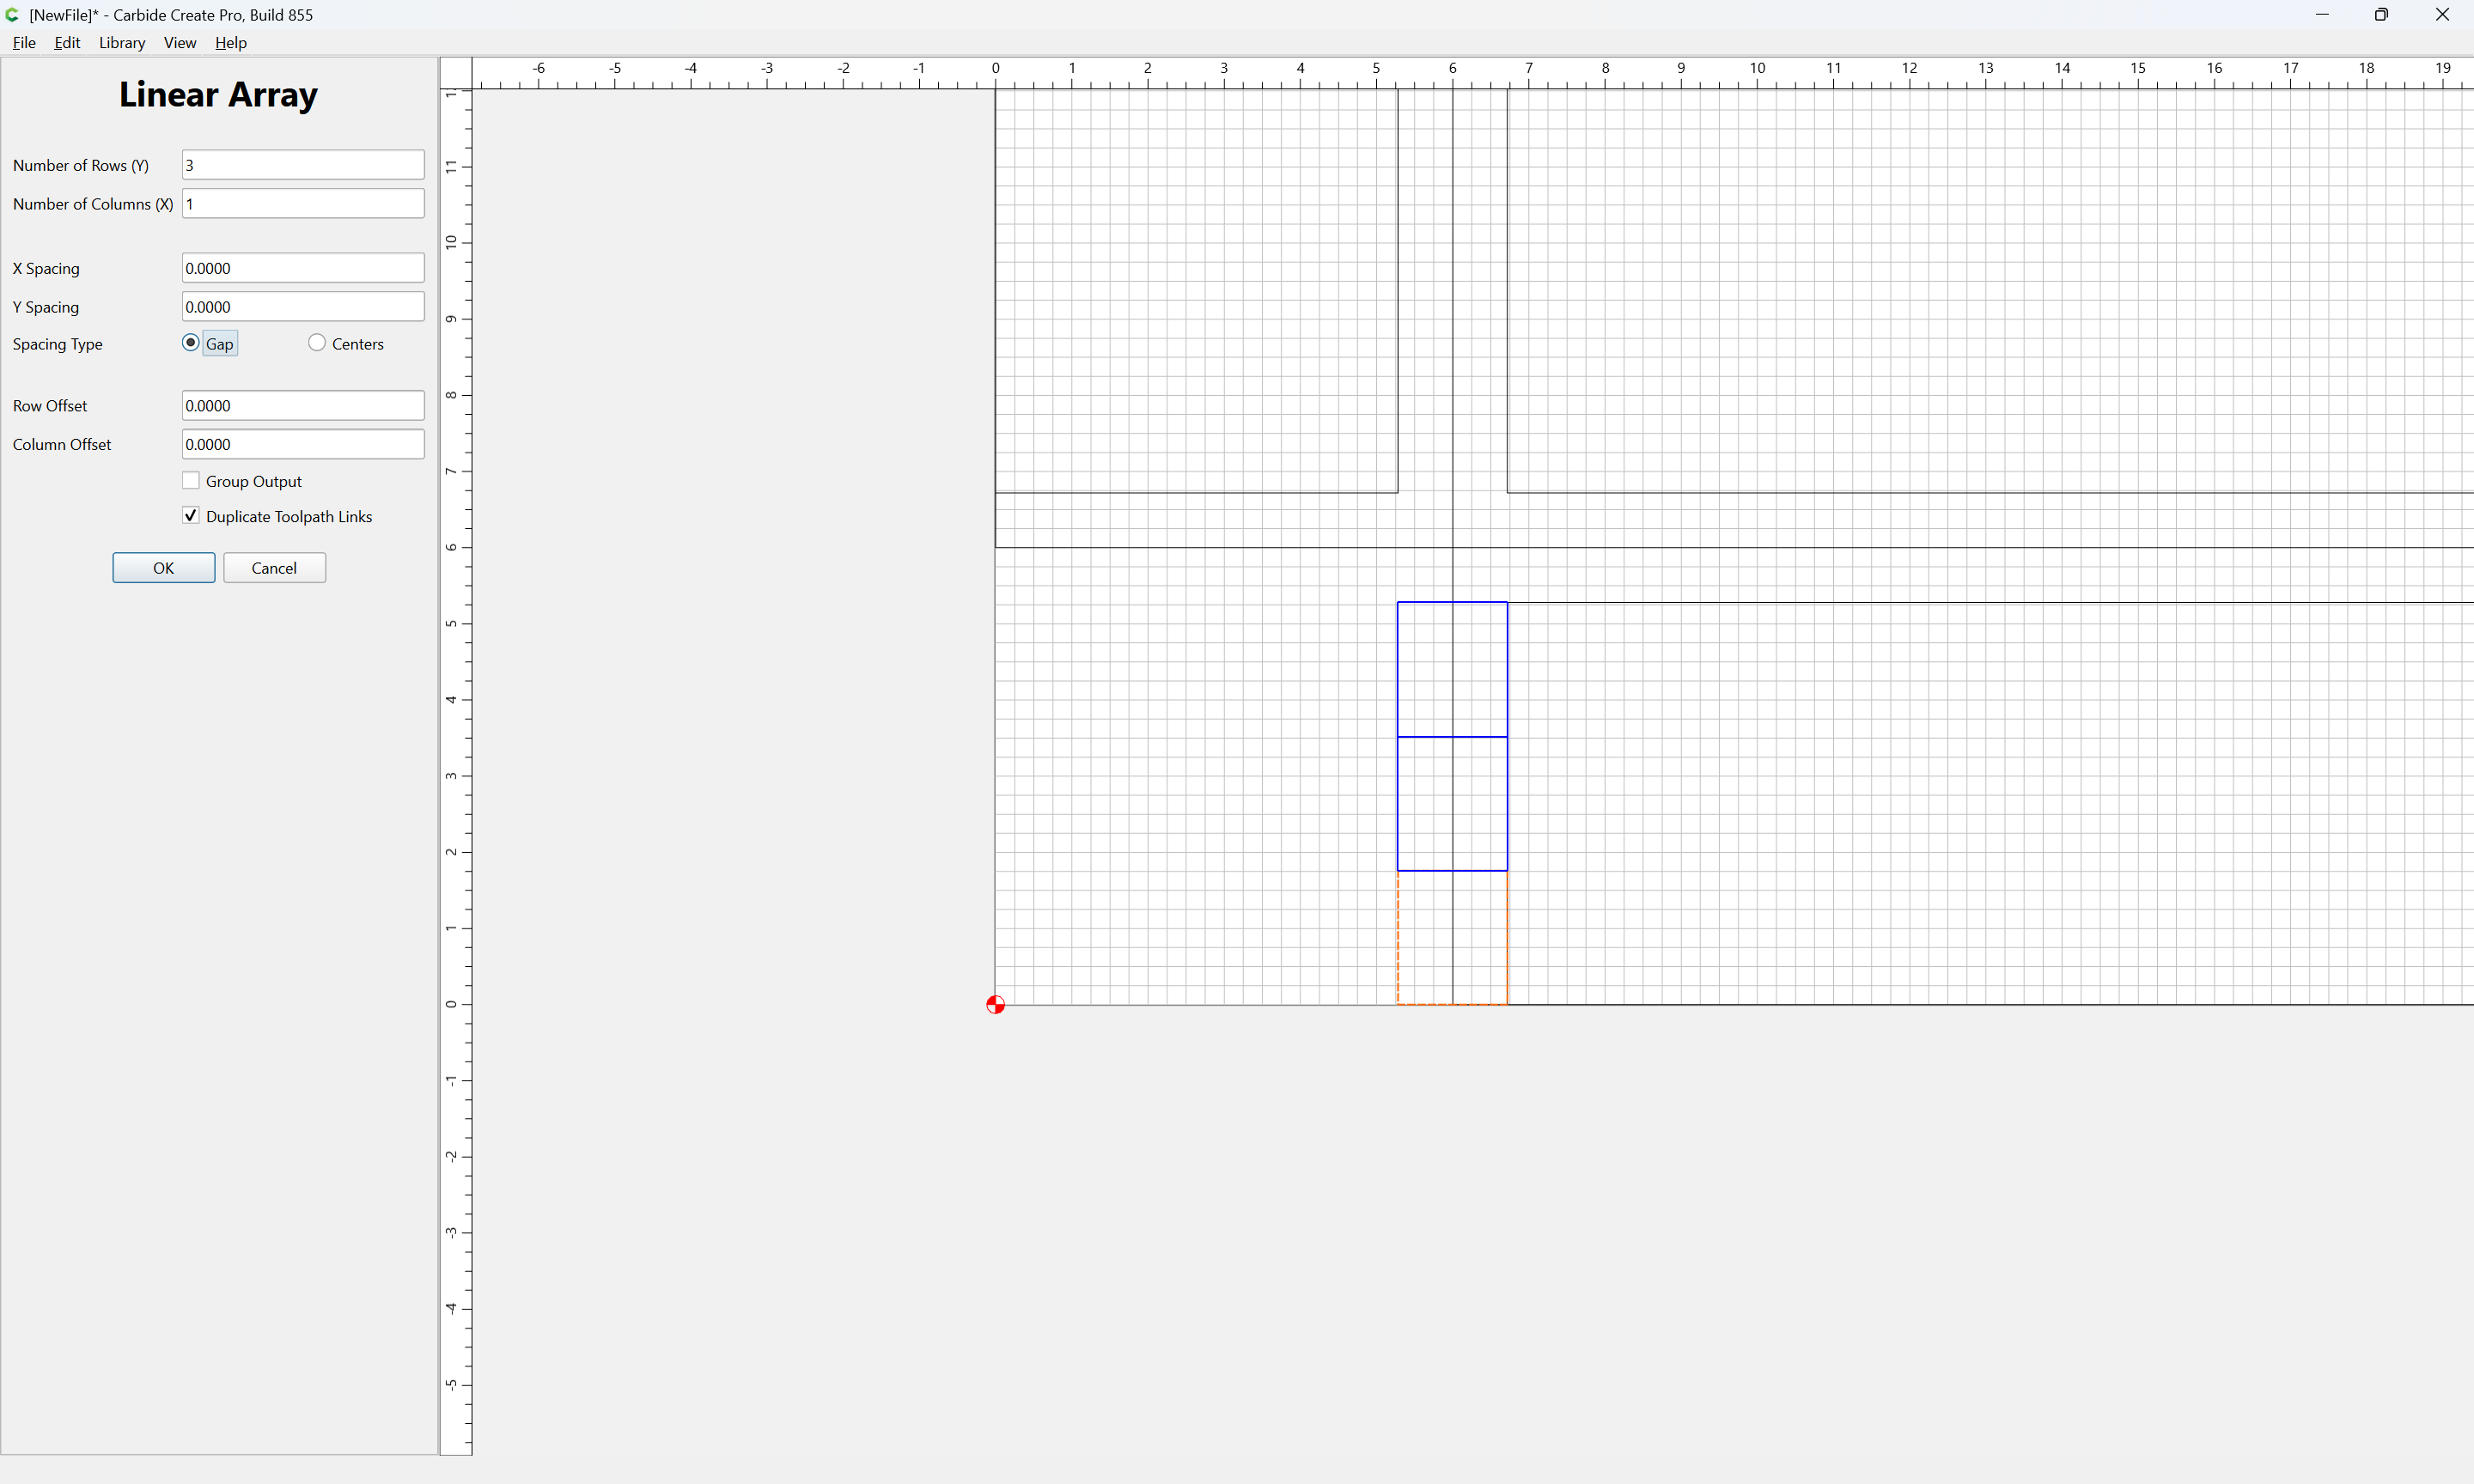
Then use Linear Array:
to replicate as desired
OK
As before, every other rectangle will need to have T-bones added:
but because they are directional it will be necessary to swap the rectangle dimensions:
and then after adding the Tees, rotate
Done
and then duplicate and position as appropriate.
Then select all the geometry to be used for the top/bottom:
and use Region Builder to construct the desired geometry:
Yes
If a region won’t allow adding as desired, finish the operation and then mirror or otherwise adjust the selection/geometry to arrive at the desired result
Done
Once finished a part may be duplicated:
Mirrored
and moved into alignment:
OK
Repeat for the vertical joinery, adjusting for the need to fill in the back corners along the sides.
1 Like
andygstreet
August 21, 2026, 2:06am
5
Have you tried gcrafter ? it would do all this for you in about 2 minutes. Adjust your bit size on the fly, change finger sizes in all dimensions. Dogbones, T-Bones. You can get a free account to just make boxes.
WillAdams
August 21, 2026, 2:23am
6
That would cost $15/month if used for commercial work, and I’ve covered using other free tools for this sort of thing at:
I also don’t see that it includes dog or tee-bones, which was the crux of the request.
That said, if I wanted to use a program, I’d use my own:
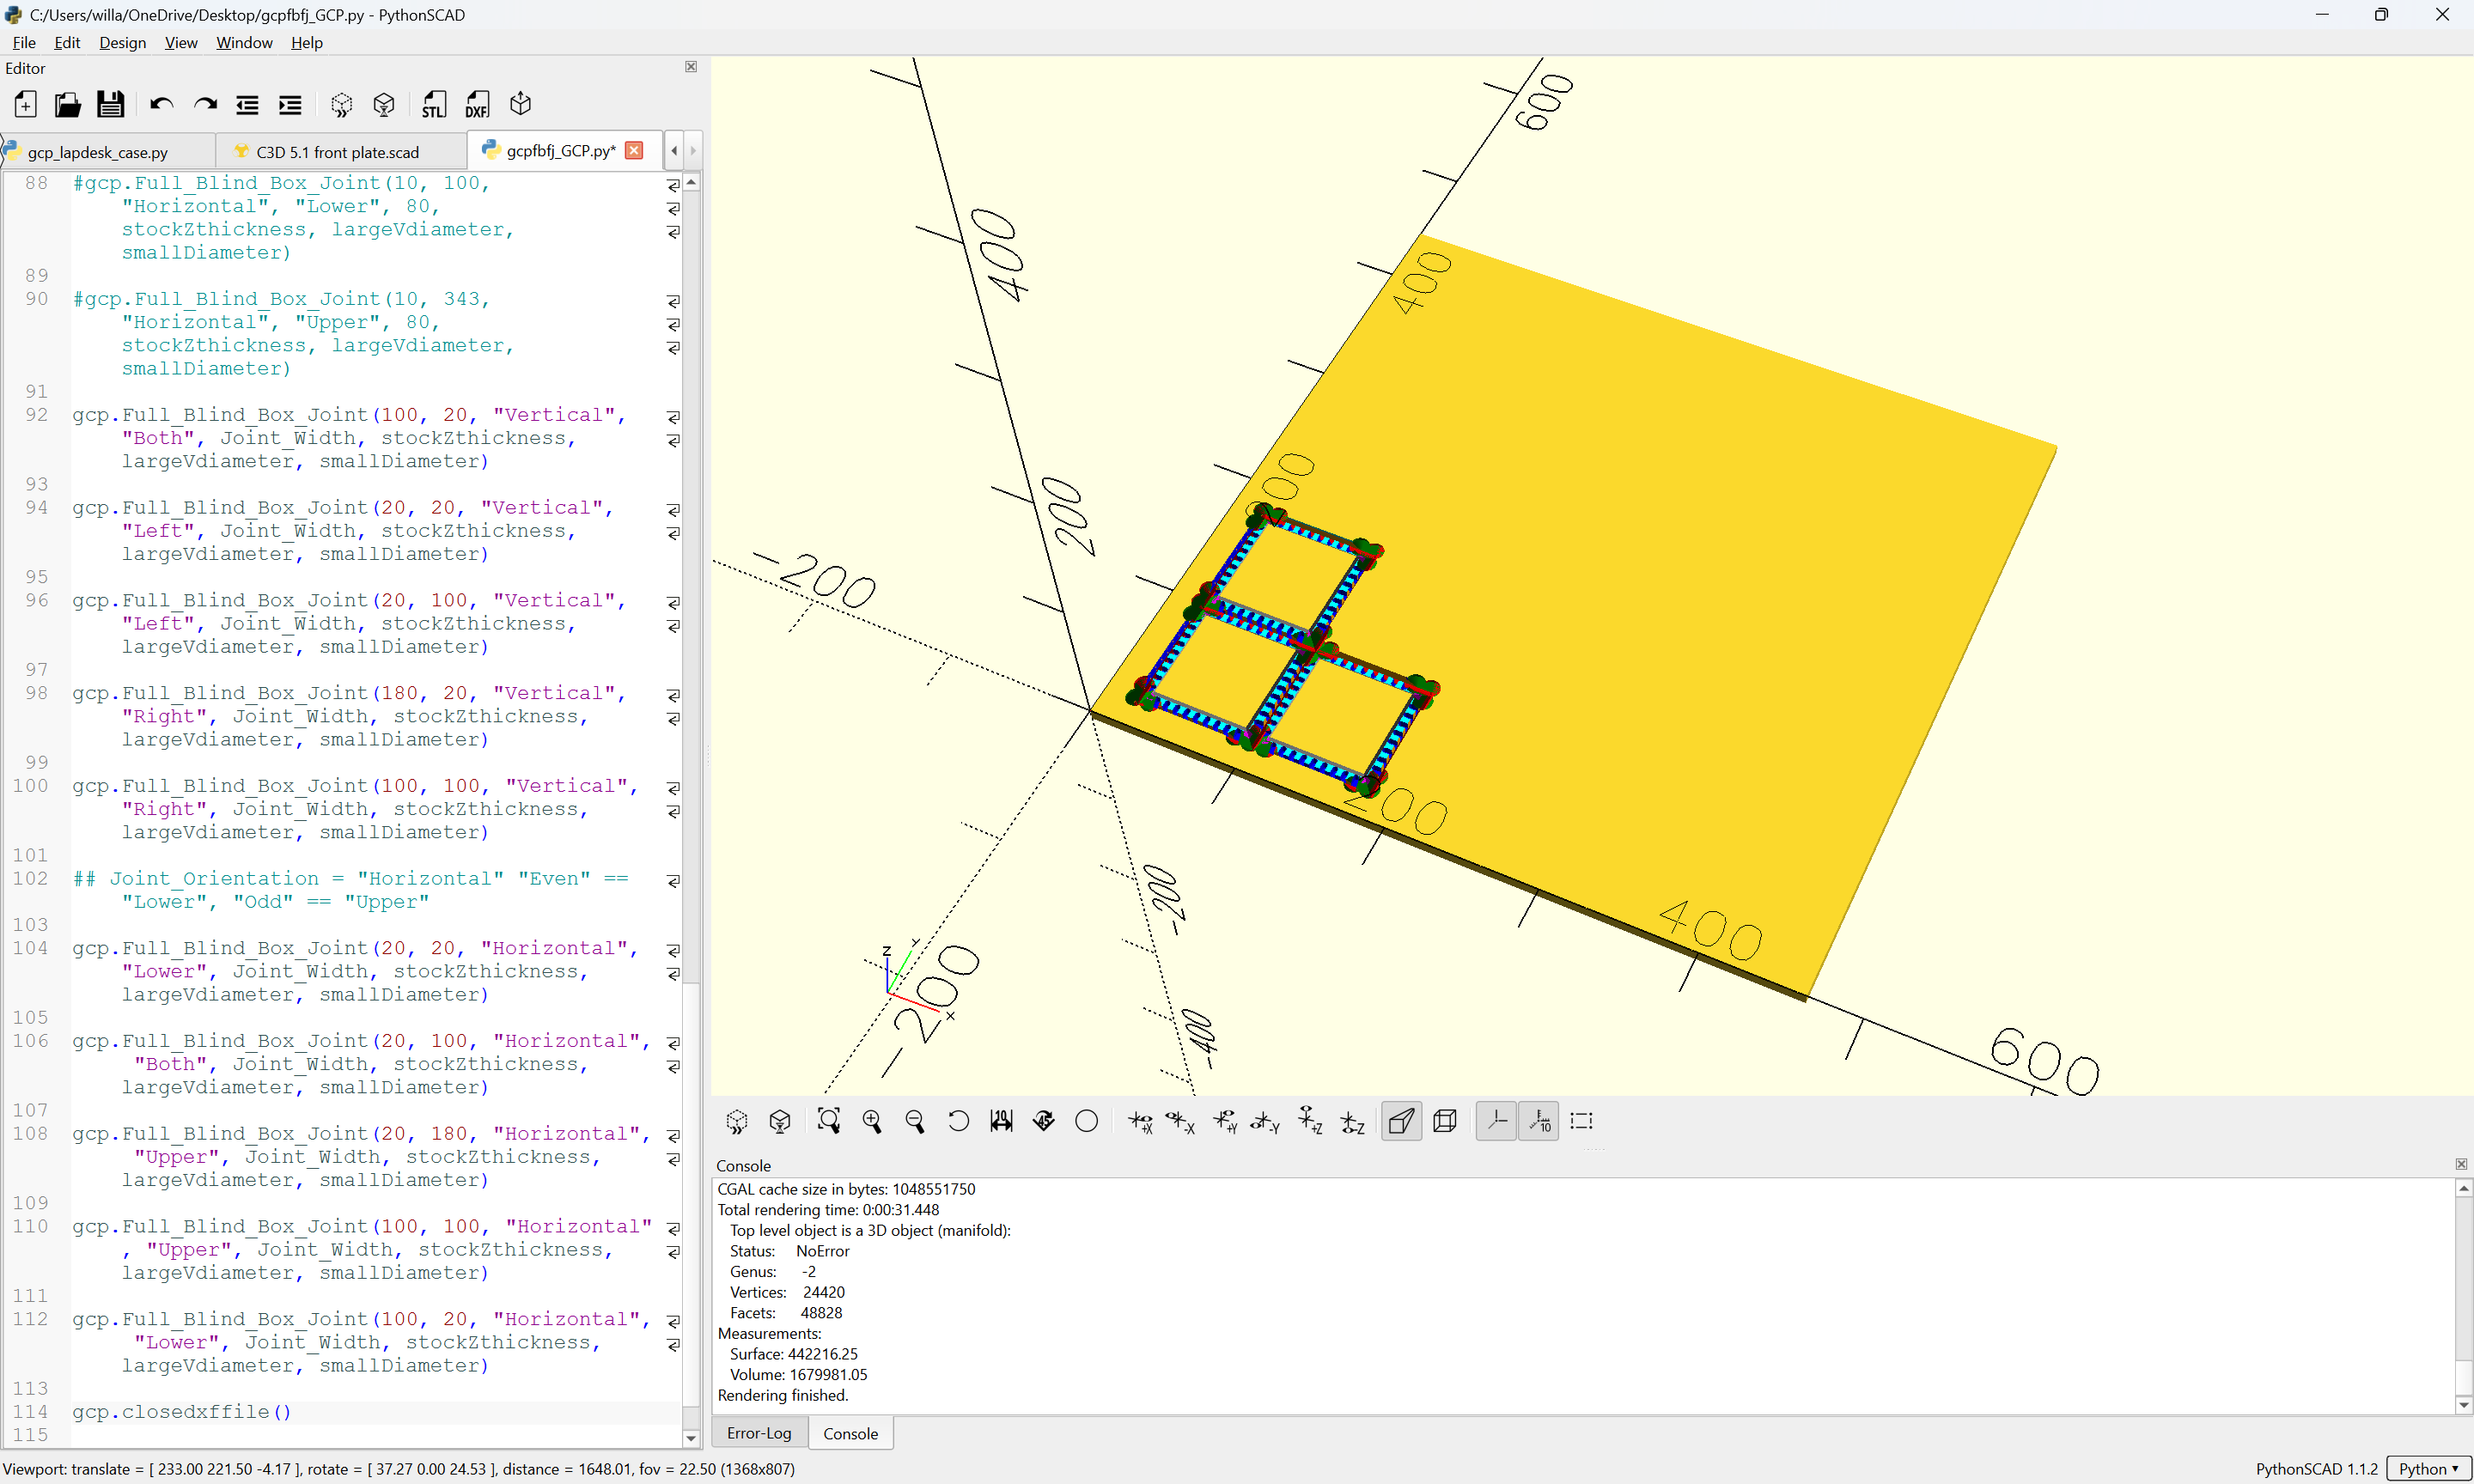
OpenPythonSCAD library for moving a tool in lines and arcs so as to model how a part would be cut using G-code or described as a DXF.
and do full-blind box joints:
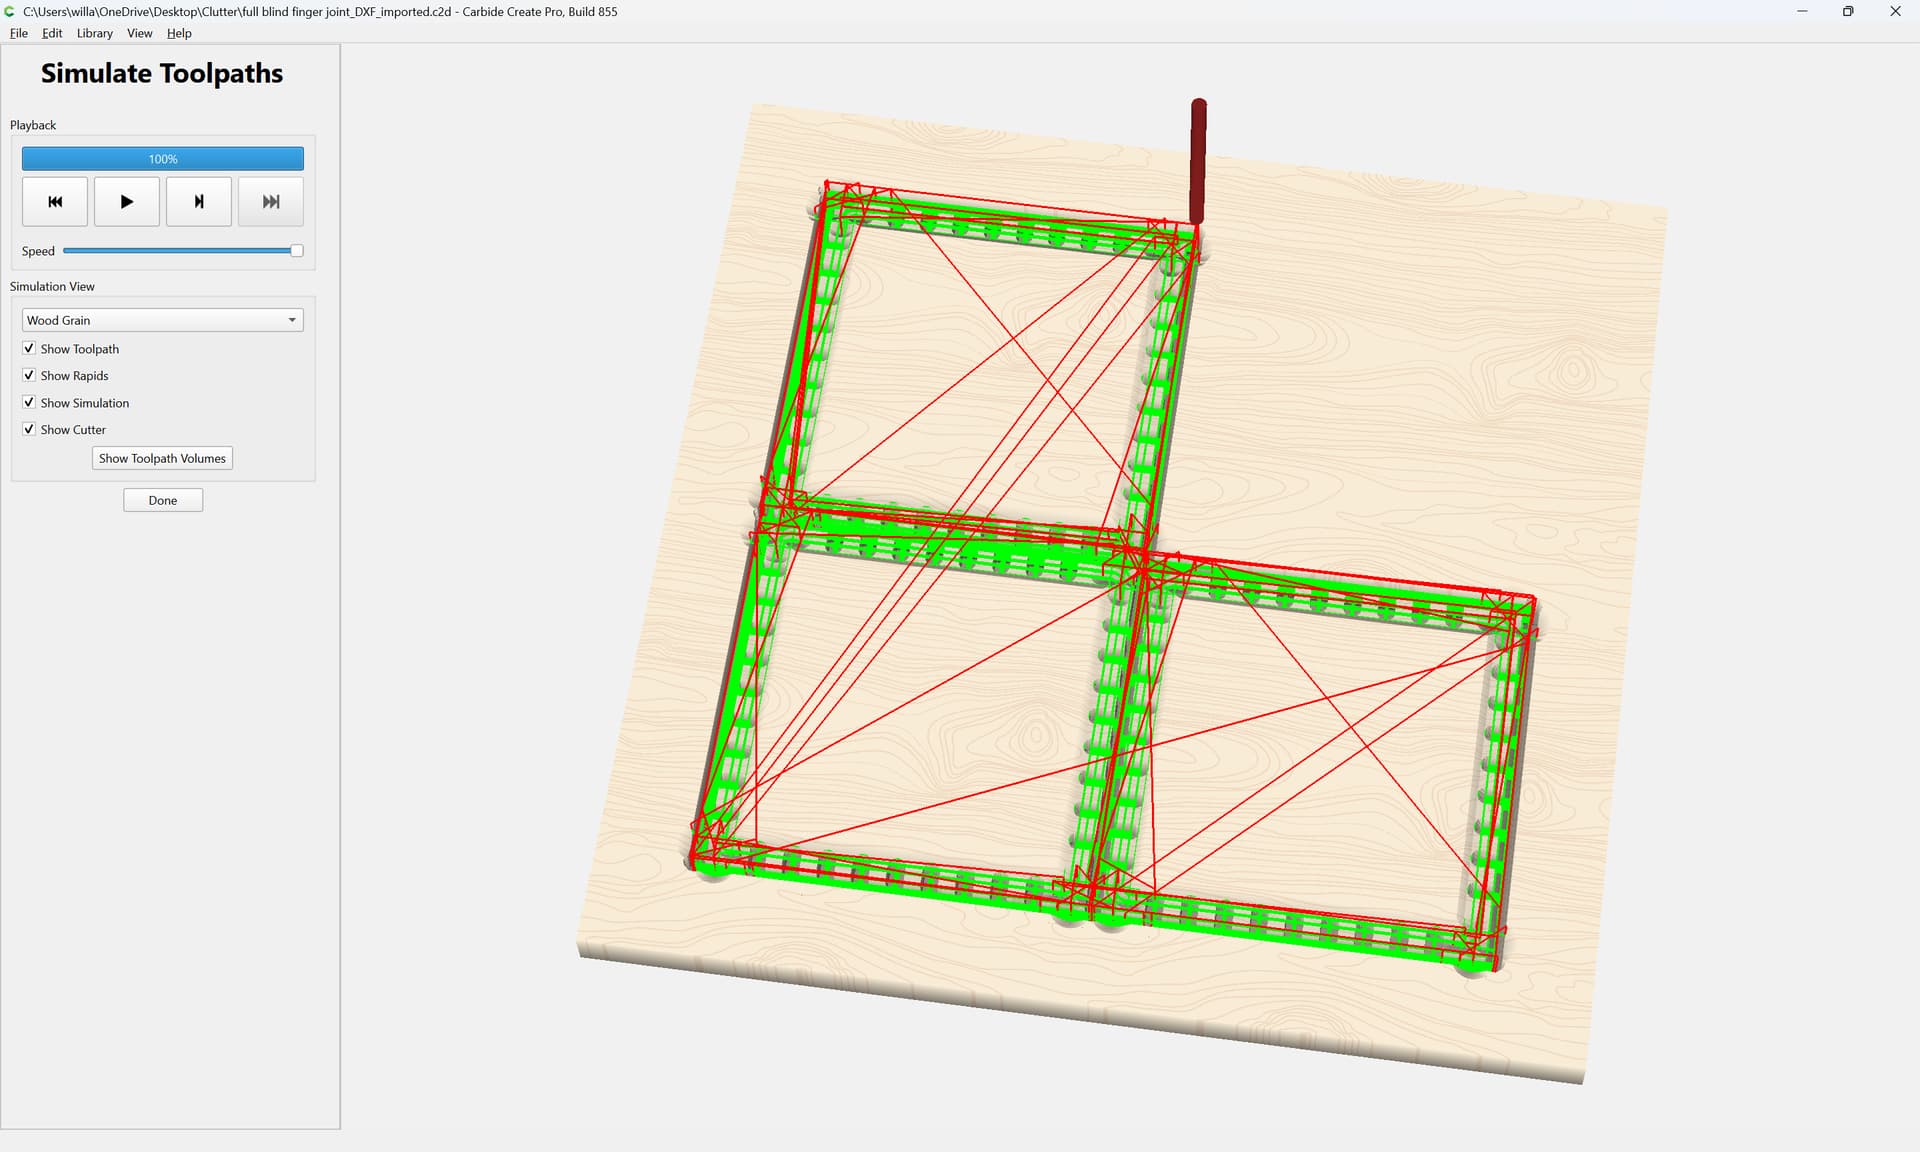
for which I have a matching .c2d template file which imports the resultant DXF:
c.f.,
Hi Will, I know this is an old post. The link is dead now to “blockscad3d.com ”. Any chance the plans are somewhere else? I’d love to do a box like this!
3 Likes
erica
August 21, 2026, 3:31pm
7
Has anyone tried using boxes.py to create the box? I have used it with my lasers and you can set the kerf and export the file as a dxf. I tried designing one there and it imported into CC properly, but I did not try to cut it out.
WillAdams
August 21, 2026, 5:04pm
8
My understanding is that it is like:
https://www.makercase.com/
as used at:
and it doesn’t have an option for dog or tee-bones (being intended for lasers), so won’t work with a reasonably-sized tool (read something significantly larger than a laser).
andygstreet
August 22, 2026, 8:55pm
9
Your technique for fingers is pretty cool. I’ve been thinking about how to do that in a automated way. Like start with the base part, with a curved fingers, then create the STL that matches all the fingers for that part face, you can drop on top in Carbide create to do the machining. Something for another day.
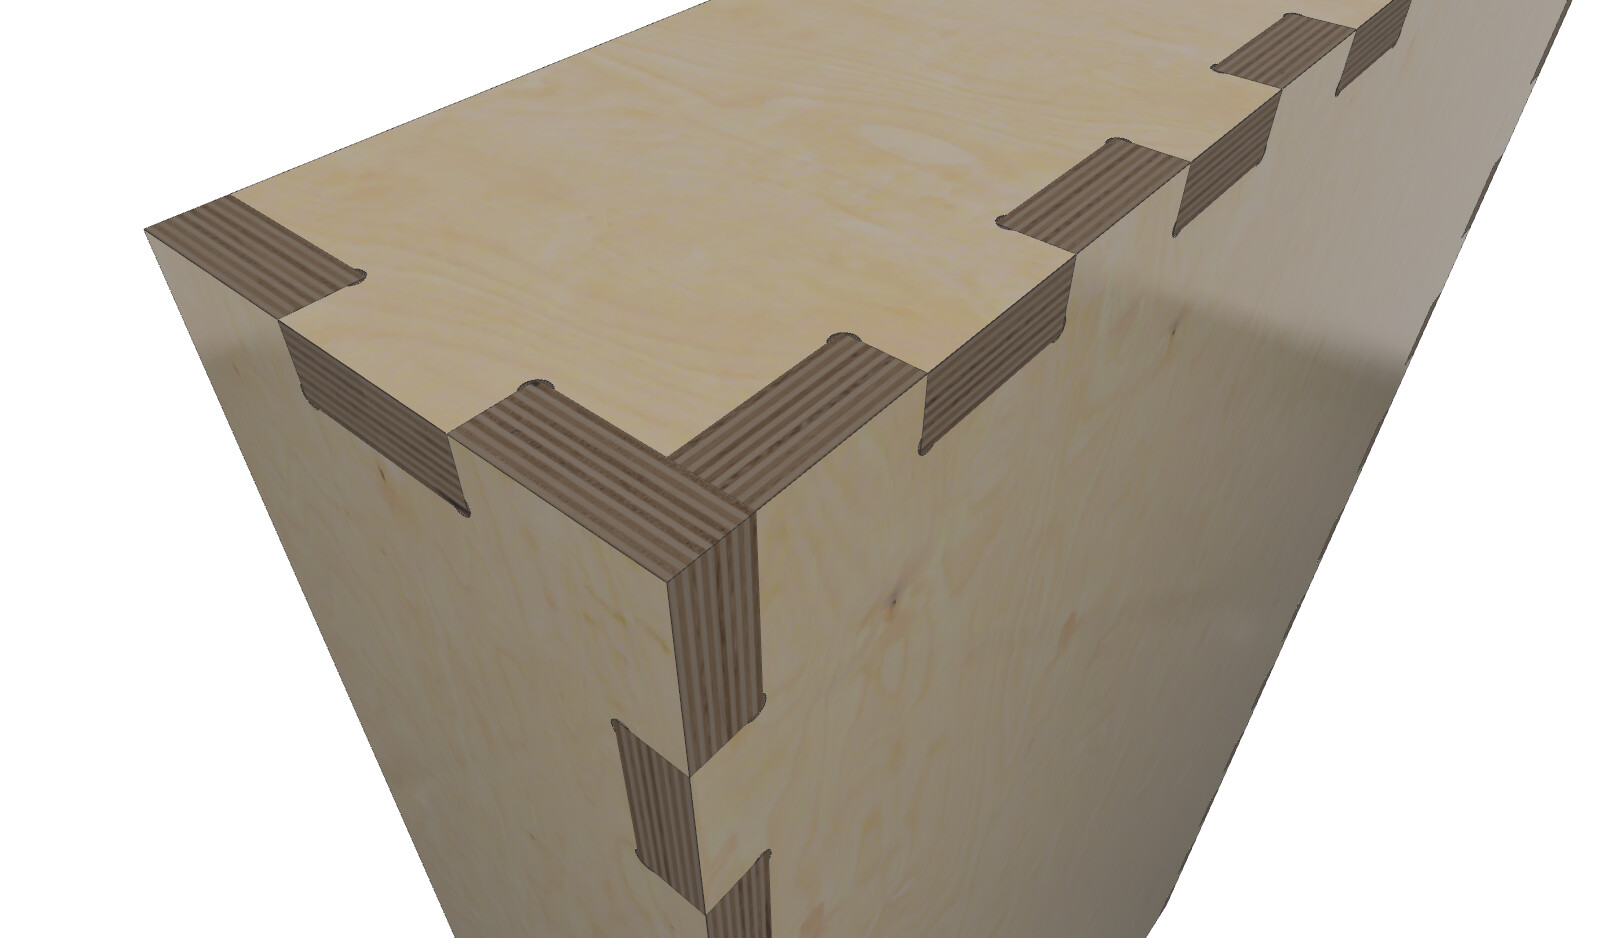
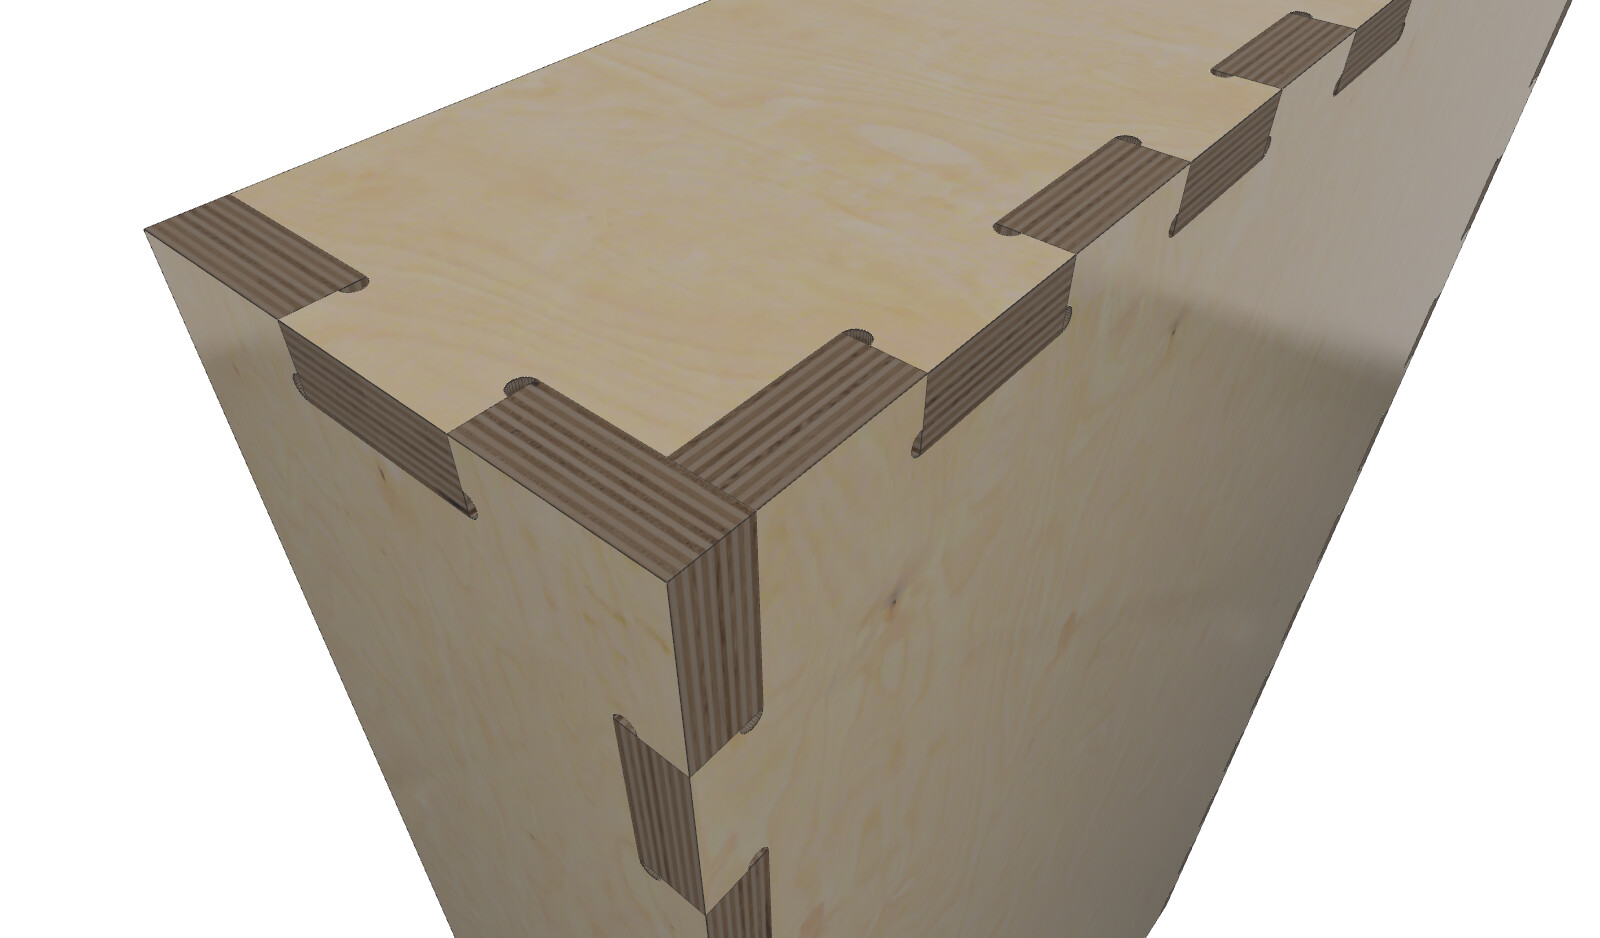
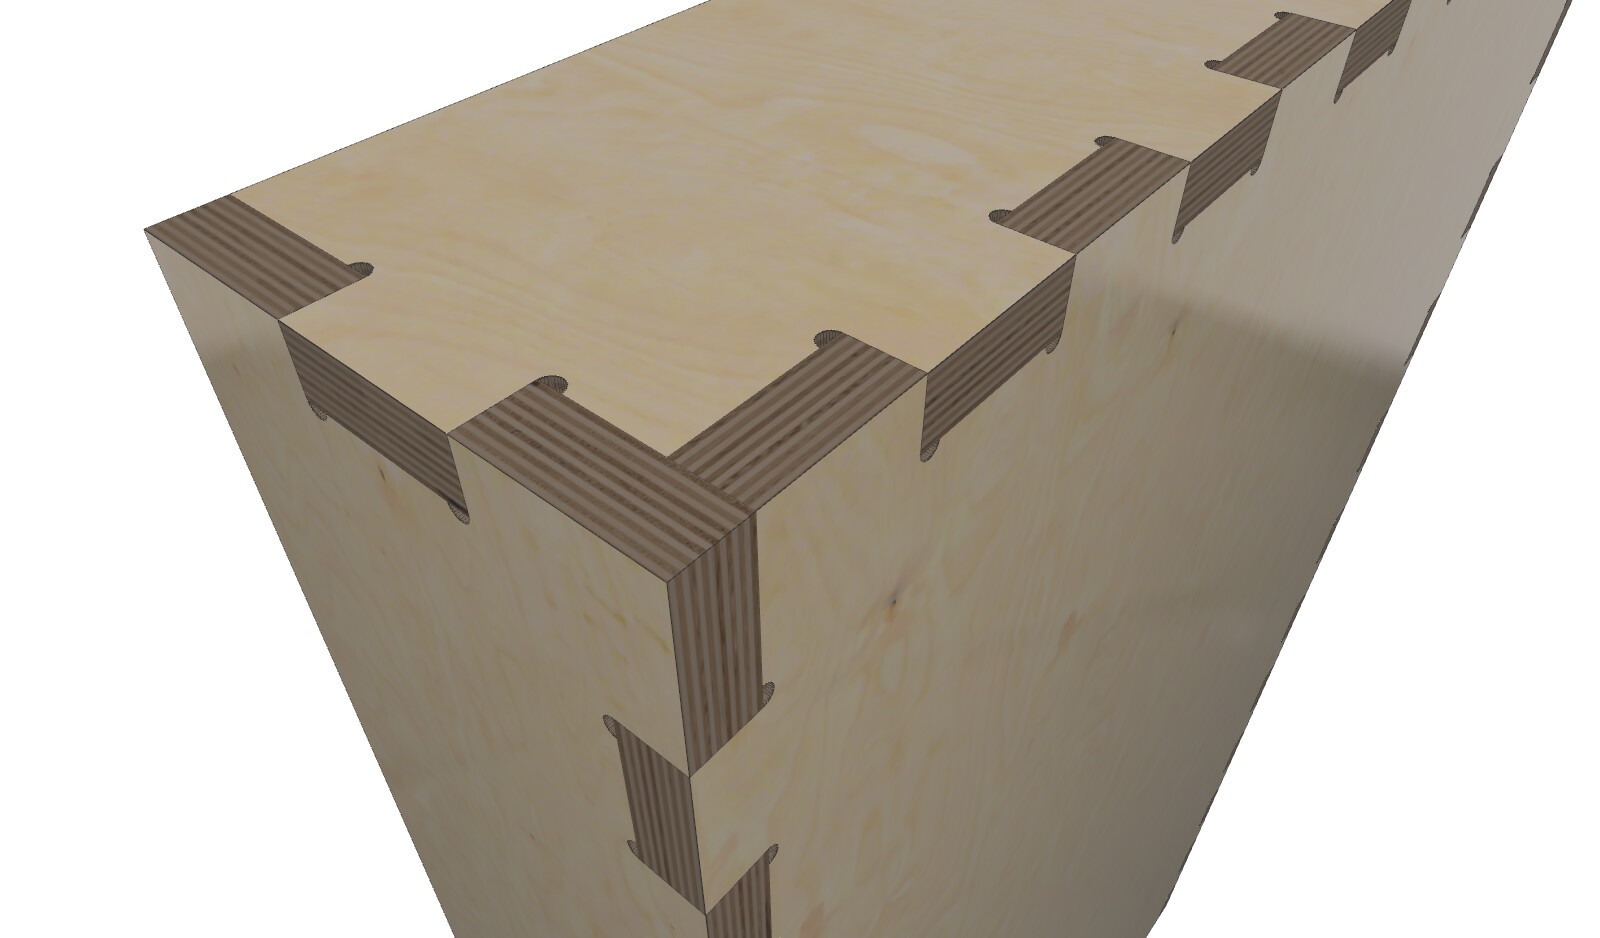
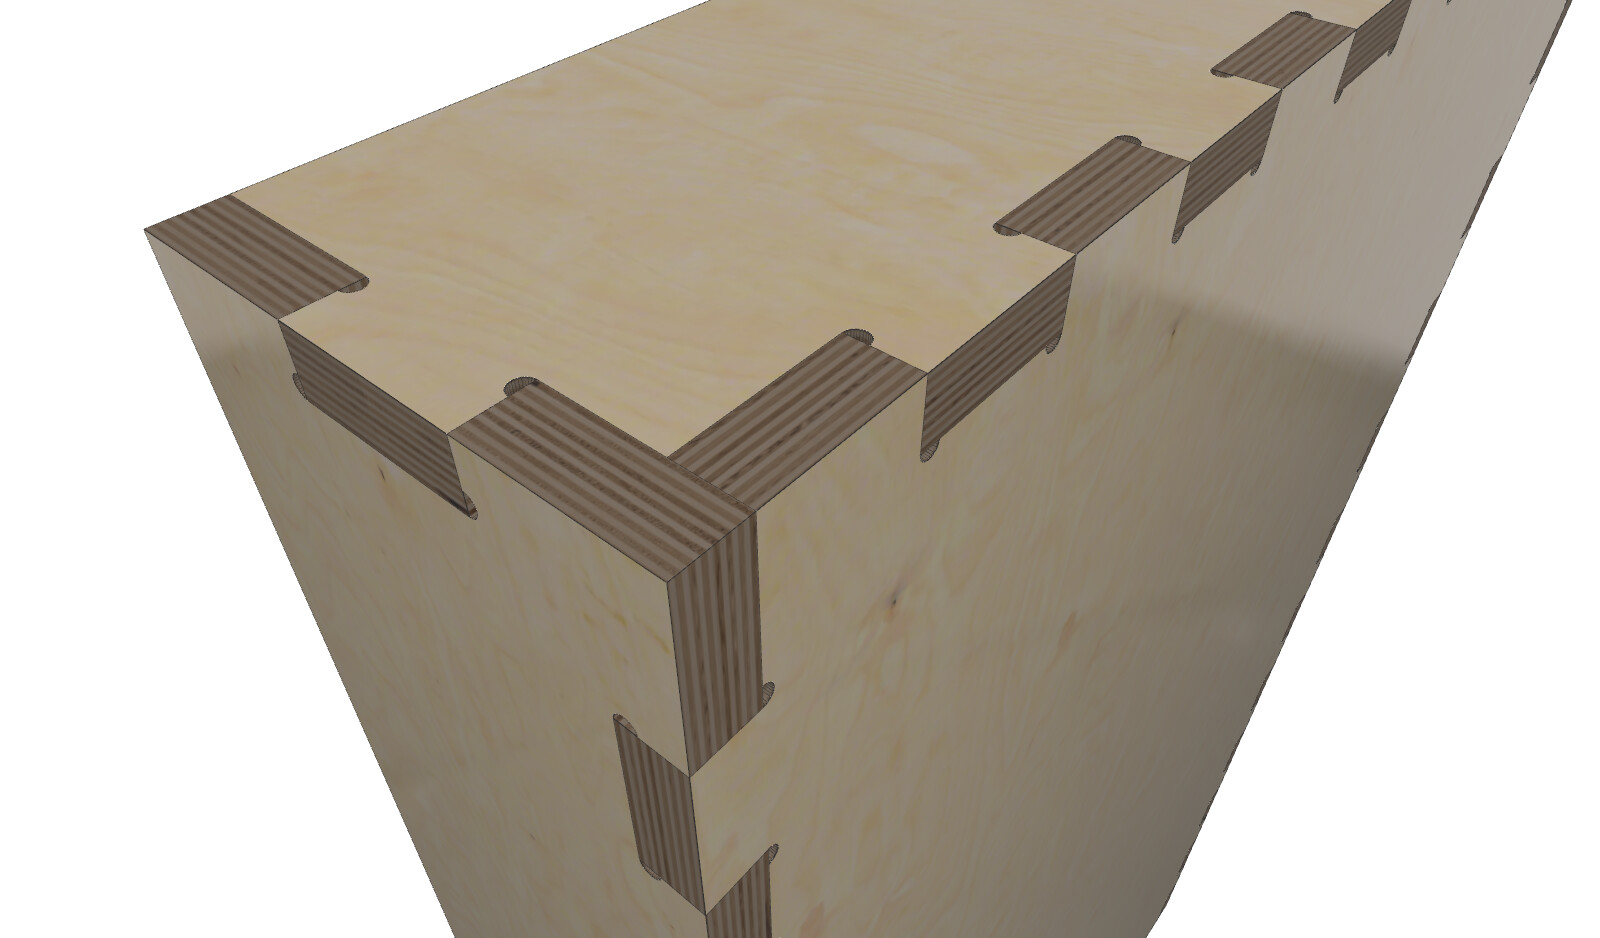
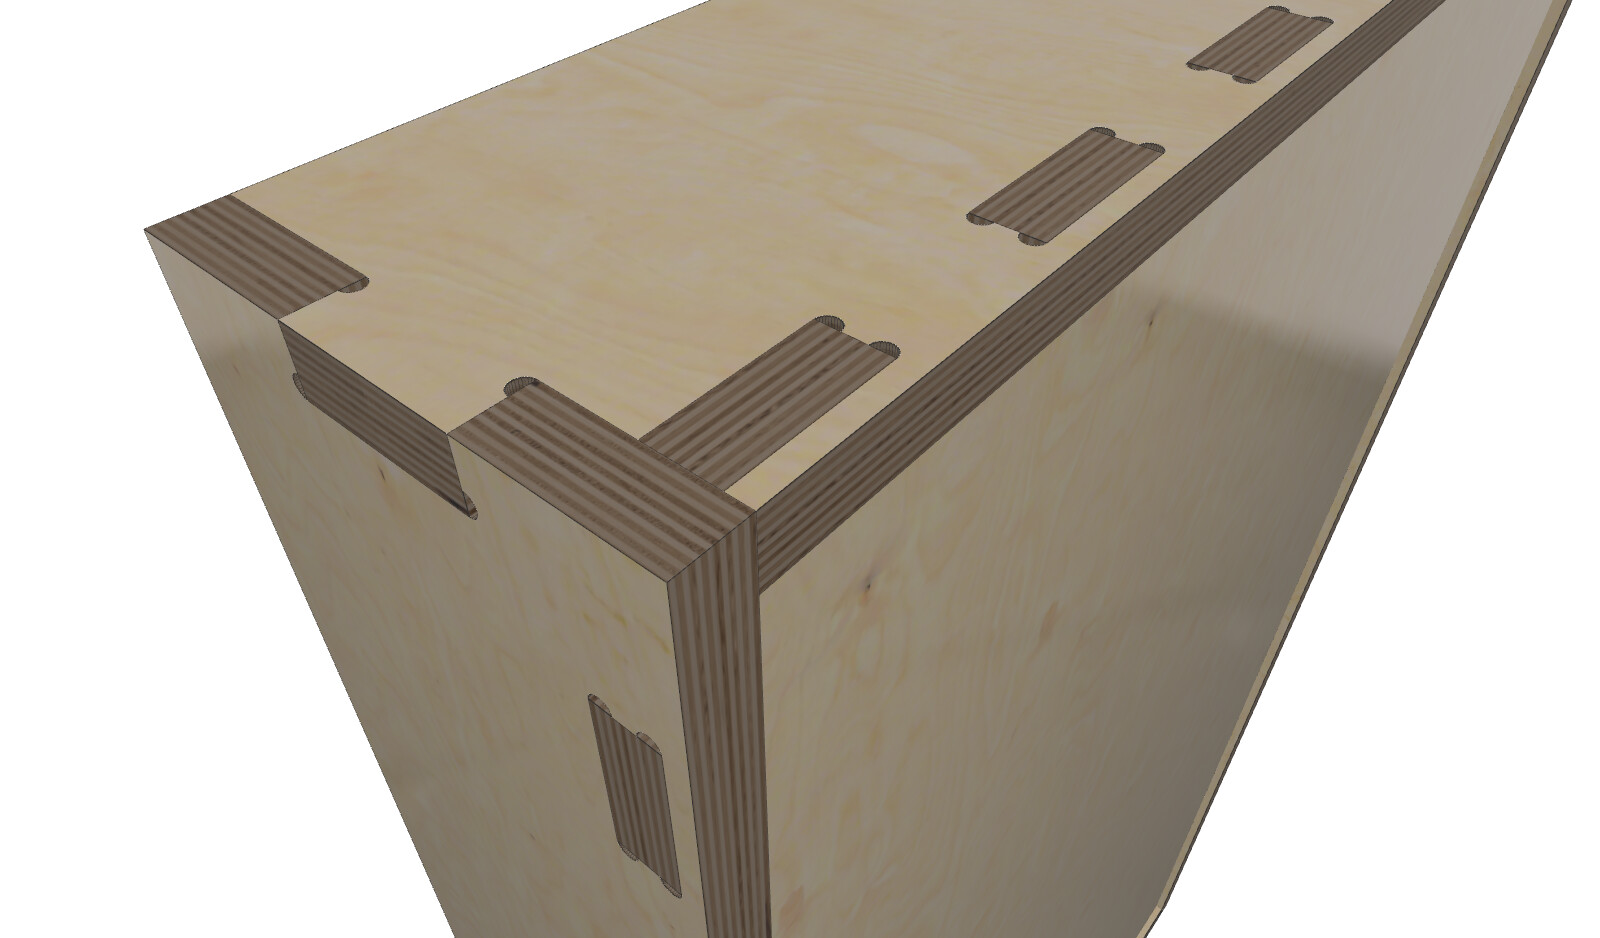
Bones are in there (T or otherwise),
Dogbones
T-Bones on the short edge
T-Bones on the long edge
Mix and Match
Mortise and Tenon
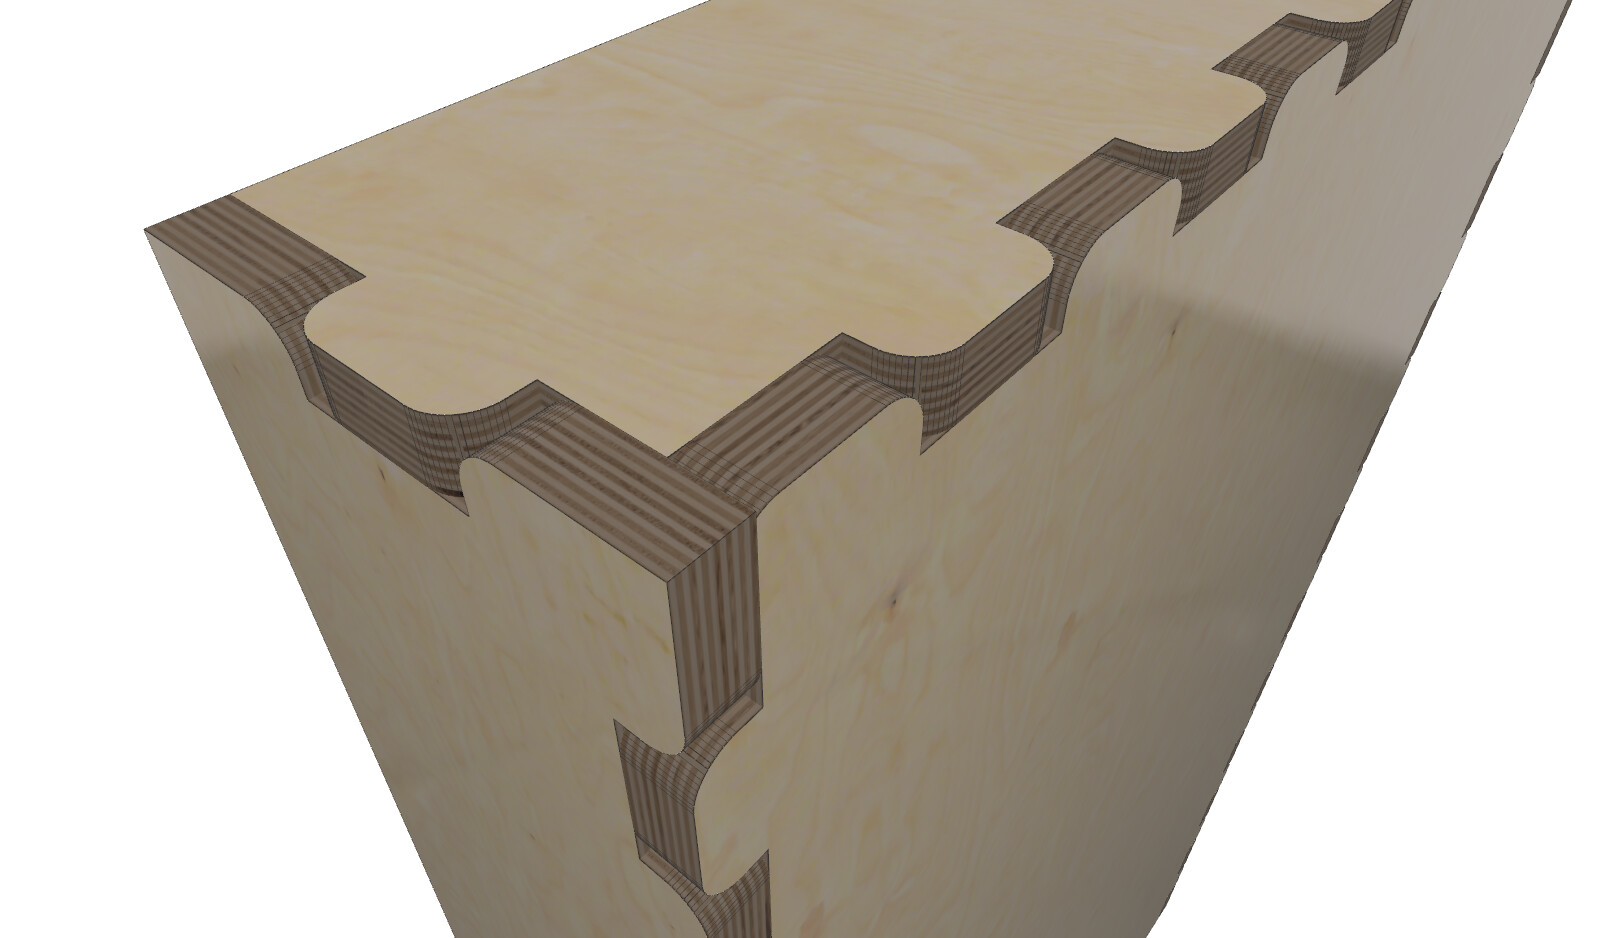
And for what it’s worth, curved fingers
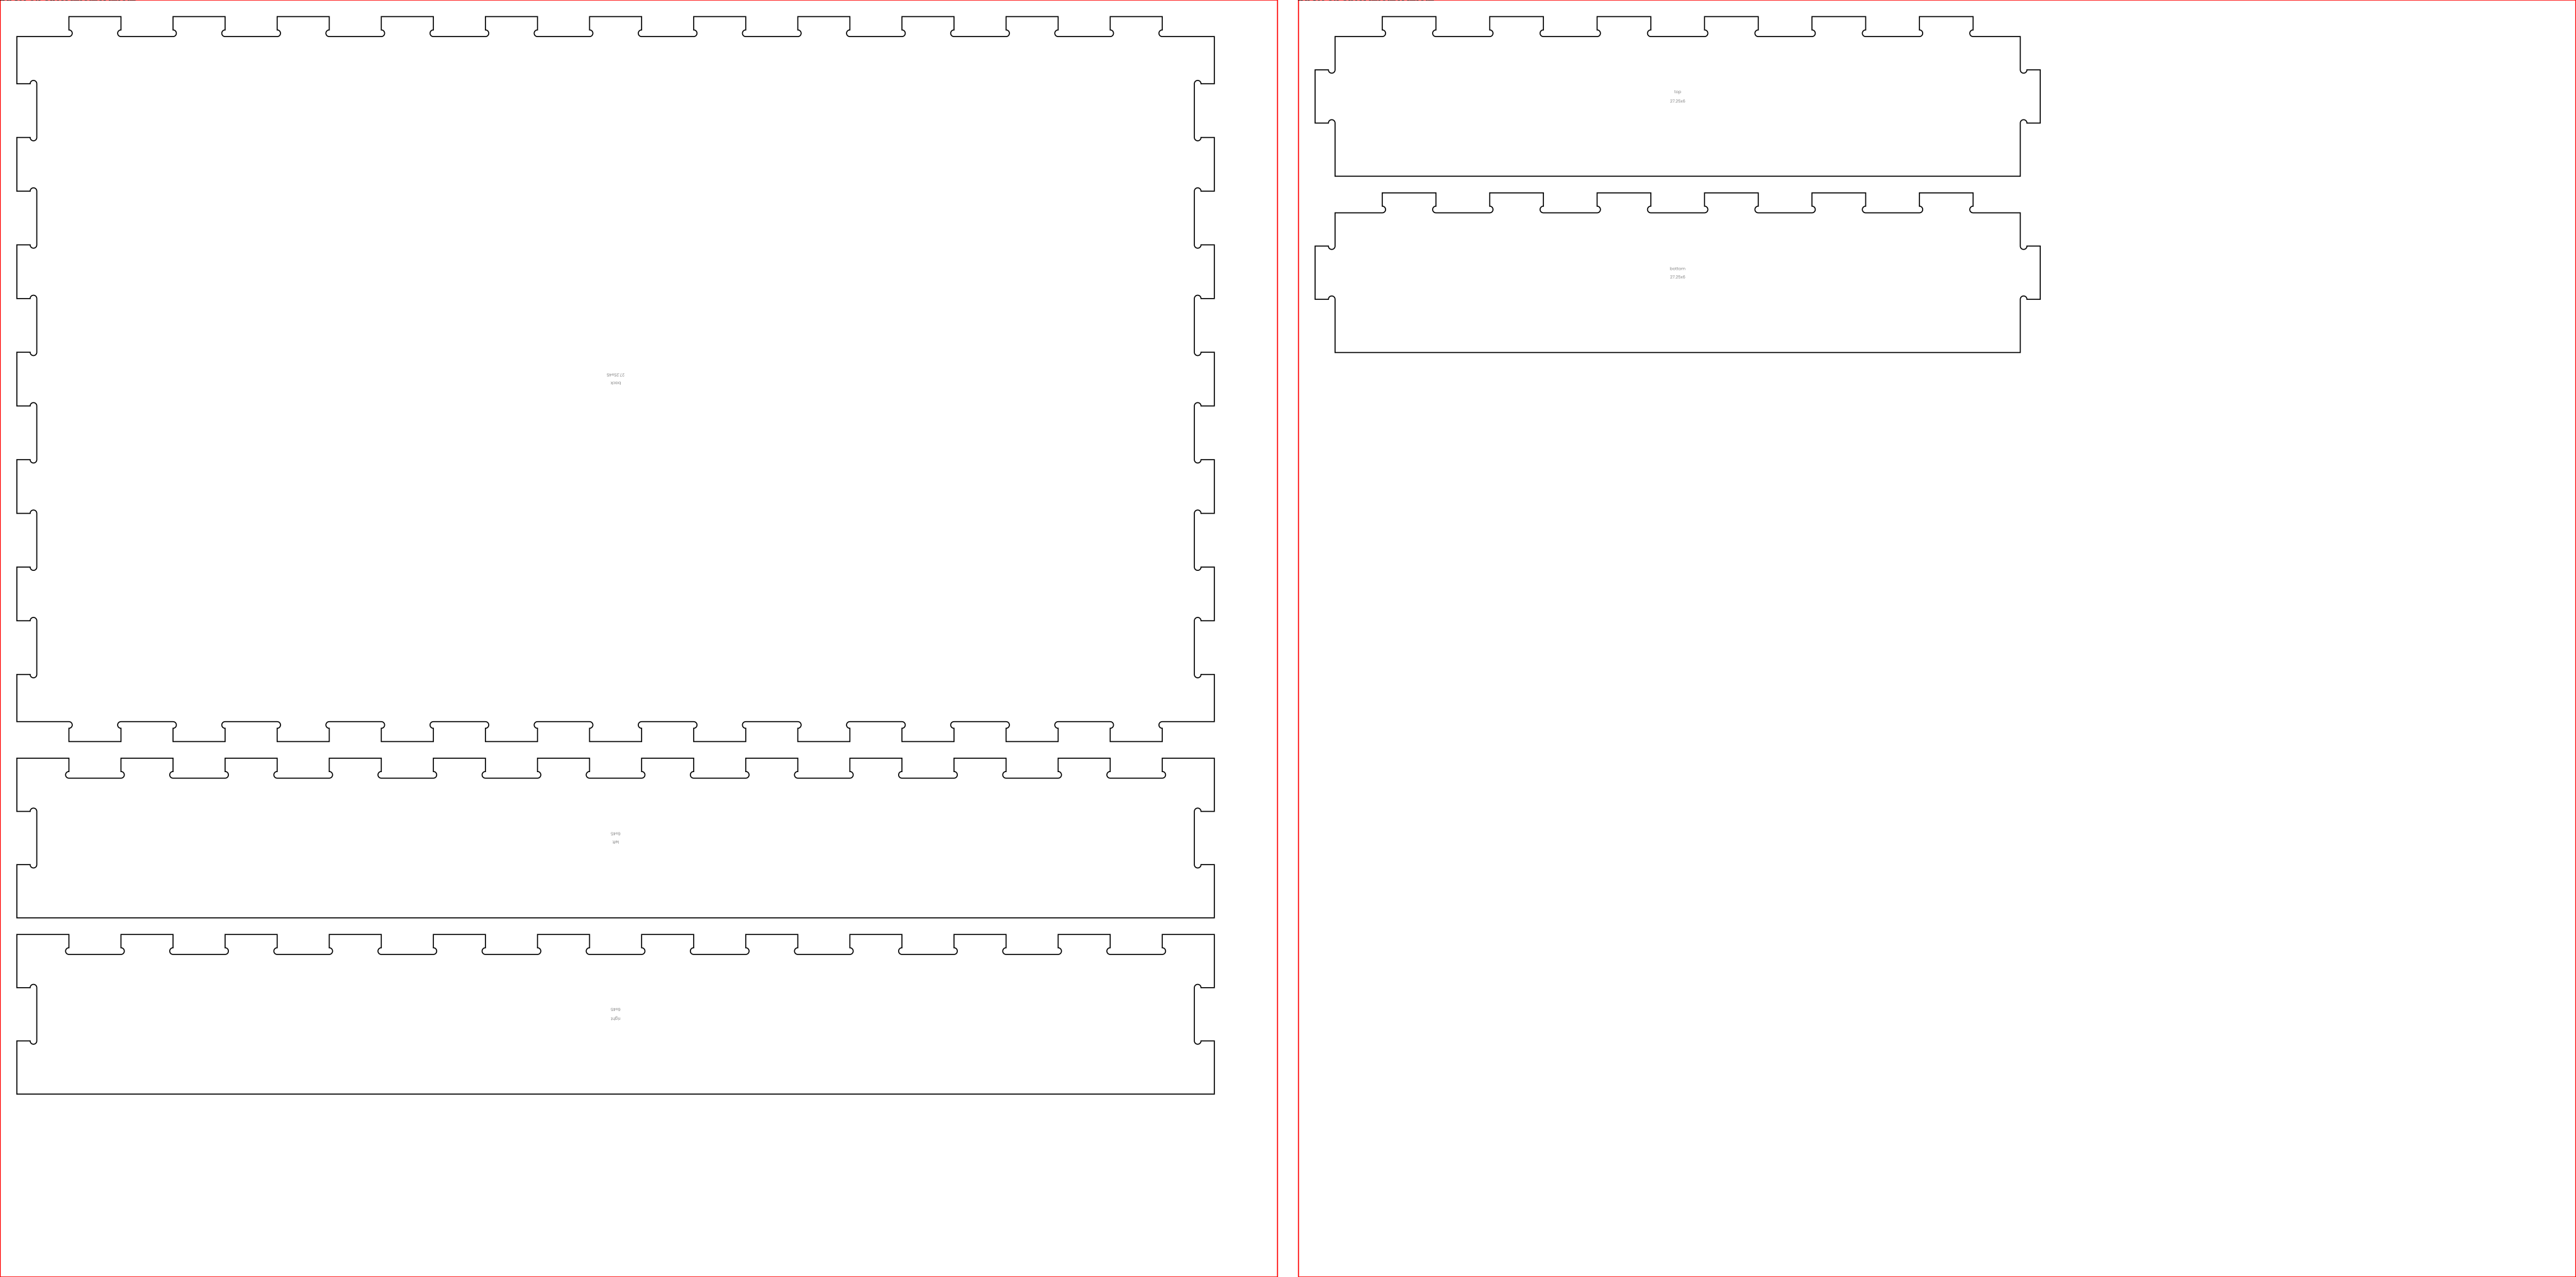
The SVG
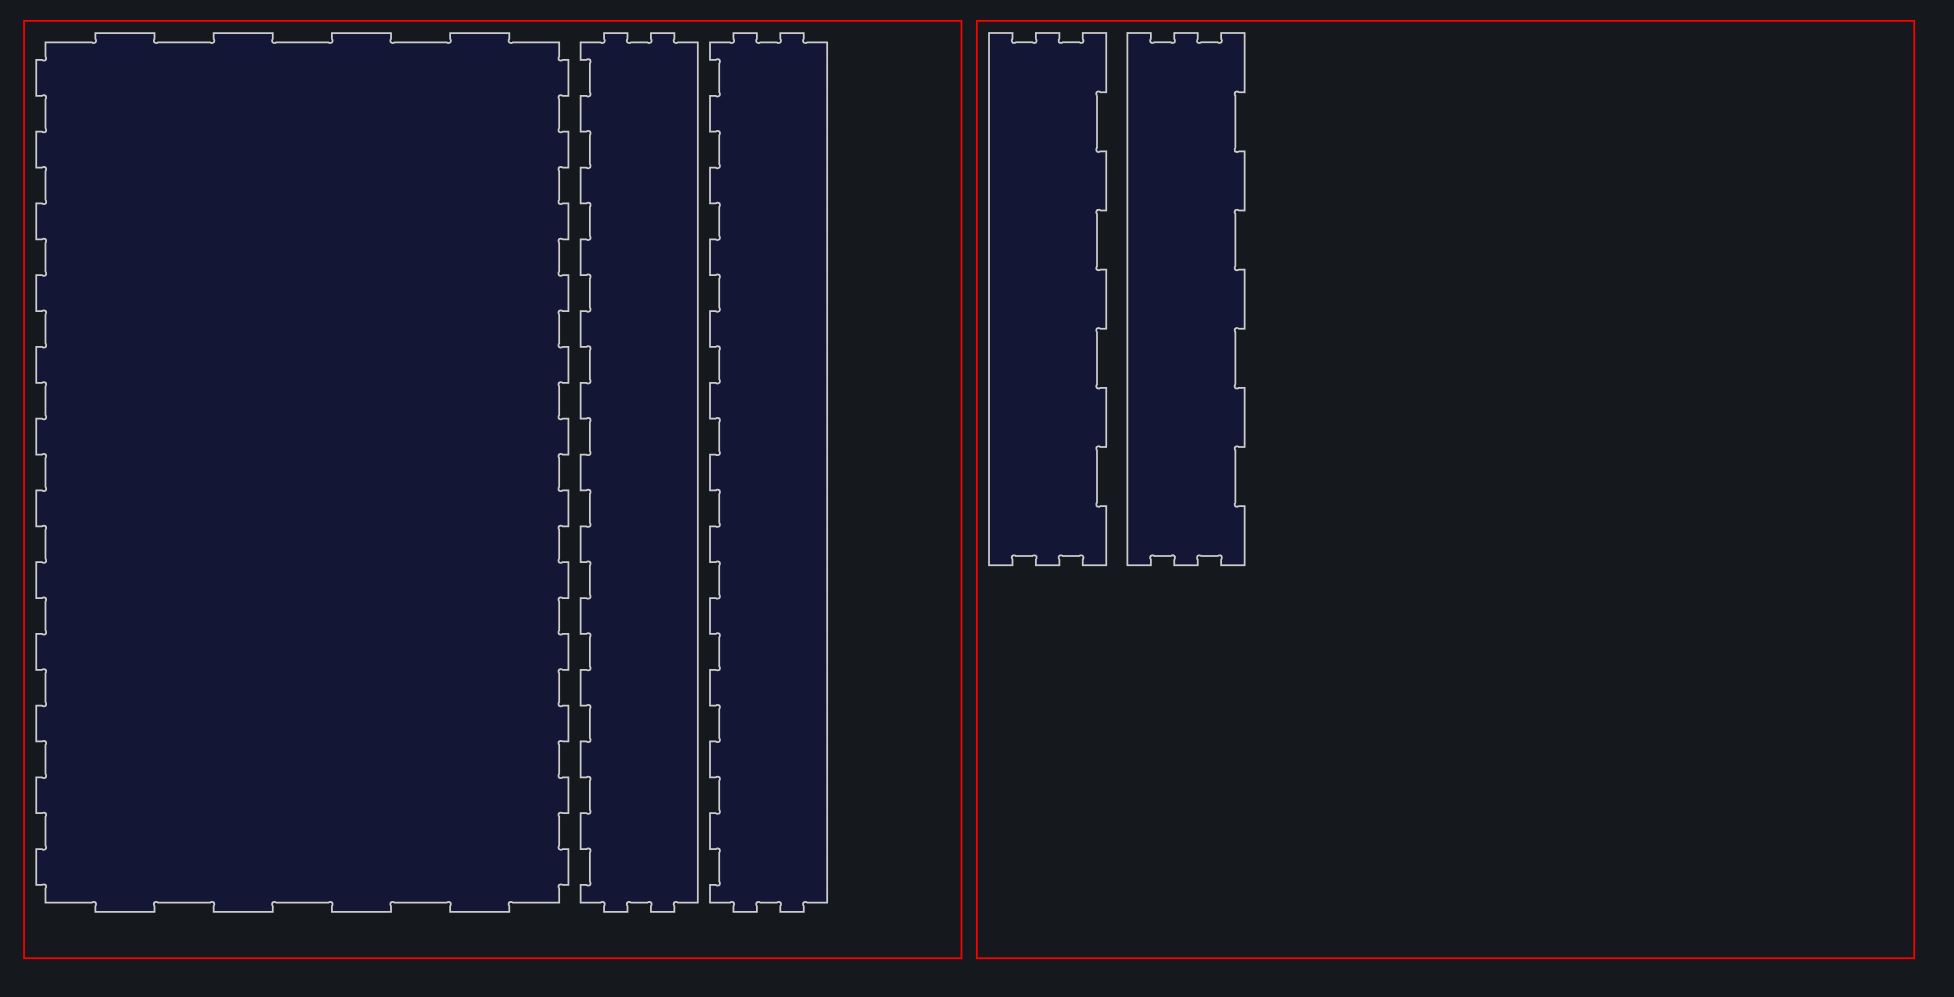
And the Carbide Create files also exported directly from the appOpen Case-birch-0.75inx1219.2x1219.2-sheet-1.c2d (116 KB)Open Case-birch-0.75inx1219.2x1219.2-sheet-2.c2d (52 KB)
Happy making!
1 Like
system
September 21, 2026, 8:55pm
10
This topic was automatically closed 30 days after the last reply. New replies are no longer allowed.