Made a Brass Stamp for my leatherwork side hustle on the Shapeoko Pro tonight.
I’ll try to cover all the details in this post but I miss something or if anyone has additional questions I’ll try my best to answer them 
I bought a 2’ of free-cutting Brass C360 in 1"x1" bar stock. I designed my stamp around a 1" by 2" piece and my hot foil kwikprint can easy accept this bar stock once machined.
before we get too into the “cutting the brass” bit lets go over work holding.
cutting metal you want everything as rigid as possible. I also wanted to leverage the way I normally use my machine (center rapid point is zero, right on the wasteboard)
So I wanted to make a removable jig that I could index back in and slap a new block of brass in and continue making more stamps.
So I designed a quick block jib that would use those fancy carbide3d tigerclaw clamps.

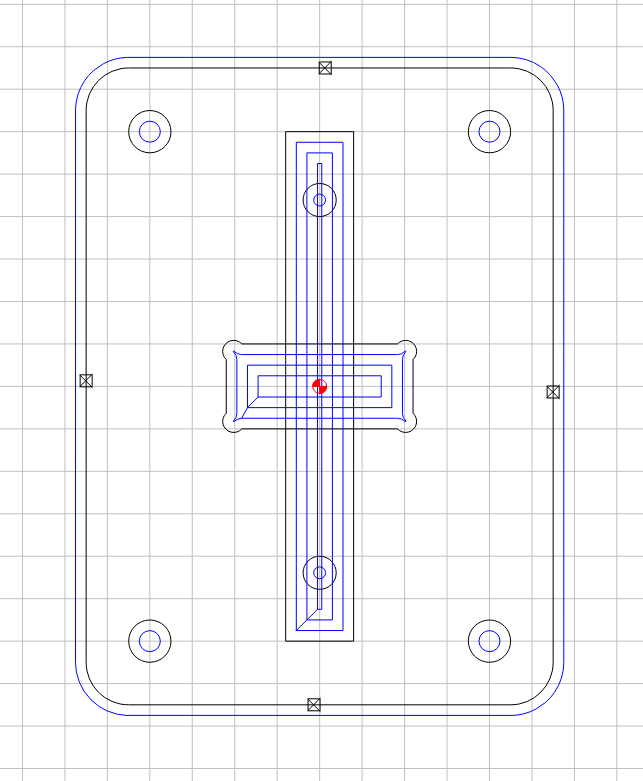
The four holes in the corner line up to holes I milled into my waste board for budget “flip jigs” for the valet trays.
The center dogbone cutout holds the block of brass with a bit of wiggle room length wise. (currently cutting from the 2’ stock with a hacksaw and have no desire to be super accurate with it…)
and the longer part houses the tigerclaw clamps installed with some brass threaded inserts into the jig.
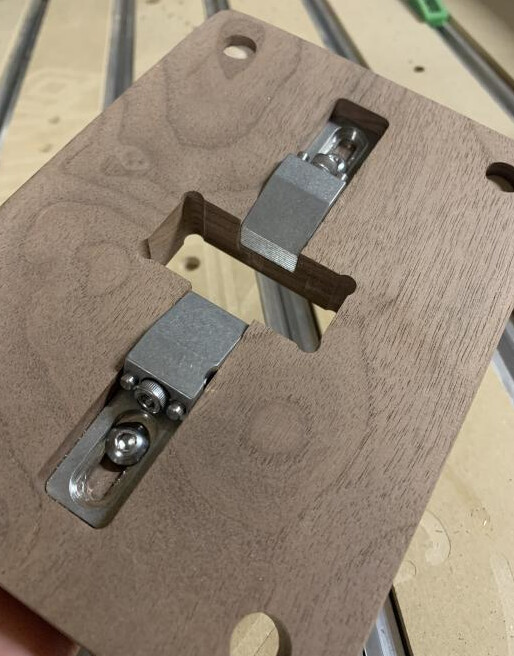
Index with some 1/2" dowels and clamp it down. (may update this to be screwed down into threaded inserts at some point soon.
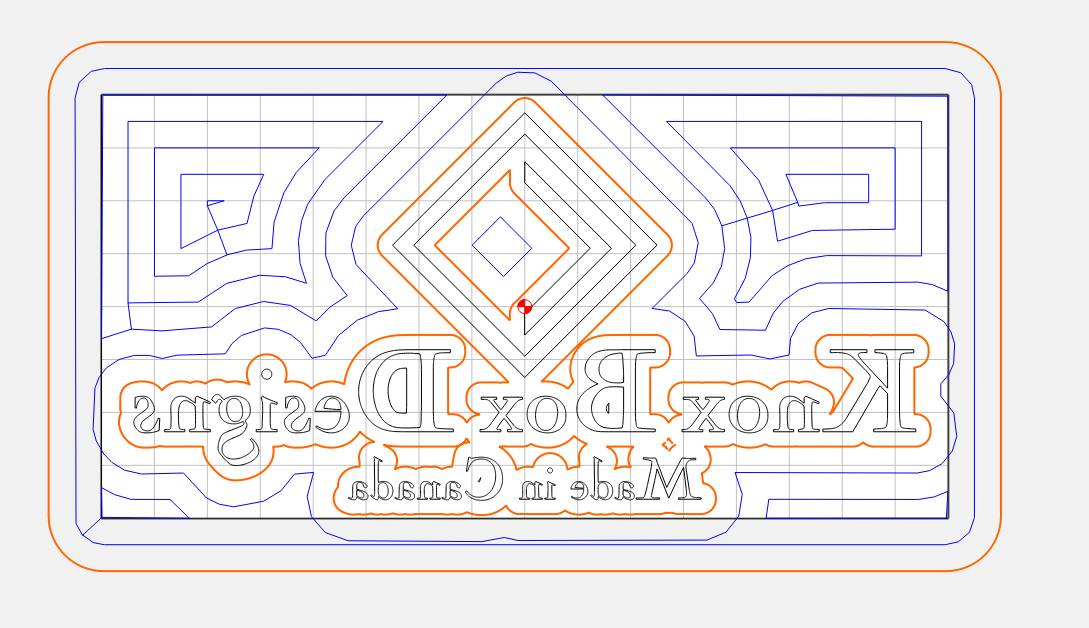
I wanted to push my test as much as possible so the bottom line of font is quite small (0.125" tall but this font has taller letters, so some of the letters like the a for example are a little shorter than normal (about a mm tall)) (font: Nicolas Cochin EF, matches my chosen lead type set I have for the press)

(to be an effective stamp it needs to be mirrored, don’t forget that step)
I only created two toolpaths for this.
The first one as a pocket toolpath using an Amana Tool 51482-Z “O” Flute
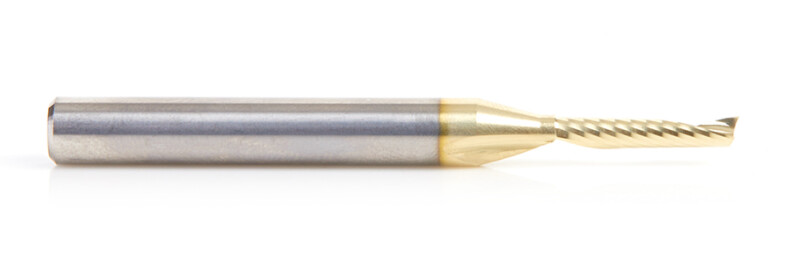
I went fairly conservative with this @ 10k rpm, 18ipm
starting outside the piece and going to an offset line from the design. I want the details of this to be as strong as possible, so I didnt want the clearance bit to go right up to the details and make vertical walls. the next step will be done with a V bit.
After about 20min I was left with a block like this
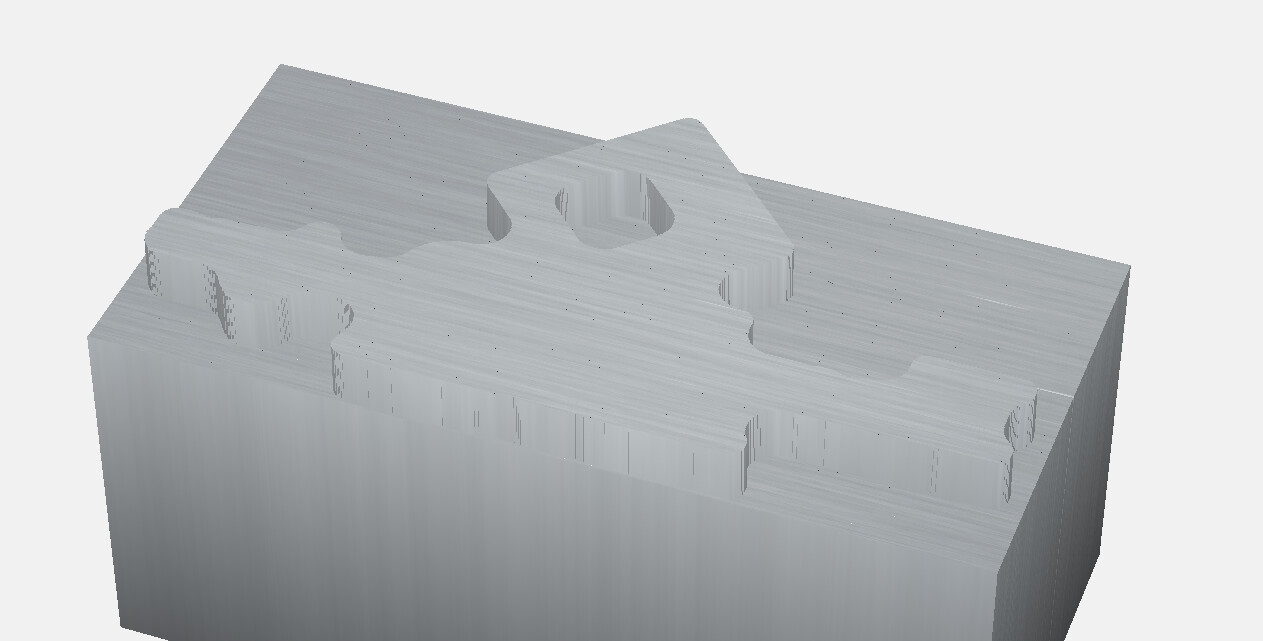
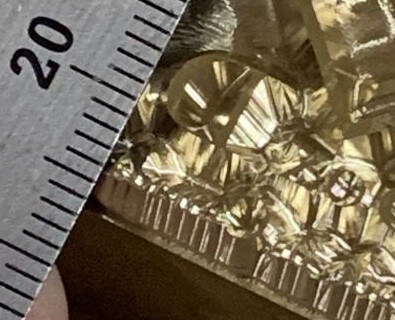
Now we can start the V bit portion.
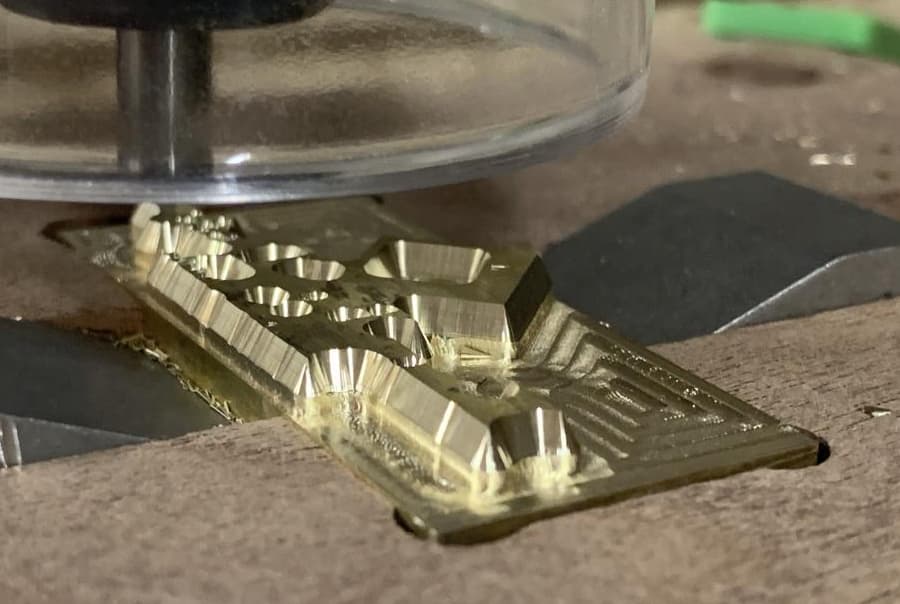
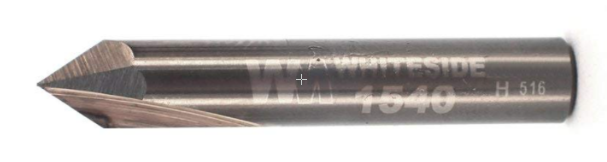
I used a whiteside 1/4" 60deg bit
feed rate for this one I bumped to 18k rpm and reduced the feedrate to 50% so I guess that would work out too… 15ipm, 30 sounded a little sketchy at 10k rpm so some live adjustments were made.
Lots of little detail, but this also only took about 20min to machine.

I’d love to know how to eliminate that external path, which for my case was an air pass.
All done
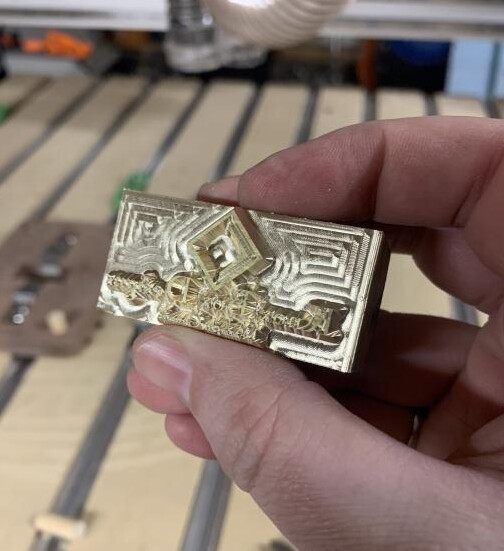
a light surface sanding on the face of the letters with some 400 grit sandpaper (may polish it more later we will see)
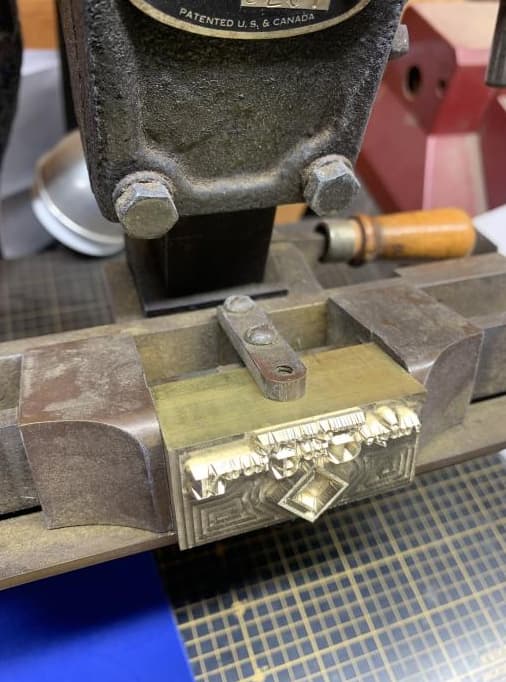
Loaded into the KiwkPrint
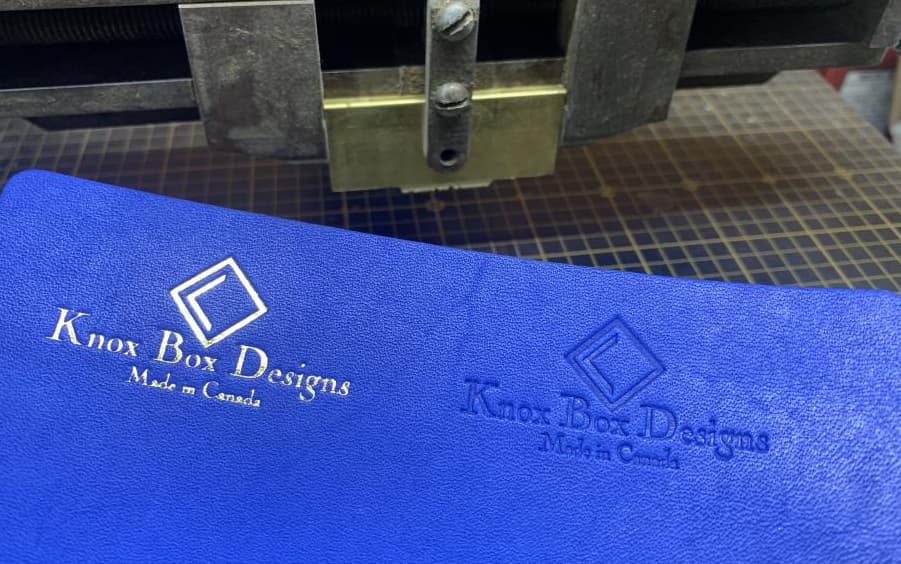
Quick press at 200F with and without foil. I will likely need to go back and make a variation where the made in canada is at least 25% bigger.
this was a fun adventure, and I will definitely be making more of these as my whim dictates.