Hi all,
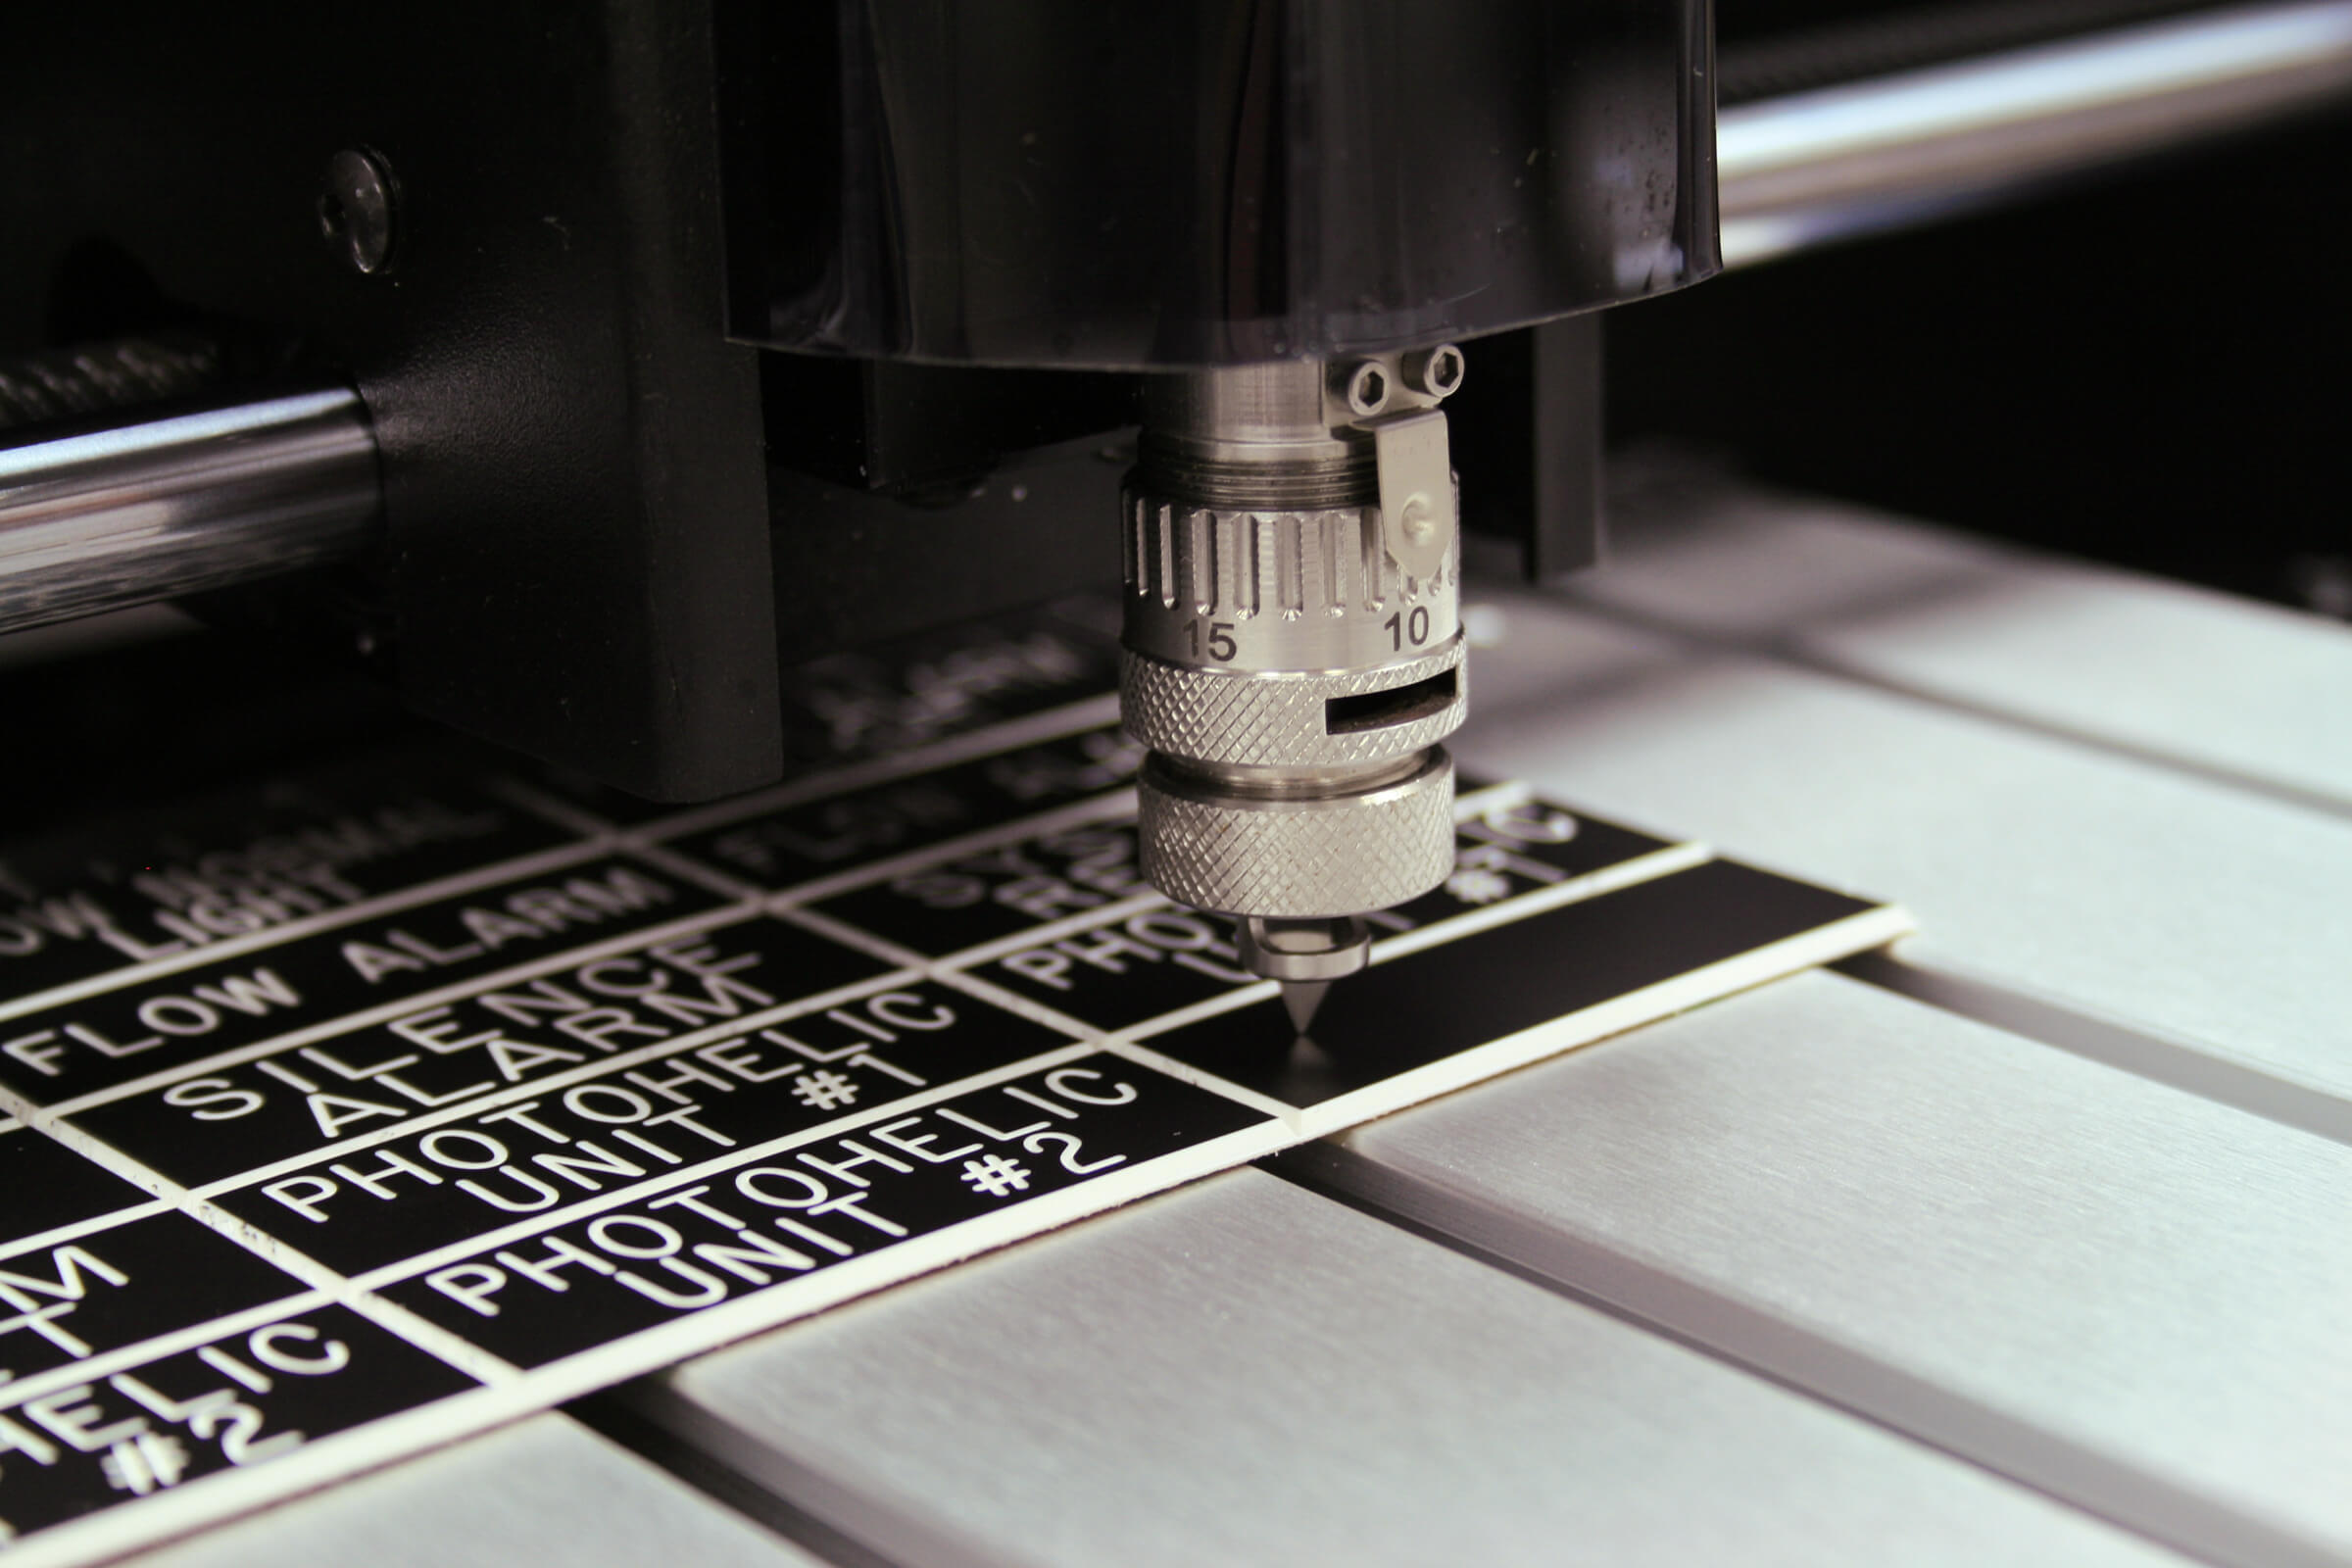
Thinking of buying a Shapeoko for my business. The primary reason is to engrave Phenolic tages for electrical panels. (I’ll attach an image of an example of the tags we would make)
I’m 99% sure it can do it. My real question is, could I set it up so we could quickly place in a blank sheet and and have a design template set up in Carbide Create so that we only have to modify the text for each tag? Or is the whole process going to be a lot of work each and every time? There are machines that just do these tags but they are extremely expensive and not very versatile. Thanks for your comments.
Trying to auto center text with-in bounds might be a little painful in Carbide Create (imo). An SVG editor might make that easier, or software specific to engraving, that has a template-able approach.
The other thing to look out for is bed flatness. Surfacing the wasteboard helps with that, but if the stock itself isn’t flat either you want a vacuum fixture to pull it flat or use something like a leveler/surface map processor (i.e. https://www.autoleveller.co.uk), if you want to ensure detail in the lettering across the stock.
Yes it can, but don’t expect it to do it out of the box.
It’s all a learning curve and after some failed attempts and a machine that has been re-assembled at least once, I’m sure you can make these very efficiently🙂
It will take some time to make it perfect and developing a efficient work flow will also take some time.
On the other hand you will get yourself a nice new hobby and the learning experience is alot of fun! At least when you look back at it😂
Also it’s worth mentioning that this forum has a very good tone and a lot of helpful and extremely knowledgable people. I’m sure people here will help on suggesting workflow when that time comes.
What others have said. In my opinion you should expect:
a week or so overall to assemble, adjust, tune the machine, complete with dust collection.
a month or so to figure out which design workflow is best for your usecase. I concur that Carbide Create in its current form might not be the best tool to manage text within predefined boundaries, that you could change without readjusting a number of things (size, alignment). Using an external SVG editor is definitely one way, or you could try Vectric VCarve products, they have a “draw text within a vector box” that I think would be quite useful to quickly type in any new text into a predefined array of rectangles.
a few hours of testing to figure out the perfect tool (probably a 90° Vbit) and feeds and speeds to get to something like in the picture.
and from there, it’s smooth sailing. Rinse and repeat.
If you’re mechanically apt, or have good attention to detail, a day should suffice for setting up the machine (so long as we get the kitting right).
Workflow can be worked out in advance, and we’ll gladly walk you through this — ages ago we set up a process for a customer where they edited a CSV using a spreadsheet and then typeset a .tex file which laid out all the text in a PDF which could then be opened in Inkscape, the text converted to paths, then resaved as an SVG to import into Carbide Create — I think I still have the code somewhere, let me know. I believe with CC’s new file format we could work up something which would allow one to edit the text in one tool, then save a .c2d file directly and open it in Carbide Create and send straight to Carbide Motion.
Agree that an hour or so of testing with tools to get the right tool setup.
Mechanically, not an issue at all for the machine, it’s easily accurate and rigid enough to do the work, all you need is a way to mount your material in a repeatable location - plenty of options (a small vacuum bed sounds like the best option to me)
I have done similar with my Shapeoko XXL doing the little ply name tags that go on wine glasses at weddings, also creating a personalised coaster for each guest at the wedding
As far as software goes - Definitely possible with Carbide Create, and Inkscape.
If you’re running a business though, check out Vectric Vcarve design software, it has a feature called plate production that can call from multiple columns in a spreadsheet. This is incredibly powerful for exactly the job you’re talking about. Cuts design time down by a massive amount
If you’re creating lots of copies of the same job it also has a feature called ‘Array copy toolpath’ which lets you create a toolpath for one tag, then duplicate it to create as many tags as you need - if you need to edit the toolpath you just need to change the one and it will copy to all tags - can be quite useful too
see Vcarve Pro - Create Array Toolpath
Way easy to do with a laser. I make all sorts of different sizes and any windows font. It will look a bit different as it will be flat engraving, but otherwise looks similar and easy to cut out.
You will assemble your machine
you will square up your machine
you will tram (or flatten your wasteboard)
you will create your jig
you will create your file as shown above with editable text
you will cut / carve it
you will be happy you bought a CNC to do this.
As for all the naysayers here, ignore them. If you take your time, set your machine up properly including flattening spoilboard, then the rest will come easily regardless what application you choose to use. CC is the easiest to learn without a doubt.
I did something similar for a University project: we used a python script to make an SVG file with names and user IDs in a tile pattern which could then be carved on a CNC, or printed on a 3D printer.
Which naysayers ? I only saw people that have gone through this before, and try to be perfectly open and honest about what to expect, e.g. that learning CNC and tuning a Shapeoko (or any other CNC for that matter) is not going to be a week-end project
Yeah, it’s a balancing act here — “Underpromise, Overdeliver” works for Disney, but for a mechanical system with a lot of moving parts and self-assembled, one wants a certain management of expectation.
It’s also been interesting to me to see how expectations and requirements for documentation have changed over the years.
if it doesn’t apply to you then please simply ignore. Lots of people throw these machines together and hope for the best and wind up blaming C3d (or any other manufacturer) because nothing works right and the process is always an arduous task when most things CNC related are not very difficult at all.
In fact, for best results, you need to do both, they are not the same. Tram first to ensure your spindle/router sits perfectly perpendicular to the wasteboard in both X and Y, then flatten your wasteboard otherwise you may end up with ridges in your wasteboard.