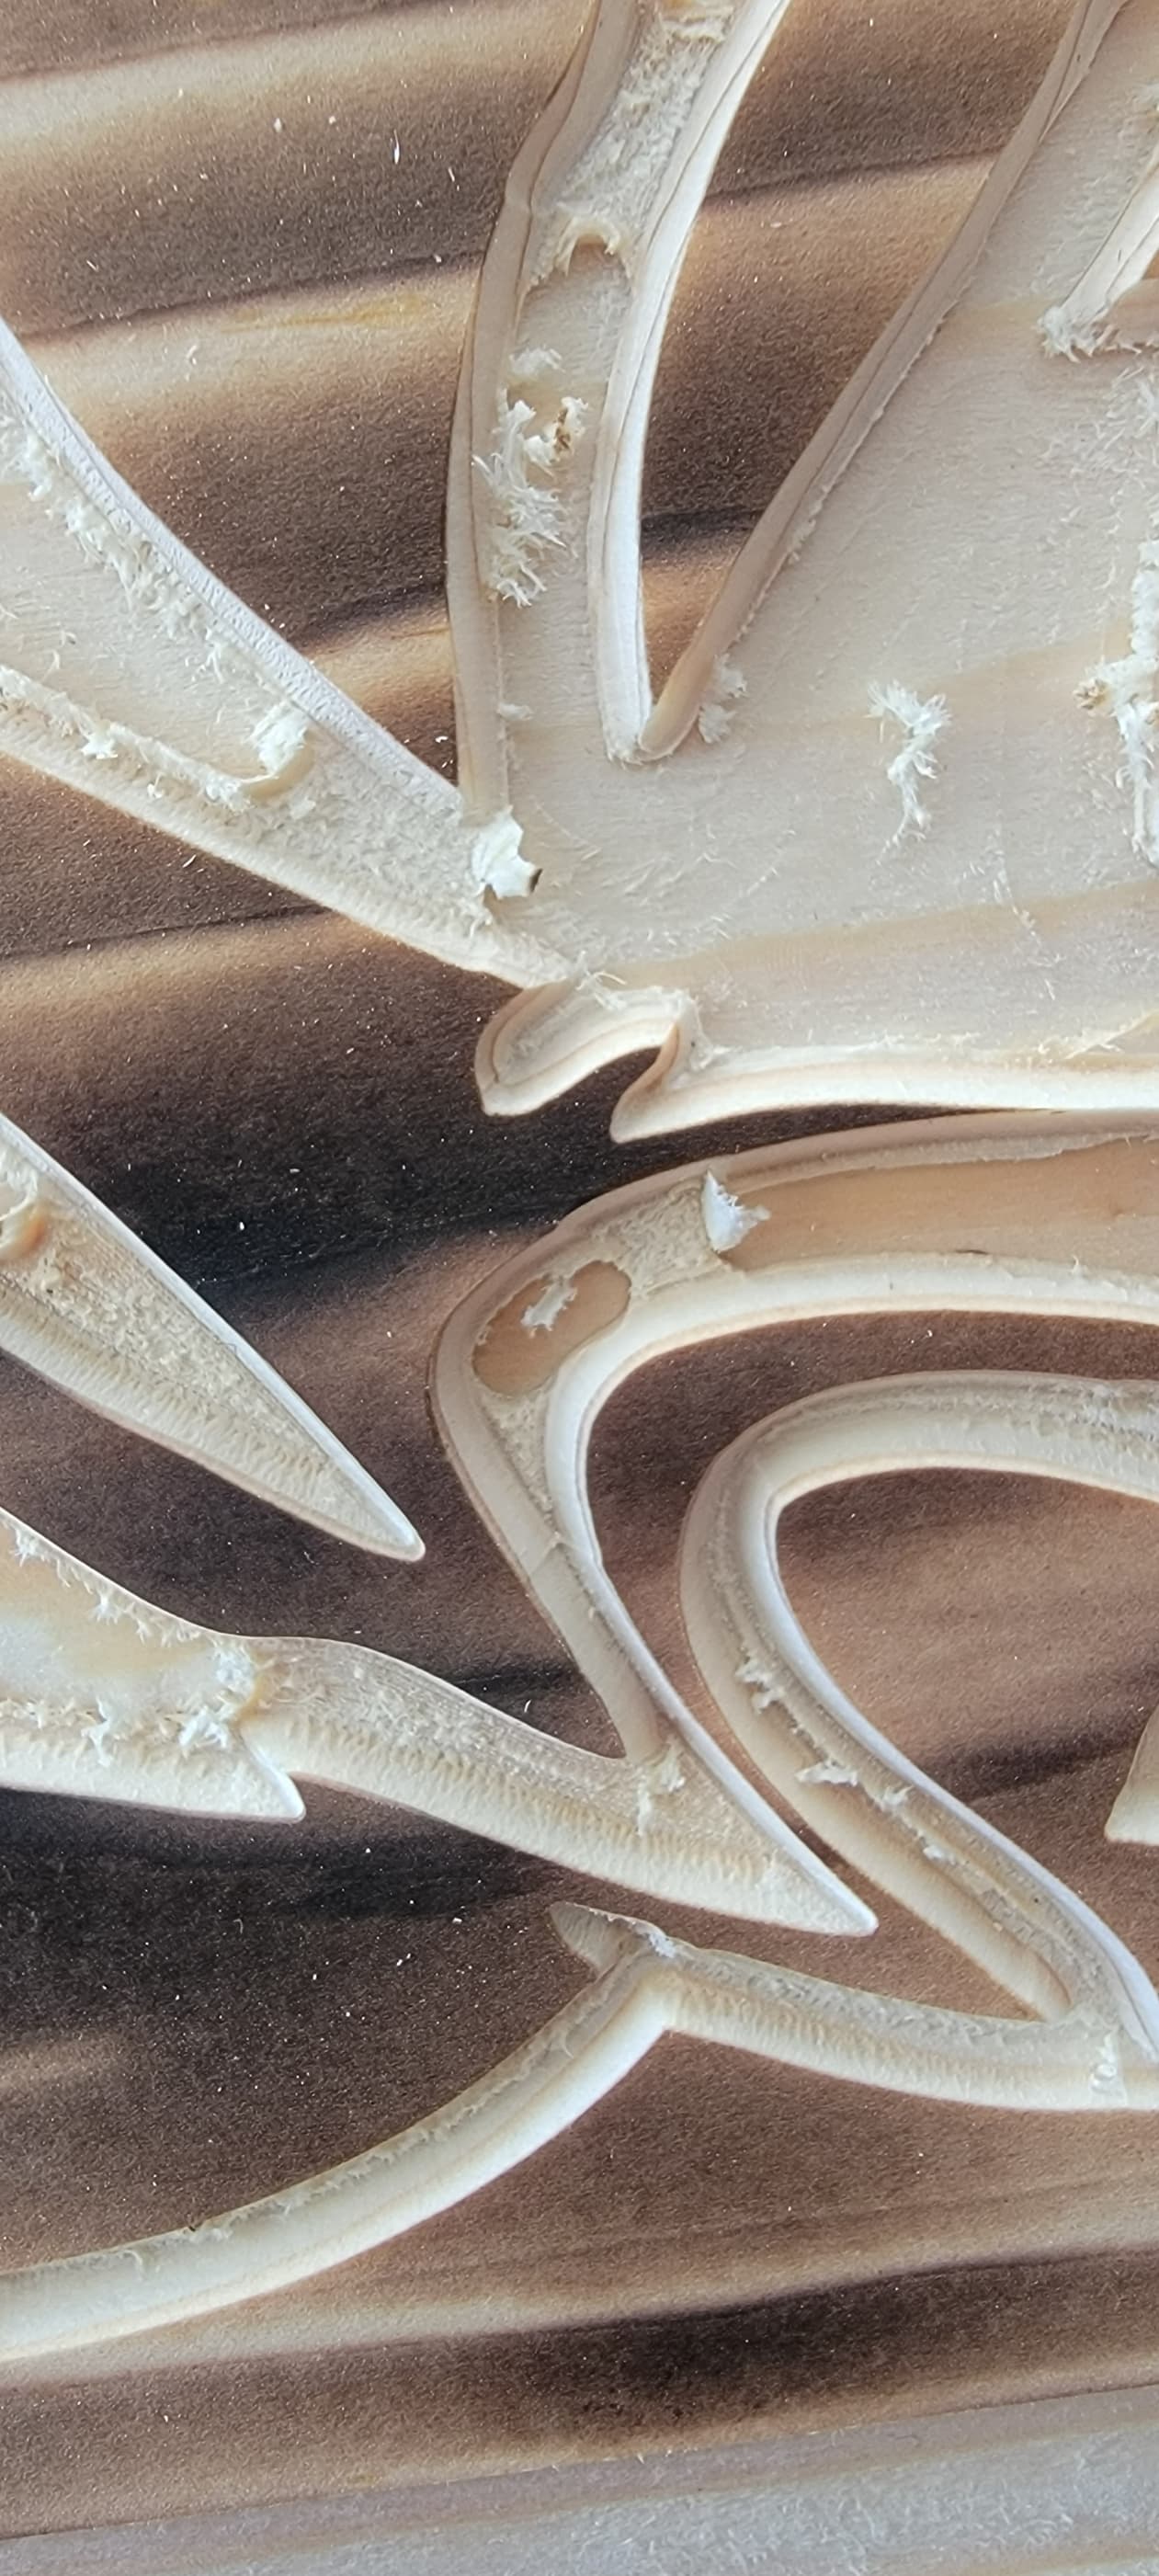
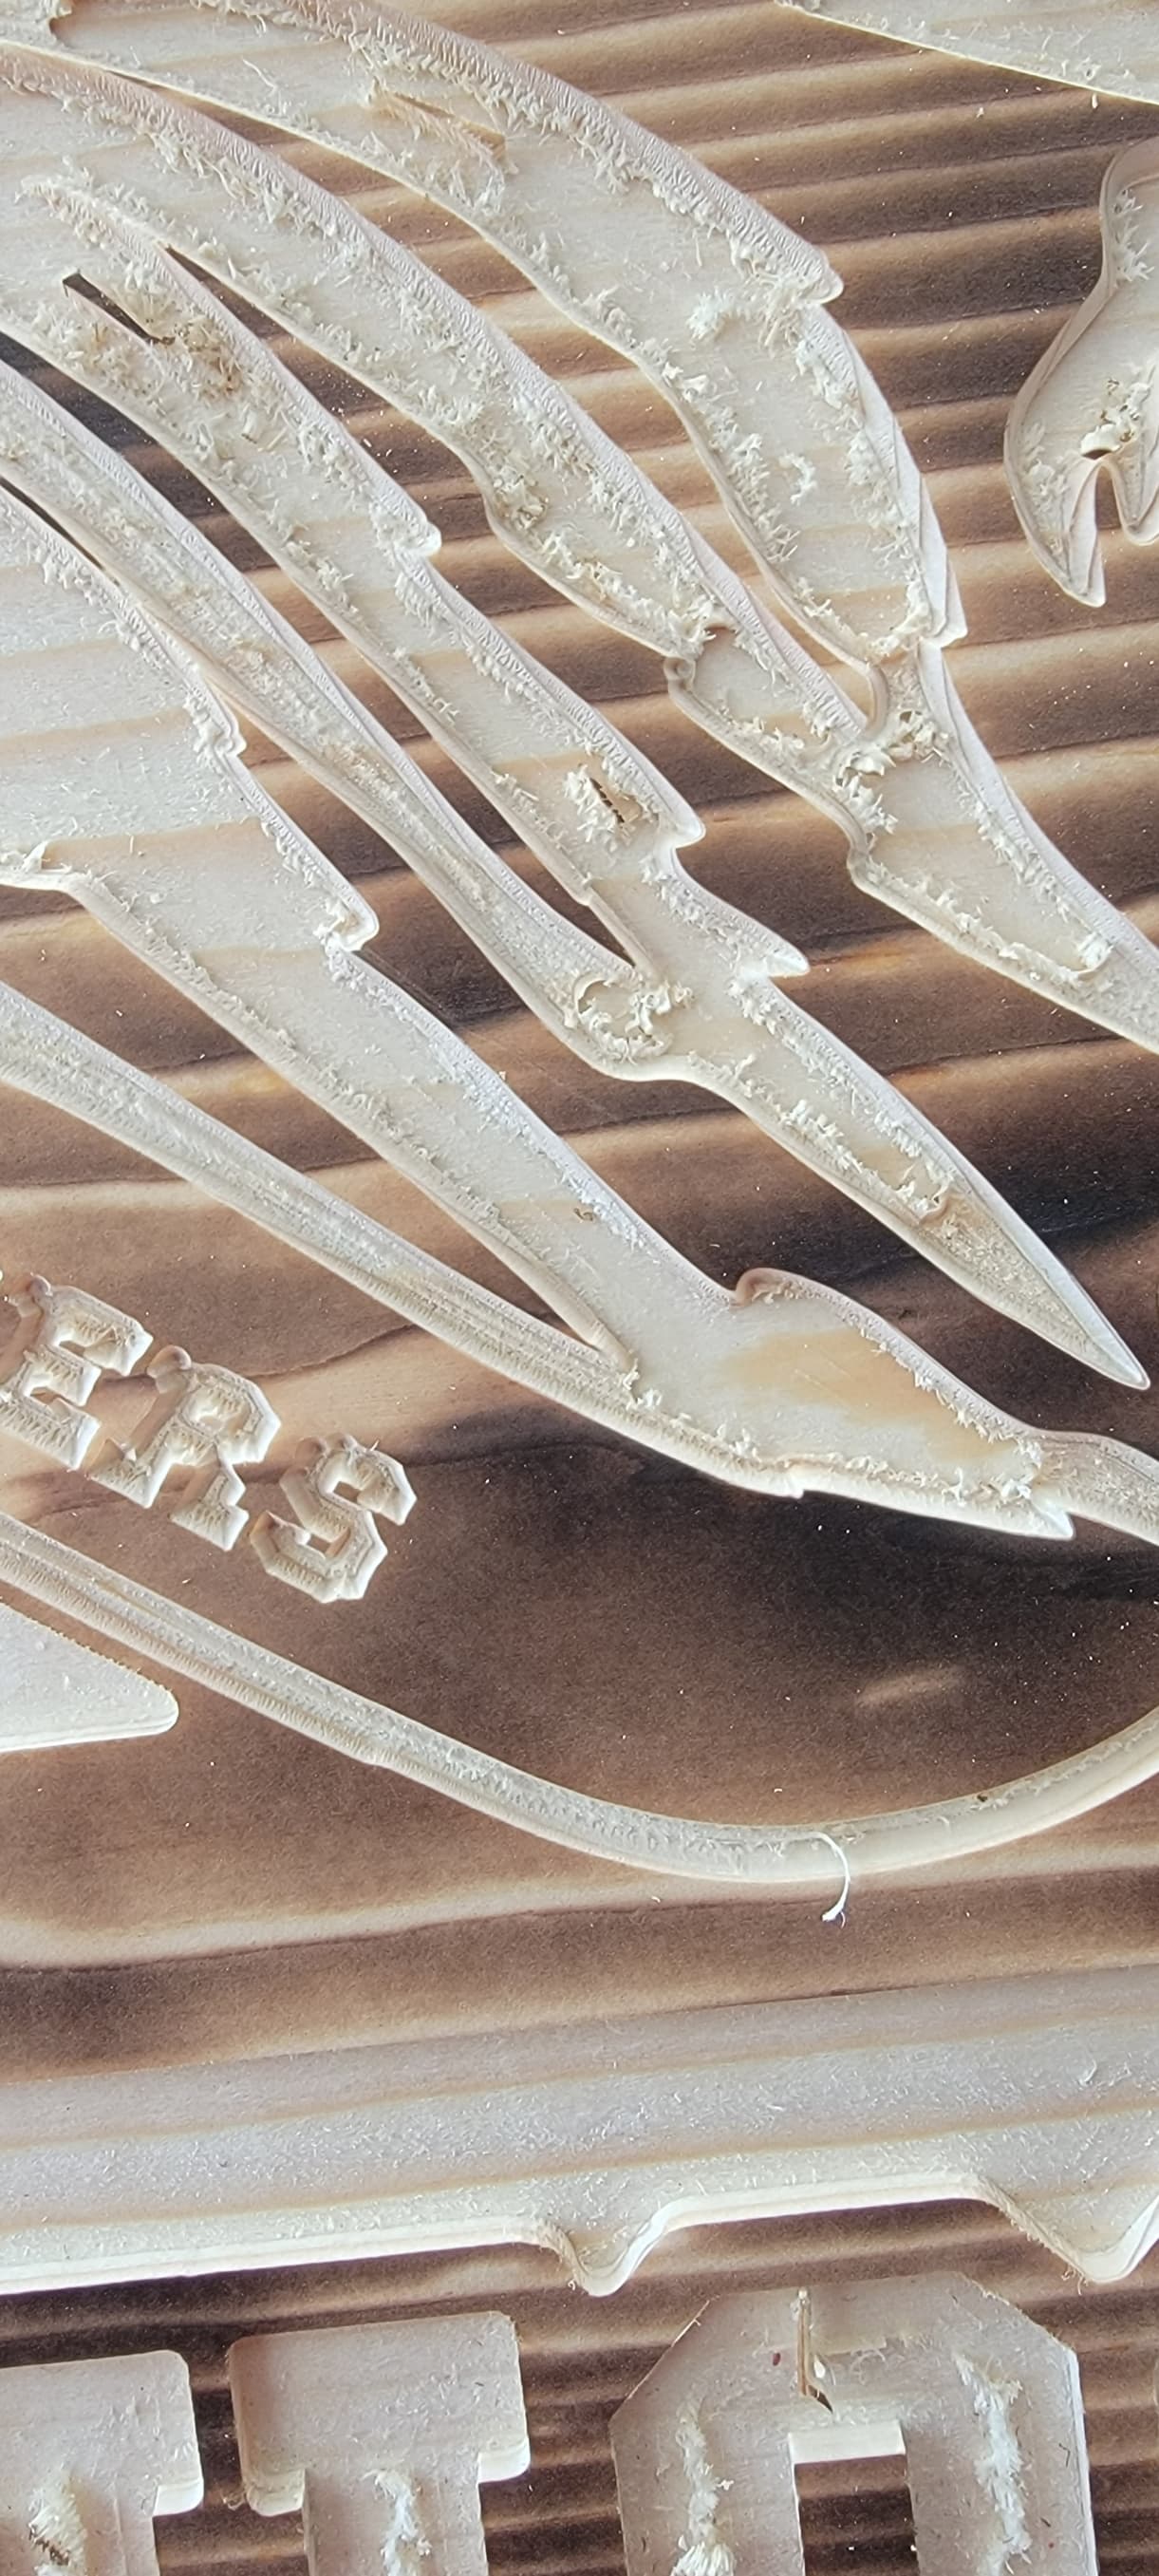
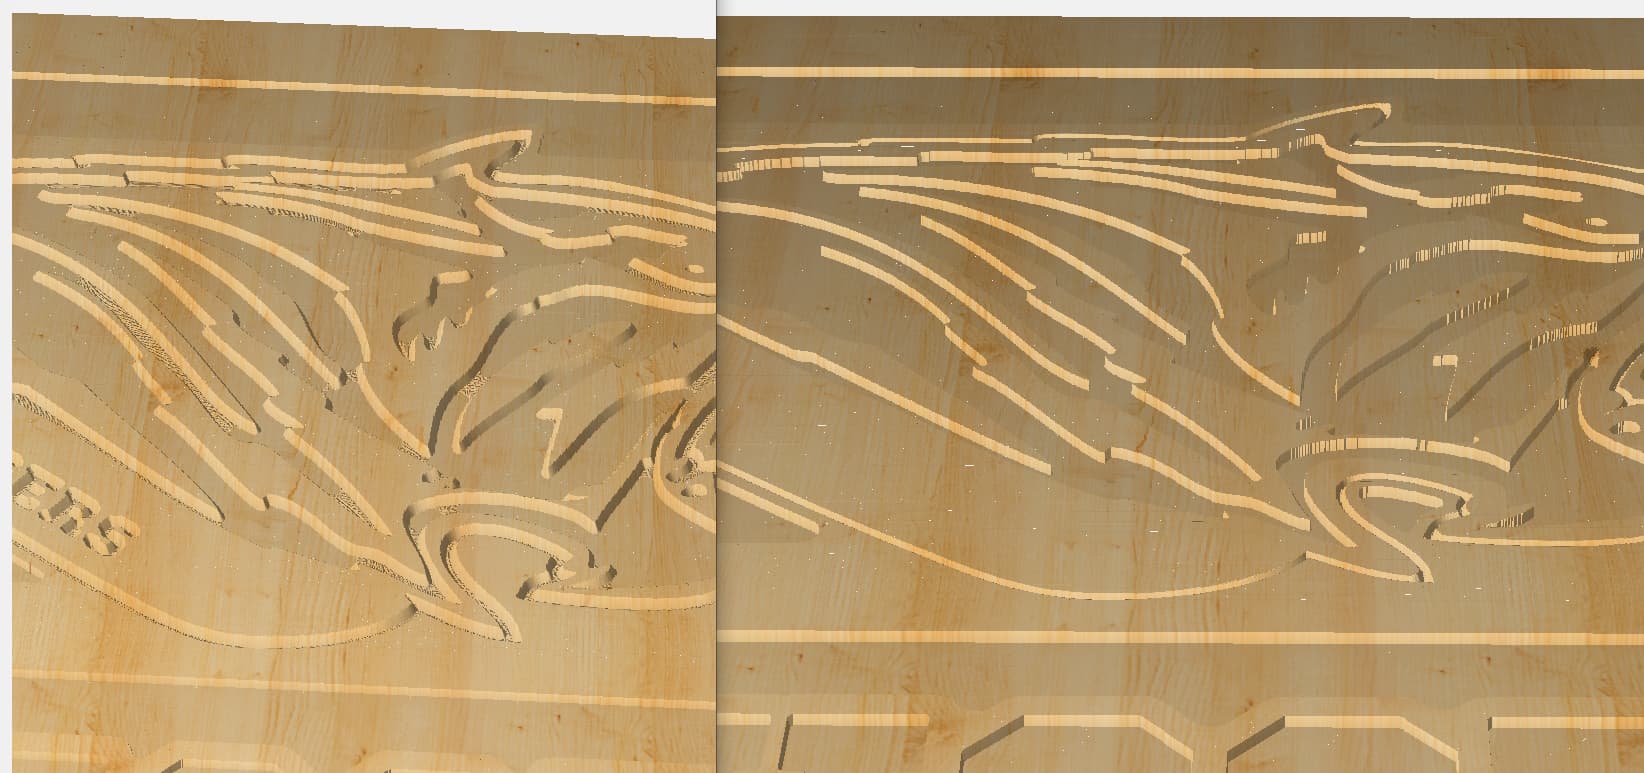
In the first 2 photos, It is an advanced Vcarve function with a 1/4 inch 60 from whiteside and a standard 1/8th inch endmill. It is obvious somethign issn’t set up quite right, but can someone tell me where to start?
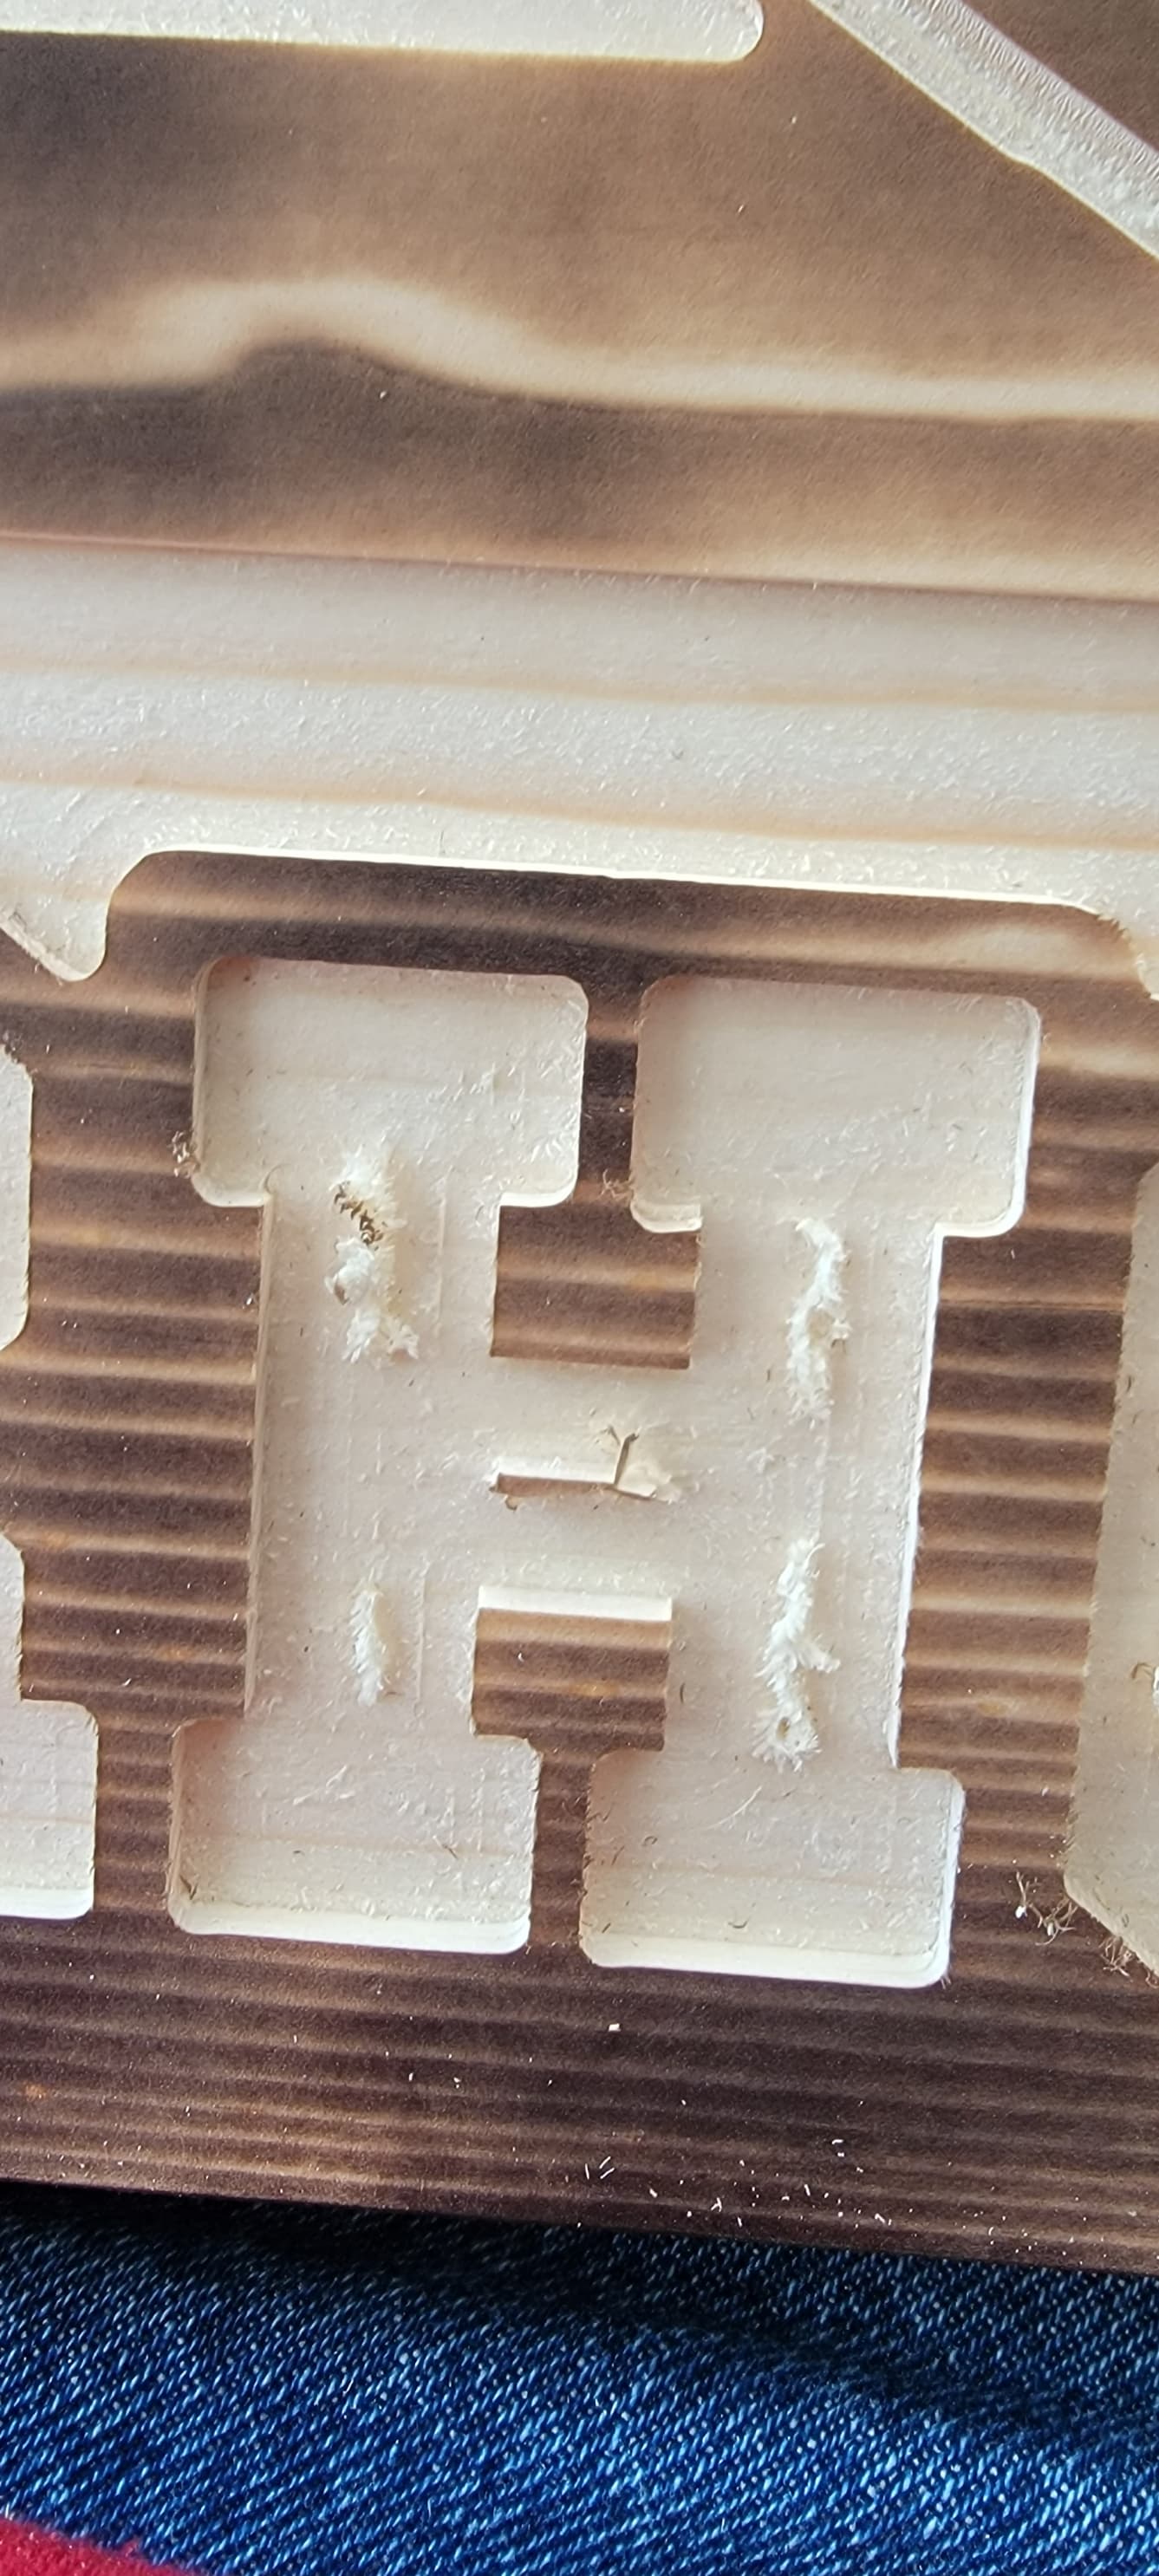
The second photo is a letter H which is a pocket command, but it isn’t clearing everything out. It cleans out very easily, but I think it should be better. Thanks in advance!
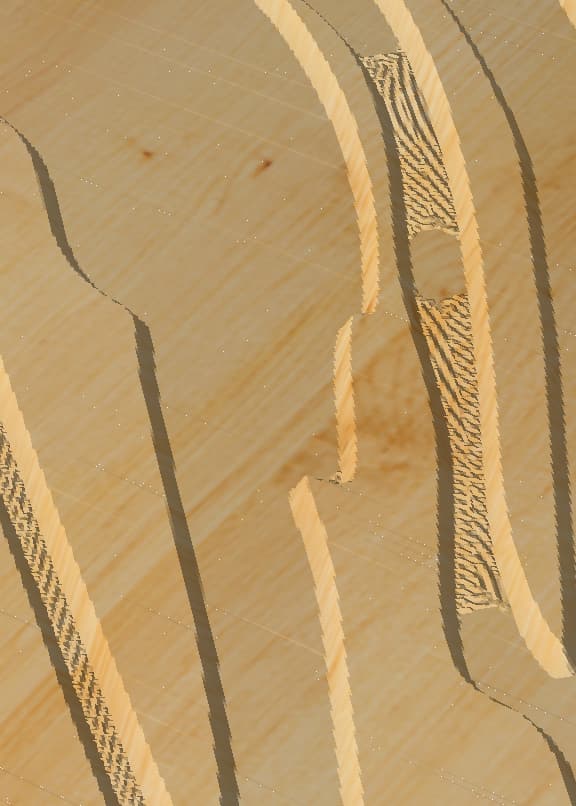
I had this happen the other day on some pine while running some pocket cuts. Carved fine in cedar and then pine left a bunch of what you have in your H, Like hard chunks of material. I choked it up to material bending but of way of cutter, but could be wrong. I have seen this happen in the past and instead of letting it drive me crazy just bust out the chisels and clean by hand (although not ideal).
I zoomed on the pocket leading into Advance v carve. Looks like v bit is not clearing at full depth as bit for pocketing. Leaving whats appears to be a broken sheet of ice.
So what is the best method to correct this in your opinion? Specifically the vcarve part, the pocket I kind figure would be somehting like that. I actually looked a minut ago and think my bits may be slightly smaller than 1/8th, so that I get.
Played around with the file a bit and notice if you just add a pocket at same depth to where you previously had done the advance v carve it will clean everything up. Seems to be an issue with the interworking’s of the advanced v carve feature.
Upon looking at the file I really hope that didn’t take you 7 hours yikes… all tools show up at a snails pace at just 10ipm and really need to be sped up. If you need help here feel free to ask. I got the cut time to under 2 hours for the (CB3D) default speeds and feeds from what I consider to be conservative for a stock Shapeoko. Below is the updated file. Gets you in at about 1:45 minus time for tool changes of course.
Since I don’t have a bitsetter running this is how I would need to build the file. I would have a few of the toolpaths combined but left them separated for each detail.
Here it is with separated tool paths without advanced v carve for the Whole Tiger. 1x12 tiger flag lower left 11dot375 x 21dot66 Adjusted tool feeds and speeds.c2d (1.9 MB)
So much help! Thanks to you all. I was just using stock Feeds and Speeds from the tool list provided, I was speeding them up in CM though, but probably not enough. I was running at 160% last night and no issues. Also, running my router on a rather low setting, like under 3 usually. Is that correct?
Also wanted to add that I discovered at this scale I can use a 1/16 endmill to get a pocket, I was only using vcarve as I thought some areas were too small to cut with a 1/16. Can I do a roughing pass with an 1/8" and then do the perimeter with the 1/16?
The speed of the router needs to match the feed rate so as to maintain the desired chipload — the feeds and speeds usually indicate a desired RPM:
Official chart for Carbide Compact Router:
1: 10,000
(1.5: 12,000)
2: 14,000
(2.5: 16,000)
3: 18,000
(3.5: 20,500)
4: 23,000
(4.5: 25,000)
5: 27,000
(5.5: 29,500)
6: 32,000
Clearing out material with a large endmill, then cutting the remaining material w/ a smaller endmill is known as “Rest” machining — Carbide Create doesn’t have a direct feature supporting that: