really happy with how the this is coming along. sort of in a holding pattern still waiting on material.
6 Likes
Watched your spin test. It occurred to me that with the inertia of that heavy wheel, you could generate a good charge on a super capacitor. That could be tied to a simple lighting effect that would go away slowly. Simple and without maintenance.
3 Likes
i actually was thinking about making an uplighting setup that turns on automatically when it gets dark, but that would be really cool too!
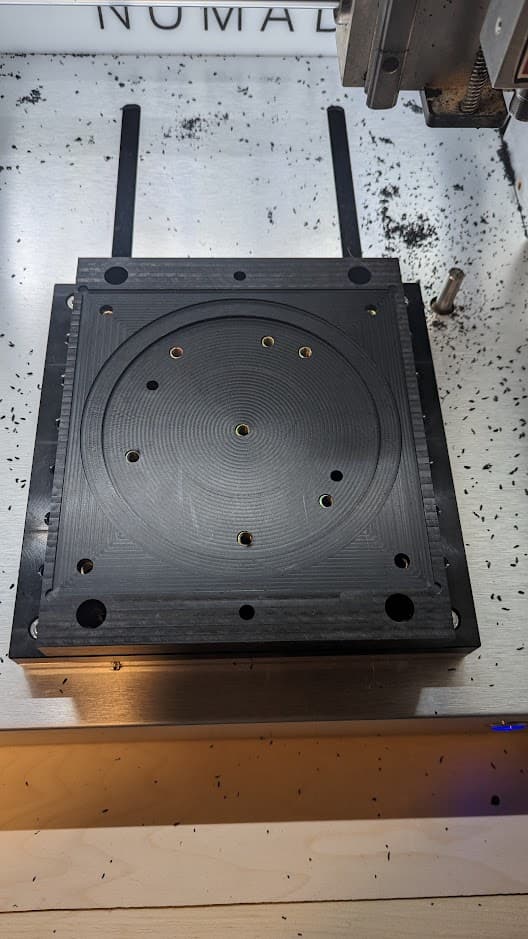
finished fixture side a/top.
didnt take any pictures tho before i flipped it. had to figured out how to index it with the flip. ended up using a .25" endmill to bore .25" holes for some dowels. not ideal as theyre a bit oversized but not by much and it shouldn’t affect the other side enough to do anything.

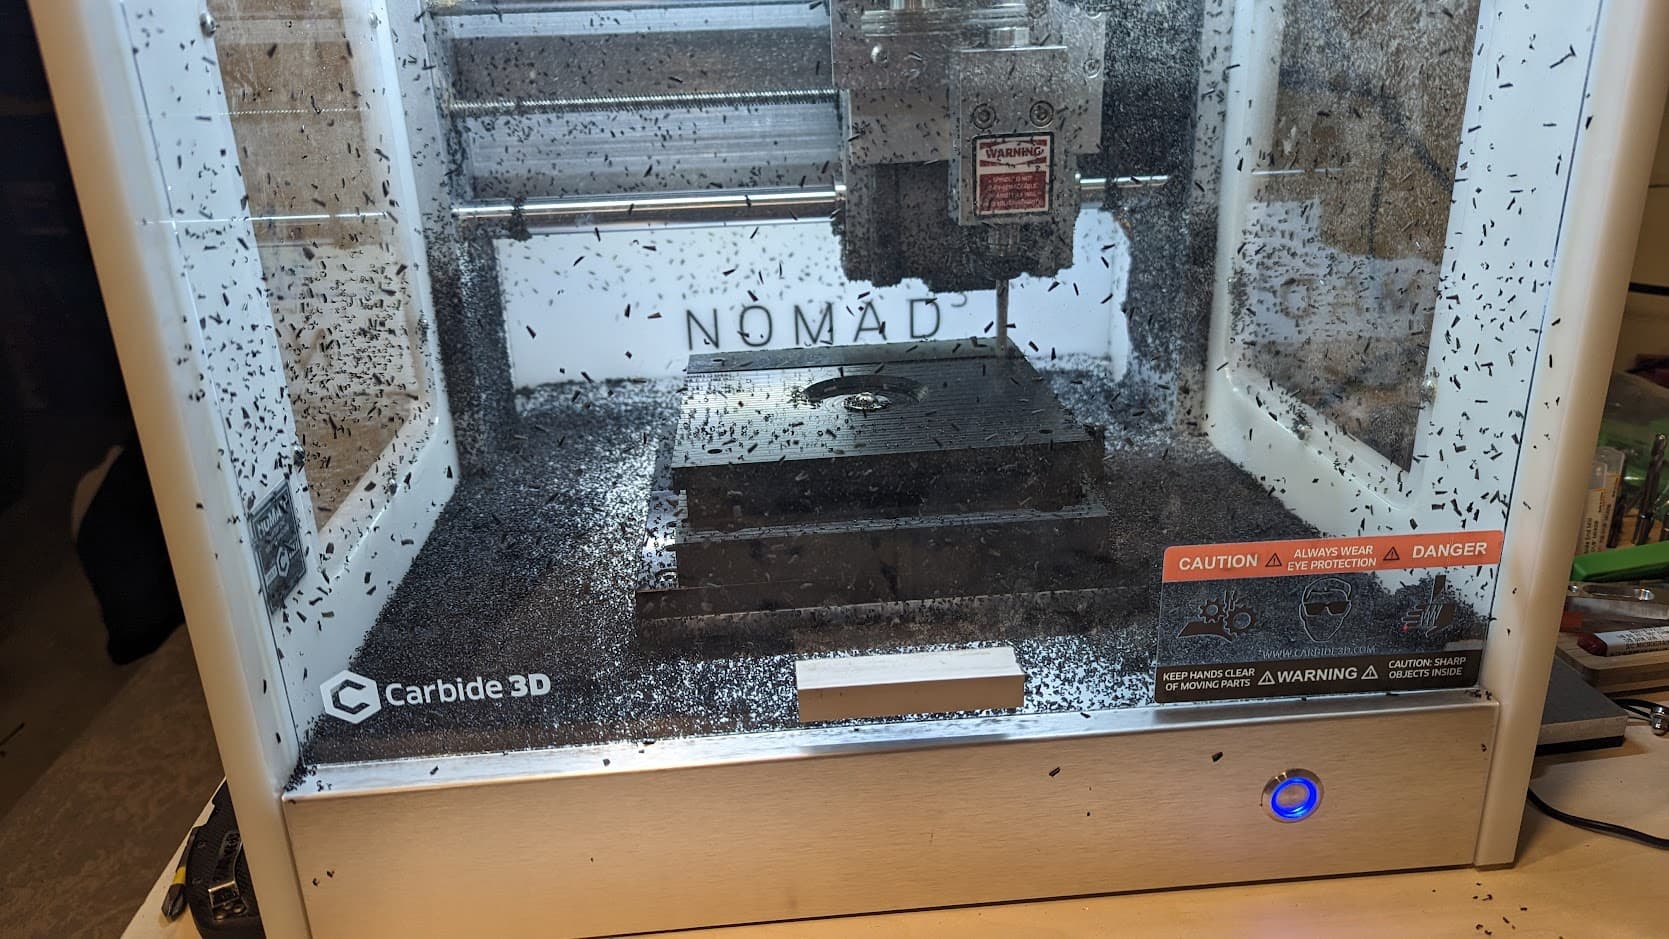
Your Nomad was infested by ants though ![]()
4 Likes
![]() yeah those hdpe chips did pile up. had to vaccum more than once. i definitely need to make a side window with a bulkhead fitting for dust collection.
yeah those hdpe chips did pile up. had to vaccum more than once. i definitely need to make a side window with a bulkhead fitting for dust collection.
all but 2 of the threaded inserts installed because those ones are knife edge inserts that are proving to be slightly annoying to install. i need a bigger flathead screwdriver ![]()
4 Likes
… the right tool for the job … blah, blah, blah ![]()
lolol. I pretty much said that to myself as I ordered the tool off McMaster-Carr

finally got a piece of stock loaded up in the fixture. figuring out how to bore the holes was a bit nerve-wracking. I drilled a hole through the center of my stock, and used that to hold it down after squaring it up to the wasteboard, and used one of the aluminum toe clamps to prevent it from twisting, then bored the corner holes, as well as cleared out all the excess stock to the “ideal” stock size (thats what i call it) so that it fit in the machined pocket i designed.
now i can do the “glass side” operations for the table top bracket, and then the stock will get flipped over to do the “table side”
my existing toolpaths should already clear out the excess material that i have so that the flip goes as planned.
1 Like
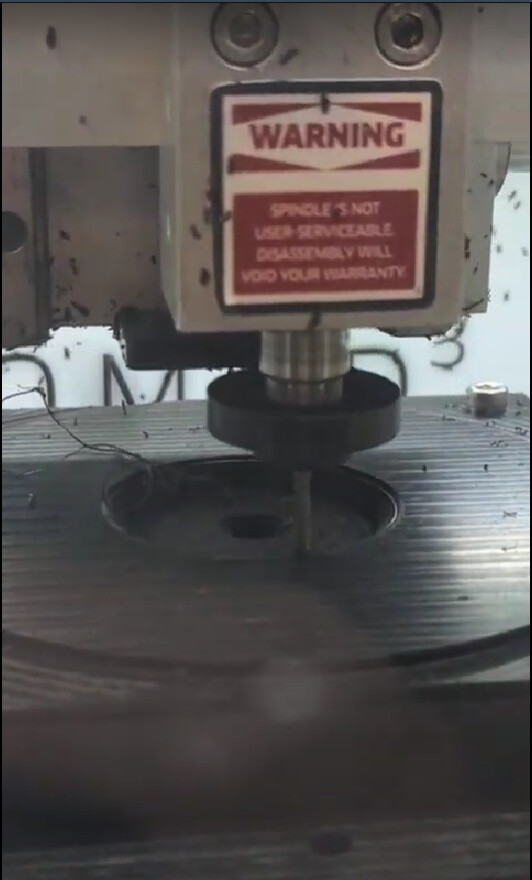
watching the endmill plunge towards my threaded table when doing that boring operation was a bit butt-puckering. i zeroed off the table itself, and offset my bottom by .2mm to make sure that it wouldn’t smash into it, but my hand was still hovered over the E-stop.
3 Likes
bit of a photo dump, but my many hours of forethought definitely worked out for machining the tabletop bracket.
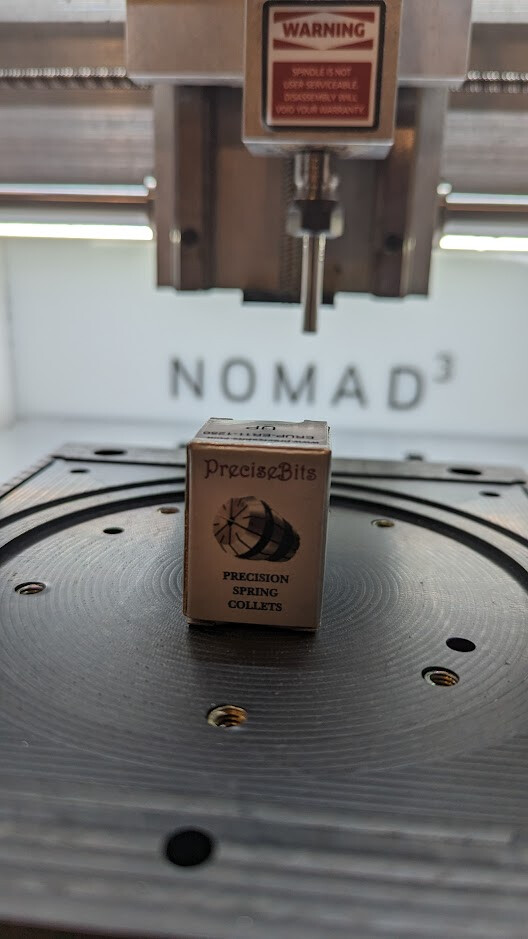
my PreciseBits collets came in and performed excellent.
the only inaccuracies in this part were of my own creation, mainly I didn’t think about the fact that the lack of support in the fixture would allow the bolt I use to hold the stock in place during certain ops would allow the center of the stock to deflect downwards. In hindsight its obvious and as i ran the finishing ops, I knew exactly the mistake I made.
setup 1a - hold the prepared stock with 4 corner holes, and hog out the center (previously drilled to accept a hole to hold it down to drill the 4 corner holes. I wont do that in the future, since it didnt actually line up after the fact. once again my mistake and assuming center would always be center.)

setup 1b - hold the stock in the middle hole, so that I can face the stock to its final height for this side, and adaptive machine out the profile to its finished size (i cut out too much and didnt leave the square in the proper spot to index it when i flipped it, ill need to leave a little more next time)
after facing, i rough out the profile, and bring it to final dimension with a finishing contour cut of .1mm, and also cut out a square profile that in theory would index the stock in the square pocket, as well as the center circular pocket.

setup 1c - hold the stock down with the corner holes again and finish out the center chamfer with a ball endmill (not a big fan of this contour toolpath in reality as it burnished the edge due to a lack of chip evacuation. might try a bigger ballnose, or a different toolpath. realistically i need an airblast or vaccum setup)
using the same hold down, continue on to rough out and finish the my logo, and then chamfer it off. I forgot to up the speed for all these toolpaths to 22k which performs WAY better in HDPE. but it still looks pretty good, just required a bit of scrubbing with the scrubby side of a sponge in the sink to remove the fuzz. I just need to re-export the toolpaths for the next part, as I already increased the RPM for future me’s sake.


FLIP PART
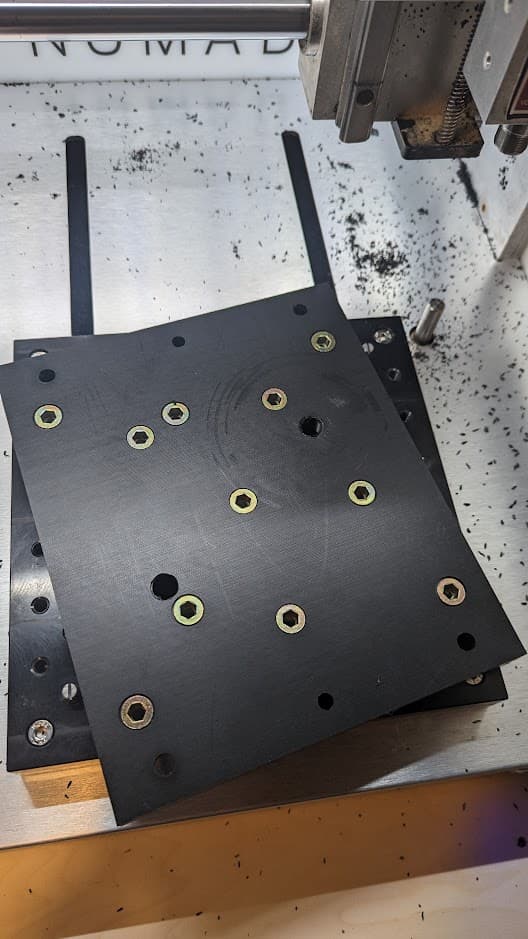
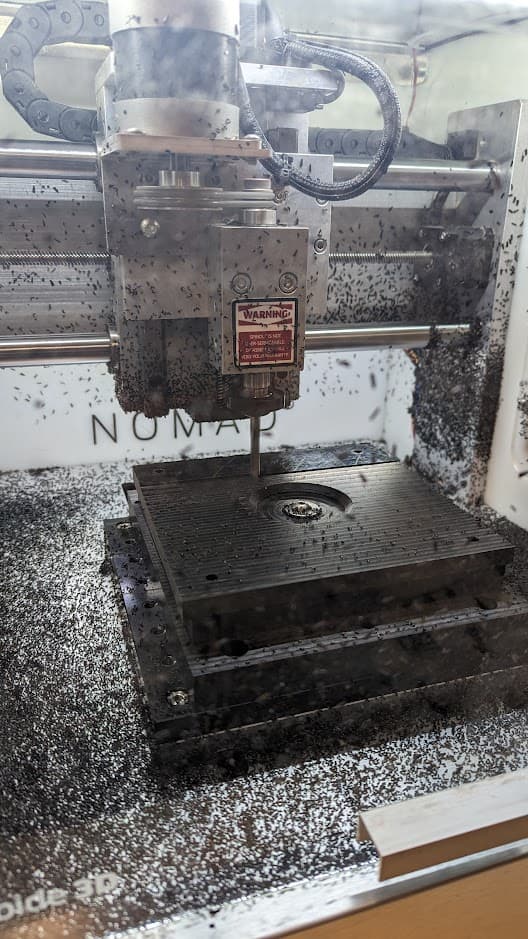
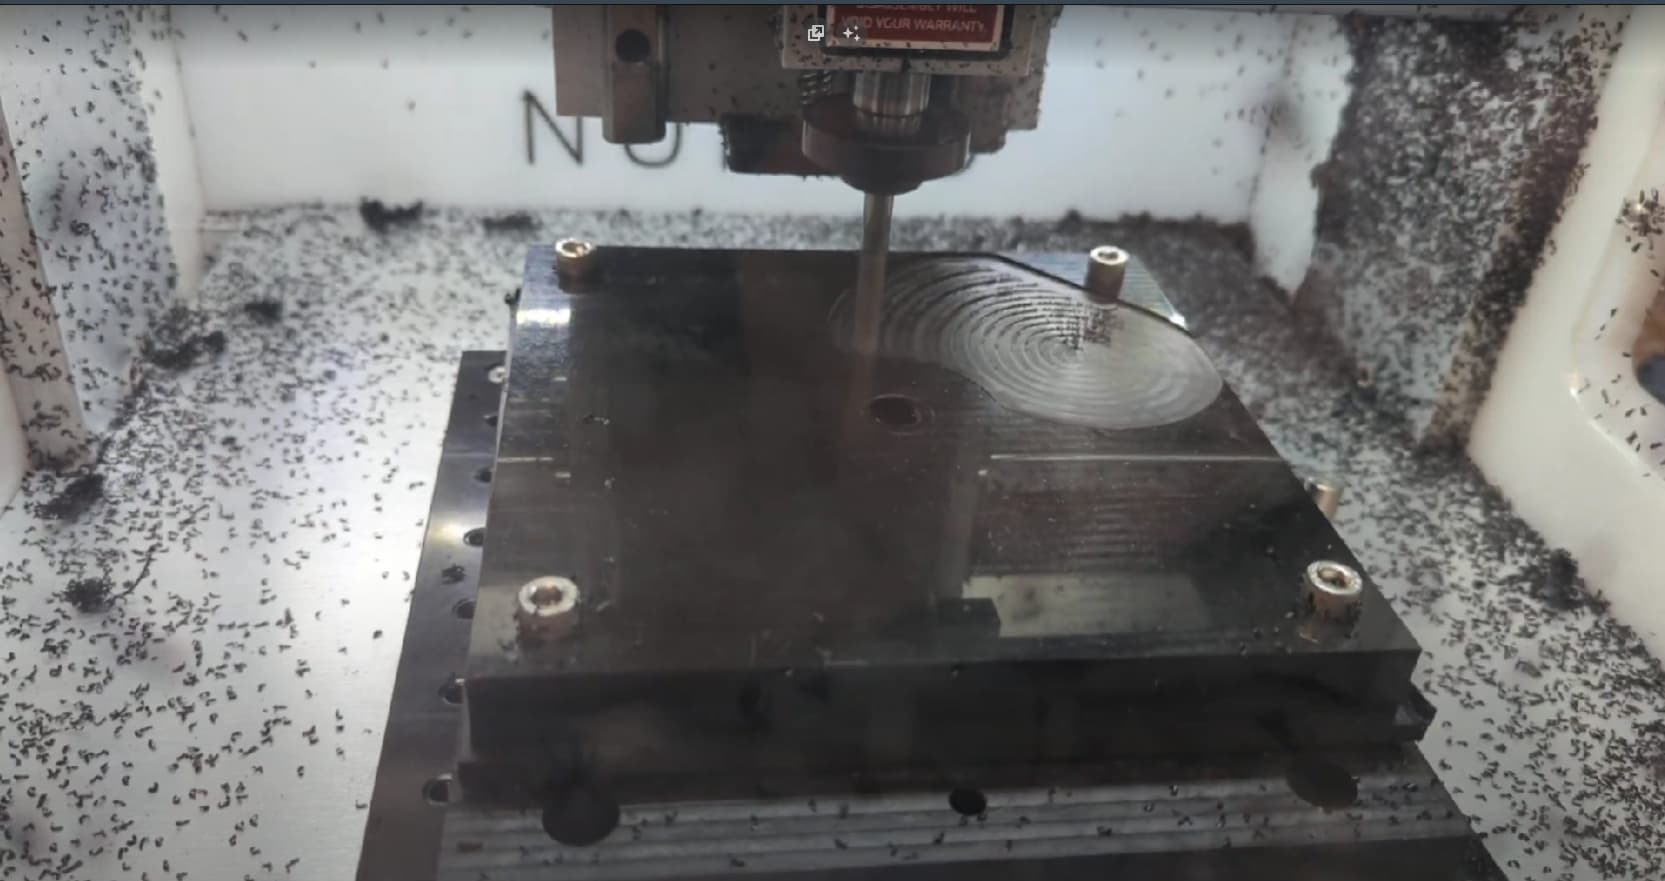
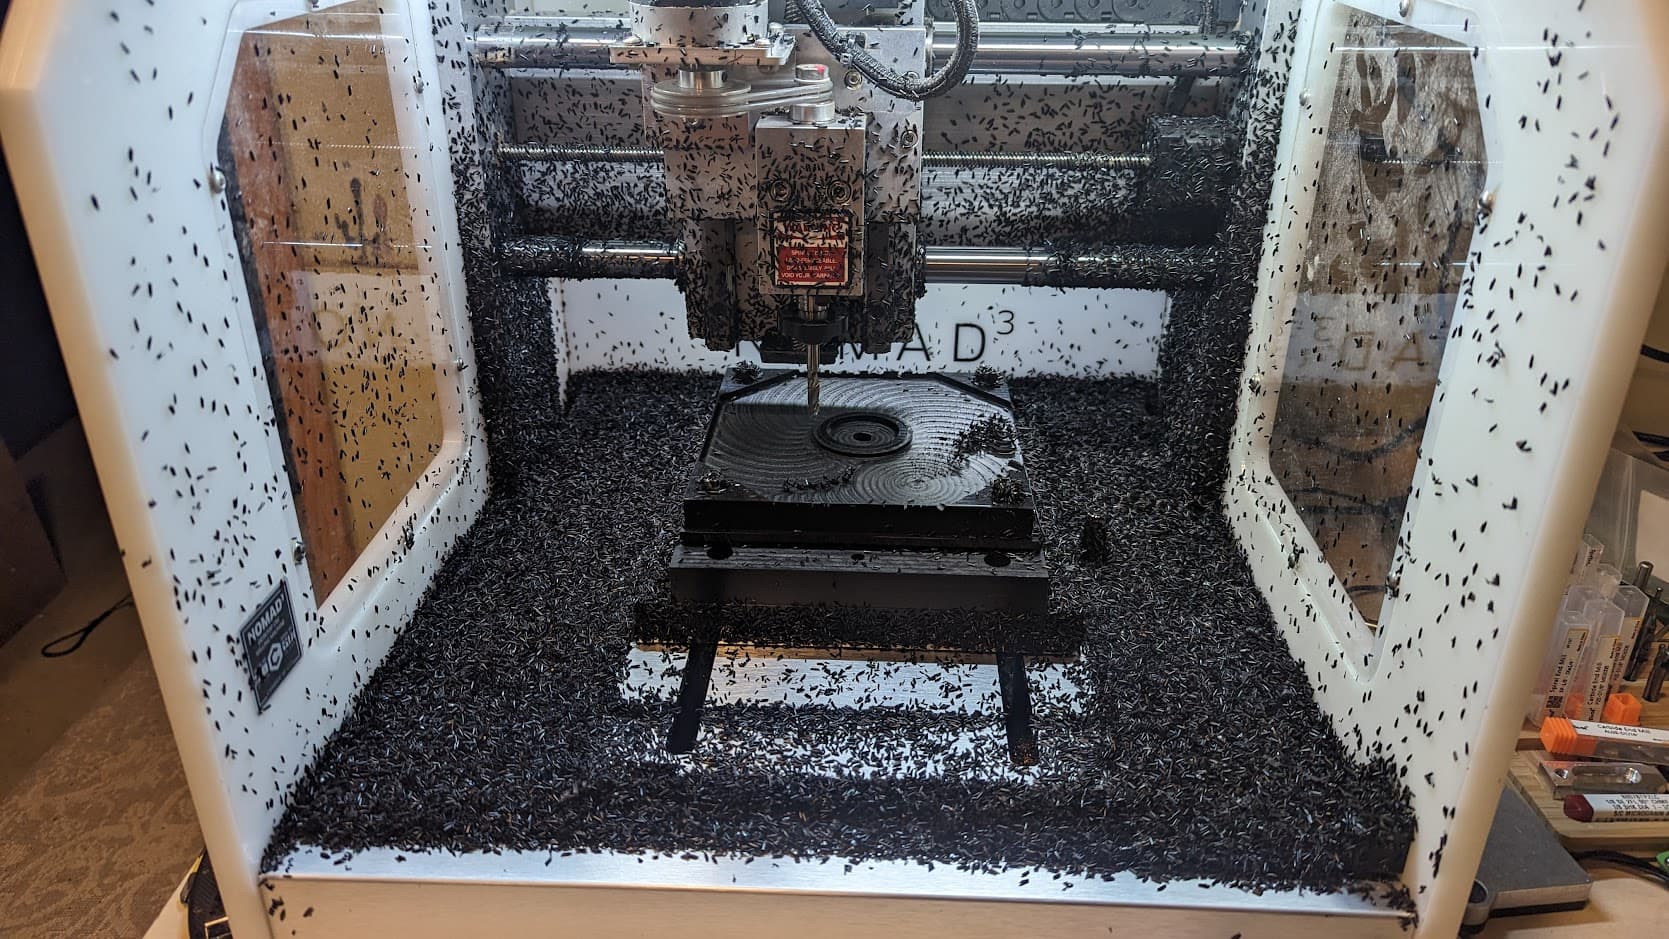
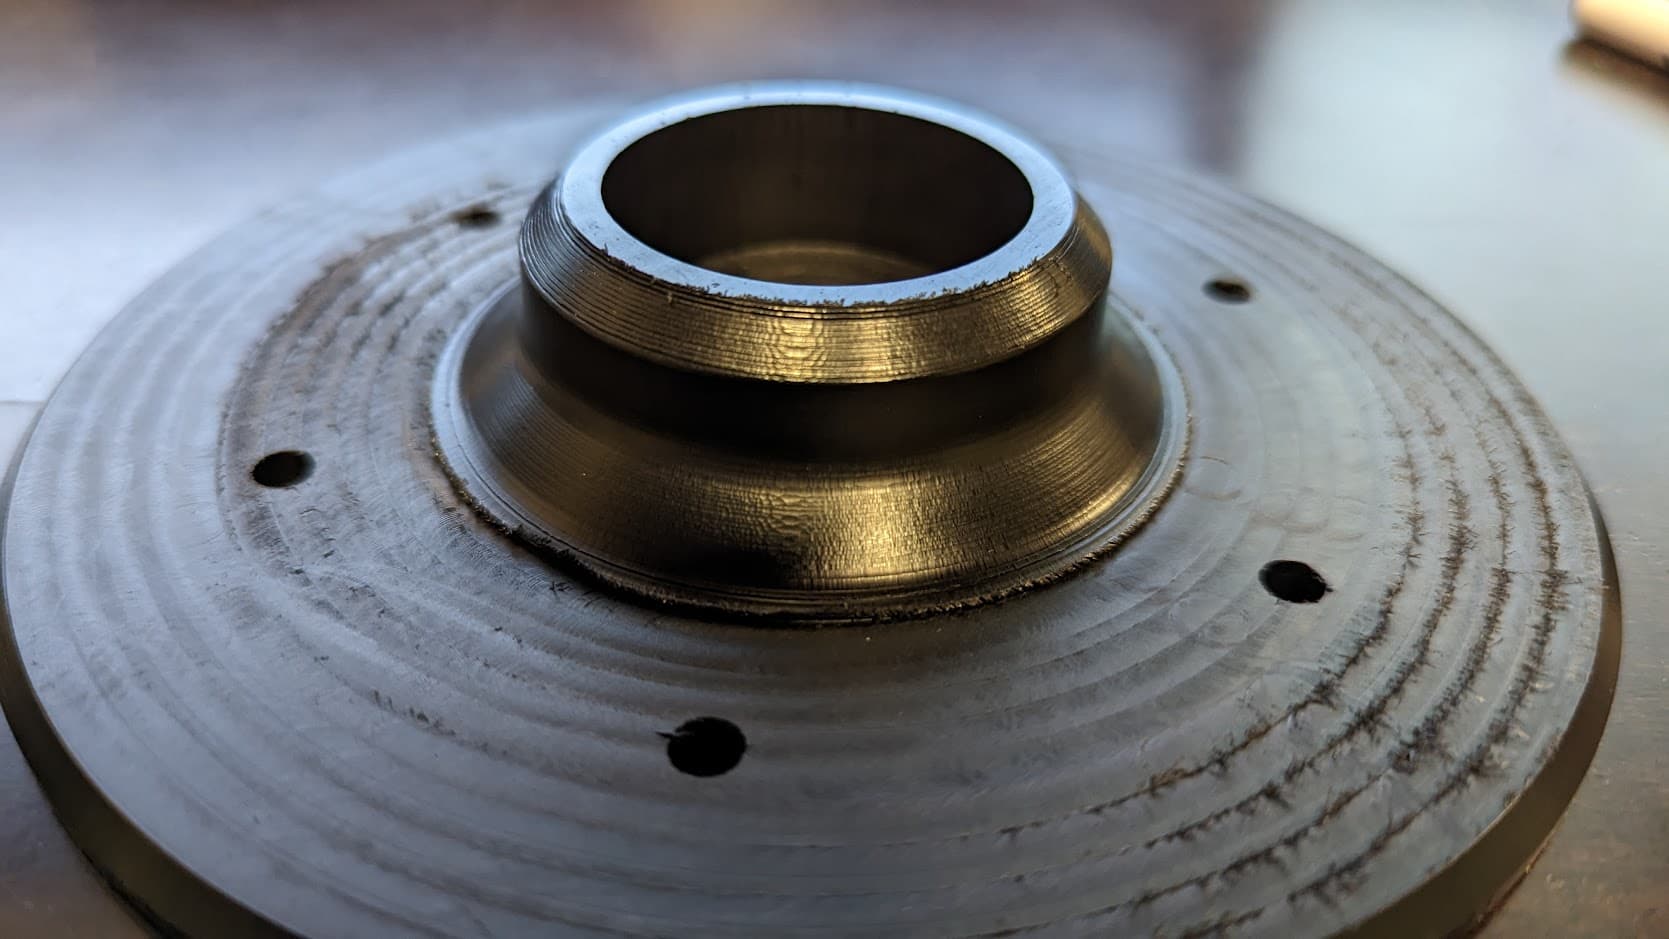
setup 2a - using corner holes, hog out the bulk of the material, and finish off the flat areas of the part, stopping to vacuum out the MAHOOSIVE amount of HDPE chips that come off the machine. (see image 2)
PROCEED TO FORGET TO DOCUMENT THE REST OF THE PROCESS
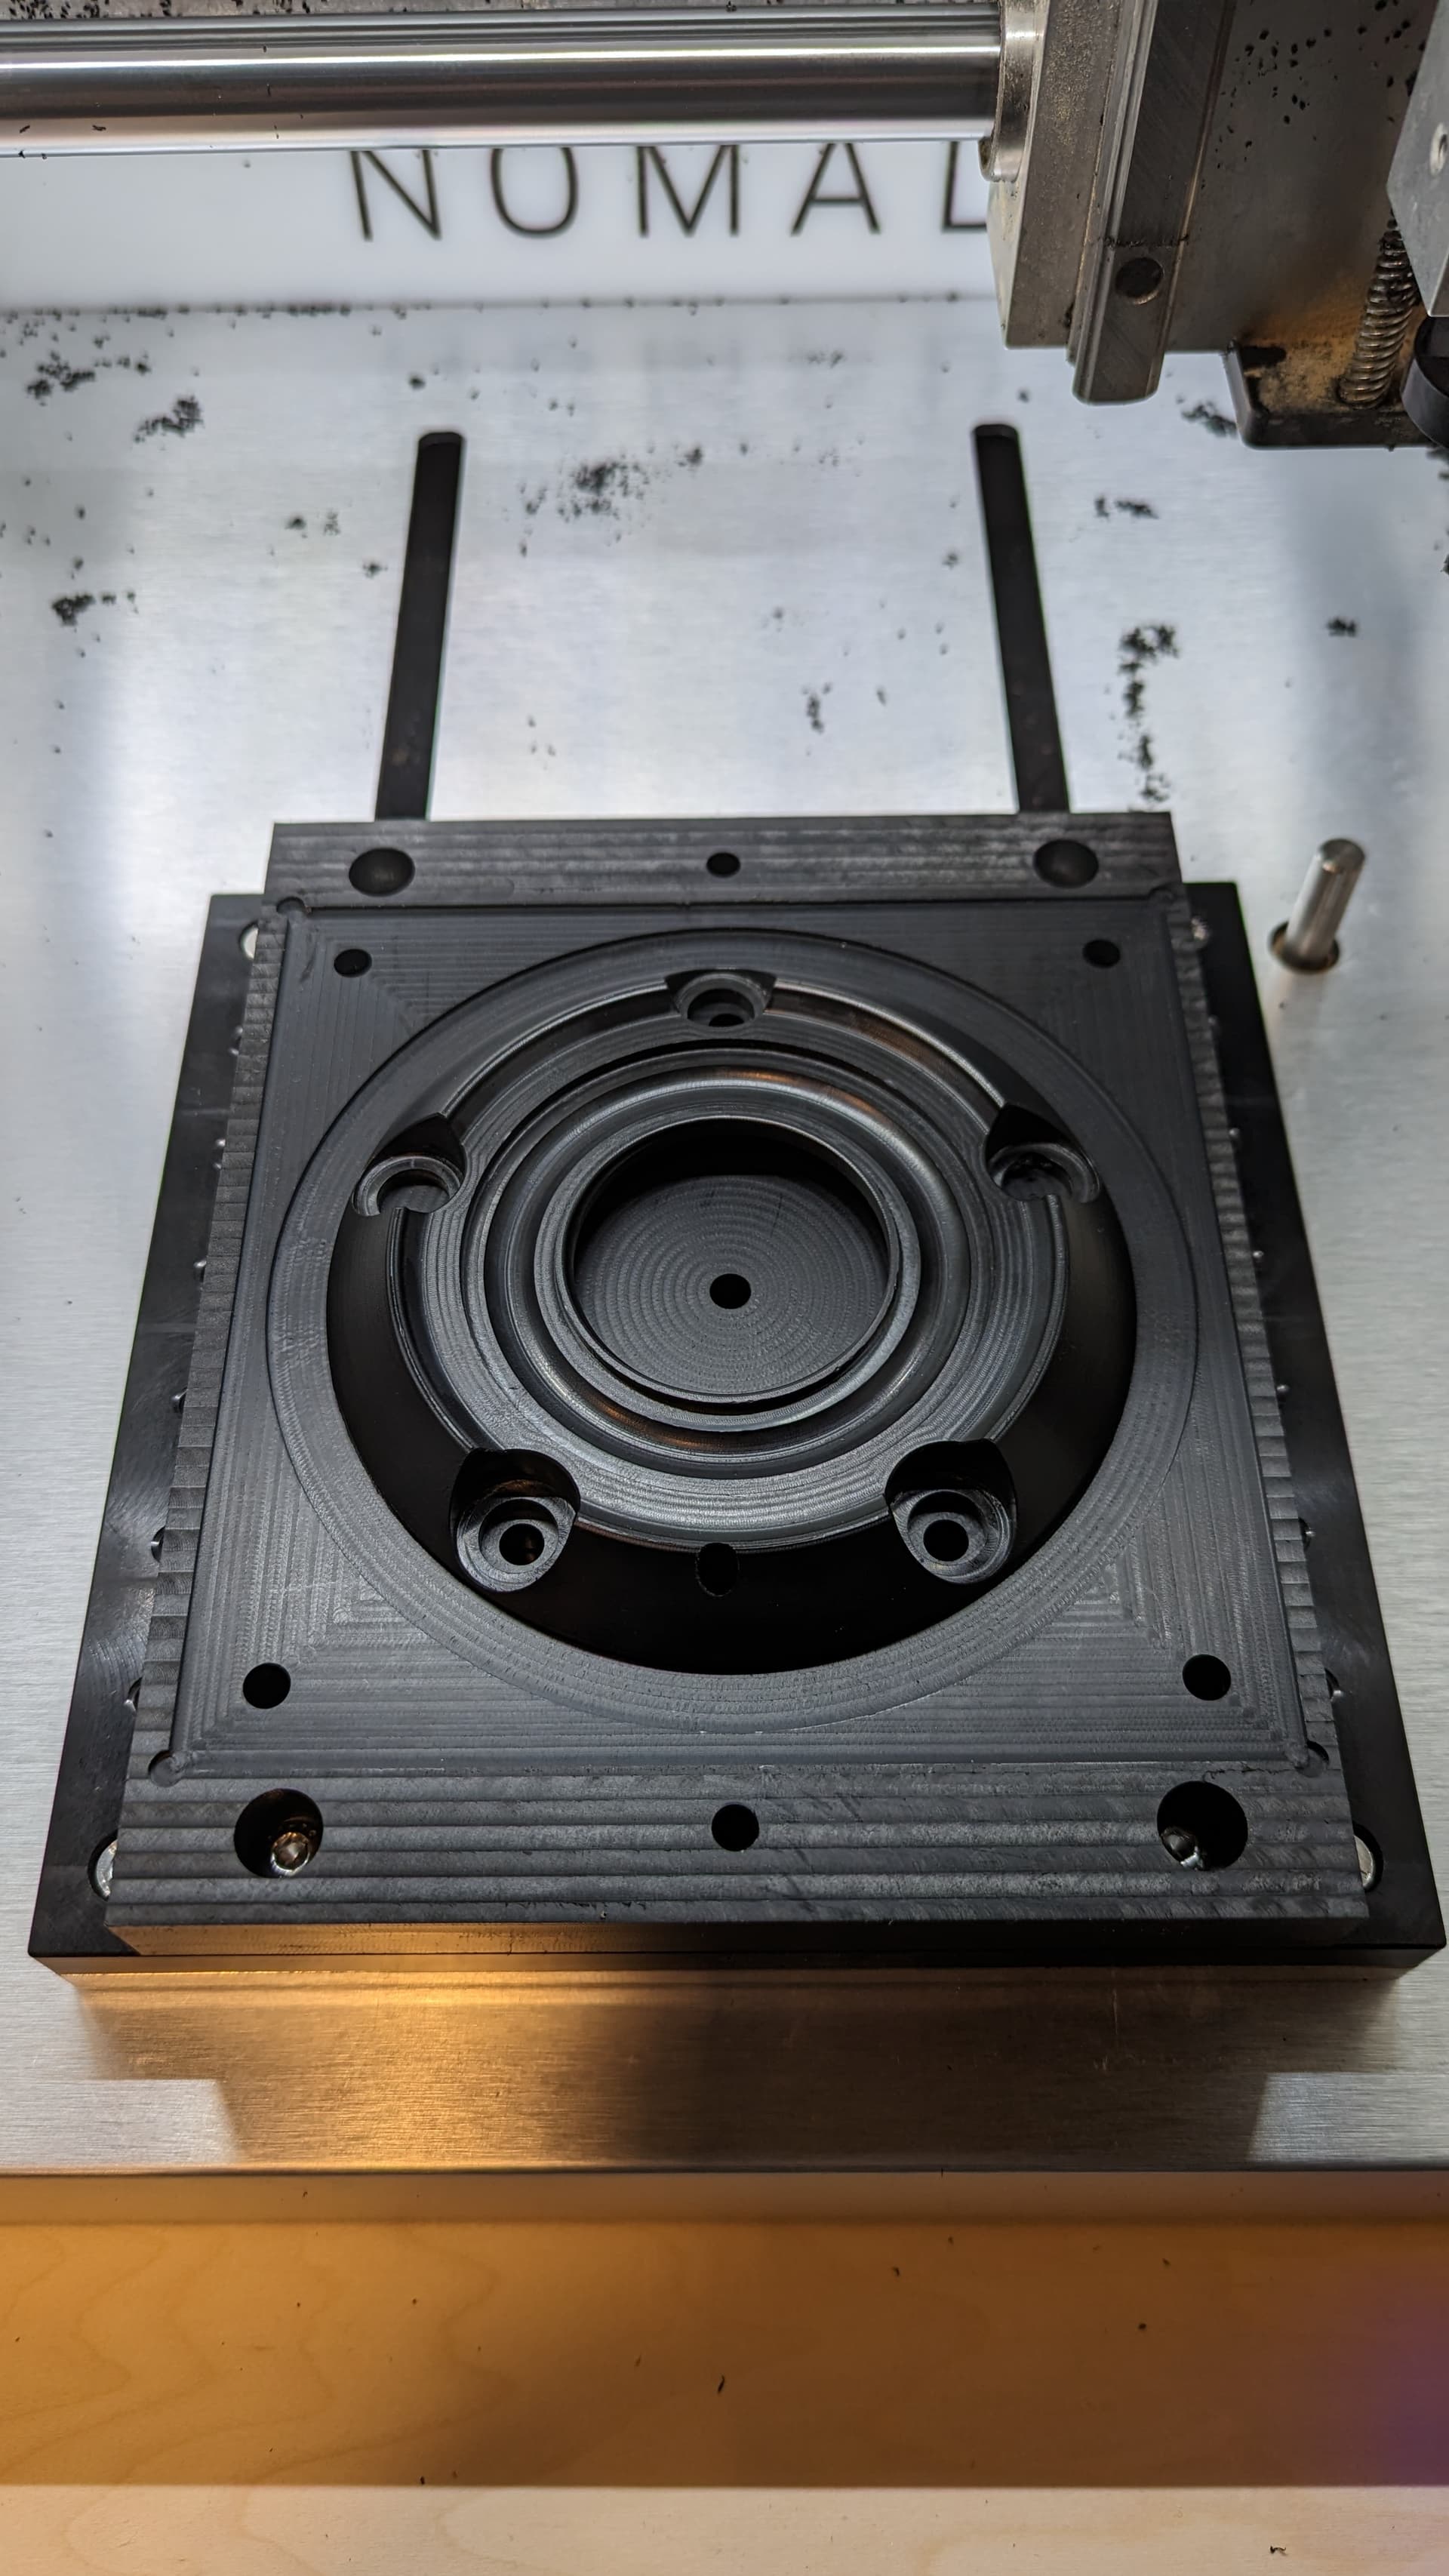
from there, setup 2b consisted of switching to the center hole, and holding down the part to do a contour cut so that the part can be released from the stock, and then use a 1/4" ballnose to finish the big chamfer on the backside of the part, as well as finish the fillets. then a small chamfer tool that will do nothing because the clamping forces on the center of the part pulled it down too far and f**cked it up because its sitting too low now.
fortunately, i can just stick this part back in the Nomad once I 3D print a little center support blank to prevent the deformation, and run that toolpath on its own, because concentricity on this part isnt terribly important, and there’s no orientation requirements, since its a circle.
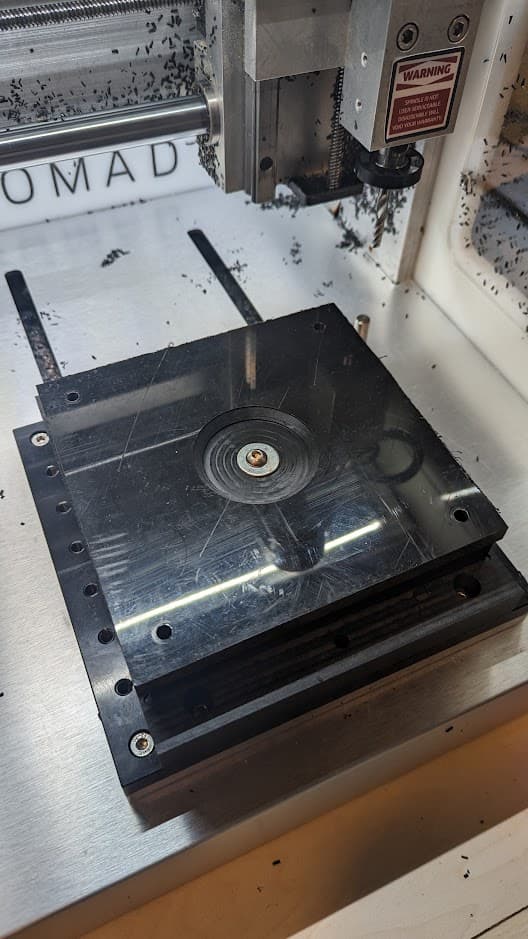
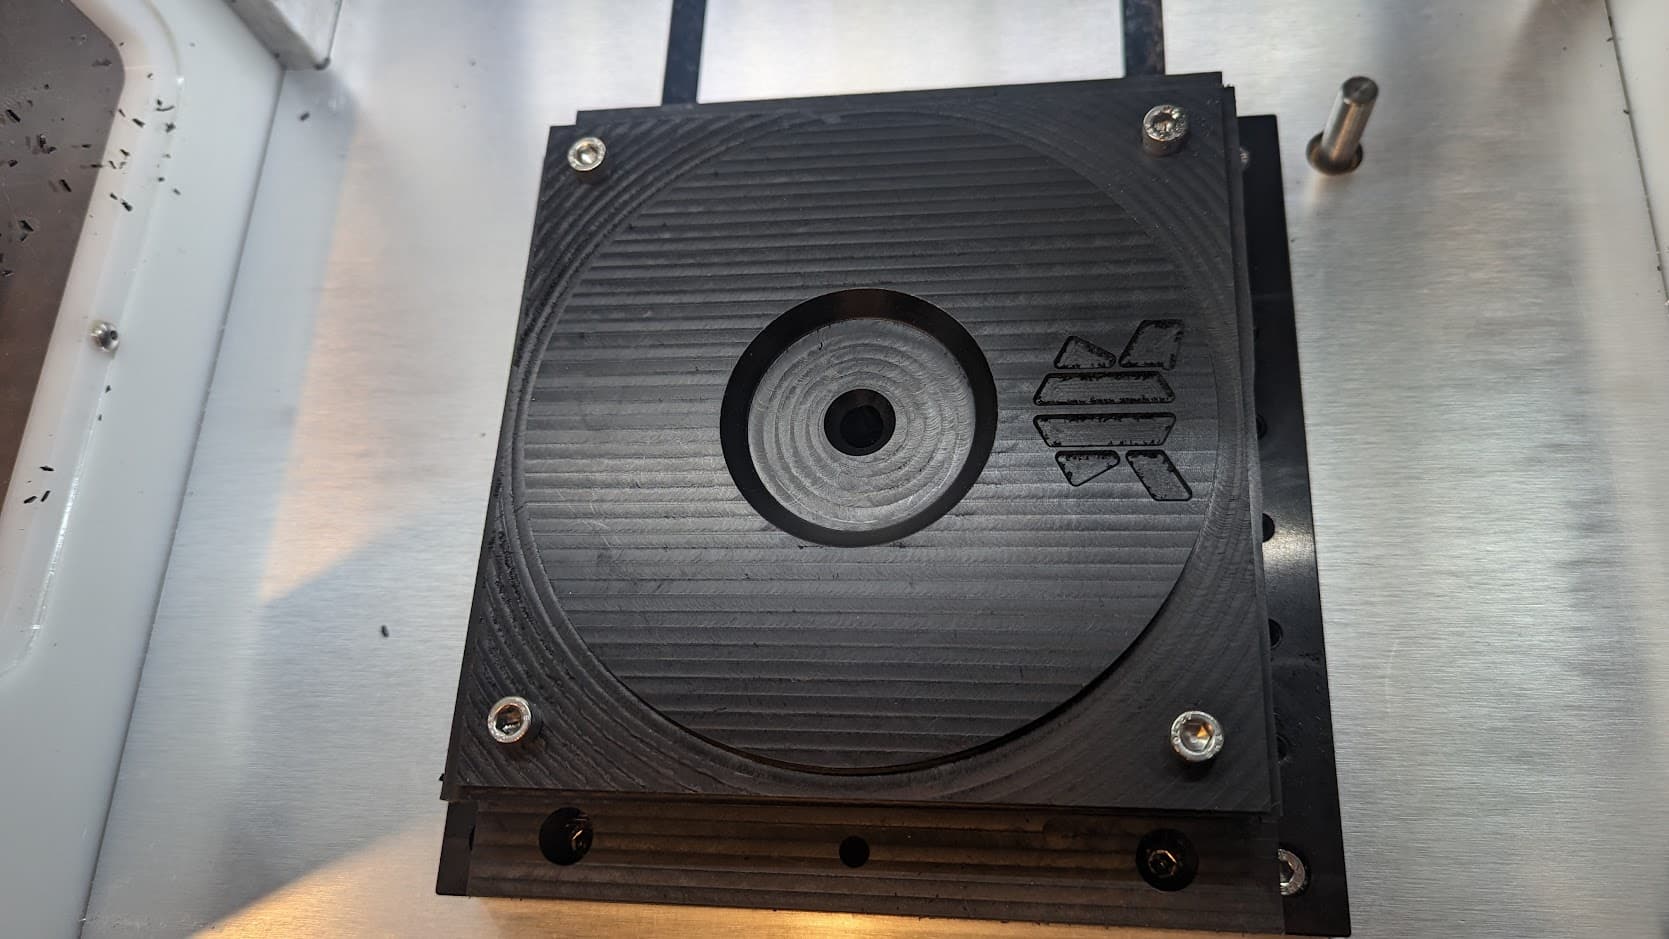
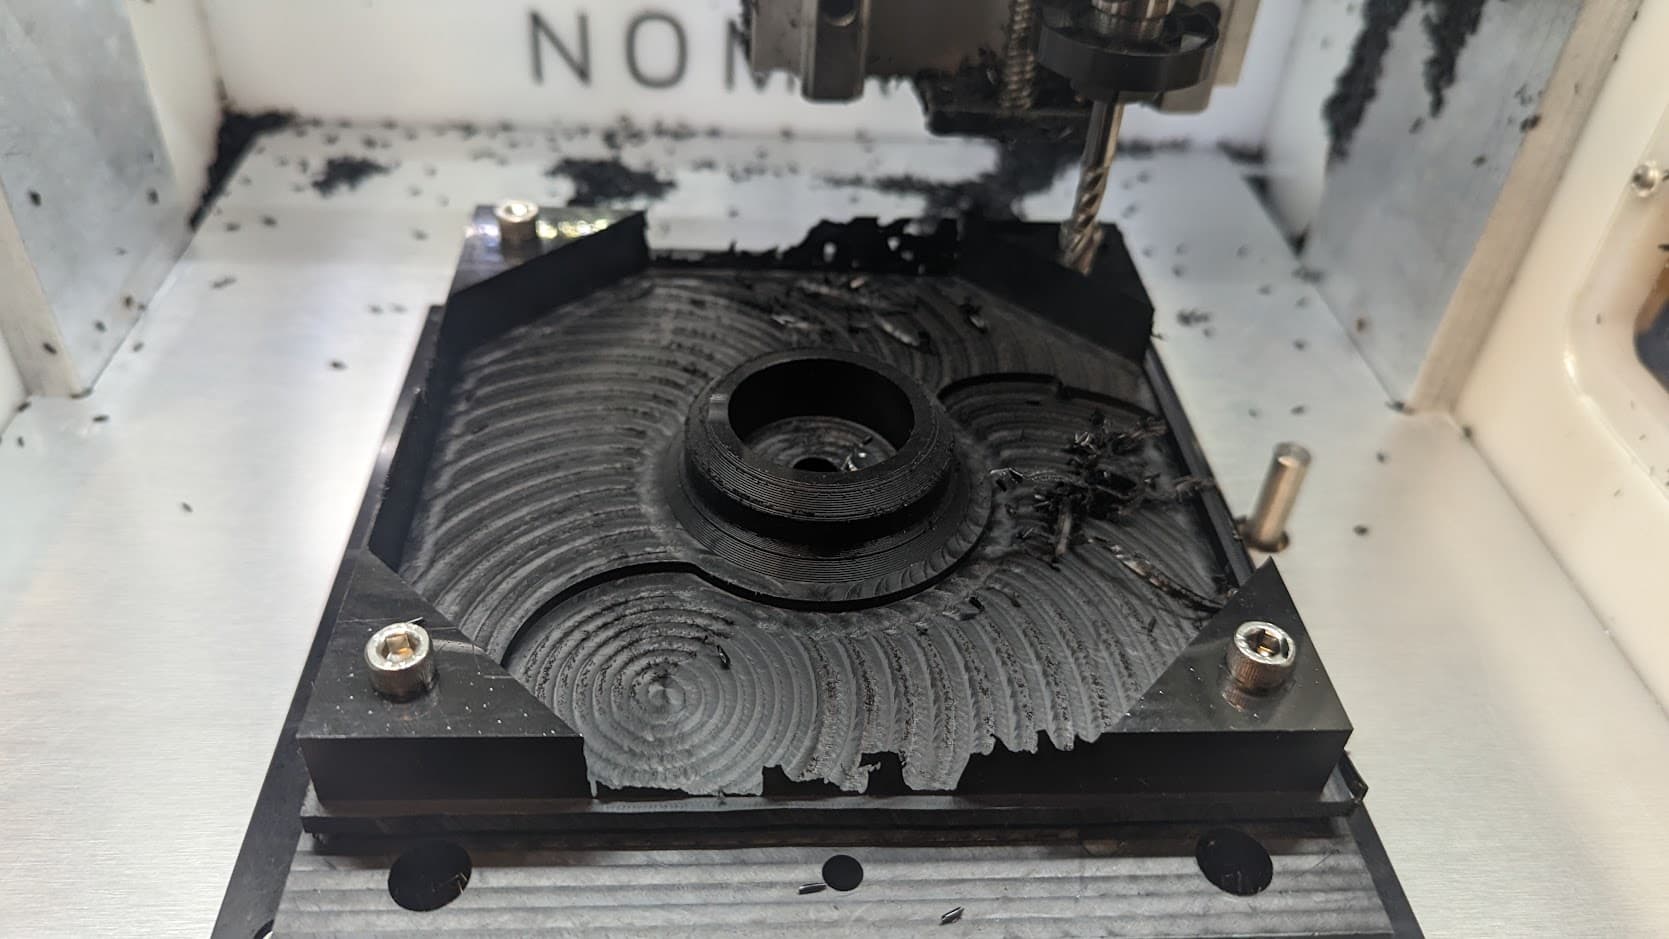
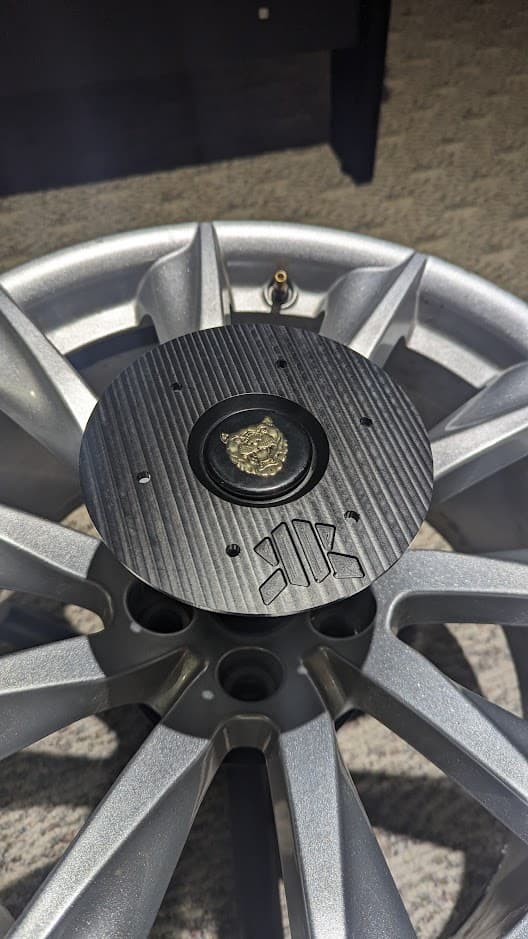
as seen here, this top face should be machined, since there was a flats operation to bring it down to dimension, as well as a chamfer on the innermost bore.
and you can see that it was pulled down so much the ballnose never fully completed the fillet at the bottom. fortunately this is on the bottom of the part.
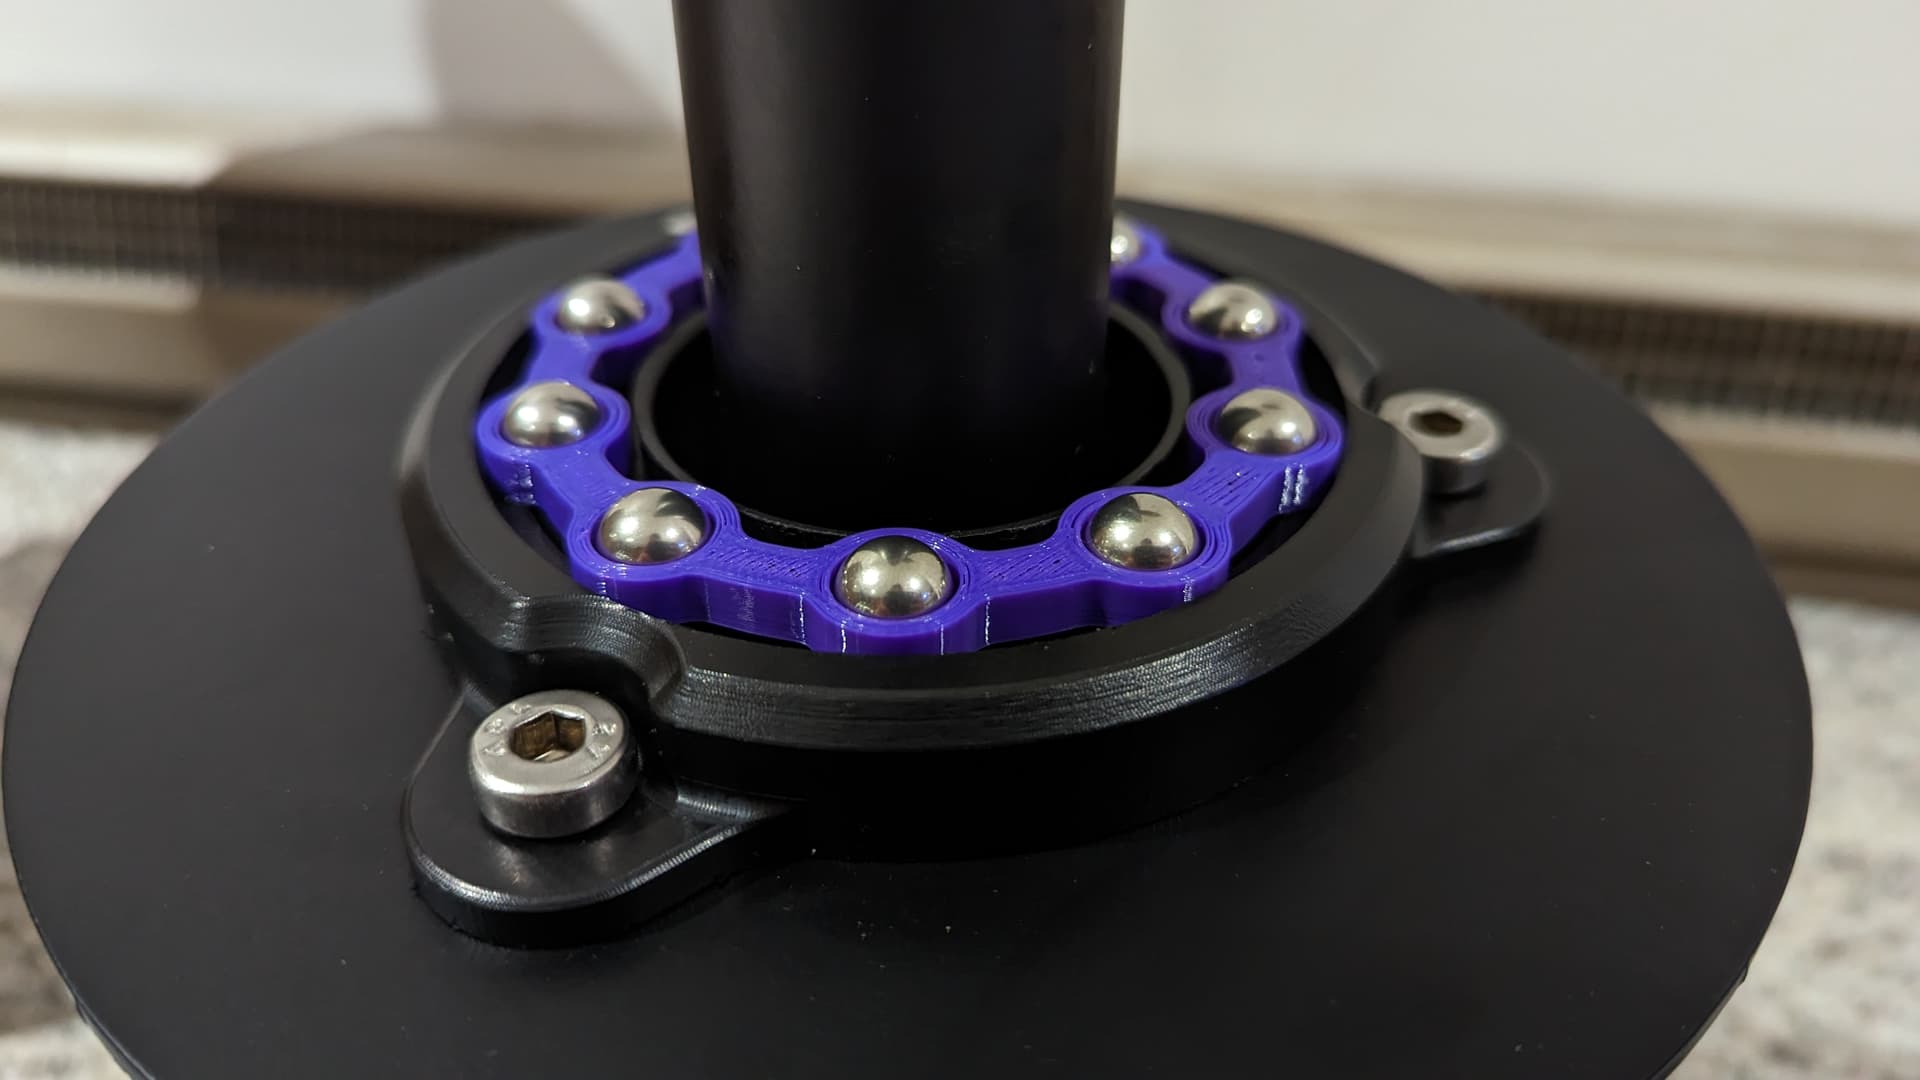
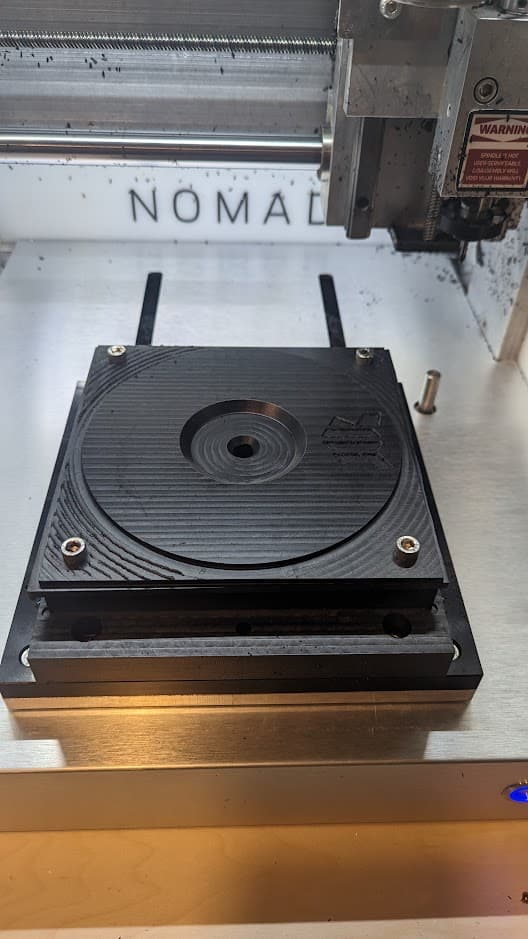
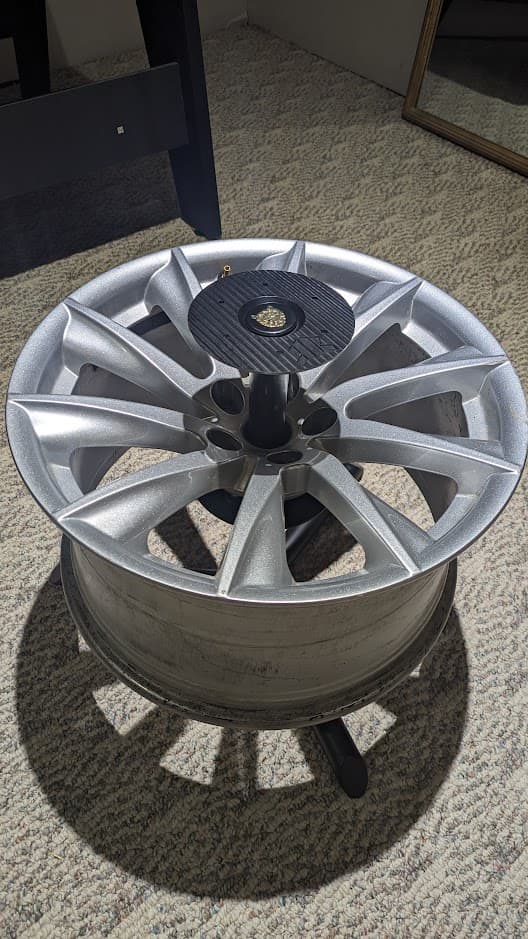
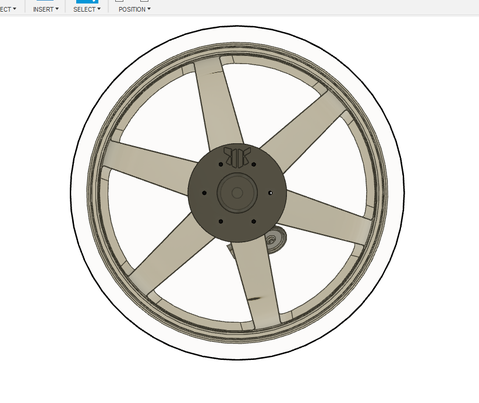
but all set up on the table it looks really damn cool, now i just need to commit and order the glass.
this wheel will get powdercoated a gloss white, and have a black vinyl cut out with my logo on it placed on the barrel. then once i take some beauty shots, I will add another sticker from an automotive lifestyle company i like called Lowered Lifestyle to the barrel as well.
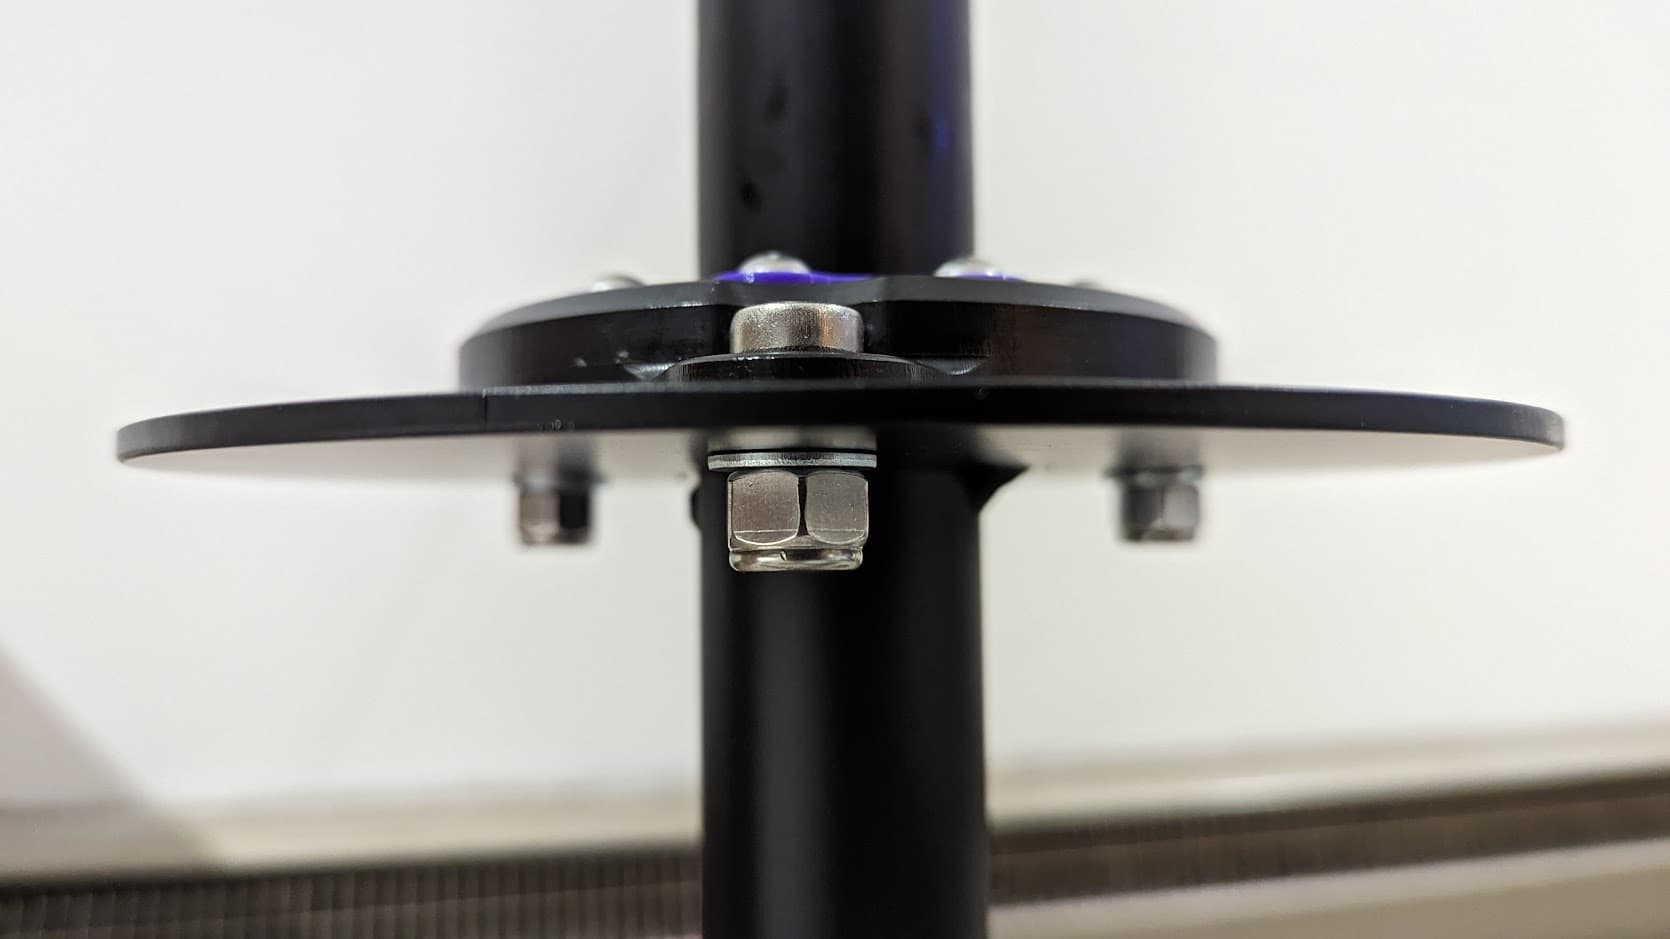
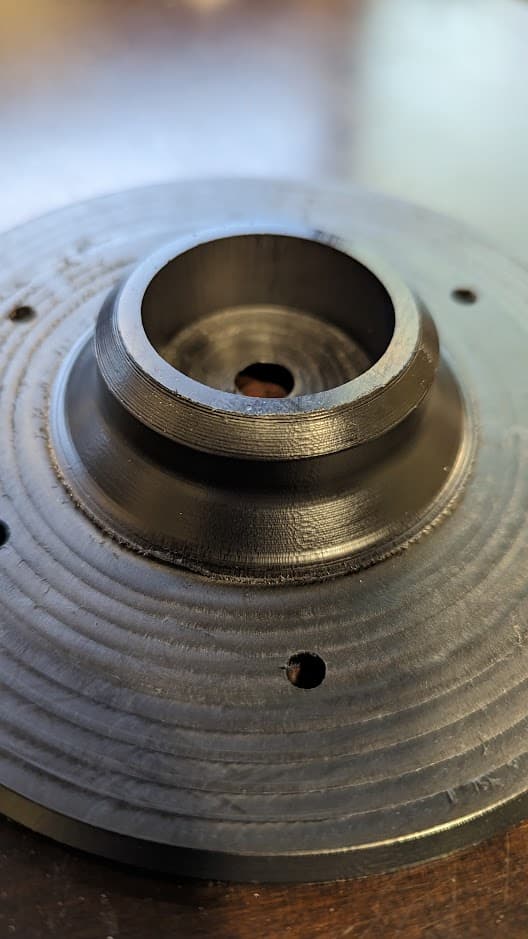
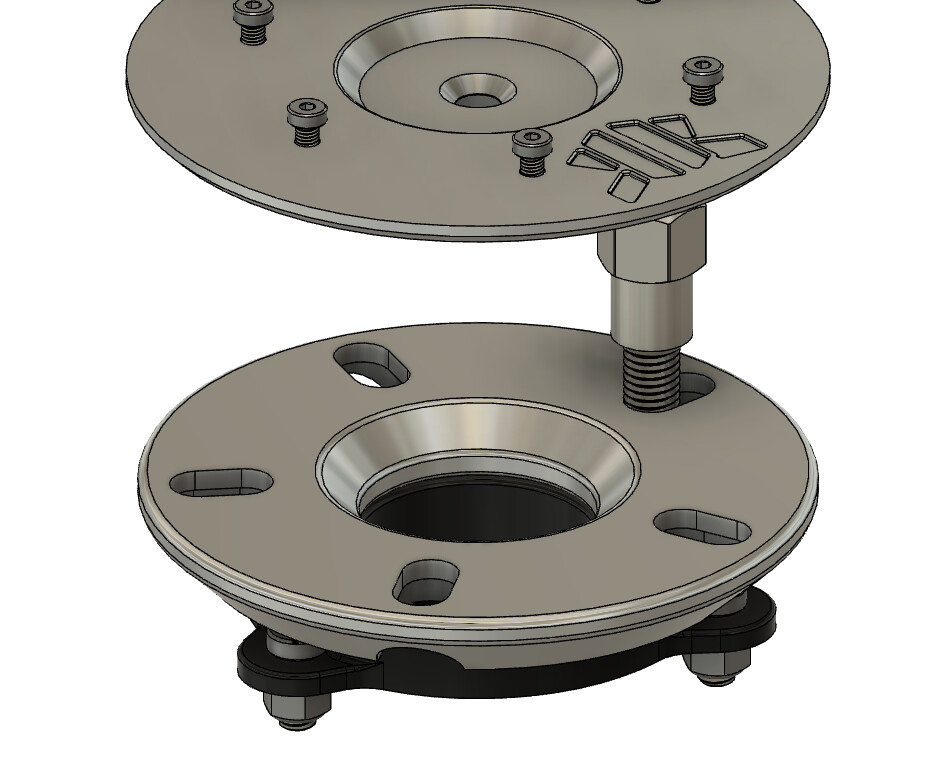
the top has a chamfered hole to allow an M8 countersunk screw flush underneath the center cap, which will thread into a nut pressed into a plate welded to the center tube.
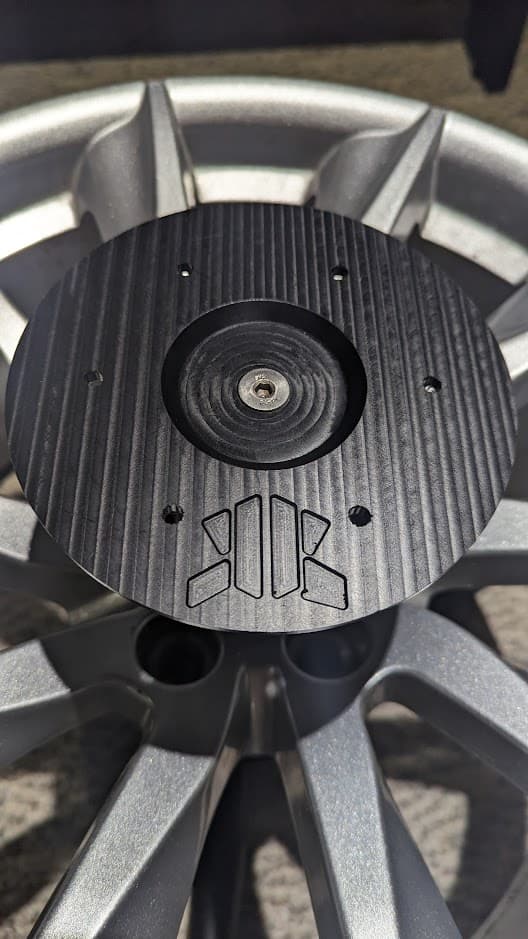
the center cap will be visible under the glass tabletop and set in this little pocket, as if it were still in the center of the wheel, and the glass will be bolted to the table with 6 M5 screws with some rubber washers (and probably some dress-up washers)

7 Likes
notification for anyone who cares
updated the last post with more info, rather than just a photo dump.
2 Likes
Don’t forget your valve cap! LOL ![]()
![]() lol. that will get ripped out when the wheel gets powdercoated.
lol. that will get ripped out when the wheel gets powdercoated.
but i will have some fun purple lugnuts and trim washers.
1 Like
been a minute since ive posted here, but after getting the top plate machined, ive been swamped with some other things, but i figured out a way to make a universal top bearing half.
this new bearing half has slots that range from a 100mm to 120mm hole center, this allows me to support any 5 lug wheel within that pattern. (4 lugs will end up being a new component later if the table is popular enough)
it required a bit of fiddling with my sketches to get right but fortunately didn’t break anything in the fusion360 model all that terribly.
3 Likes
I ordered the glass, and dropped the wheel off at powdercoat the other day as well. The glass ETA is Feb 22, and my powdercoater said he is backed up so im not really sure when the wheel will be ready, but im in no real rush.
4 Likes

because i was bored, i re-did the design for the motor i had planned on implementing to turn the wheel in a “space needle” fashion (i.e. SUPER SLOW) and sent that off to sendcutsend to be made, and fired off the drive wheel to one of my 3d printers.
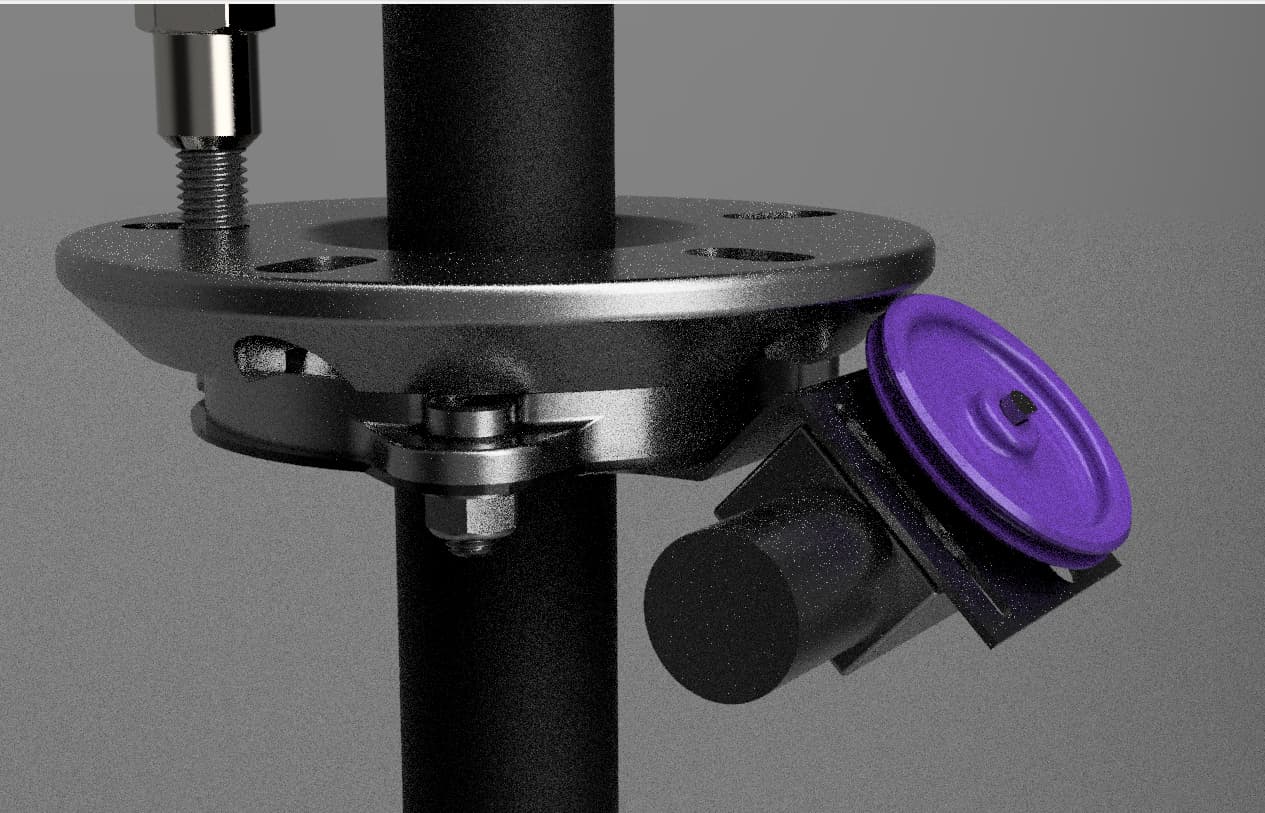
and a god-awful in progress render lol. with a purple drive wheel, because…purple.
7 Likes
Caliper shroud. ![]()
20, 21