A new flood coolant option for the Shapeoko (and/or Nomad)? ![]()
When in doubt we’re looking at what Aspire does. They’ve been at it longer and whether or not we agree with all of the decisions they’ve made, it’s best to make it easy to move between the two programs.
That should be an easy fix. Good catch
Once a component is created those have to go away (like Aspire from what I can tell). Once we get the next release out you’ll be able to move and transform components like vectors so we’d have no way to rebuild a component without keeping the full history of every transformation, which would introduce a lot of other problems.
This is the expected behavior based on how the shapes are calculated and it also matches Aspire behavior (I would assume that we’re using similar approaches to calculate the shape).
This goes back to the inability to edit components once created and all of the problems inherent in that. Hopefully this will be more apparent in the next release or two.
On the TODO list. If you have a list of what you’d like to see, please let us know.
We keep increasing the number of triangles we’re sending to the GPU. We’ll keep bumping it up until get find the practical limit.
3D Roughing is the next toolpath to add.
Nope, this new accessory should be more broadly useful than that.
1 Like
praise be!
A thing they do that I love: simple math on the fly.
like, typing 1/4 and it automagically changing to .25
also, being able to type z= and get thickness.
the little things matter soooo much.
1 Like
It would be nice to add support for units and parentheses and to honor order of operations as well, so that things such as:
(25mm+1/8in)*3+1in
would work.
1 Like
I love that feature in Inkscape. It would be great to have it added to CCPro as well.
Just uploaded 414 to https://carbide3d.com/carbidecreate/unstable/
- (NEW) Import PNG as a component
- (NEW) Move component by double-clicking it in the component list
- (NEW) After selecting a drawing element you need to click again to drag. You can no longer select and drag in one click.
- (NEW) Select multiple elements by left clicking and holding the Shift key on both Windows and OSX. (Used to be CTRL on Windows and Apple on OSX)
- (FIX) Alignment commands icons are scaled down to fit better (macklebee)
- (FIX) Fixed shift-cursor nudge on OSX
- (FIX) Changed transform rect to be bolder and more clear
- (FIX) Flipped 3D view mouse direction (Stuart)
2 Likes
I downloaded the V414 for Mac, it is nice to import JPG and PNG as a component, some files appear to work better than others probably because we need to adjust contrast, etc. It is unfortunately not possible to import the component within another like a pendant.
While I can do it in 413, I can’t seem to import textures in the new version.
Thank you for the Shift click and click and drag hallelujah!
2 Likes
- edit- I got the toolpathing sorted… may as well leave the rest of the post for info
just imported this picture into 414
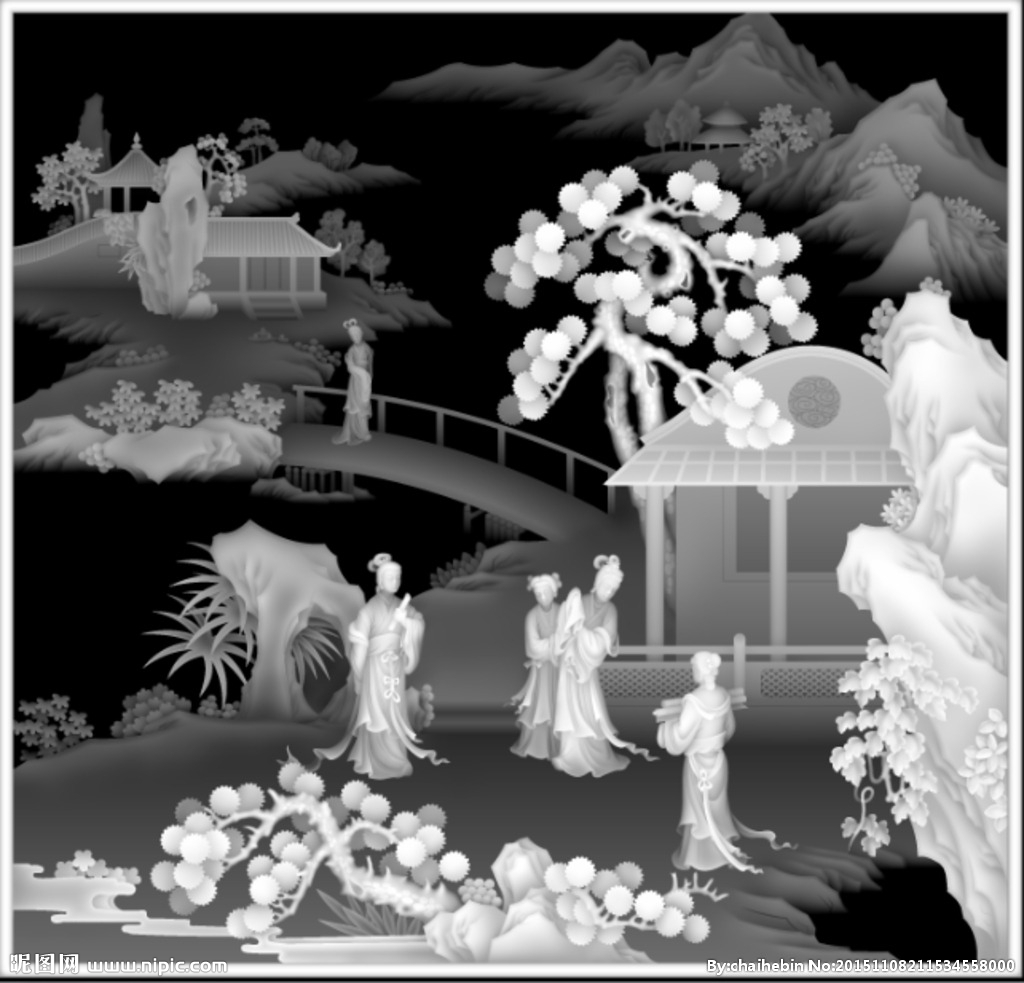
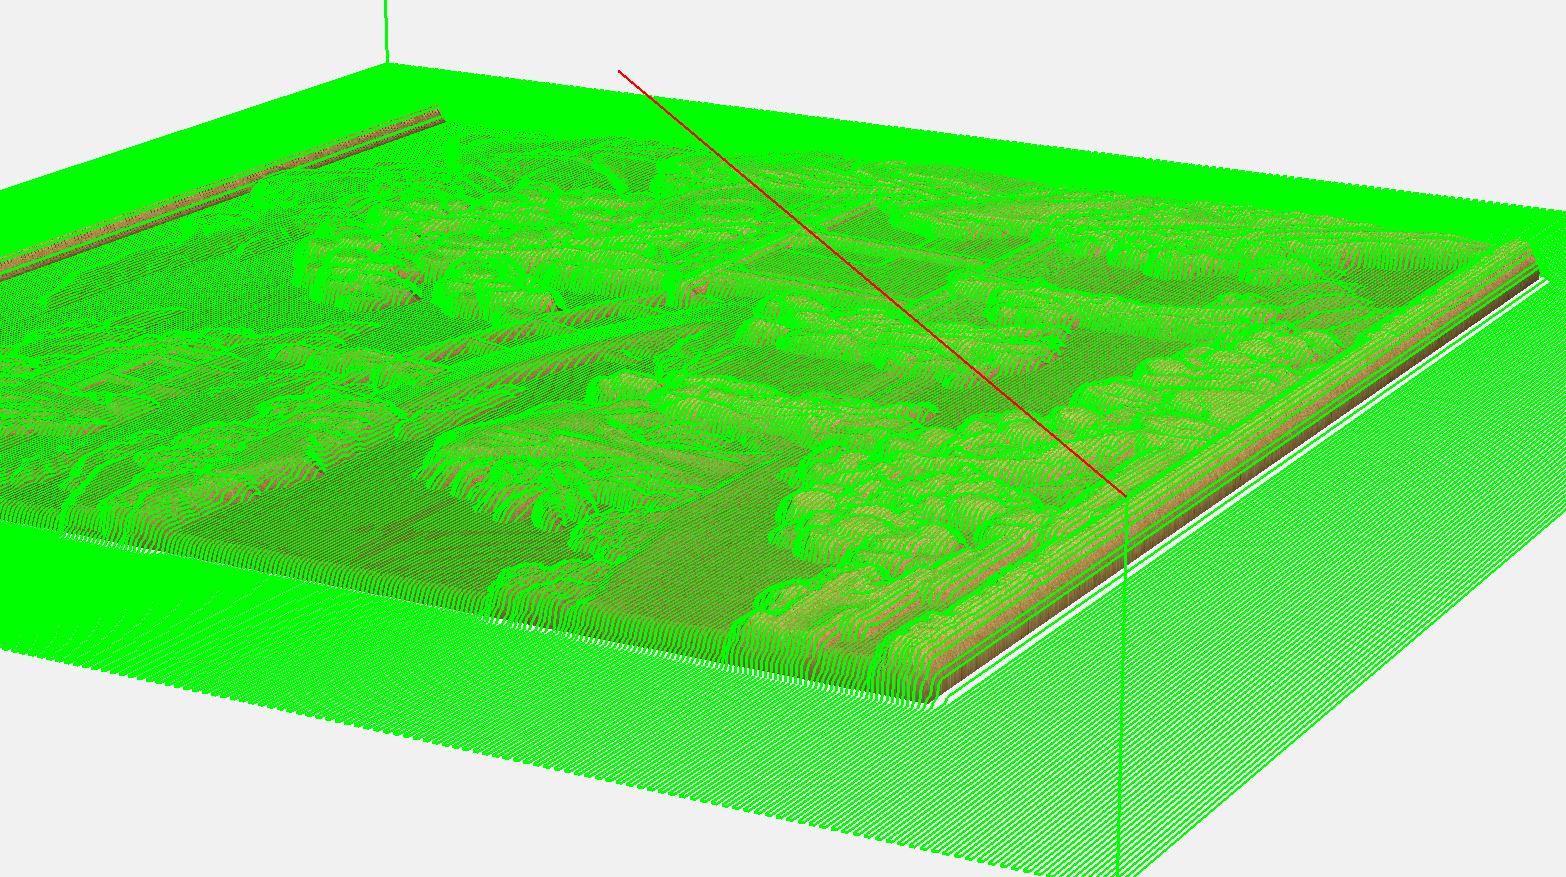
Then got this model out of it - looks pretty decent zoomed out, it looks pretty grainy up close but that may just be the 3d visualisation

I then drew a square the size of the model and created a 5mm thick flat component to fill the back of the model

Now when it comes to toolpaths,creating a square around the whole model and selecting that for the vectors let me create a 3d finishing toolpath. I was having trouble with this as I couldn’t select the model or the image 
5 Likes
I tried to delete using the delete key but this one has not been changed from fn Delete.
I saved 2 different files on 414 that contain a single texture toolpath in each file. Upon reopening the files it shows a texture toolpath (named texture toolpath 1) with incorrectly saved user inputs and it is not applied to any vectors. Also there is a totally new no offset contour toolpath mislabeled as texture toolpath 1. It is applied to the original vectors that were selected for the texture before saving and closing the file.
1 Like
So I tried the JPG import like @stutaylo has done with a different picture, modeled it, made a toolpath then carved the image in a piece of pine.
Here is the image: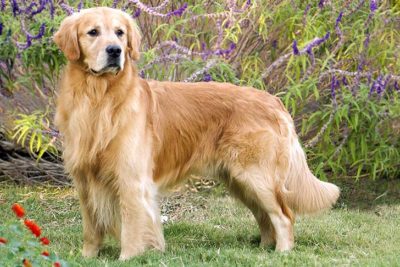
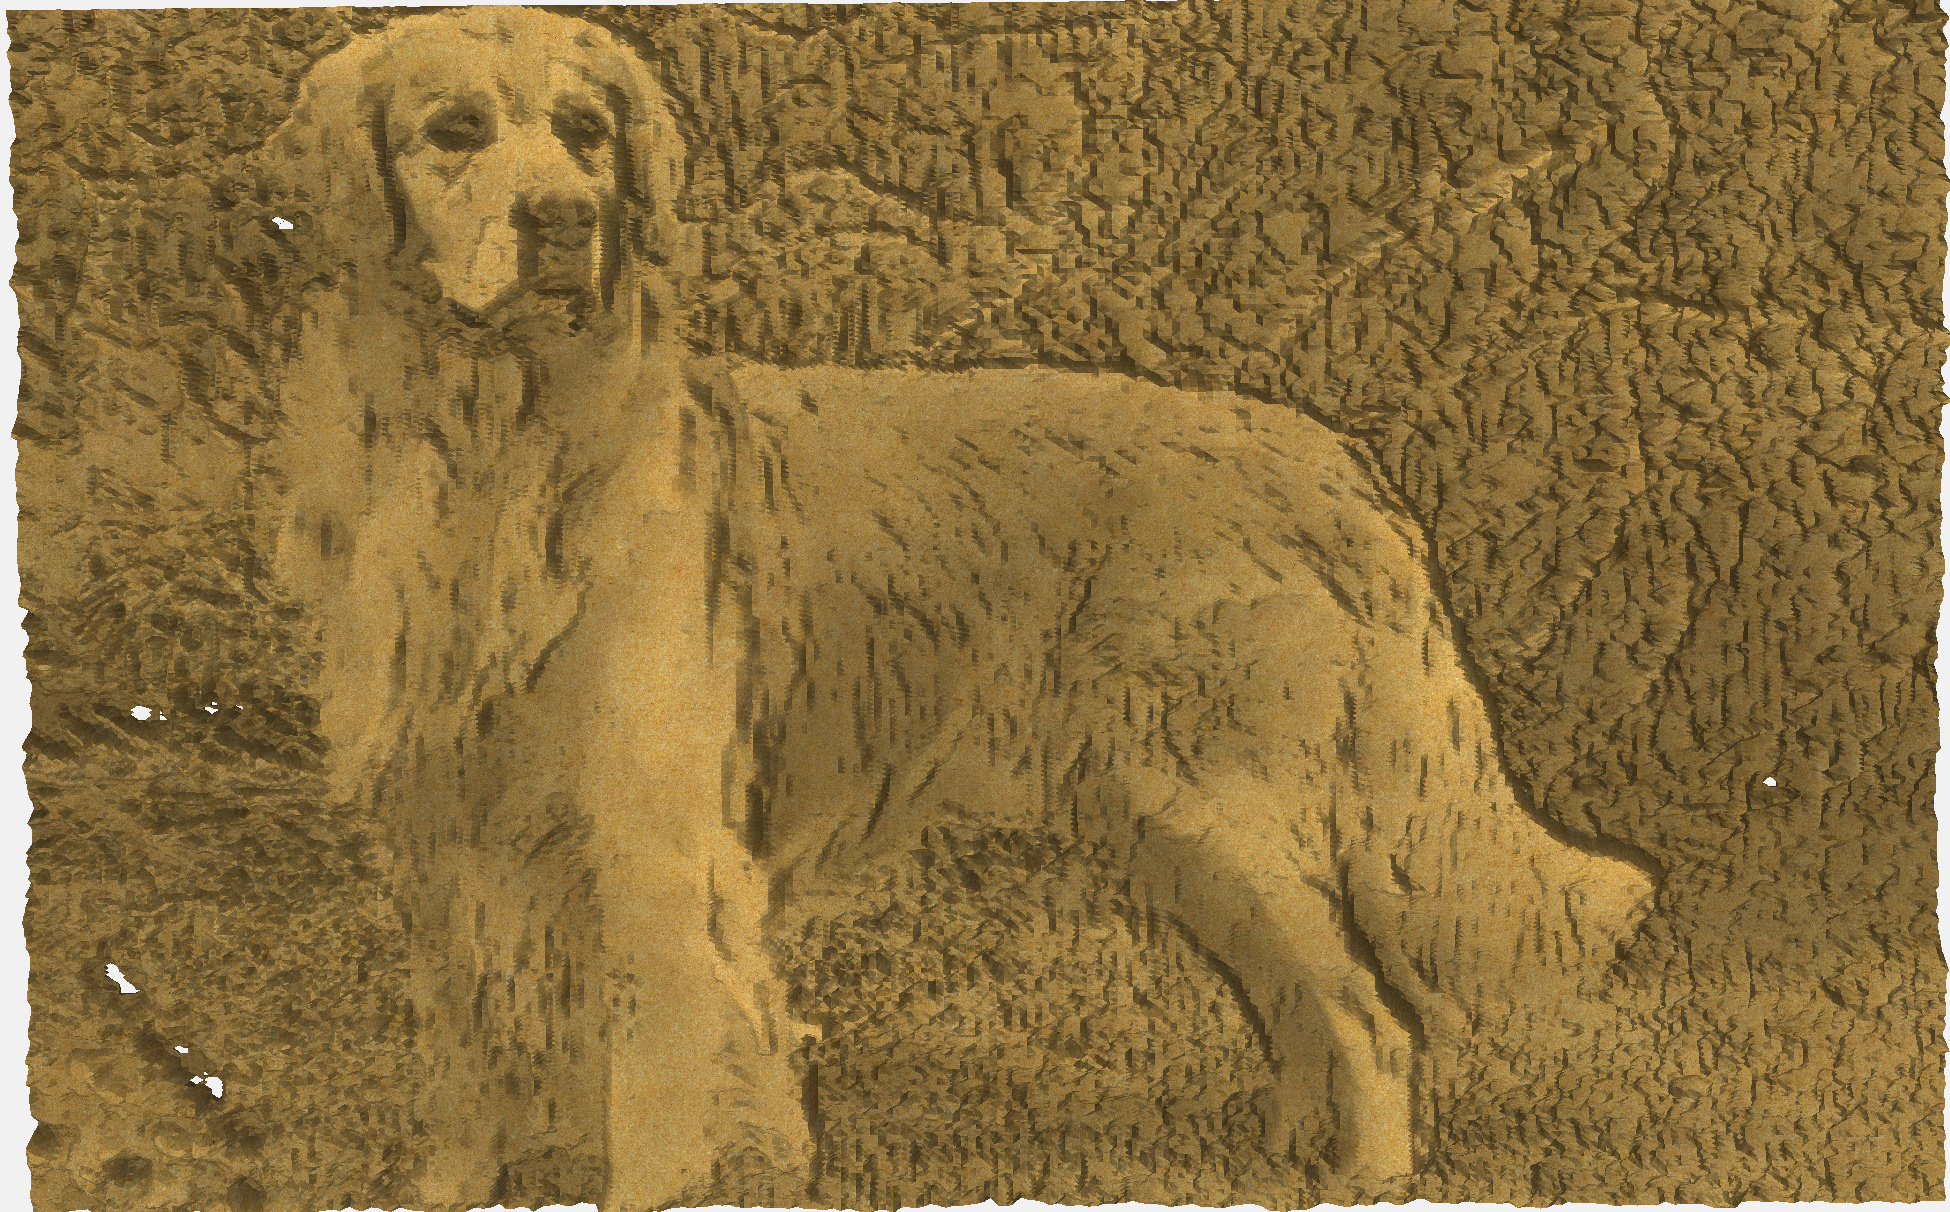
Here is the model; parameters are height 0.750, add, base 0.000 not inverted.
Here is the carving in a 5 1/2" X 8" workpiece, thickness 0.75", using a 0.125 ball end mill, stepover .013, feed 50IPM plunge 20ipm.
I’m a bit disappointed that the model looks better than the results. I understand that the toolpaths are based on the pretty simple concept that the darker the spot is in the image, the deeper it will cut so dark eyes will be very deep while white skin, for example, will be shallow. There is no 3D image analysis beyond that or stereoscopic processing of the image. I"m not sure if it will be very useful in that form. Of course, this is my first go at it so there may be ways of improving on that but it is limited. I don’t know how the results compare to other systems like Picengrave but maybe with some pre-processing in an image processing software to turn the image into a line drawing, the results could be improved.
1 Like
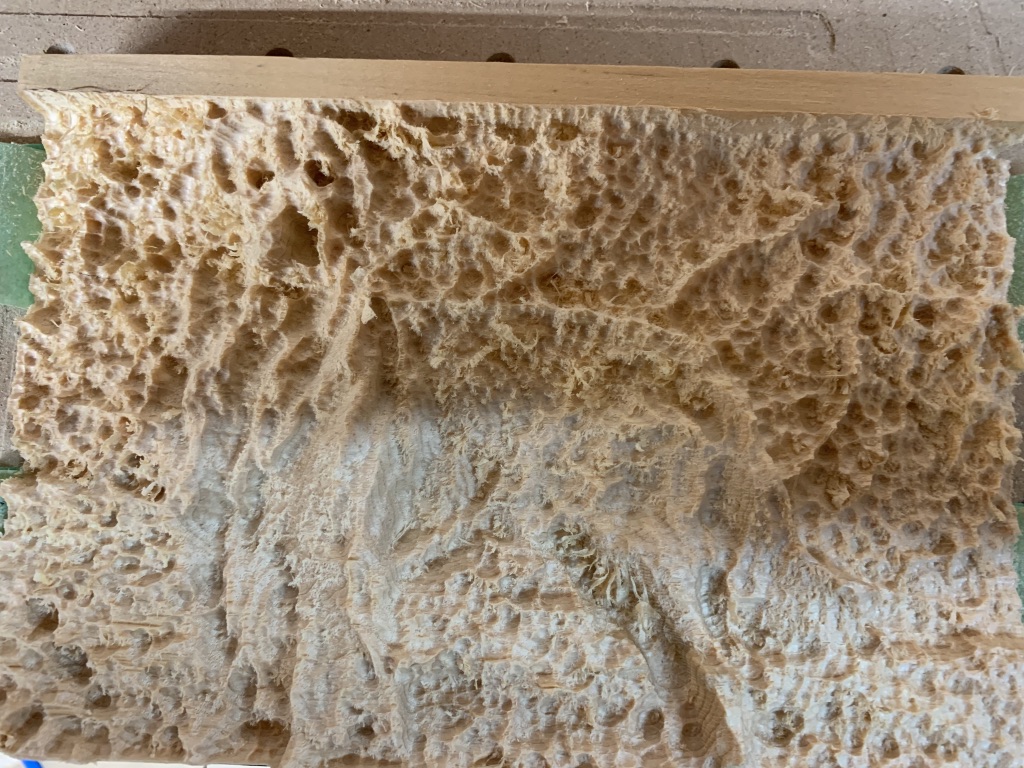
works quite nifty, but it would be really nice if there was some sort of “stock-to-leave” you can set for roughing passes
(below was roughed out with a #201 qtr inch endmill and then cleaned up with a 2mm ball nose endmill)
2 Likes
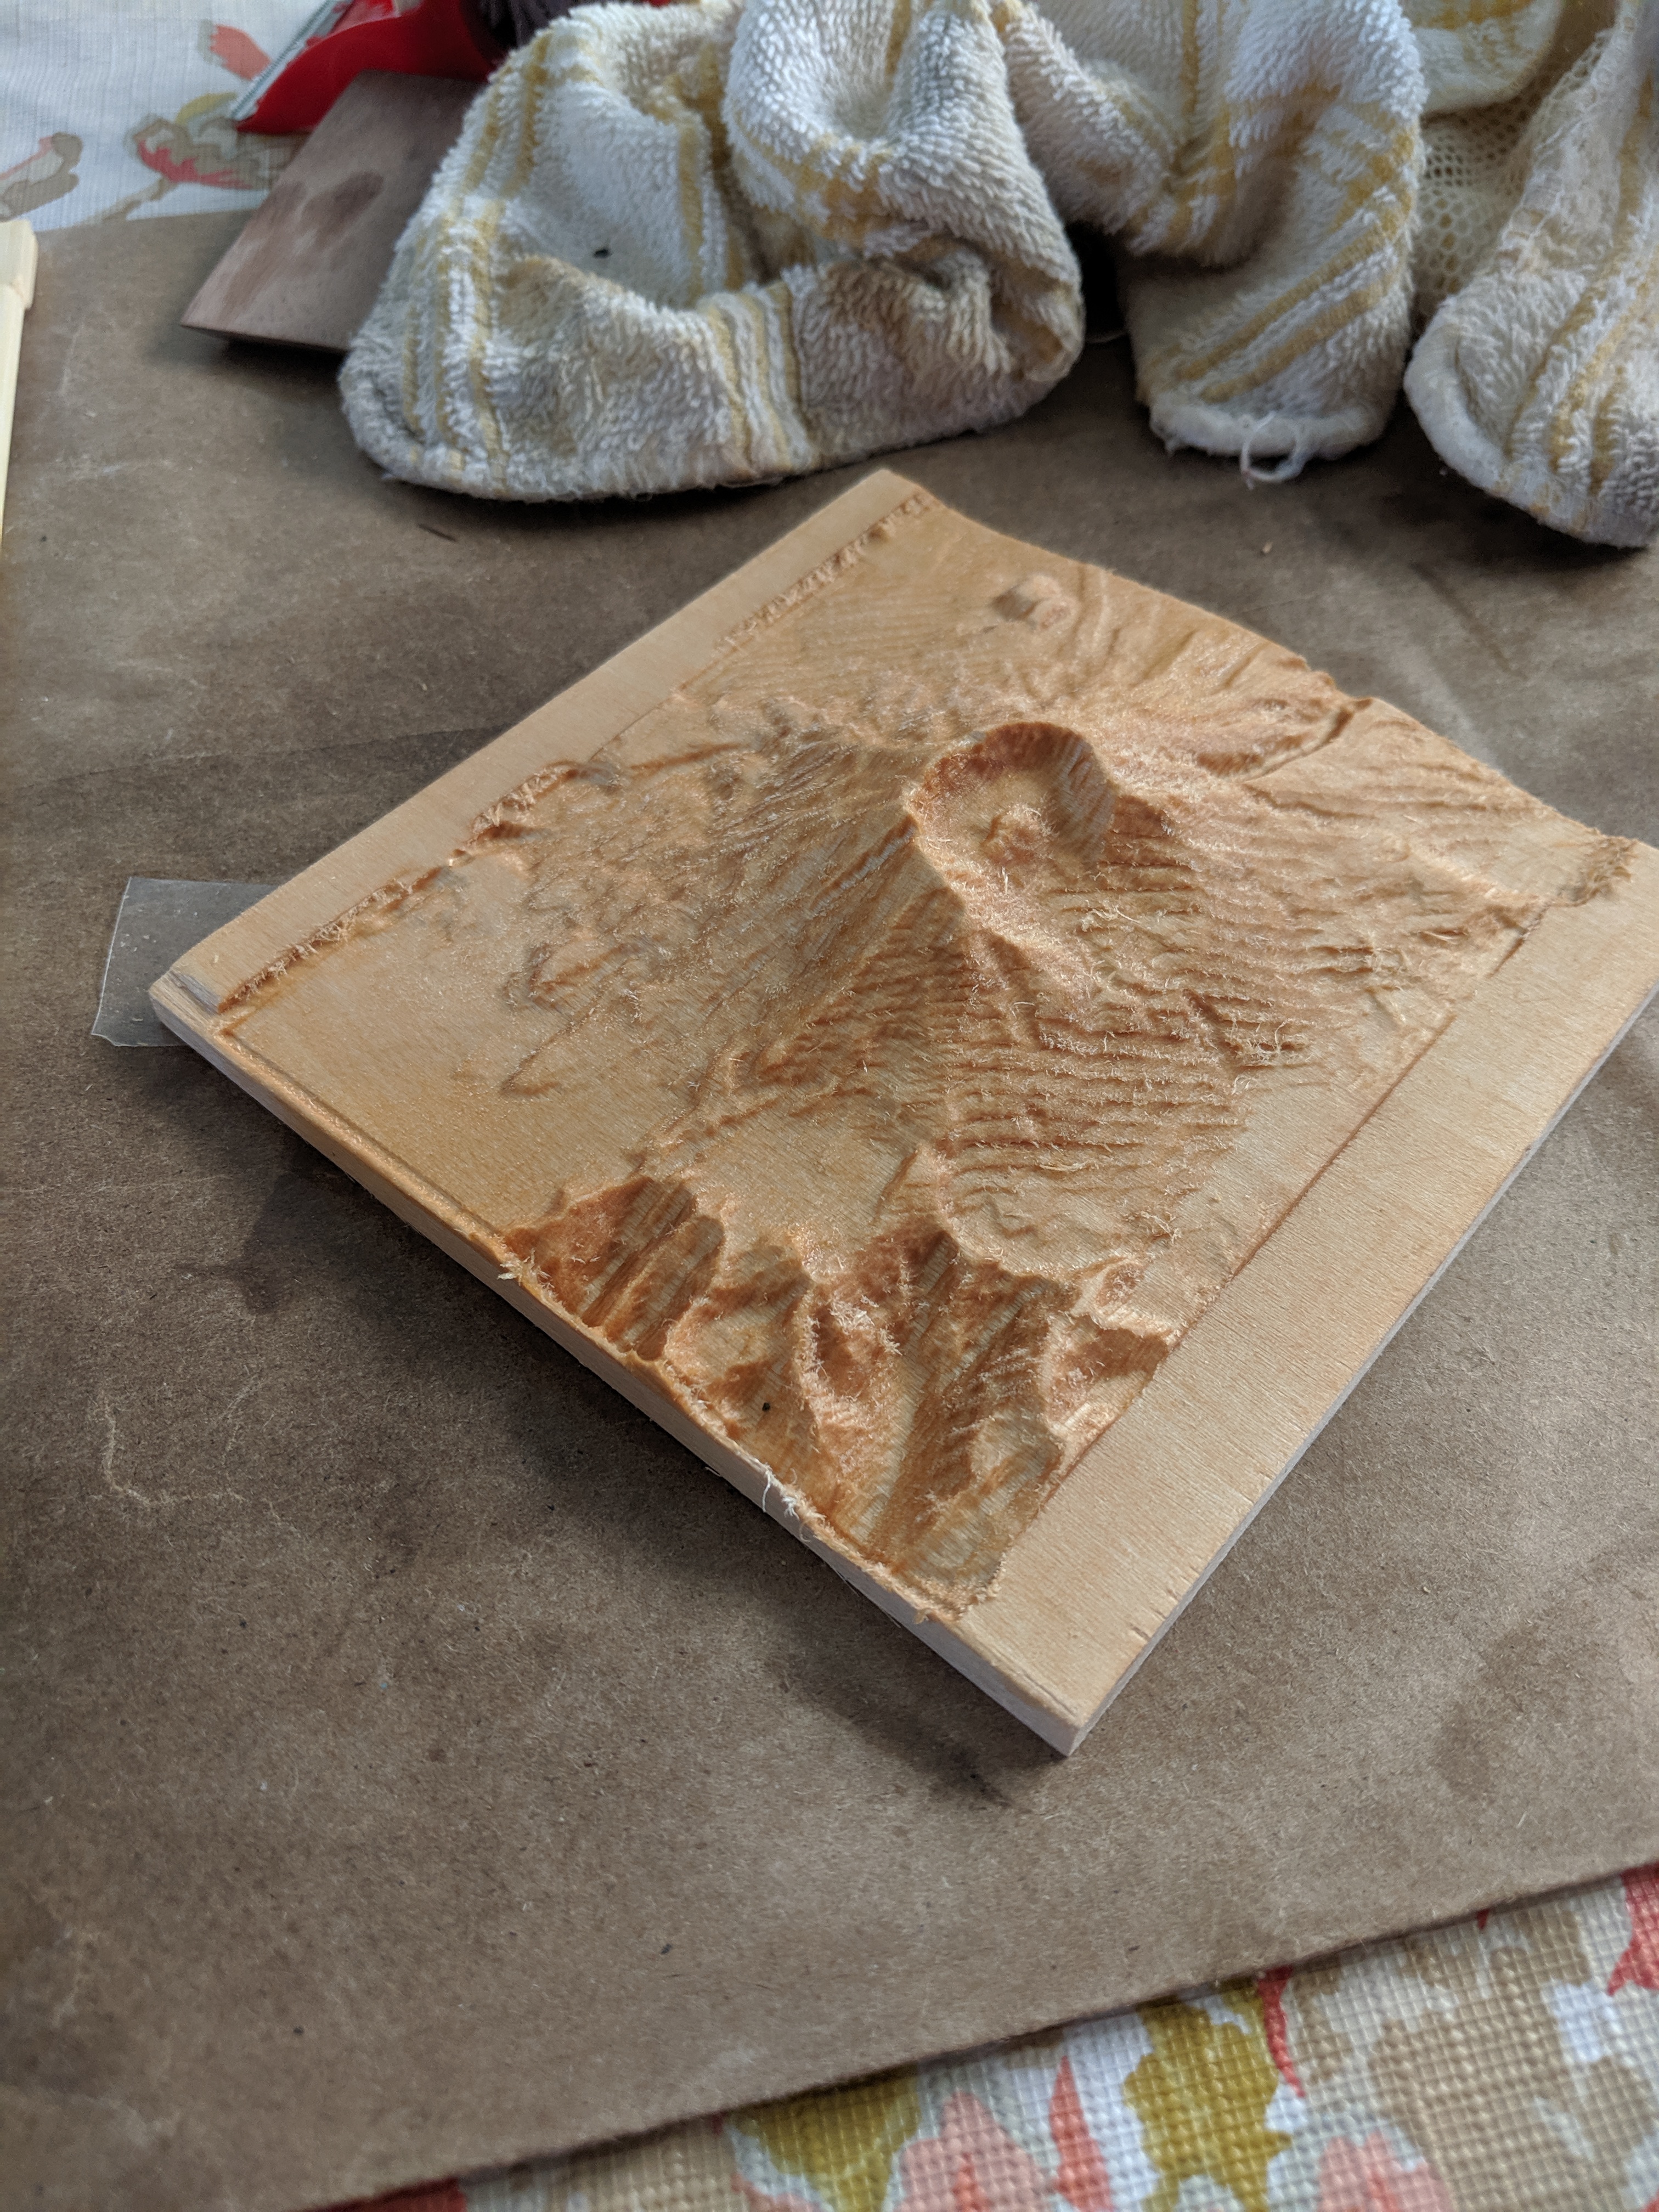
I guess it depends on the application, a height map instead of a picture seems to work well. How did you create the height map?
2 Likes
USGS website (IMG file) -> QGIS (png export) -> GIMP (crop area) -> CCPro
was simpler than I expected to be honest
3 Likes
Can we get a climb only option on the 3d toolpaths?
2 Likes
@luc.onthego you essentially created a lithophane on wood. stuart’s image of the asian village was a heightmap not just some random black and white picture. If you try the same thing you did on pine on a thin piece of hdpe (taking in account how deep the image dug into the wood), then you would have a nice lithophane when held up to the light. You could also try to using http://3dp.rocks/lithophane to add some control over your image. Keep in mind lithophane typically only look nice when looking at it straight on with a light source behind it - otherwise it looks like a jagged mess much like your pine version.
If you do try to make a heightmap out of that dog image, then I would suggest removing as much extraneous parts as possible - like the background, etc… just crop those parts out.
3 Likes
Yep I get that, I don’t have any material on hand to create a lithophane. I wanted to see what the CC could do. I wonder if CC will soon be able to import STL to actually carve 3D models.
that would be an awsome feature; there are approximately a billion STLs you can buy on etsy/ebay and they are always a pain to deal with; CCPro with the heightmap shows it’s very close to make these easy
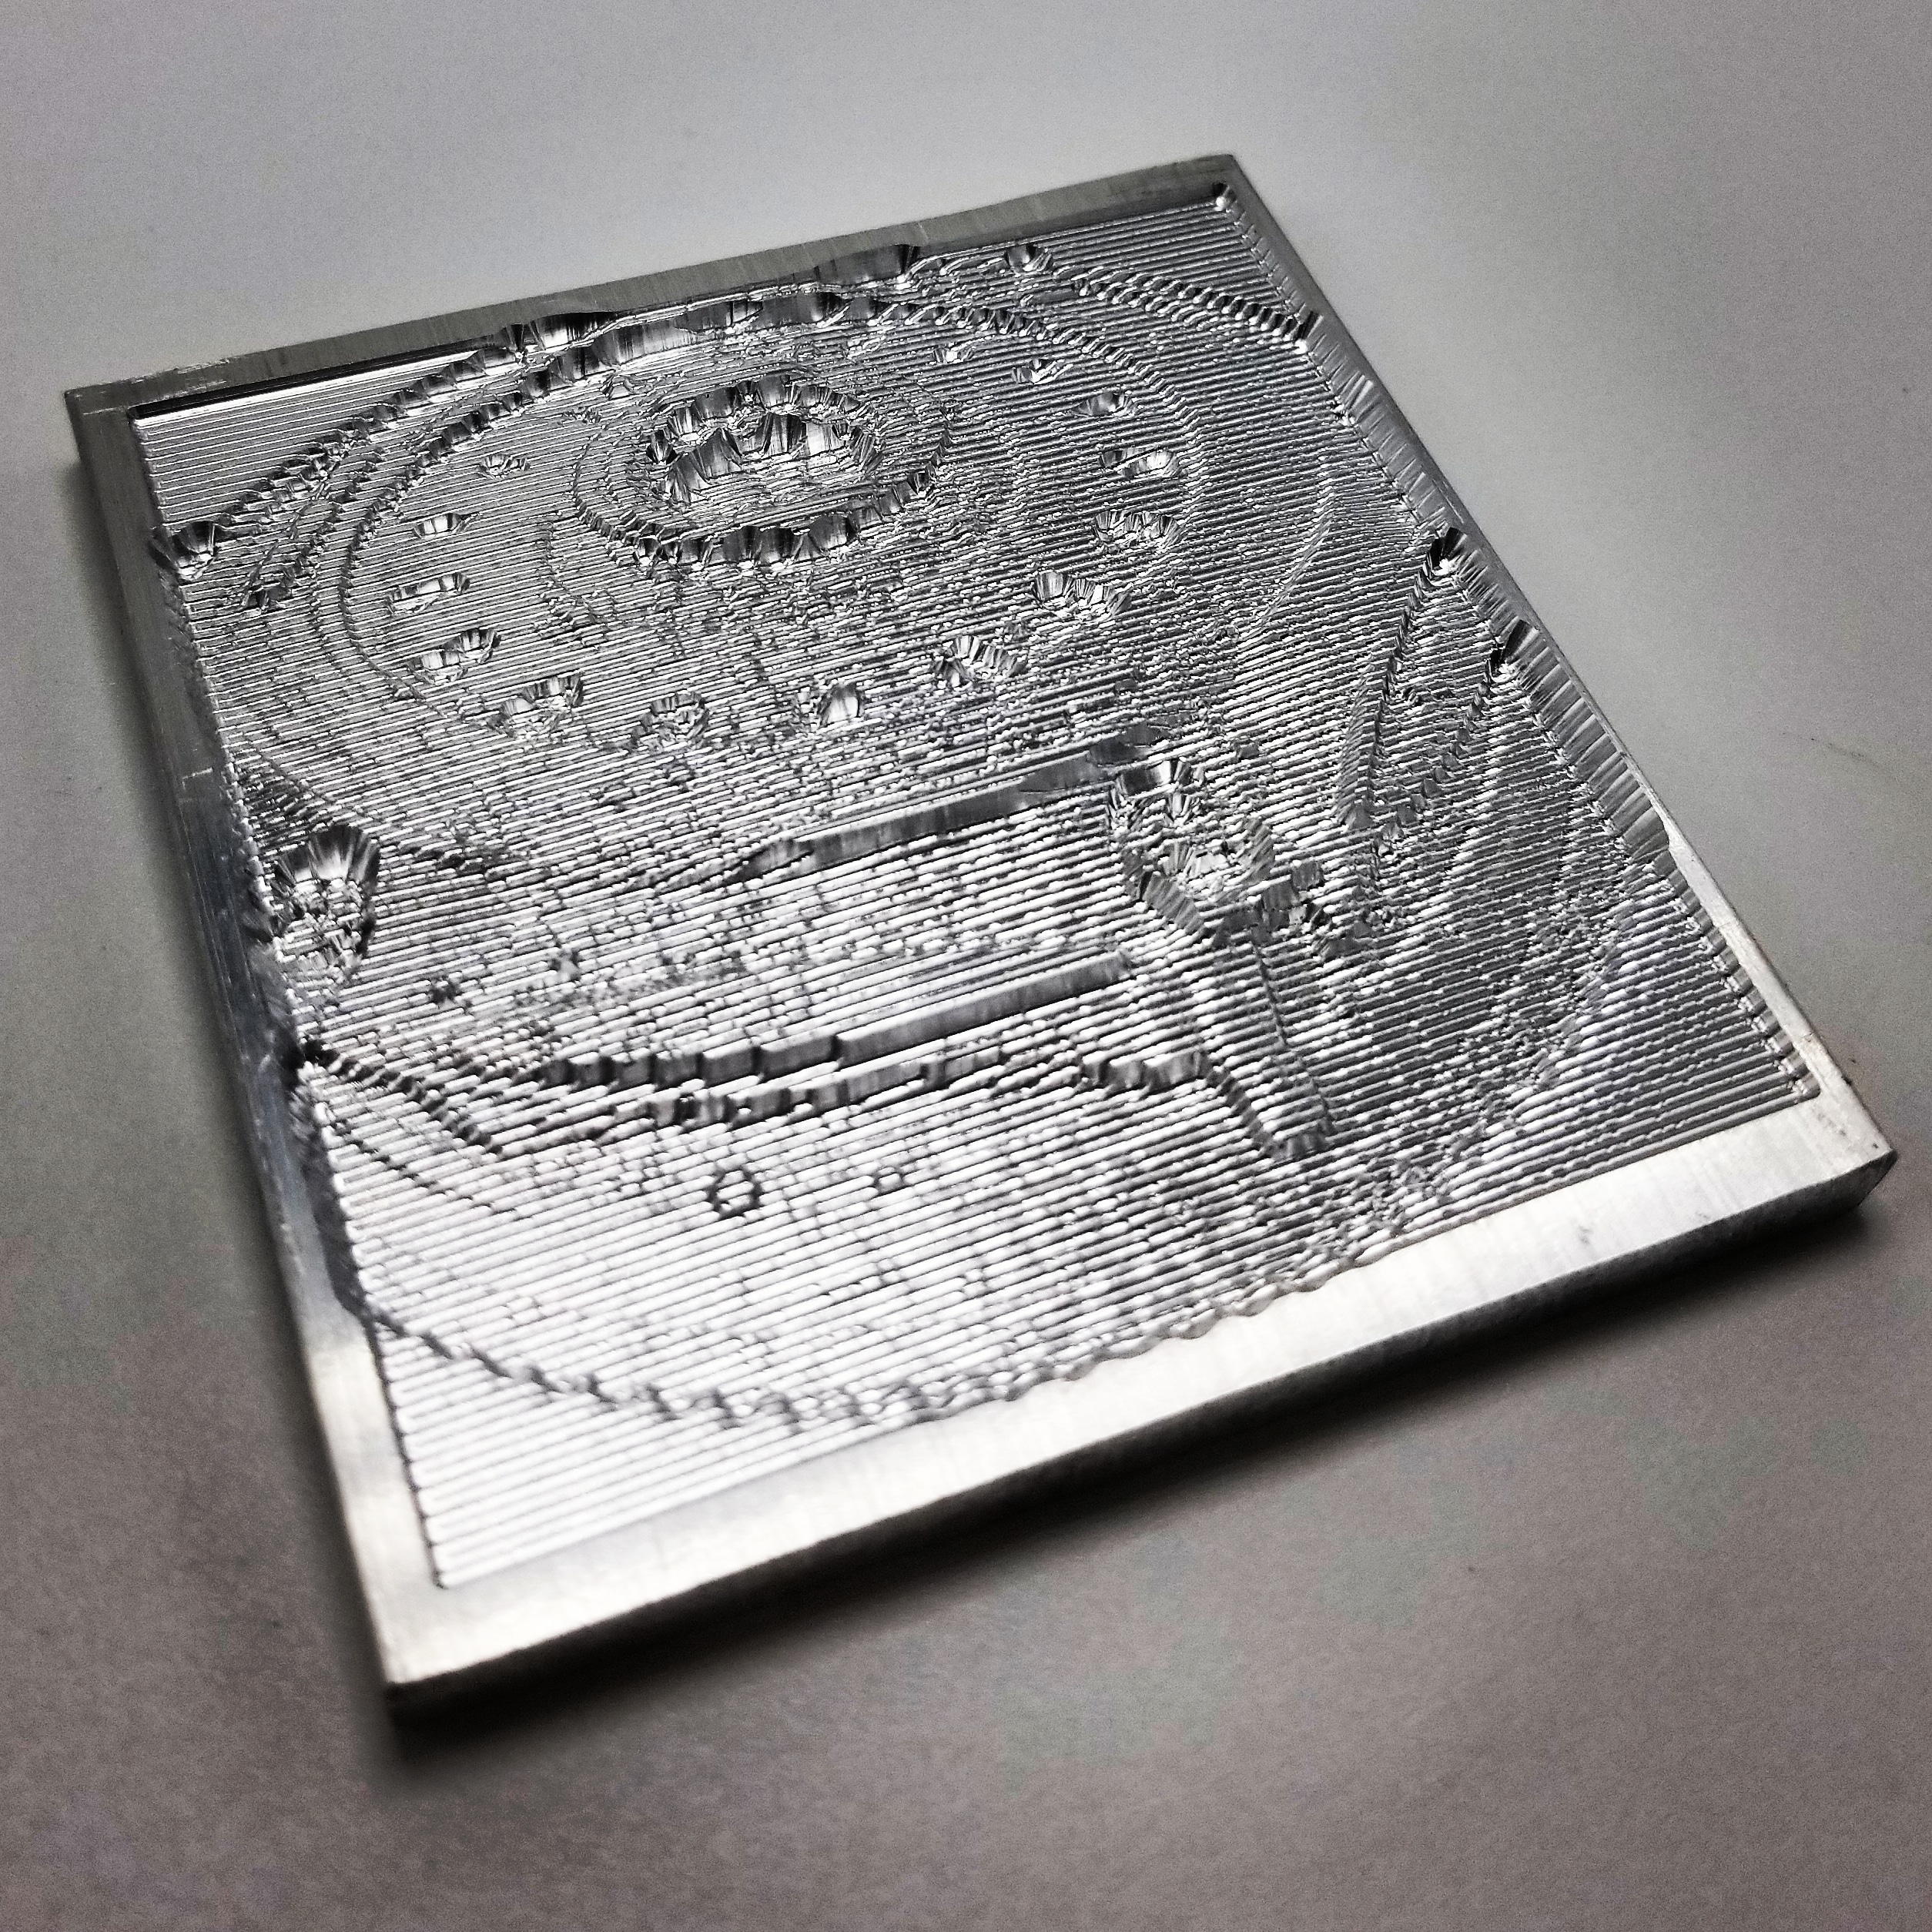
From phone picture of exedy clutch to billet v carved piece, super simple. Also raised Z0 and lowered in 0.020 increments. The v distorted things a bit but increased feed rate was worth it, programmed as 1/32 straight.
5 Likes
How about the ability to change bits without having to start another whole tool path and new file.
being able to carve a large picture on multiple panels
3d
make the text the actual text it is going to be