Is the chamfer milled (contour) or drilled? If drilled you could add a little dwell to smooth it out
G4 P0.5 (dwell 0.5 seconds)
If milled, can you try using a circle motion command instead of linear interpolation?
What size & location are the holes? I can give you the code to test. (or upload the c2d)
Not sure why CC doesn’t support circular interpolation, for both threads & anything cut along a circular path.??
Looks normal to me. (for a Shapeoko). What I do is use a taper end mill (.4mm tip rad) and interplate the chamfer via Fusion360. Takes a few extra seconds…well maybe a minute but the finish is mirror…
Edit (add) I didn’t see the ugly (sorry) threads…add a few (2?) spring cuts…
1 Like
Griff
(Well crap, my hypometric precursor device is blown…)
8
Milled, two flute 45 degree engraving mill. Not familiar with your suggestions, food for thought, learning required. Thanks!
As Neil suggested, using Fusion.
OK, so I’ll be ahead of the game if I can improve and no reason to be ashamed. Appreciate the insight @RichCournoyer. Guess I’ll finally have to find out what a spring pass is.
Edit-haha, repeat the toolpath.
I have the same issues Griff has - we’ve talked about our struggles getting nice looking threads on the HDM. We use nearly the same threadmills and see faceting in the faces of the threads. They are functional, just a little rough. I have tried chiploads from 0.005 to 0.05 mm/rev and various RPMs from 10,000-24,000 and while some things change, none of them make it go away. Perhaps it’s the threadmill and perhaps it’s the stickout and that I can’t test until I get a shorter stickout threadmill.
First thing that comes to mind is what is Grbl’s X/Y steps/mm ($100, $101) to determine the resolution of motion which can show as faceting (the SO3/4 belt drive comes to mind, as it had noticeable faceting on circles due to 25micron (40/mm) resolution). If micro-stepping is the same and I believe they went with 10mm pitch XY ballscrews on HDM, would be 6.25micron resolution.
Additionally would check for linearization tolerances in the CAM Operation and Post Processor options. I’d also be interested in seeing sample g-code.
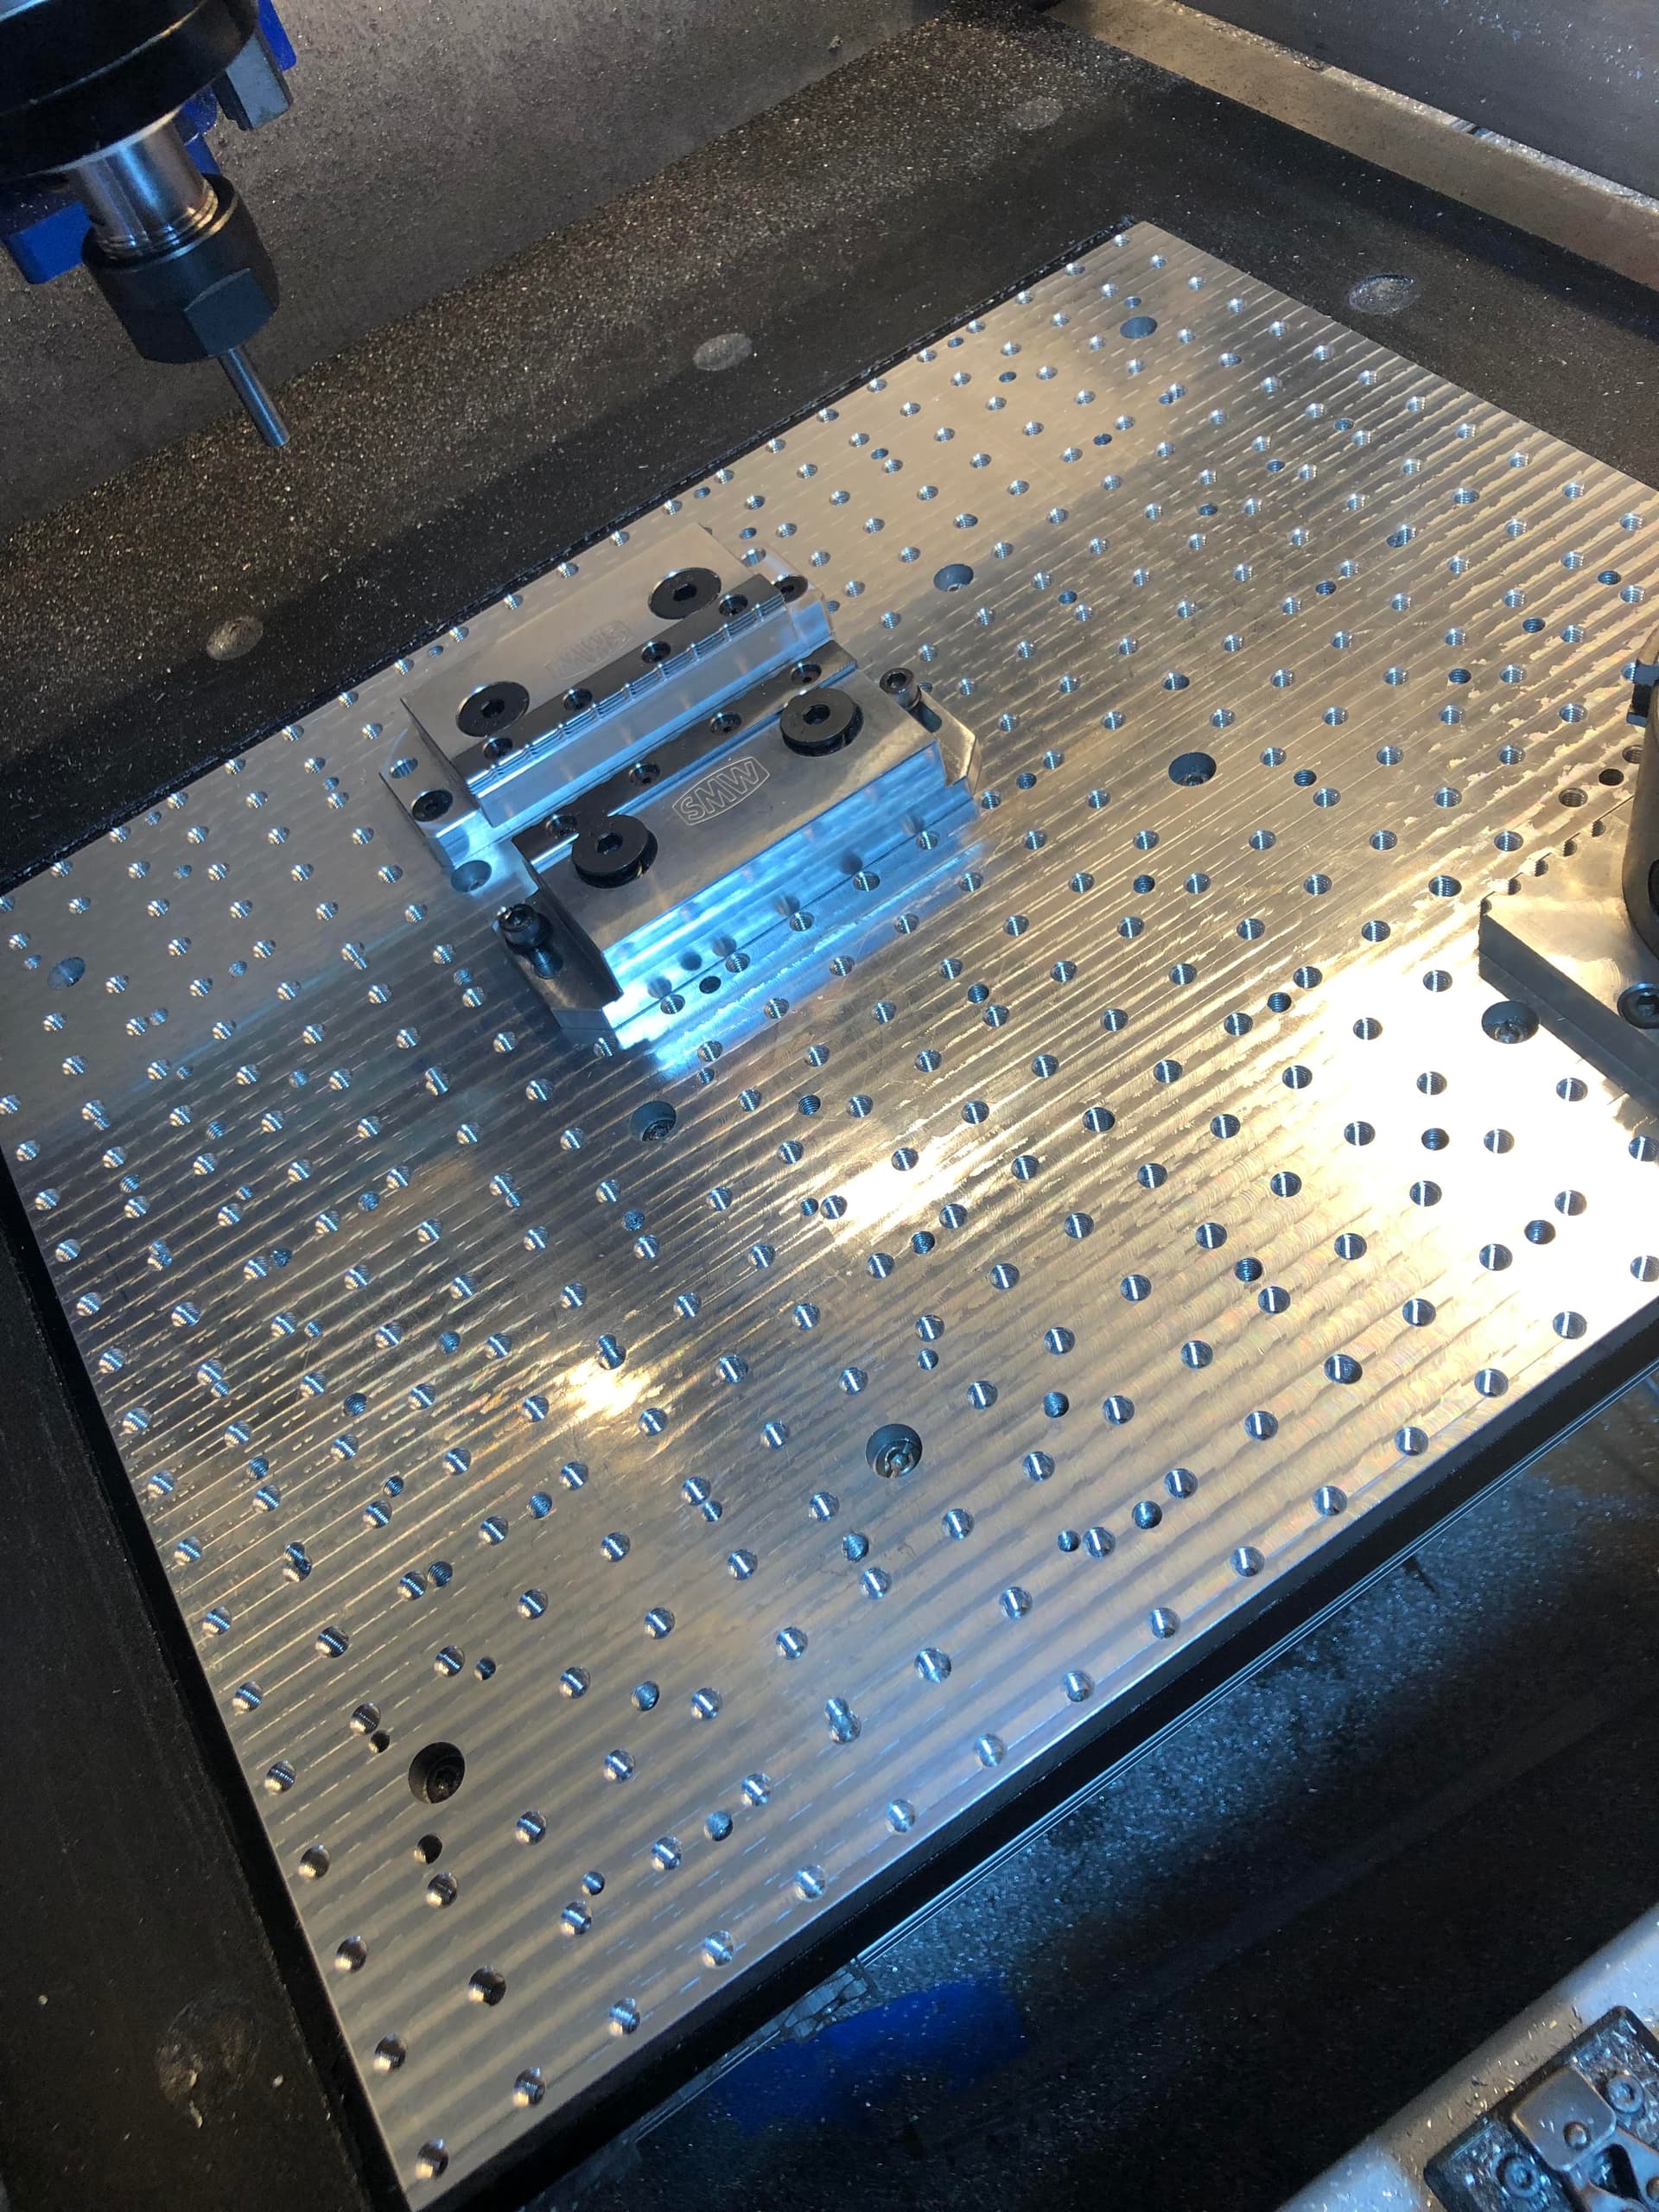
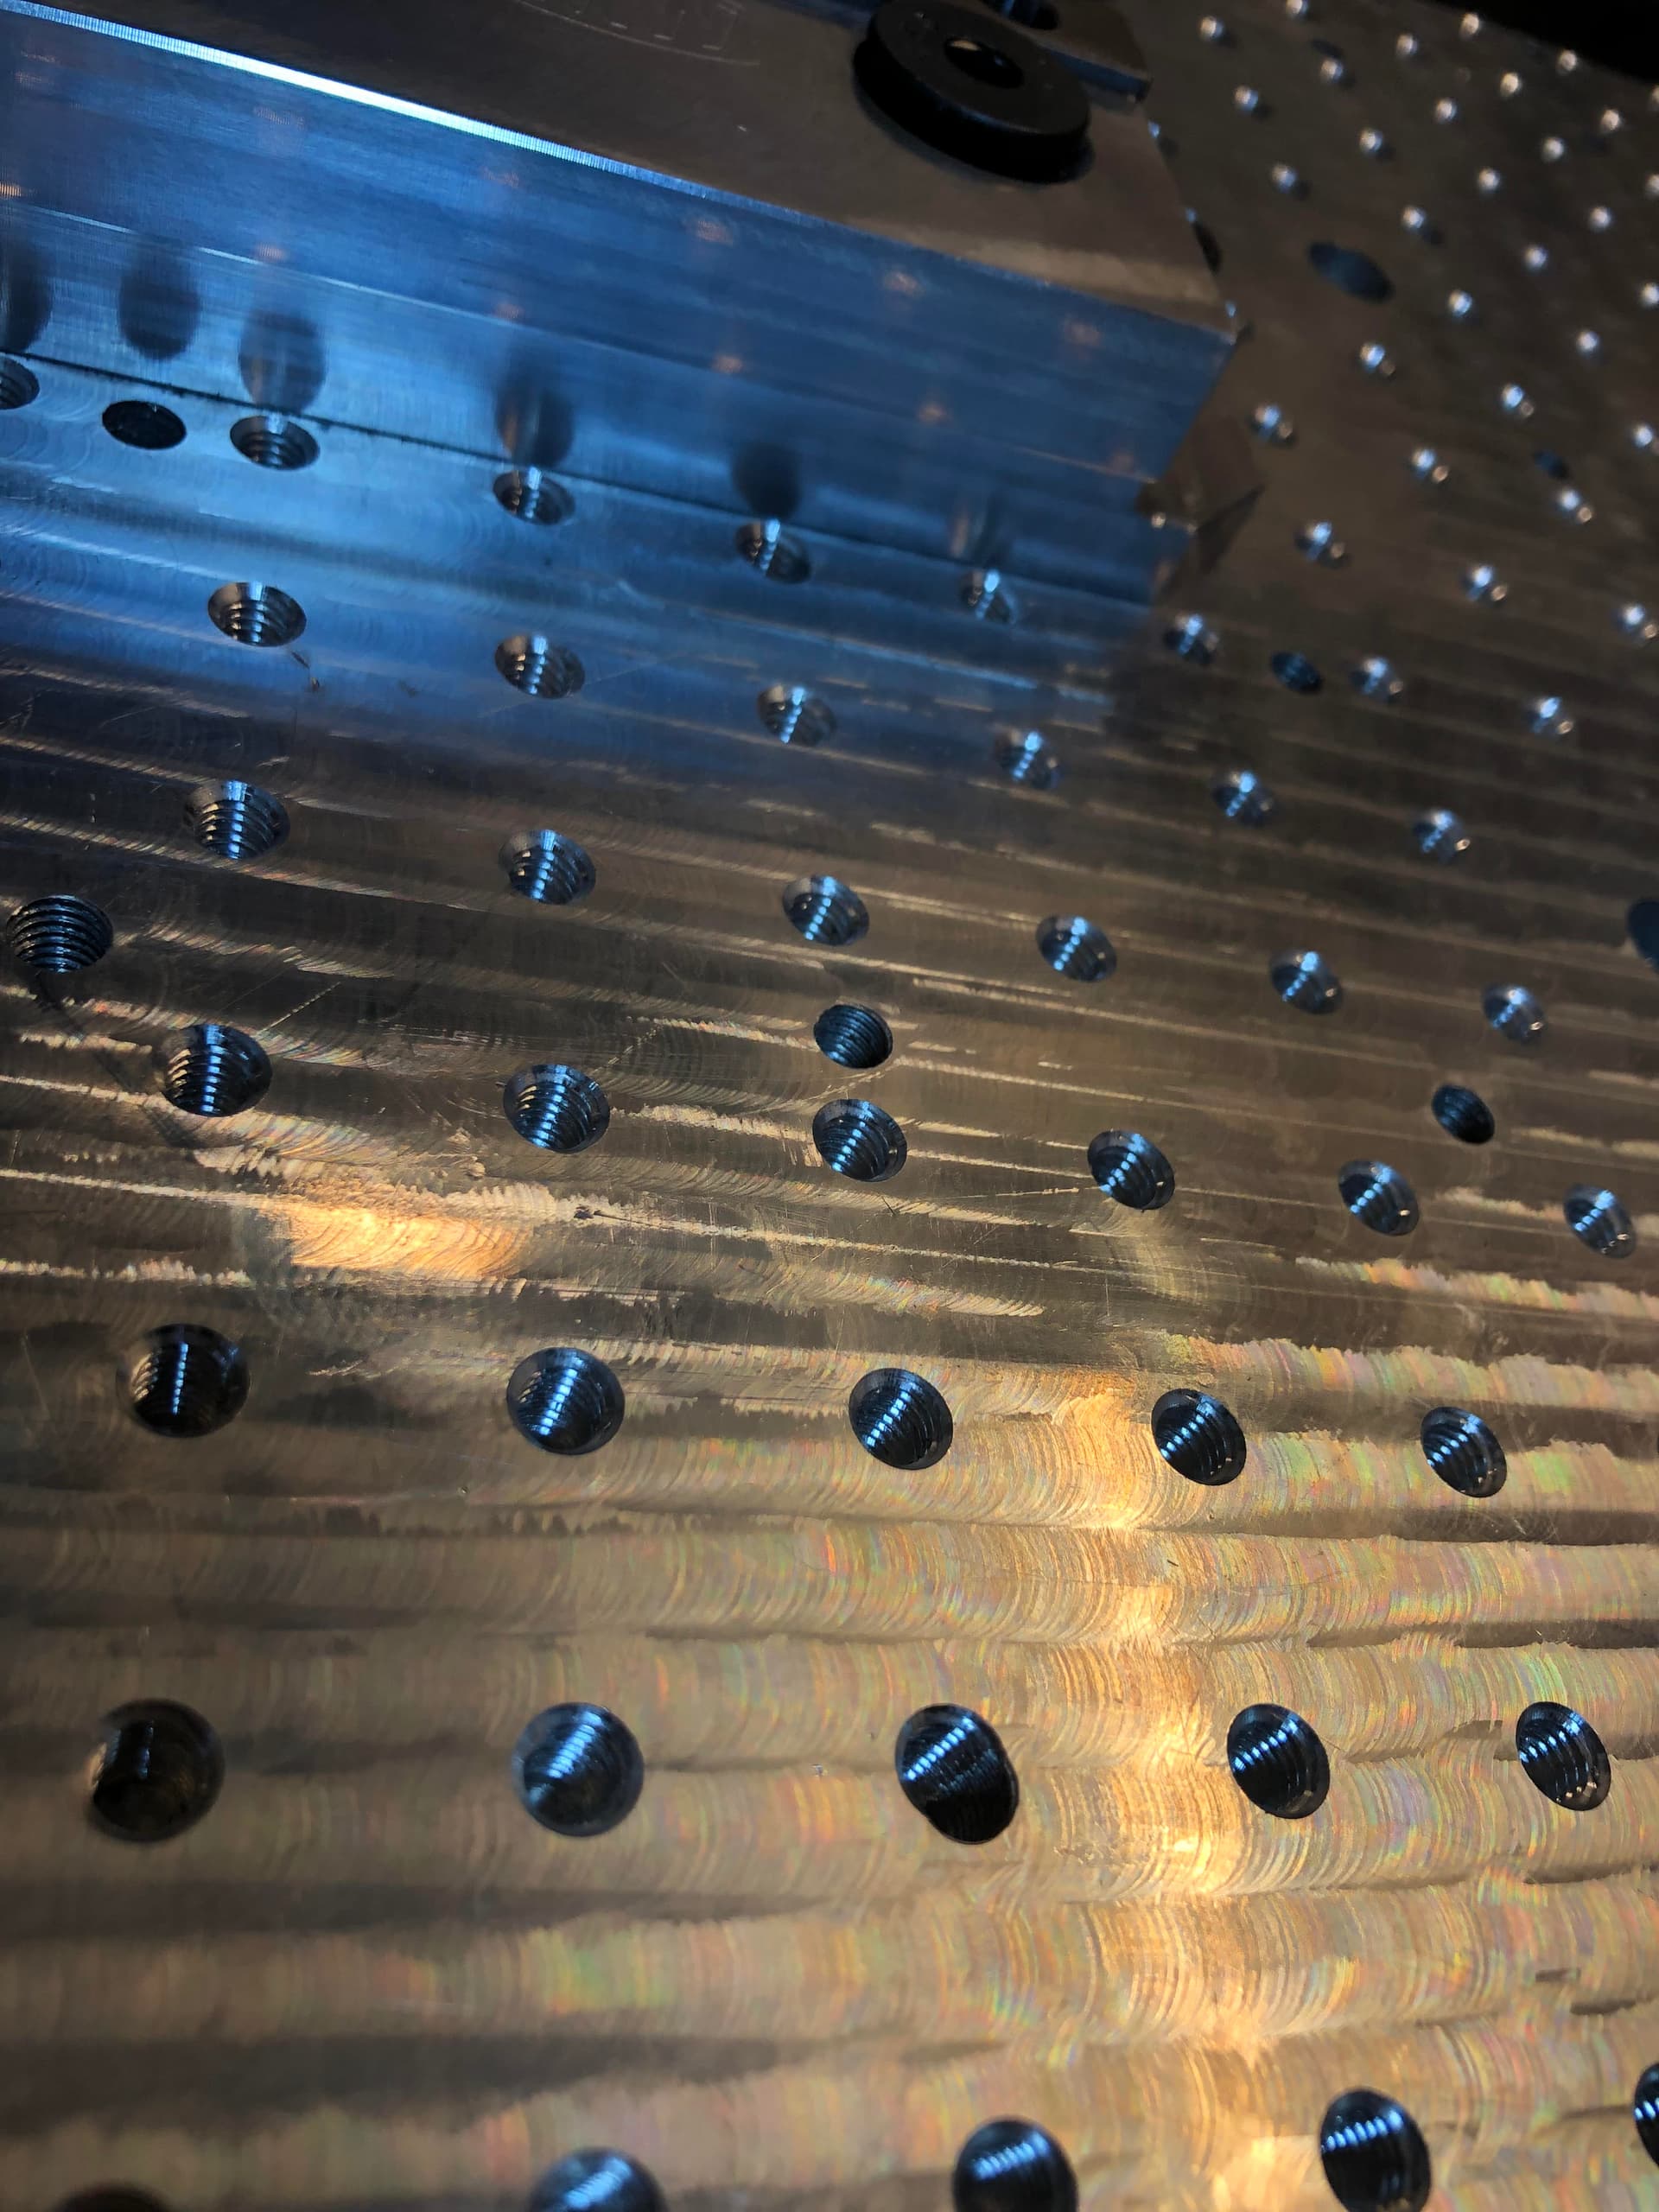
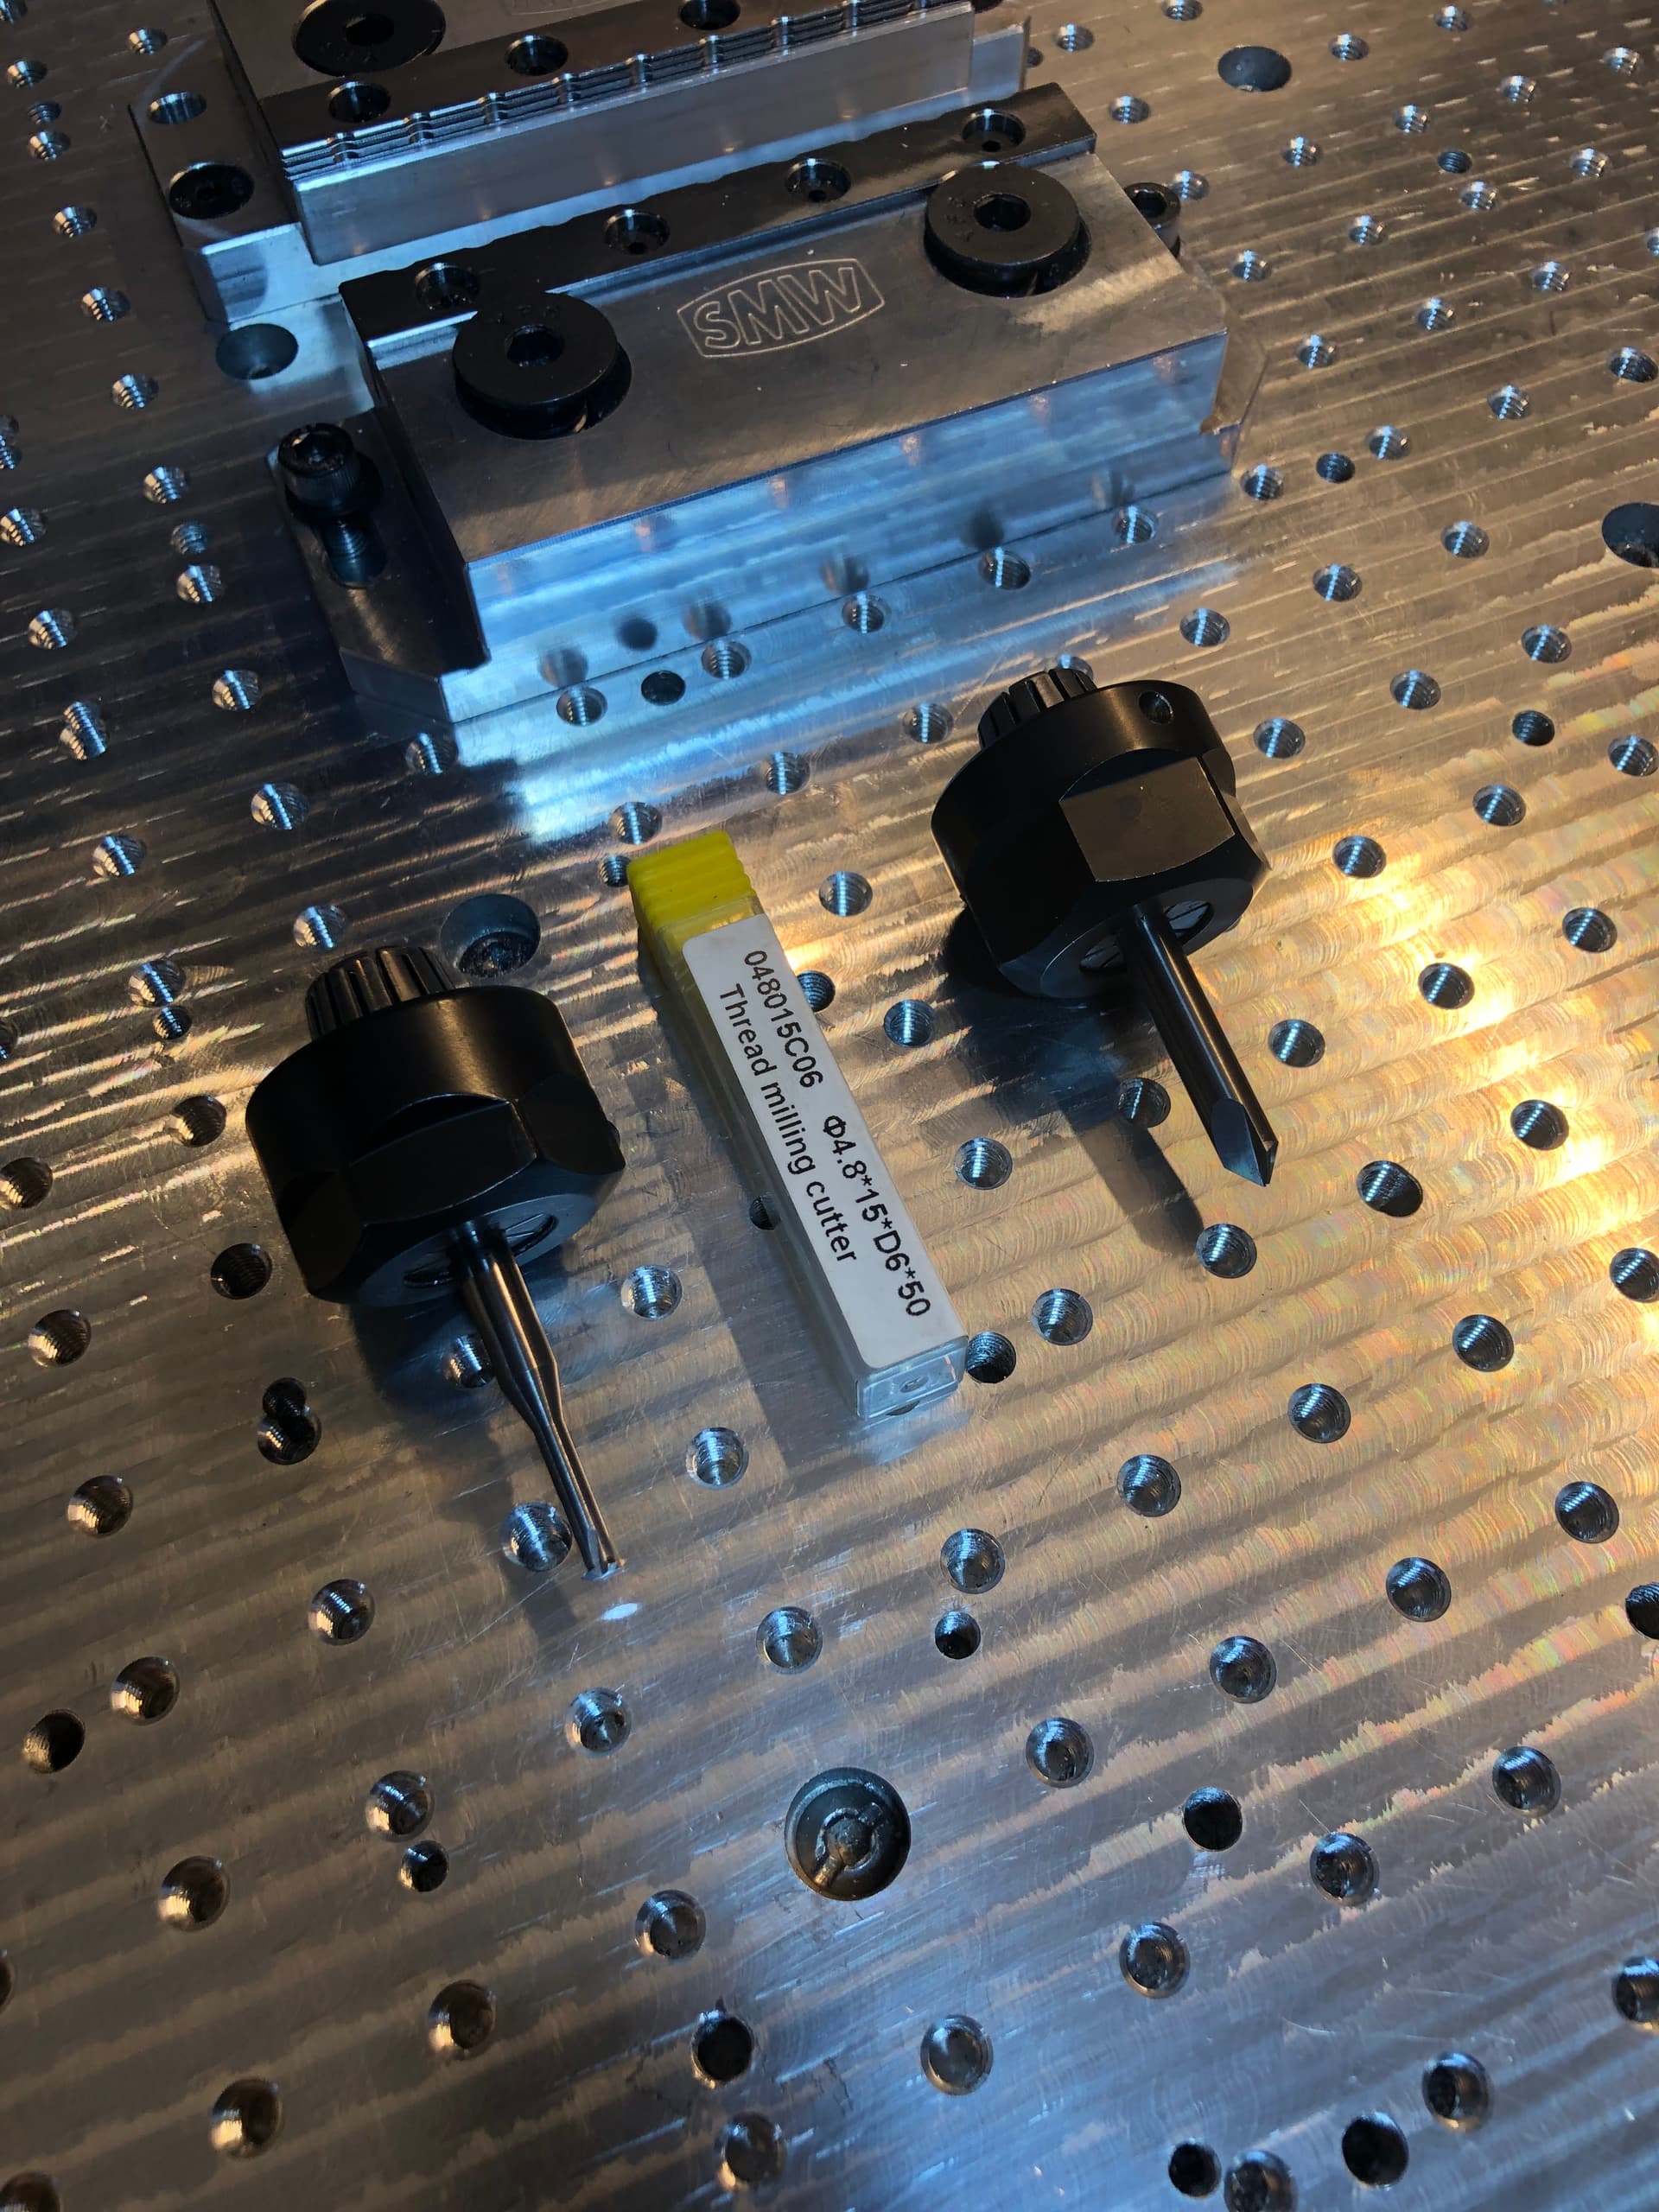
Recently purchased the SMW mod-vise and had to modify my threaded wasteboard by adding over 400 m6 holes. It took quite some time but the results are great.
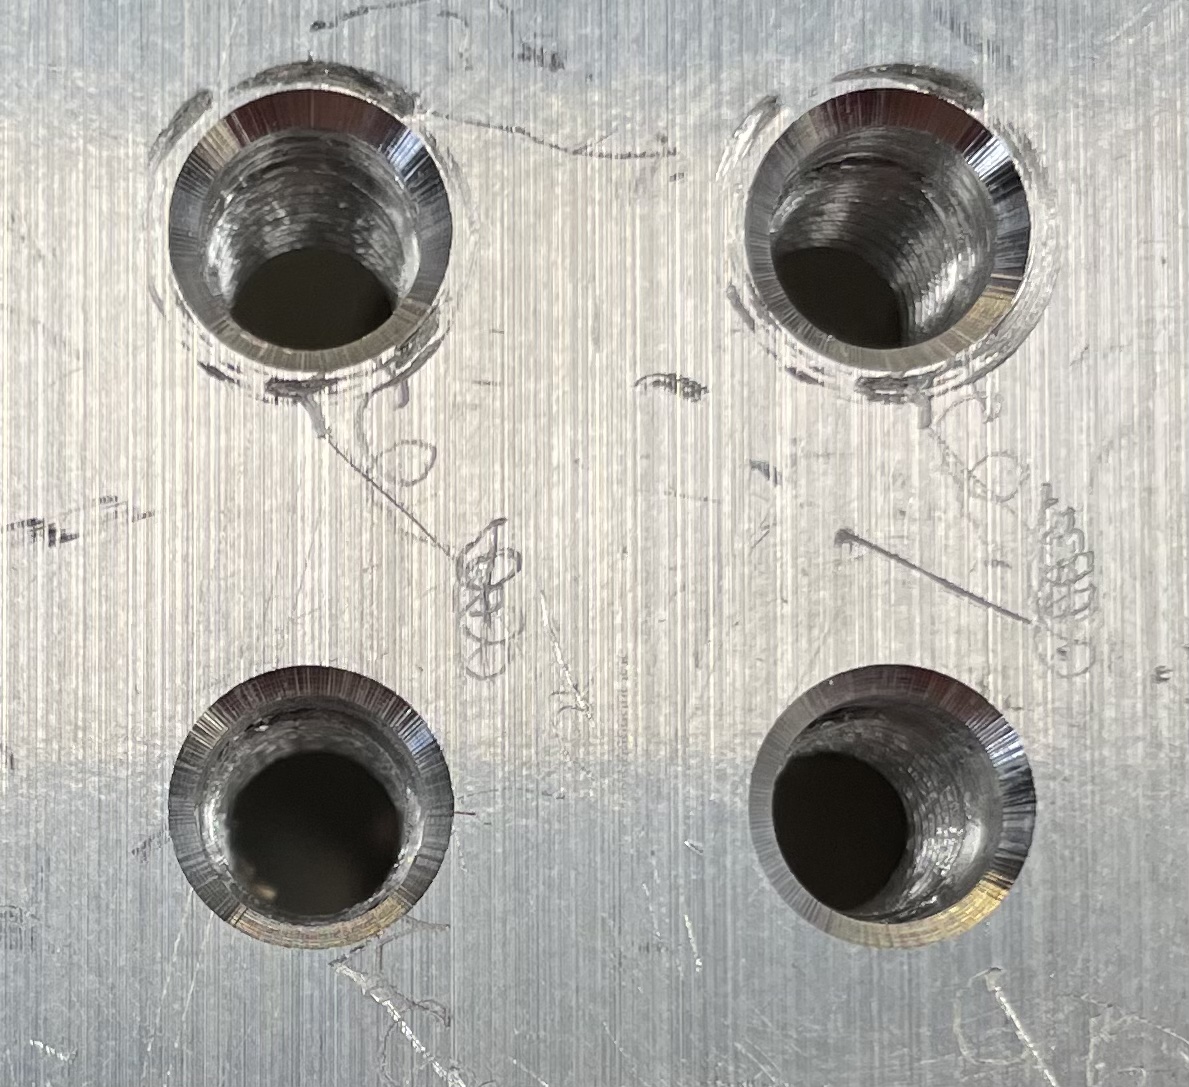
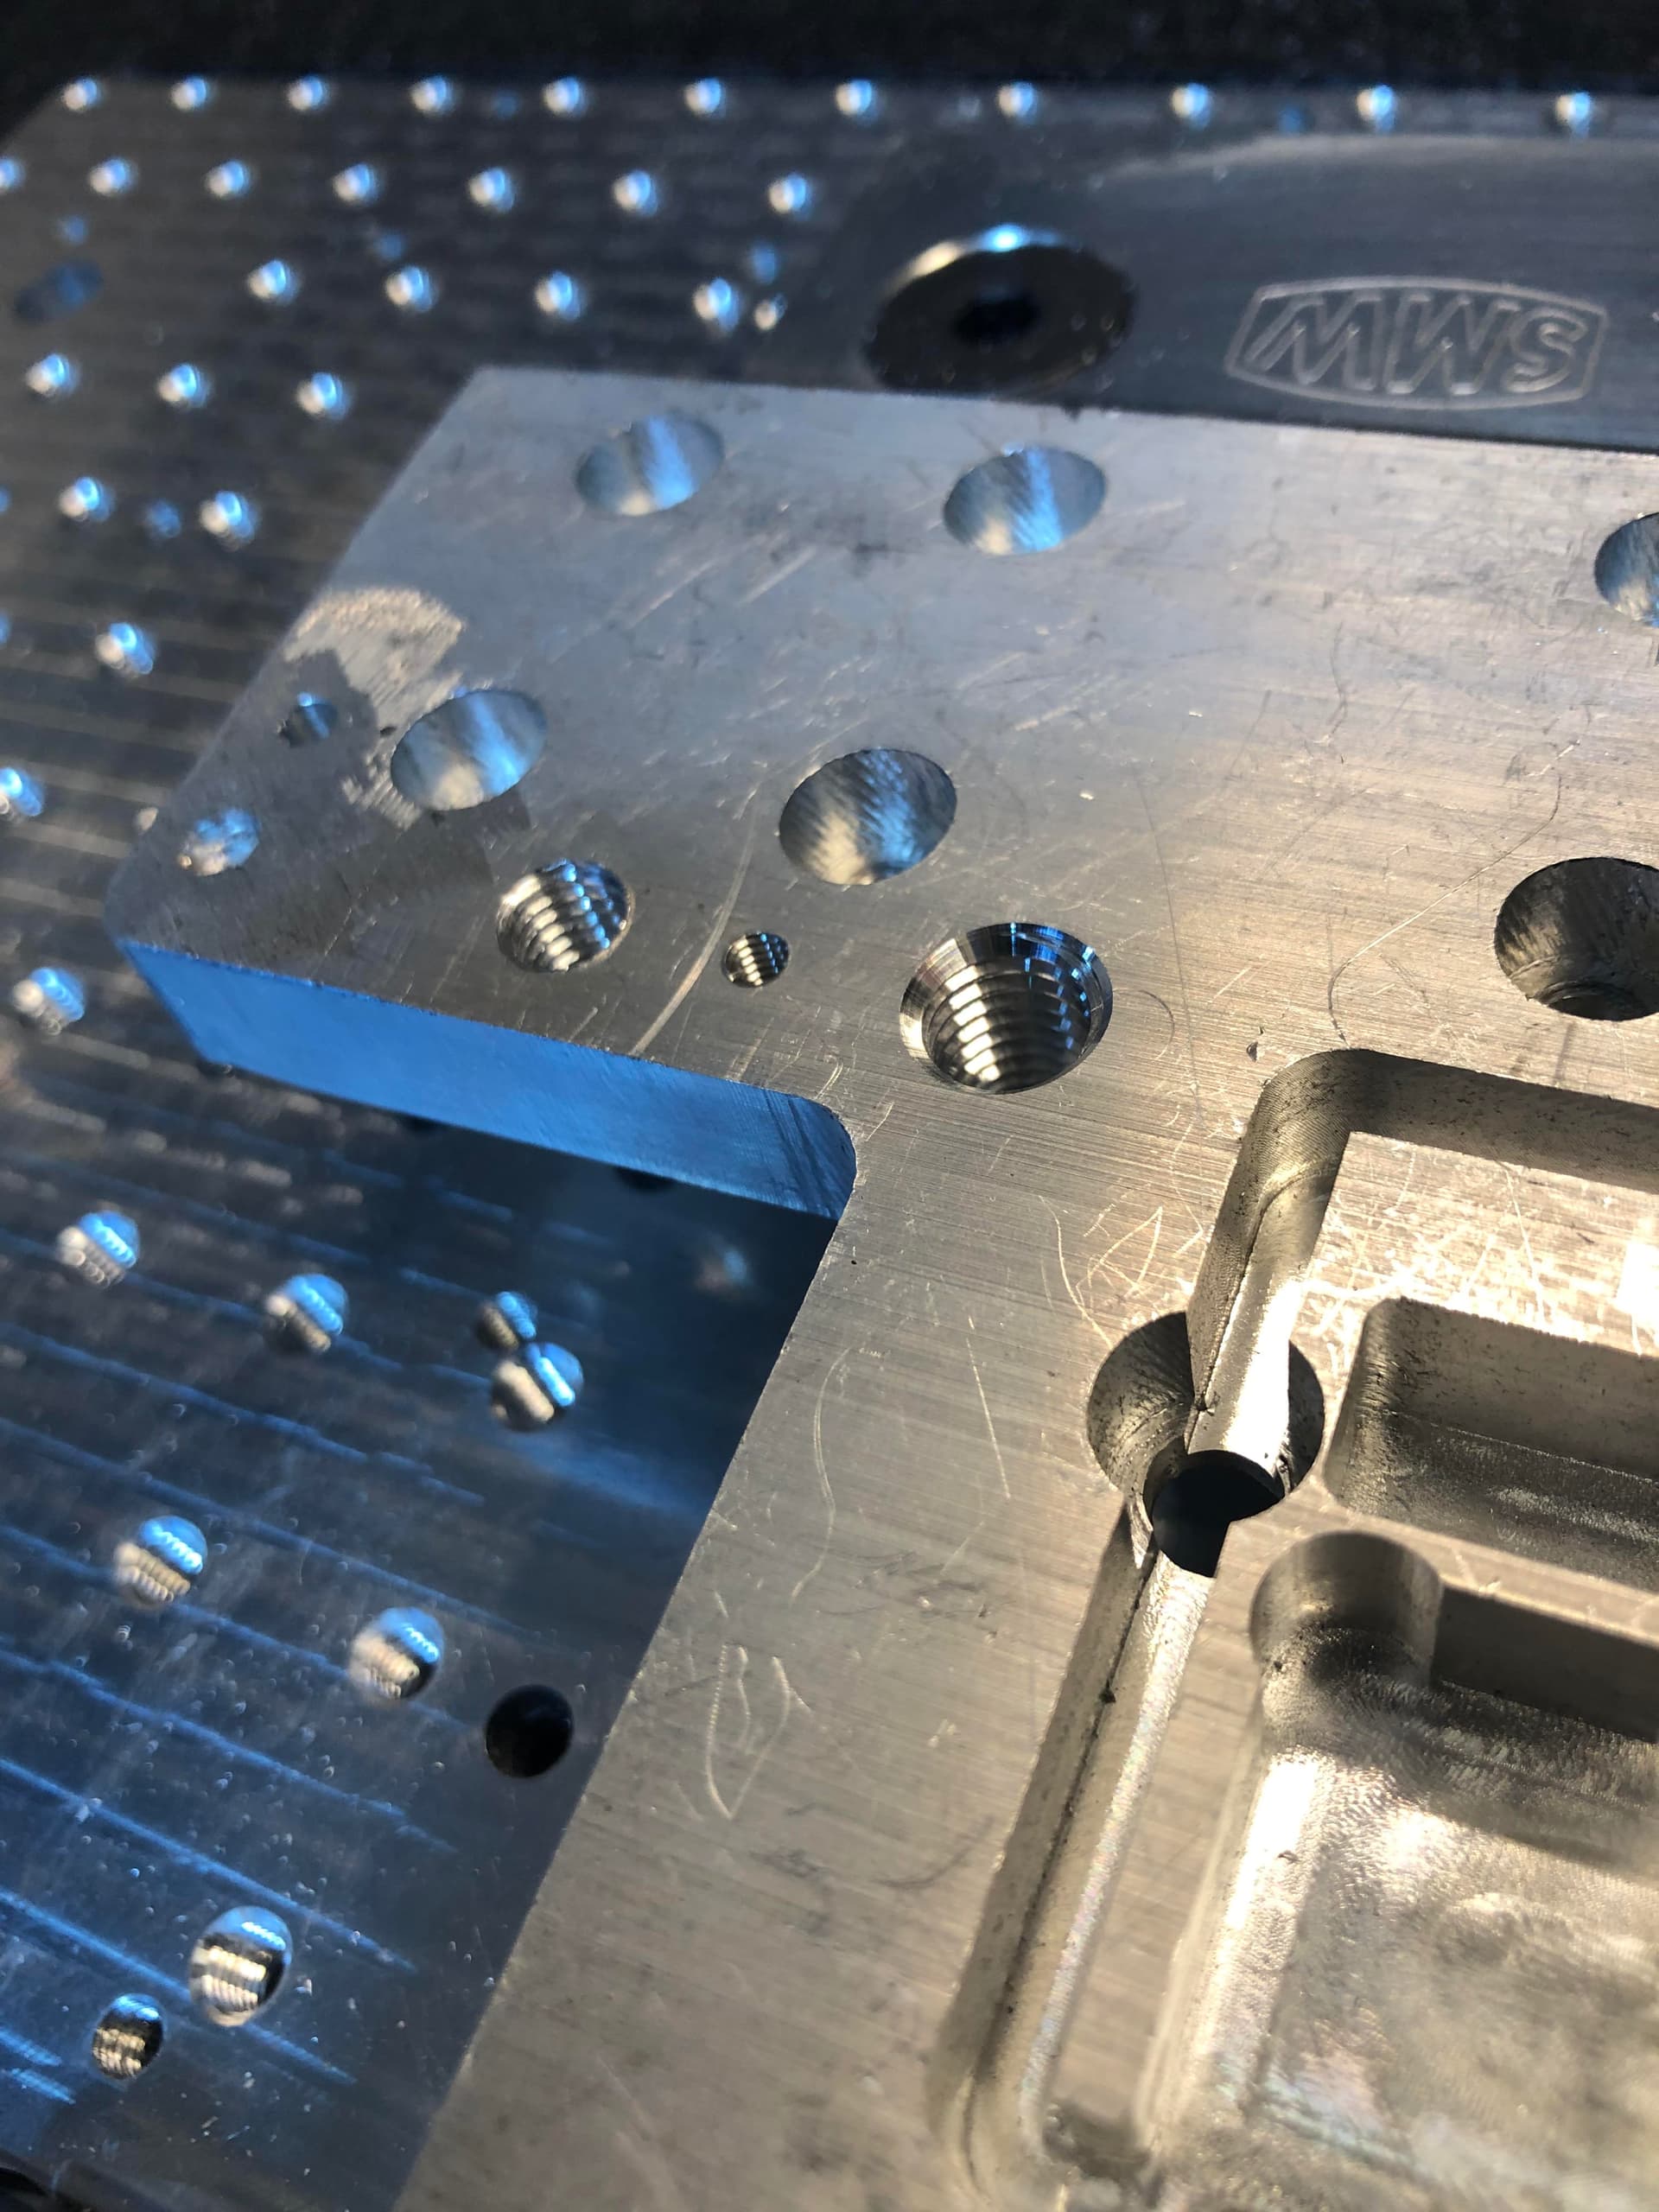
Please pay attention only to the new threads, with the chamfered edges. These came out absolutely perfect. The old threaded holes, are from 2yrs ago when I didn’t know exactly what was doing. Back then made a mistake of selecting ‘multiple threads’ and using wrong ‘pitch diameter offset’.
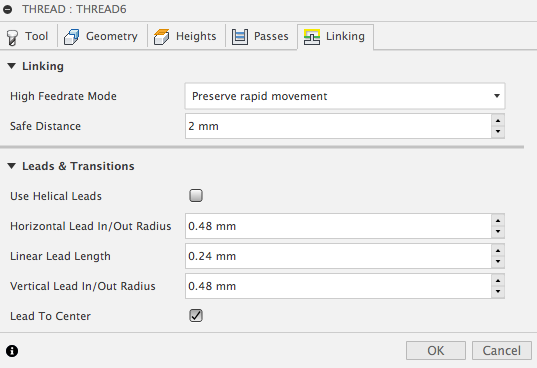
Hope this will help some to get better quality threads, so attaching screenshots of my settings for thread milling of the m6 threads with Fusion360.
I know some of the holes look wonky, but that’s only because needed to make the new thread pattern fit on the old wasteboard and didn’t feel like deselecting the holes that were overlapping each other.
8 Likes
Griff
(Well crap, my hypometric precursor device is blown…)
14
@BartK thanks for posting, good info. Is it possible to post a higher res photo of the chamfers and threads so I’ll know what to shoot for?
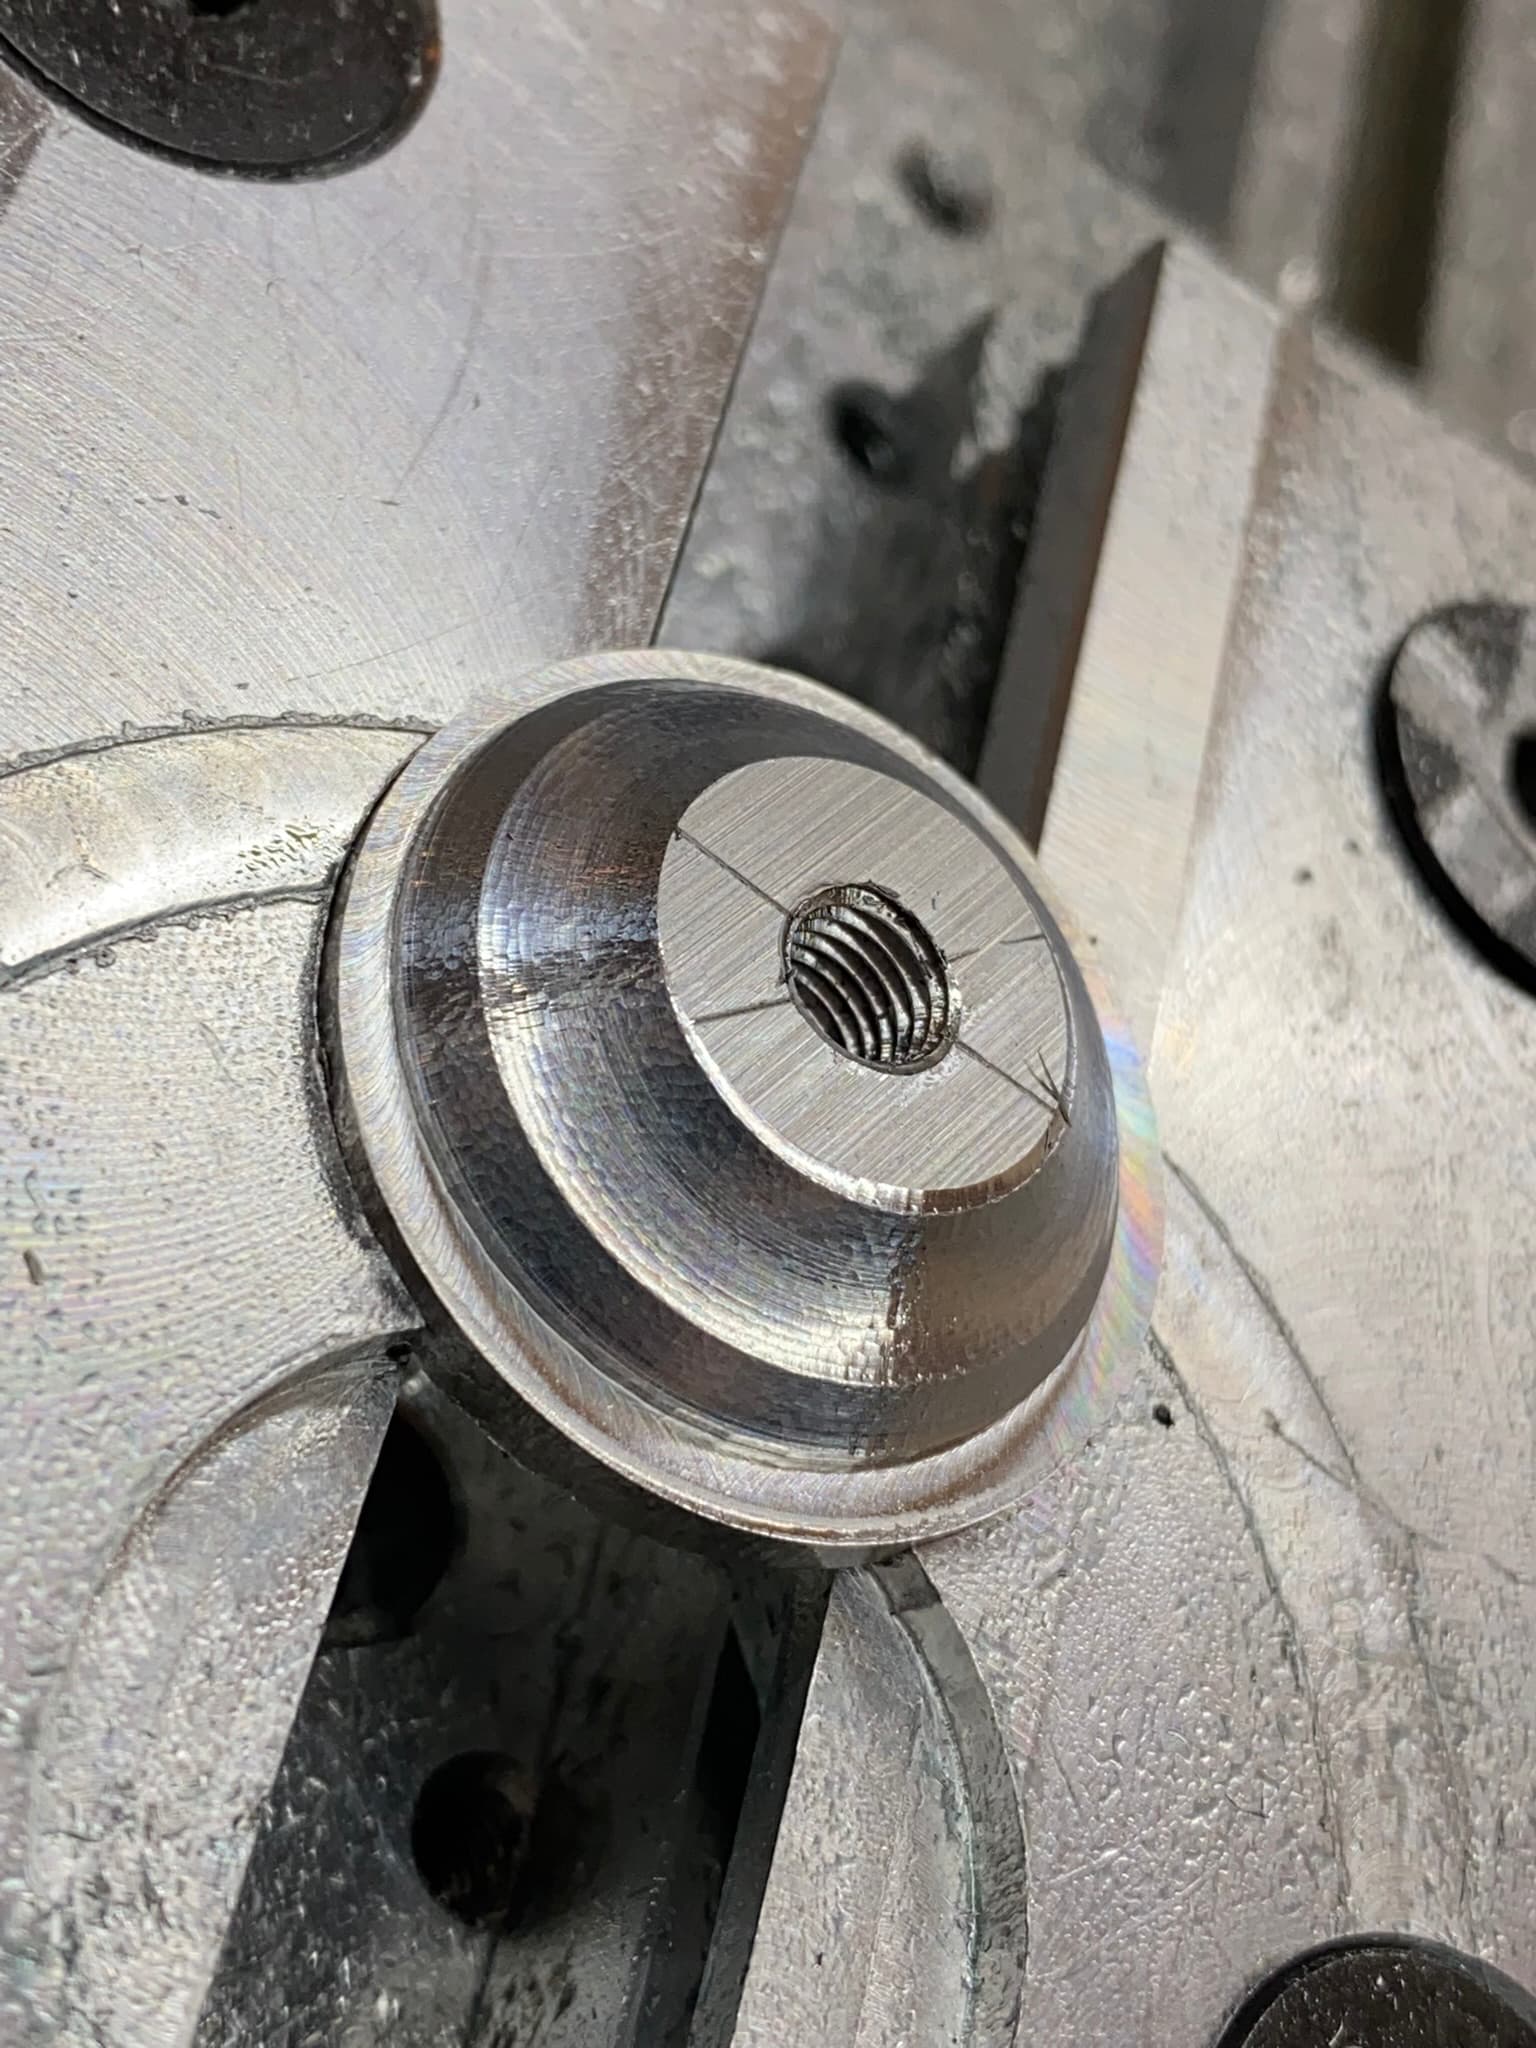
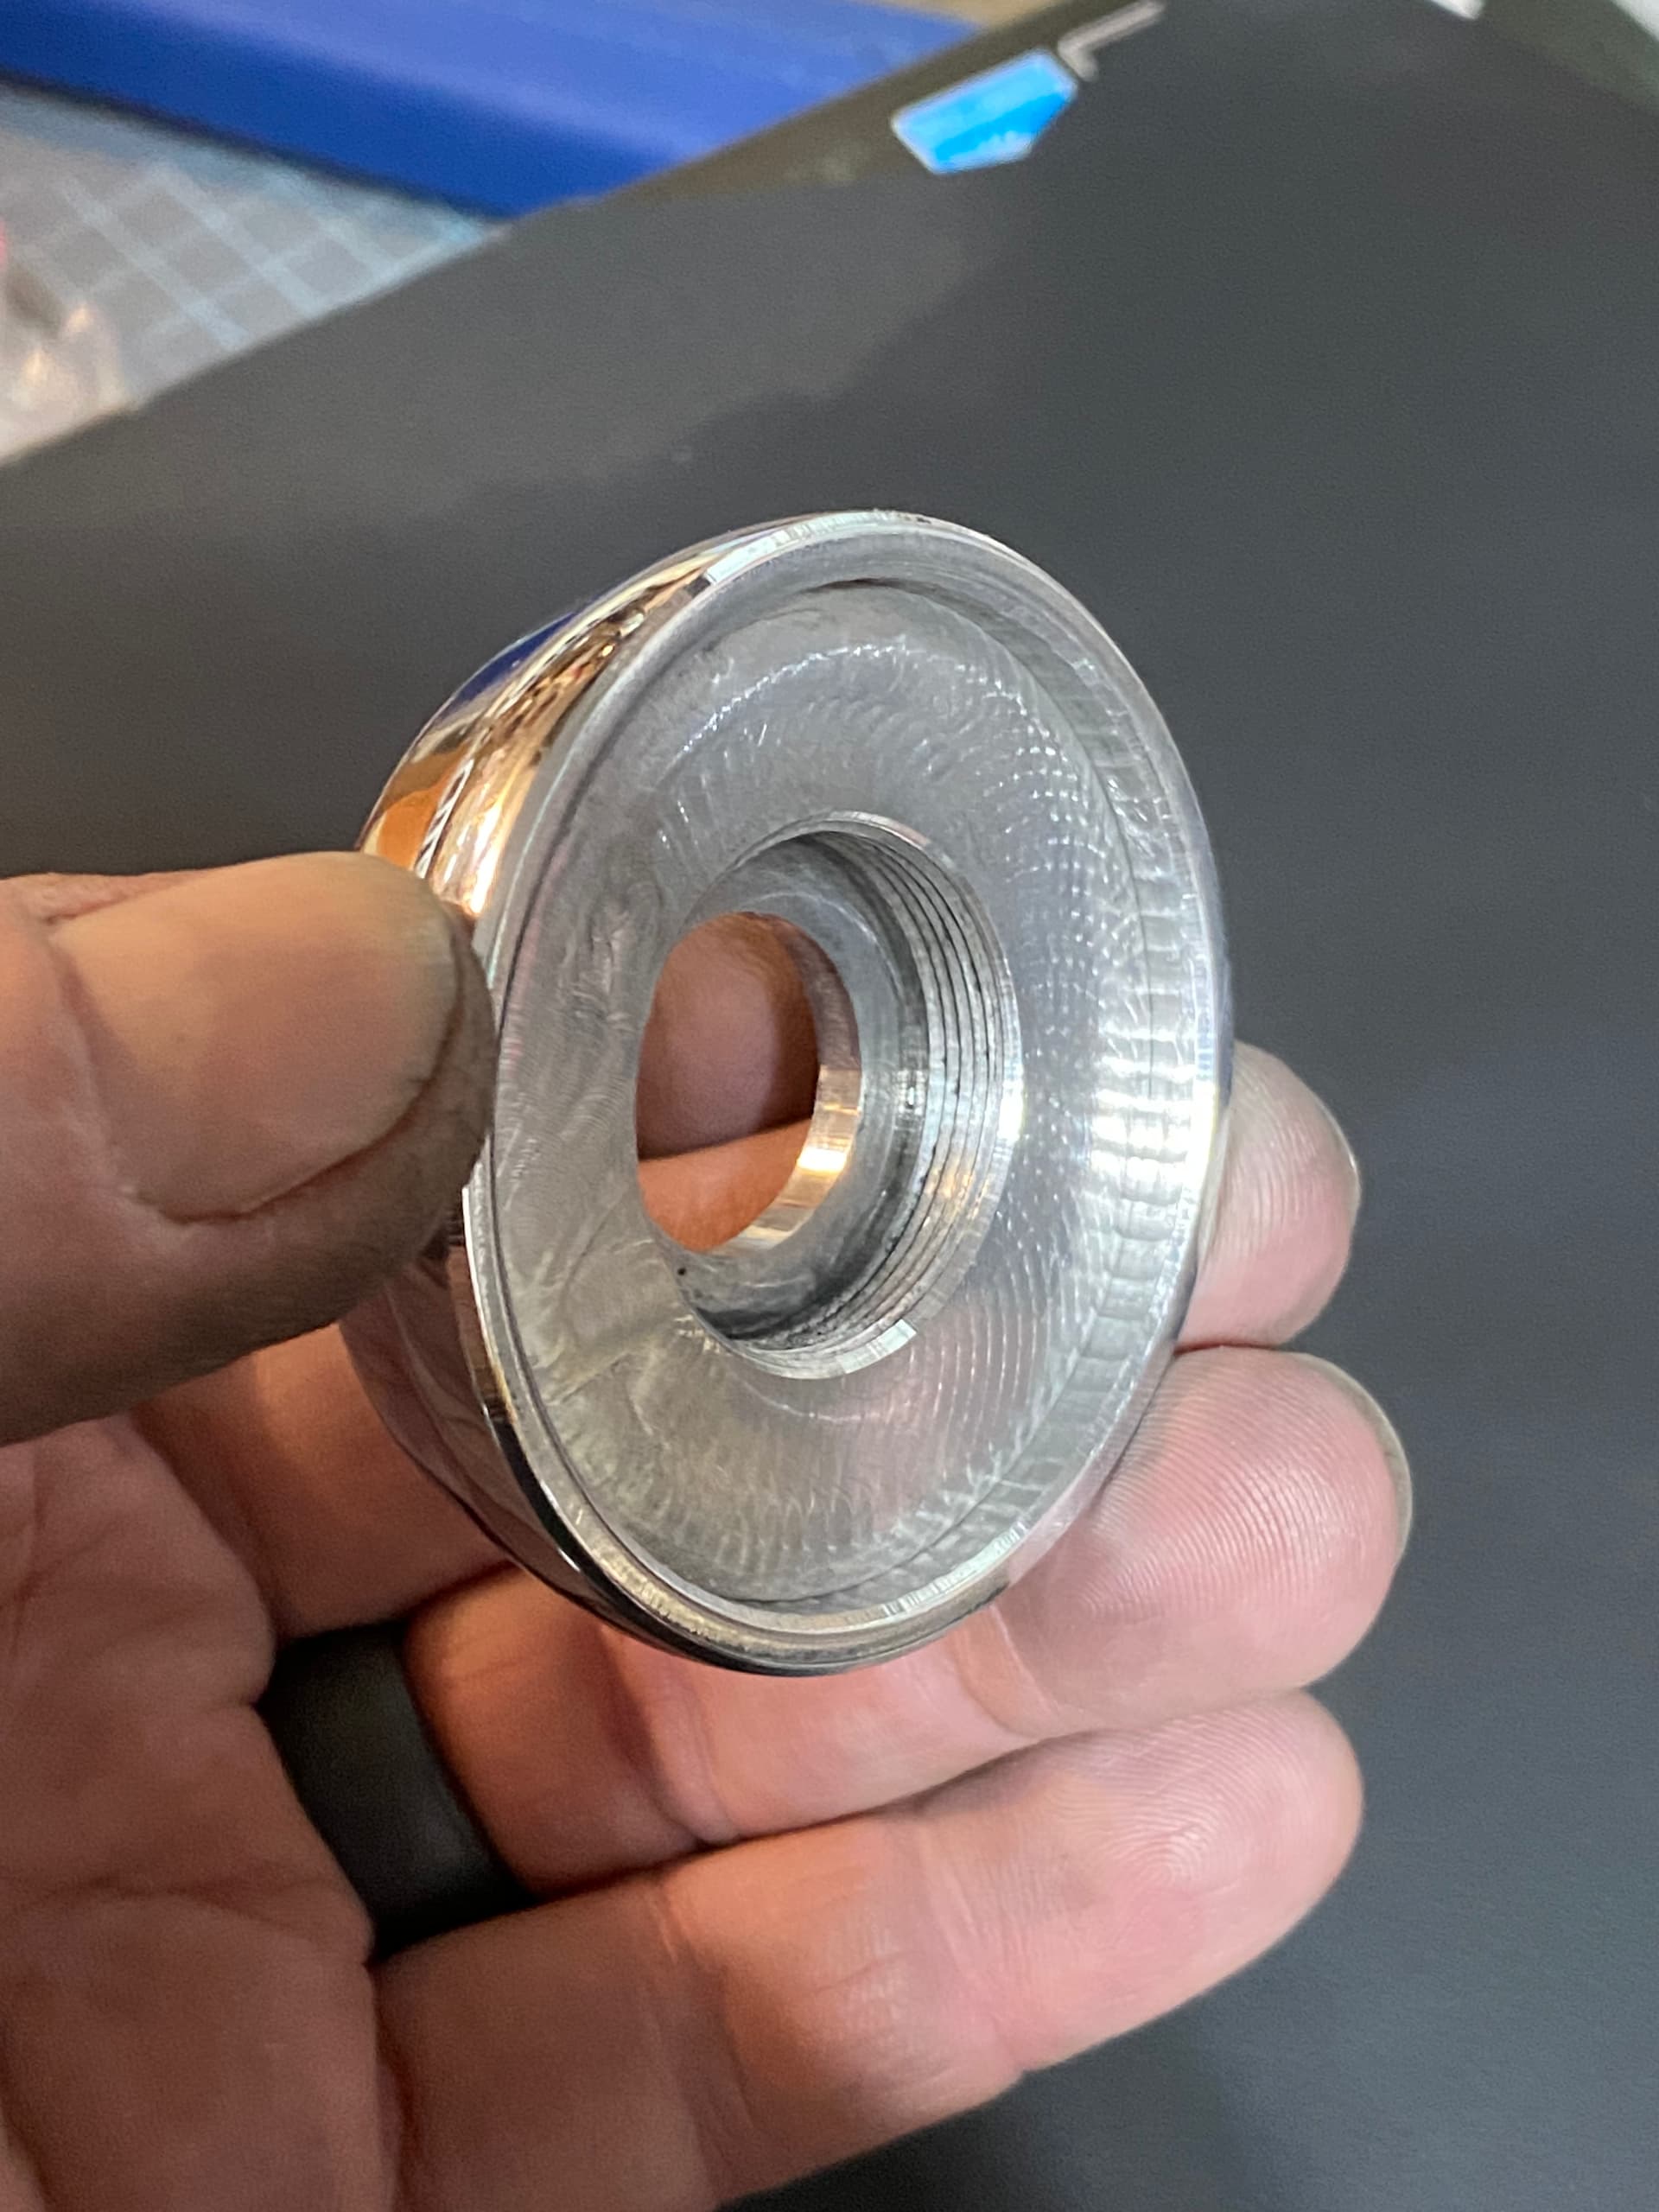
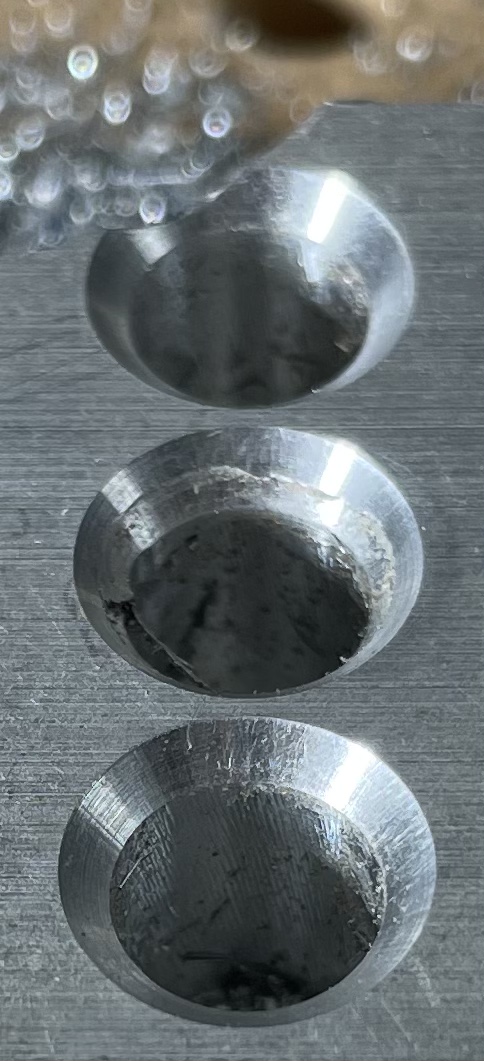
@Griff Decided to cut some threads to test my cut recipes. Did m8, m4 and m10 threads (left to right). Only chamfered the m10 one. Hope this picture gives you a better idea of what the thread quality and chamfer you should expect. They were all cut on my SO3 with ball screws and linear rails.
Also, used some very old piece of aluminium that was first cut on the standard so3 with v-wheels and belts. Look at the bore quality and that chatter
For the chamfer I used 1/4 spot drill @24k rpm and 200mm/min feed. You should easily be able to get such results on the HDM.
@neilferreri Sure thing. I see a lot of talking about thread milling, but not a lot of folks willing to share the actual cut recipes or files. It took me some time to figure out how to get good quality threads in F360 and I’ll be happy to post a file with the actual speeds and feeds that I’m using. You’ll have to wait till tomorrow though.
I’ve spent a decent amount of time figuring out how to threadmill too. I’ll post a excel I made that has the data needed to plug into Fusion for metric threads, I was tired of looking it up every time. This has made setup in fusion so much easier. For finish a mist coolant setup helps a lot or spray some WD40 to help too. Spring passes, etc help too. Mine are still far from perfect on my PRO but they work well and I can usually get a thread cut right the very first try from fusion.
I have been hoping that when I get my HDM will take the same recipes and the finish will improve with the rigidity?
@DanStory here is a file I was messing with today. Gave pretty good results for chamfer, not much change for threads but workholding was tape and glue on mdf. Will test more with SMW vice on fixture plate when I finish current wood projects. Hole and chamfer testing v3.zip (110.9 KB)
@neilferreri As promised, uploading the file with the treads samples. The S&F are very conservative, but they cut beautifully on my machines. You might need to experiment with the ‘pitch diameter offset’ and dial it to your own machine but this should provide a good starting point. Threads m4-m6 use 1/8 end mill for boring of the minor diameter holes, m8 and m10 use 1/4 end mill.
Hopefully I didn’t mess anything up, because there was a lot of copying and pasting.
I added chamfer tool paths after the thread milling operations. Was told many times to chamfer before thread milling but honestly never encountered any problems while doing it in this order.
Wasn’t sure how to upload the file, so added .zip extension. I’m assuming it will have to be removed after downloading? Anyways, hope this works and helps you guys.
I forgot to add, when thread milling blind holes, I like to leave at least 0.5mm gap at the bottom (axial stock to leave) to prevent the cutter from recutting to ‘chips’. They’re more like a dust but still make a very irritating grinding sound, and that can’t be good for the thread mill.