So the job that motivated this upgrade got moved up suddenly. I had to focus and get the upgrade done as fast as possible. I didn’t have time to update on my progress during the upgrade but I did take pictures as I was working.
I completed the upgrade Friday night (25th) and it has been chewing away at aluminum all weekend without any major incidents. I did have a set screw come loose on the X motor coupler. Luckily it did not scrap the part. The couplers I got are the only part of this upgrade I don’t like. They were cheap and I should have gotten something better. I already have a new set on the way from McMaster.
Here are my design and in process pictures:
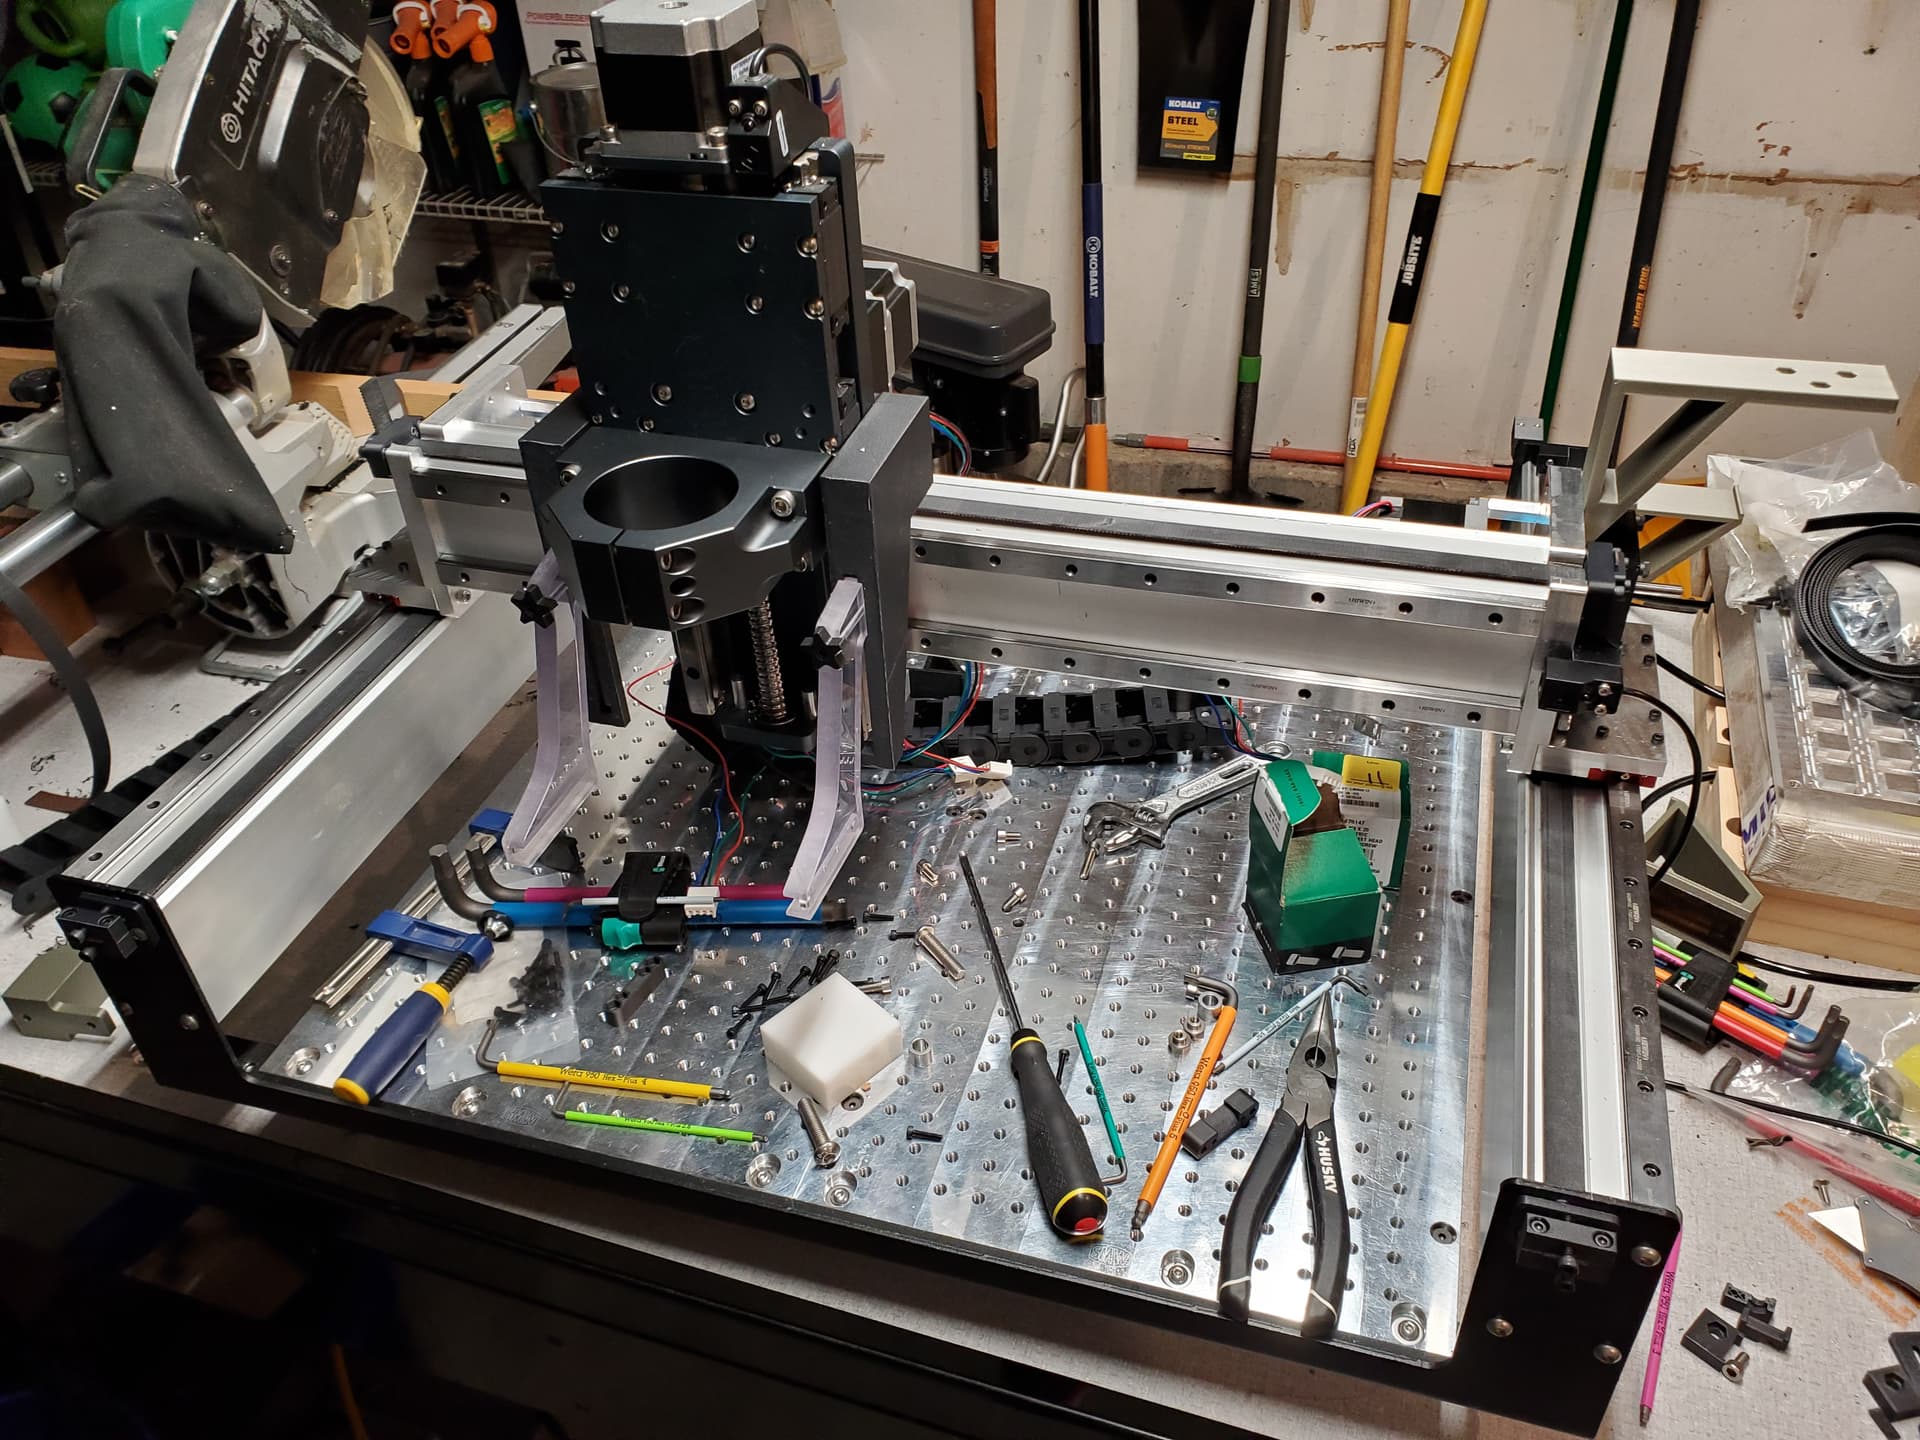
Disassembly

The parts I used from the original machine are the HDZ, sheet metal frame and risers, X and Y extrusions and the proximity limit switches. I have an idea to replace the sheet metal but it will have to wait until this job I have is done.
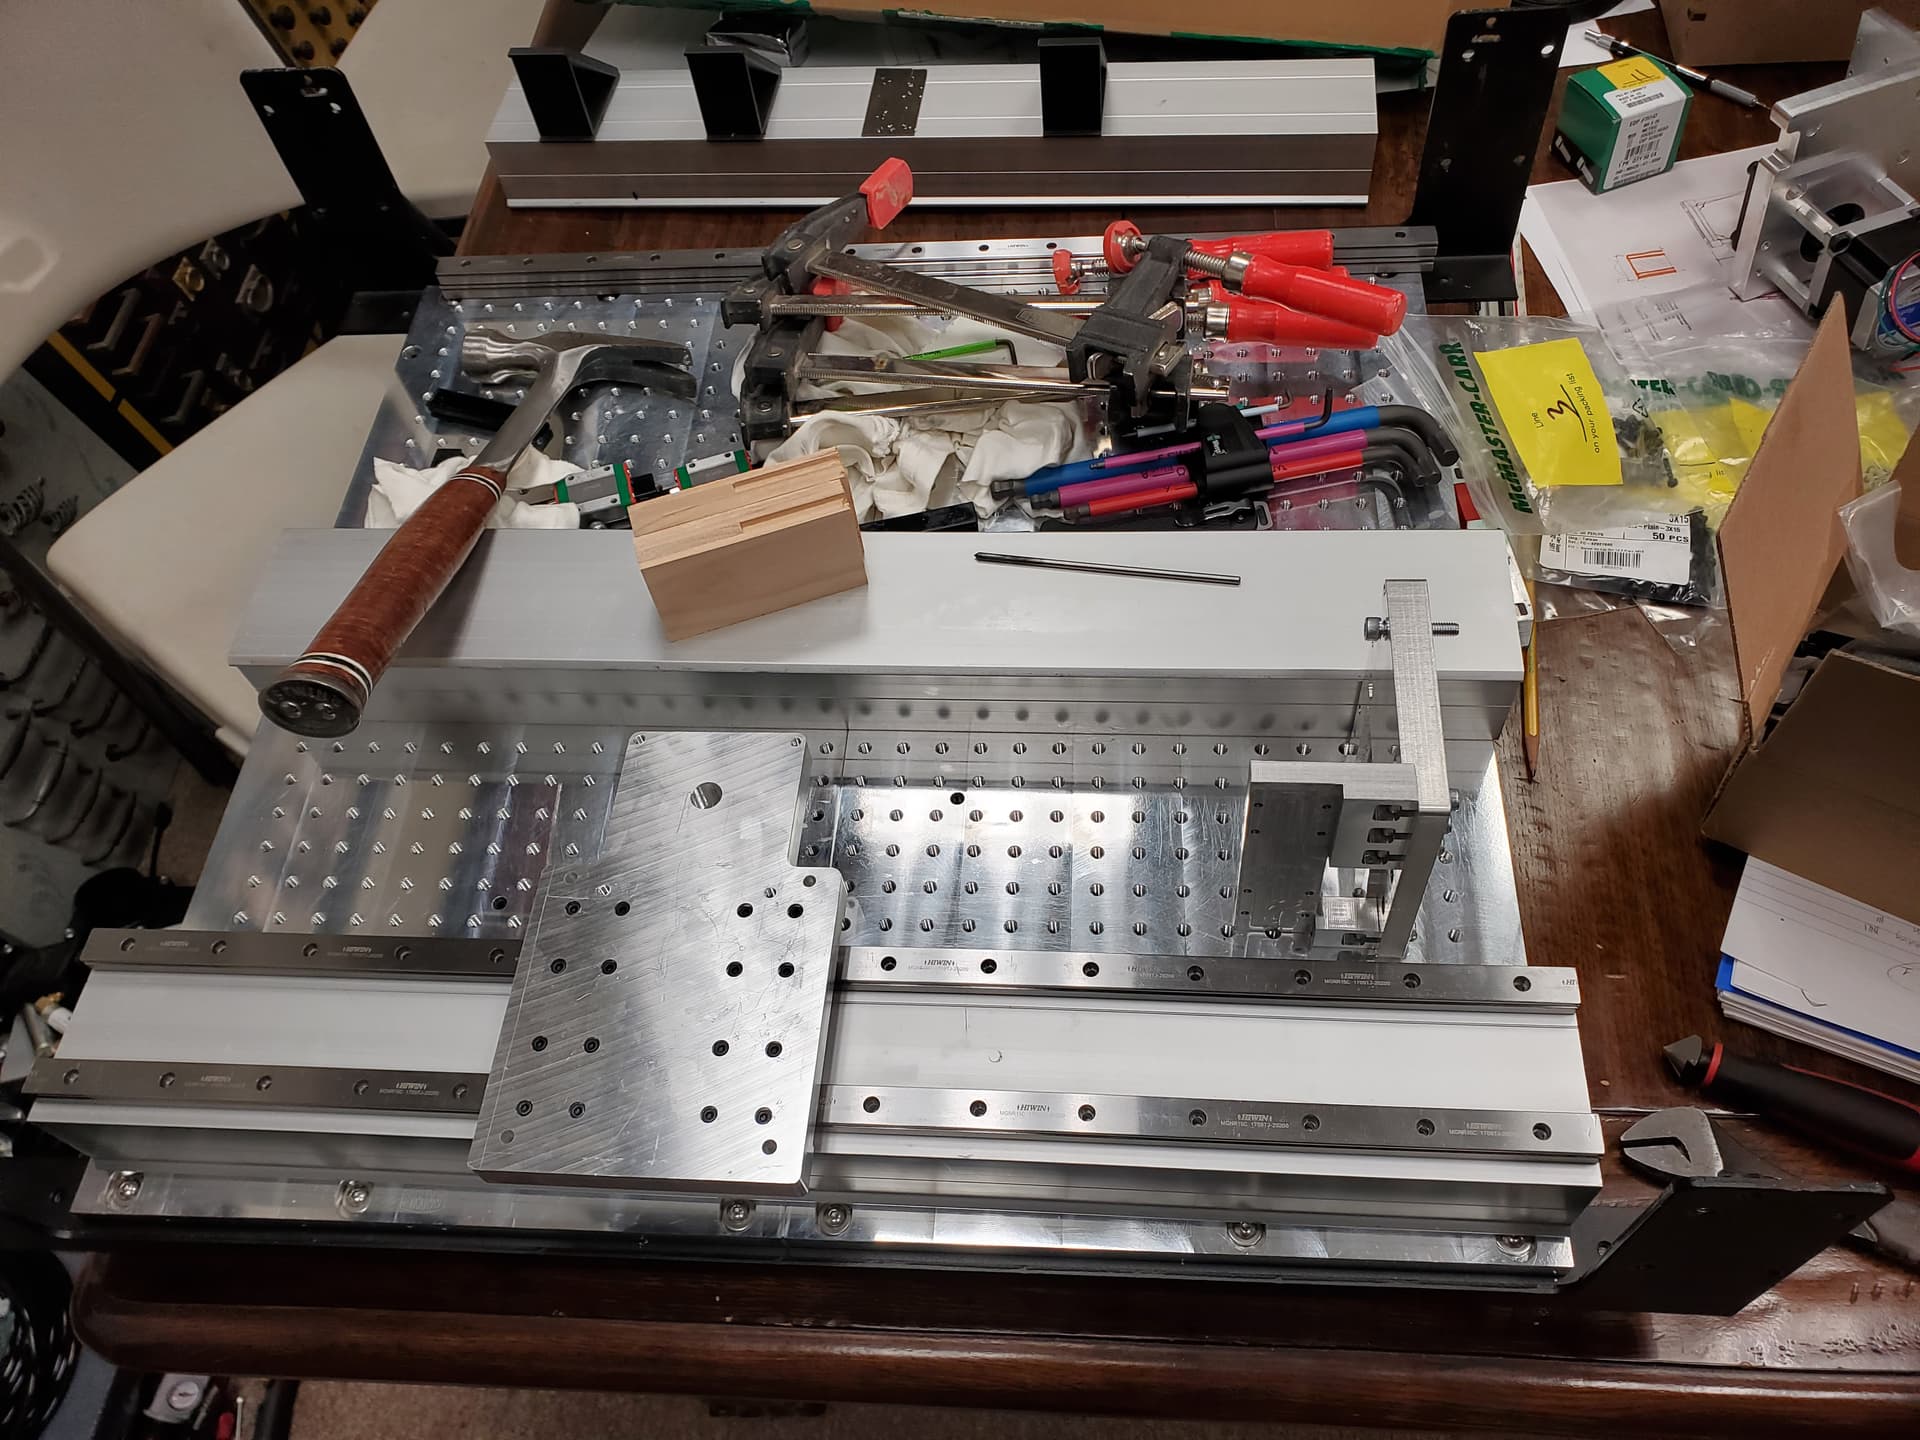
I decided to consider the extrusions as flat when I was installing the rails on X and Y. I don’t have a straight edge or flat surface large enough to do any better. For X I locked one rail down using clamps and a small square and then marked all the holes with a transfer punch. Once all the holes were drilled and tapped, I used the same clamp process to lock it down and tighten all the screws. I then used the top rail as a guide to align the bottom rail. I had to compensate for a little bit of a crown on the face of the extrusion. I fixed it with aluminum foil and a mixture of feel and a small straight edge on the face of both rails.
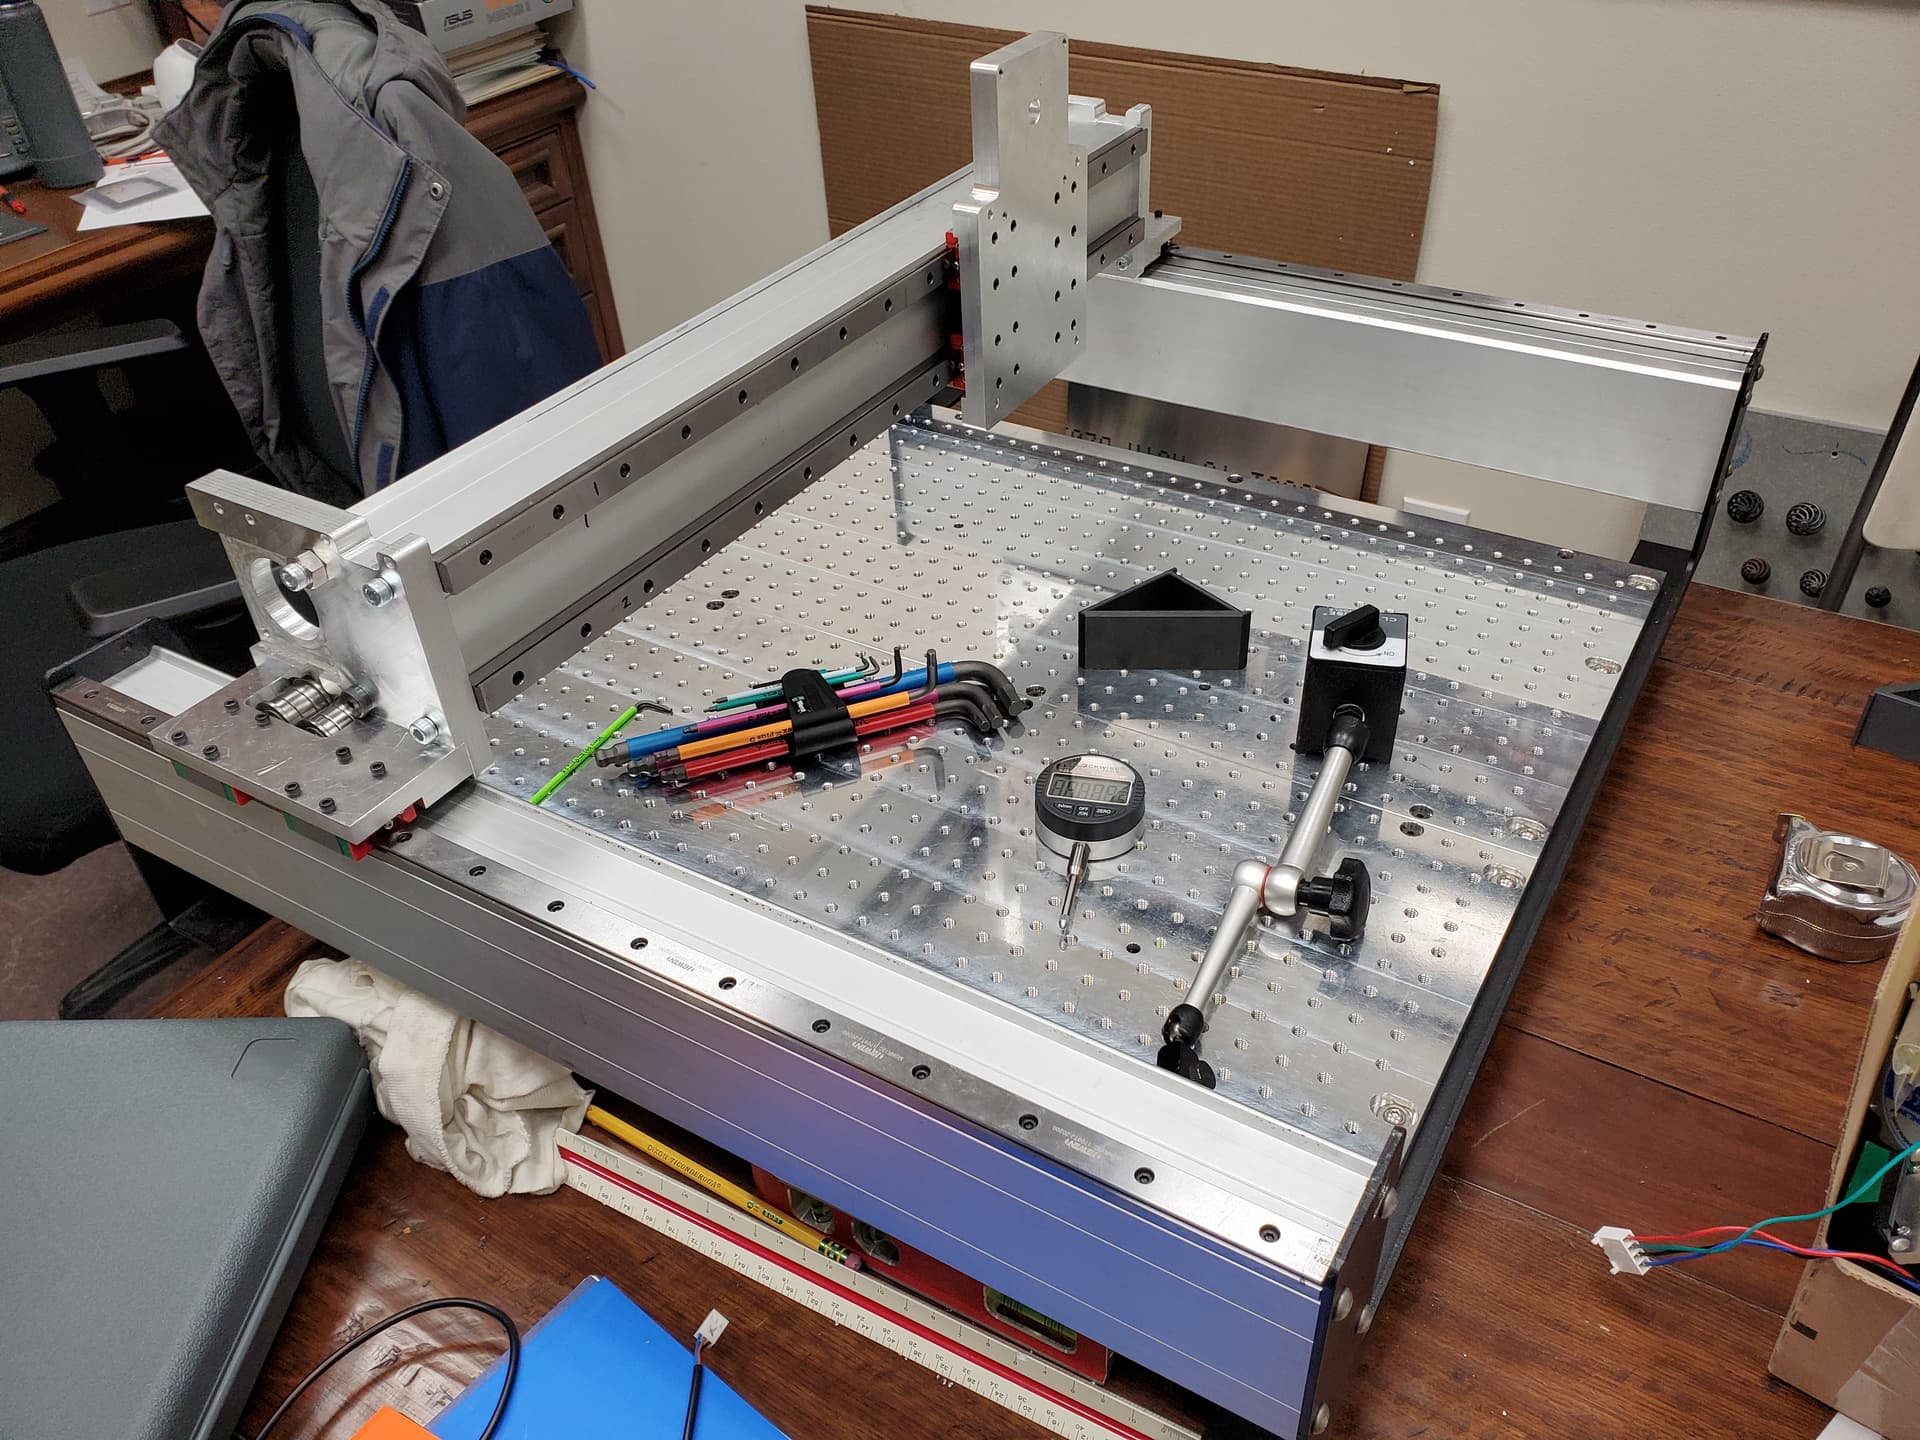
For Y I did basically the same process, I just didn’t have to use any foil to get it to move smoothly. I also squared the machine to my SMW plates at this point.
One thing I am very happy with is the adjustment I made for tramming spindle nod. I made it so the whole X beam could be rotated around a couple of shoulder bolts using some excentric spacers.
Using two 14mm sockets I can tilt the whole Z axis with very good precision at the spindle. When I did tram the spindle later on in this process, it took me about 3 minutes to get the nod within 0.0005" across 8". No more scrounging around for different sized M5 washers or making shims for V wheels. Thank goodness.
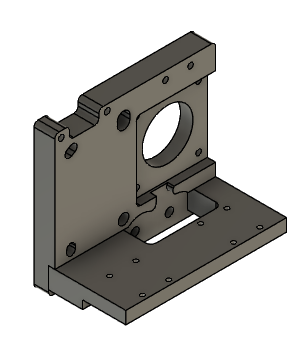
I am using 3D printed motor mounts and shaft supports currently because of my need to finish quickly. I may design some aluminum ones and change them out at some point. I used a carbon fiber filled PC blend material from Prusa. So far it is holding up well.
I also used some 3D printed brackets to hold the limit switches. I plan on changing these out at some point when I start chasing homing repeatability.

I took the oportunity to increase the size of my Y axis drag chain when it was all torn apart. Previously I was having issues with my extension cables coming unplugged because it was too small for all the wiring in it. Now everything fits nicely with room to spare.
This is when I did all my spindle tramming and belt tensioning. I really like the 15mm belts. They are a huge improvement over the 9mm steel core I was using.
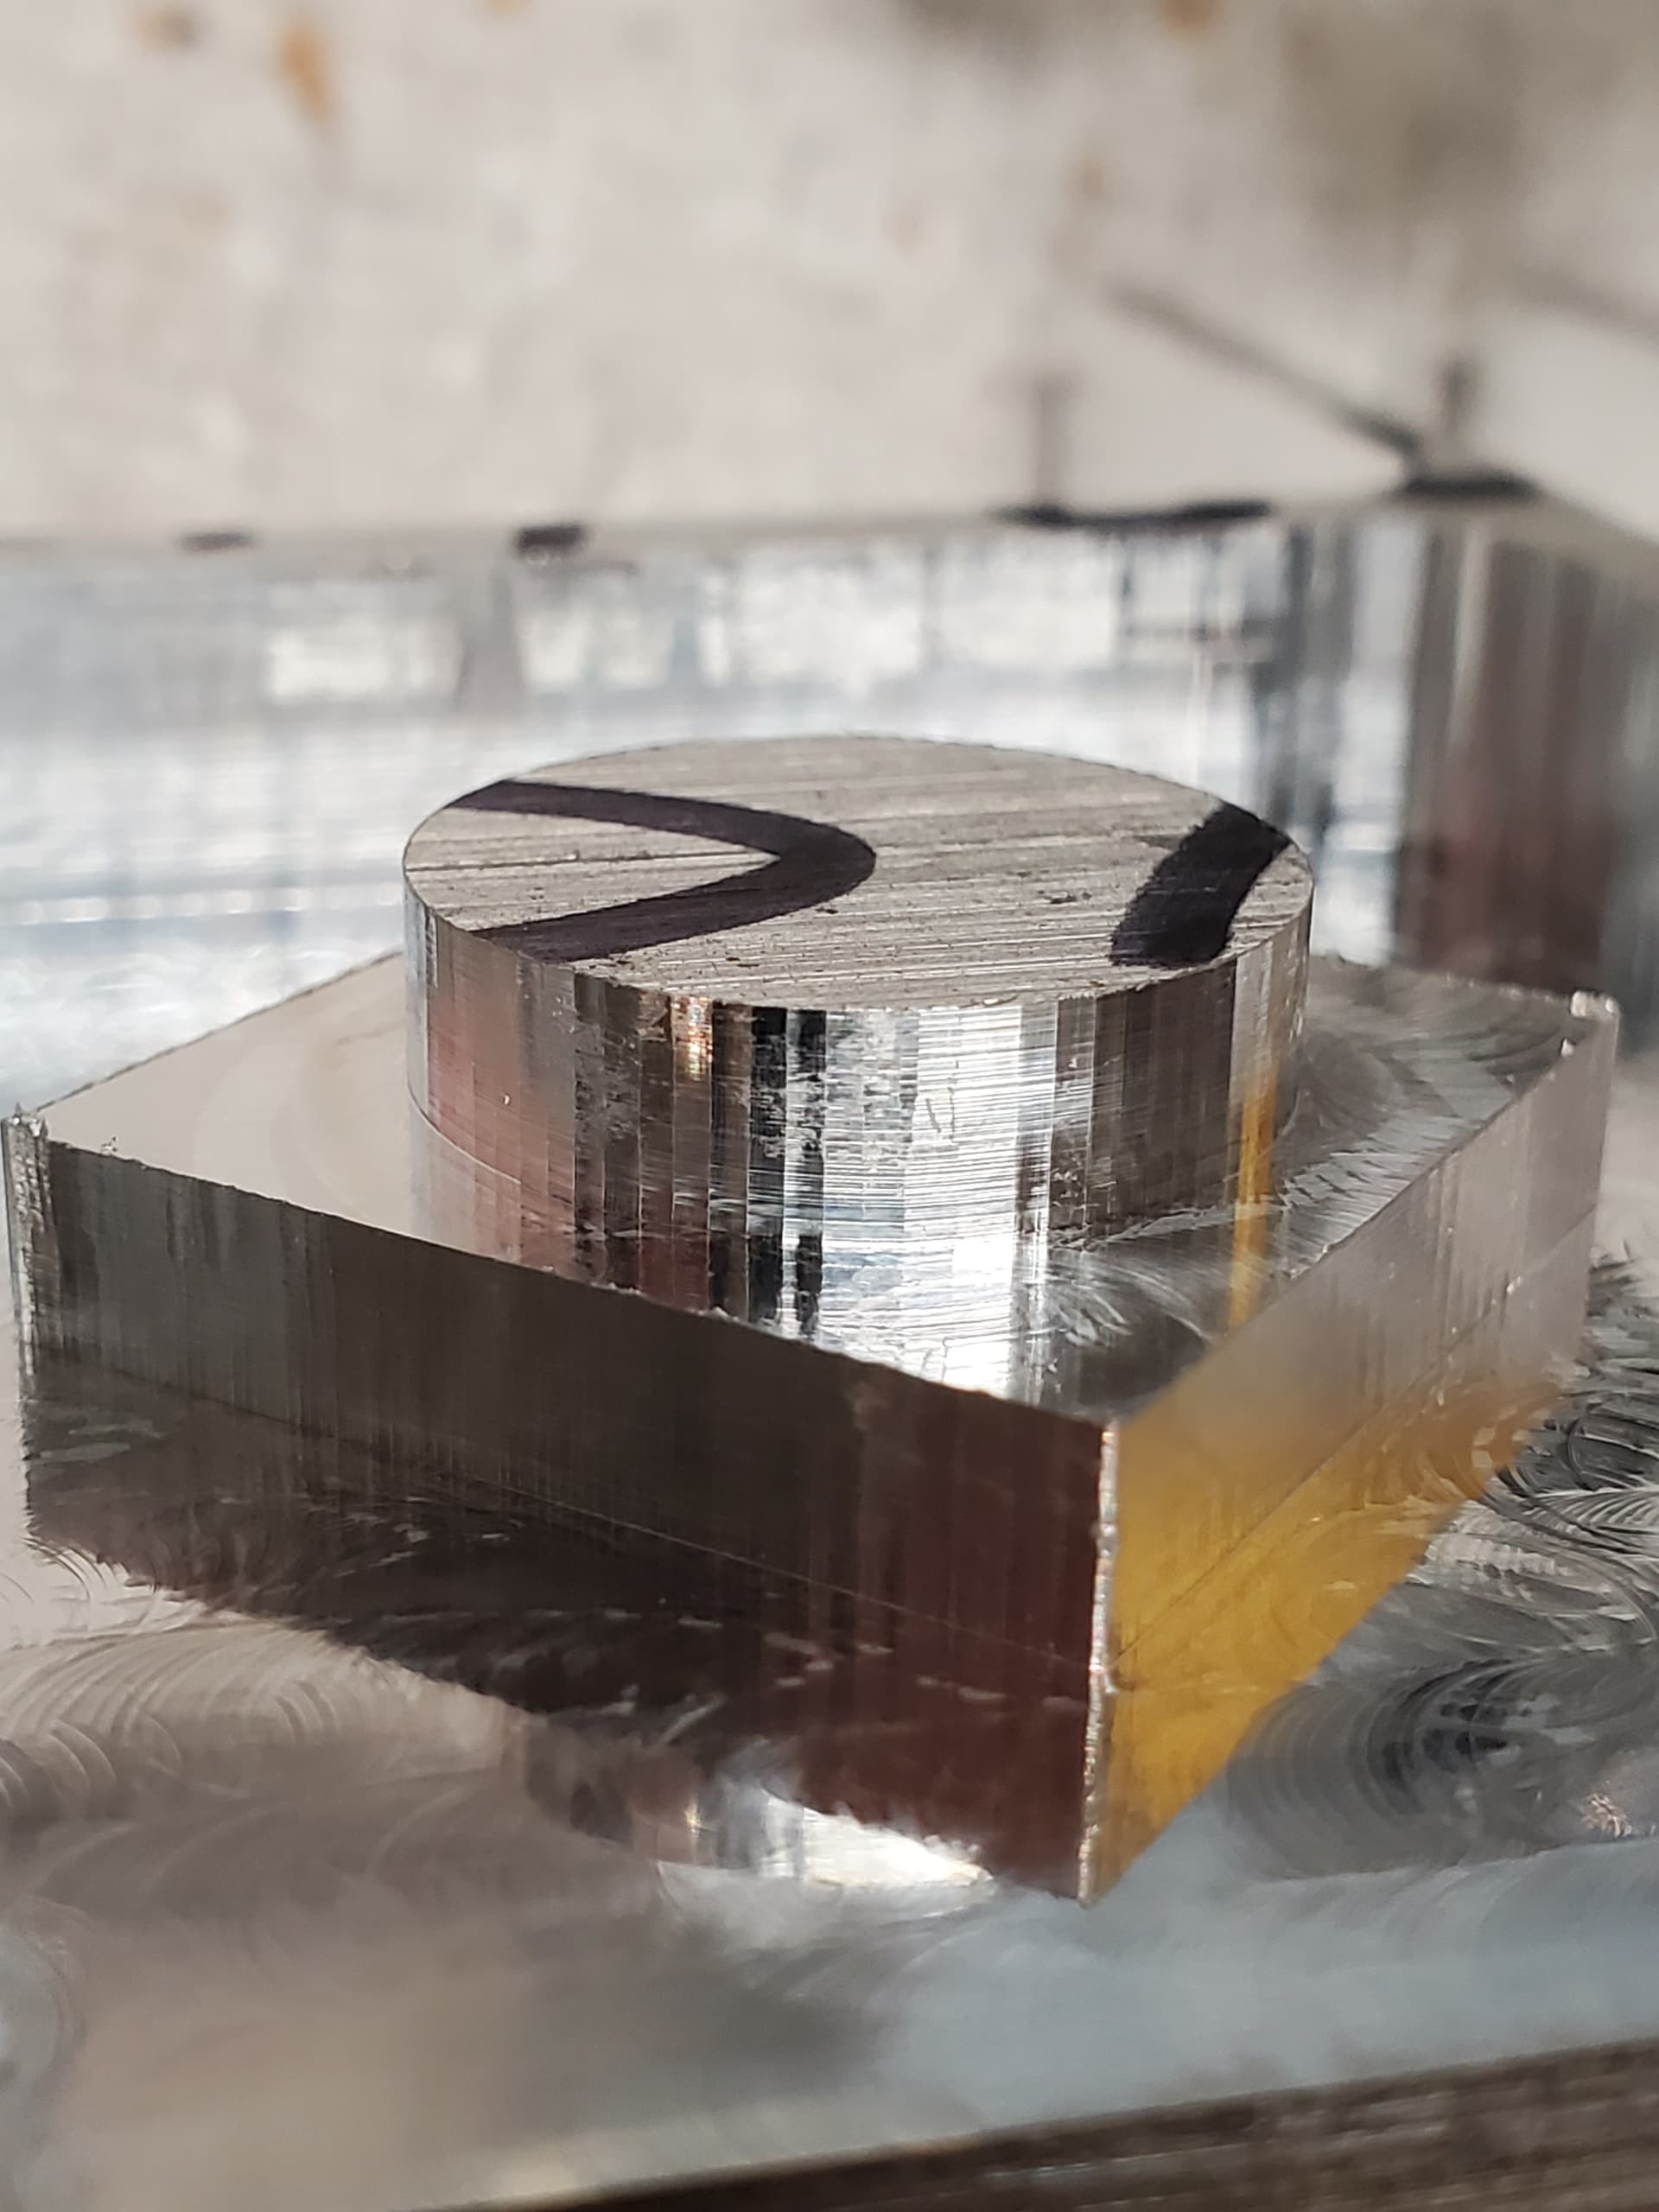
The jury is out on whether the .9 degree steppers made any difference in the resolution of the machine. This is a picture of a circle diamond test I did. The circle is 3/4" diameter and the diamond is 1". As you can see, there is definitely still some faceting and I unfortunately did not have time to make a test piece before all the changes to compare against. I suppose I could swap in the old steppers and make one. I may do that in the future.

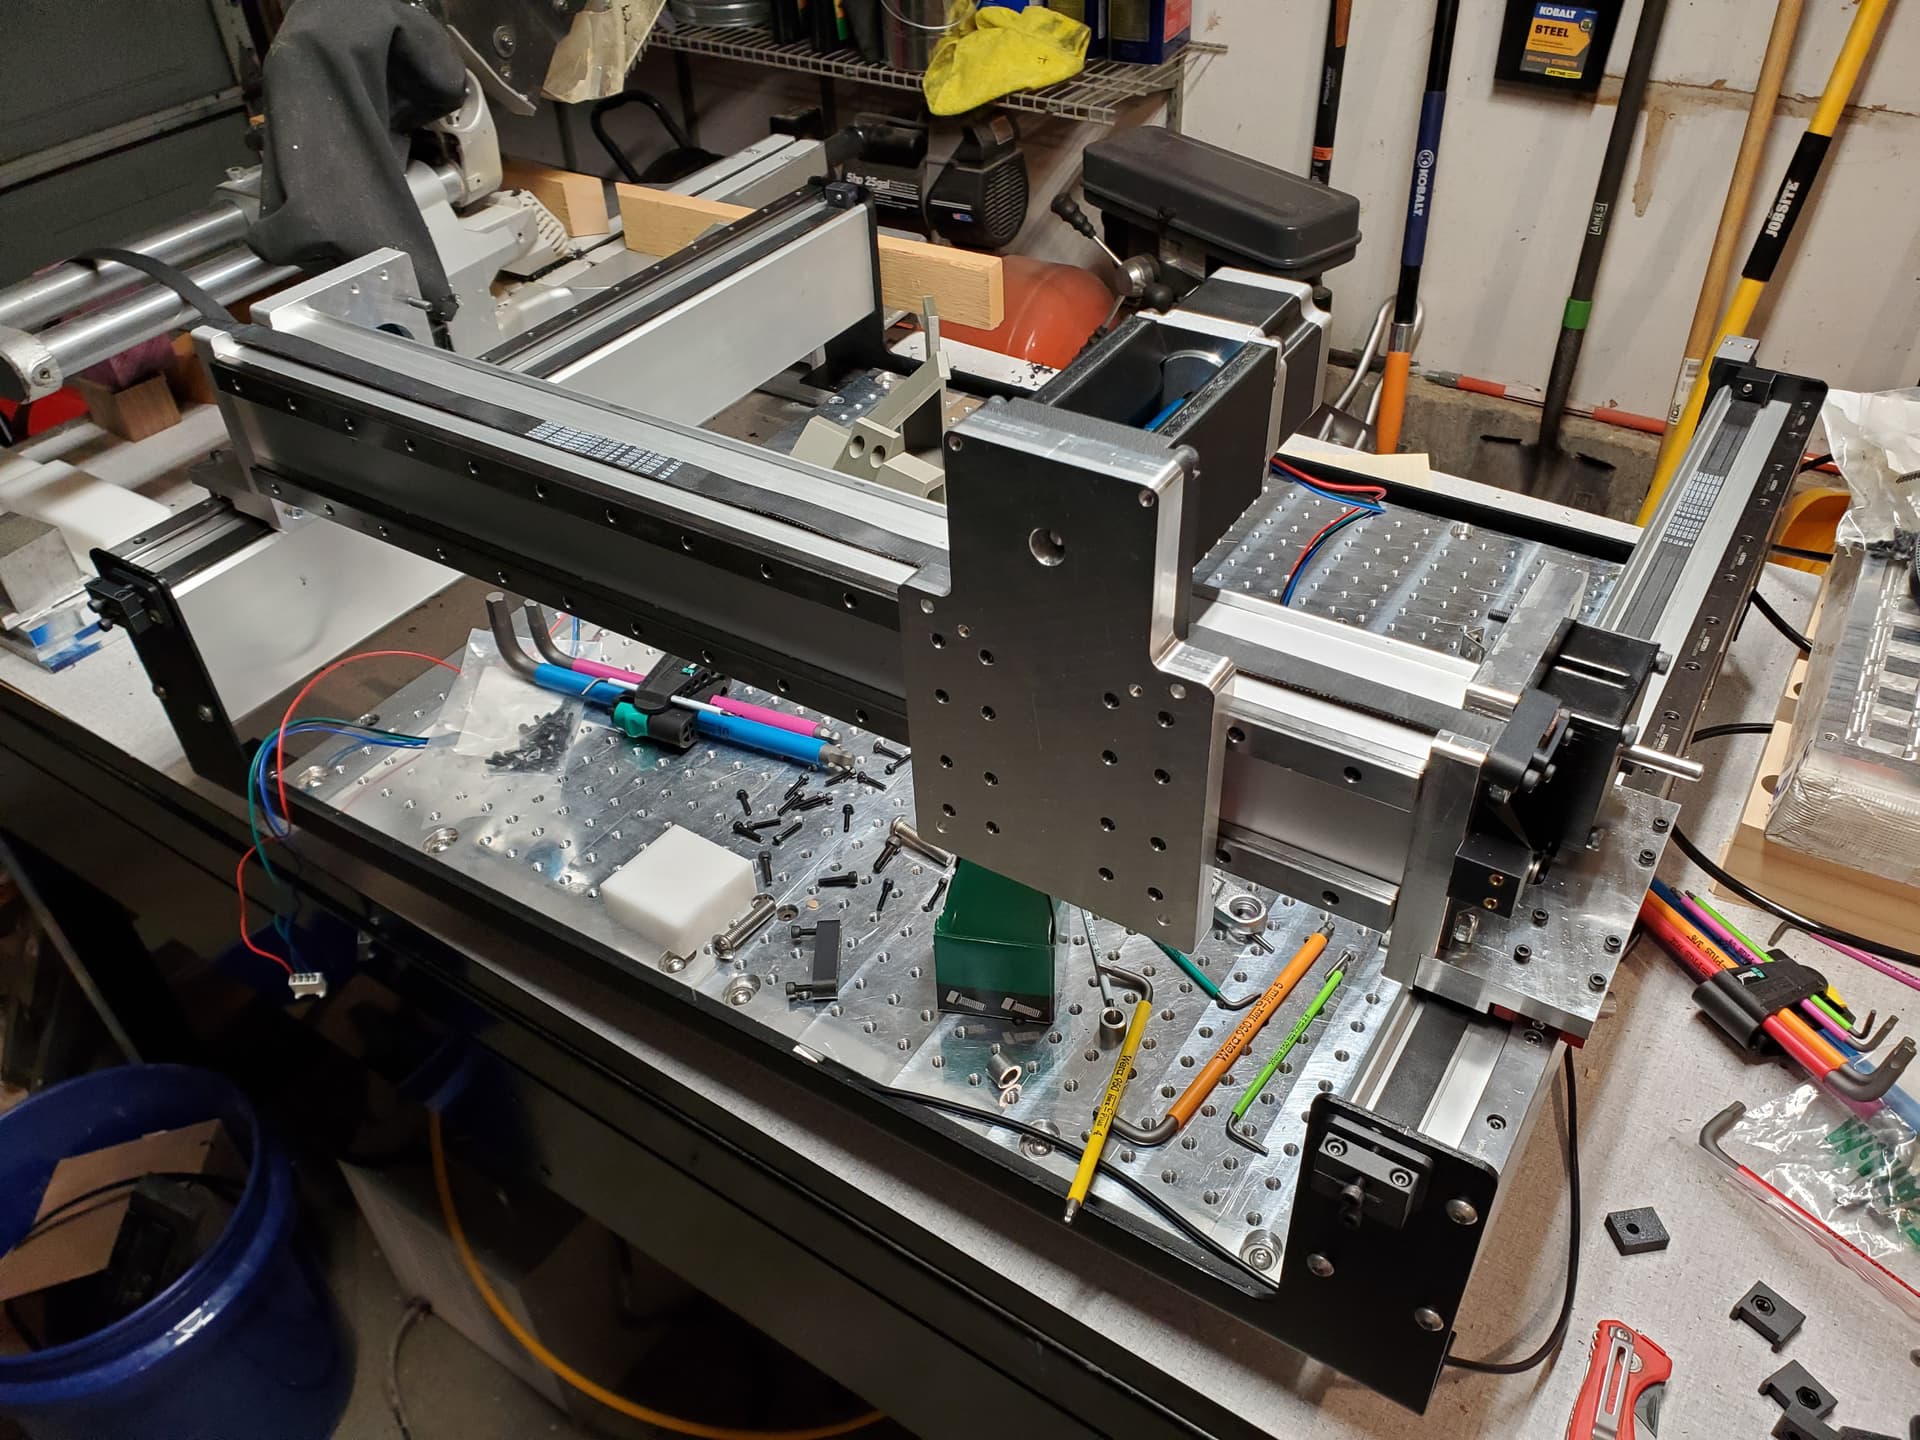
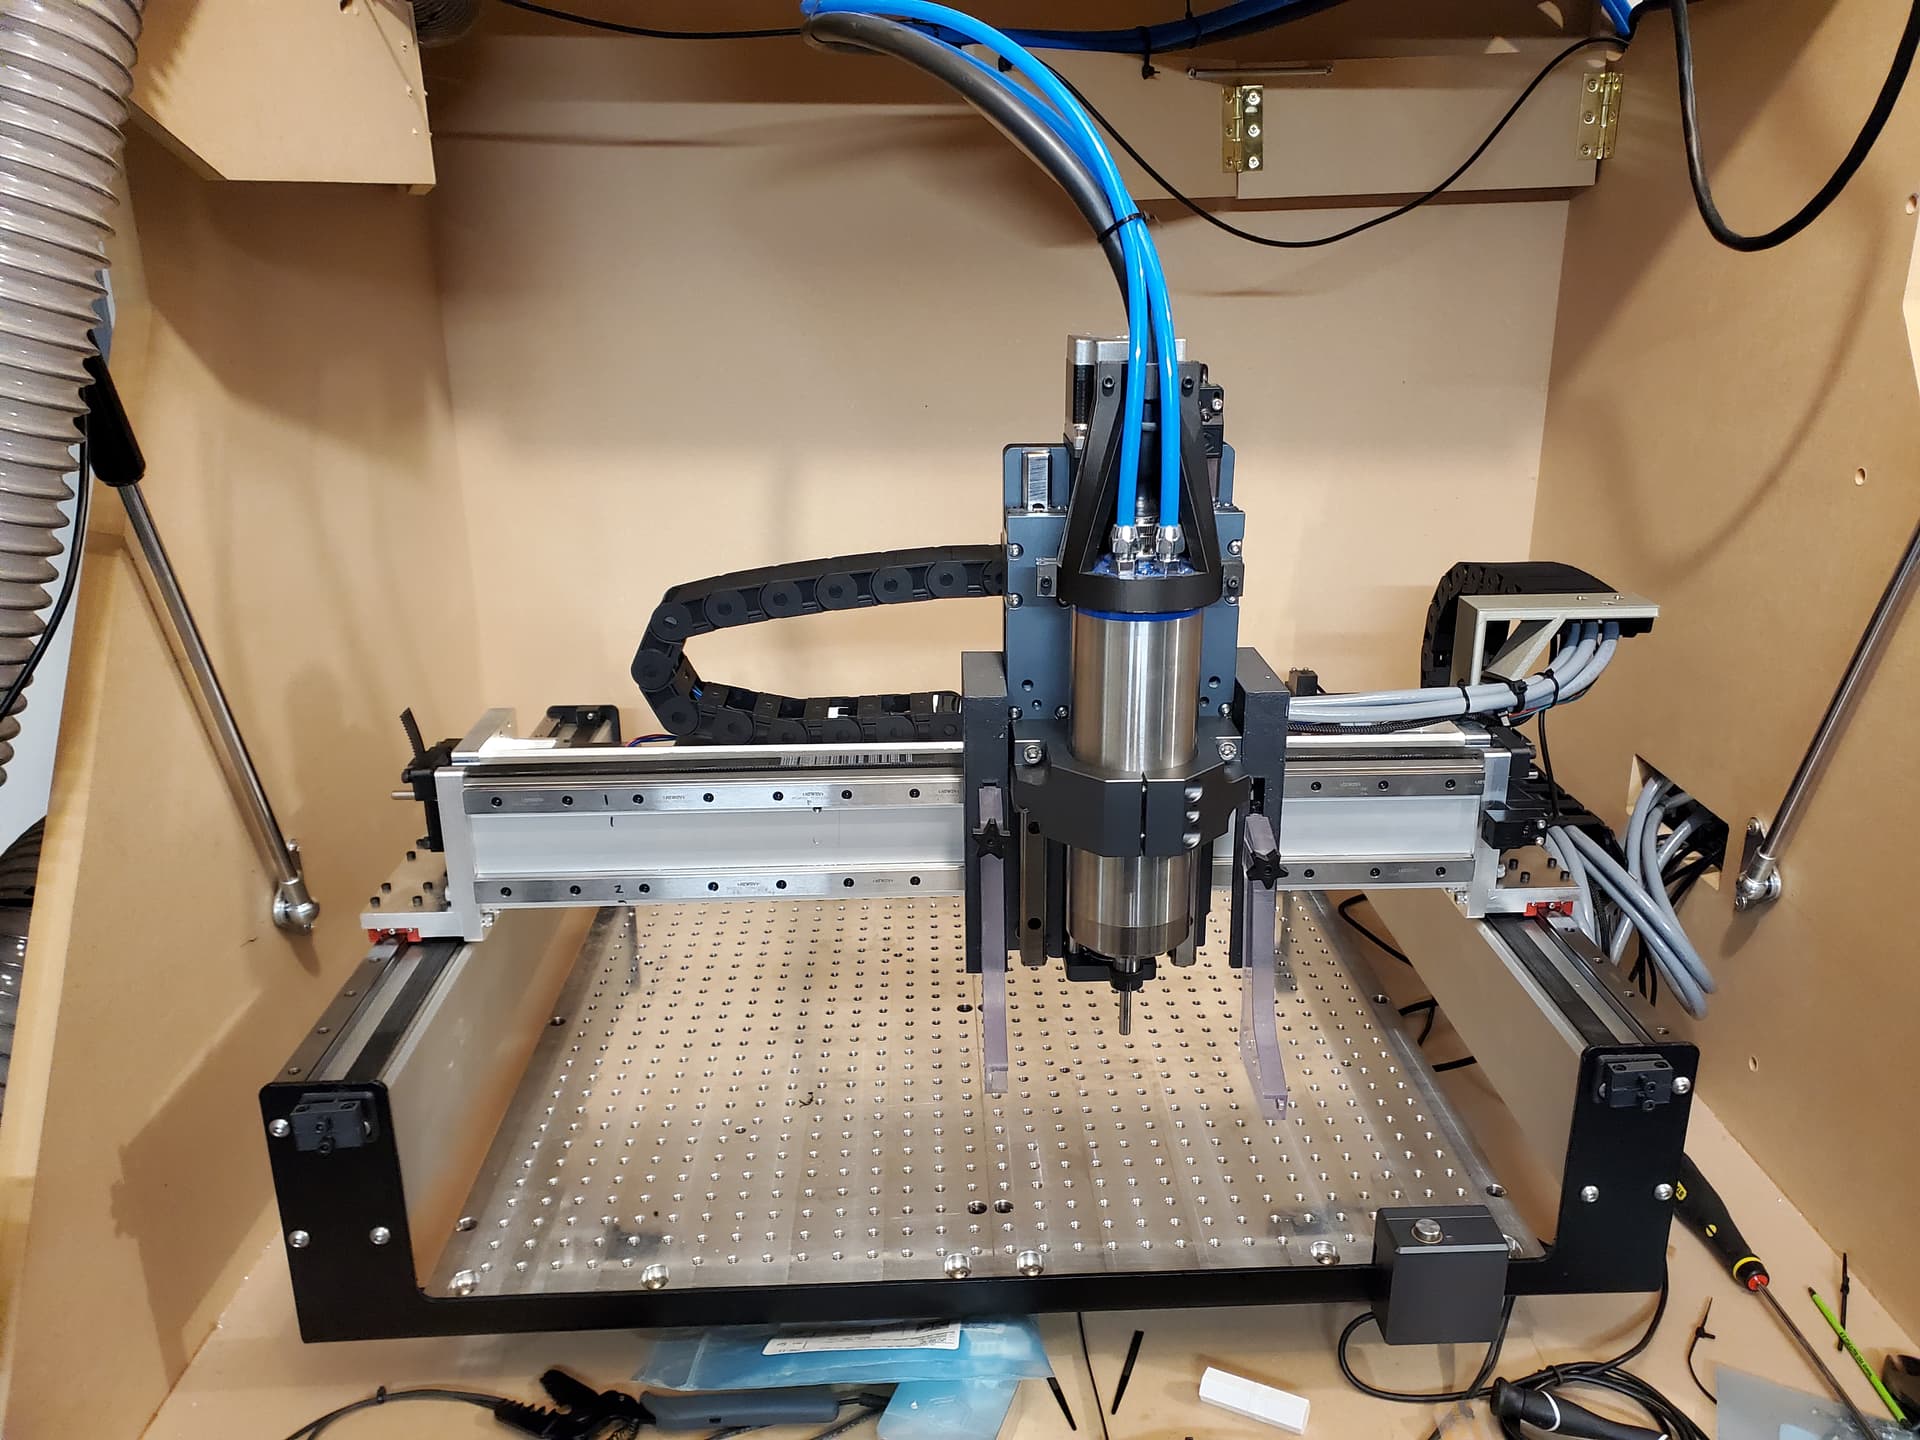
Glory shot of the completed machine with the first of the plates for this job ready to go.
Overall, I am incredibly happy with the upgrades I have completed so far. An MQL system, chip management and a new gcode sender will have to wait until I have more time. Maybe not that last one depending when and what comes on this new version of CM that Rob mentioned here:
I was hoping to be able to push my feeds and speeds in aluminum 30% higher that what they were on V wheels. After testing I was blown away by how much harder I could push the machine. I am at just over double the DOC from before on adaptive and I hit chip clearing issues on my slotting tests before I hit rigidity limits. Once I add that MQL system, I expect that I will be able to do 2-3x the DOC while slotting from before using the same tooling. The job I am running right now is about an hour and a half of adaptive at 0.0625" DOC, 75% optimal load, 24000 RPM with an 8mm Datron 4-in-1 single flute. Prior to the upgrade my max reliable DOC was 0.03" at those same settings. The chips coming off this look great!
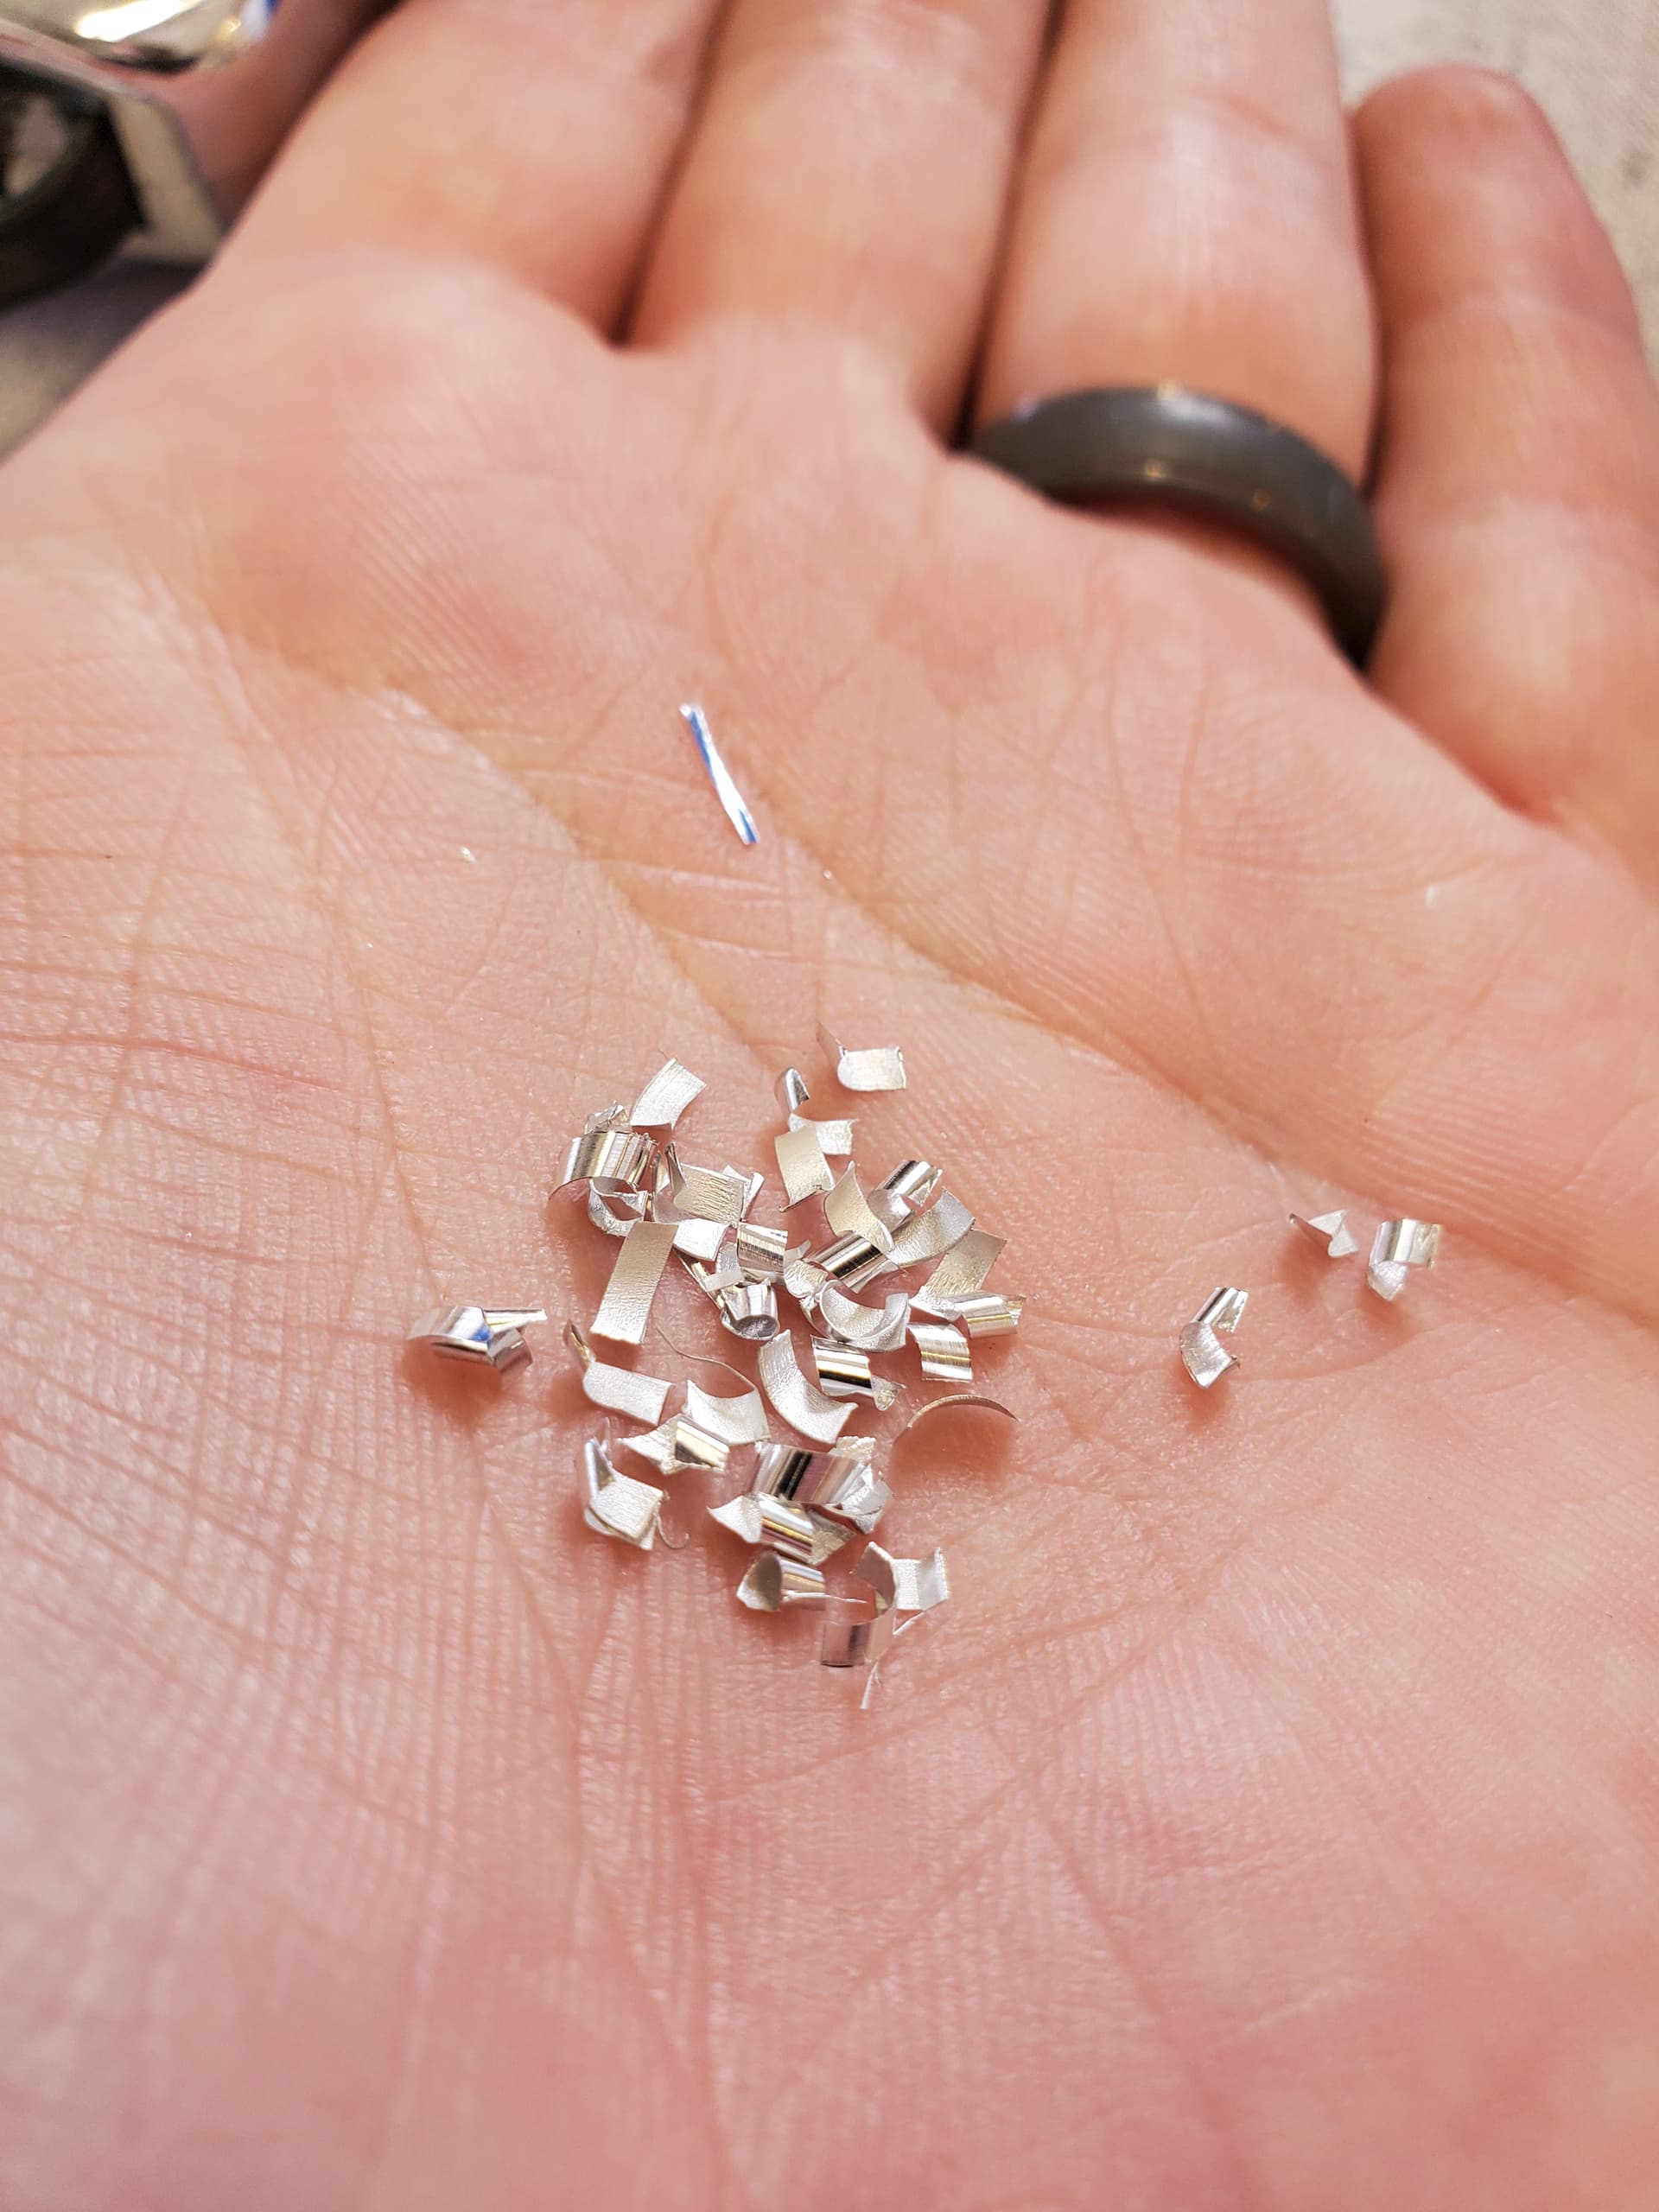
I think I could increase the chipload if I had that MQL system. The heat from going faster is just a little more than I am comfortable with currently.
I haven’t done much work on really chasing down accuracy yet but without calibrating for belt stretch or any spring passes, all my tests were within 0.005" which is good enough for this job I have to run. It is going to be a while before I am able to get back to upgrades on this. I have about 70 hours of machining in ATP5 to do. It would have been about 120 prior to the upgrade.