I bought the MYSWEETY 110V 1.5kW watercooled spindle kit on Amazon because I saw a post recommending it. I don’t think I’m getting the best mileage out of it as I right away scrapped all the little random stuff that came with it, then I ditched the water pump and now the spindle is next.
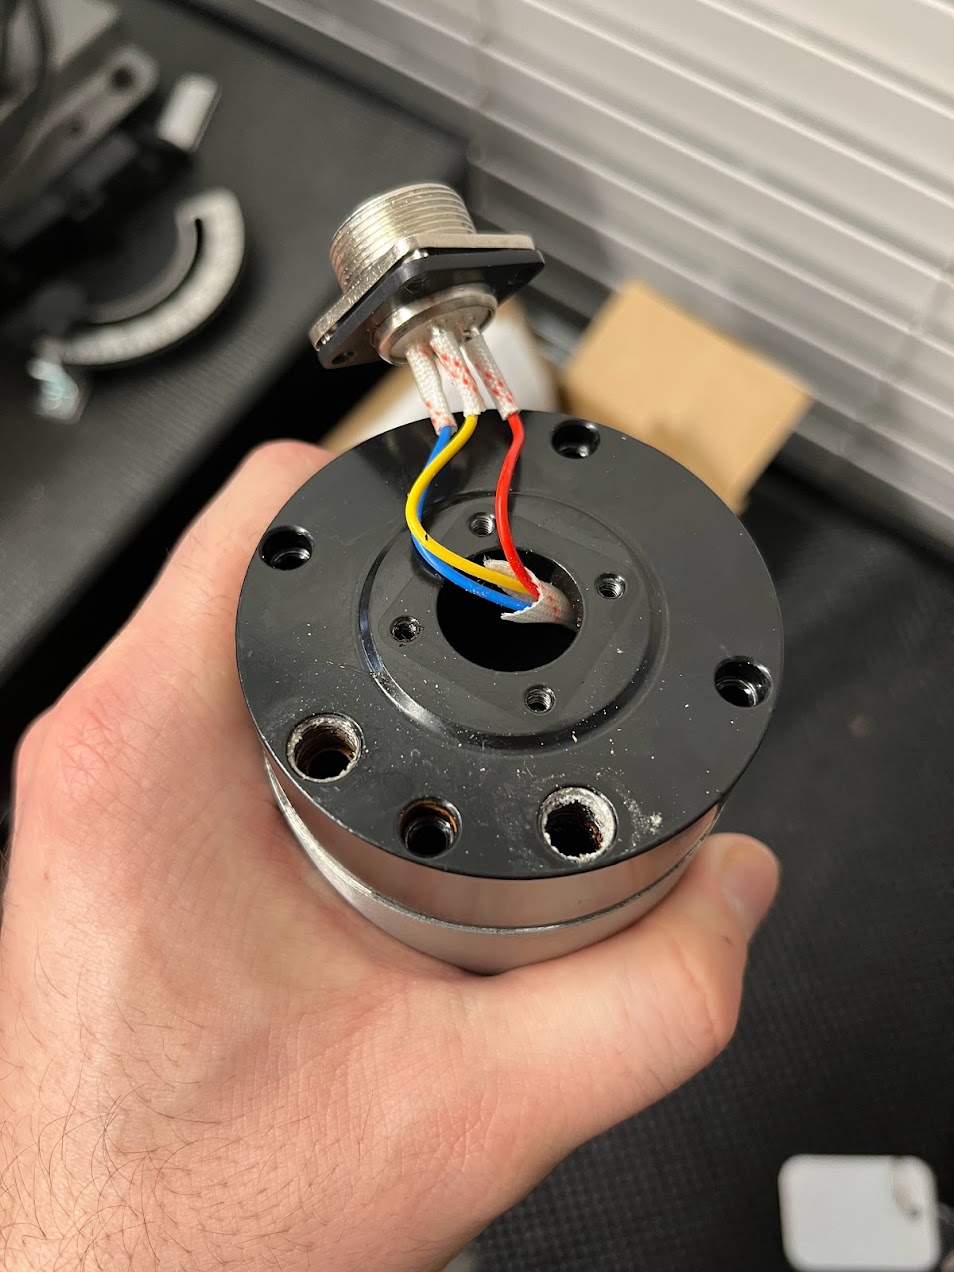
I hooked it up, it works, but I wasn’t happy with the electrical connector. I’m so very pissed that an appropriate replacement cannot be found, but let’s shelve that for now. I wanted at least to connect the earth terminal and then I noticed that there’s quite some rust around the fasteners which is not a good omen so I decided to take the back cap off to clean, fix the wiring etc. then I had to realize that I can’t take it apart. My suspicion based on a couple of videos I’ve seen is that it’s just the threadlocker / sealant / glue that they used but I’m not sure. As far as I can tell it should just come off. Did anyone try to take one of these apart? Any general advice? I ordered the Huanyang 800W one since hoping that it might be a hair width better quality, but I still want to salvage this one.
Finally I fount the magic word: H17
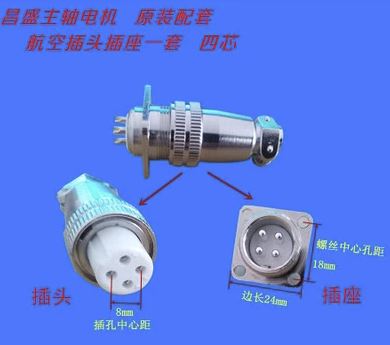
At least AliExpress has a few options that look like the exact one on the spindle.
(I still don’t know how to take the spindle apart tho. Halp.)
Those are often called “aviation” connectors (don’t ask me why…)
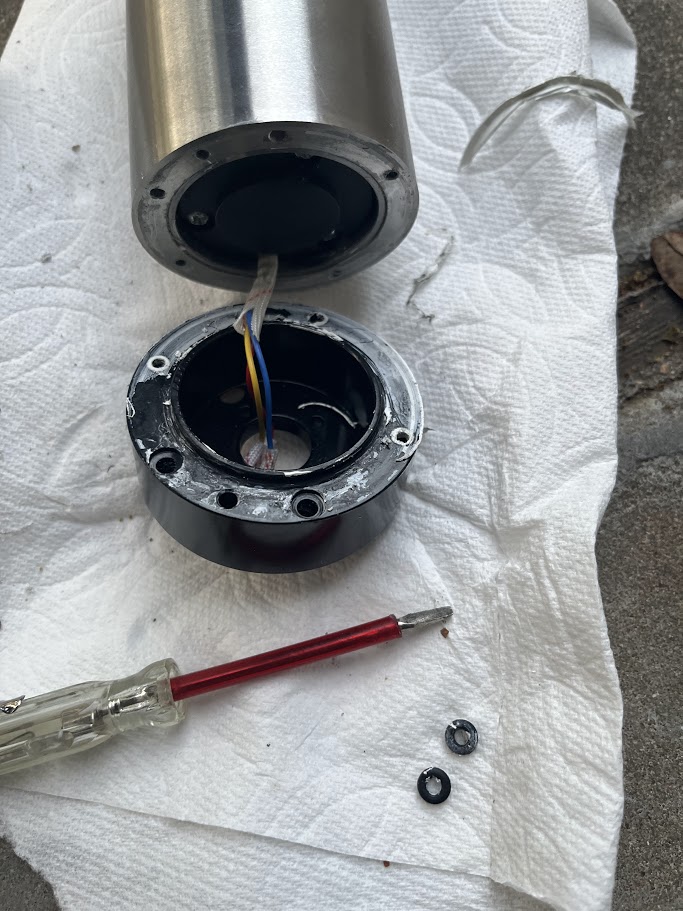
Some folks succeeded in grounding the spindle themselves internally taking the back off, like in this random image:
My feeling is that things may be slightly more complicated when disassembling a water-cooled spindle (due to the need for the assemble to be water-tight, which may be why they glued it or something). I wonder if it’s worth the risk, maybe you could just ground the spindle body externally and call it a day. Or have fun prying it open.
I’ve not had my hands on one of these spindles but they look suspiciously like the
four-pin connector used on CB radio microphones. In which case, the original
manufacturer (since the 1950s) is Marushin. You can readily find cheap clones of these.
More recently they have picked up the term “aviation connector” but they are typically
extremely inferior to a connector rated for commercial use such as the 97 series which
might typically be found on good quality industrial machines.
Yep I saw post of fixes, that’s what gave me the courage, I just didn’t expect the disassembly difficulty. The water line sealing is in theory at least very simple. There are O rings compressed between the splindle main body and the rear cap around the coolant terminals. My suspicion is that it’s a poor quality countermeasure that they drench it in sealant, or I can imagine it was a unit that failed the leak test (thus the rust) and they decided to fix it by covering it.
I’ll give it some torch, wrench and mallet love tonight and see if that helps.
There’s a ton a variants and it seems to me that there is no real or quasi standard for them. I though first it will be a slam dunk as it’s something like XLR but nope. I ordered one from AliExpress. It will be here in a matter of infinite weeks, assuming the ship doesn’t get stuck in the Suez canal. We’ll see if it fits.
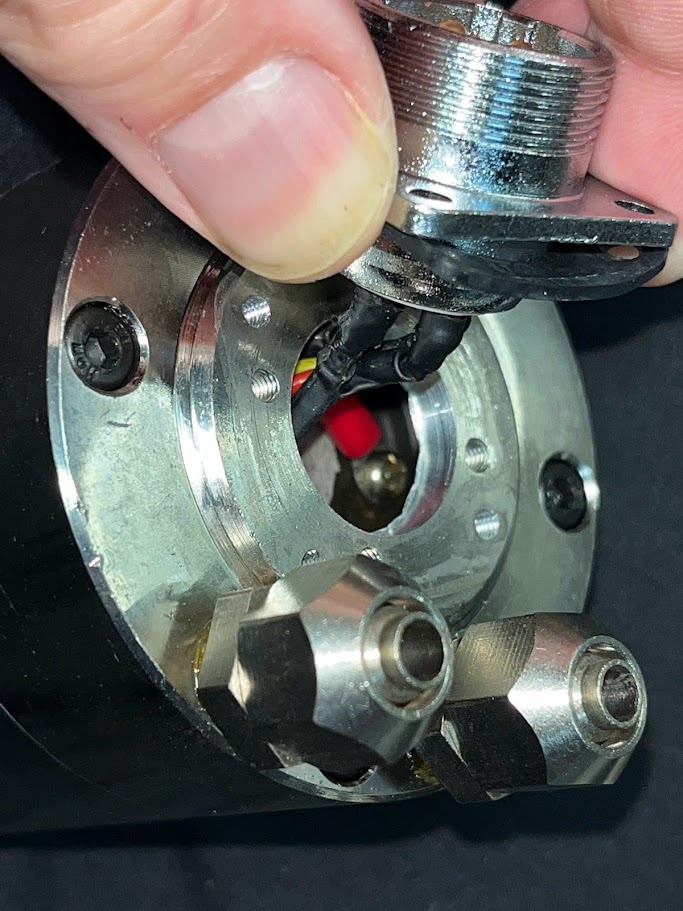
I removed the top on mine in order to install the ground on the underside of the black cover. You can remove the four screws holding the cover on the stainless spindle body and gently pry it apart. Mine had what appeared to be white caulking around the entire perimeter of the black cover and specifically around the water ports.
I soldered a wire for the ground and reattached the aviation plug with three of the screws that came with it and one longer screw. I attached the ground with a terminal to the back side on the longer screw with a washer and nut. I cleaned the caulking off and used Permatex to seal it back up. You may want to place a Q-Tip in each of the water ports through the black cover into the spindle body to prevent the sealant from compressing into the water ports.
That’s good info, thank you. I’ll give it a bit of force to break the seal, hopefully it will give. I just wanted to make sure there’s no screw from the front or alike holding the back cap in place.
Yaaay. It came apart. A bit of googone and two light taps with the mallet.
My next concern is that looking at the innards and the finish on the cap probably none of that is conductive (enough) so I wonder how to earth it properly.
I used a multimeter to test for continuity between case and the bolts/screws underneath the black cover.
I soldered a small ring terminal on a piece of wire, the other end of the wire soldered to the empty pin on the connector.
Blue Hylomar compound was used to seal between the cap and case, it was what I had within arm’s reach at the moment
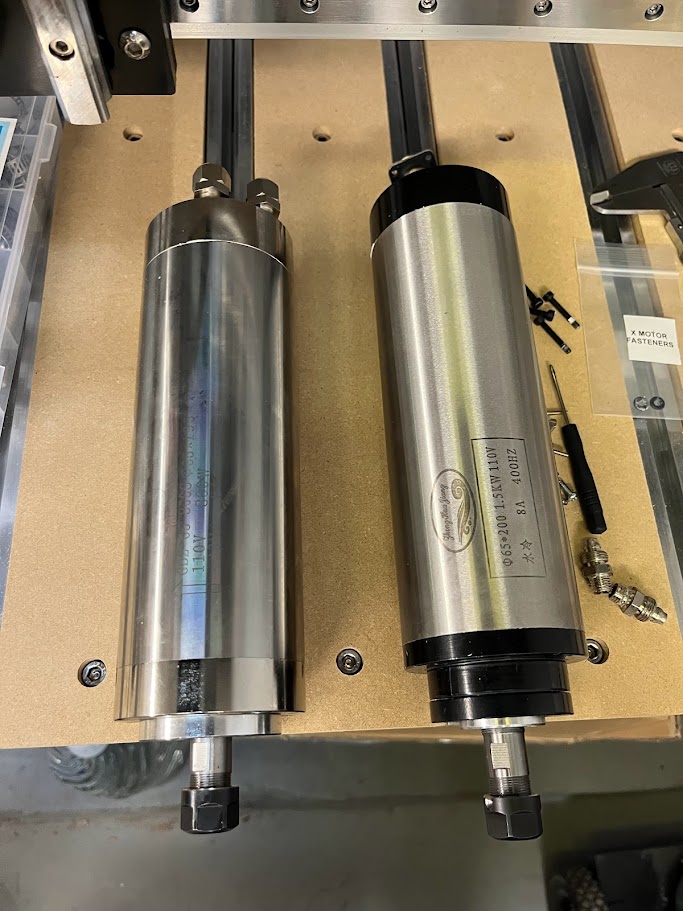
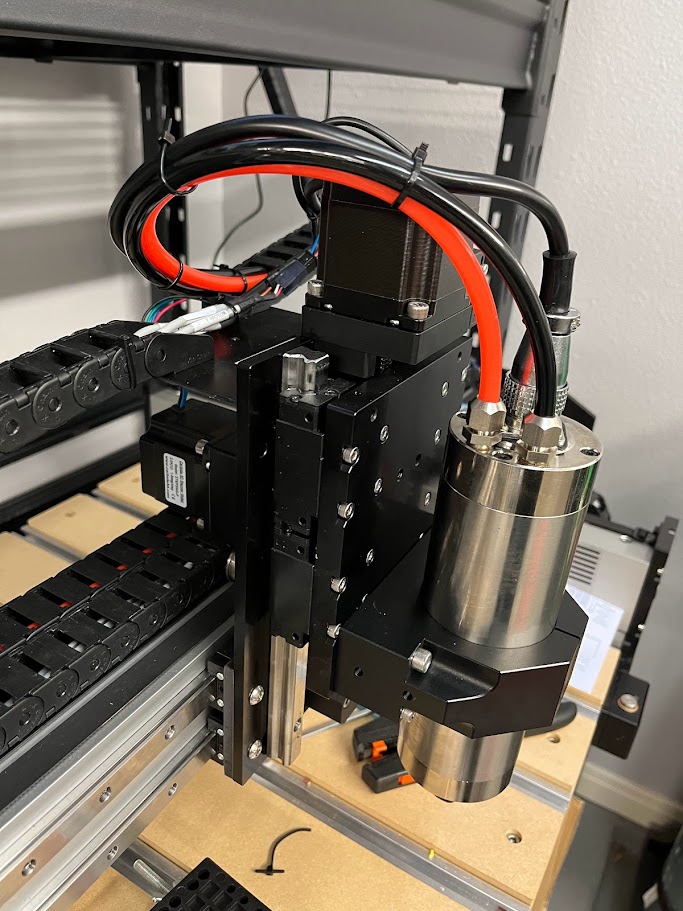
I got the Huanyang 800W spindle too. I’m sure this wasn’t assembled in a clean room by careful gloved hands either but it looks a bit better quality. The earth contact is connected inside so I didn’t have to take the back cap off. The electrical connector is yet again totally different, but interestingly there are 2 sets of mounting holes and the unused one seems to matching the pattern on the other spindle (18x18mm).
Anyway I think I’ll go with this and get rid of the 1.5kW one.