CNC automated sanding?

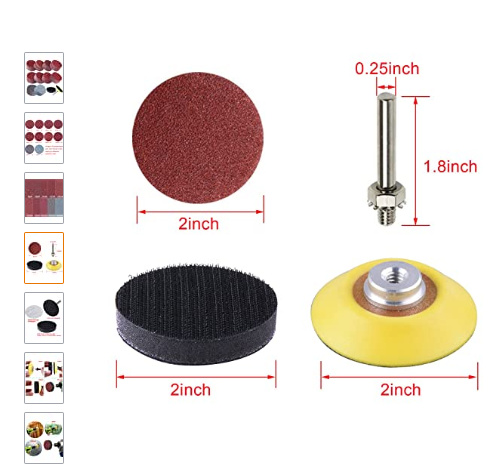
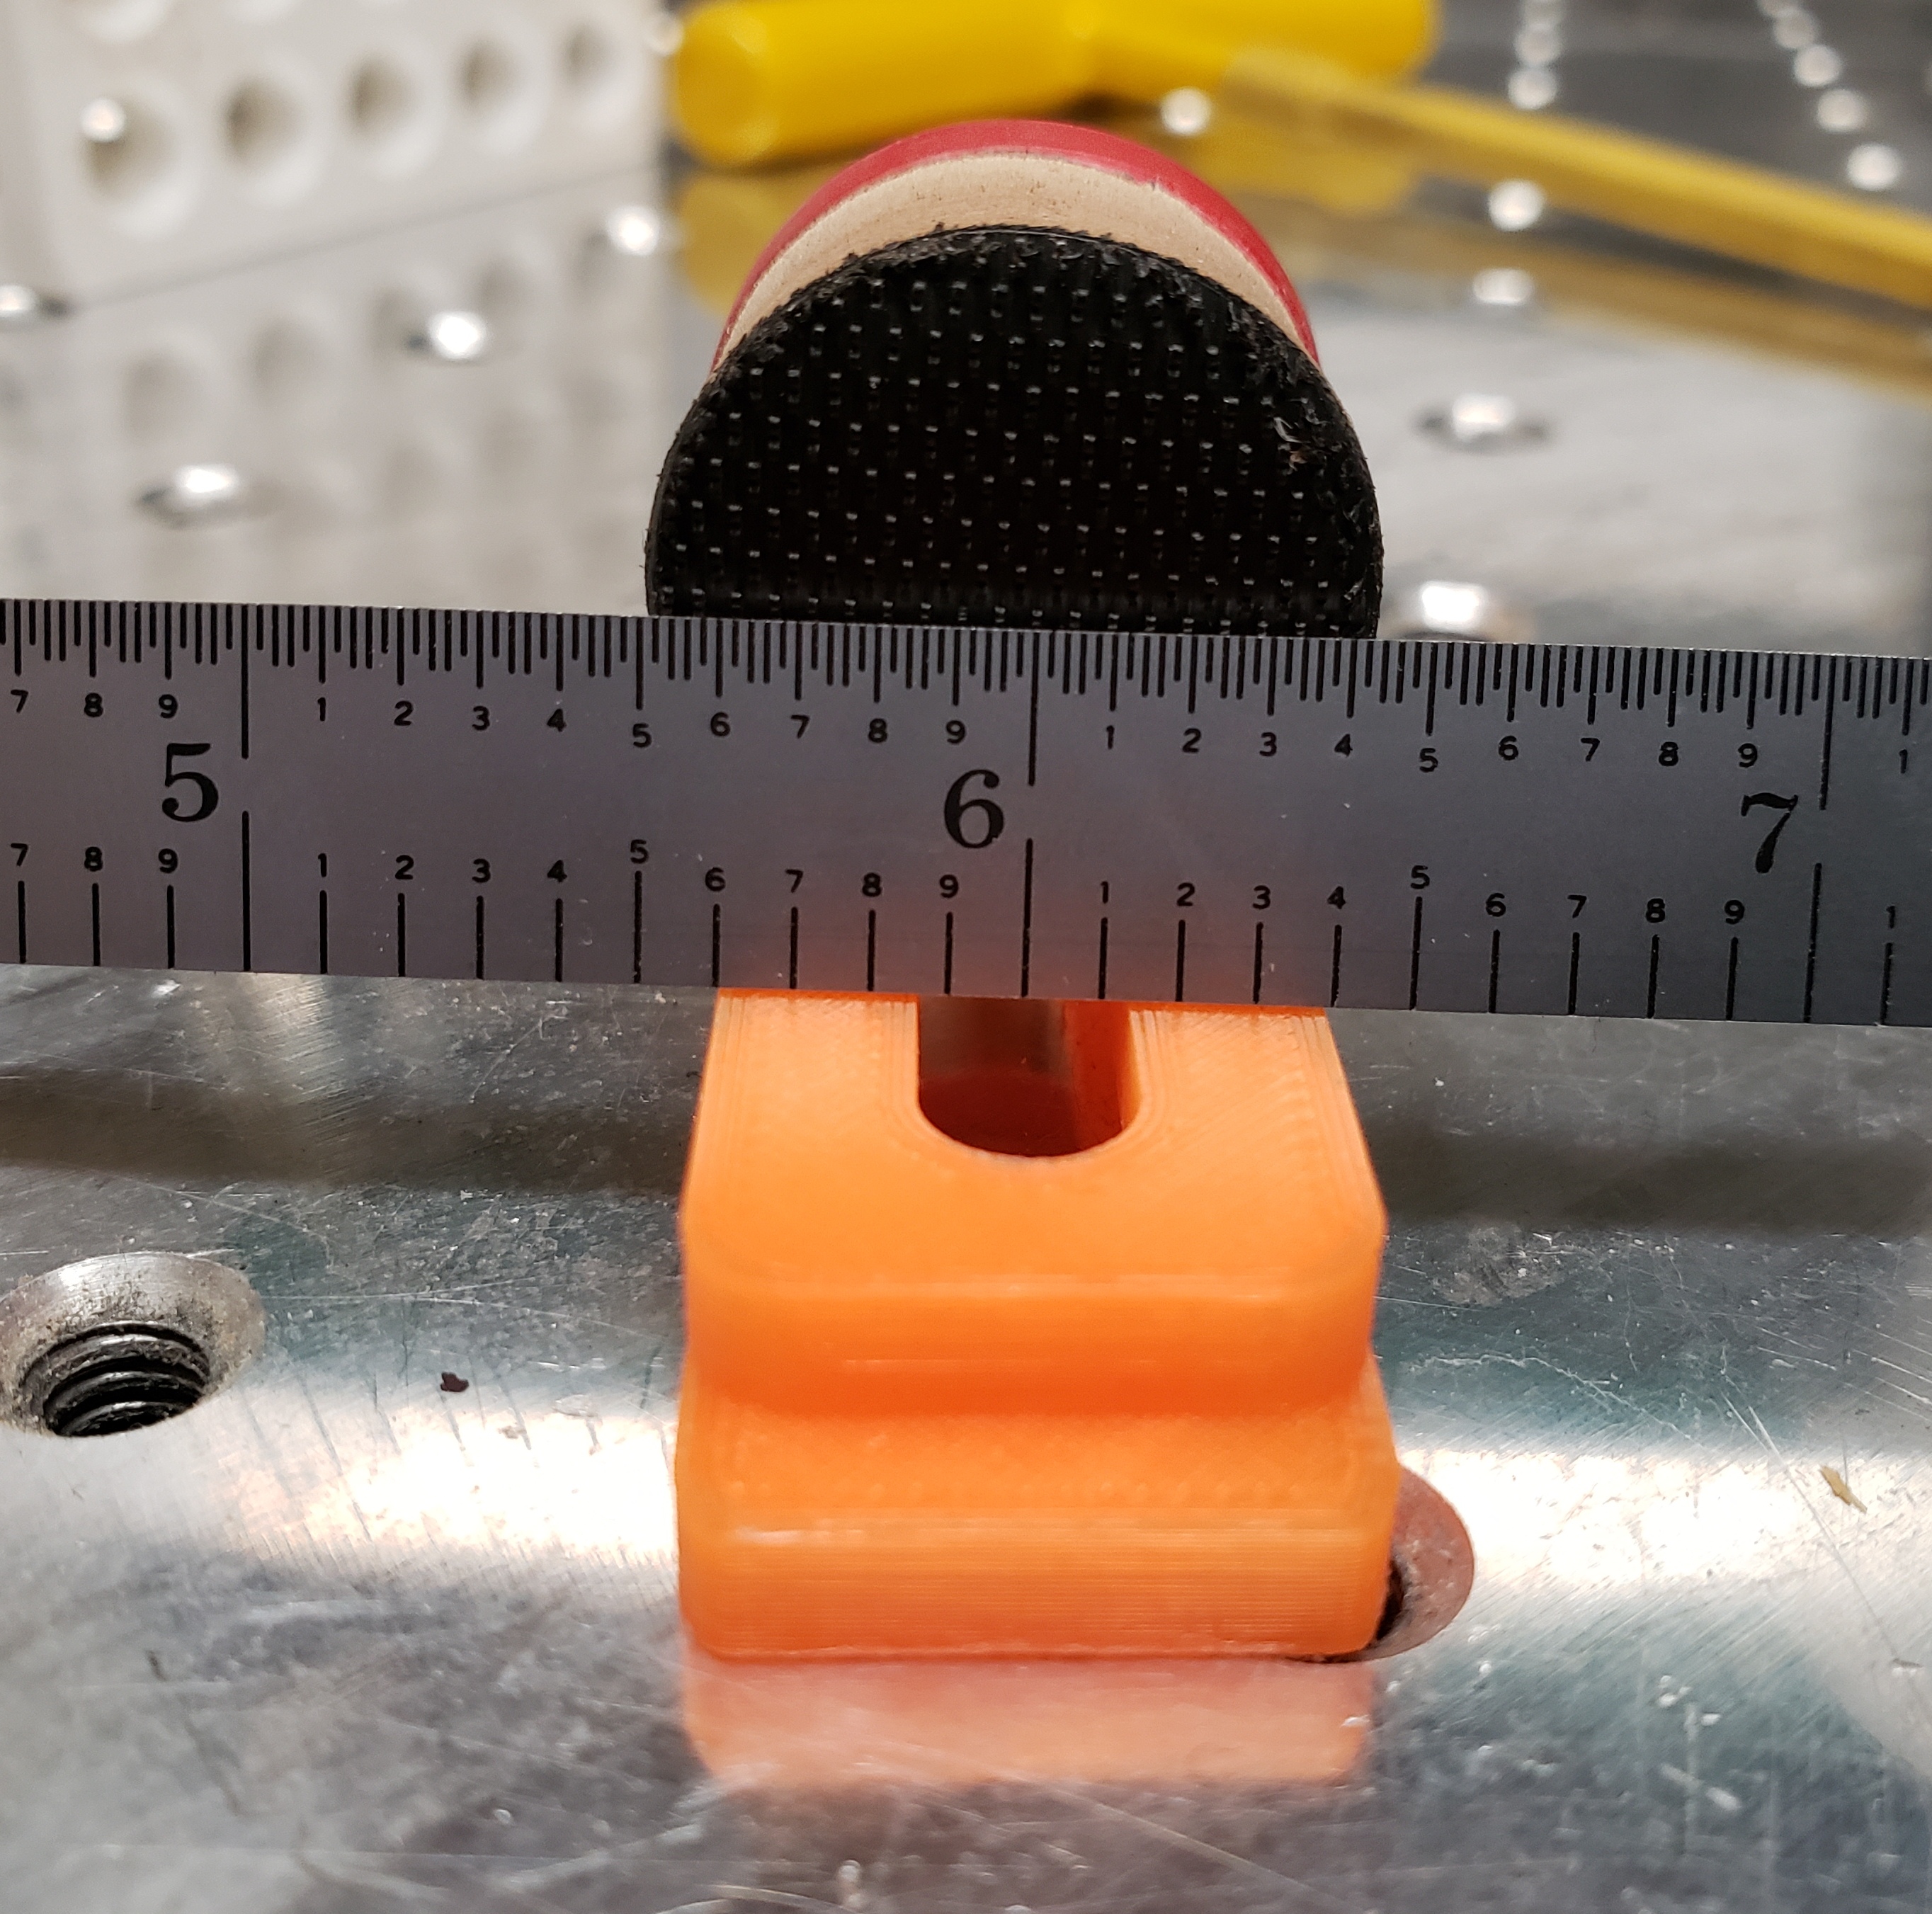
I have been wanting to experiment with this for a while, and I could not find anything on the forum. I’m not a big fan of manual sanding, so I figured I would try and use one of those tiny sanding discs that come with Dremels, which conveniently have a 1/8" shaft, and glue a 180 grit sanding disc on that:

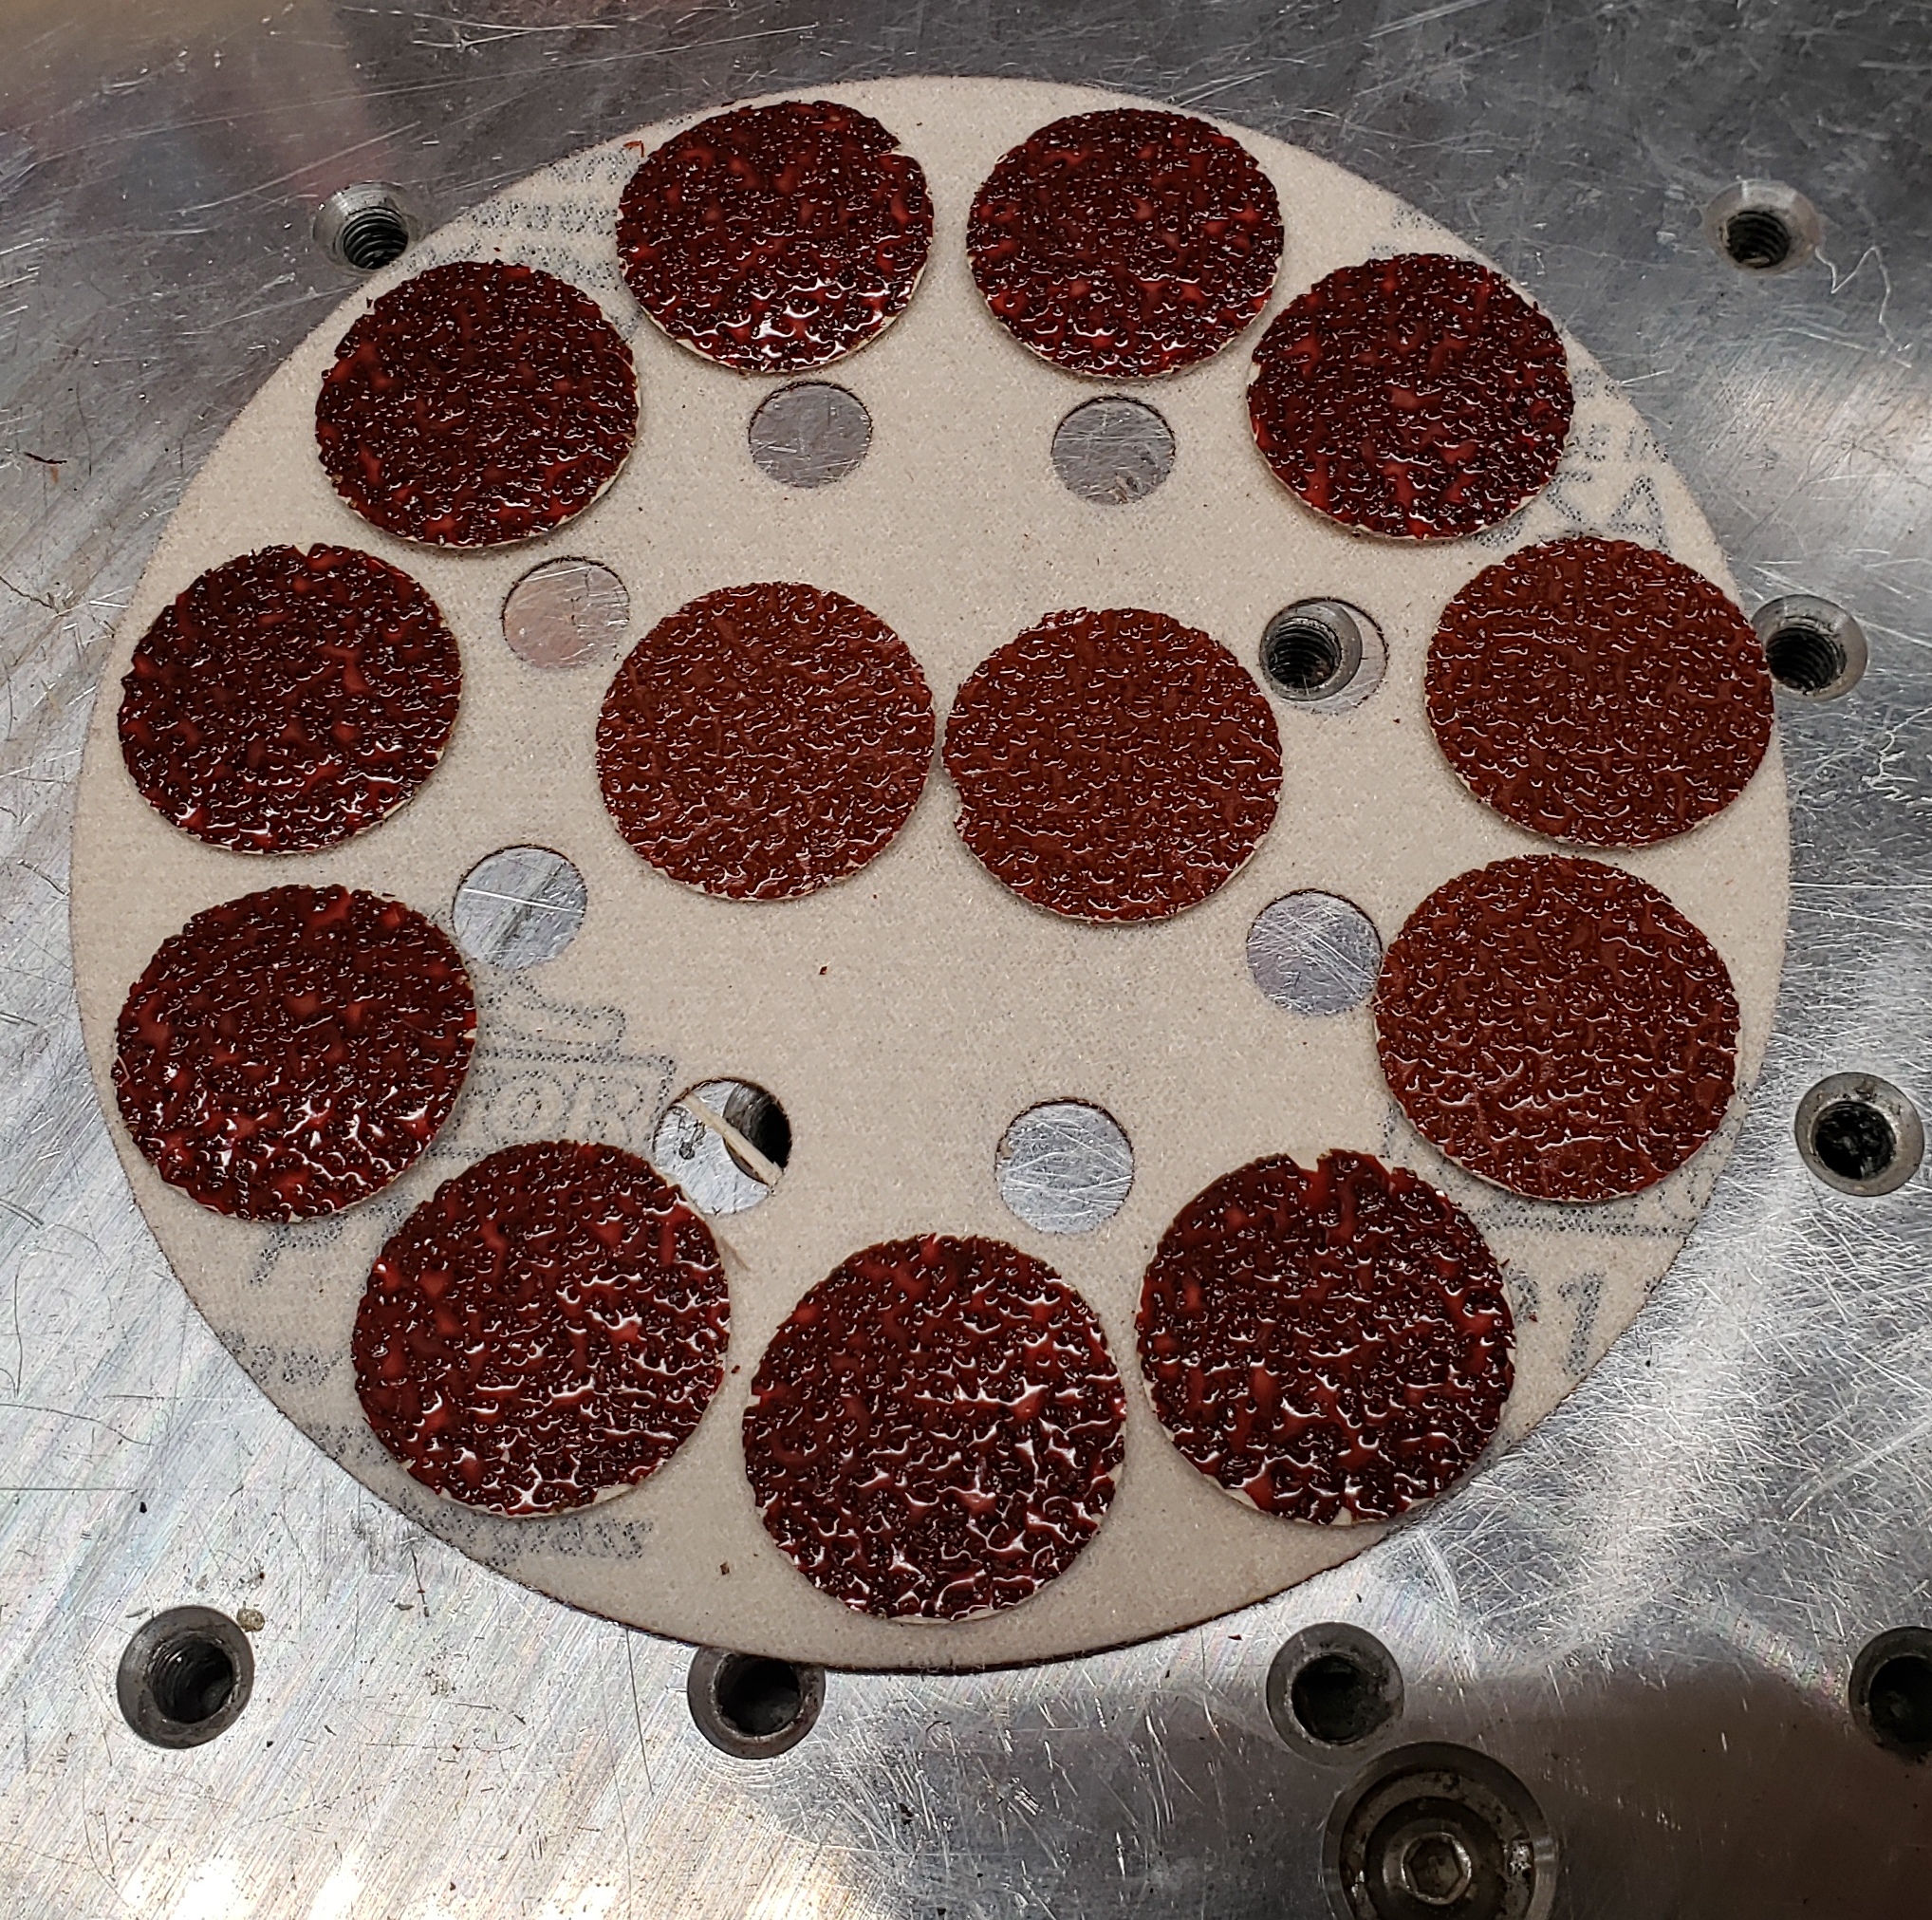
Here’s my guinea pig for today: a large tray, as it stood after the clearing path + one contour finishing pass on the walls. You can see the circular marks of the clearing toolpaths at the bottom of the pocket (which may or may not be reduced if I re-trammed by spindle, that’s not the point here)

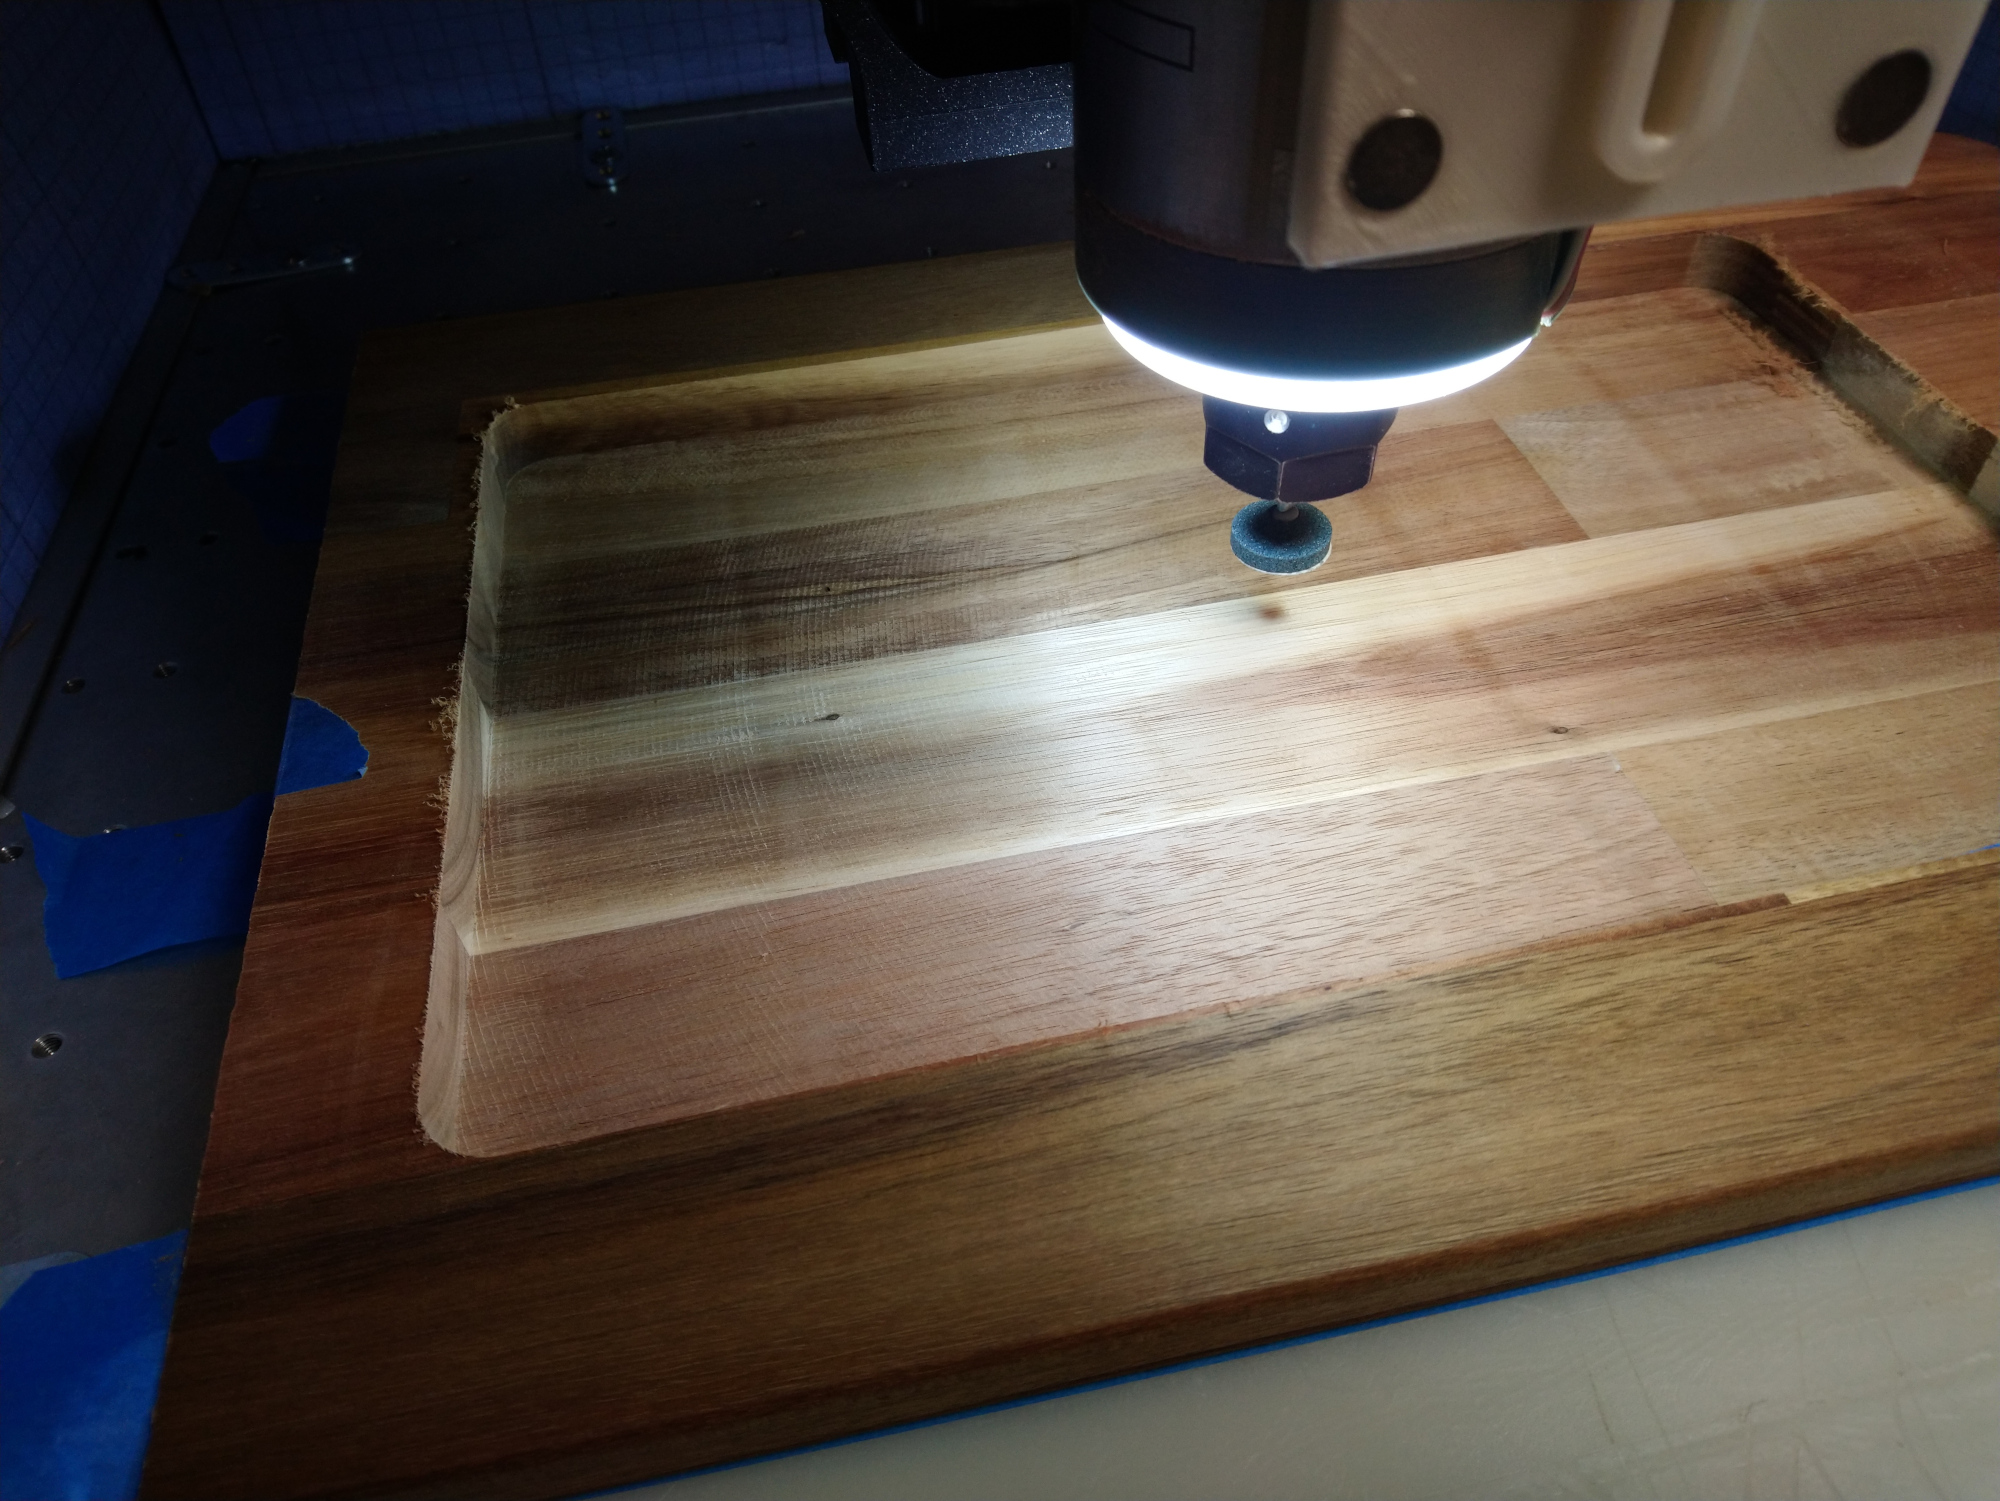
Since I had this idea after cutting the pocket and the zero was on top surface (so…gone), the first step was to probe the endmill I had used on the BitSetter, and then probe this sanding disc to adjust zero:

I created a tool in Fusion, the size of my sanding disc, and generated a ~0 depth pocket at the bottom of the cut:

(the funky-looking curves are because I enabled “Used Morphed spiral machining” to see what it does, and forgot to turn it back off)

I had absolutely no idea what RPM and feedrate to use, so I went for slow & slow: 1000RPM, 30ipm

A few videos:

This left me with a “meh…” result: the bottom does feel silky smooth, but now there are marks of the sanding disc instead of endmill marks

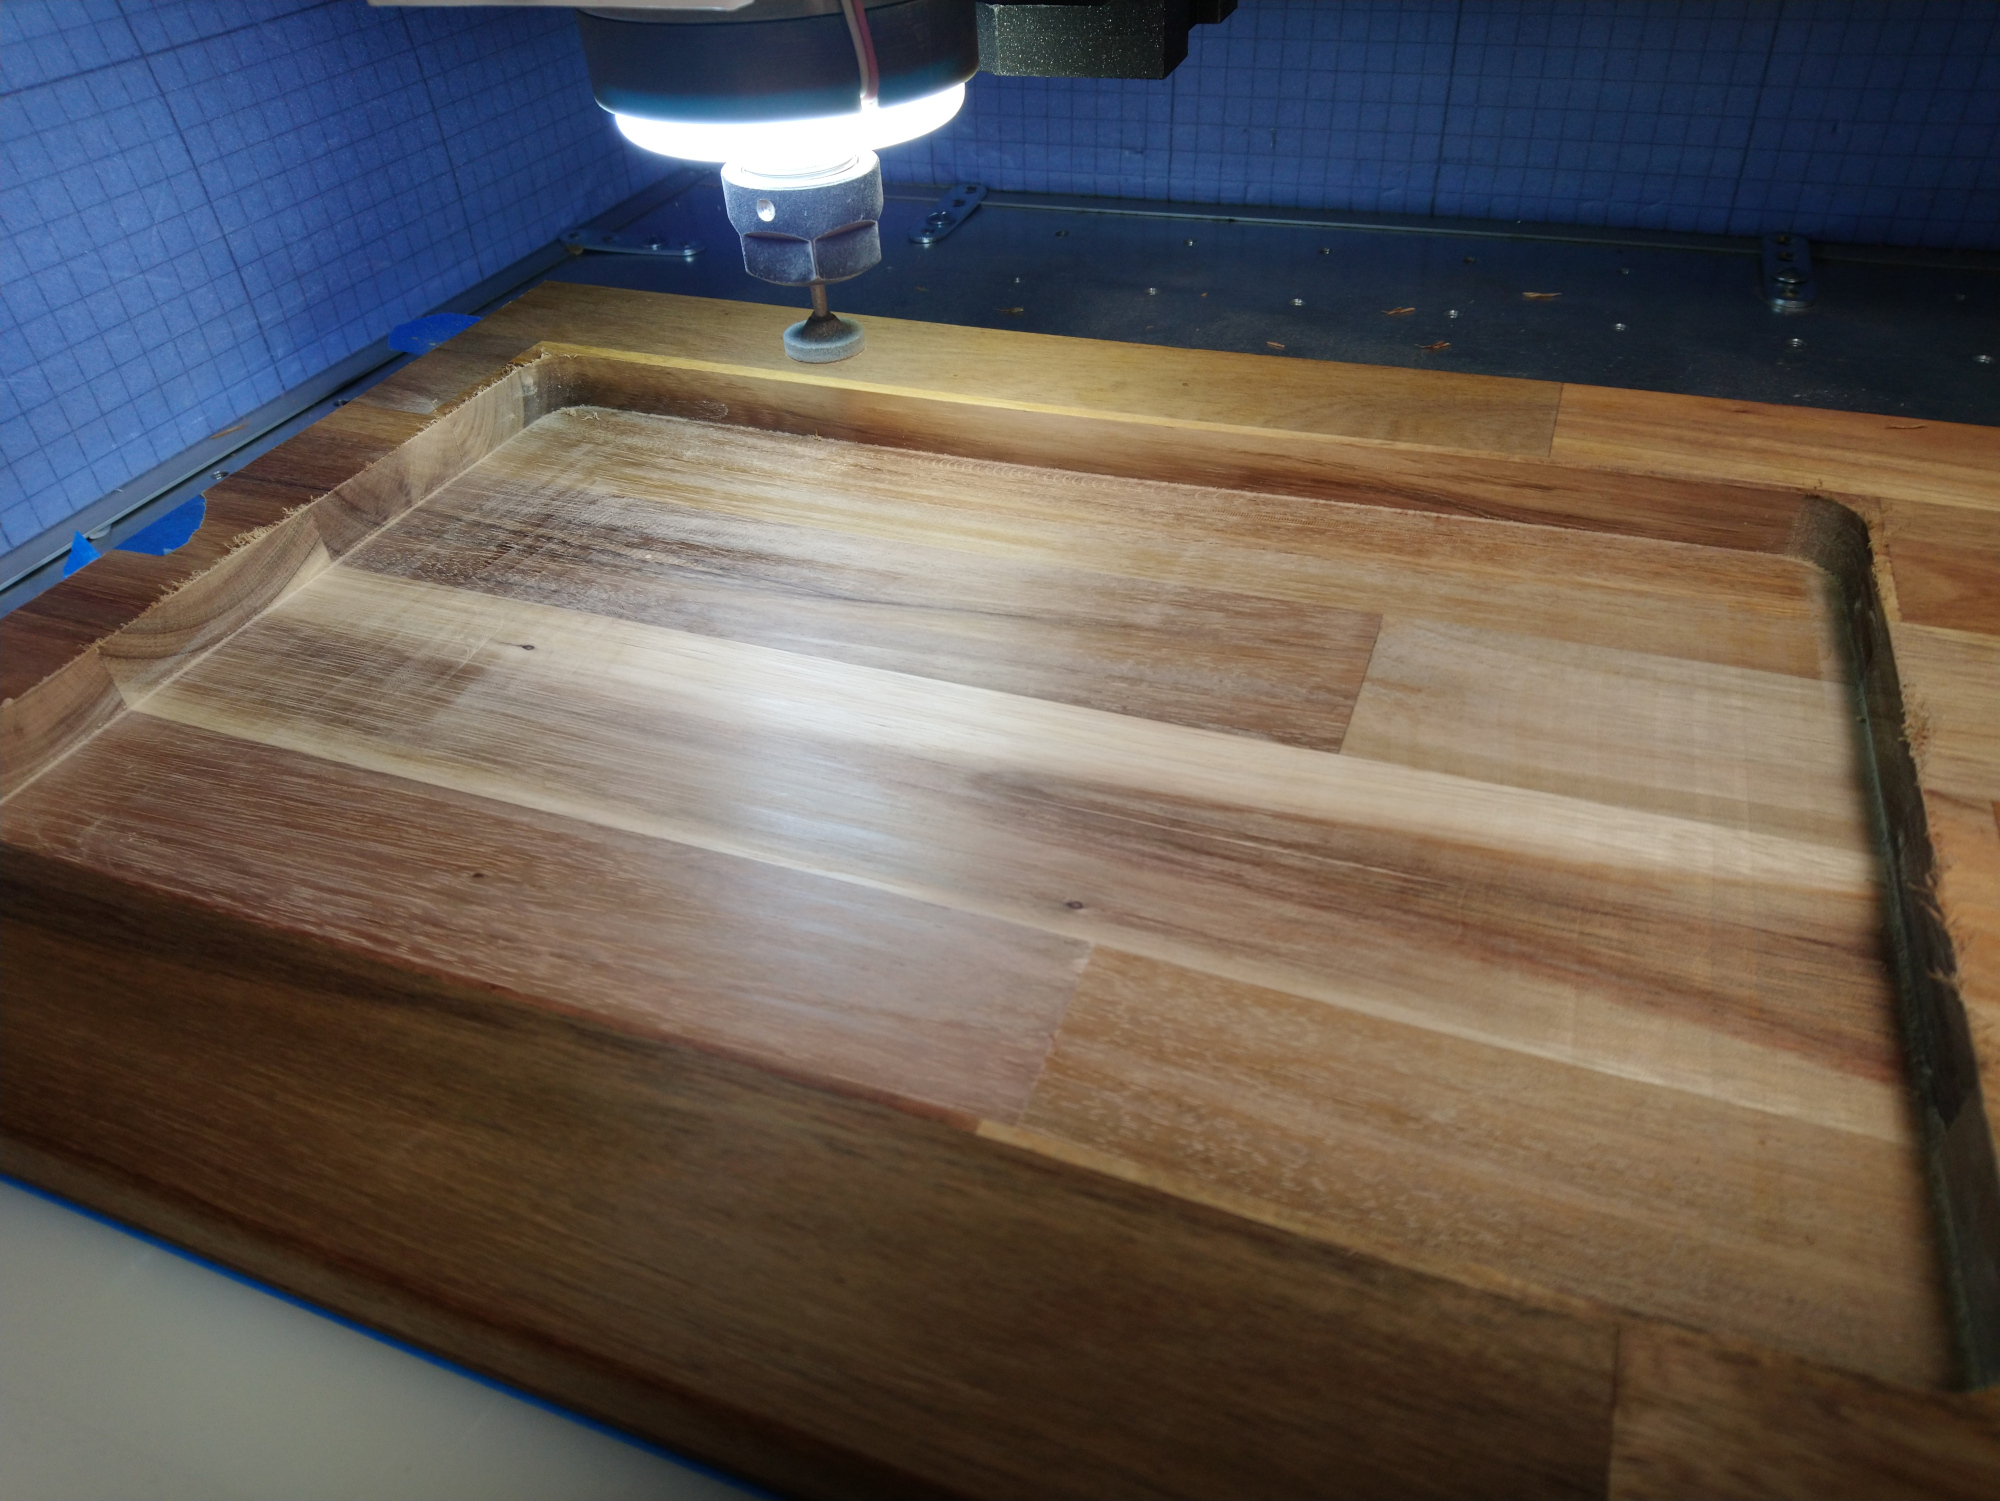
And during the last segment of the toolpath something must have gotten stuck under the sanding disc and I made those spiral scratches:

Also captured live:

(do that collet nut and sanding tool feel too close to the wall for comfort ? :slight_smile: )

Conclusions for today:

  • I want to find a way to make this work, it just sounds too convenient to overlook.
  • using a fixed-shaft sanding disc mounted in the collet was a bit risky: any residual variation in stock material depth could have meant trouble. Since this came right after a pocketing pass, that was a low risk in this case. BUT, now I want to find a spring-loaded holder that could accomodate a small sanding tool AND support spinning at a few hundred/thousand RPMs. There was an interesting thread the other day about such a holder, but I can’t find it again. If anyone has links to share, that would be great!
  • then I’ll have to figure out the optimal sanding disc grit + RPM + feedrate, and see if I can make Fusion generate more “sanding friendly” toolpaths doing overlapping circular sweeps across a surface. Sounds like another rabbit hole.
10 Likes

Hey Julien, do you think a cushioned disk might reduce the sanding swirls?

3 Likes

It should, indeed. And maybe it could even remove the need for a spring-loaded holder. This experiment was done in “let’s pick what I have on hand and do something before Saturday is over” mode, but this needs a whole lot more thinking and researching to find the right method and tooling.
Would you have links to examples of cushioned disks you would use ?

3 Likes

I would try a raster tool path, with the grain just like you were sanding manually.

4 Likes

Have you tried it without spinning your spindle? Drag sanding if you want to name it.

1 Like

Julien:

2" Skilton Mandrel

These are used in a drill to sand bowls. The hex shaft would need to be modified to fit in a router collet but they are a cushioned pad.

https://www.turningwood.com/store/product/TS-2

Bill

4 Likes

You can also use these, and it has a 1/4" shank.

And use these sanding pads for it

5 Likes

@GJM, @LWSIV, @ispot, @72begin , thanks for your inputs, I’ll pursue the experiment with those tips.

@LWSIV the raster toolpath definitely makes the most sense, and this made me realize…that I didn’t find how to do them in Fusion360. I’ll have to look into this (or worst case, use VCarve which does support them).

The cushioned disc approach sounds easier/less expensive than a spring loaded holder, especially since I only need very little Z travel for this. I will want to mimic manual sanding, to the ability to change the sanding disk quickly from low to high grit values will also be a must.

@ispot: I have no tested just dragging the disk, but to mimic manual sweeps the X/Y movements would have to be pretty fast. Still interesting to try.

Allright, I have some shopping to do.

1 Like

an orbital sander has a non-linear/not-simple element to the motion to reduce the visibility of any marks… almost wonder if a perturbation of the toolpath in a similar way could help

2 Likes

Check out woodturnerswonders for options of sanding discs and holders.
The speed we have on our routers will be a major concern. Now I have to try

Thanks for the reference

I have a (water-cooled) spindle, so I can go as low as I need \o/

You might want to try a soft bristle disc, although bitsetter might be tough to use.

51Baxc3zYHL.AC_SY400

3 Likes

That’s a nice idea. You might try an extra cushion with smaller diameter than the actual sanding disc in order to reduce the pressure on the edges and get smoother overlaps between paths.

2 Likes

For now I think I’ll try one of these:

image

(available on Amazon.fr, comes with 200 disks of various grit, the black thing is a cushion, and the shaft is 1/4"…looks good to me to follow up on this experiment.

3 Likes

Forget about sanding for now, throw a piece of aluminum in, and practice your engine turning!

2 Likes

I guess I went about it the hard way. I need to sand the bottom of the pockets of my cribbage boards, so I found a WoodRiver 1" sanding disc holder at the Seattle Woodcraft. Unfortunately, the online Woodcraft store does not have the 1" available for some reason, but they do have the 2". The 1/2" thick foam pad is very soft, which gives me a lot of room for operator error when pushing down on the pad while sanding. I use this with an air angle die grinder and throttling valve to restrict the max speed so I don’t burn the wood.

The issue I had was that they wanted $1.50 for three of the 1" sanding discs. So, since I already had Gator 5" sanding pads for my RO sander, I figured I would just make my own. I bought a 1" arch punch and I was able to get 13 - 1" sanding discs out of each 5" disc. I originally bought the “General” brand arch punch, but the weld broke on it after about 50-60 hits. The Osborne punch has been just fine after punching 400-500 discs.

I used plastic containers from Tap Plastics and designed / printed a holder for them for my pegboard. If you want to print you own, the files are on Thingiverse.

I usually stack 3 of the 5" sanding discs together and punch them three at a time. At $~20.00 for a 50 pack of 5" sanding discs, and getting 13 1" discs out of each one, (and omitting my hourly rate since this is part of my “my time”) I am able to make the 1" sanding discs for ~3 cents each.

I started making these about four-ish years ago, and in that time (heck - in the first month or so) I recouped the money for the punch and plastic containers.

Now - I just happened to look on Amazon and see that I can buy velcro backed 1" sanding pads for ~10 cents each. But I think I’ll keep doing it “the hard way” because well, it works - and I don’t mind.

Now I am going to have to try different pressures and speeds to see if I can automate a step I never considered automating before. Thanks Julien!

10 Likes

You know me too well, it did cross my mind !

If I am being honest, this might well be an exercise in futility in the end, because I am not quite sure whether loading the sanding disc, adjusting the zero, running the toolpath, and repeating this a couple of times while going to higher grit values, is actually more efficient than doing it all manually :slight_smile:
But there is some beauty in trying to get a perfect piece “right out of the machine”.

P.s: I can’t decide whether I should use “disc” and “disk”. Y’all use one or the other depending on which side of the pond you live, it’s confusing! :slight_smile:

2 Likes

You might want to consult with @CNCInspiration as Max has finish cuts down to a science. I’m just finishing up a project Max put an enormous amount of effort helping me with and I didn’t use much sandpaper to tidy it all up. Like you, I’m not a fan of sanding, so this was a huge bonus. Write-up on my project to be submitted to the gallery in the near future.

5 Likes

I can’t wait to hear about that project! (and I am absolutely not surprised that @CNCInspiration would have gone out of his way to help)

4 Likes

This is an awesome idea – I’m following to see if you can get a recipe that works well.

I found a manual solution that works decent but not great. I used a Dremel and these sanding attachments – https://www.amazon.com/gp/product/B07LD9LJ2C/ref=ppx_yo_dt_b_asin_title_o01_s00?ie=UTF8&psc=1

They are not very aggressive, but with the higher grit versions they work like an eraser on those light tooling marks. I would be curious to know how well they work on aluminum.

4 Likes