MAG MOUNT DUST SHOE
QUICK INSTALLATION VIDEO:
[https://youtu.be/RKHcMgmKcg8]
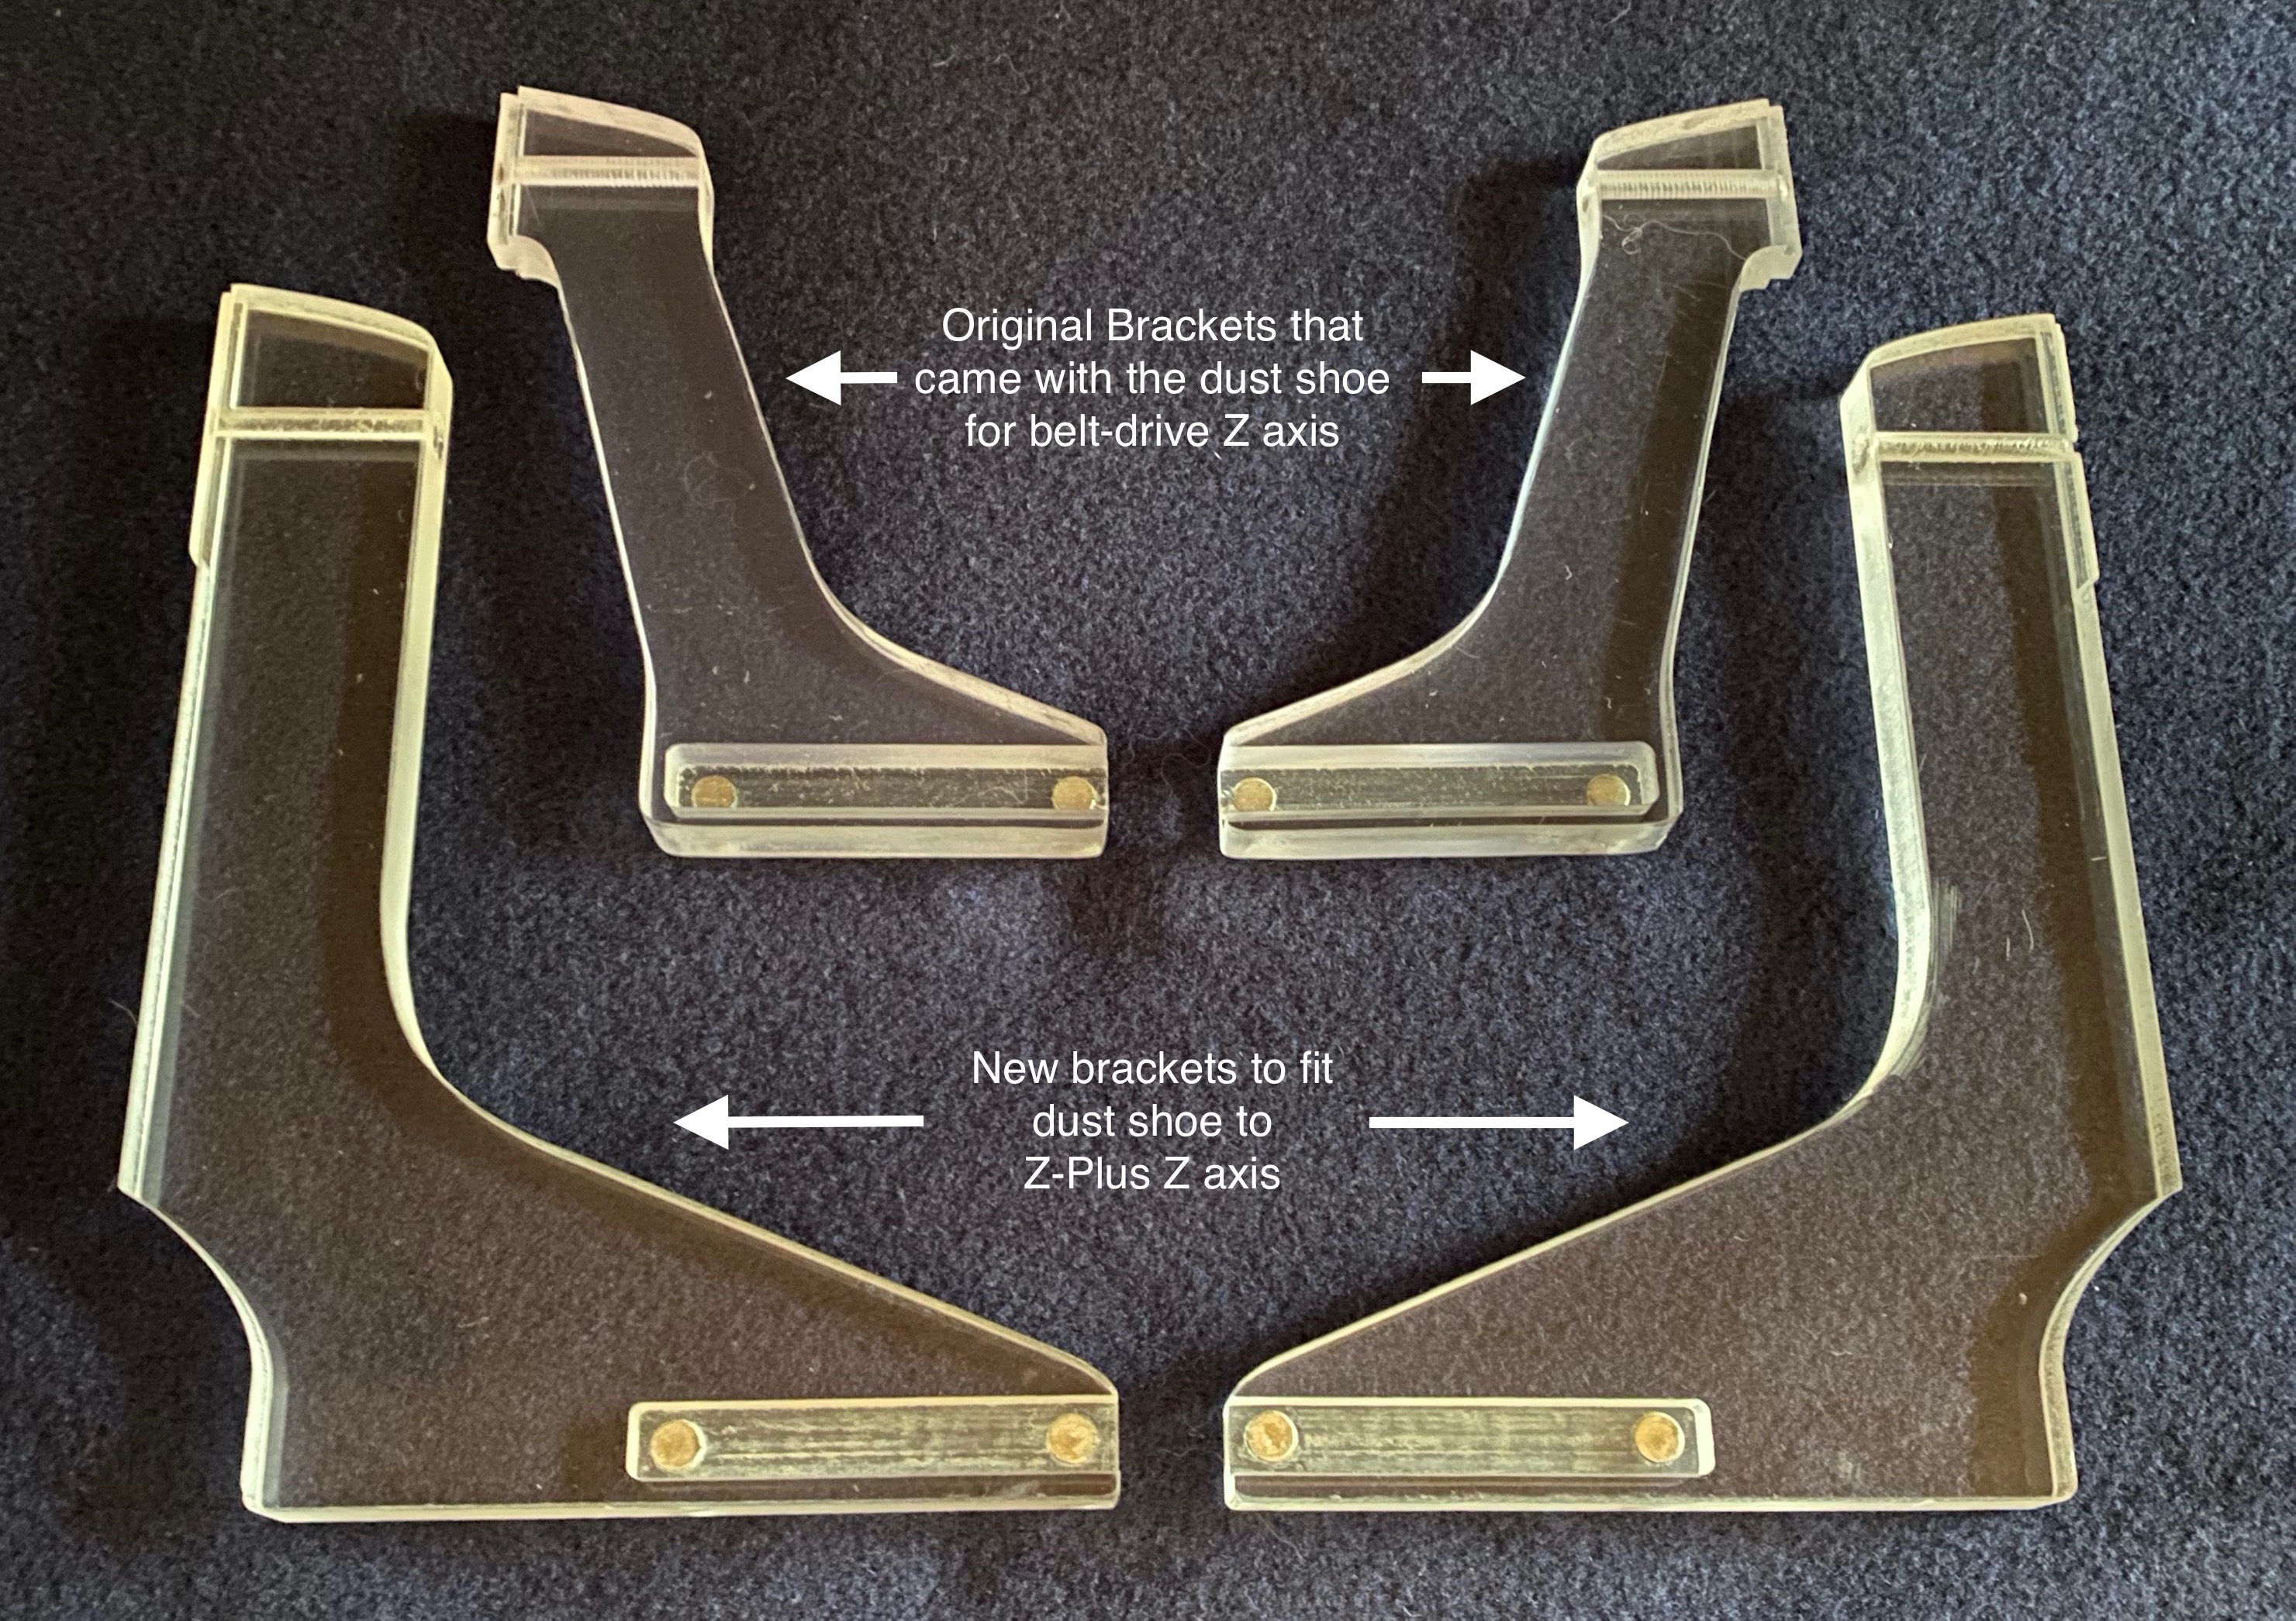
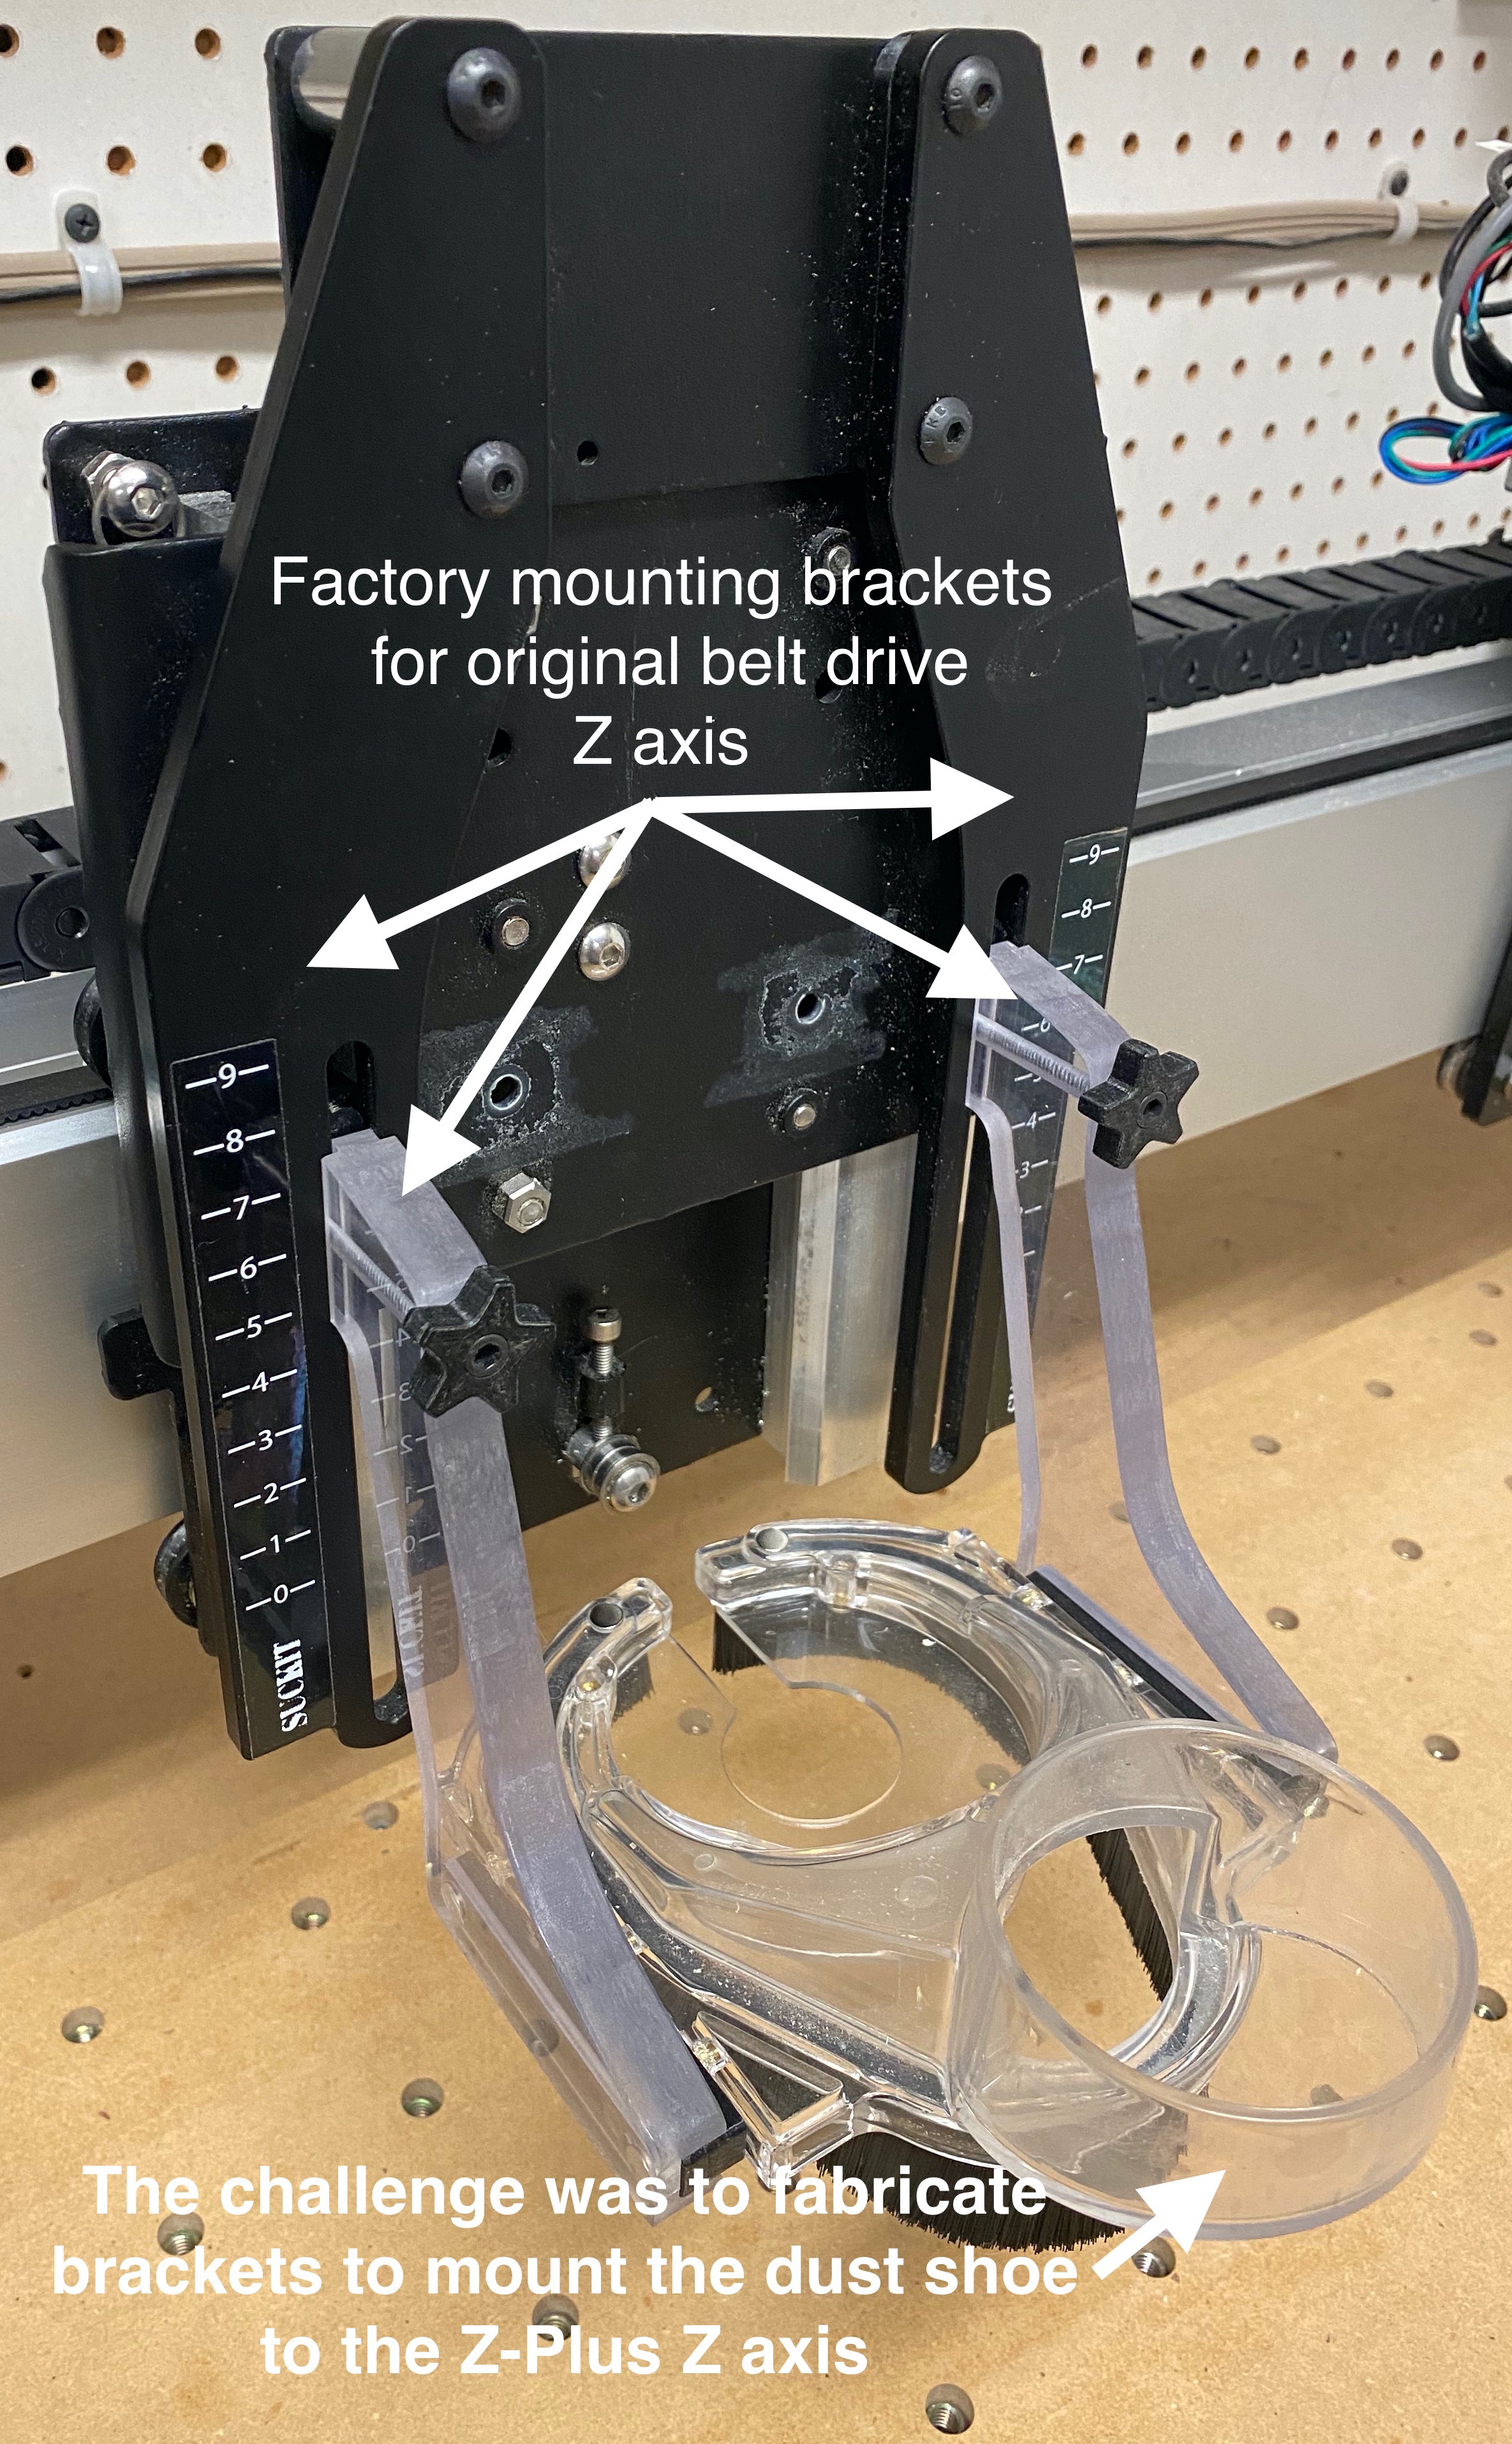
My 3rd party dust shoe was designed for the original belt-driven Z axis, and I needed a solution to mount it to my upgraded Z-Plus. The back plate of a Z-Plus is steel, so magnets were the perfect solution.
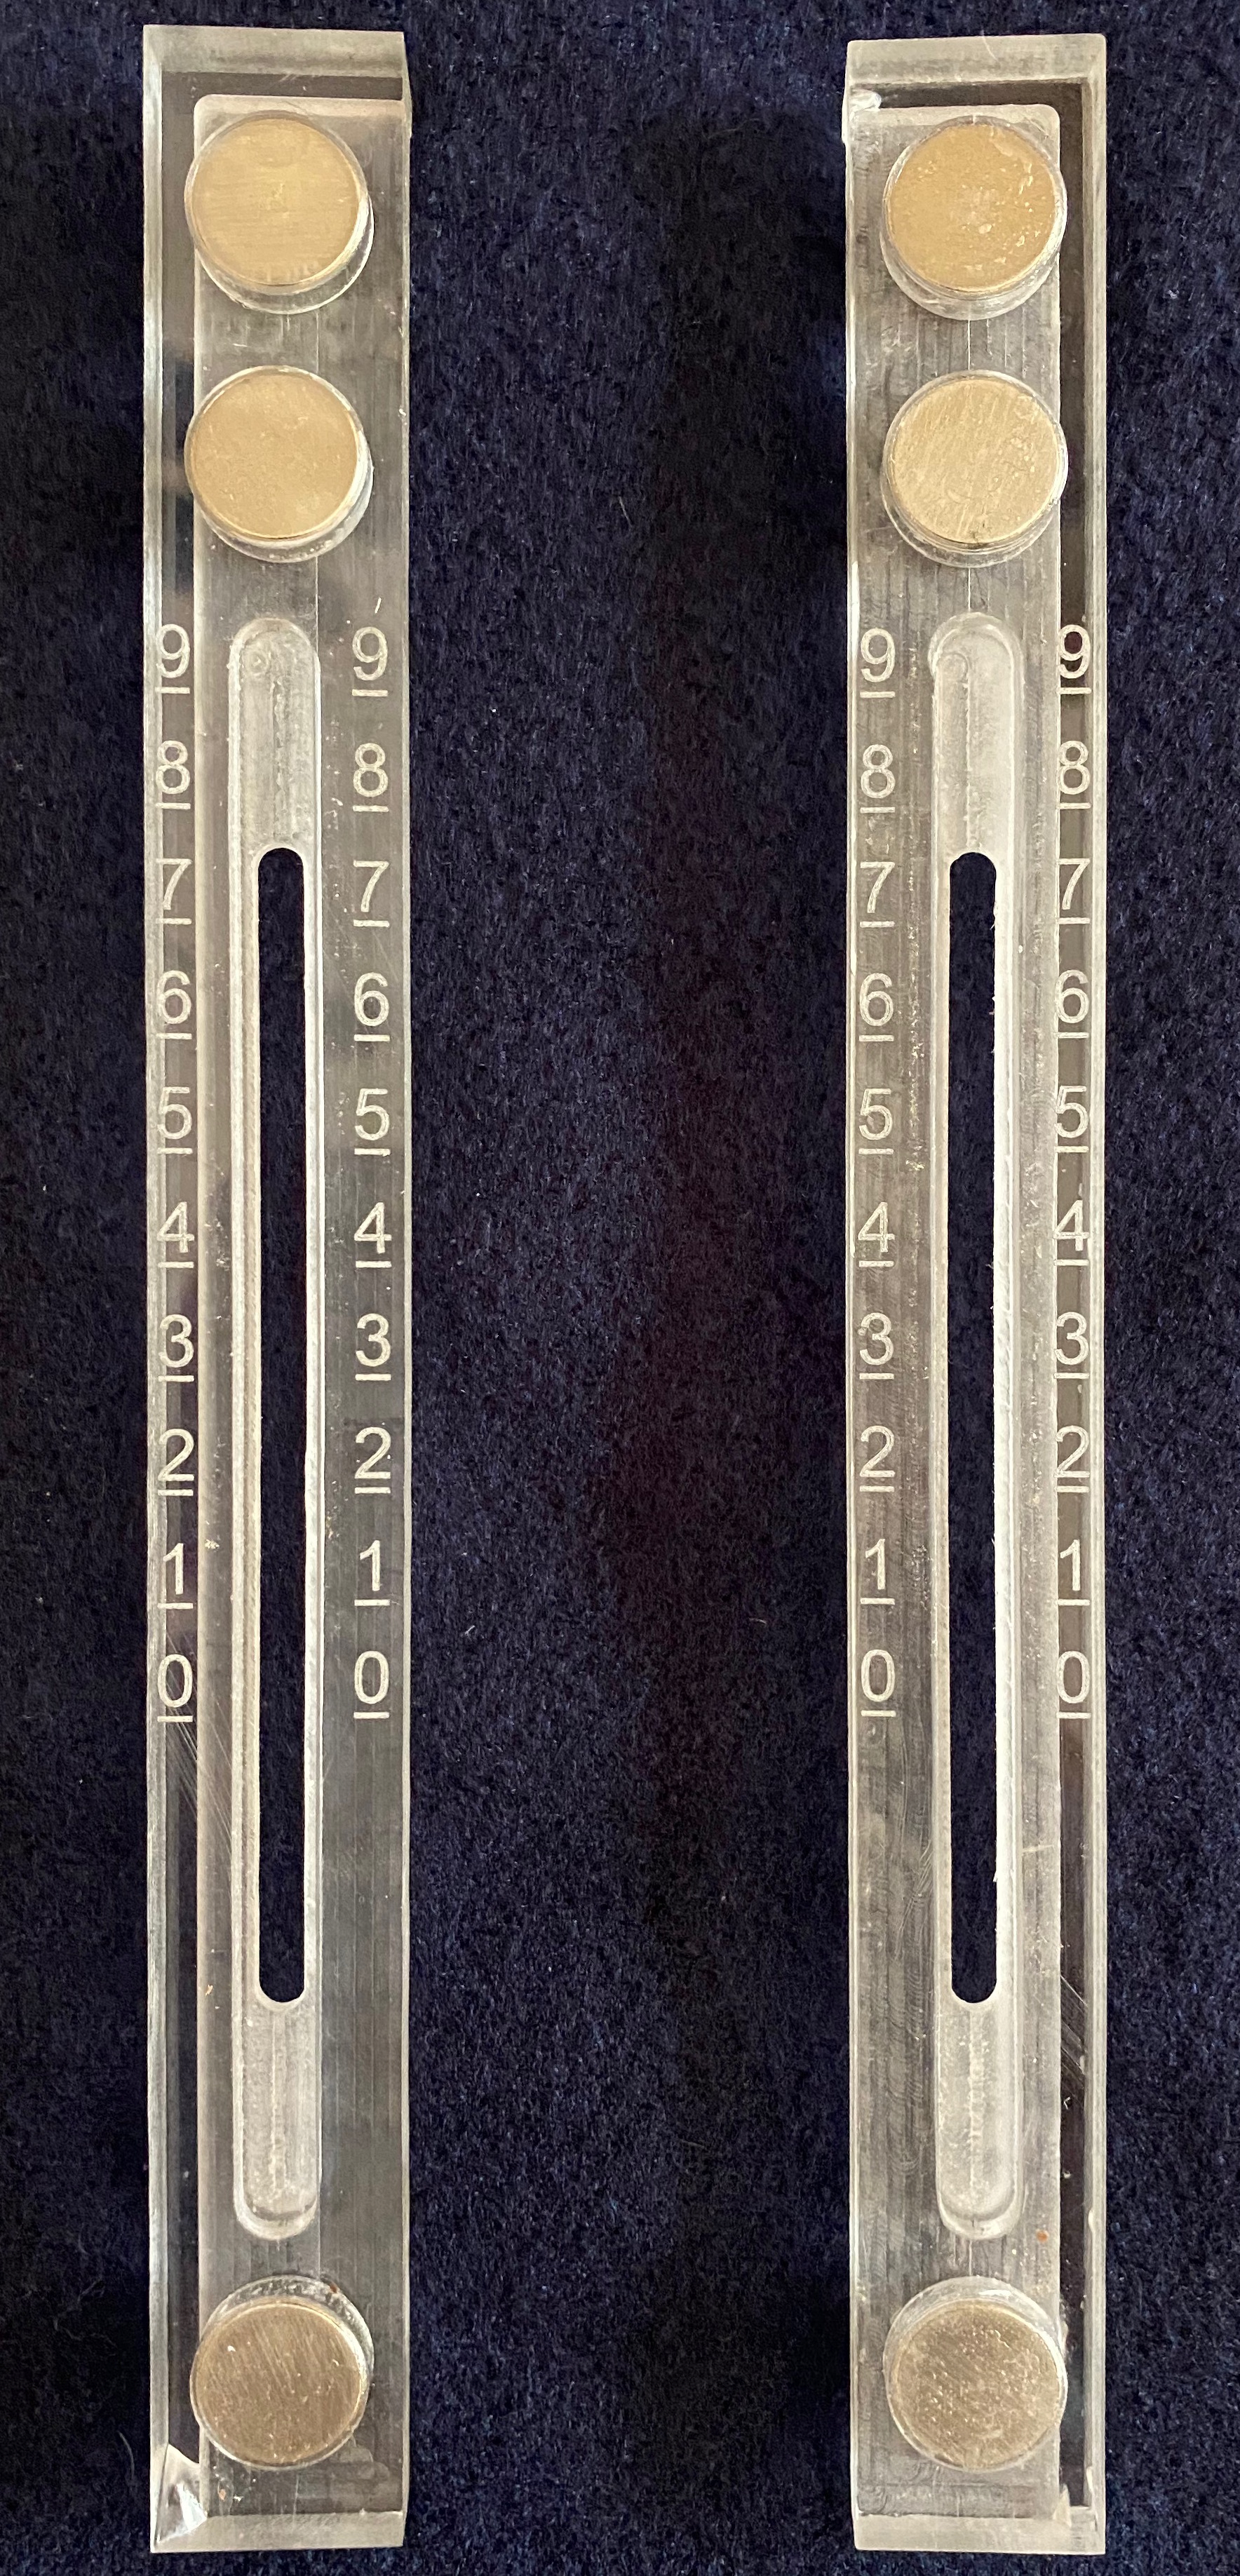
The mounting rails each have three N45 Neodymium magnets (5/8” by 1/4”, rated at 15 pounds of pull force each). These things grab VERY tight (see the video link). Magnets were glued in with 5-minute epoxy. I used a diamond drag bit to mark alignment lines in 1 CM increments like the original.
Everything fit into a 12” x 12” piece of ½” acrylic, sourced from Amazon. I made prototypes in MDF to get the dimensions dialed in before cutting the final parts in acrylic.
CONSTRUCTION NOTES:
Acrylic (for me) was challenging (and terrifying at times). Why?
-
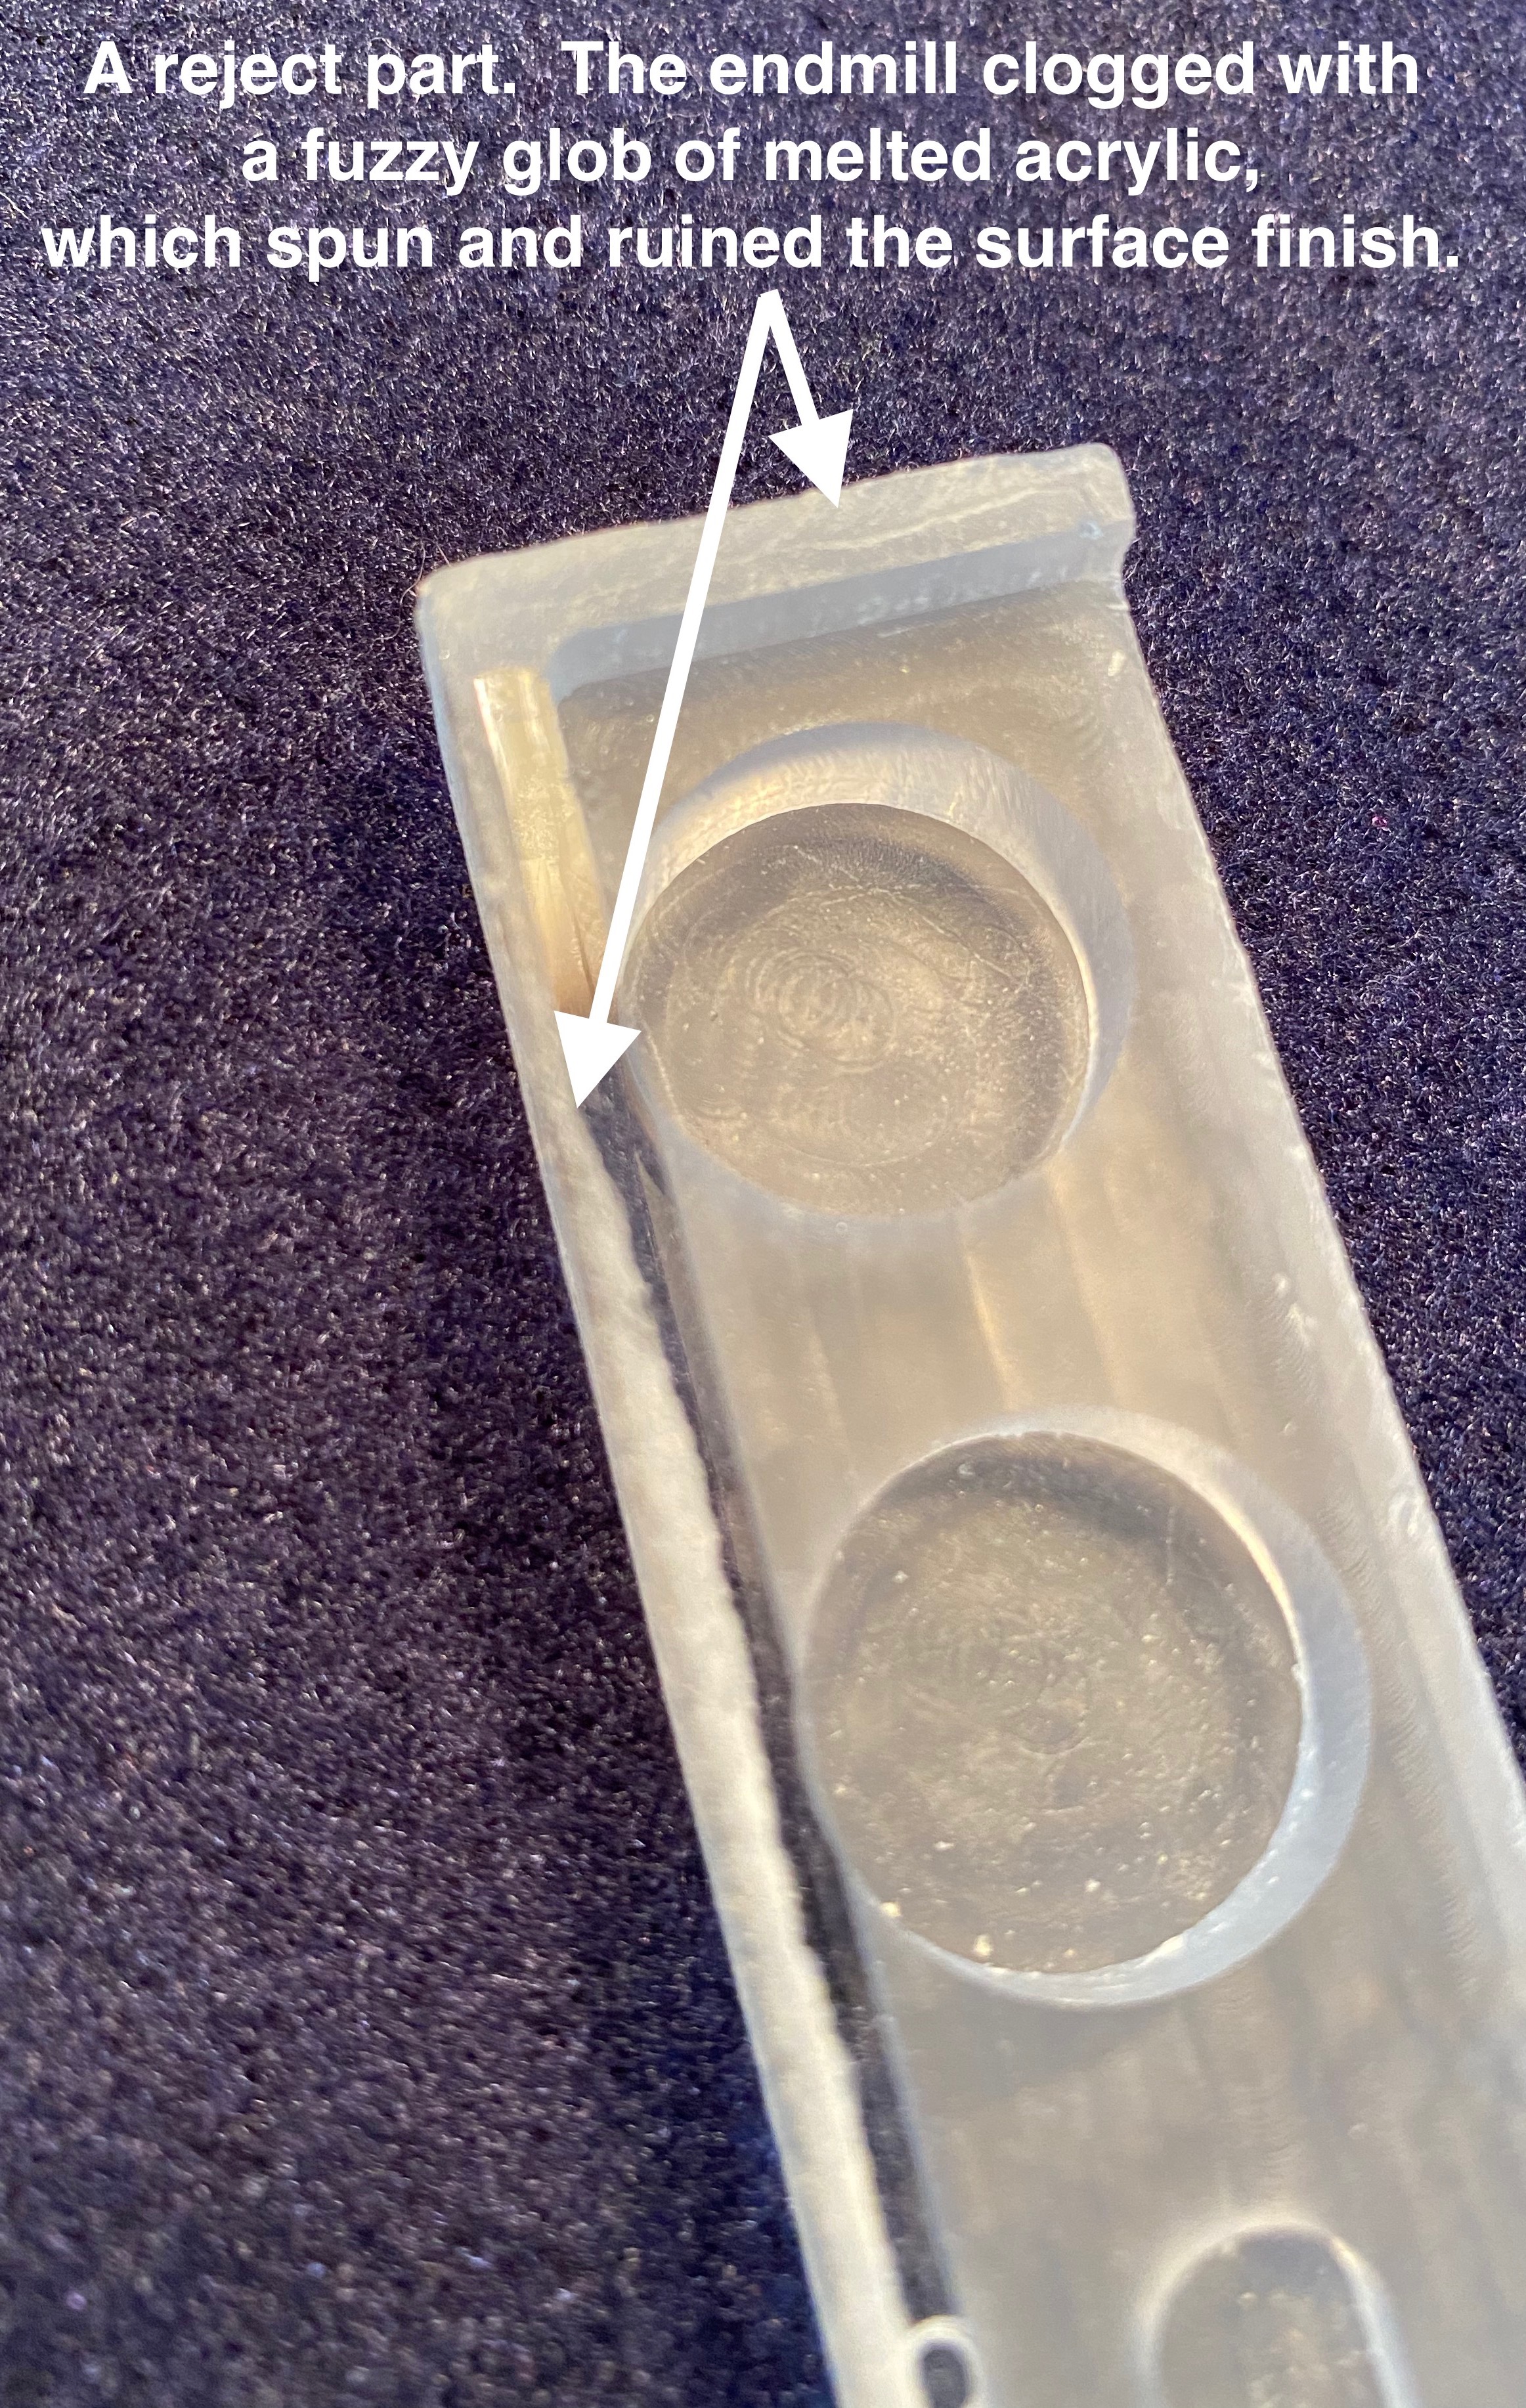
I used a single-flute endmill, but it still tended to accumulate globs of melted acrylic, which would then spin and scratch up the surface of the project. I had to pause many times to scrape the melted globs off the endmill. I’m sure thinner acrylic would be more forgiving (More skill on my part would help too…)
-
Acrylic seems to be elastic, causing it to rebound after cutting, making the diameter of the holes smaller than intended. The magnets were exactly .625”. They fit in a .625” hole in MDF, but not in Acrylic. I had to create a series of over-sized test holes (.626, .627, .628, .629, etc.) until I found the size that resulted in a slip-fit (the final size was .634”).
-
I murdered an innocent .125” endmill when I made a mistake on depth-per-pass. It plunged full-depth into ½” acrylic and took off at 60 ipm. It travelled about 1 inch before it screamed like a banshee and snapped.
Fun project in an unforgiving material.
MORE PHOTOS:
Original and New Brackets:
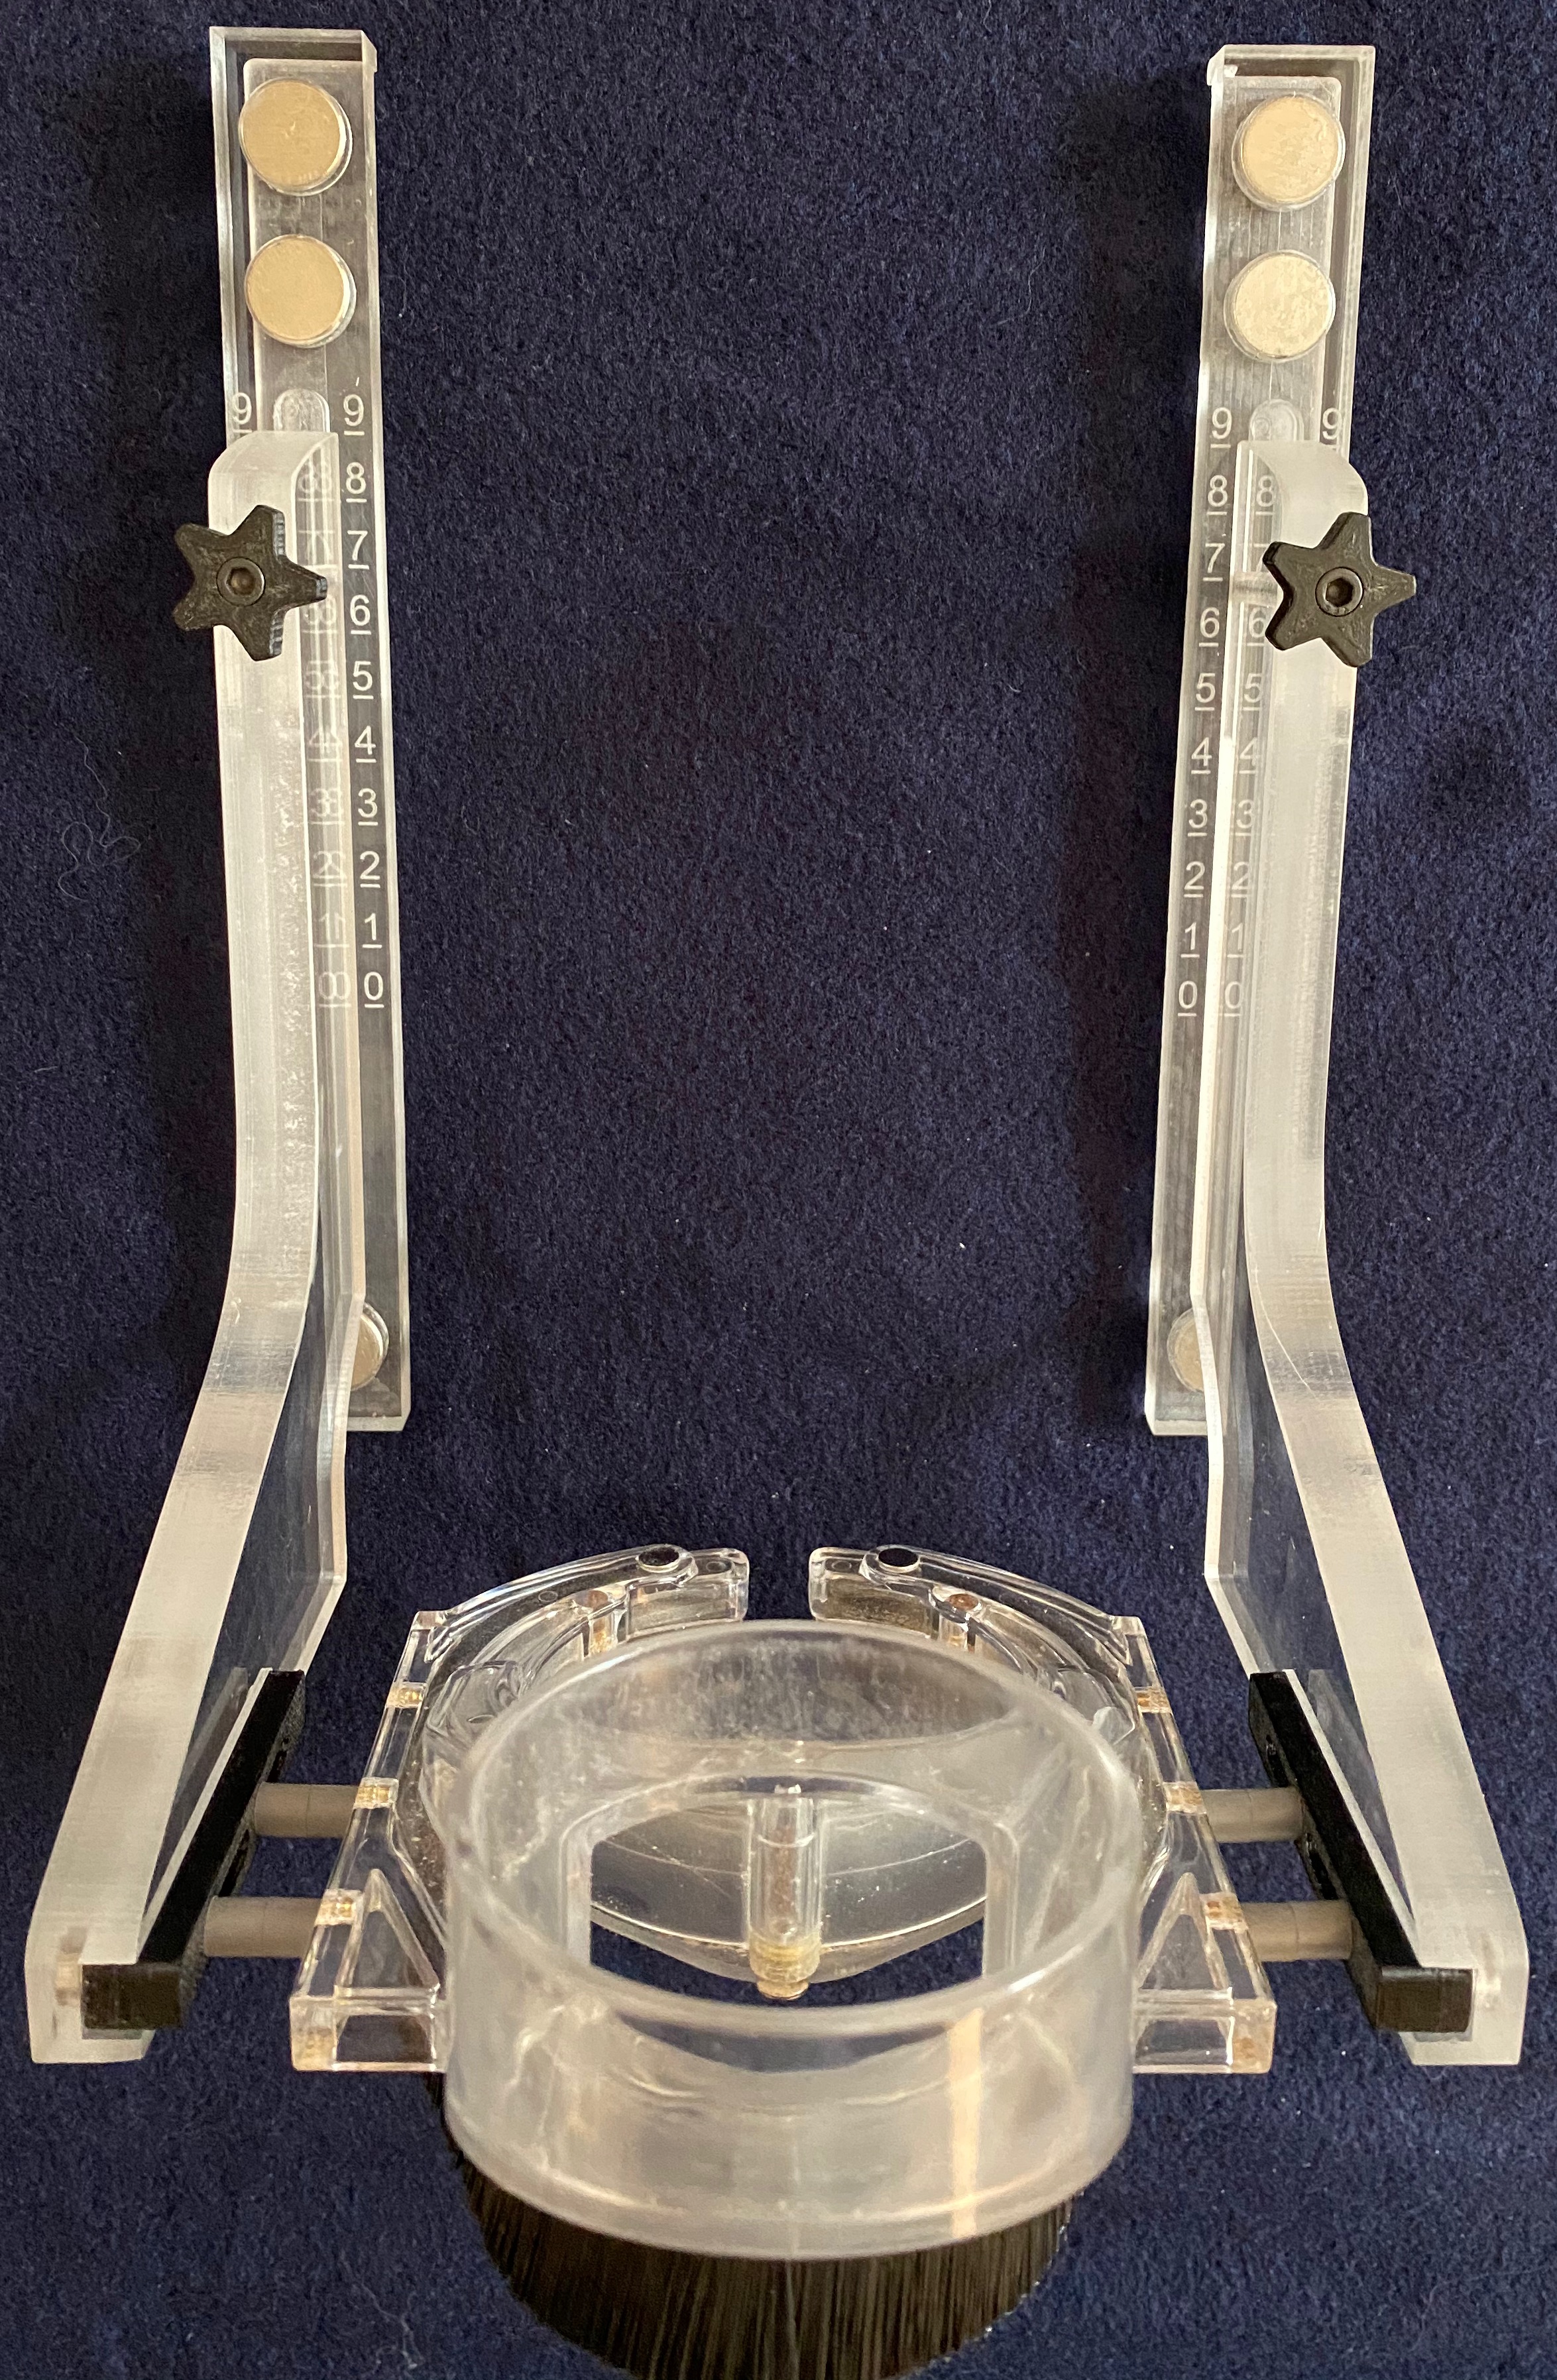
Magnet-Mount Rails:
A Rejected Part:
What the Original Looked Like:
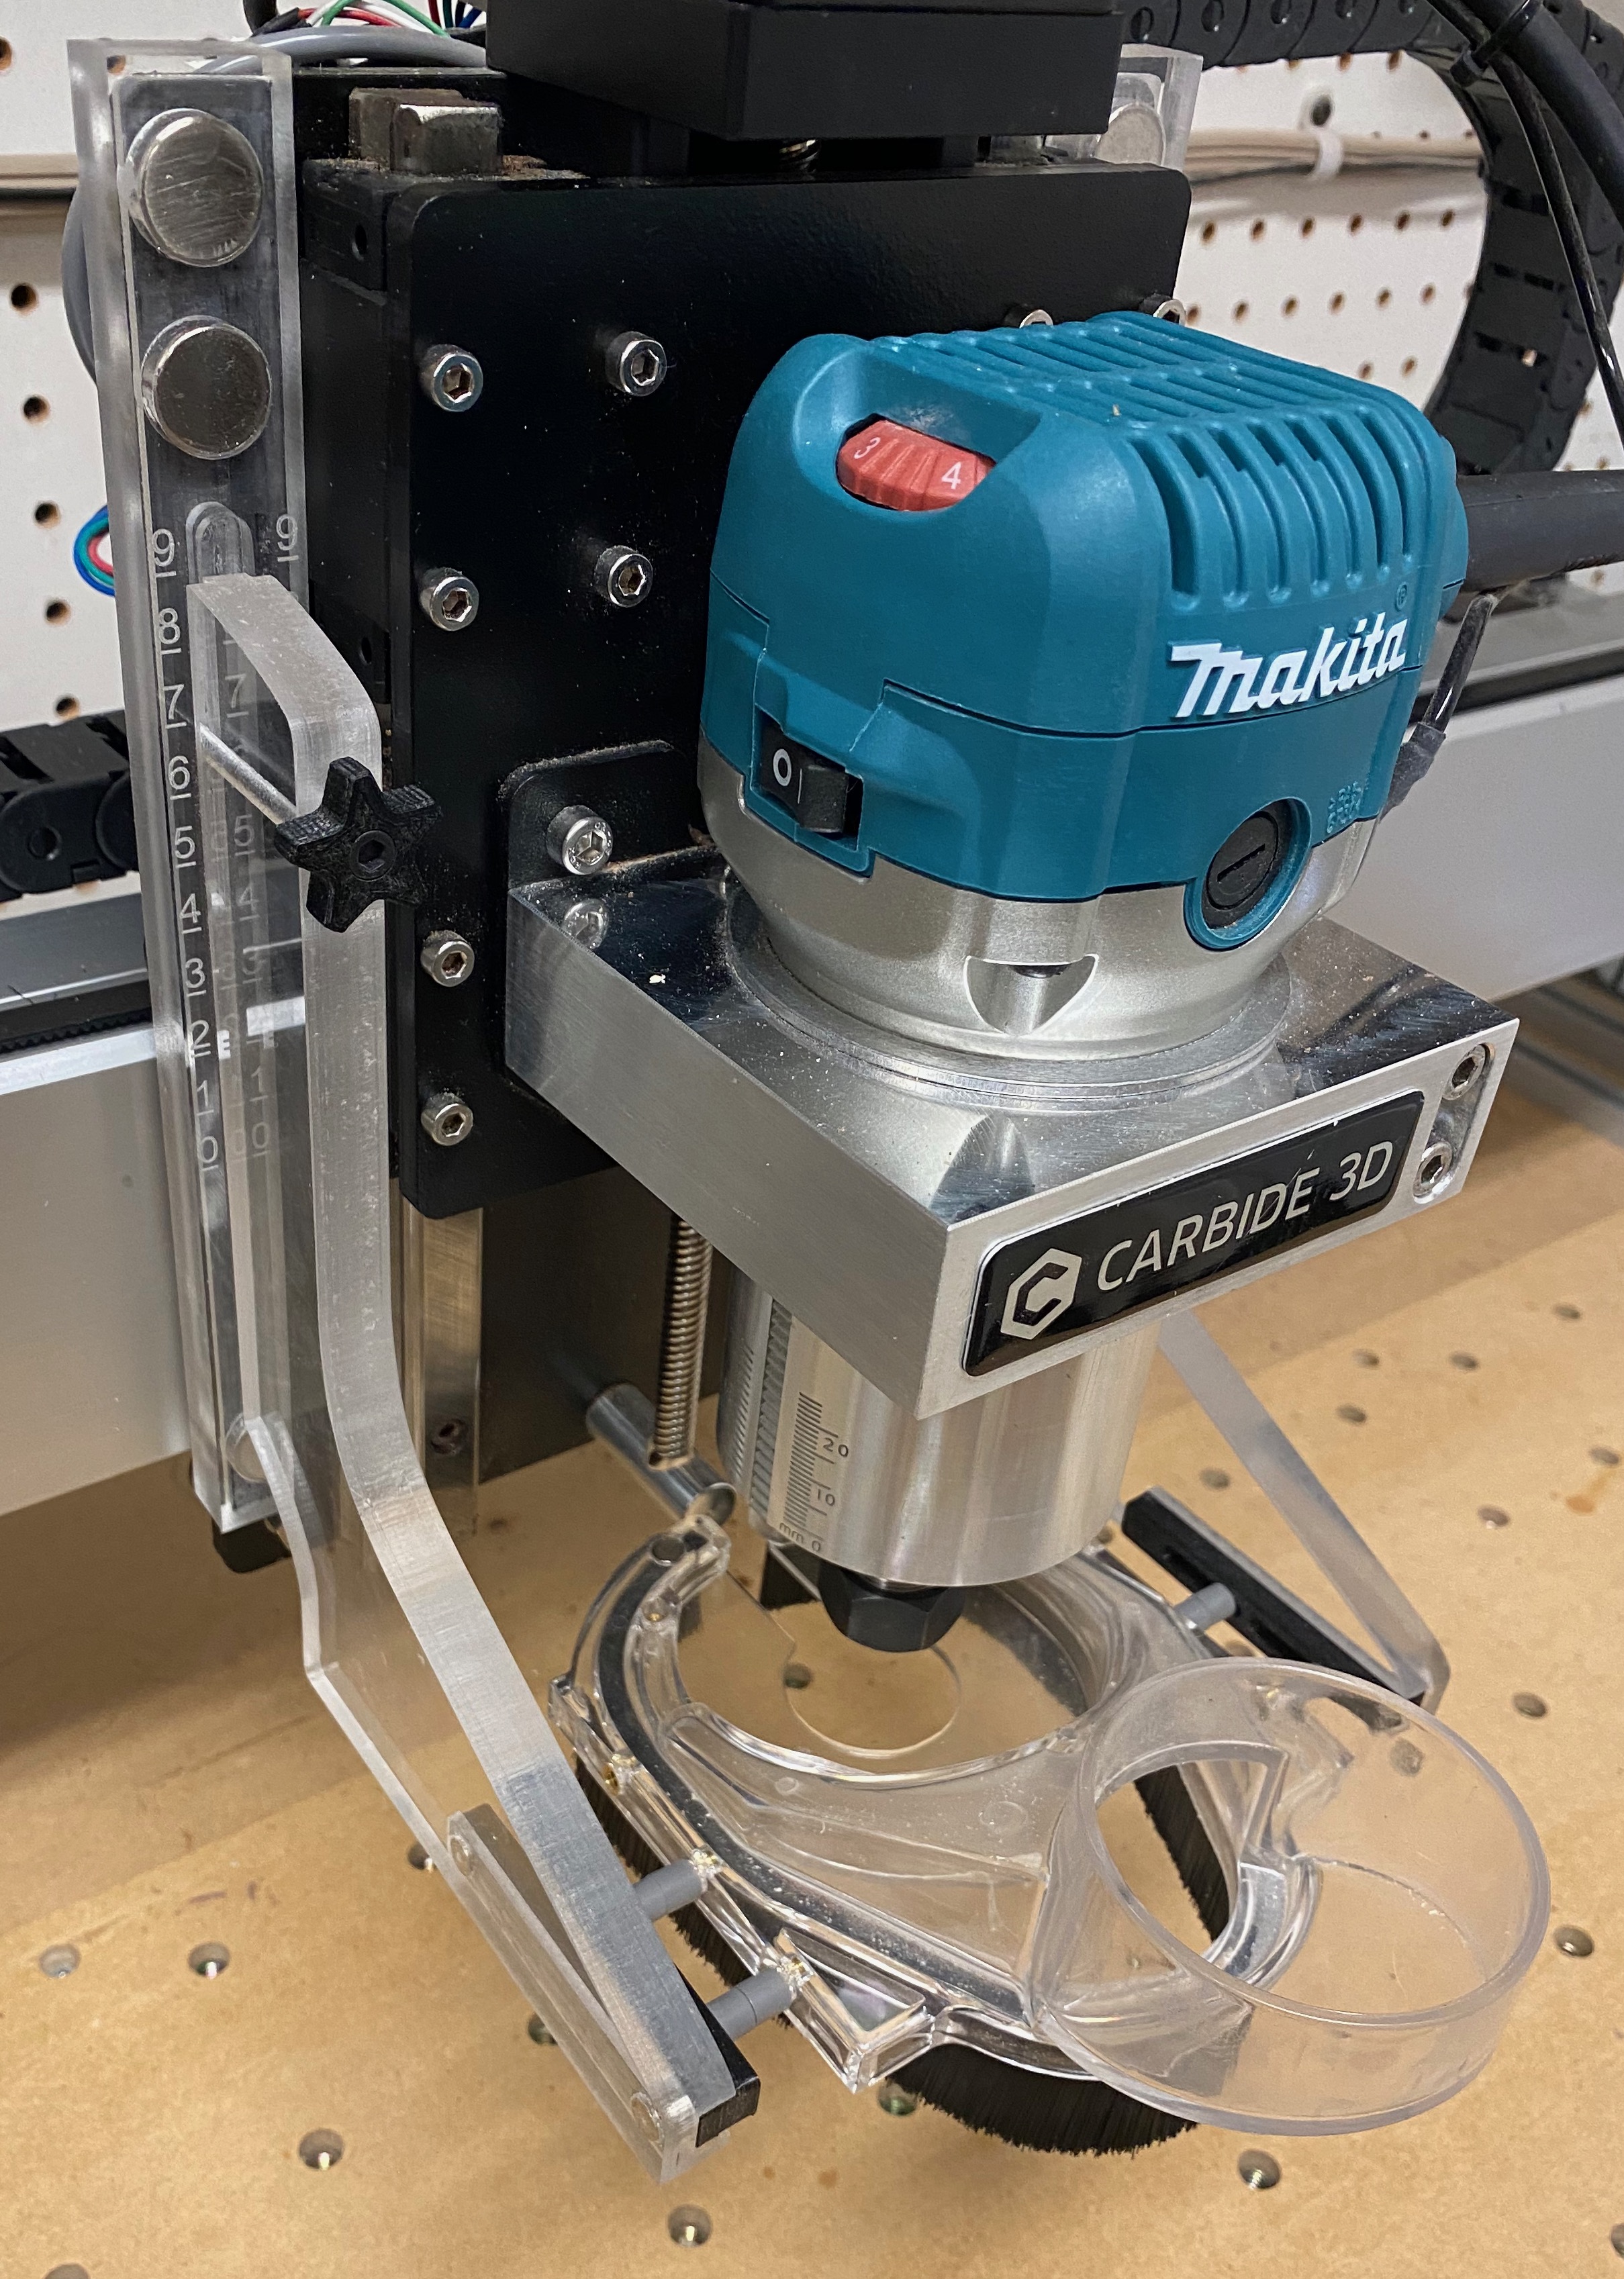
Z-Plus without Dust Bracket:

Z-Plus with New Dust Bracket:
C2D FILES:
Mag Mount Dust Shoe Brackets.c2d (440.0 KB)
Diamond Drag Reference Marks.c2d (712.2 KB)