And so might you, so choose your window very carefully ![]()
![]()
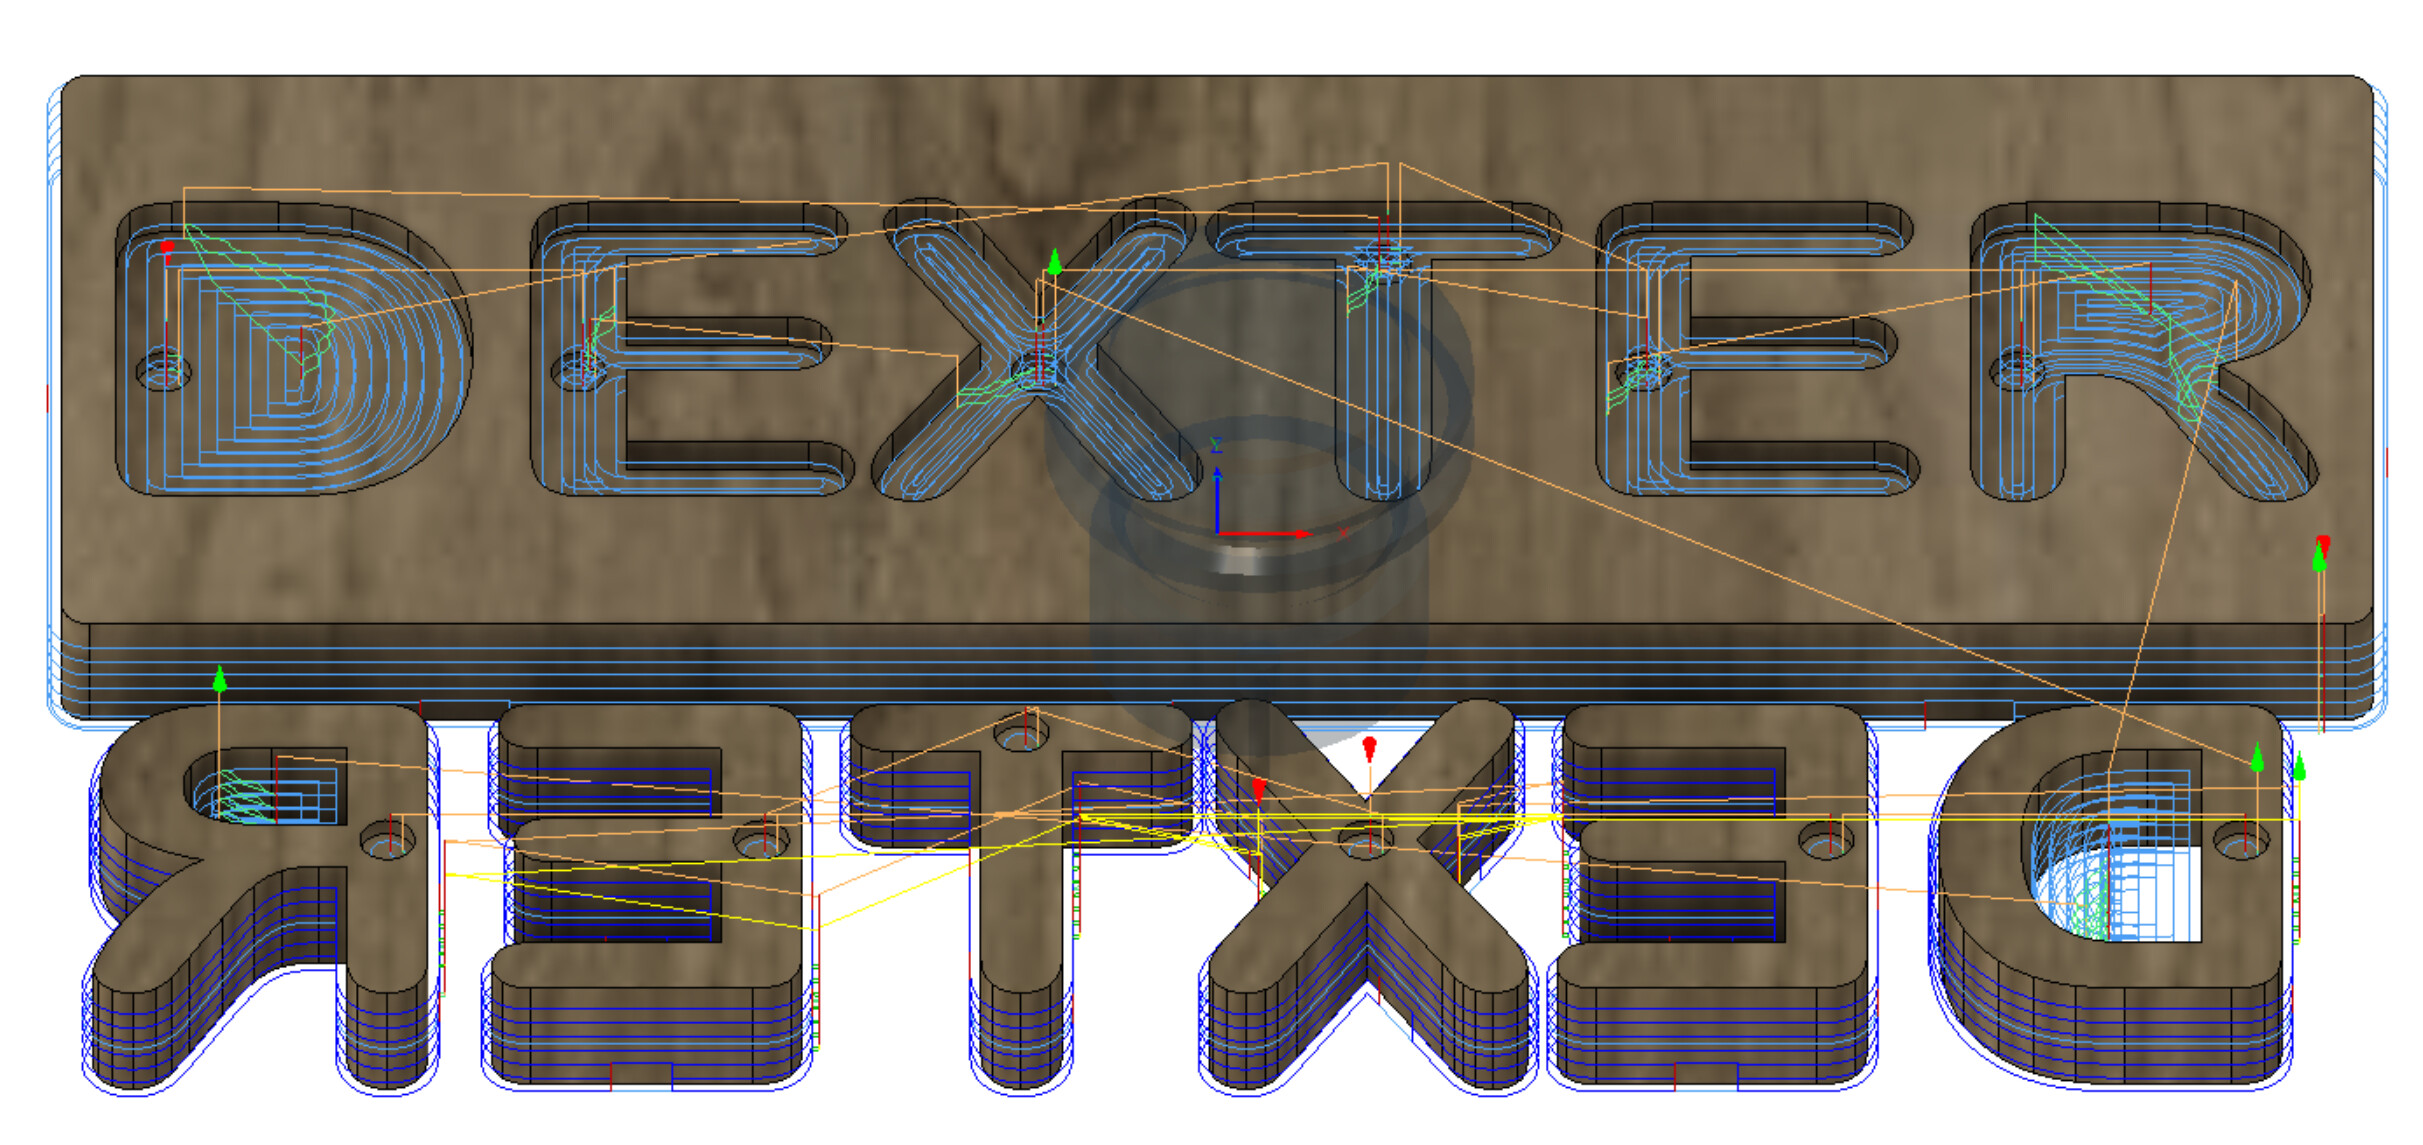
Once the extra material is taken away to get to the hole that goes through you can indicate the center of the hole to set as your X and Y zero
Oh yeah, I’d be happy to do that. I’ll create a separate thread for it.
Yeah it’s most obvious in the top faces for me. I used an adaptive tool path and used climb milling only, which produces a spiralling path towards the center of the part and travels in all directions. The most noticeable difference was between forward and backward movements on the Y axis, with the front to back passes producing a better finish than the back to front ones. Not the end of the world, and if surface finish is important i’ve had great success with this 4mm 3 flute DLC coated end mill.
I’m pretty happy with the vertical side wall finish I’m getting, and I usually keep the depth of cut quite low as you say.
Yeah that’s a nice idea and gives you great access to the part.
I’d love to see some examples where you’ve done that. I never get it quite right and the two sides don’t align perfectly. It feels like there are just too many ways the new zero could be off (leftover faces not perfectly square, part not held perfectly square after the flip, not enough clearance for the bitzero after the flip, bitzero not setting zeros perfectly, too much room for error if manually touching off, etc.)
I used a 3D contour here with a 0.1 max stepdown and just used it to take off the 0.1mm axial and radial stock left over from the roughing passes. It ran at 20k rpm, 1750 mm/min feedrate. All climb milling.
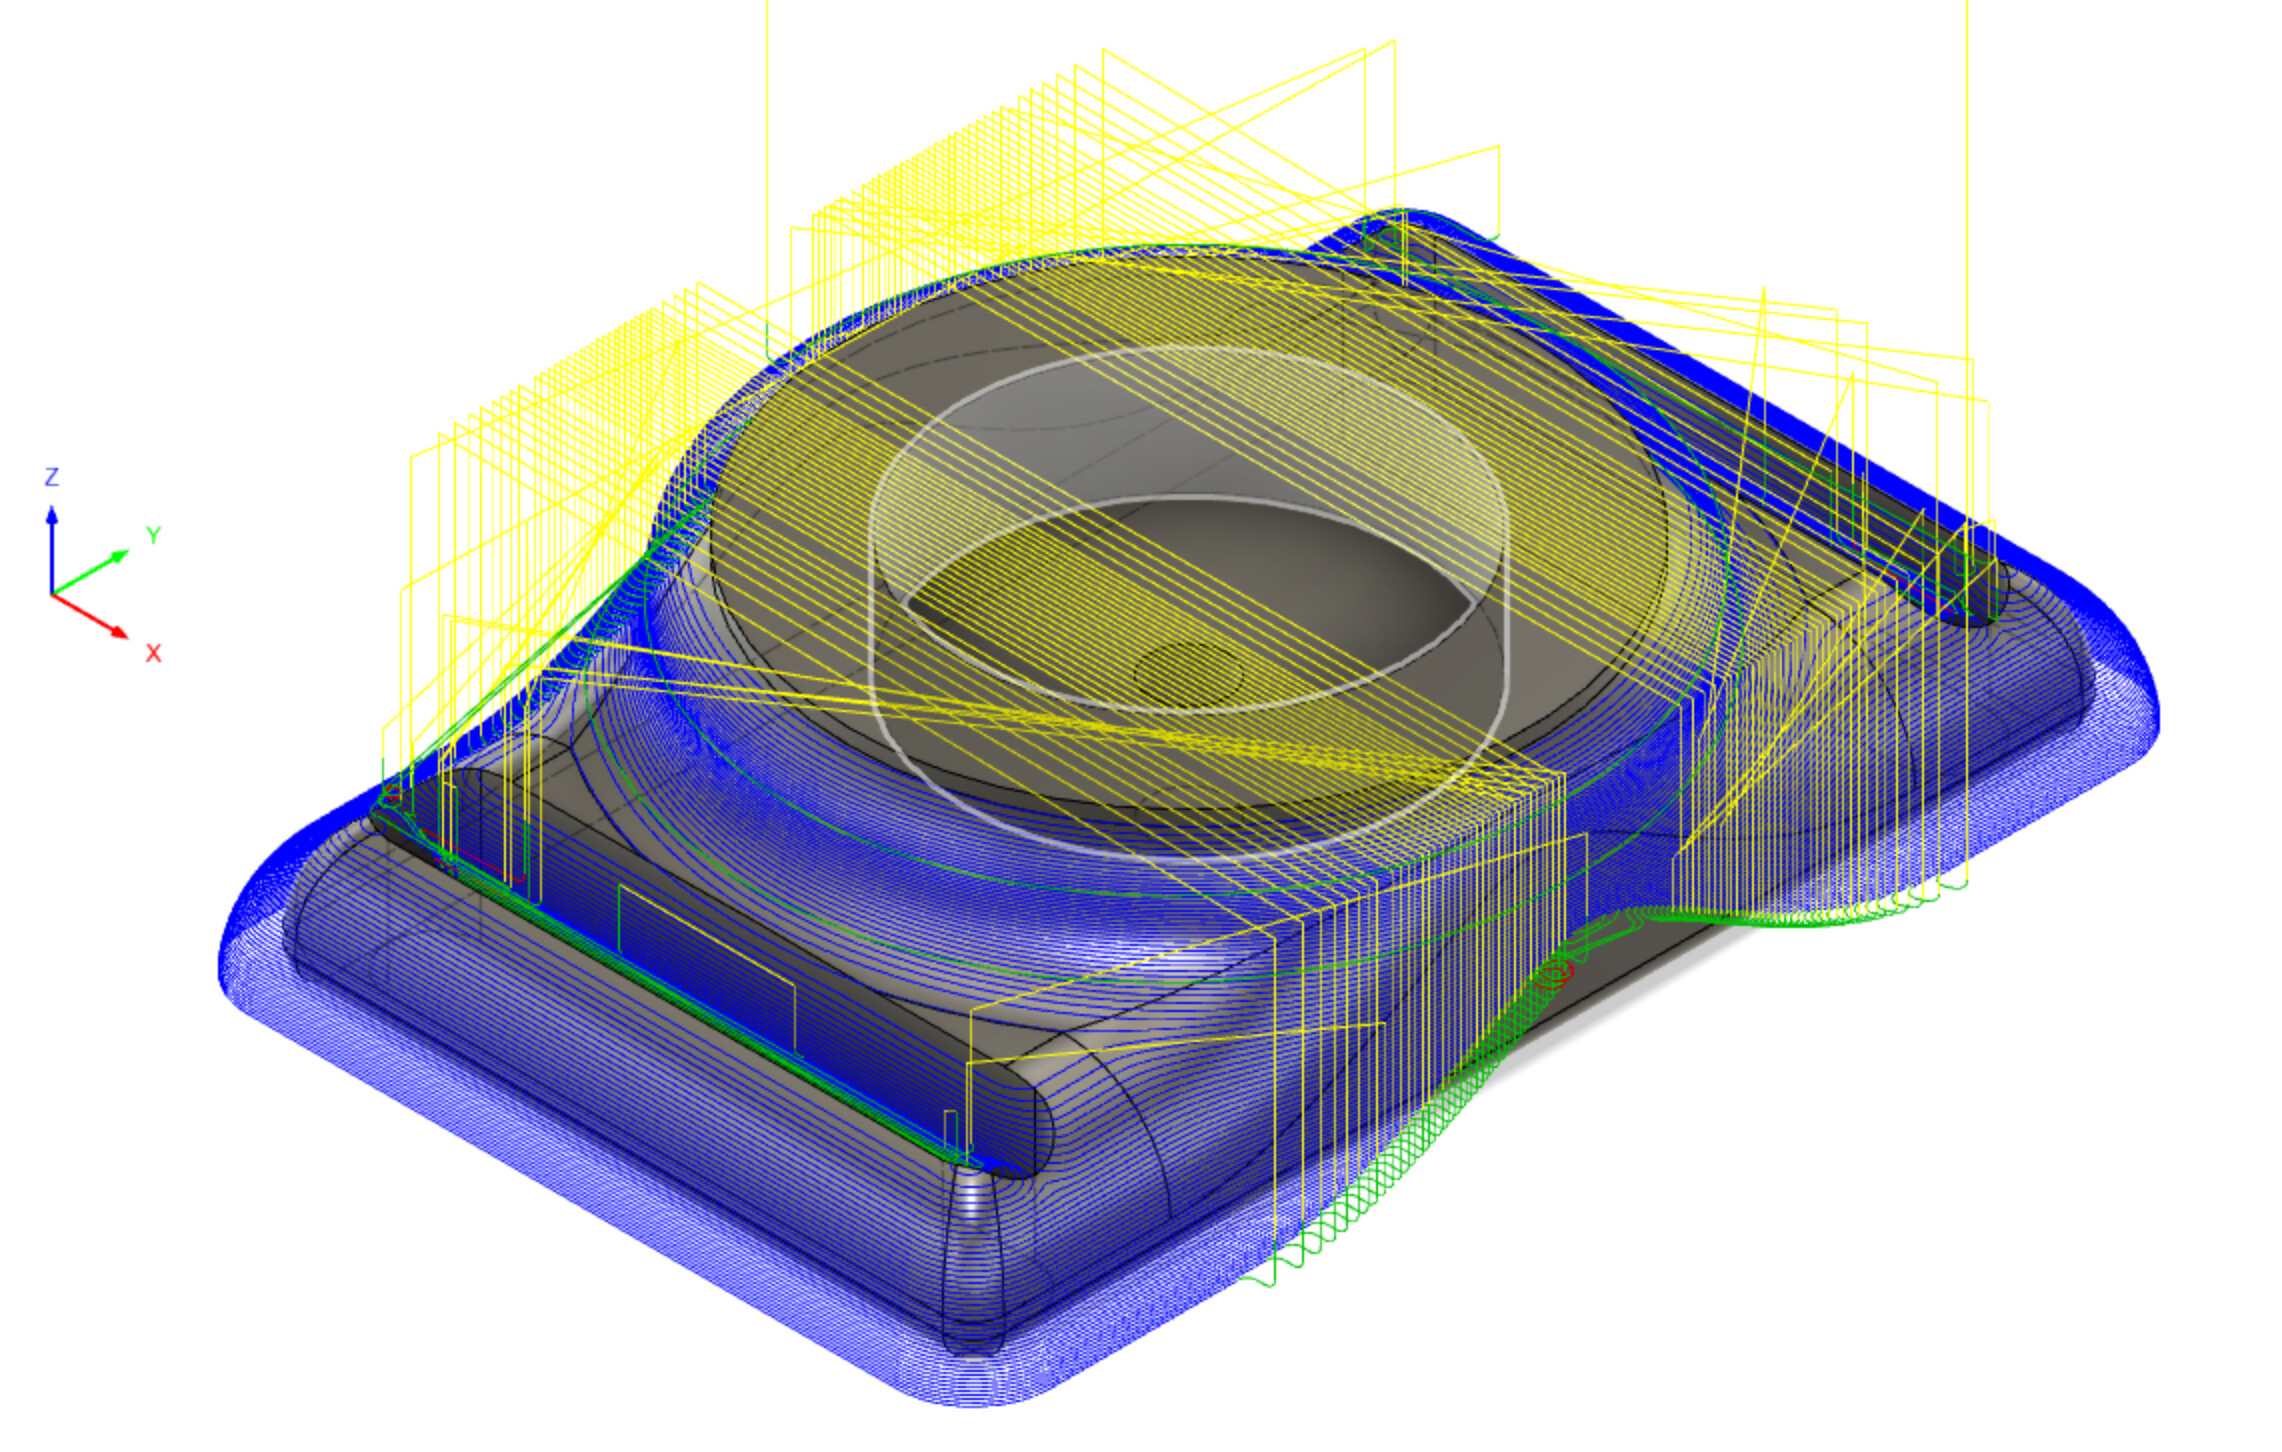
It feels like I’m getting a bit of deflection at times because some of the surfaces have little gouges in them here and there, but it seems to be in random places. Presumably there’s a bit more stock left over from the roughing passes than expected, but at this scale of material removal it doesn’t seem like there should be much deflection at all? Having said that, the ball nose end mill has a fair bit of stick out, maybe that’s the bigger factor.
Do you mean with a dial test indicator mounted in the spindle? I’m not sure I have much confidence in the concentricity of the 2.5mm interpolated hole for it to be accurate enough. And I would need a tiny DTI tip to get it in there!
1 Like
Ok so I’ve been thinking about these for some time now, never got around to it till now. Also this is my first contest entry so tips on format are welcome too!
Children’s name puzzles with embeded magnets. My thought was that these not only double as letters for the fridge but the magnetic snap adds tactile reinforcement/encouragement when the letter is guessed correctly.
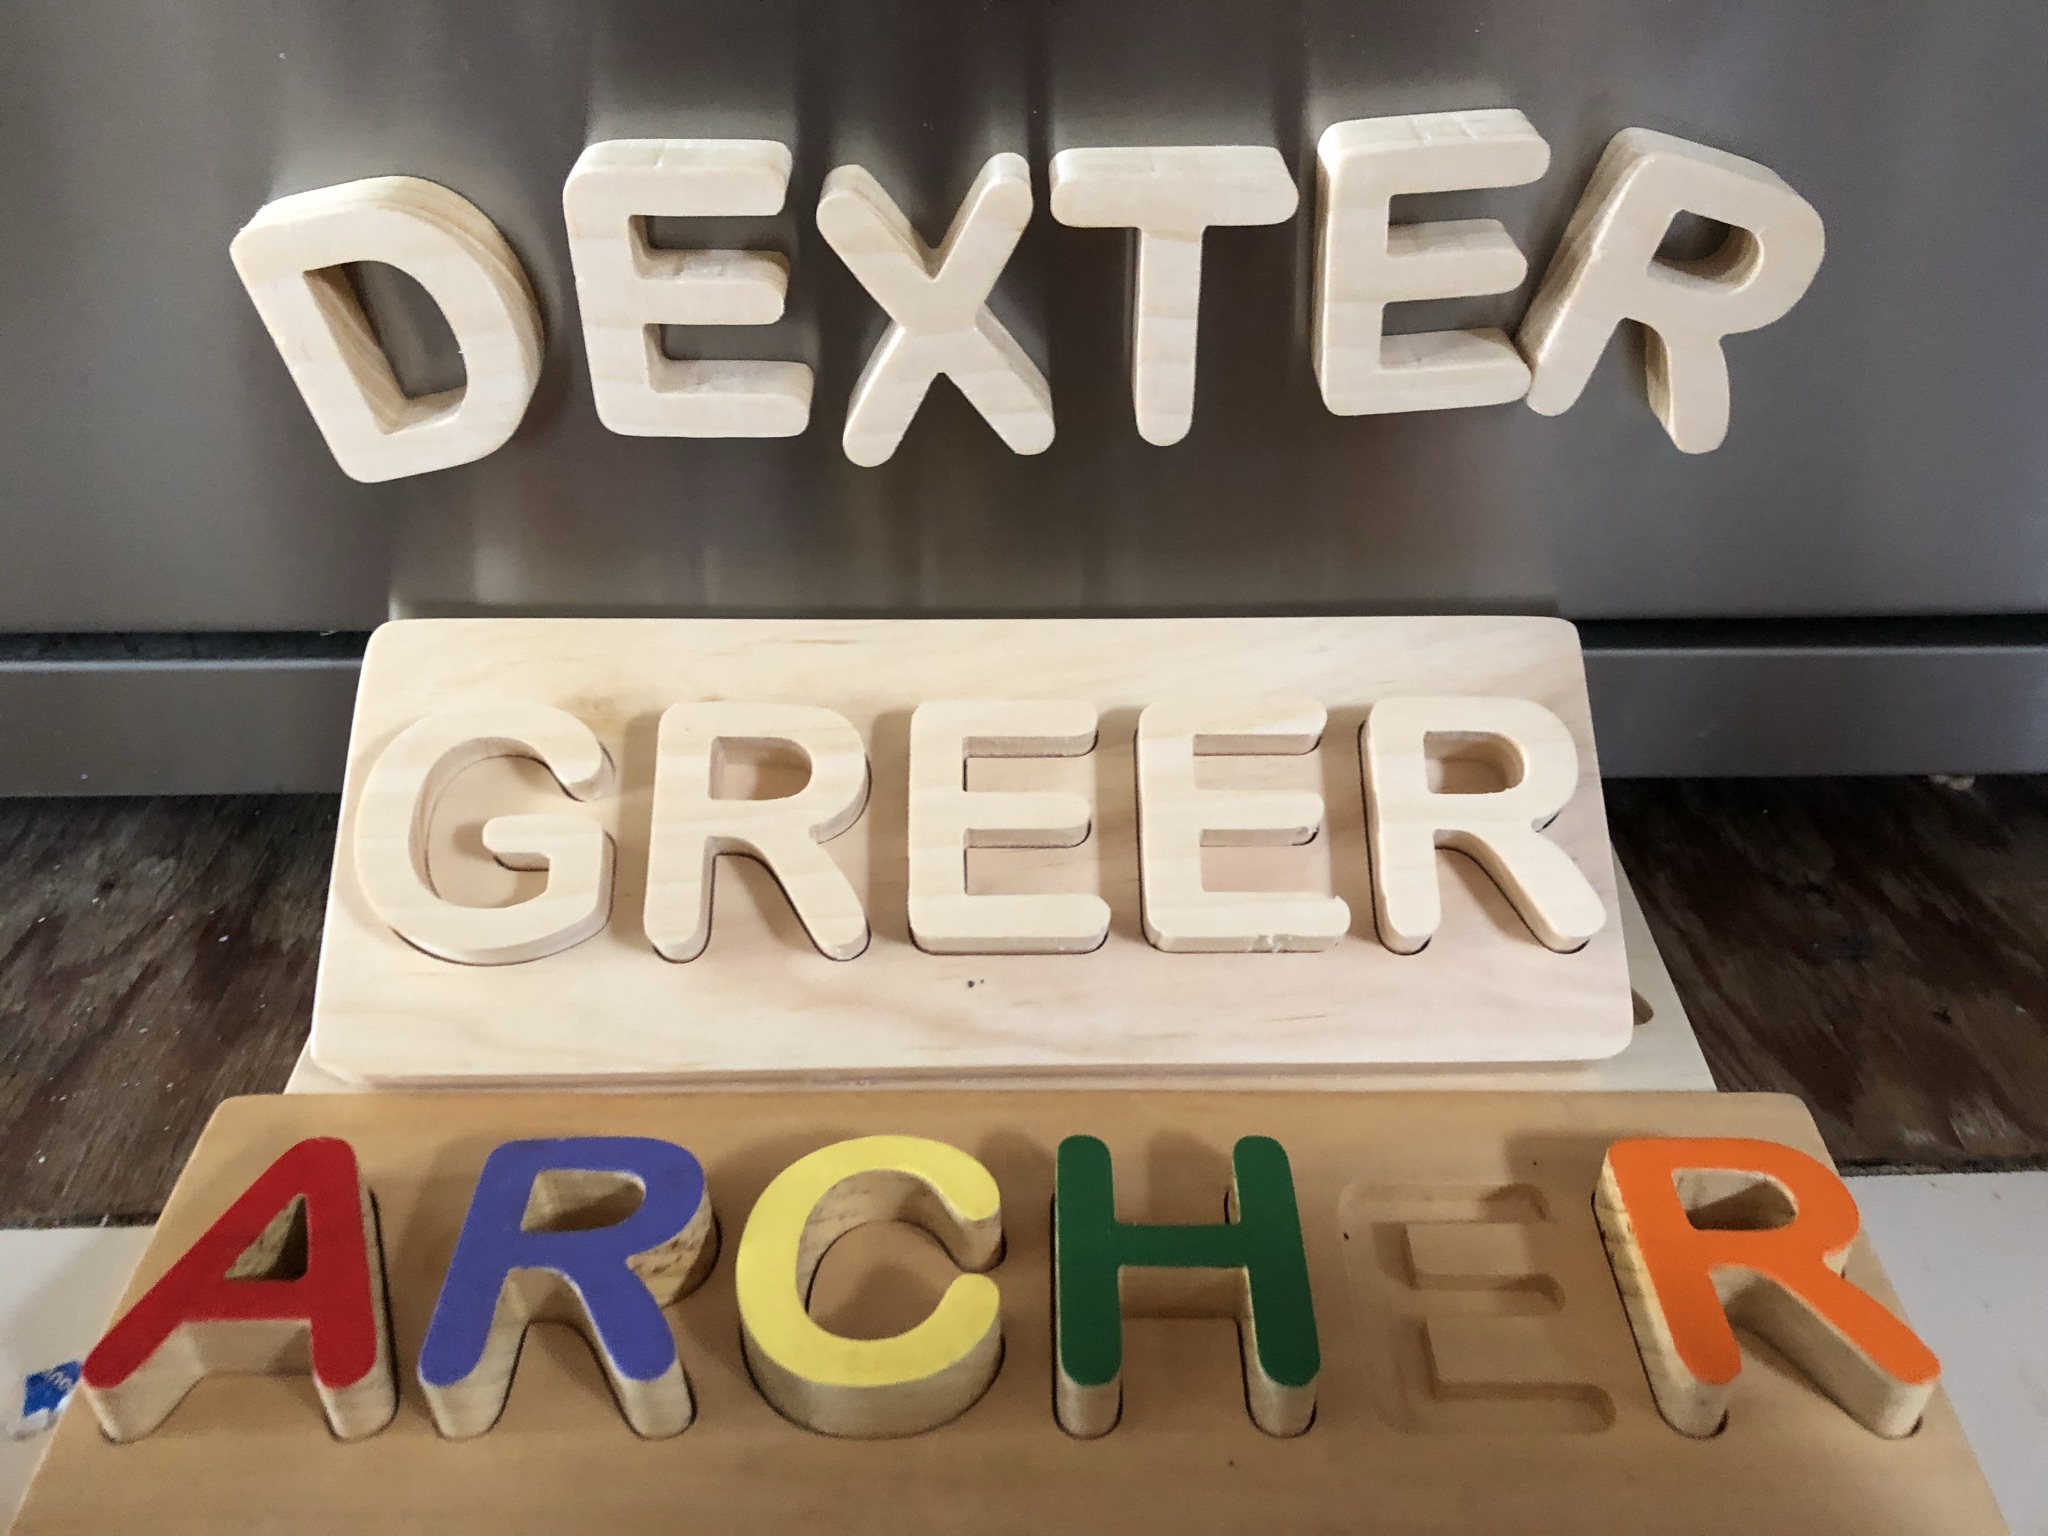
So the first one I made only had magnets in the letters and not in the recessed plaque. This was because I though it would be harder to clean the plaque if little found it’s way into the recessed letters. So instead I used tiny pin nails for the magnets to cling to. This worked well but I decided to go with magnets on letters and plaque for the next two names. Plus babies/toddlers aren’t really in environments with tiny pieces of ferromagnetic debris flying around. The reason the other two aren’t painted is because I’m waiting on final paint selection from my sister in law.
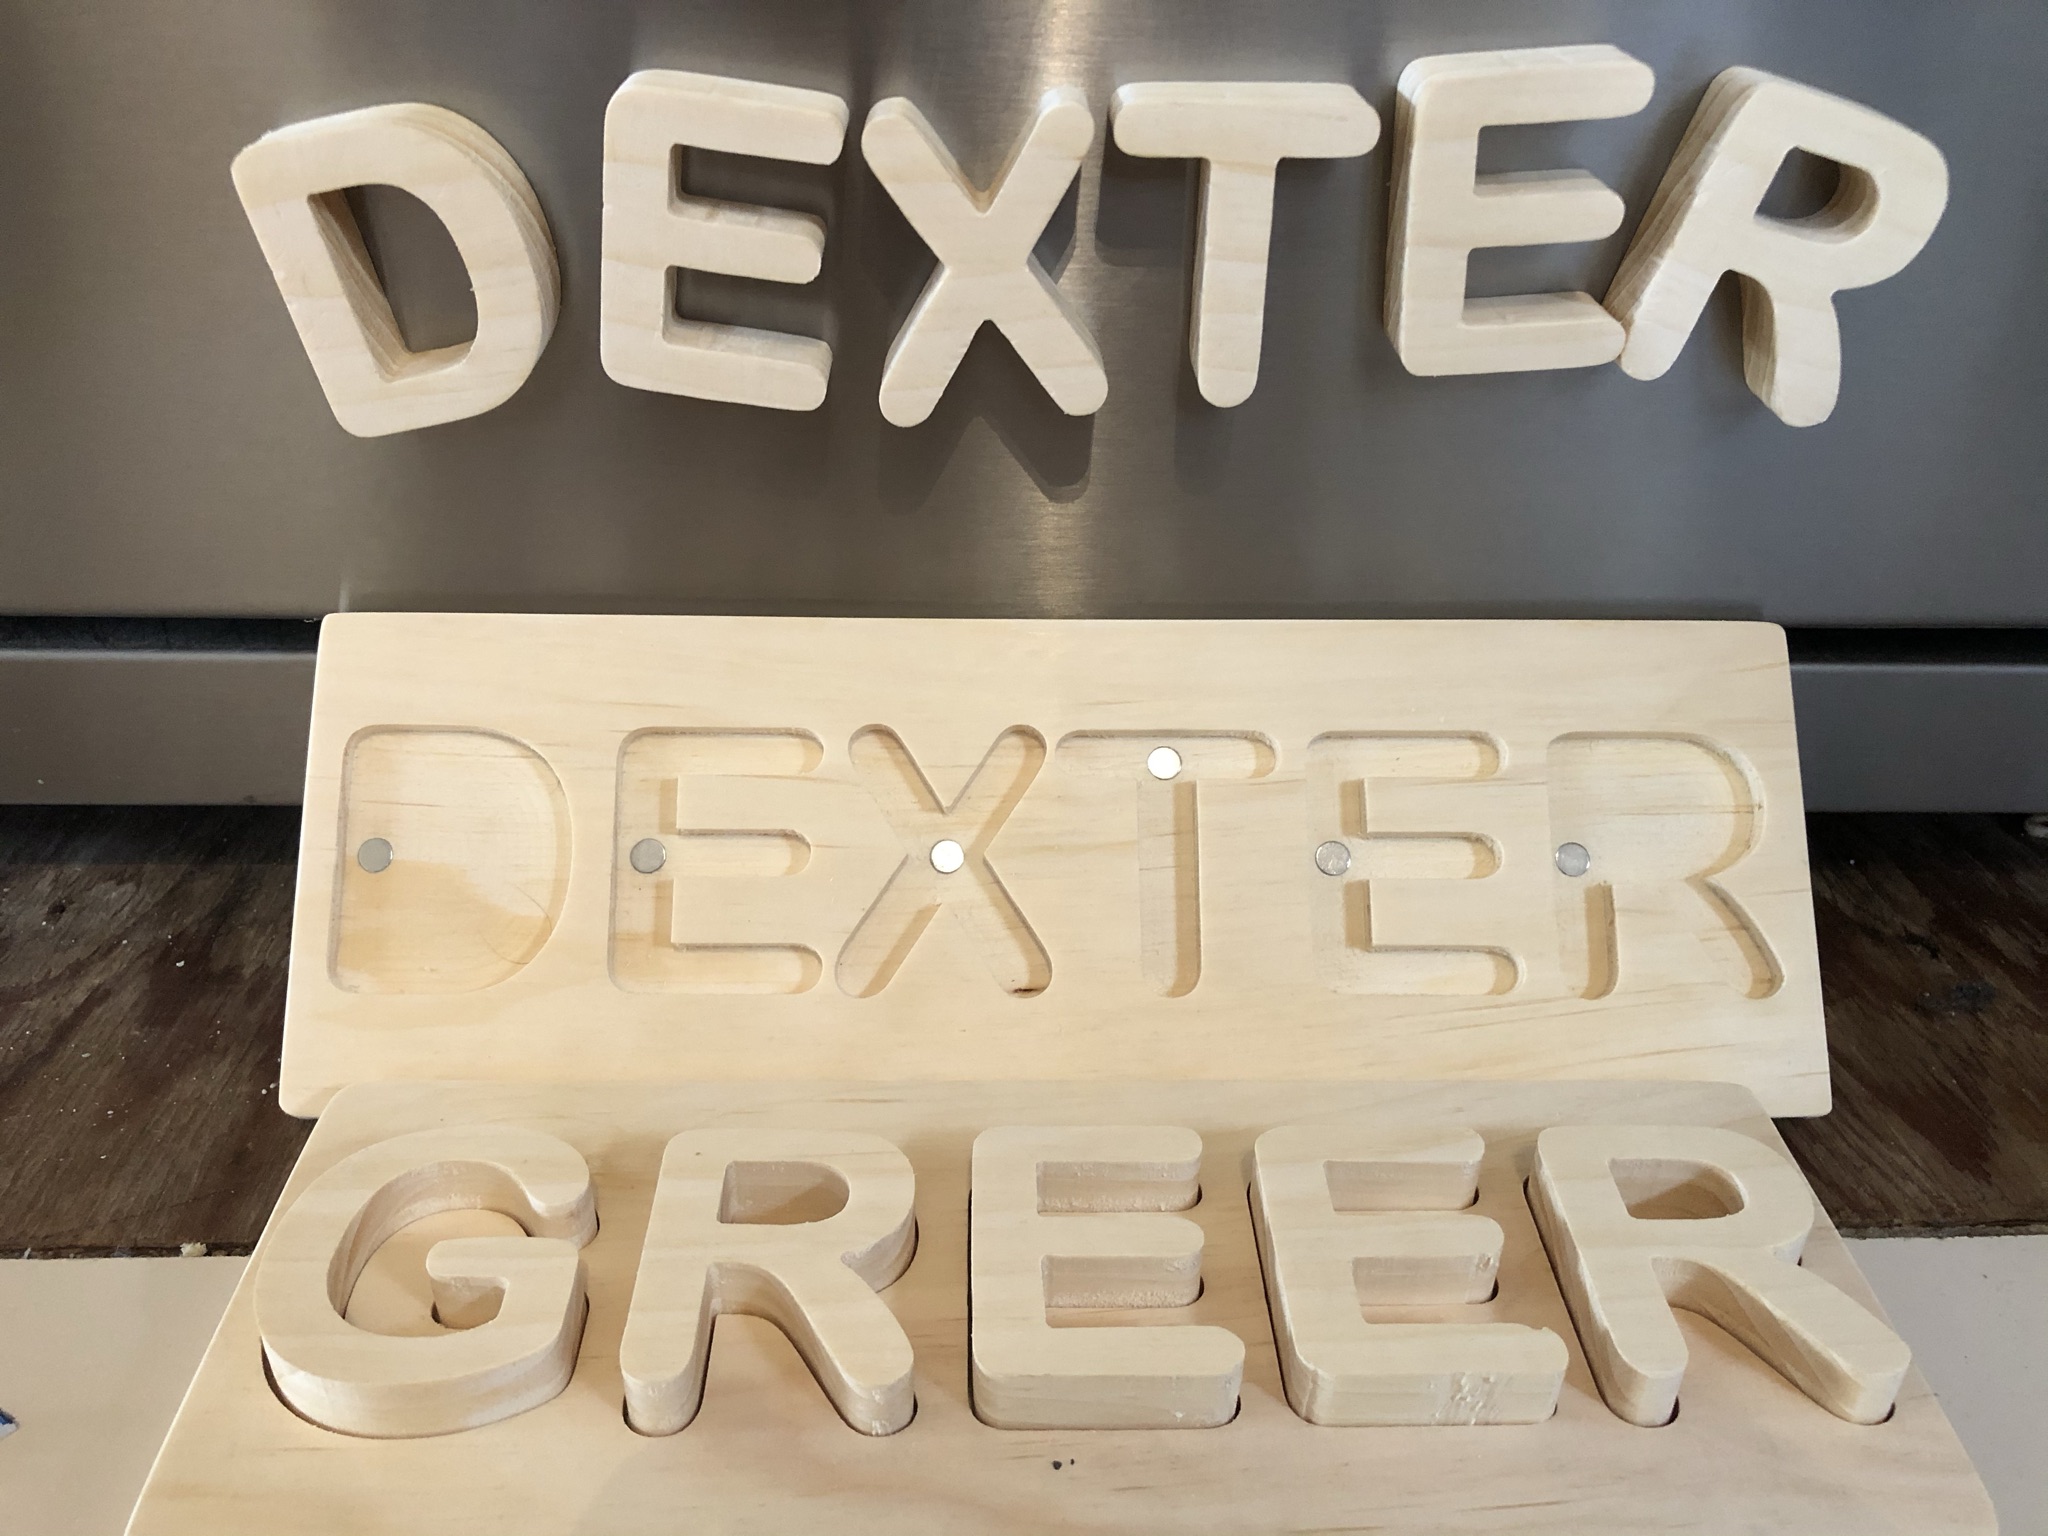
The magnets are Ø8mm x 2.75mm neodymium rare earth that I’ve had kicking around for some time now(I’m a bit of a magnet collector). After a quick test with my 8 month old nephew they seamed to be just the right strength to hold the letters in place but not too hard that he had to struggle to pull them out.
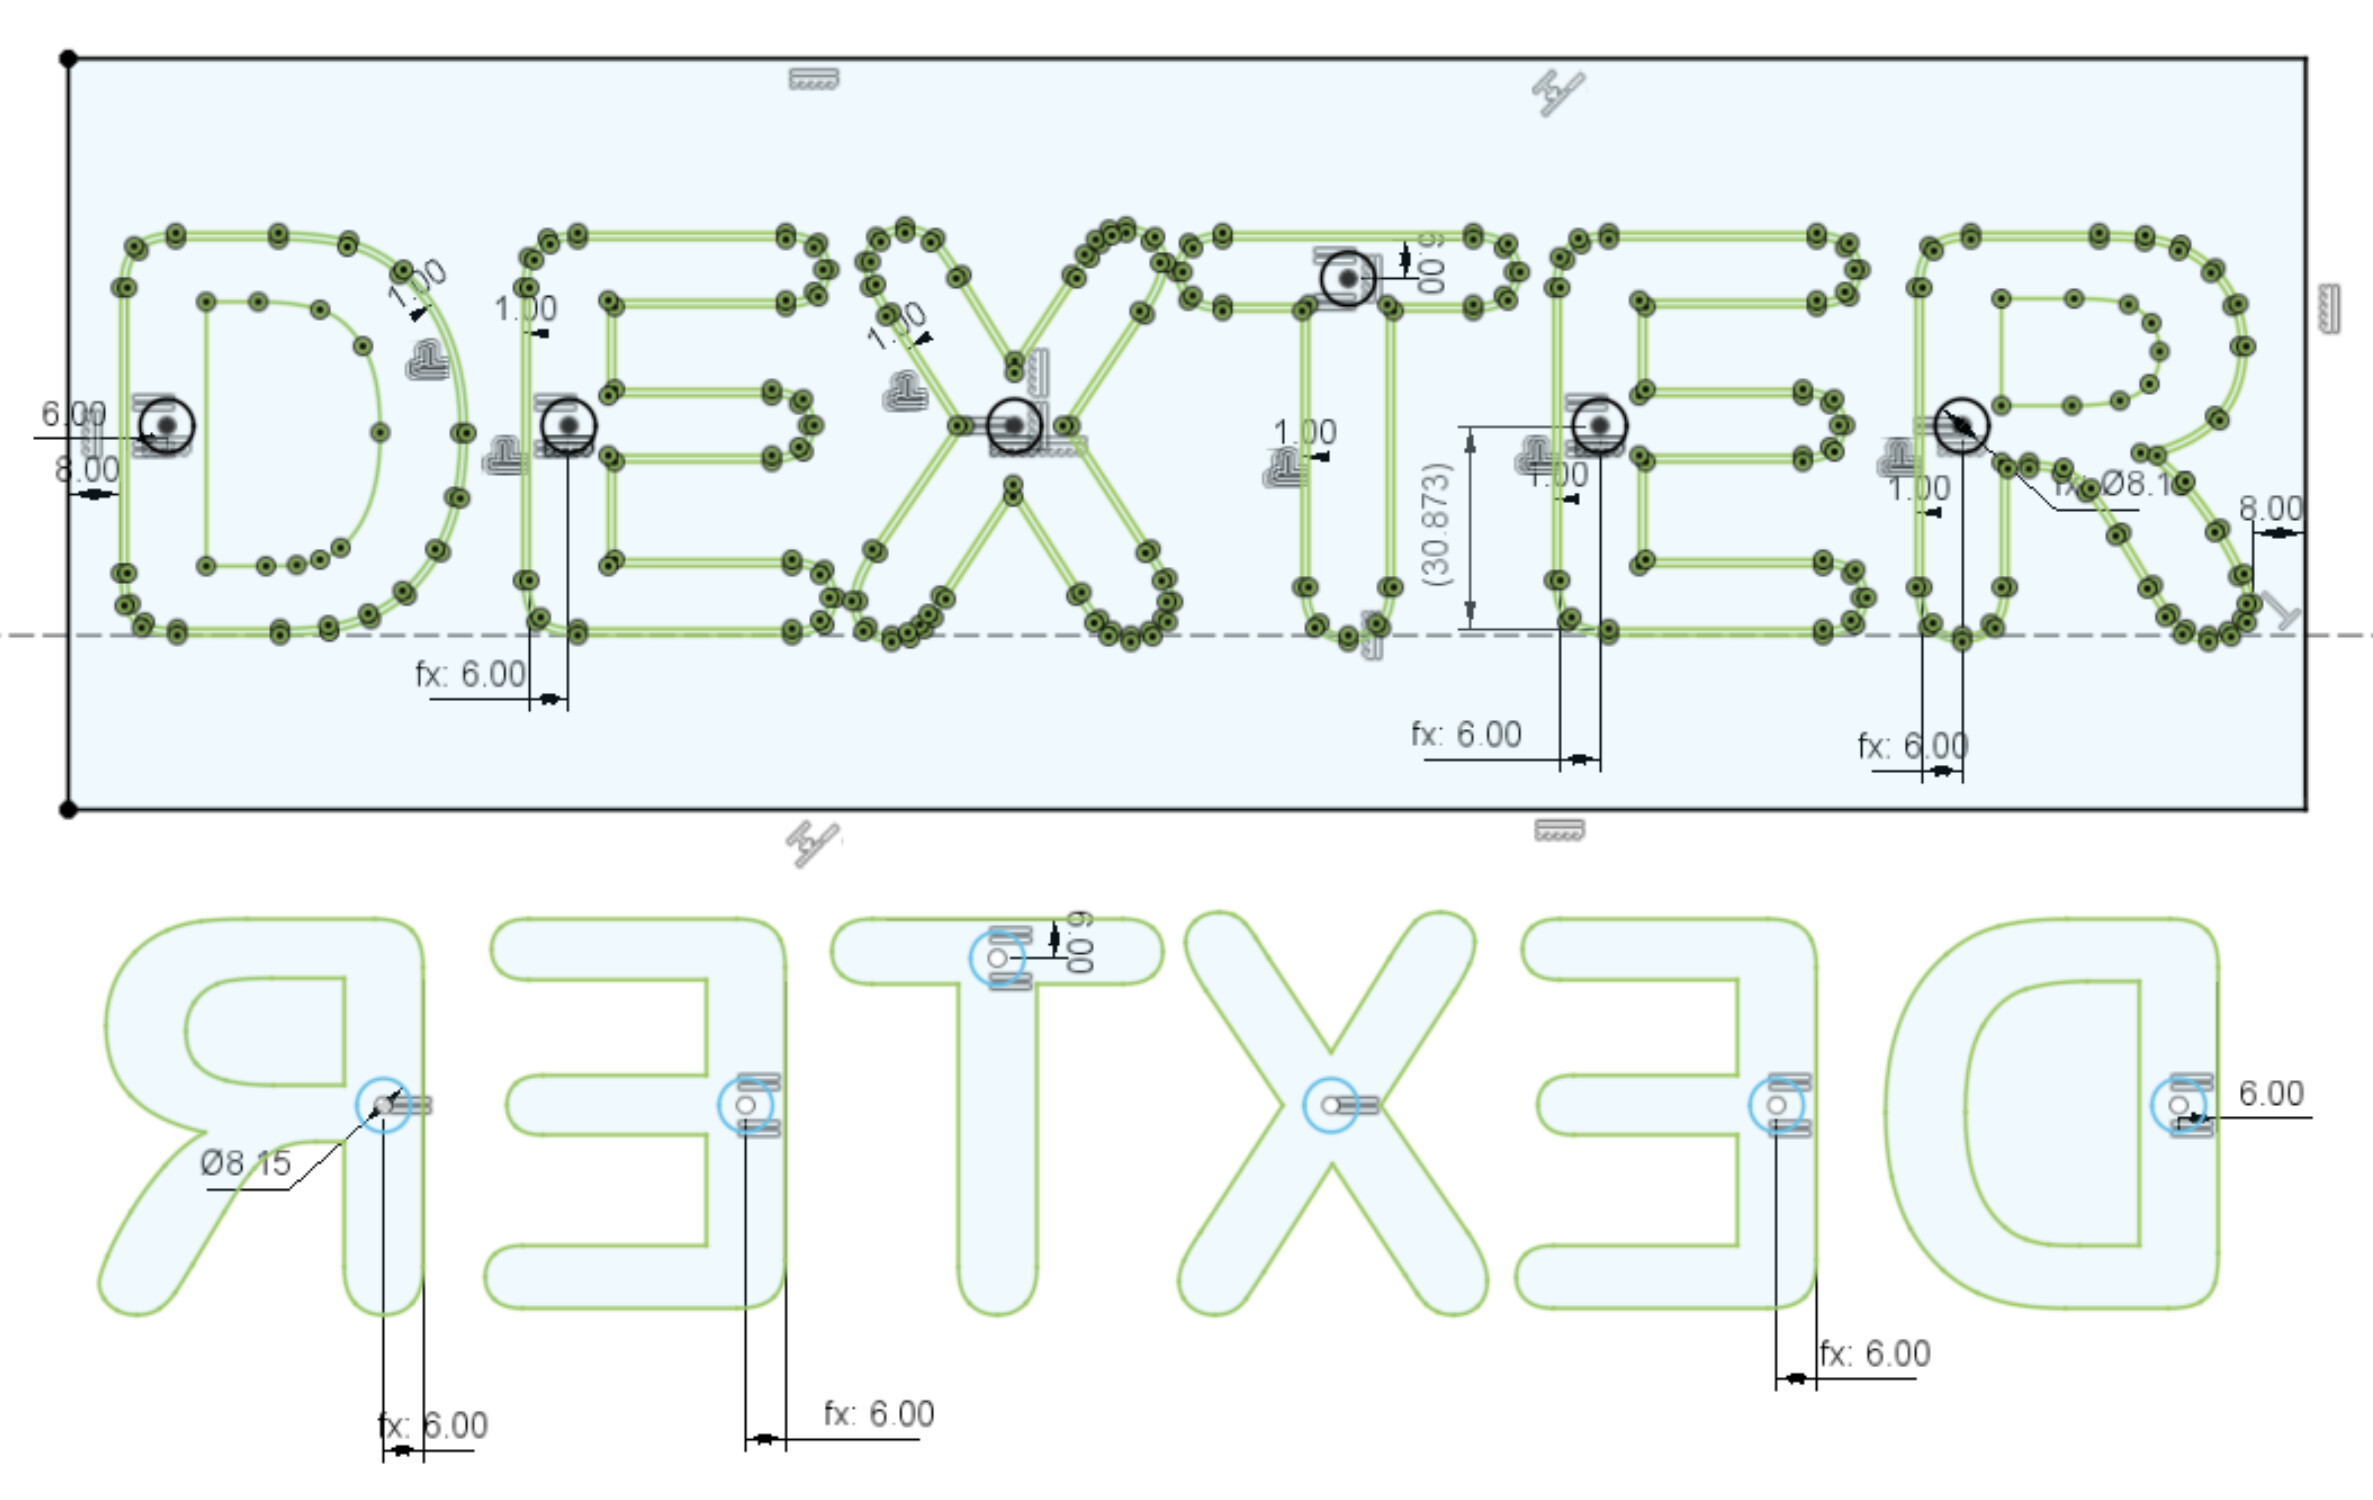
Since I made three of them I learned something with each one. Archer - I learned double magnets were a better option. Dexter - down cut bit worked really well but the use of 3/4" material meant there was a ton of sawdust getting packed into the perimeter cutouts. Greer - I used a compression bit this cut things closer to the planned dimension. So the 1mm offset from letters to recess was perfect for the down cut but it was a little too loose for the compression. All the letters are the same size so they can be interchanges between all the names, this also means I had to check, double and triple check I was putting all the magnets the right way into the letters and the matching way into the two recessed plaques.
The names are a big hit with the kids and parents, i just have to keep them some what clean until I can paint and seal them. Here is a quick video of the snapping action of the magnets.

11 Likes
Thank you all for your entries and the interesting discussions.
Voting is now open!
1 Like
Yes, something like this. As long as you know your part is straight it should get you pretty close