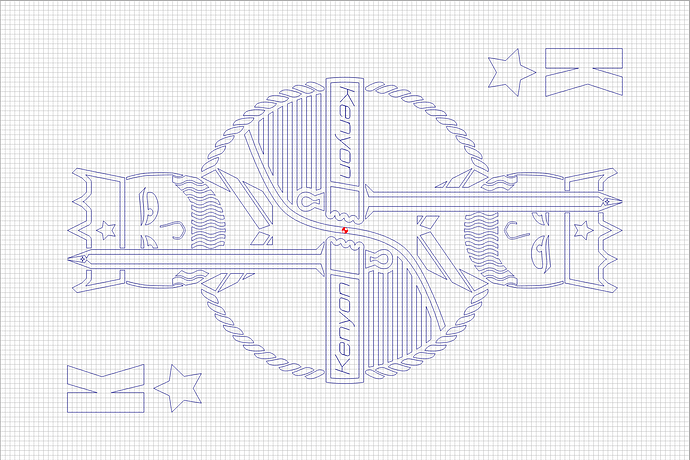
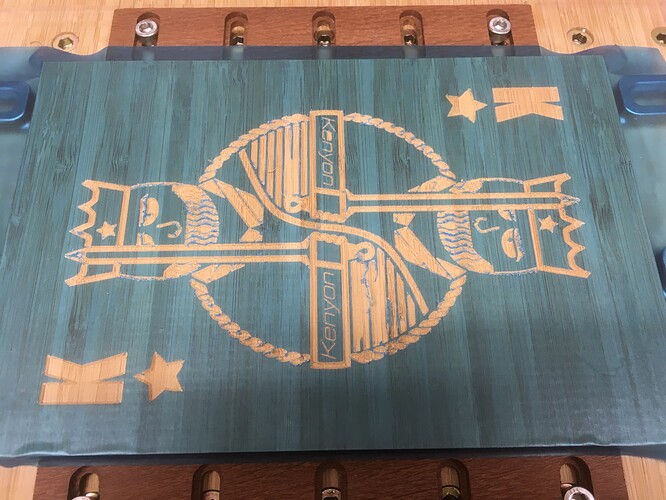
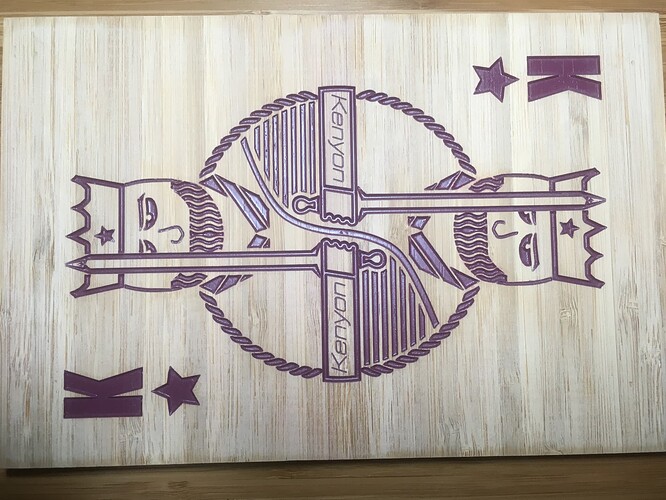
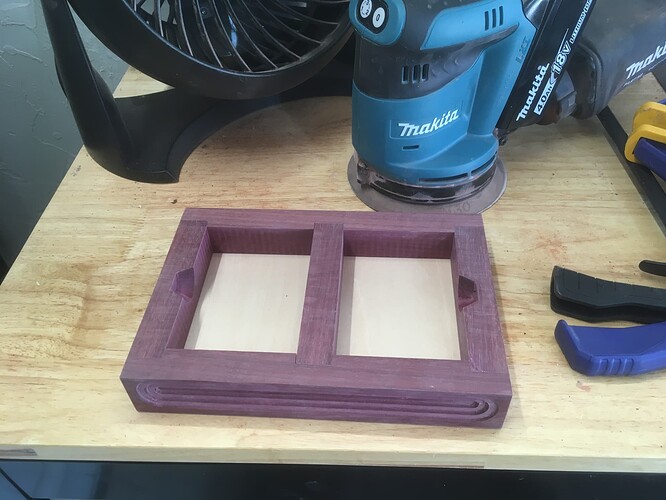
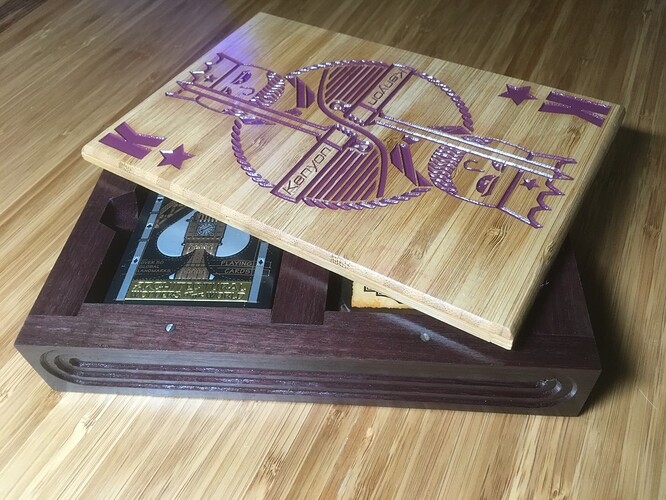
“King of Stars” (work in progress).
The plan is to make a box that will hold two decks of poker cards, this will be a gift for a friend. The box is fairly simple, the box top has custom artwork (and the focus of this post). I wanted to make a custom “King of Stars” for the top of a box, using Design Elements from Carbide 3D.
I had an idea in mind, and after reviewing all of the design elements I started assembling the design.
Here is how I put the design together, using Carbide Create 611.
- Wave_26.svg for the beard (boolean subtraction on a custom draw shape for the beard).
- Halloween_JackOLanterns_16.svg for the eyes
- Aztec_1.svg for the nose
- Banners_5.svg for the sash (heavily edited)
- Air Force_Logo.svg for pattern/neck of the shirt
- Space Force Logo.svg + Task Force Spartan.svg for the sword
- USMC Seal.svg for circle pattern
- United_States Flag 13 Colonies.svg for the stripes on shirt
- Basic_Star_9 for the crown
The rest I just hand drew using the 1/32 x 1/32 grid pattern in Carbide Create. Obviously lots of resizing and tweaking, but you should be able to spot the design elements. I think the air force logo made a great king-like royal shirt collar, and the space force logo for the tip of the sword.
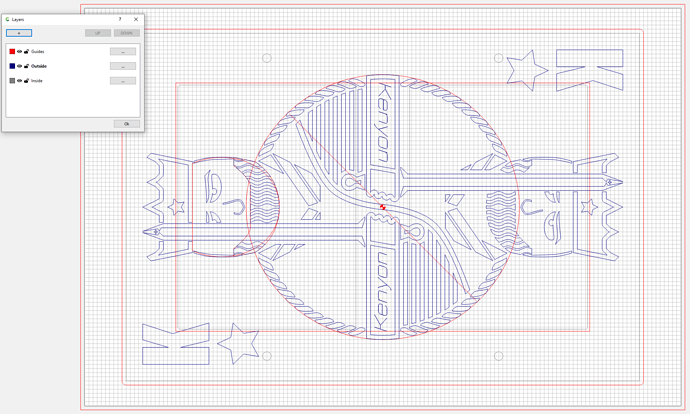
When viewing the attached “RickBoxTop.c2d”, I used the “layers” feature in Carbide Create to keep the objects organized. I used a “Guides” layer with a red color to hold objects I just use while designing (not used for toolpaths). The “Outside” layer with a blue color for those objects cut on the outside, and an “Inside” layer with gray color for those objects cut on the inside.
Here is a screenshot showing all layers…
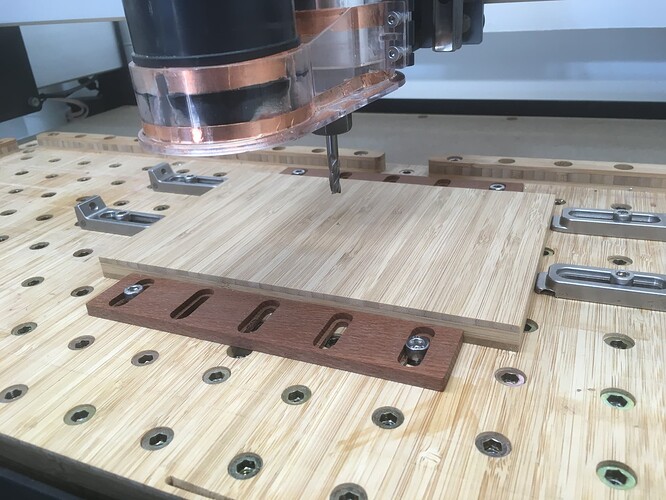
The plan is to CNC this from a 9" by 6" stock of bamboo.
First I just surfaced the bamboo, reducing the thickness to 1/2". I have fully embraced @wmoy method of using the top of wasteboard (aka bottom of stock). If you are reviewing my toolpaths this is why the first step is to pocket the entire surface with a start depth of 0.0 and a max depth of 0.00001. The stock size is defined as 1/2" thick so this step just disappears the oversized thickness.
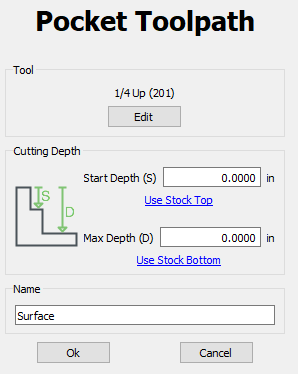
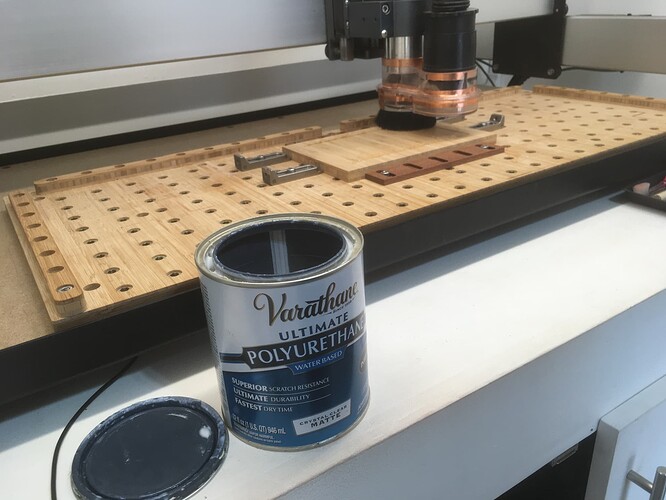
While that was working I got the Polyurethane ready, as I would be apply a coat to the freshly surfaced part.
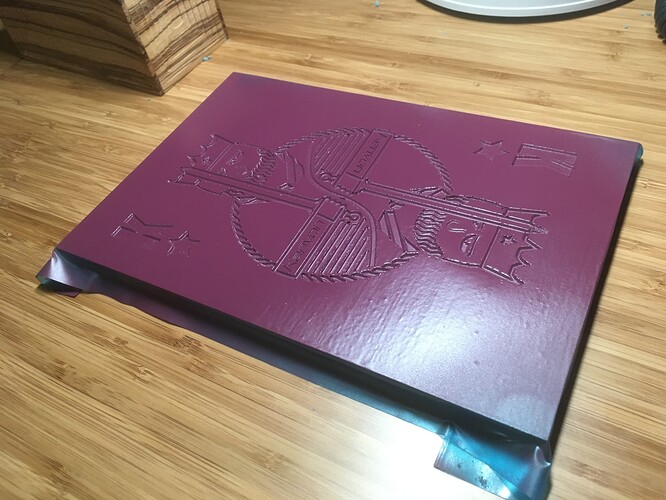
Once that dried, I applied some Oramask so it will be easier to paint the “King of Stars” design. After cutting it was apparent I pushed the Oramask a little too much, so I pulled out the exacto-knife and cleaned it up. I’ll need to do additional sanding, but the Oramask should still save me time.
Used purple paint, that somewhat matches the purple heart wood (which I know changes over time).
After removing the Oramask and less than 10 minutes of light sanding I like the results.
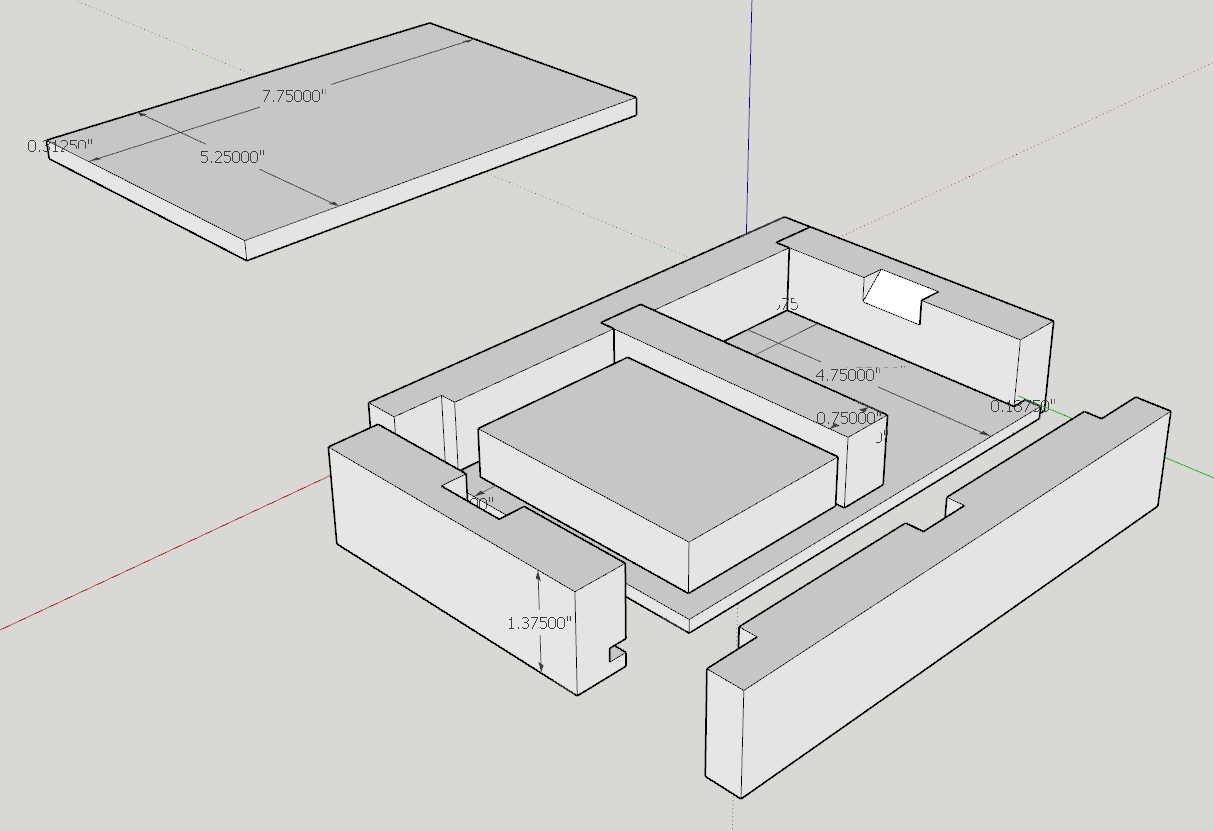
The box is assembled from 5 pieces of purple heart, the previously discussed bamboo top and a simple plywood box bottom.
Magnets are added, everything is cleaned up, and a couple boxes of cards are added.
