My plan is to make a lot of custom boxes for xmas gifts. I’ve already shown the poker card box, and one of the Diablo III stash boxes. The lessons learned on those projects have me attempting a more complicated box with resin.
The basic box design is a rather simple 11" x 7.5" x 3.75" box. Not sure what the correct term is for this kind of box is (rabbit joinery?). I’ve tried a few methods but have decided this style is the best balance for my (limited) experience level.

My plan is to take this (simple) box design, and focus on the visual design. I’m also going to attempt to make somewhere between 6 and 10 of these boxes. This means I can tweak the design and see what kind of improvements I can make along the way, as well as try some different resin techniques.
Part 1: The box sides
I have designed the 4 sides of the box to be machined from a 19.5" x 9" x 0.5" board (that is actually 0.525" thick). This is going to require both sides of the board to be machined, so let’s start by reviewing my method for designing this.
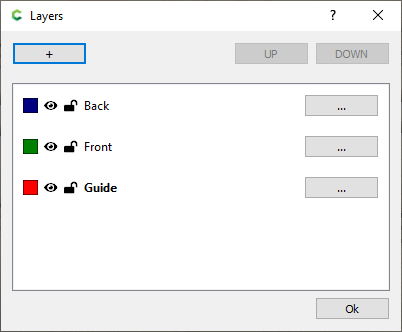
This is a great time to use “Carbide Create Layers” in combination with the “Carbide Create Toolpath Groups”. I have three layers defined; Blue for the back side of the board, Green for the front side of the board, and Red for anything I consider guide lines, or things I add to the design for measuring but not actually involved in toolpaths.
So looking at JUST the “Back” layer (with the other two layers hidden). And with only the “Back” toolpath group enabled.
The plan is to surface the board down to 0.5" using a Moy Mod McFly. I start by zero X and Y to the lower left corner of the stock. And I zero the Z to the top of my wasteboard (not the top of the stock). Since I will be resurfacing the entire board I can not have any clamps on top, just low profile clamps pushing in from the sides.
The surfacing is done with two different toolpaths, one just around the edge, then the middle. I use two toolpaths so I can pause the job after the edge is surfaced and add more hold clamps around the edge.
The remaining toolpath step simply cuts in the joinery slots. Once this first job is done (back side) I can then flip the board over and work on the front side, I do NOT touch/change any of the zero settings.
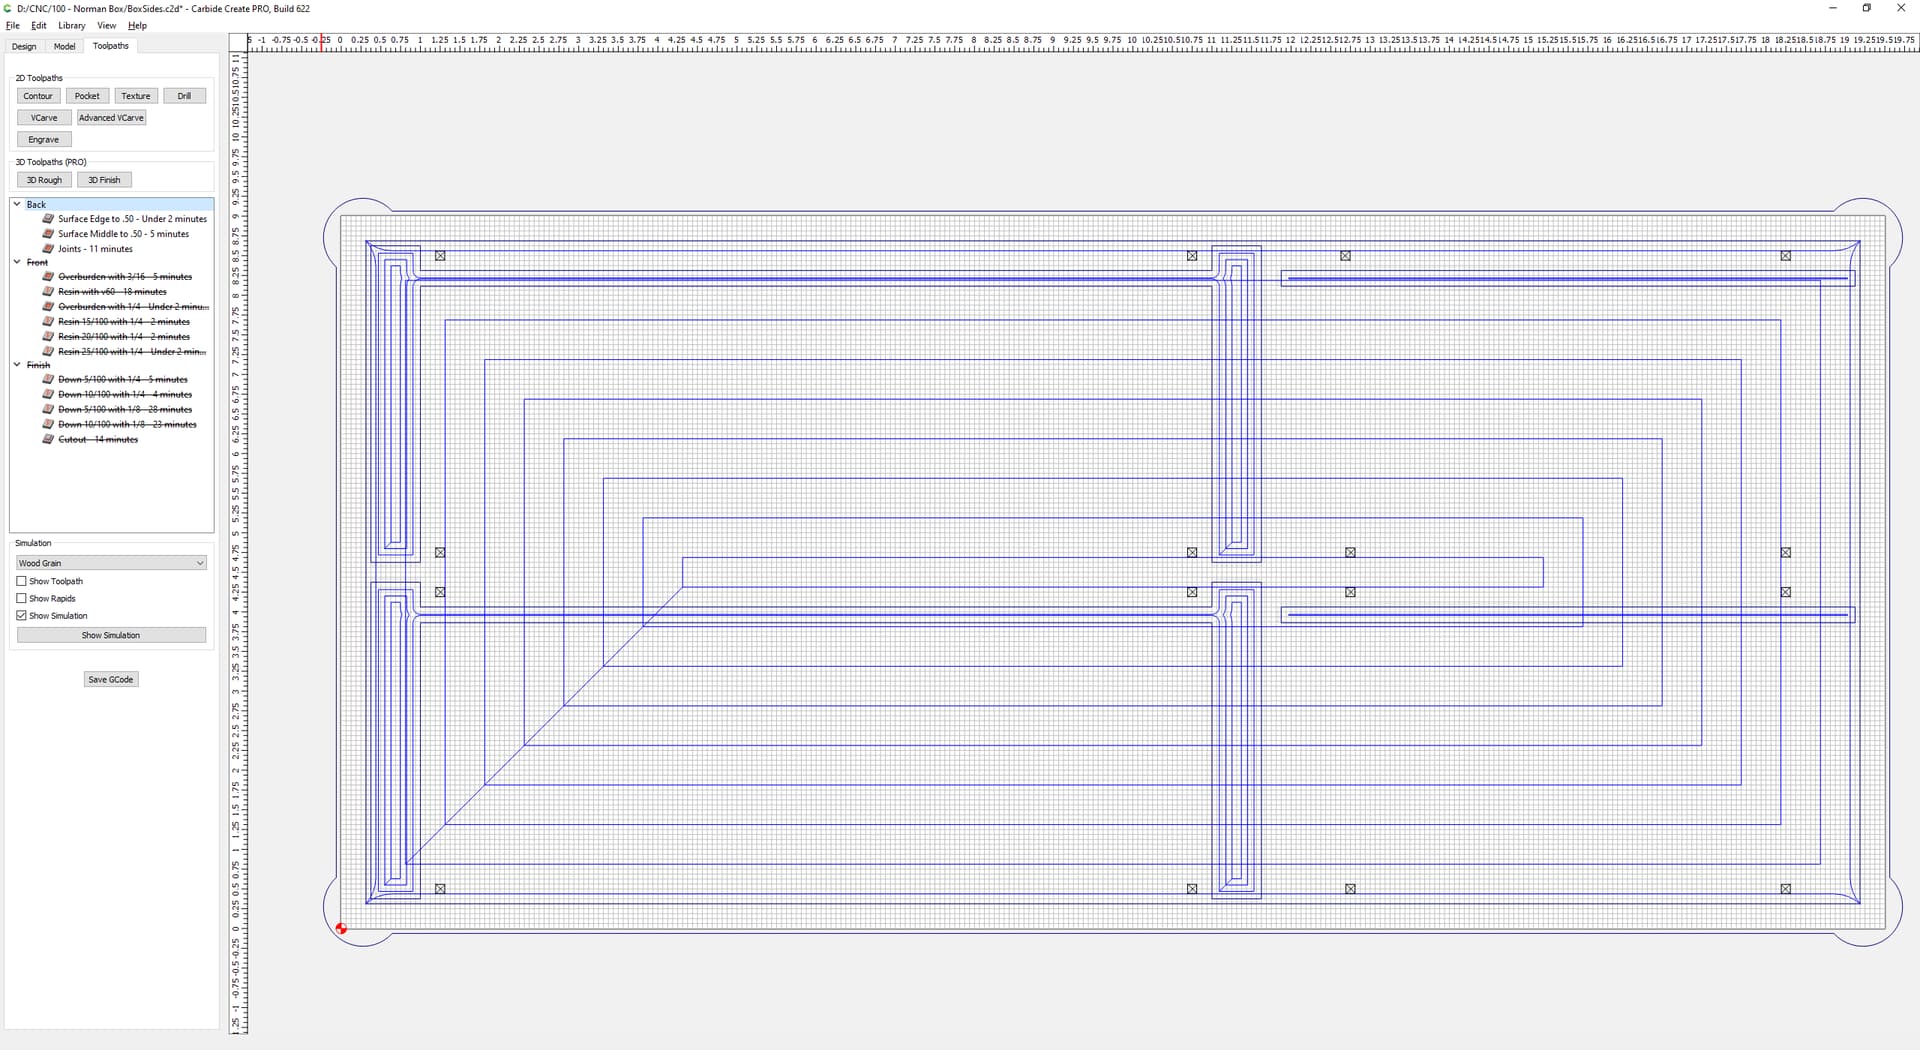
Returning to the design in Carbide Create, I can now turn on the “Front” layer and enable the “Front” toolpath group. There is a lot going on here, but it is all cosmetic. And while the image below is simulating the completed design, I am going to actually do this in two steps because I am going to be using some resin/epoxy.

I want the deepest pockets to be filled with colored resin, so the first toolpath group makes the pockets that I can fill with resin, then after the resin has hardened I can run the next toolpath group to clean up and finish the design. The biggest benefit of this “Cut - Resin - Cut” method is that I don’t have to be perfect when pouring the resin. So it takes roughly two days to make each set of sides, as the process it really cut the back, flip, cut the front (for resin), seal cuts with poly (wait 3 hrs), resin (wait 12 hrs), final cut, glue up.
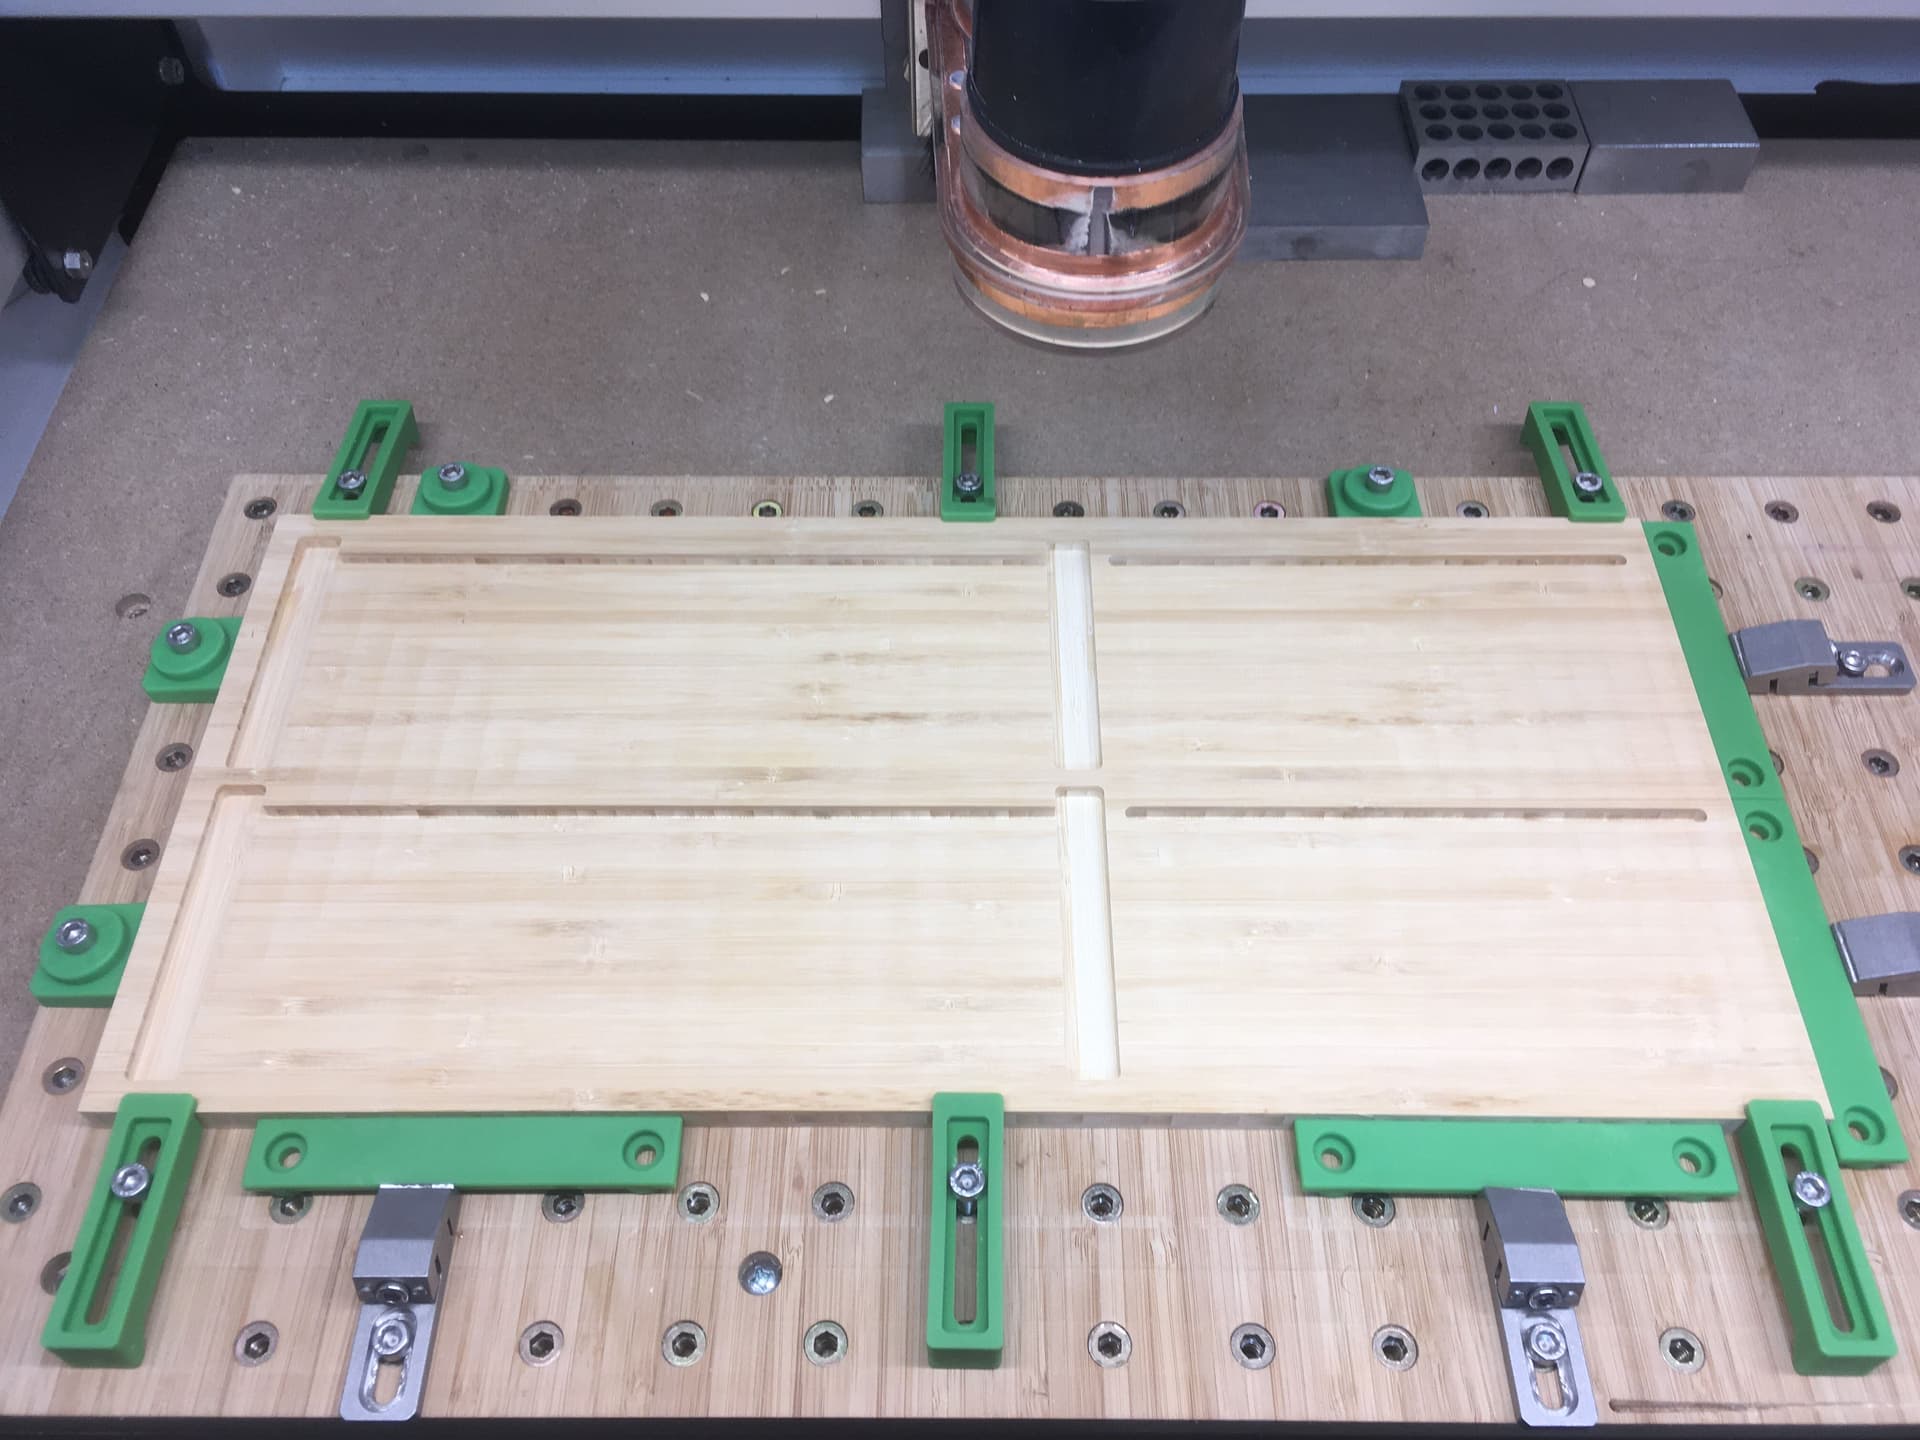
So it goes from this…
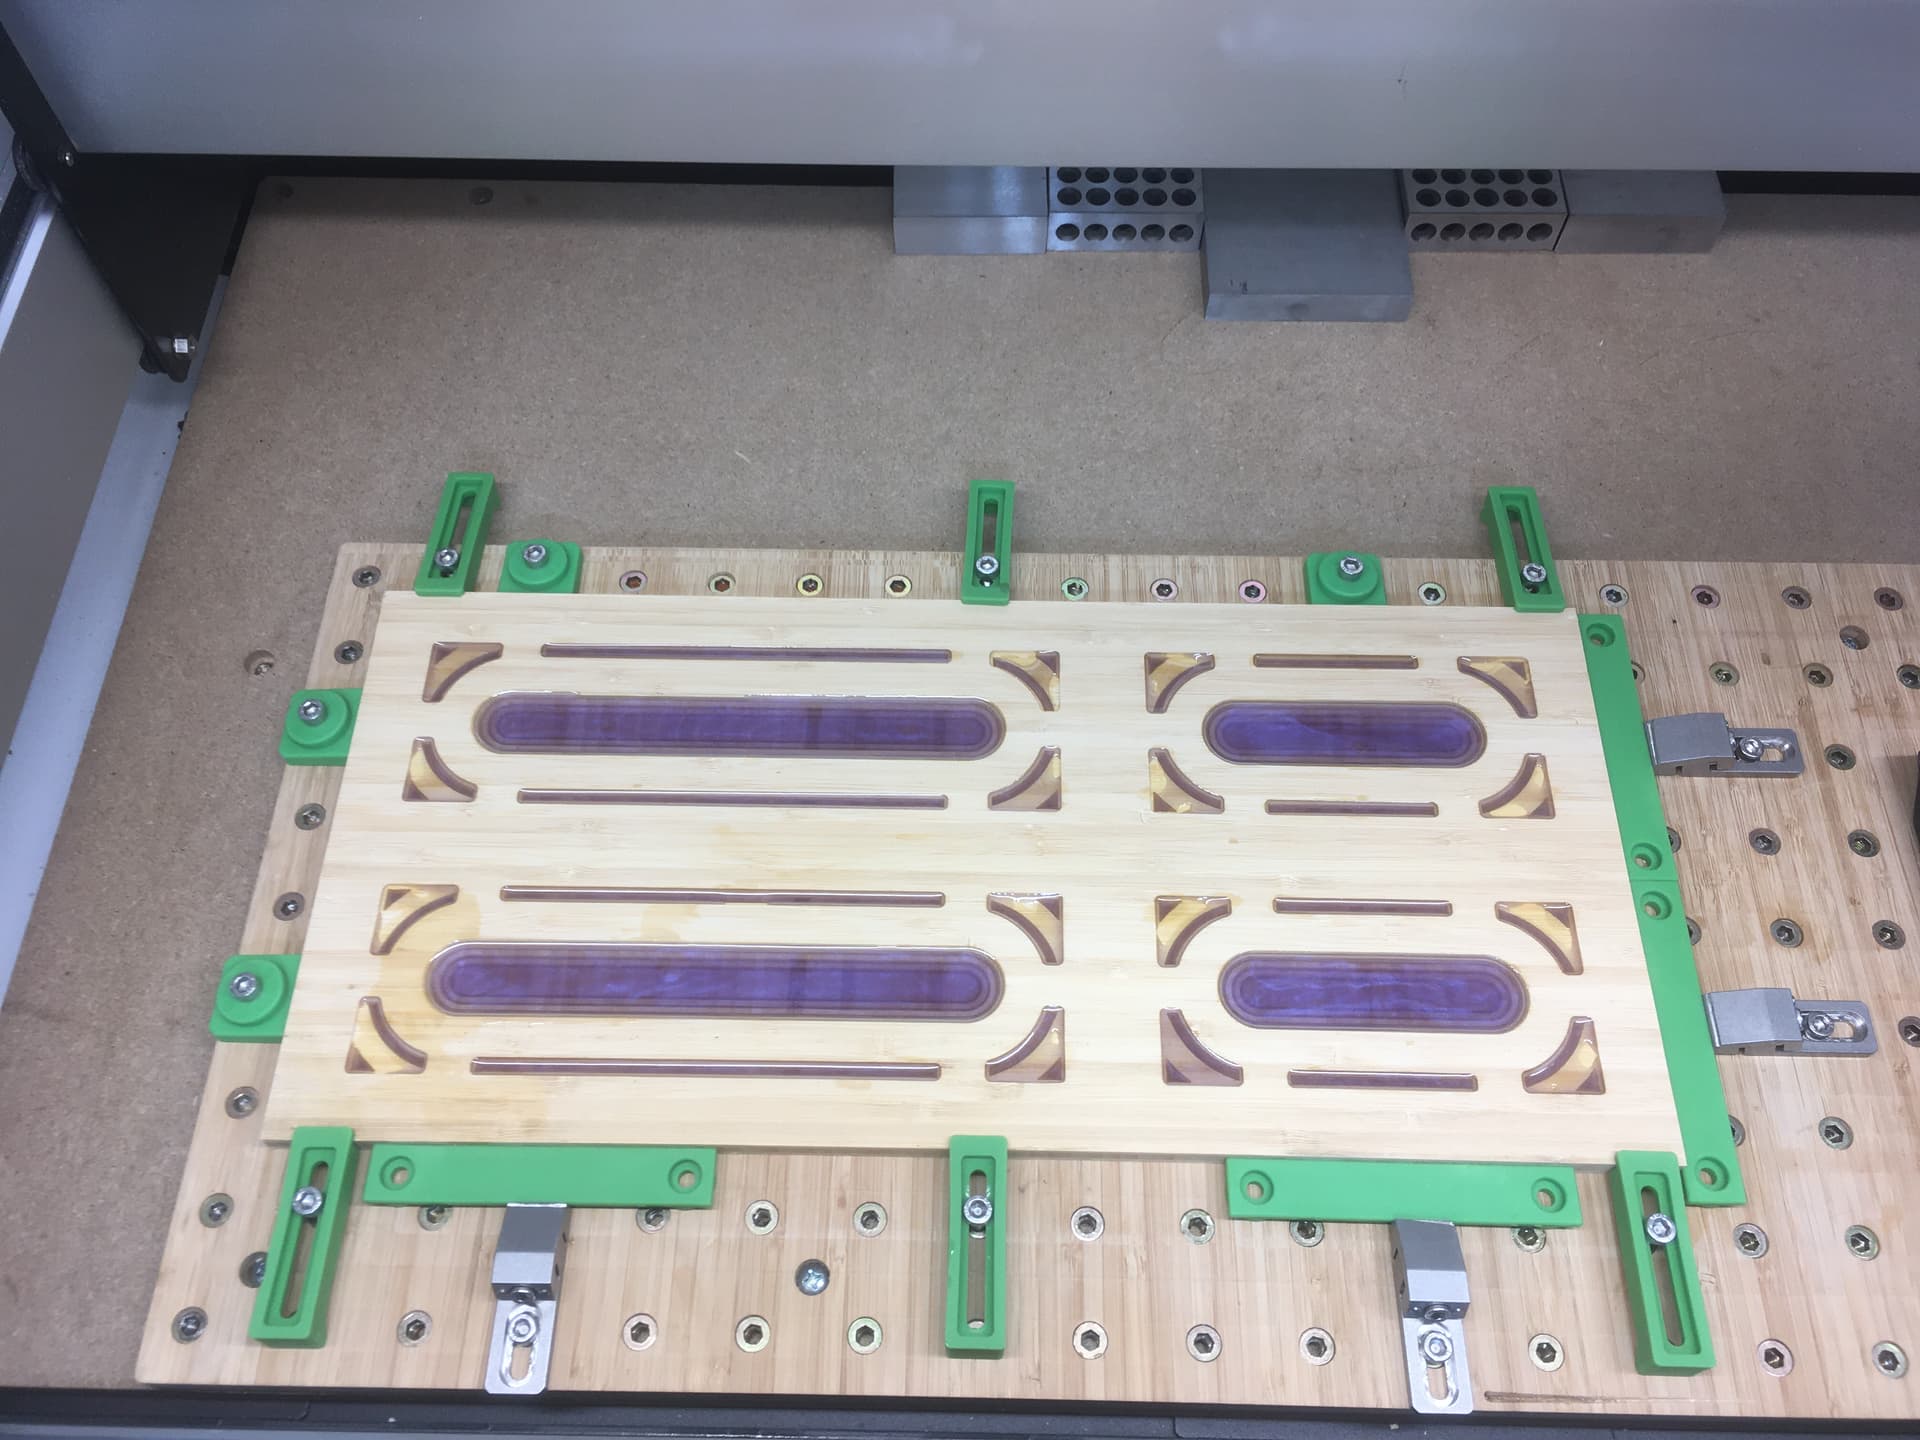
… to this

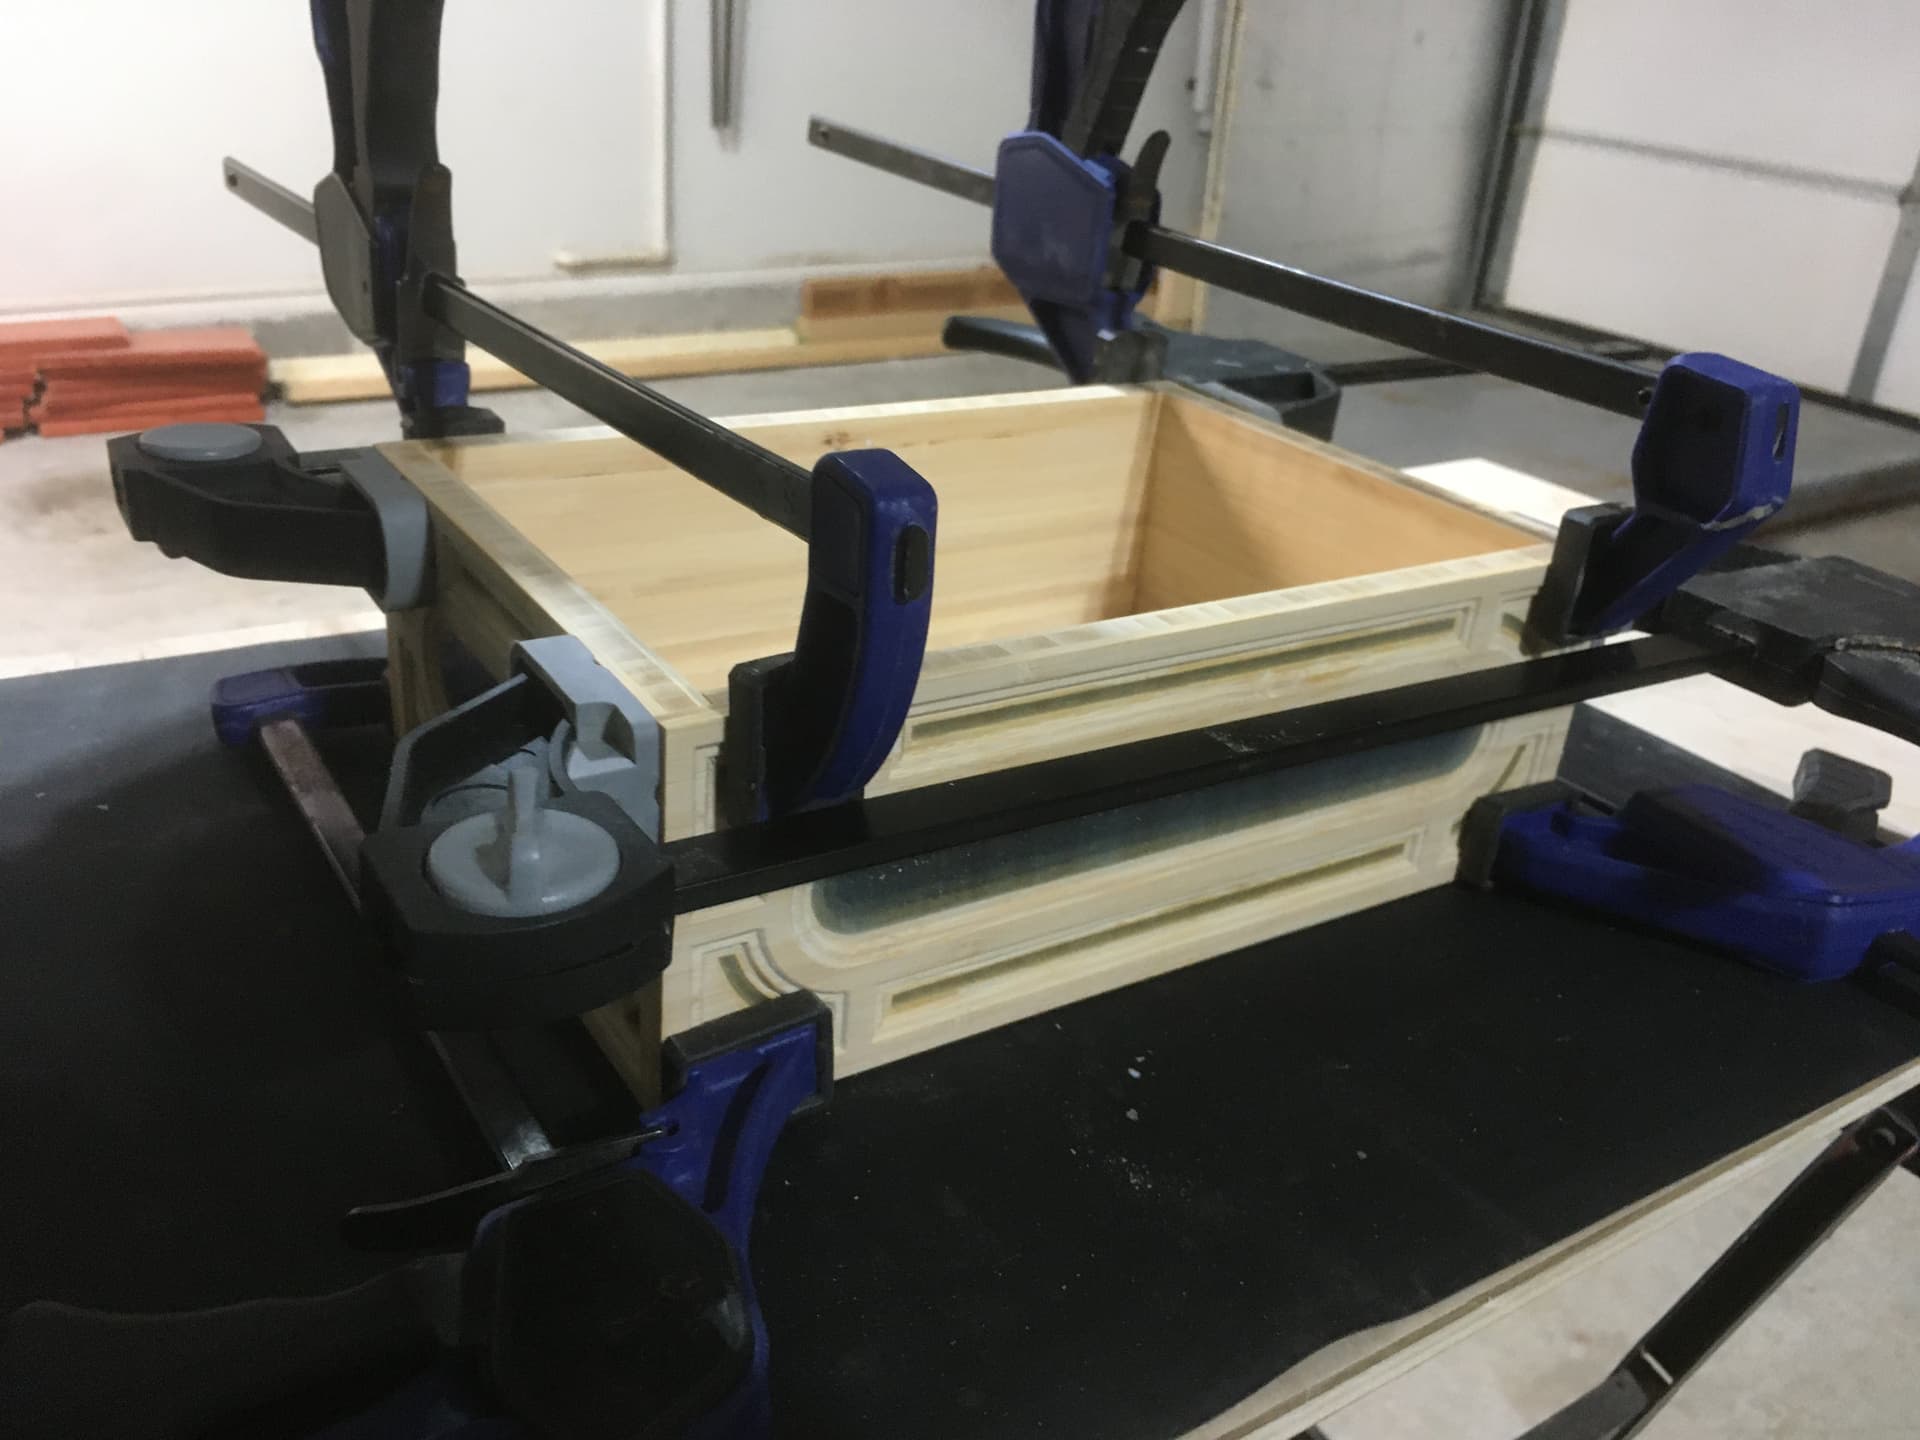
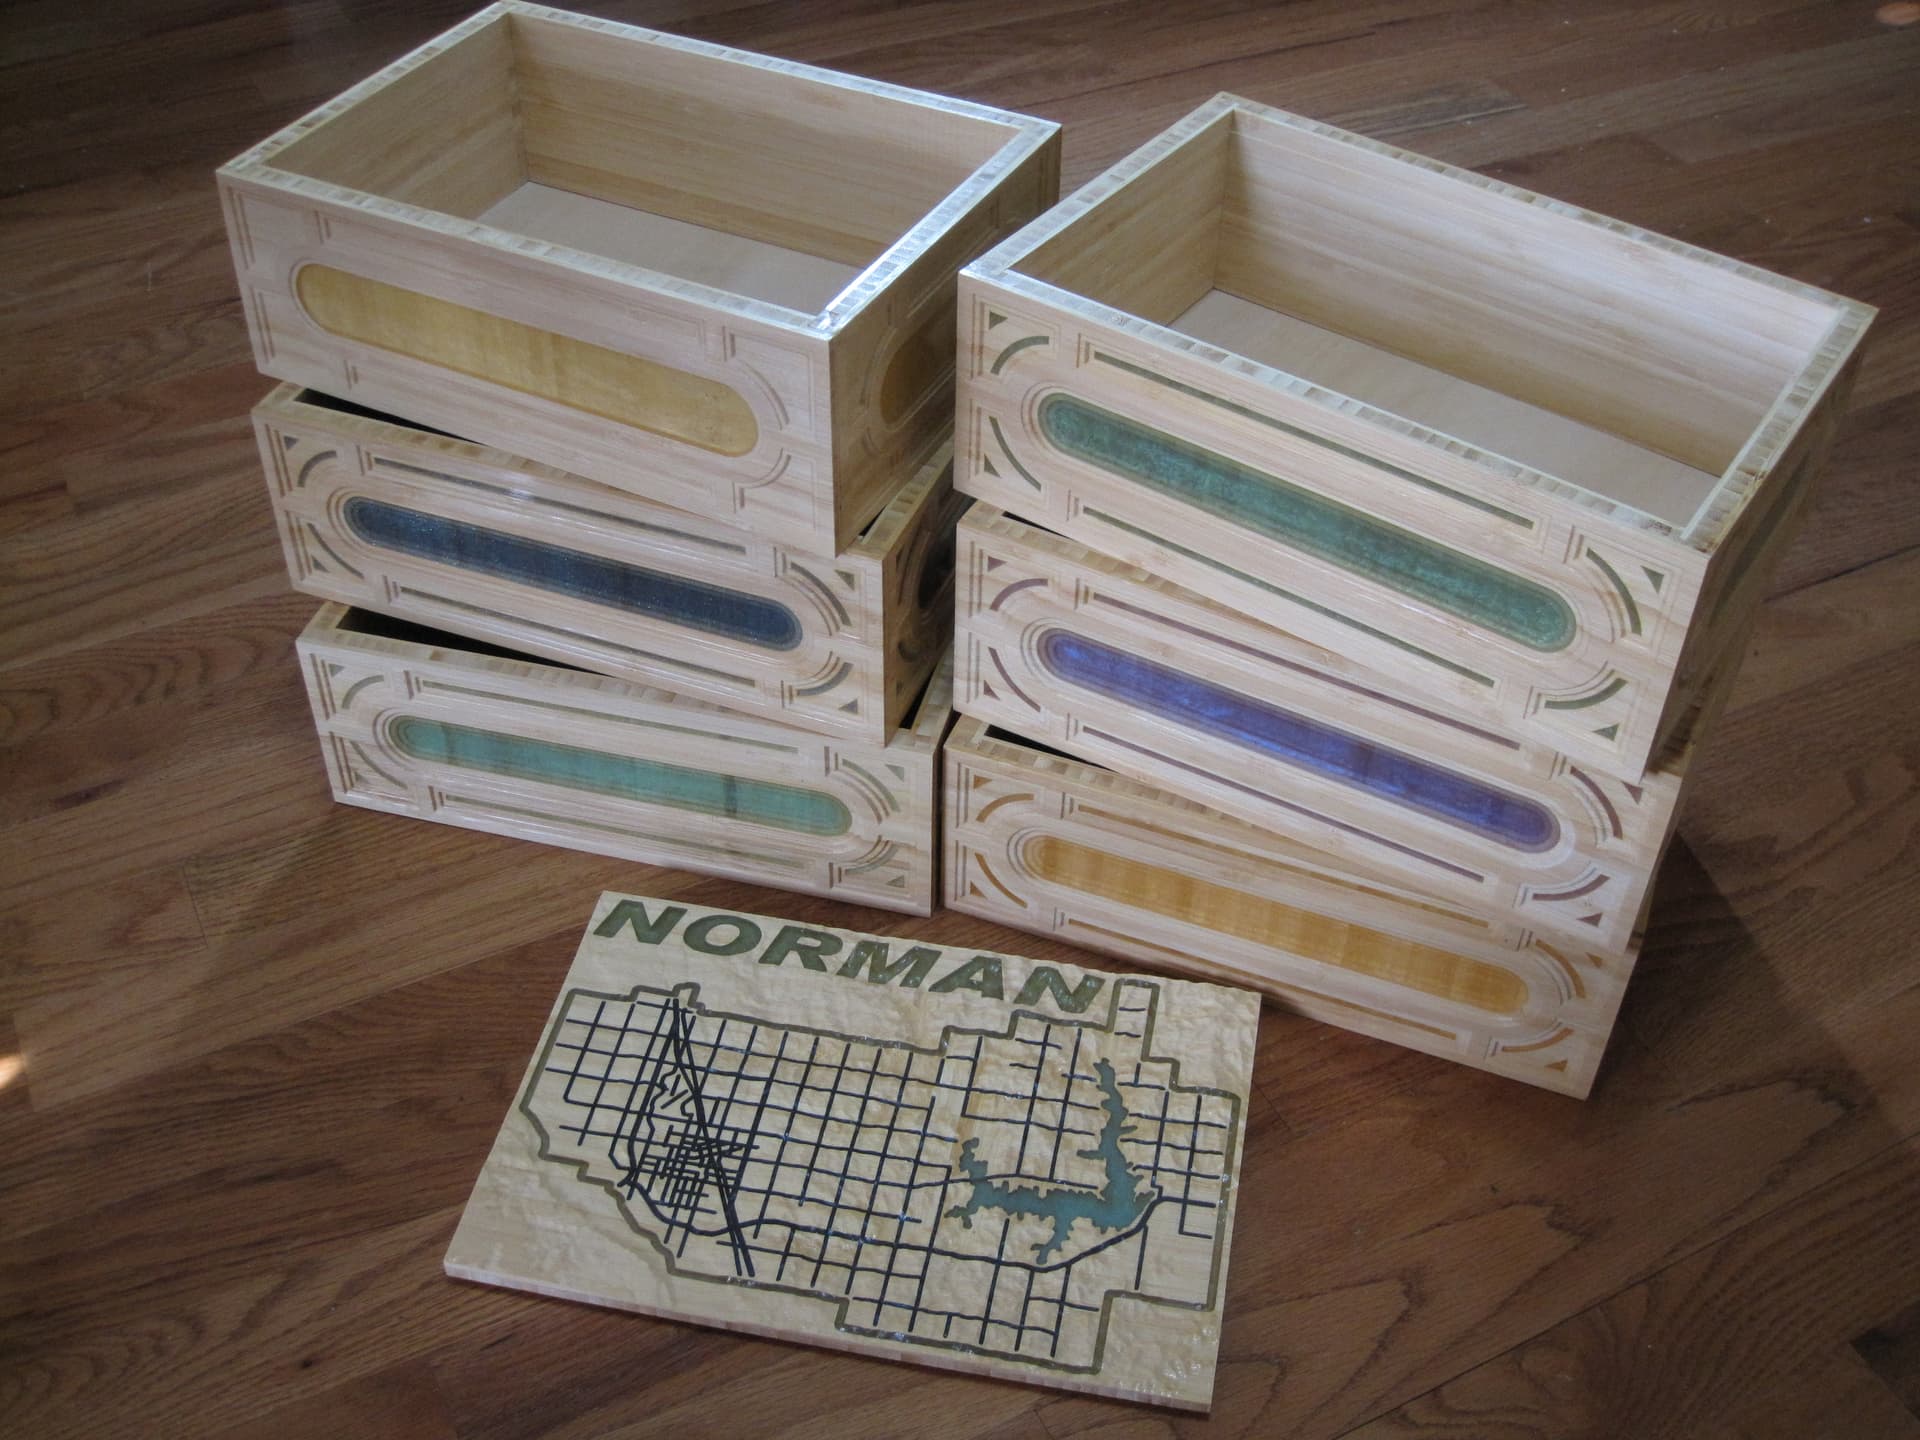
and then assembled…
Part 2: The box top
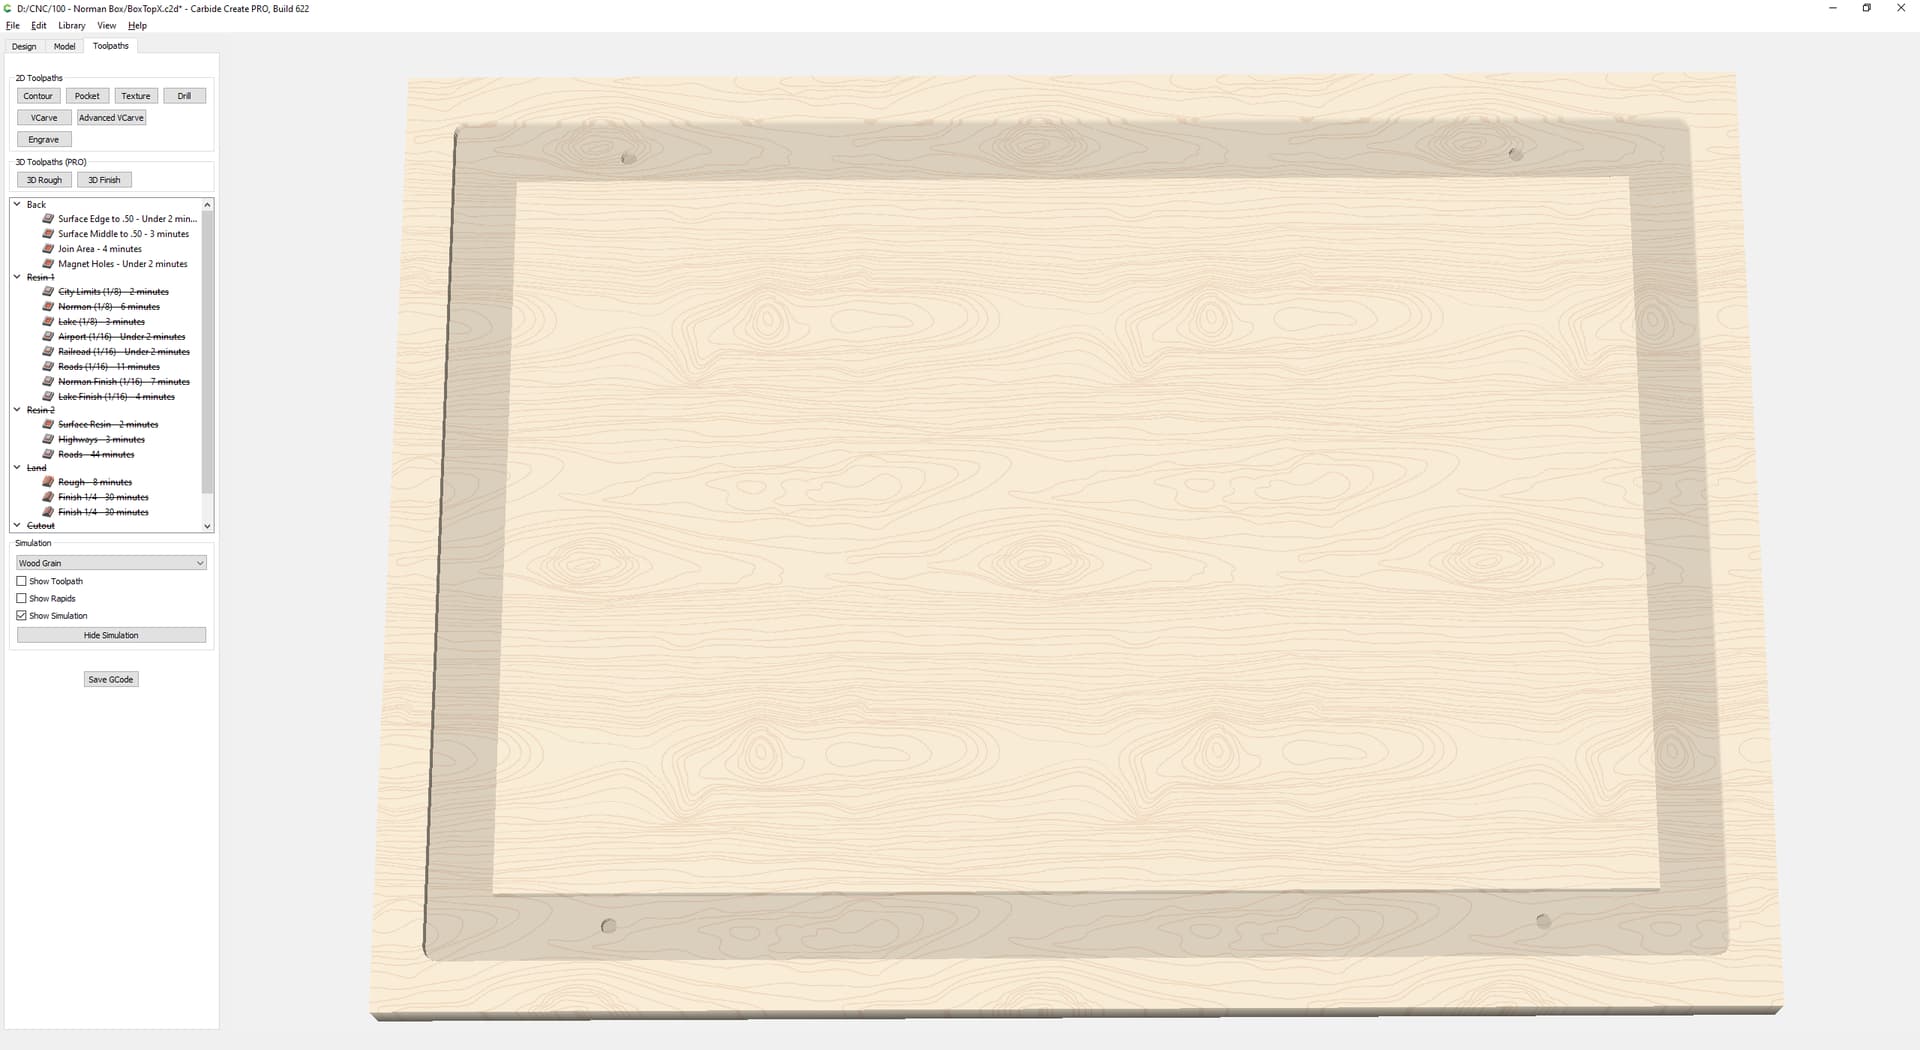
Using the same methods, the box top is also two sided. The back/under side of the box top is surfaced, and then cut so the middle of box top sits down into the box, and 4 holes for magnets.
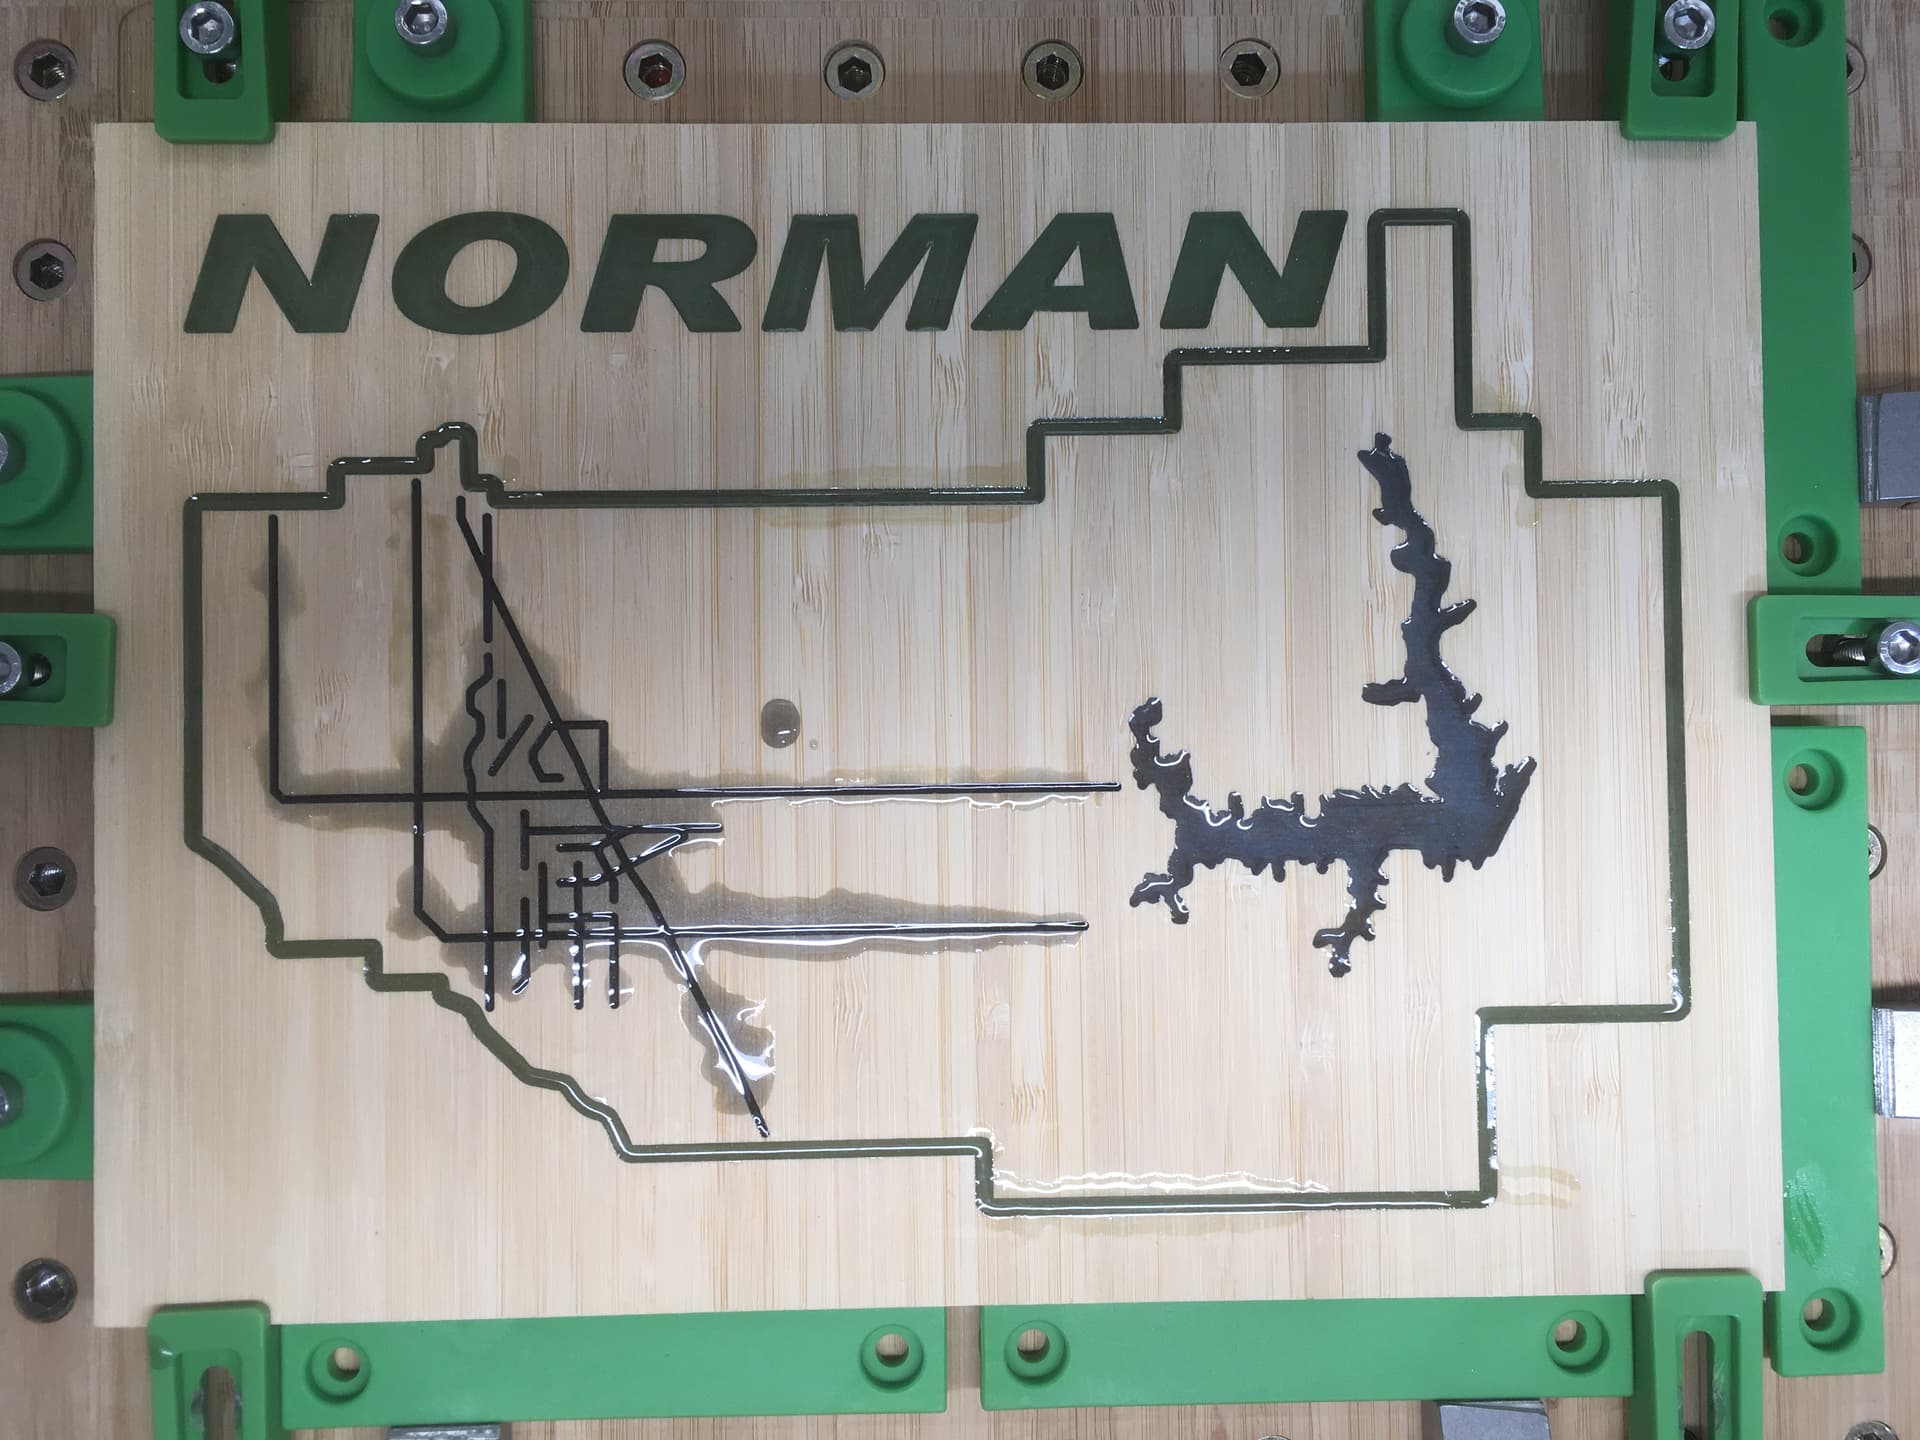
Then the fun starts, the top of the box is going to be a topographic map of my home town. But with resin added before the topographic heightmap is cut. So this is “Cut - Resin - Cut - Resin - 3D Cut”. The two resin steps were needed because of the closeness of the cuts in the downtown area, and the road/bridge over the local lake.
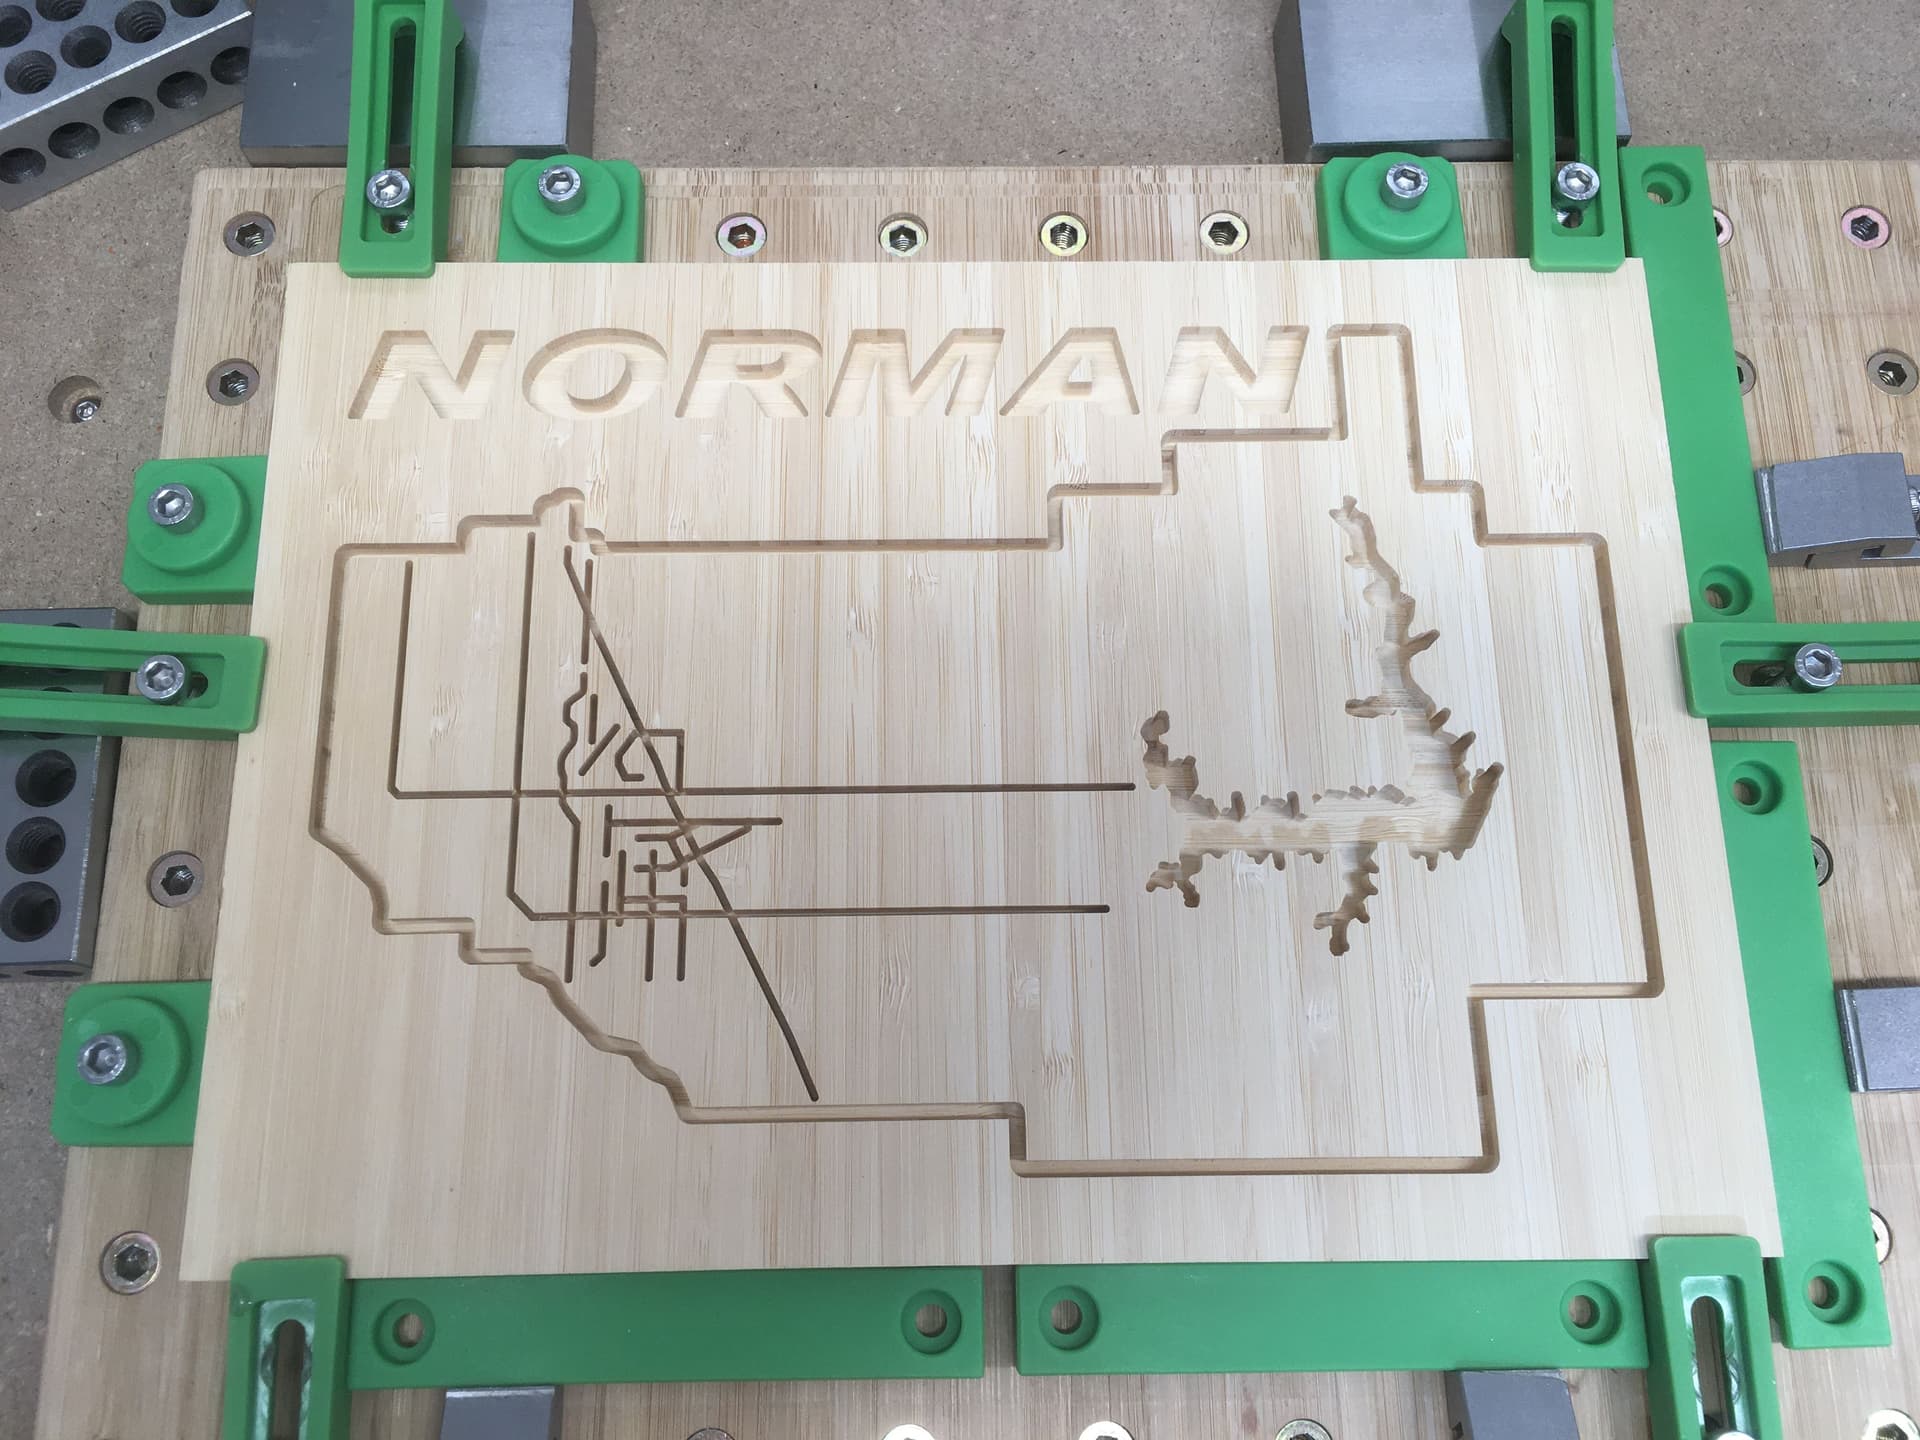
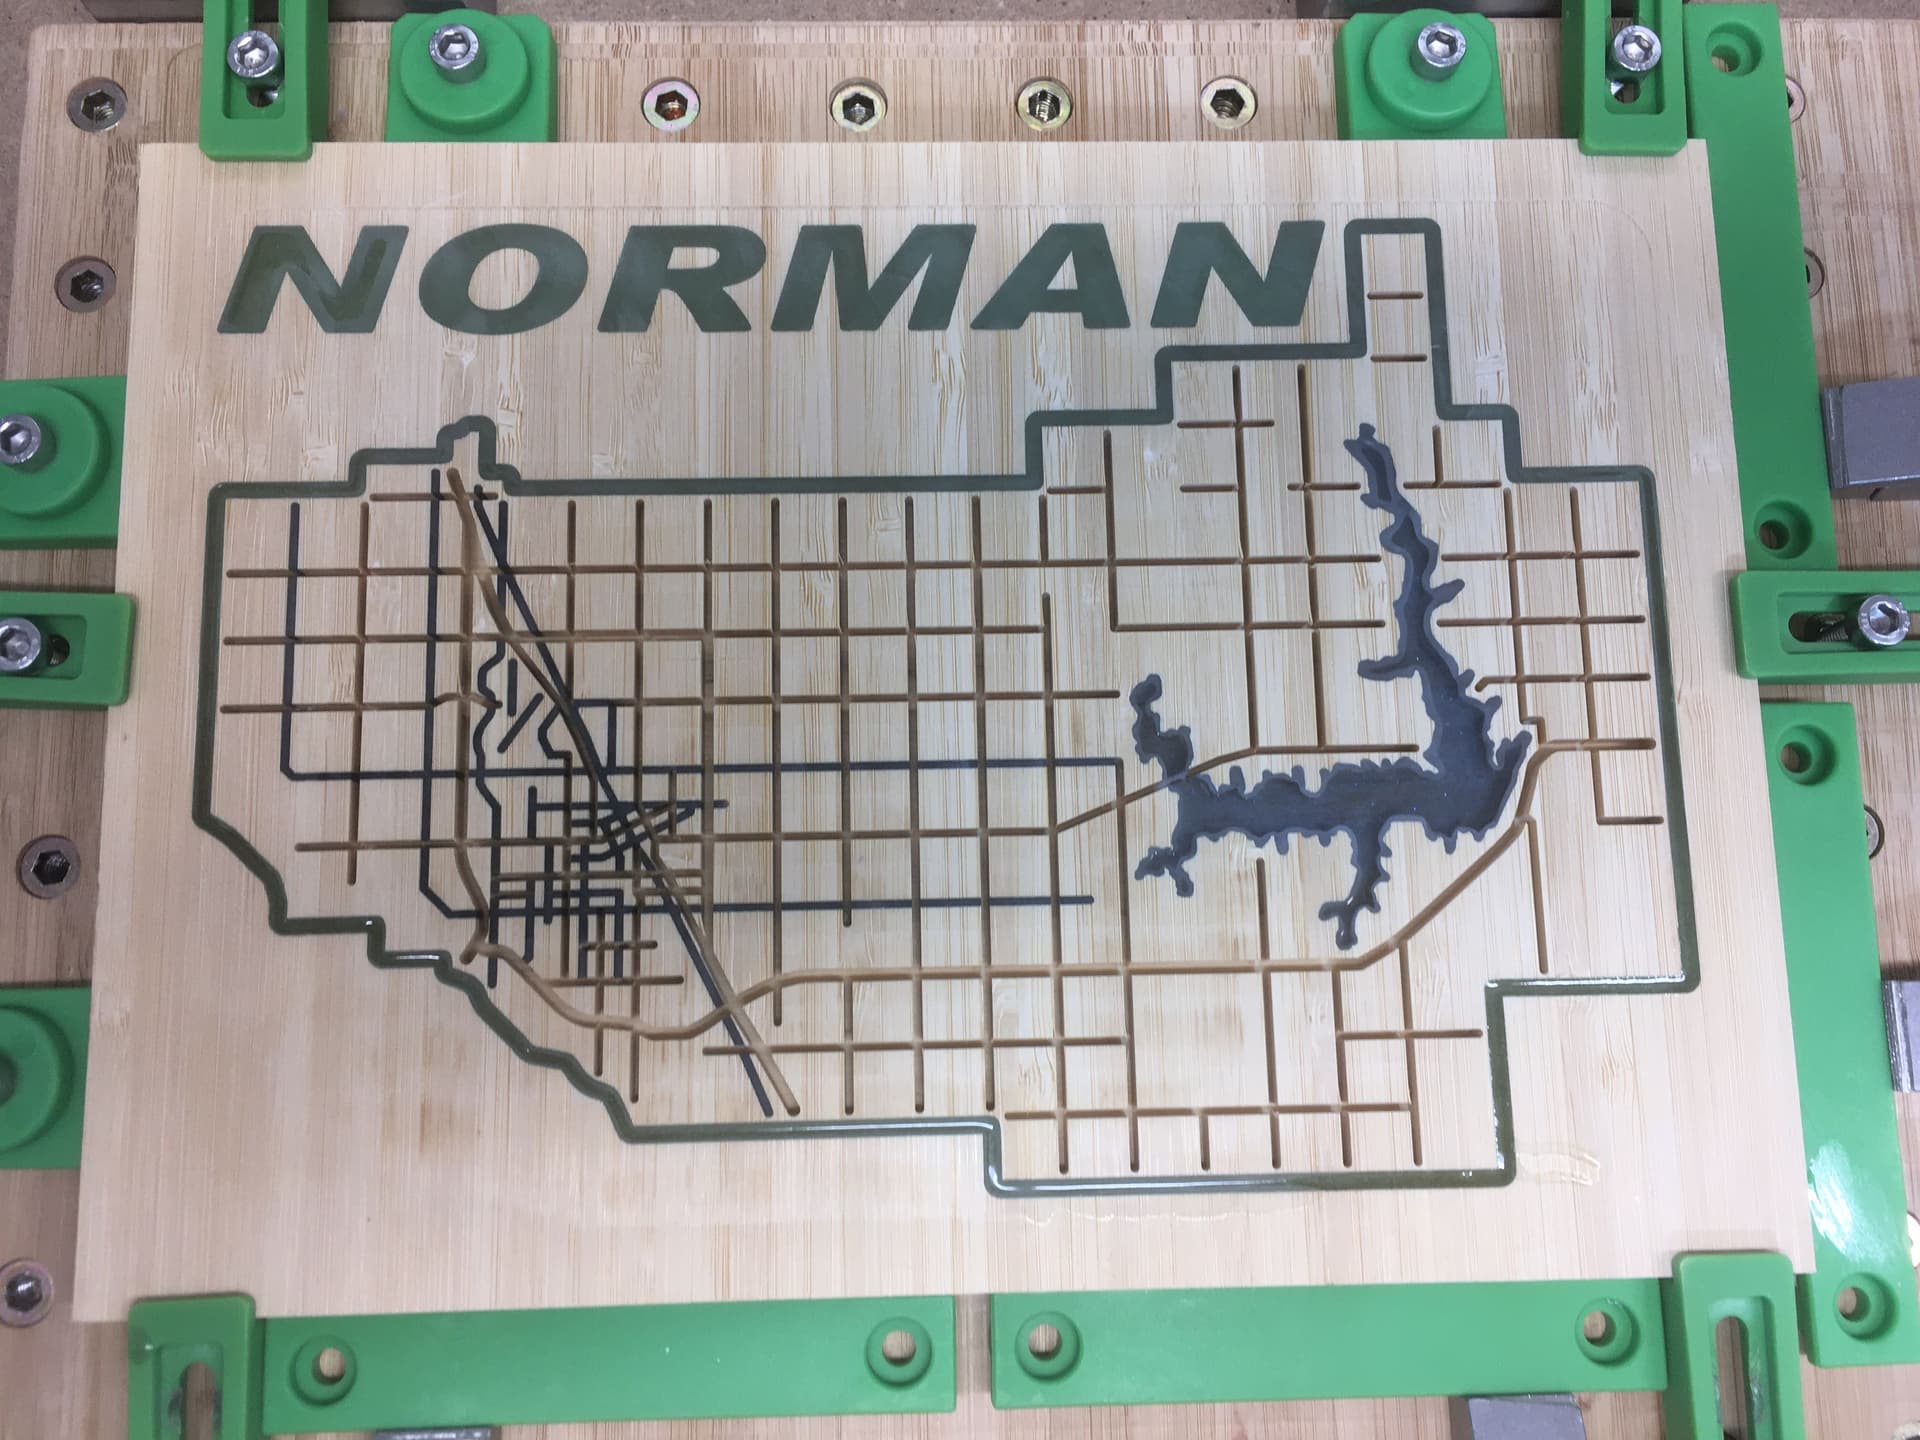

And after all that work, then it is ready for the topographic 3d cuts.
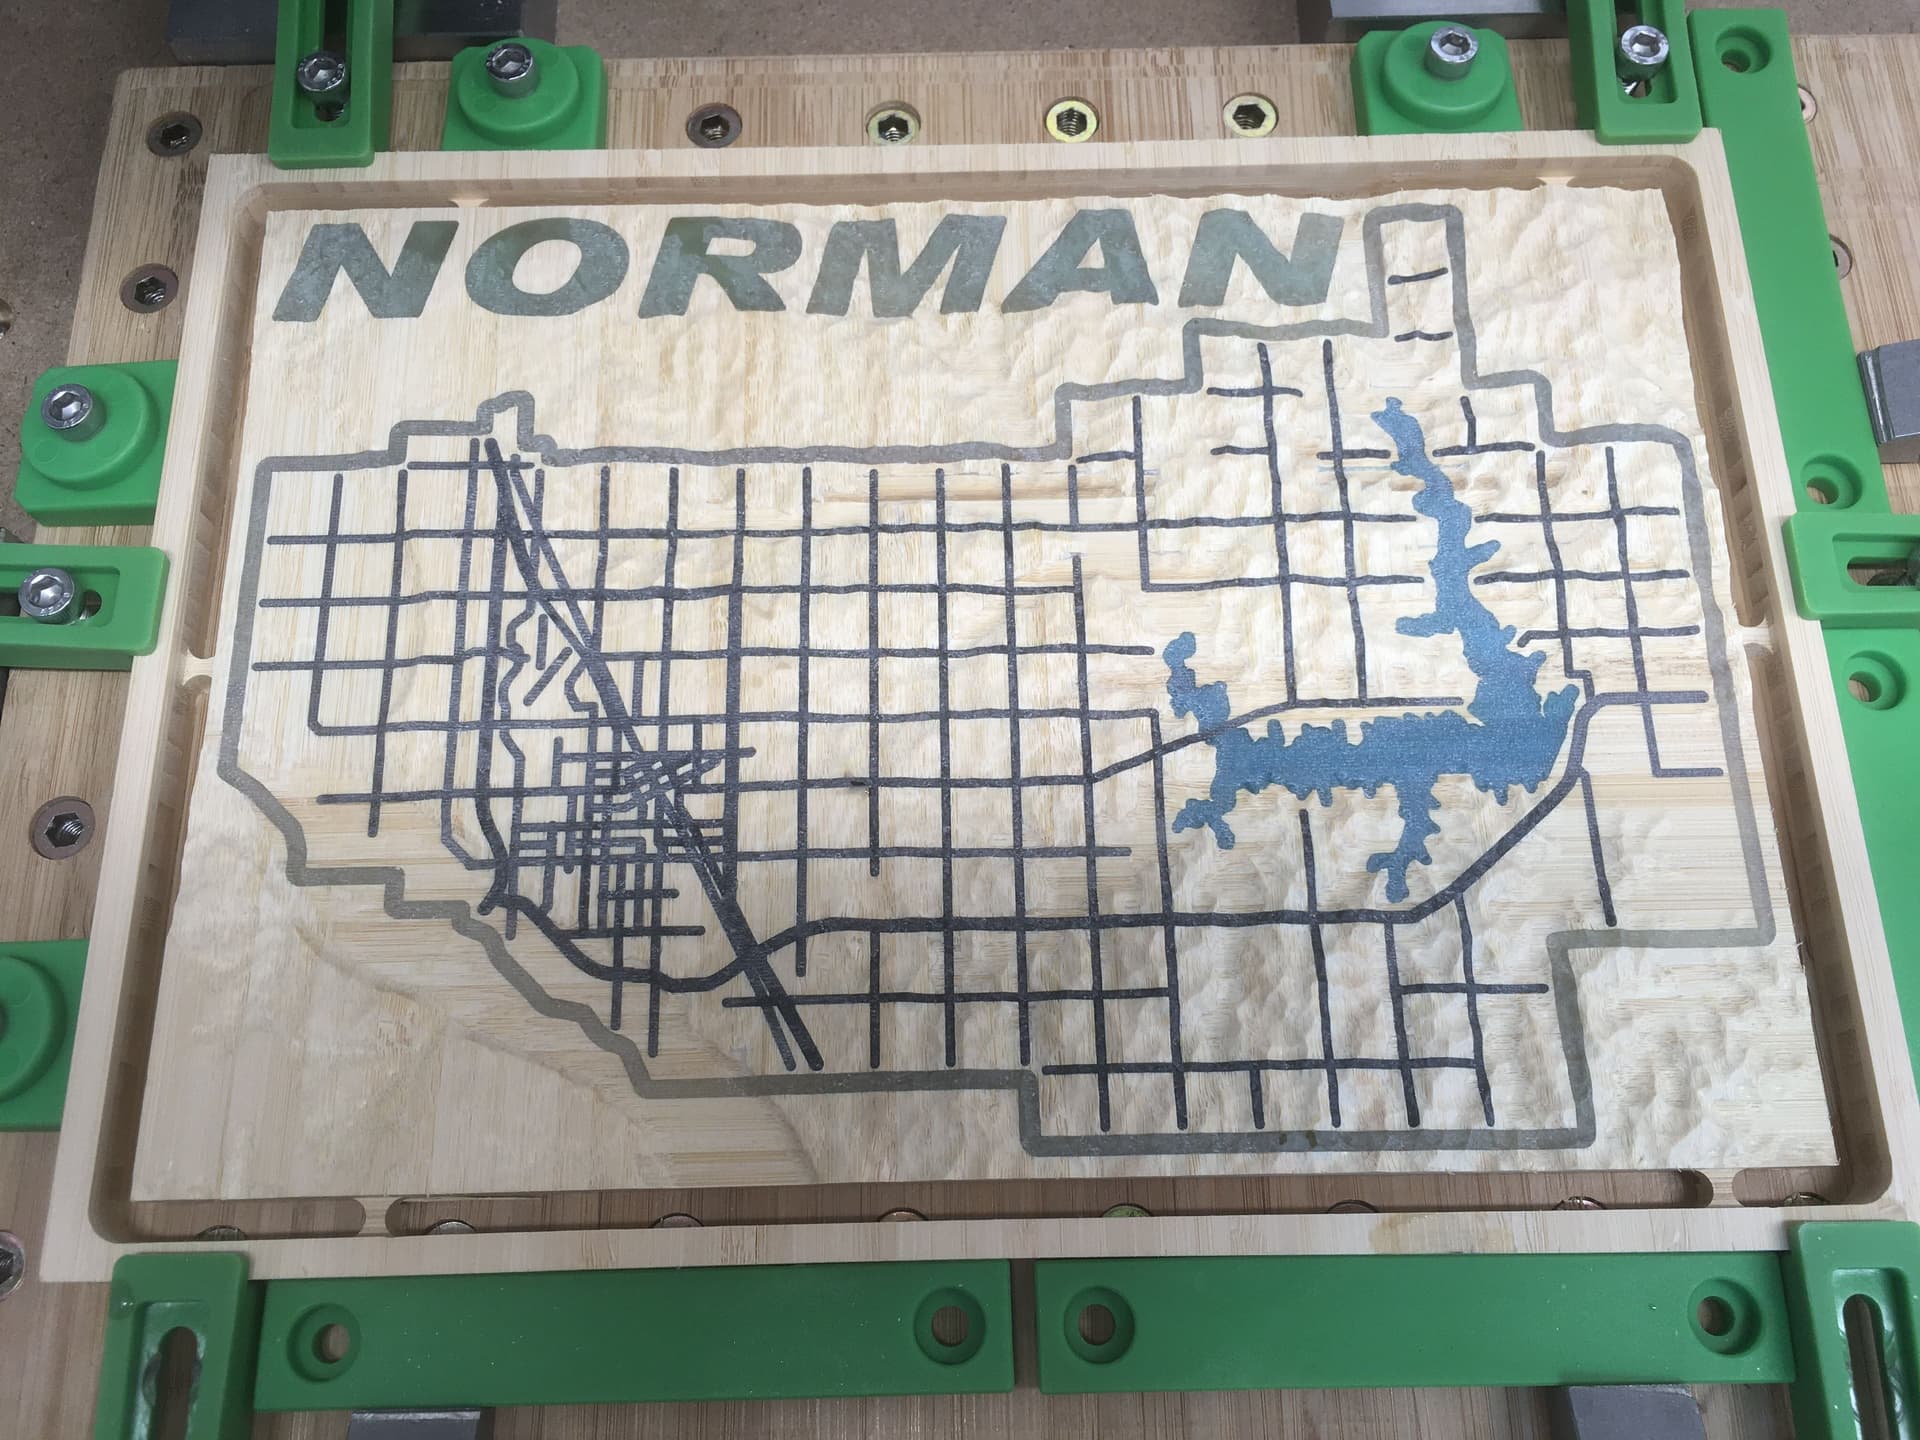
I’ve been tweaking the design along the way, but here is are some of the basic measurements you may be interested in. The box top is 0.5" thick, except along the edge where it is 0.375 due to the recessed lid on the underside. I decided to devote the top 0.25" to resin, so all of the pre 3D cuts (that are filled with resin) are 0.25" deep. Then the 3D map ranges from 0.005 to 0.125 deep, so the thinnest the resin will be reduced to is 0.125" (0.25 - 0.125). Granted this means roughly 40-50% of the resin I poured is then machined away, but I like this method as it lets me not worry about keeping the resin pours inside the cuts, which is very difficult with 1/16" cuts.
— Update —
I’m still working on the last box top, but once it is done I will have six topographic map boxes for christmas presents.
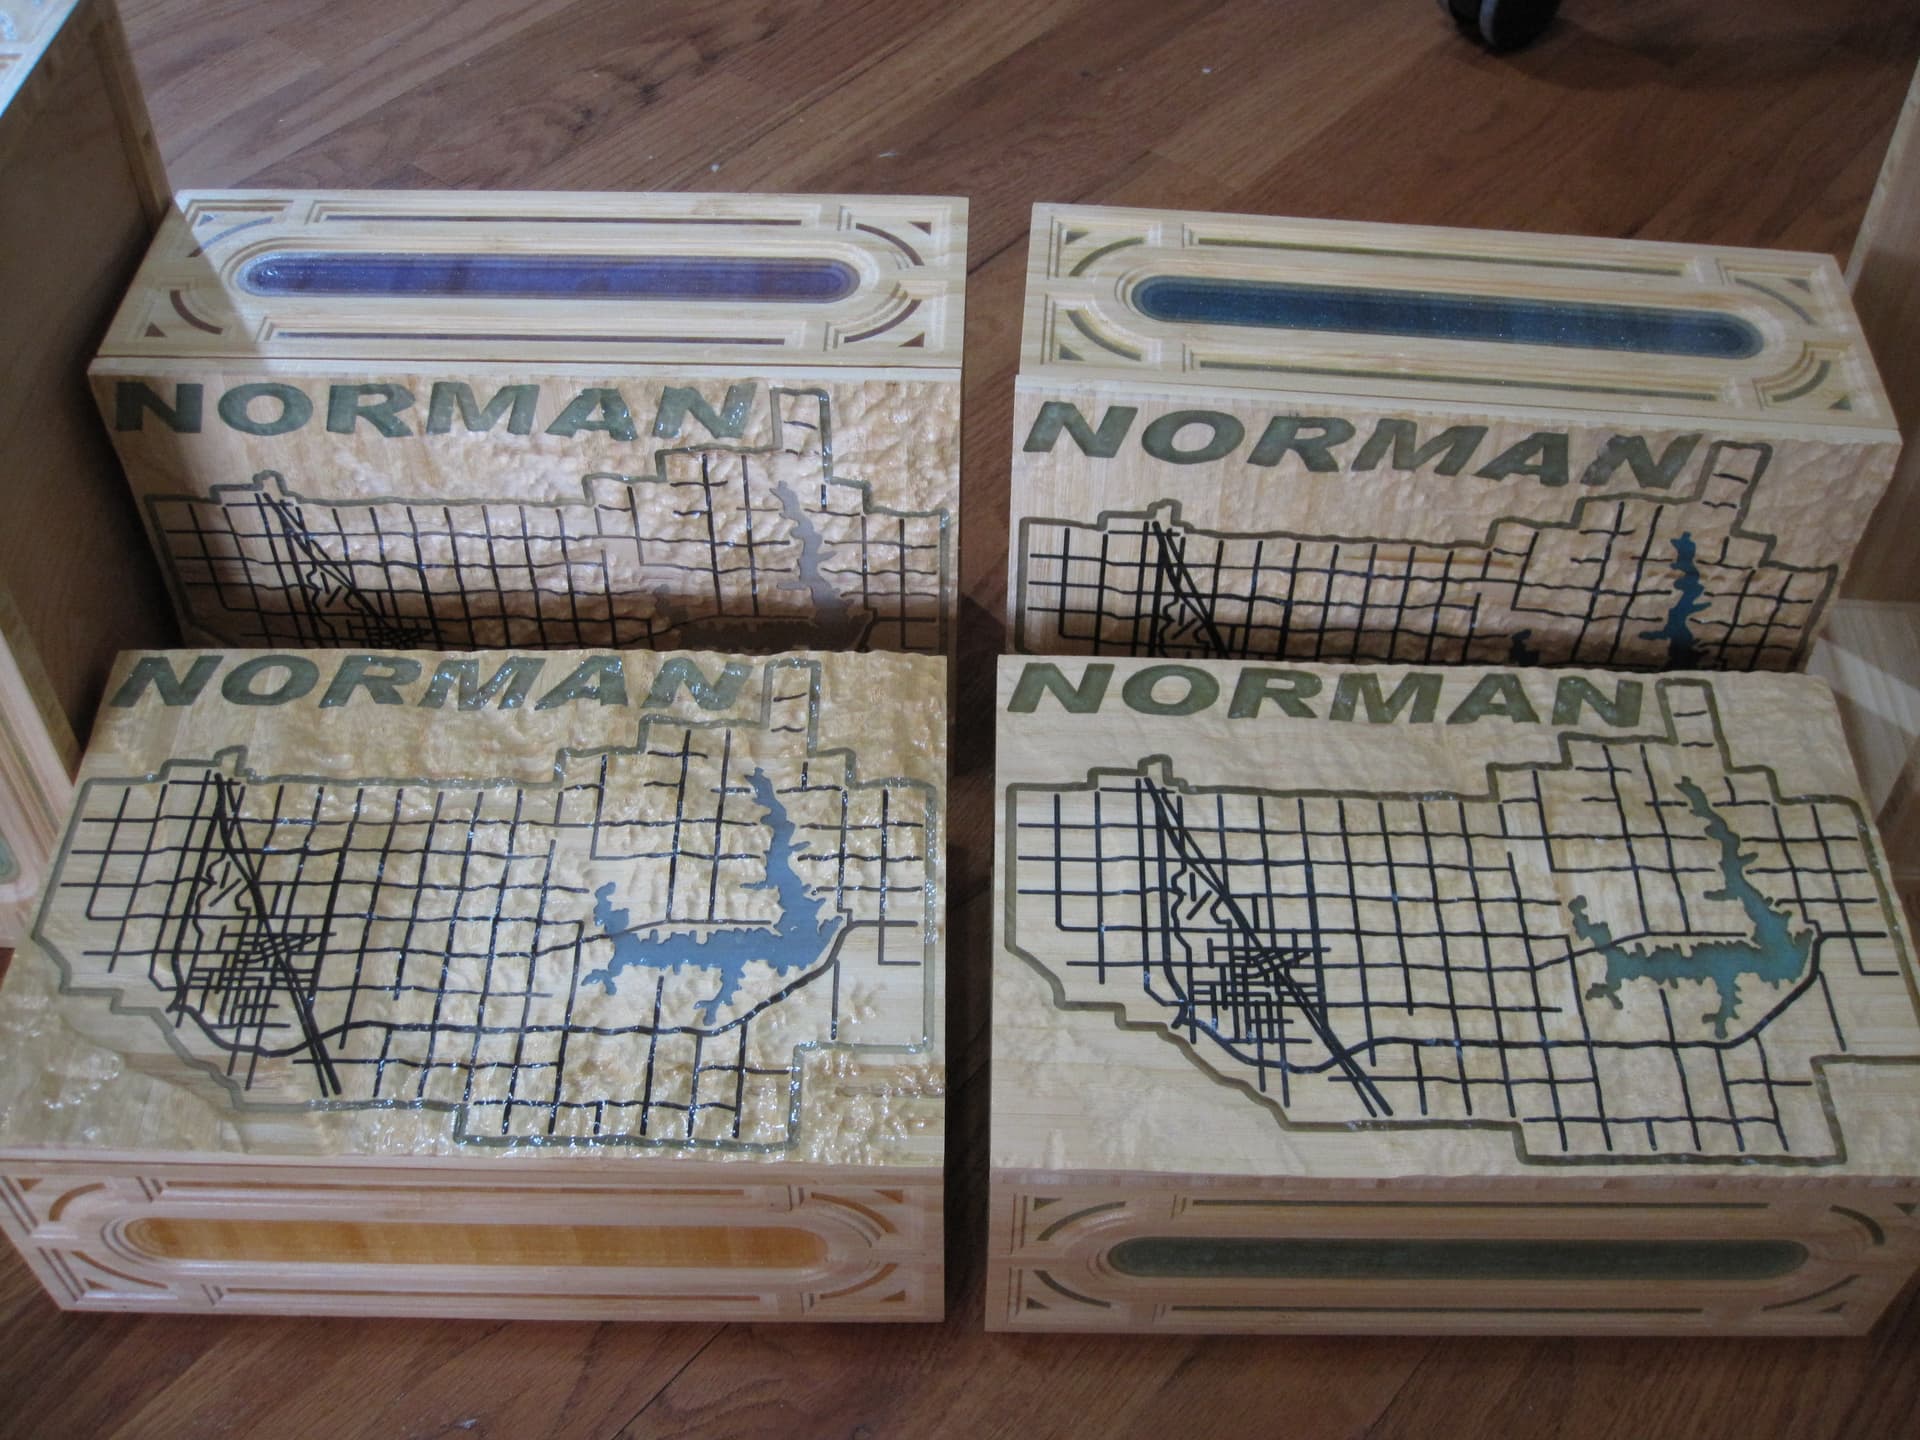
The design continued to be tweaked along the way, and if I make anymore I would probably find other ways to improve the design.
Here are some of the things I learned during this project.
- Using Polyurethane to seal the wood before adding resin is worth the time and effort, as it reduced the post pour bubbles in the resin. My understanding is this reduces the air that could be pulled out of the wood while the resin is hardening.
- When they say “stir the resin for 5 minutes before pouring”, I don’t think that is suggesting it needs 5 minutes of (active) stirring. I think that is more of a suggestion to make sure the two parts are mixed, but wait 5 minutes before pouring. I noticed (in my small batches) that a lot of bubbles were created in the mixture around the 4 minute mark, but the bubbles being created in the mixture decreased after that.
- I used a heat gun to help pop the bubbles, but DO NOT over heat the mixture. If it starts to create a foam, you’ve overheated the mixture and the results will be bad.
- For my (limited) skills, it really improved results using the “Cut, Seal, (wait), Resin, (wait), Final Cut” method. In other words, use the Shapeoko to not only make the pockets for your resin, but use the Shapeoko to clean up the resin after it has hardened.
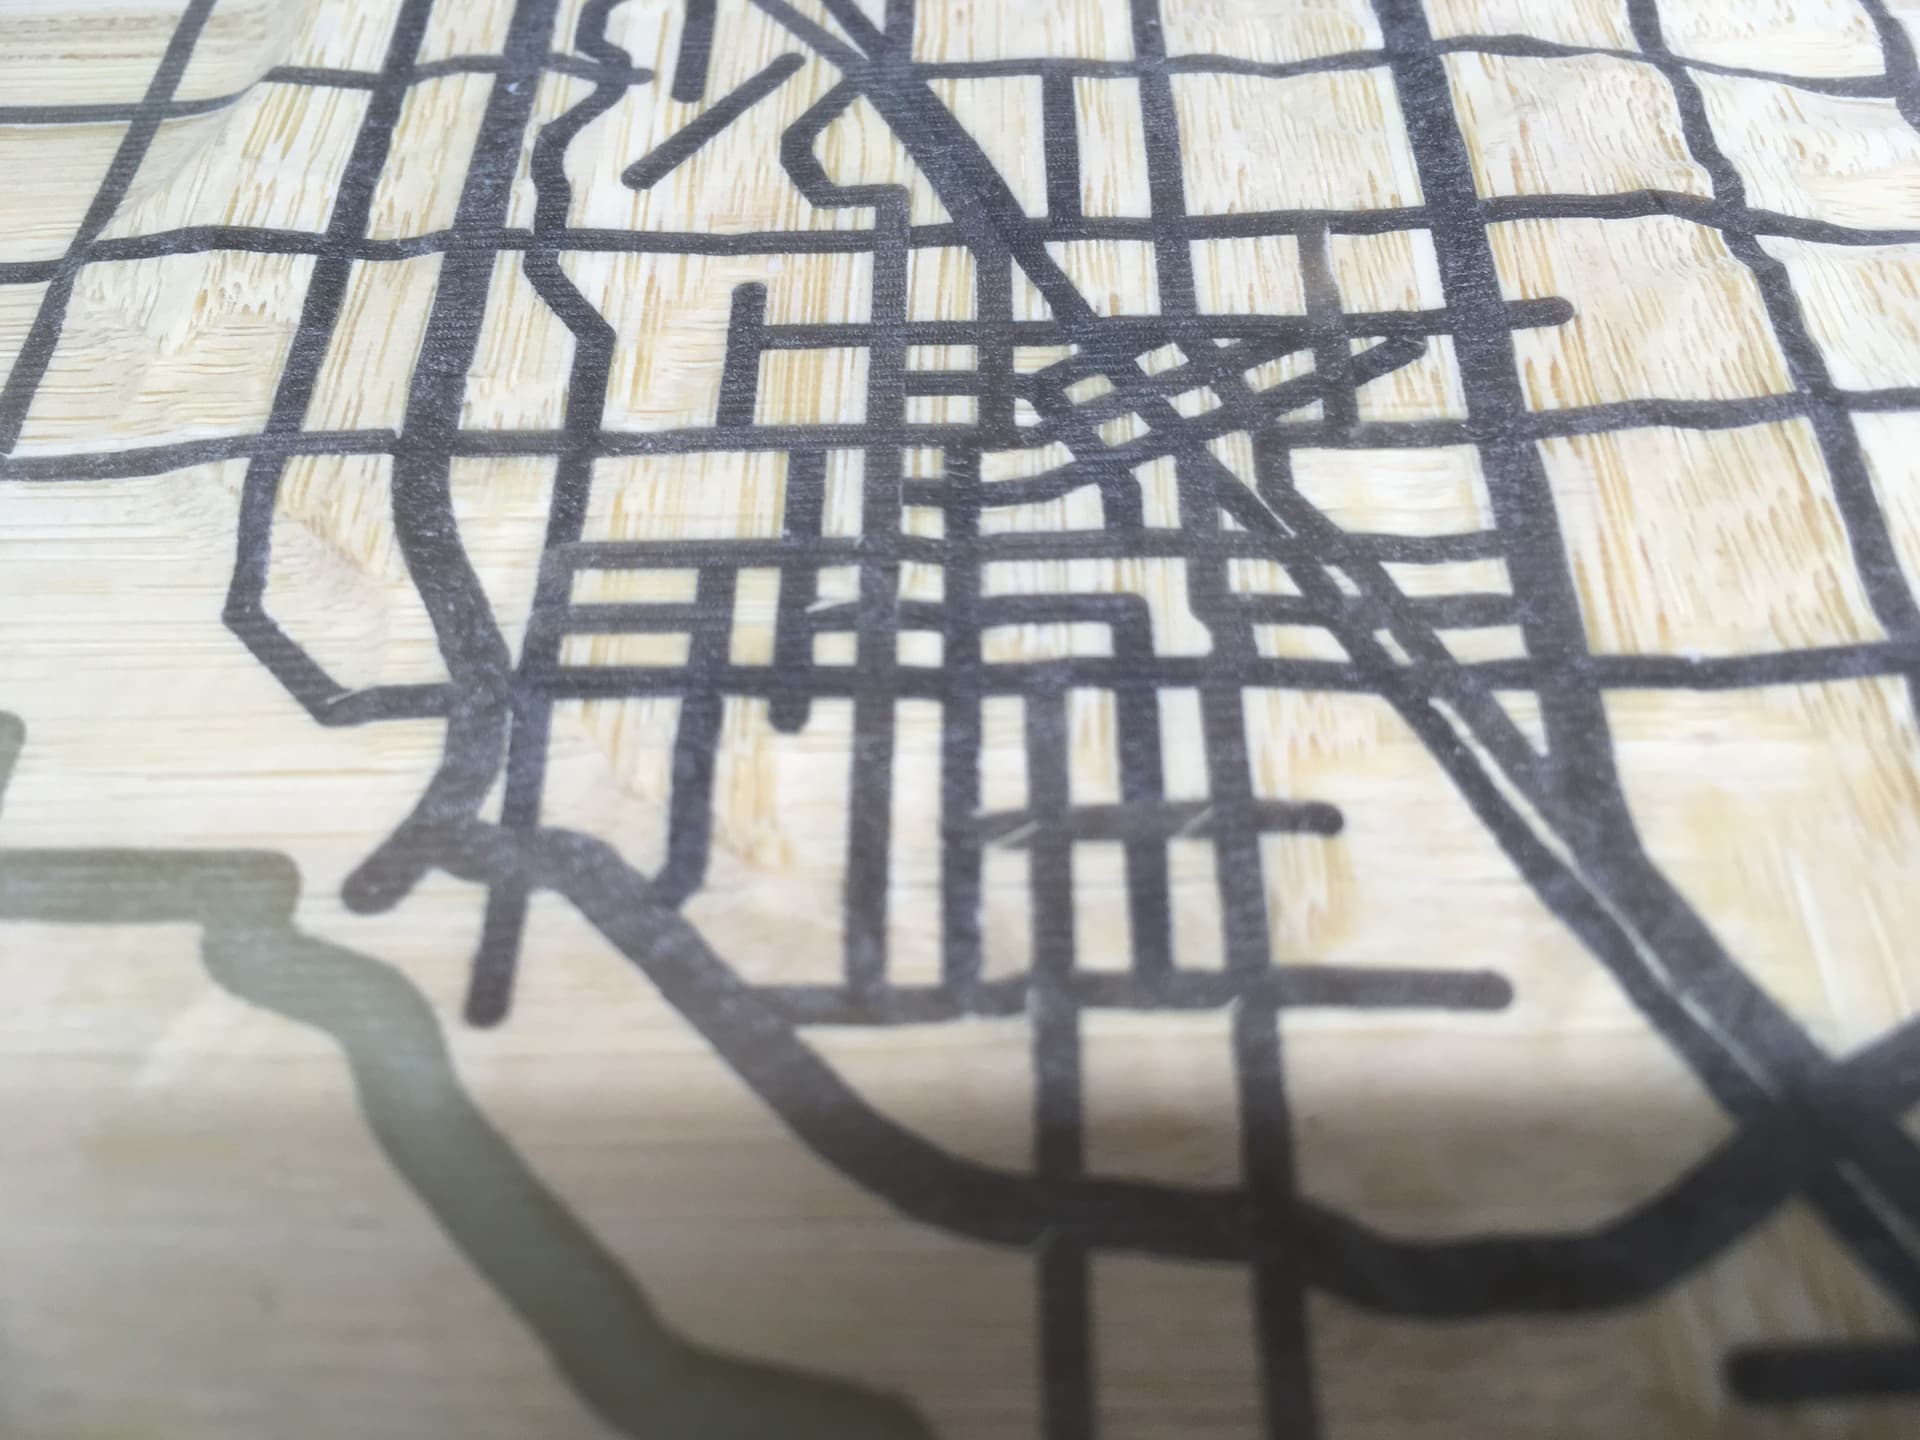
- Using multiple cut-resin-cut cycles allows you to put in fine details without blowing out wood, but it of course really increases the time it takes to make something. (The really close roads in my design are an example of this).
- The tops were much harder to make than the sides, yet I like the look of the sides more than the tops.
- I think my resin would have ended with better final surface if I had done a final pass with an upcut bit rather than a downcut bit.