Unfortunately I don’t have as many photos of this, as I only learnt mid-fall this year that Google Hangouts doesn’t save the actual picture to my phone when I take the picture inside the app, it just sends it in the message.
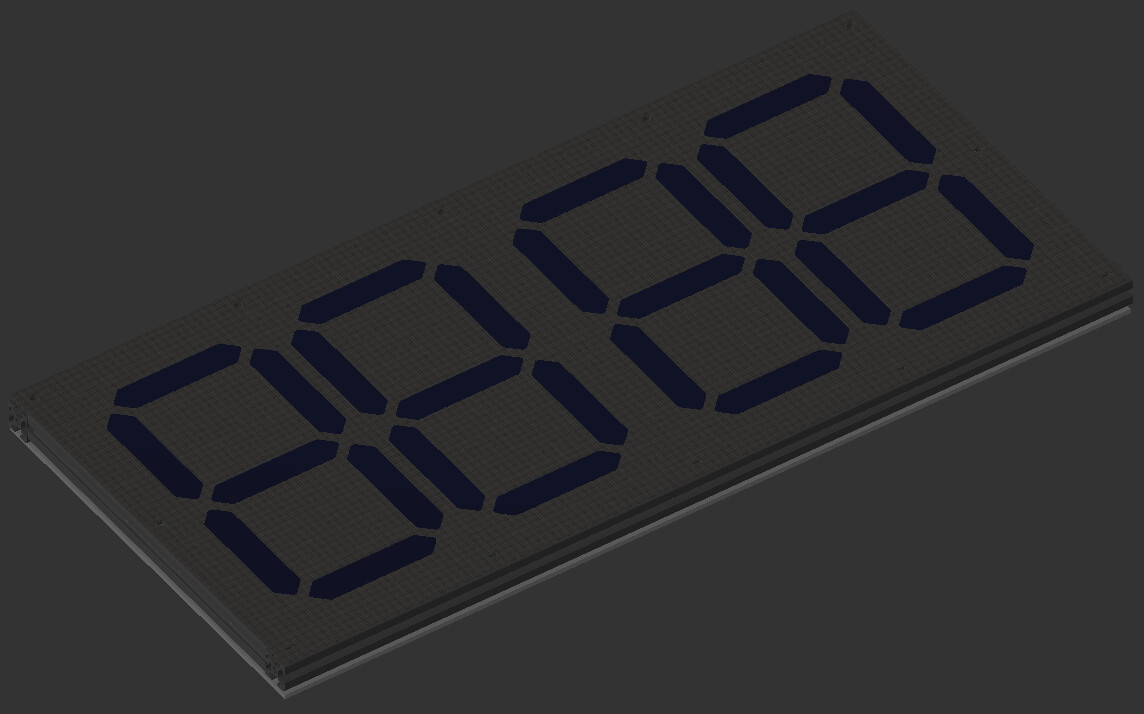
I wanted a fairly good sized portable score board for my sports. There’s tiny options, flip chart style ones, or completely jumbo stadium ones available. There’s also the option of using various LED panels that are available, but they are rather pricey to build something this size. And not quite protected from the elements (eg a stray soccer ball) Plus it would be a fun project.
Aluminum extrusions seemed like a nice, easy, modular way to fake my way through knowing how to design some sort of enclosure  Going back now to get screenshots for this post is… painful Basically the CNC work is the white digits with tabs, cutout of the black as a “negative”. They bolt to the extrusions with t-nuts using M5 bolts.
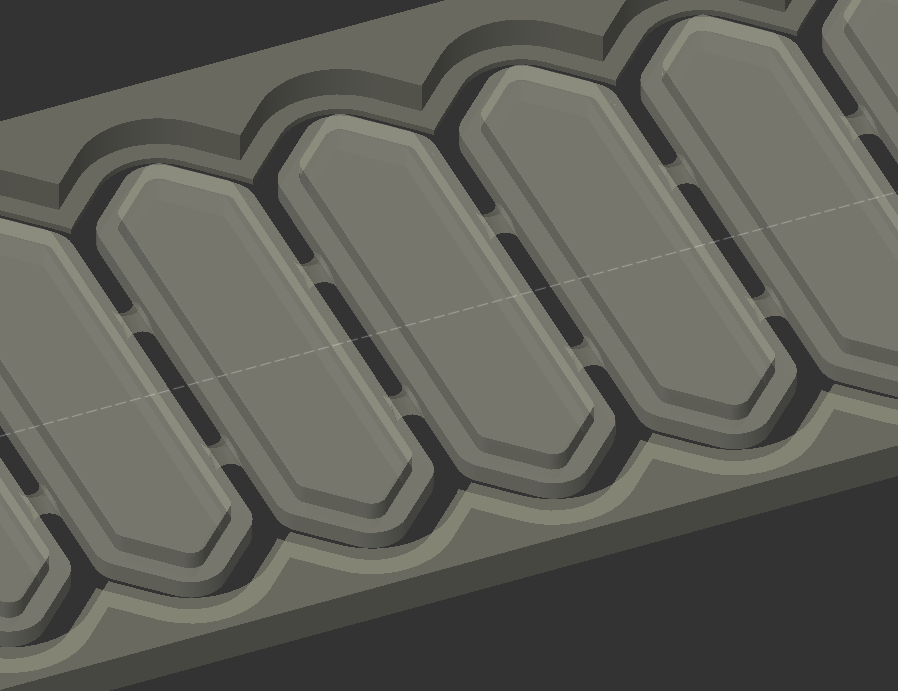
I don’t have any pictures of machining. The digits are acrylic, the black is ABS panels. The white is known as “sign white acrylic” in the industry and is very standard. Cutting it in a strip let me use less actual material for the digits. Both are terrible to cut - a bit smelly, but a massive static-cling nightmare that gets everywhere. Feeds and speeds are fairly punishing when you get them wrong.
I can’t remember my recipe to be honest. It was rather frustrating, but I think in the end using roughing passes in F360 was the trick as it reduces rubbing. Gives it a bit of sidewall clearance. Also I think I used too small an end mill. My newbie thought was like, smaller kerf is better, right? But I think for this, it leads to less rigidity, which is more rubbing? I dunno. For wood now I sure am in love with 1/4" 3-flutes, and I just received my first 8mm 2-flute to try out in my elaire collet.
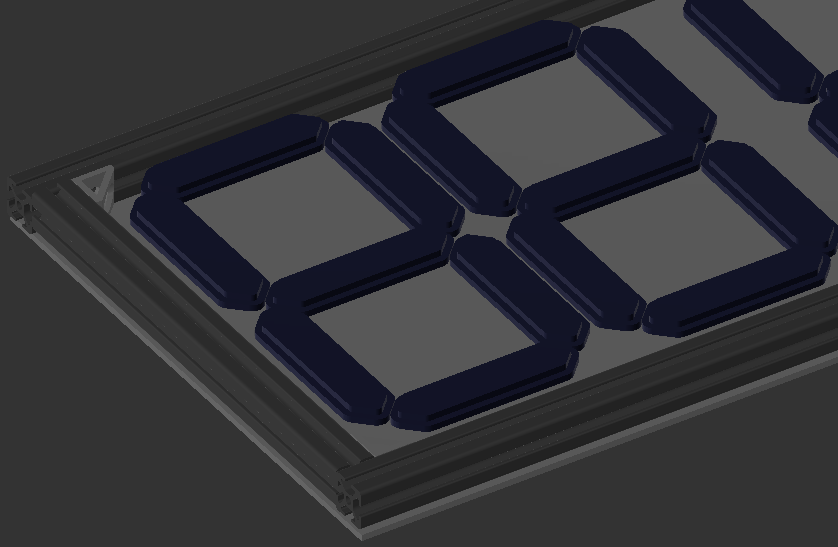
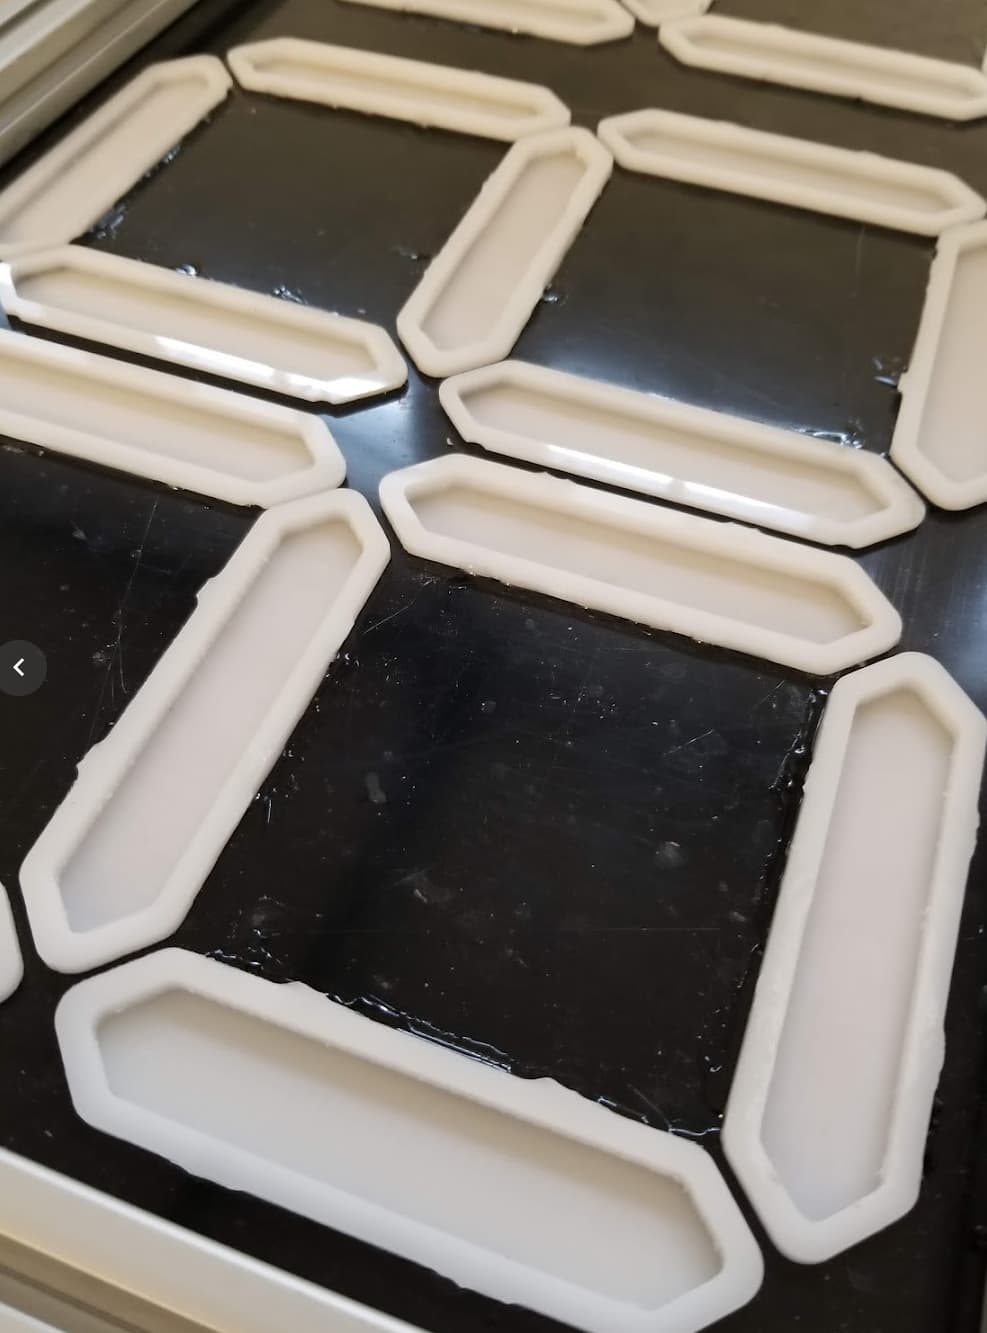
Test fit - you can see the screwss in place here as well, looks kind of nice.
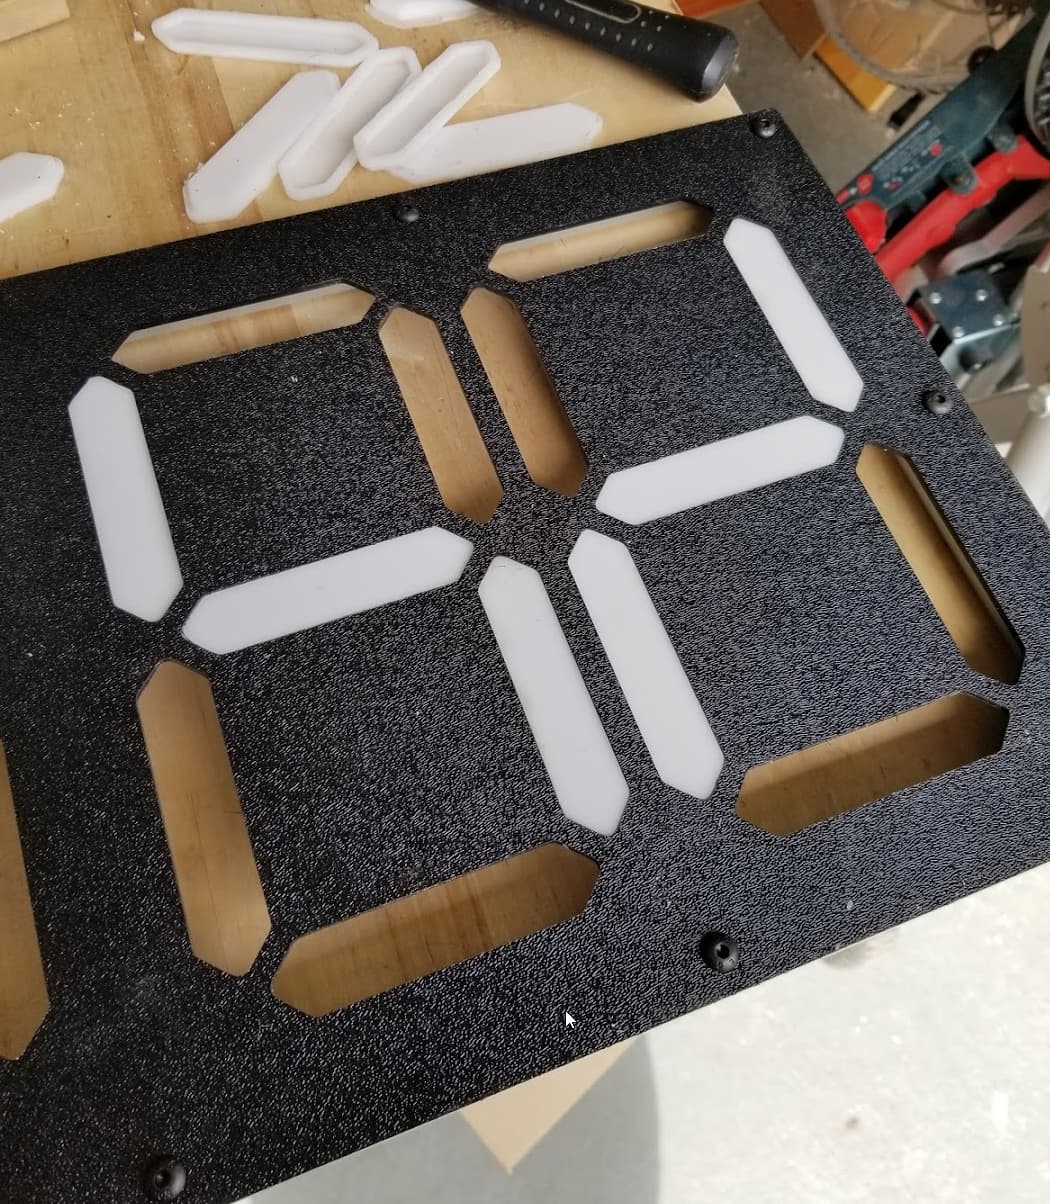
I used E6000 to hold them in place. The bond was… mediocre. Good enough. You can see where the tabs were. but since it’s not visible from the outside I didn’t bother doing a great job cleaning them up. The acrylic snapped on me trying to clean up one so I then was hesitant. You can also see here that I pocketed out some material. I wanted some diffusion of the LED’s, but I was worried the thickness would get rid of too much brightness and on sunny days it would be hard to tell.
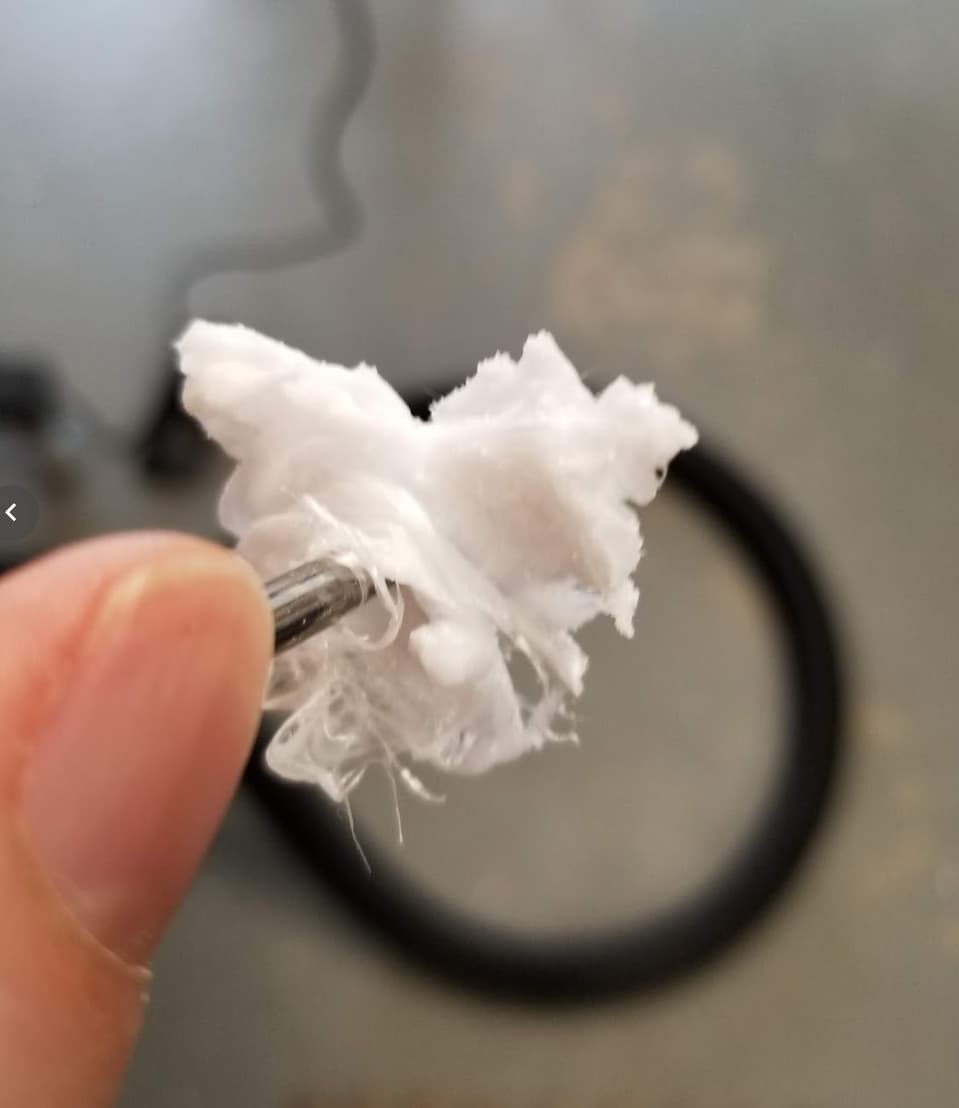
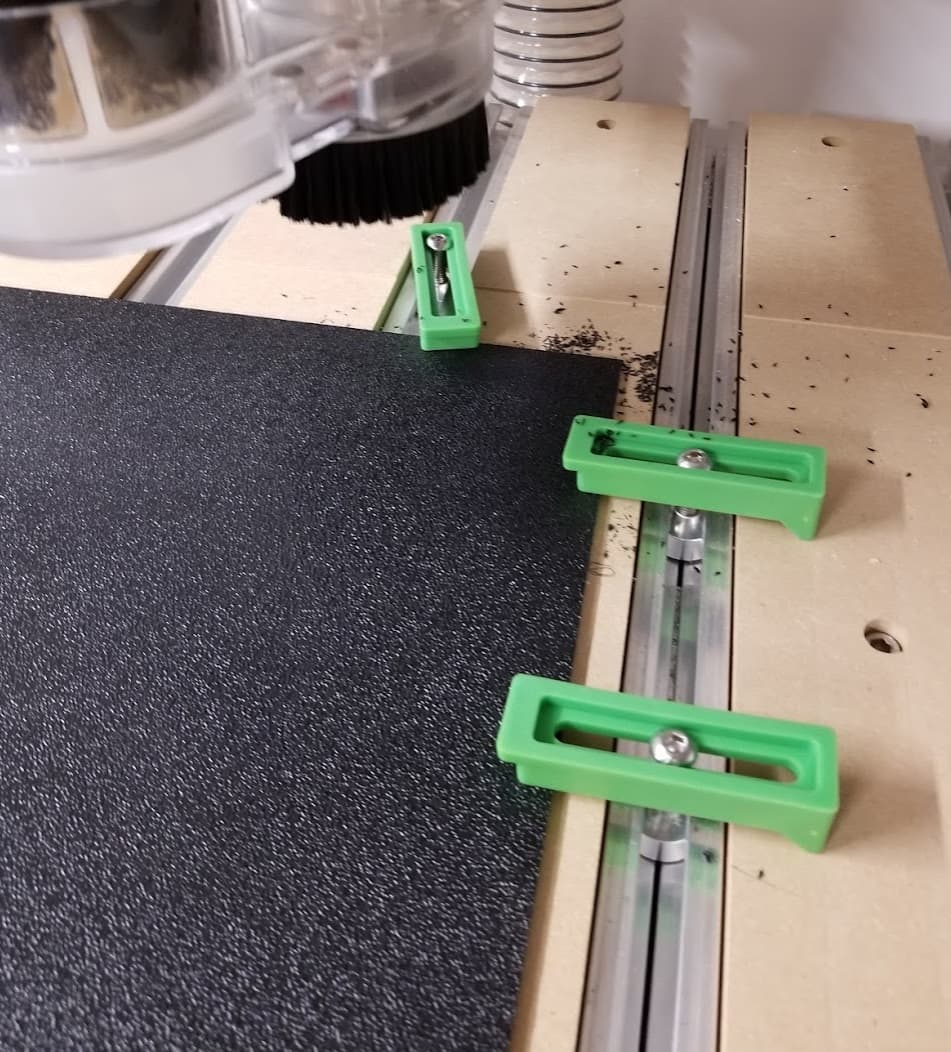
This is a whiff of the nightmare that is ABS machining. Your sweepy brushes have never been so sad. You will find tiny black shreds for months.
The first plan was to use LED strips. I lightly traced out the the layout. But, this was a pain in the butt. I scrapped the idea.
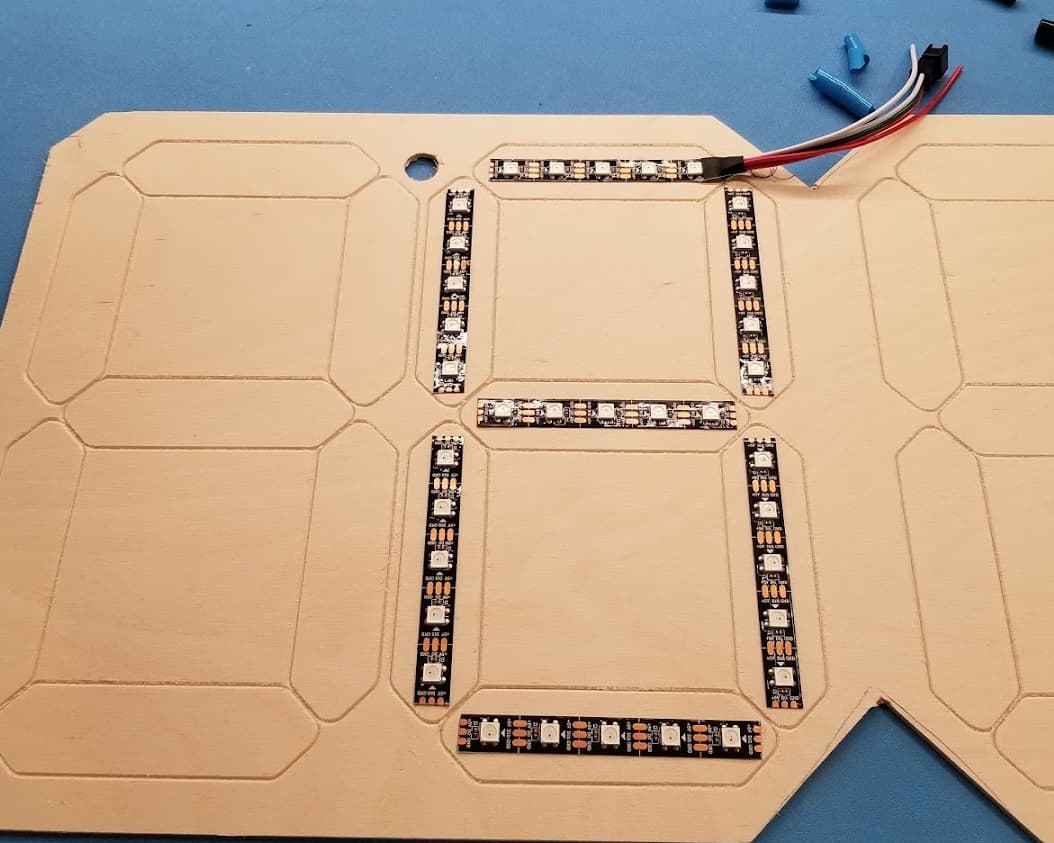
I exported the shapes from CAD and used KiCad to custom create circuit boards that would be used instead. I used the same wood shown above, and just drilled some holes by hand to bolt them in the right position. The wooden panel is 3mm and slides in the extrusions.
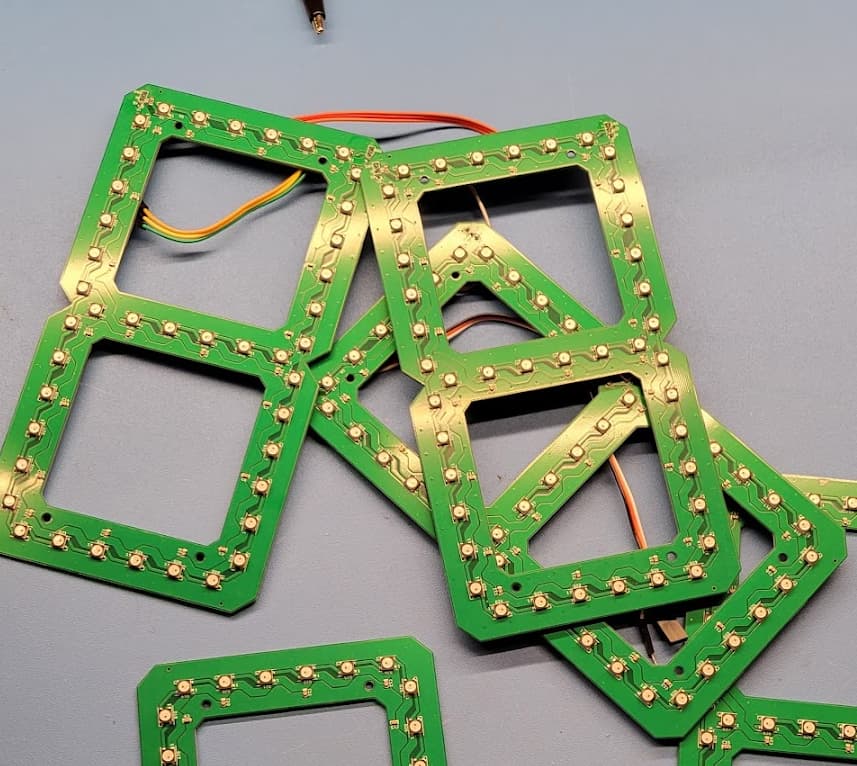
I’ll skip over the actual electronics since that’s not quite the scope of this and it’s already long, but it’s Arduino-based. Drilled some holes for the 3 top switches to increment scores for the teams and customize colors and change brightness. It runs off USB-C and power delivery. Should last for hours even at max brightness. Each team can customize their color.
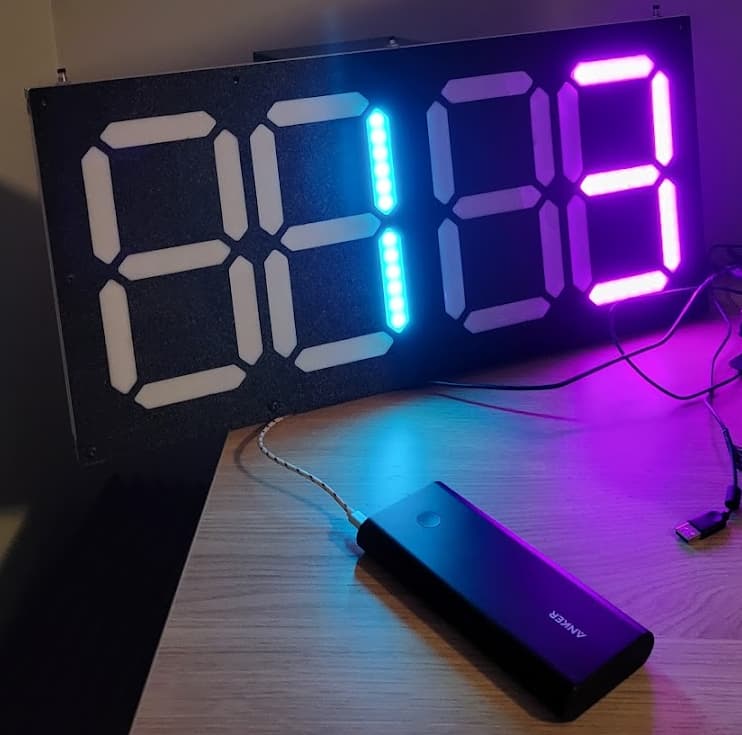
Fun story - I took it to my first game, and there was software bugs preventing the buttons from working nicely. I fixed those. I brought it to the next game, very excited to finally show it off. Just before the game started I brought folks over to show how to use it (short press of button increments, but a 1 second hold will decrement in case someone adds an extra point by accident). I touched the metal extrusions, static zapped it, the whole thing died. So now I need to replace the board and add ESD protection - the outside metal part of the buttons threads into the extrusions. 
My neighbor and I joke, it’s the world’s most expensive score board. But it was a fun build and one of a kind, so when it eventually works again… it will be great