Topography - check
Inlays - check
ok you got me how could I resist.
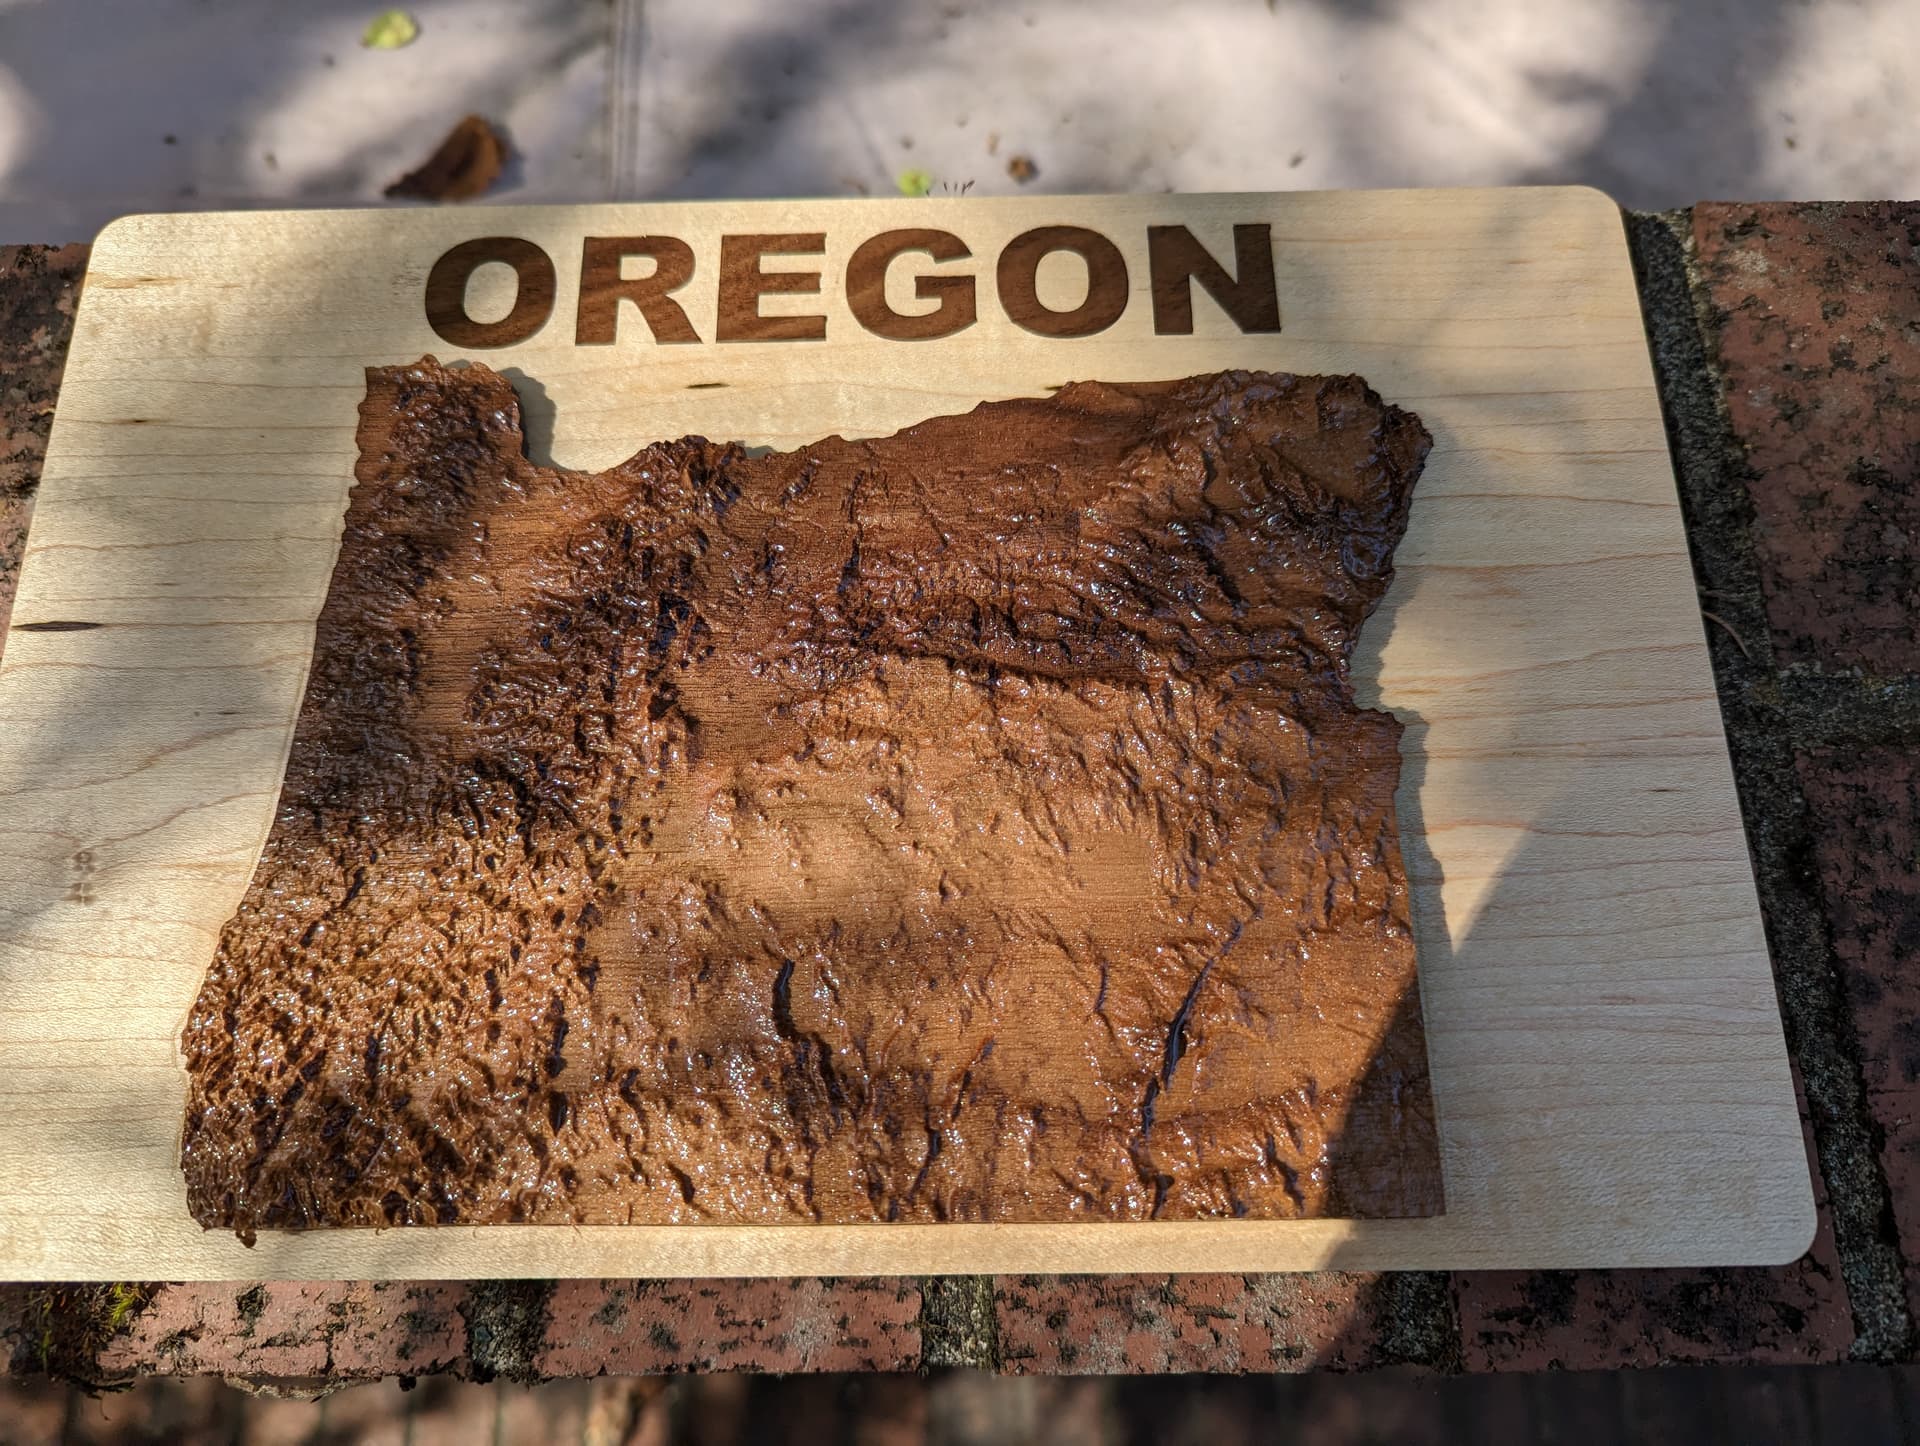
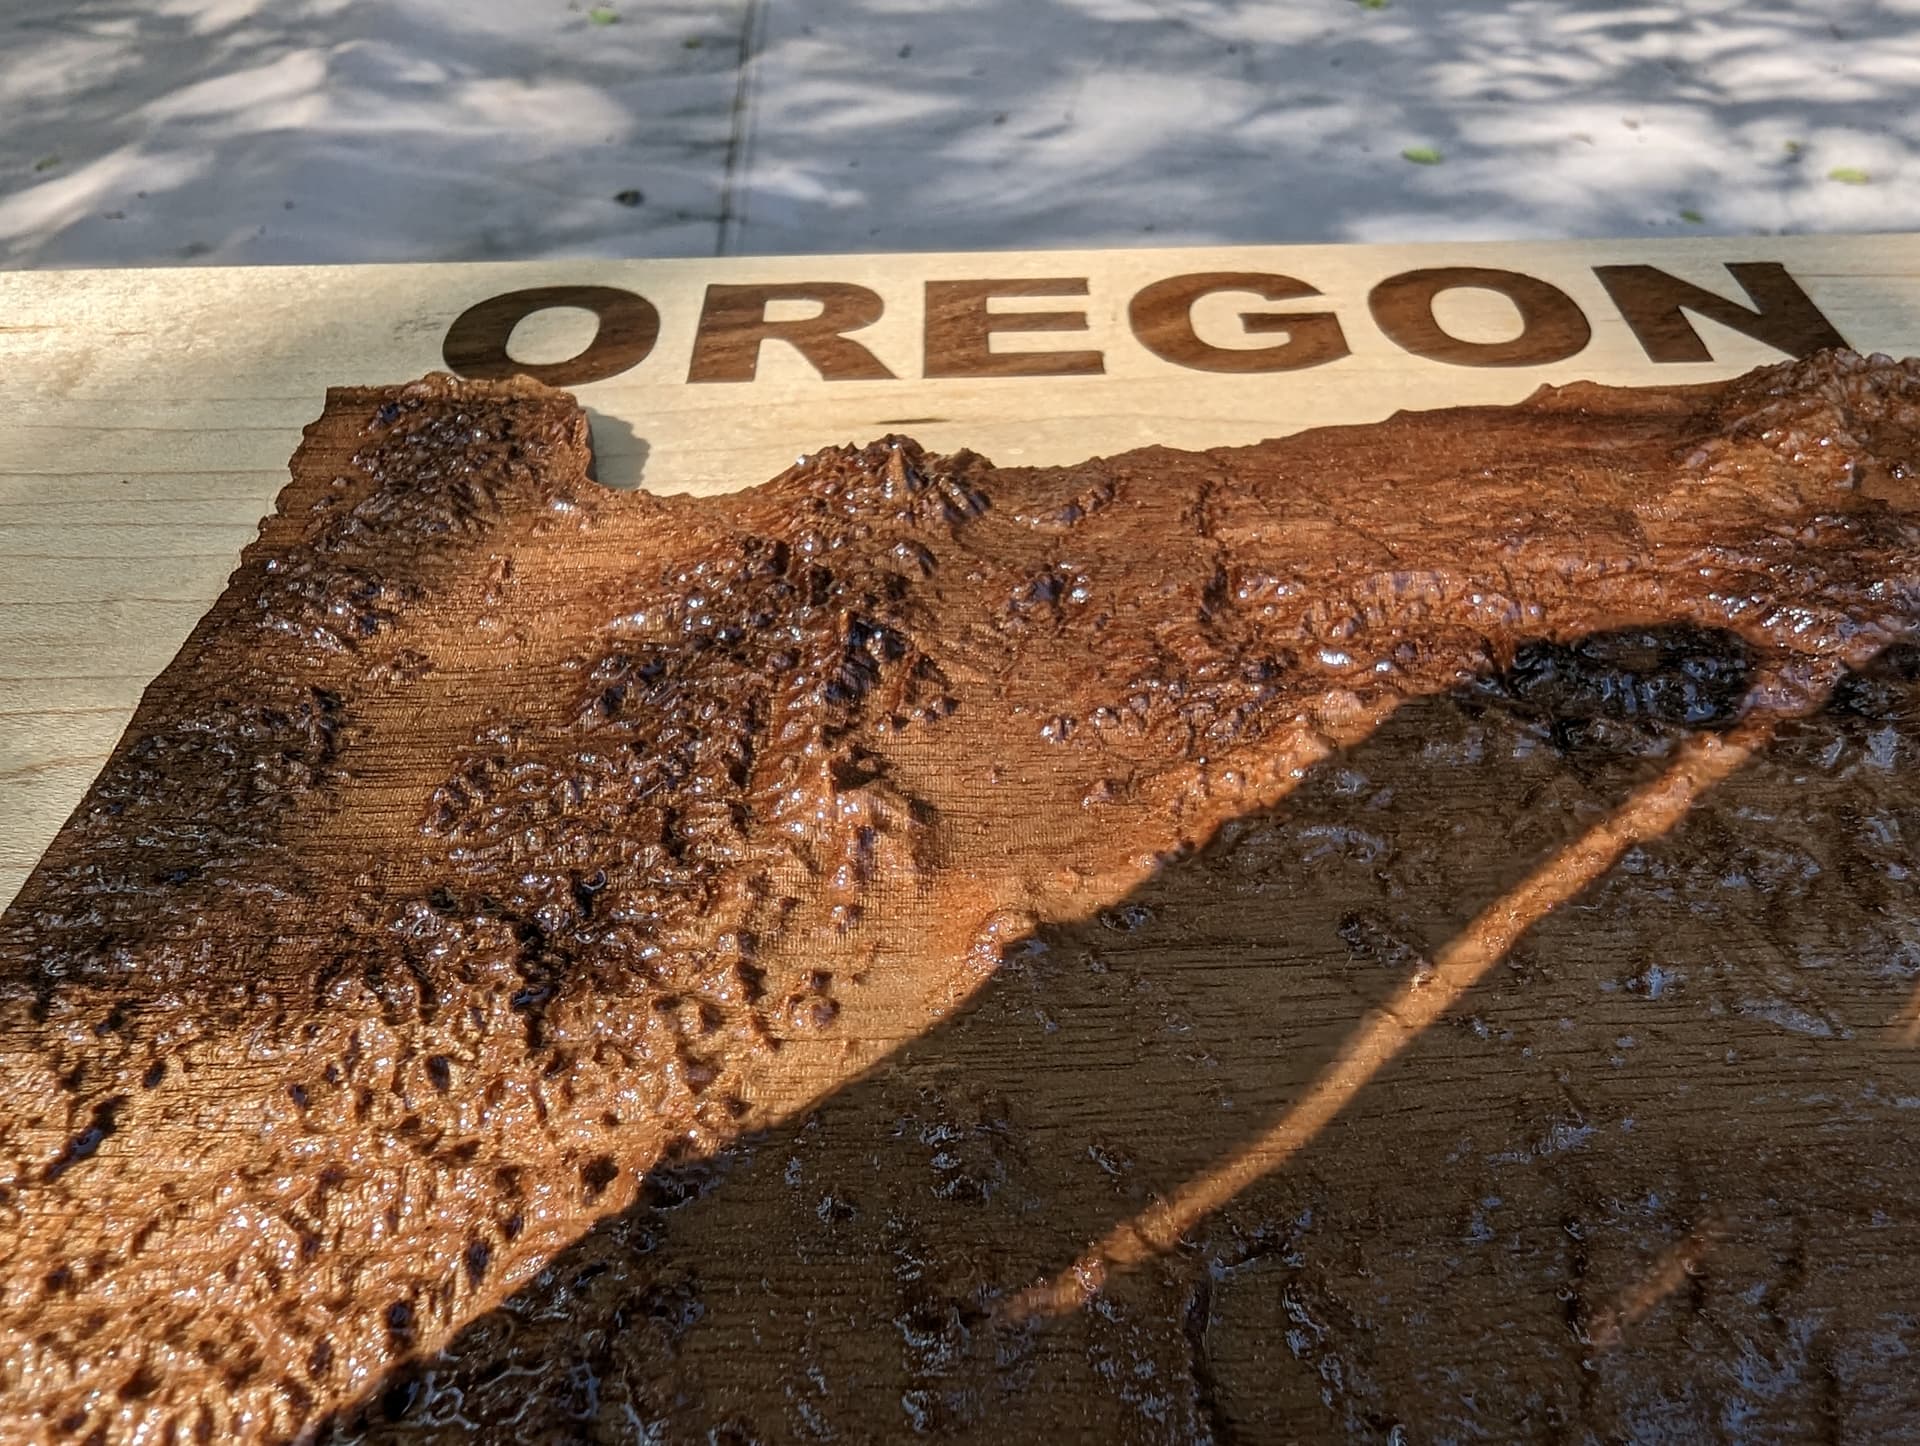
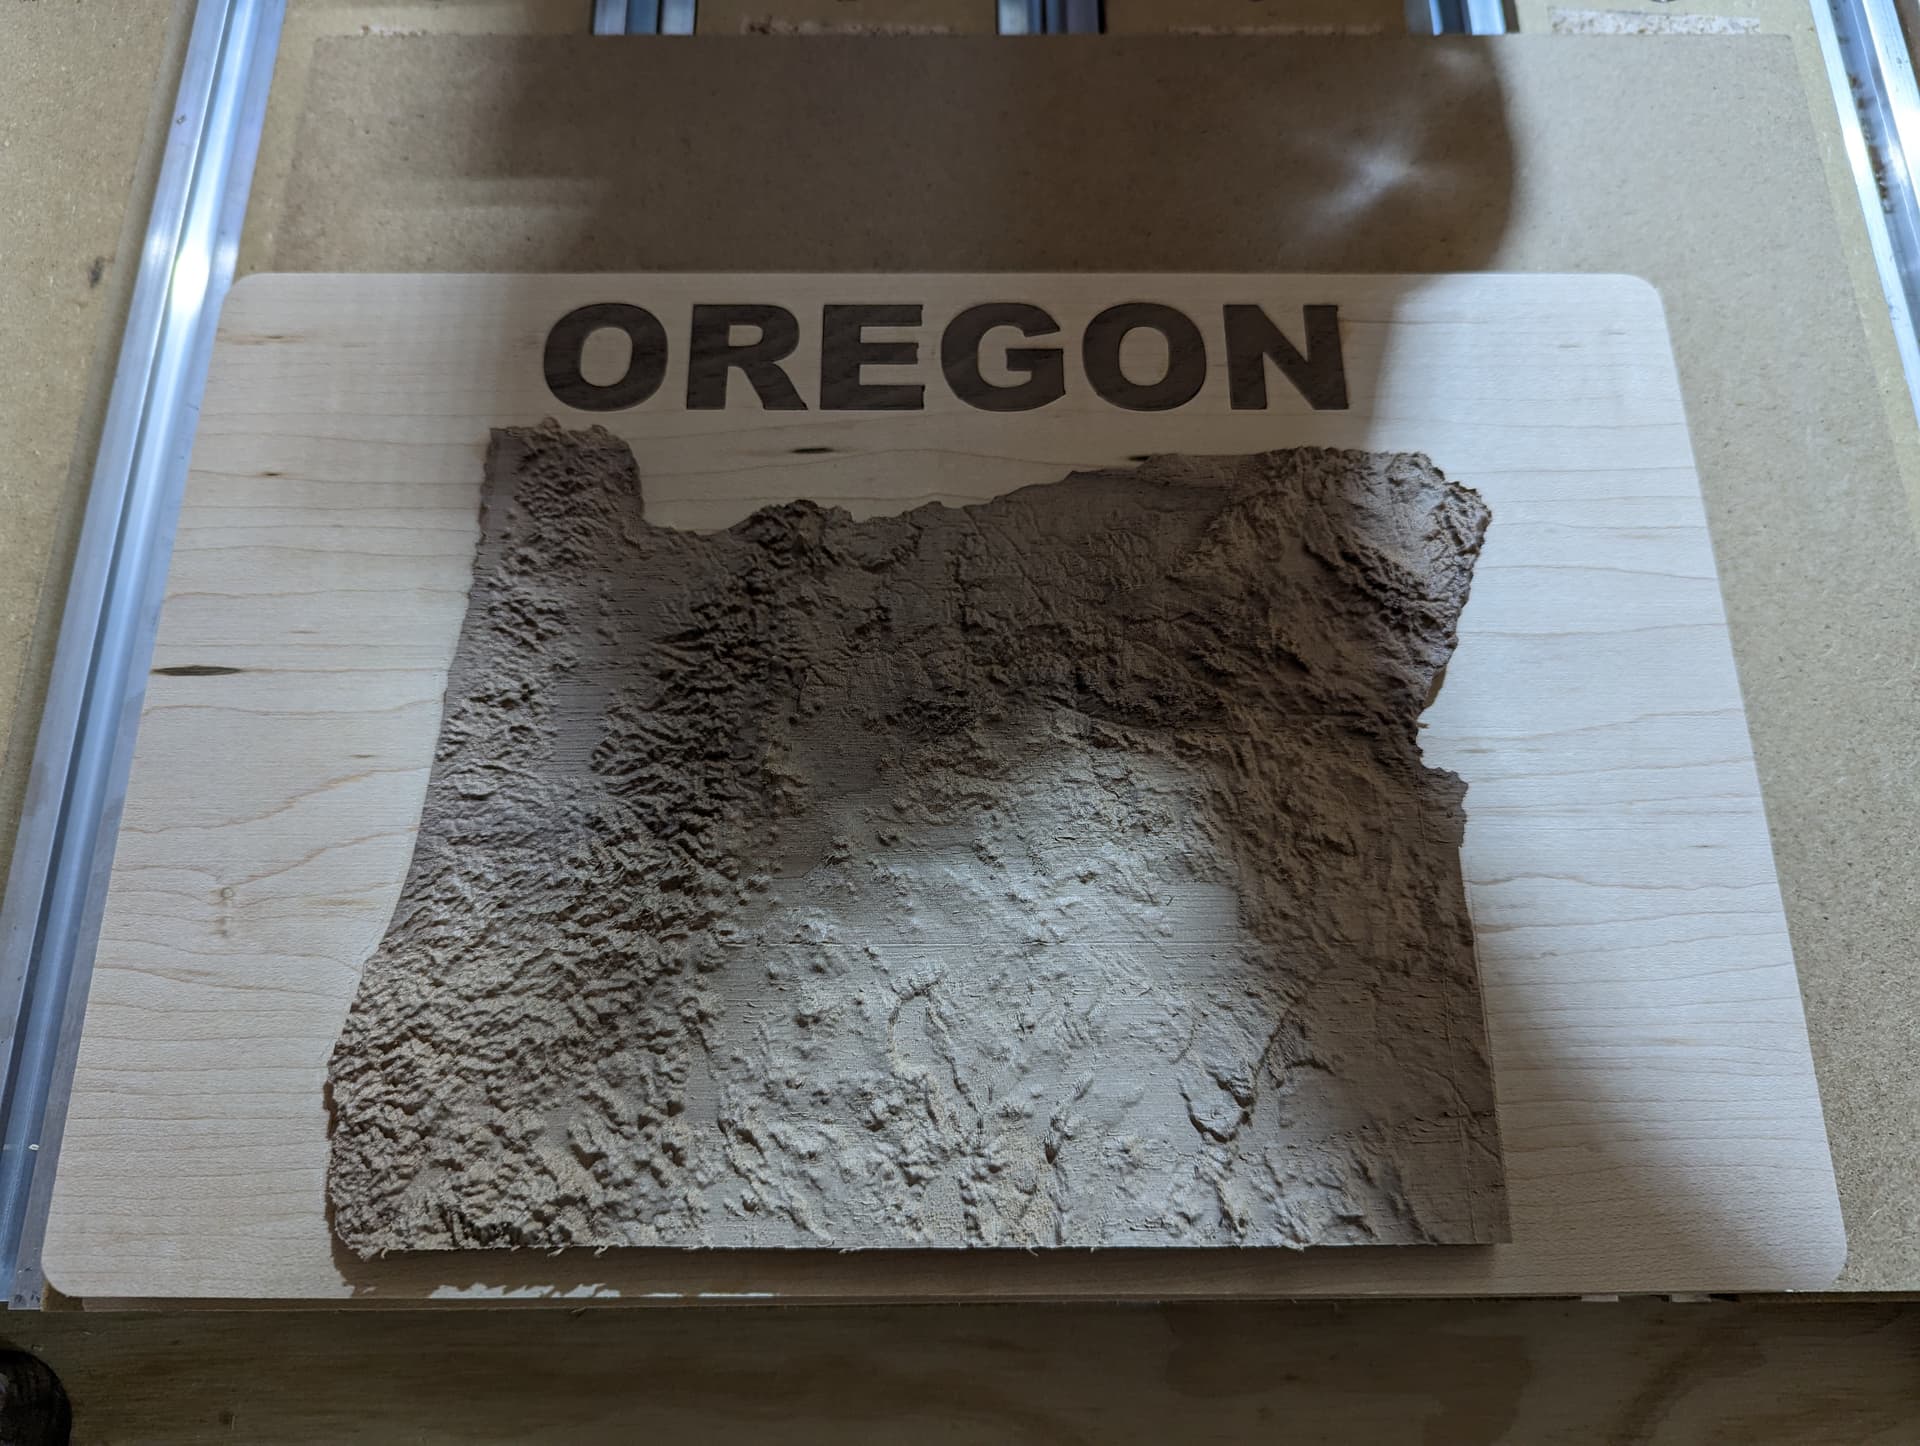
I decided to make a plaque of the state of Oregon with inlays (walnut into a much lighter wood)… and pondered what would happen if you would, instead of just machining away the backend of the inlay plug like one normally does… you would carve a 3D topographic map into the back of the plug.
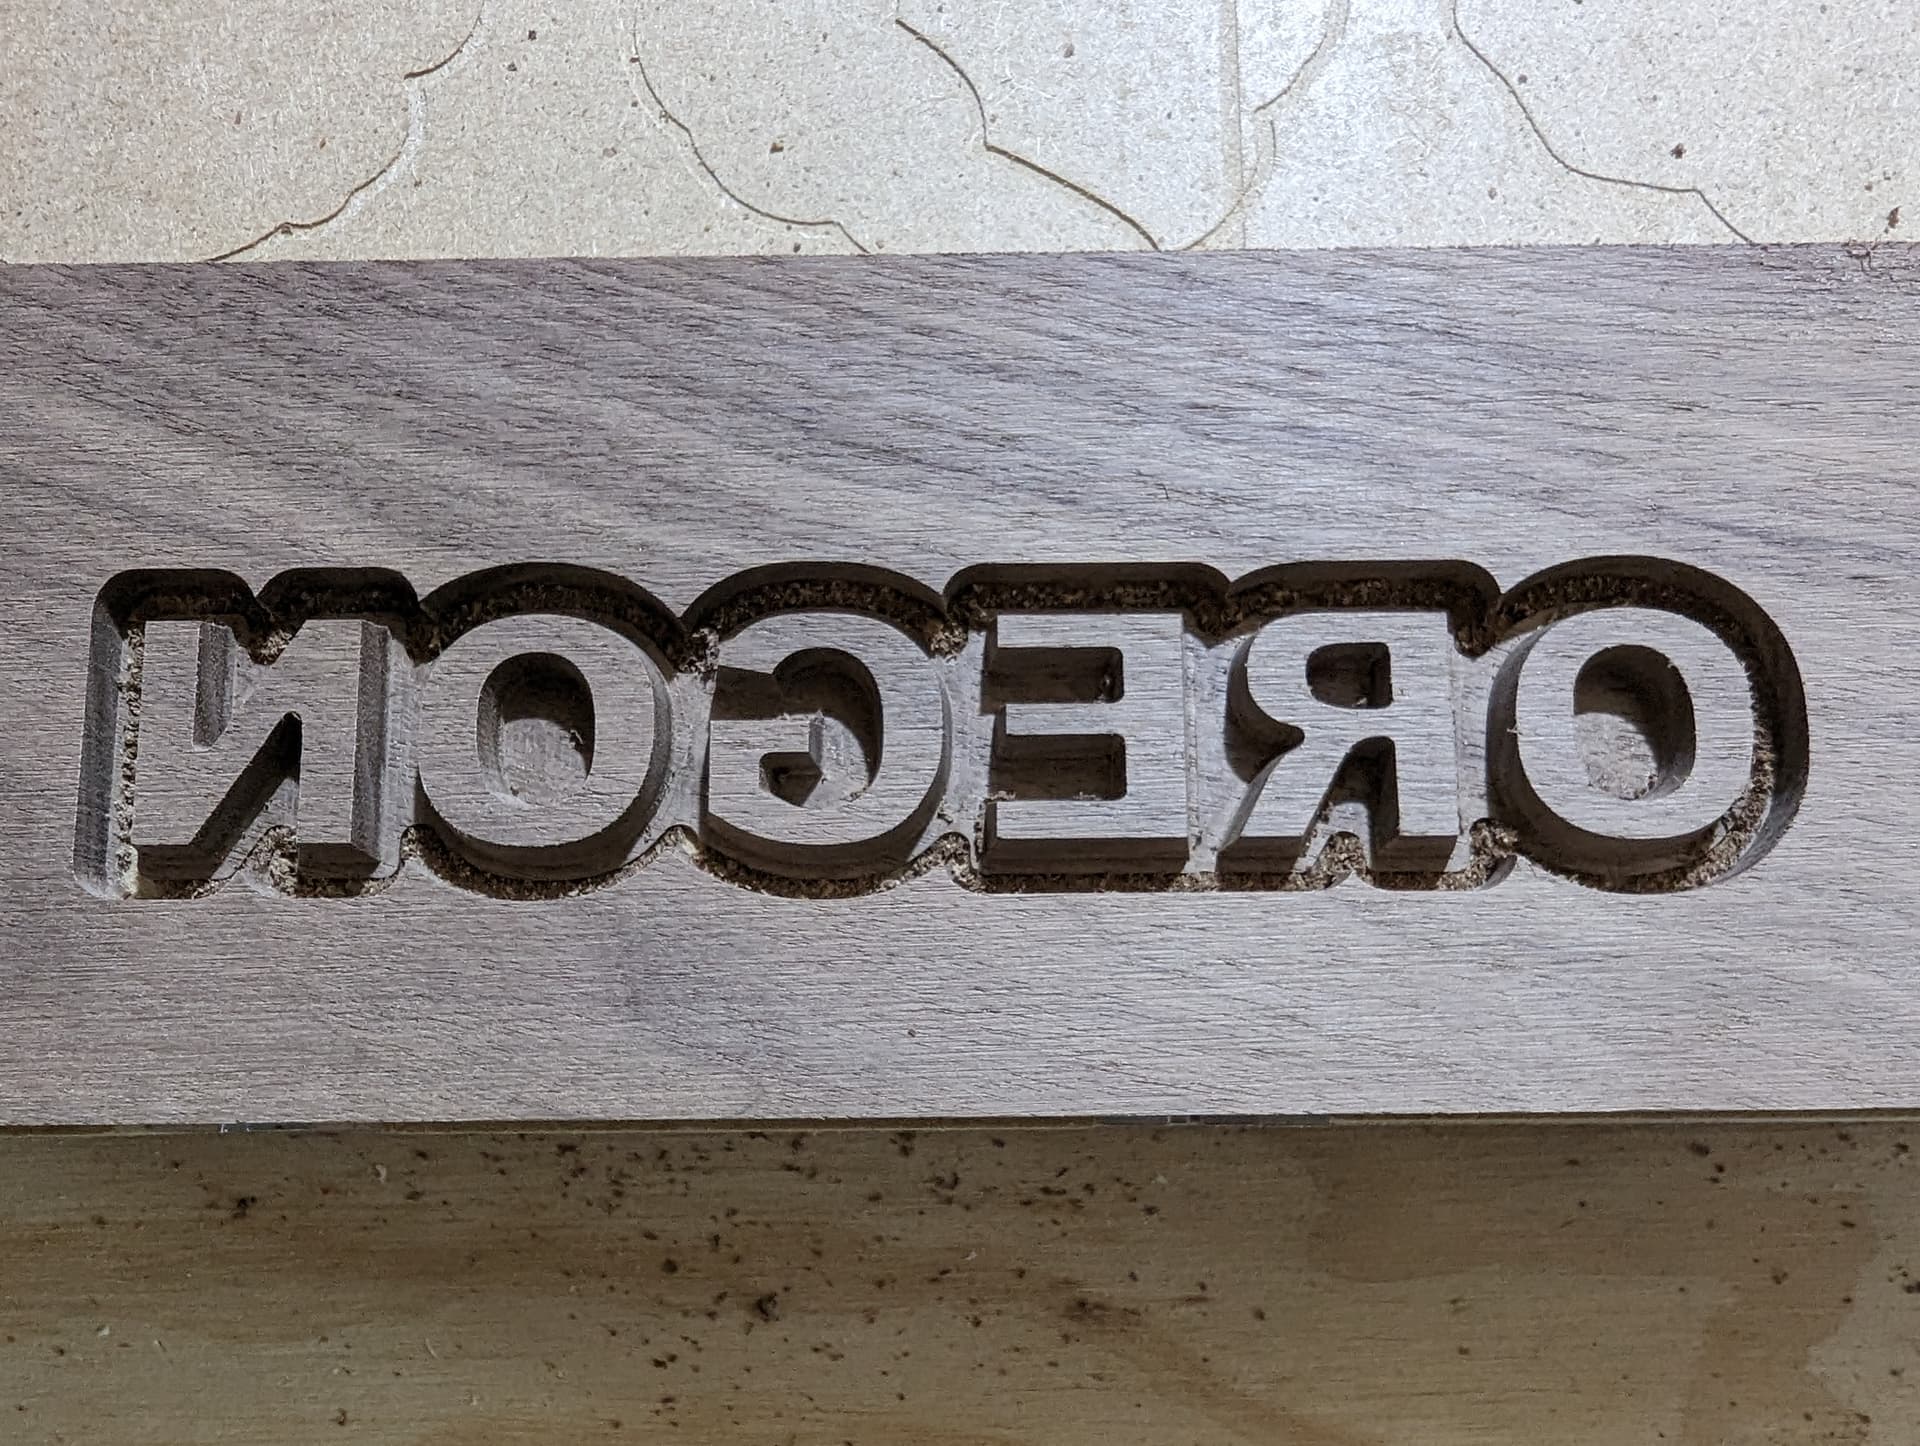
Ok so step one is always making the plugs; by doing the same steps from the tutorial, with a 20 degree V bit and 2mm regular endmill, it was more or less standard
inlay-oregon-plug-text.c2d (176 KB)
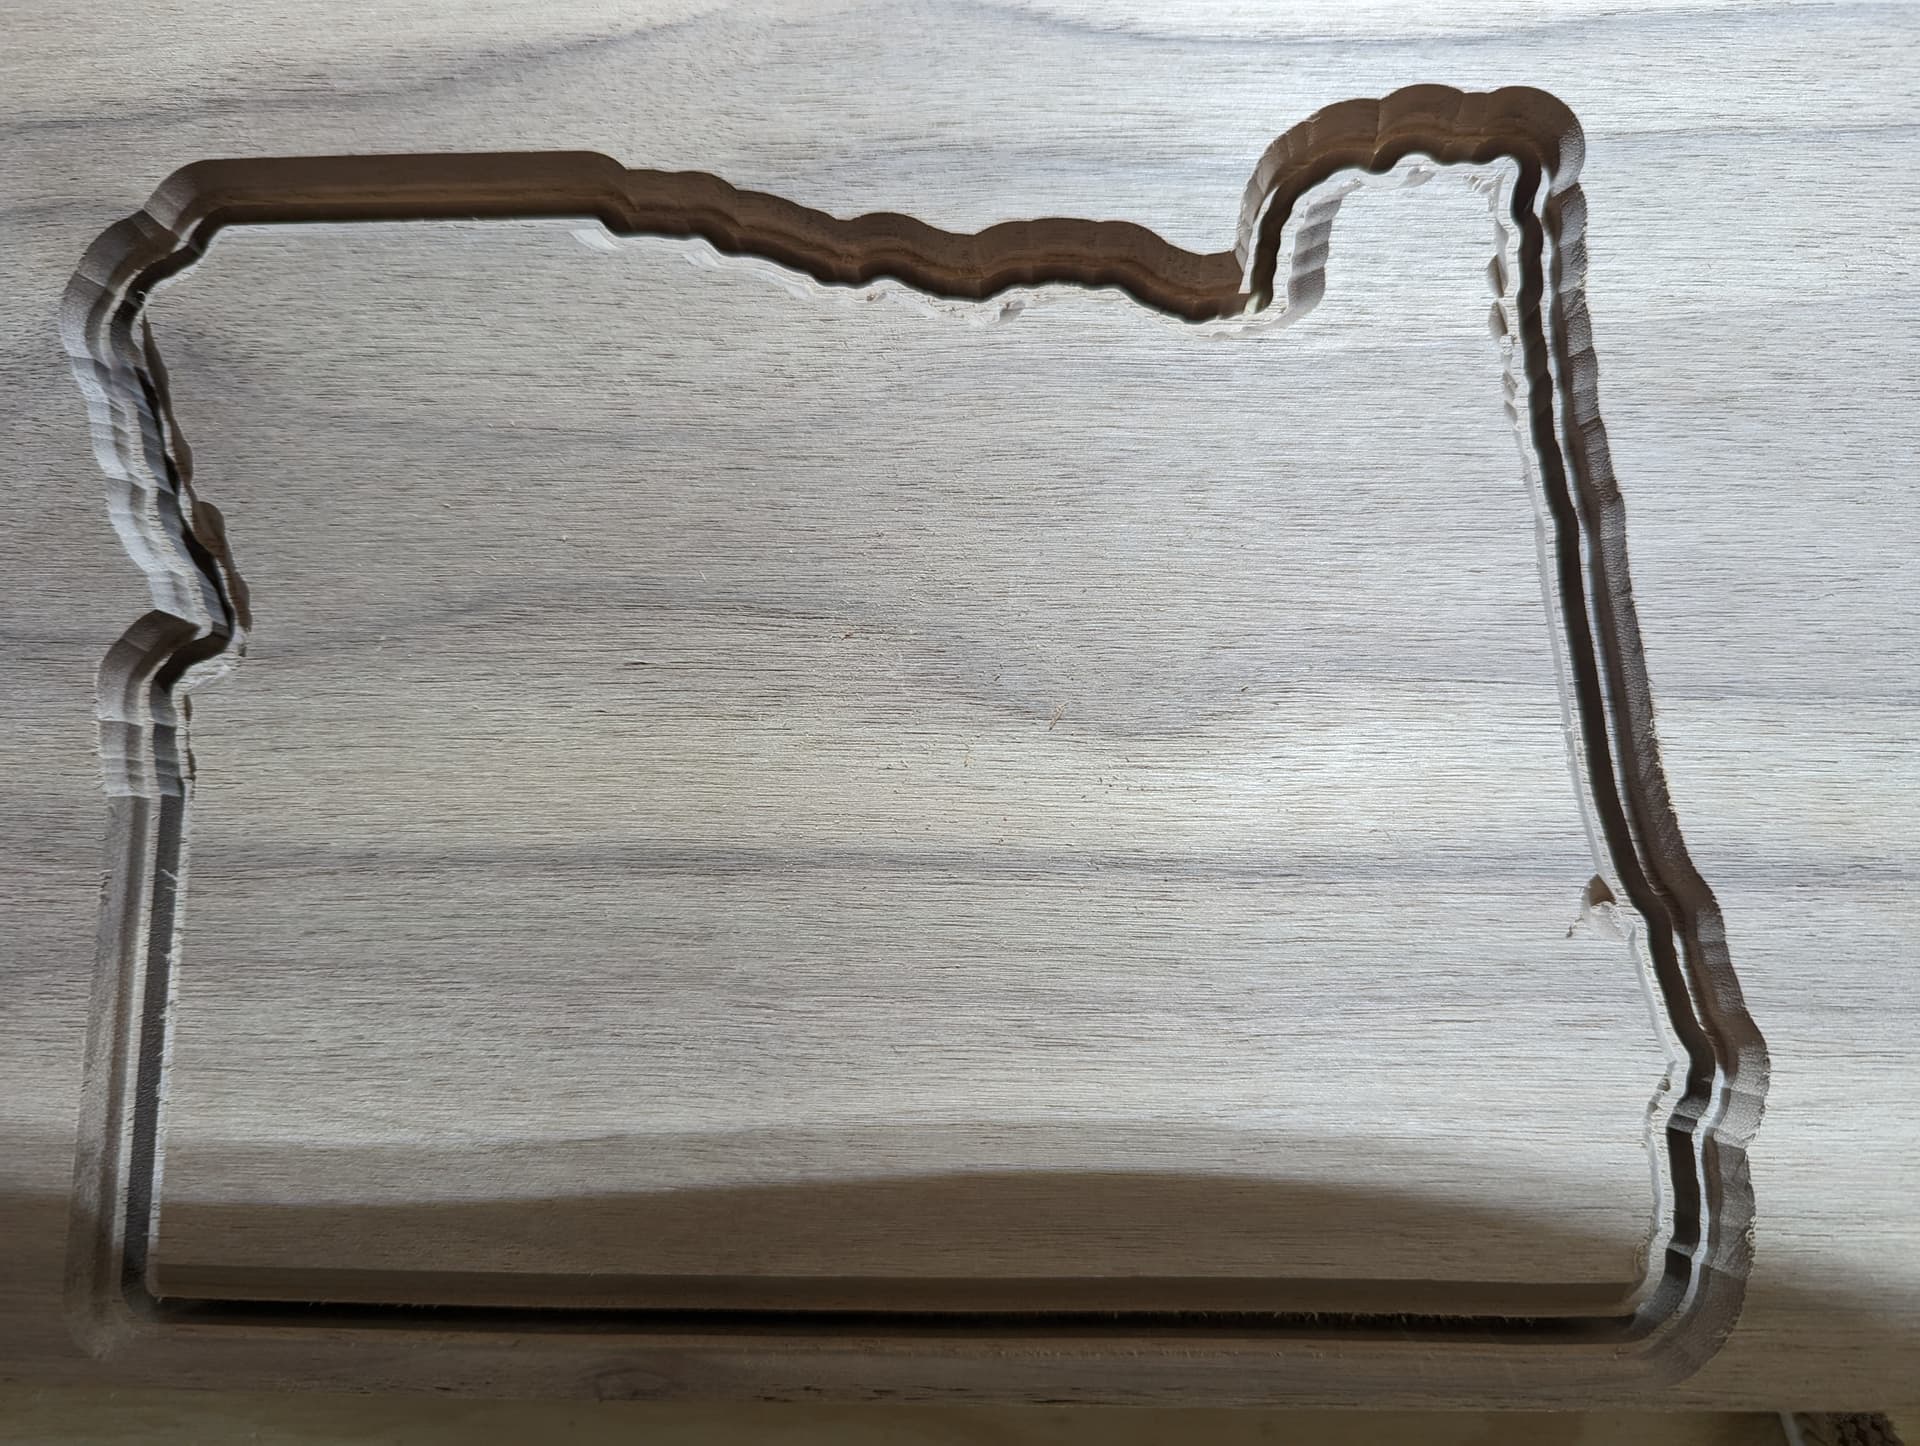
Then the state map; since it’s much bigger than I normally do inlays, I went with my trusted 302E 60 degree V bit and a 1/8" area clearing tool (for the plug) and went for a 0.25" depth.
inlay-oregon-plug-state-v2.c2d (2.3 MB) (Disclaimer: In my actual cut it turned out I used a copyrighted image for the state outline, so I replaced that with a public domain version for the c2d file here to avoid trouble)
Then it came to cutting the base, and unfortunately I did not take a picture of that… but it was again mostly standard following the tutorial. The only unconventional thing i did was use a 1/4" bit for the area clearing of the state to reduce cut time significantly.
inlay-oregon-base-v2.c2d (2.4 MB)
And then came the fun part, the 3D model. TouchTerrain did not disappoint and in no time I had a nice STL file of the whole state (due to the ratio of the size of a state versus the heights of mountaints, I went with a 3X Z amplification).
It was slightly tricky to make sure the 3D model of the state lined up with the SVG outline… and the only way I got this to work was to first do the 3D model, and then size/align/locate the SVG as best as I could on top of it; one needs to do this in the plugin base file since the size of that state SVG is used for the plug as well.
Now for the toolpaths it was interesting; the plug material will be above the base material and stick out by 0.25" (the material was 0.75", I cut the base of the plug 0.25" deep so I assumed 0.5" was left but I forgot the glue gap in that math… thankfully I had that set very small).
This was easiest to model in Carbide Create as 0.5" stock, with the zero at the bottom… this allowed me to reuse the same zero throughout the whole process.
First I removed extra material that sticks outside the state lines from the plug by contouring with a 1/8" bit (sturdy) and then a 2mm bit (fragile)… then 3D roughing with a 1/4" bit 201, and for the final finishing pass I used my R=0.5 (1mm diameter) tapered ballnose. At first I started to do this in the left-to-right direction. Big mistake… it was the same direction as the woodgrain so it was a big stringfest. Aborted the cut quickly, changed the toolpath to have a 90 degree angle and… no more strings.
inlay-oregon-3d-v2.c2d (2.2 MB)
(same disclaimer on copyrighted material)
Next step: finishing with a bit of walnut oil and … project finished